
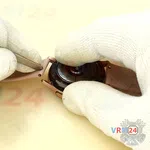
⚠️ Antes de desmontarlo, no olvide apagar su teléfono.
Dificultad de desmontaje:
Fácil
Fácil
Duración:
15 min
15 min
Herramientas recomendadas


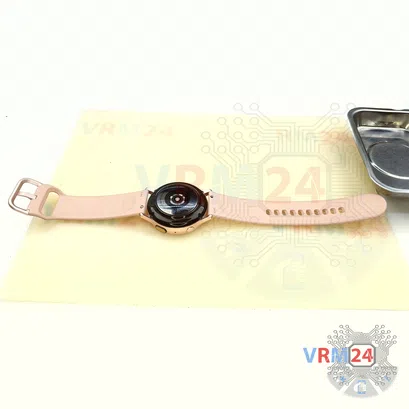
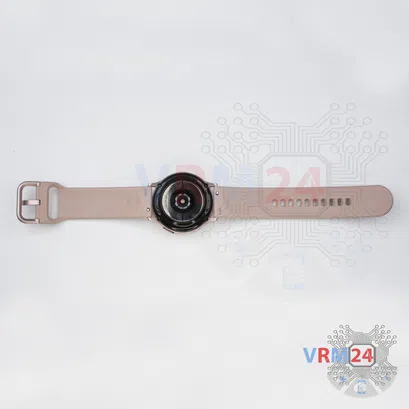
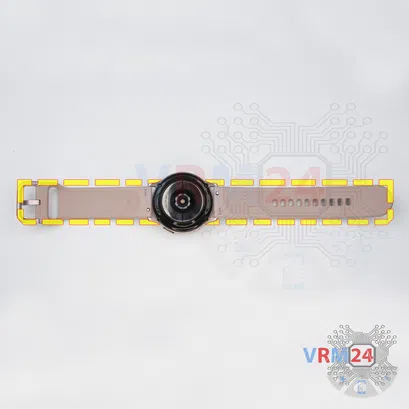
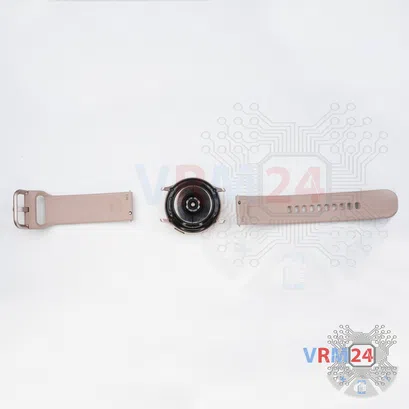
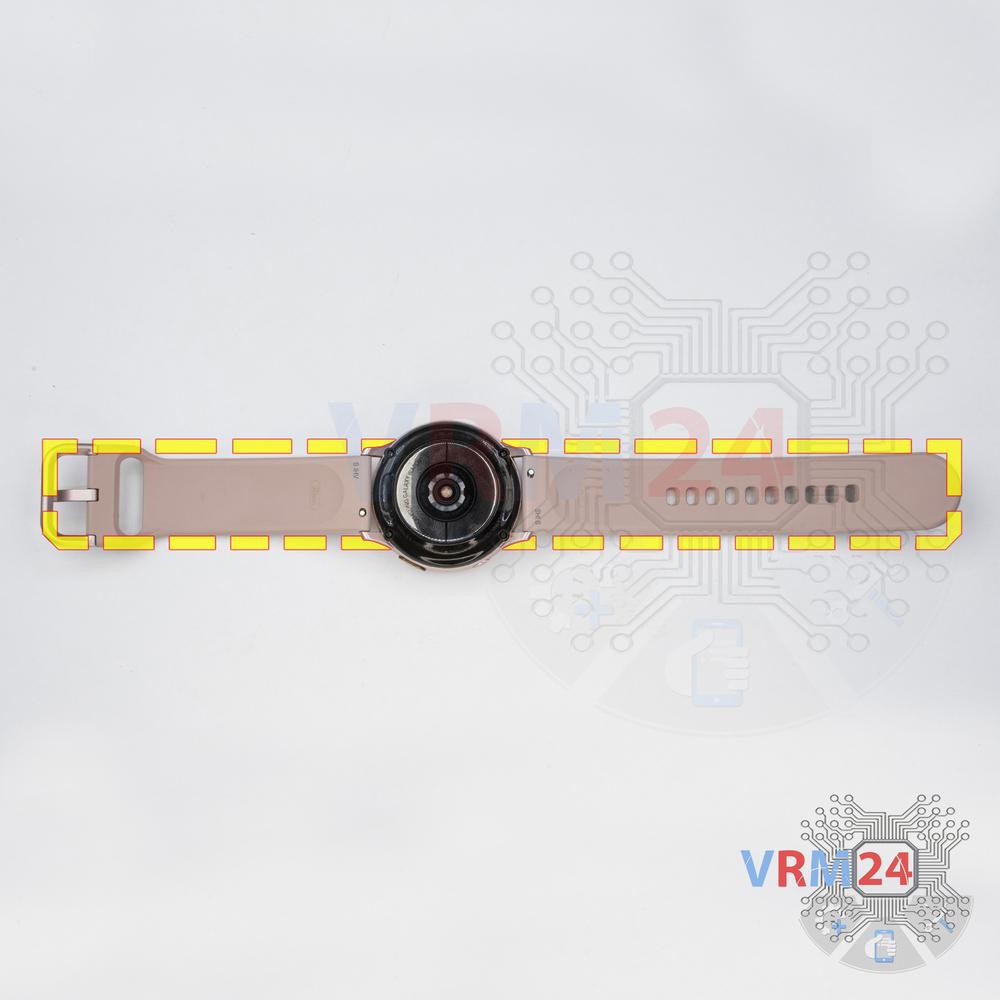
Desmontaje/Reparar del dispositivo móvil Samsung Galaxy Watch Active 2 SM-R820 (Samsung Galaxy Watch Active 2) con la descripción de cada paso y el conjunto de herramientas requerido.


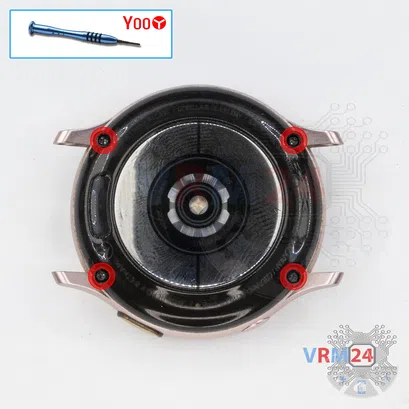
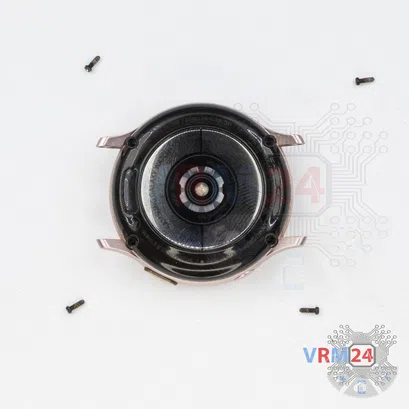
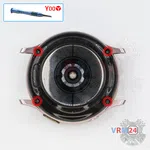
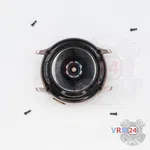
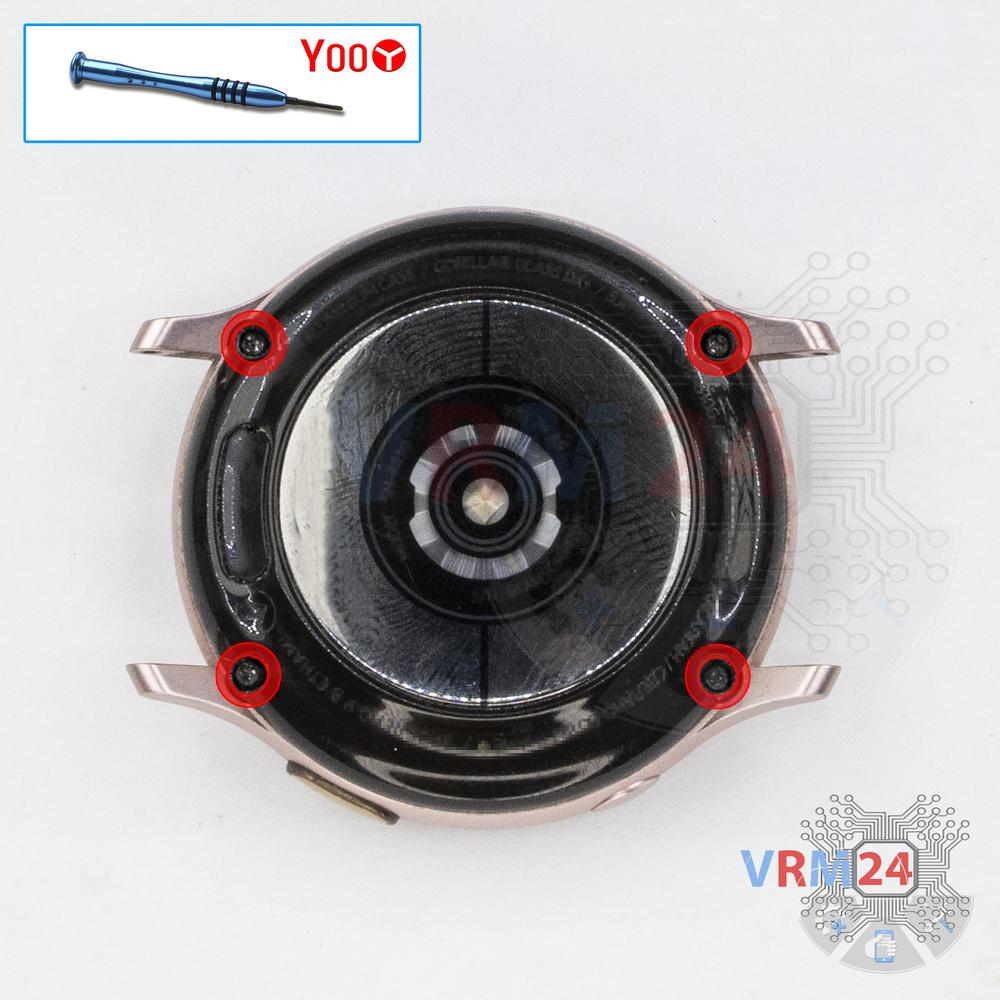
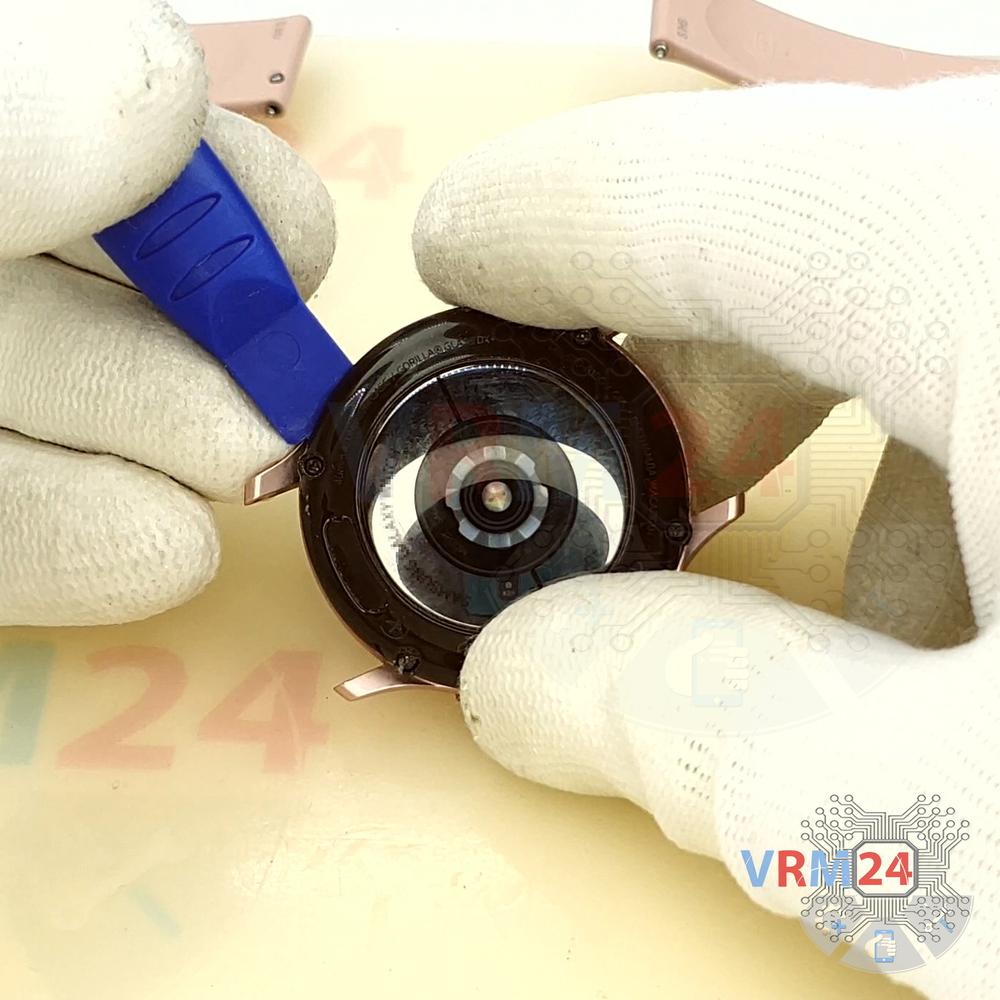
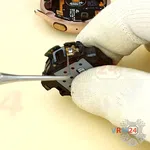
Paso 3. Desenrosque los tornillos
Con un destornillador (Tri-Wing 2.0 mm Y00), desatornille 4 tornillos.

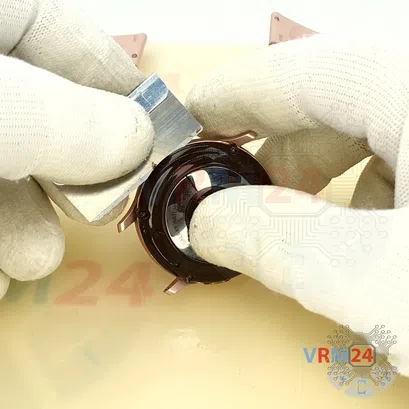


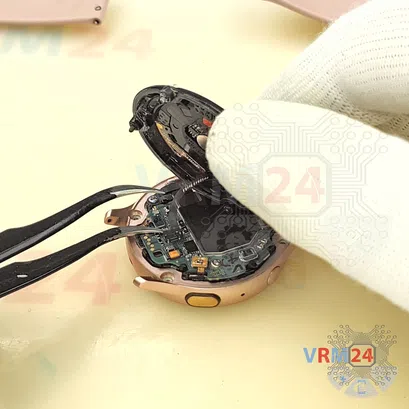


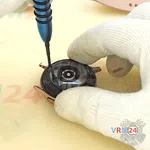
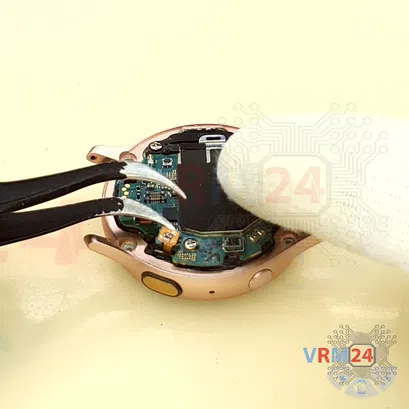
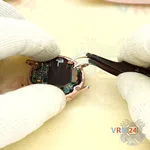
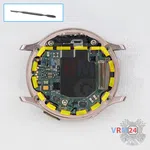
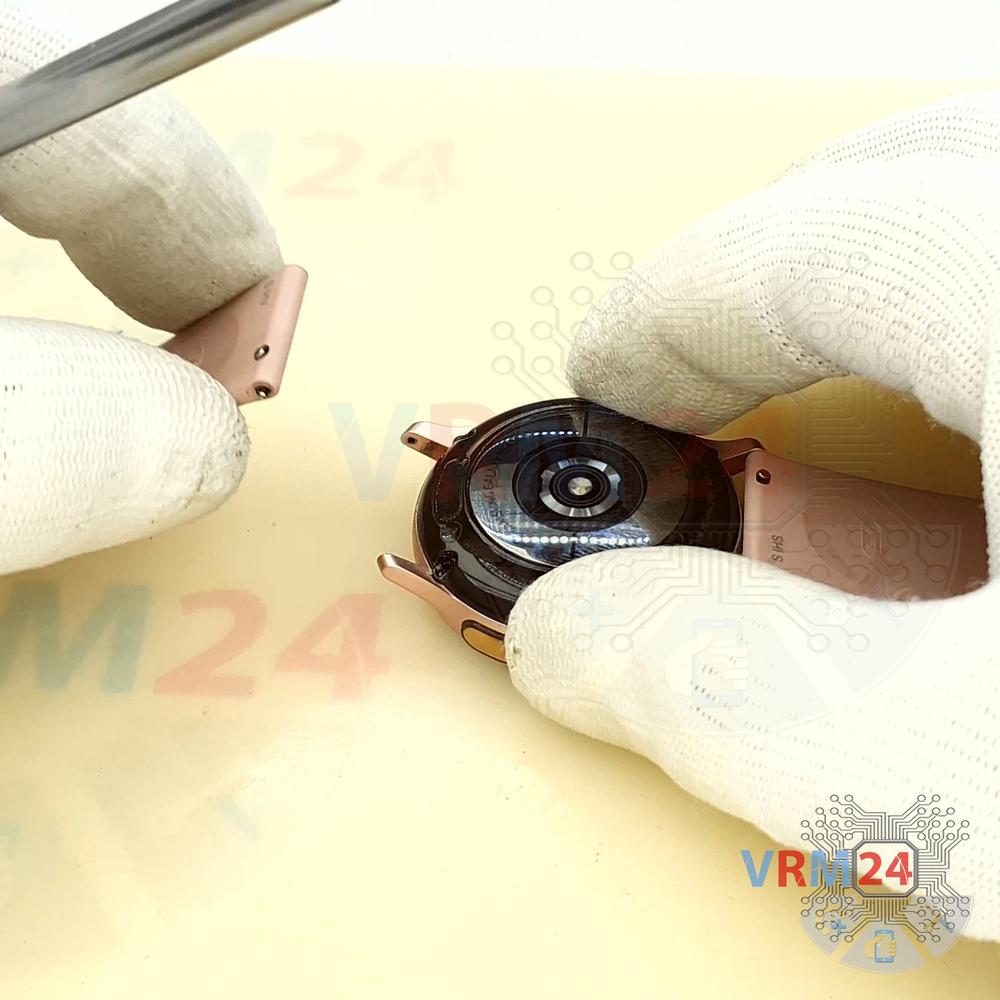
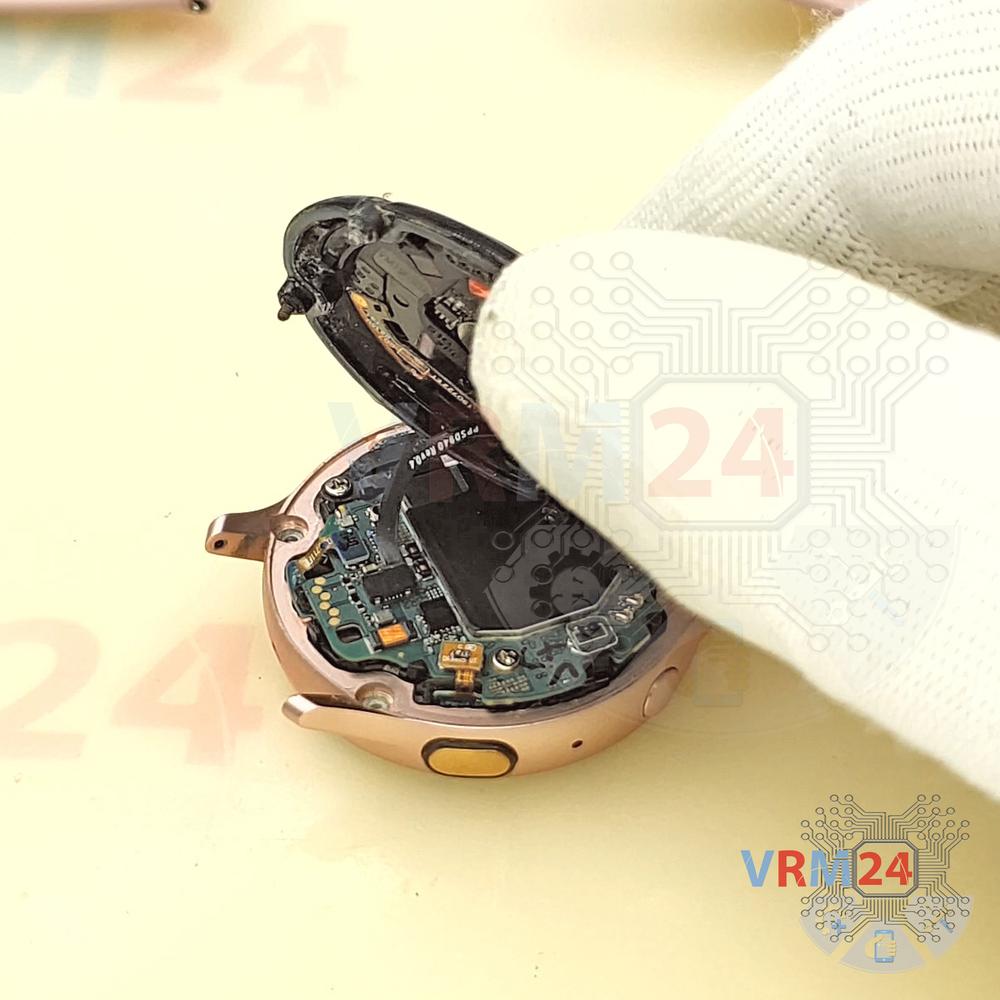
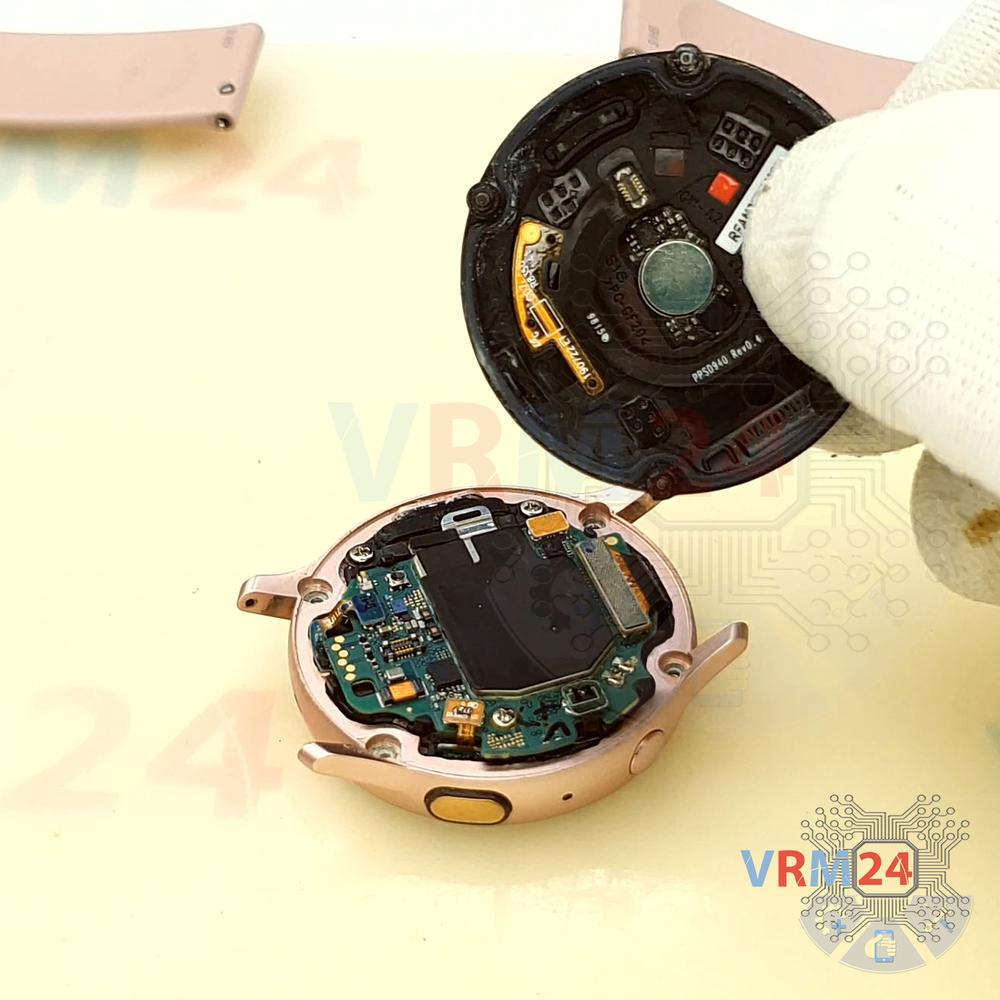
Paso 5. Desconecte el conector
Levante el conector del sensor de frecuencia cardíaca y retire la cubierta.
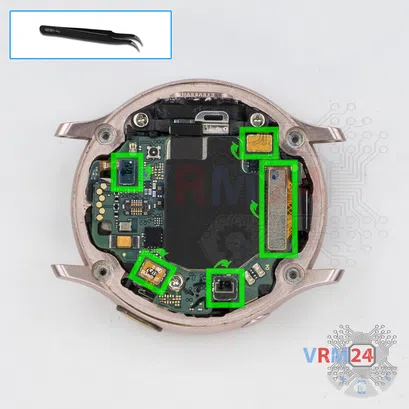


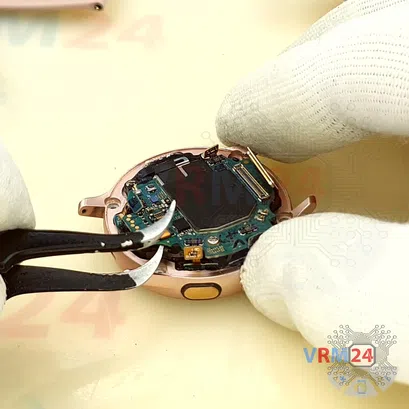

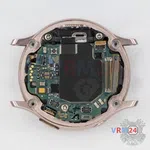

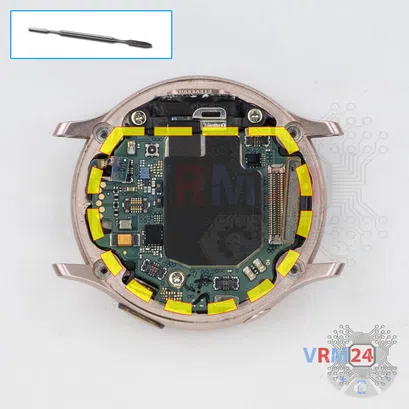
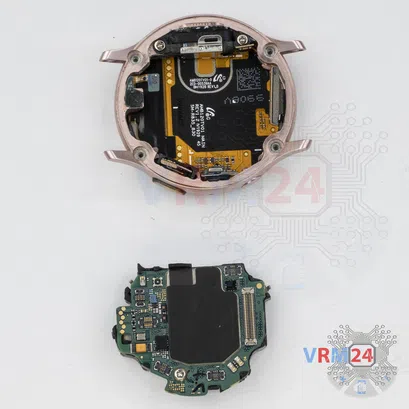


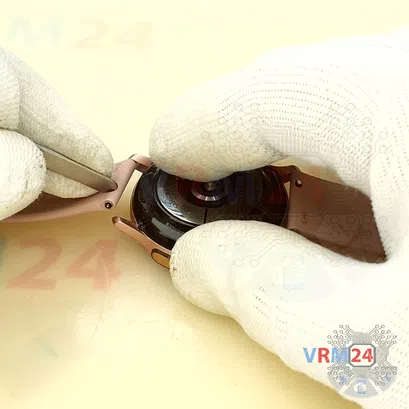
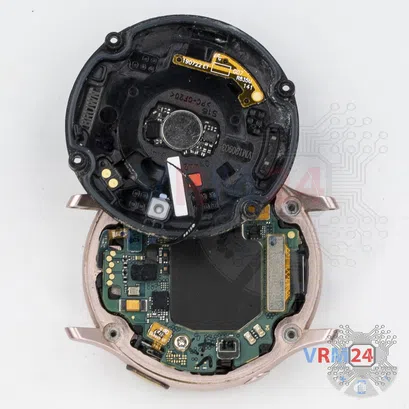
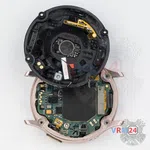
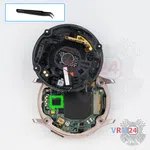
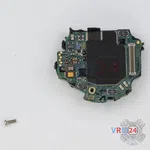
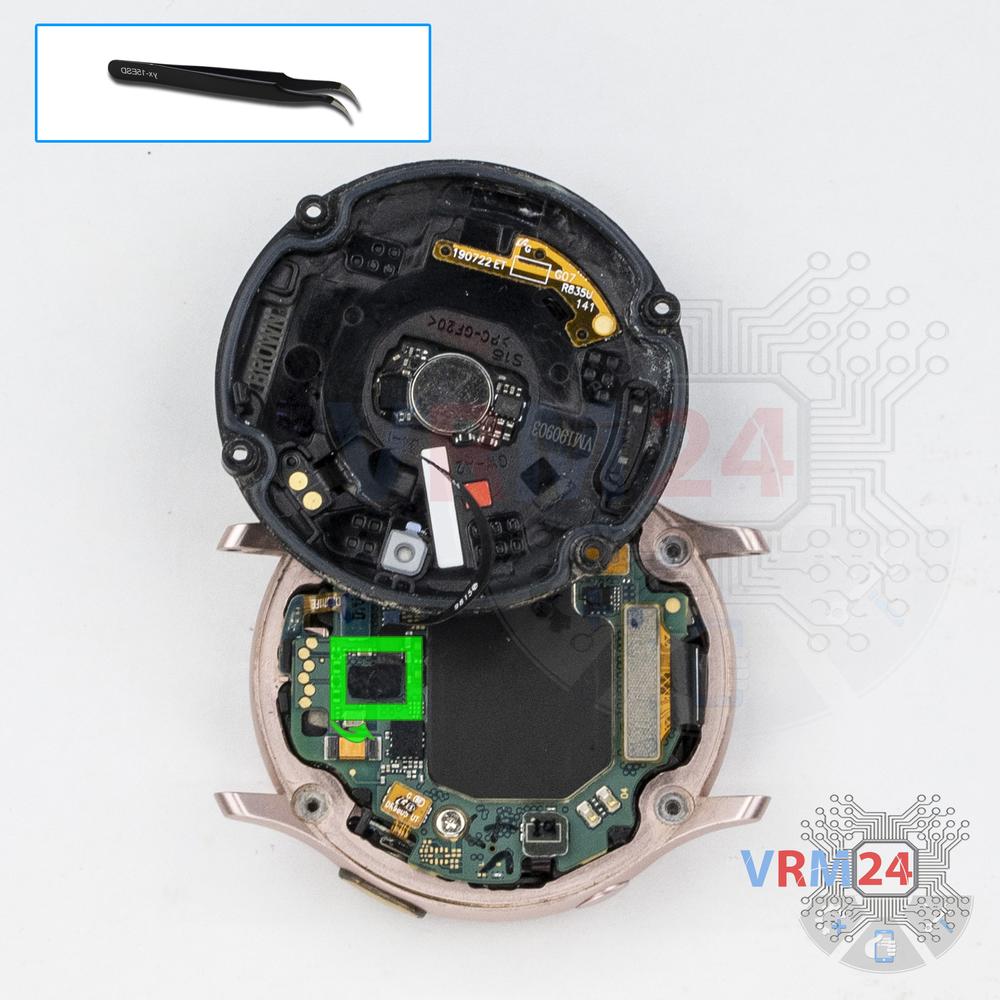
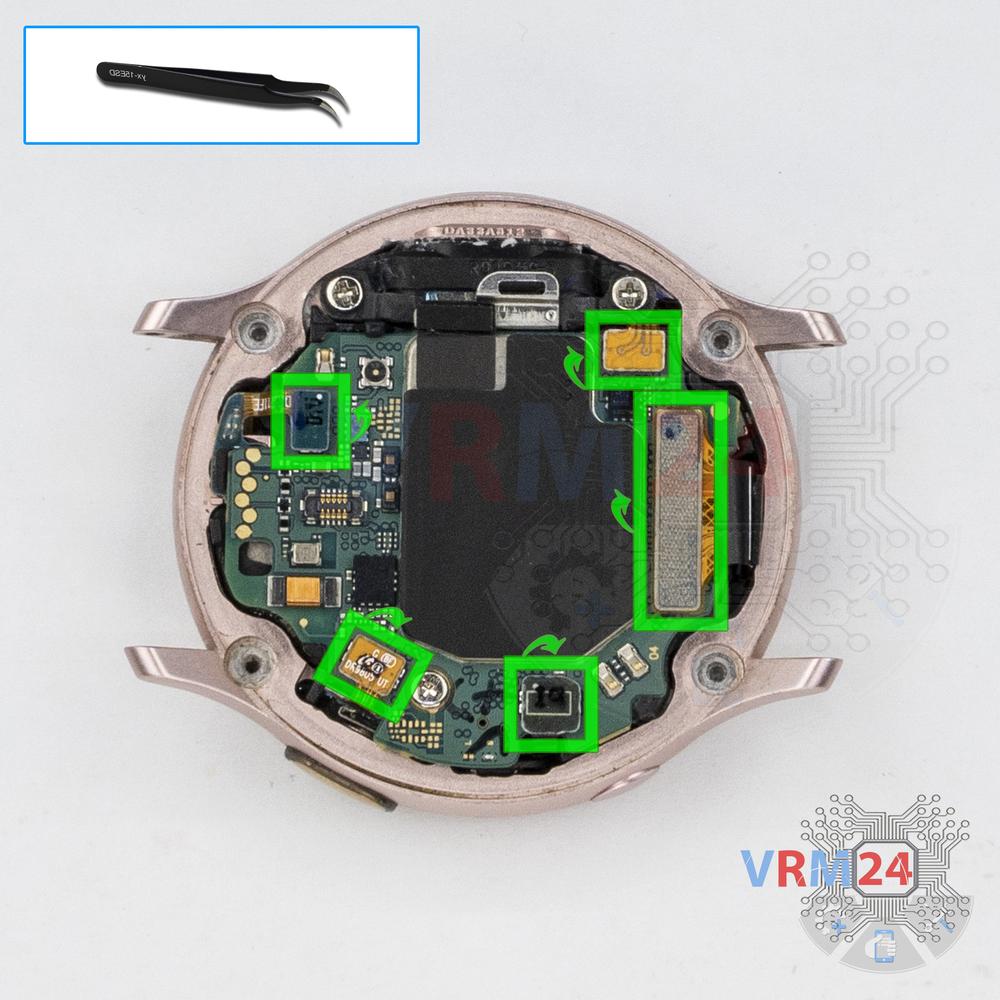
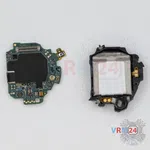
Paso 7. Retire la placa base
Retire con cuidado la placa de circuito impreso. No es necesario utilizar una palanca ni intentar alcanzar la tabla a la fuerza. Asegúrese de que nada se interponga en el camino o sujete la tabla.
⚠️ No doble la placa de circuito al retirarla ni empuje herramientas debajo de ella. Sin que usted lo sepa, puede dañar componentes o cables desde el interior.

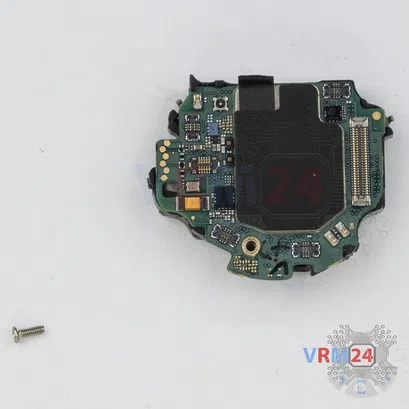
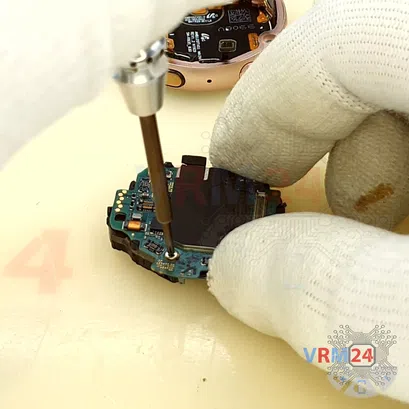
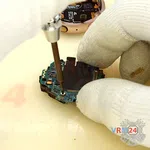
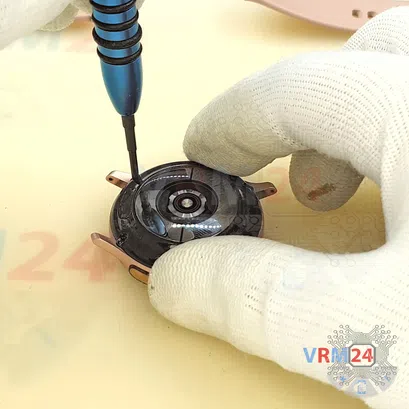
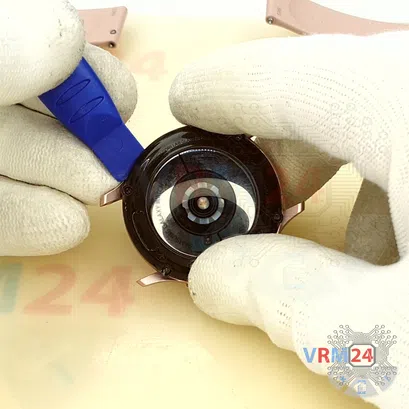
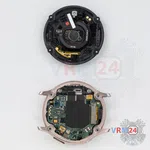
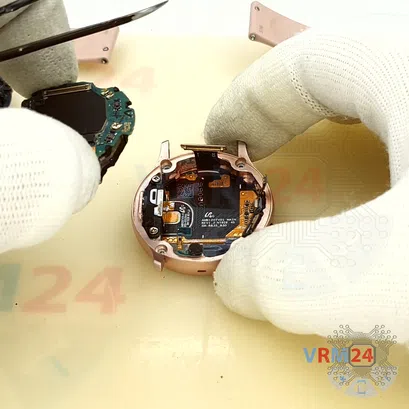
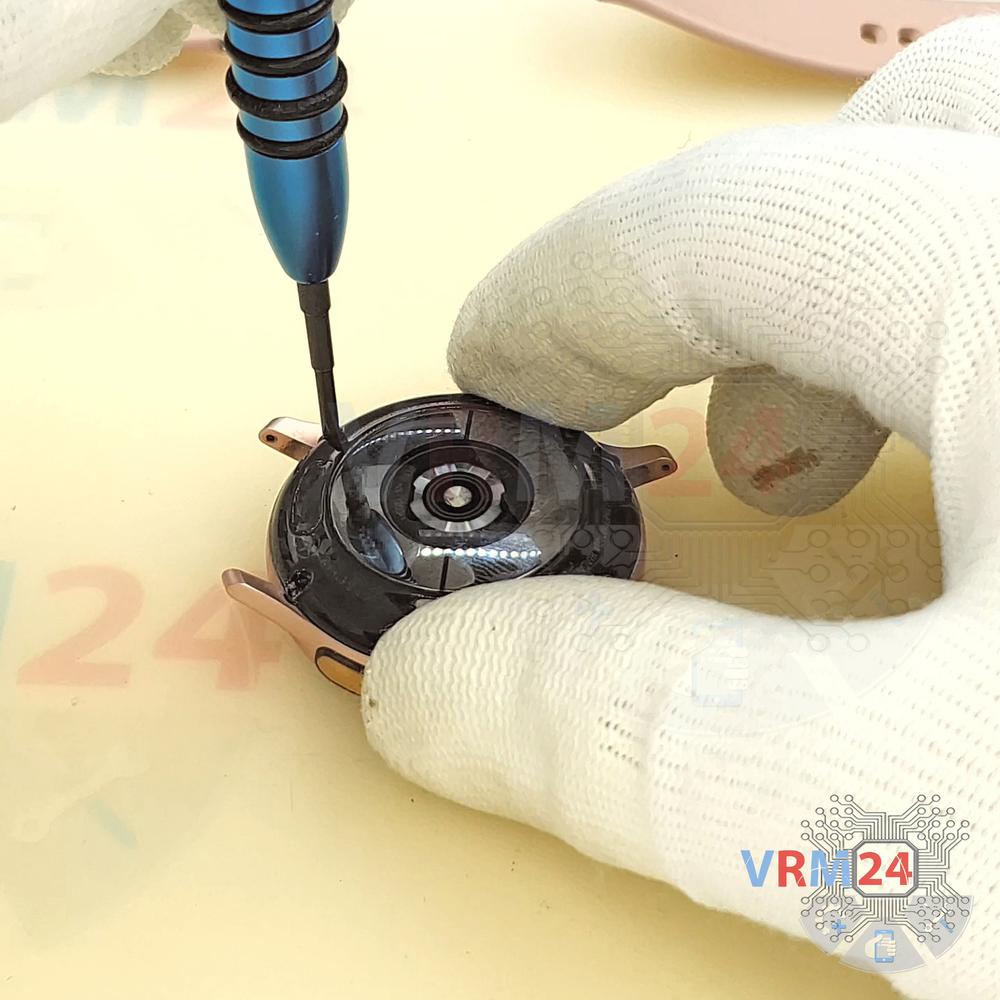
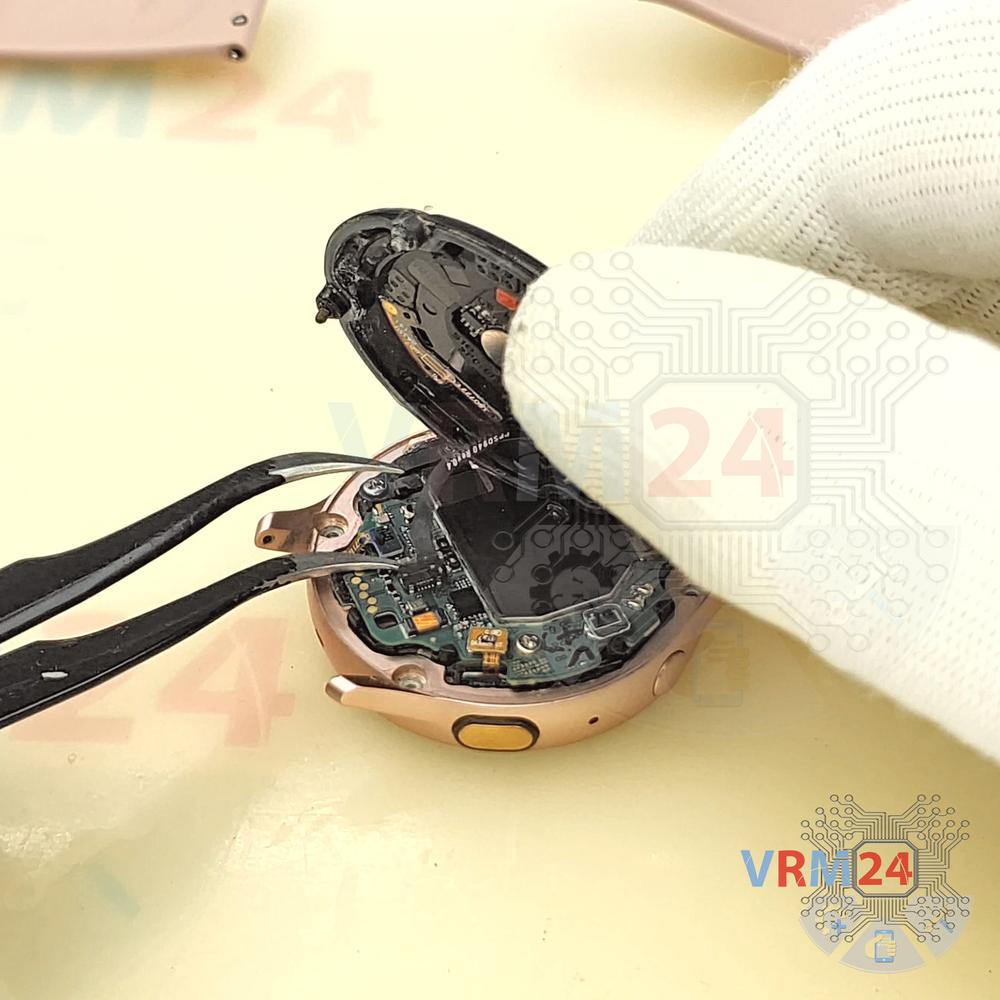
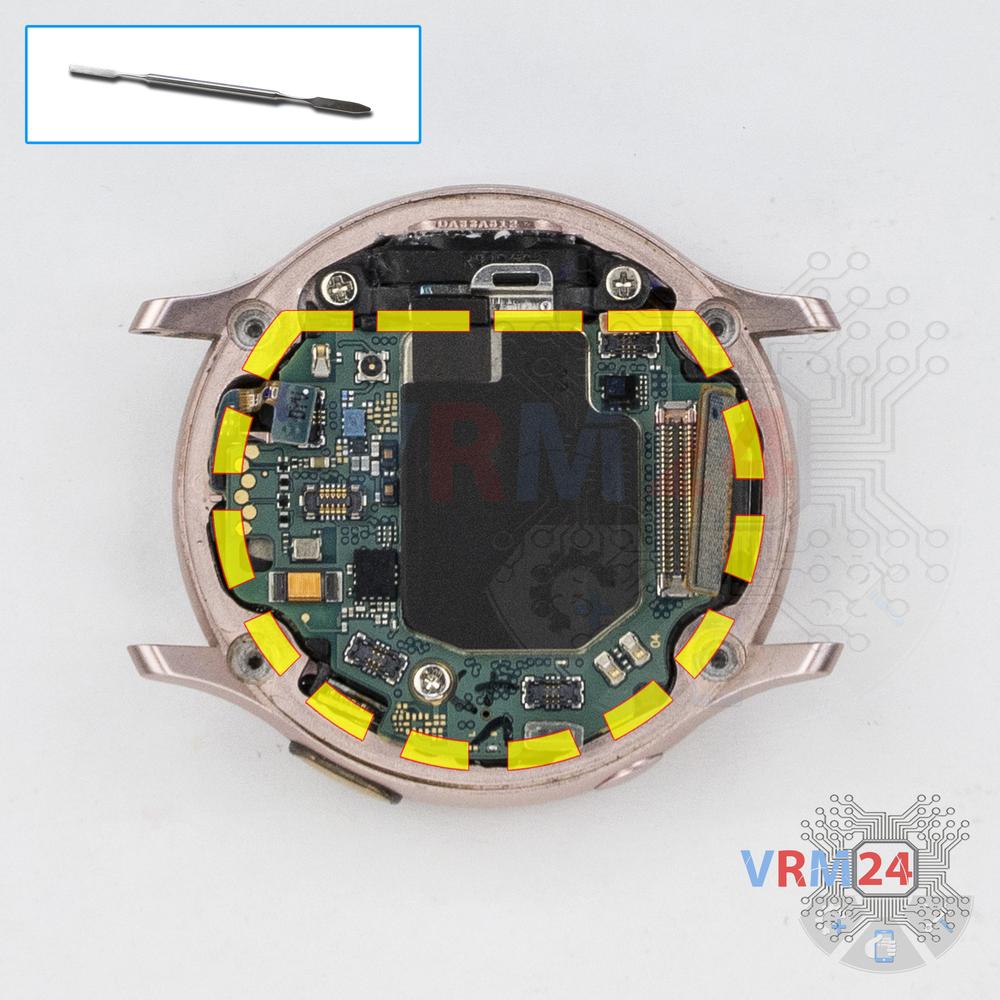
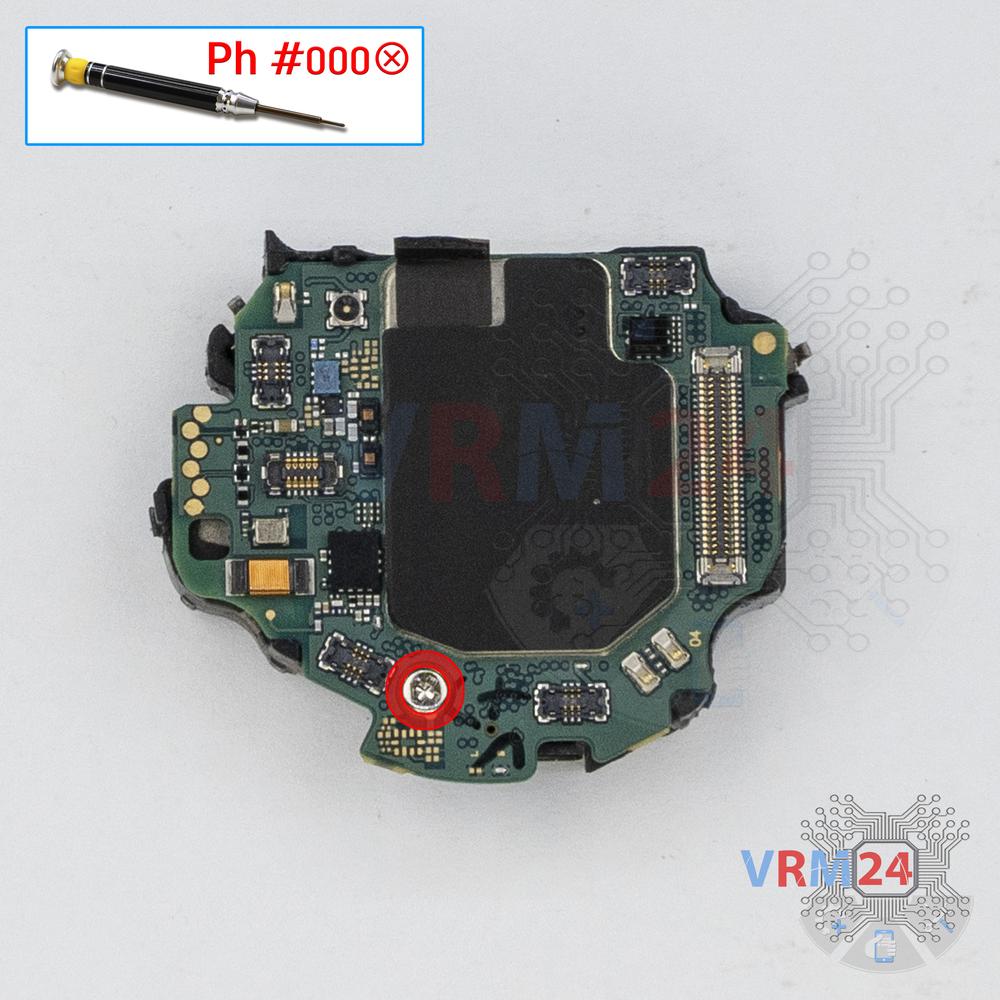
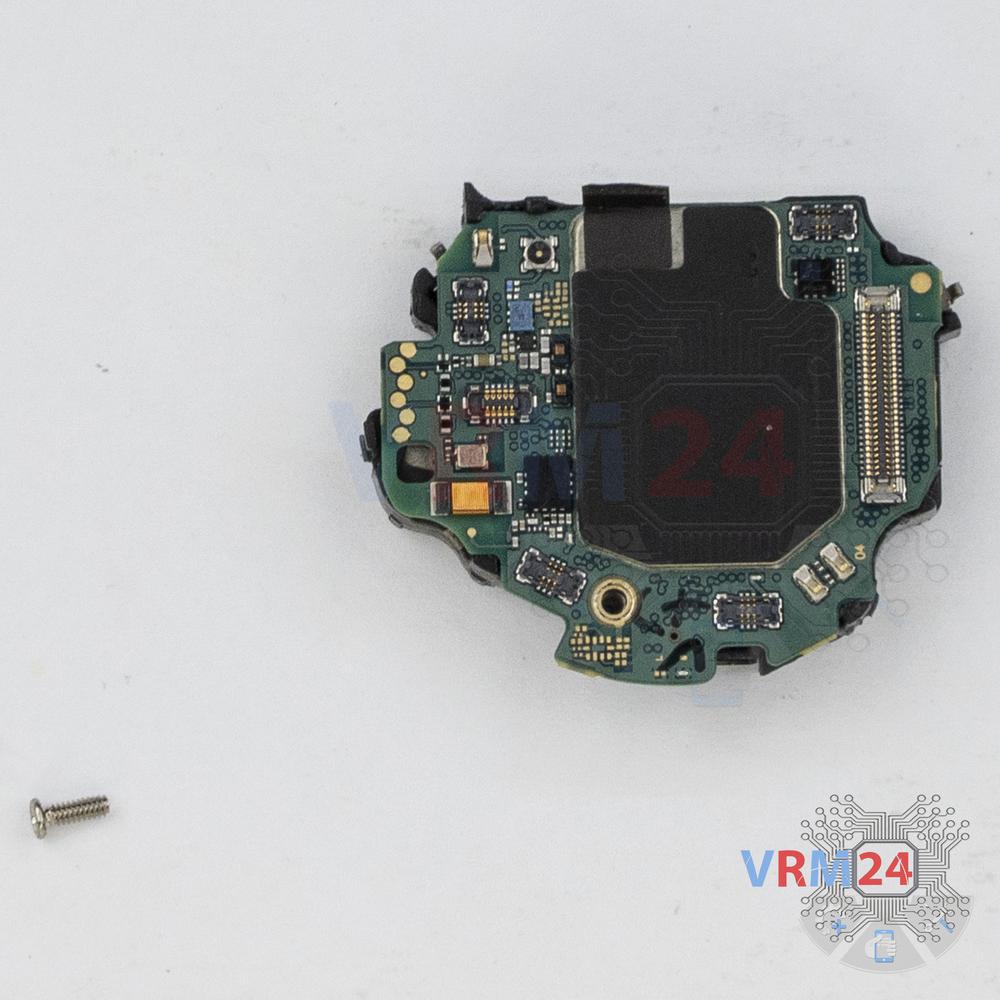
Paso 8. Desenroscar un tornillo
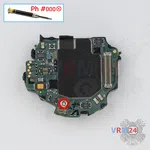
Con un destornillador (Philips 1,5 mm PH000), desatornille un tornillo de la PCB que sujeta la batería.


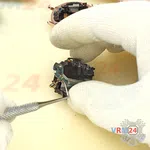
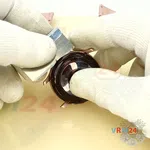
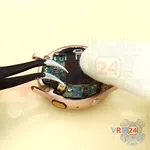
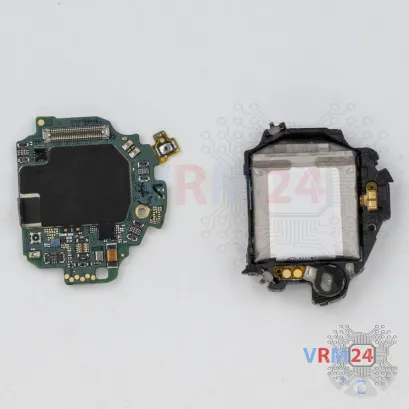
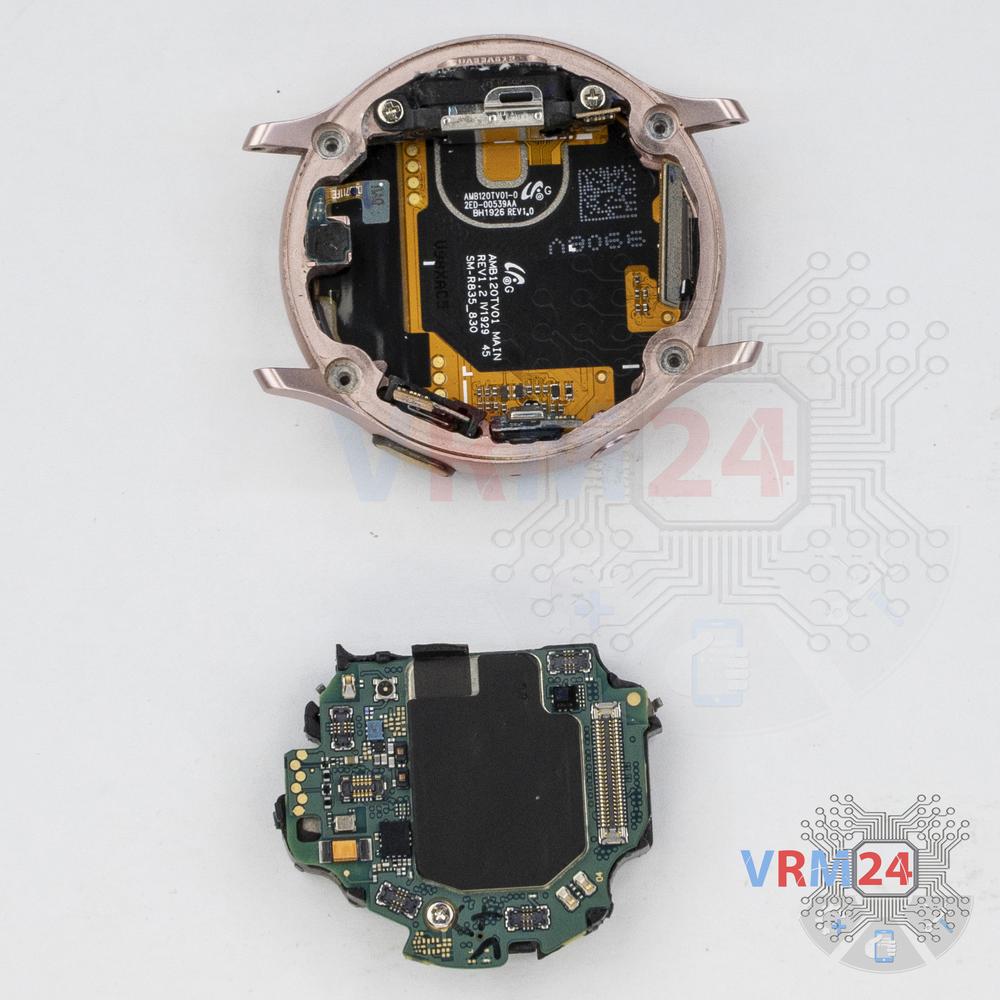
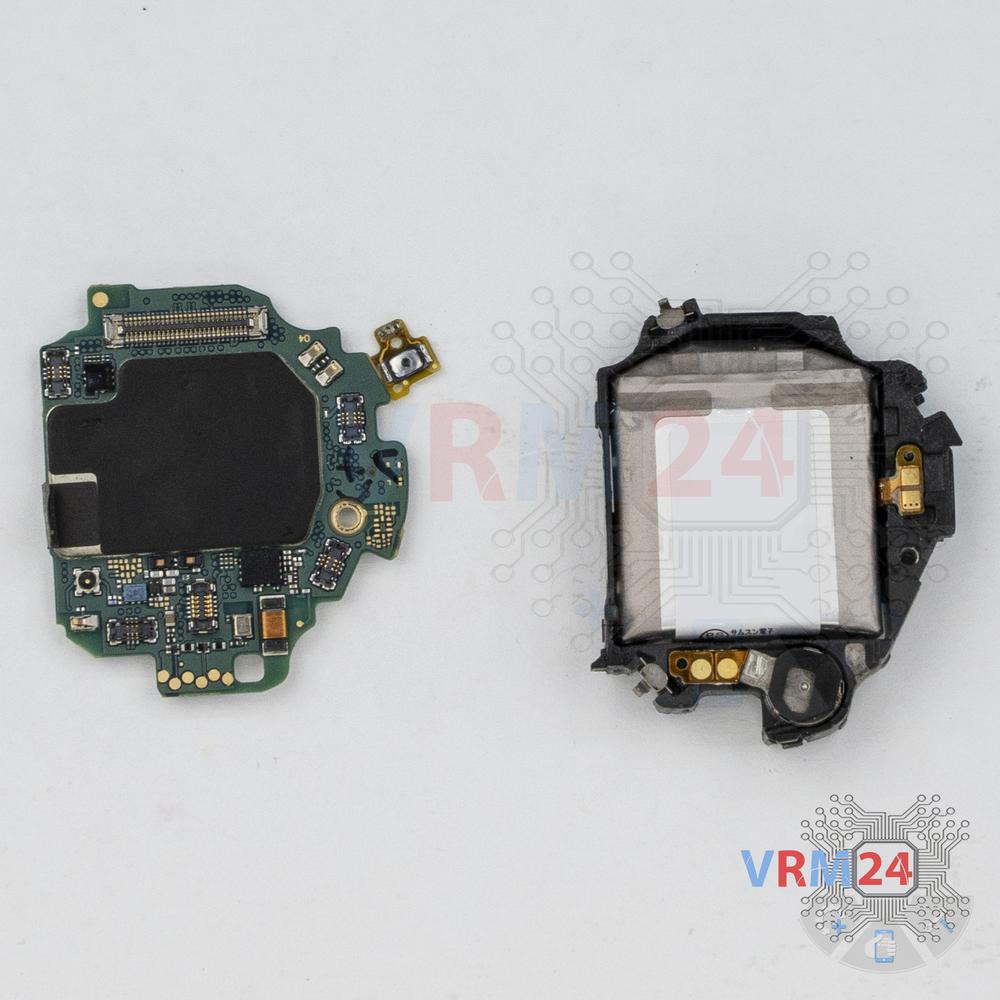
Paso 9. Retirar la batería
Separe la placa base del marco con la batería. Tenga cuidado con el botón lateral.
ℹ️️ El modelo Samsung Galaxy Watch Active 2 SM-R820 tiene una batería EB-BR830ABY con 240 mAh de capacidad (también conocida como batería recargable).
Instrucciones detalladas de desmontaje de Samsung Galaxy Watch Active 2 SM-R820 en el video, realizadas por nuestro centro de reparación y servicio móvil:
Si tiene alguna pregunta, pregúntenos e intentaremos responder con el mayor detalle posible. Si este artículo fue útil para usted, califíquelo.

Disassembling\Repairing tiene fácil complejidad y toma 15 minutos en el tiempo.
Nuestro manual es adecuado para todos los modelos Samsung Galaxy Watch Active 2 SM-R820 — Samsung Galaxy Watch Active 2 lanzado para los mercados en diferentes países.
Vuelve a la lista