
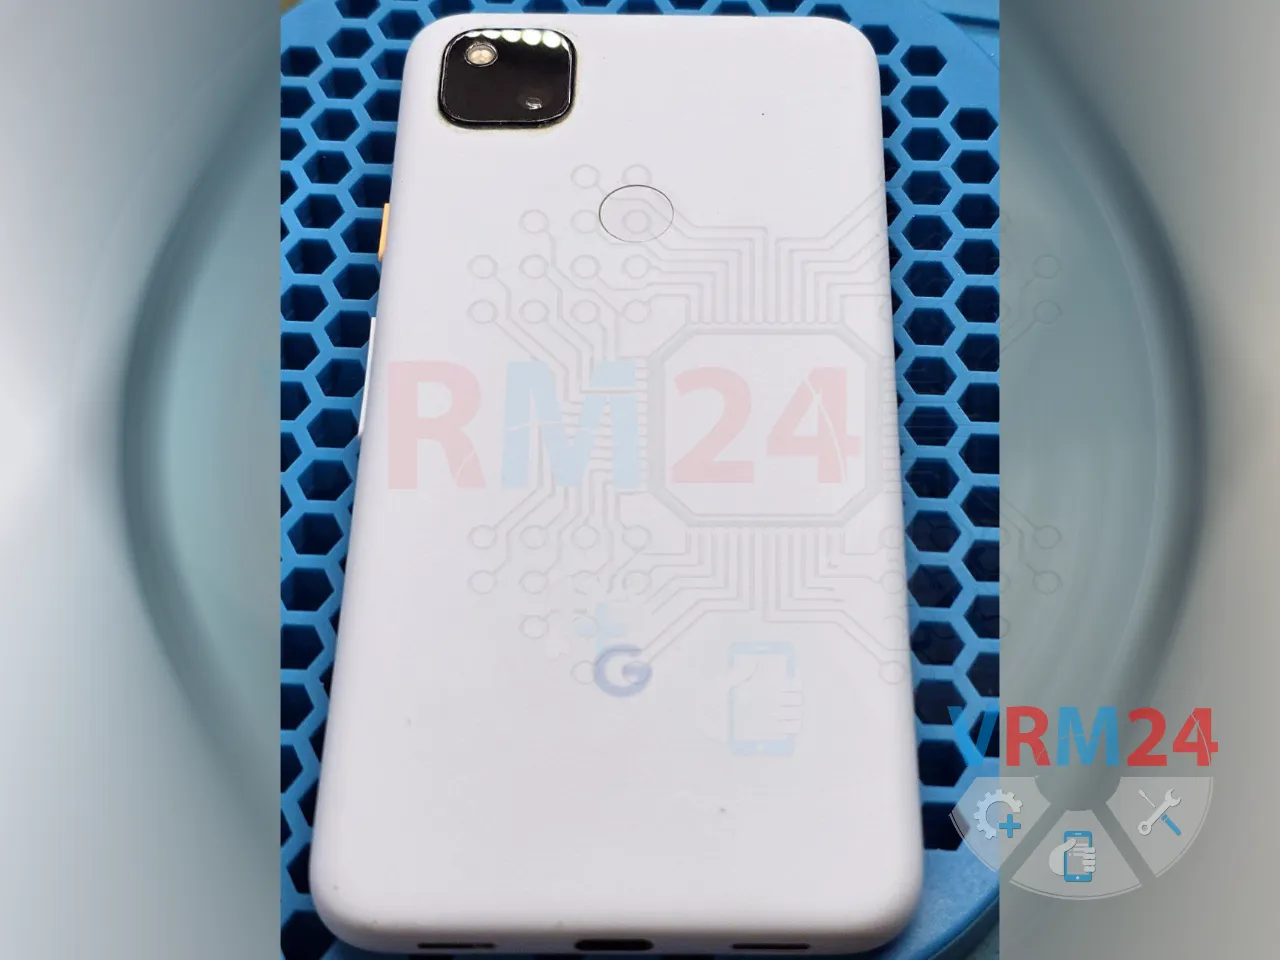
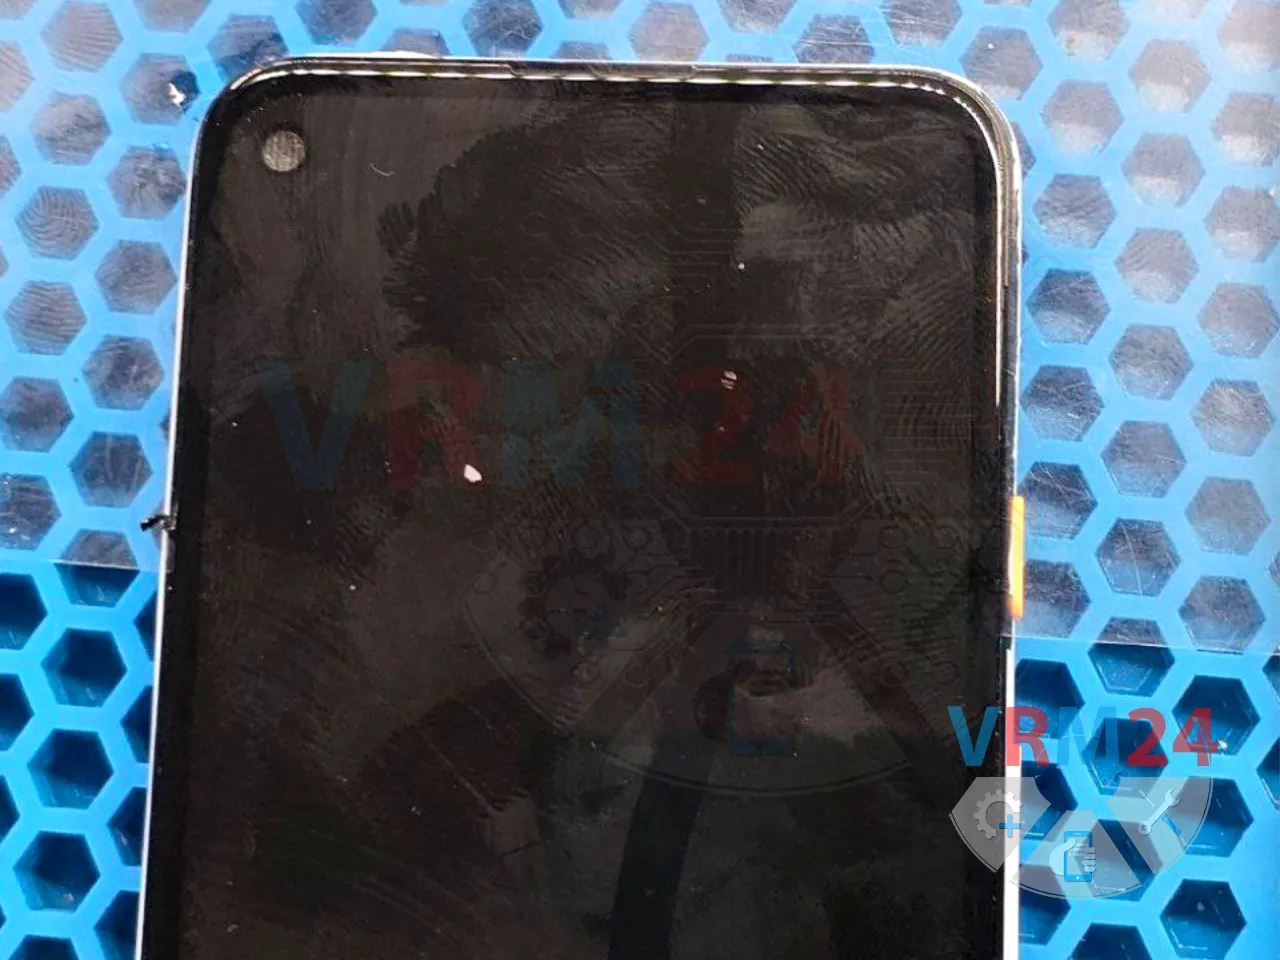
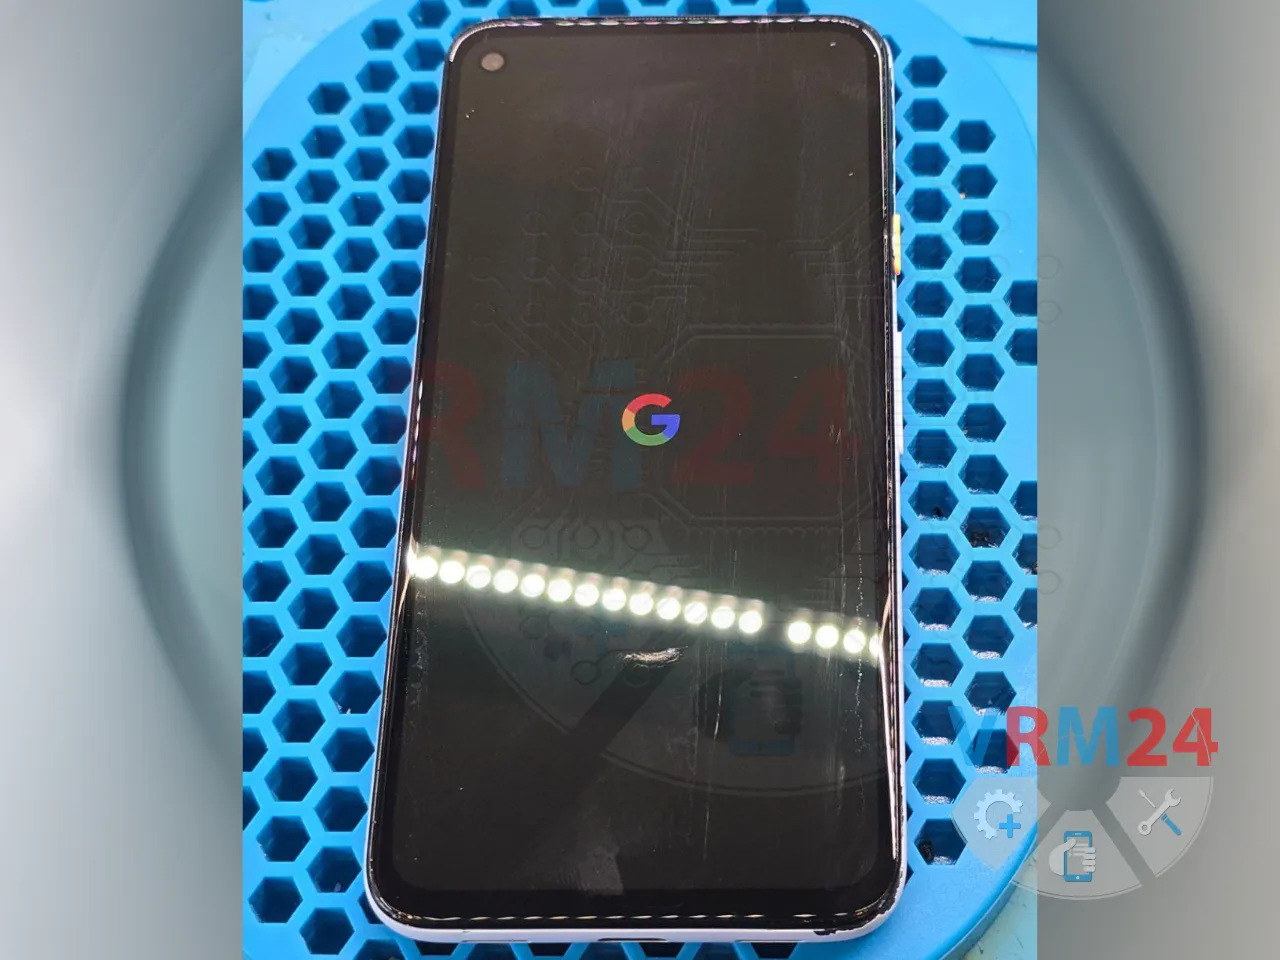
We’ve got a Google Pixel 4a in for battery replacement.
The tricky part of this repair is that disassembly starts with removing the display module, which adds a bit of complexity. 😏

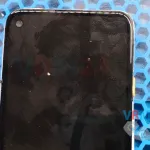
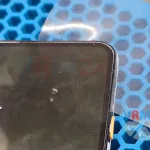
We heat the display on a separator to 50°C (122°F).
Then, starting from one corner, we carefully begin to loosen the adhesive by applying isopropyl alcohol with a syringe. Slowly, we slide a plastic film underneath the display.
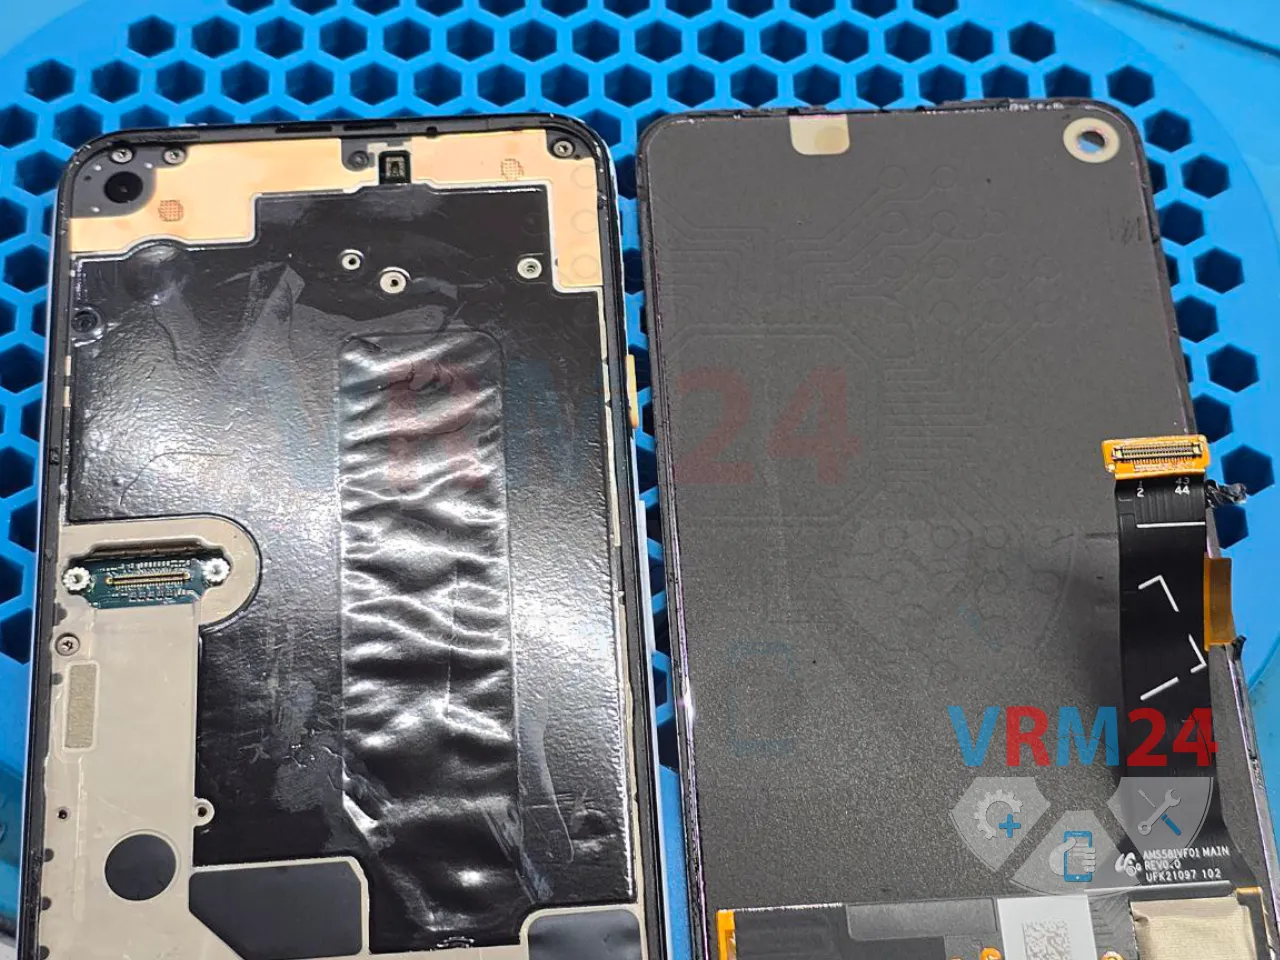
☝️ Before separating the screen, make sure to look up photos of the display from the back online.
It’s important to know where the flex cables run so you don’t damage them during removal!


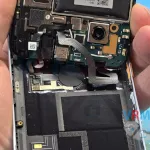
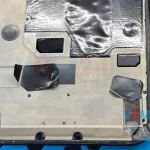
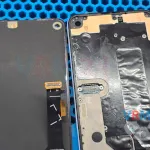
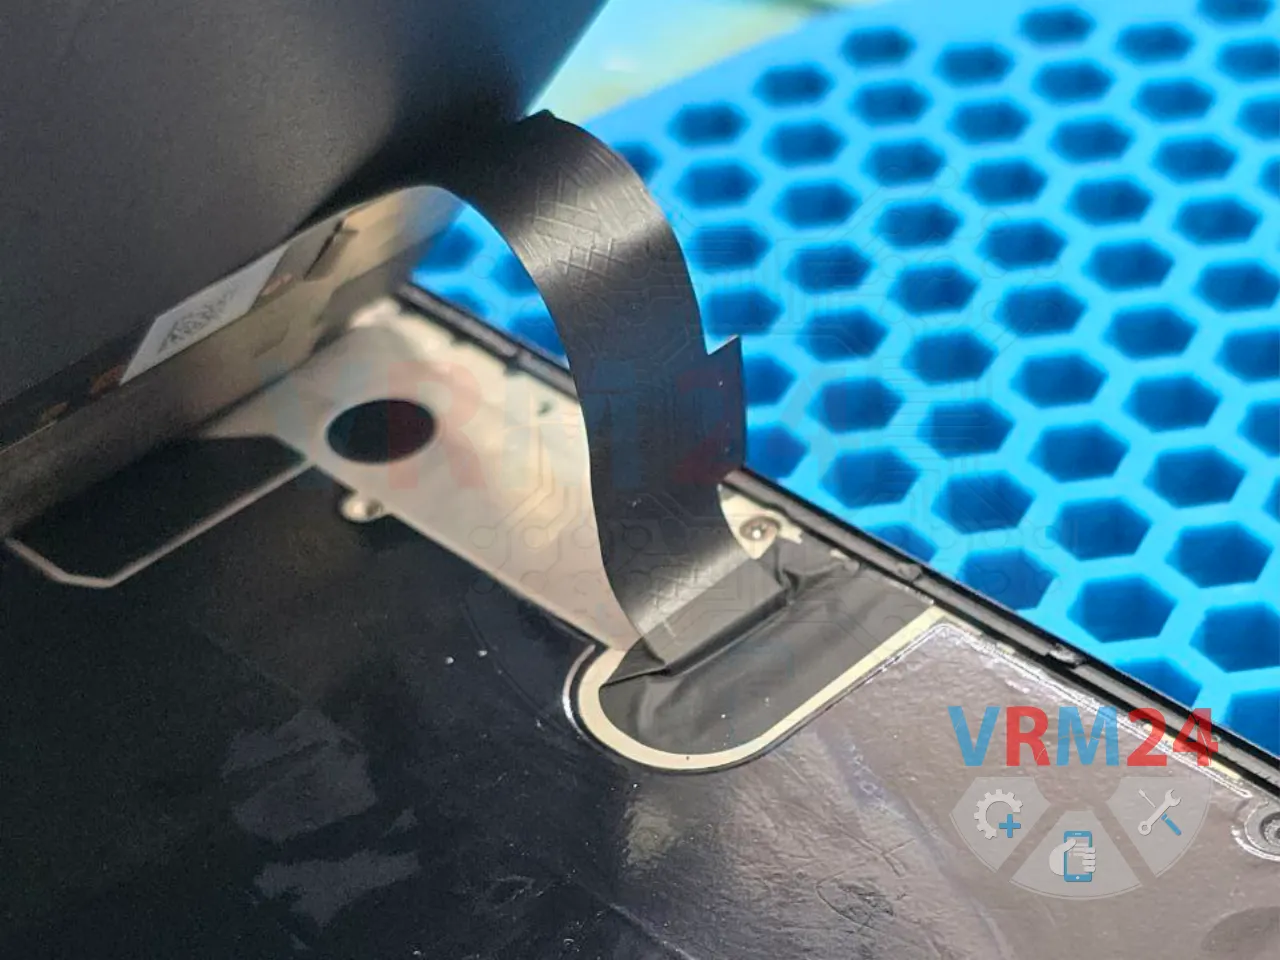
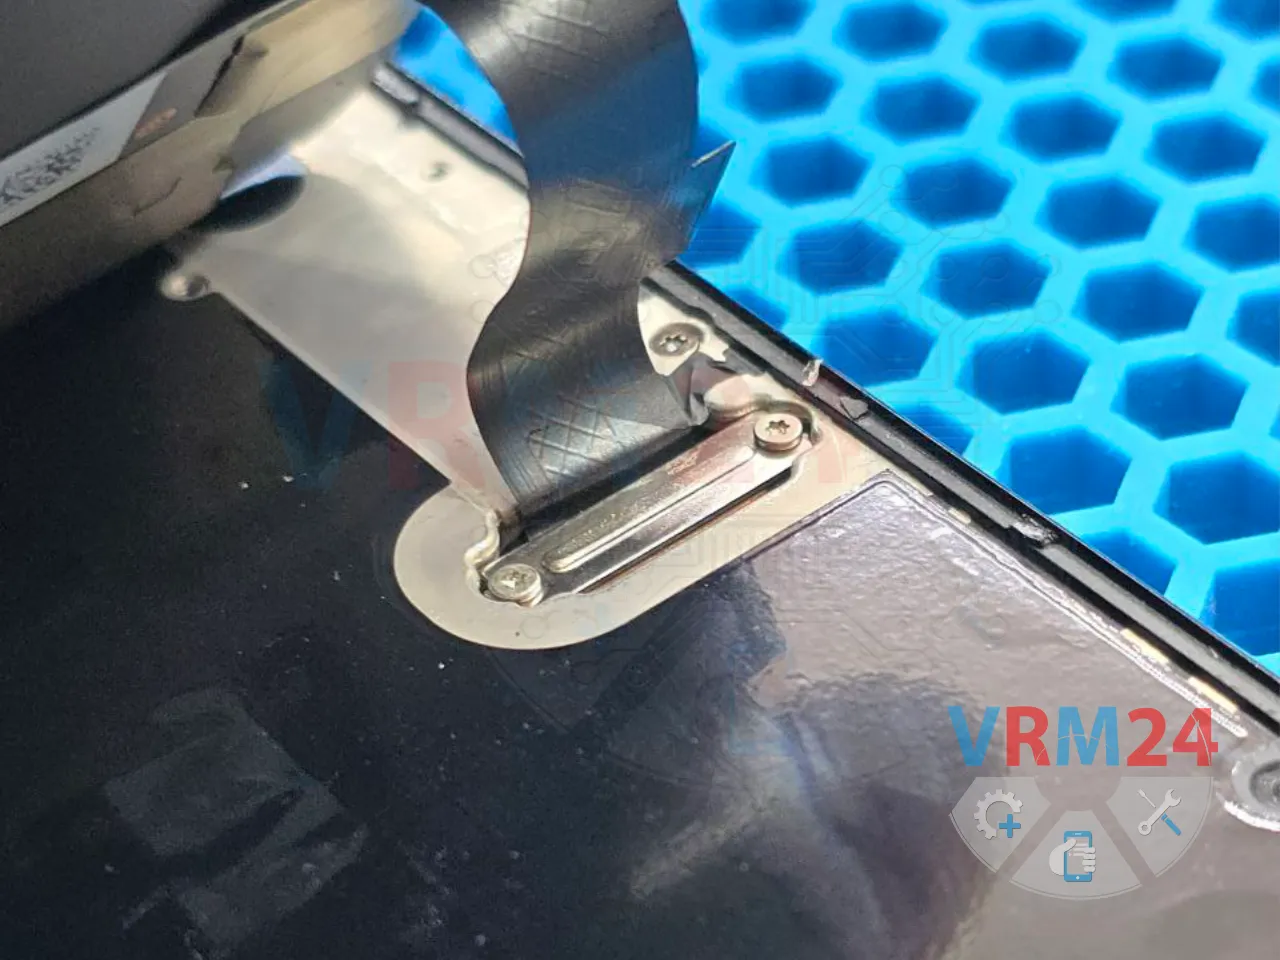
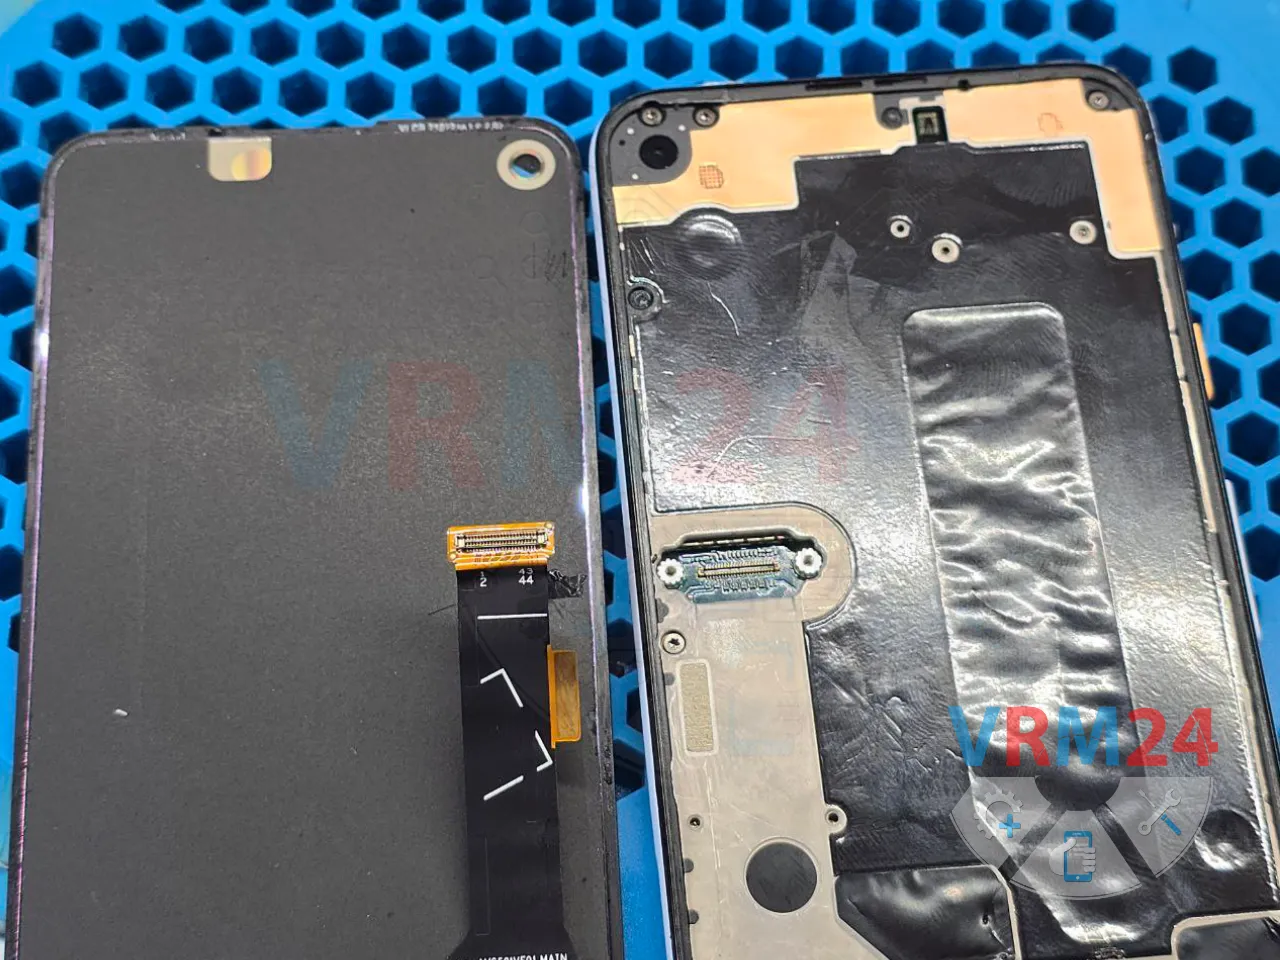
Once the display is detached, we lift it just enough to get a screwdriver in and remove the metal bracket securing the display flex connector.


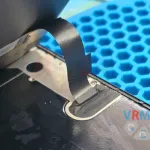
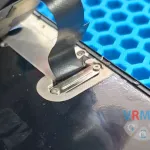

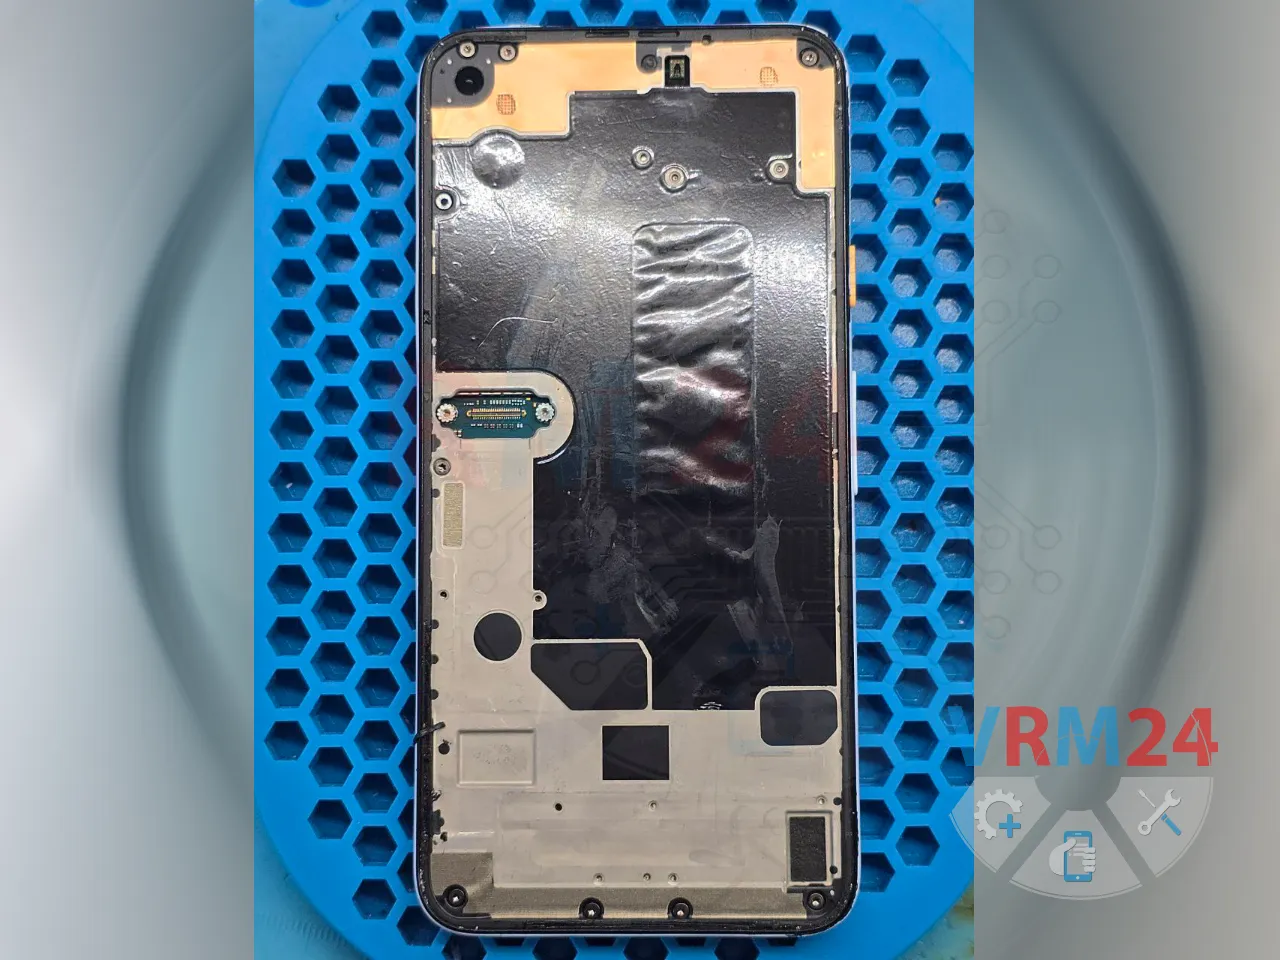
We remove the screws located underneath the display.

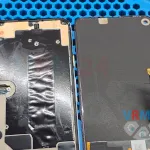
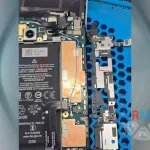
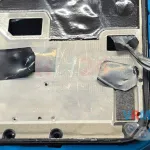
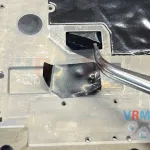
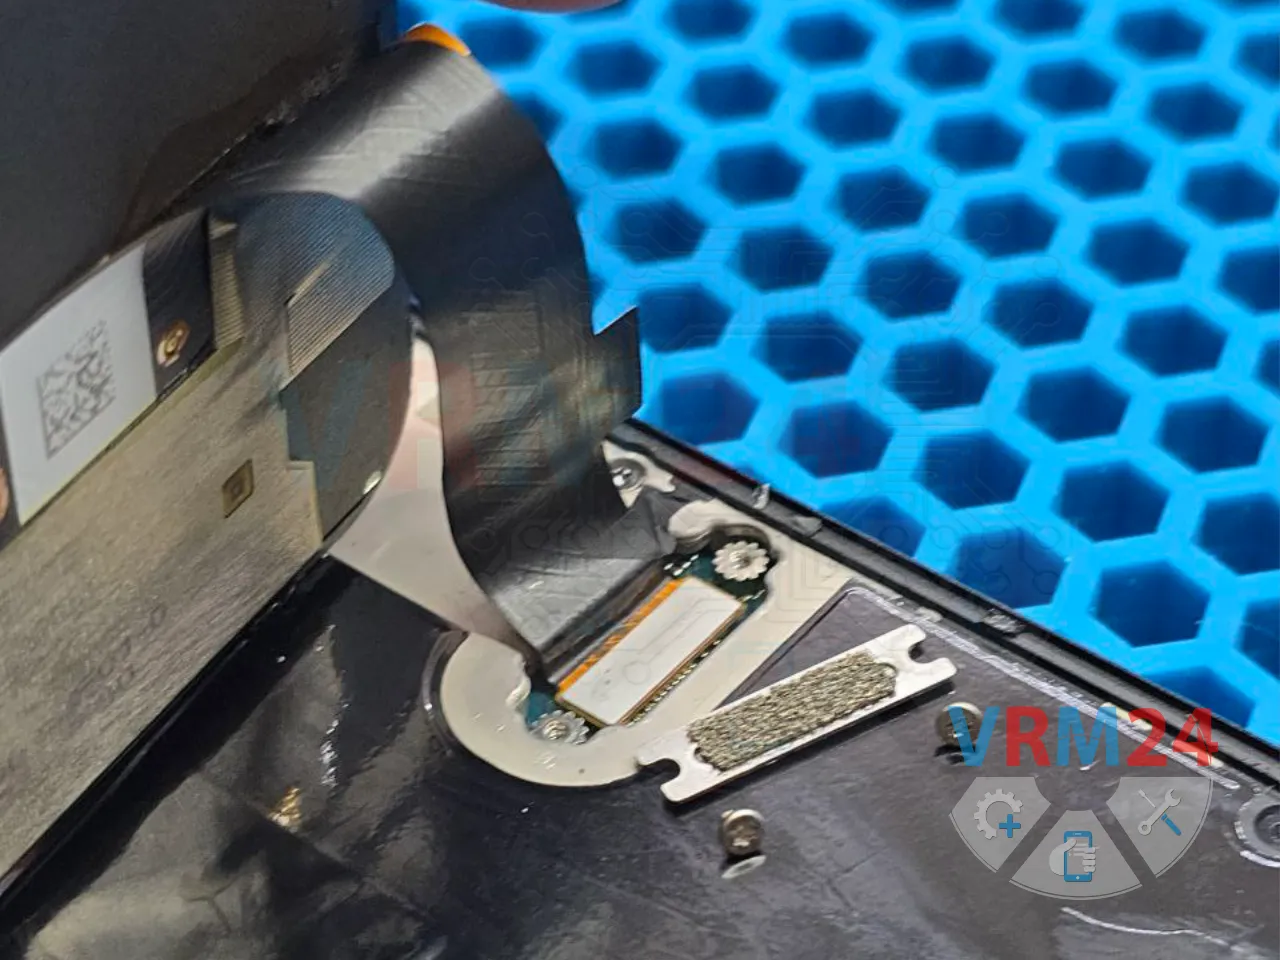
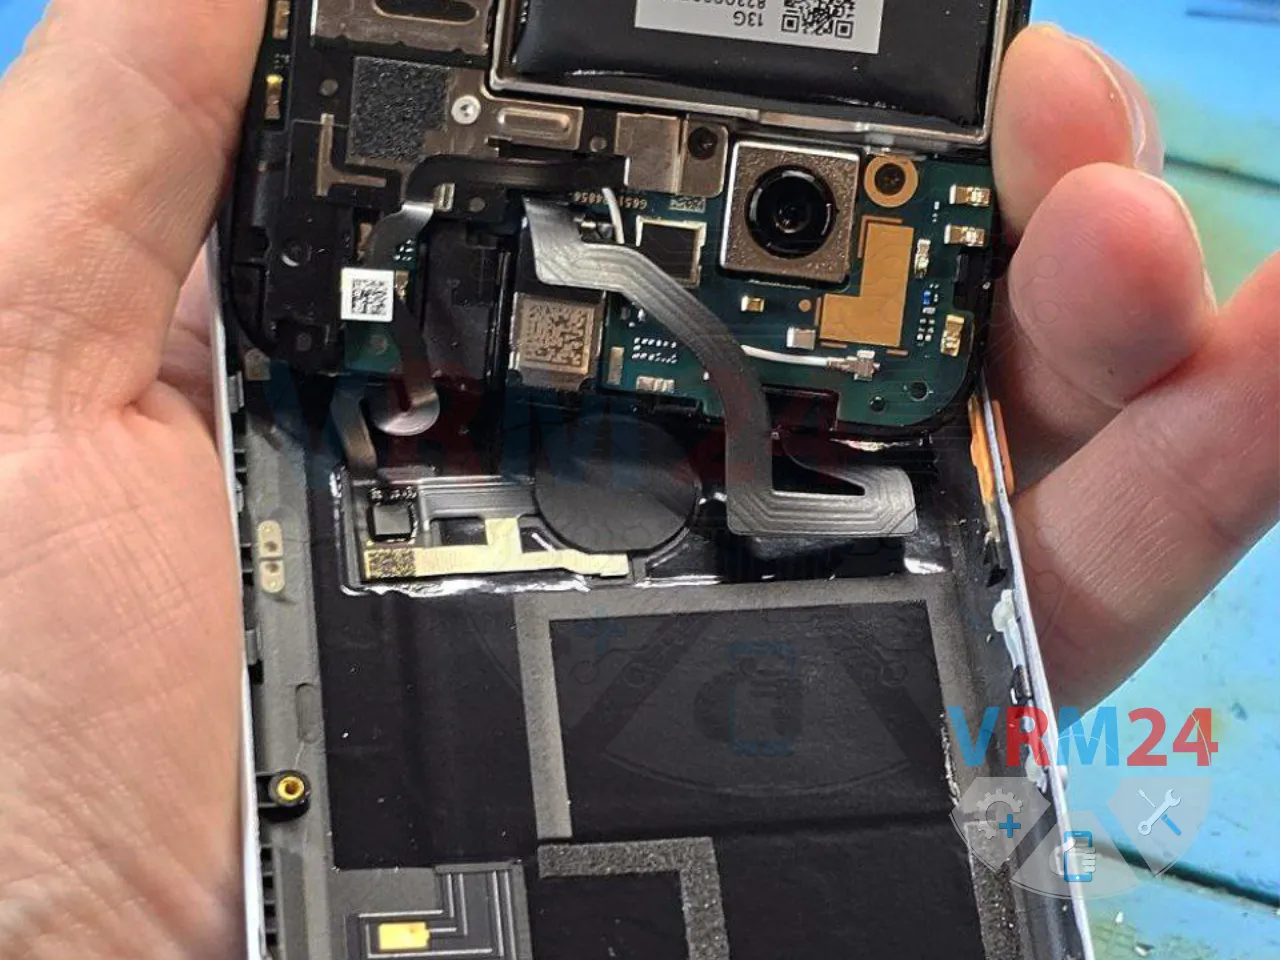
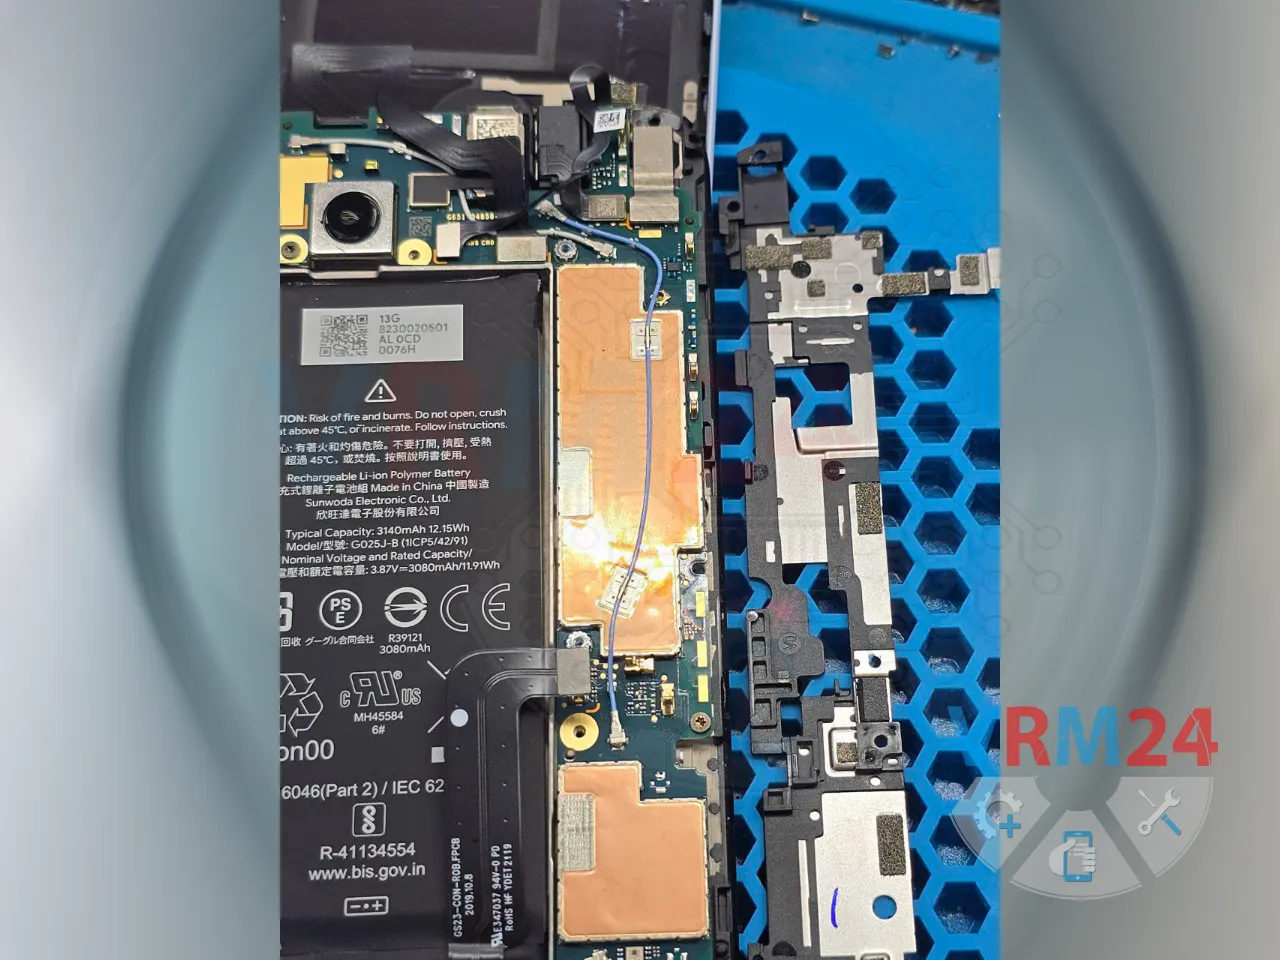
The construction is a bit odd—the back cover has two flex cables (for the fingerprint scanner and sensors), which are connected to the main board beneath a screwed-down plastic bracket.
You can't just disconnect the cables and lift the cover off easily.

You’ll need to rotate the back cover in a way that allows access to the screws holding the main board and the flex cables.
⚠️ The screws come in three types, so it’s crucial to remember their placement or organize them properly to avoid confusion during reassembly!

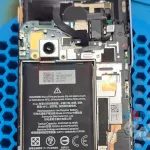
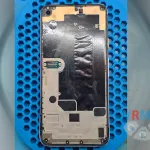
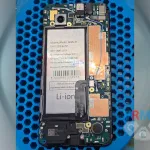
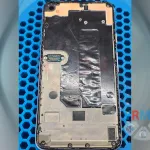
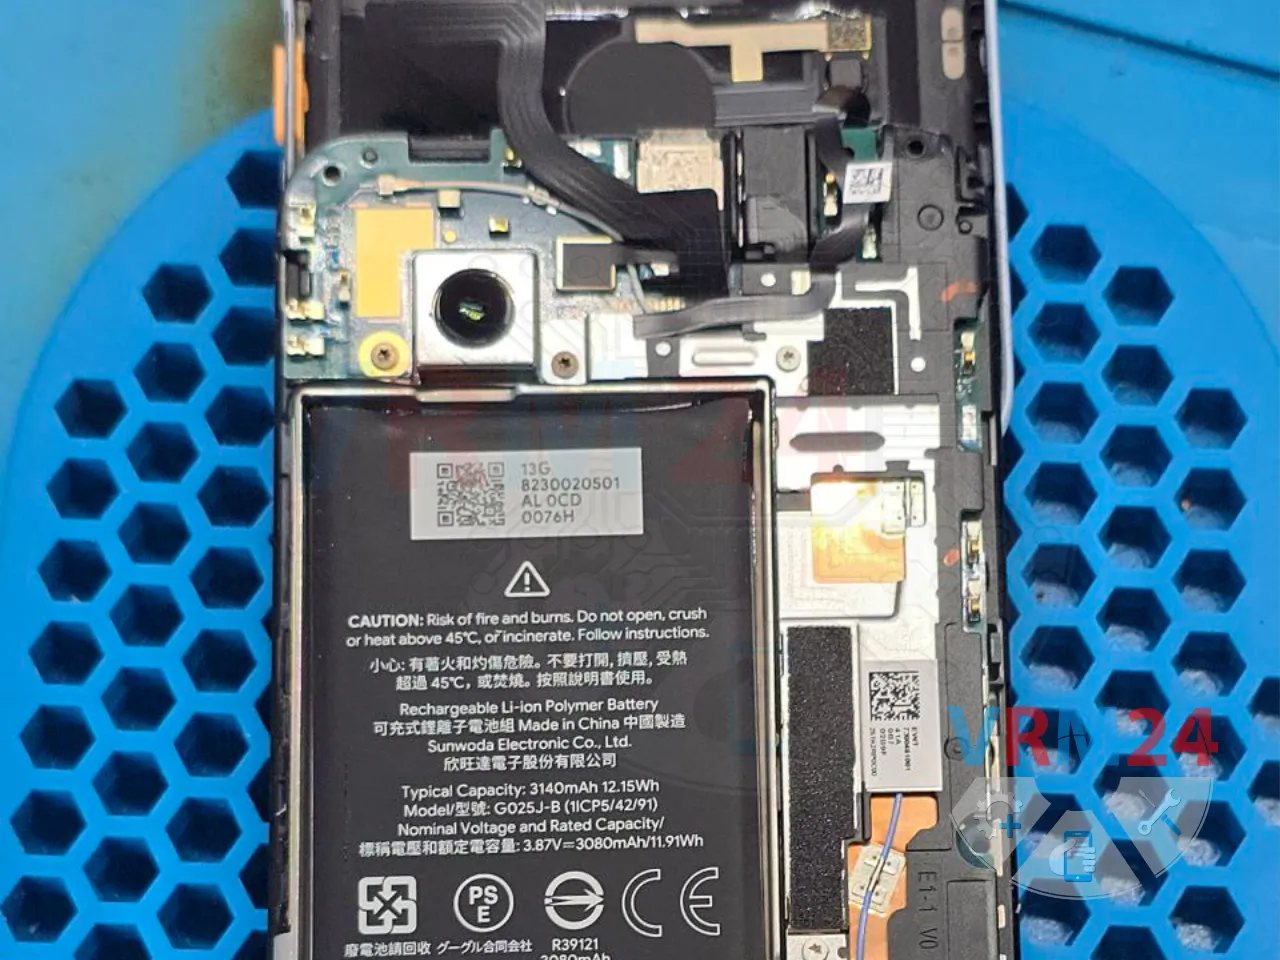
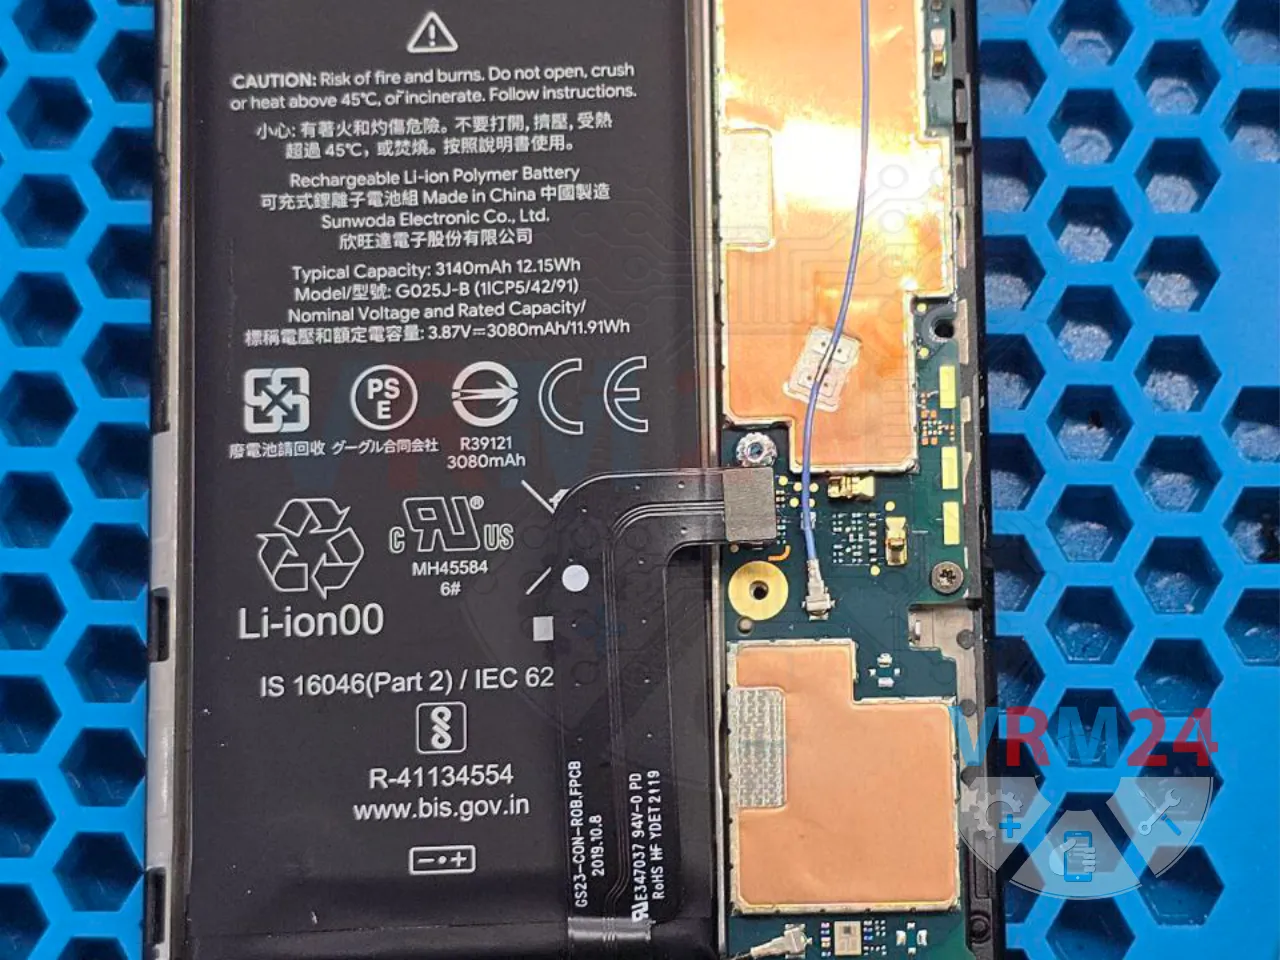
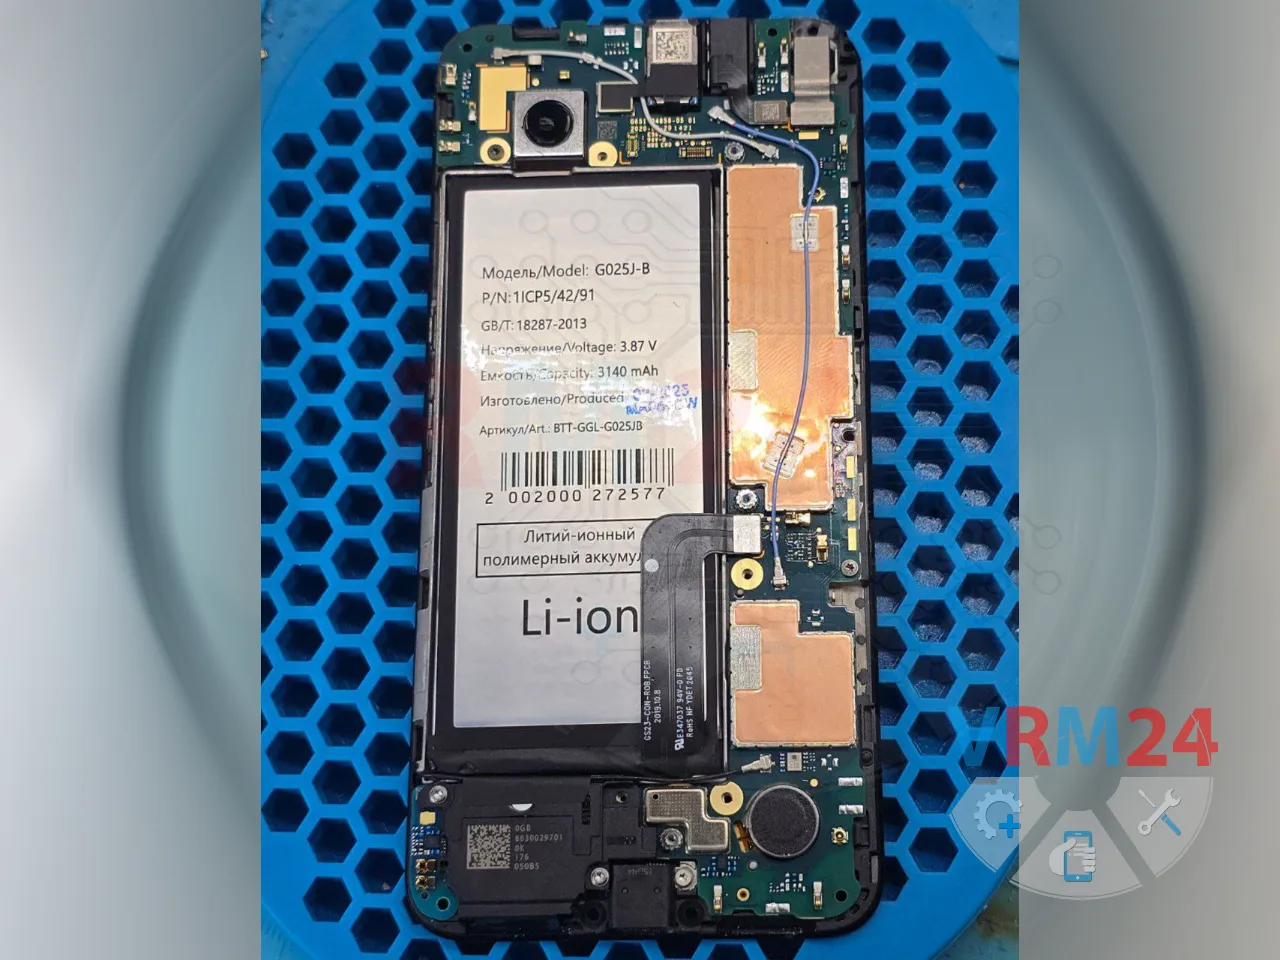
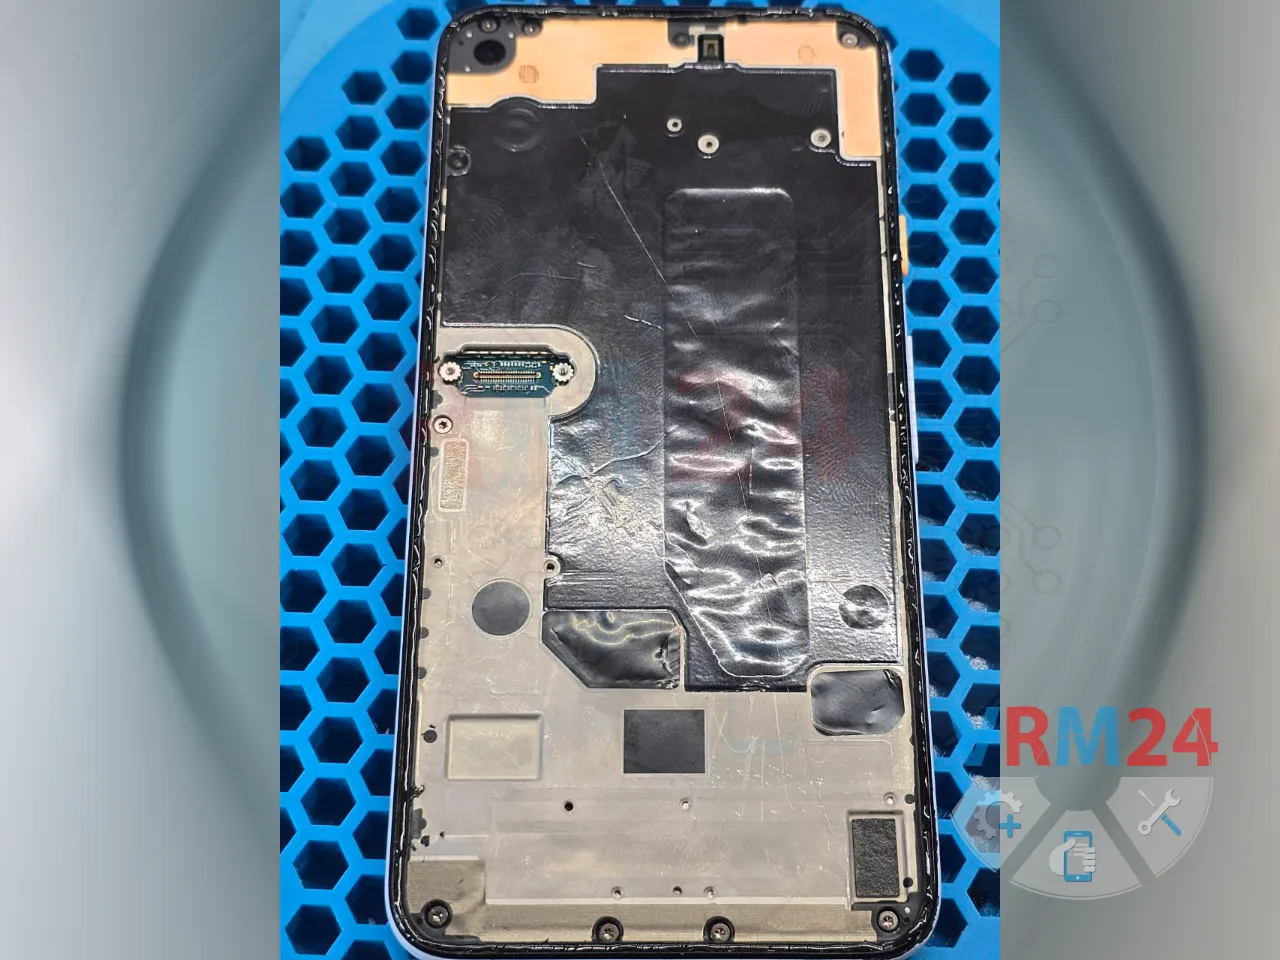
We remove the plastic frame and disconnect the battery flex and the rear cover flex cables.


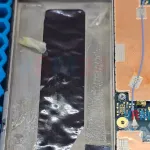
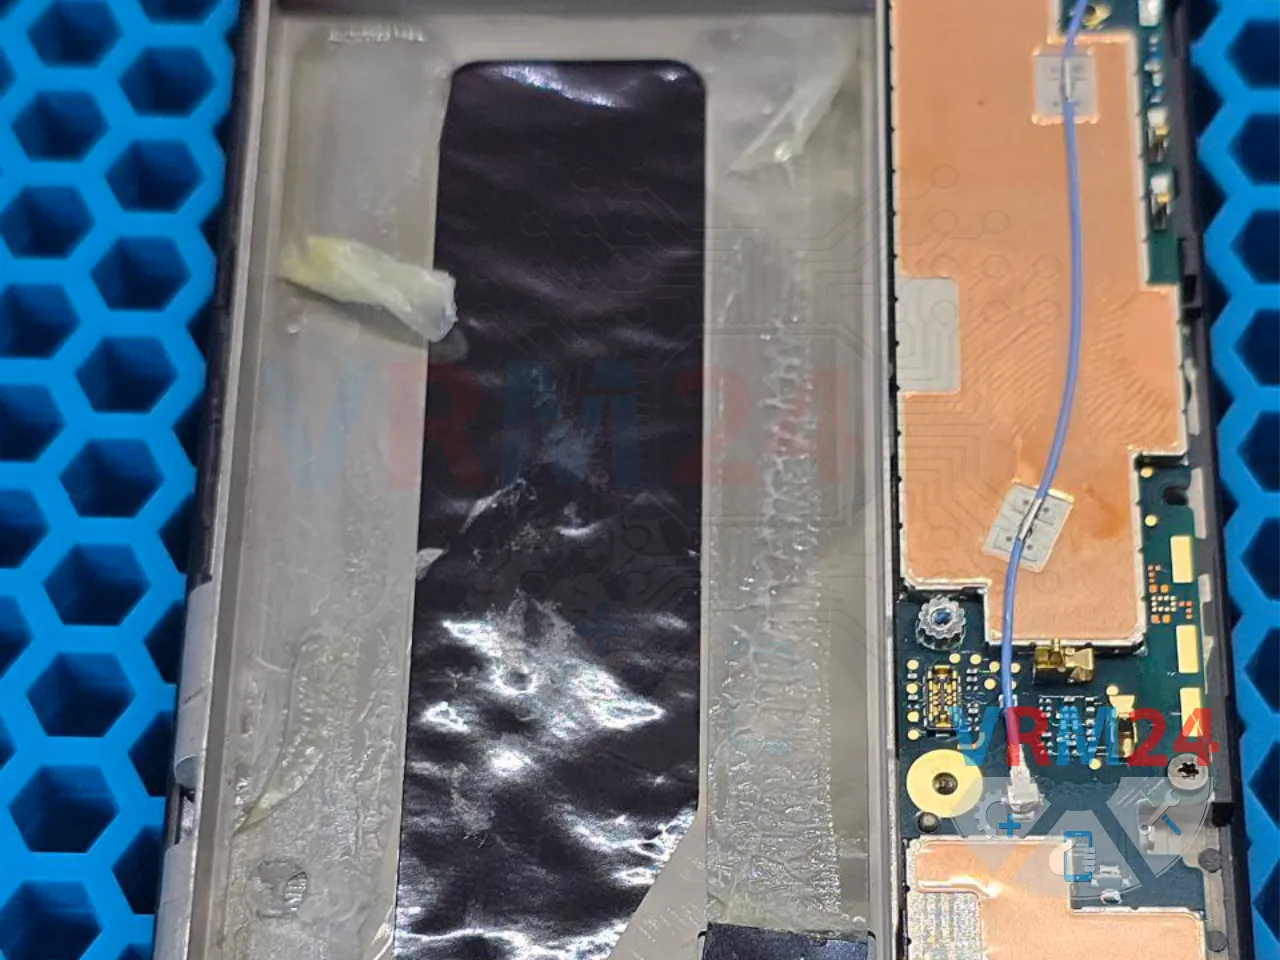
Using plastic film and isopropyl alcohol, we gently lift the battery out.

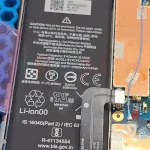
There are no flex cables beneath the battery, so it’s safe to remove it without worry.

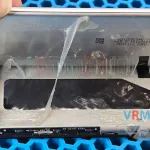
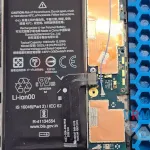
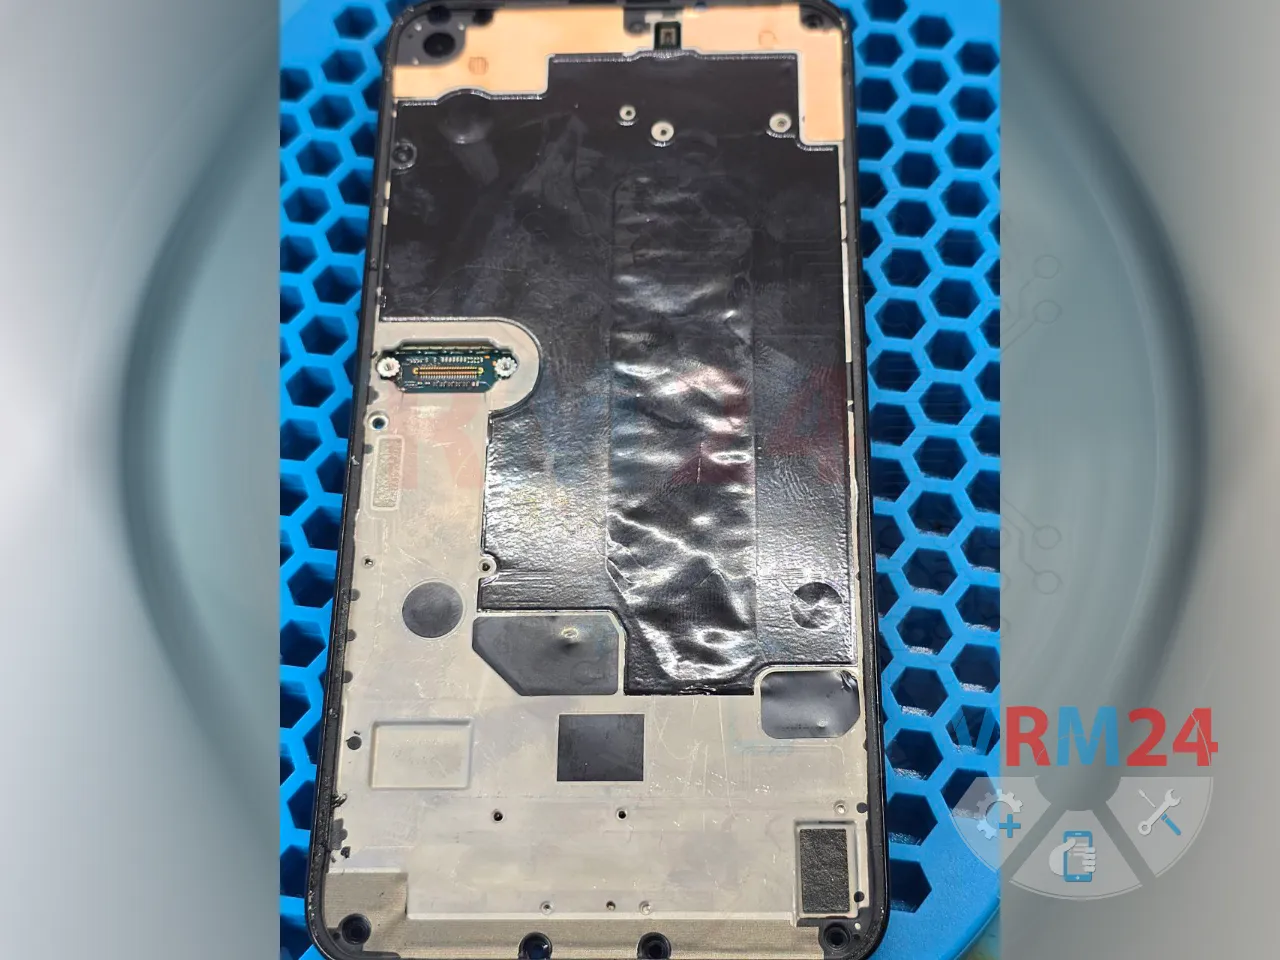
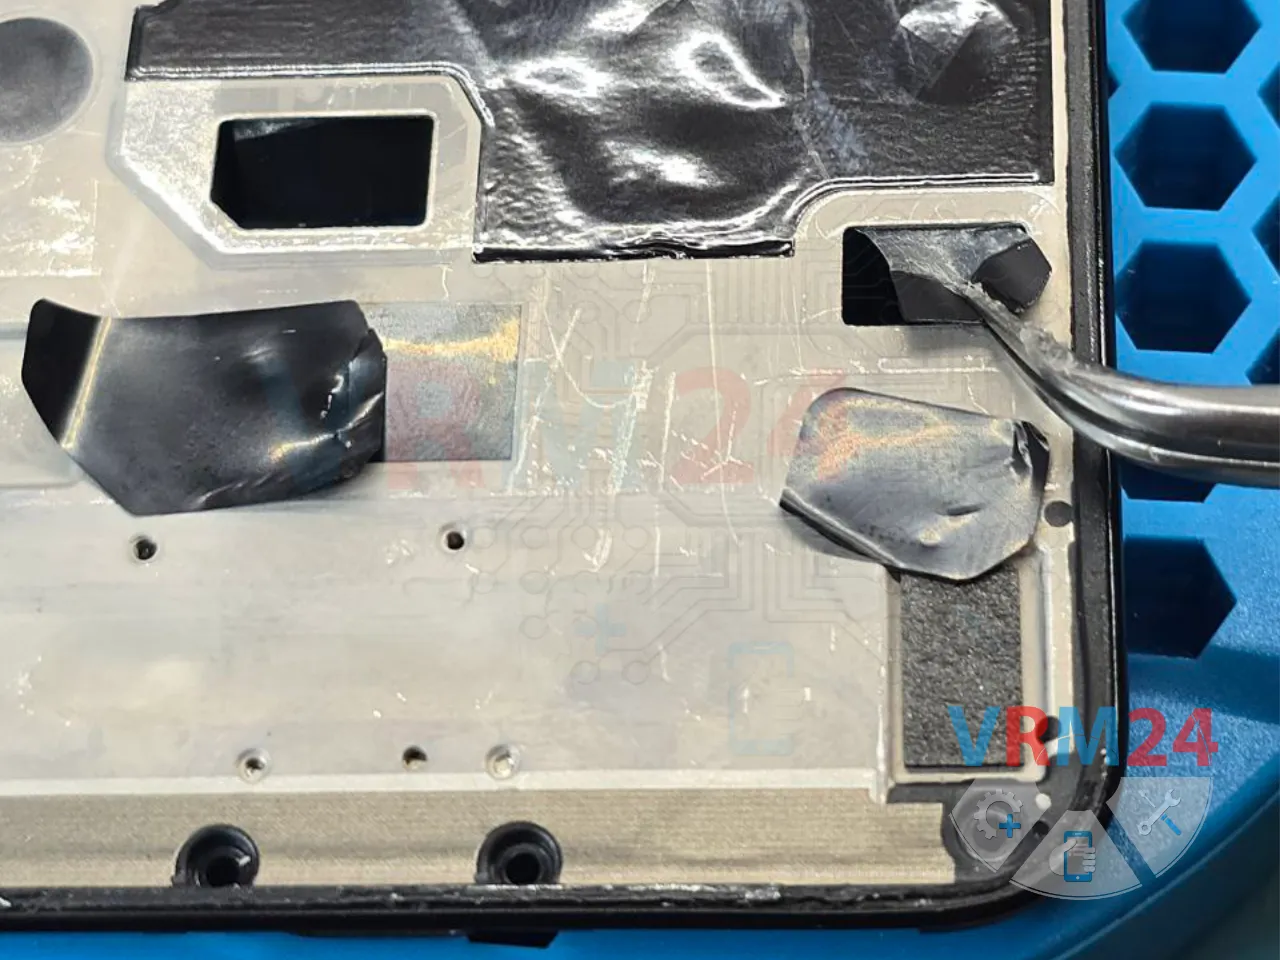
Only after removing the battery do you notice the factory pull tabs with black ends that were meant to help extract the battery more easily.
This is when you realize what the Google engineers had in mind for the "correct" way to remove the battery. 😂

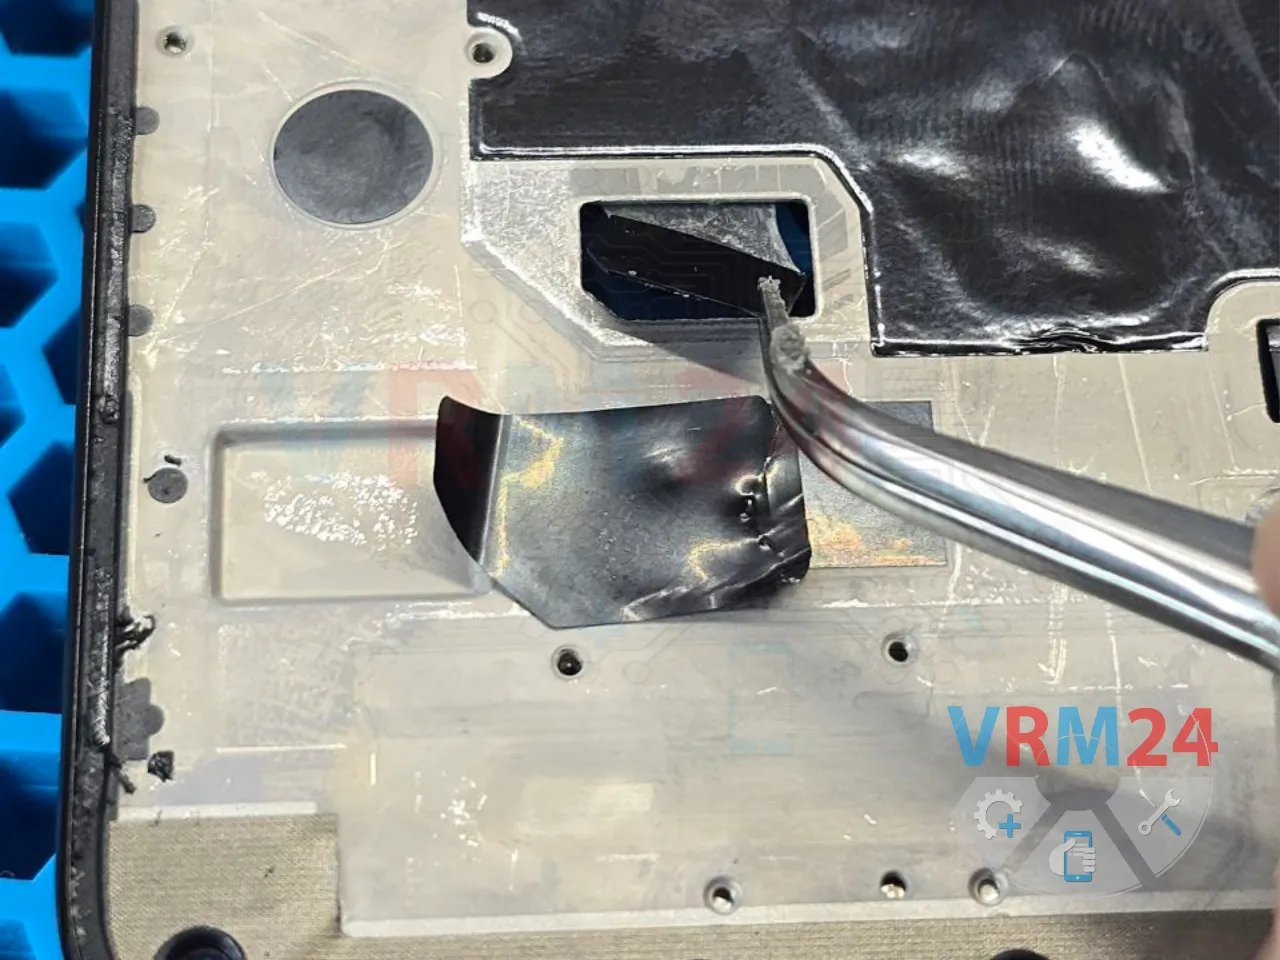
❗️From the display side, beneath the black stickers, there are slots in the metal frame where those pull-tab ends are located—these are what you’re supposed to pull to remove the battery completely. 😏


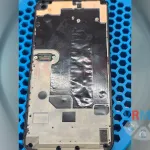
Install the new battery in the prepped spot with fresh double-sided tape.

Start reassembling the phone.

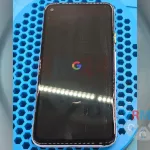
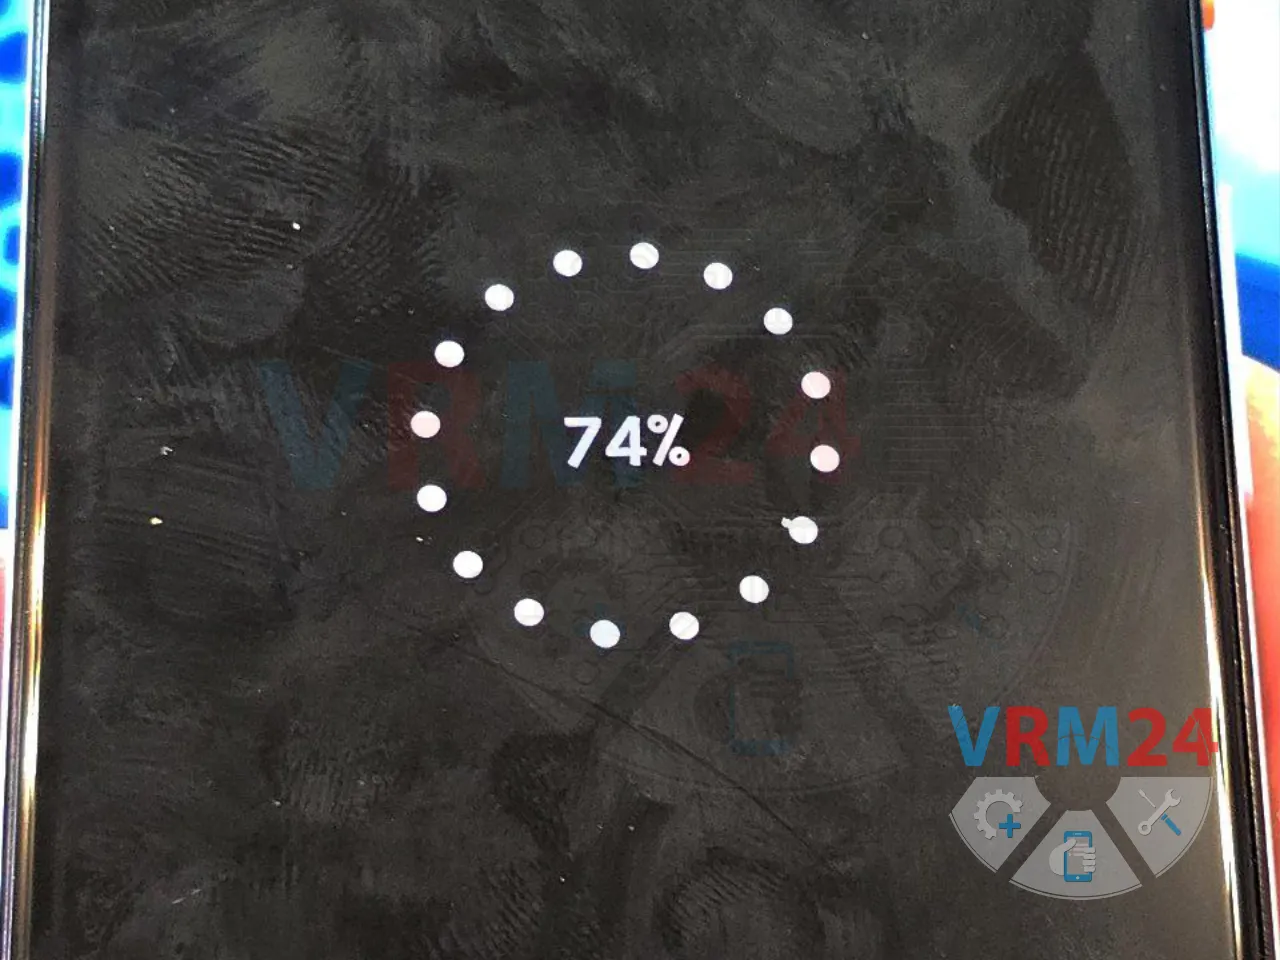
Reconnect the display module and test charging. If the battery charges normally, proceed with full reassembly.


Clean the frame of old adhesive, degrease the surface, and apply sealant around the edge.

Screw back the bracket that holds the display in place, stick the screen back on, and do a final check after assembly. 👌

If you have a question, ask us, and we will try to answer in as much detail as possible. If this article was helpful for you, please rate it.