
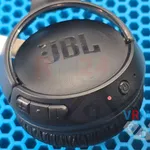
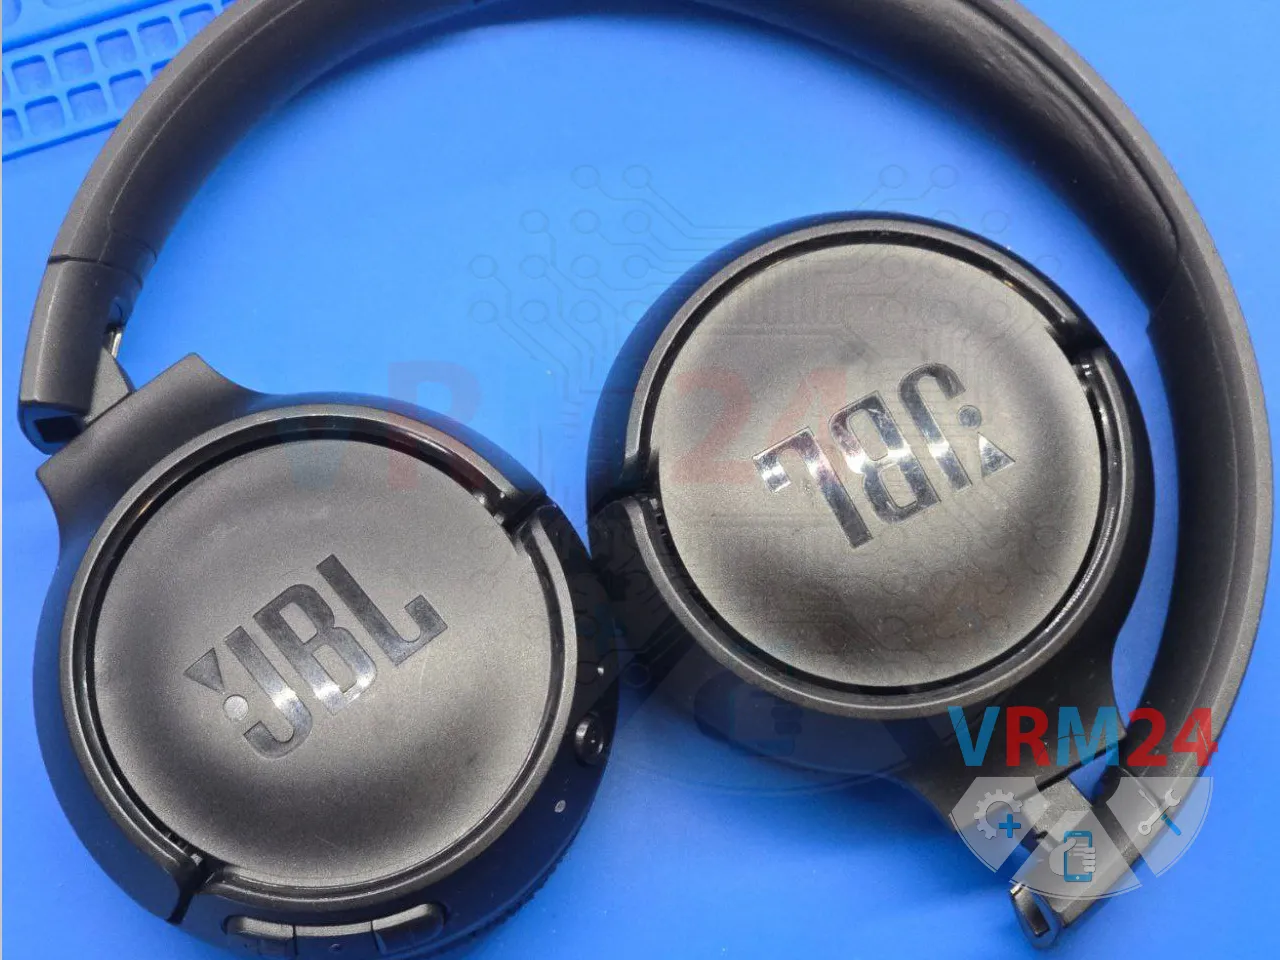
We received a pair of wireless headphones 🎧 that were not charging. The owner reported that the earbuds had stopped charging altogether.

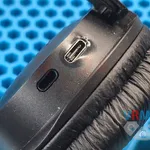
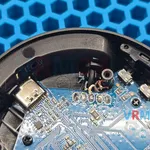
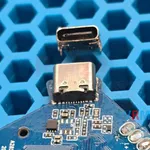
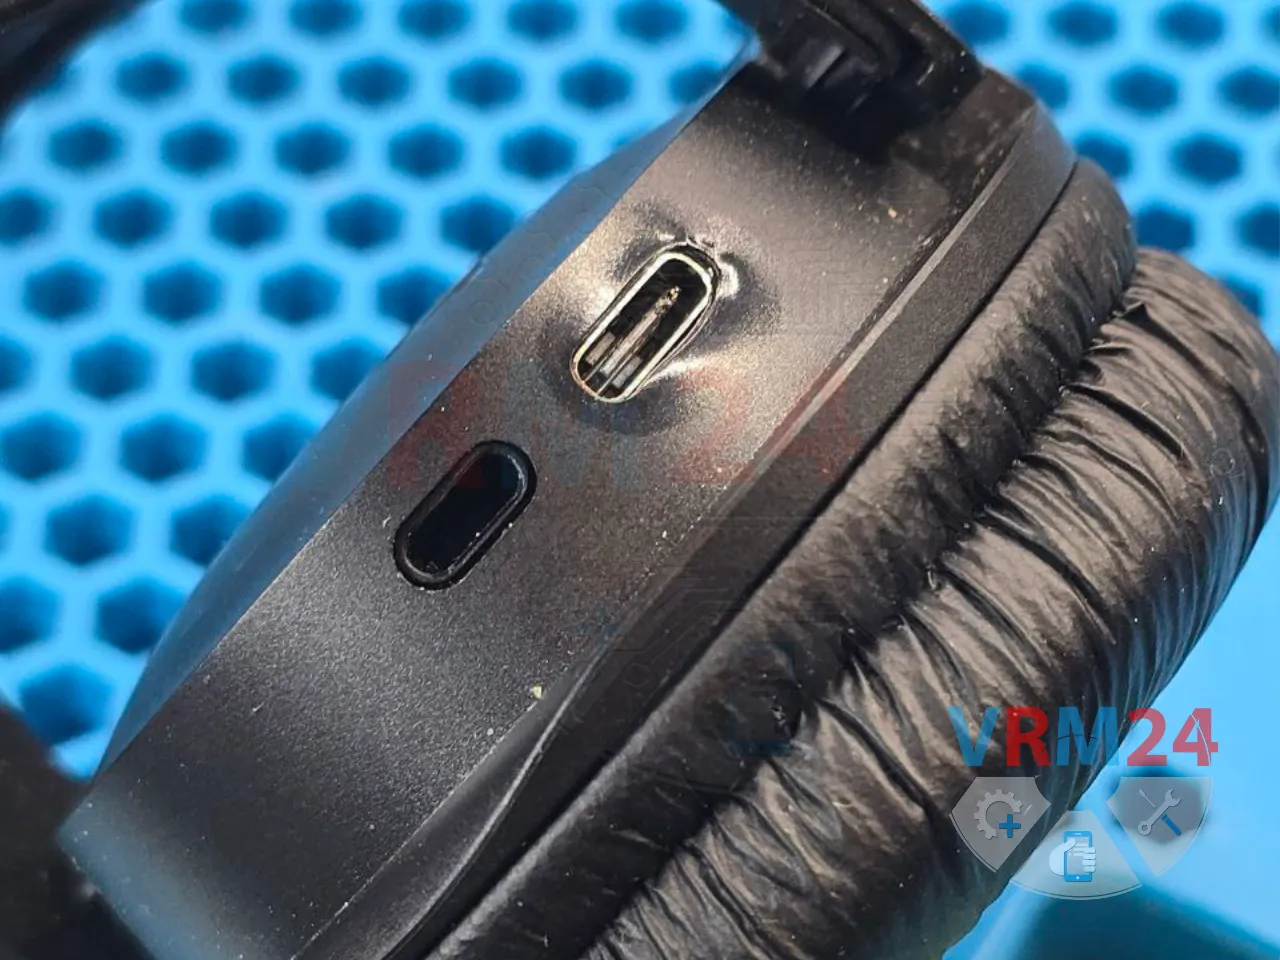
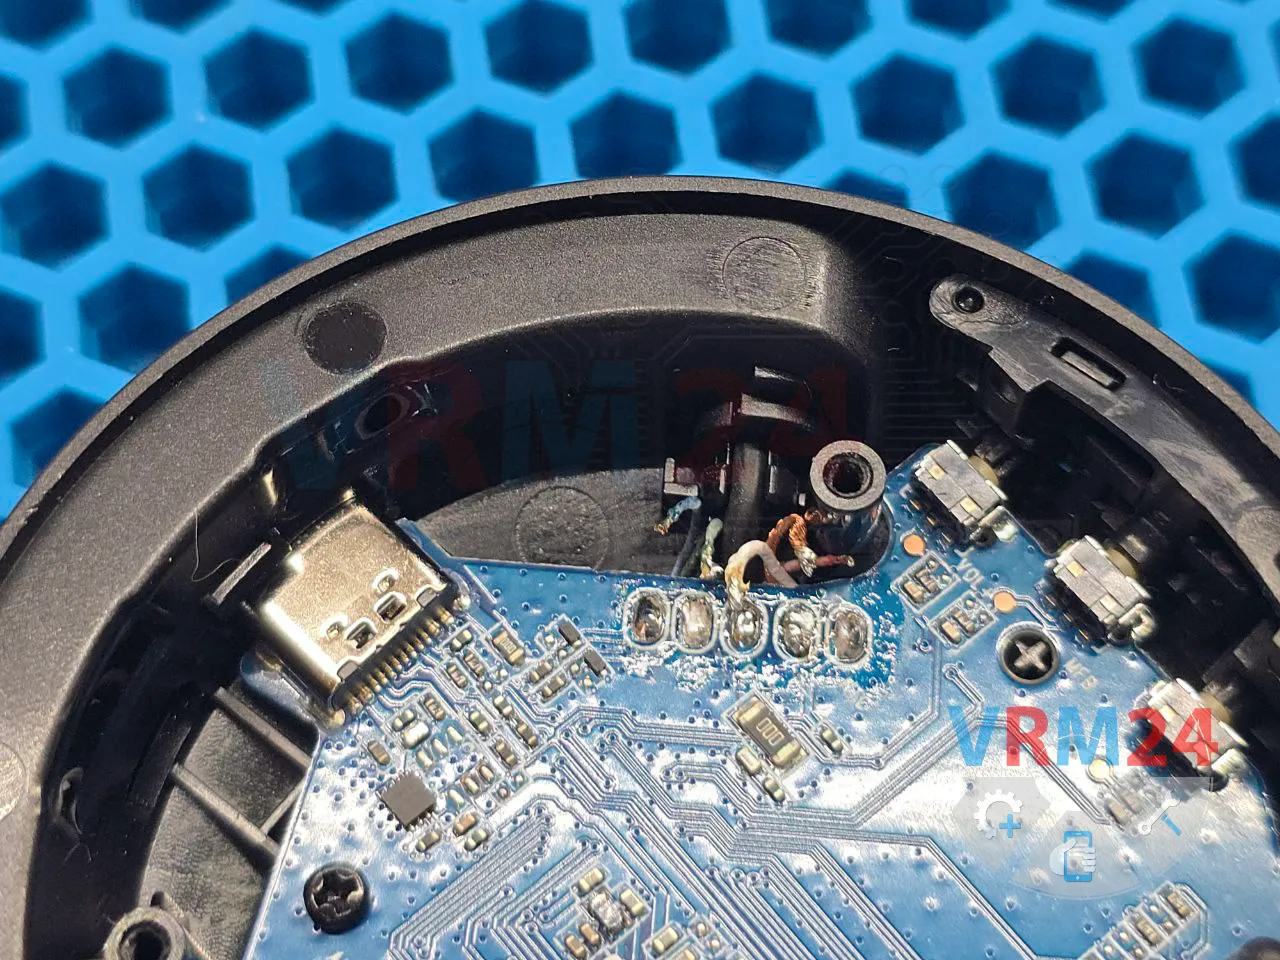
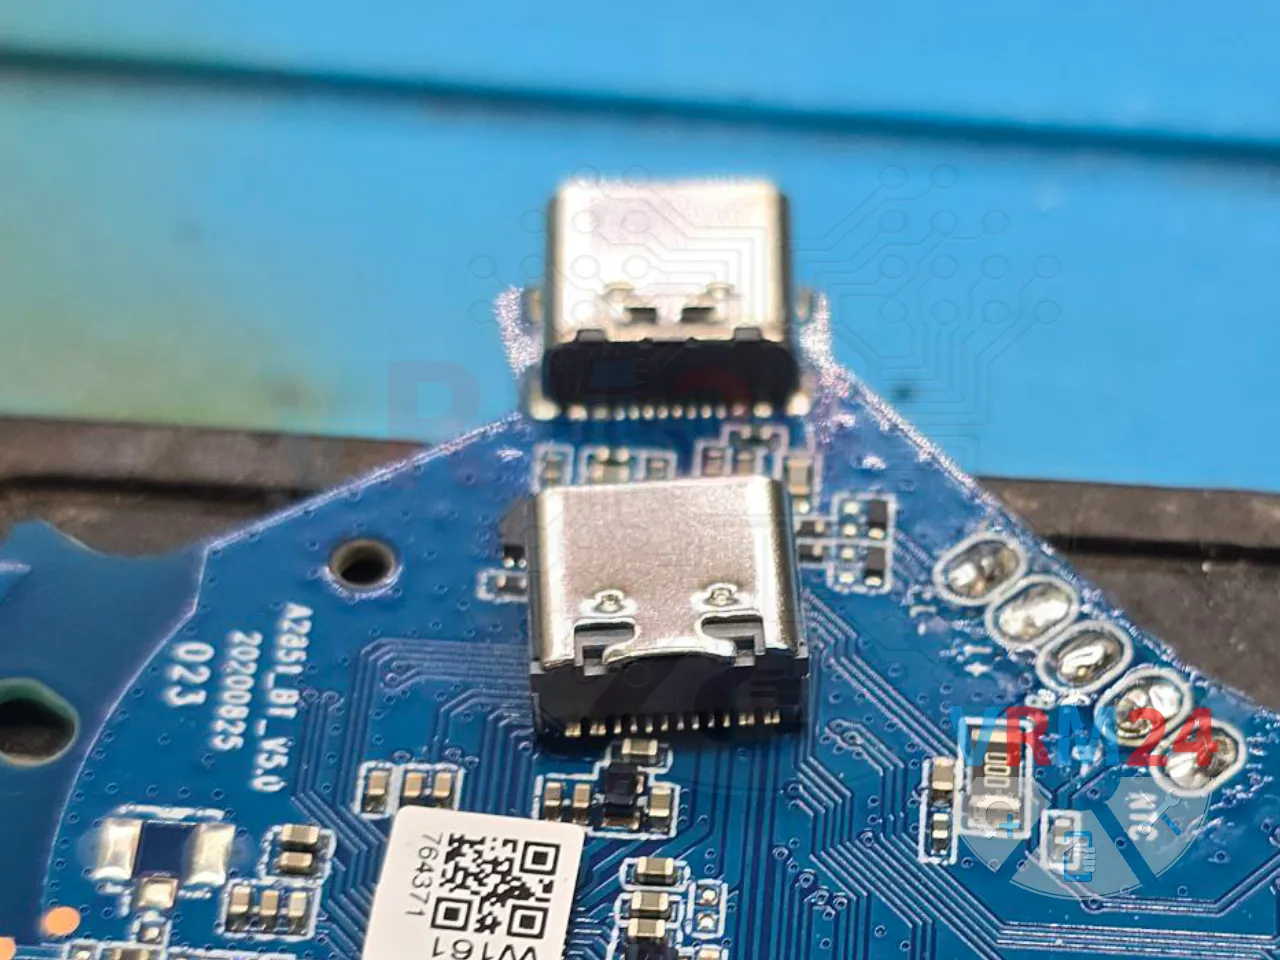
We noticed visible damage inside the charging port. The contacts were broken and shorted, and the surrounding plastic was melted, likely due to a short circuit or overheating.
This explained why the headphones weren’t charging.

With the problem identified, it was time to roll up our sleeves and get to work.

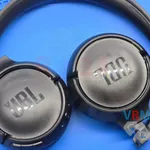
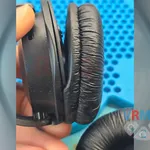
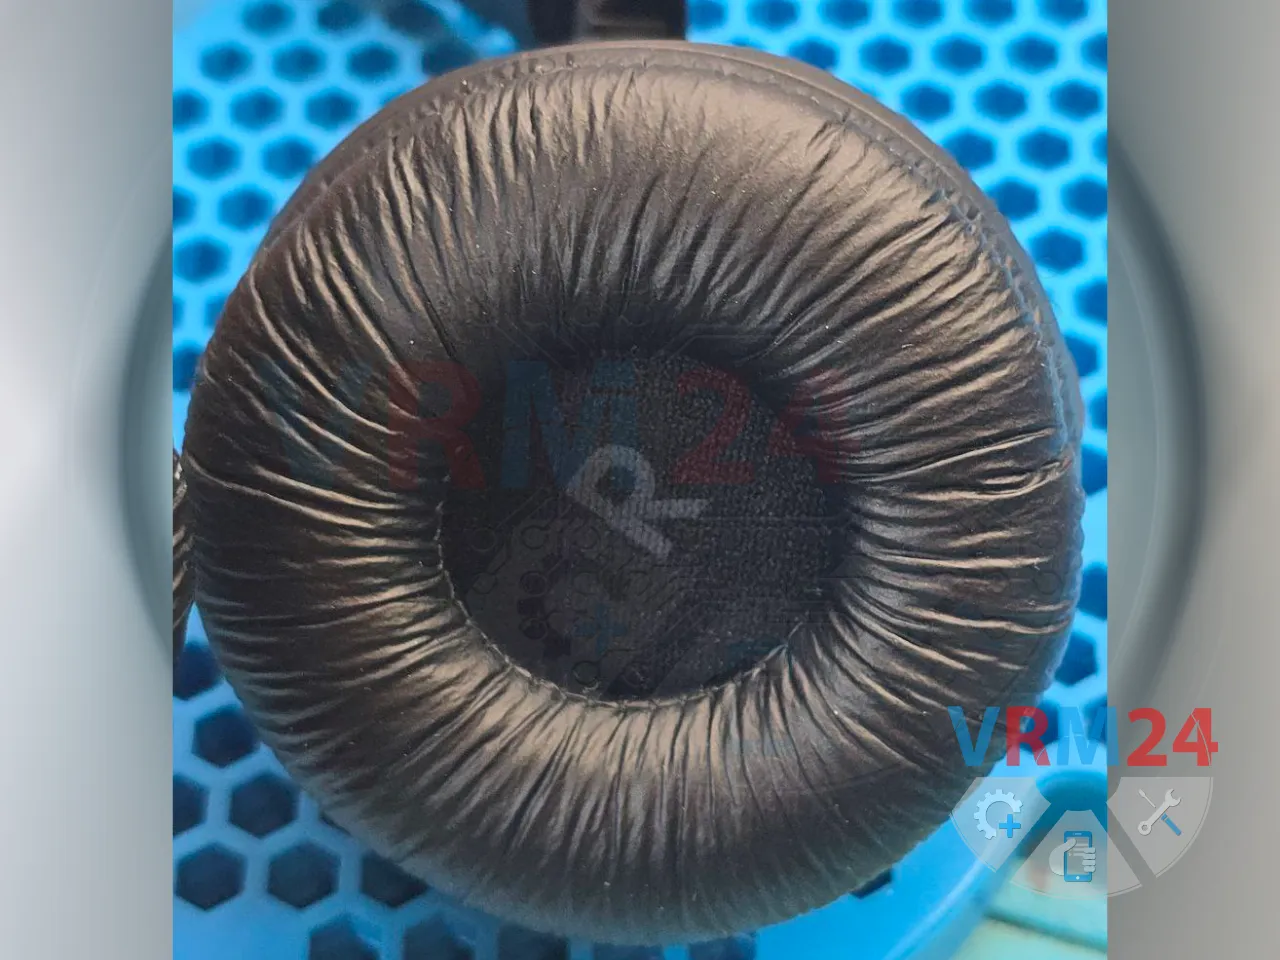
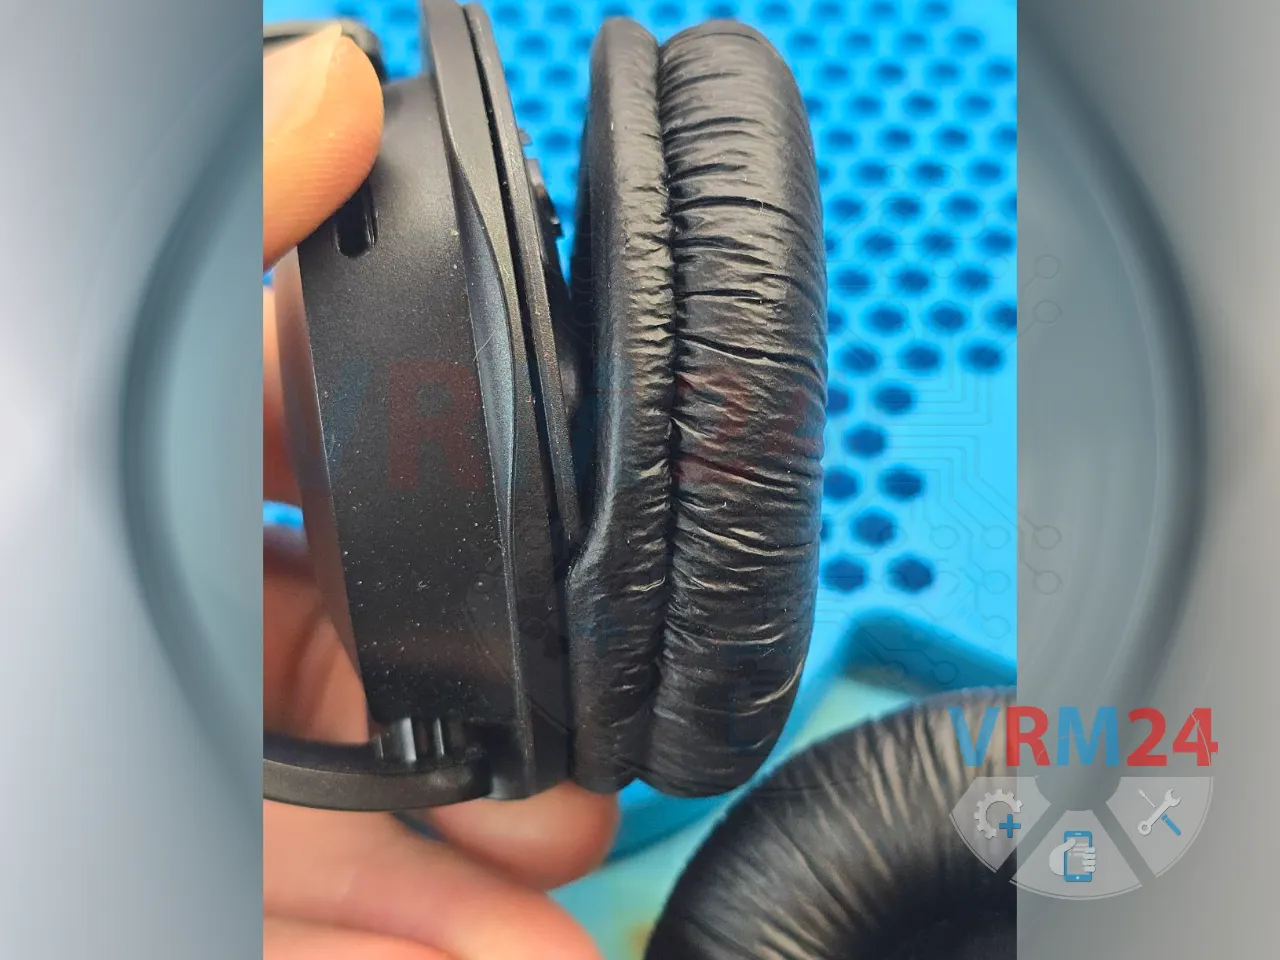
1️⃣ First, we carefully removed the earpads. This gave us access to the internal components of the headphones.

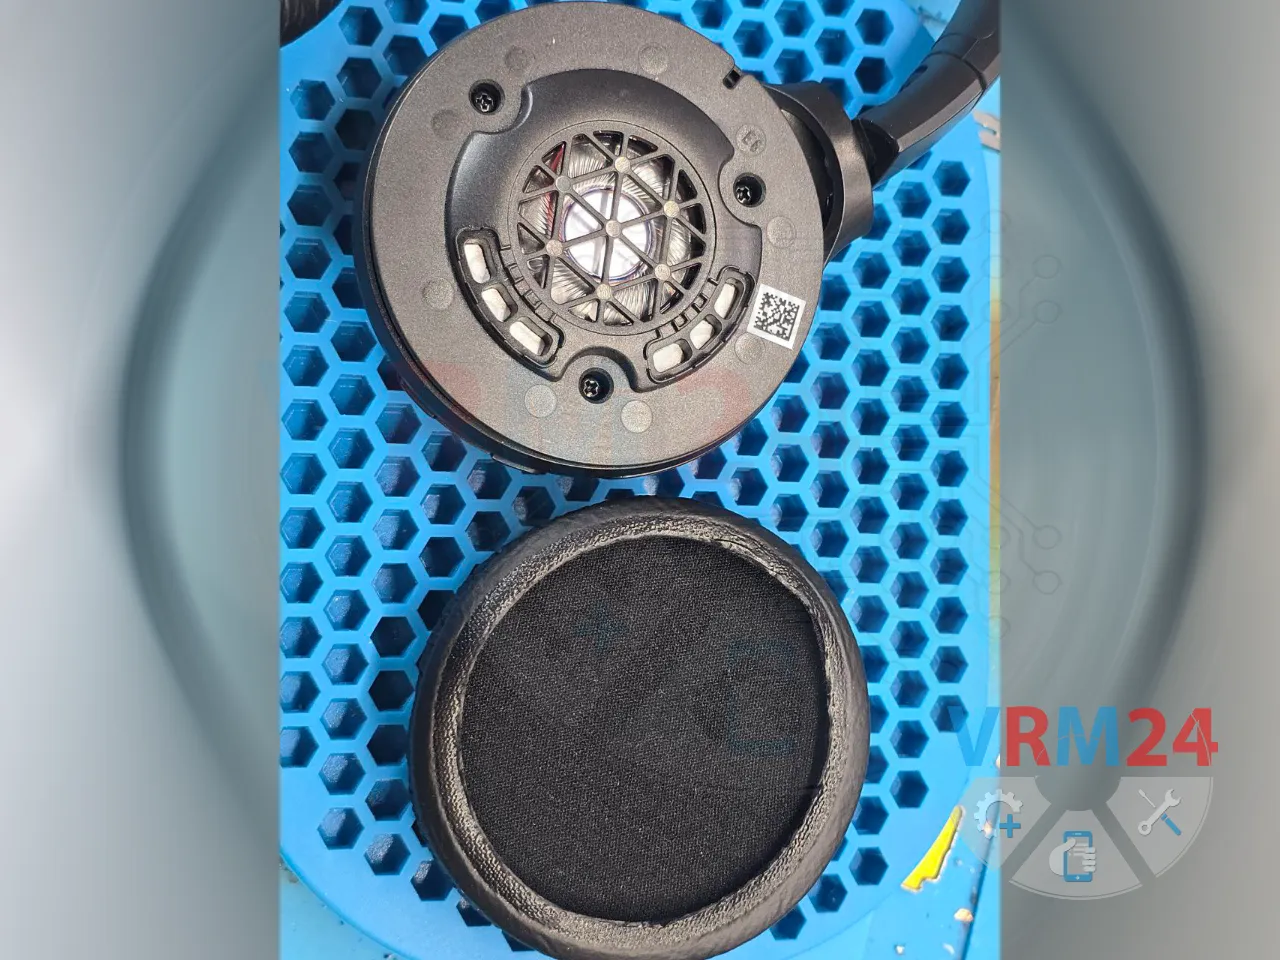
2️⃣ Using a Phillips screwdriver, we unscrewed the three screws. This allowed us to separate the housing and access the internal circuitry.


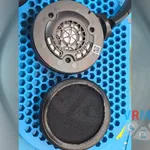
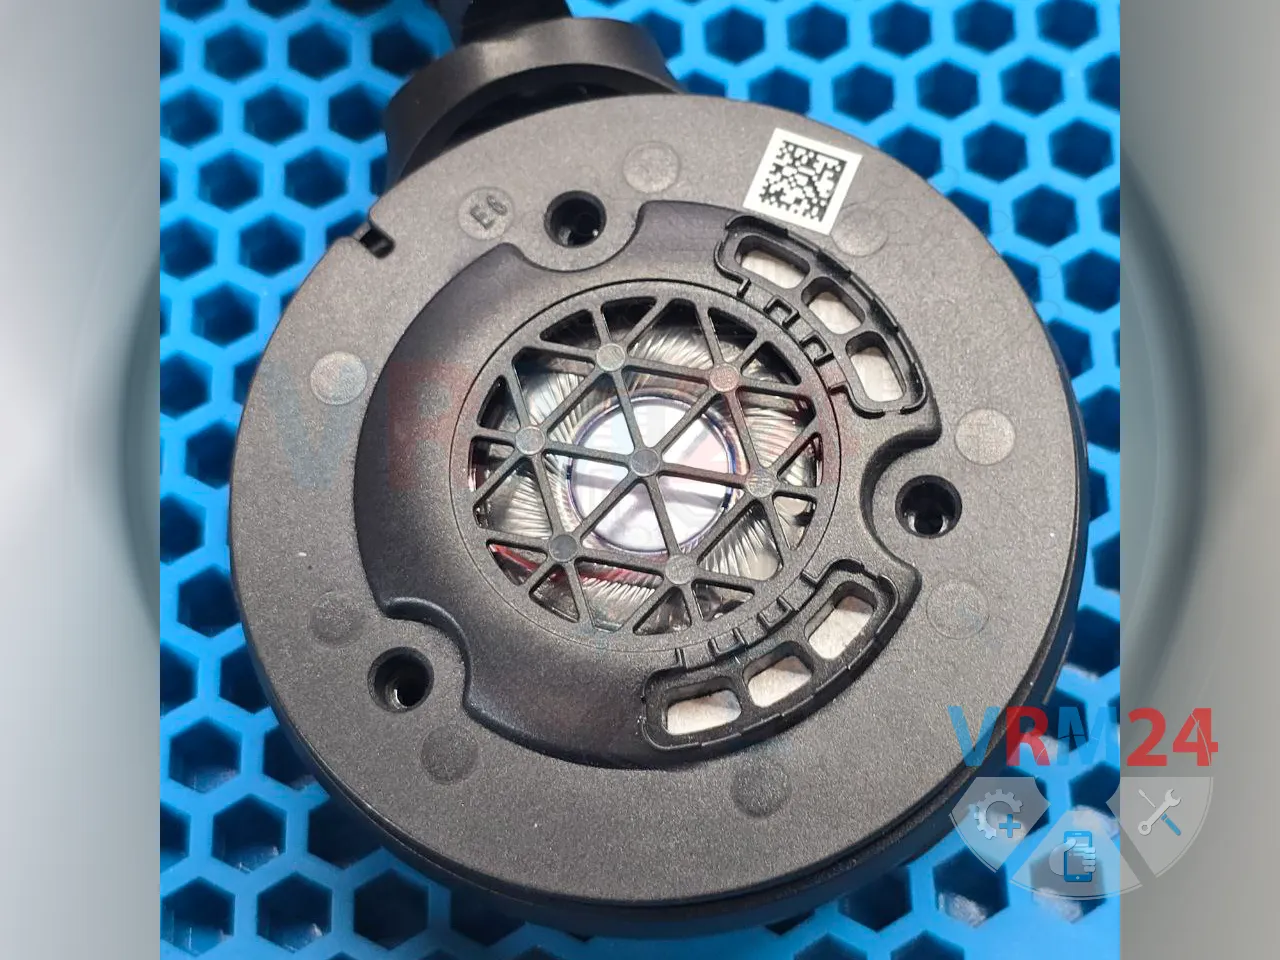
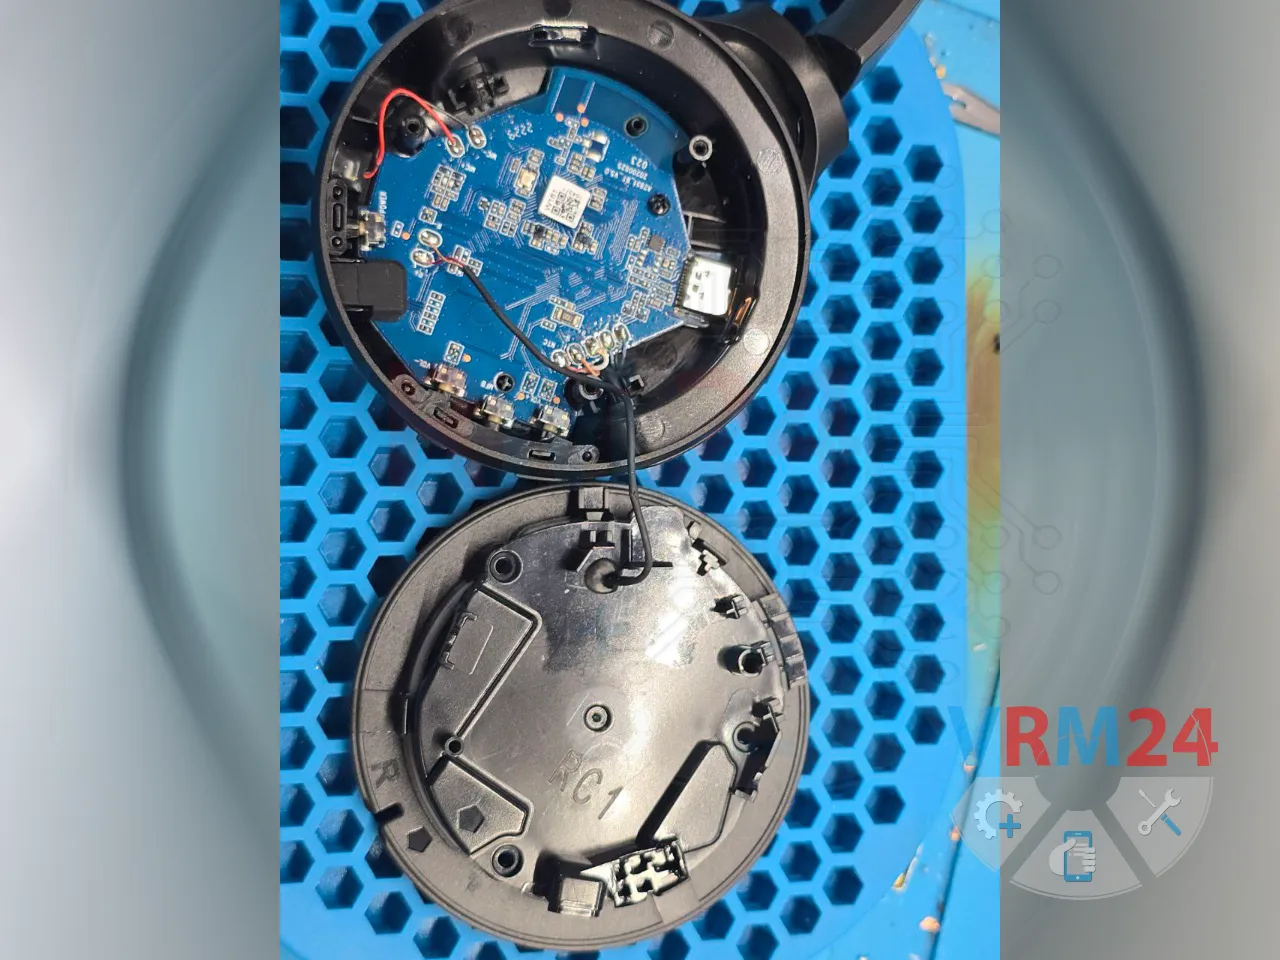
3️⃣ Next, we opened the upper part of the headphones, which houses the speaker. This step required precision to avoid damaging the delicate components inside.

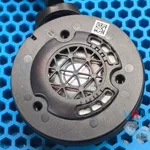
4️⃣ With the headphones opened, we carefully de-soldered the contacts for the speaker and microphone.
This step was crucial to ensure we could remove the main circuit board without damaging any components.

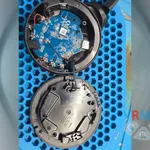
5️⃣ We then de-soldered the contacts for the battery and the second speaker. Before proceeding, we made sure to take photos of the contact points to ensure everything could be reassembled correctly later.
This is a critical step to avoid confusion during reassembly! 😊

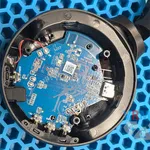
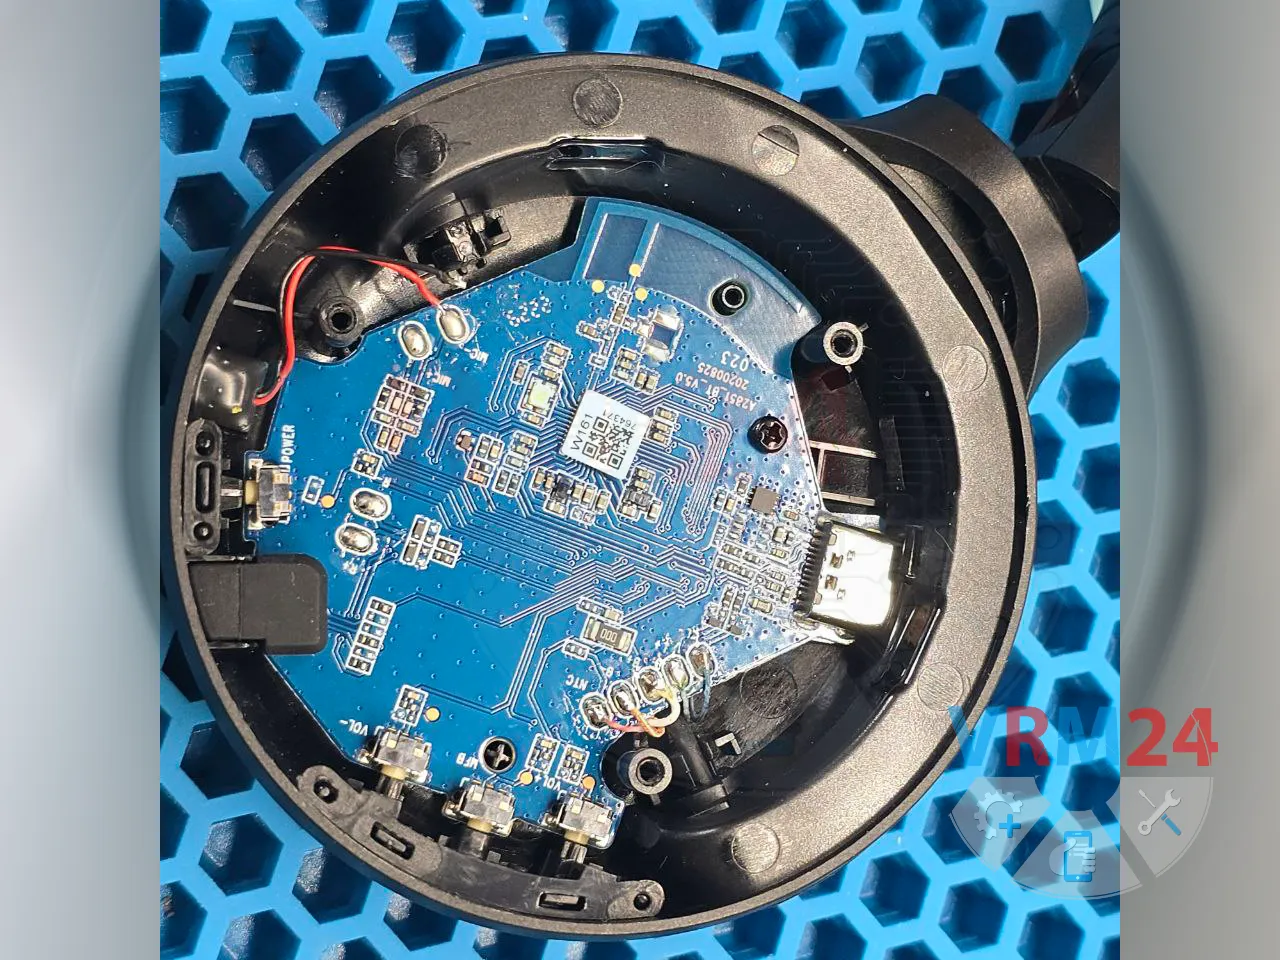
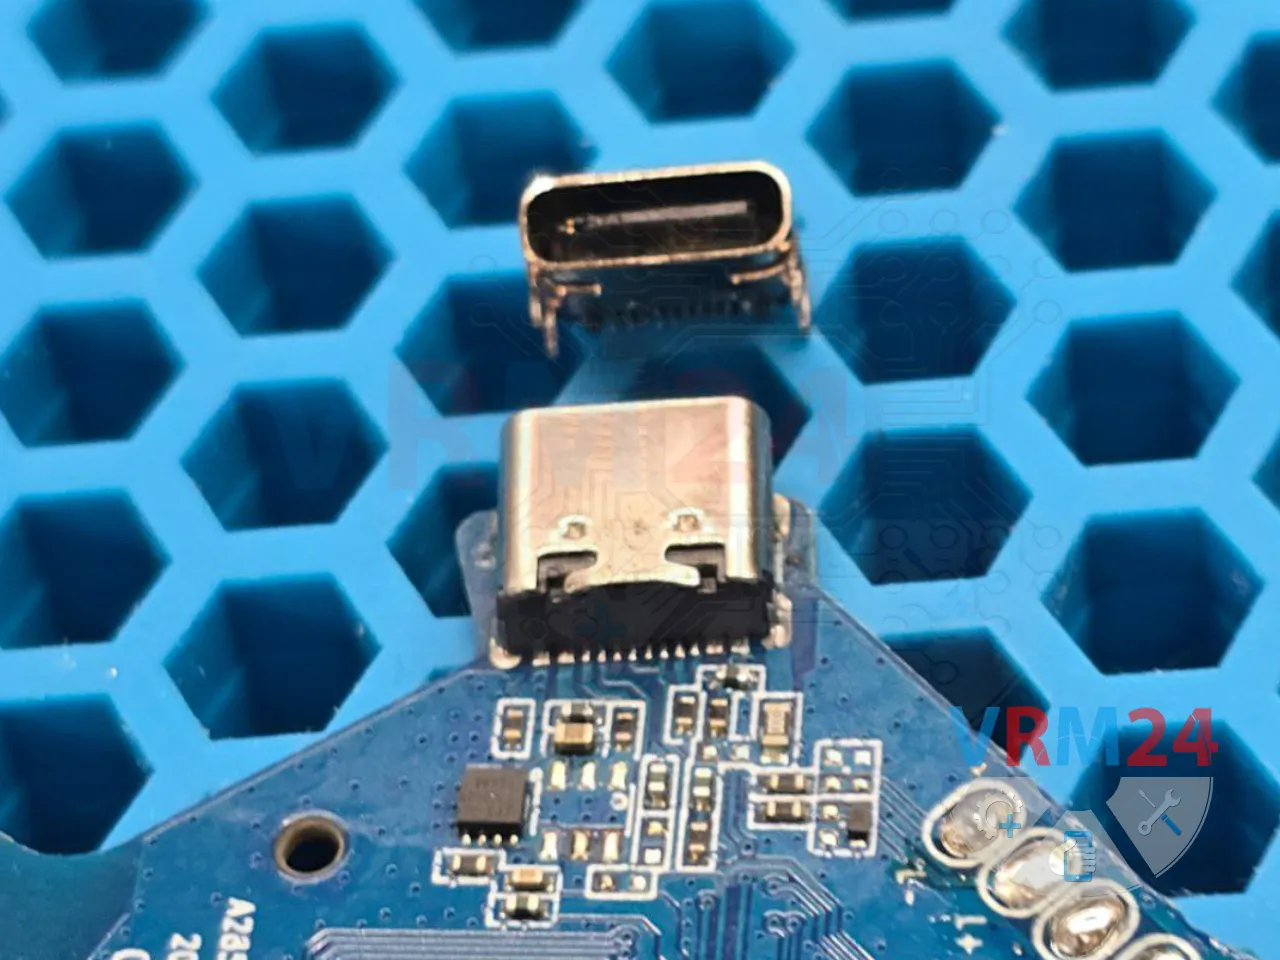
6️⃣ With all contacts de-soldered, we gently removed the main circuit board from the headphones housing. This gave us full access to the damaged charging port.

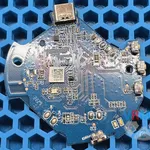
7️⃣ We secured the circuit board in a workbench holder to keep it stable.
Then, we prepared the new charging port for installation.
This involved cleaning the area and ensuring the new port was compatible with the existing circuitry.

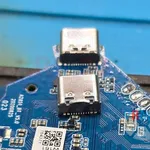
8️⃣ Using a soldering iron, we carefully replaced the damaged charging port with the new one.
Each contact was meticulously soldered to ensure a secure and reliable connection.

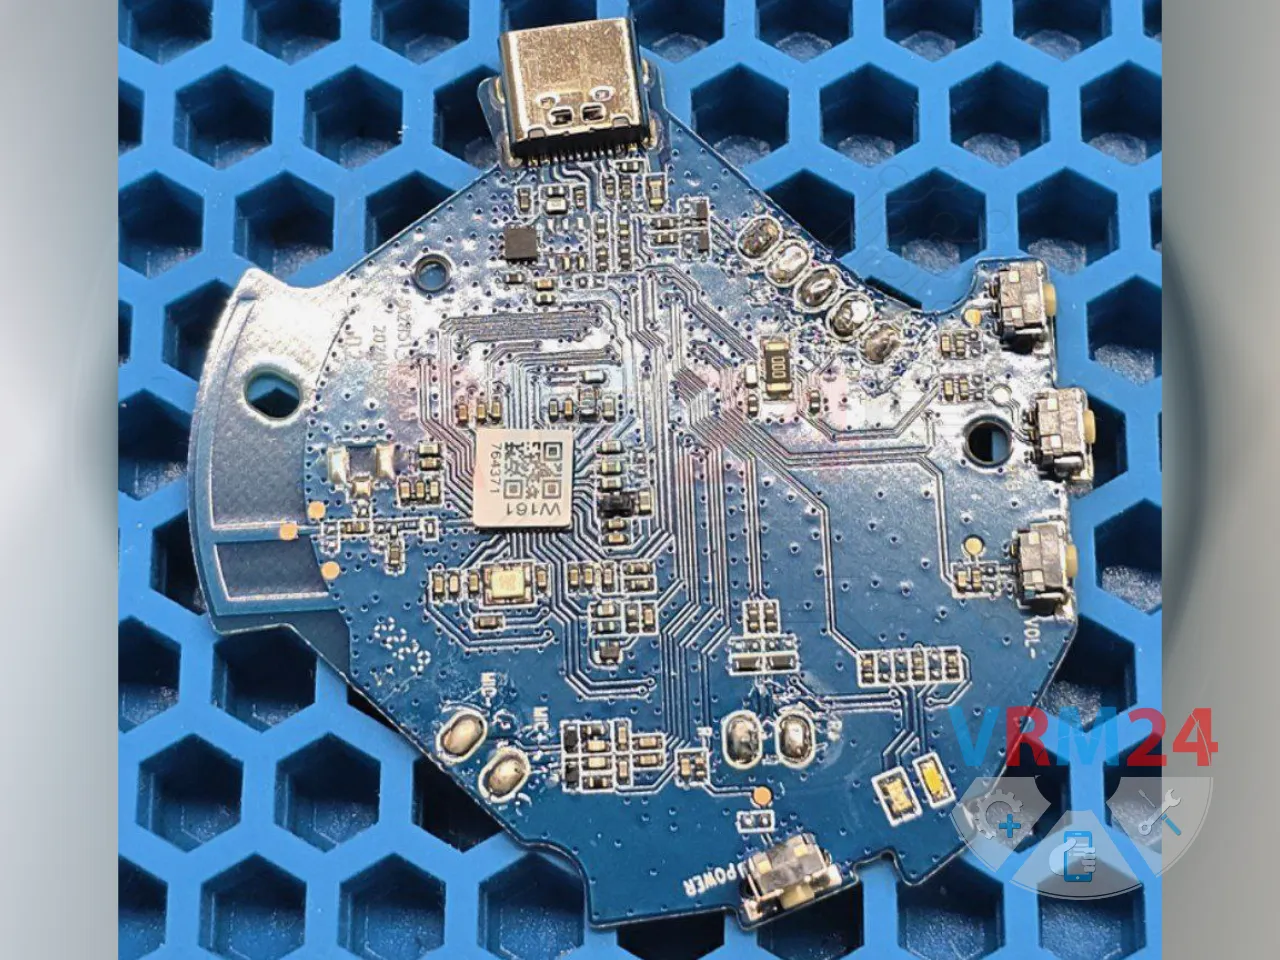
9️⃣ After replacing the charging port, we reassembled the headphones, making sure all components were placed back in their original positions.
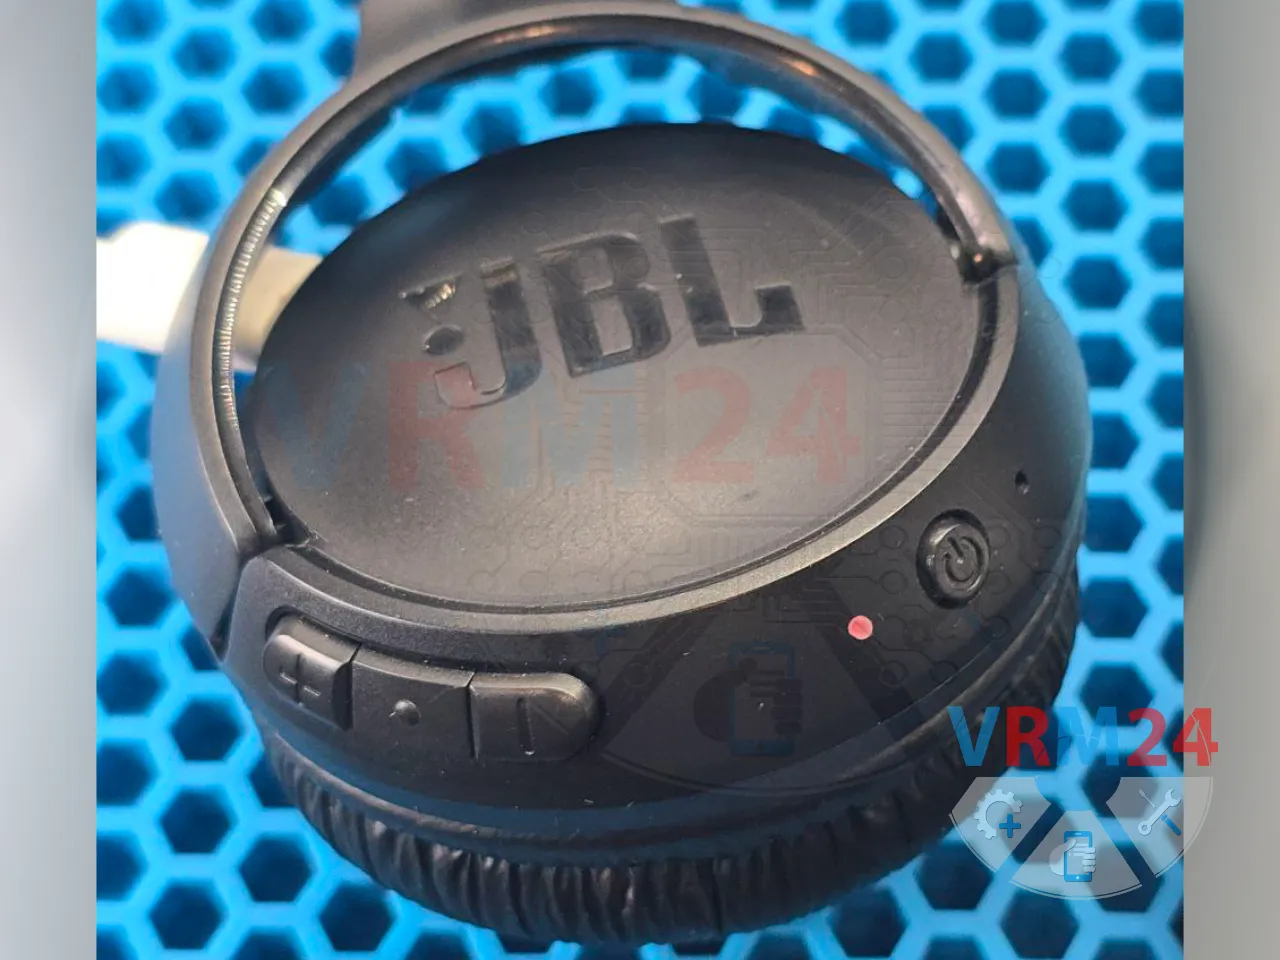
Once fully assembled, we tested the headphones:
- The charging indicator LED lit up as expected.
- The headphones charged normally and functioned perfectly. 😄

If you have a question, ask us, and we will try to answer in as much detail as possible. If this article was helpful for you, please rate it.