

🛠 Difficulty: 🟢🟡⚪️
⏰ Repair time: ~45 minutes
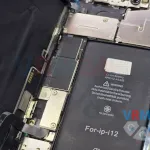
Today we received an iPhone 12 for battery replacement. By the way, the same process applies to the iPhone 12 Pro since the two models are nearly identical.
As with any Apple device, disassembly starts with removing the bottom pentalobe screws using a pentalobe screwdriver.

Next, we heat the display module using a separator (heated platform).
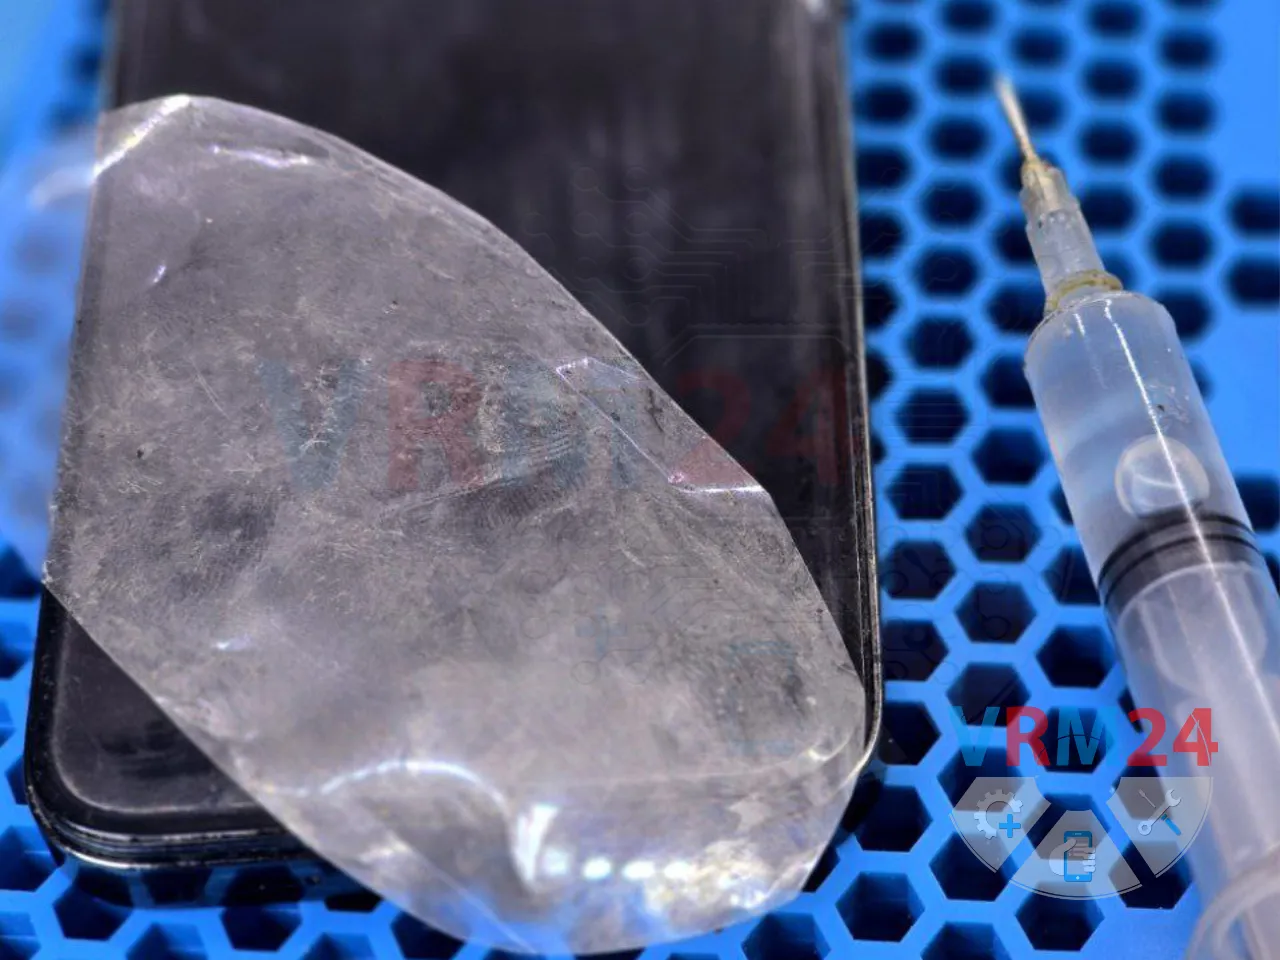
Then, using a thin film and some isopropyl alcohol, we carefully cut through the adhesive around the edges of the screen.
The alcohol helps dry and loosen the adhesive.


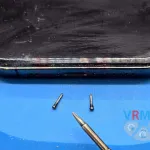
We open the display module to the left side.

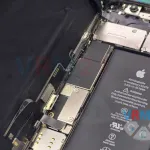
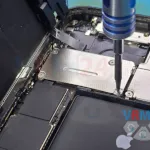
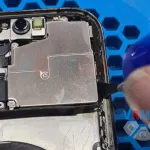
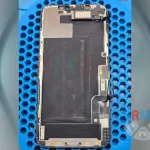
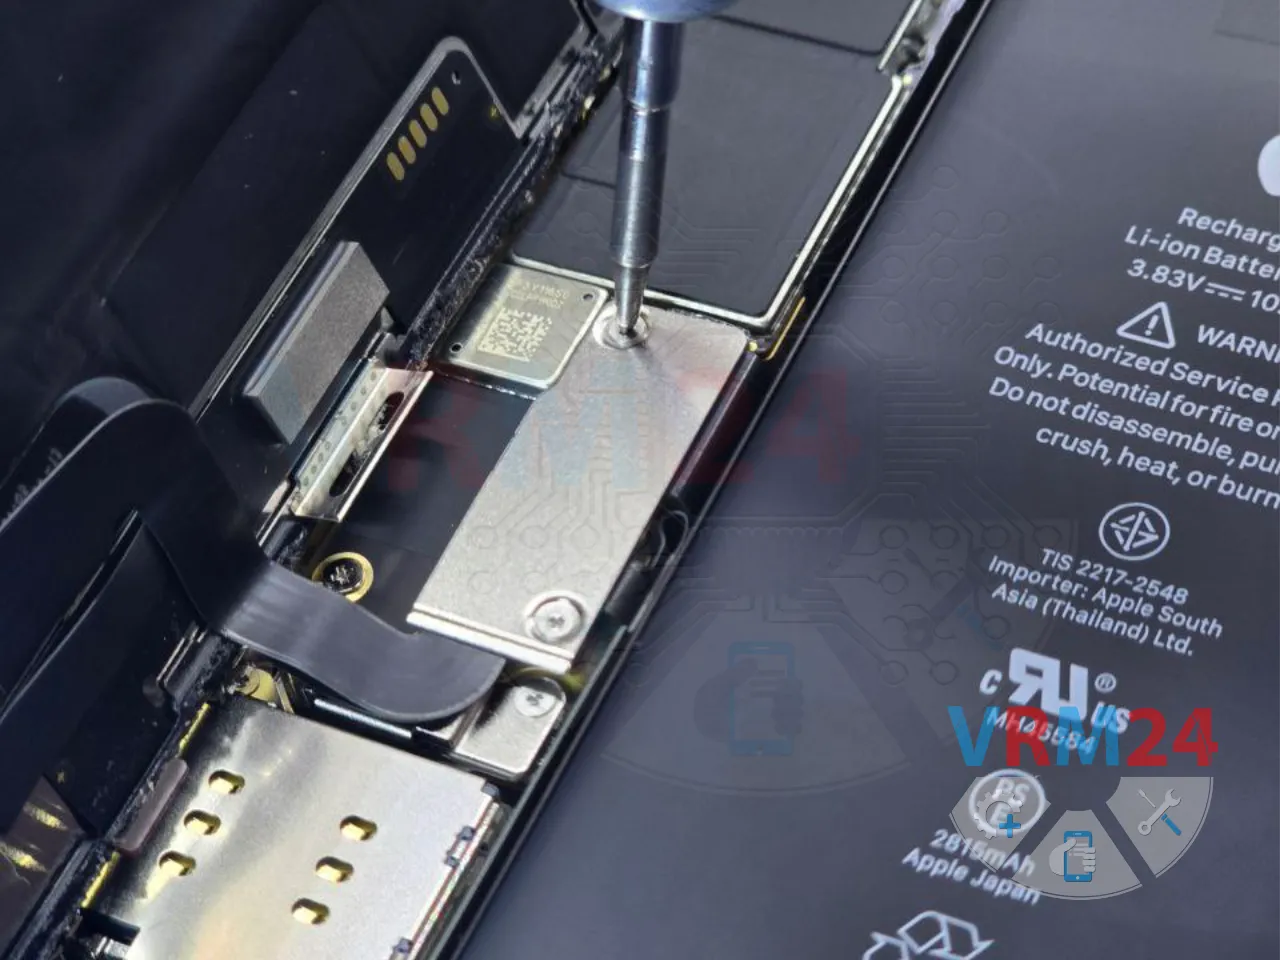
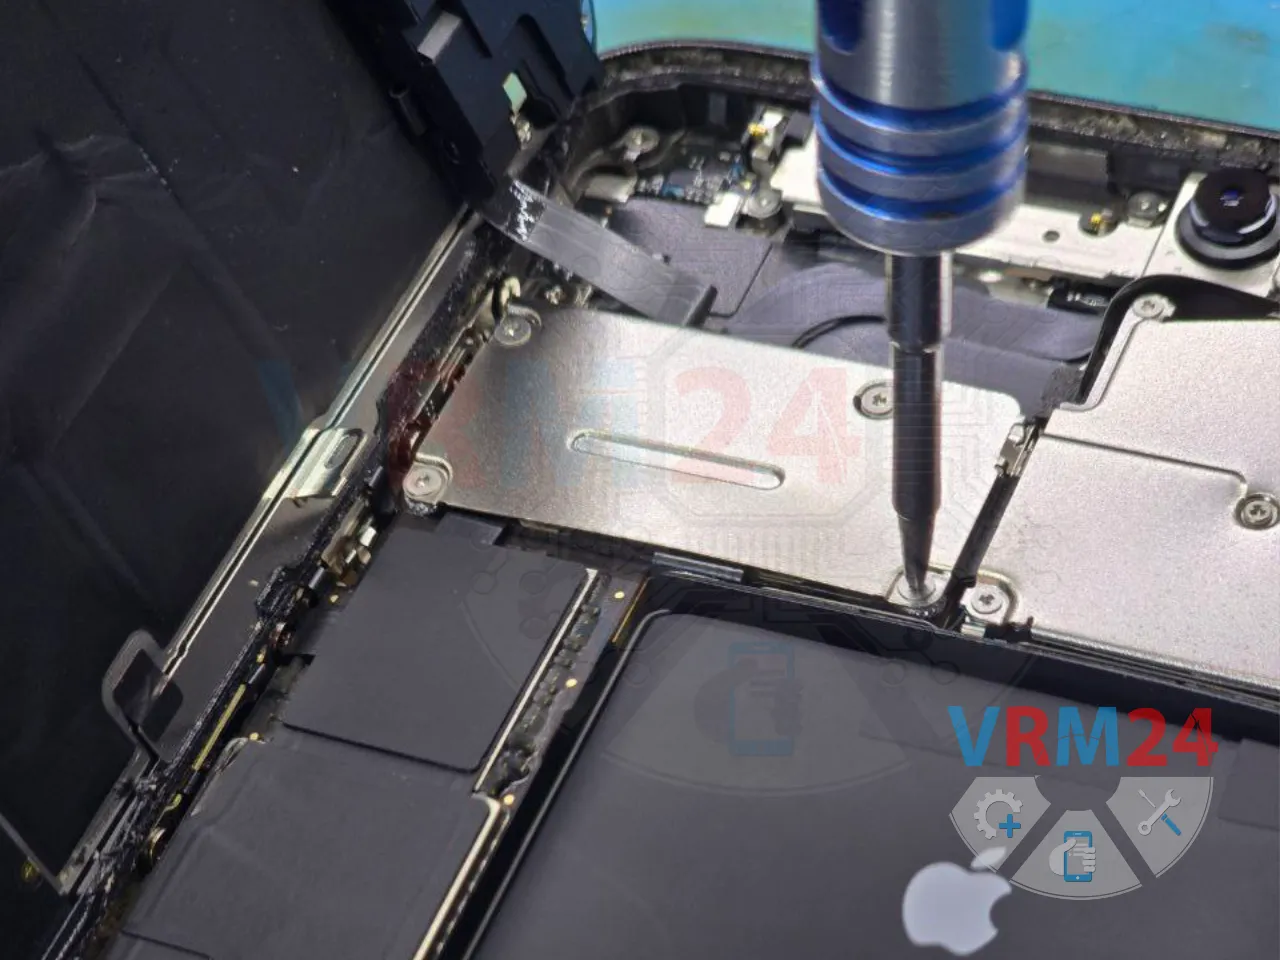
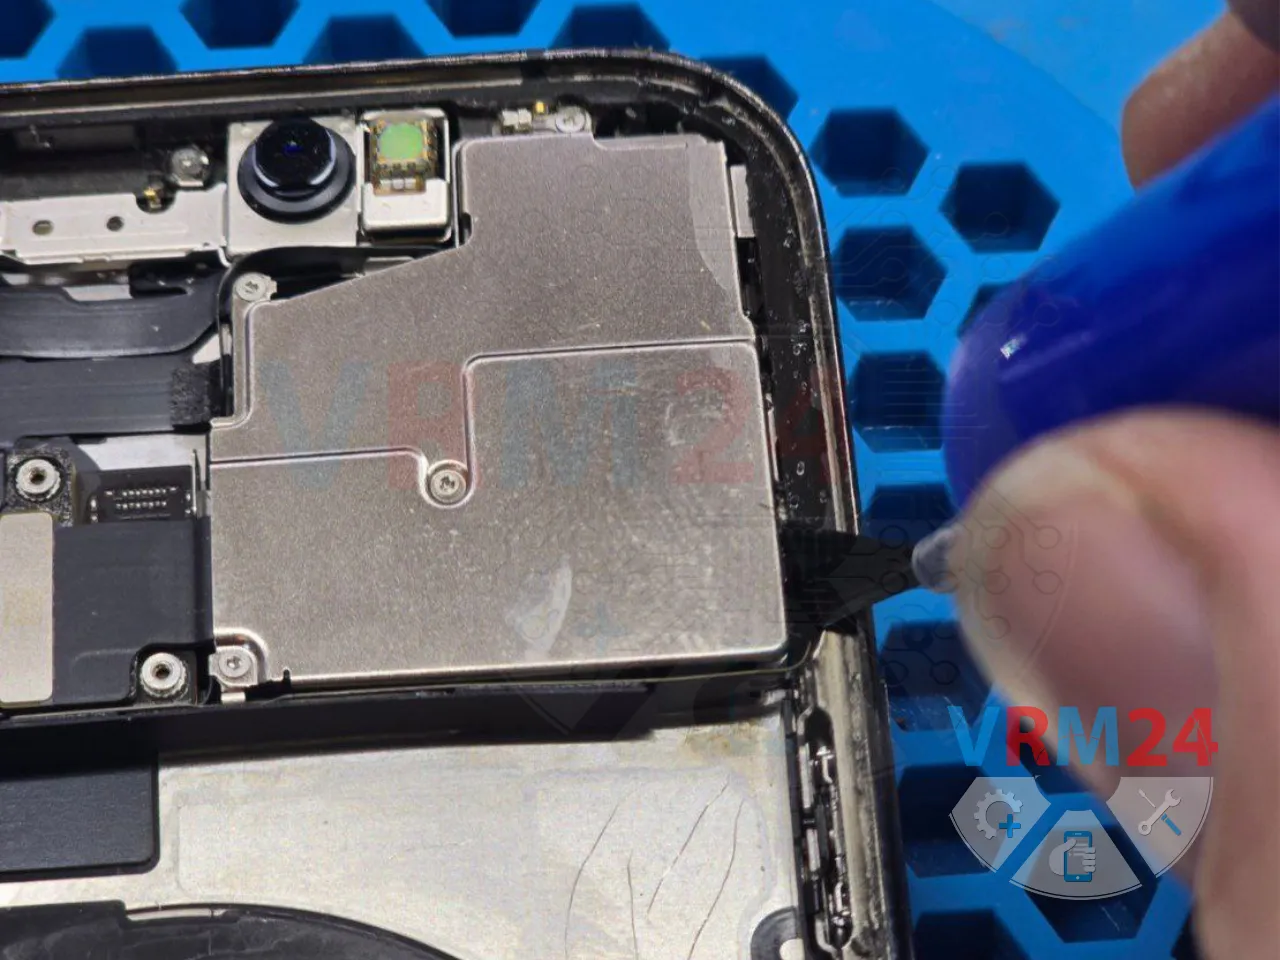
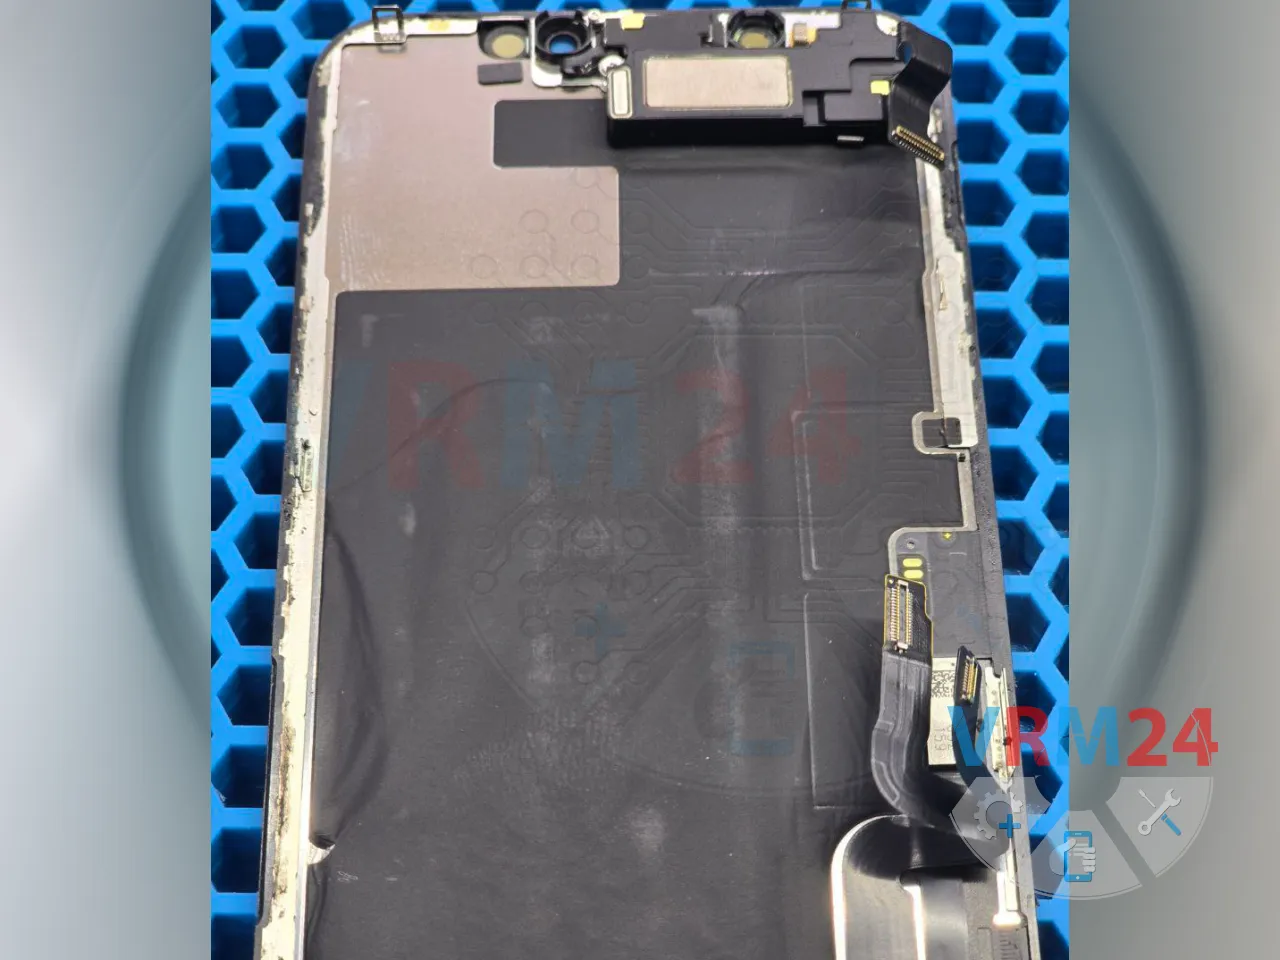
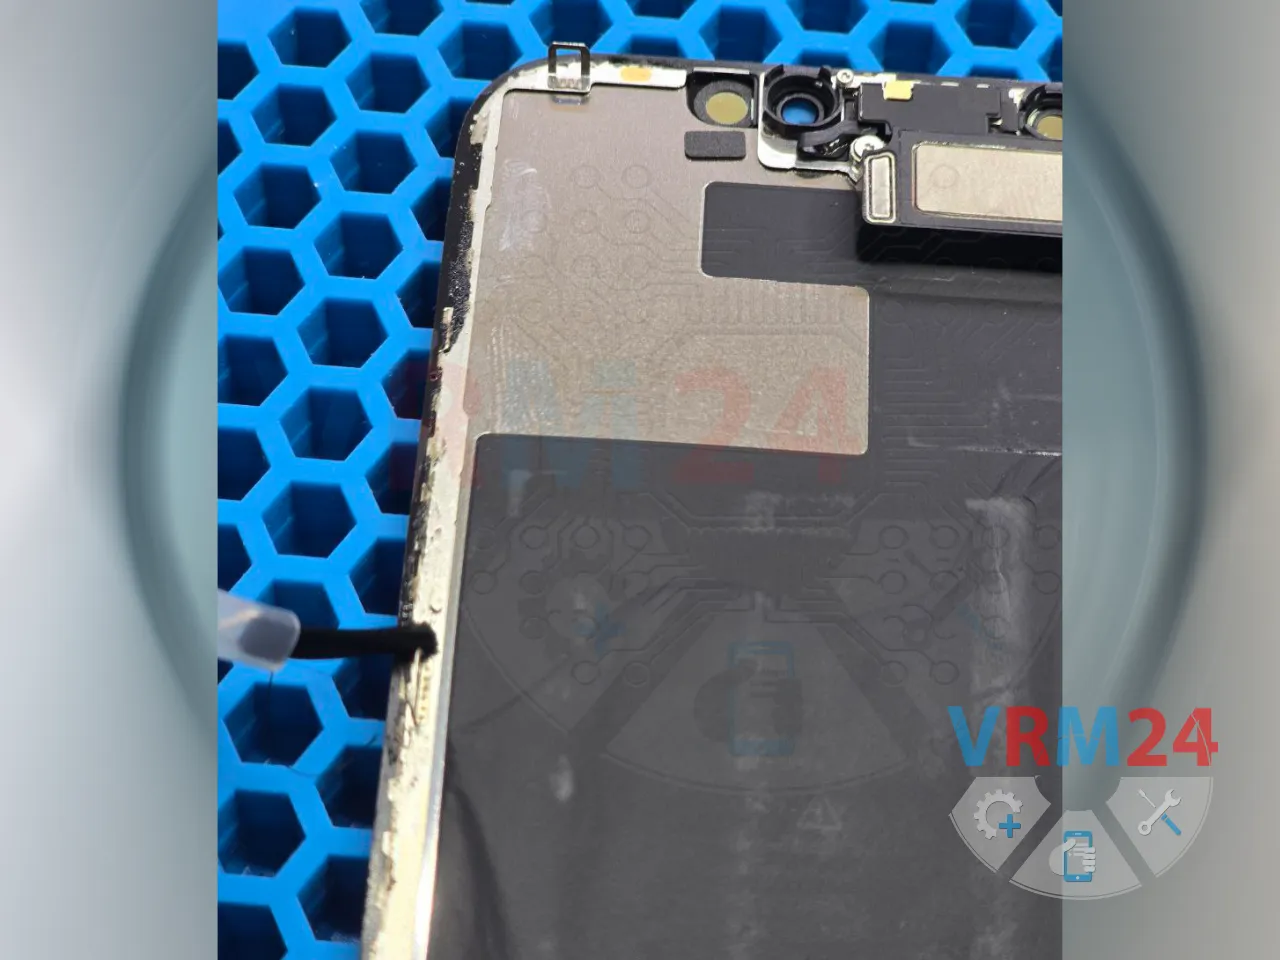
Using a tri-point screwdriver, we remove the screws securing the metal bracket that covers the battery connector and display flex cables.
We also remove the top bracket that holds down the sensor and upper microphone flex cable.


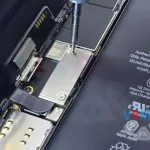
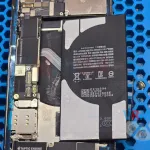
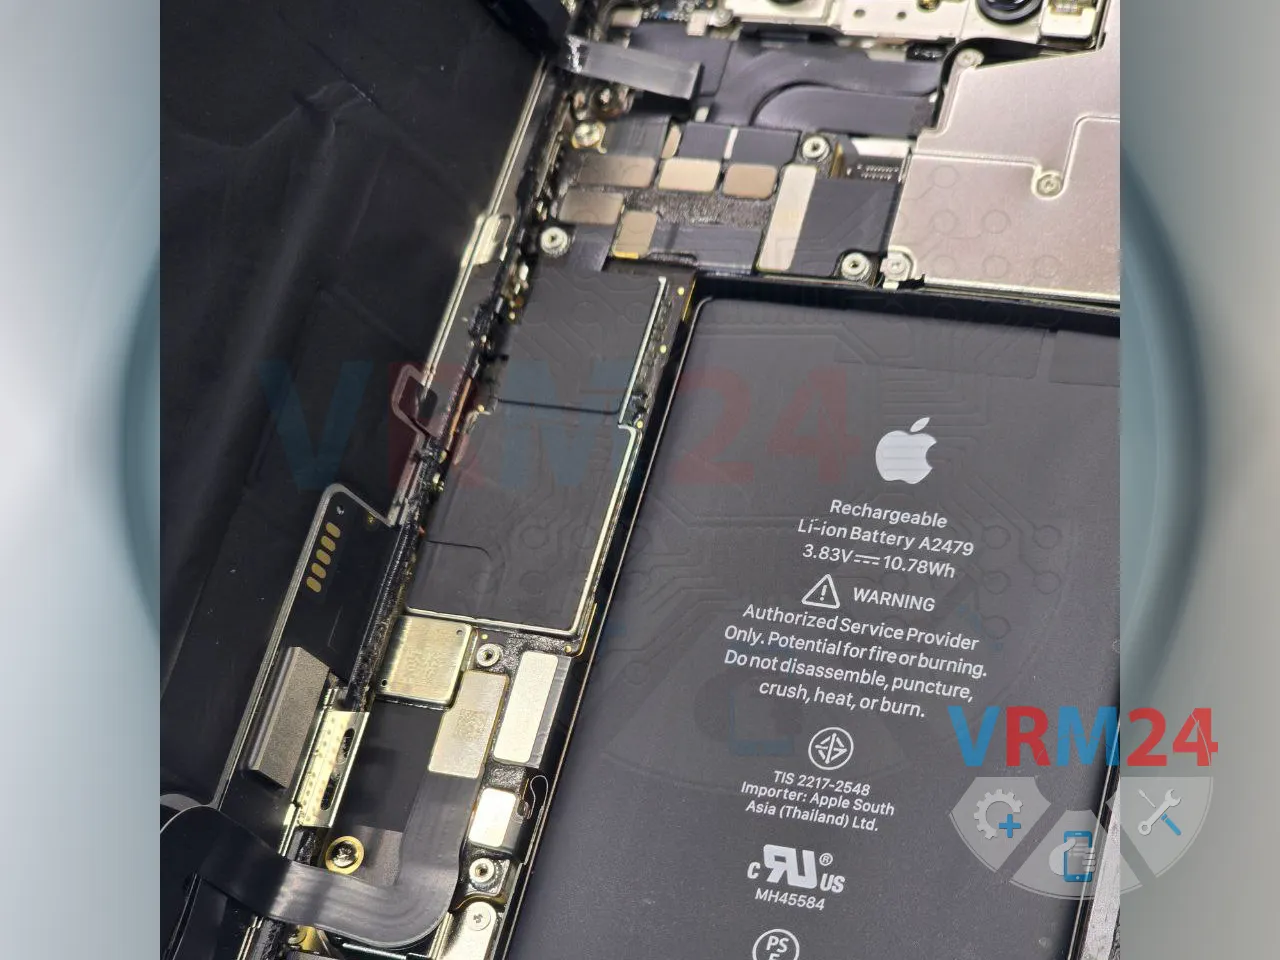
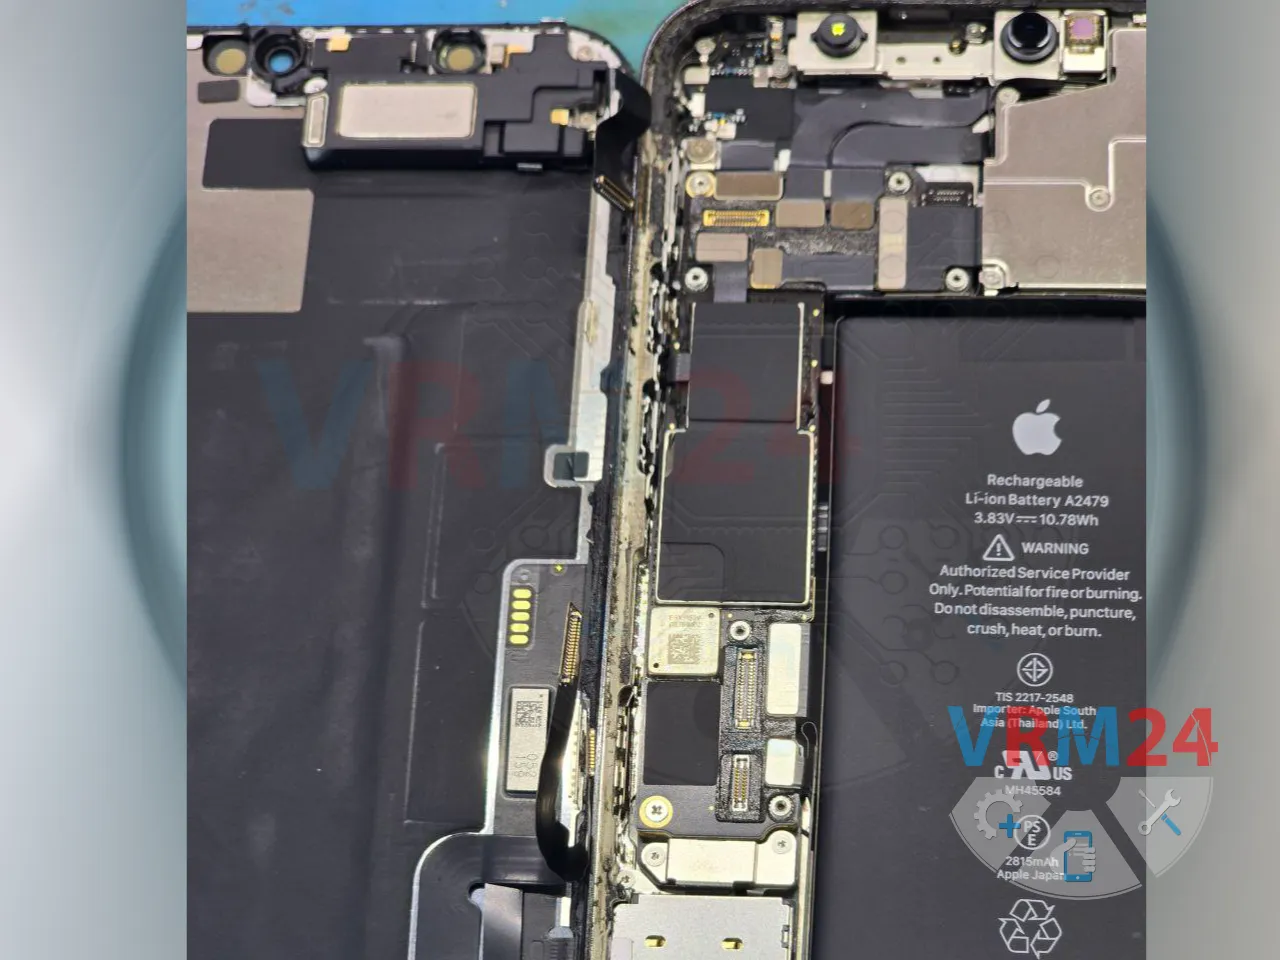
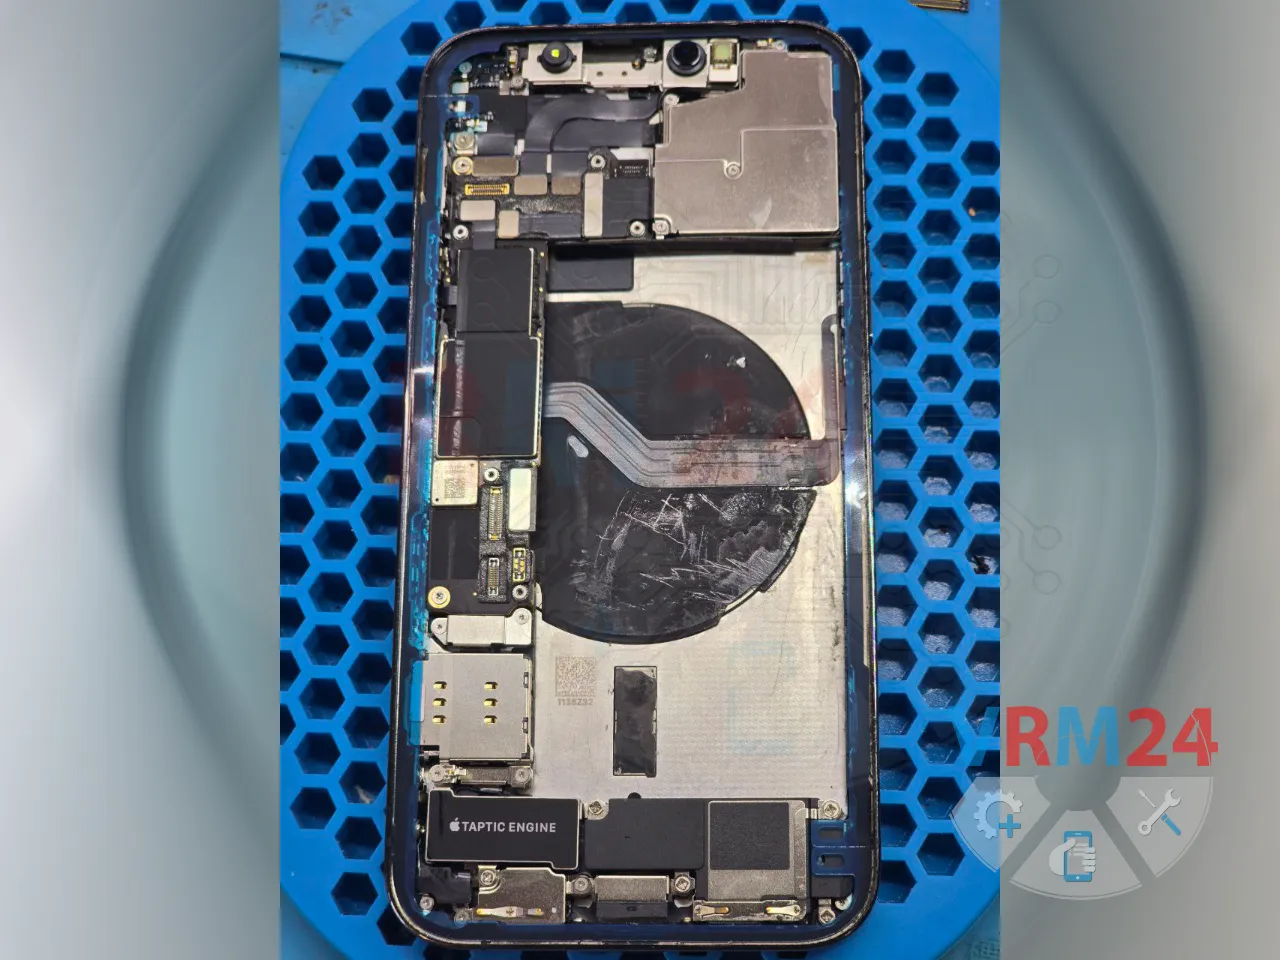
Disconnect the battery connector along with the three connectors from the display module.


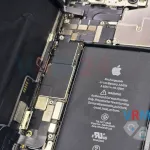
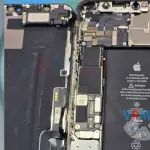
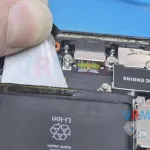
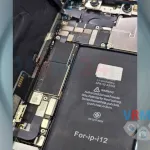
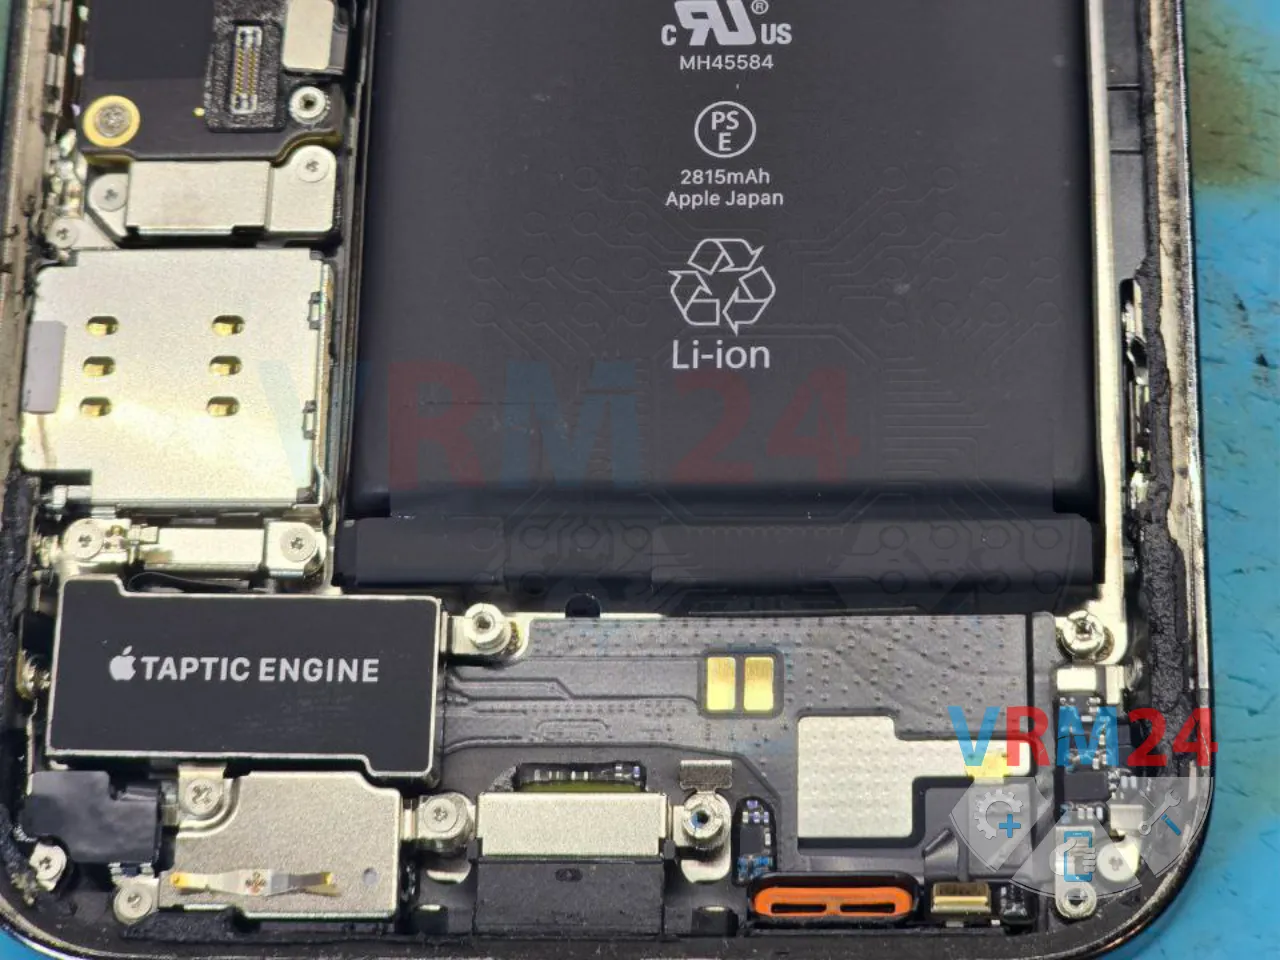
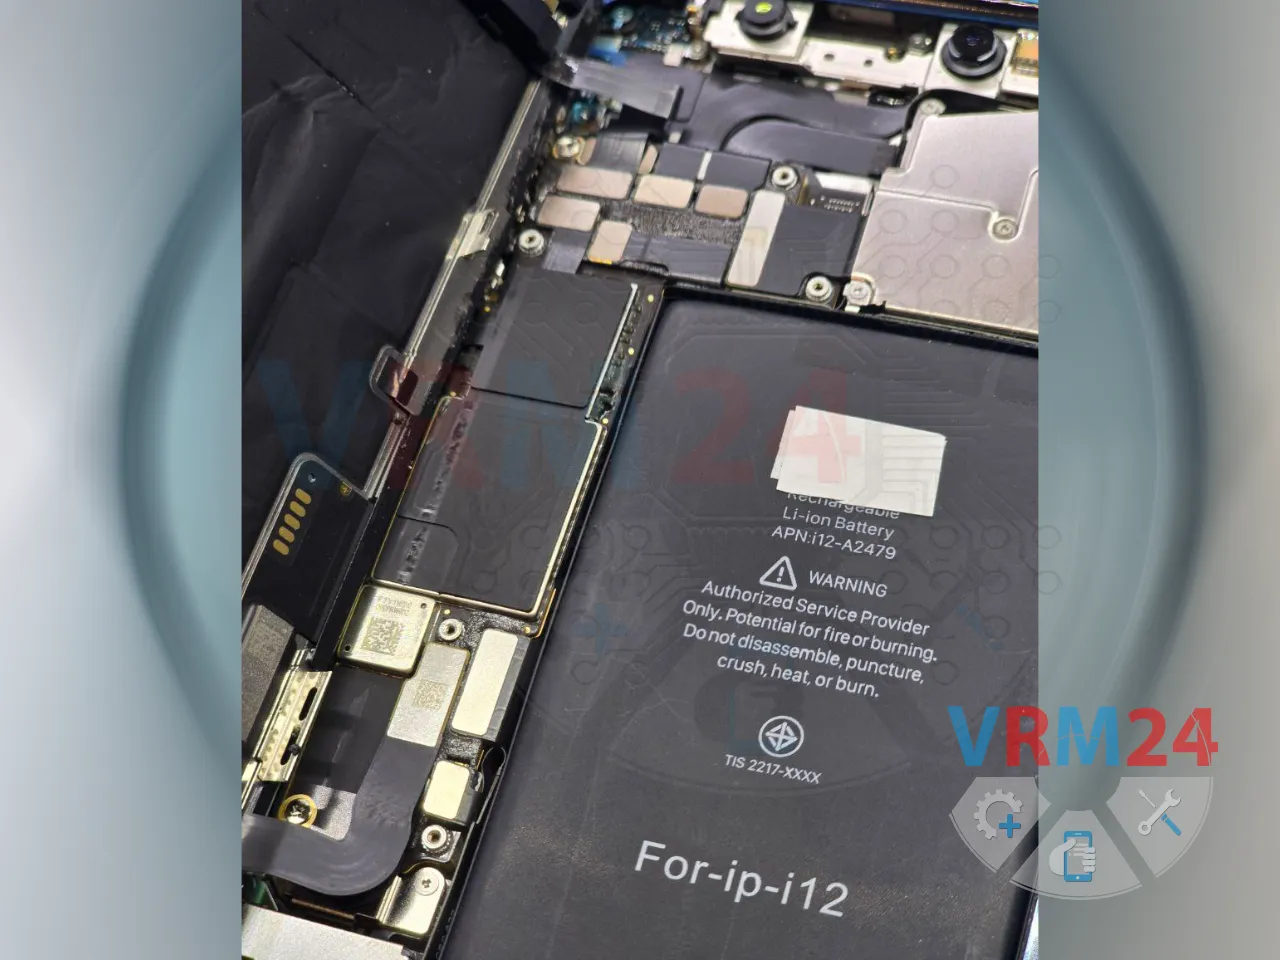
The battery is held in place by adhesive strips that, in theory, can be pulled out from under the battery—but that rarely works 😒
To improve your chances, you can remove the loudspeaker and try to pull out the largest adhesive strip.


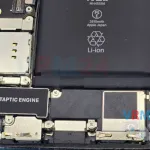
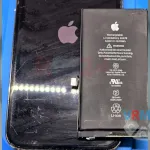
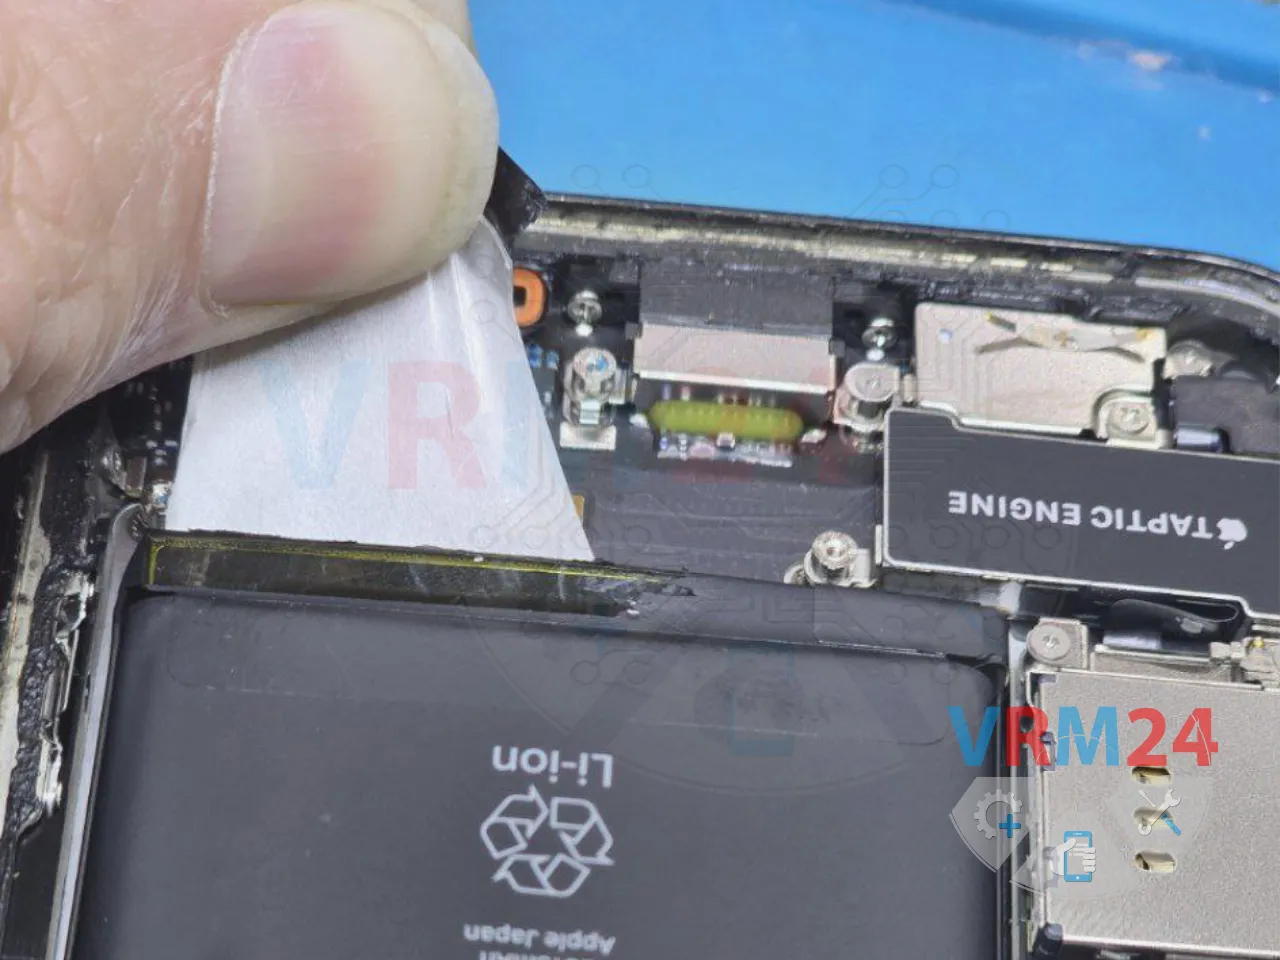
This is roughly how the adhesive should come out. If that doesn’t work, fall back on the standard method: isopropyl alcohol and a plastic film.
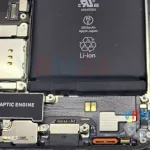
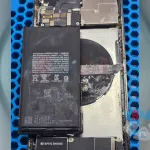
⚠️ Just be very careful not to damage the flex cables that run underneath the battery!

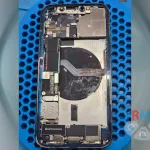
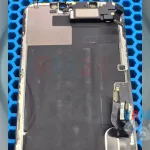
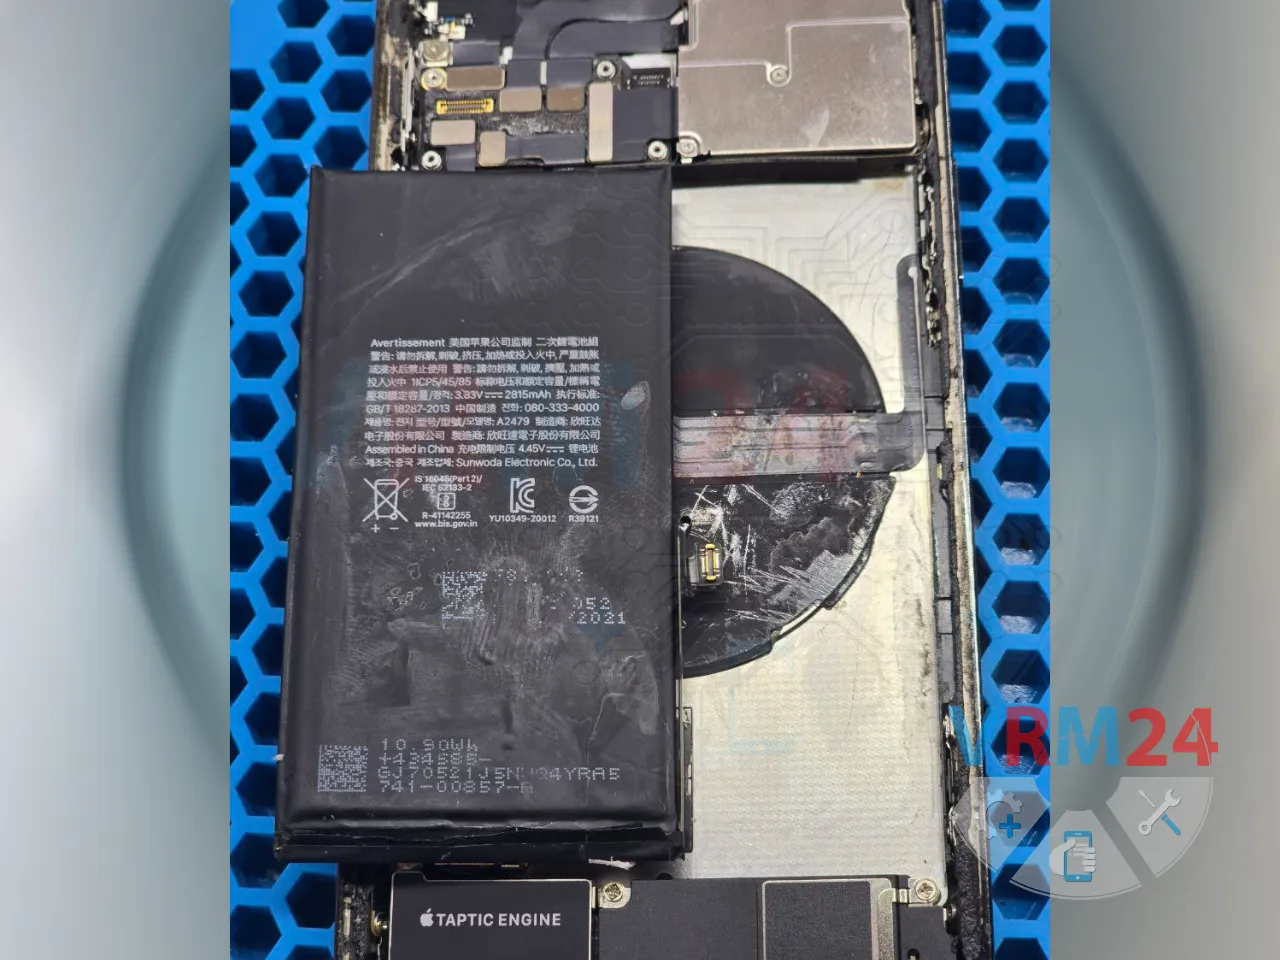
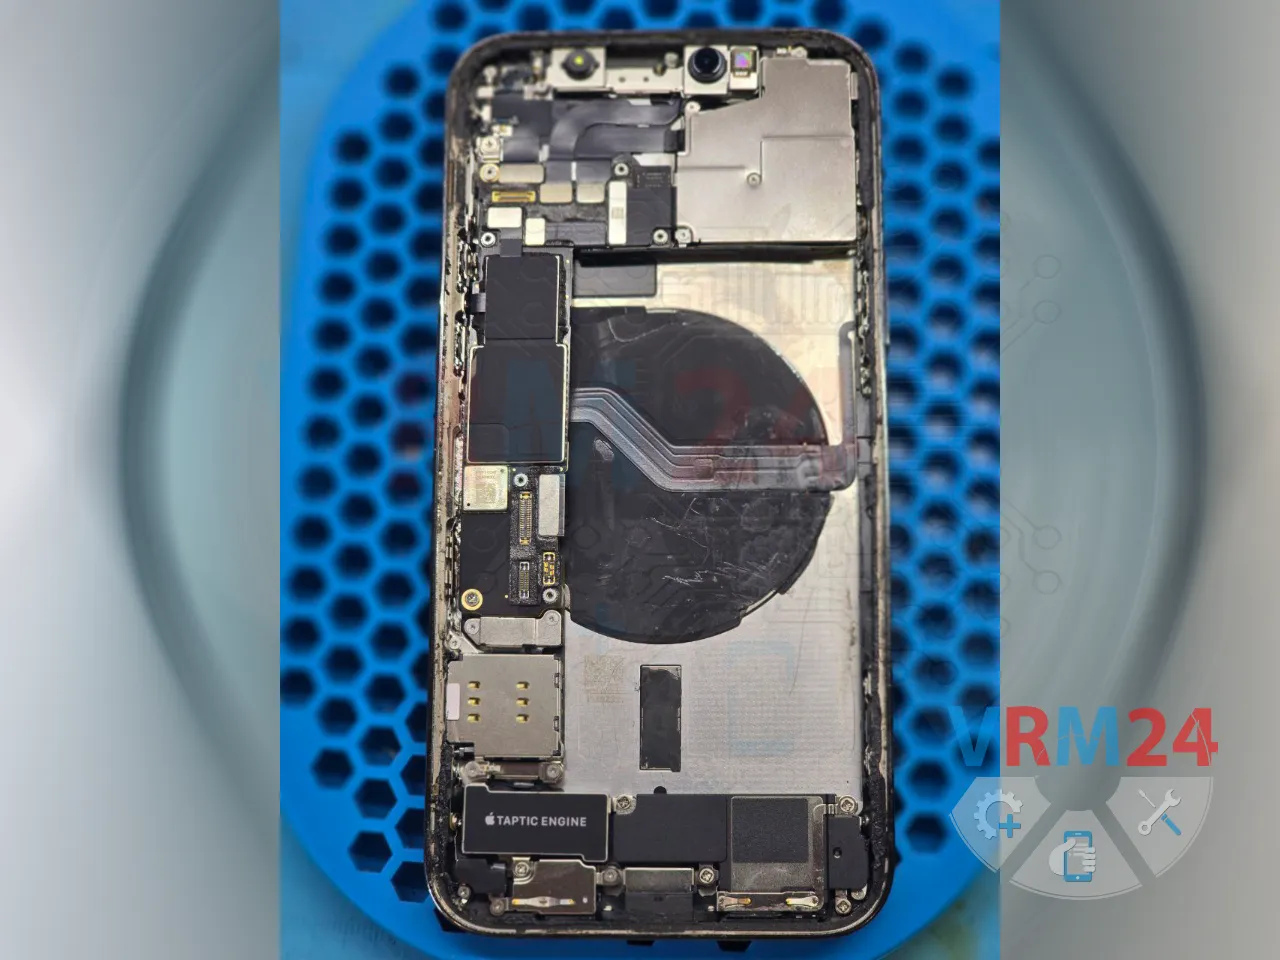
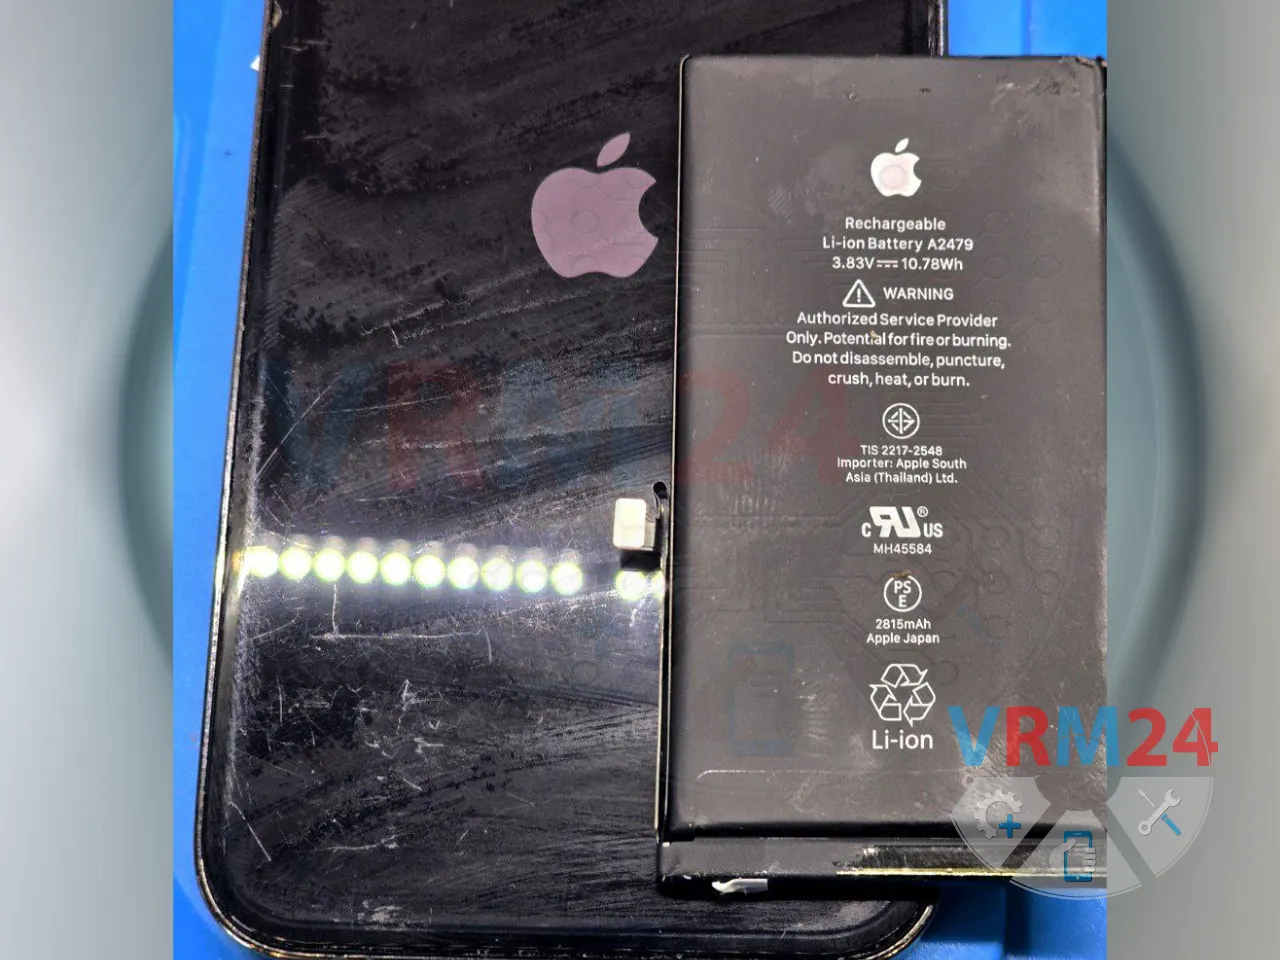
Remove the battery and clean any remaining adhesive from the housing.

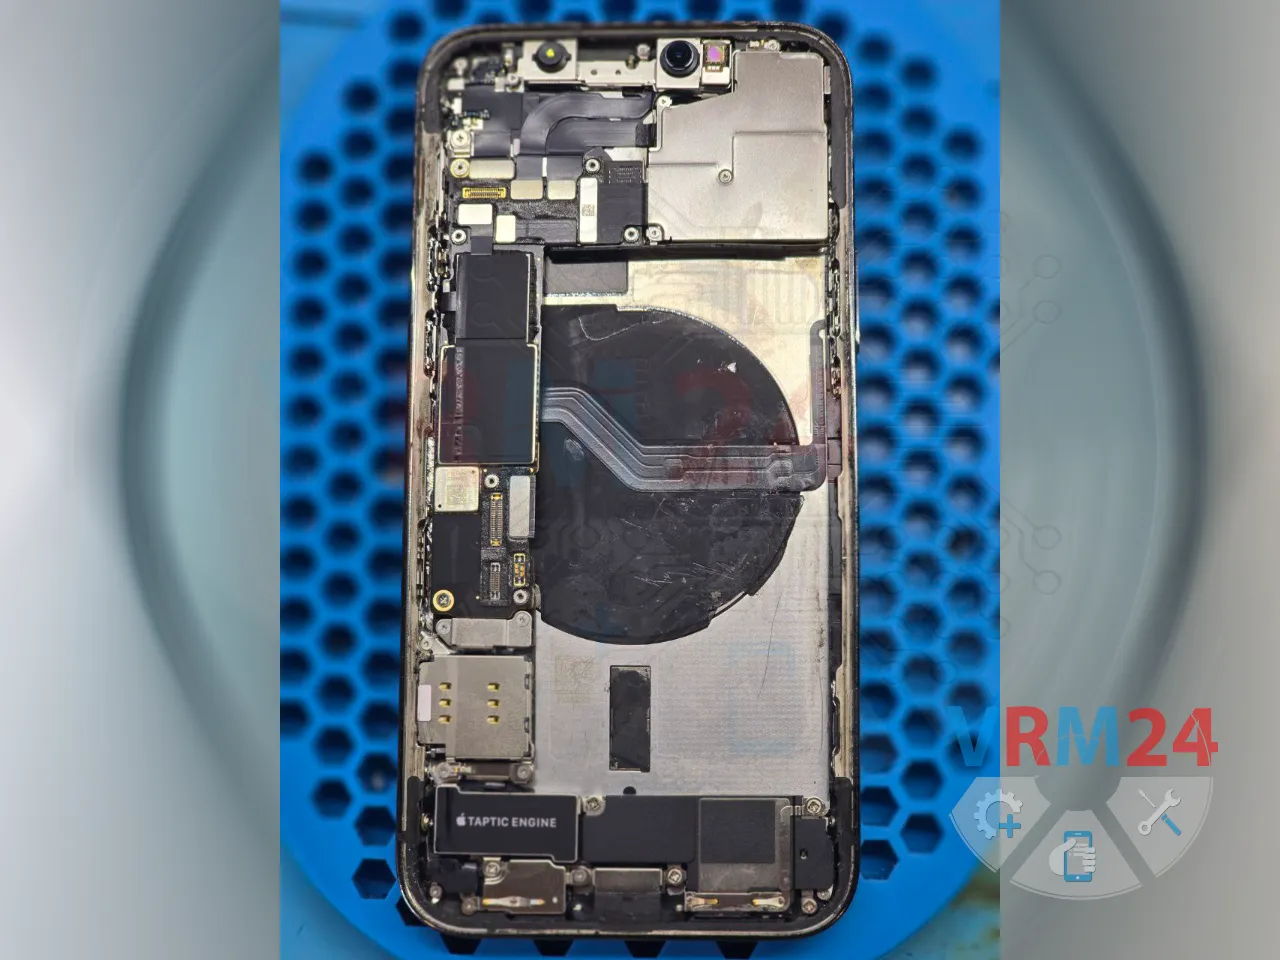
Clean the frame of the housing from any leftover screen adhesive and wipe down the surface with a degreaser.


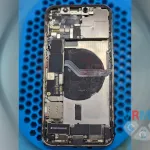
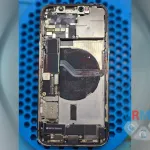
Apply primer to the frame area where the new adhesive tape will go.

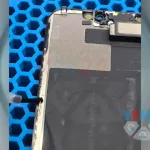
Lay down the new adhesive strip.

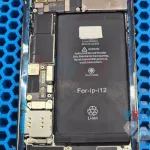
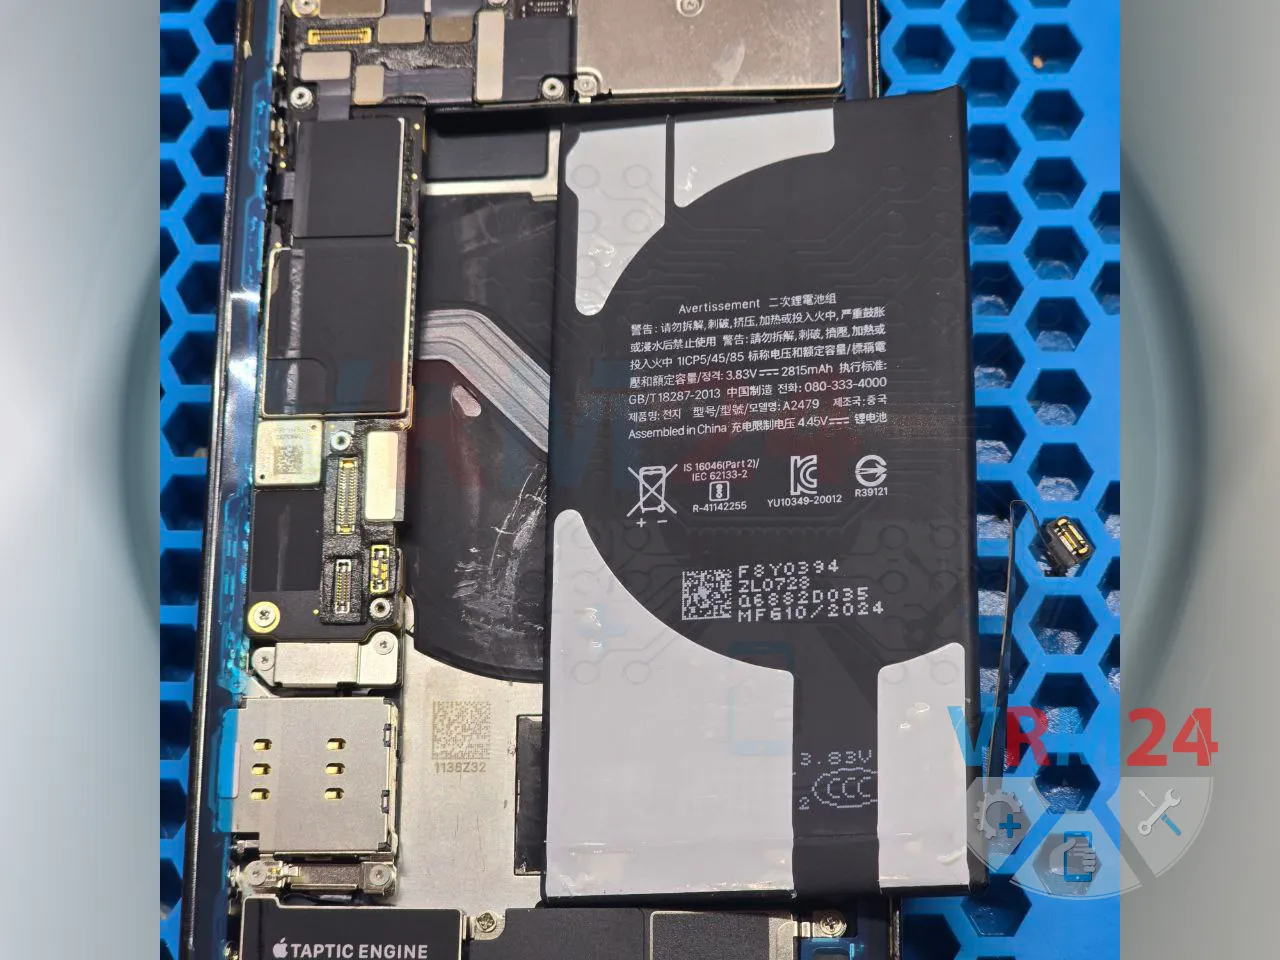
Apply matching adhesive to the new battery (cut to size) and install it in place.


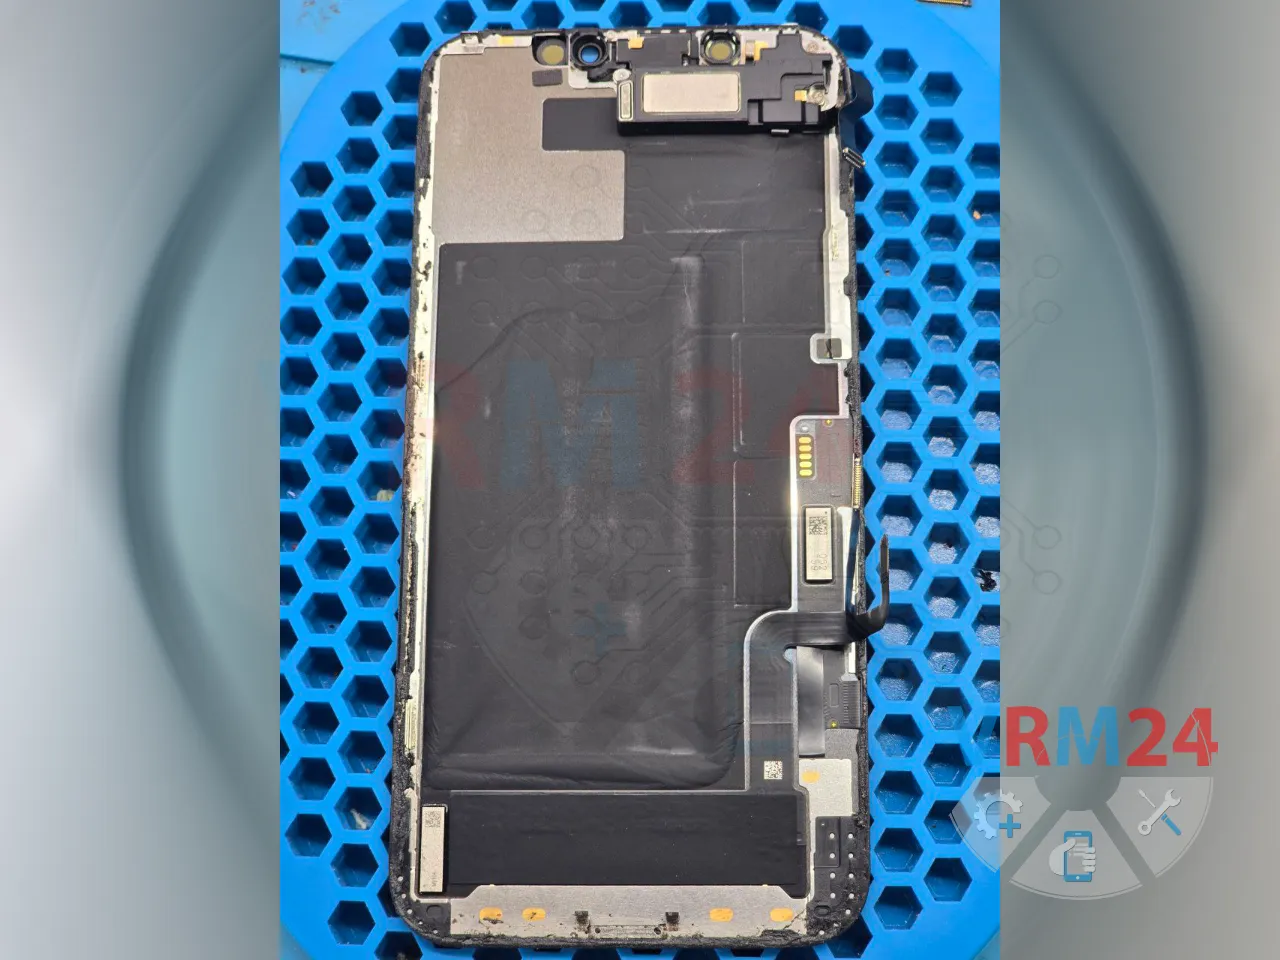
Prepare the display module by removing any leftover adhesive, degreasing the surface, and applying primer.


Reconnect the display flex cables and test the new battery. Plug the phone into a charger.

If everything works properly, reinstall and screw down the metal brackets.

Seal the display back in place and reassemble the iPhone completely. Do a final check. 👍

If you have a question, ask us, and we will try to answer in as much detail as possible. If this article was helpful for you, please rate it.