
Today, we're going to replace the battery in a Samsung Galaxy A7 (2017).
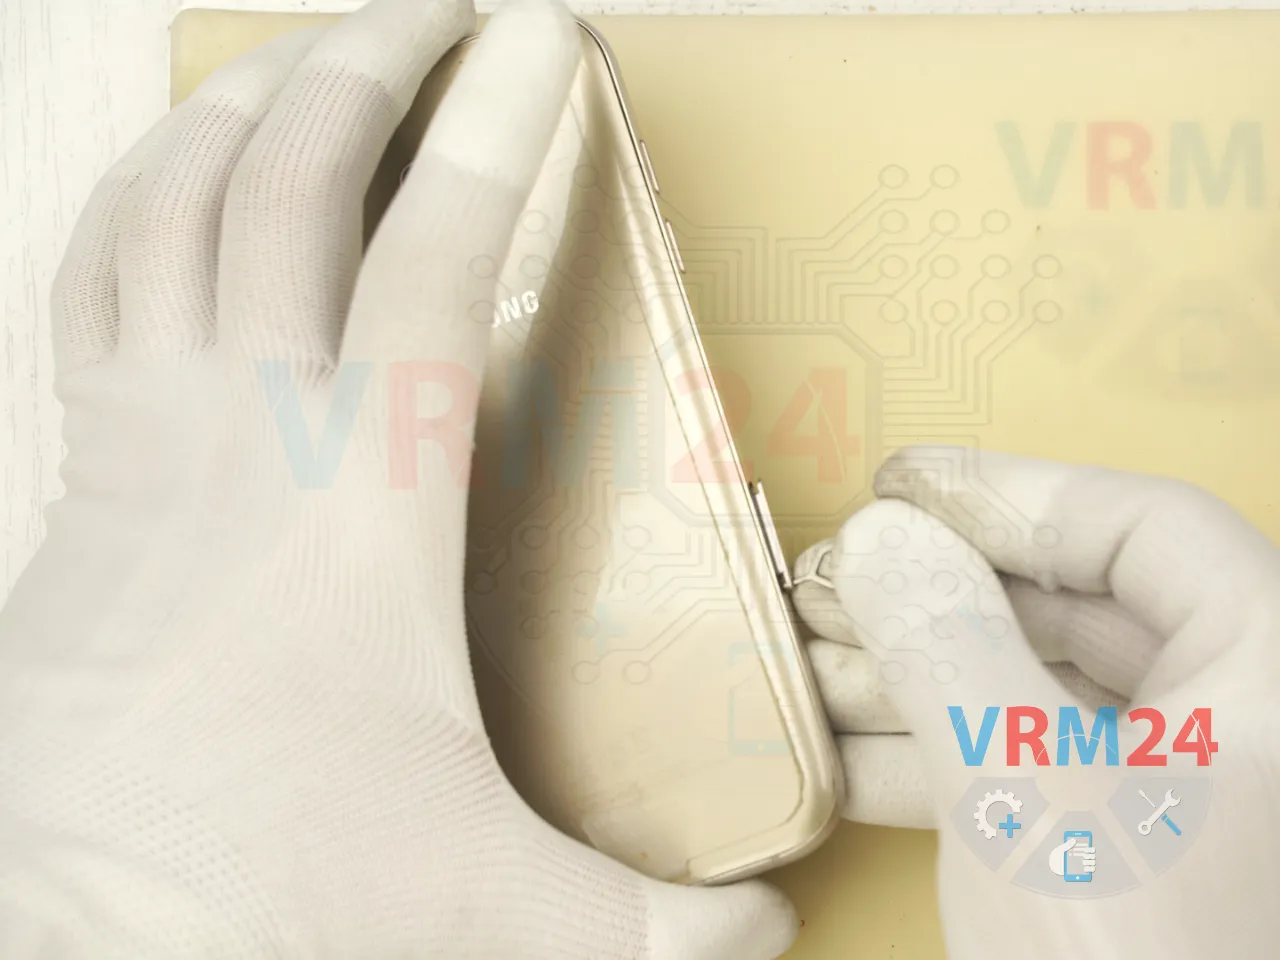
First, we need to remove the SIM and SD card trays.
We’ll use a special ejector tool—insert it into the small hole, and gently push out the trays.
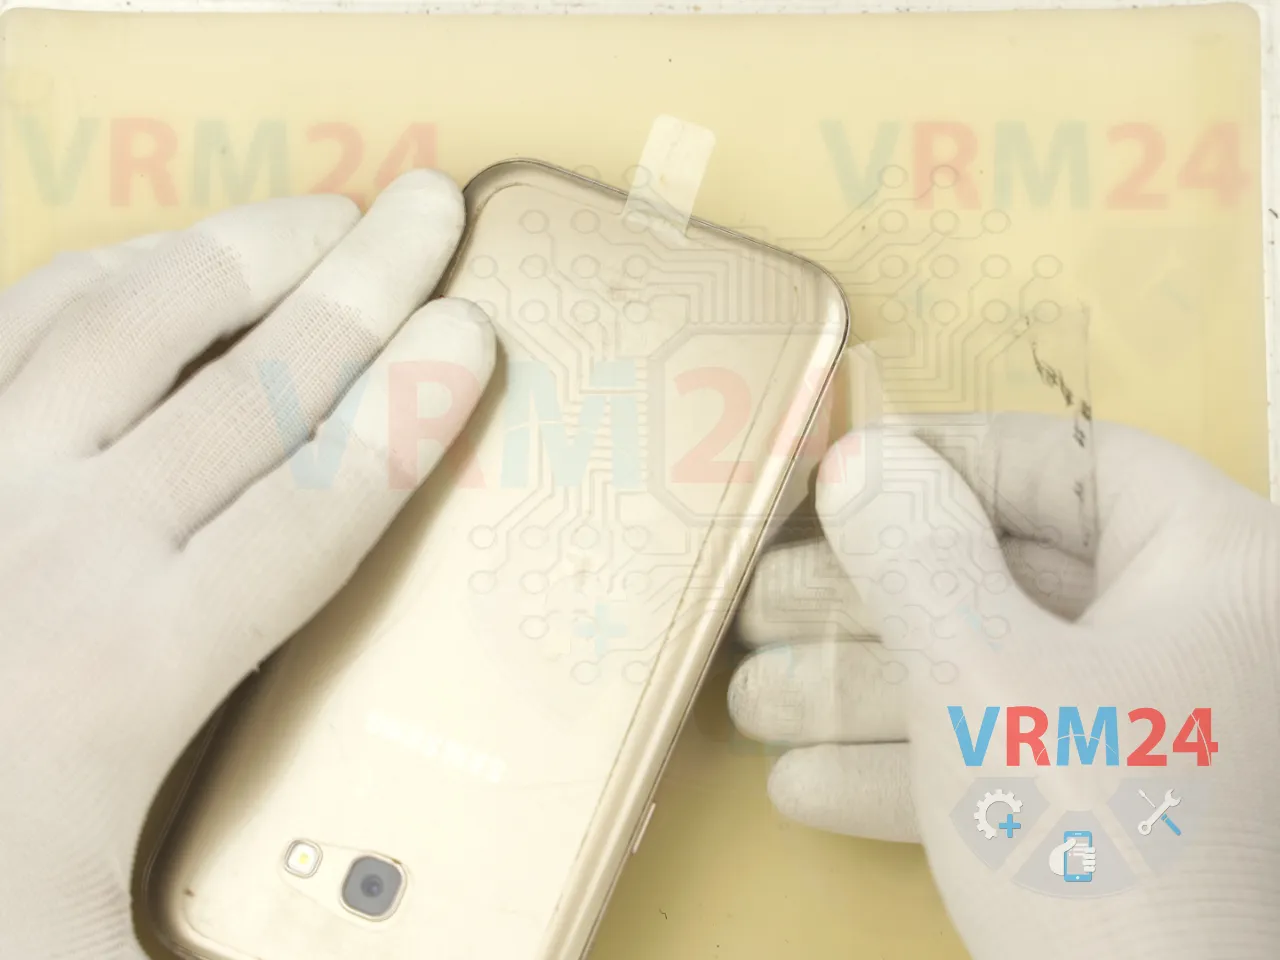
Next, we need to heat the back cover.
We're using a heating mat, but a hair dryer will also work.
After about 5 to 10 minutes, the adhesive softens, and we can start removing the back cover.
To separate the back cover, use a thin plastic film or tool.
Carefully slide it into the gap between the back cover and the mid-frame, and gently work around the edge to cut through the adhesive.
In our case, the back cover is non-original but pre-applied with adhesive.
Since we've heated it well, the back cover comes off easily.
Once it’s off, check the condition of the adhesive—it’s in bad shape here, so we’ll need to replace it during reassembly.


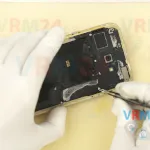
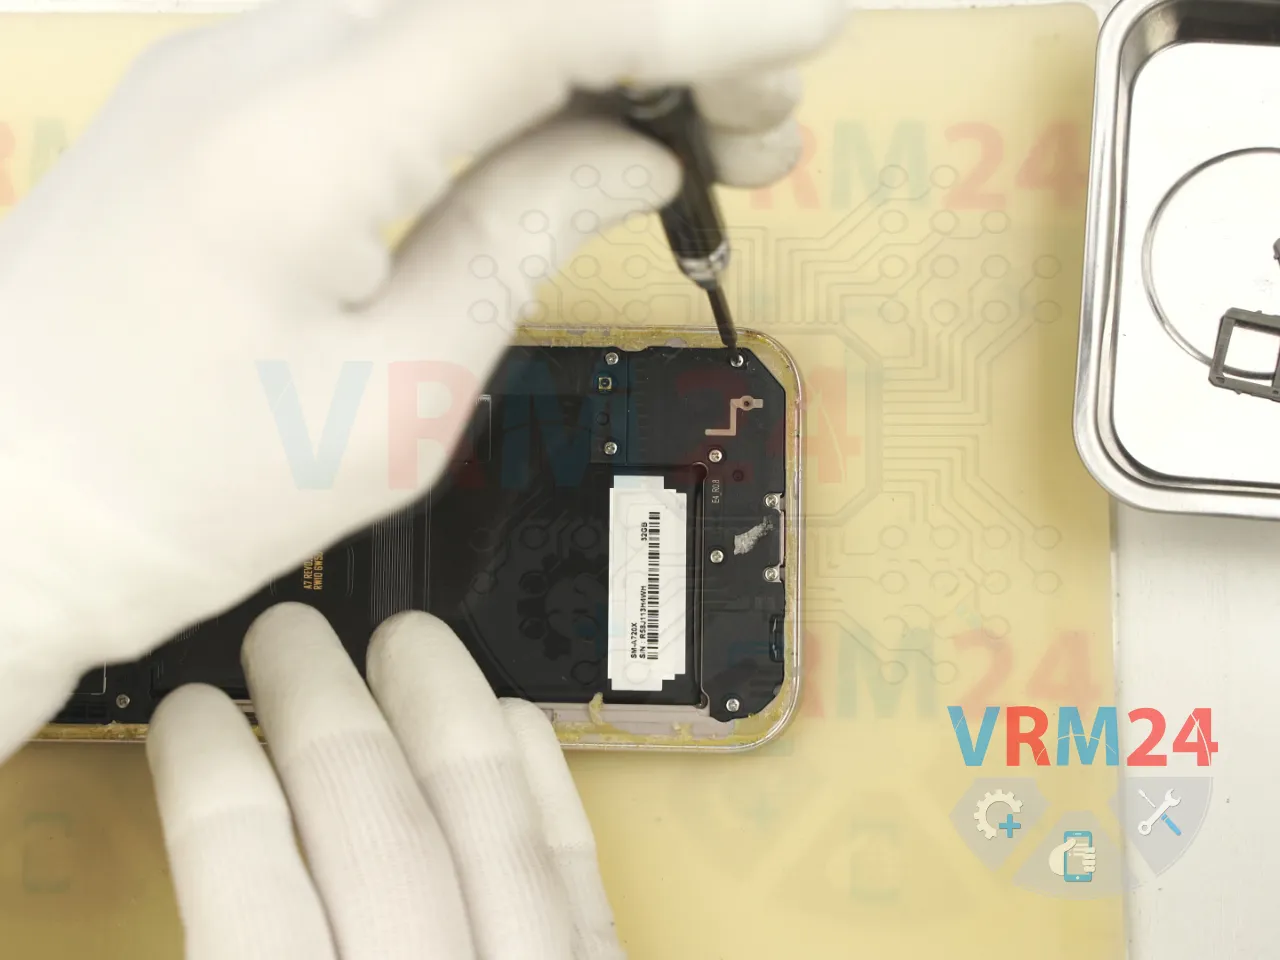
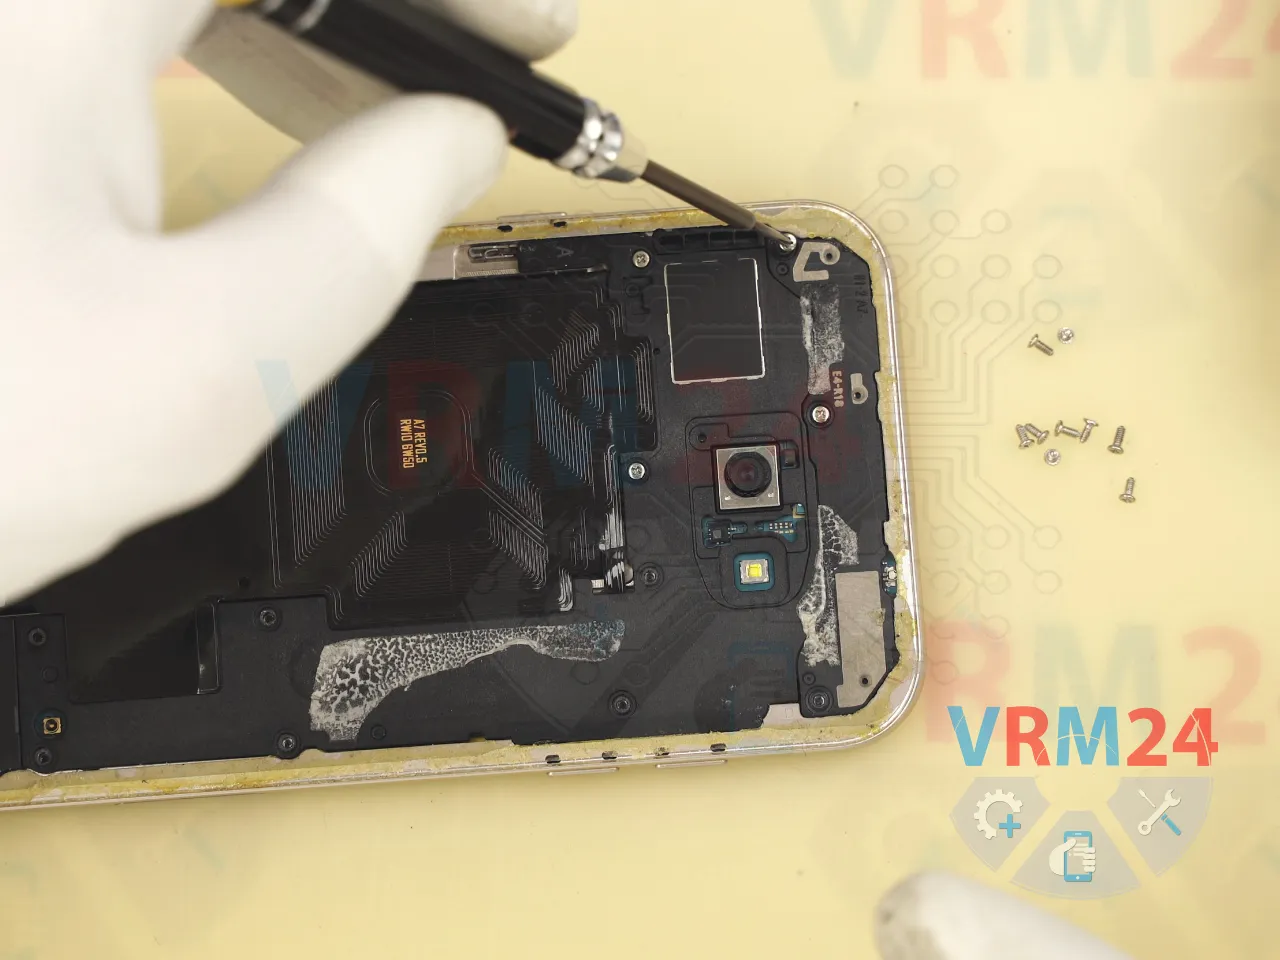
Now, let's remove the screws using a 1.5mm Phillips screwdriver (PH#000).
If any screws get stuck, you can use a magnetizer or tweezers to lift them out.
It’s best to organize the screws carefully on a magnetic mat or tray, to avoid confusion during reassembly.
Sometimes, if you screw into the wrong hole, the threads might not match. That’s another reason to track screw placement.


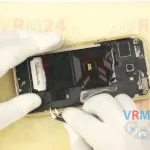
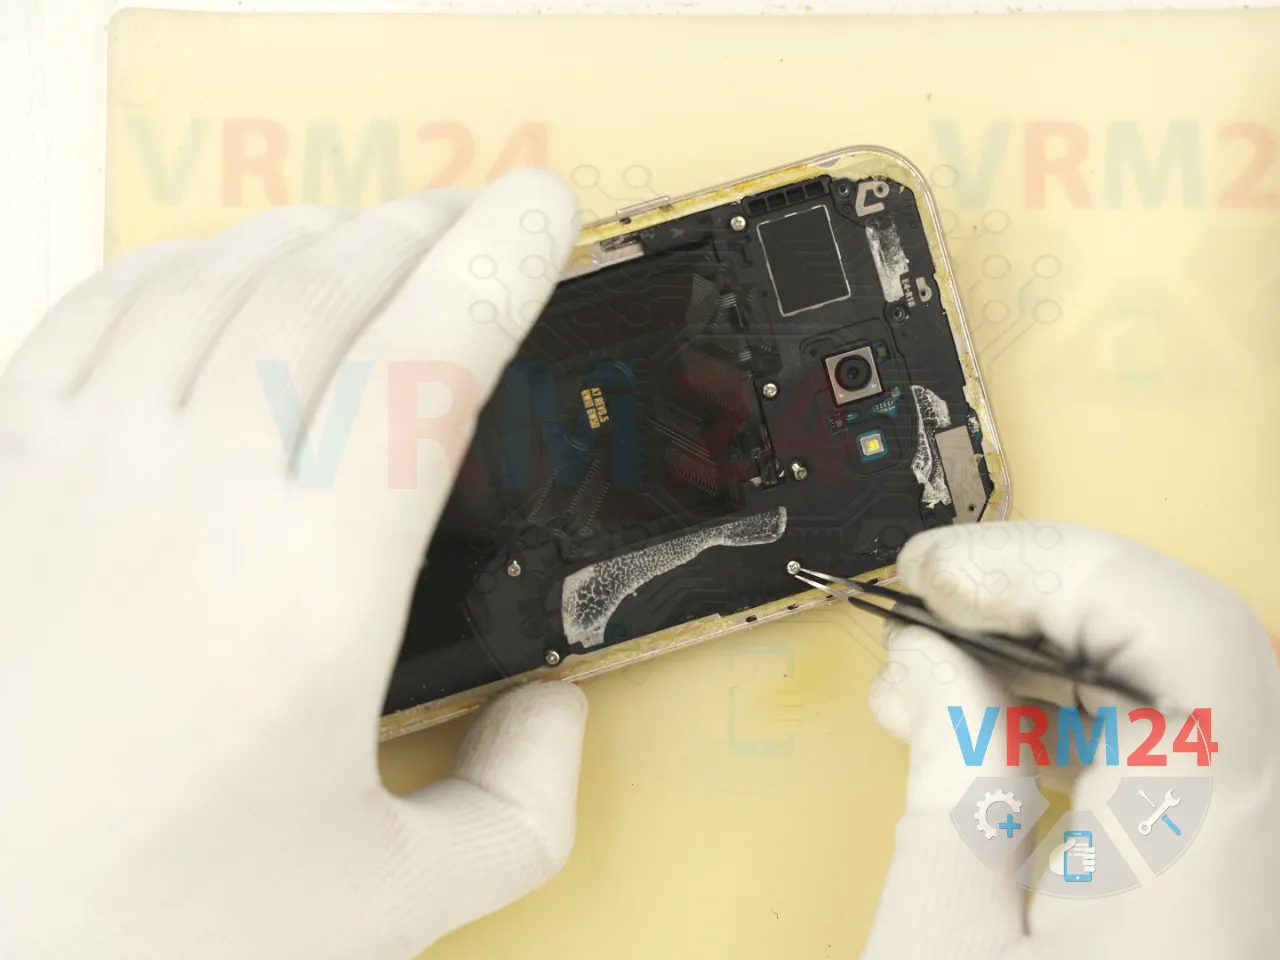
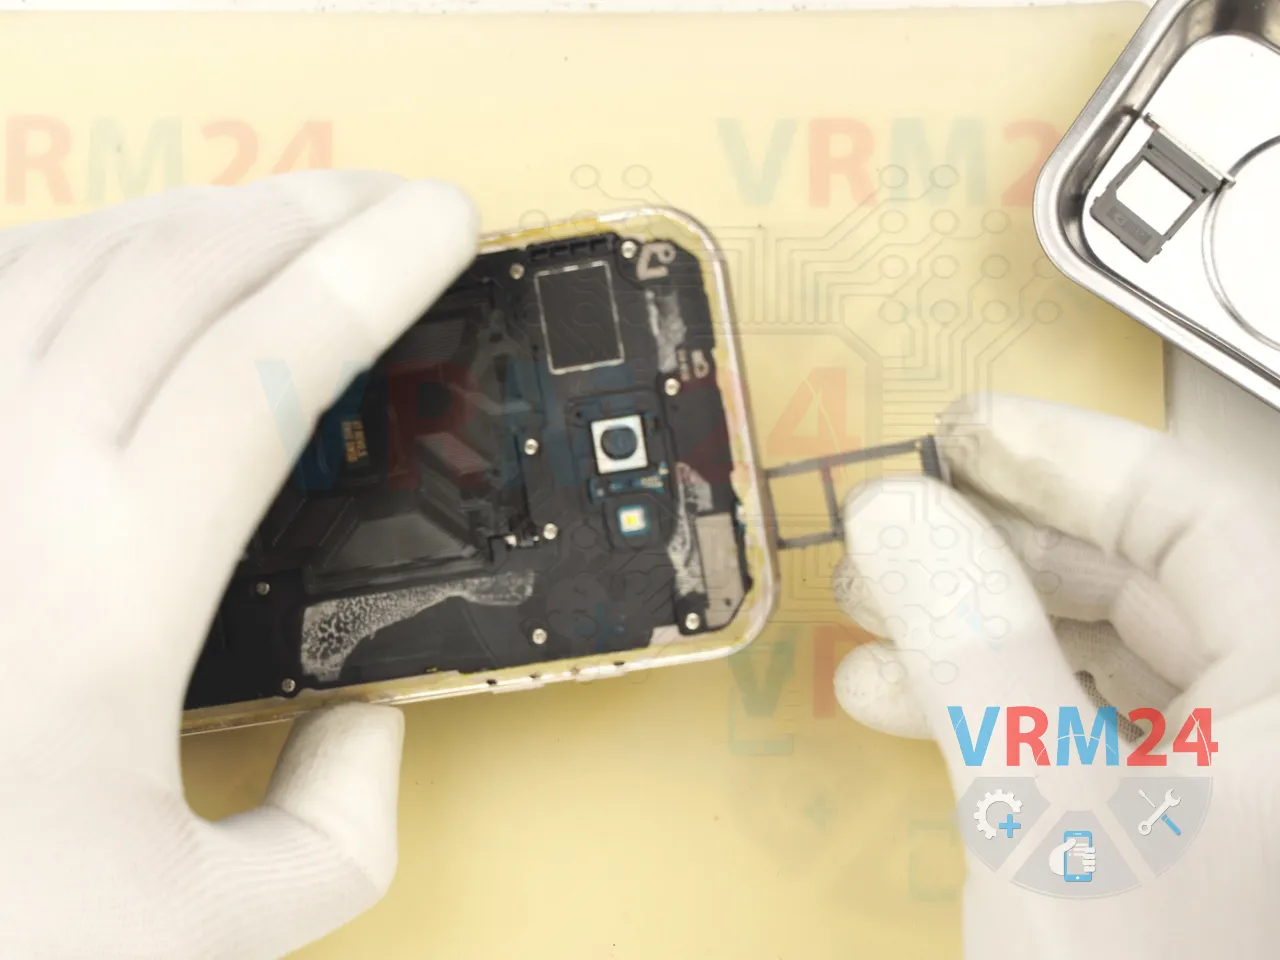
Next, we’ll remove the top and bottom internal covers using a non-metallic pry tool.
Slide it into the gap between the cover and the display frame, then gently lift and pop the covers off.
⚠️ Important: the top cover connects the power button to the motherboard.
Without this cover, even if the battery is connected, you won’t be able to power on the phone.
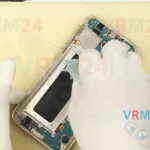
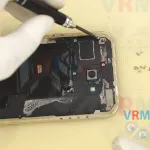
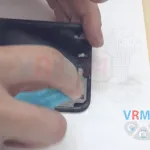
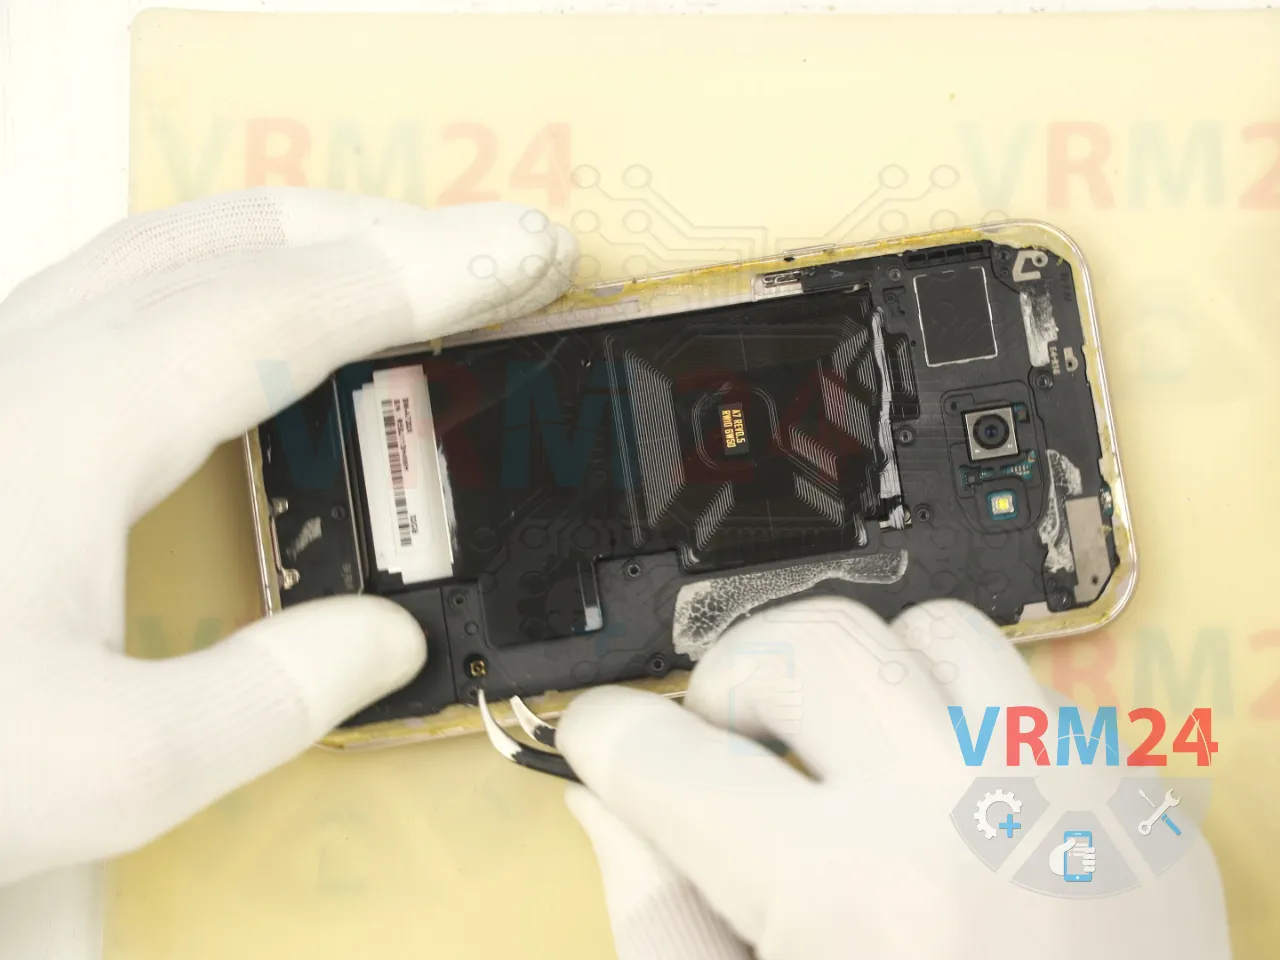
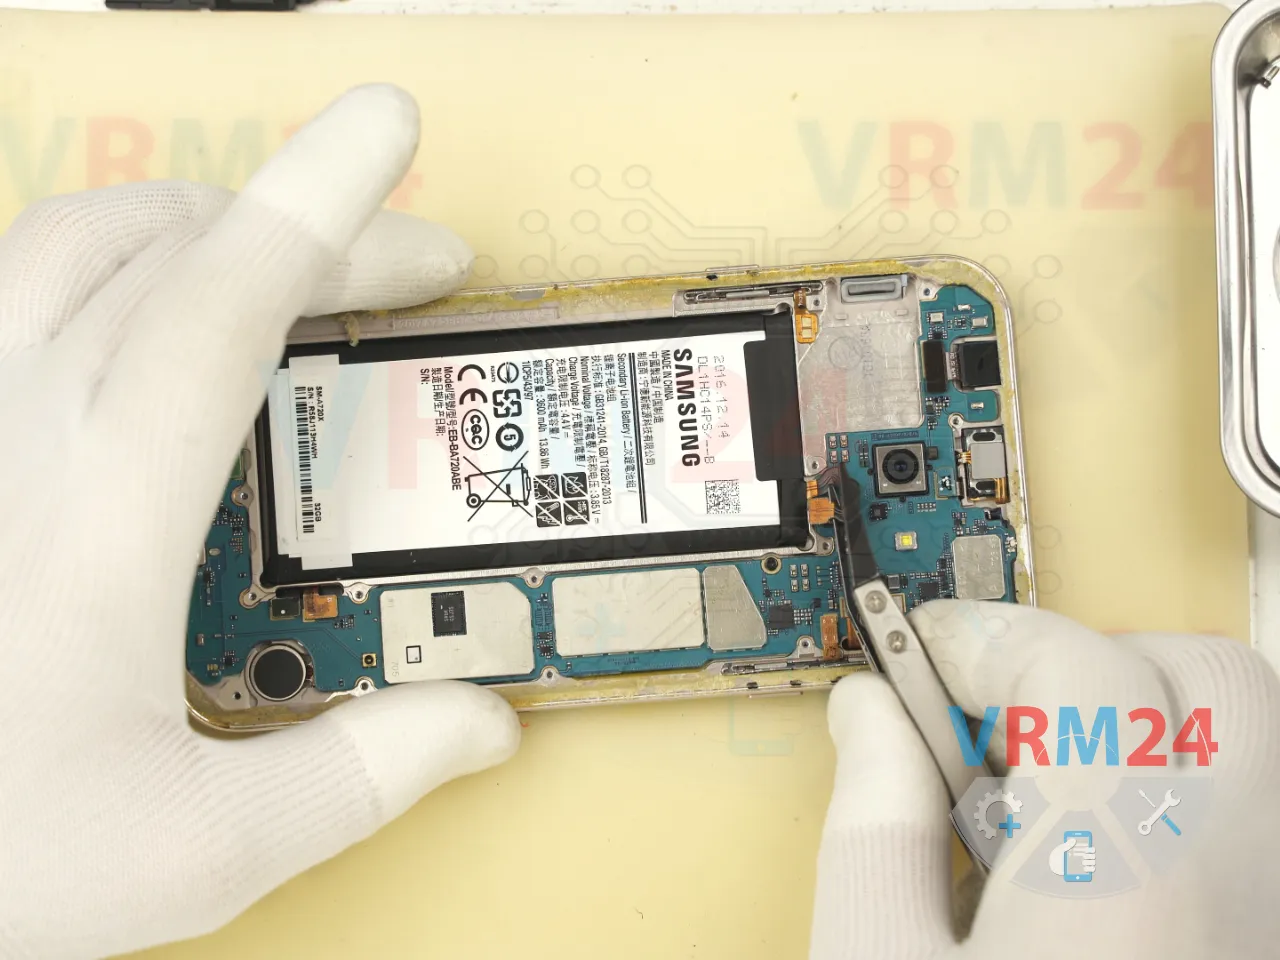
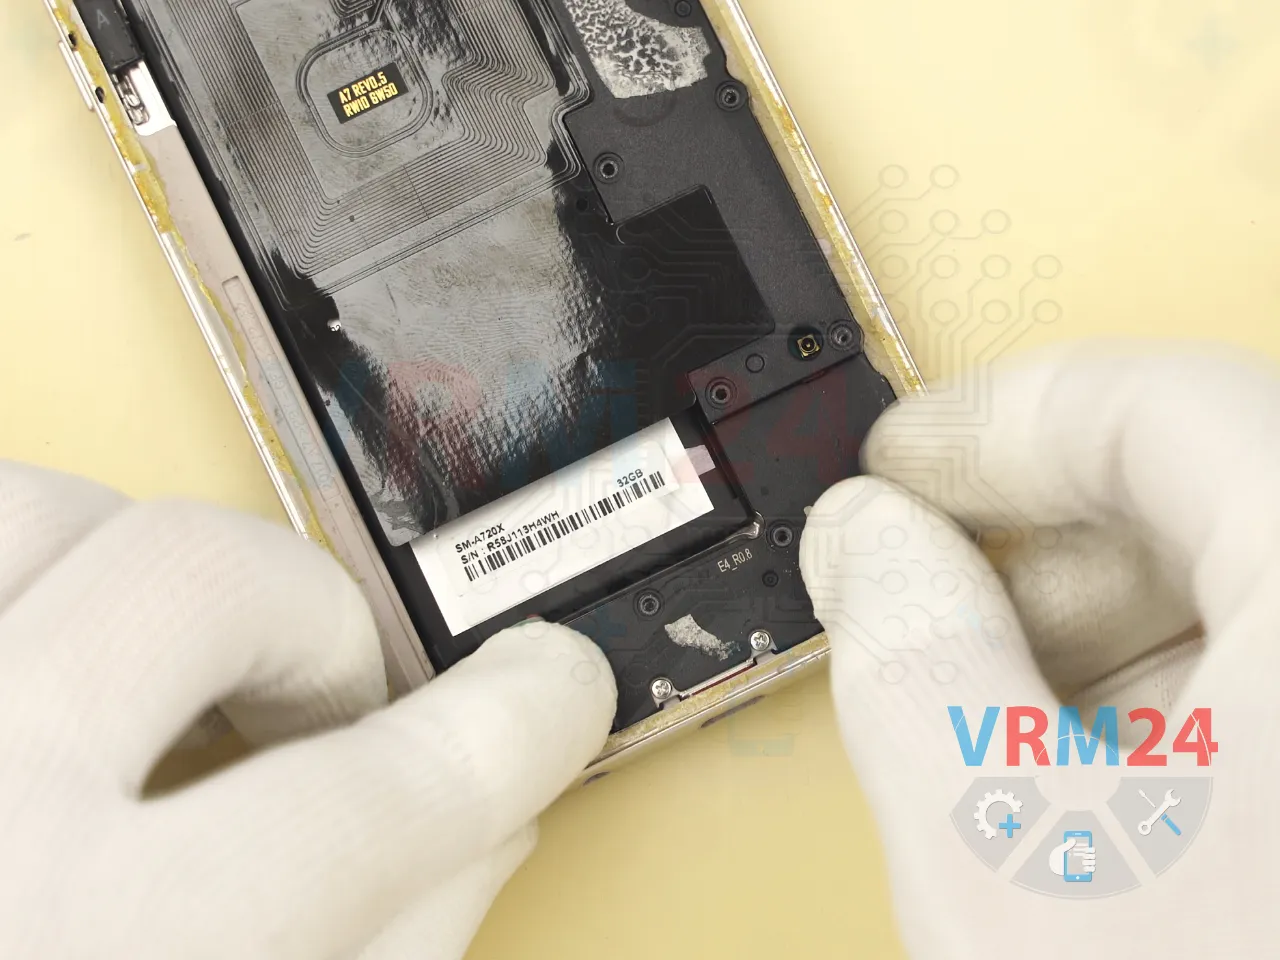
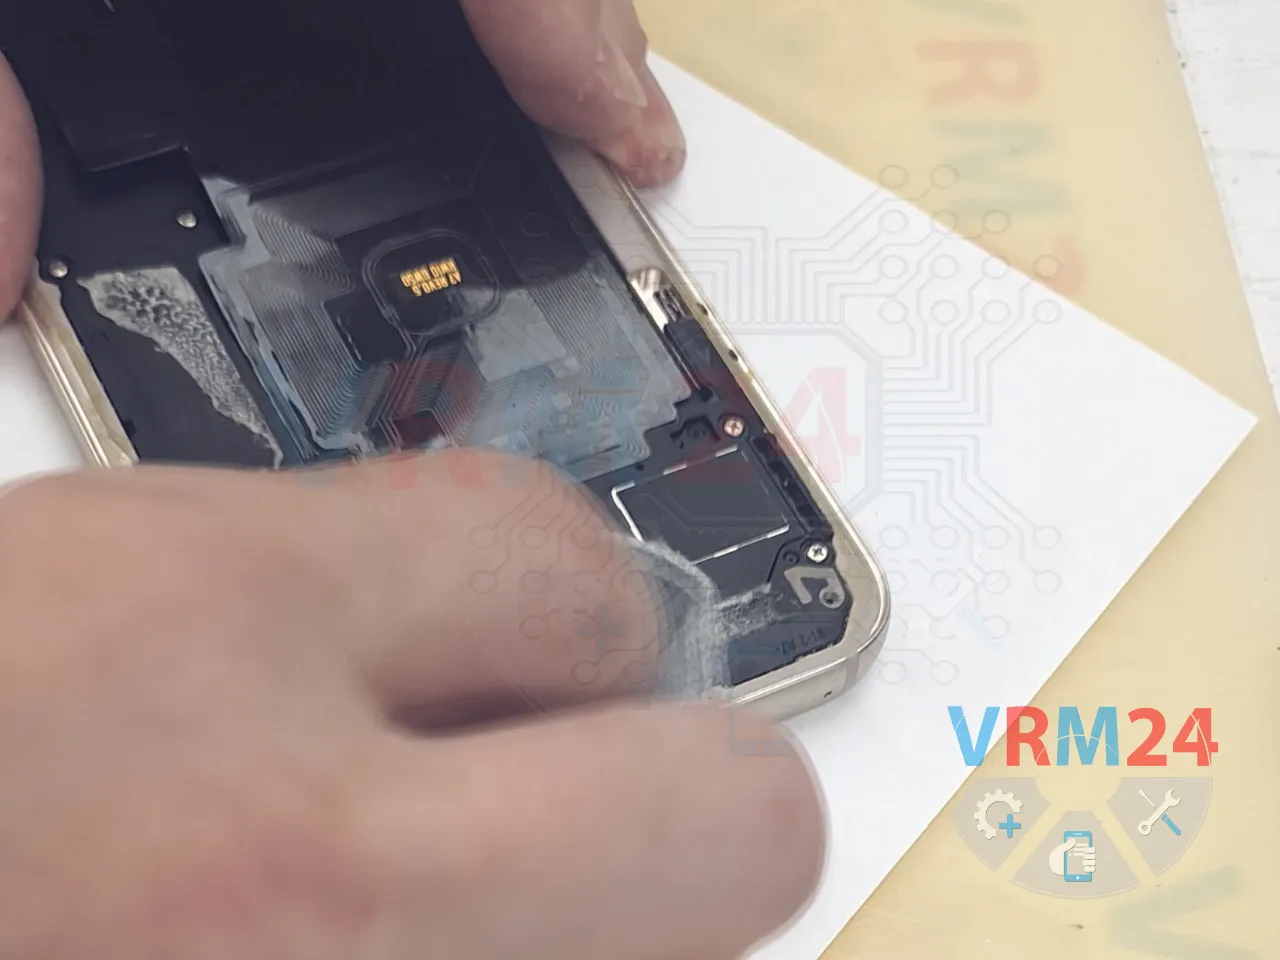
And, we disconnect the battery connector using a plastic tool.


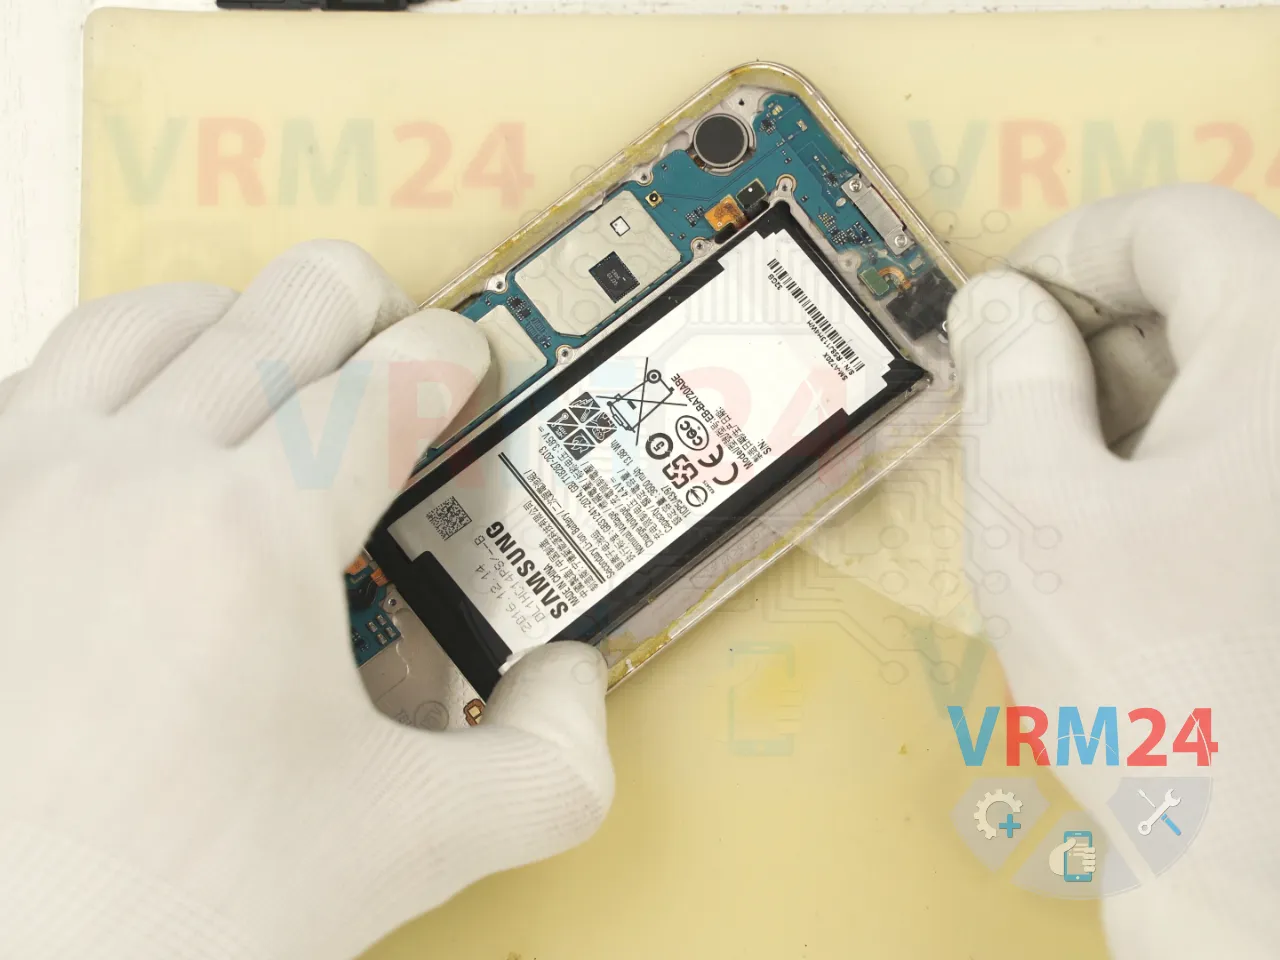
Then, we can begin removing the battery itself.
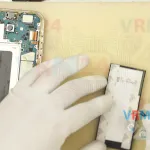
Use the same thin plastic film to slide between the battery and the display frame.
Carefully slice through the adhesive underneath.
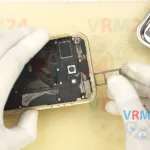
It’s a good idea to cover the camera lenses with protective film to avoid dust getting on them.
Once you’ve created a small gap under the battery, apply a bit of isopropyl alcohol to loosen the adhesive.
Dampen the plastic film slightly, then gently slide it underneath the battery.
The alcohol helps break down the glue.
Be patient and gentle—don’t force anything.
You can slightly lift the battery with the tool, but avoid damaging the battery casing.
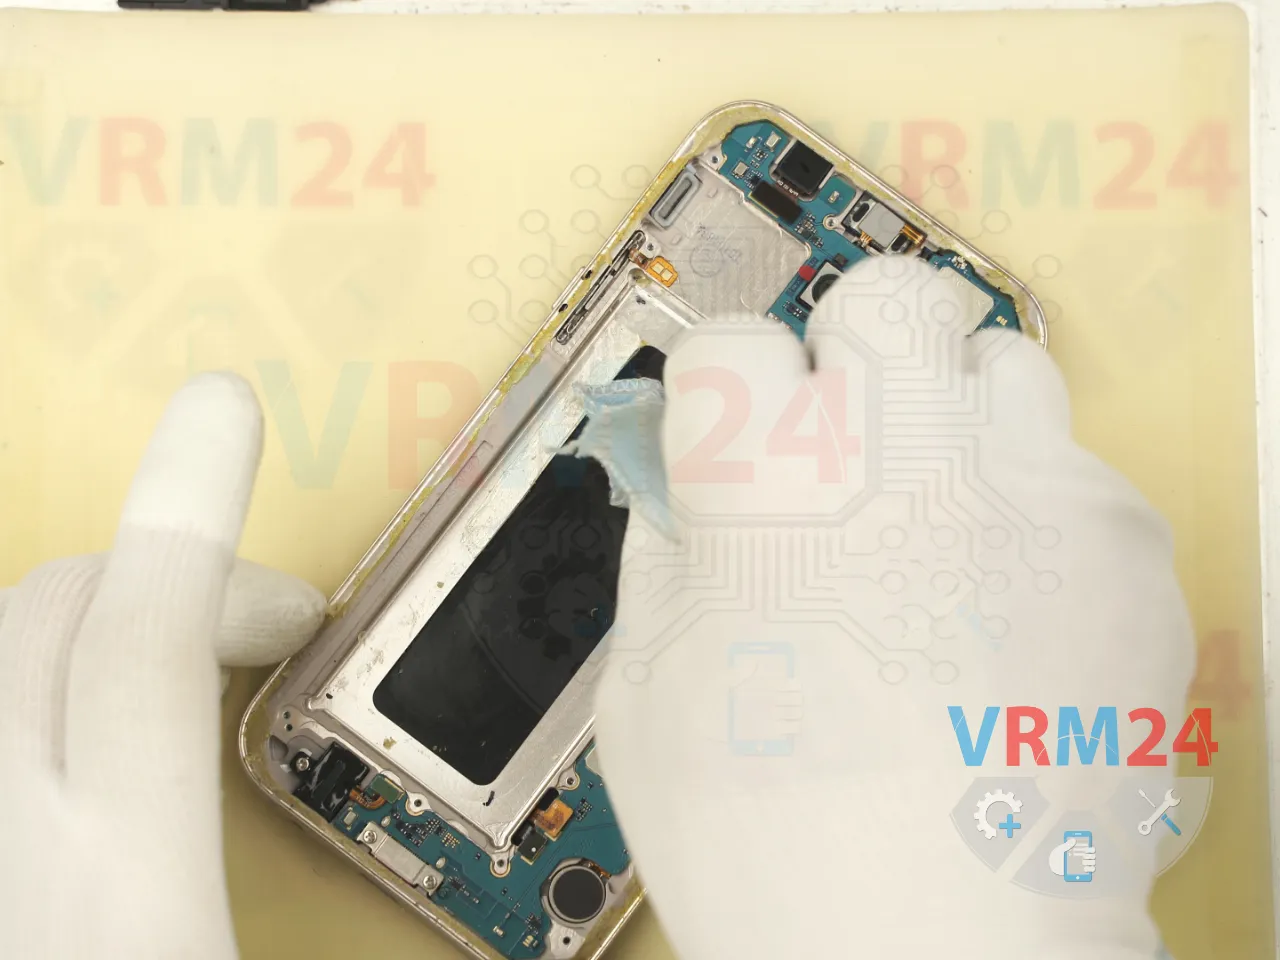
There are no holes under the battery that lead to the screen, so any leftover alcohol here won’t damage the display.

Now, clean up the frame—remove any leftover adhesive so the new battery sits firmly in place.
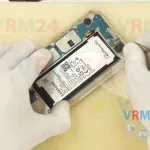
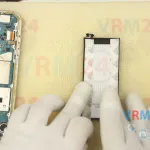
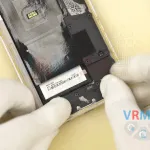
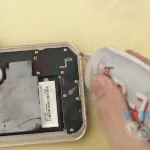
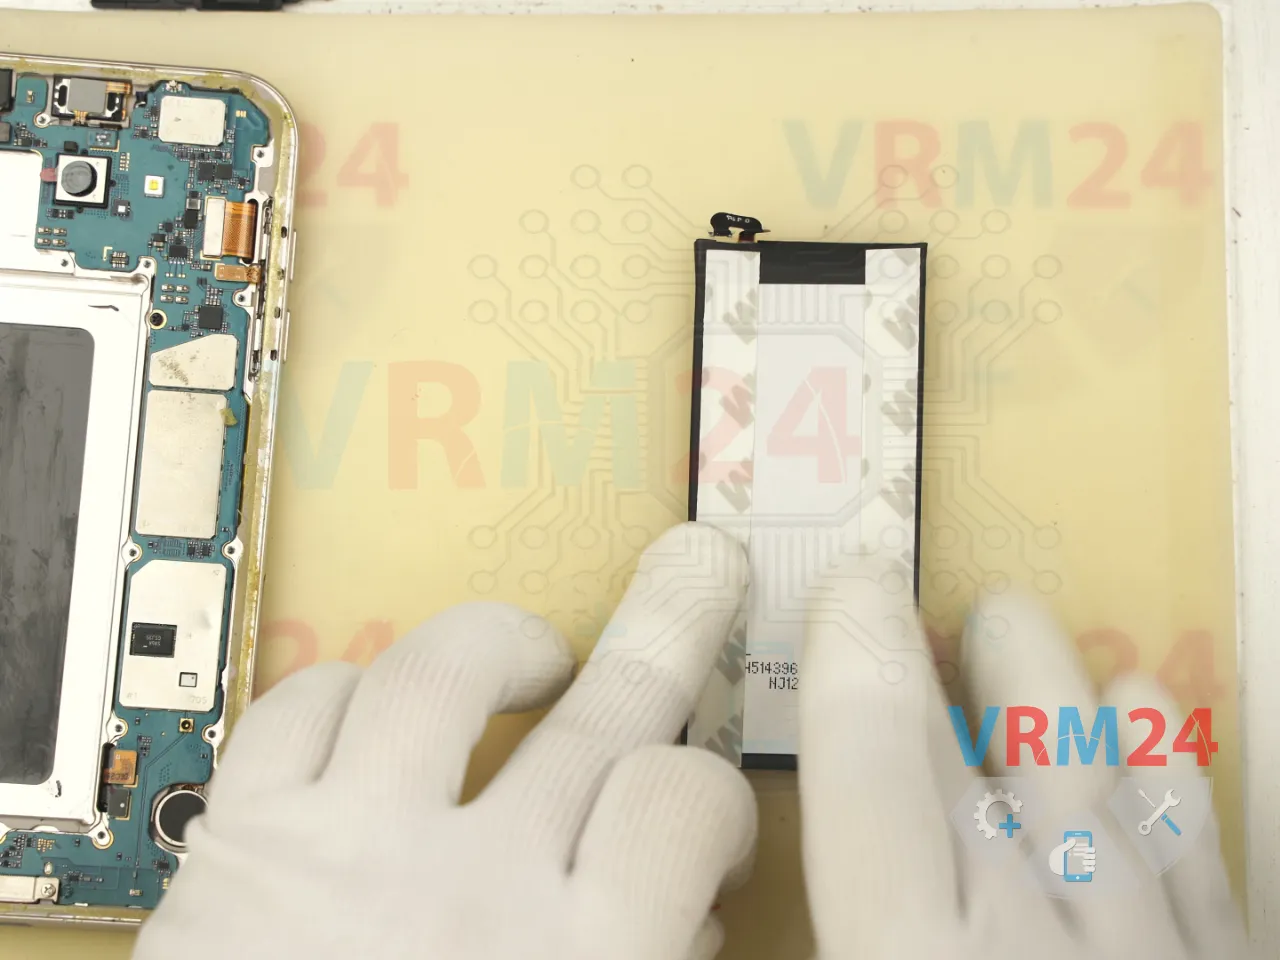
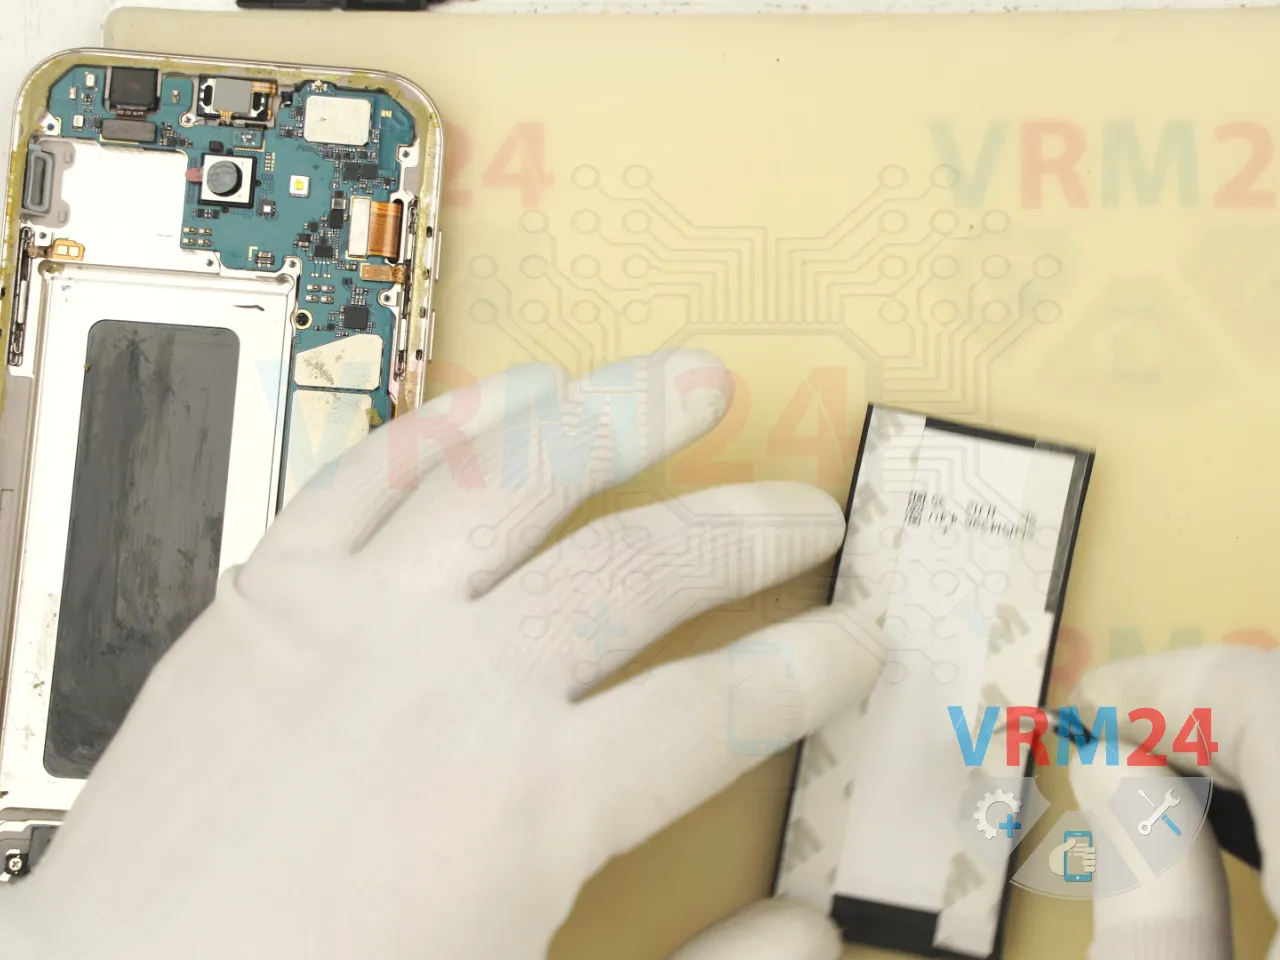
We’re comparing the old and new batteries.
Check the connectors and flex cable alignment to make sure everything matches before reinstalling.

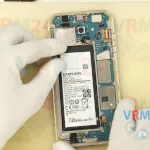
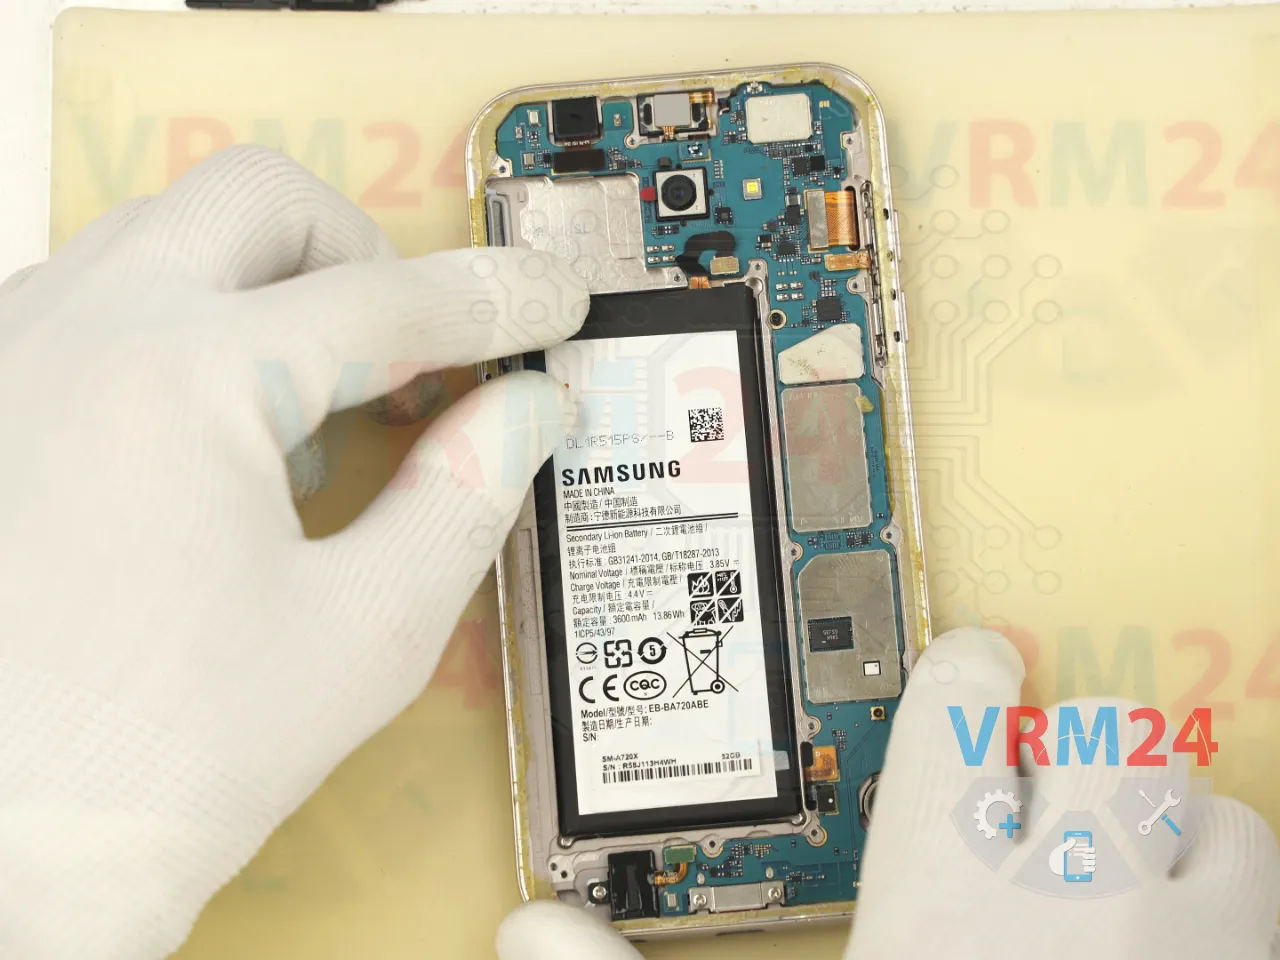
Apply double-sided adhesive tape—we're using 3M tape—to the frame.
Peel off the backing and prepare the battery for installation.
Make sure the battery is aligned so that the connector will be easy to plug in.
Press it gently into place.


Before full reassembly, it’s important to test the battery.
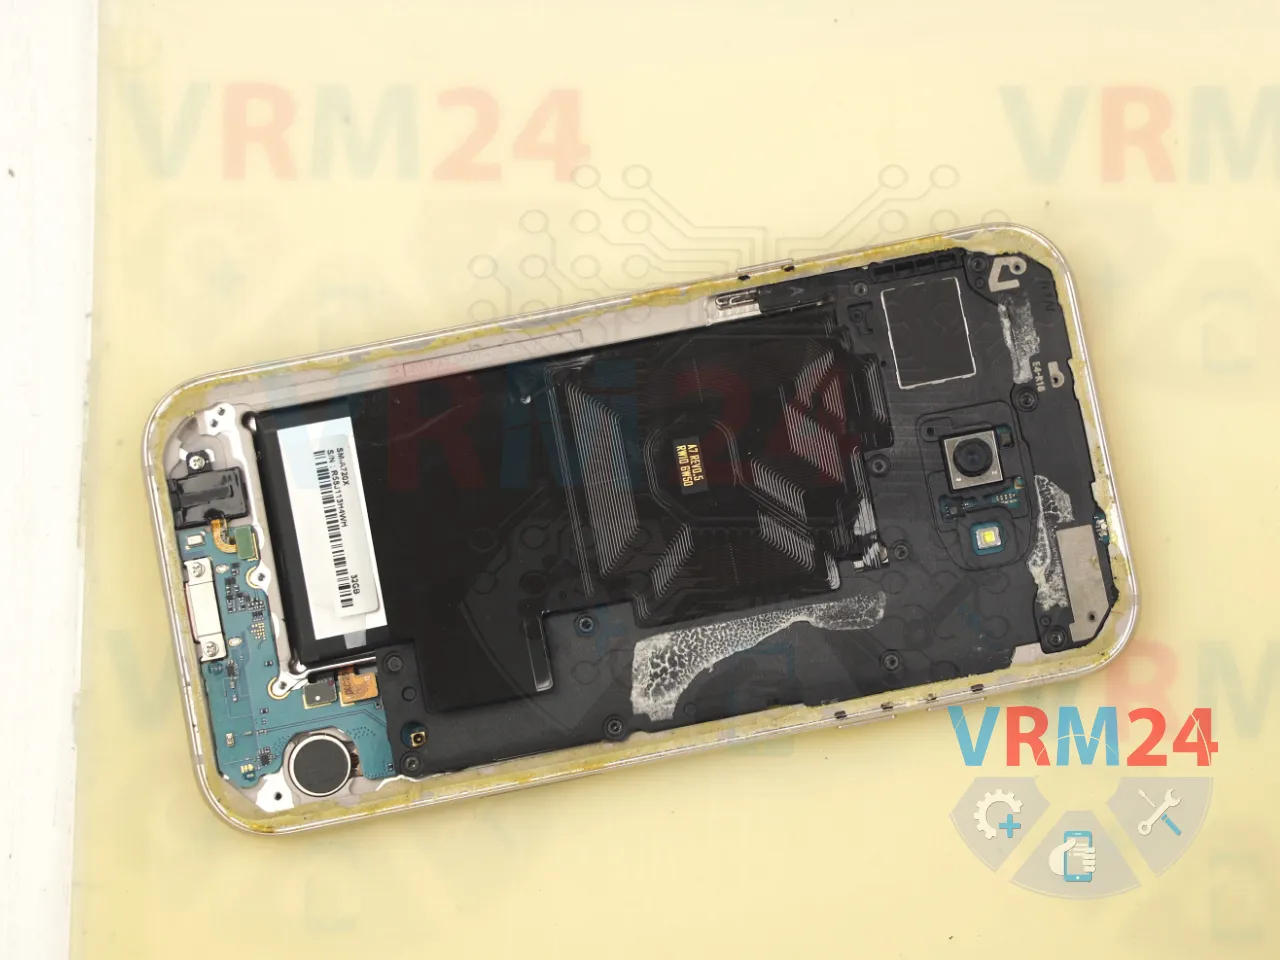
Reconnect the top cover and secure it with a couple of screws—without it, the power button won’t function.
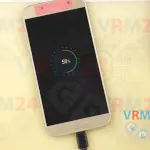
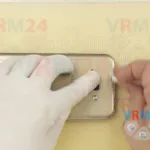
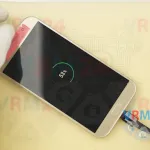
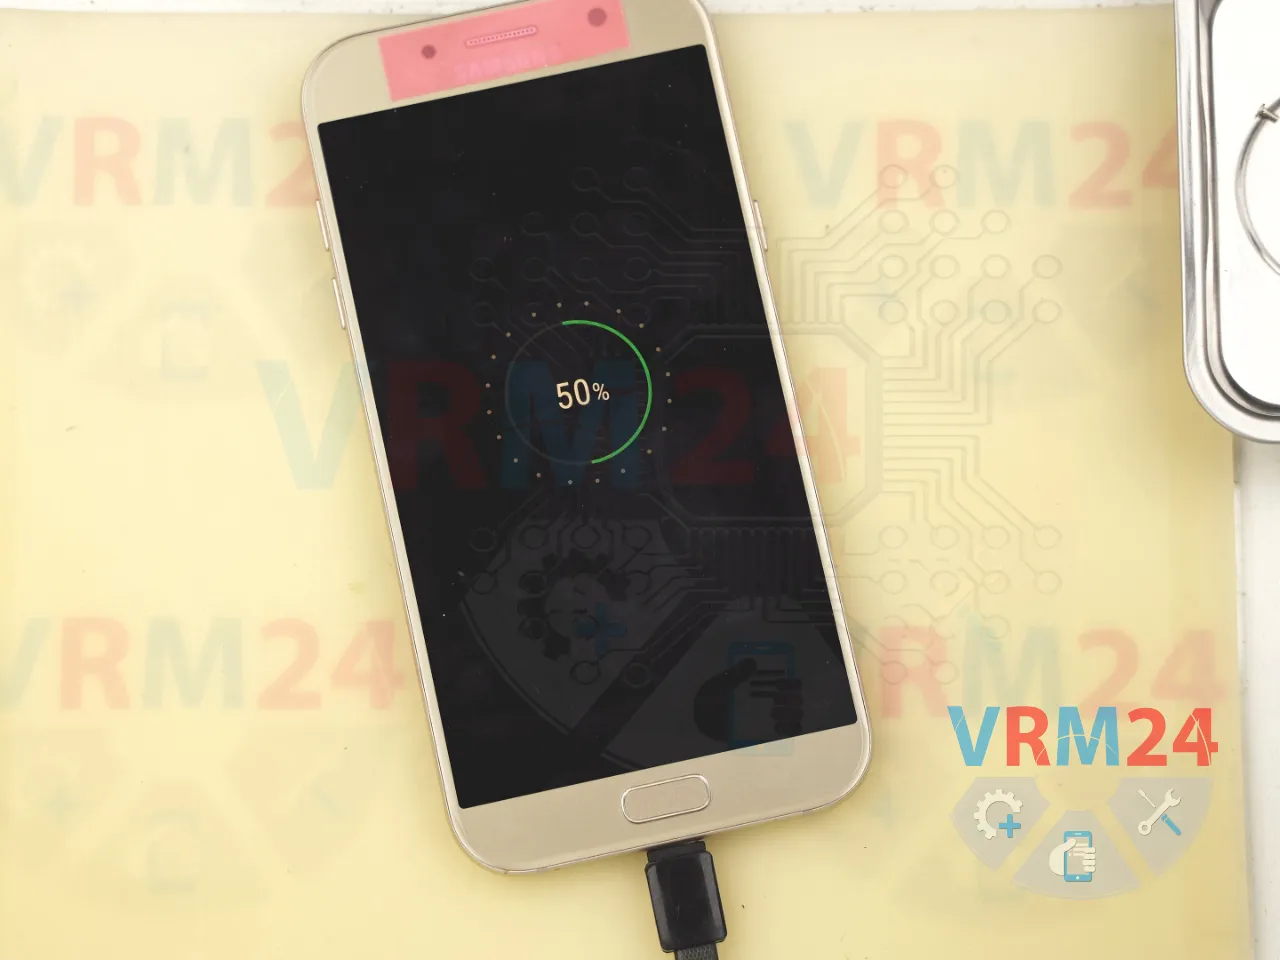
Power on the device to check if it boots up with the new battery.
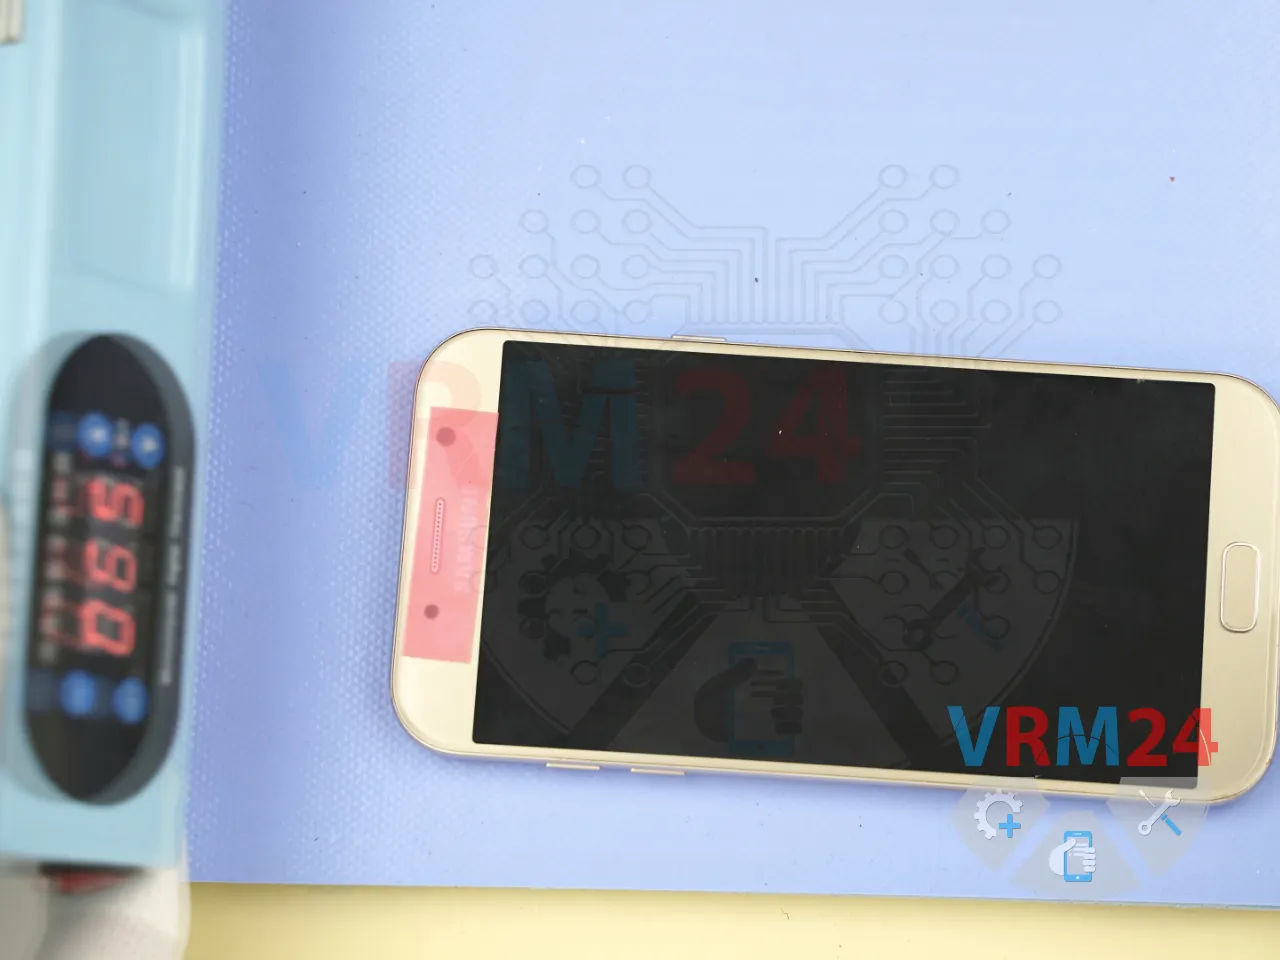
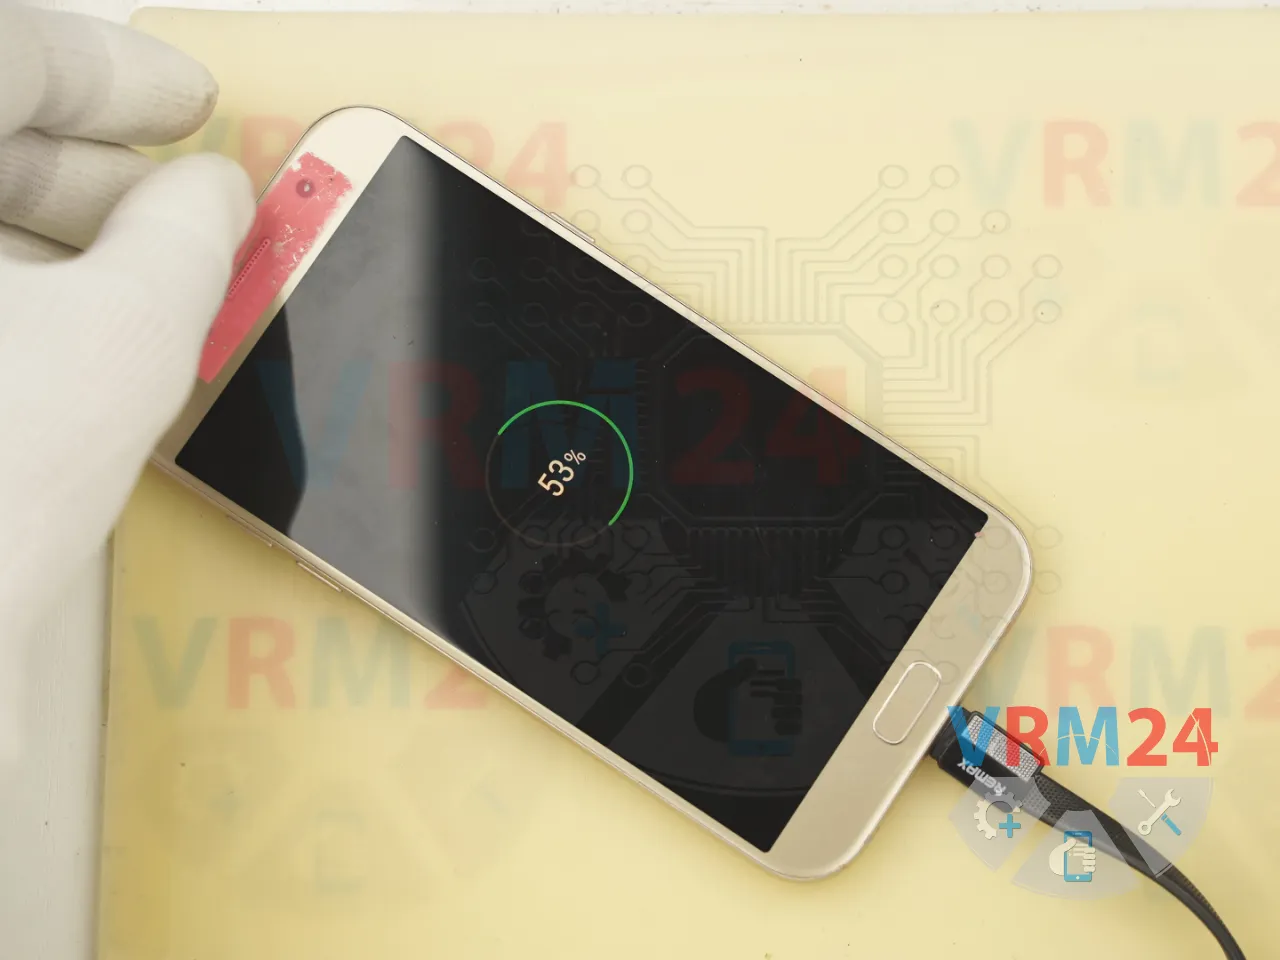
Then test charging—plug it in and make sure it recognizes the charger.
If you're doing this at home, you can simply plug the phone in for a few minutes and check if the battery percentage increases.
In our case, since this is for a customer, we check charging more carefully.
We leave it plugged in for a short time and verify battery progress.
We had 50%, and now it’s 52%—so it’s charging, and everything works.


We see that charging works, so we continue with reassembly.
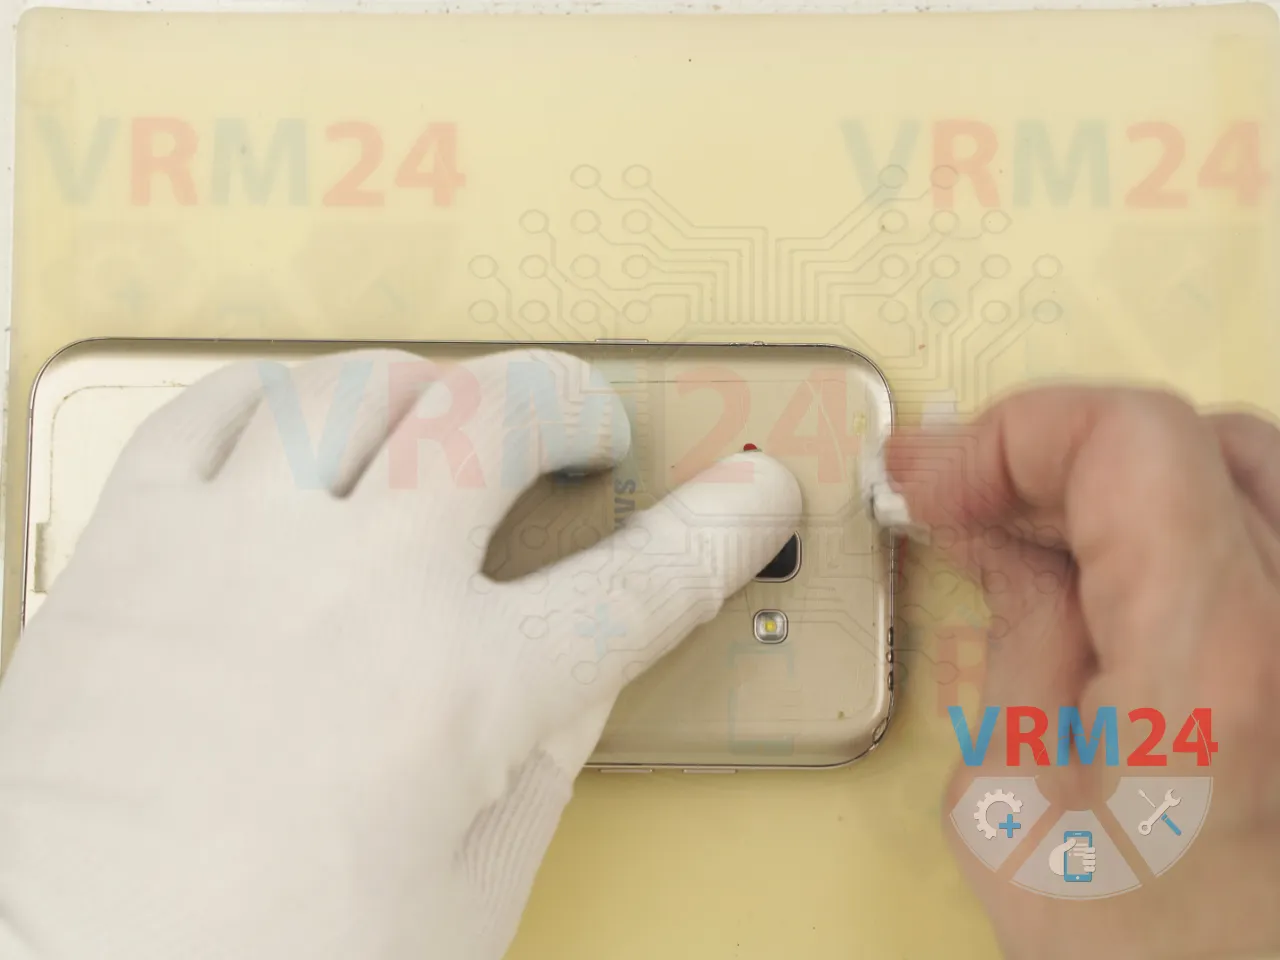
And, we reinstall the SIM and SD card trays.


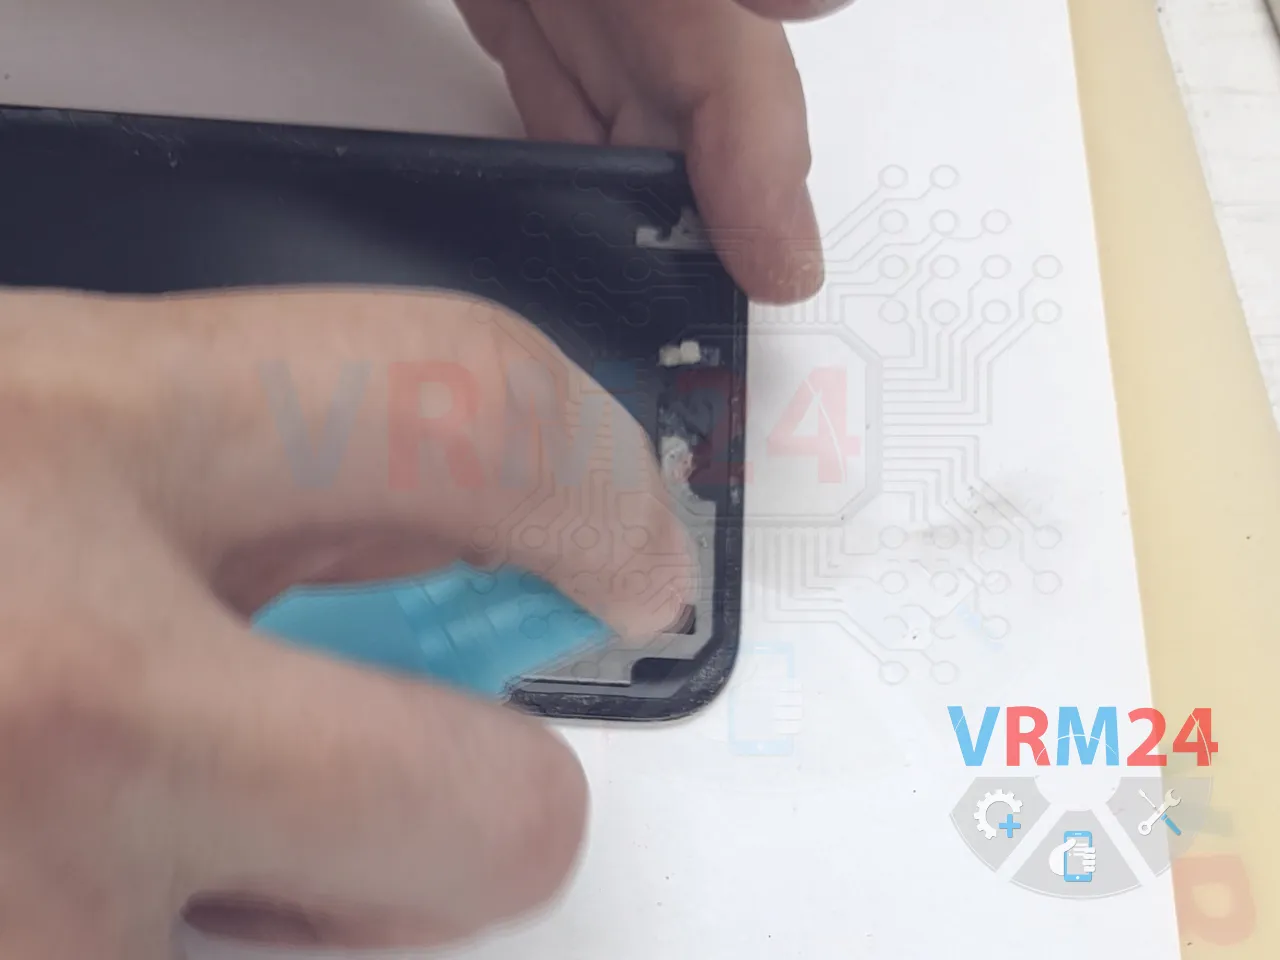
Before sealing the back, clean the areas where new adhesive will be applied.
You don’t need to remove all the old glue—just clean where the new adhesive will go.
Clean the frame and back cover with isopropyl alcohol and a lint-free cloth.
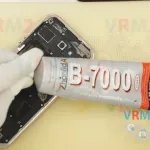
Now, apply B7000 adhesive in a thin, even layer around the edges.
Be careful near any openings—use less glue there to prevent overflow into internal parts.


Once the glue is applied, place the back cover and press gently into place.
Wipe away any excess adhesive with a cloth.

Double-check that the phone is still charging—that’s our final test.
It’s charging, so the repair was successful!

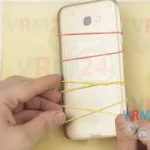
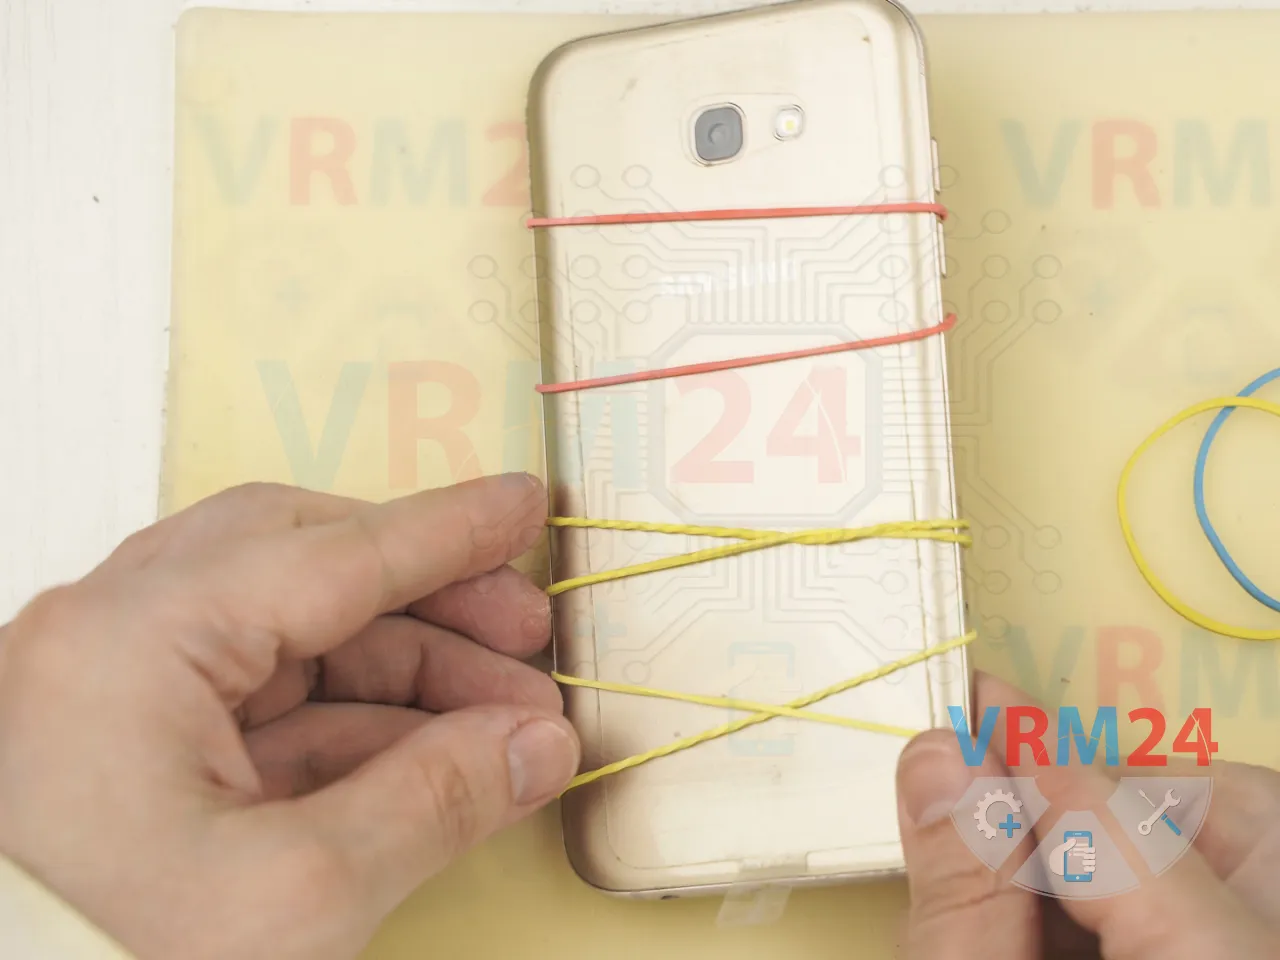
To finish, secure the back cover using rubber bands or even a couple of books.
In our case, we’re using standard rubber bands.
Wrap them around the phone and leave it like this for about 3 hours to ensure a strong bond.
And that’s it! The battery replacement is complete.

If you have a question, ask us, and we will try to answer in as much detail as possible. If this article was helpful for you, please rate it.