
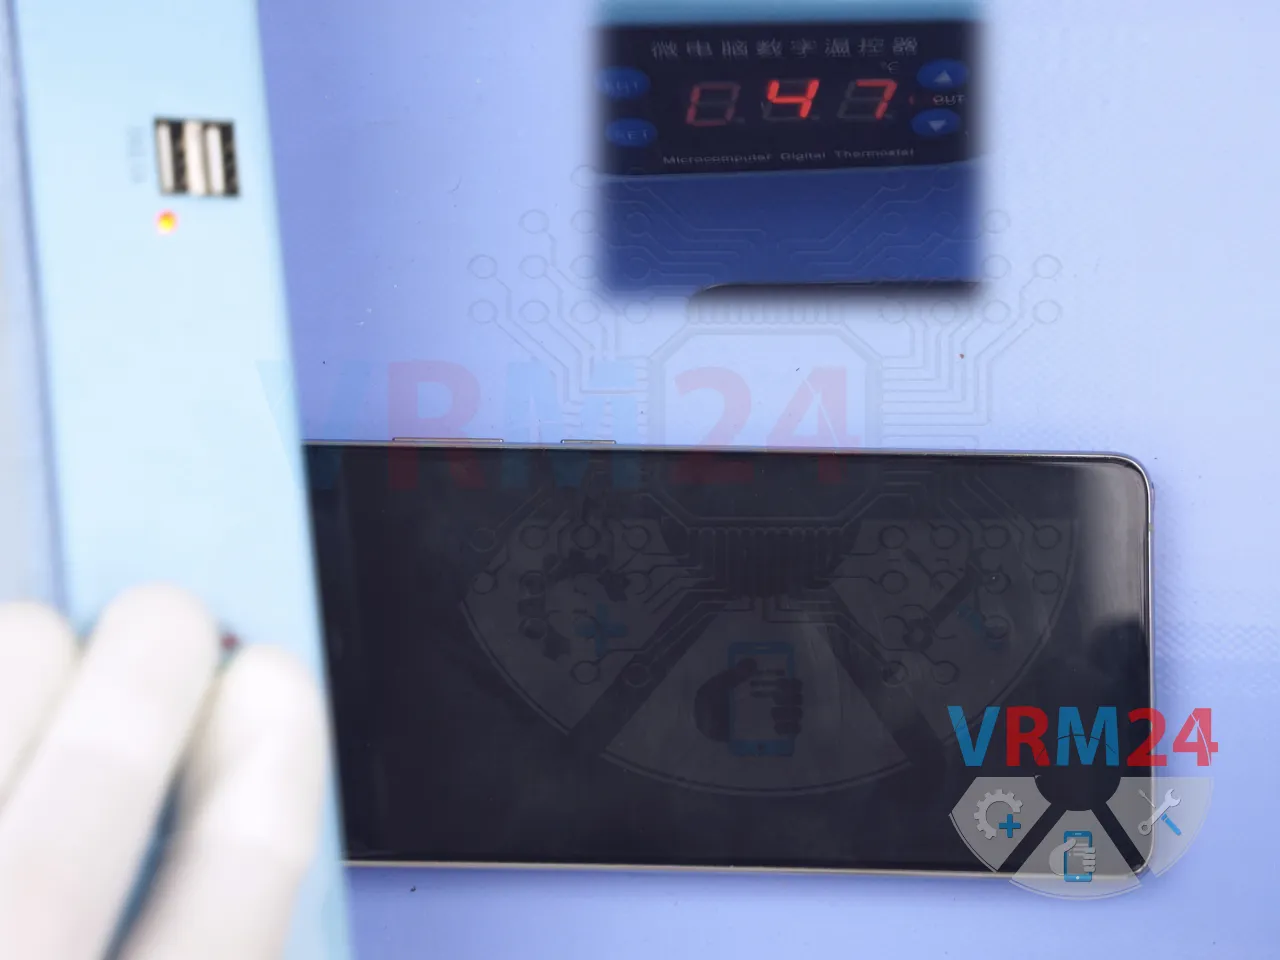
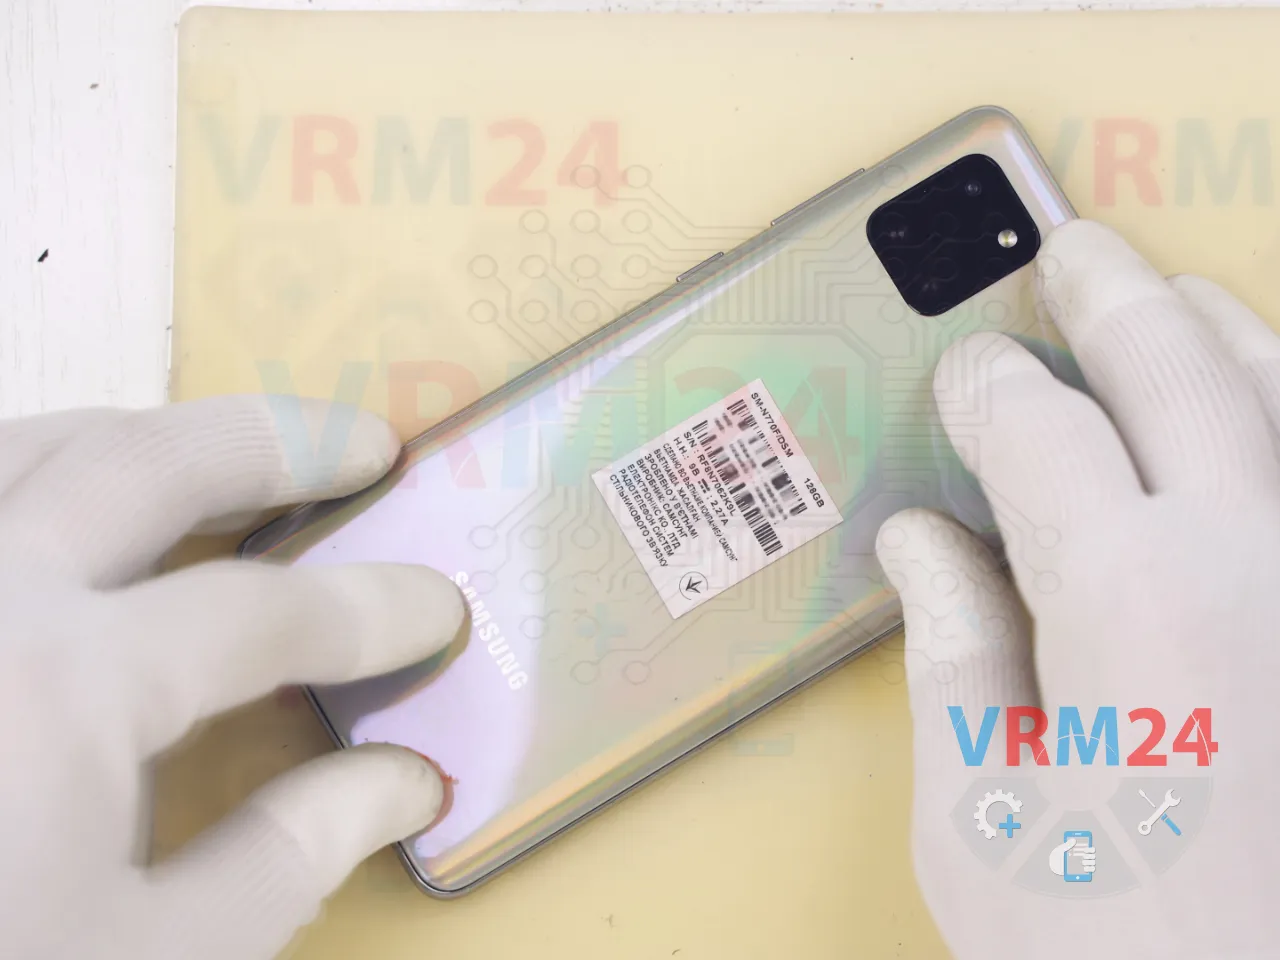
Today, we’ll be replacing the battery on a Samsung Galaxy Note 10 Lite.
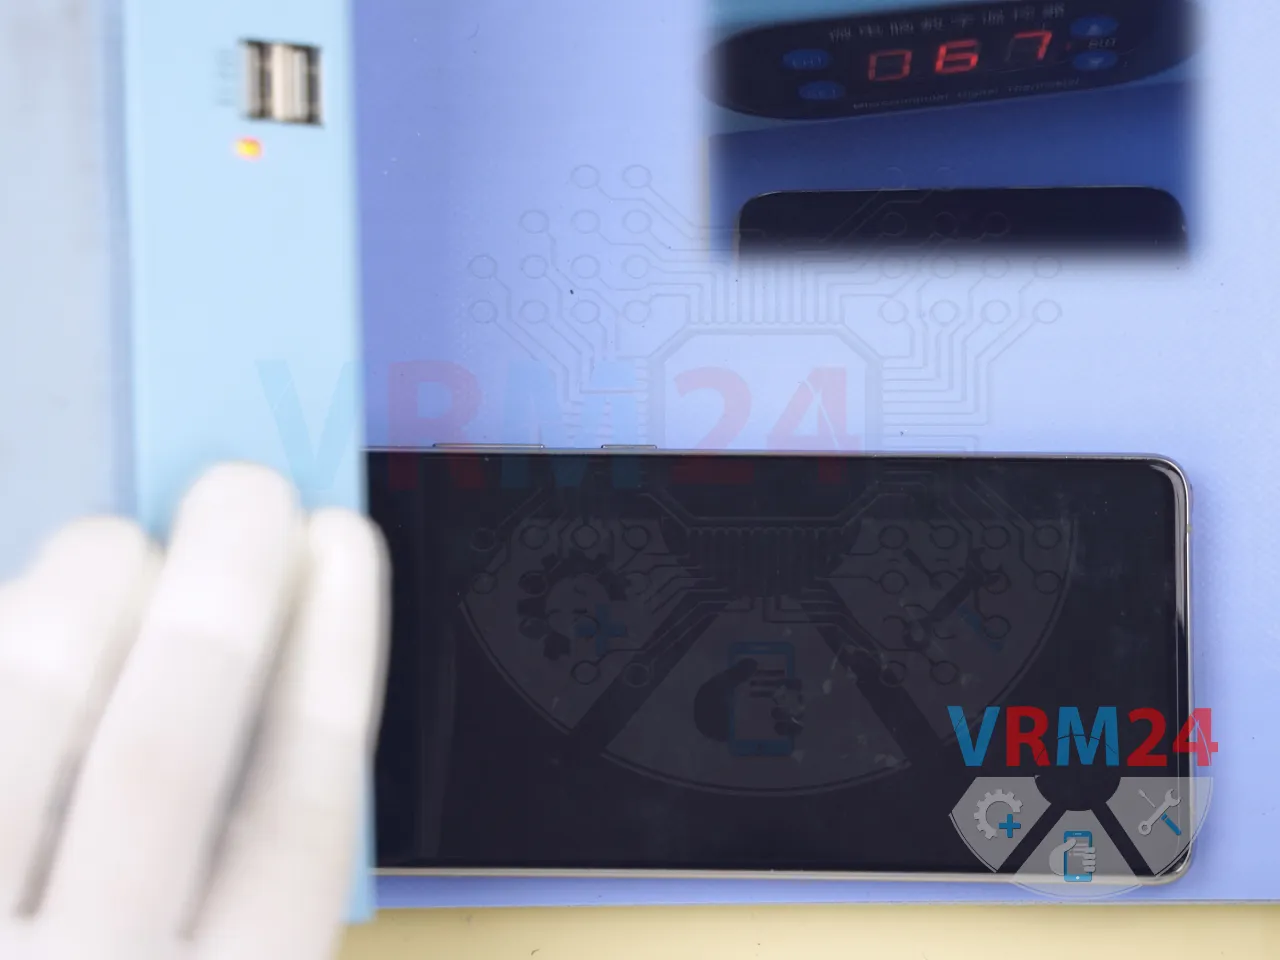
As always, the first step is to heat up the back cover to around 50°C or 140°F. We’re using a heating pad for this, but you can also use a hair dryer.
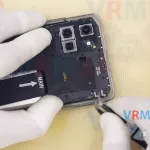
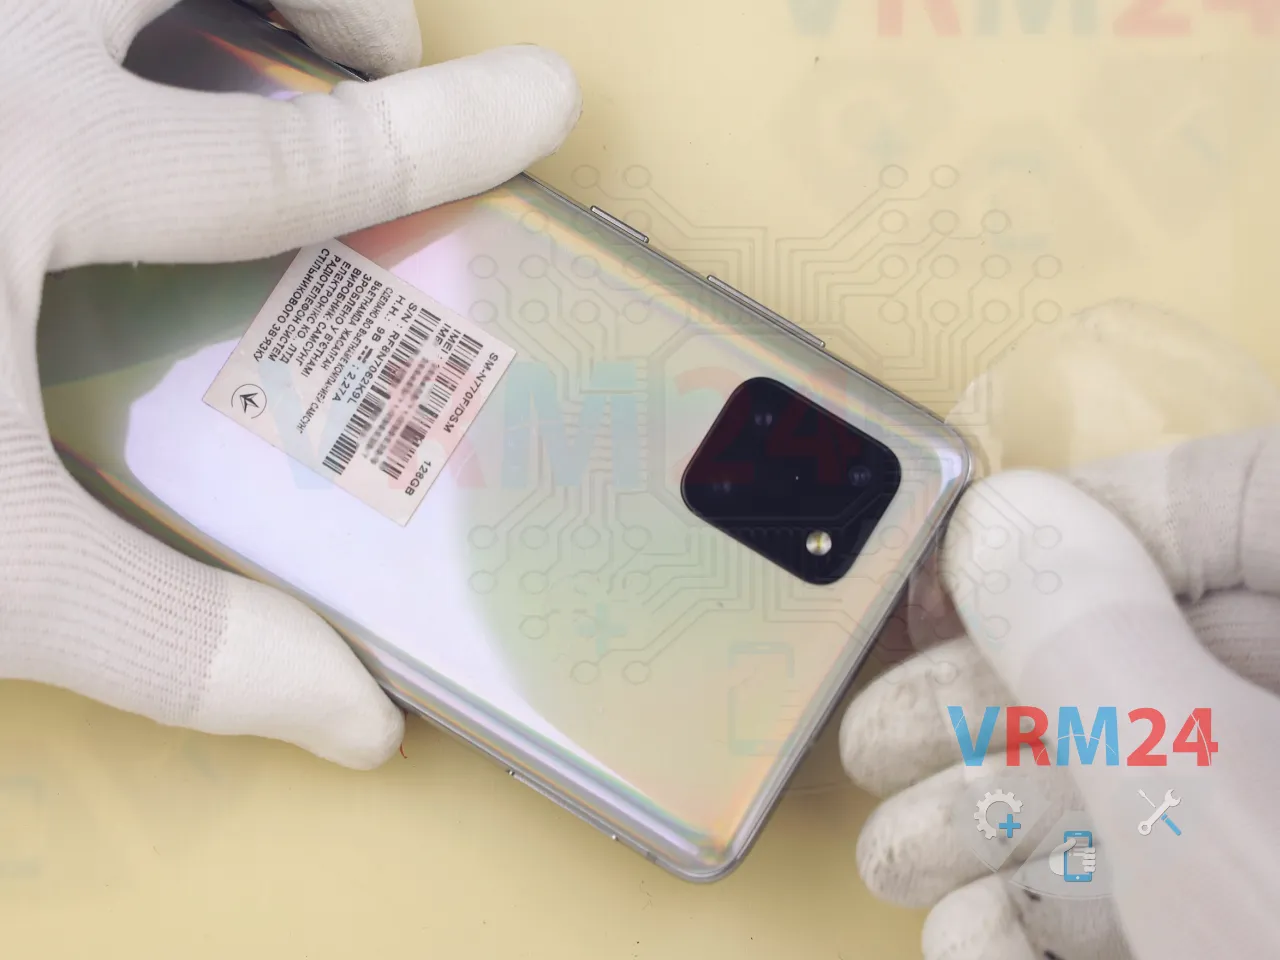
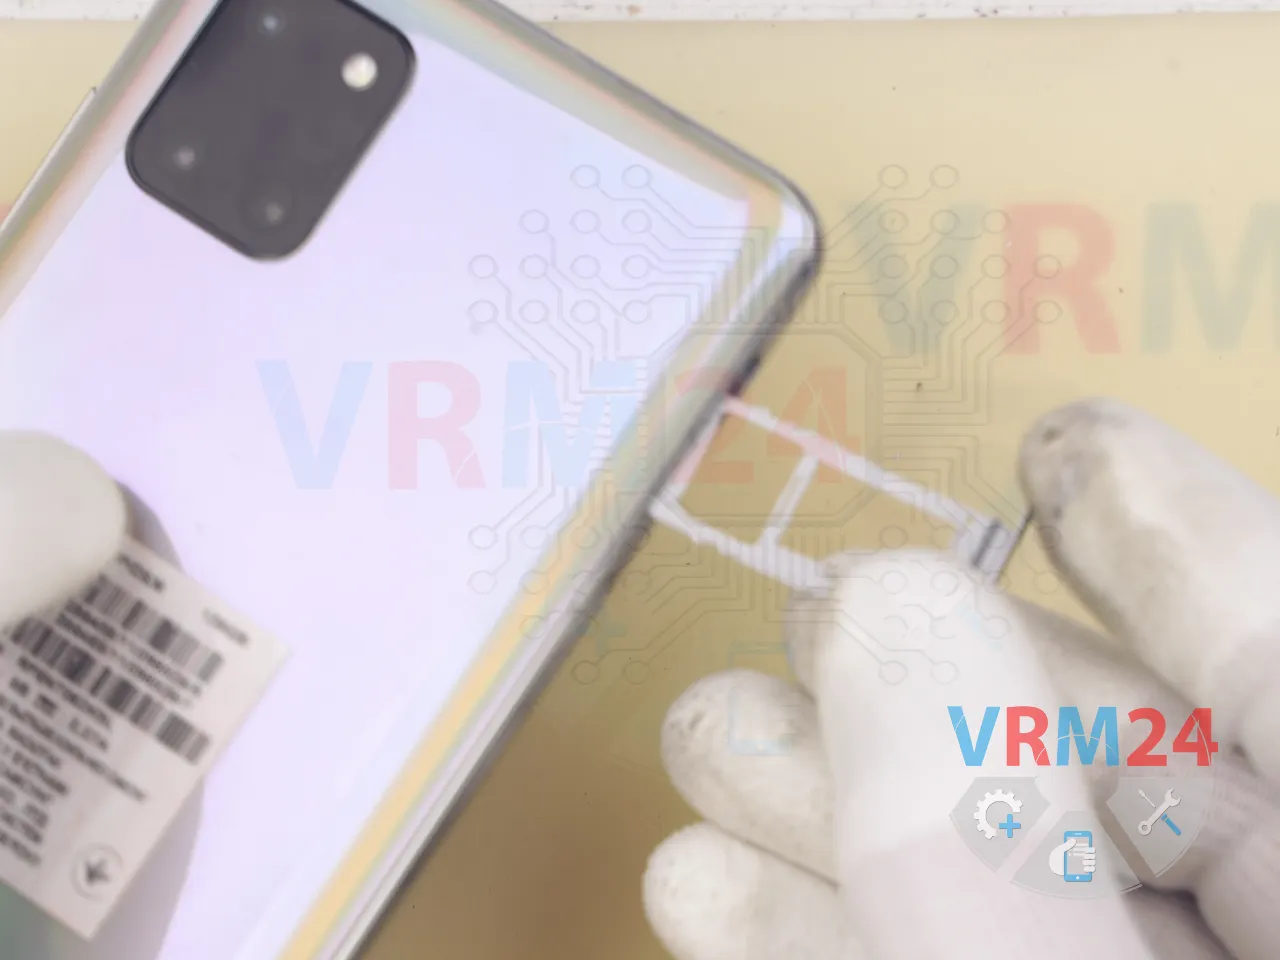
Once it’s heated, we use a thin plastic film to carefully cut through the adhesive and remove the back cover.
Be especially careful around the side buttons—there may be flex cables nearby. And of course, take extra care around the cameras to avoid damaging the lenses.
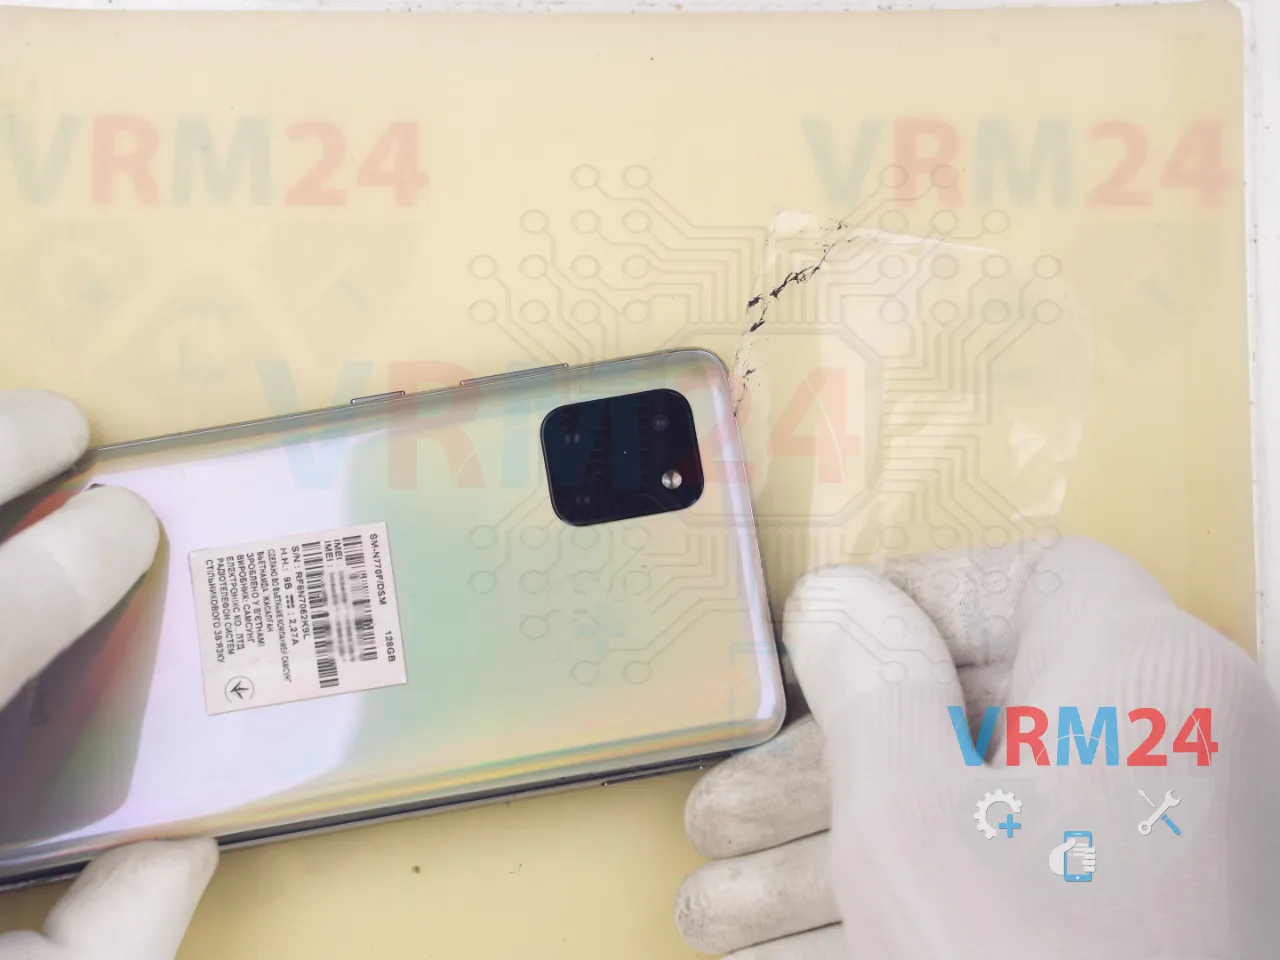
We slowly work our way around the edges, cutting through the adhesive. Pay attention to any areas where the cover is more difficult to remove.
Once the back cover is off, you’ll see only a gasket on it.


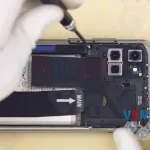
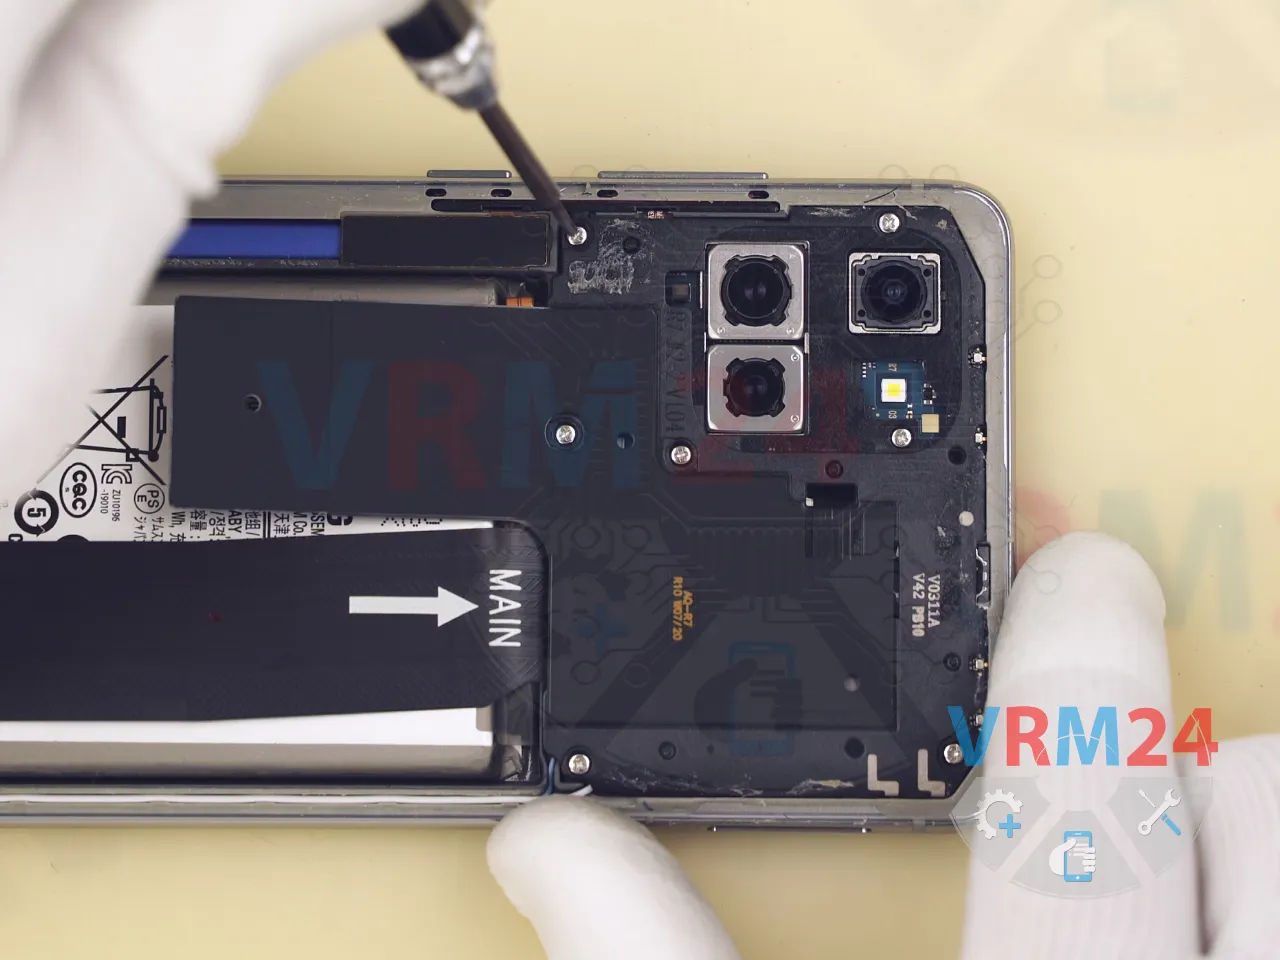
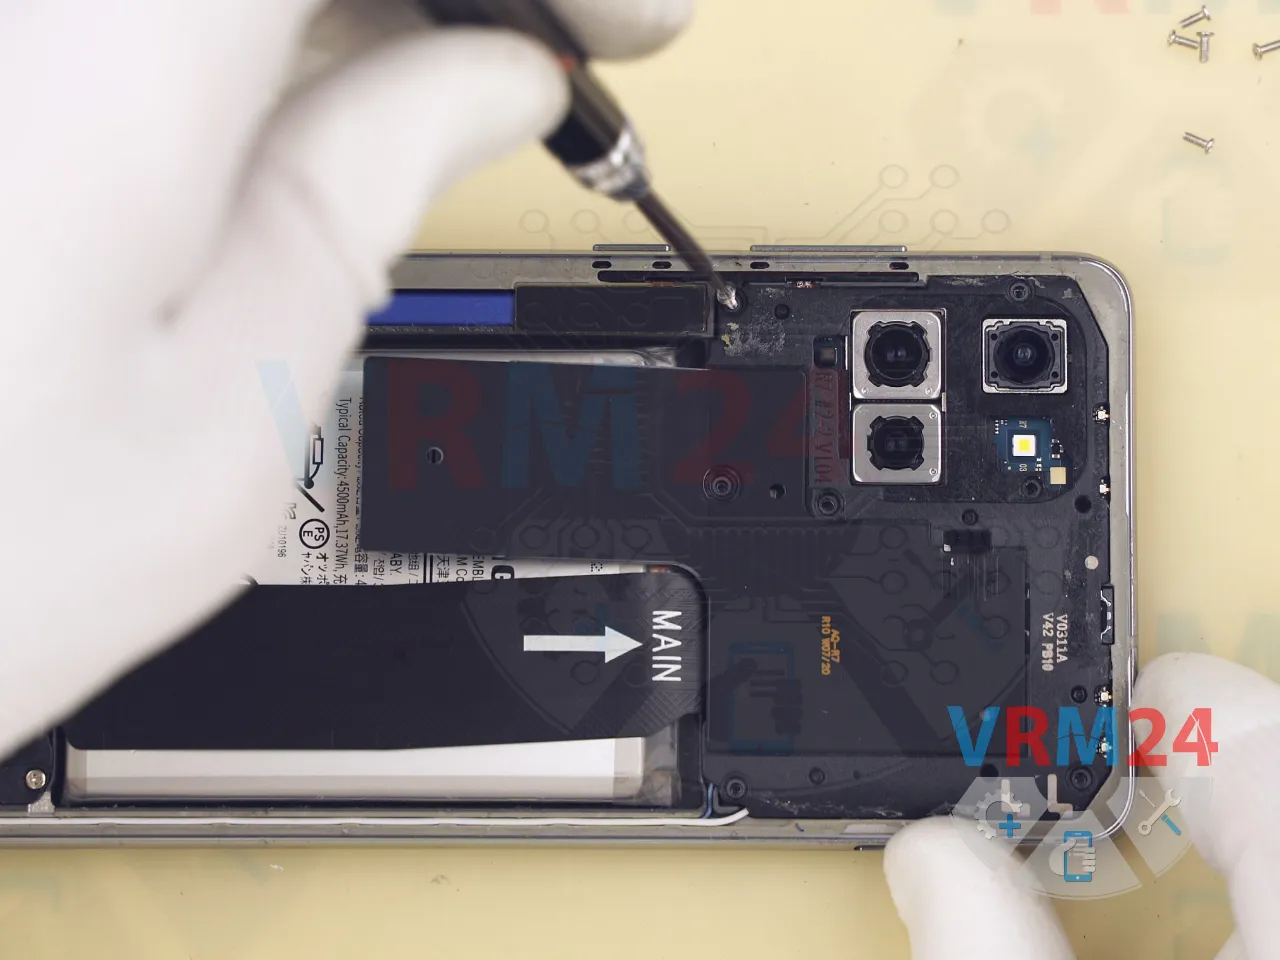
Now, we start by unscrewing the screws at the top. If any screws get stuck, you can use a magnetizer or tweezers to remove them.


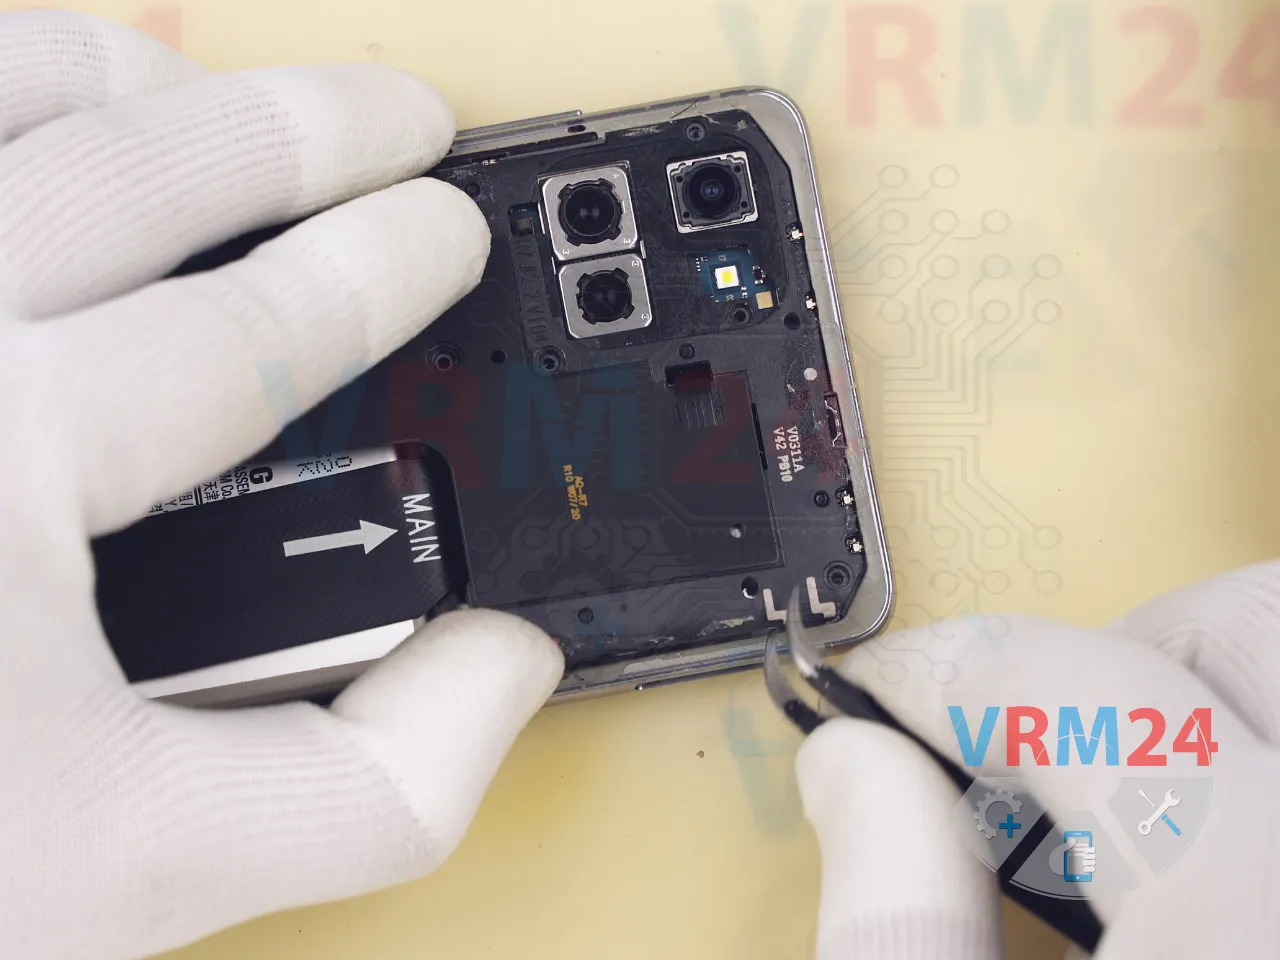
Next, we remove the top cover to access the battery connector. Gently lift the cover.
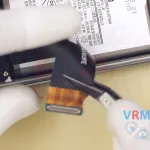
Use a non-metallic tool to disconnect the battery connector.
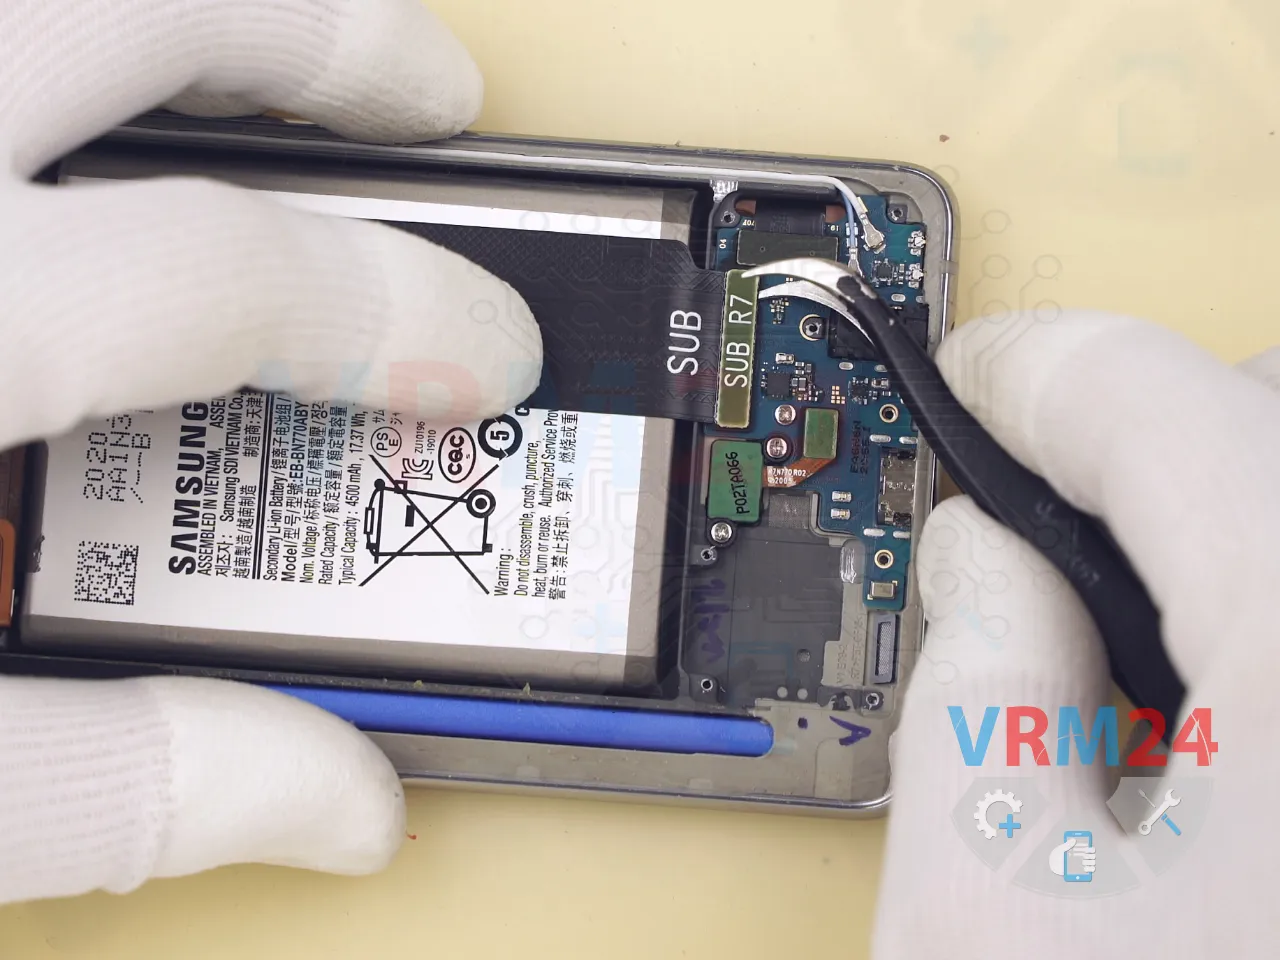
Then disconnect the inter-board flex cable. It's a good idea to check the flex and connectors right away—this main cable supplies power from the battery to the motherboard. Make sure everything looks intact.


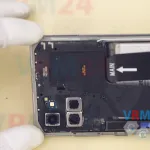
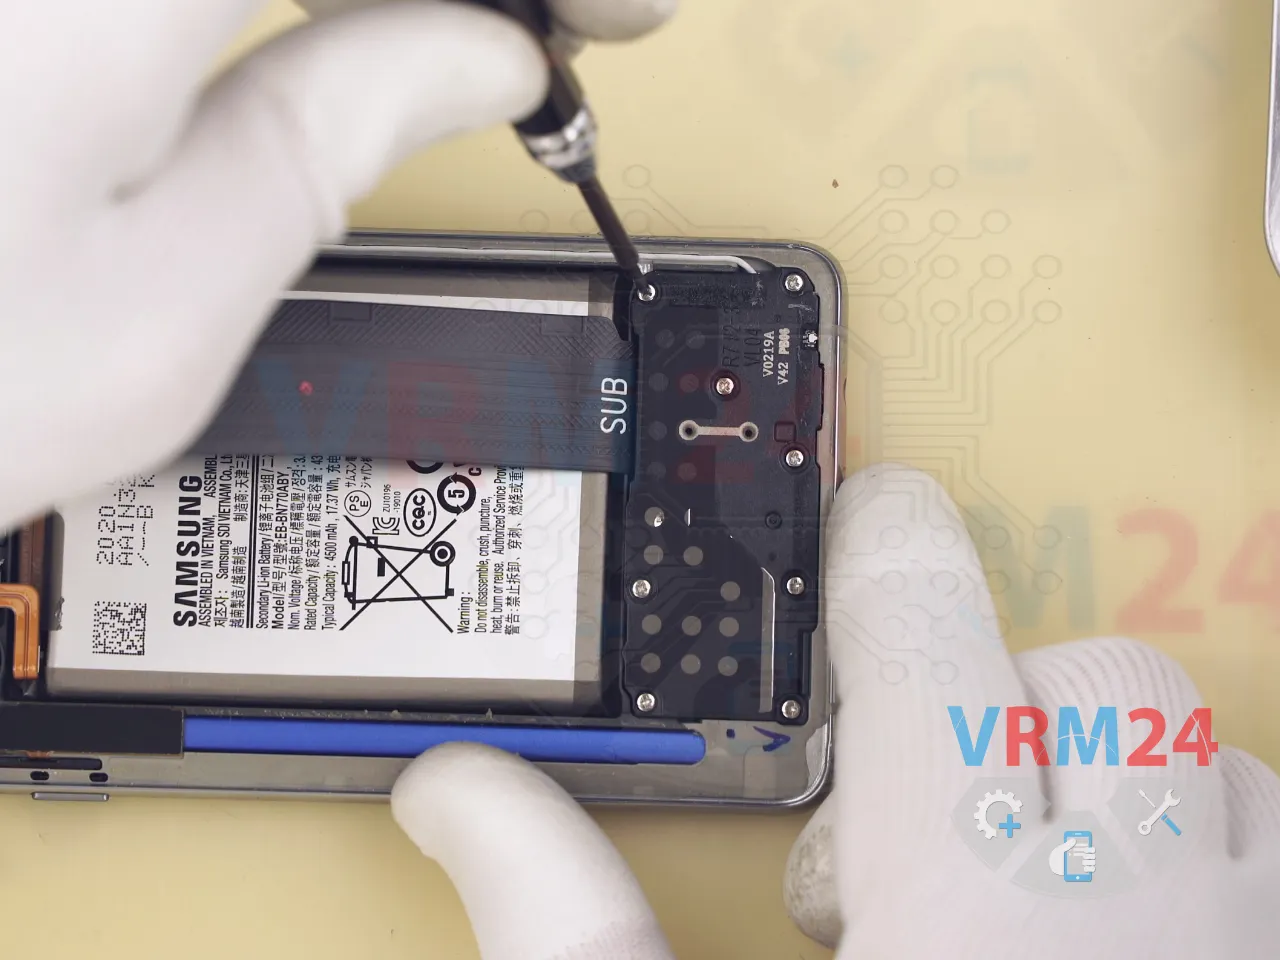
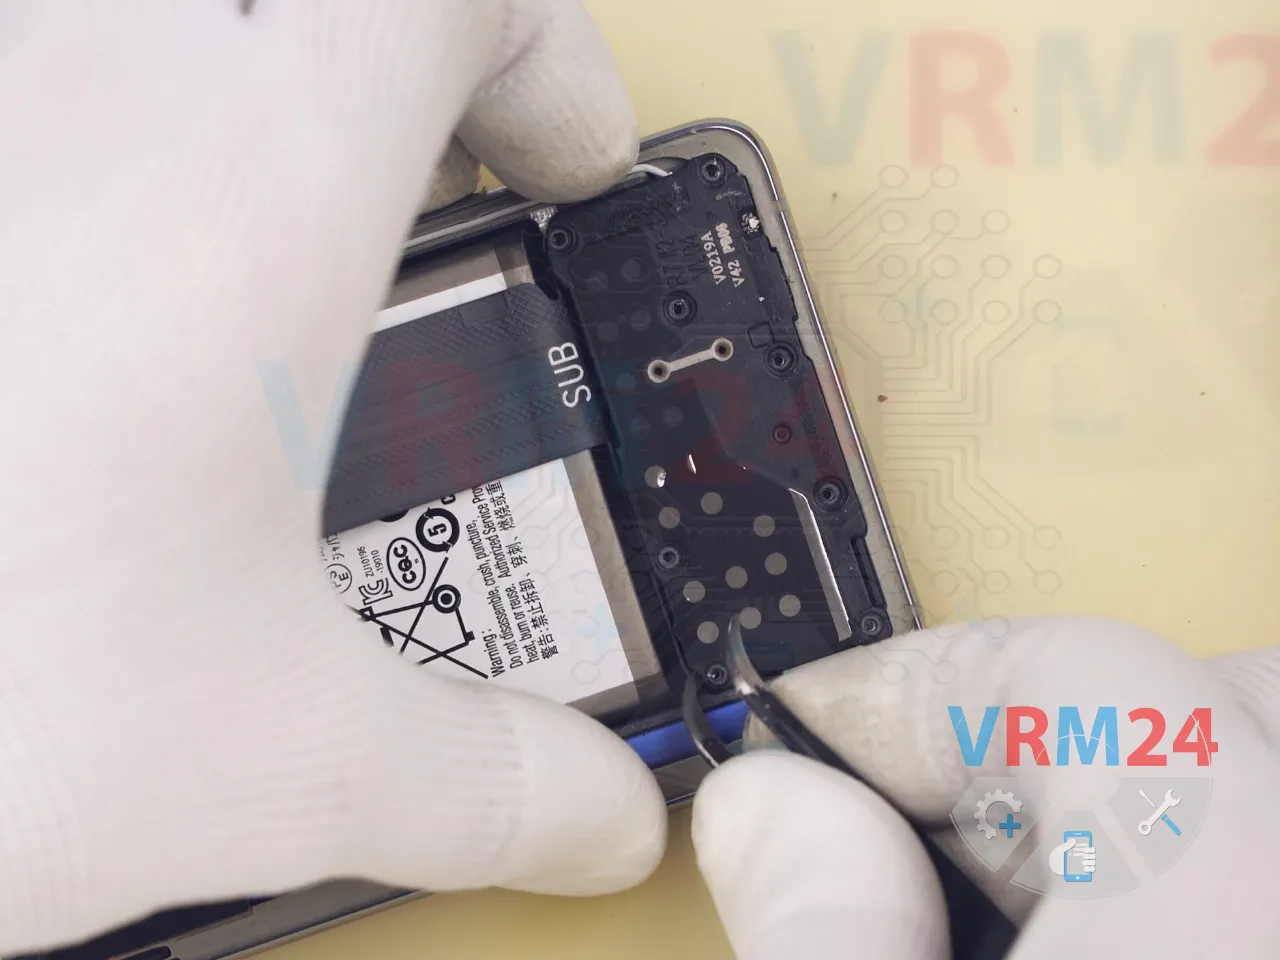
And, we unscrew the bottom screws and remove the speaker module. As usual, find a safe spot to pry it up gently and lift it out.
Next, disconnect the inter-board cable and inspect it. Make sure both the cable and connectors are undamaged.


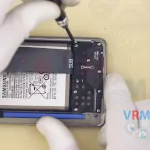


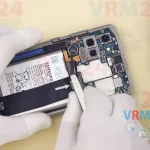
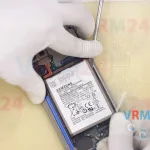
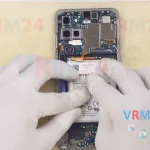
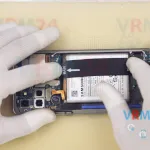
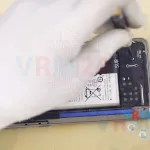
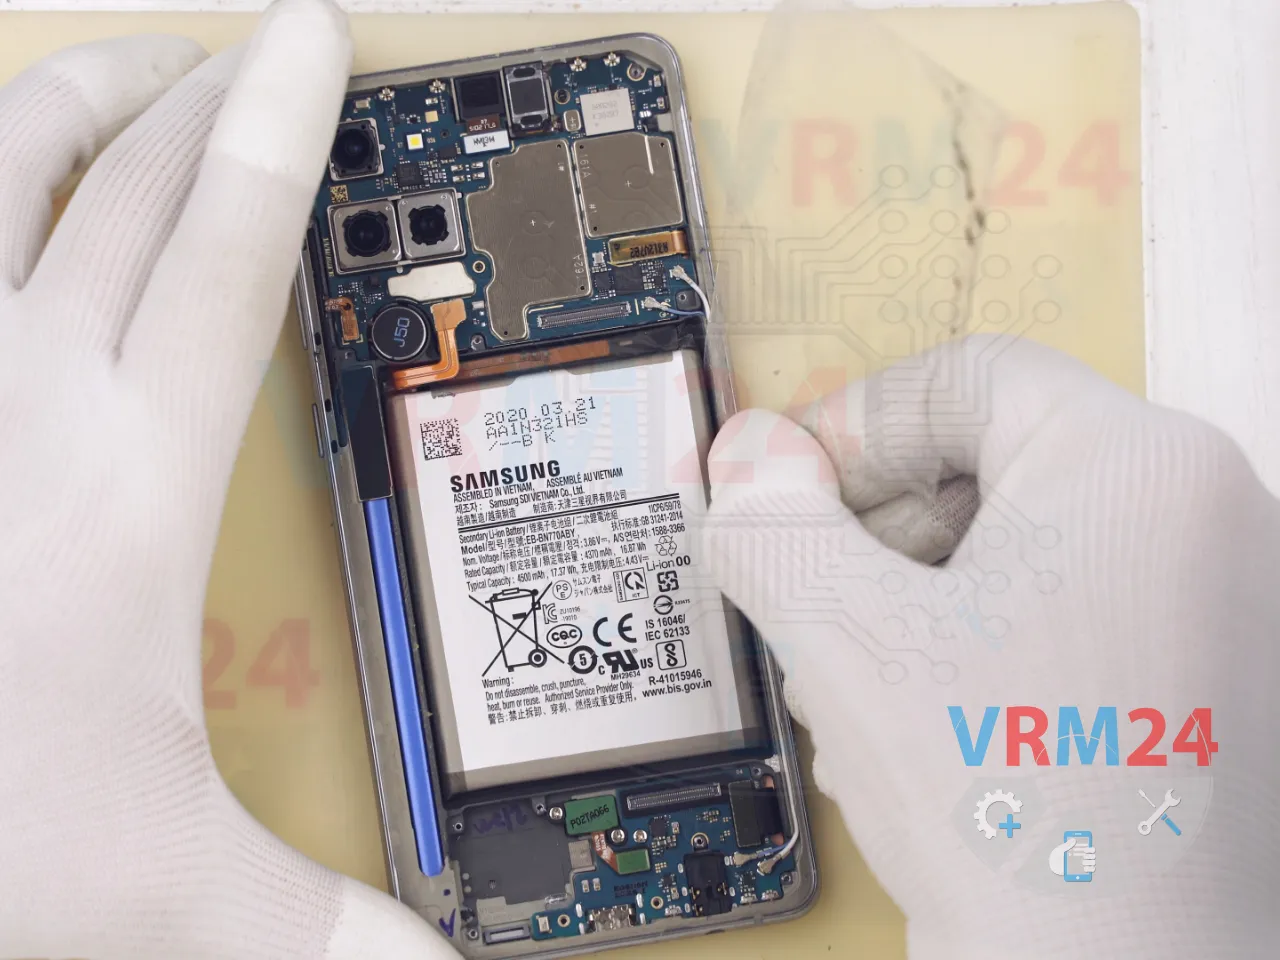
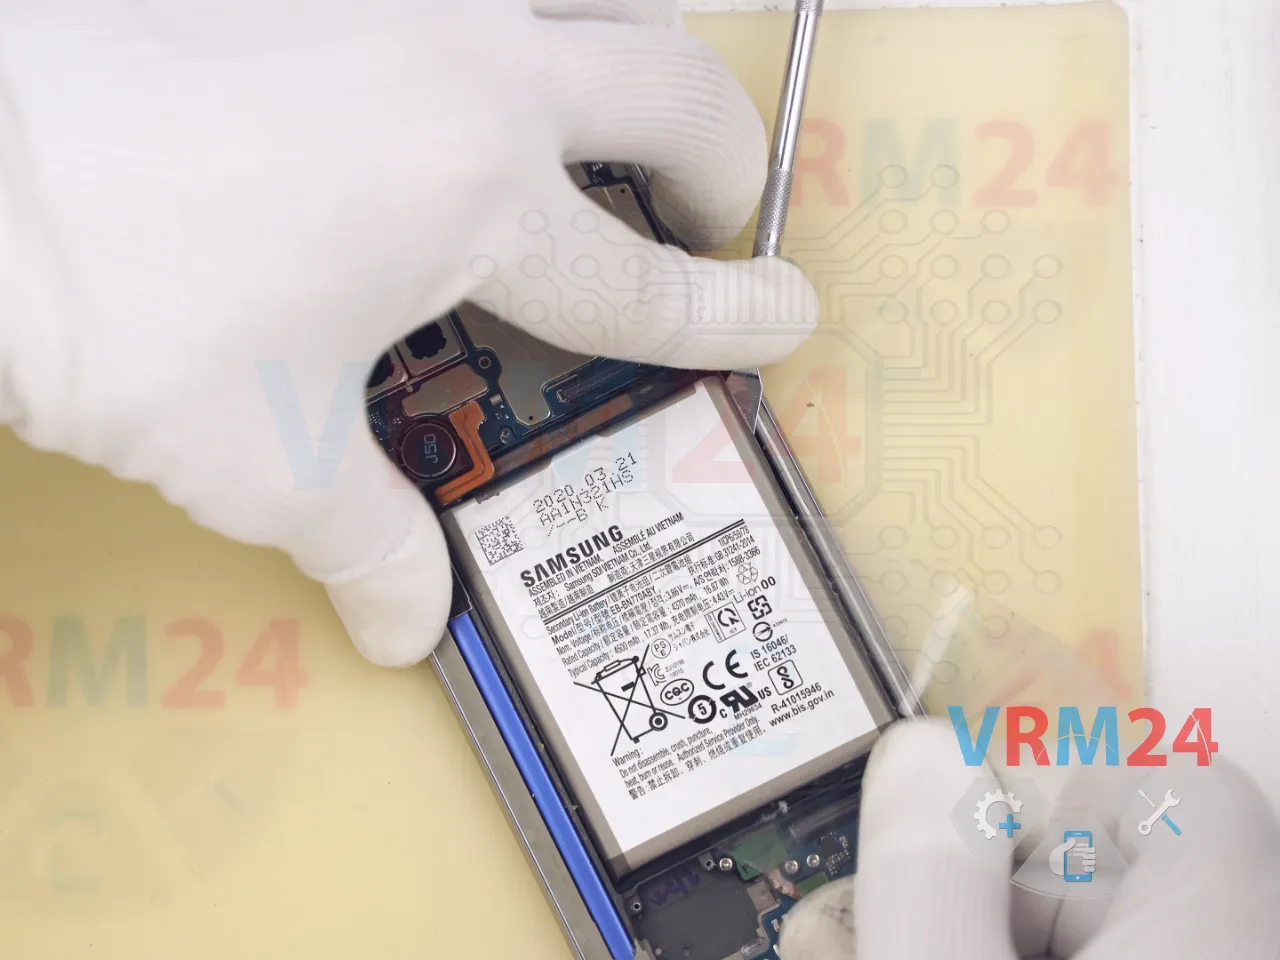
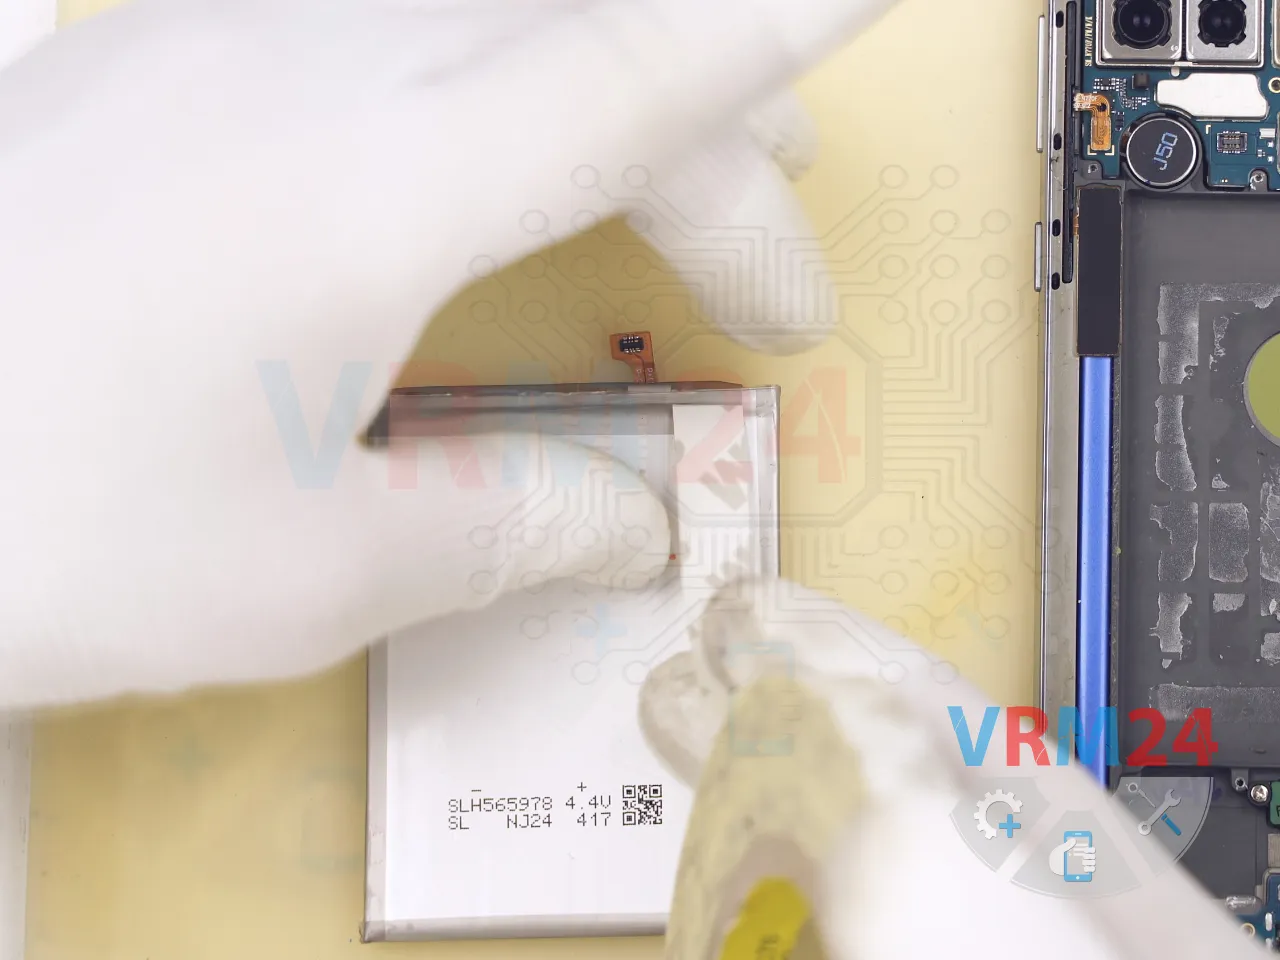
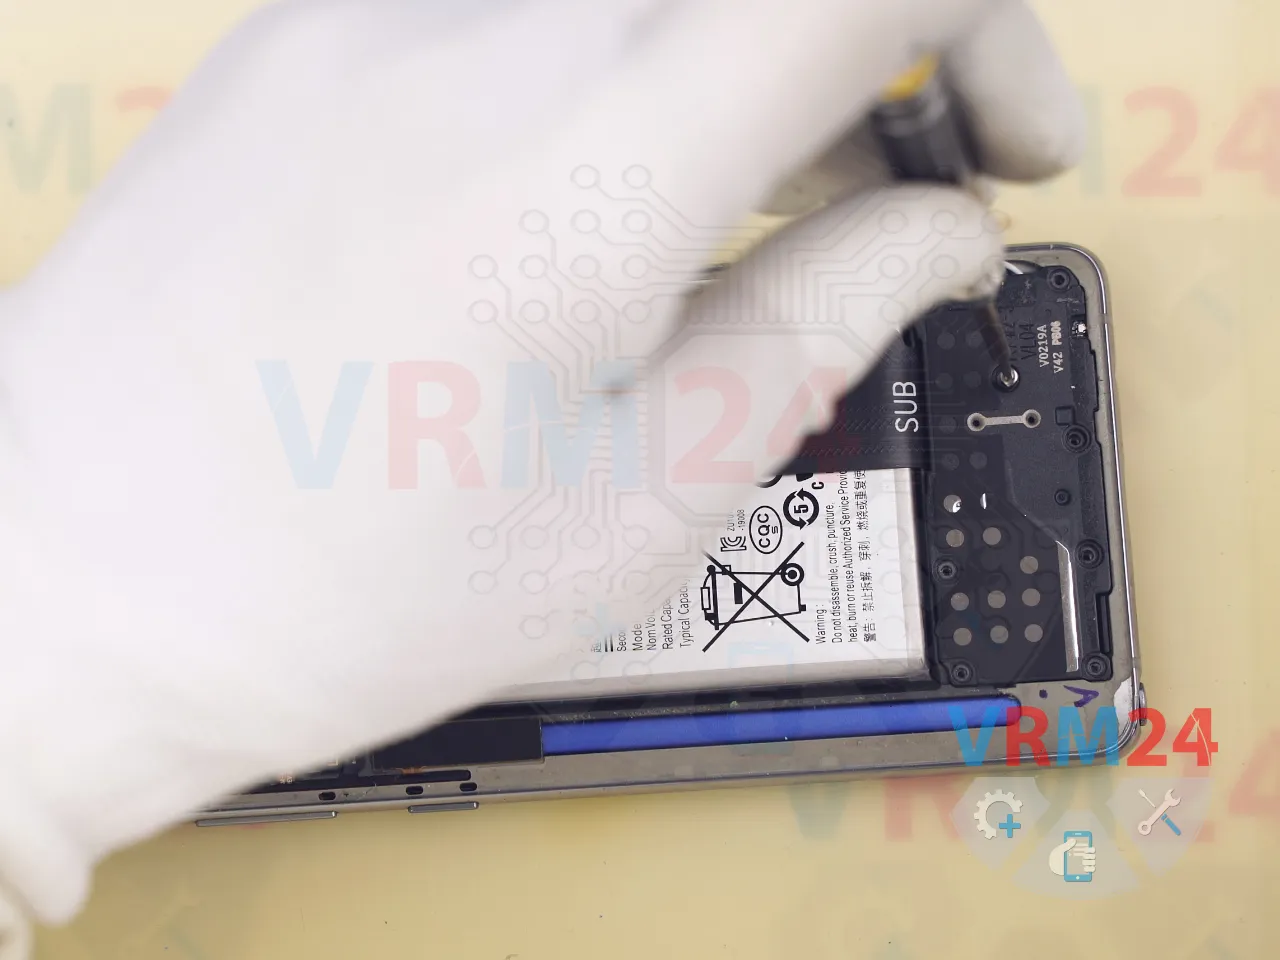
Now we can move on to removing the battery. Use a thin plastic film and gently slide it between the battery and the frame to cut the adhesive.
You can use isopropyl alcohol, but be extremely cautious—there’s an opening under the battery that leads to the display. If any alcohol seeps in, it could cause visible damage or streaks on the screen.
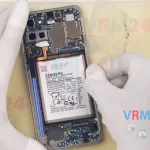
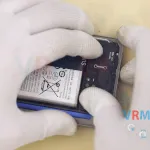
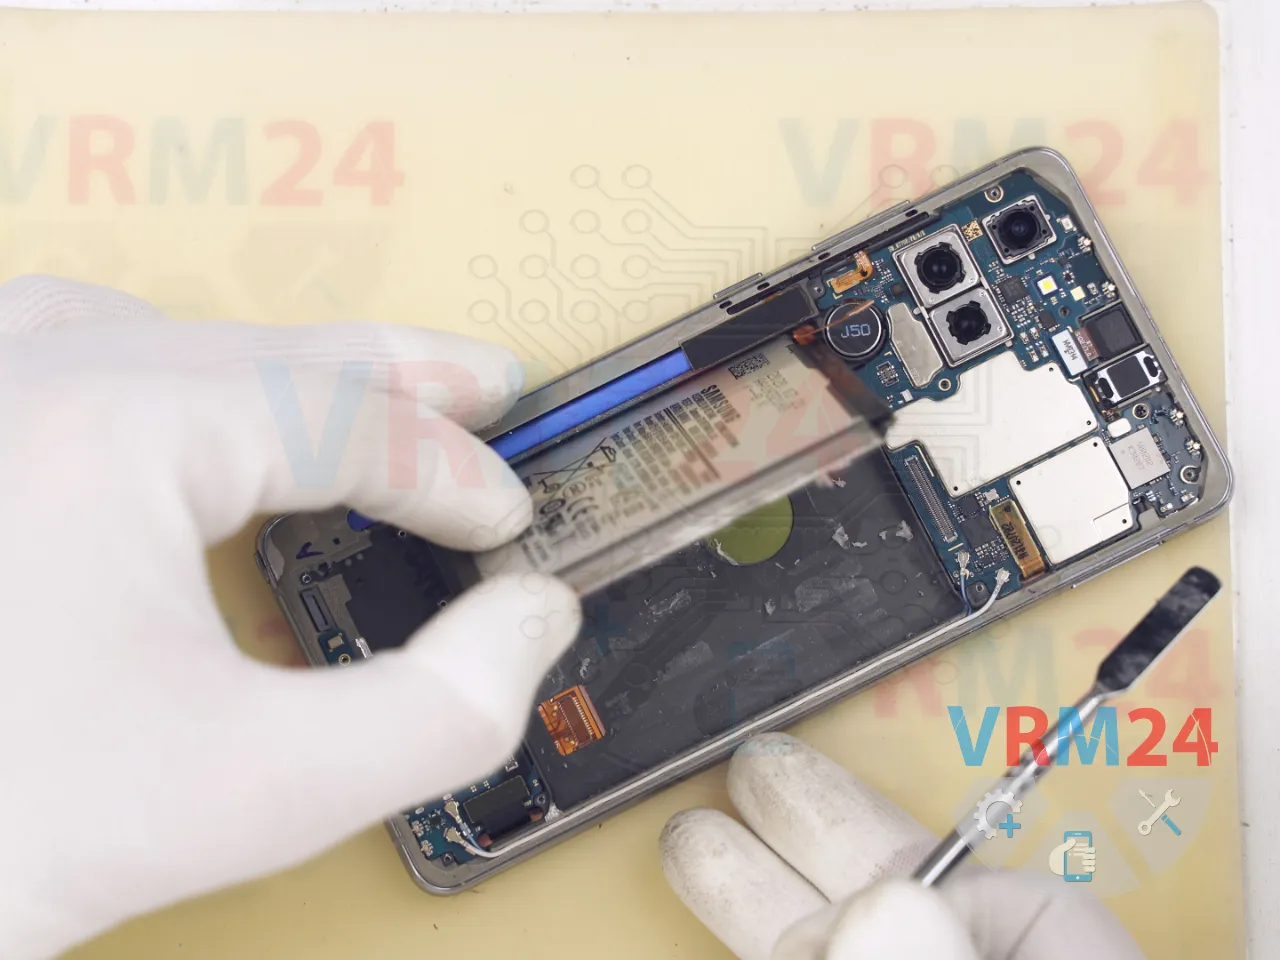
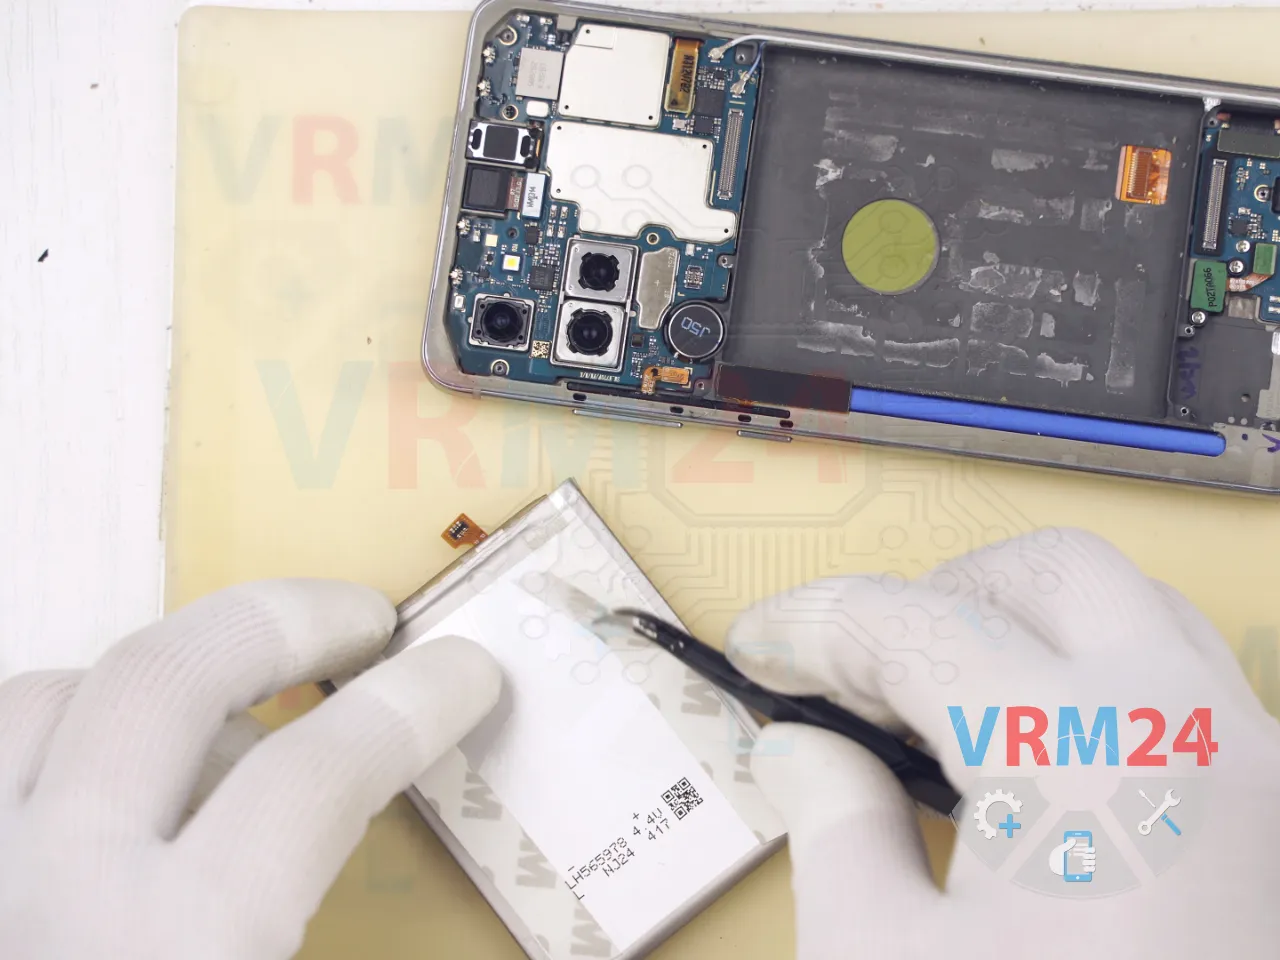
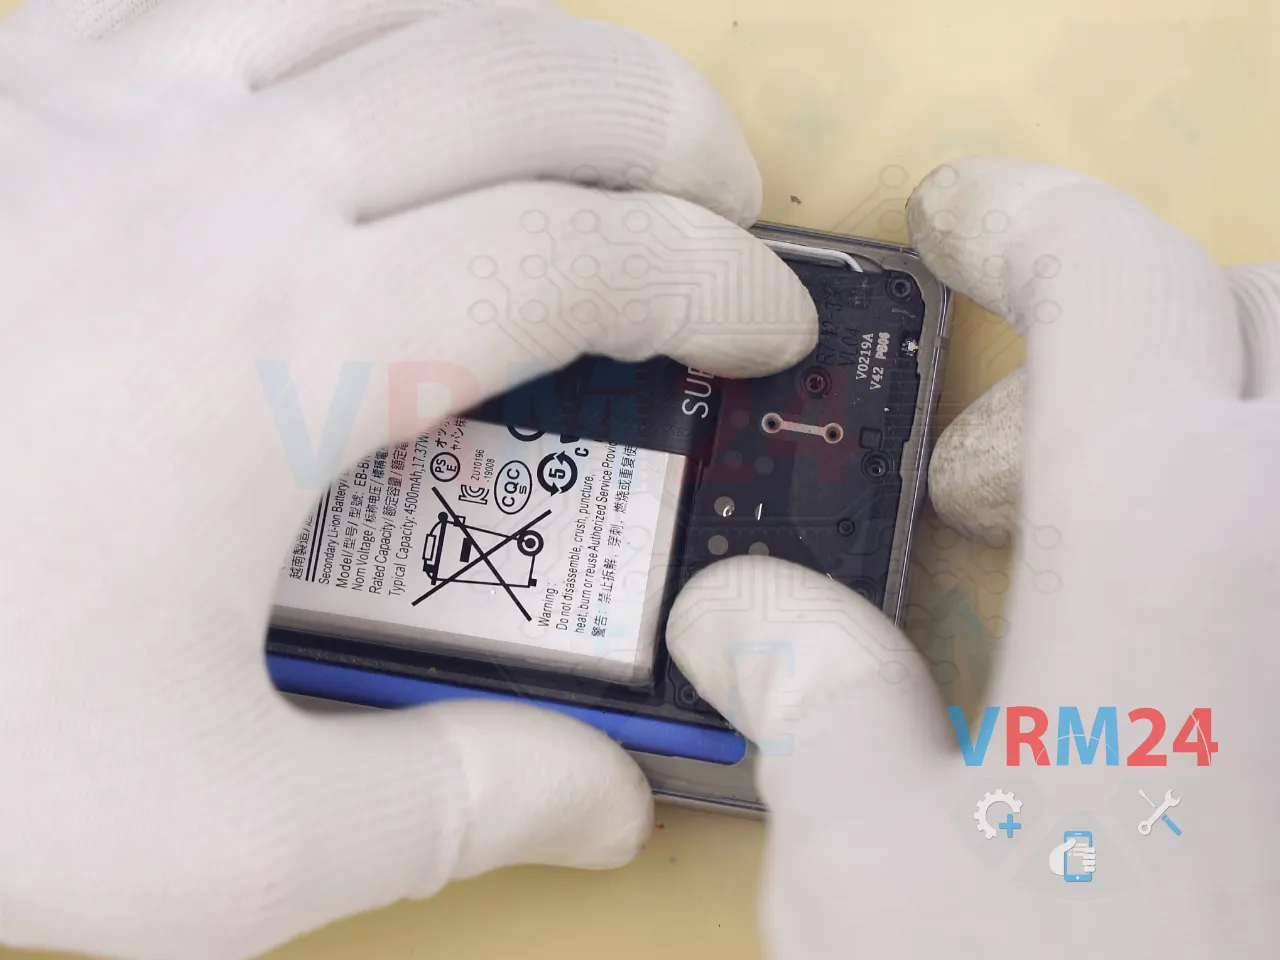
We can gently lift the battery, but never force it or use sharp tools—this could damage the battery, its casing, or the display.


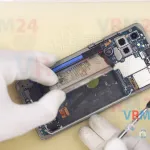
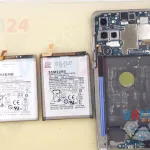
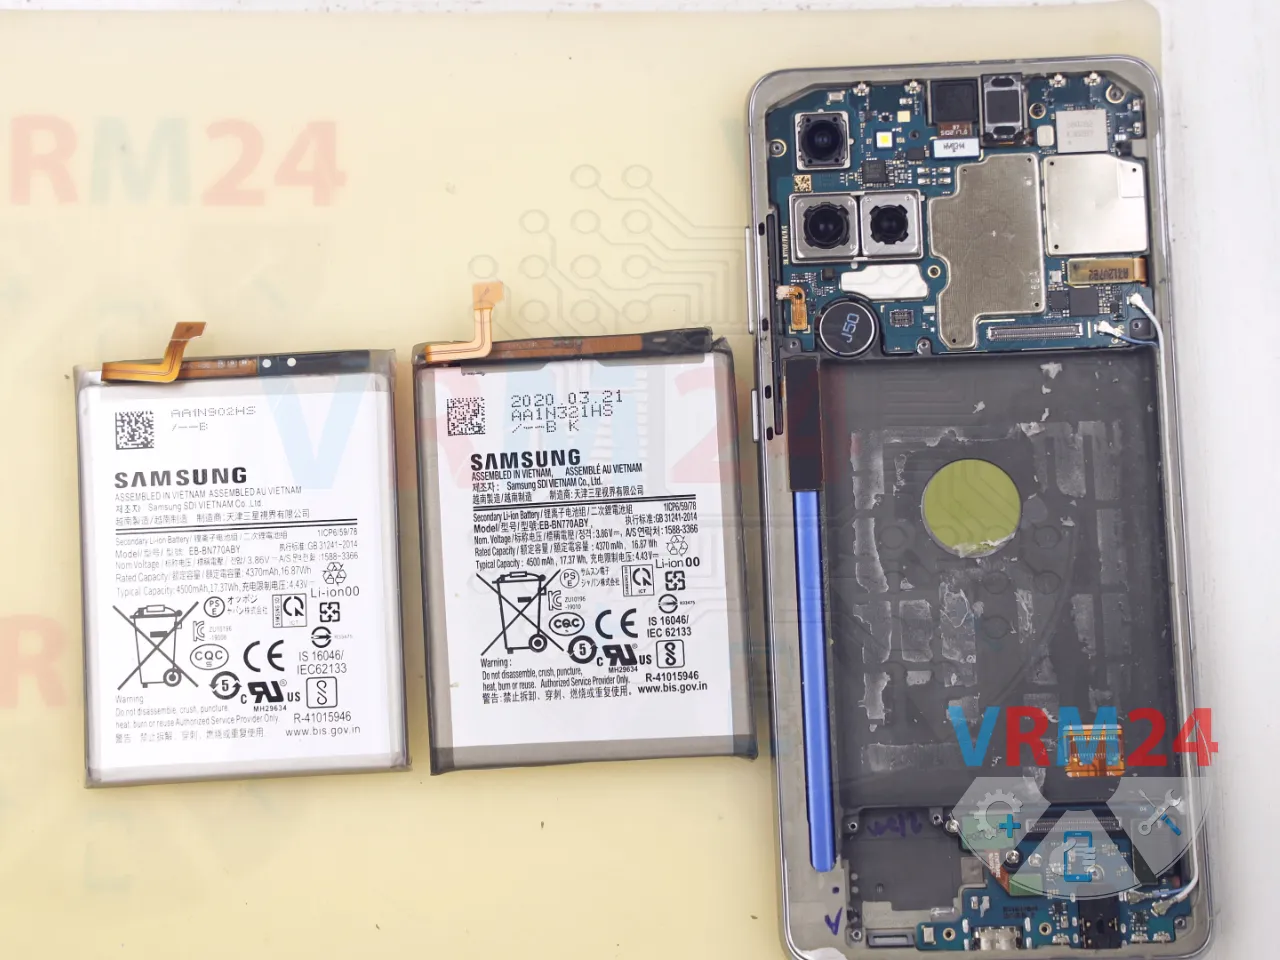
Once the battery is out, place the new one next to it and make sure all flex cables and connectors line up properly.
Clean off any leftover adhesive from the battery area on the frame. Wipe it down carefully.
For extra adhesion, you can use glue or 3M double-sided tape.
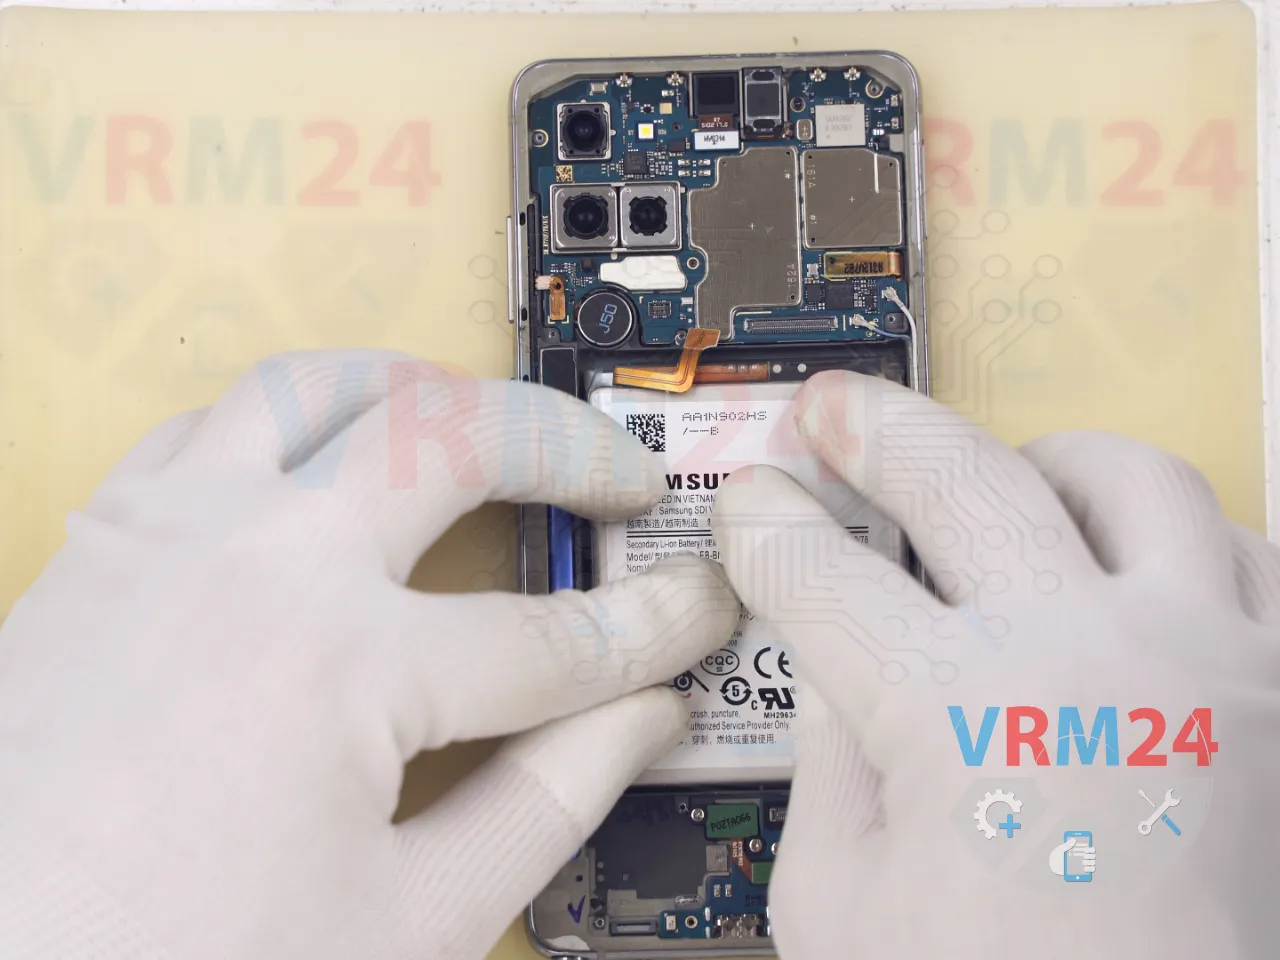
Carefully apply the adhesive to the new battery and remove the protective film.


Now, gently stick the battery in place. Make sure it’s firmly attached.
Next, start with the partial reassembly.
It’s important to reconnect and secure the inter-board cable—one way is to reinstall the speaker module right away, which also helps hold things in place. Reconnect the battery connector.
You can secure everything temporarily with a single screw.


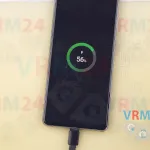
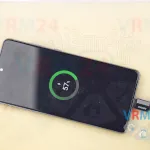
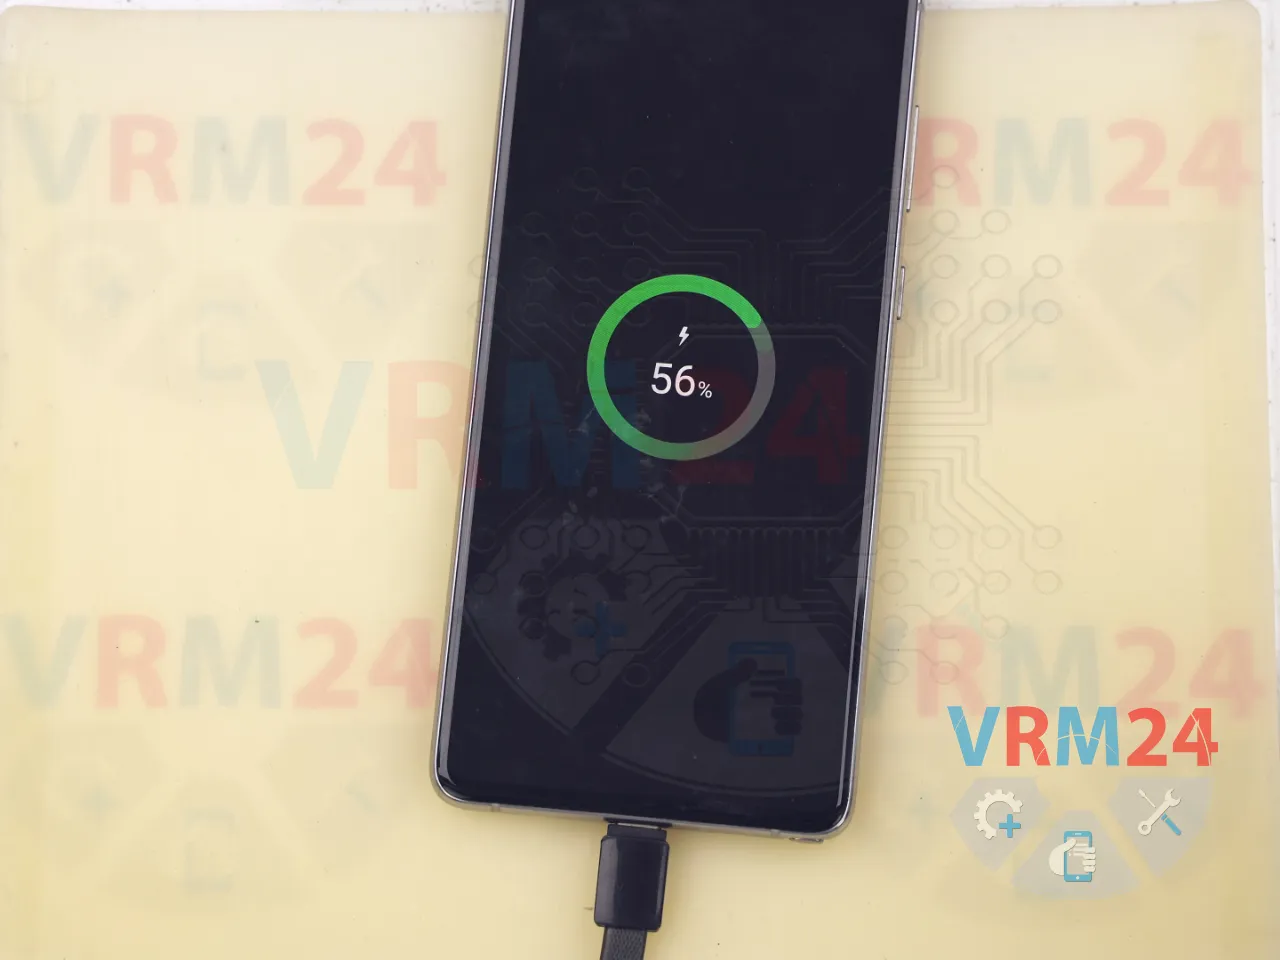
We plug in the charger, screw everything back together, and wait a bit to see if the battery is gaining charge. In our case, it charged by one percent, which means everything’s working fine.


So, we continue reassembling the phone.
Tighten all screws, secure the covers, and double-check everything.
Make sure the inter-board cable is correctly positioned.


Now we can reattach the back cover. Gently press it into place and insert the SIM tray.
In our case, we removed the back cover very carefully, so the original adhesive is still intact. Since the back cover hadn’t been removed before, we can reuse the seal. Just place the phone on the heating pad for a couple of minutes—and the cover will stick back on by itself.
BUT—if battery replacement is something you do professionally, it’s better to re-seal the back cover with B7000 adhesive for a stronger, longer-lasting bond.


After that, secure the back cover with rubber bands and let the phone sit for a few hours—ideally 2 to 3—so the adhesive fully sets.
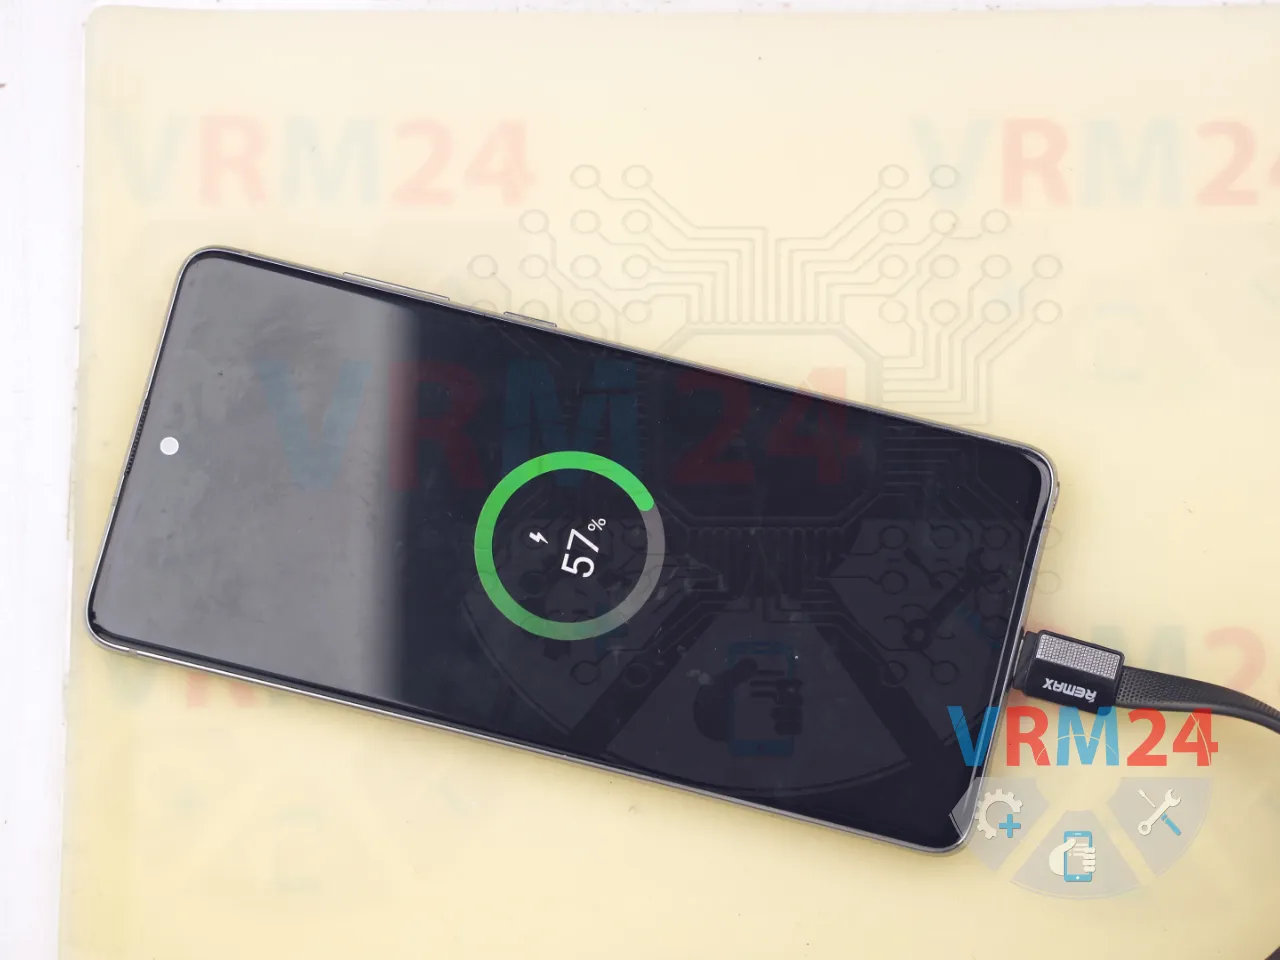
Finally, double-check that the battery is still charging. And that’s it! The repair is done.


If you have a question, ask us, and we will try to answer in as much detail as possible. If this article was helpful for you, please rate it.