

☝️ How to disassemble this smartphone, you can see detailed instructions: Link
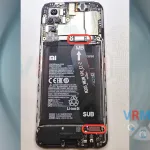
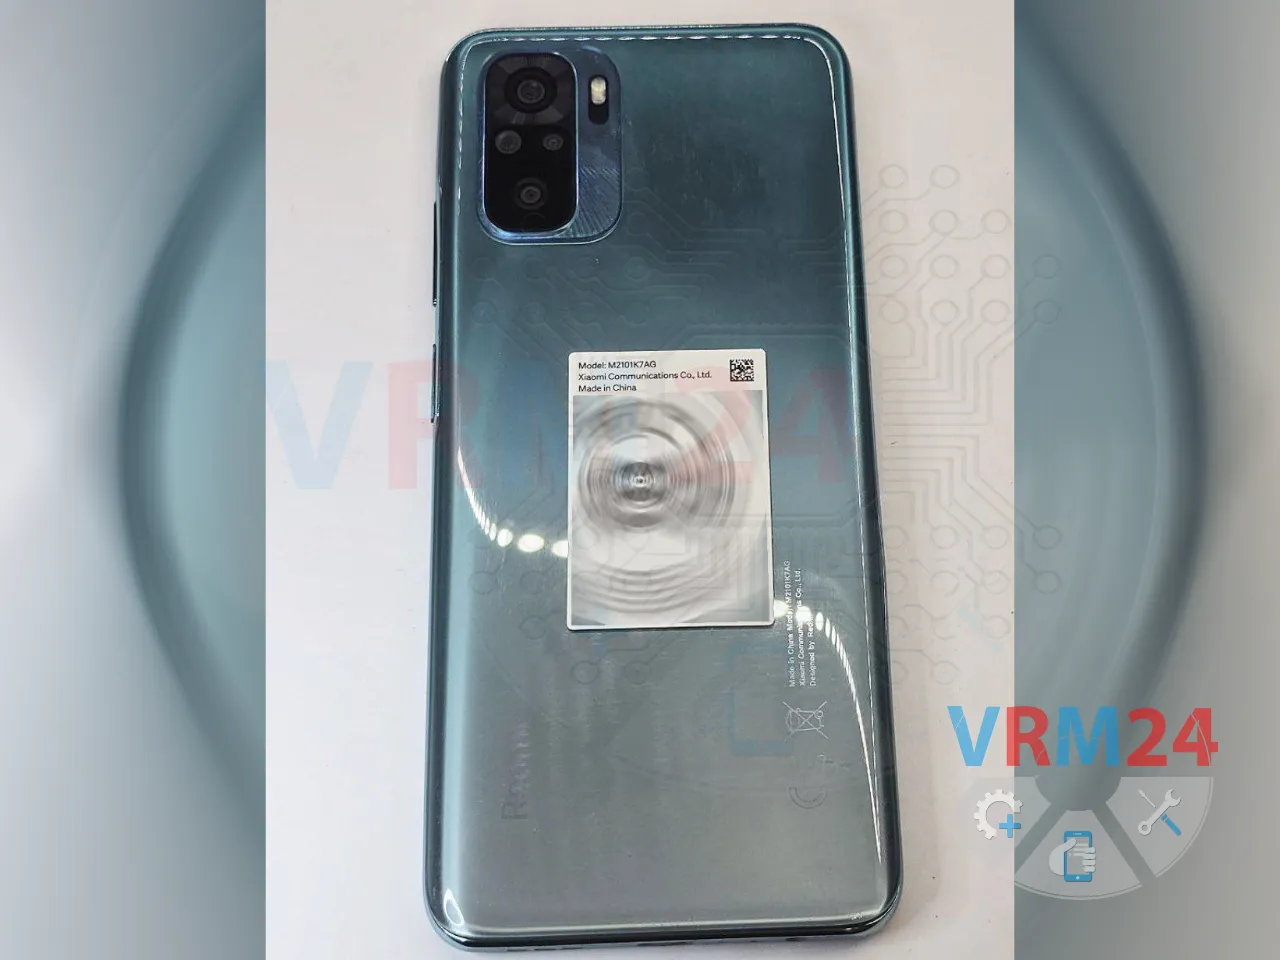
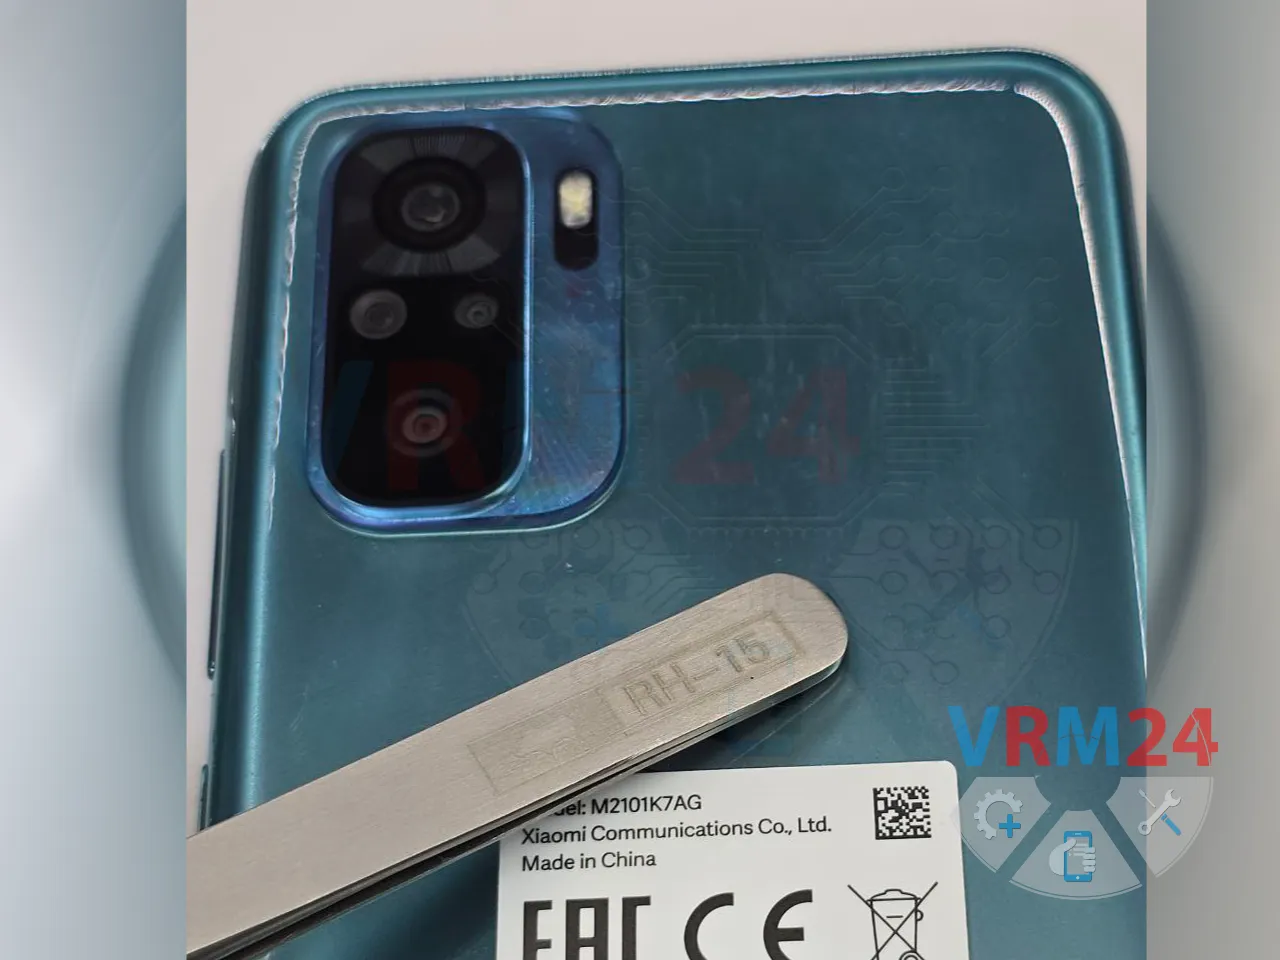
Today, I had a Xiaomi Redmi Note 10 M2101K7AI, M2101K7AG come in for repair with a common issue — the phone wasn’t charging⚡️. As it turns out, this is a fairly typical problem for many modern smartphones, including the nearly identical Xiaomi Redmi Note 10s M2101K7BG, M2101K7BI, M2101K7BNY, M2101K7BL.
What’s the cause?
The issue lies in the design of modern devices. To increase the contact area, manufacturers place the positive (+) and negative (-) contacts at the extreme ends of the connectors. However, the connectors themselves are made very thin and unreliable, leading to frequent failures. This is why users often have to visit service centers for repairs 😒.

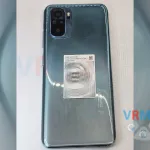
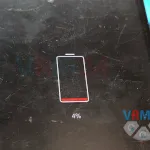
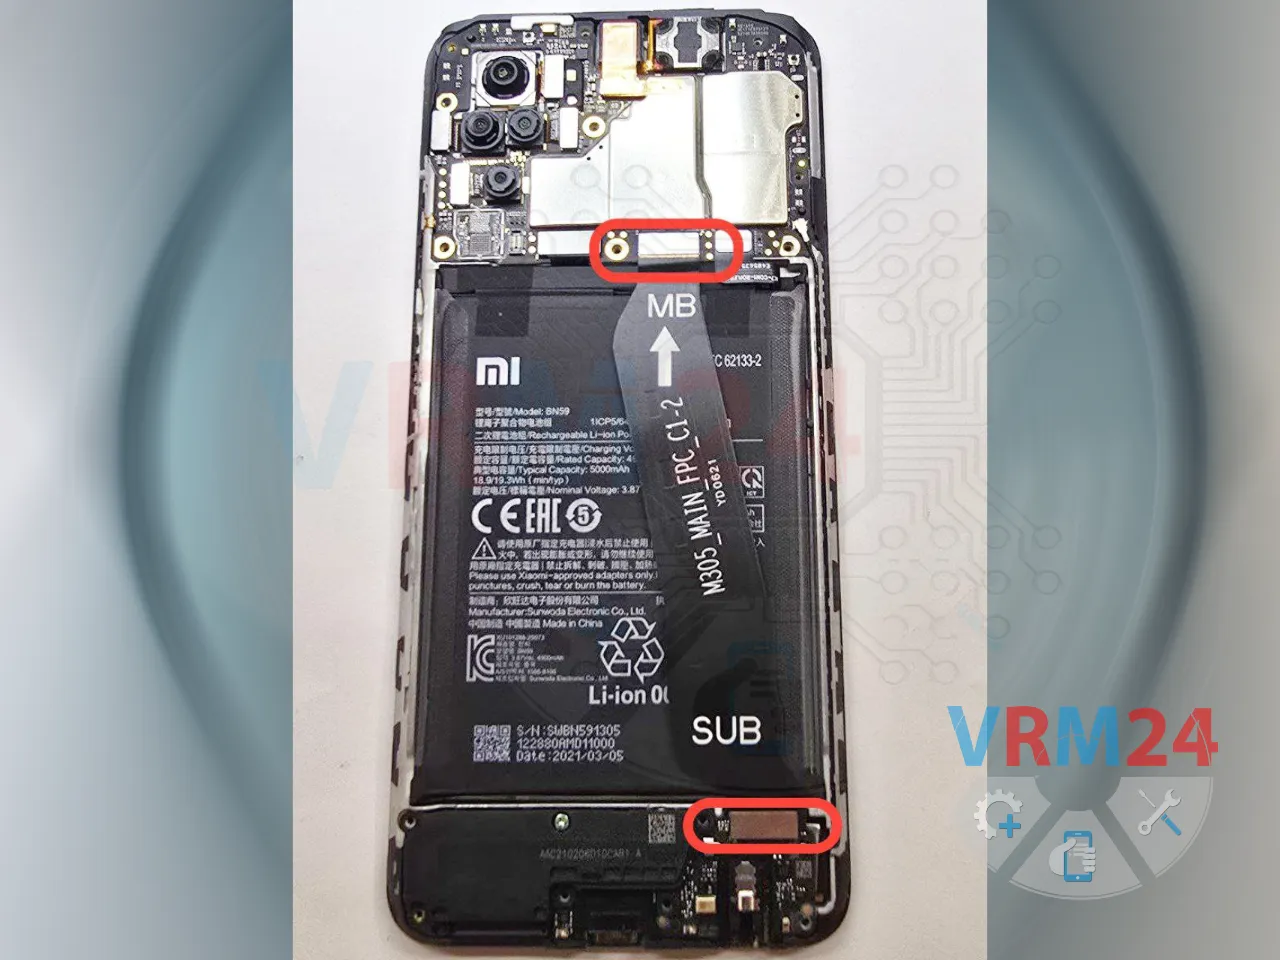
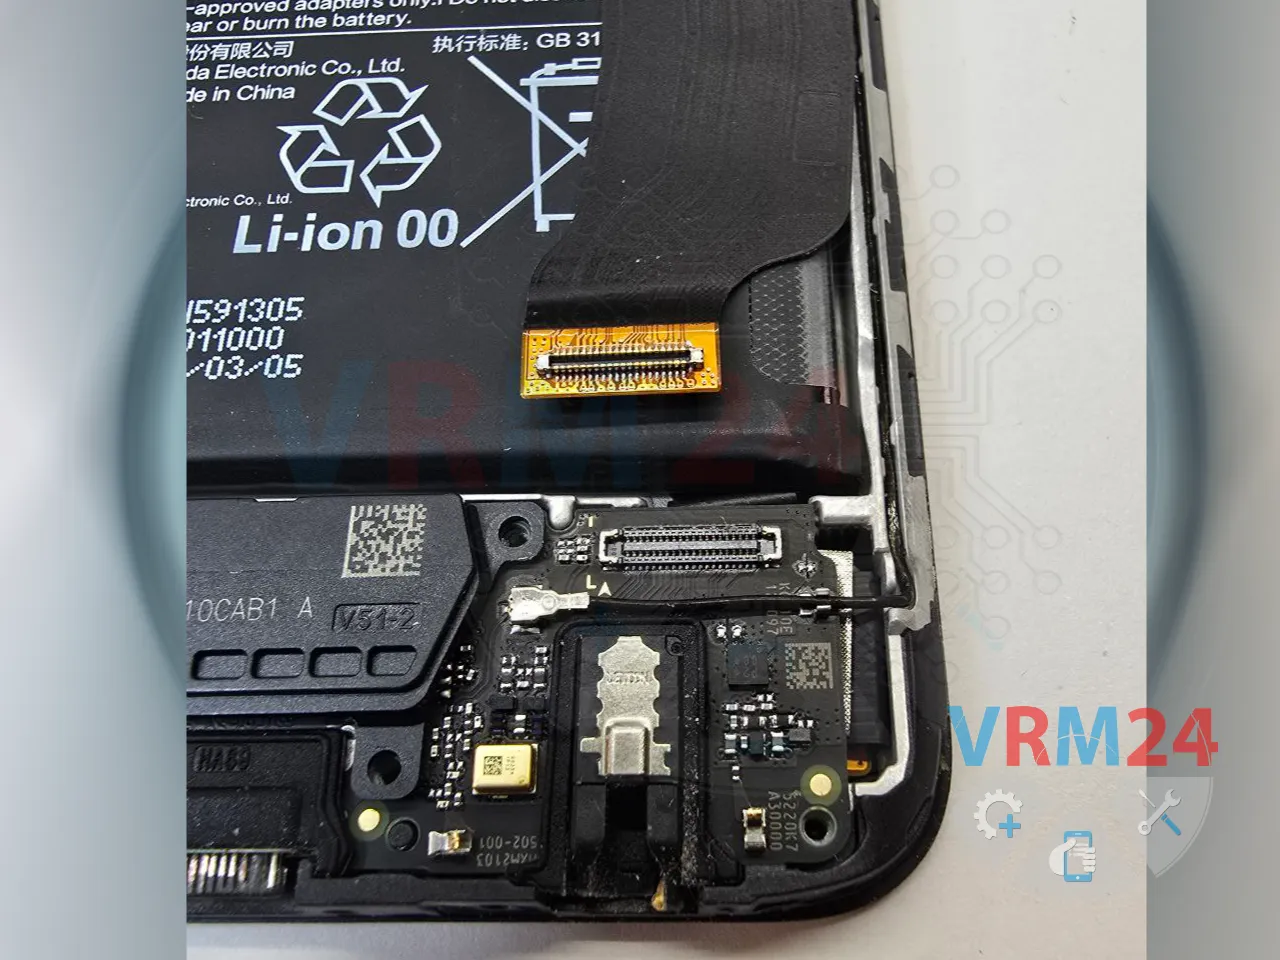
1️⃣ First, we connect a cable linked to a tester to the phone and gently press the area around the lower connector of the flex cable. If charging starts when pressure is applied, the issue is with the lower connector 😊.

2️⃣ Next, we repeat the same process for the upper connector.
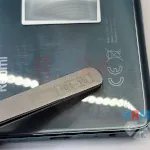
We connect the cable and press the area around the upper connector. If charging starts, the problem lies in the upper connector. Sometimes, the issue can occur on both sides 😊. However, if the connector is severely damaged, there may be no response to these actions, and the problem is likely with the charging port itself.

These two areas are the weak points in the phone’s design!

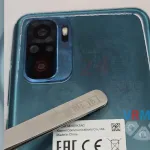
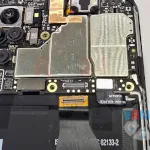
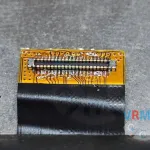
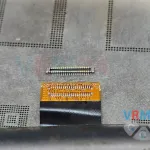
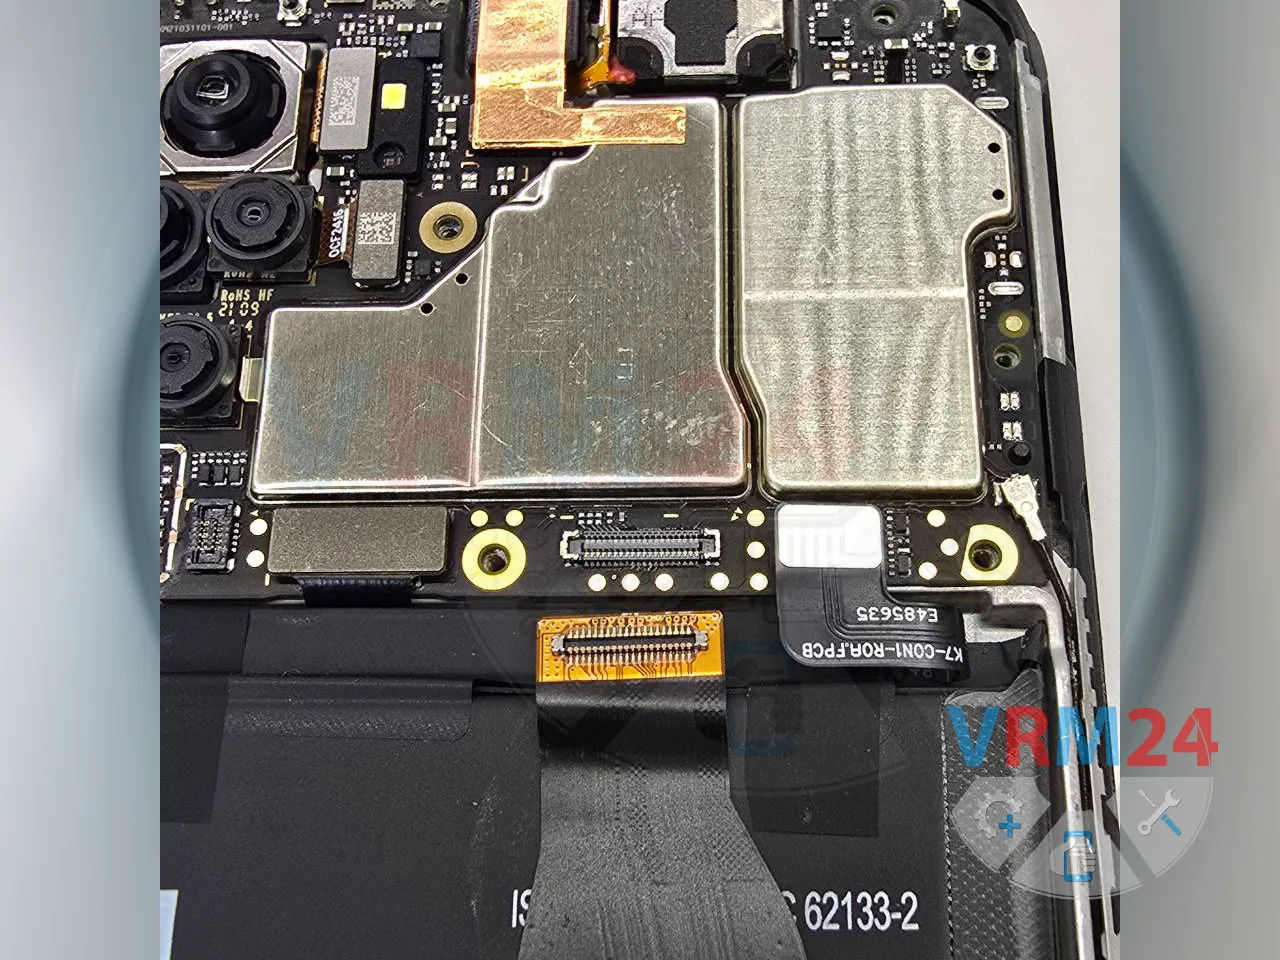
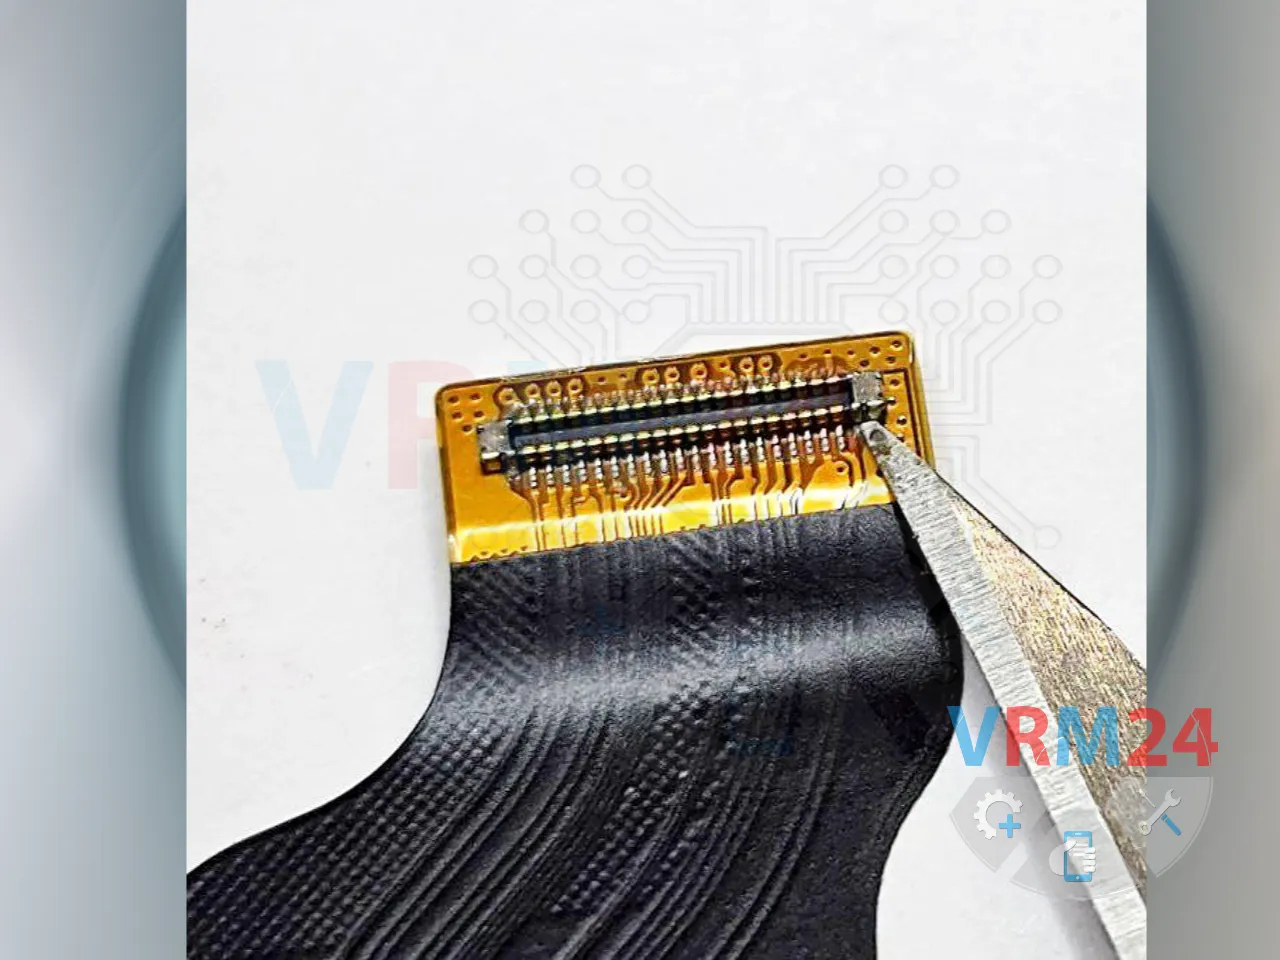
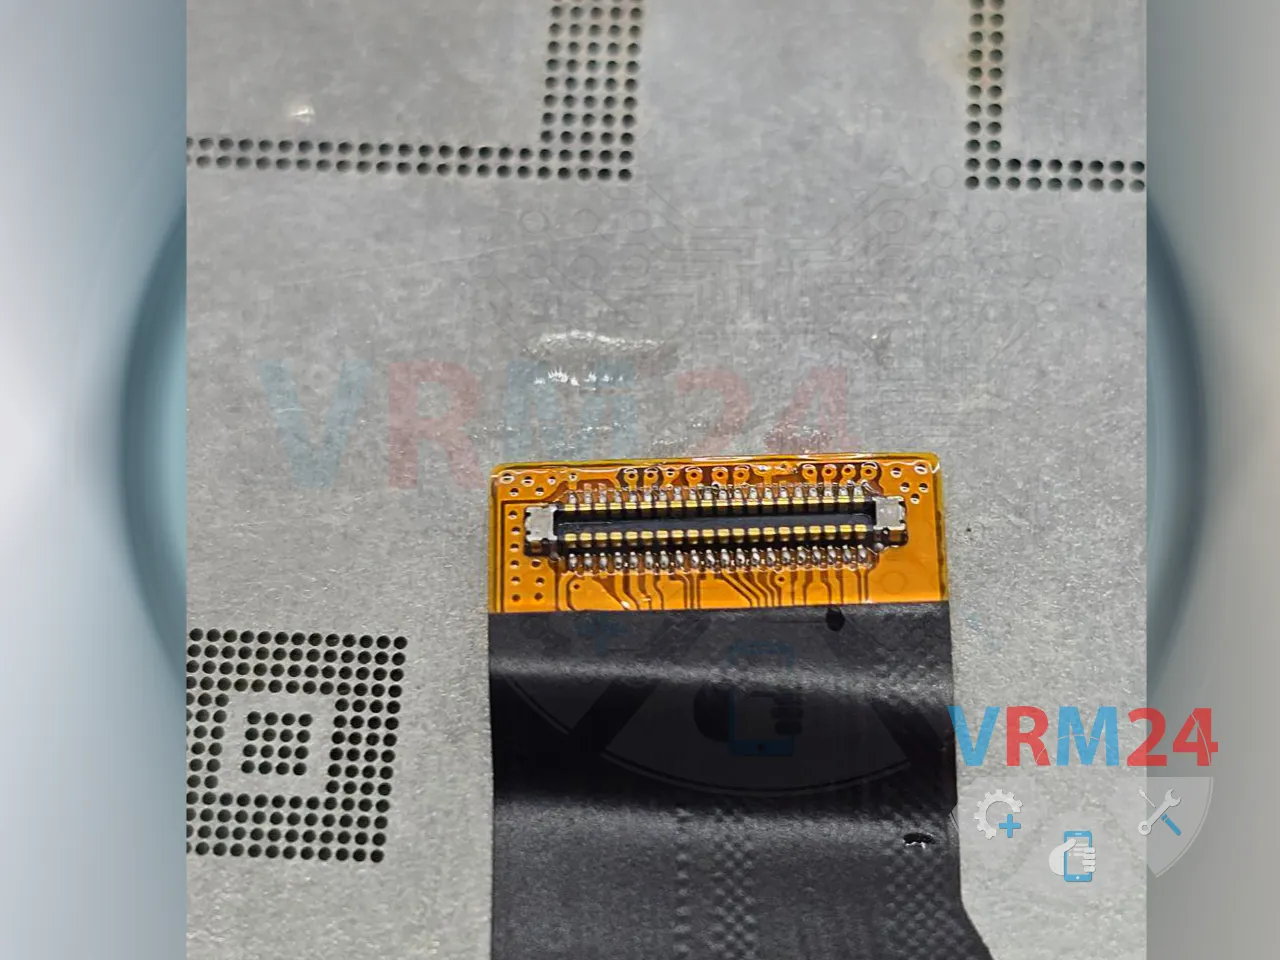
3️⃣ We then inspect the upper connector under a microscope. The board and the flex cable appear intact.

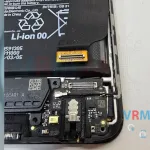
4️⃣ Moving on to the lower connector, we find the problem upon closer inspection: the edge of the connector is broken and needs replacement.


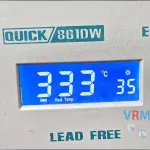
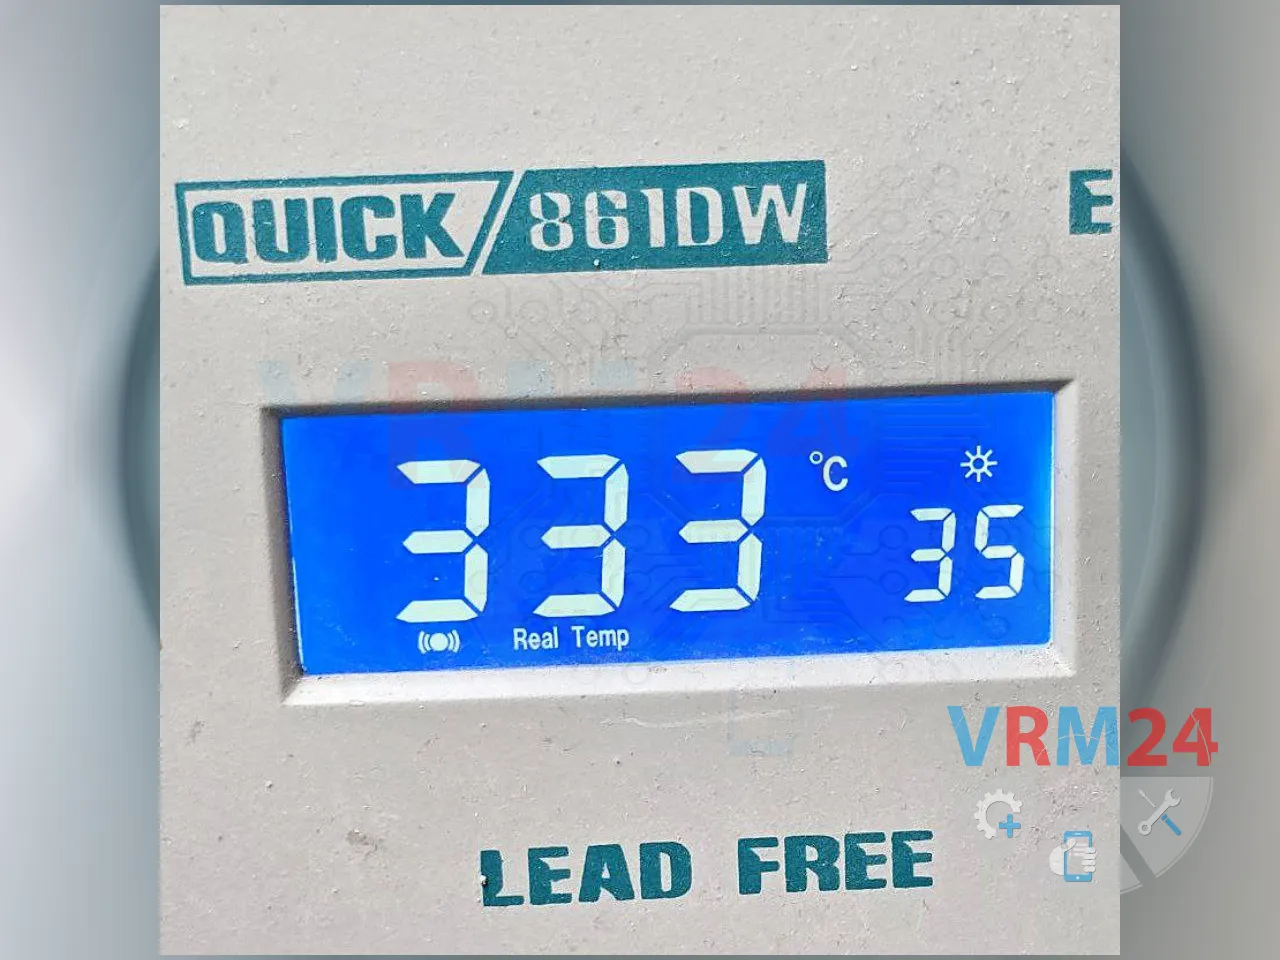
We set the soldering station to the required temperature. The solder melts, while the plastic part of the connector retains its shape for a while.

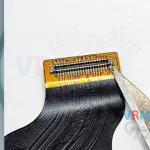
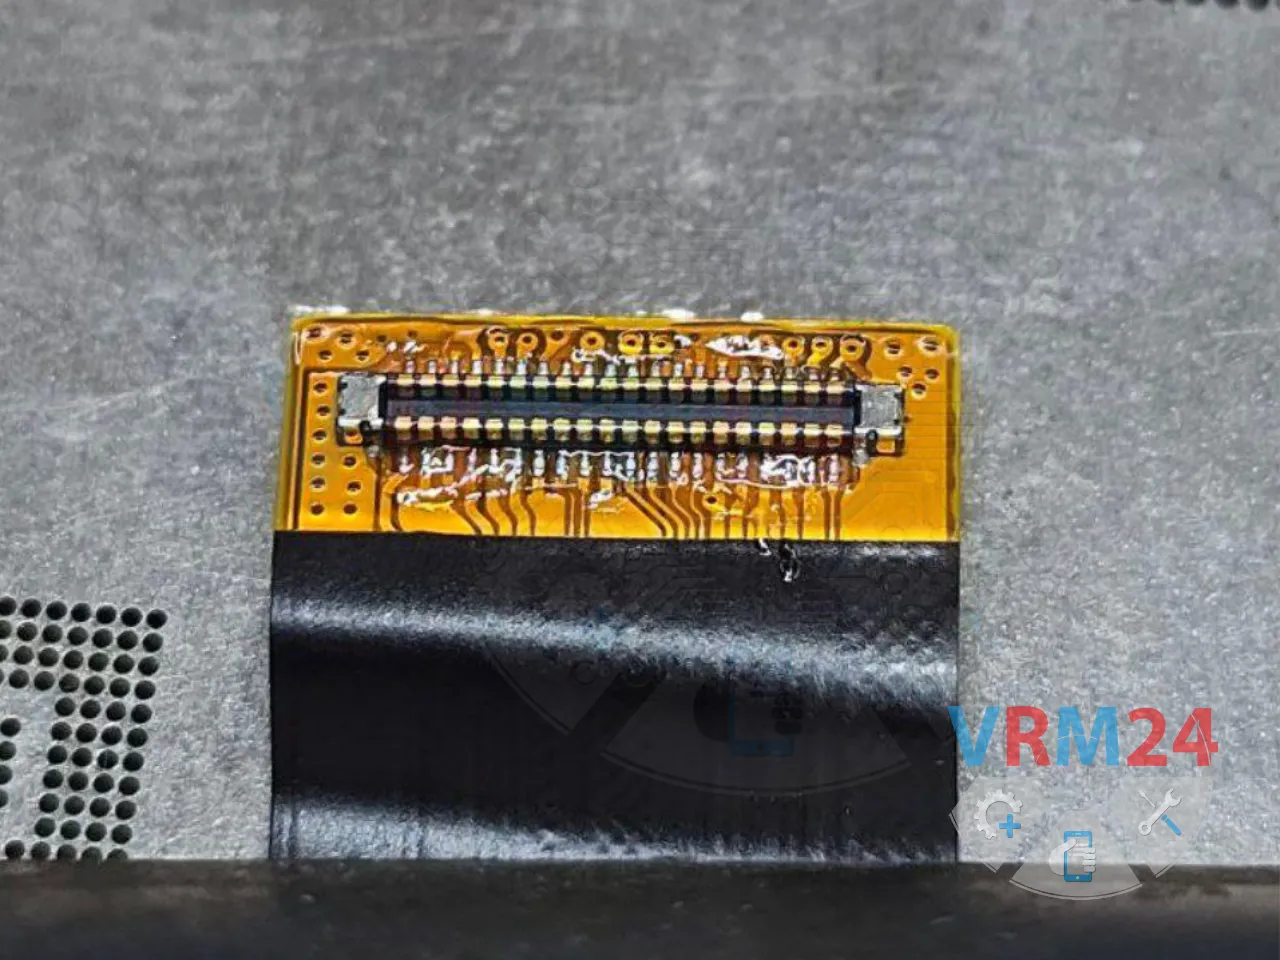
5️⃣ Carefully remove the old connector, tin the contact pads, and install a new one.


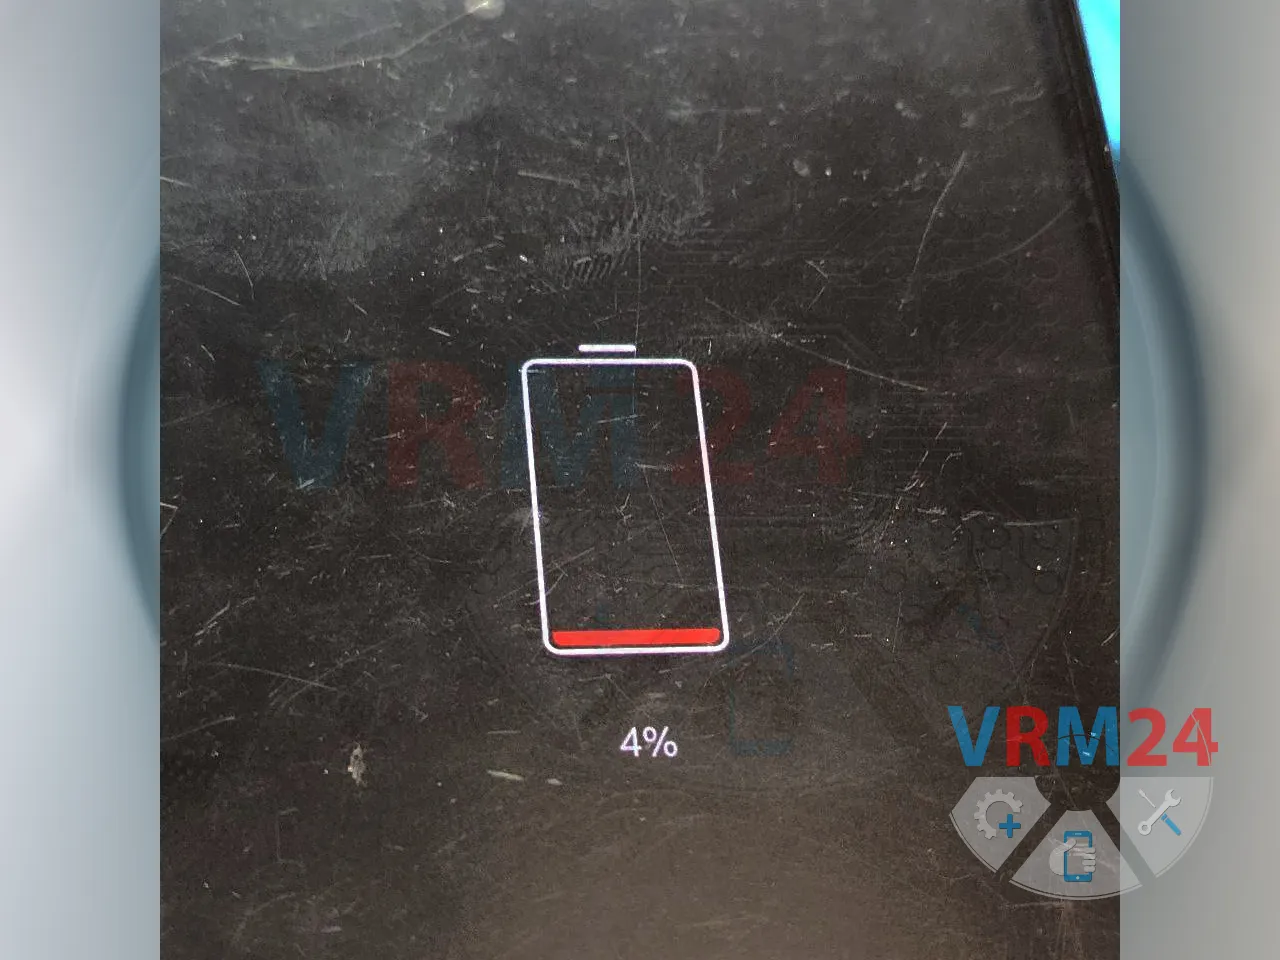
6️⃣ After replacement, we reconnect the flex cable, plug the phone into the charger, and check the result. Charging starts, and the current is normal 👍.
The repair was successful! The phone is now ready for use again.

If you have a question, ask us, and we will try to answer in as much detail as possible. If this article was helpful for you, please rate it.