



Recommended tools
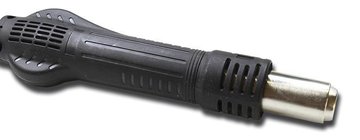
Heat gun
Screwdriver Five-point P0.8 mm

Screwdriver Tri-point Y00

Screwdriver Phillips iPhone

Screwdriver Phillips #000

Opening tool / Spudger

Tweezers

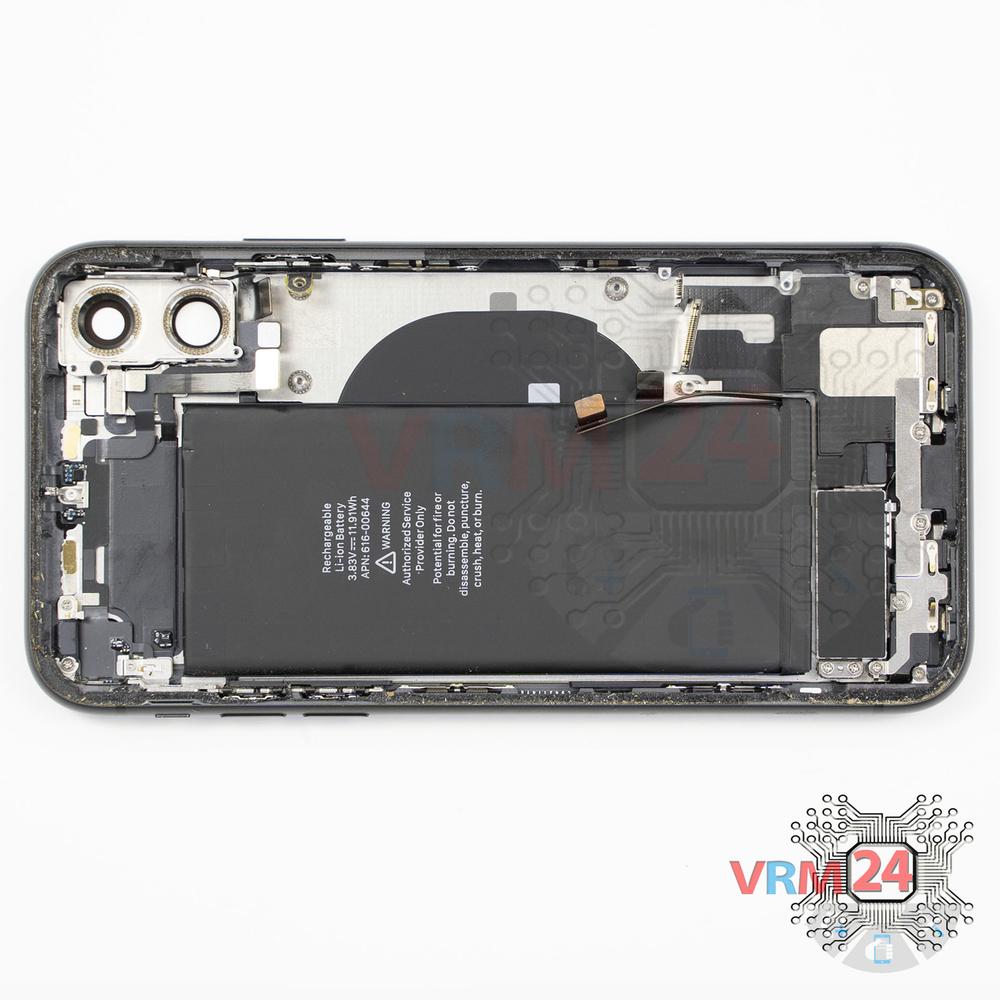
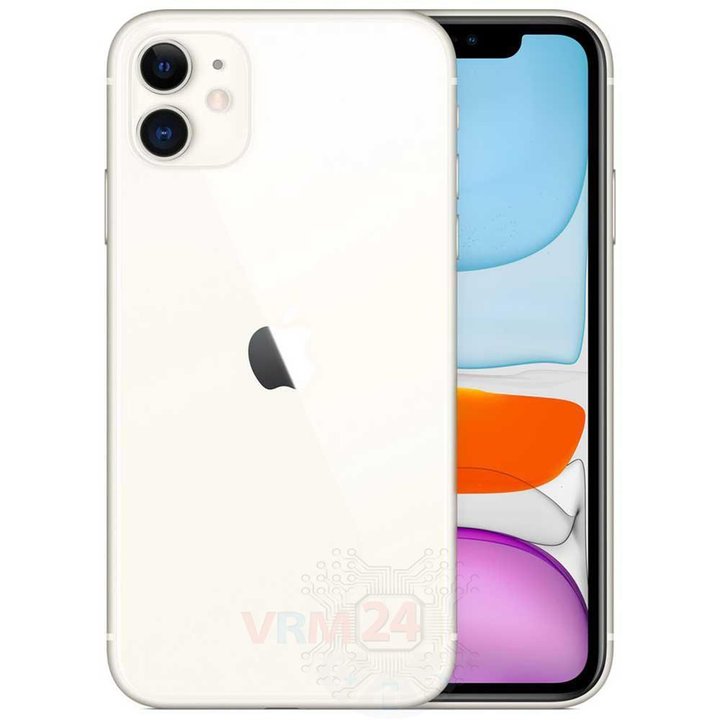
Disassembly/Repair of the mobile device Apple iPhone 11 (iPhone 11 A2111, A2221, A2223) with each step description and the required set of tools.
88593
Views
26
Likes
—
Share
6
Questions

Step 1.
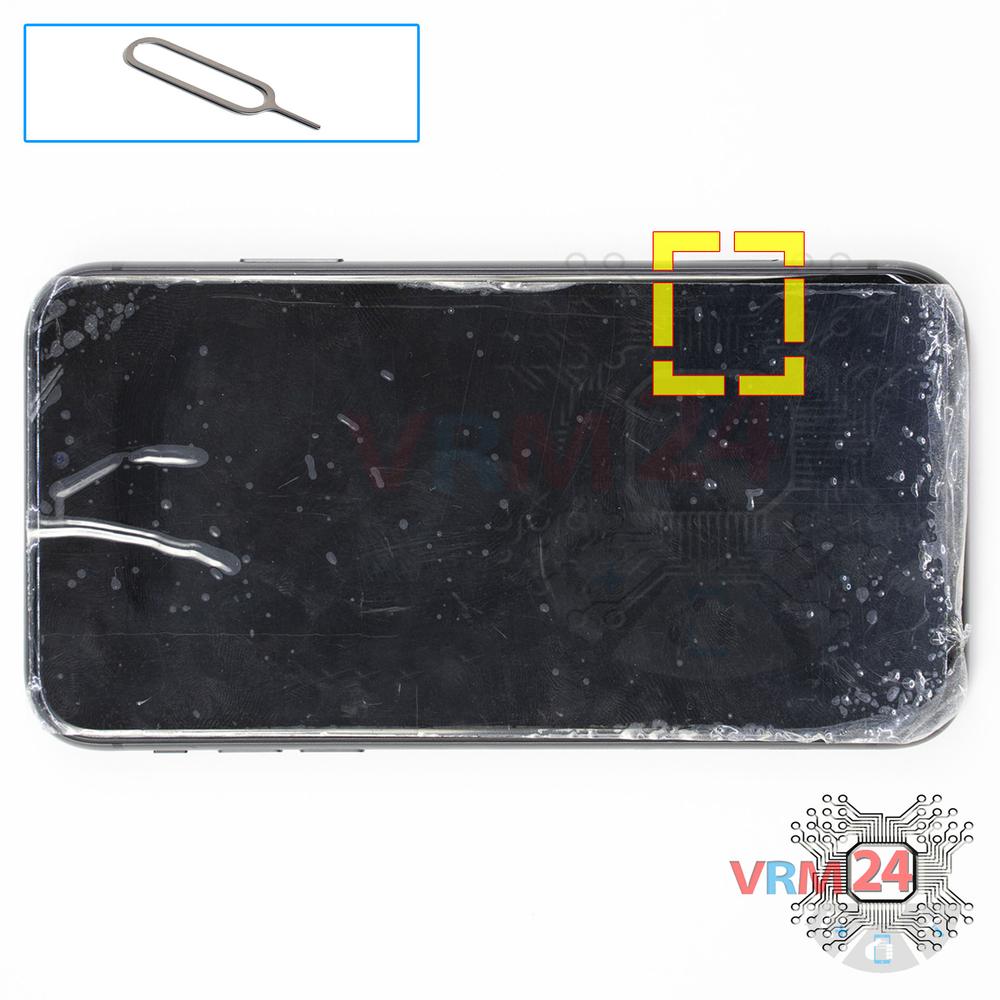
Remove the tray
Using the key tool, open the SIM card tray and remove it.
⚠ Warning!
Do not push too hard this may cause damage.
Step 2.
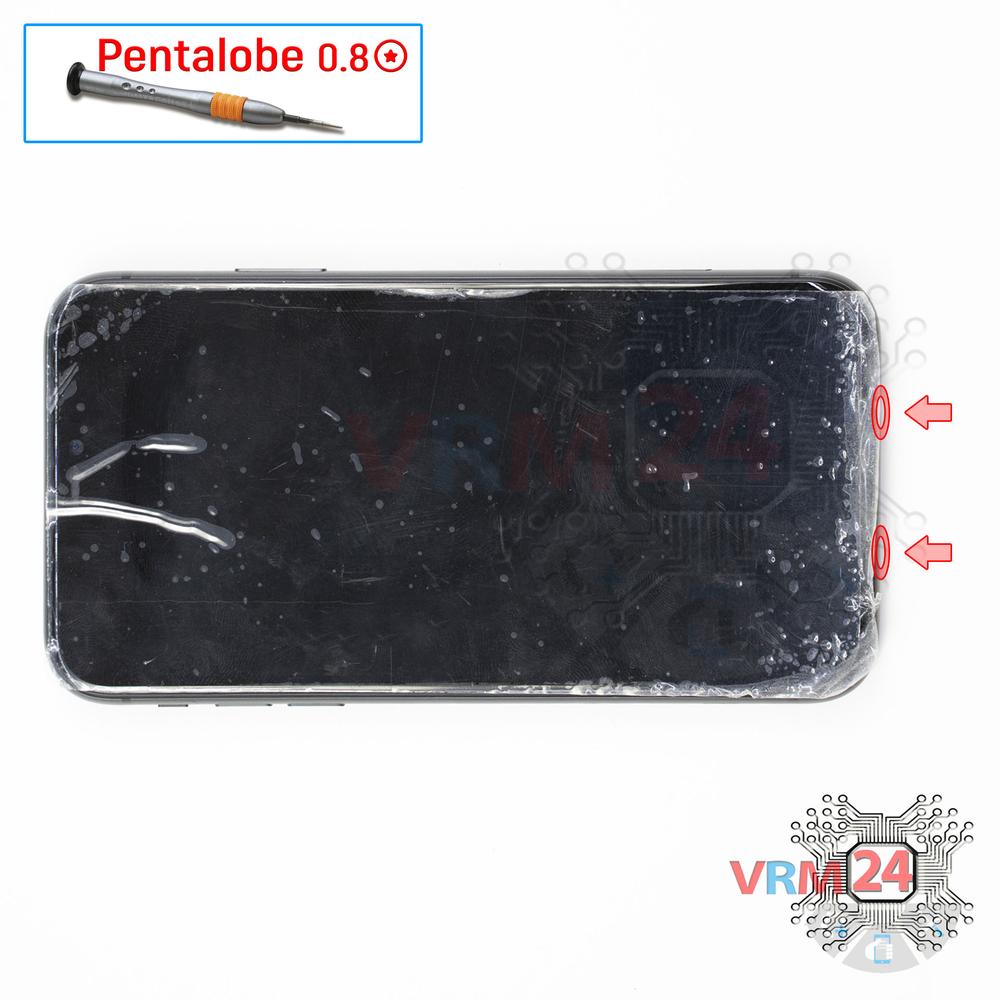
Unscrew the screws
Using a screwdriver (Star Shape 0.8mm Pentalobe), unscrew 2 screws at the end of the phone.
Step 3.
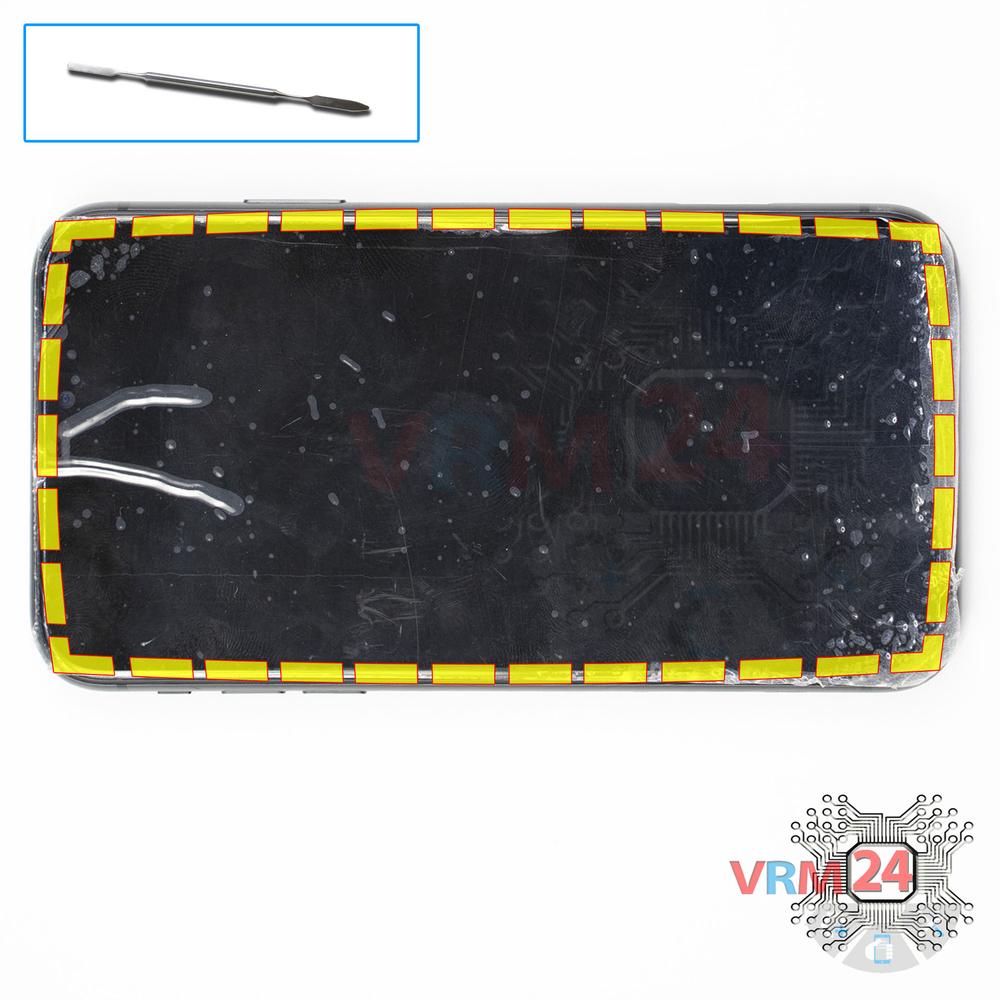
Open the display module
Open the display module.
Step 4.
Remove the bracket
Using a screwdriver (Tri-Wing#00 aka Y00), unscrew 5 screws, and remove the bracket holding the connectors.
Step 5.
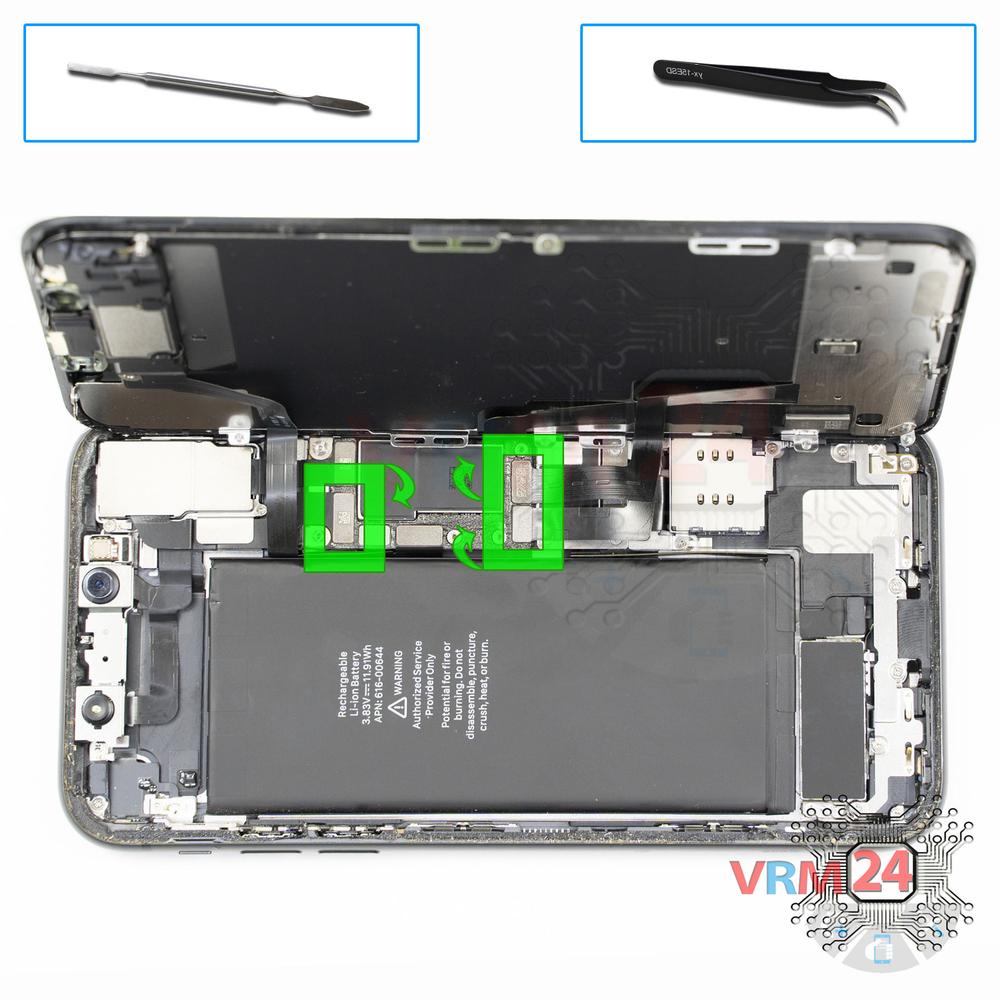
Open the display module
Pry up the connectors and remove the display module.
Step 6.
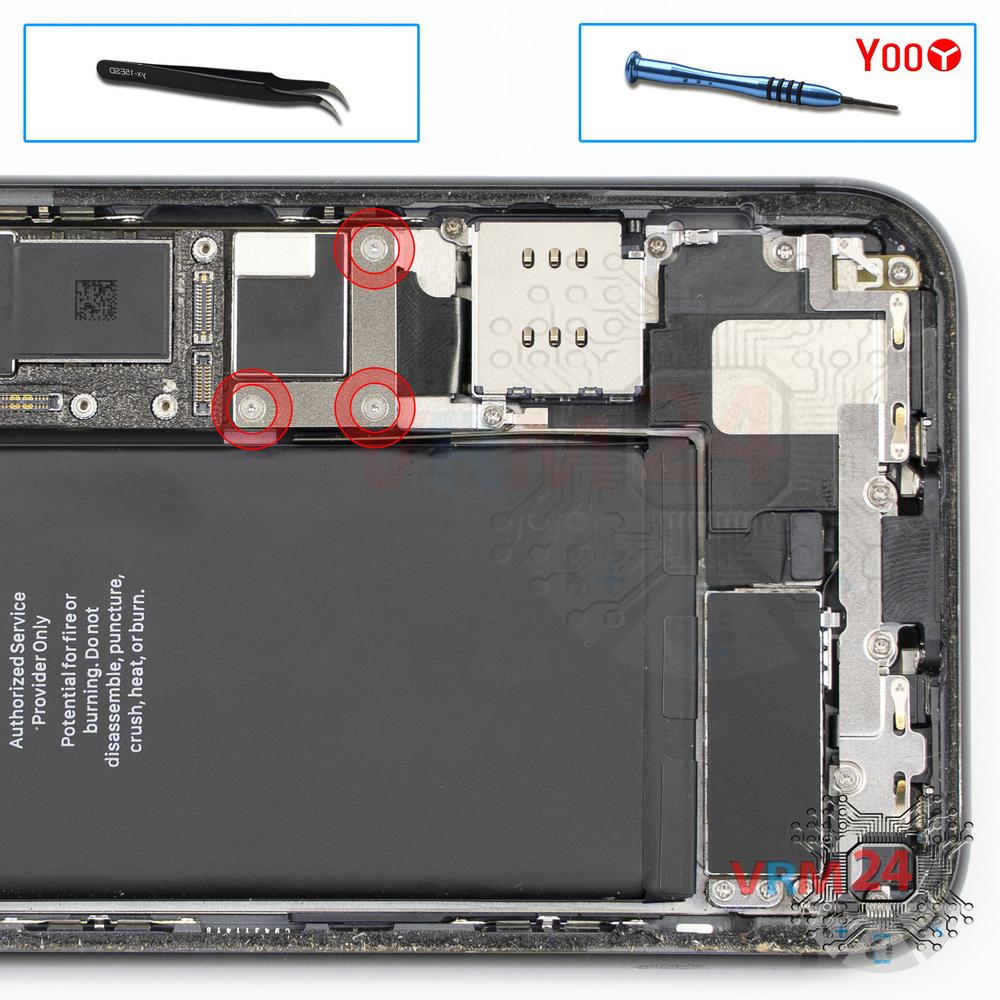
Remove the bracket
Using a screwdriver (Tri-Wing#00 aka Y00), unscrew 3 screws, and remove the boomerang-shaped bracket.
Step 7.
Disconnect the battery connector
Disconnect the battery connector.
⚠ Warning!
We strongly recommend disconnecting the connector to avoid a possible short circuit during disassembly.
Step 8.
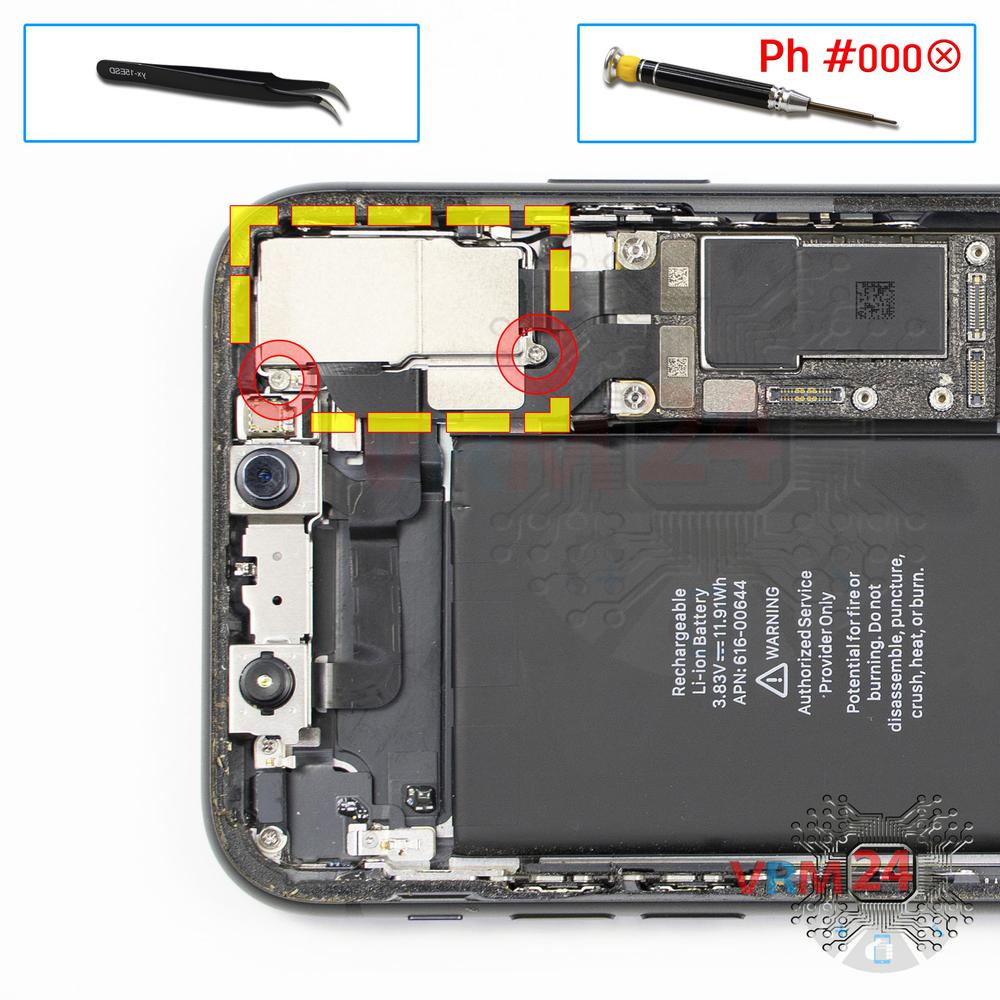
Remove the bracket
Using a screwdriver (Phillips 1.5 mm PH000), unscrew 2 screws and remove the bracket securing the cameras.
Step 9.
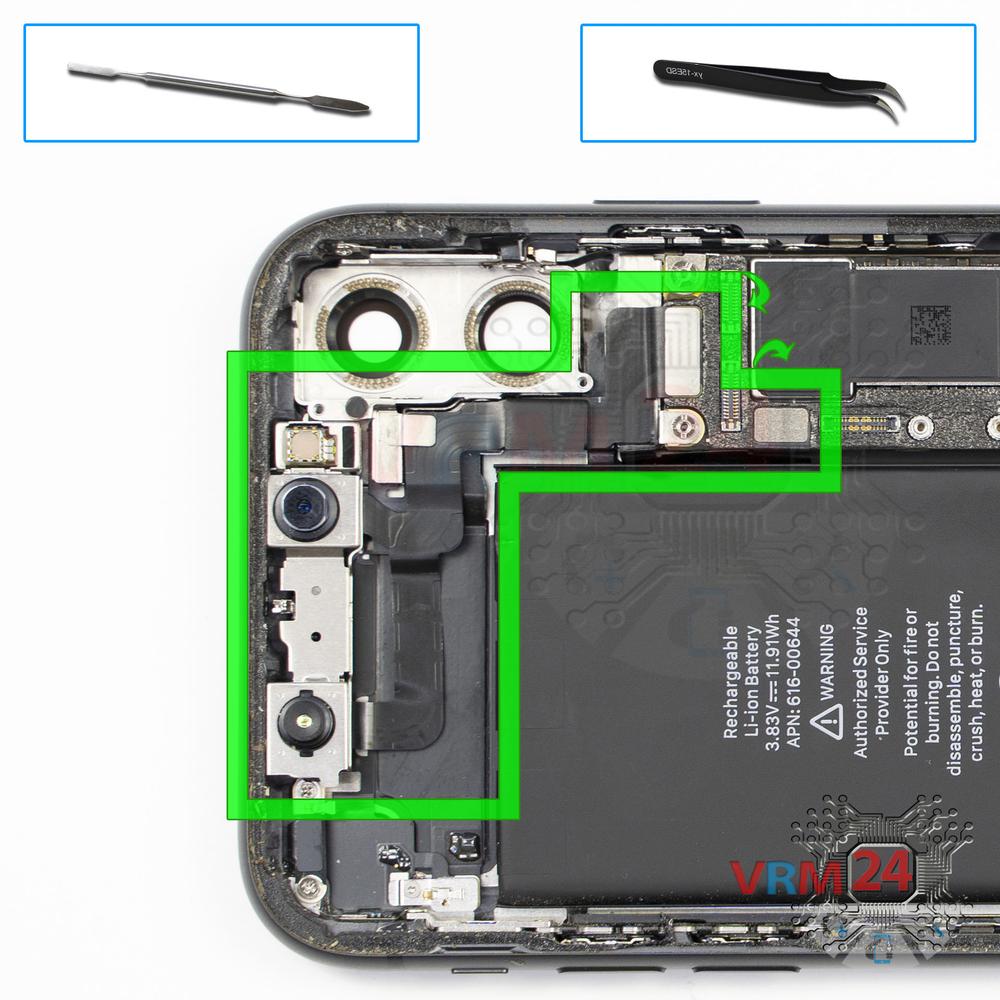
Remove the cameras
Pry up the connectors and remove the assembly of two rear cameras.
Step 10.
Remove the cameras
Disconnect connectors and remove the assembly of two rear cameras.
Step 11.
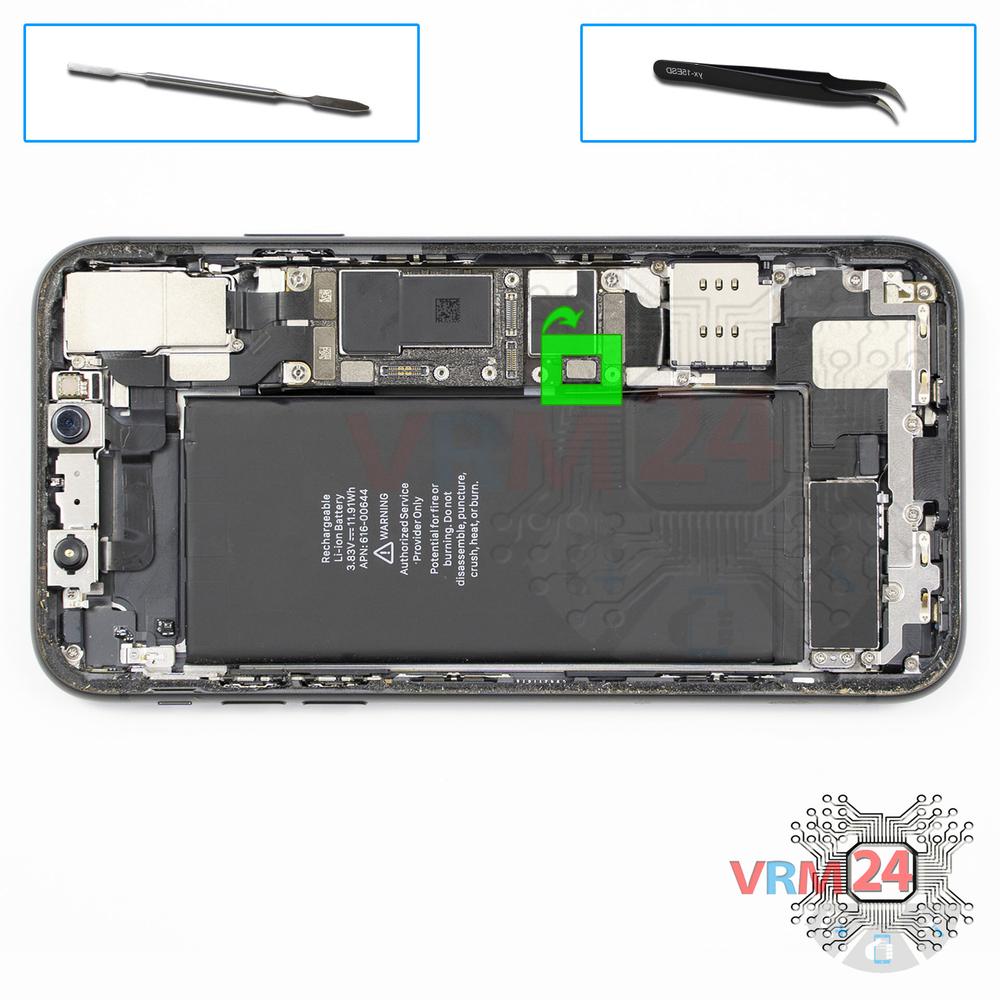
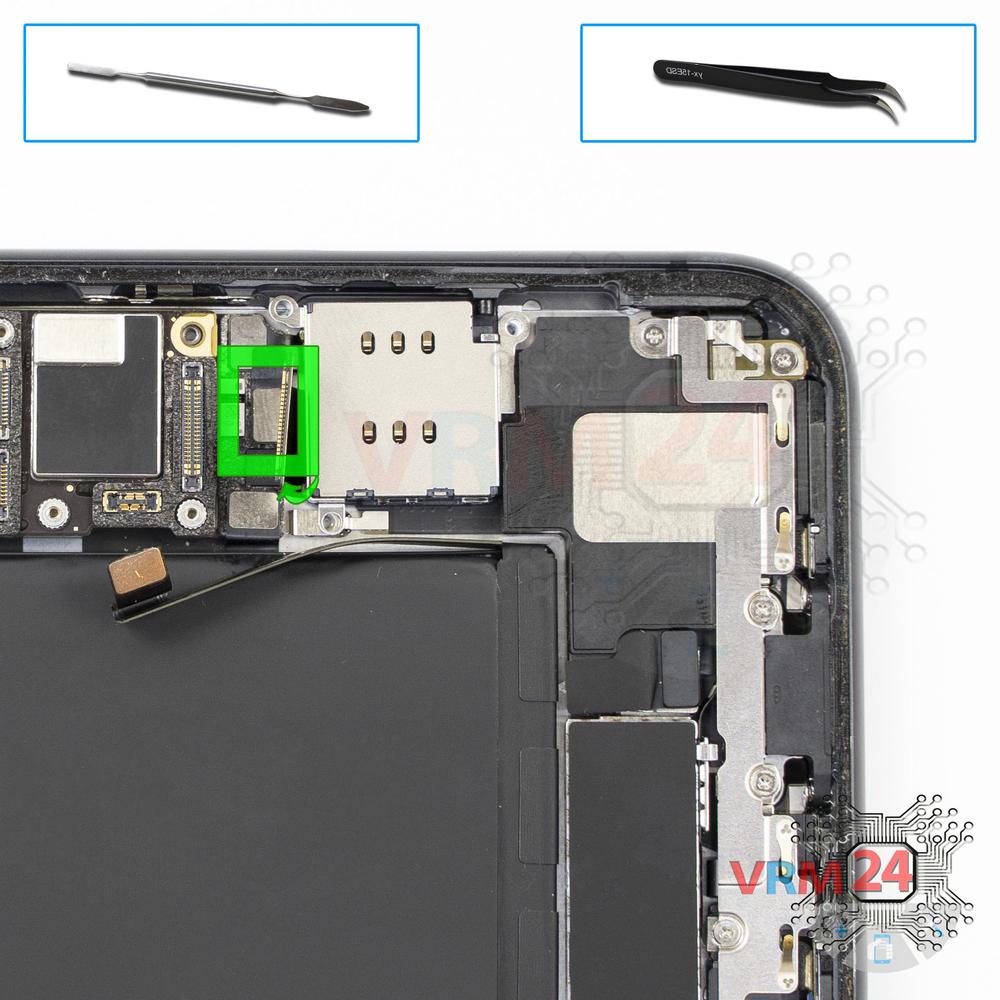
Disconnect the connector
Pry up the connector.
Step 12.
Remove the bracket
Using a screwdriver (Phillips 1.5 mm PH000) and screwdriver (Phillips iPhone 2.5 mm), unscrew 2 screws, and remove the bracket.
Step 13.
Remove the antenna
Using a screwdriver (Phillips 1.5 mm PH000), unscrew 2 screws and remove the antenna.
Step 14.
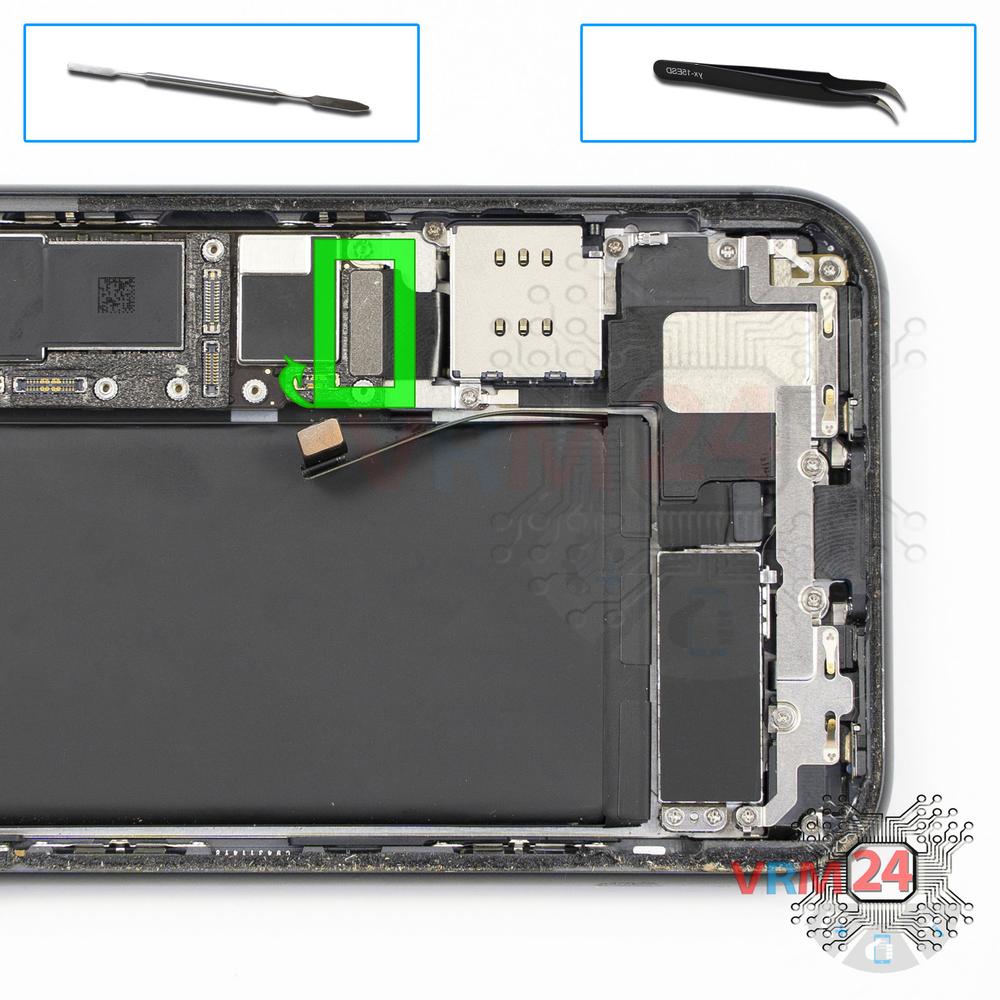
Remove the card holder
Pry up the connector and remove the Sim-card holder.
Step 15.
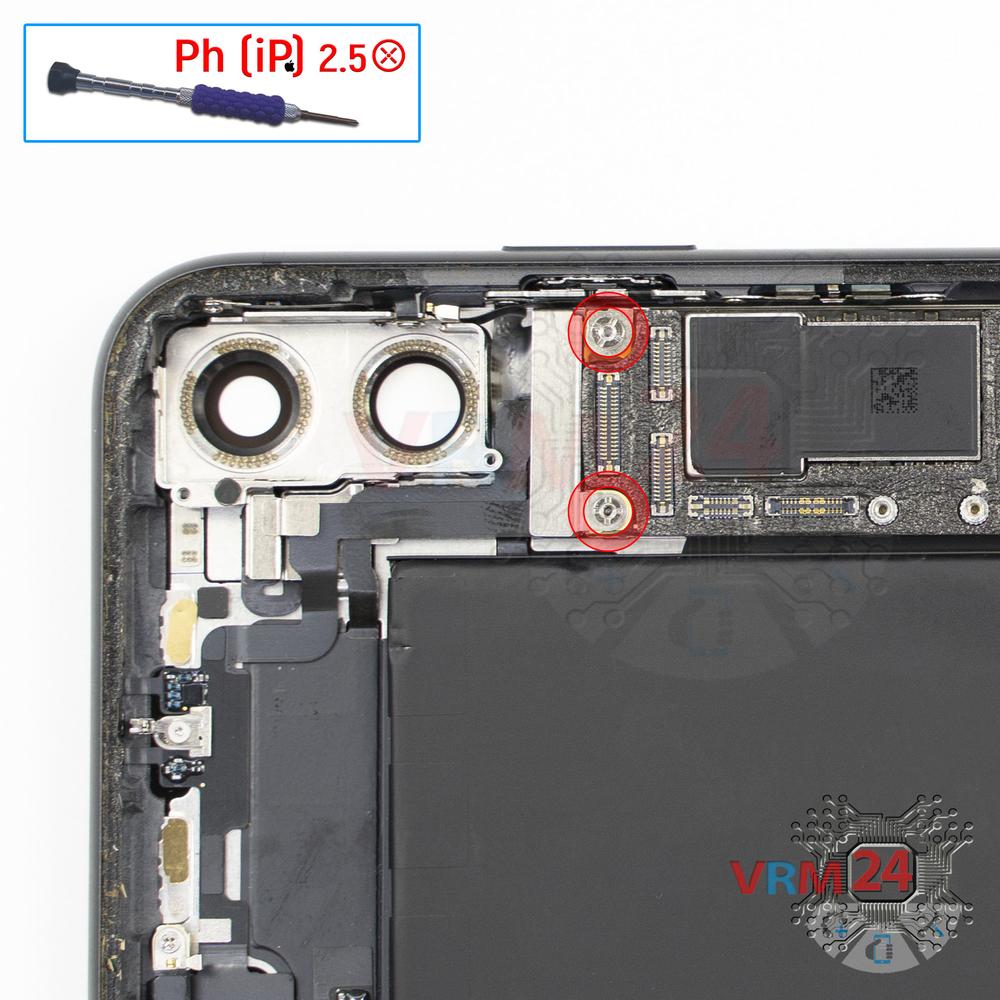
Unscrew the screws
Using a screwdriver (Phillips iPhone 2.5 mm), unscrew 2 screws.
Step 16.
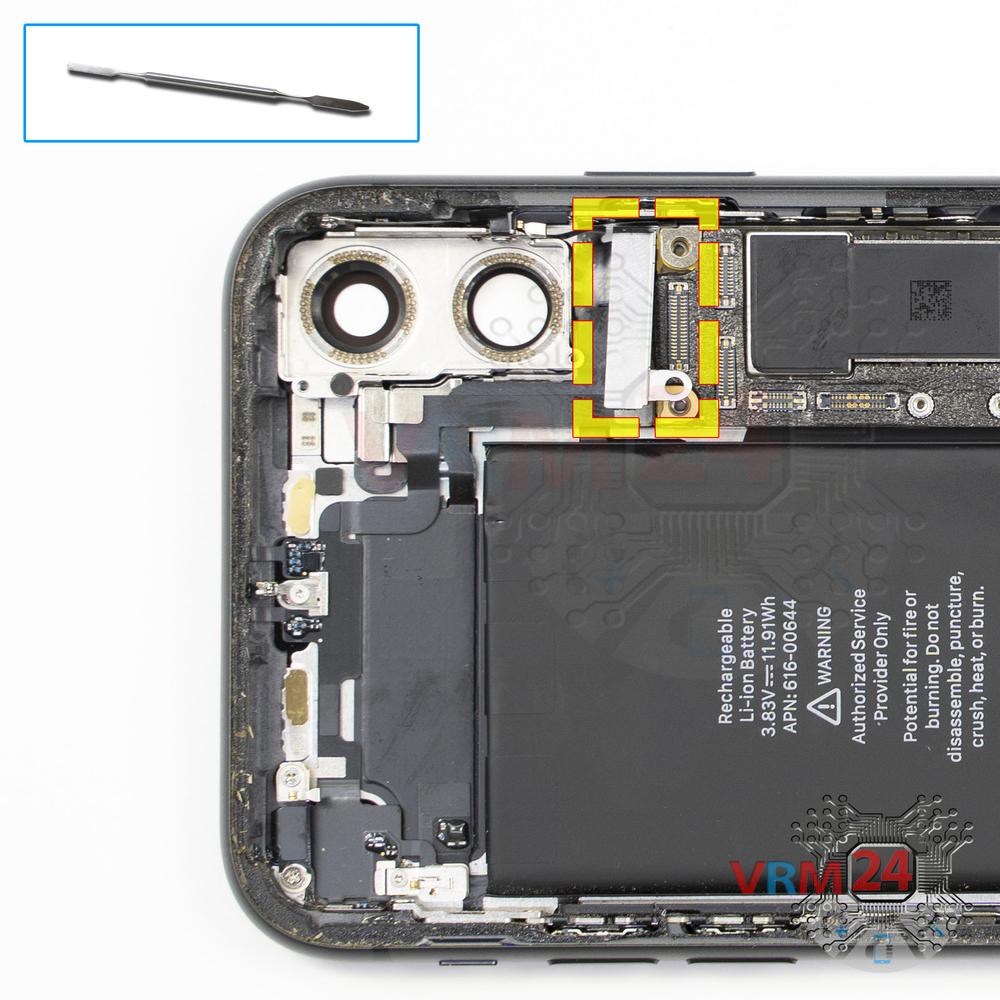
Disconnect the connector
Peel back the protective film and pry up the connectors.
Step 17.
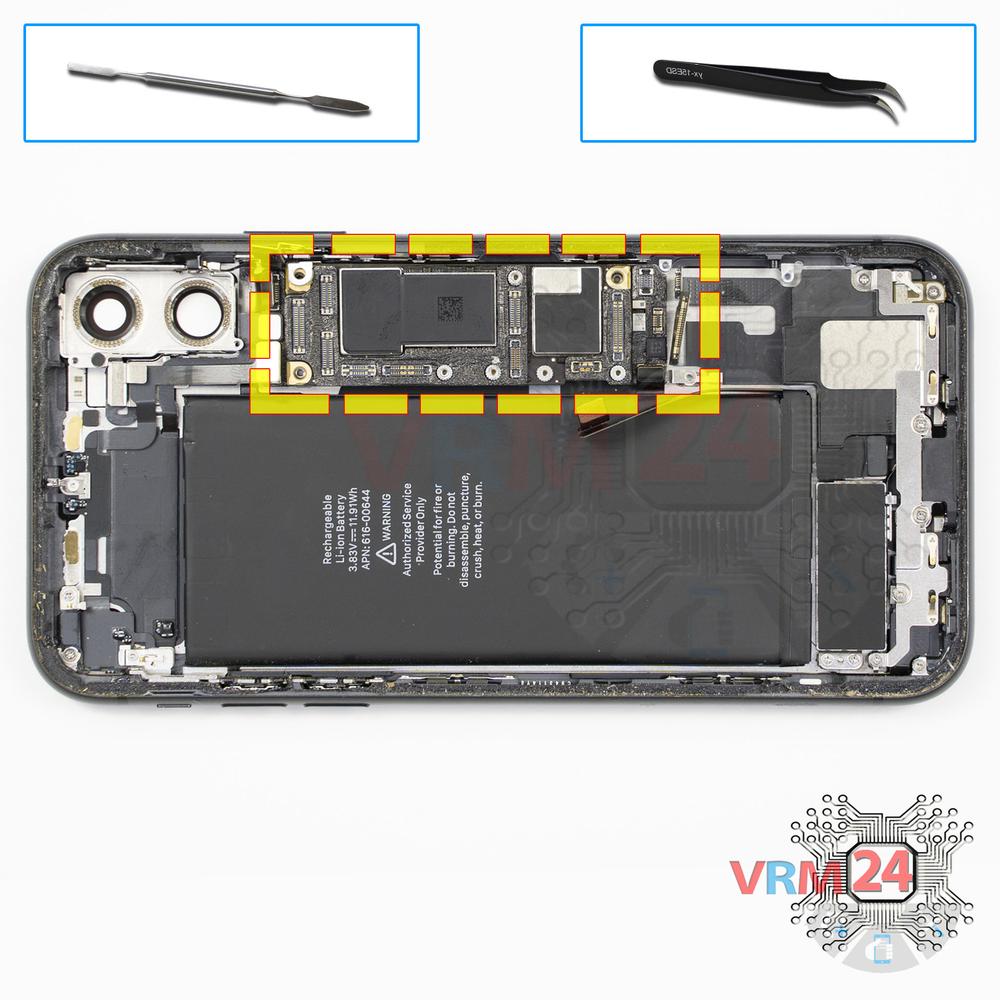
Remove the motherboard
Remove the PCB.
Step 18.
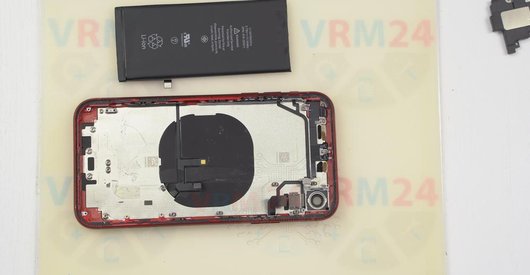
In the housing remained
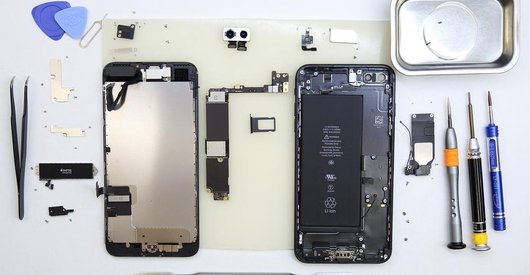
Parts are in the housing.

If you have a question, ask us, and we will try to answer in as much detail as possible. If this article was helpful for you, please rate it.

88593
Views
26
Likes
—
Share
6
Questions
Related Instructions
Related Reviews
Related Blog


Popular Questions

Apple iPhone 5
How to repair iPhone 5 rebooting
david
M
Apple iPhone 8 Plus
why there is no side button replacement?
Mustafa Ates8
D
Apple iPhone X
I thought that for this model it would be useful triwing 0.6
Dave Cid.8
Y
Apple iPhone 6S
He didn't disassemble it completely, he was missing the buttons and other things...!
Yisus Medina7
S
Apple iPhone 6S
What is the a1633?
sarb19Top instructions
Check our
Top Apple instructions most liked by readers
New instructions
Check our
New Apple brand instructions on vrm24.com