Teardown difficulty:
Hard

Recommended tools

Disassembly/Repair of the mobile device Apple iPhone SE (iPhone SE A1723, A1662, A1724) with each step description and the required set of tools.


Specialist in content creation, distribution and content management.


How to disassemble Apple iPhone SE, Step 1/1 How to disassemble Apple iPhone SE, Step 1/2

Step 1. Remove the tray

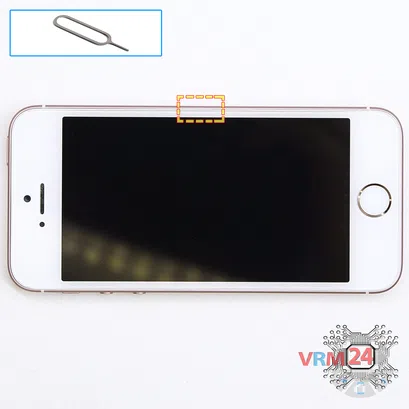
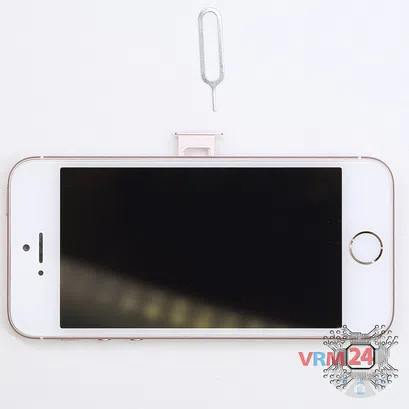
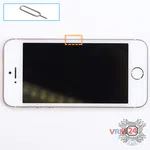
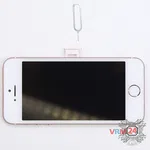
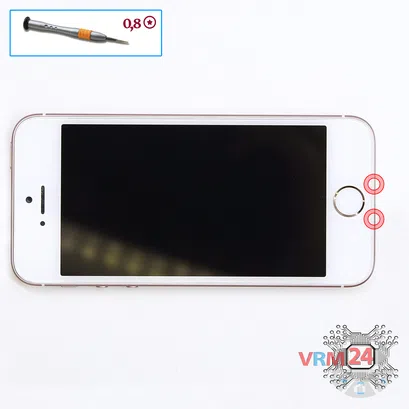
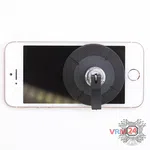
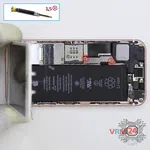
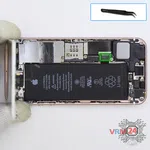
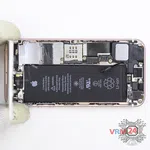
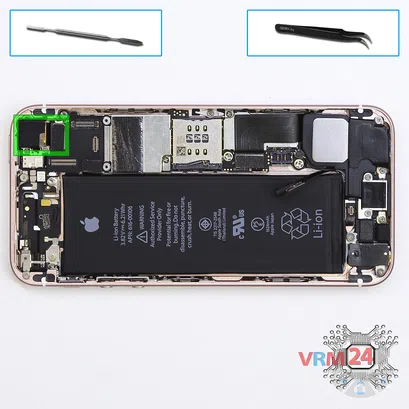
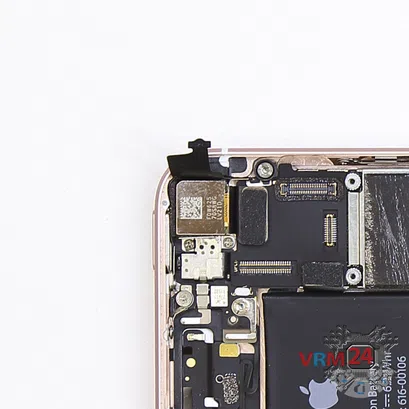
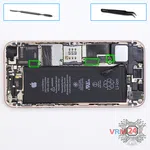
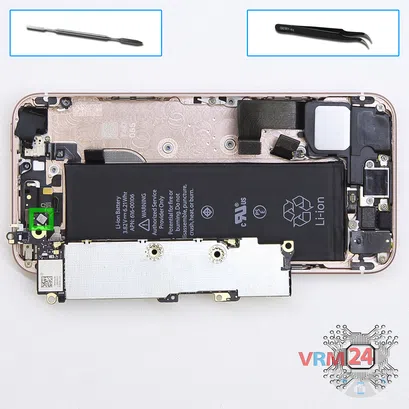
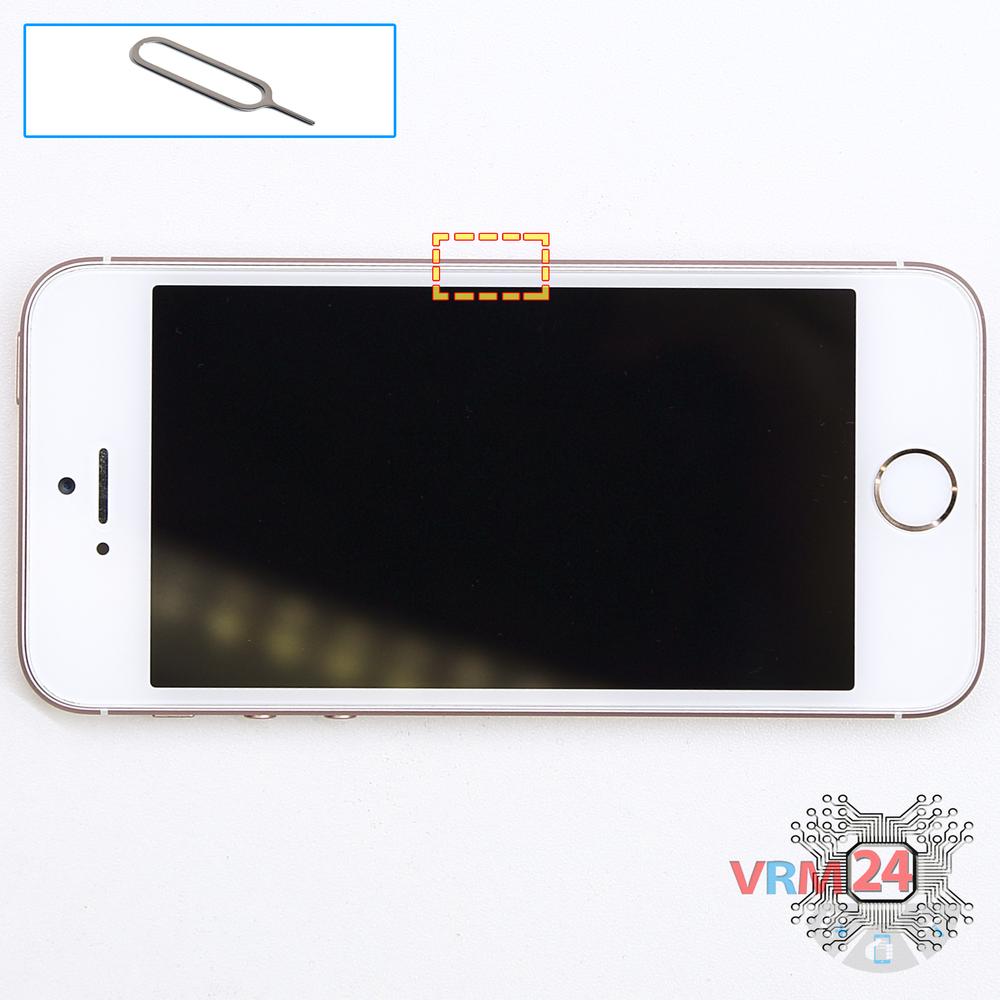
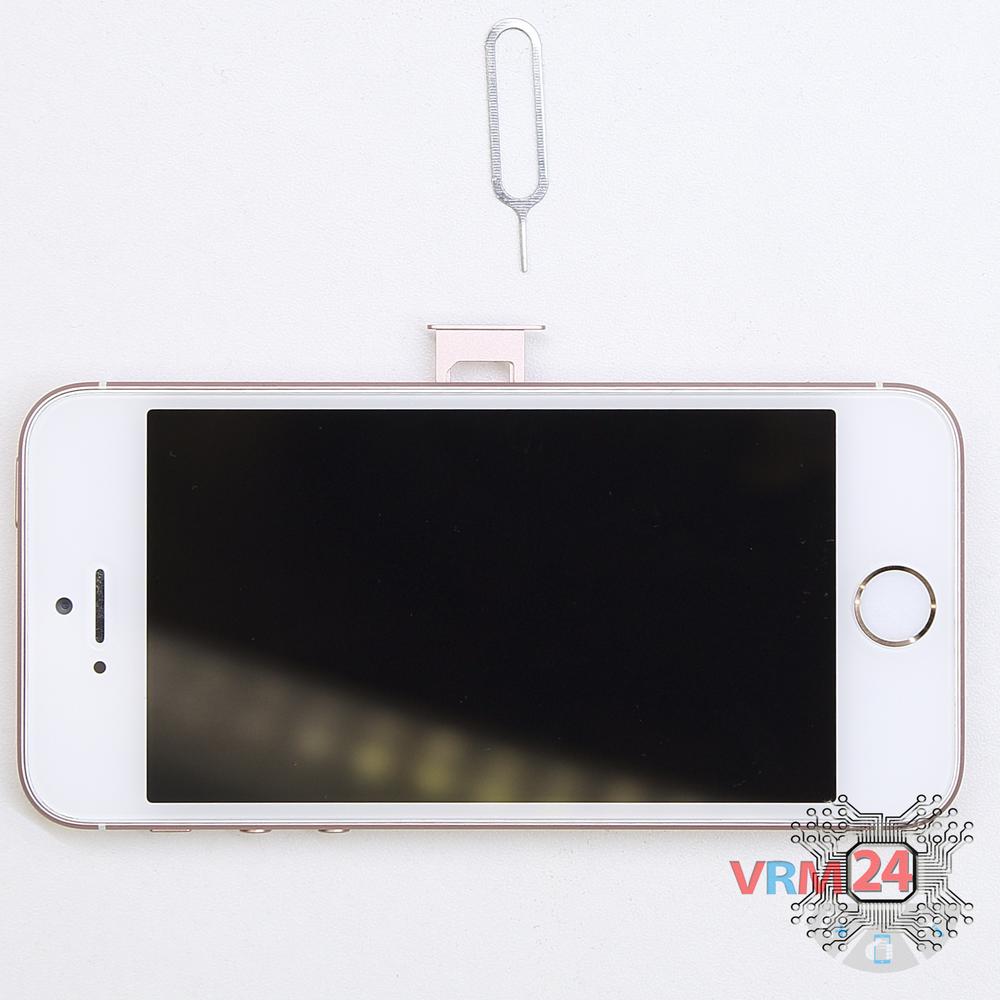
Use the ejection tool (aka Needle) or Paperclip. Push the tip all the way into the hole until the tray ejects, and then pull the SIM card tray out.

⚠ī¸ī¸ Pay attention! The tool must be inserted into a hole on the edge of the phone's housing. Do not press too hard. It may break the tray eject mechanism.


How to disassemble Apple iPhone SE, Step 2/1 How to disassemble Apple iPhone SE, Step 2/2

Step 2. Unscrew the screws

Using a screwdriver (precision star-shaped 0.8 mm aka Pentalobe), unscrew/drive 2 screws out at the end of the phone.


How to disassemble Apple iPhone SE, Step 3/1 How to disassemble Apple iPhone SE, Step 3/2

Step 3. Remove the bracket

Gently lift the display module and remove the bracket holding fingerprint sensor connector. Try to use a non-metal or plastic tool to avoid any damage because the motherboard is still battery-powered.


How to disassemble Apple iPhone SE, Step 4/1 How to disassemble Apple iPhone SE, Step 4/2

Step 4. Disconnect the connector

Disconnect the fingerprint sensor connector.

After, lift the display vertically because at the end display module - are connectors, are still held by bracket.


How to disassemble Apple iPhone SE, Step 5/1 How to disassemble Apple iPhone SE, Step 5/2

Step 5. Unscrew the screws

Using a screwdriver (Phillips 1.5 mm PH000), unscrew two screws and remove the bracket holding the connectors.


How to disassemble Apple iPhone SE, Step 6/1 How to disassemble Apple iPhone SE, Step 6/2 How to disassemble Apple iPhone SE, Step 6/3

Step 6. Disconnect the battery connector

Disconnect the battery connector as soon as possible.

ℹī¸ī¸ The Apple iPhone SE model has a battery TIS 2217-2548 with 1624 mAh capacity (aka rechargeable battery).

⚠ī¸ī¸ It is highly recommended to disconnect the connector to avoid possible short circuits during disassembly.

Also, try not to use a metal tool to disconnect the rechargeable battery connector or do it carefully.


How to disassemble Apple iPhone SE, Step 7/1 How to disassemble Apple iPhone SE, Step 7/2

Step 7. Unscrew the screws

Using a screwdriver (Phillips 1.5 mm PH000), unscrew four screws and remove the bracket holding the connectors.


How to disassemble Apple iPhone SE, Step 8/1 How to disassemble Apple iPhone SE, Step 8/2

Step 8. Disconnect the connectors

Disconnect connectors and remove the display module.


How to disassemble Apple iPhone SE, Step 9/1 How to disassemble Apple iPhone SE, Step 9/2 How to disassemble Apple iPhone SE, Step 9/3

Step 9. Remove the rear camera

Bend up the protective layer. Disconnect the connector and remove the rear camera.


How to disassemble Apple iPhone SE, Step 10/1 How to disassemble Apple iPhone SE, Step 10/2

Step 10. Unscrew the screws

Using a screwdriver (Philips 1.5 mm PH000), unscrew three screws and with a barrel-screwdriver (Philips 2.5 mm iPhone) unscrew four screws.


How to disassemble Apple iPhone SE, Step 11/1 How to disassemble Apple iPhone SE, Step 11/2 How to disassemble Apple iPhone SE, Step 11/3 How to disassemble Apple iPhone SE, Step 11/4 How to disassemble Apple iPhone SE, Step 11/5

Step 11. Disconnect the connectors

Disconnect connectors on the printed circuit board.


How to disassemble Apple iPhone SE, Step 12/1 How to disassemble Apple iPhone SE, Step 12/2

Step 12. Remove the motherboard

Turn over the printed circuit board, disconnect one connector and remove the circuit board. There is no need to use a lever or try to reach the circuit board by force. Make sure that nothing is getting in the way or holding the circuit board.

⚠ī¸ī¸ Do not bend the circuit board when removing it or push tools under it. Unbeknownst to yourself, you can damage components or cables from the inside.


How to disassemble Apple iPhone SE, Step 13/1 How to disassemble Apple iPhone SE, Step 13/2

Step 13. Unscrew the screws

Using a screwdriver (Philips 1.5 mm PH000), unscrew seven screws.


How to disassemble Apple iPhone SE, Step 14/1 How to disassemble Apple iPhone SE, Step 14/2

Step 14. Remove the loudspeaker

Pry around the edges and remove the loudspeaker assembly.


How to disassemble Apple iPhone SE, Step 15/1 How to disassemble Apple iPhone SE, Step 15/2

Step 15. Remove the charging port

Peel back the flat cable, carefully move under and around with a tool to remove the main part of the cable with microphone, lightning port (charging port).


How to disassemble Apple iPhone SE, Step 16/1 How to disassemble Apple iPhone SE, Step 16/2 How to disassemble Apple iPhone SE, Step 16/3

Step 16. In the housing remained

ℹī¸ī¸ In the housing remained:

Detailed disassembly instructions of Apple iPhone SE in the video, made by our mobile repair & service center:

If you have a question, ask us, and we will try to answer in as much detail as possible. If this article was helpful for you, please rate it.


Disassembling\Repair has hard complexity and takes about 9 minutes in time. Our manual is suitable for all models Apple iPhone SE released for markets in different countries.


Back to the list
˄˅
˃˂