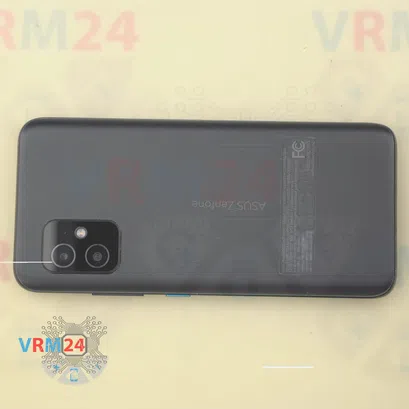
⚠️️ Before disassembling, do not forget to turn your phone off.
Moderate
Recommended tools


Disassembly/Repair of the mobile device Asus ZenFone 8 I006D (Asus ZenFone 8 I006D) with each step description and the required set of tools.

Vadim Popoff
Author / content specialist
Author / Content specialist with 10+ years of experience
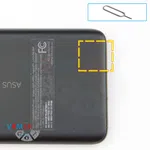
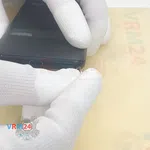
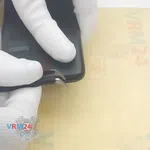
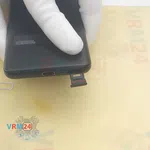
Step 2. Remove the tray
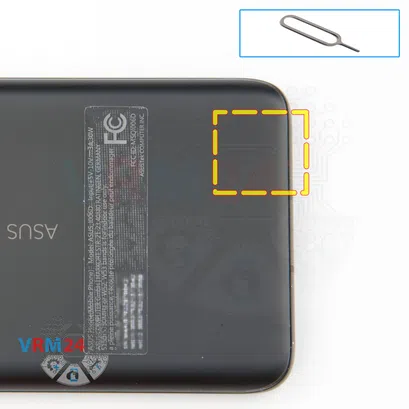
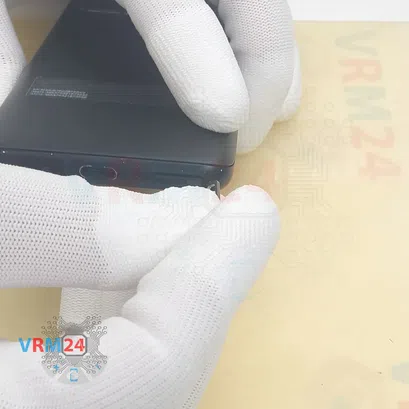
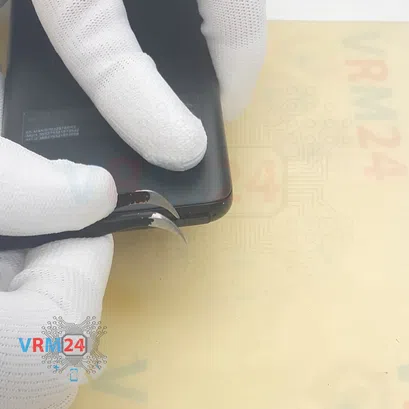
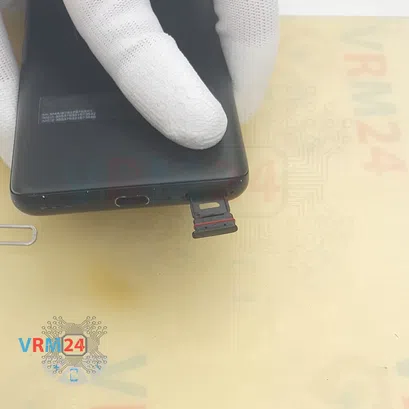
At the very beginning we need to remove the card tray for this we take a special tool, insert it into the right hole and carefully push out and pull out the card tray.
⚠️️ Please note that the microphone hole is located next to the card tray too.
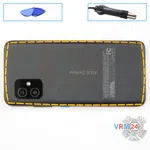
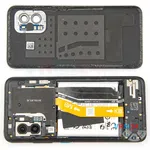
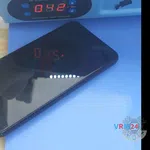
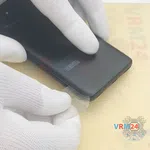
Step 3. Open the back cover
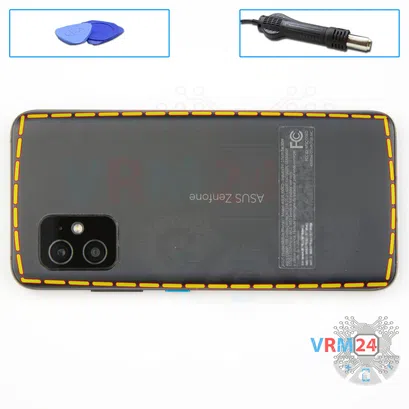
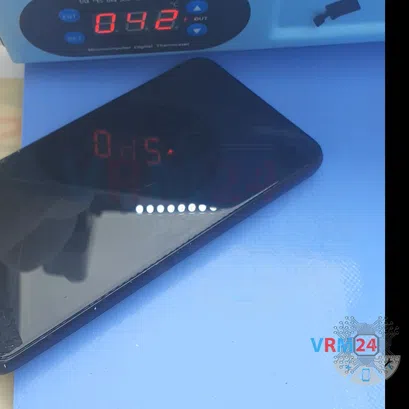
We need to heat the surface of the back cover to approximately 70° C or 160° F. For this we use a heating mat or a hair dryer.
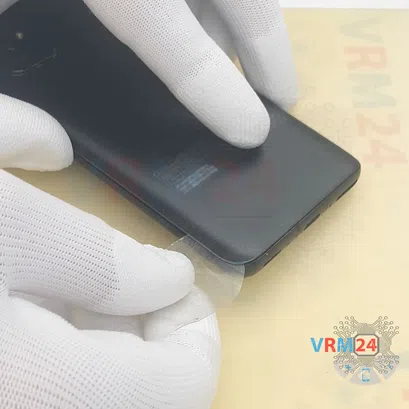
And after 5-7 minutes of heating we can move on to detaching the back cover. For this we use a thin plastic film, this is the protective film from the new display or a plastic film from the stationery store.
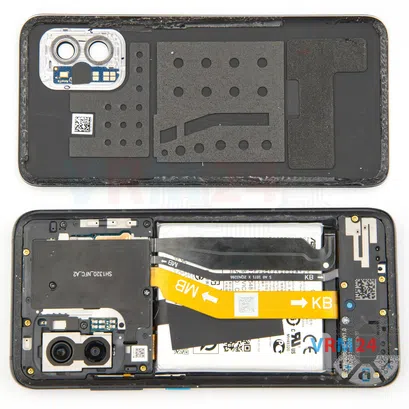
We insert it into the gap between the back cover and the display frame and run it along the length of the back cover detaching the back cover.
ℹ️️ On the back cover we have the flashlight elements, gasket and possibly the microphone.
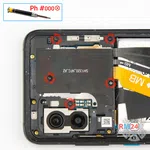
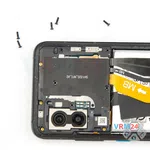
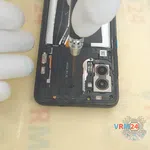
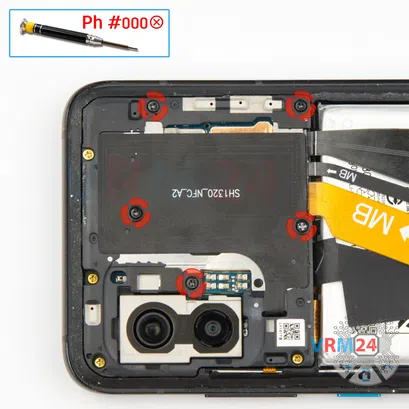
Step 4. Unscrew the screws
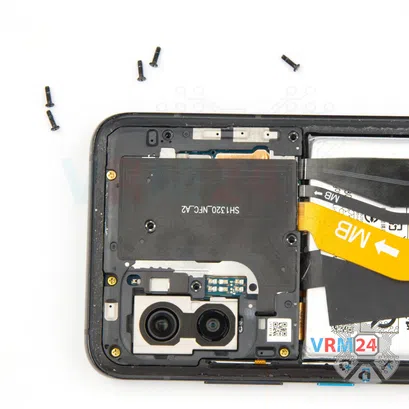
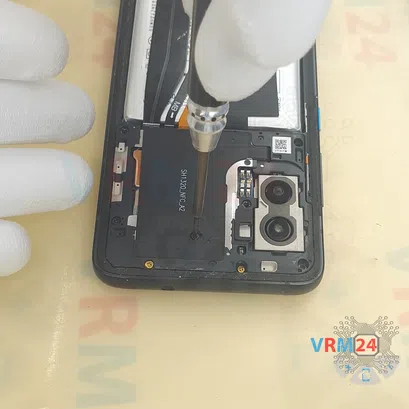
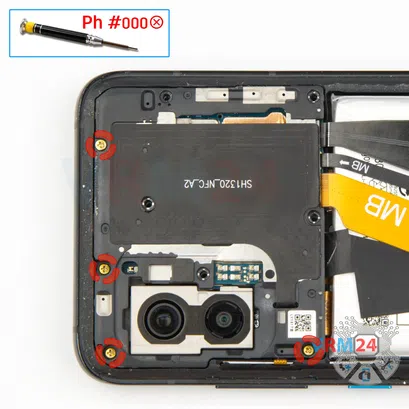
We move on to unscrewing the five long black screws, using a 1.5 mm Phillips screwdriver or #000.
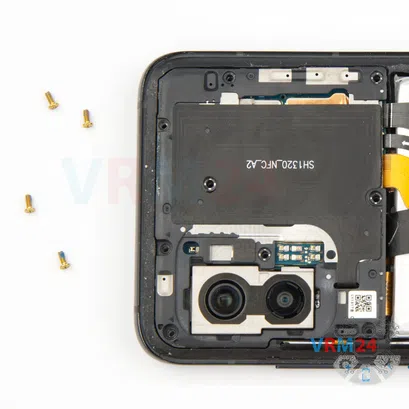
⚠️️ As we can see, some of the screws are different in color, so we need to place the screws on a special surface in a certain order, so that they do not get mixed up when reassembling.
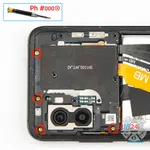
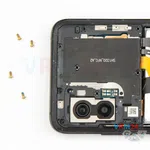
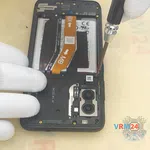
Step 5. Unscrew the screws
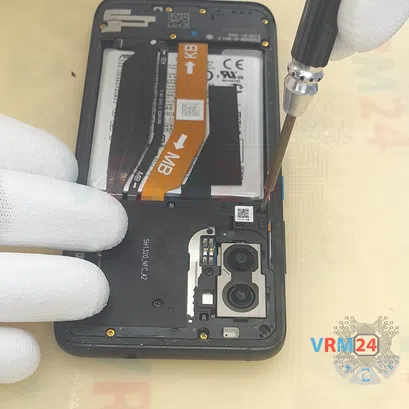
Using a screwdriver Phillips 1.5 mm (PH #000), unscrew the four short gold (or marigold) screws.
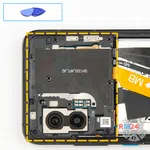
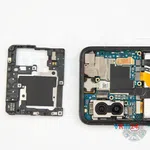
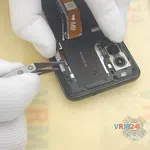
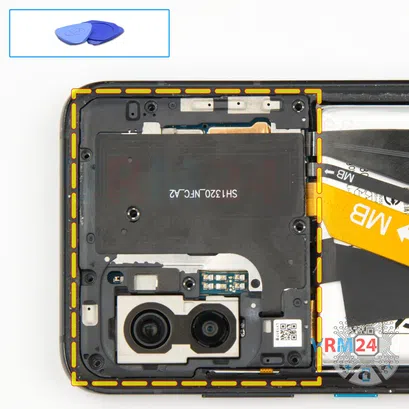
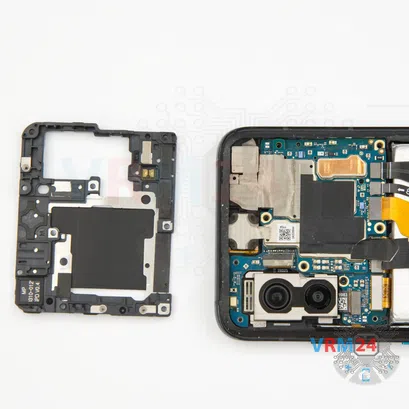
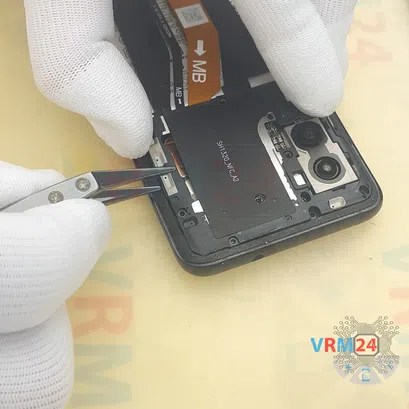
Step 6. Open the cover
After unscrewing the screws, we need to detach the cover hiding the motherboard. To do this we recommend using non metal tools, so that nothing shorted on the motherboard.
Gently hook the edge in the right place and try to detach the cover.
We make sure that nothing interferes with us and remove the cover with the contact pads for the antennas.
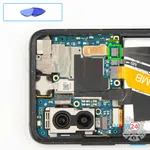
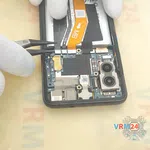
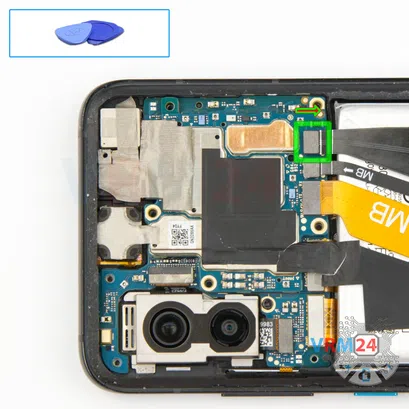
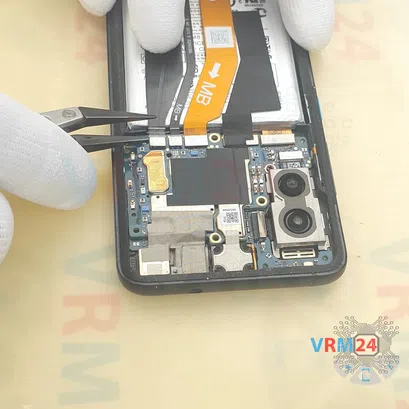
Step 7. Disconnect the battery connector
We disconnect the battery connector, as we can see the battery cable comes from the bottom of the battery. We use a non-metallic or plastic tool to avoid any damage.
ℹ️️ The Asus ZenFone 8 I006D model has a battery C11P2003 with a capacity of 3835 mAh (also known as a rechargeable battery).
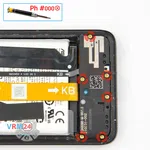
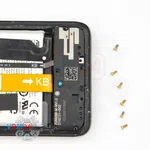
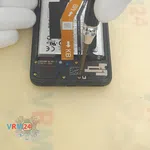
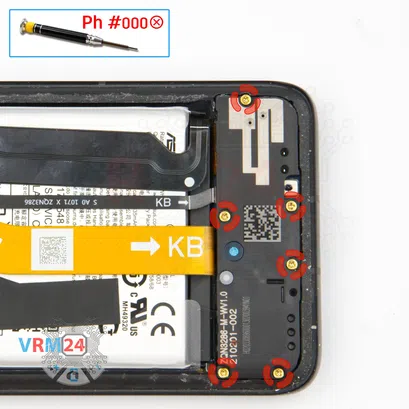
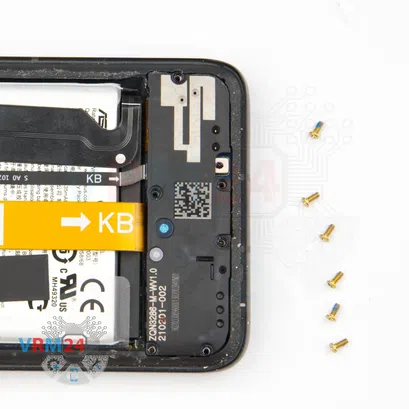
Step 8. Unscrew the screws
And we proceed to unscrewing the screws at the bottom, the screws are marigold or copper color. Carefully unscrew the six screws and put them aside.
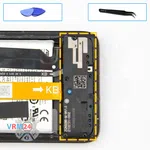
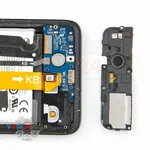
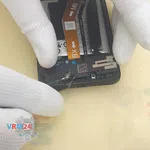
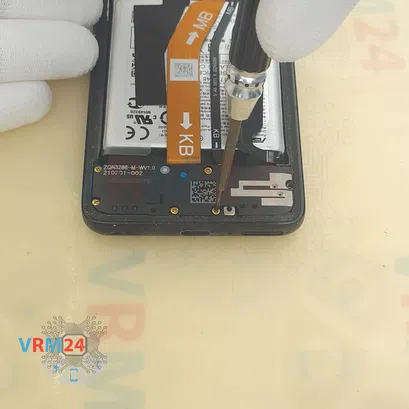
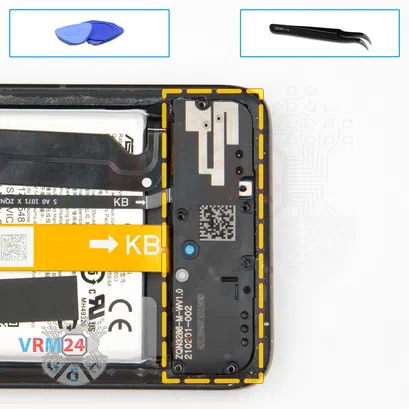
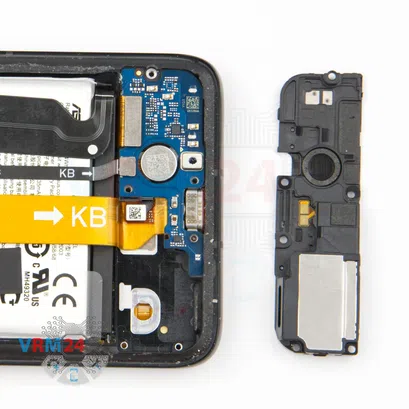
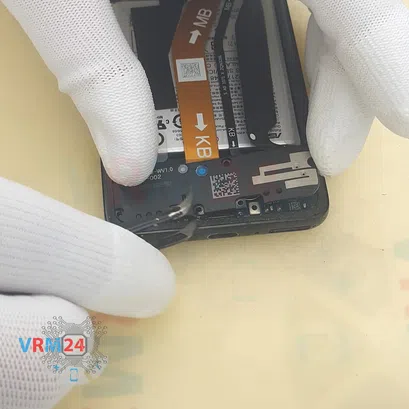
Step 9. Remove the loudspeaker
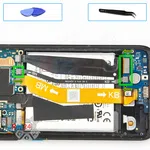
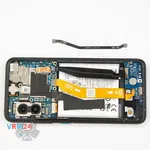
We detach the cover with the loudspeaker, on which we can see the antenna transmission lines. Carefully hook it in the right place and take off the cover with the speaker.
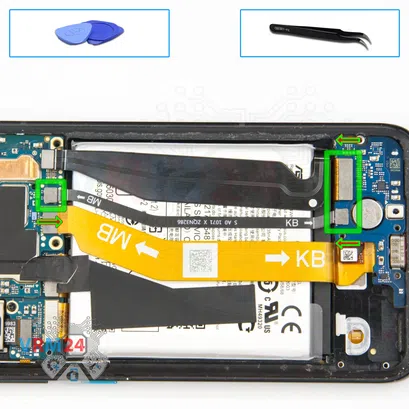
Step 10. Remove the inter-board cable
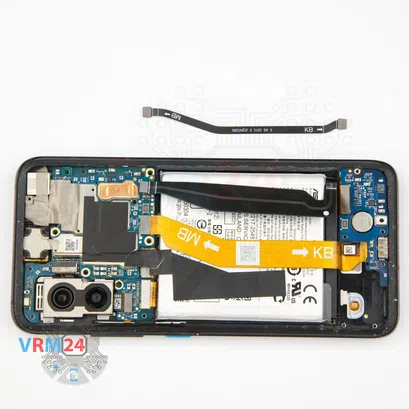
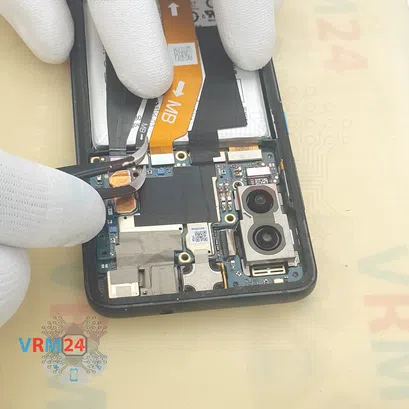
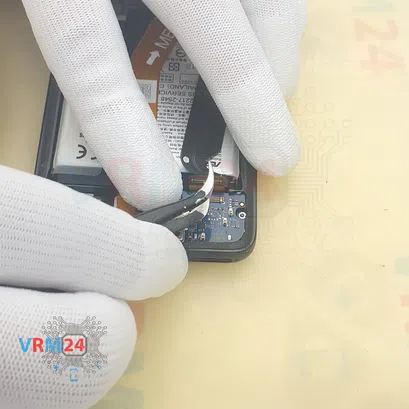
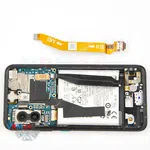
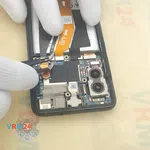
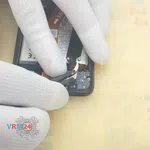
We disconnect the connectors of the narrow inter-board cable and disconnect the connector of the second inter-board cable on the sub-board. And we can remove the inter-board cable.
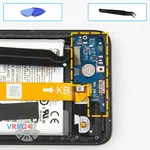
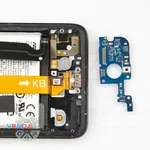
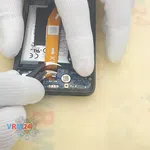
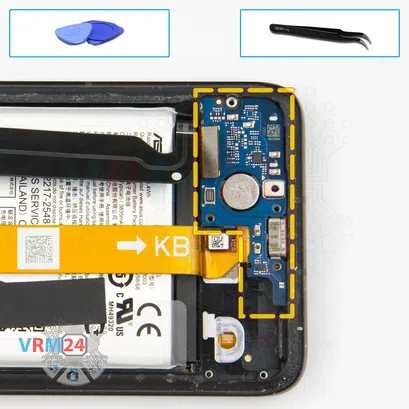
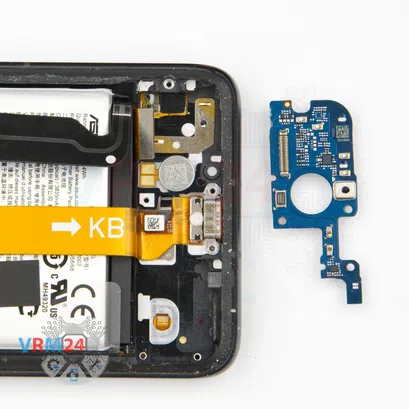
Step 11. Remove the sub-board
And we can gently hook the edge and take out the sub-board.
The sub-board has a card holder and a microphone on the back side.
⚠️️ It is not necessary to insert the tool underneath when removing the sub-board. Internal components could be damaged.
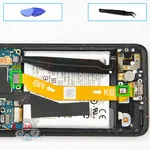
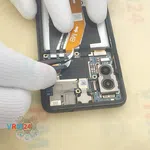
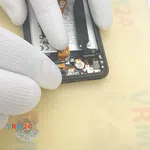
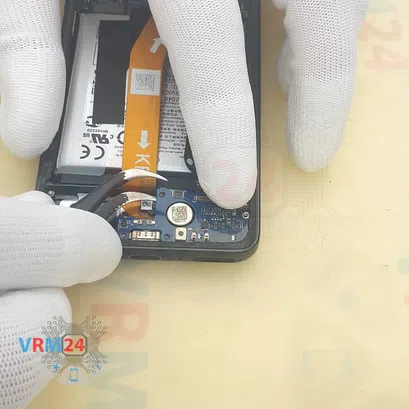
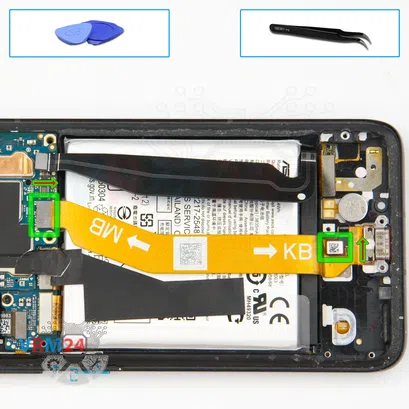
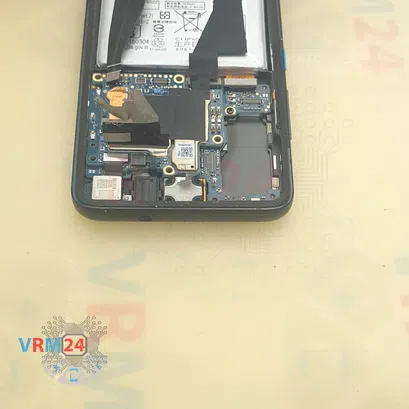
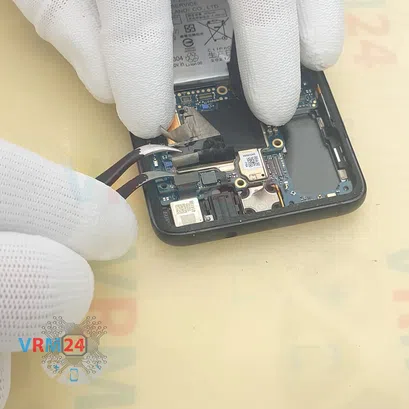
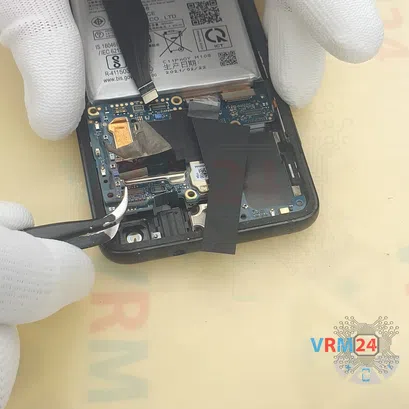
Step 12. Disconnect the connectors
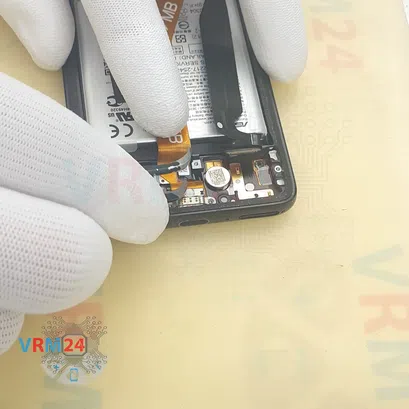
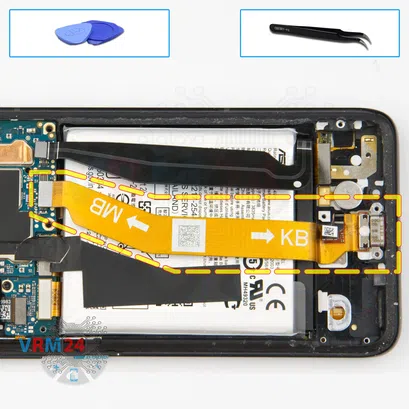
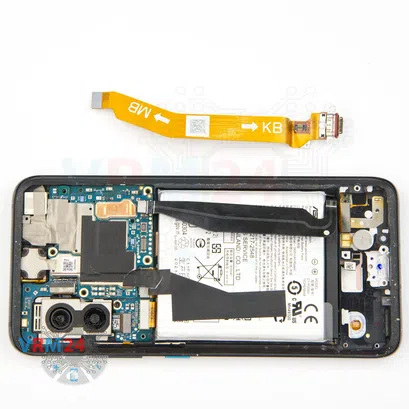
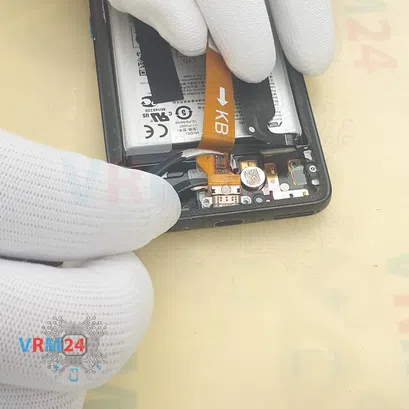
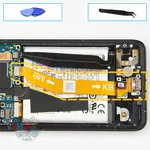
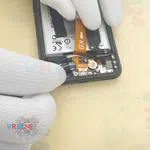
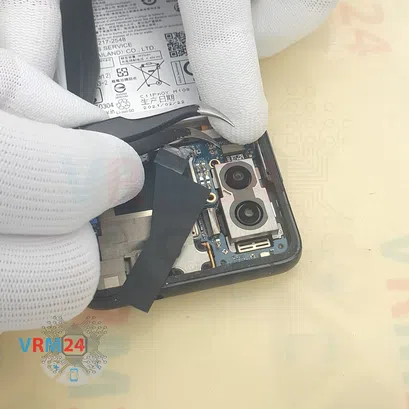
Now we need to disconnect the two connectors. One of them is on the motherboard and the other is on the cable near the charging port.
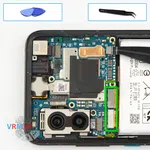
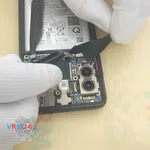
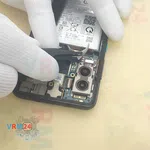
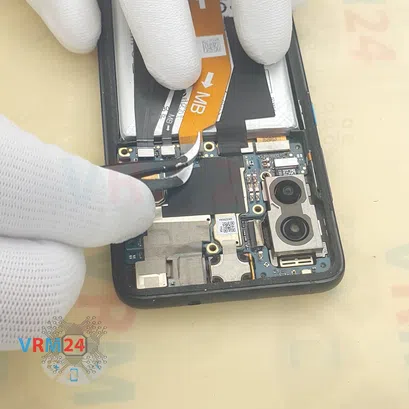
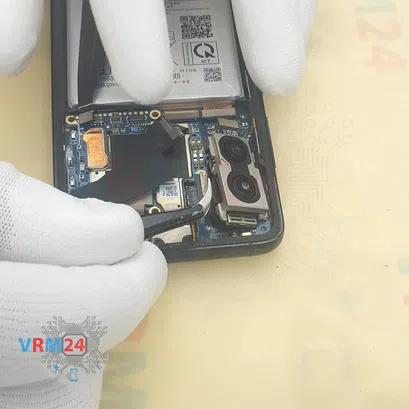
Step 14. Disconnect the connectors
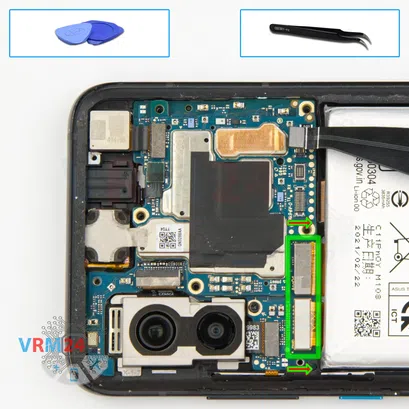
And we move on to disconnecting the connectors on the motherboard.
We peel off the protective covering and disconnect the connectors of the cables leading to the sub-board and to the display.
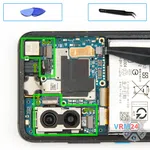
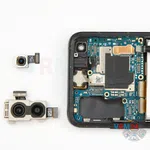
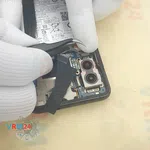
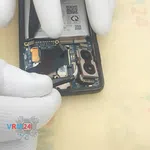
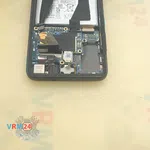
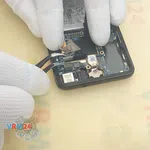
Step 15. Remove the cameras
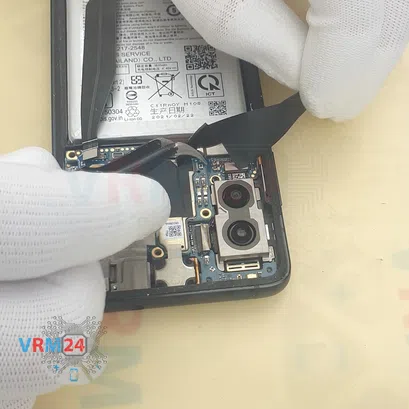
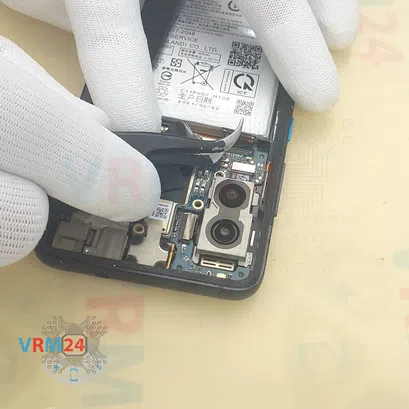
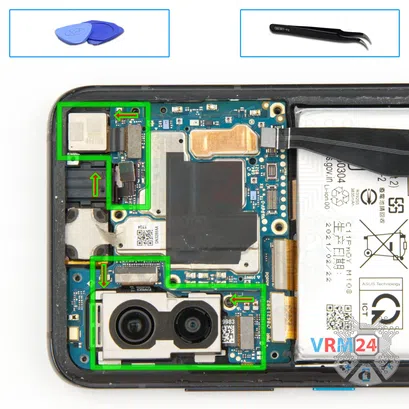
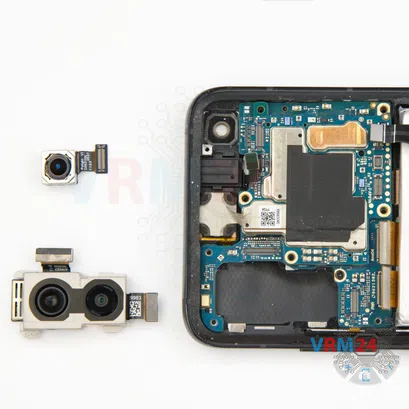
We disconnect two connectors and remove the assembly of two rear cameras.
Then we need to peel off the protective coating on the earpiece speaker, headphone jack port and front camera.
And after that we can remove the front camera
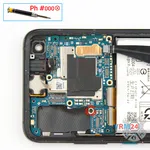
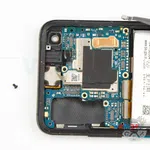
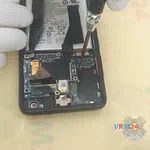
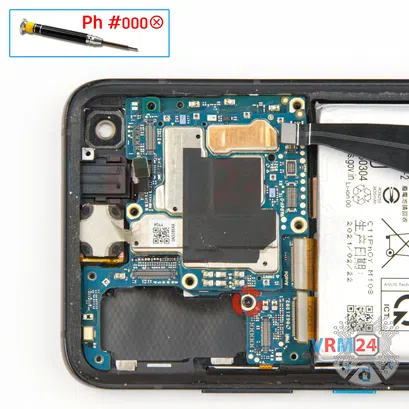
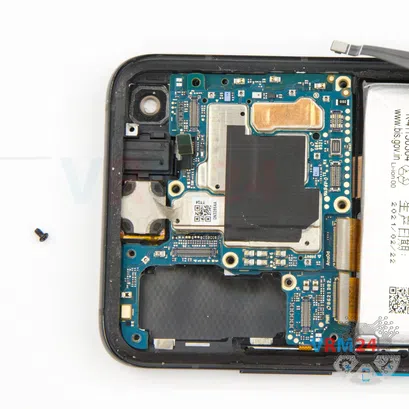
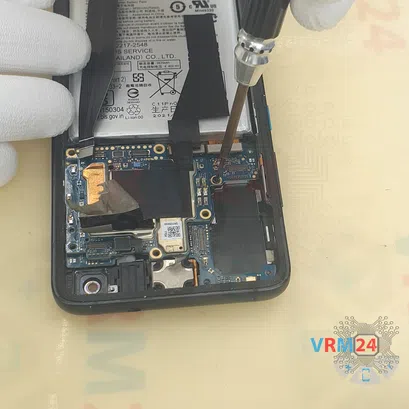
Step 16. Unscrew one screw
And we unscrew one screw securing the motherboard.
This screw is obviously different from the previous ones, it is better to put it aside separately so as not to confuse.
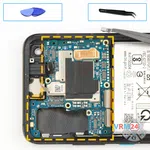
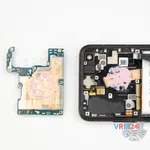
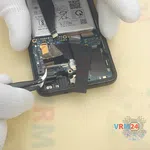
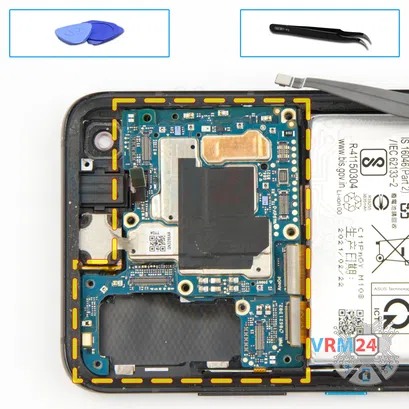
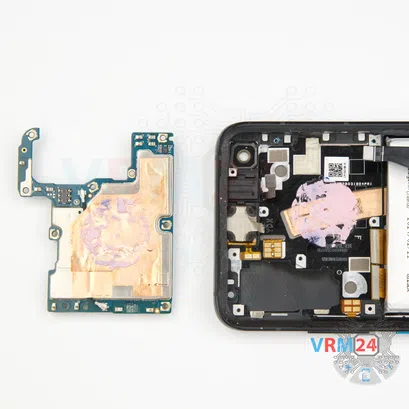
Step 17. Remove the motherboard
Then we detach the motherboard.
We find the right place, for which we can hook, look so that the connectors do not interfere with us and carefully remove the motherboard.
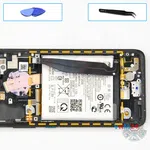
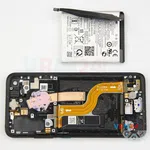
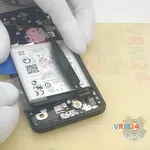
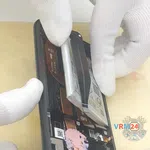
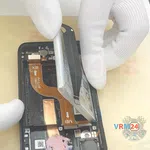
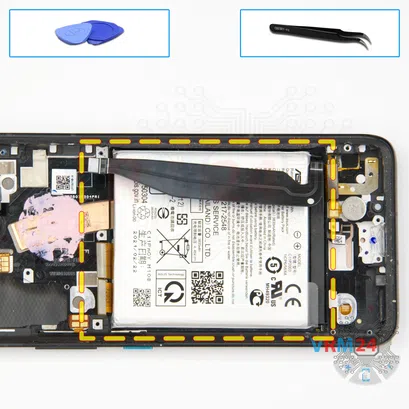
Step 18. Remove the battery
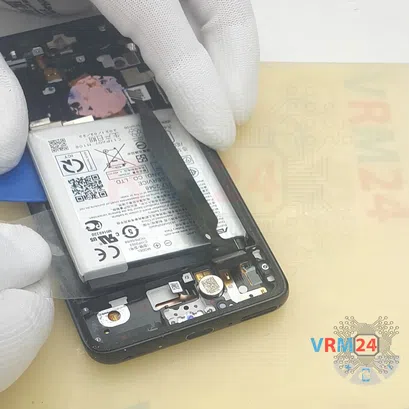
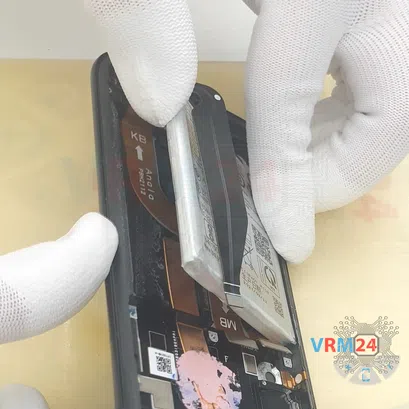
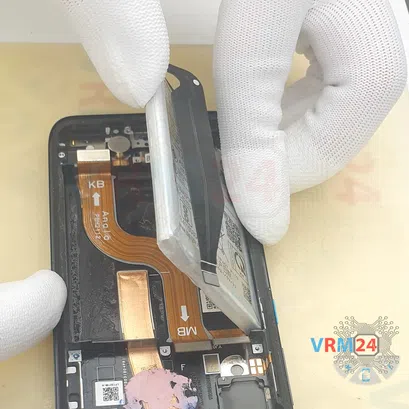
Finally, we move on to detaching the battery. Since we have a bunch of cables under the battery, we need to be as careful as possible not to damage these cables.
We check the battery by prying it up slightly and look at which side we will start to detach it. As we can see on one side of the battery is not really held firmly and this also means that there are cables close to the edge. There is no need to act forcefully, no need to bend the battery, no need to push the tool deep into the battery to avoid damaging the cables or the battery shell.
When we can we slip the plastic film under the battery behind the cables, into the middle part and carefully detach the adhesive base. It is better to use a plastic tool to hold the battery, thus creating a gap so it will be comfortable to work with the tool.
We can work on the both sides trying to lift the battery, if possible, and look on which side we have cables. And also with the help of plastic film try to detach the adhesive base. It is better not to press the battery with force so as not to damage the battery shell.
We don't use isopropyl alcohol or heat in this case because we don't know exactly what is under the battery so we don't damage anything. This approach takes more time, but it's relatively safe.
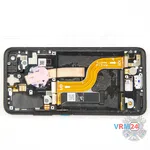
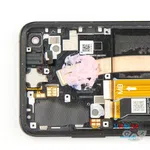
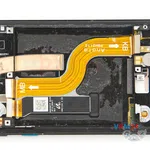
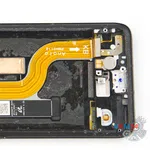
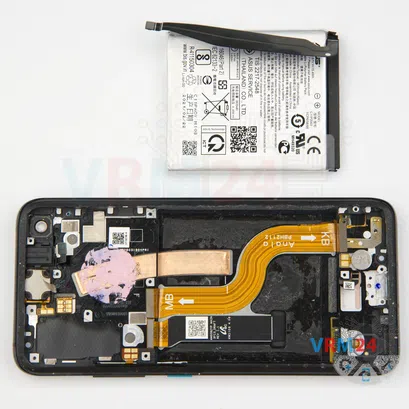
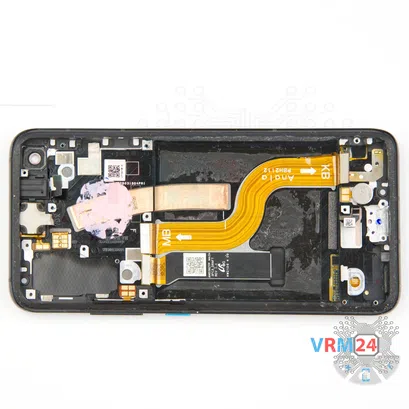
Step 19. In the display frame remained
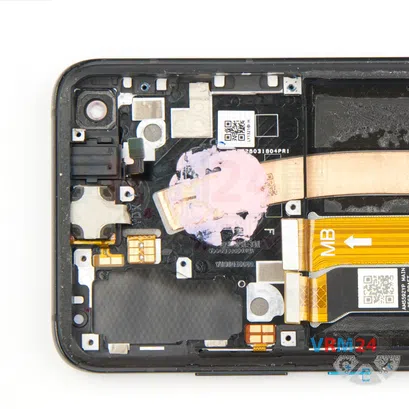
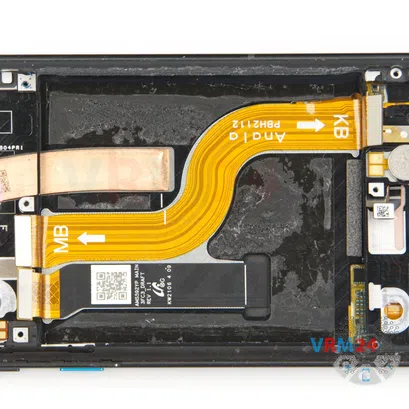
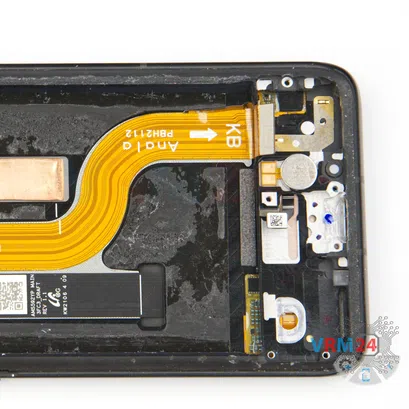
ℹ️️ In the display frame remained: the earpiece speaker, vibration motor, side buttons, cables.
Detailed disassembly instructions of Asus ZenFone 8 I006D in the video, made by our mobile repair & service center:
If you have a question, ask us, and we will try to answer in as much detail as possible. If this article was helpful for you, please rate it.

Evgenii Kuzmin
Senior maintenance service and repair engineer
Back to the list

