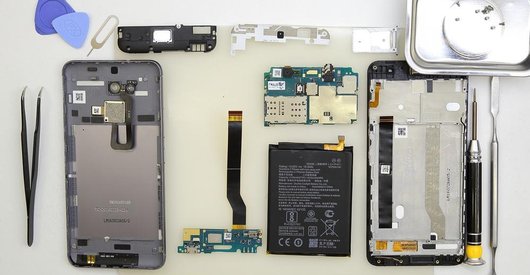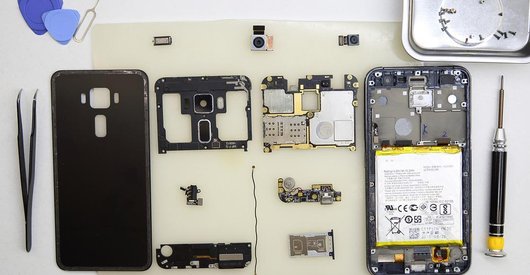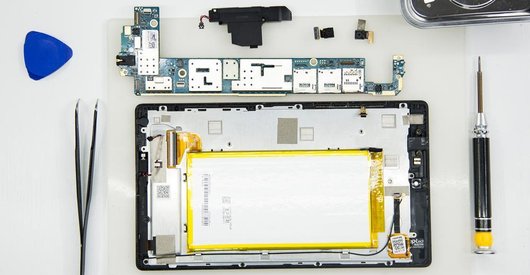







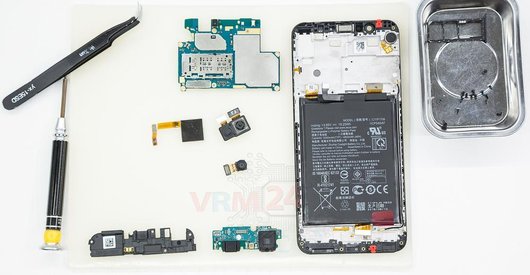
Recommended tools
Screwdriver Phillips #000

Opening tool / Spudger

Tweezers

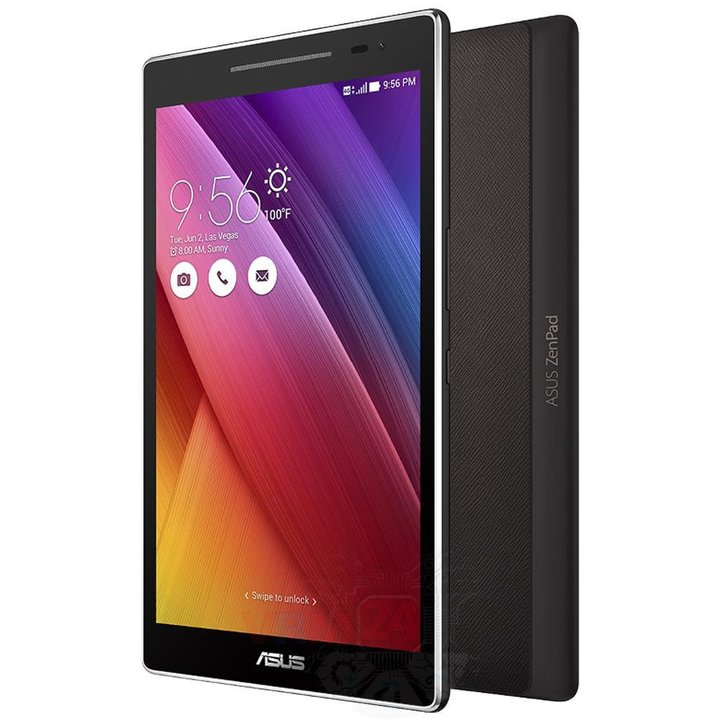
Disassembly/Repair of the mobile device Asus ZenPad 8.0 Z380KL with each step description and the required set of tools.
8152
Views
2
Likes
—
Share
9
Questions

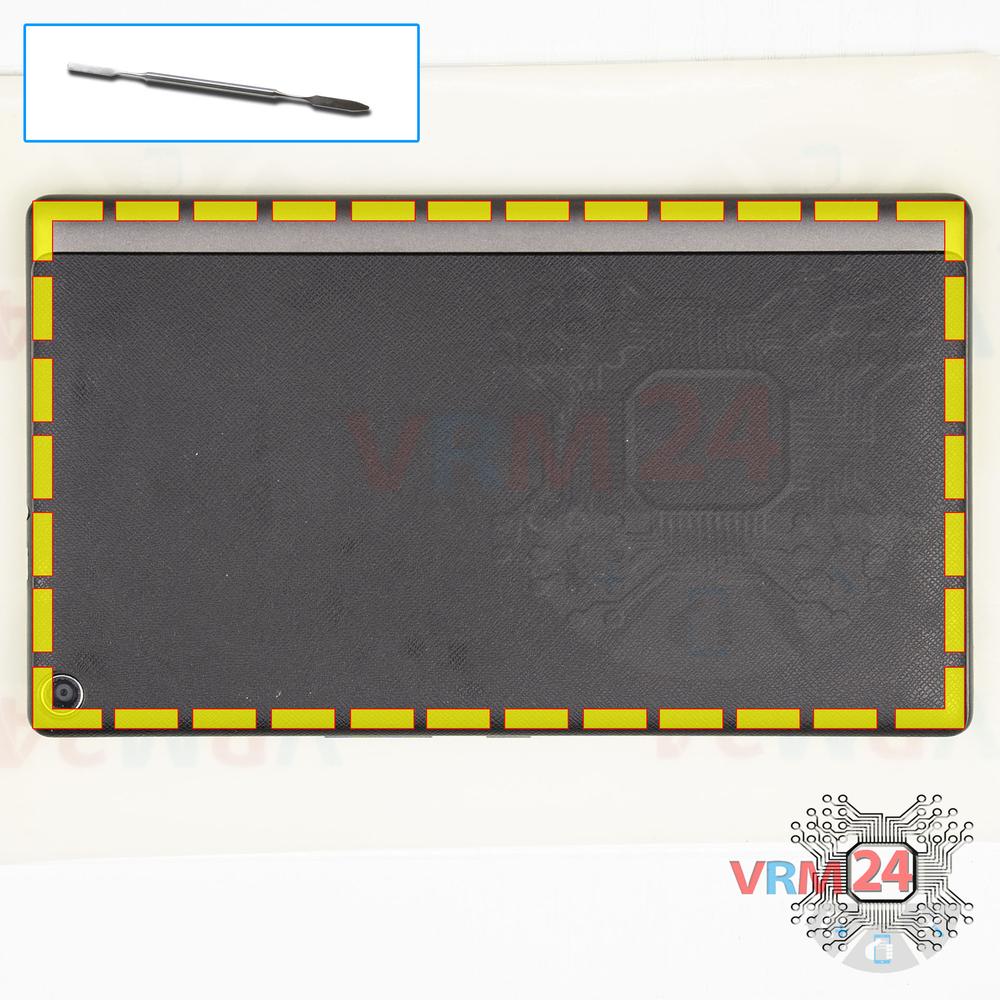
Step 1.
Open the back cover
Open the back cover.
Step 2.
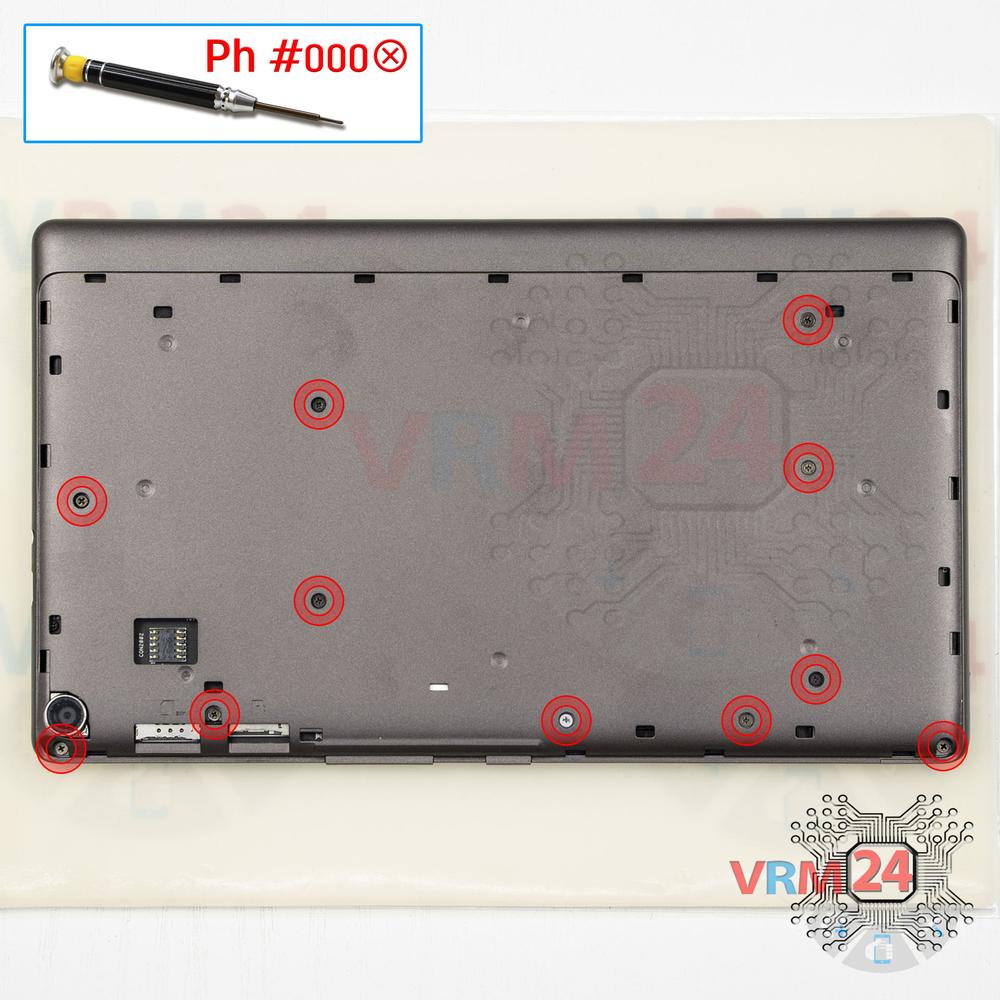
Unscrew the screws
Using a screwdriver (Phillips 1.5 mm PH000), unscrew 10 short screws and one long screw.
Step 3.
Open the mid-frame
Open the middle cover.
Step 4.
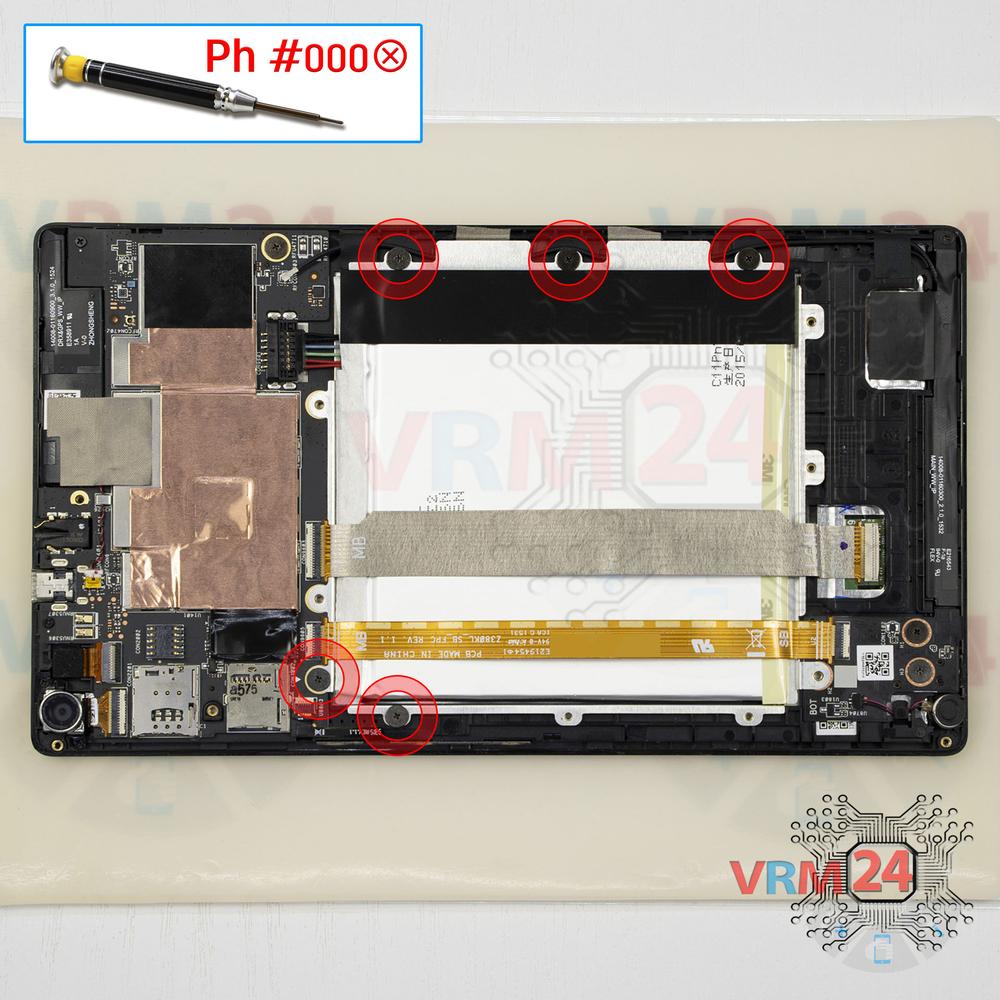
Unscrew the screws
Using a screwdriver (Phillips 1.5 mm PH000), unscrew 5 screws securing the battery.
Step 5.
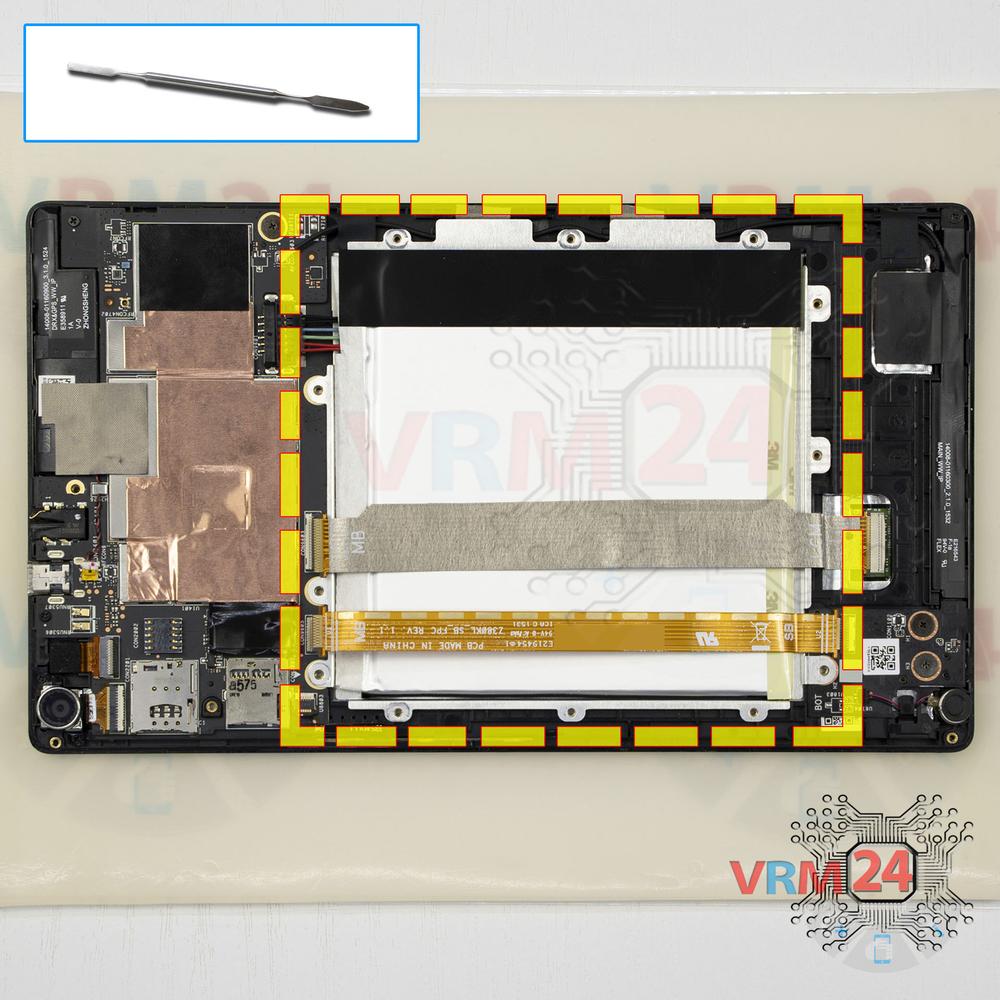
Disconnect the connectors
Pry up the inter-board connectors and a battery connector.
Step 6.
Remove the battery
Remove the battery. The battery model of Asus Z380KL is C11P1510.
Step 7.
Unscrew the screws
Using a screwdriver (Phillips 1.5 mm PH000), unscrew 2 screws in the daughterboard.
Step 8.
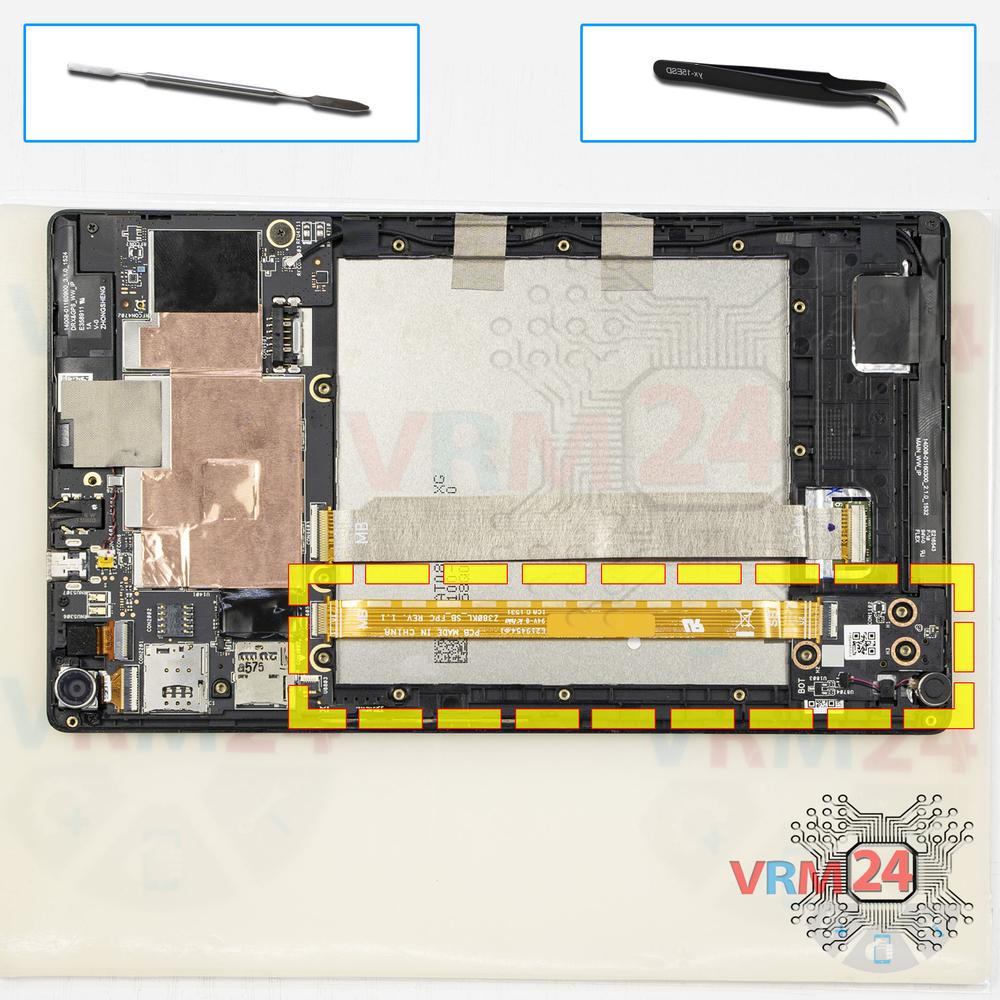
Remove the sub-board
Remove the daughterboard, also known as sub-board with an inter-board cable.
Step 9.
Unscrew one screw
Using a screwdriver (Phillips 1.5 mm PH000), unscrew 1 screw in the PCB.
Step 10.
Unscrew the screws
Using a screwdriver (Phillips 1.5 mm PH000), unscrew 2 screws in the PCB.
Step 11.
Disconnect the connectors
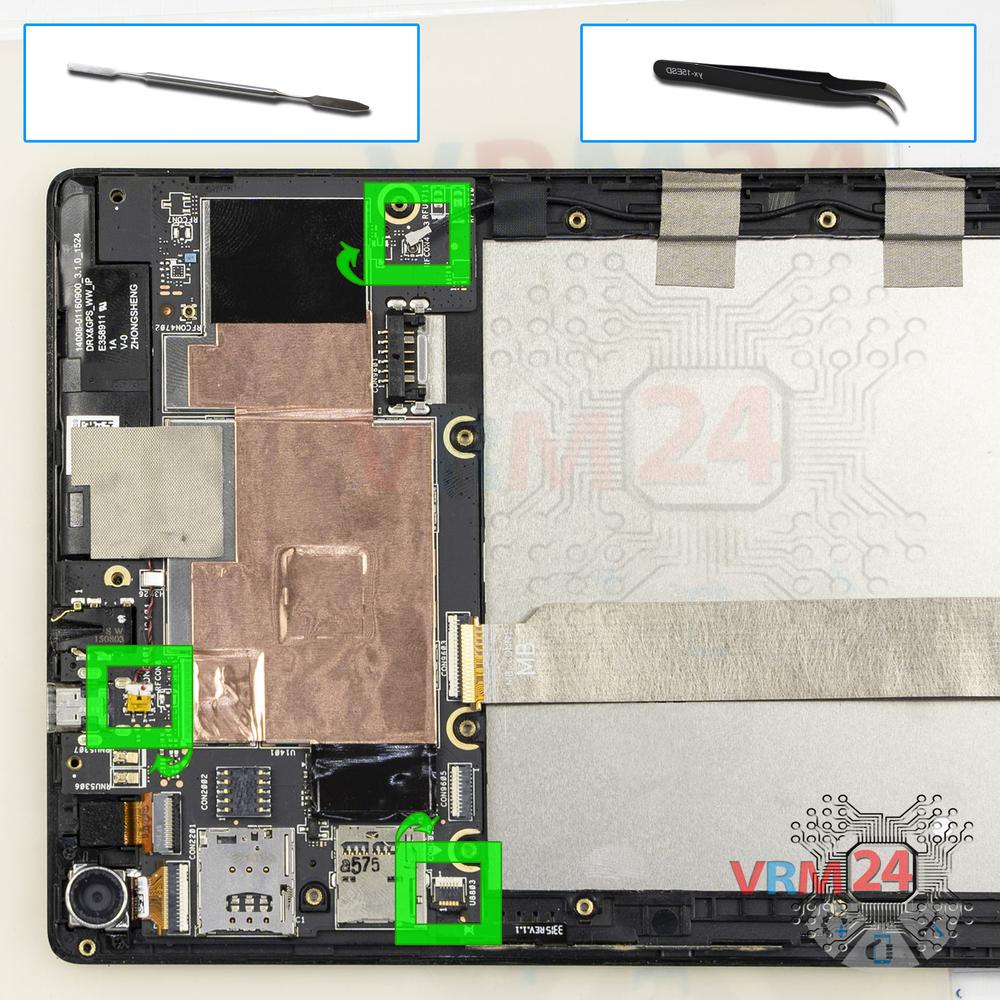
Disconnect connectors on the PCB.
Step 12.
Remove the camera cover
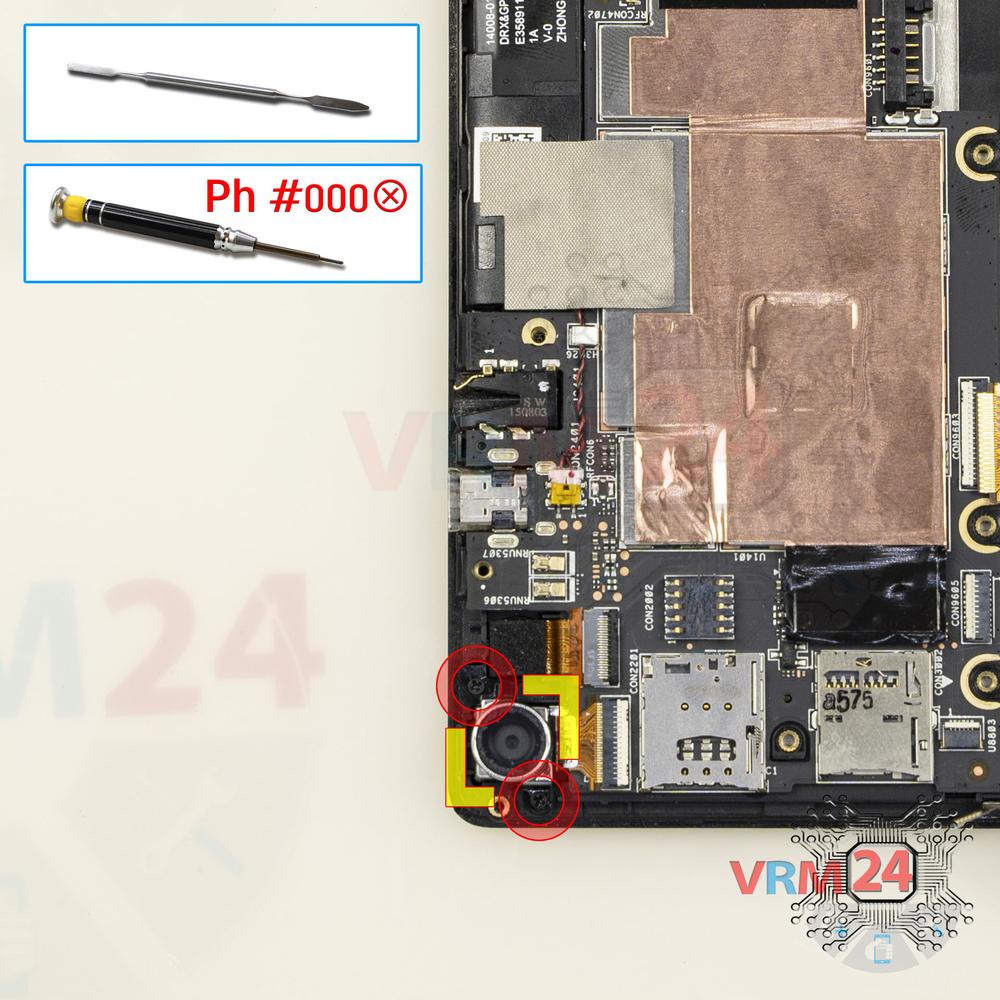
Remove the camera frame/bezel with the lens.
Step 13.
Remove the cameras
Disconnect connectors on PCB and remove the main and front (selfie) cameras.
Step 14.
Remove the motherboard
Remove the PCB.
Step 15.
Remove the loudspeaker
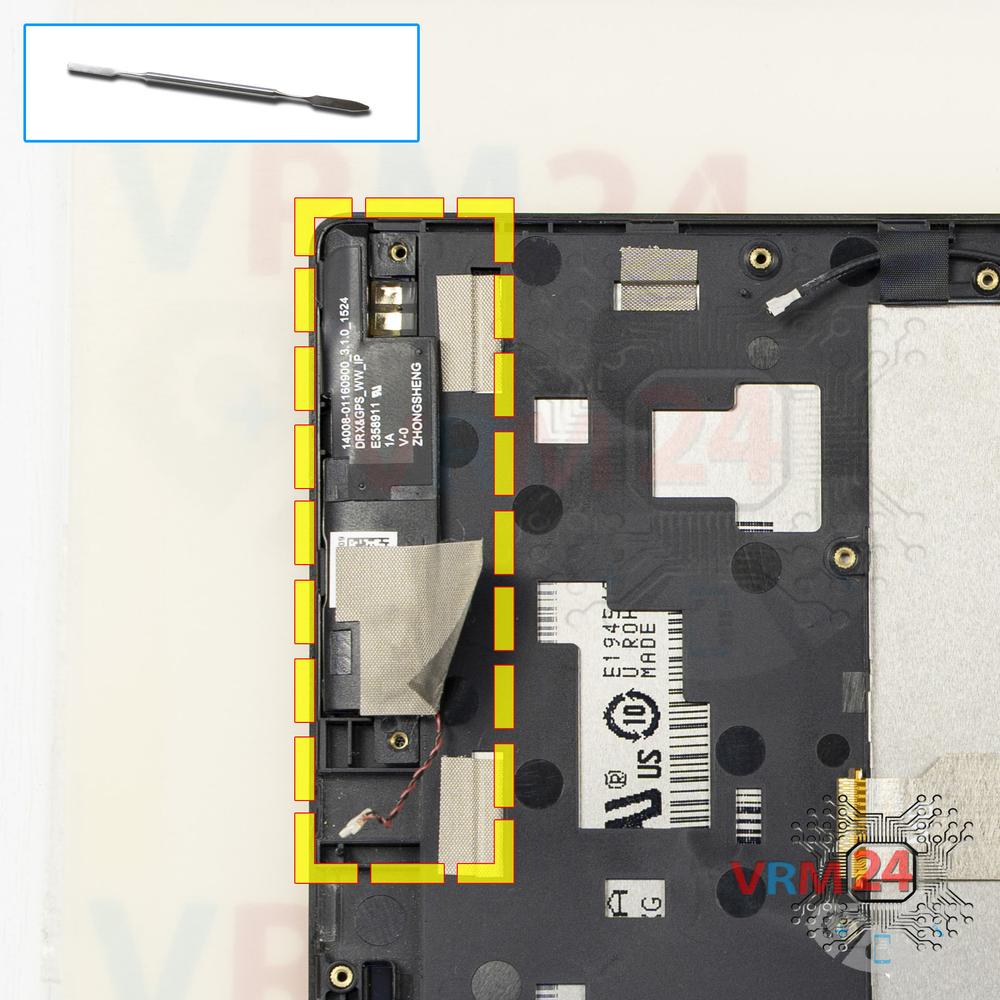
Pry and remove the buzzer (loudspeaker) assembly.
Step 16.
In the display frame remained
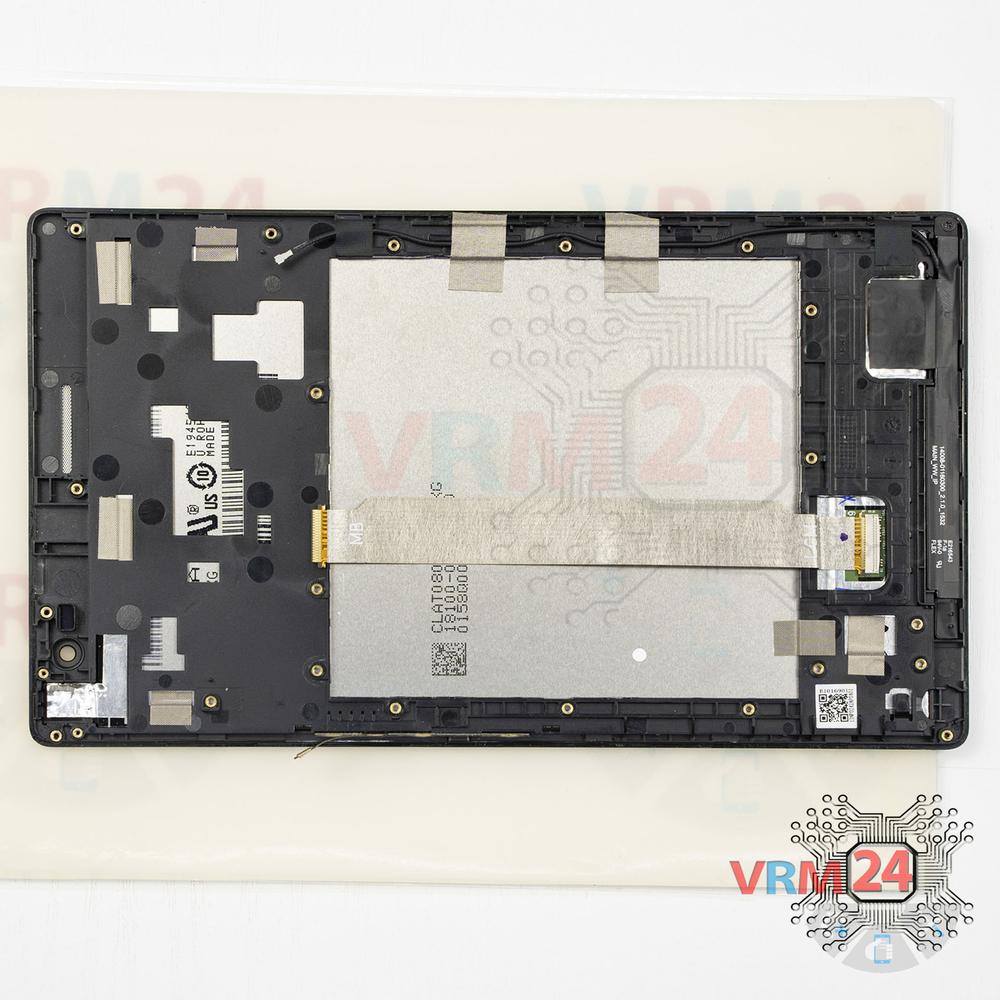
Parts are in the frame of the display module.

If you have a question, ask us, and we will try to answer in as much detail as possible. If this article was helpful for you, please rate it.

8152
Views
2
Likes
—
Share
9
Questions
Related Instructions
Related Reviews


Related Blog

Popular Questions

Asus ZenPad 8.0 Z380KL
I have an Asus ZenPad 8.0 Z380M tablet model: P00A with a faulty ribbon connector on the board side. If the board is not available, can I get the co…
banda
D
Asus ZenFone 3 Max ZC520TL
can do a video for ASUS ZenFone 3 Laser (ZC551KL
DIHMARKO14
А
Asus ZenFone 5 ZE620KL
Thank you! You saved my smartphone.
Антон Карпин20
D
Asus ZenFone 2 ZE550ML
thanks for sharing! i've just replaced my lcd but touch is not working :( any idea? i have experience in replacing screens but i can't understand why…
Denis Canepa9
M
Asus ZenFone 2 ZE550ML
my camera doesnt work.. hoping i can find the connection here to try to tighten it up xD..
MaxiMan5Top instructions
Check our
Top Asus instructions most liked by readers
New instructions
Check our
New Asus brand instructions on vrm24.com