



Recommended tools
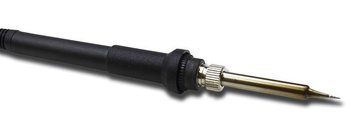
Soldering Iron
Screwdriver Phillips #000

Opening tool / Spudger

Tweezers

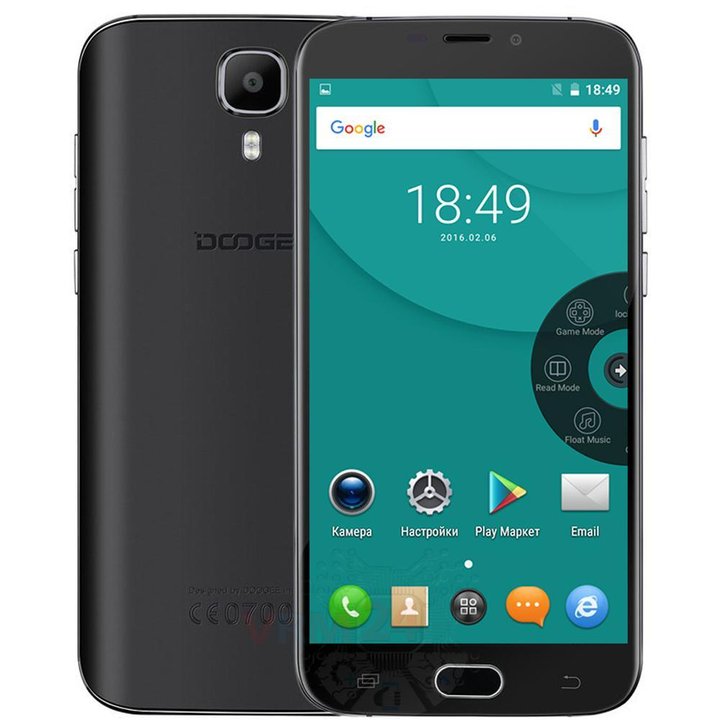
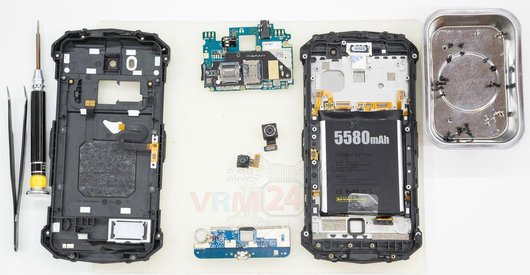
Disassembly/Repair of the mobile device Doogee 9x Pro with each step description and the required set of tools.
4608
Views
2
Likes
—
Share
3
Questions

Step 1.
Open the back cover
Open the back cover.
Step 2.
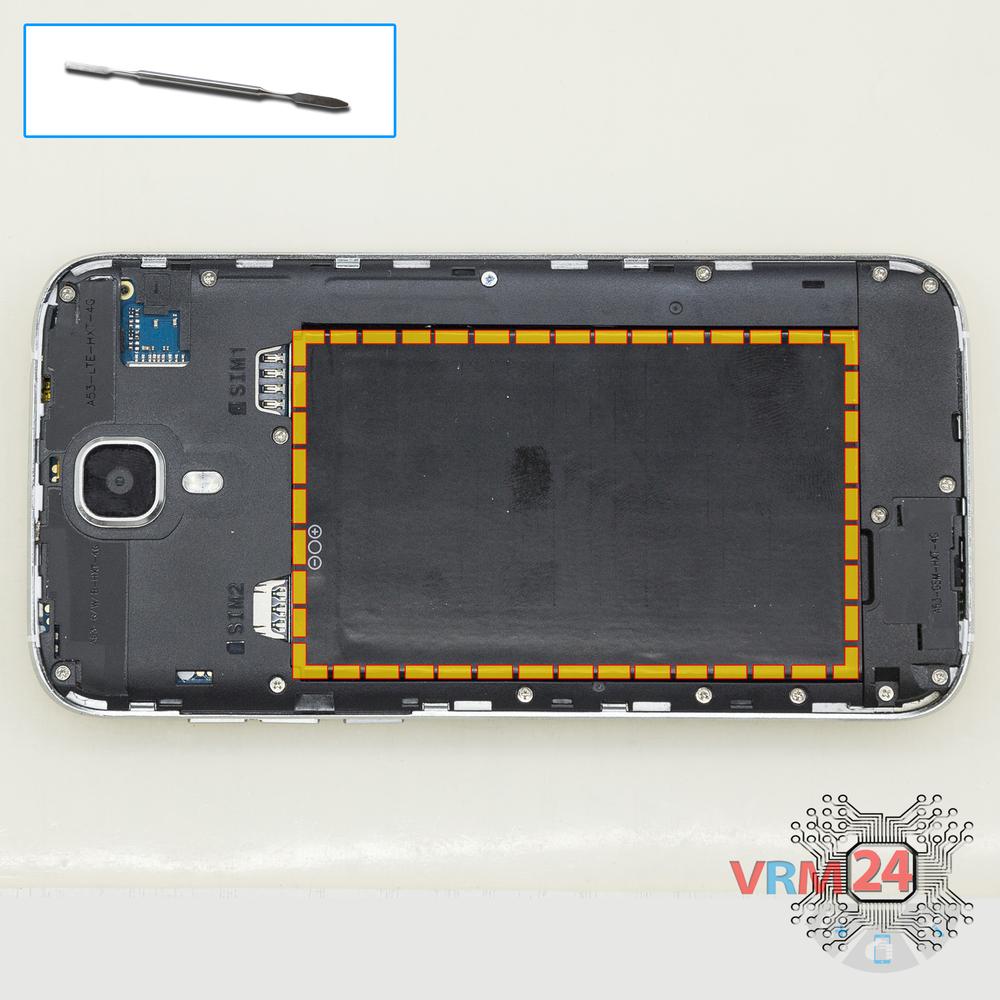
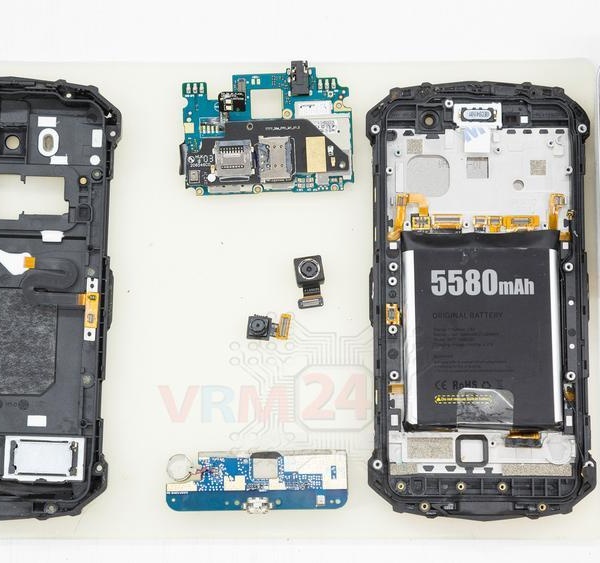
Remove the battery
Lift and remove the battery.
Step 3.
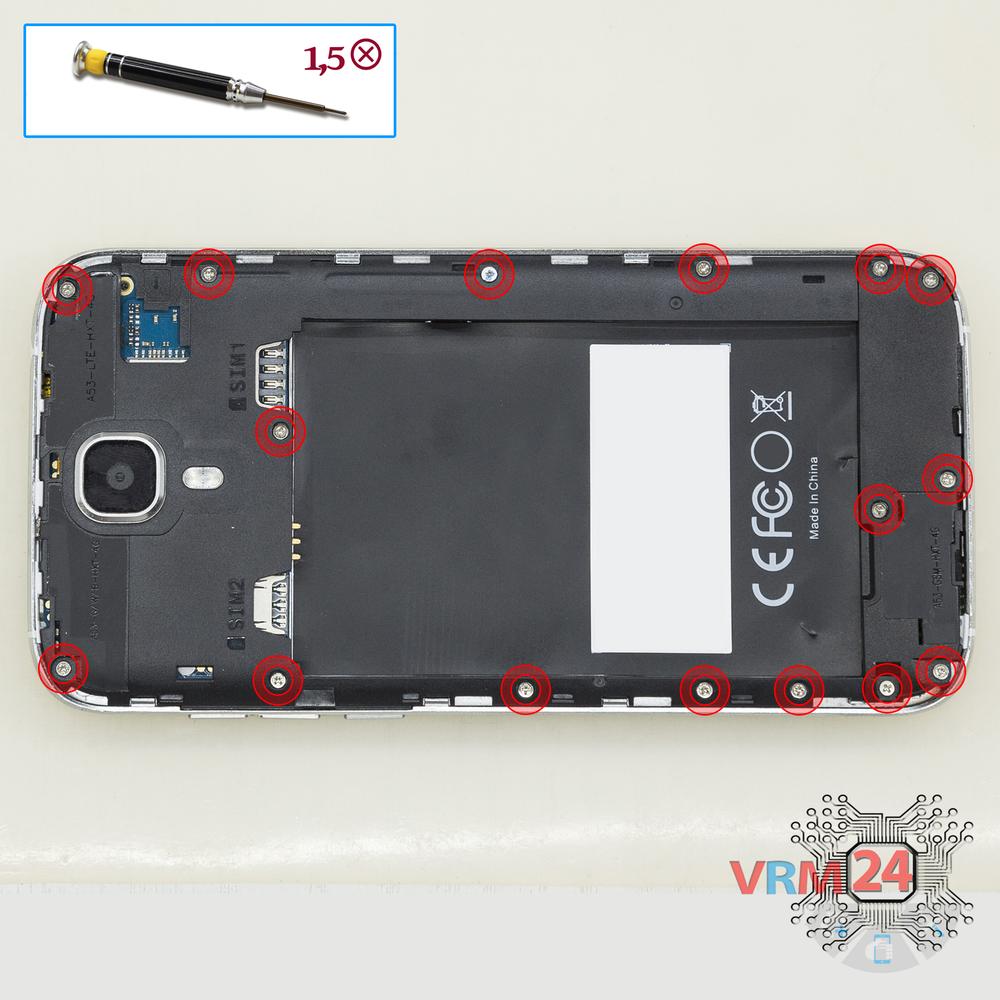
Unscrew the screws
Using a screwdriver (Phillips 1.5 mm PH000), unscrew 16 bolts in the frame of the phone.
Step 4.
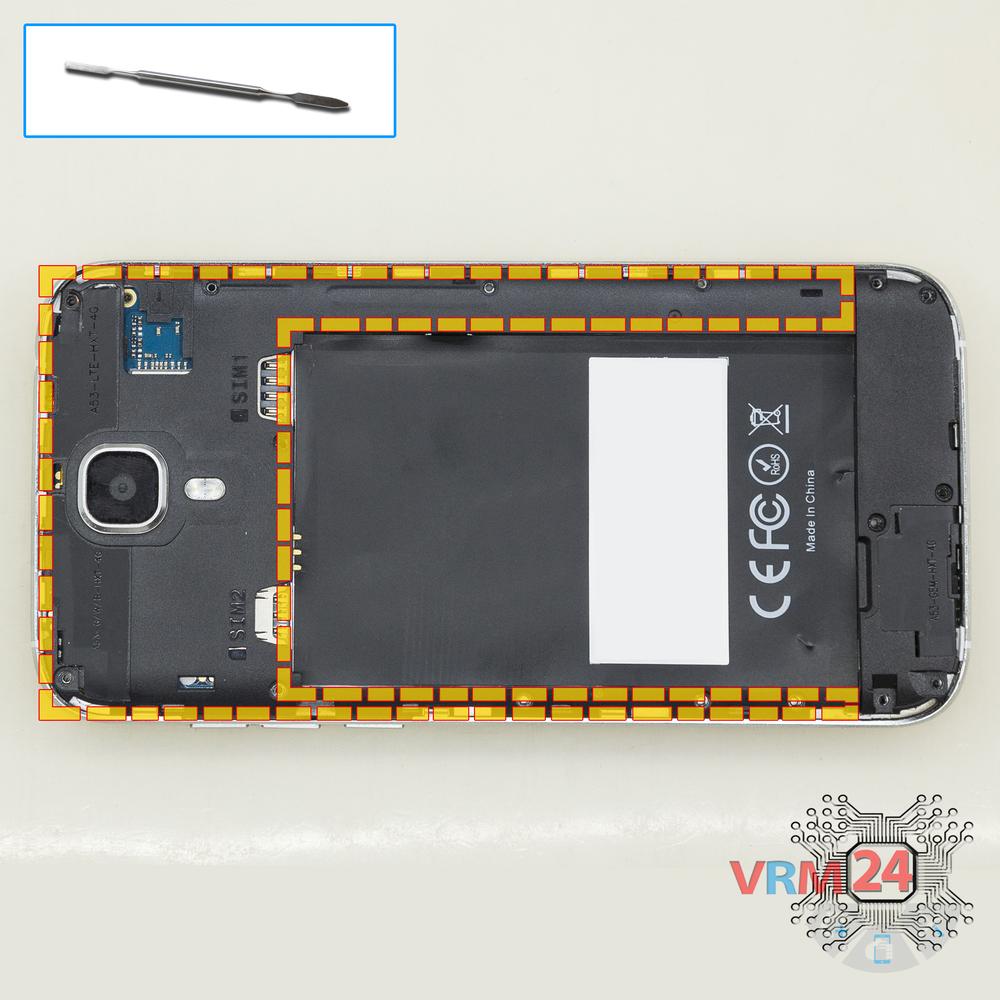
Open the mid-frame
Pry and remove the middle frame.
Step 5.
Remove the protective film
Peel back the protective layer.
⚠ Warning!
For careful separation, we recommend using a heat gun. At the same time, it is necessary to heat carefully in order, not to damage the surface of the device.
Step 6.
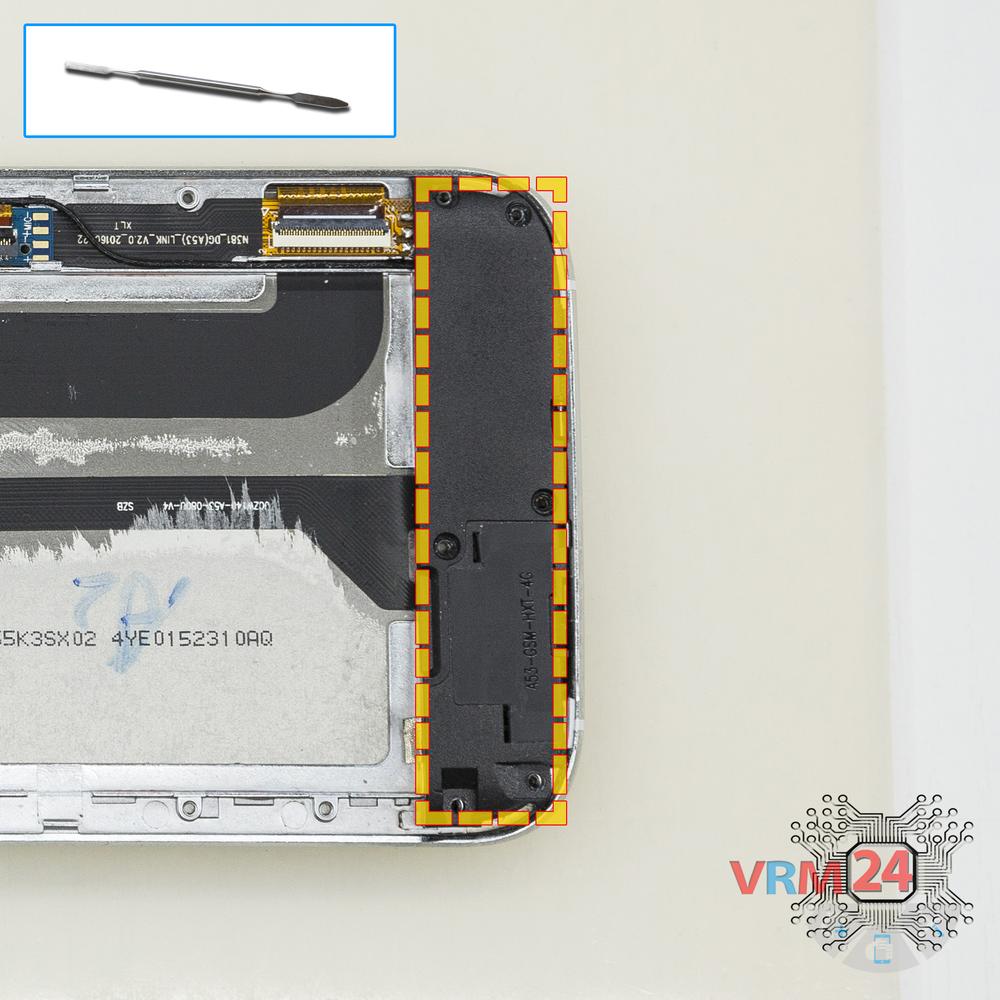
Open the cover
Lift the cover up.
Step 7.
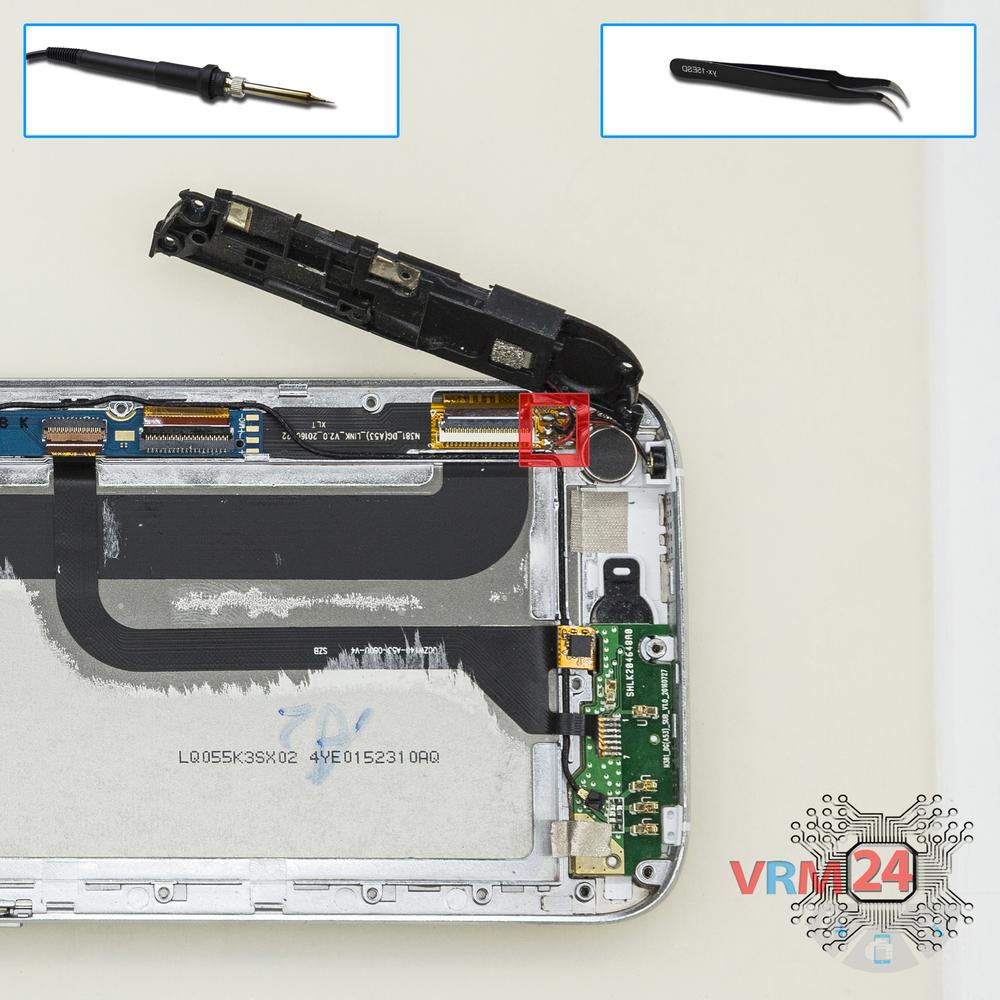
Remove the cable
Unsolder the speaker wires located inside the cover and remove the cover.
Step 8.
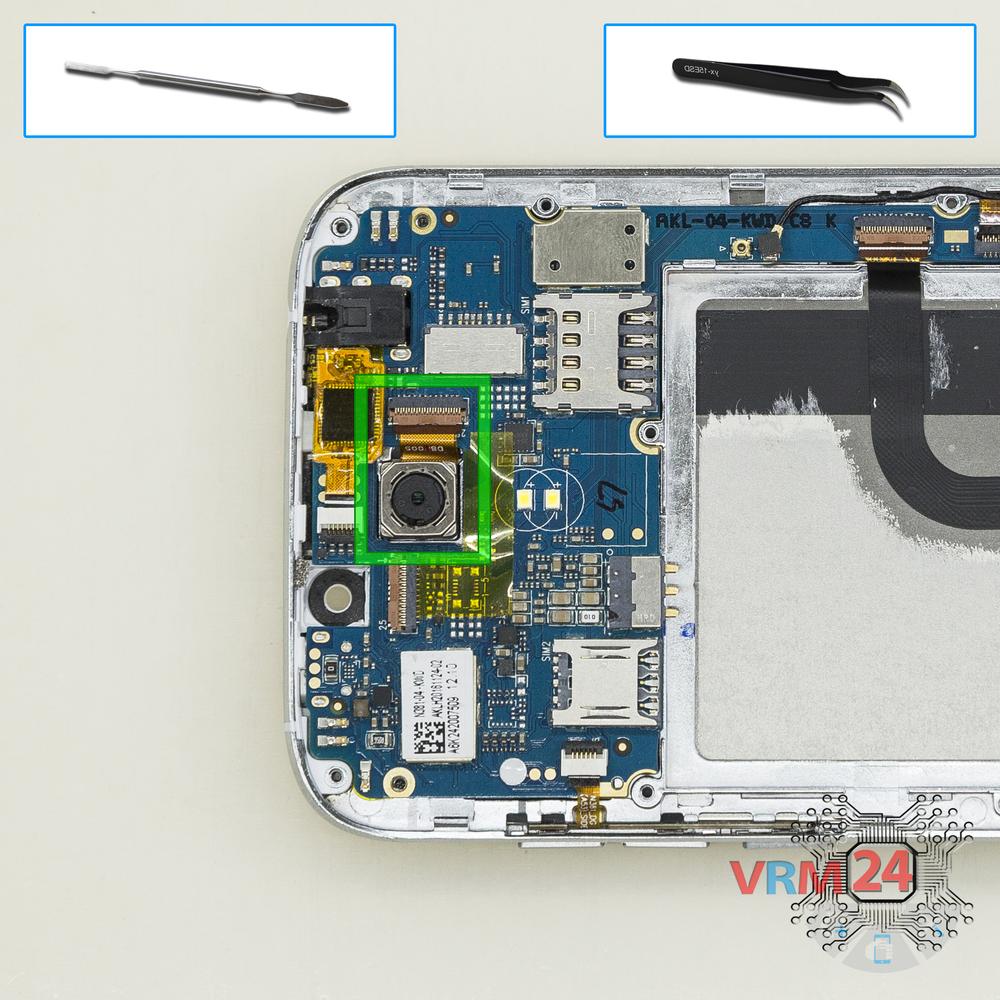
Remove the rear camera
Disconnect connector on the PCB and remove the main camera.
Step 9.
Disconnect the connectors
Disconnect connectors on the PCB.
Step 10.
Remove the motherboard
Remove the PCB.
Step 11.
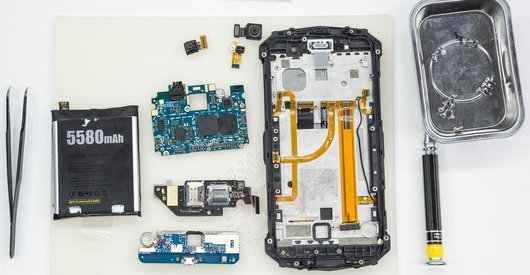
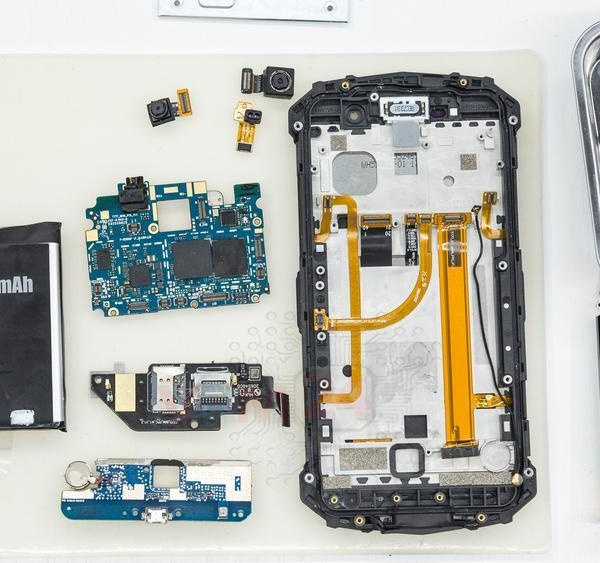
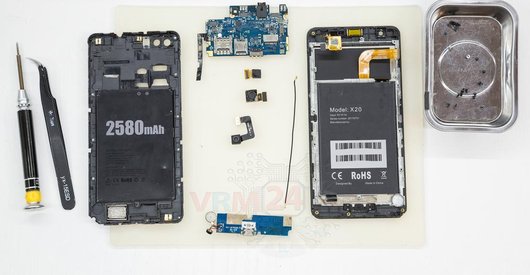
In the display frame remained
Parts are in the frame of the display module.

If you have a question, ask us, and we will try to answer in as much detail as possible. If this article was helpful for you, please rate it.

4608
Views
2
Likes
—
Share
3
Questions
Related Instructions
Related Reviews
Related Blog
Popular Questions
C
Doogee S60 IP68
There is a small circular item attached to the charging board, what is that and how easy is it to re-connect to the charging board - I need to replac…
Chris Ward6
H
Doogee S60 IP68
The battery has a connector or welded wires?Thanks
HenryProperCall9118
Doogee S60 IP68
My phone is out of network signal What should I do to find the problem?
andre
P
Doogee S60 IP68
Hello sir... may u help me plz... make video how to disassembly doogee S90, bec i want to change board charge
PeeWee Orie4
R
Doogee S60 IP68
It would be interesting to have the function of the parts in the description
Raylon Medeiros20Top instructions
Check our
Top Doogee instructions most liked by readers
New instructions
Check our
New Doogee brand instructions on vrm24.com