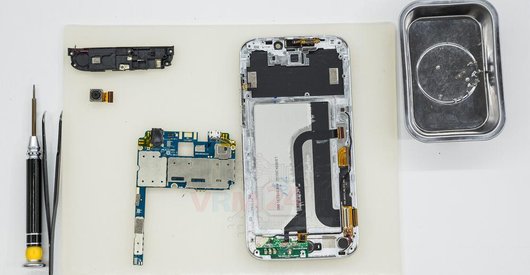




Recommended tools
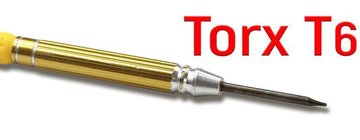
Screwdriver Torx T6
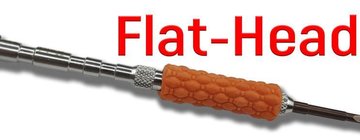
Screwdriver Flat-bladed
Screwdriver Phillips #000

Opening tool / Spudger

Tweezers

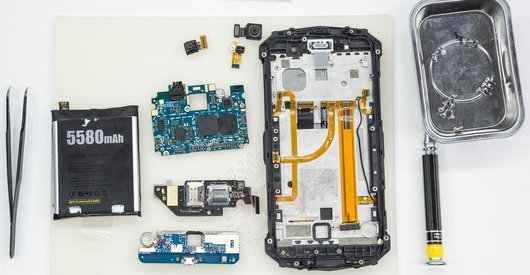
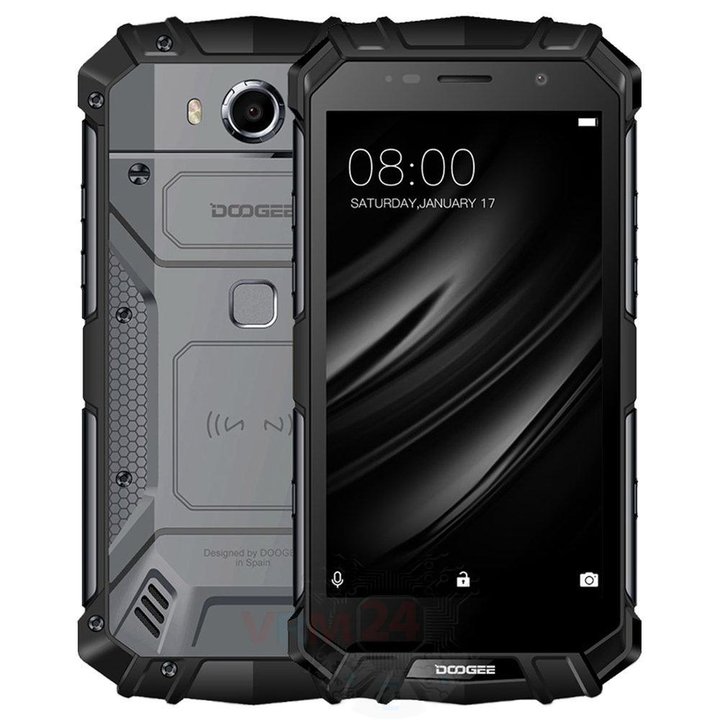
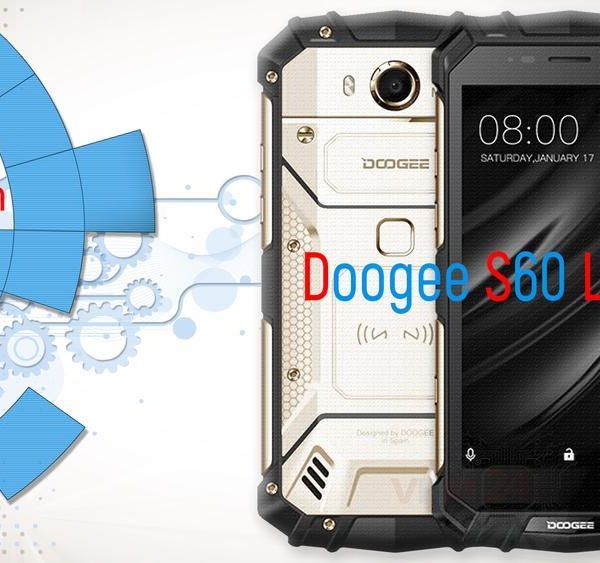
Disassembly/Repair of the mobile device Doogee S60 Lite with each step description and the required set of tools.
7885
Views
2
Likes
—
Share
4
Questions

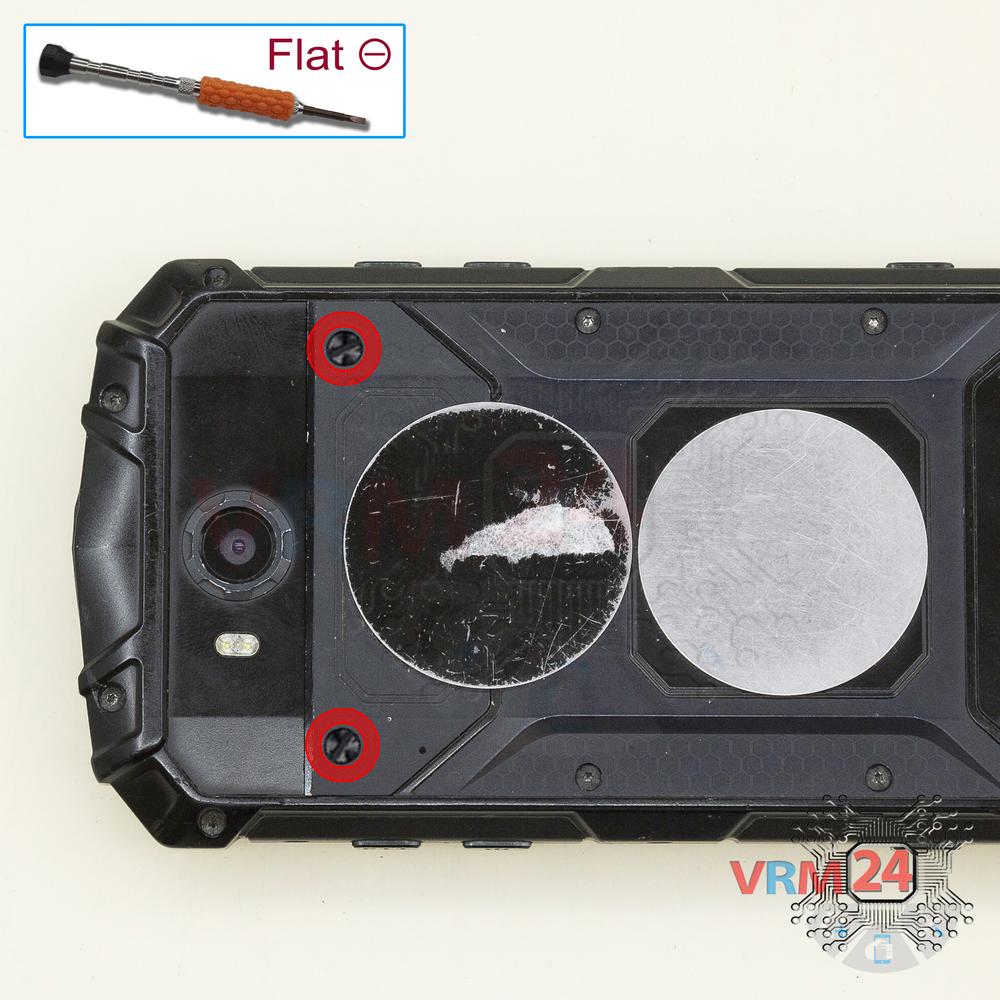
Step 1.
Unscrew the screws
Using a screwdriver (flat-bladed), unscrew 2 screws.
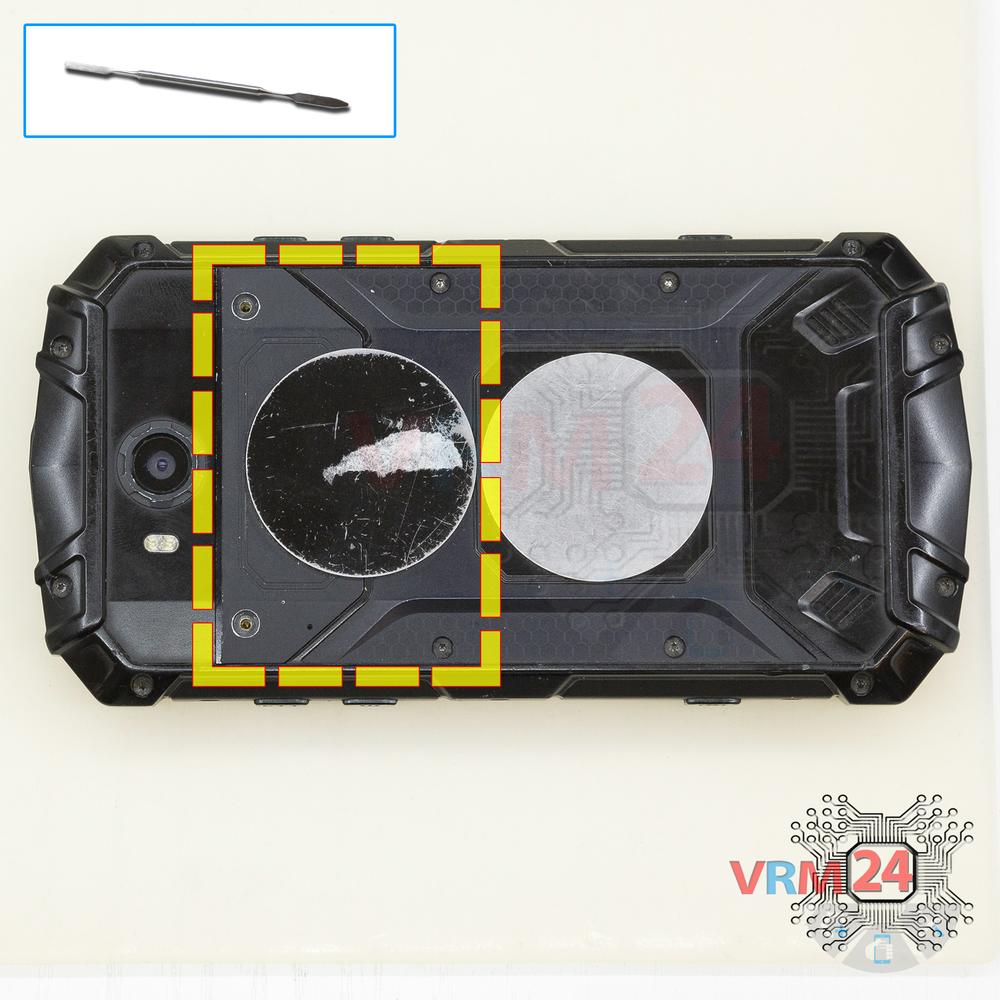
Step 2.
Open the cards cover flap
Open the cover hiding the Sim and Micro SD card holders.
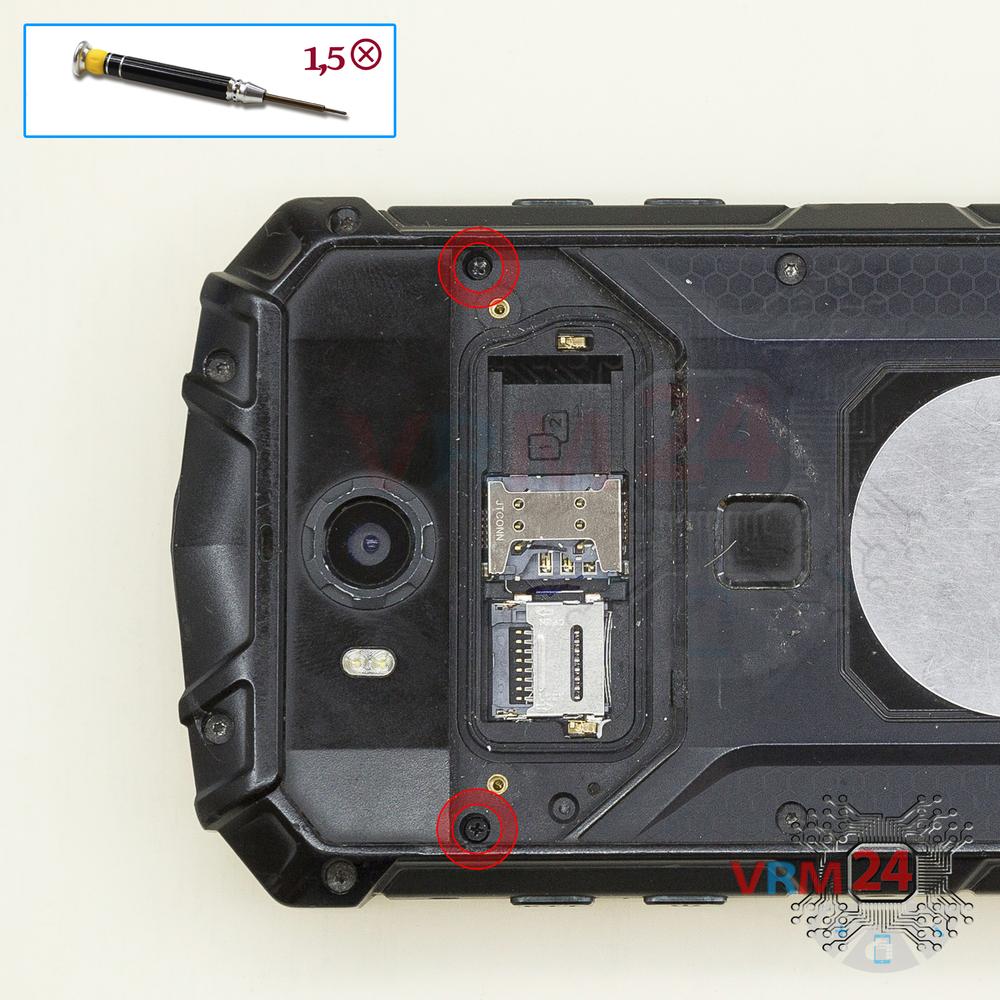
Step 3.
Unscrew the screws
Using a screwdriver (Phillips 1.5 mm PH000), unscrew 2 screws.
Step 4.
Remove the buttons
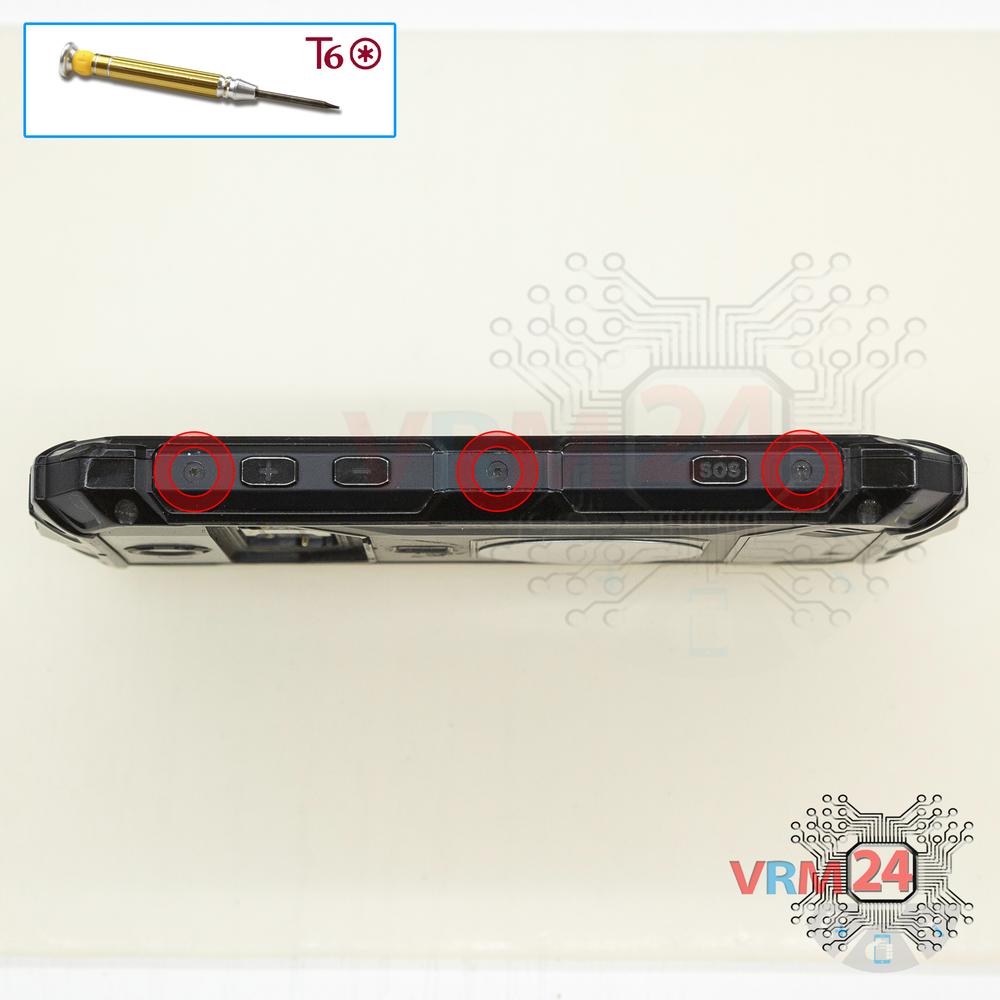
Using a screwdriver (Torx T6), unscrew 3 screws on the left side and remove the cover with buttons.
Step 5.
Remove the buttons
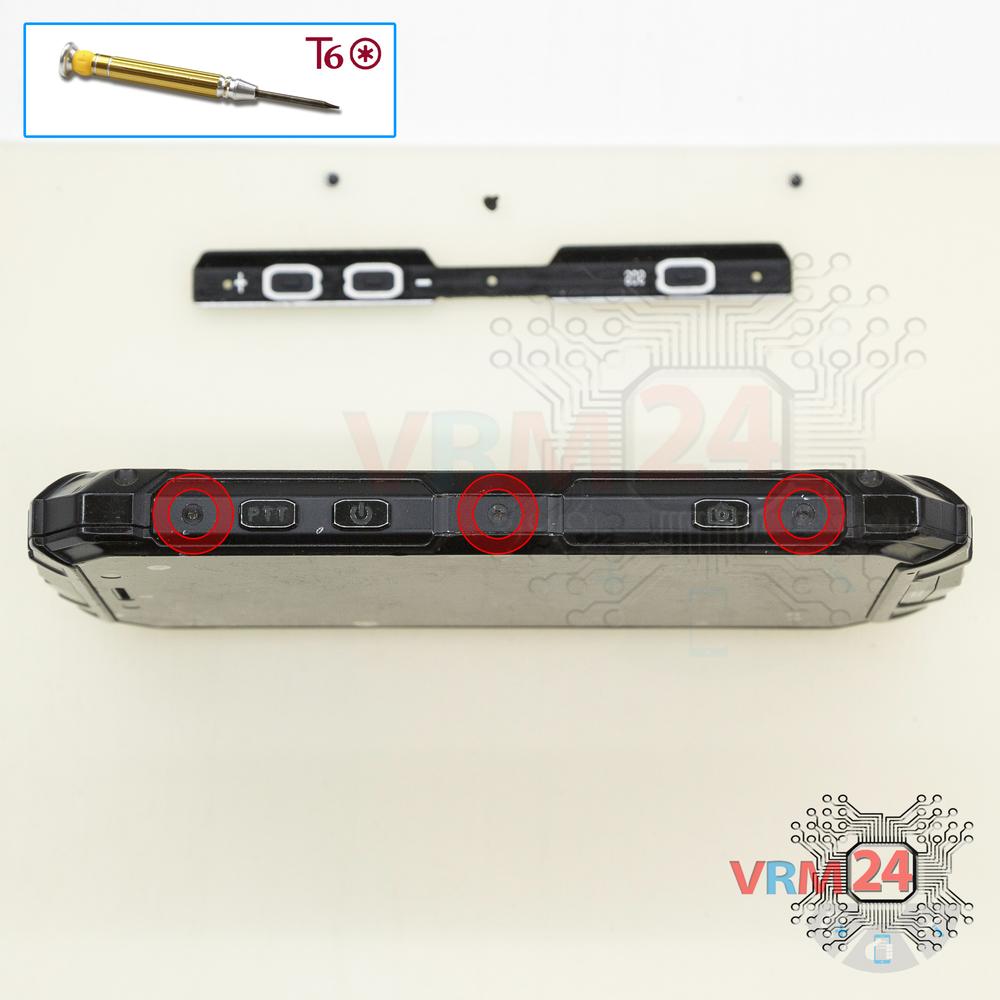
Using a screwdriver (Torx T6), unscrew 3 screws on the right side and remove the cover with buttons.
Step 6.
Unscrew the screws
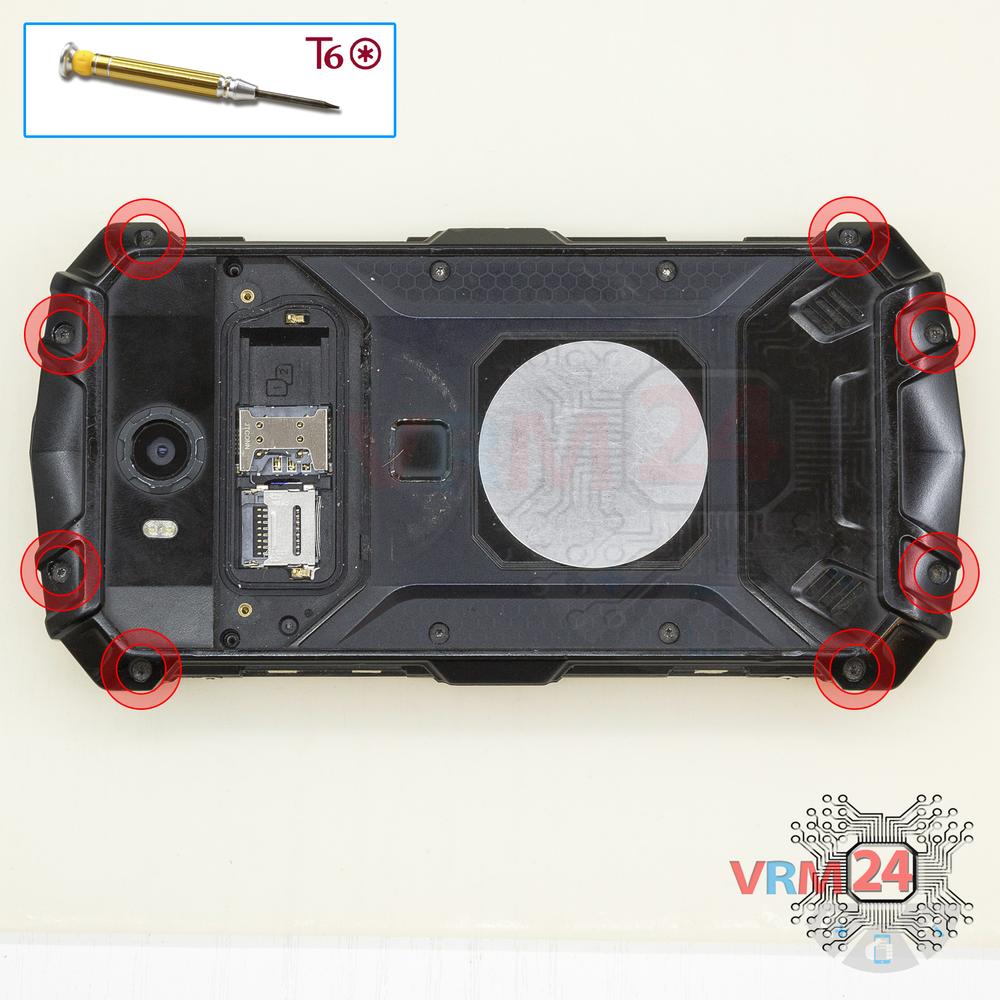
Using a screwdriver (Torx T6), unscrew 8 screws.
Step 7.
Unscrew the screws
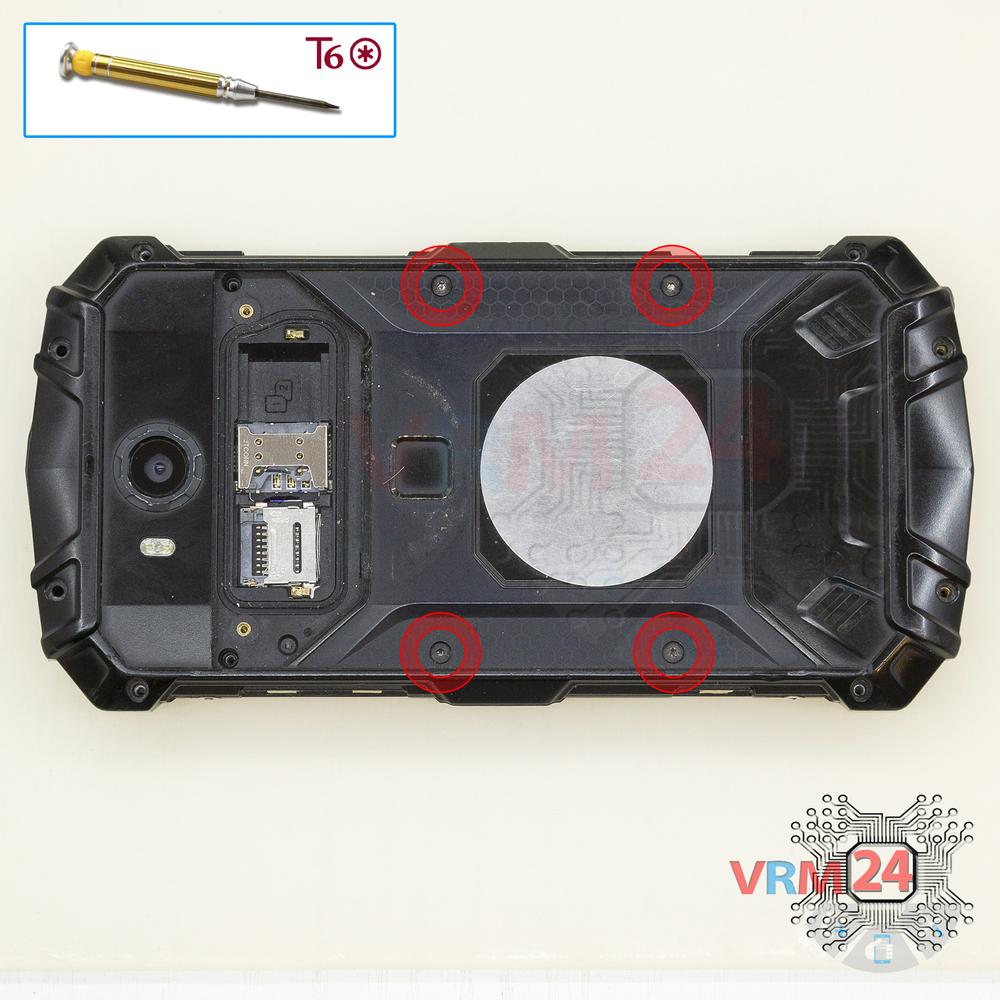
Using a screwdriver (Torx T6), unscrew 4 screws.
Step 8.
Open the back cover
Open the back cover and turn it over.
Step 9.
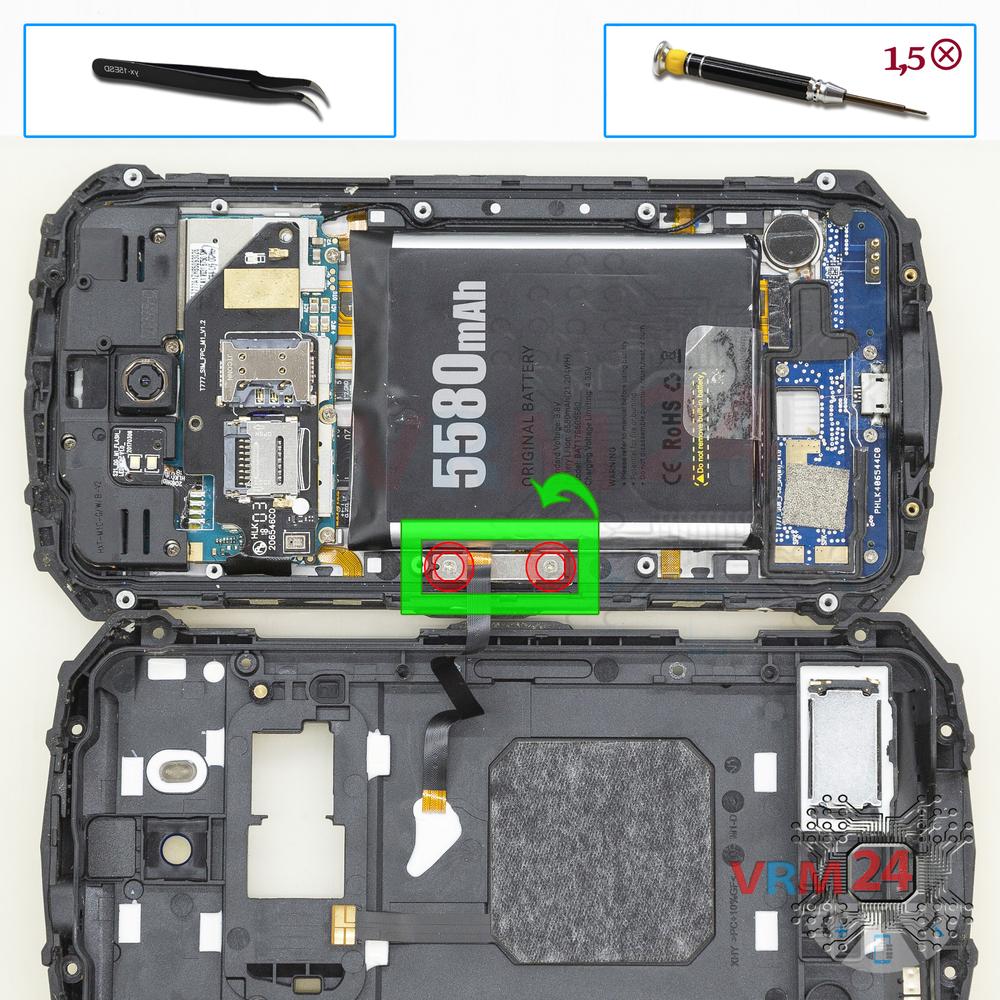
Remove the fingerprint sensor
Using a screwdriver (Phillips 1.5 mm PH000), unscrew 2 screws. Pry up the fingerprint sensor connector and remove the cover.
Step 10.
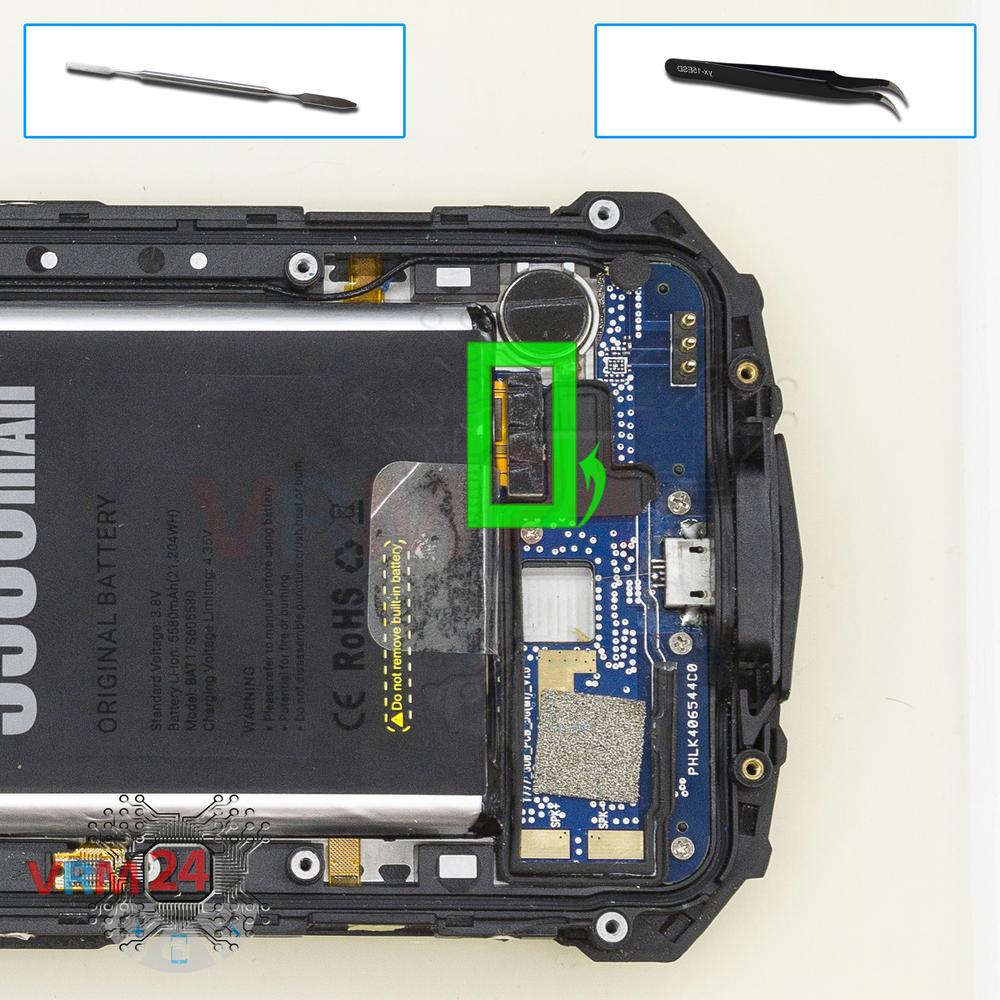
Disconnect the battery connector
Disconnect the battery connector. The battery model of Doogee S60 Lite is BAT17S605580.
⚠ Warning!
We strongly recommend disconnecting the connector to avoid a possible short circuit during disassembly.
Step 11.
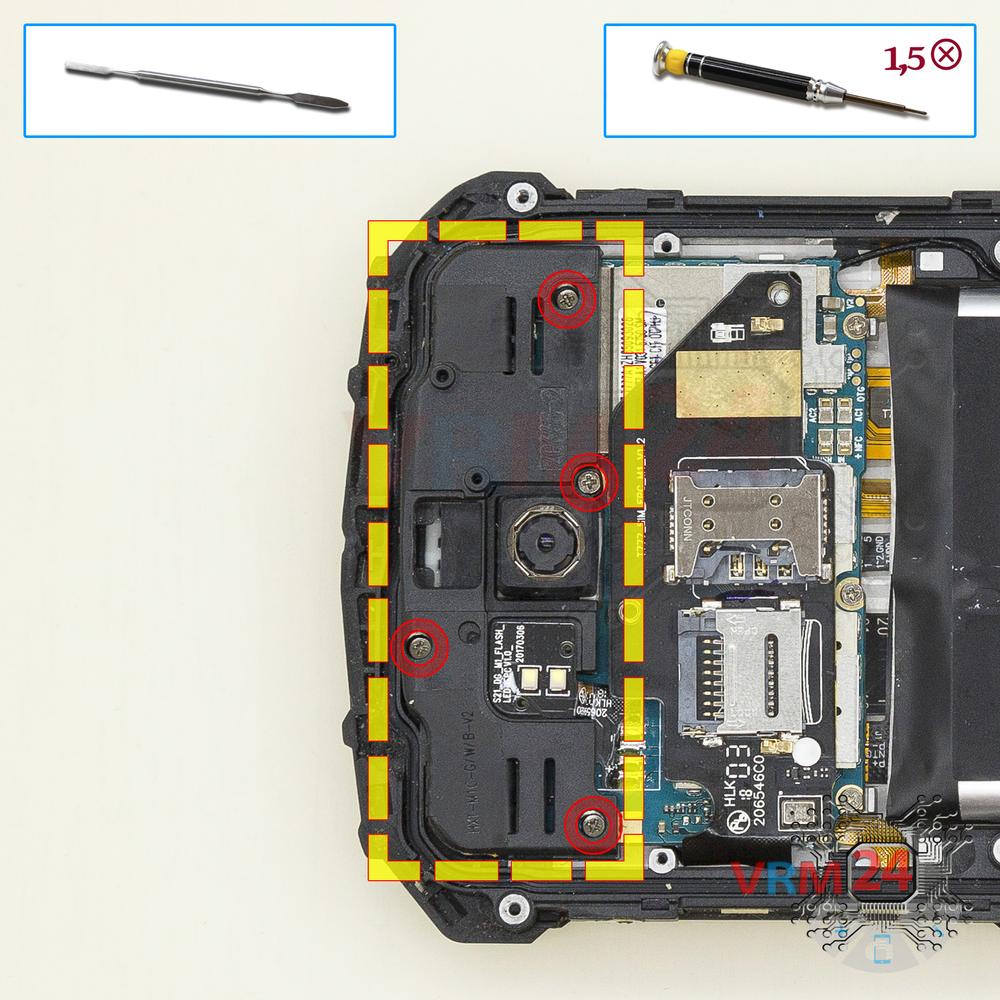
Unscrew the screws
Using a screwdriver (Phillips 1.5 mm PH000), unscrew 4 screws and remove the cover.
Step 12.
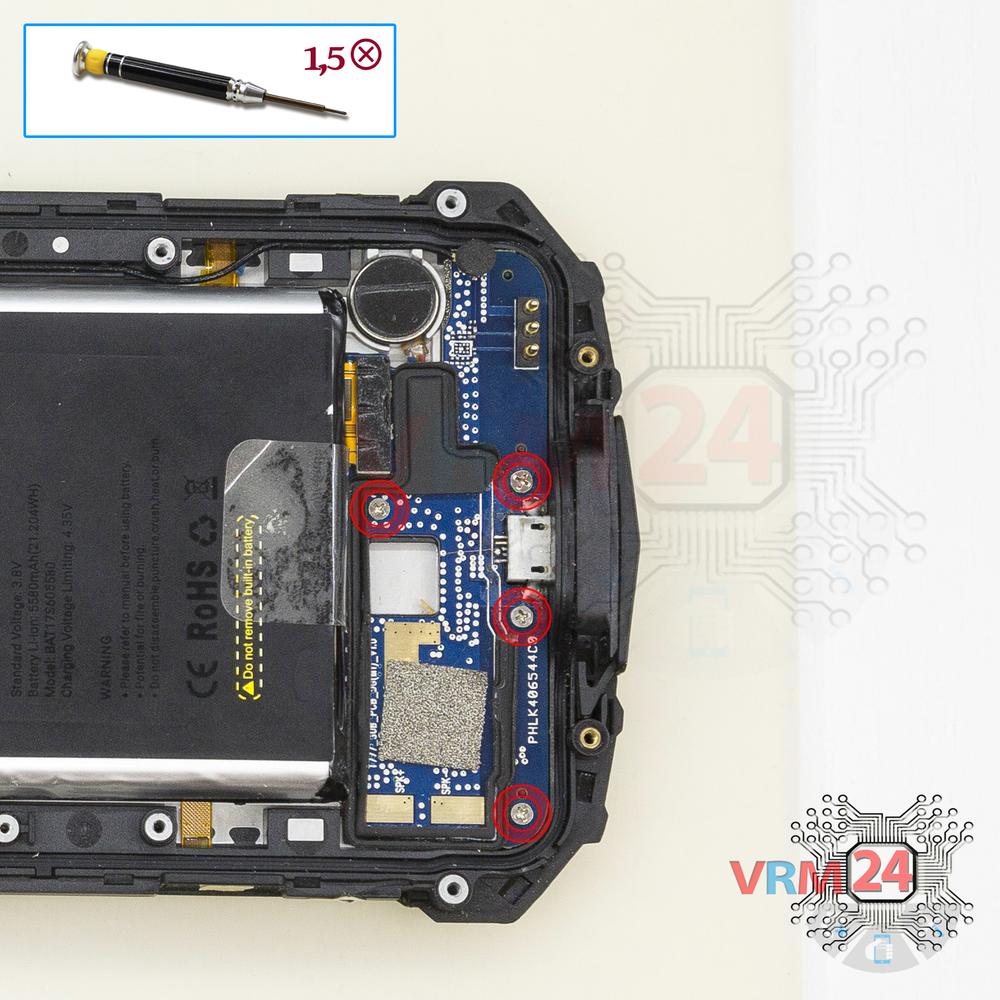
Unscrew the screws
Using a screwdriver (Phillips 1.5 mm PH000), unscrew 4 screws on a sub-board.
Step 13.
Disconnect the connectors
Disconnect connectors on the daughterboard.
Step 14.
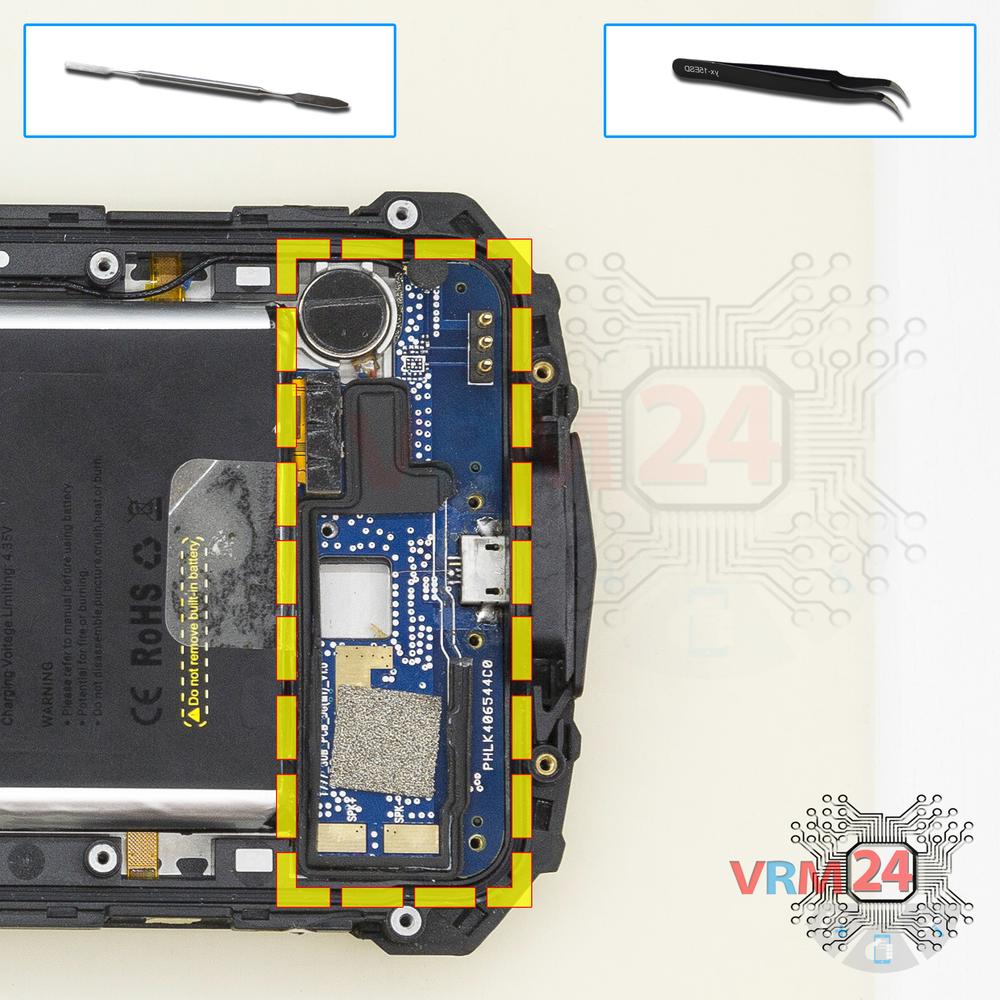
Remove the sub-board
Remove the daughterboard, also known as sub-board.
Step 15.
Unscrew the screws
Using a screwdriver (Phillips 1.5 mm PH000), unscrew 3 screws in the PCB.
Step 16.
Disconnect the connectors
Disconnect connectors on the PCB.
⚠ Warning!
All connectors are inside.
Step 17.
Remove the motherboard
Remove the PCB.
Step 18.
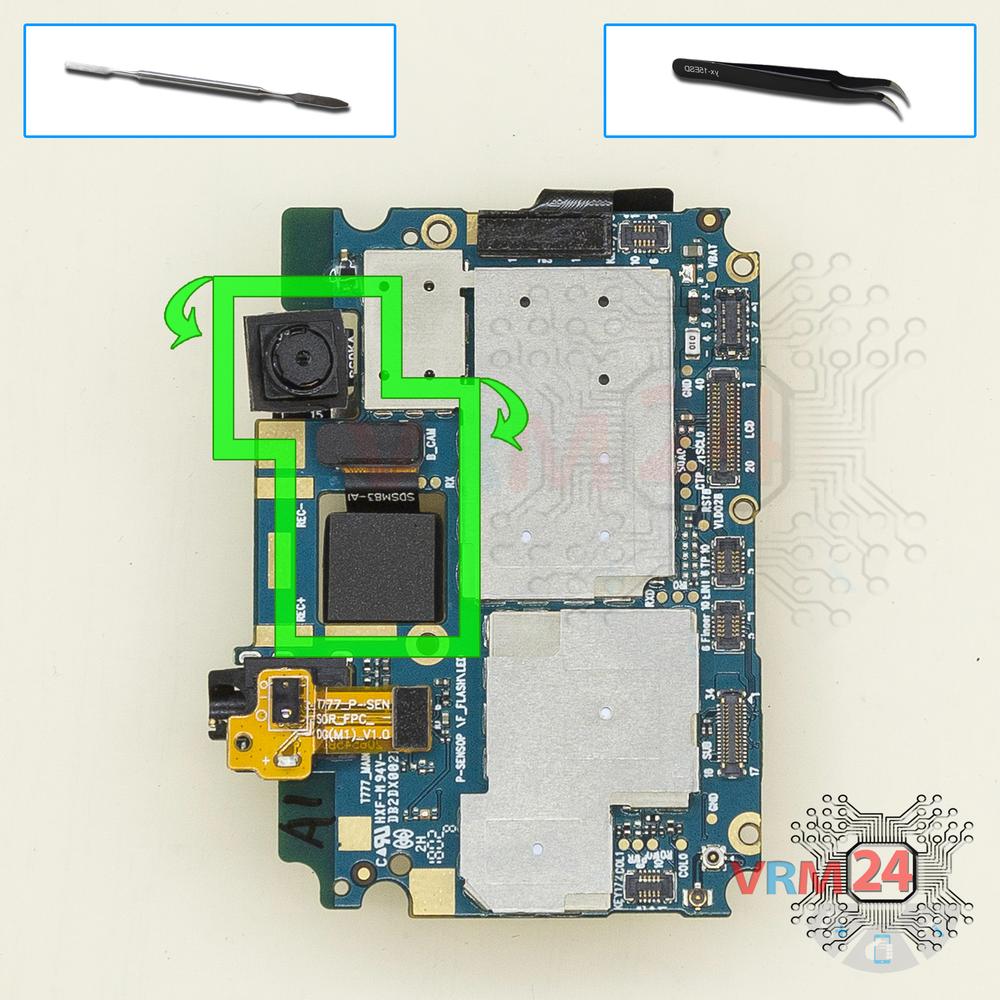
Remove the cameras
Disconnect connectors on PCB and remove the main and front (selfie) cameras.

If you have a question, ask us, and we will try to answer in as much detail as possible. If this article was helpful for you, please rate it.

7885
Views
2
Likes
—
Share
4
Questions
Related Instructions
Related Reviews
Related Blog
Popular Questions

Doogee S60 IP68
i cannot switch my phone on . it cannot even charge. i bought it november 2018. it stopped working in december 2020. the battery was 38%. i stay in …
keneilwe
C
Doogee S60 IP68
There is a small circular item attached to the charging board, what is that and how easy is it to re-connect to the charging board - I need to replac…
Chris Ward6
C
Doogee S60 IP68
Ive had one of these for 4 months I barely do anything with it and the rubber stuff on the back is randomly peeling off and there's a bubble
christopher pos18
C
Doogee S60
How do you remove the 6 button circuits the wiring?
Chronicom12
R
Doogee S60 IP68
It would be interesting to have the function of the parts in the description
Raylon Medeiros20Top instructions
Check our
Top Doogee instructions most liked by readers
New instructions
Check our
New Doogee brand instructions on vrm24.com