Teardown difficulty:
Easy

Recommended tools

Disassembly/Repair of the mobile device Garmin Fenix 5 with each step description and the required set of tools.


Author / Content specialist with 10+ years of experience


How to disassemble Garmin Fenix 5, Step 1/1

Step 1. Before disassembling!

🛠 Difficulty: 🟢⚪️⚪️

⏰️ Disassembly time: 20 minutes

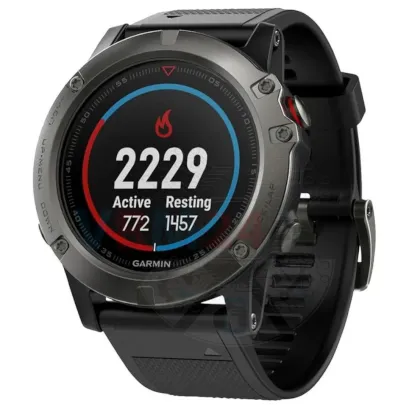
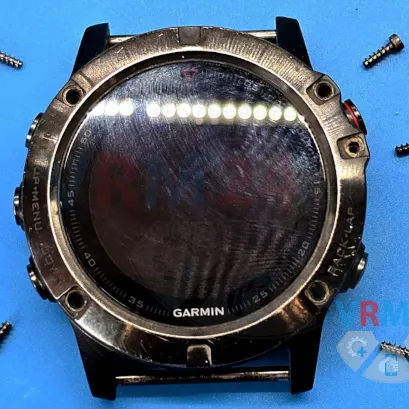
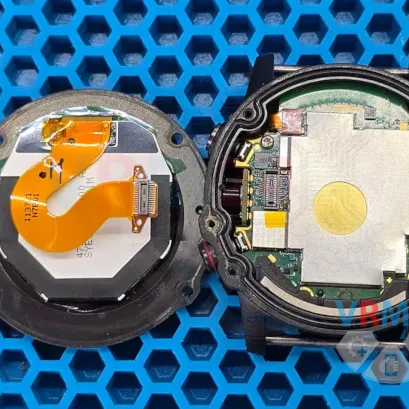
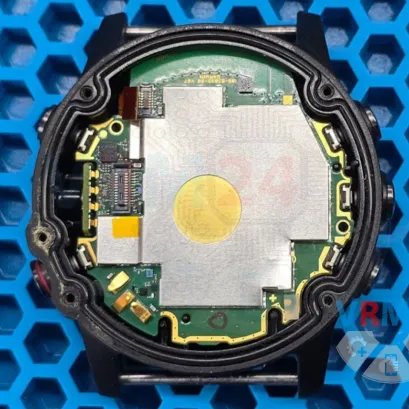
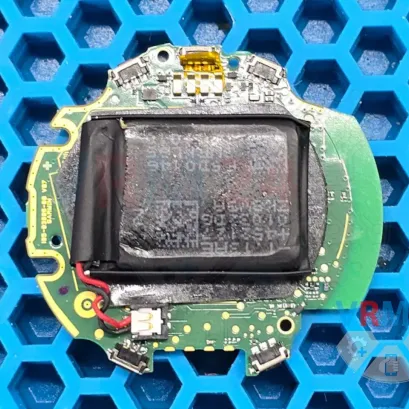
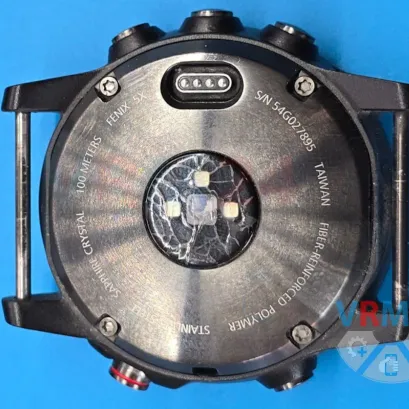
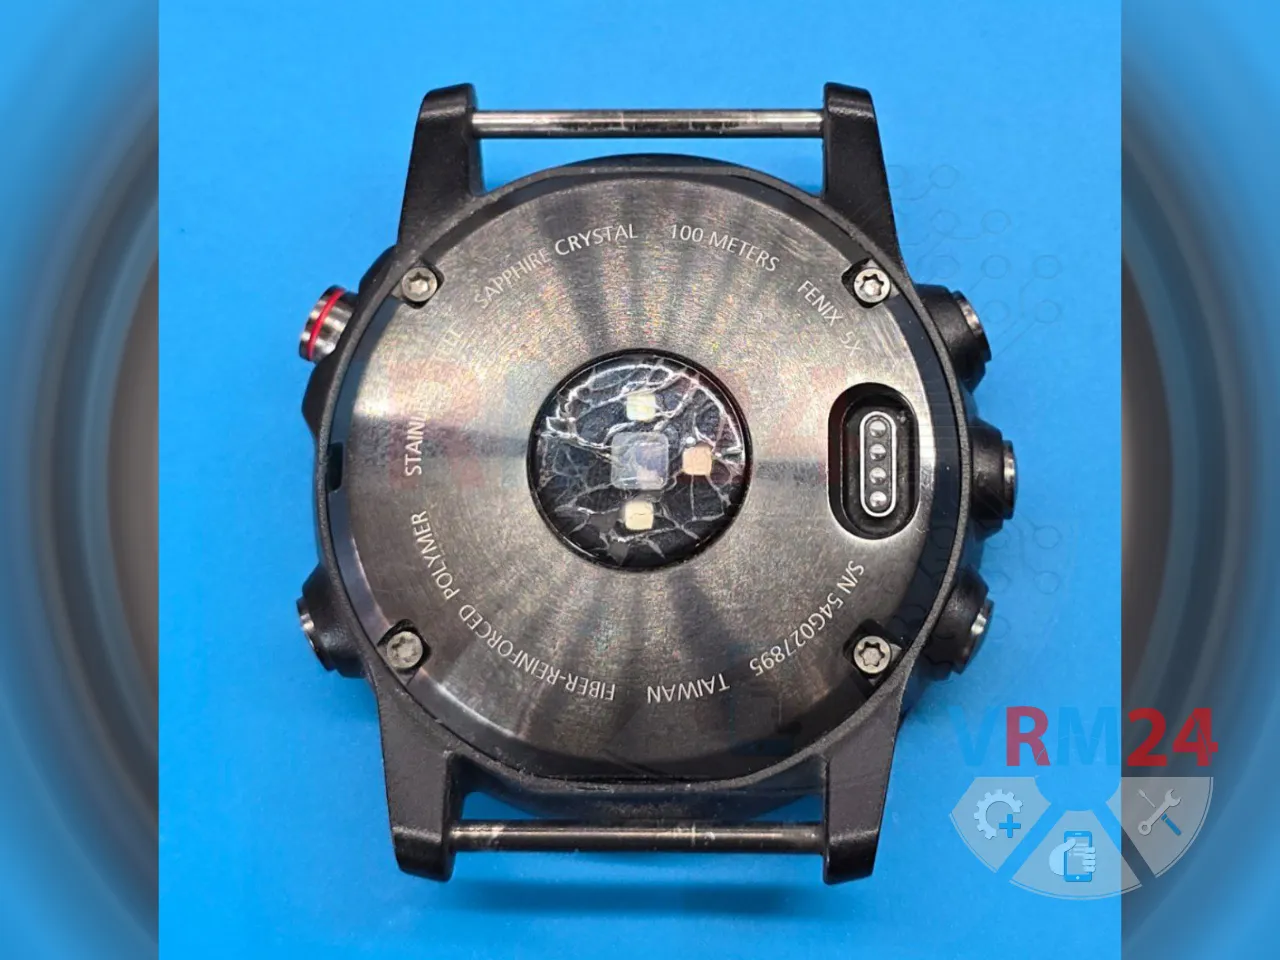
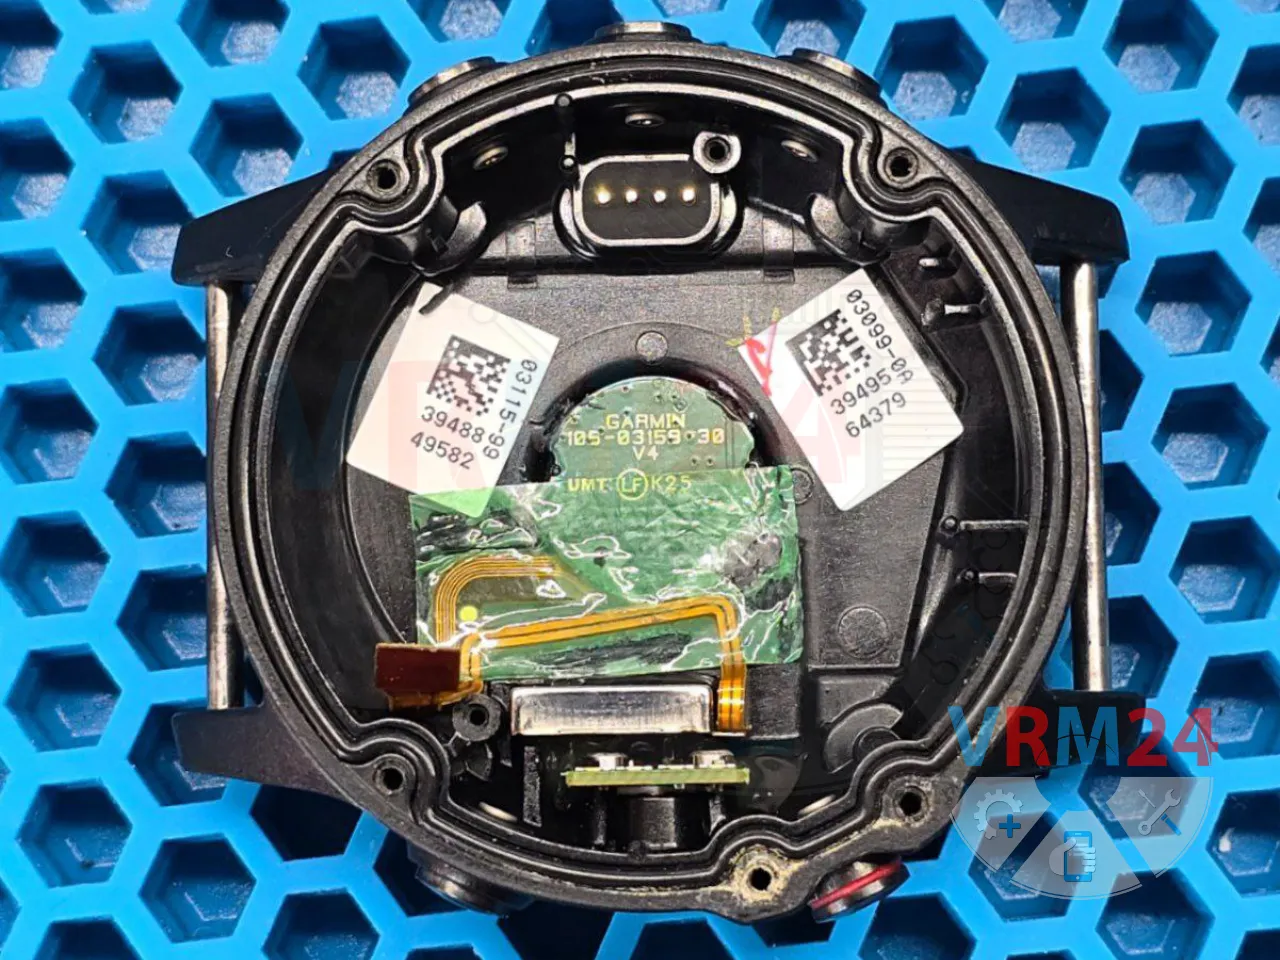
A Fenix 5X watch came in for repair. This is actually the first time we’ve had a Garmin product on the workbench 😊

We had only heard that these are watches made for professional athletes, well-protected and packed with features.


How to disassemble Garmin Fenix 5, Step 2/1 How to disassemble Garmin Fenix 5, Step 2/2

Step 2. Unscrew the screws

We unscrew five screws from the front of the device.


How to disassemble Garmin Fenix 5, Step 3/1

Step 3. Open the display module

We lift the display module.

It opens easily because there’s no adhesive around the display perimeter.

The liquid ingress protection is provided solely by a rubber gasket surrounding the edge.

This is similar to what we’ve seen on budget smartwatches from Huawei. However, Huawei’s water resistance is only rated for up to 1.5 meters of submersion—whereas Garmin claims up to 100 meters (10 ATM) for this model 🧐


How to disassemble Garmin Fenix 5, Step 4/1

Step 4. Disconnect the connector

We disconnect the display module’s flex cable and set it aside.


How to disassemble Garmin Fenix 5, Step 5/1

Step 5. Open the display

The display module itself is quite unusual—it’s our first time seeing a polygon-shaped display on a round watch 🙂


How to disassemble Garmin Fenix 5, Step 6/1 How to disassemble Garmin Fenix 5, Step 6/2

Step 6. Remove the antenna

We remove the antenna from the housing; it’s not fastened by anything.


How to disassemble Garmin Fenix 5, Step 7/1 How to disassemble Garmin Fenix 5, Step 7/2

Step 7. Unscrew the screws

We unscrew a couple of screws securing the main board inside the housing.


How to disassemble Garmin Fenix 5, Step 8/1

Step 8. Disconnect the connector

We disconnect the flex cable for the sensors.


How to disassemble Garmin Fenix 5, Step 9/1

Step 9. Remove the motherboard

We remove the main board from the watch casing.


How to disassemble Garmin Fenix 5, Step 10/1

Step 10. Remove the battery

The battery is attached to the back of the main board using double-sided tape and is connected to the board via a wired connector.


How to disassemble Garmin Fenix 5, Step 11/1 How to disassemble Garmin Fenix 5, Step 11/2 How to disassemble Garmin Fenix 5, Step 11/3 How to disassemble Garmin Fenix 5, Step 11/4

Step 11. In the housing remained

What’s left in the housing is the sensor flex cable and, at the top, spring-loaded charging contacts.

The main board, shown in the photo from both sides.

By the way, the four screws on the back of the watch are purely decorative—you can unscrew them, but they don’t hold anything in place 🙃

Detailed disassembly instructions of Garmin Fenix 5 in the video, made by our mobile repair & service center:

If you have a question, ask us, and we will try to answer in as much detail as possible. If this article was helpful for you, please rate it.


Disassembling\Repair has easy complexity and takes about minutes in time. Our manual is suitable for all models Garmin Fenix 5 released for markets in different countries.


Back to the list
arrow_upward
arrow_upwardarrow_downward
arrow_forwardarrow_back