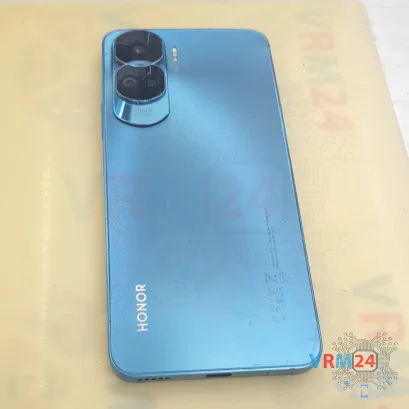
⚠️️ Before disassembling, do not forget to turn your phone off.
Moderate
Recommended tools


Disassembly/Repair of the mobile device Honor 90 Lite (Honor 90 Lite CRT-NX1) with each step description and the required set of tools.

Maxim Sivolap
Tech specialist, author
A longtime technician, the author.
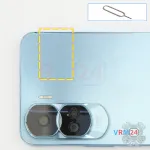
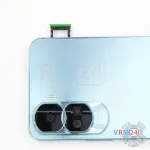
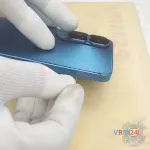
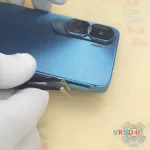
Step 2. Remove the tray
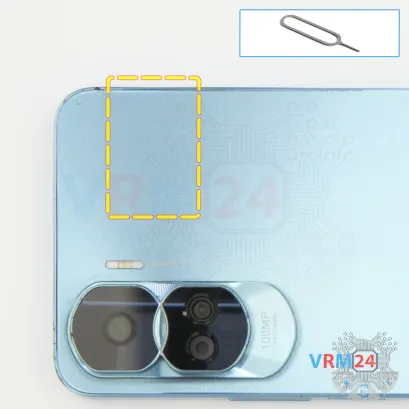
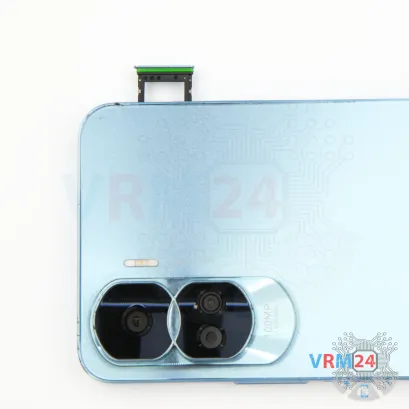
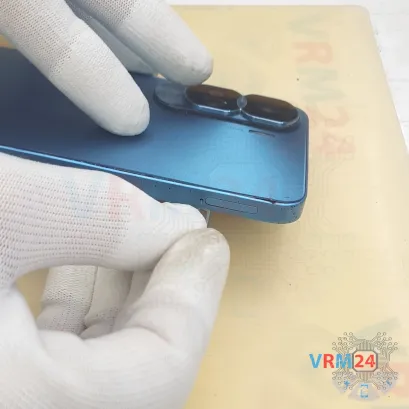
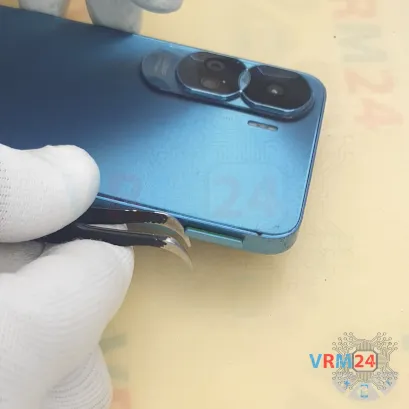
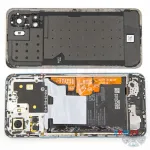
First, we need to remove the SIM card tray.
To do that, use a SIM ejector tool. Insert it into the hole and gently push the tray out.
If it’s stuck, you can use tweezers to help pull it out.
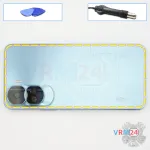

Step 3. Open the back cover
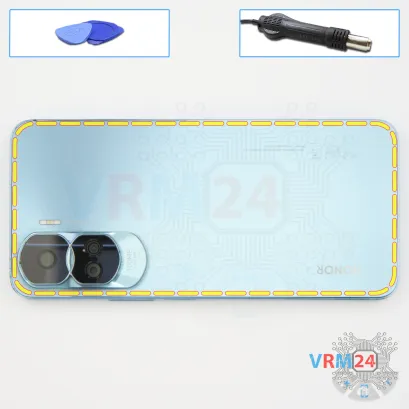
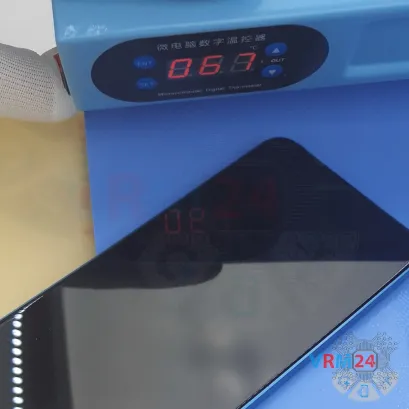
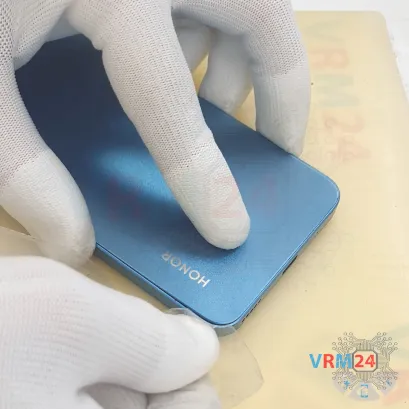
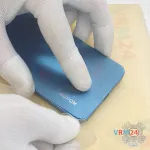
Next, we need to heat the back cover to about 70 degrees Celsius — that’s around 160 degrees Fahrenheit.
We’re using a heating mat for this, but a heat gun or hairdryer will also work.
After 5 to 7 minutes of heating, we can move on to removing the back cover.
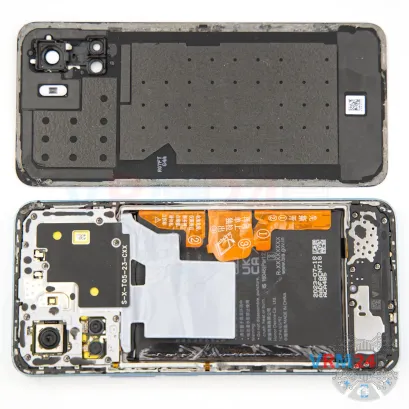
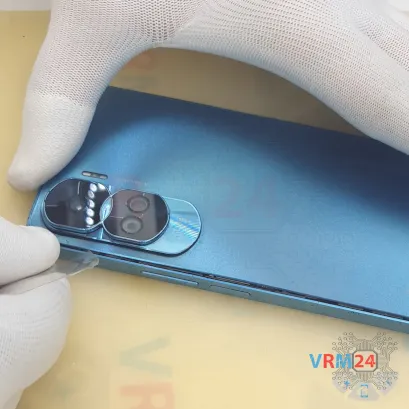
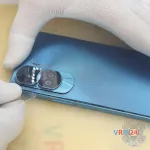
To separate the back cover, we use a thin plastic film. Slide it into the gap between the back cover and the midframe, then gently work your way around the edges to cut through the adhesive.
Be extra careful around the cameras and side buttons — there are flex cables and lenses that could be damaged.

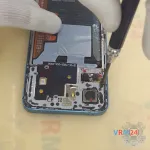
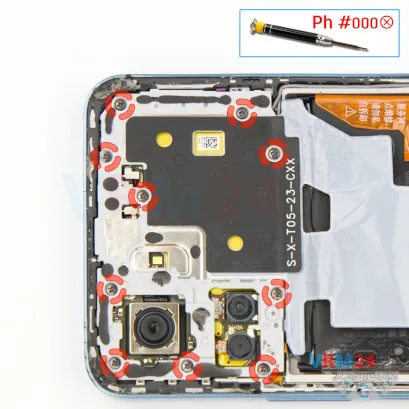
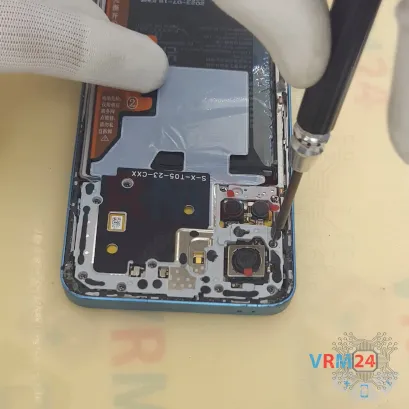
Step 4. Unscrew the screws
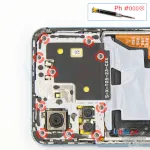
Now we move on to removing the screws.
Use a 1.5mm Phillips screwdriver — that’s a Phillips hash triple-oh.
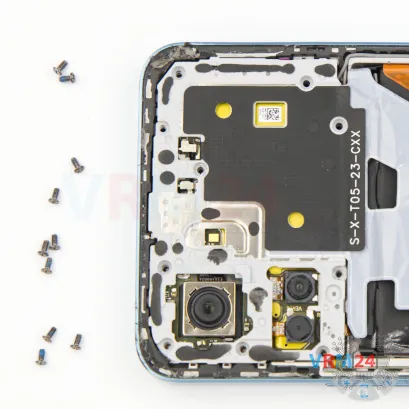
If the screws are stuck, you can use a magnetizer or tweezers to get them out.
In newer HONOR models, the screws aren’t very magnetic, so tweezers really help.
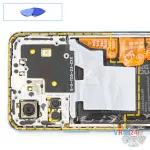
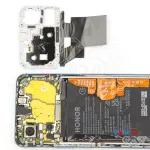
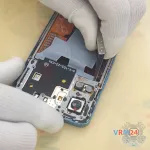
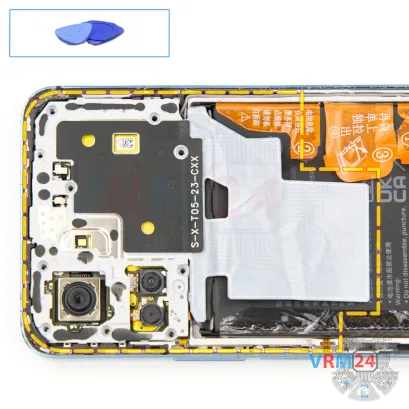
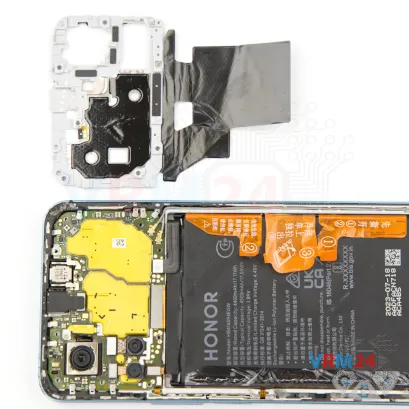
Step 5. Open the cover
After that, we’ll remove the top cover.
Use a plastic pry tool - non-metallic, and gently lift from the right spot to release the clips.
Take your time to find the exact point that makes it easy to remove.
This top cover contains contact pads.
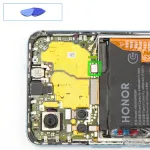
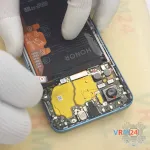
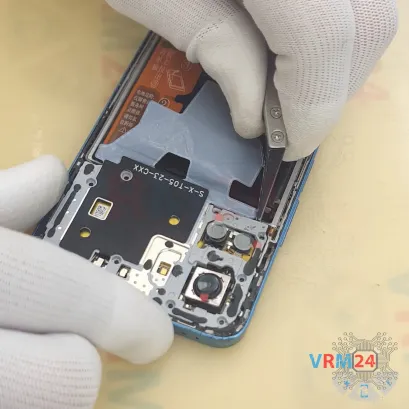
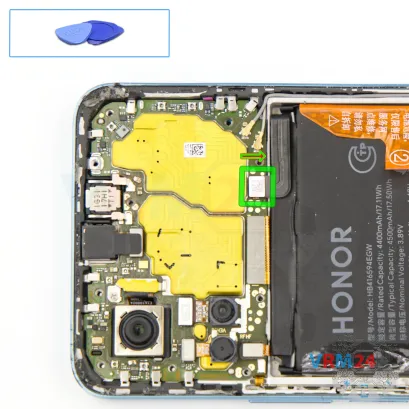
Step 6. Disconnect the battery connector
And we disconnect the battery. Use a non-metal tool and carefully lift the connector.
ℹ️️ The Honor 90 Lite CRT-NX1 model has a battery HB416594EGW with a capacity of 4500 mAh (also known as a rechargeable battery).
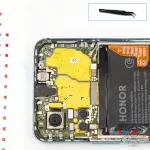
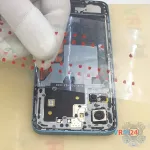
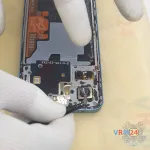
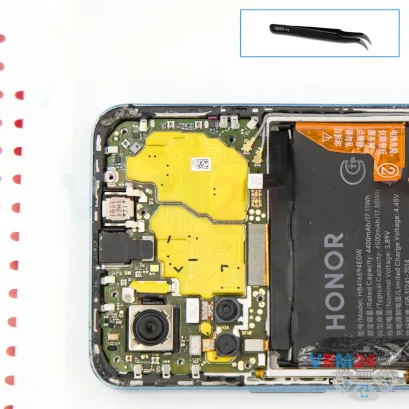
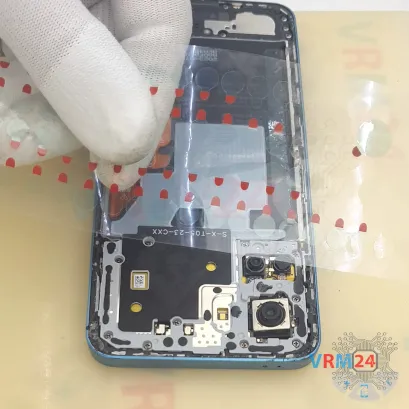
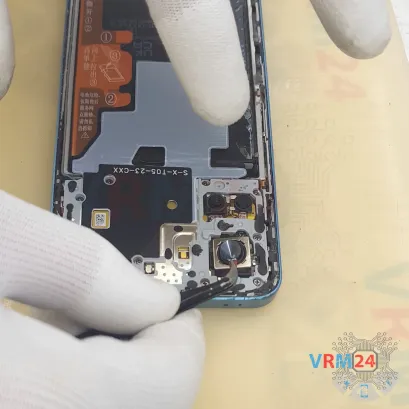
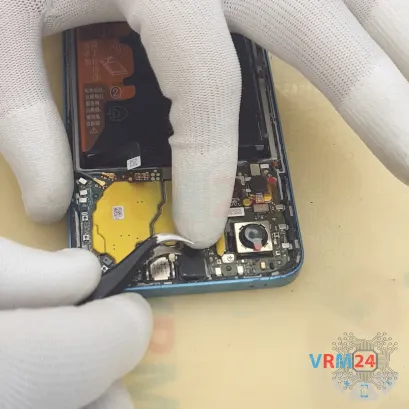
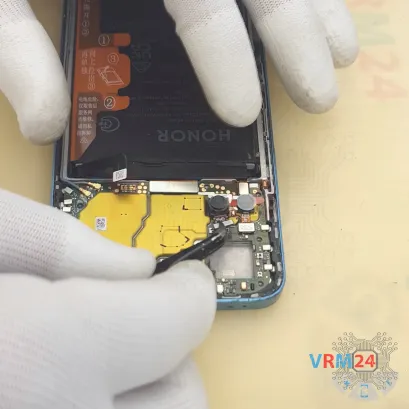
Step 7. Protecting camera lenses
Next, let’s cover the camera lenses. We use a protective film to do this.
It’s always a good idea to cover them to avoid dust or debris getting inside.
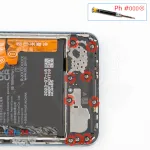
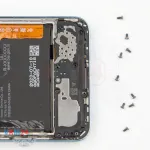
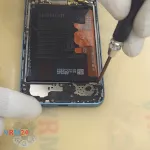
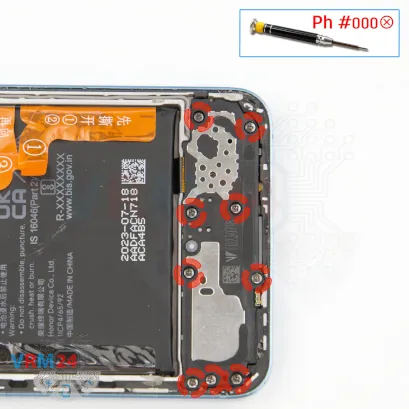
Step 8. Unscrew the screws
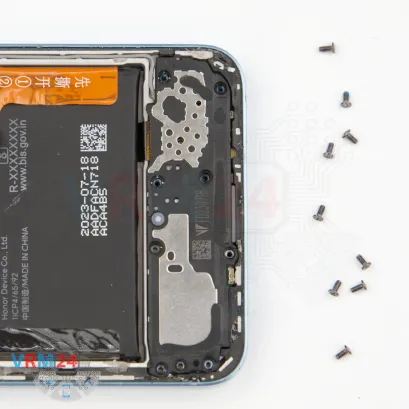
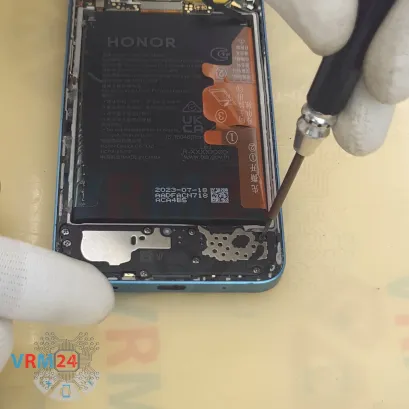
Then we move on to unscrew the nine screws at the bottom of the phone.
Again, use the same 1.5mm Phillips screwdriver.
It’s a good idea to keep these screws separate from the others.
Since they’re also not very magnetic, use tweezers to pull them out carefully.
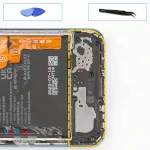

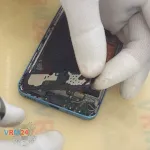
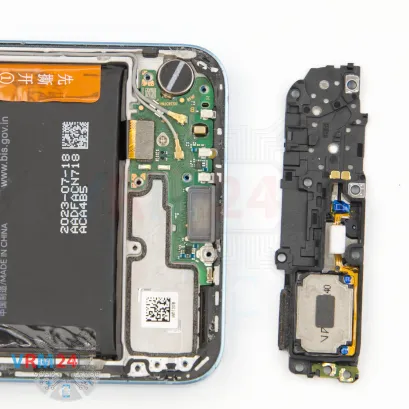
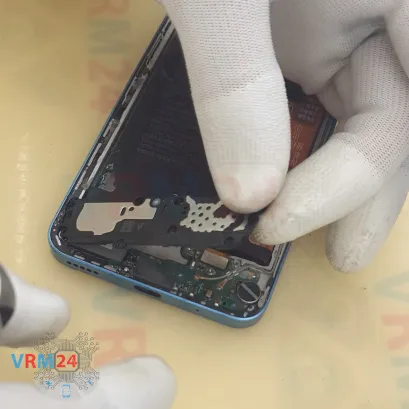
Step 9. Remove the loudspeaker
Now let’s remove the bottom cover.
Same idea — find the right spot, gently pry it up, and lift it out.
This part holds the loudspeaker.
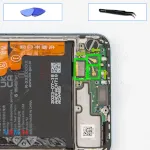
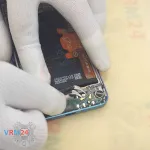
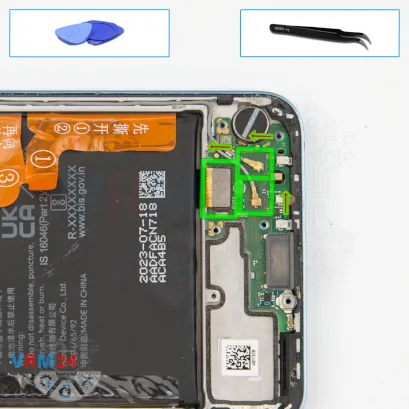
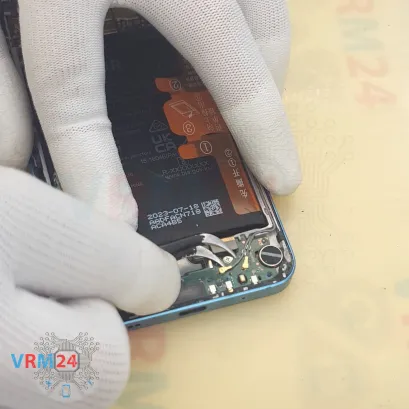
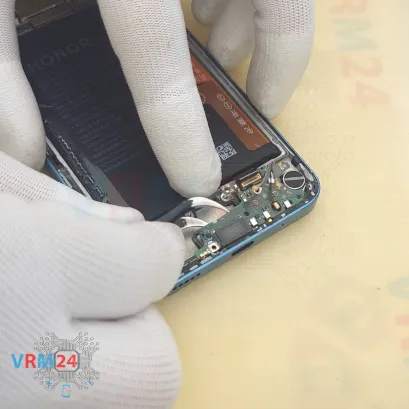
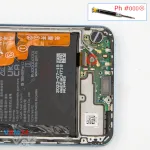
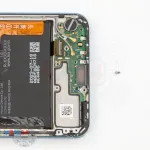
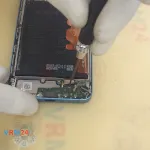
Step 10. Disconnect the connectors
Next, we disconnect the connectors on the sub-board.
Carefully — unplug the interconnect flex cable and two coaxial cable connectors.
Then free the cables from the board.
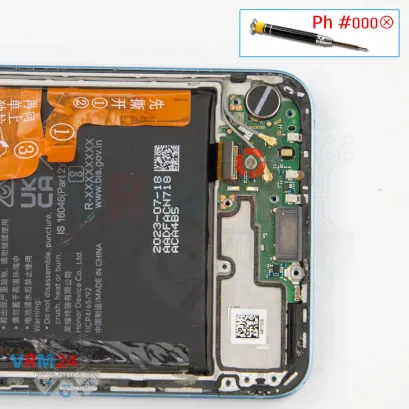
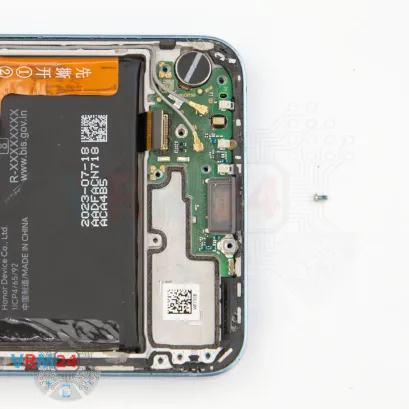
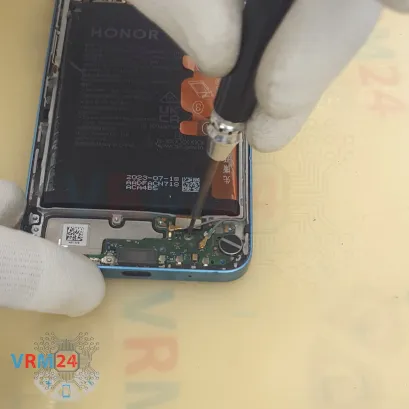
Step 11. Unscrew one screw
There’s one screw holding the sub-board in place, remove it with the same screwdriver.
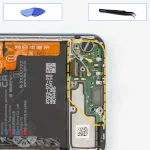
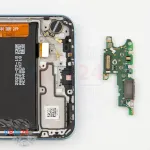
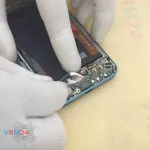
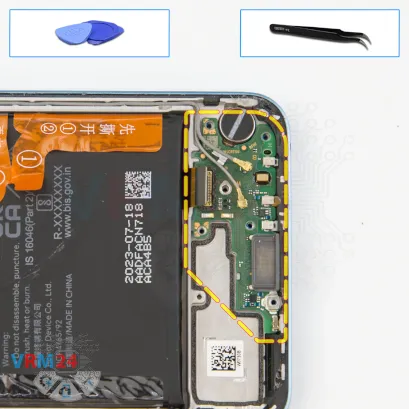
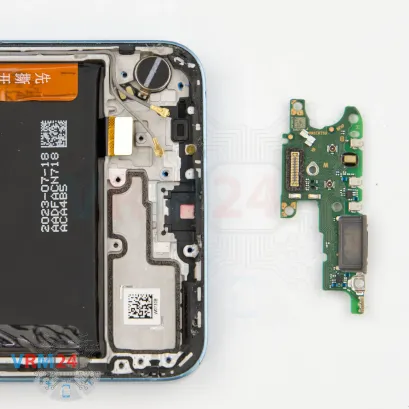
Step 12. Remove the sub-board
Now gently lift out the sub-board.
This board contains the charging port, microphone, and other components.
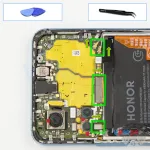
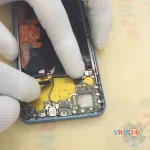
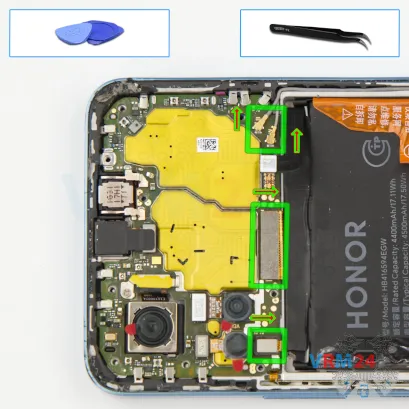
Step 13. Disconnect the connectors
Let’s move on to the main board.
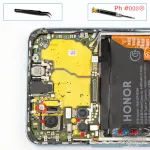
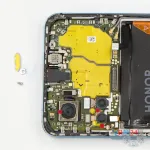
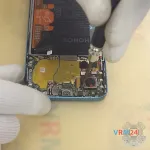
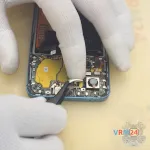
Disconnect the interconnect flex — display cable, side button cable, and the two coaxial cables.
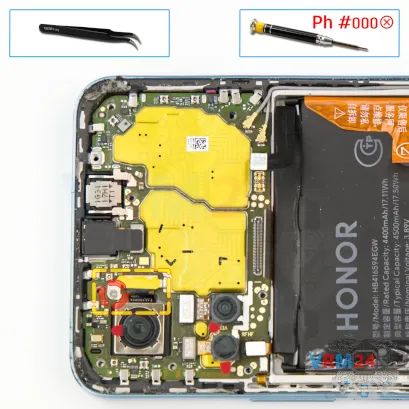
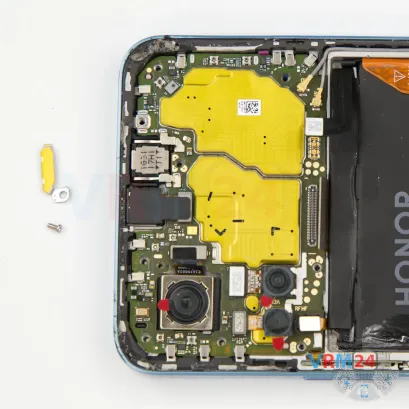
Step 14. Unscrew one screw
Then unscrew one screw holding the main rear camera.
Unclip the camera mount and set that aside too.
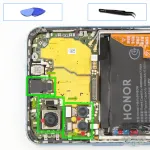
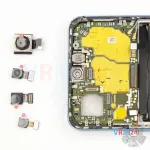
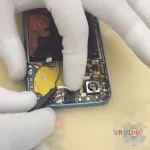
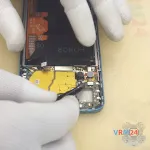
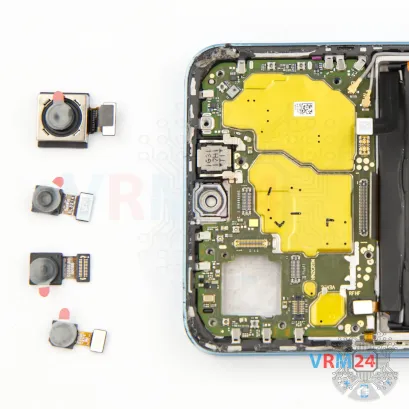
Step 15. Remove the cameras
We’ll disconnect the cameras.
Unplug the front-facing camera, flip it over, and cover the lens with protective film. Set it aside.
And we can remove all the rear cameras.
Start with the large main camera, then the two smaller ones.
If the protective film has peeled off, apply a new one and store the camera safely.
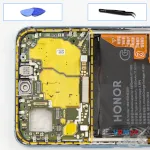
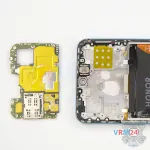
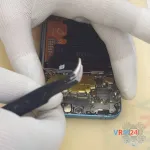
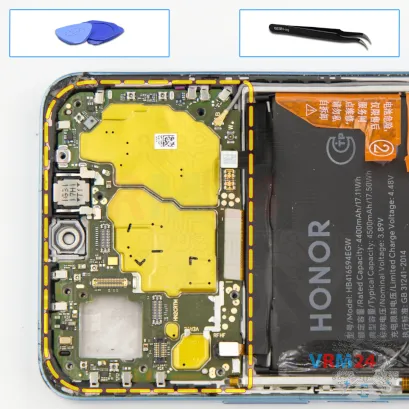
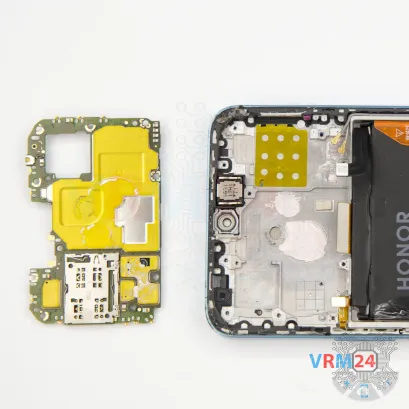
Step 16. Remove the motherboard
Now we’re ready to remove the motherboard. Gently pry it up from the correct spot and lift it out.
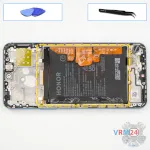
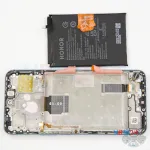
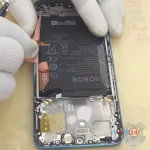
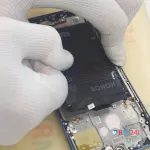
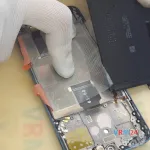
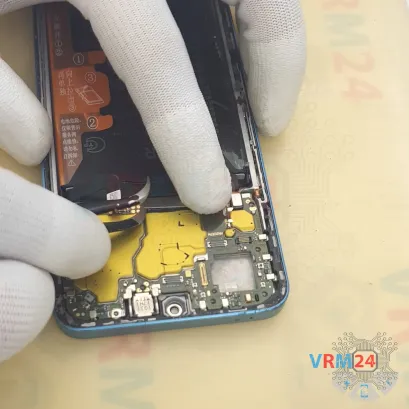
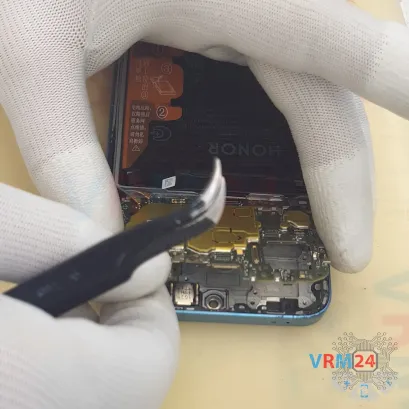
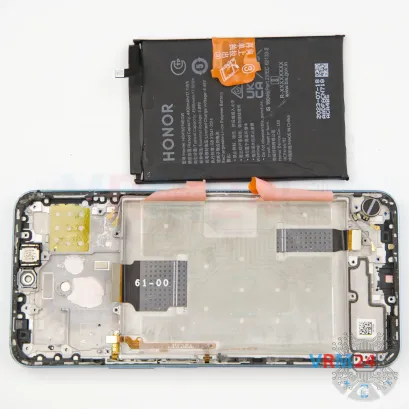
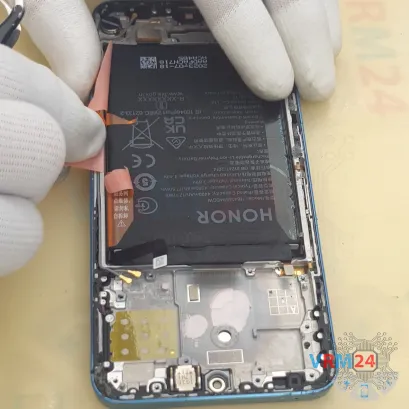
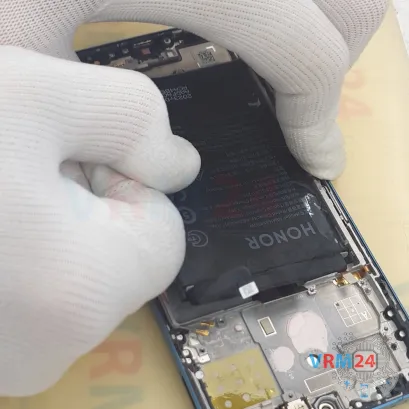
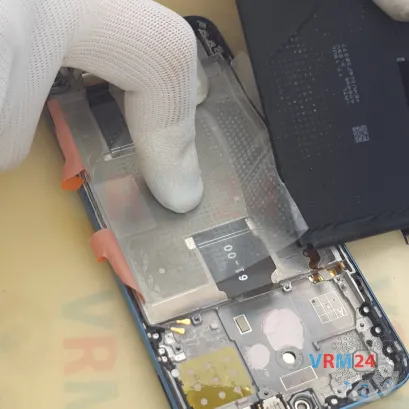
Step 17. Remove the battery
Finally, let’s disconnect the battery.
As usual with HONOR devices, there are brown pull tabs.
Be sure to read the label first — you need to know which tabs to lift, and which one to pull.
Carefully, peel back the side tabs so they don’t get in the way.
Then, according to the instructions, gently pull the center tab upward to remove the battery.
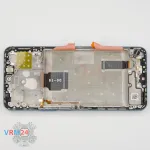

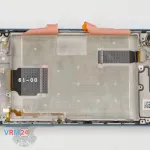
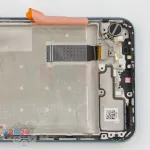
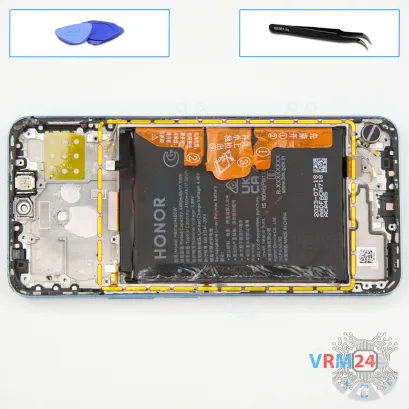
Step 18. In the display frame remained
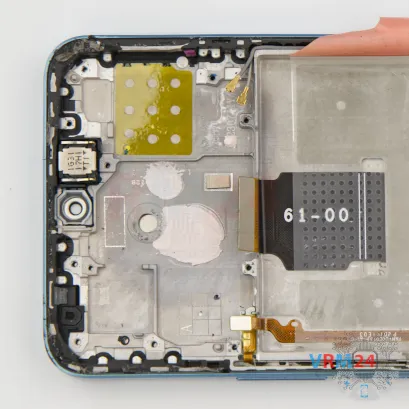
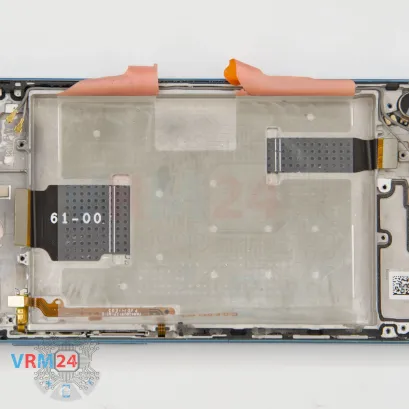
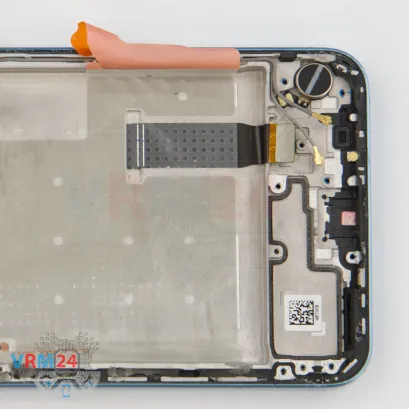
ℹ️️ In the display frame remained: the earpiece speaker, vibration motor, and cables.
Detailed disassembly instructions of Honor 90 Lite in the video, made by our mobile repair & service center:
If you have a question, ask us, and we will try to answer in as much detail as possible. If this article was helpful for you, please rate it.

Evgenii Kuzmin
Senior maintenance service and repair engineer
Back to the list

