
⚠️️ Before disassembling, do not forget to turn your phone off.
Teardown difficulty:
Moderate
Moderate
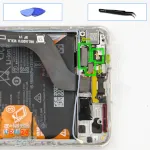
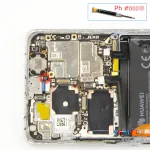
Recommended tools


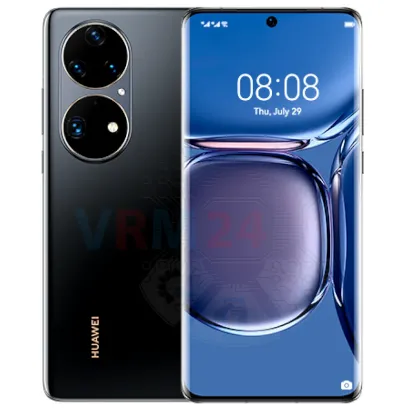
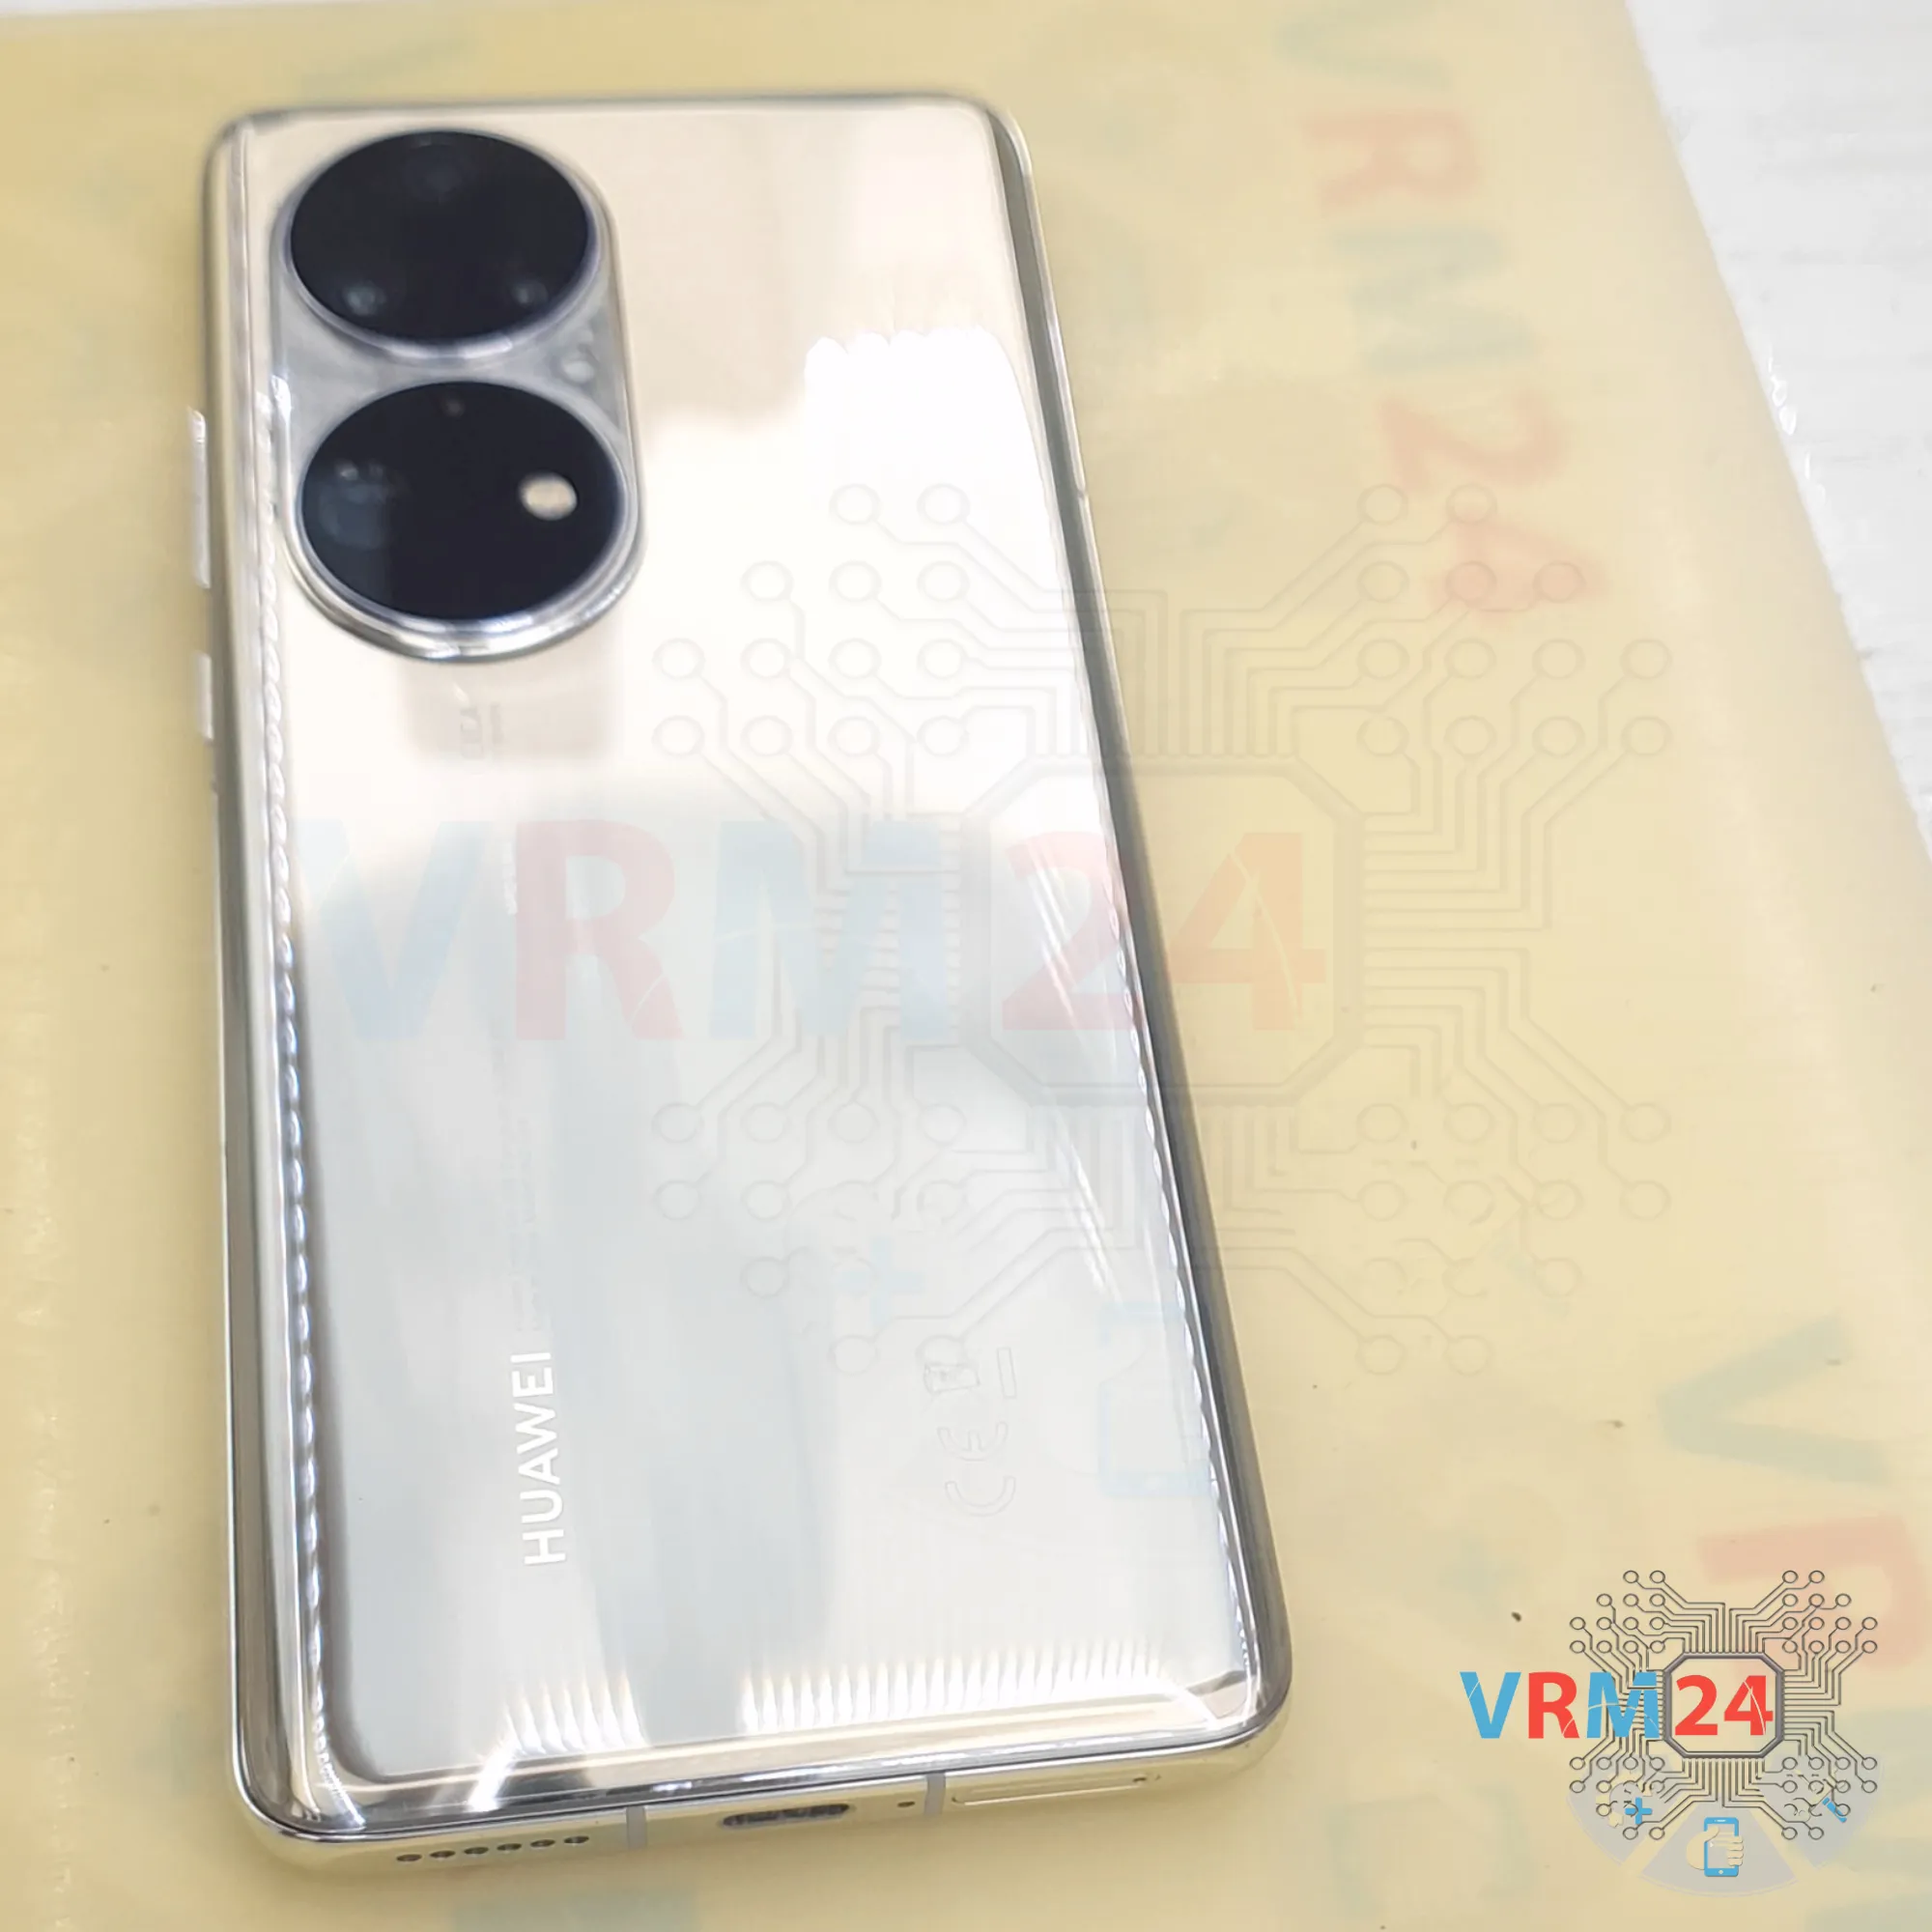
Disassembly/Repair of the mobile device Huawei P50 Pro (Huawei P50 Pro JAD-LX9) with each step description and the required set of tools.

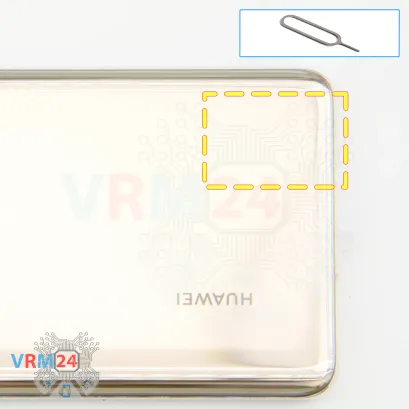

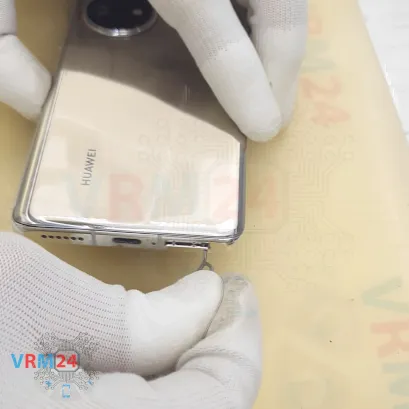
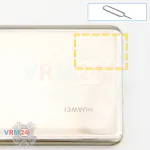
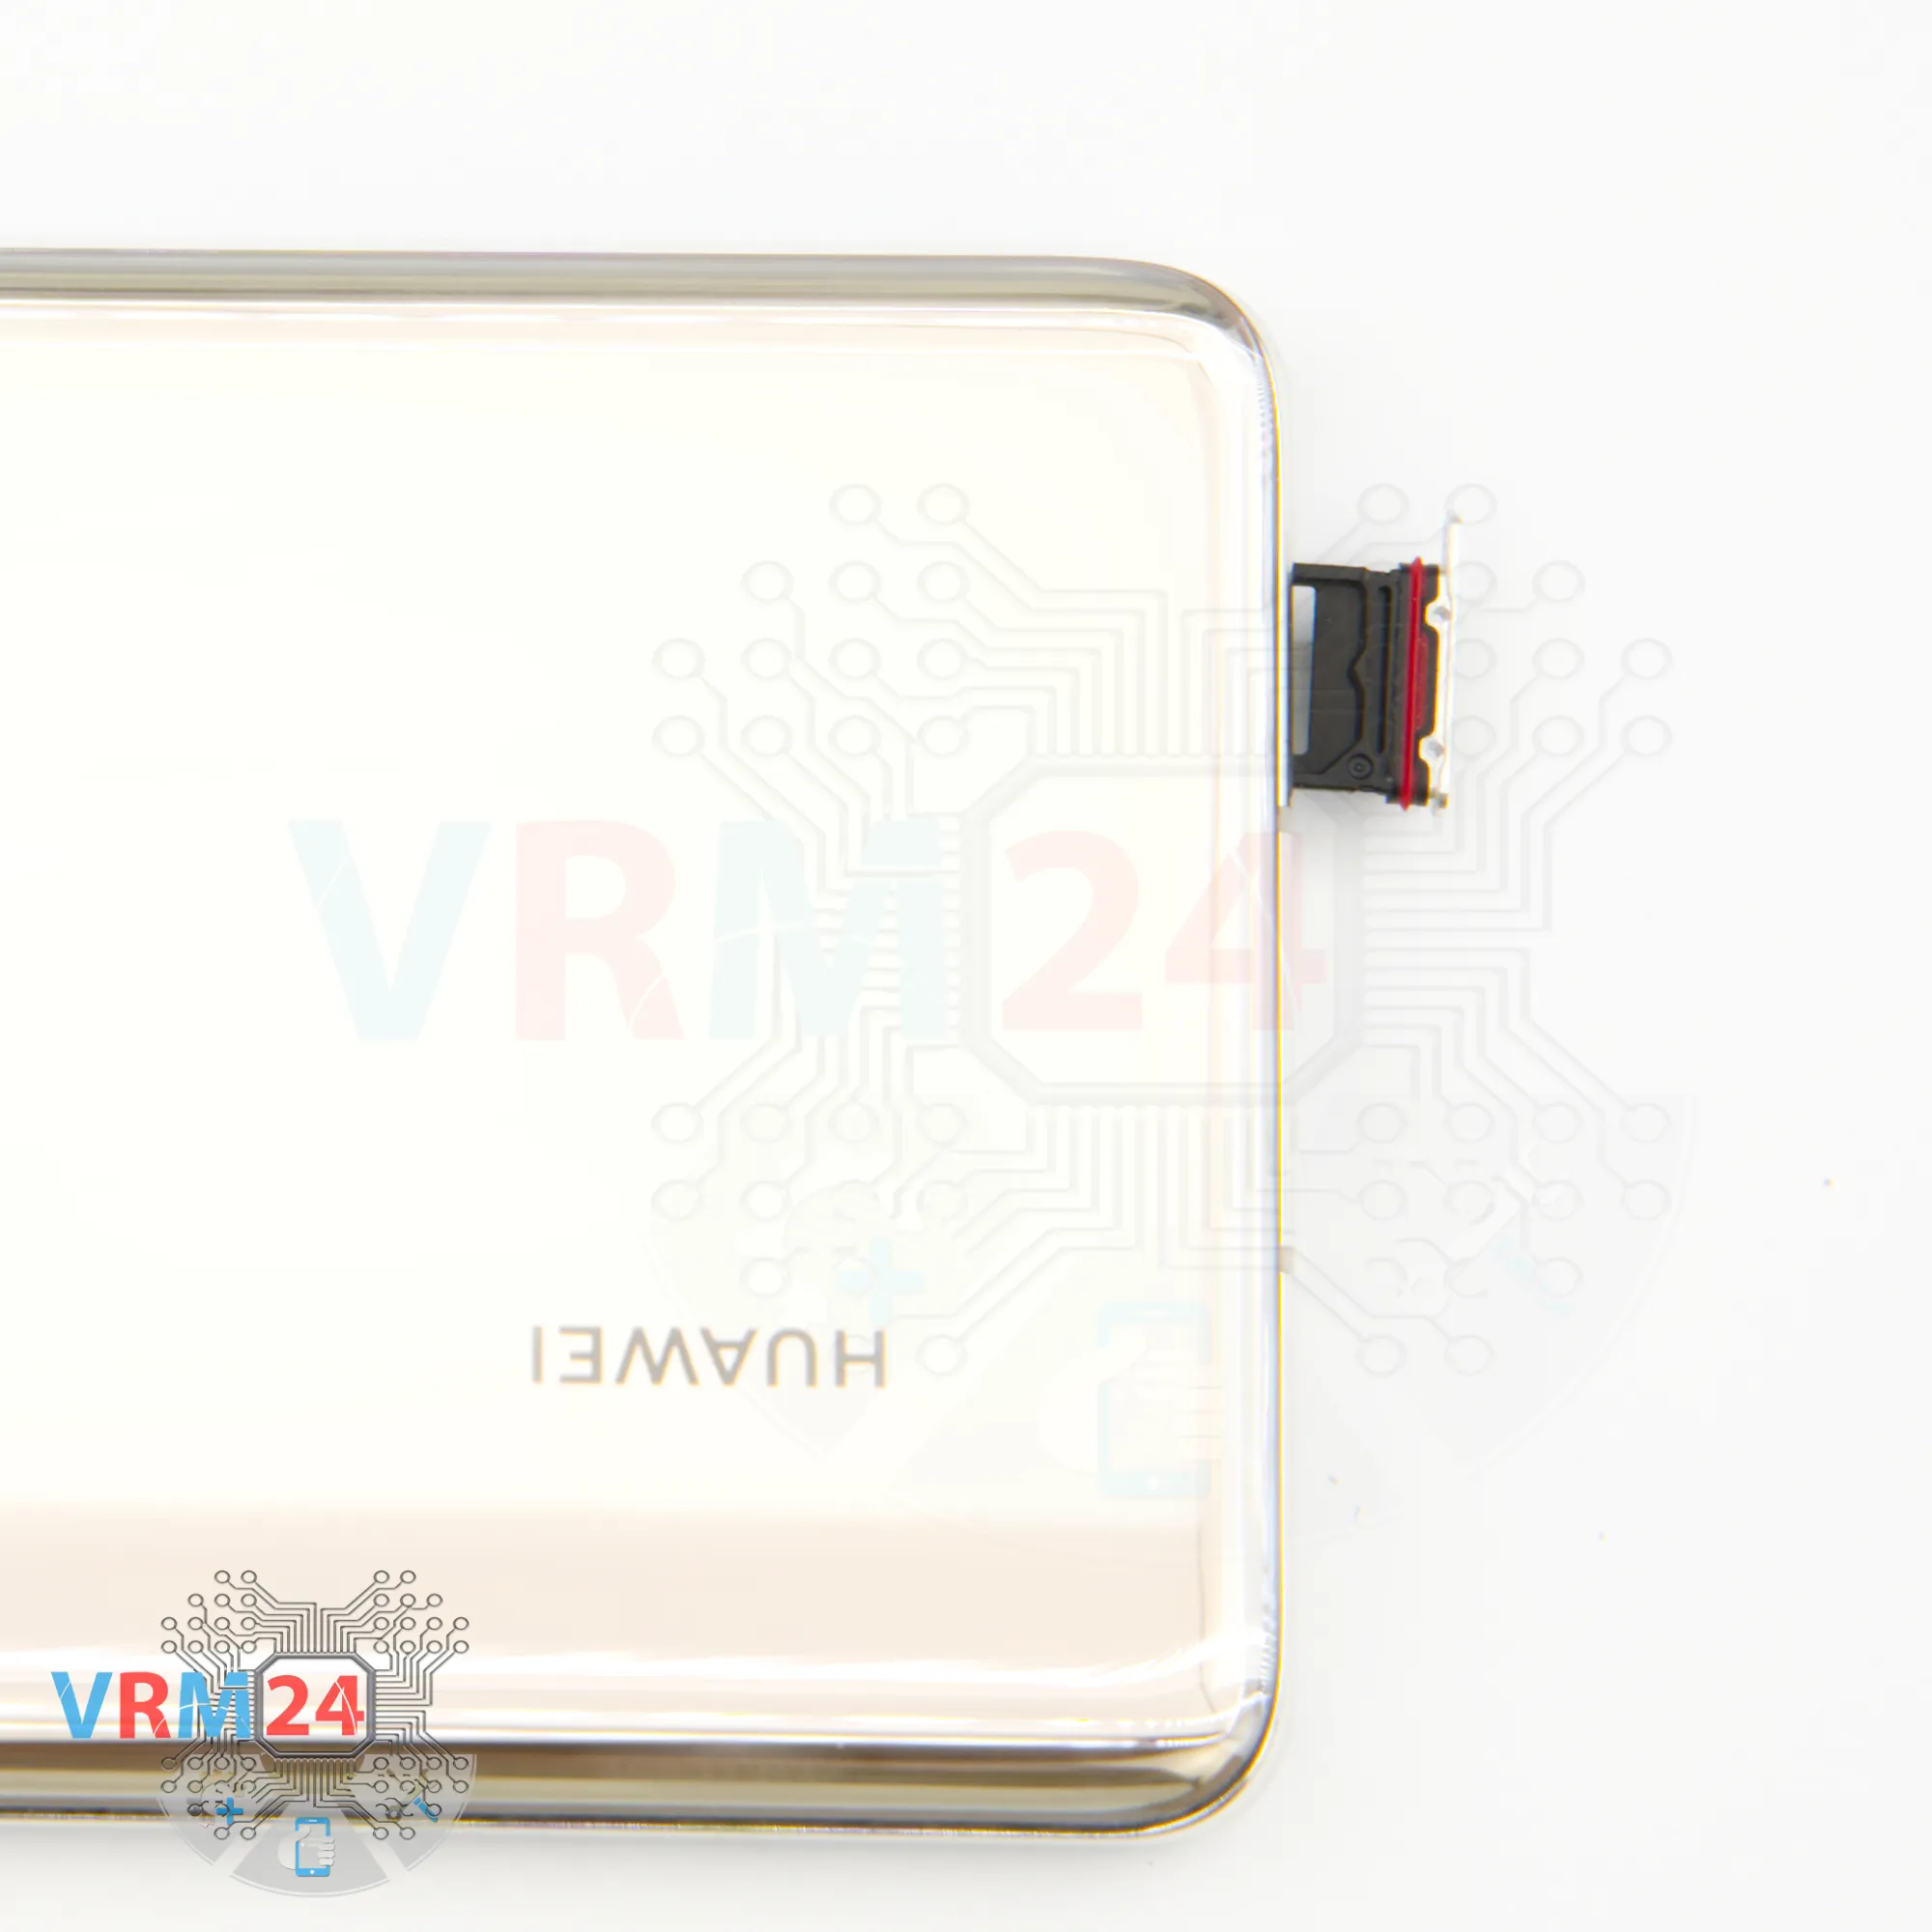
Step 2. Remove the tray
First, we need to remove the SIM card tray. For this, we're using a special tool.
Note that the tray is located at the bottom of the phone.

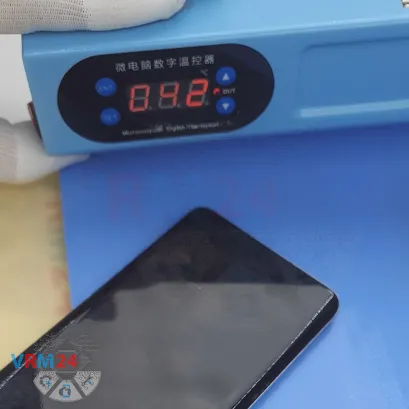
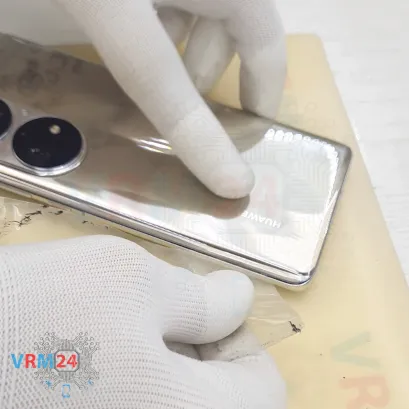


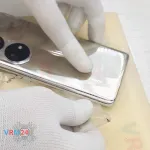
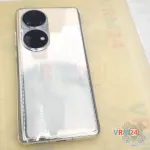
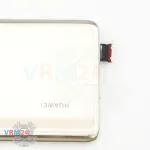
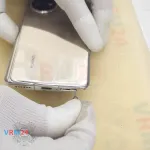
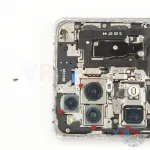
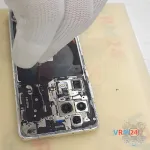
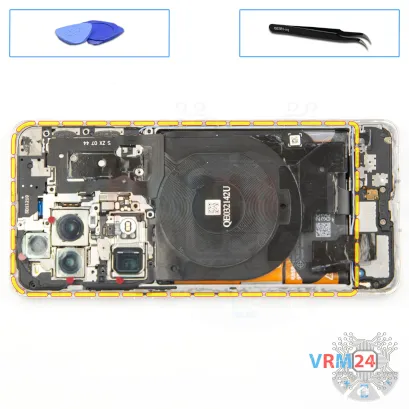
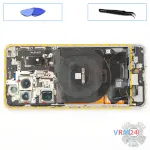
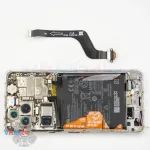
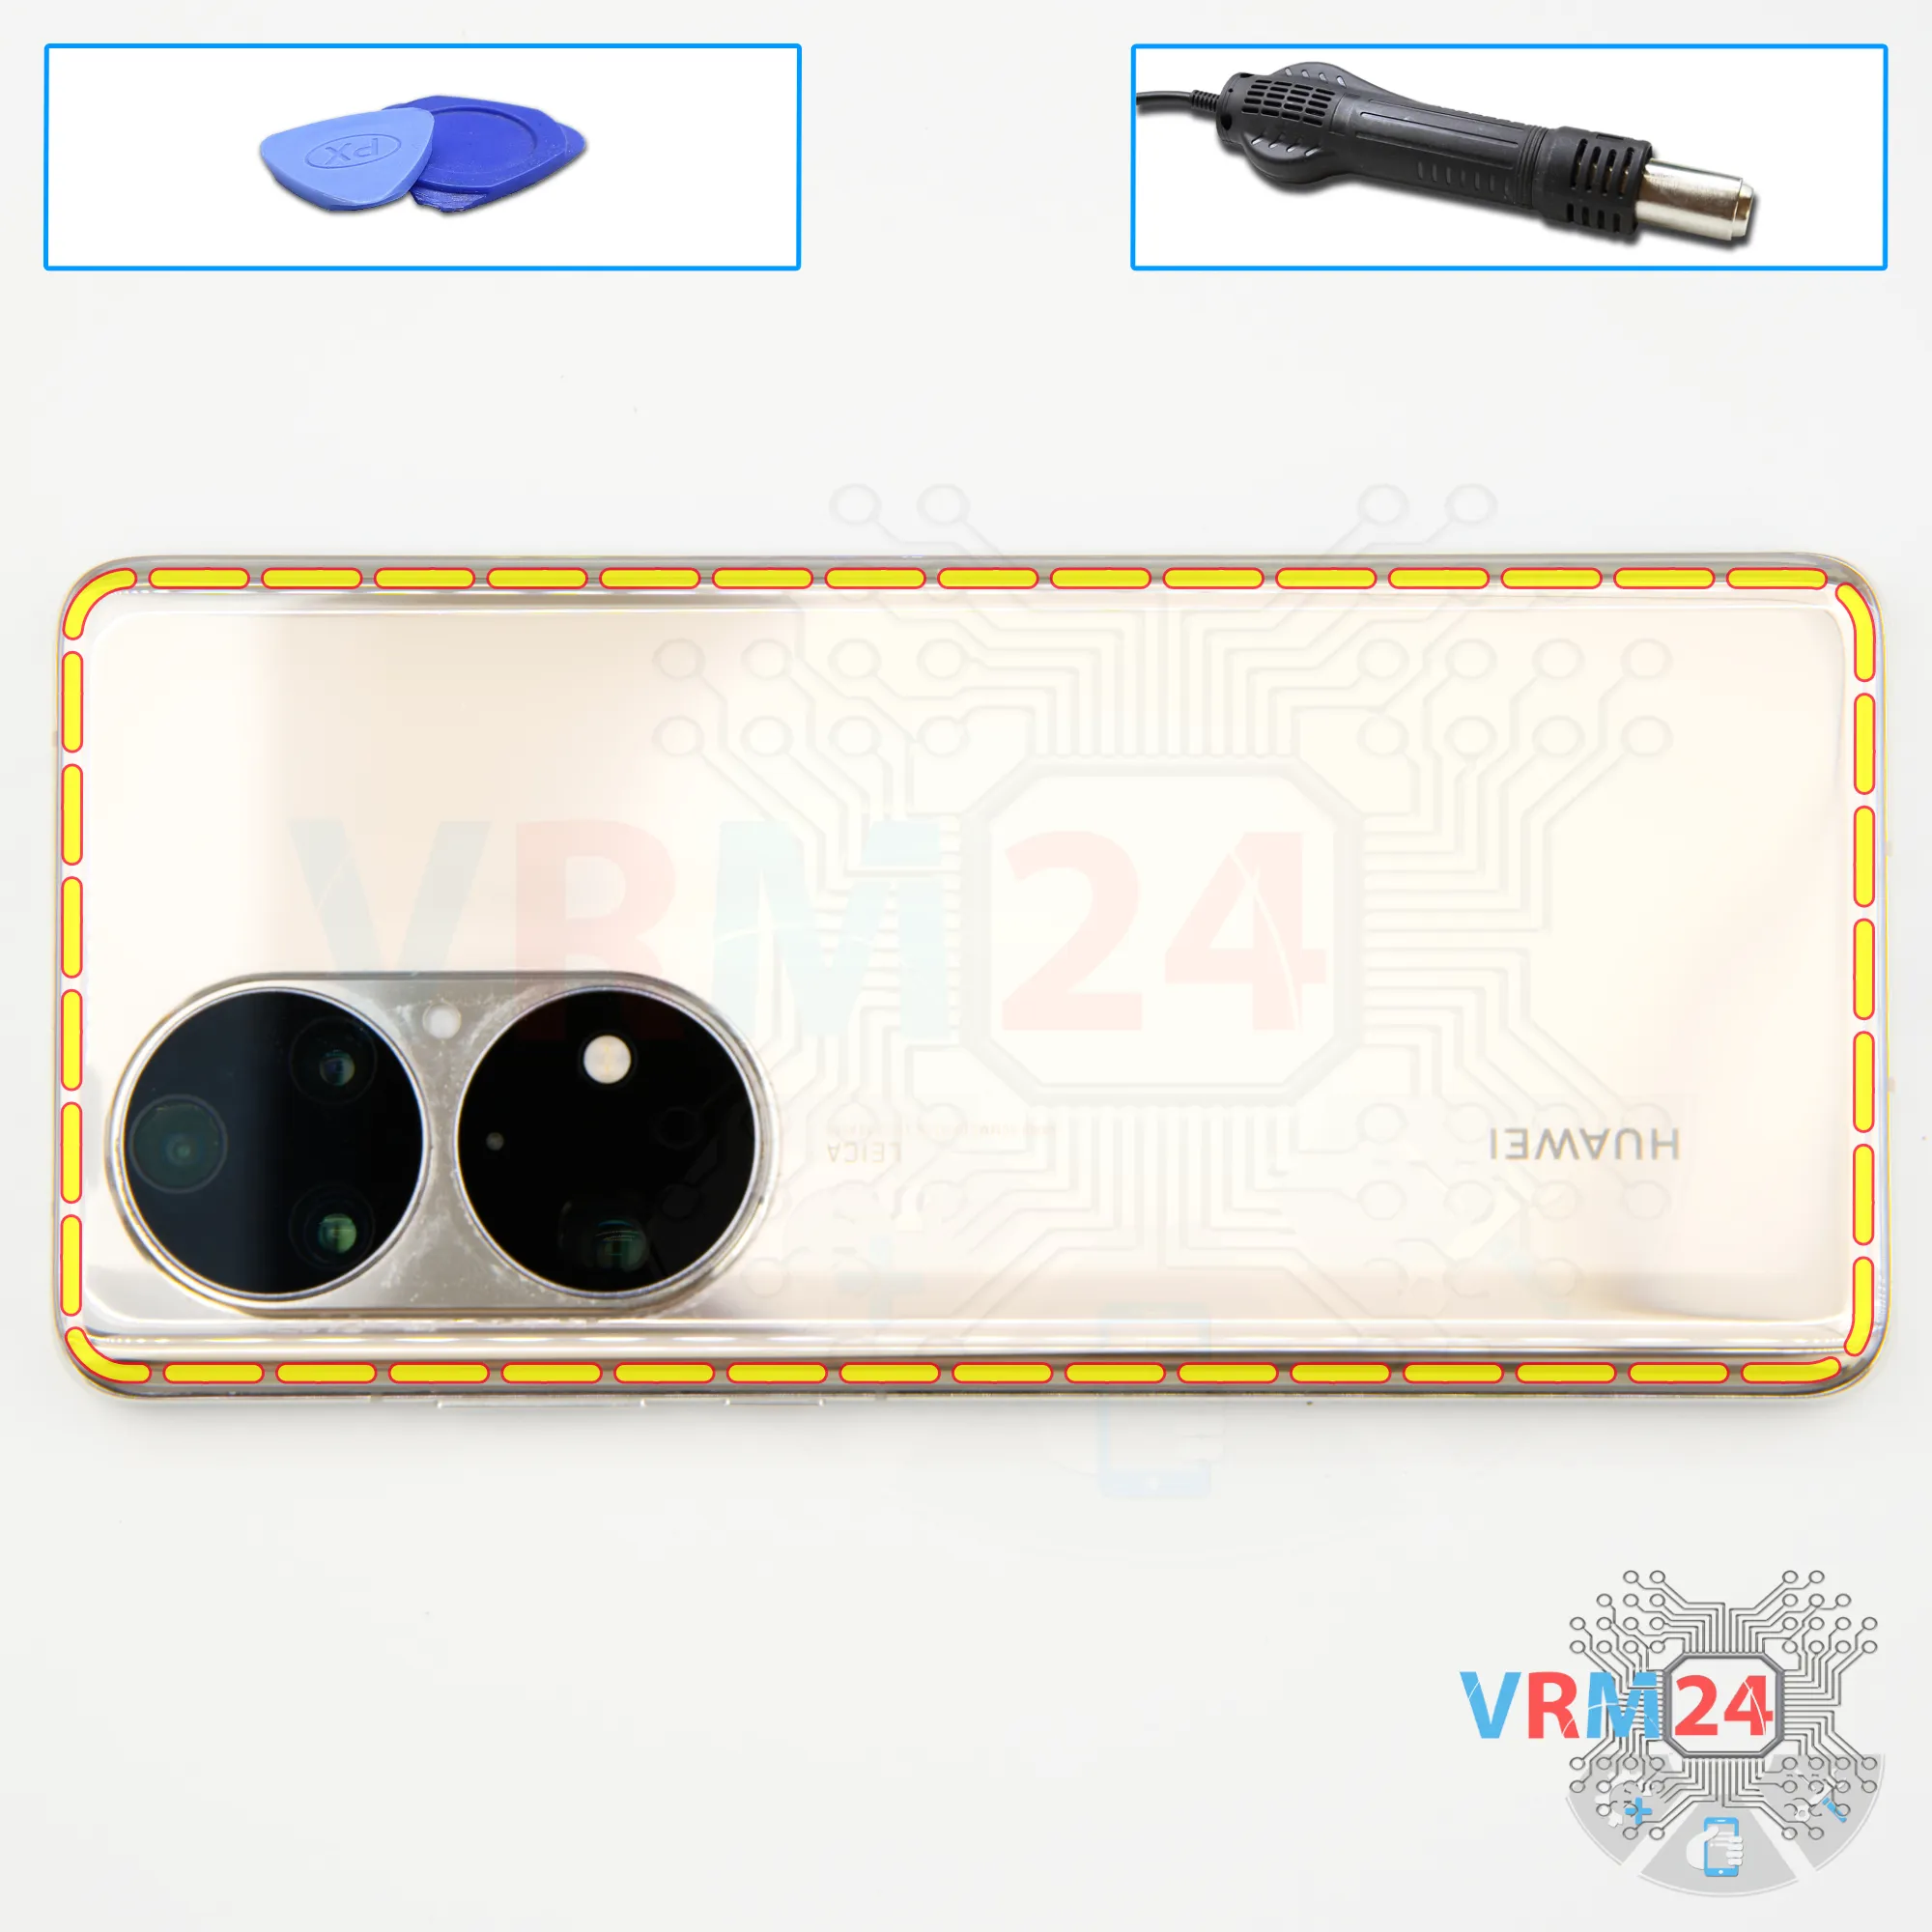
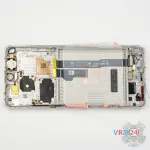
Step 3. Open the back cover
Next, we move on to heating the back cover. We're using a heating mat for this, but you can also use a hairdryer. Heat the back cover to approximately 70°C (160°F).
After 5 to 10 minutes, we can begin separating the back cover.
To loosen the adhesive, we use a thin plastic film. Gently insert it into the gap between the back cover and the mid-frame, and carefully slide it along the edge to cut through the adhesive.
Be especially careful around the camera area to avoid damaging the lenses.
Also, watch out around the side buttons, as there may be flex cables nearby.


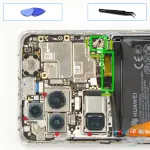
Step 4. Protecting camera lenses
Before proceeding further, it’s a good idea to cover the camera lenses to protect them from dust or debris.
We use a special film for this.

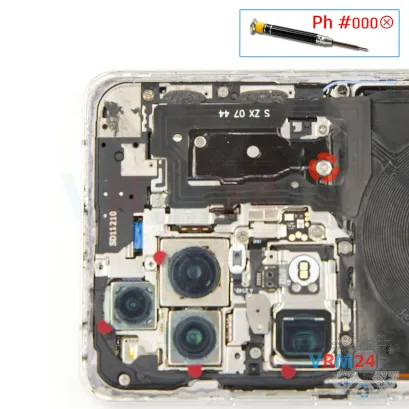
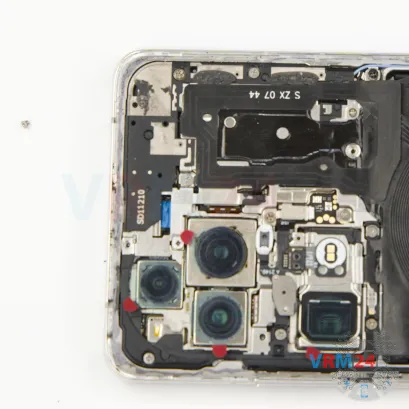
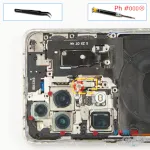
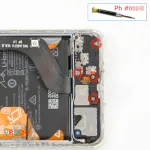
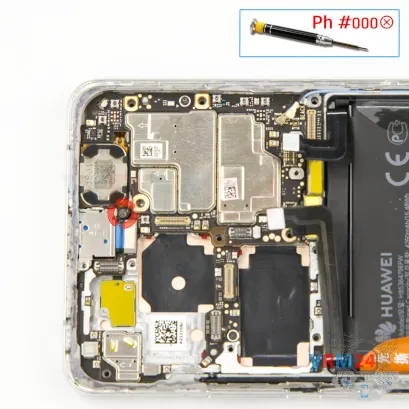
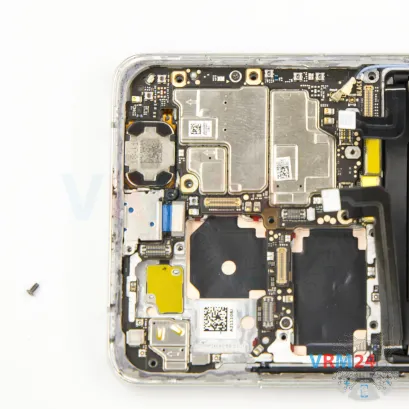
Step 5. Unscrew one screw
Next, we start removing the screws at the top section. For this, we use a 1.5mm Phillips screwdriver (PH #000) to unscrew the first one.
Please note that this model uses screws of various sizes, so it's best to place them on a dedicated surface in a specific order to avoid mixing them up during reassembly.
Some of the screws can be hard to remove — keep that in mind.


Step 6. Unscrew one screw
Using a screwdriver Phillips 1.5 mm (PH #000), unscrew the one small silver screw.
We also recommend taking a photo of the screw layout — that's what we usually do.


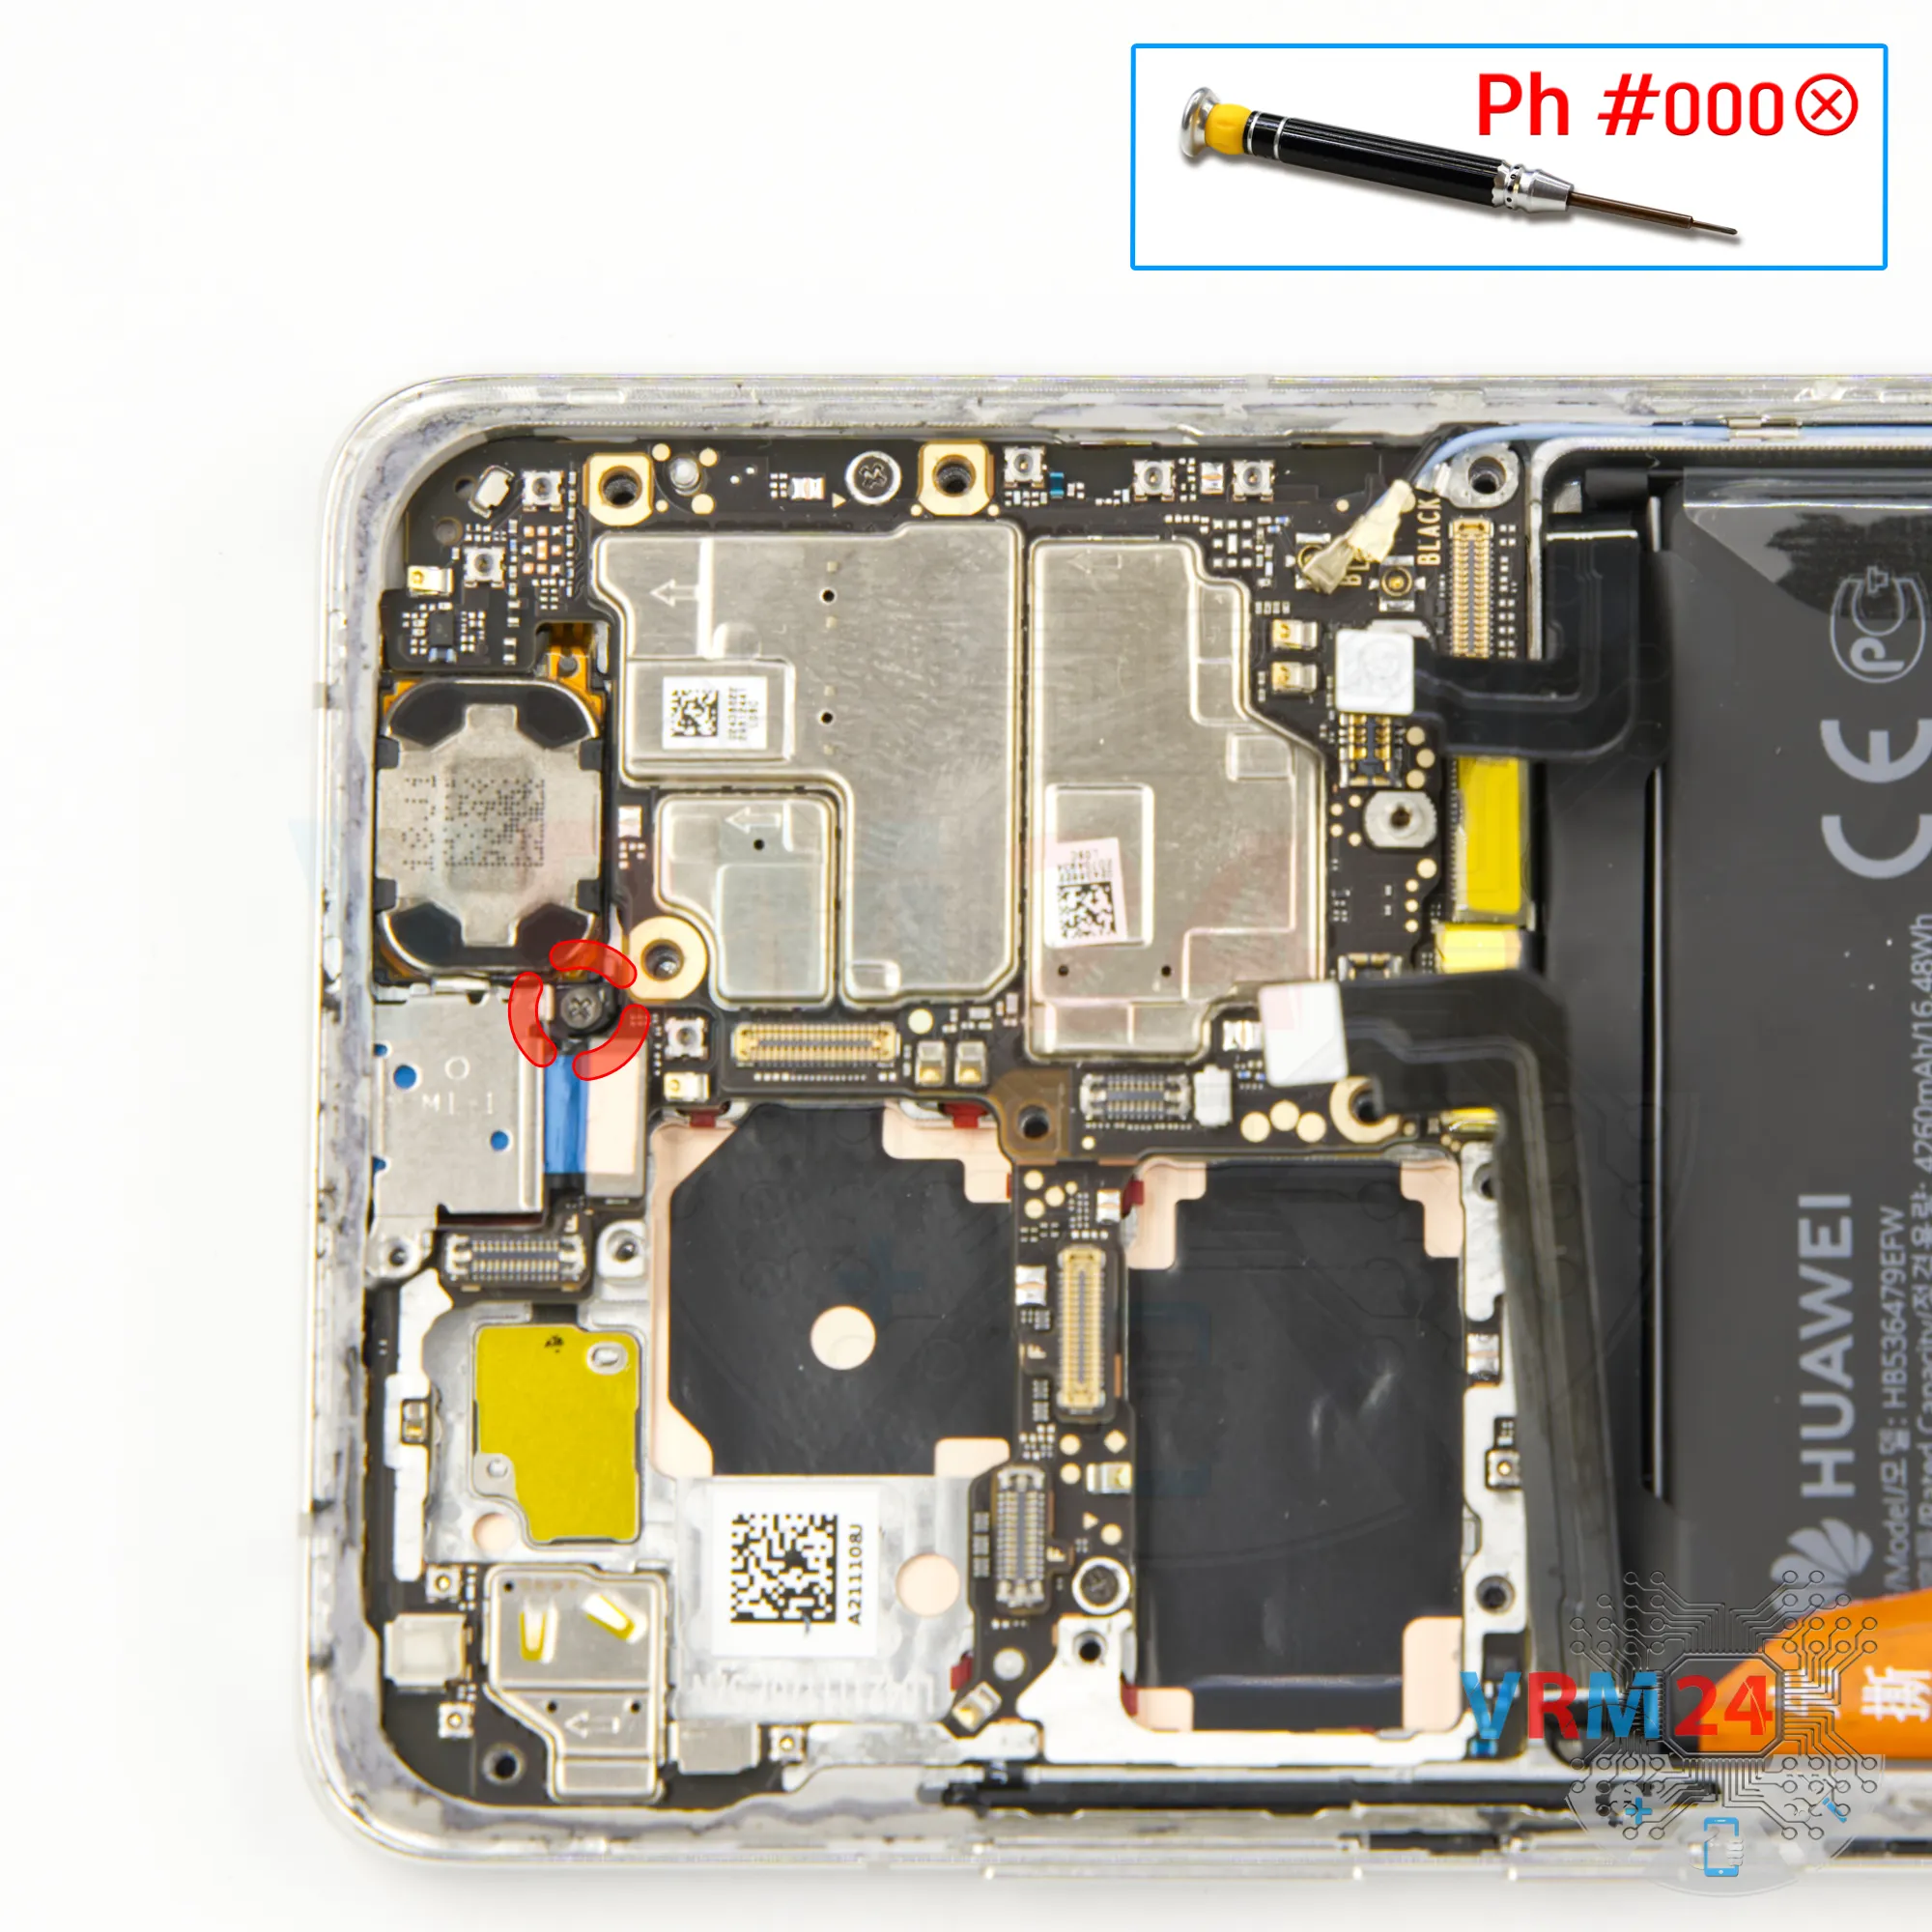
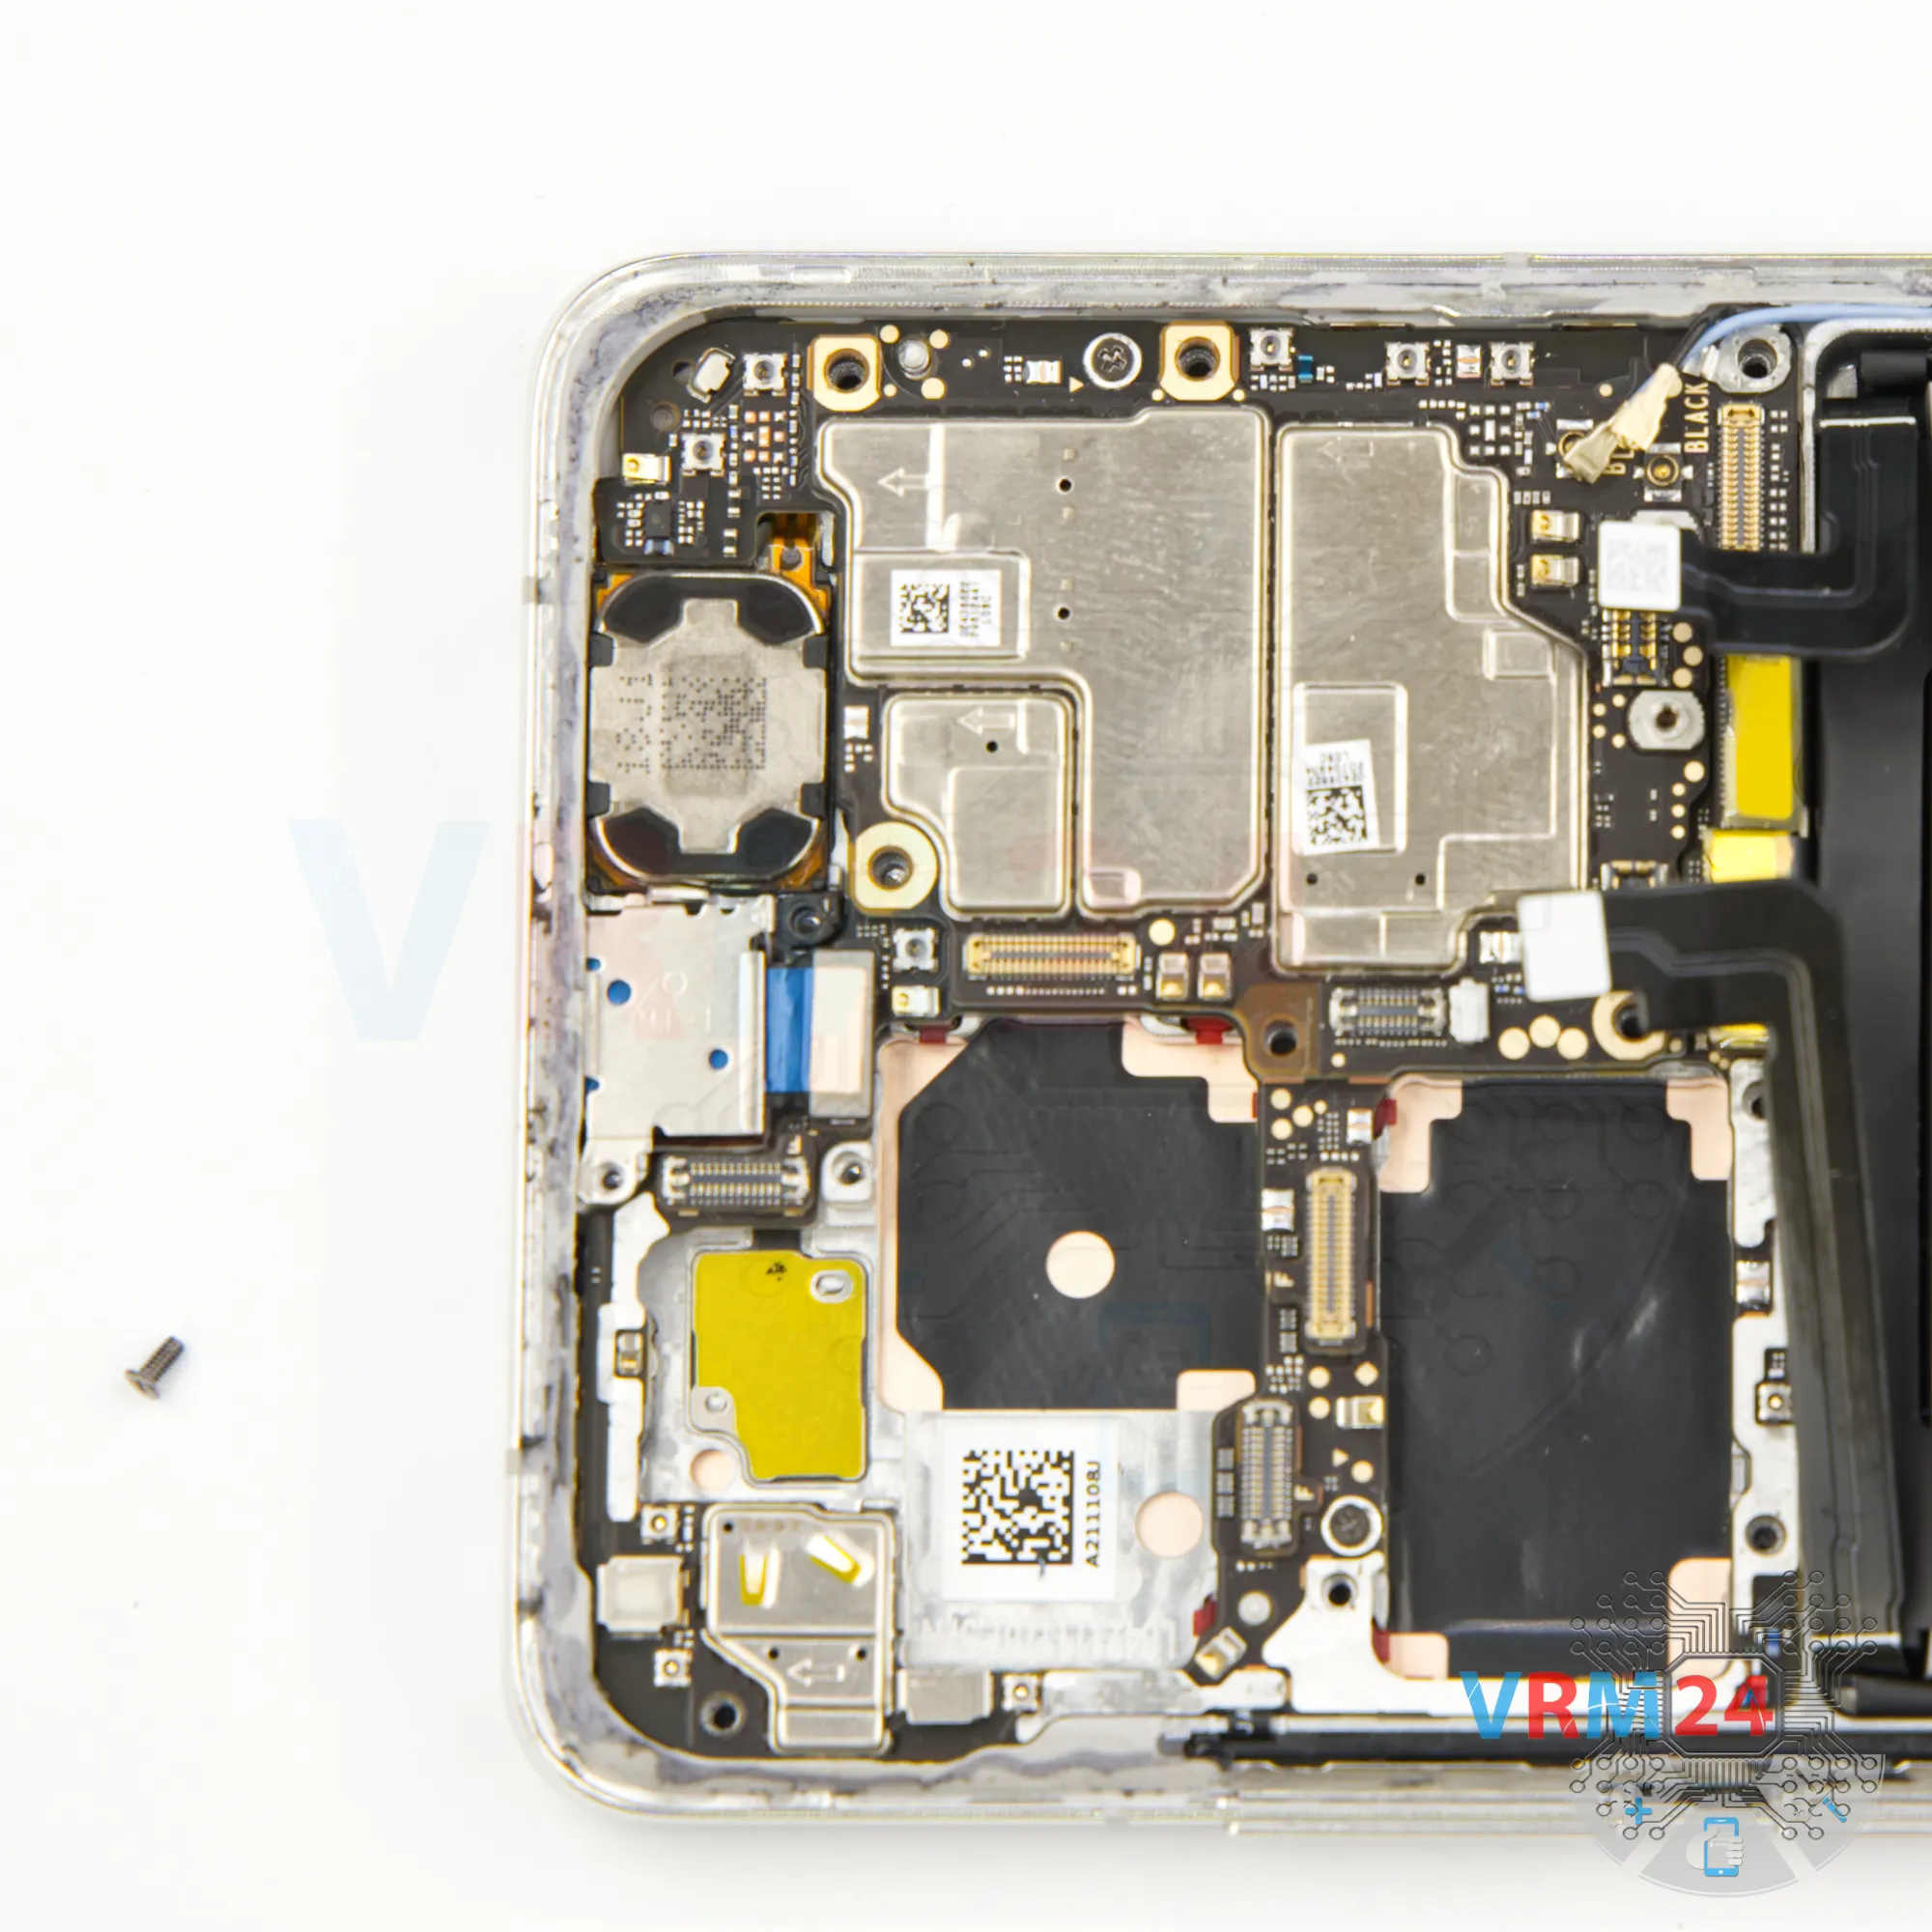
Step 7. Unscrew one screw
Using a screwdriver Phillips 1.5 mm (PH #000), unscrew the one small silver screw.
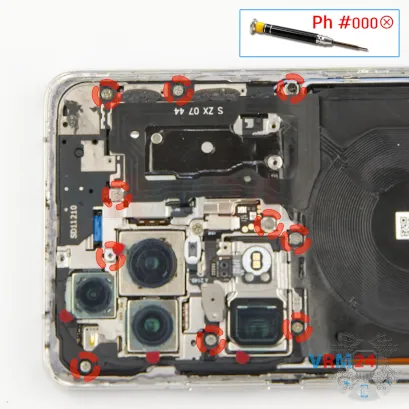

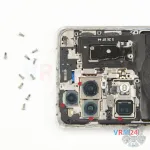

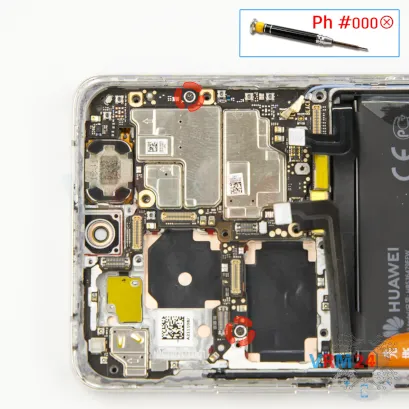
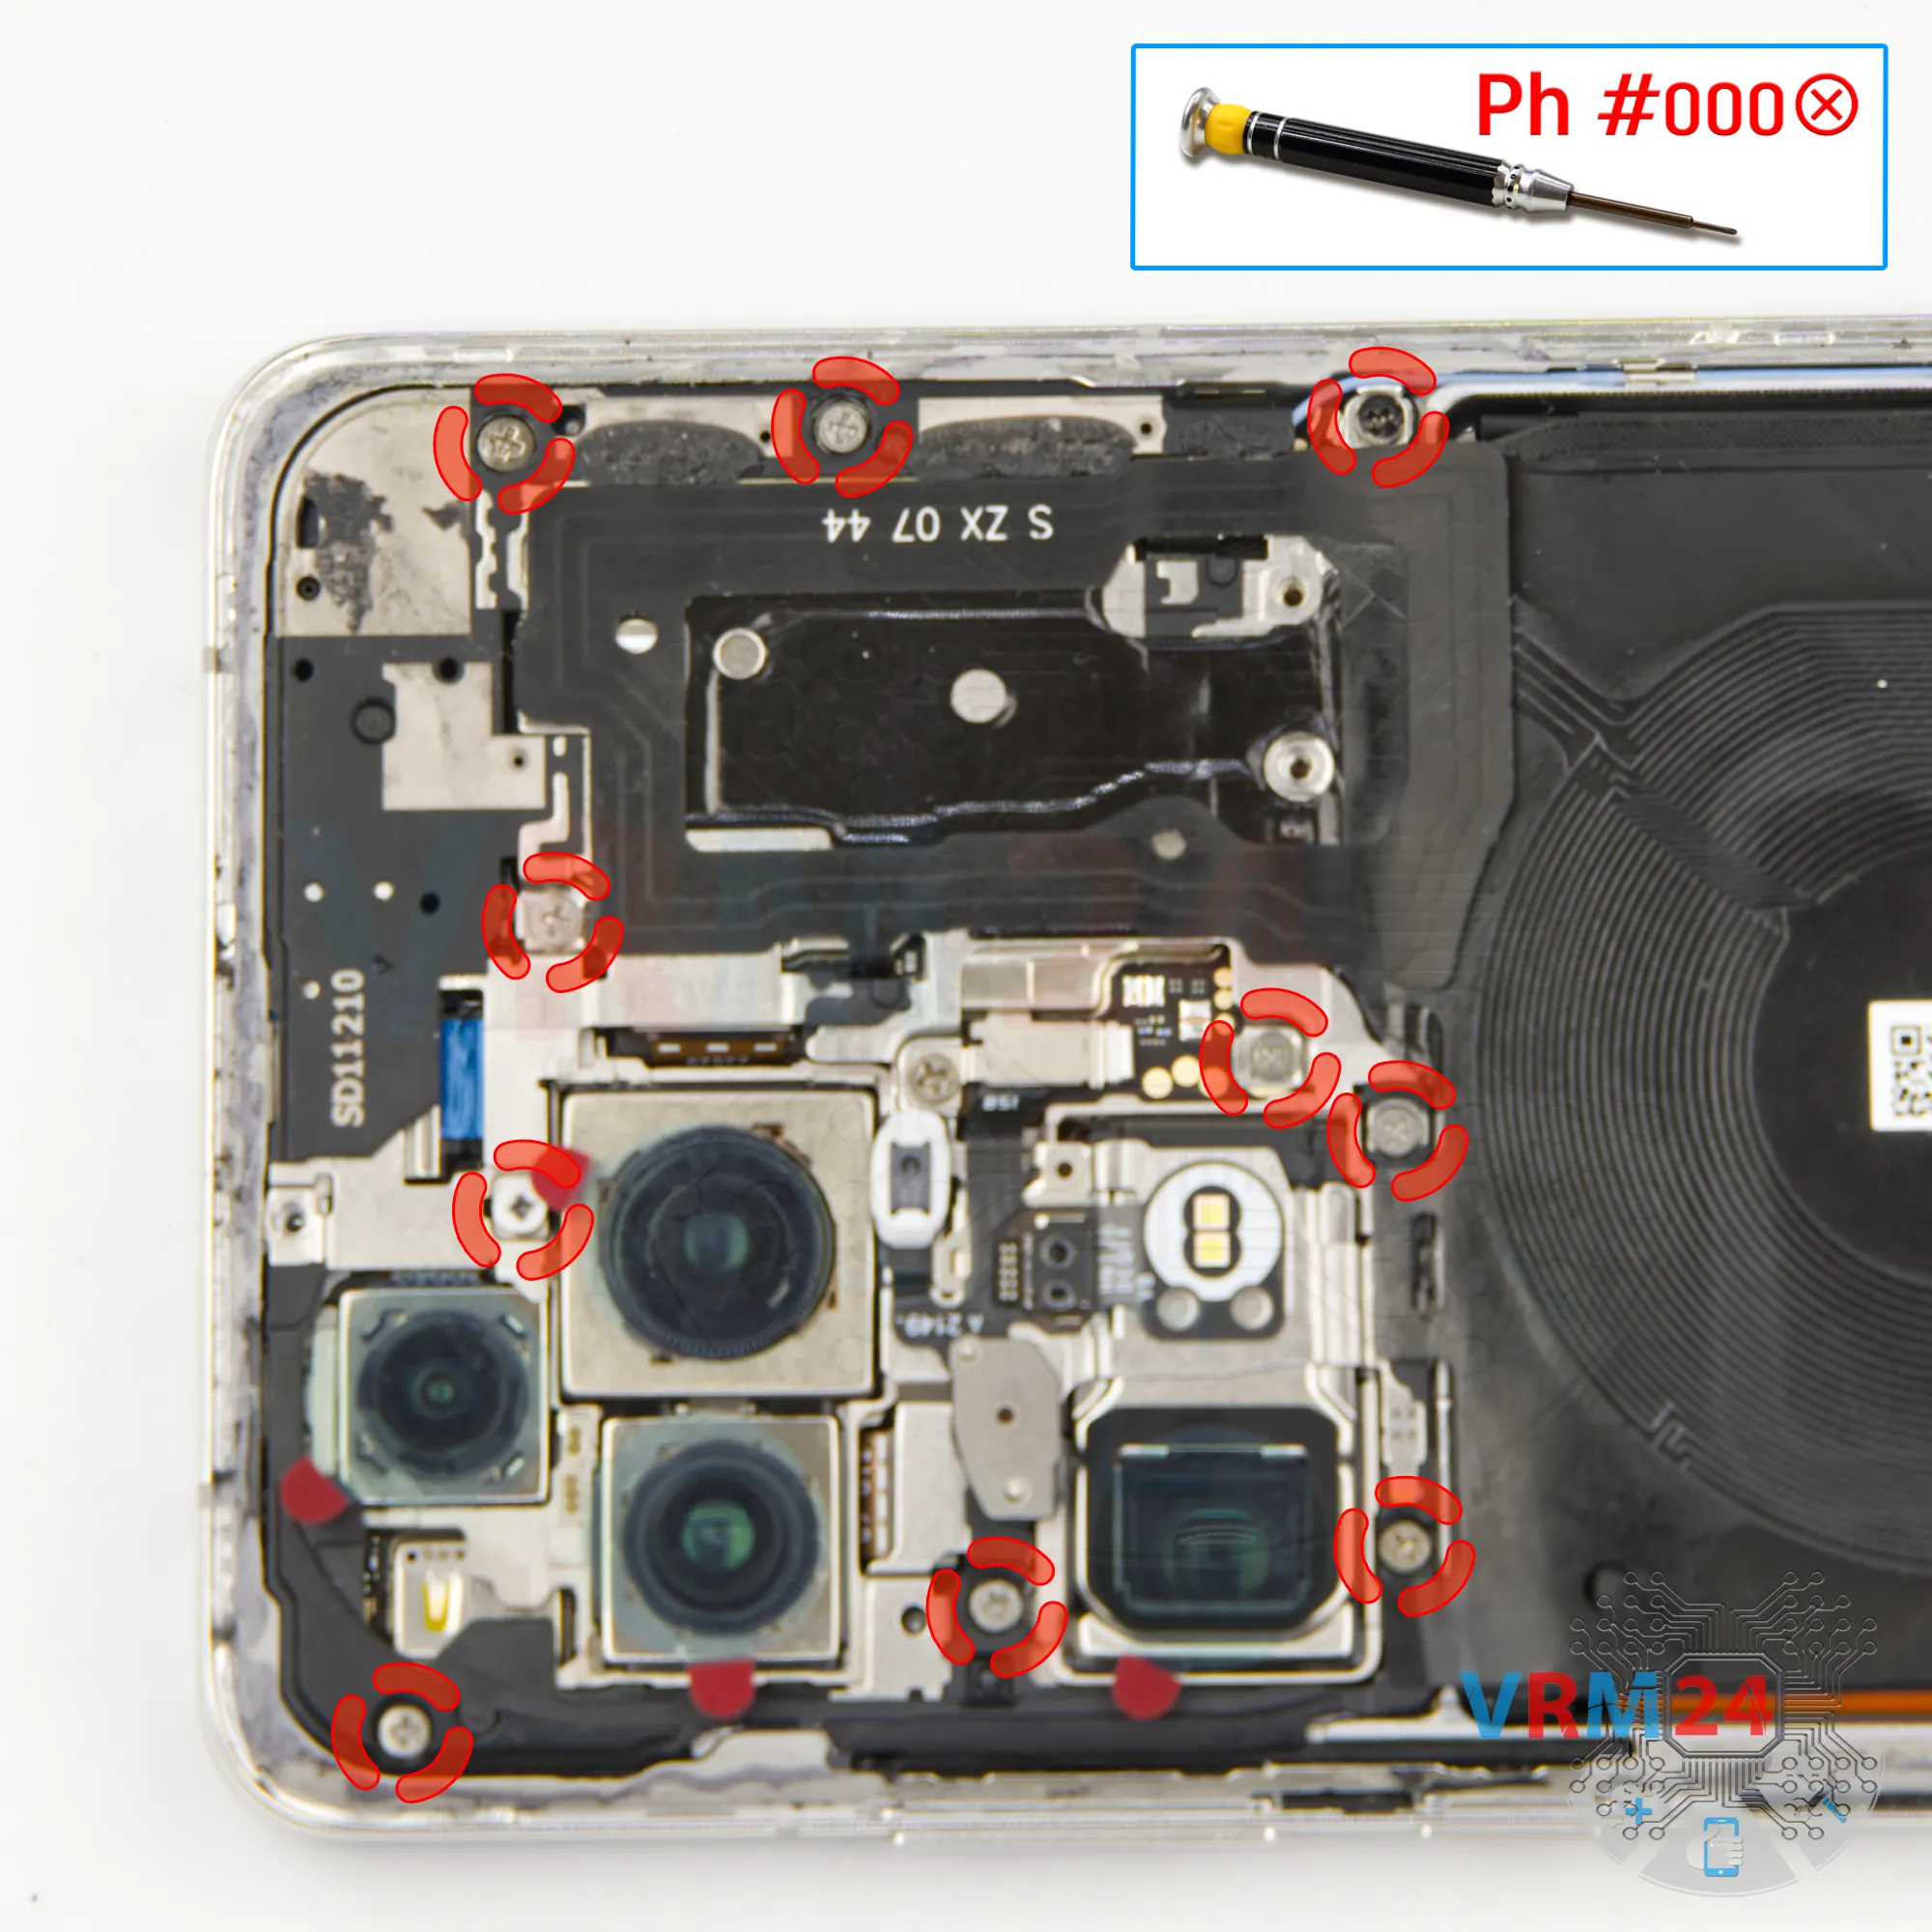
Step 8. Unscrew the screws
Using a screwdriver Phillips 1.5 mm (PH #000), unscrew the ten silver screws.

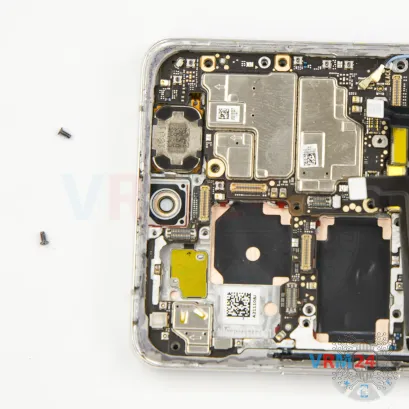
Step 9. Unscrew one screw
Using a screwdriver Phillips 1.5 mm (PH #000), unscrew the one screw and remove the bracket securing the connector.

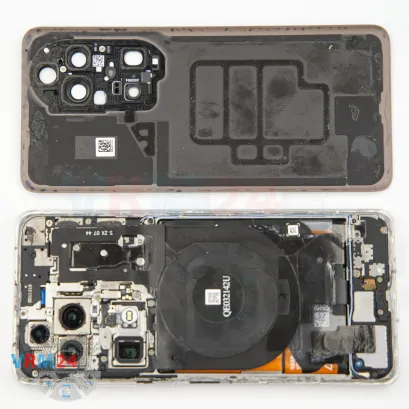
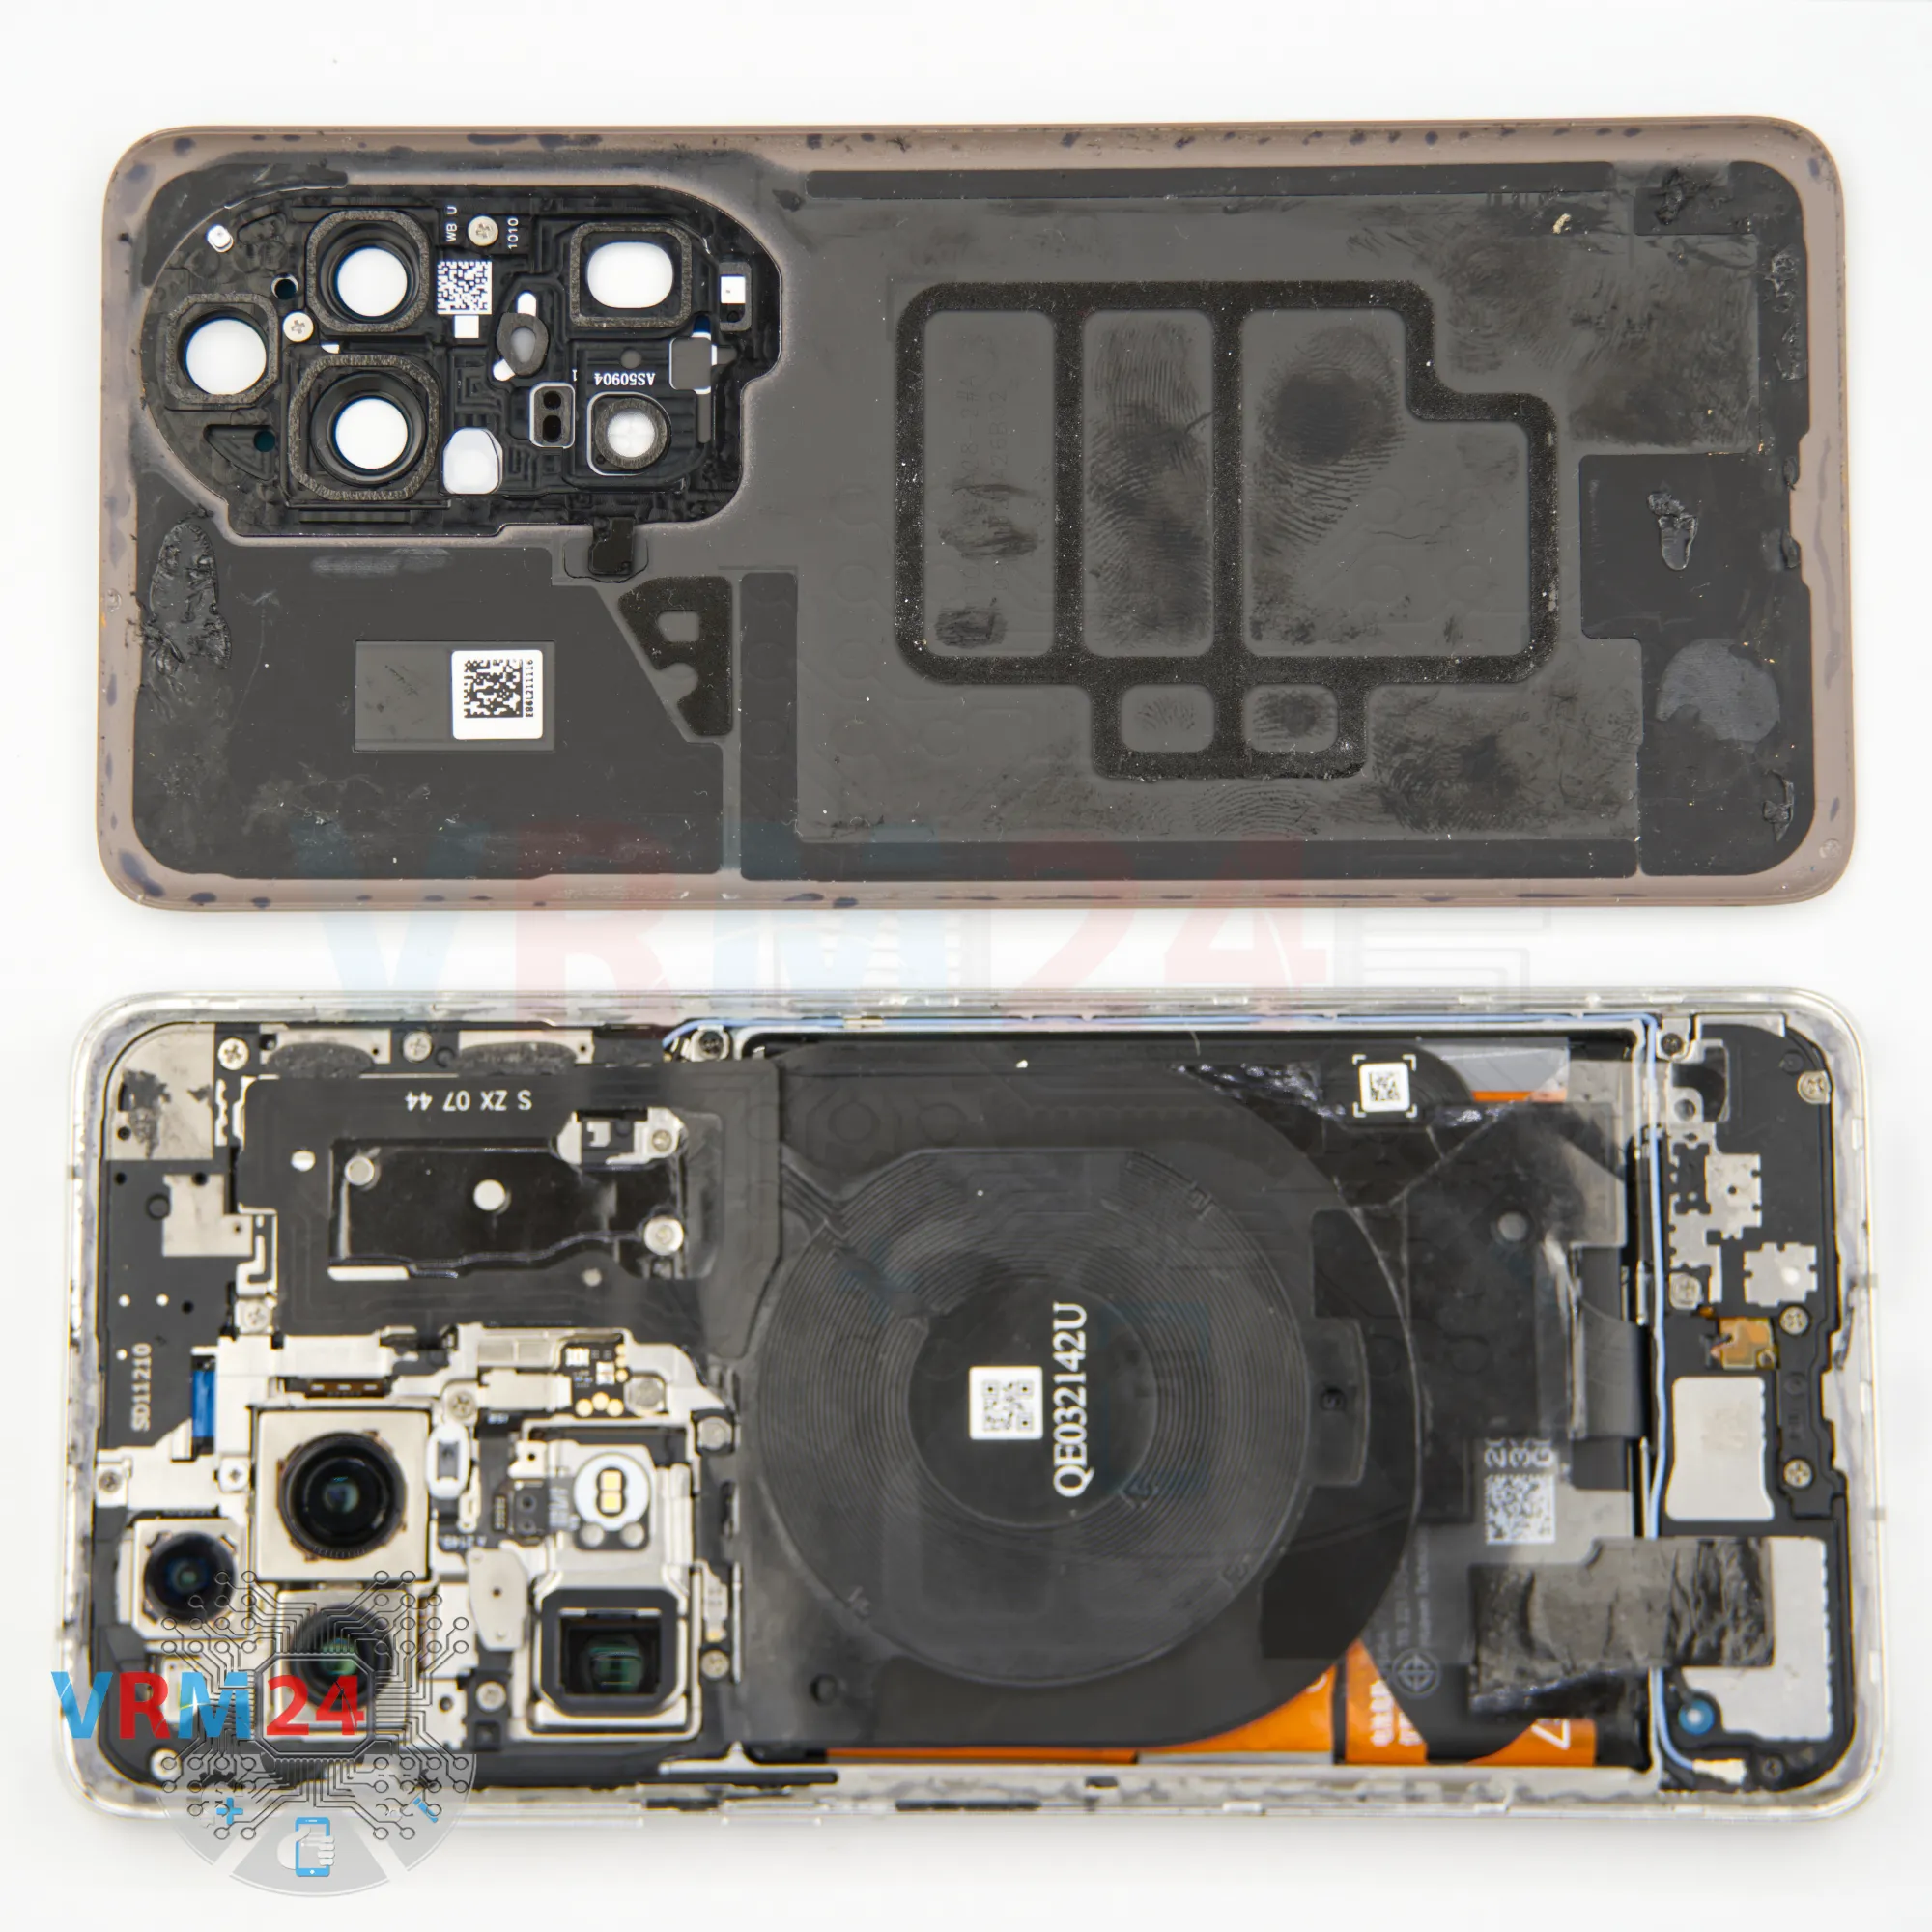
Step 10. Open the cover
Once the last screw is out, we move on to disconnecting the top cover.
For this, it’s best to avoid using metal tools to prevent any short circuits on the motherboard.
As we can see, there's a connector that likely leads to NFC and wireless charging, and possibly the flash.
It's best to disconnect this before continuing.
Take your time — don’t force anything. It's important to find the plastic clips or locking points where the cover is held and gently unclip them.


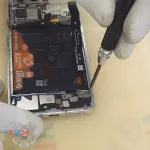
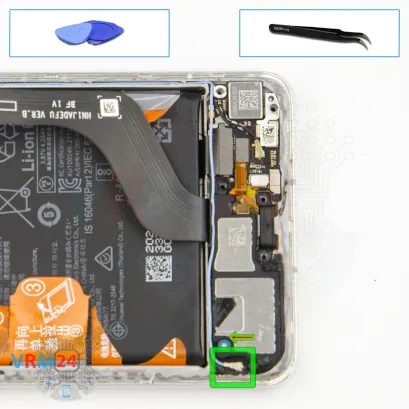
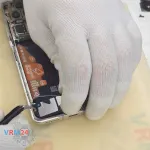
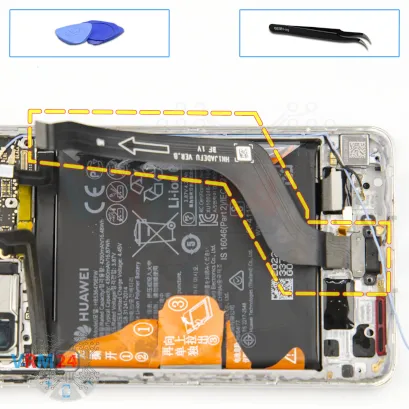
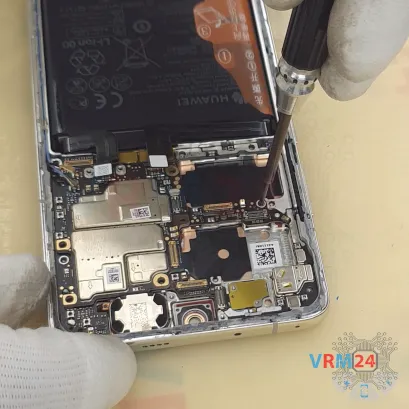
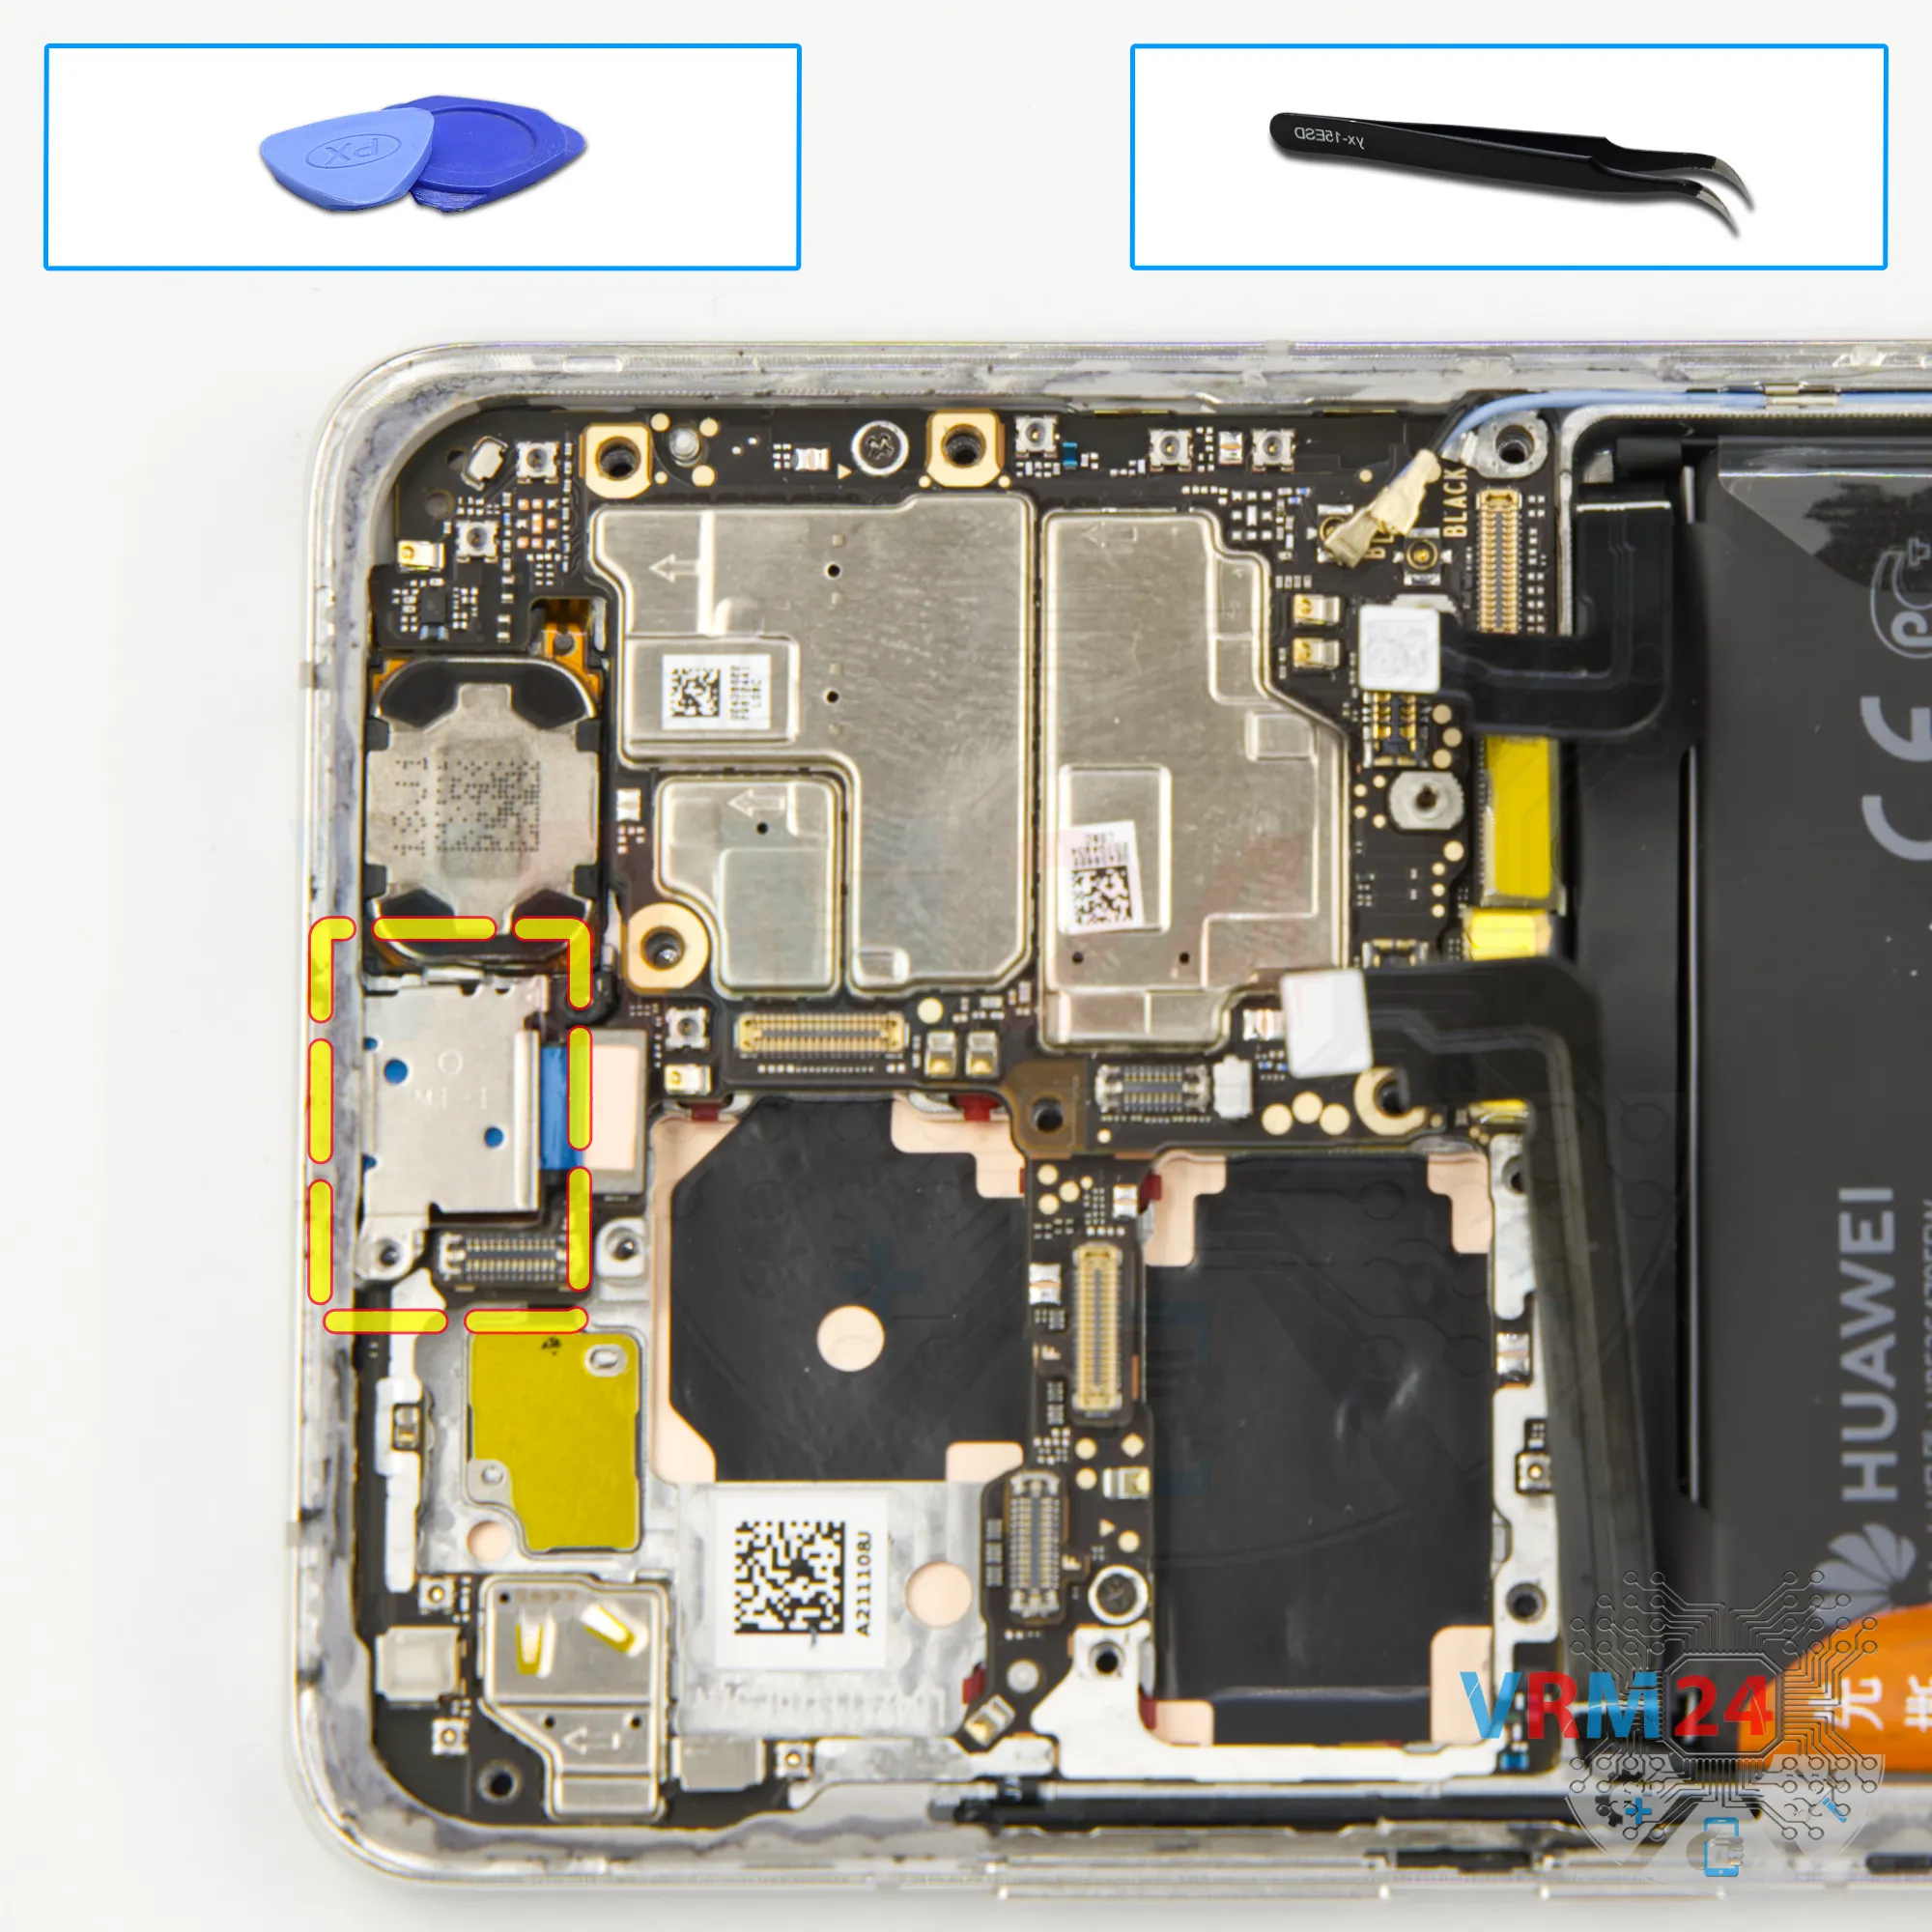
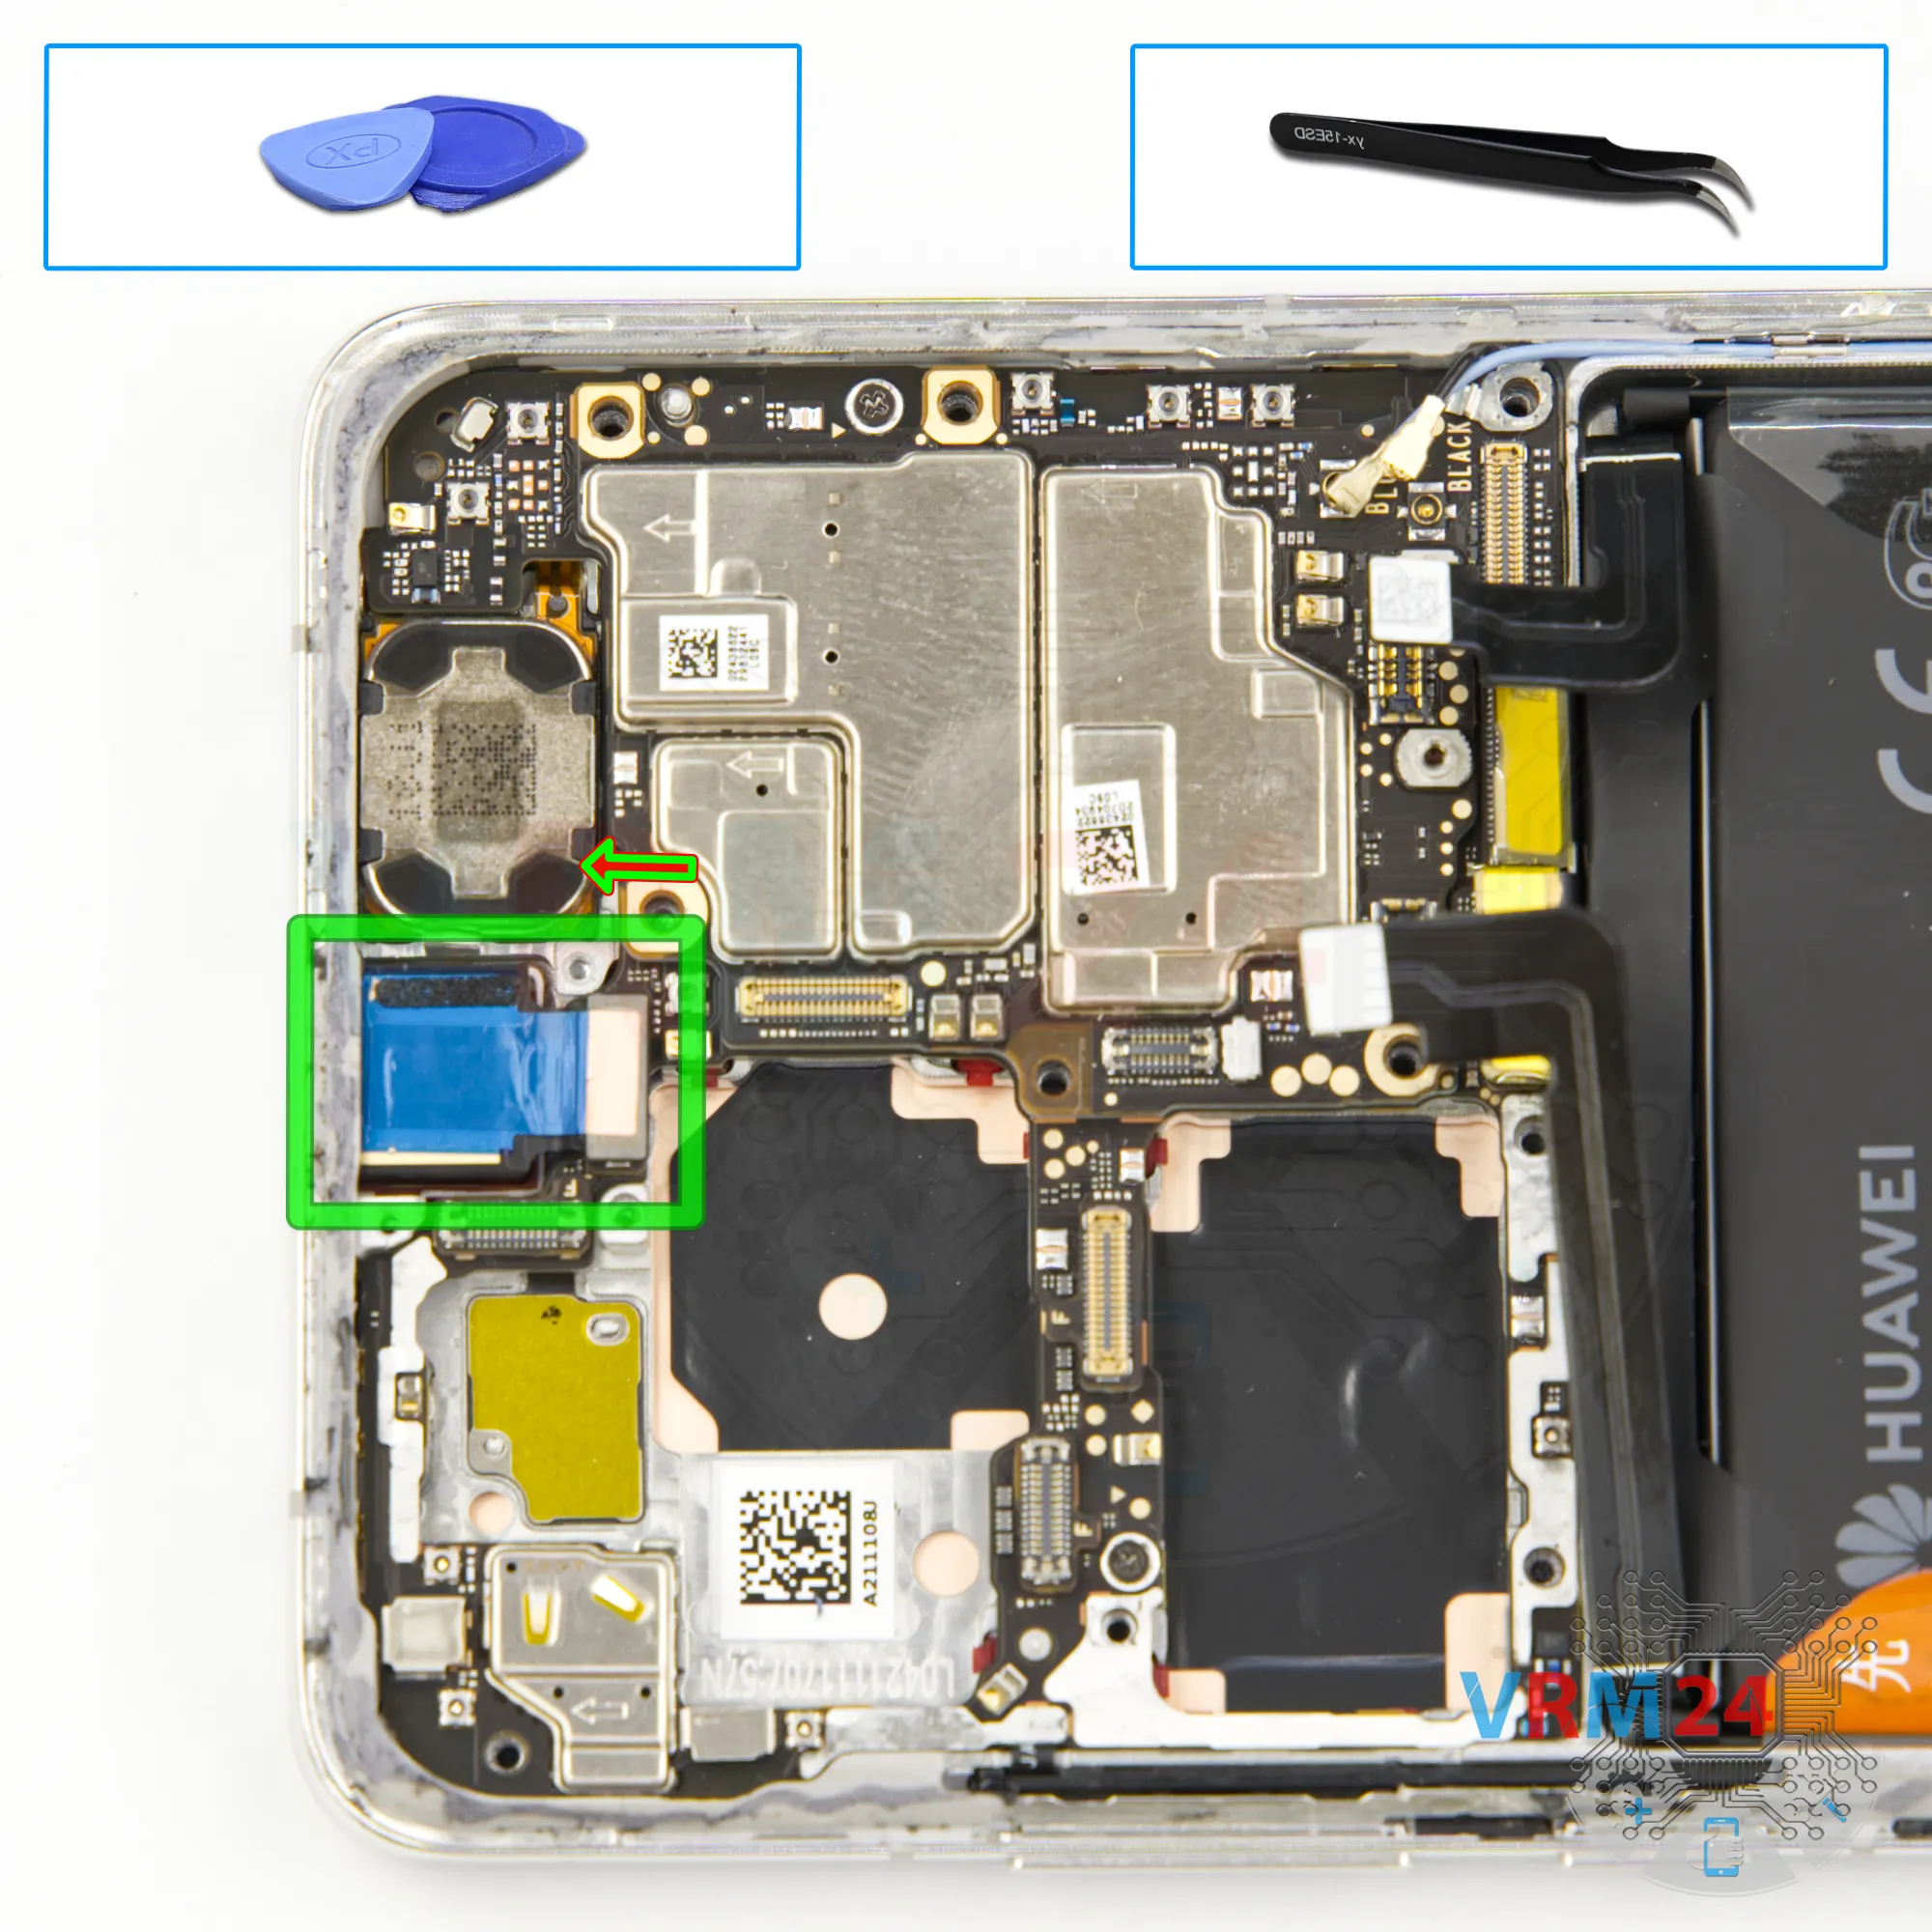
Step 11. Disconnect the connectors
Next, we disconnect the two battery connectors, again using a non-metallic tool.
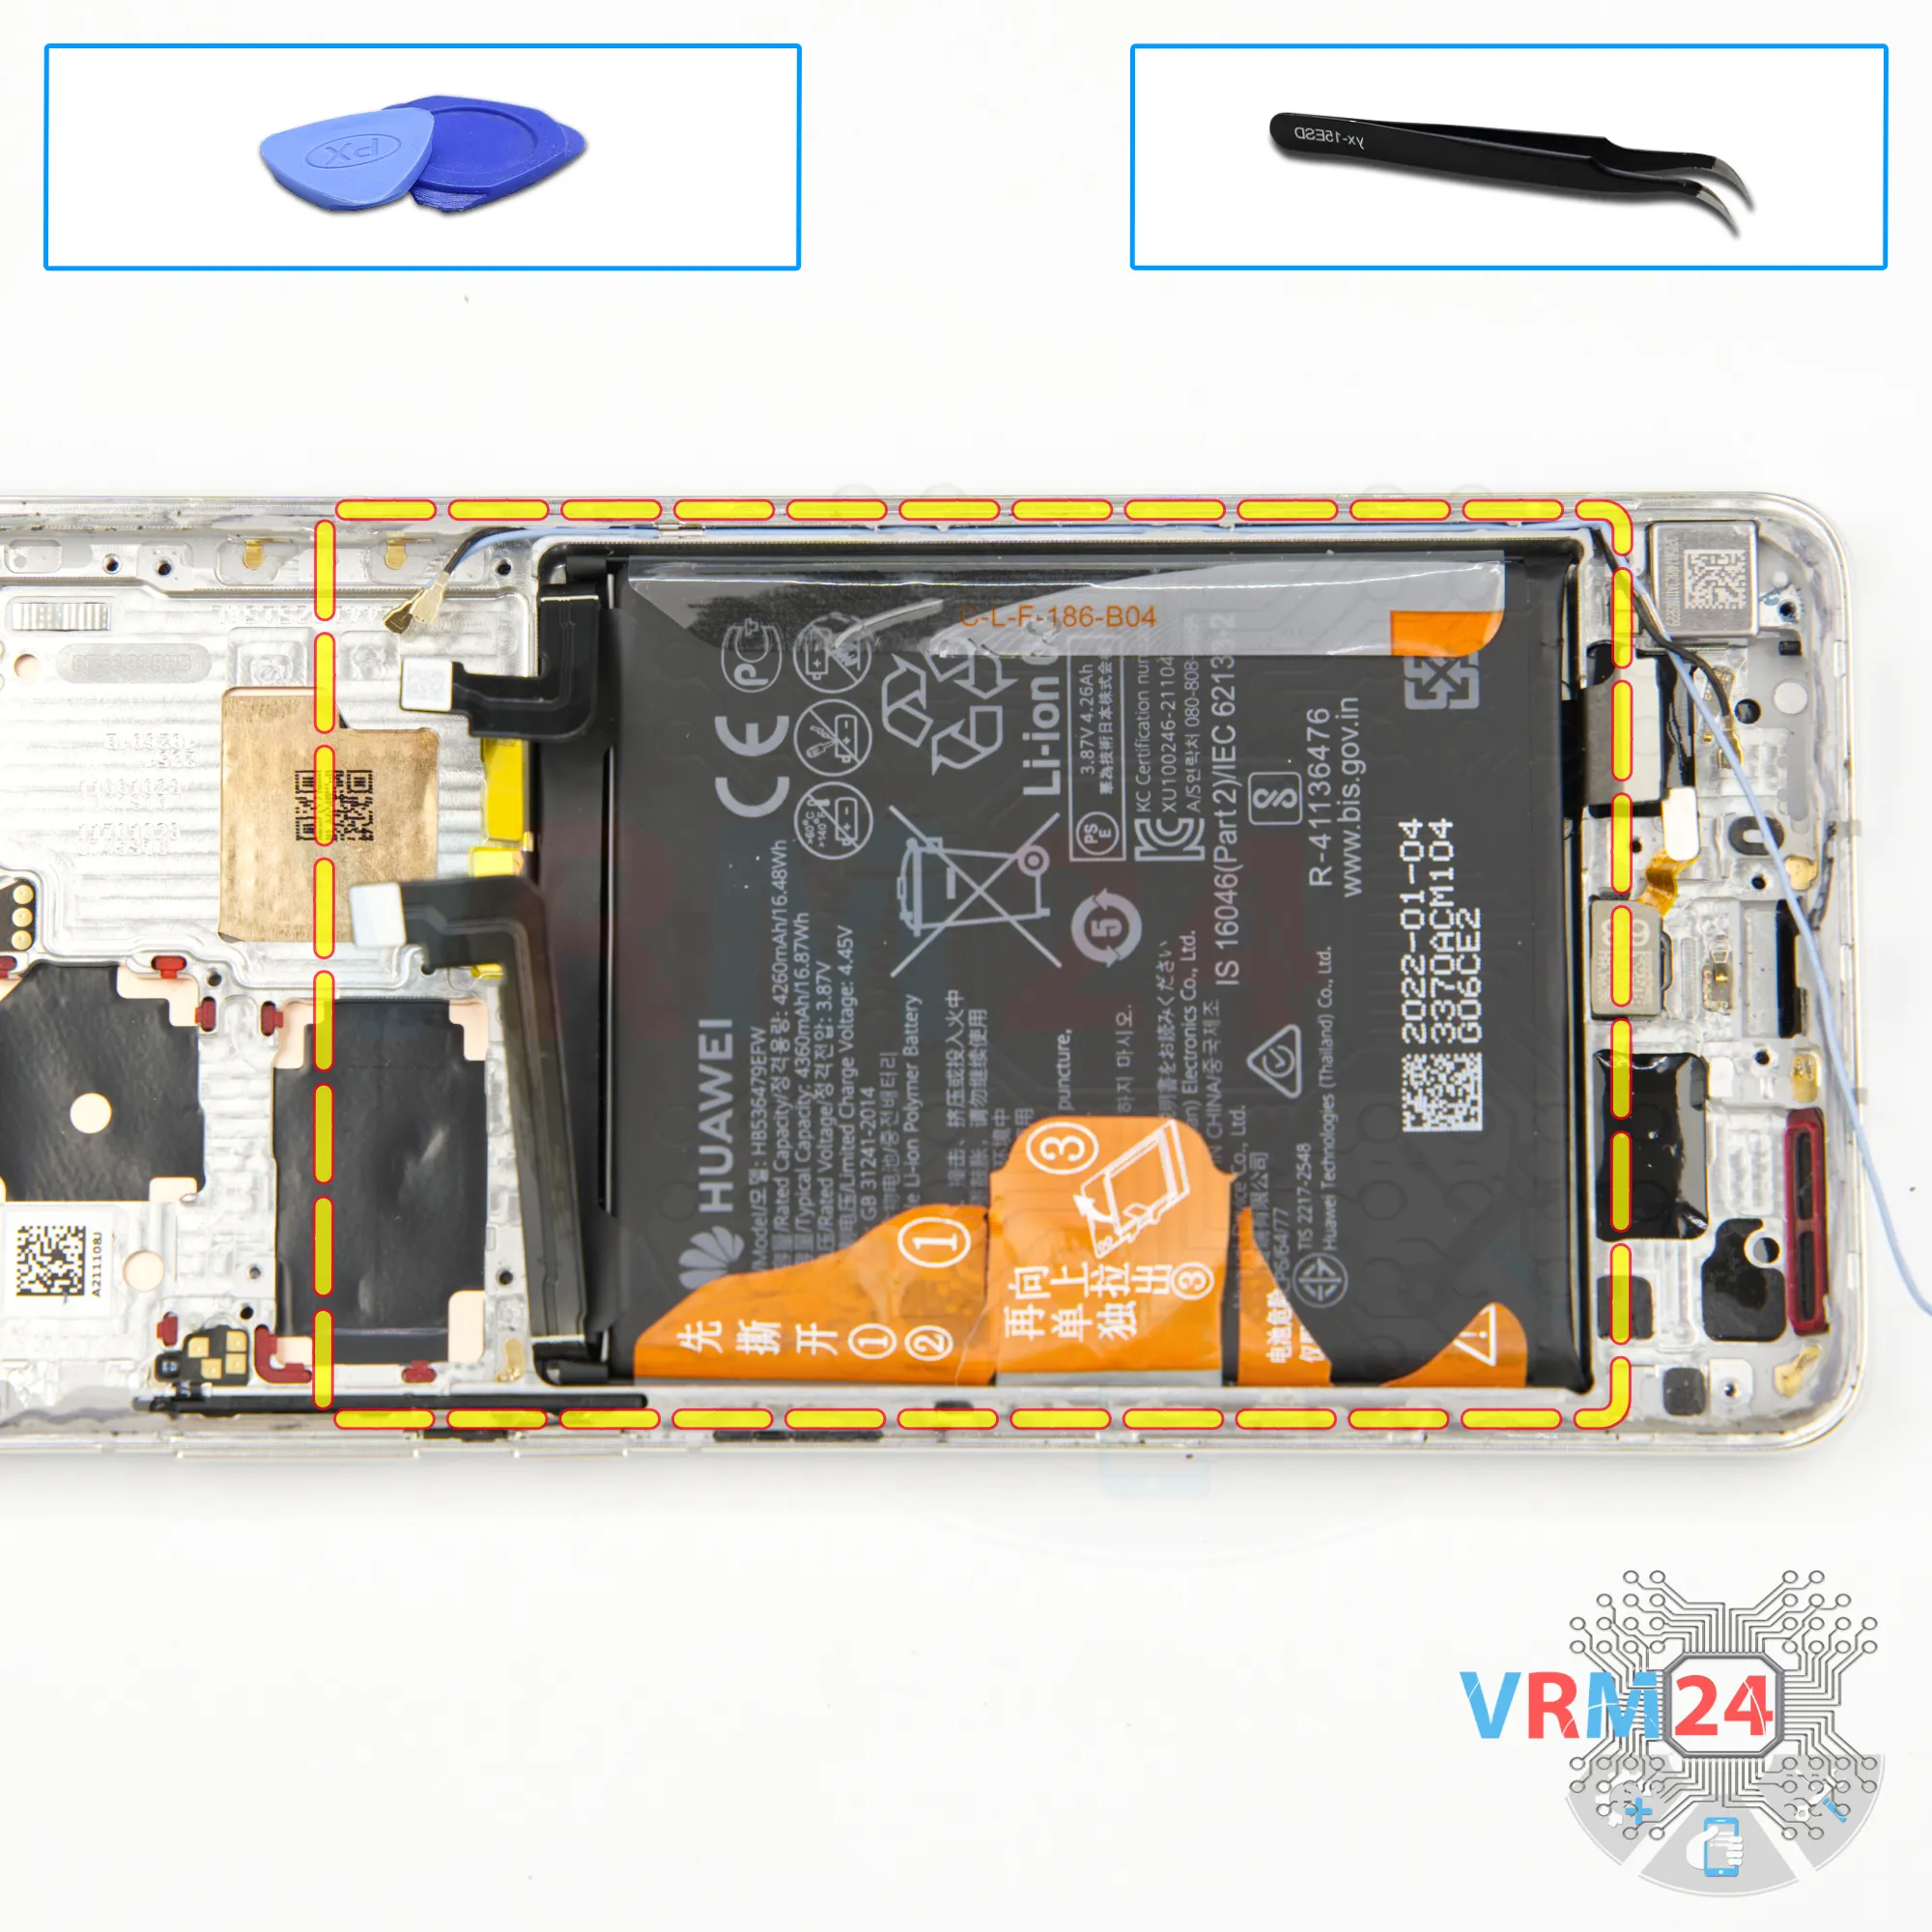
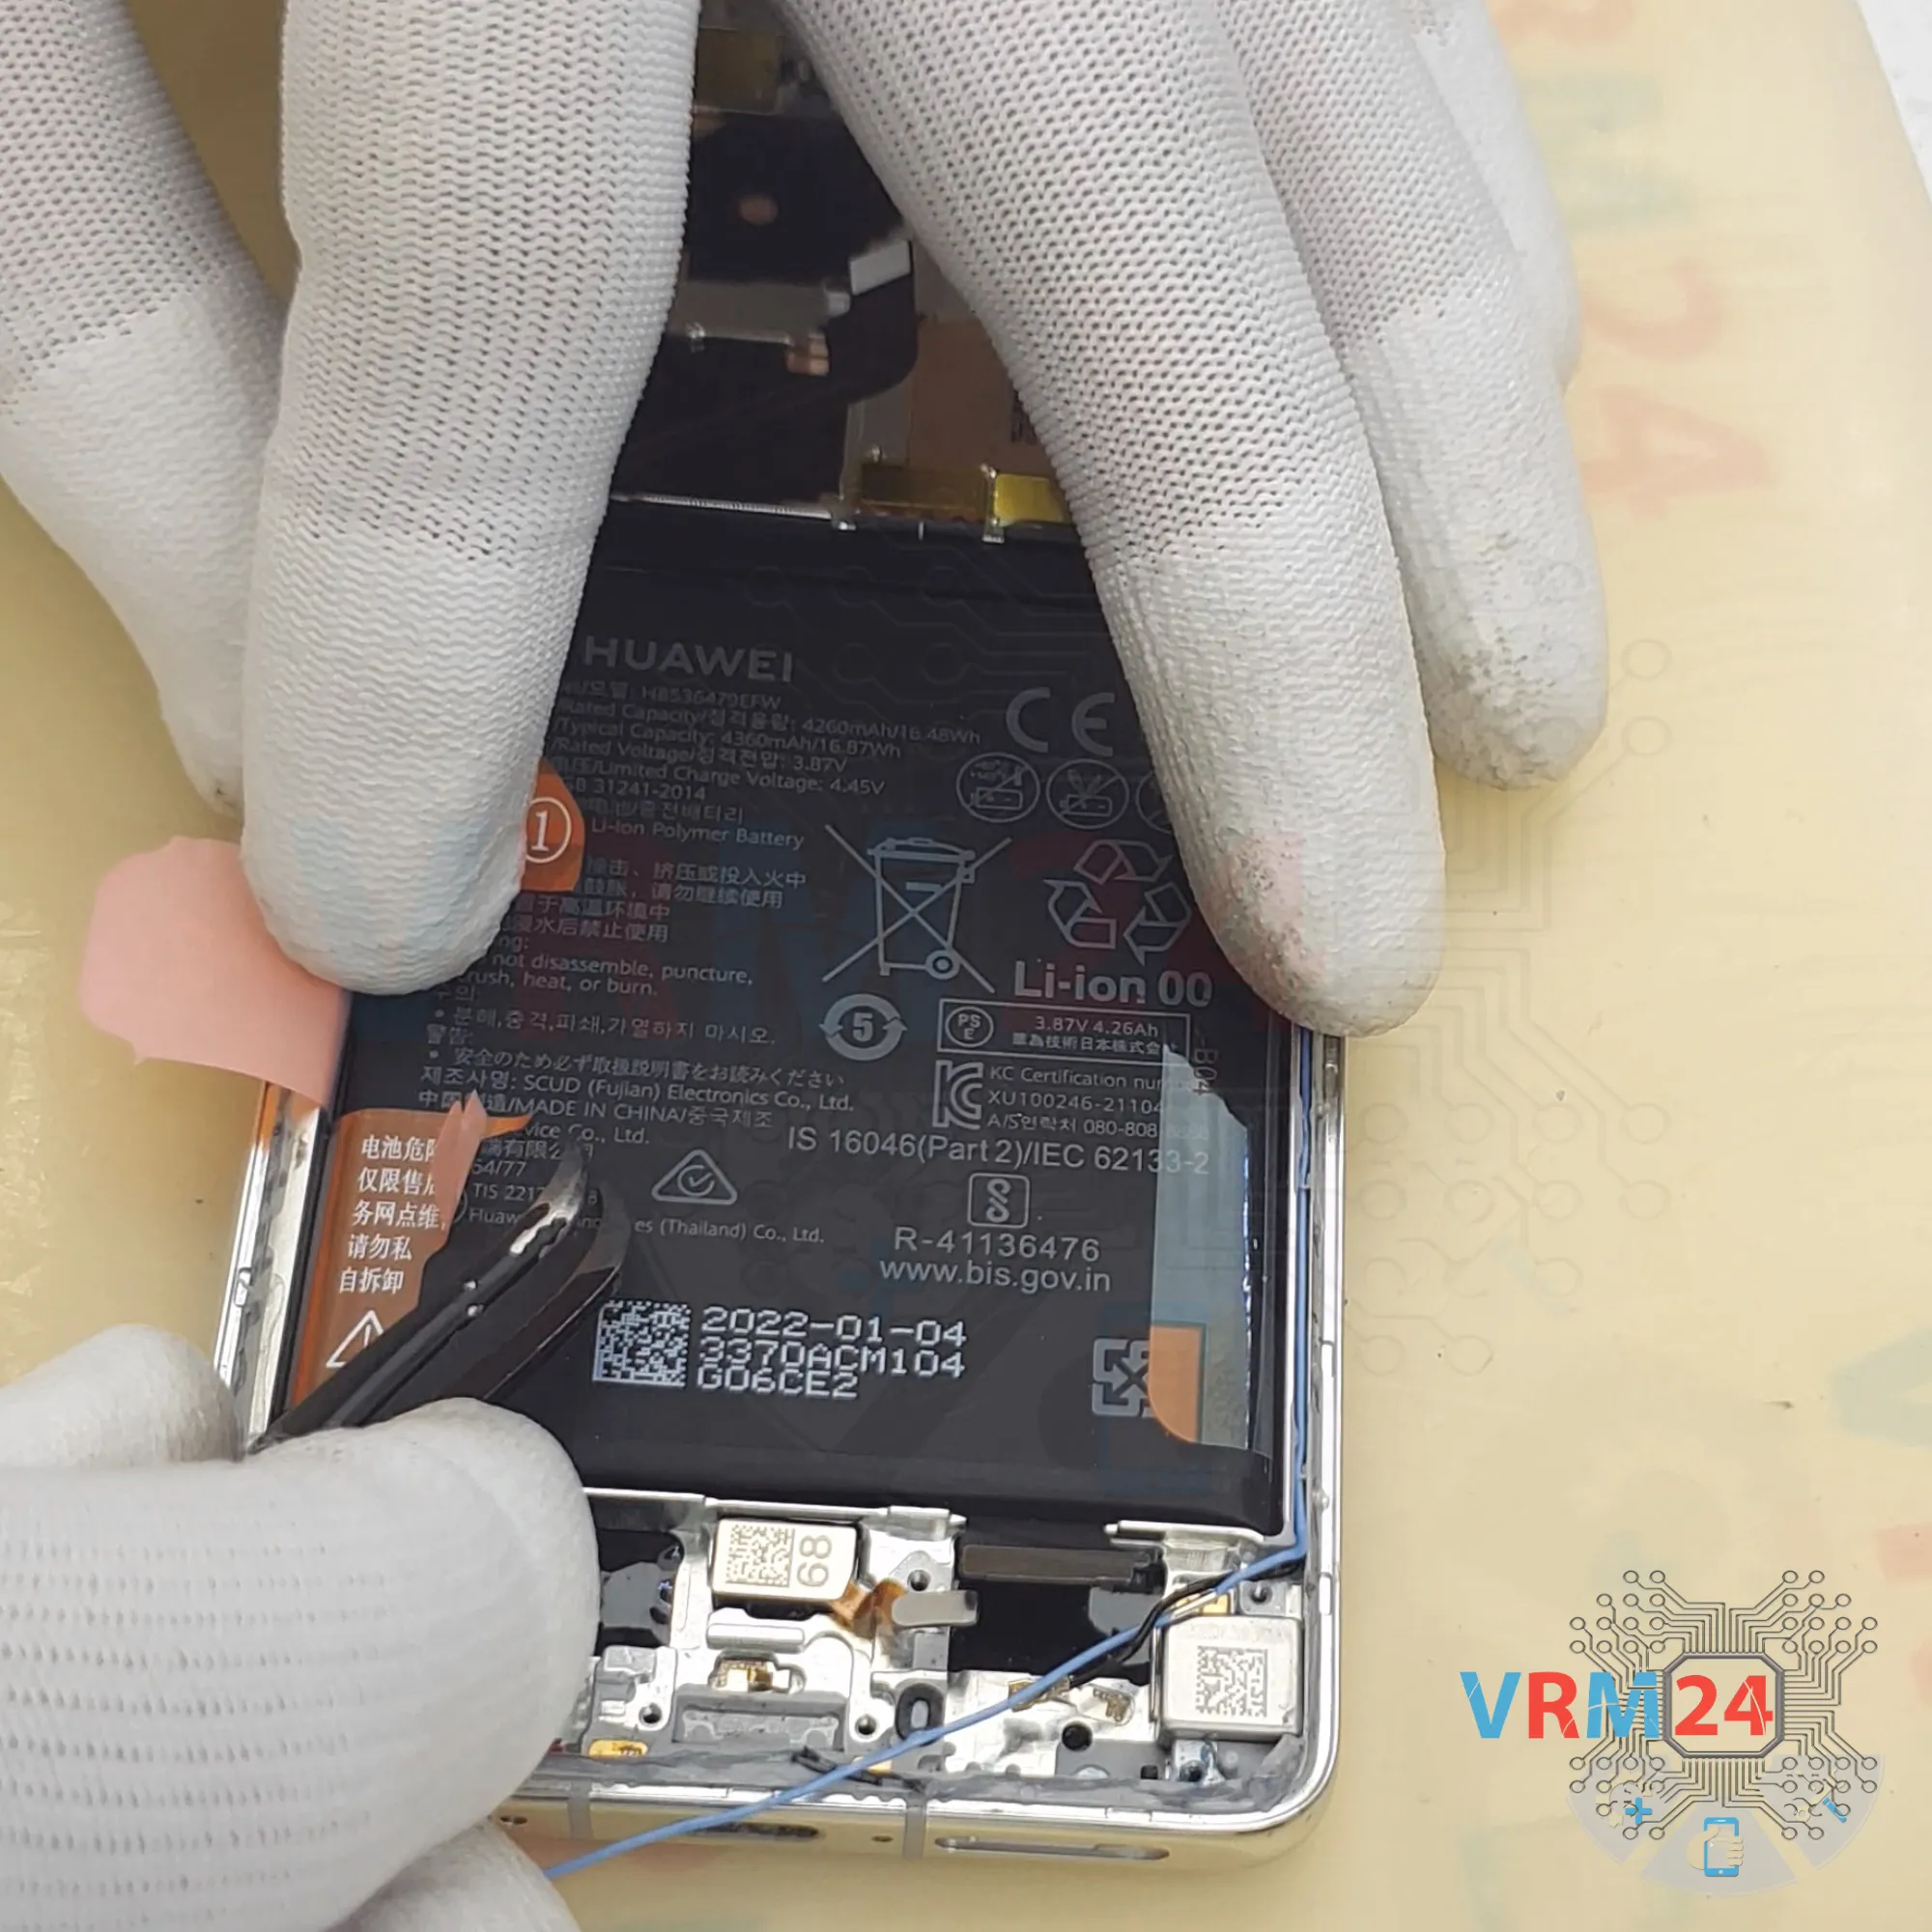
ℹ️️ The Huawei P50 Pro JAD-LX9 model has a battery HB536479EFW with a capacity of 4360 mAh (also known as a rechargeable battery).
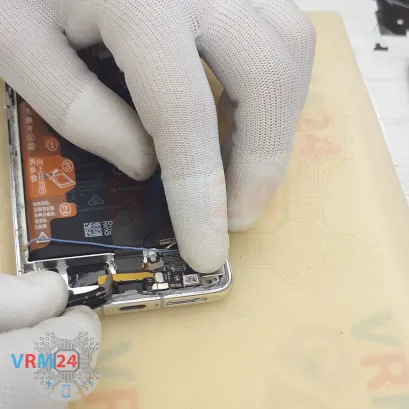
We can now also disconnect the flex cable leading to the charging port.

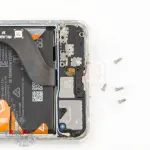
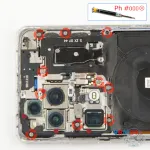
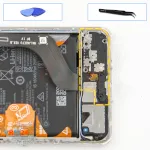
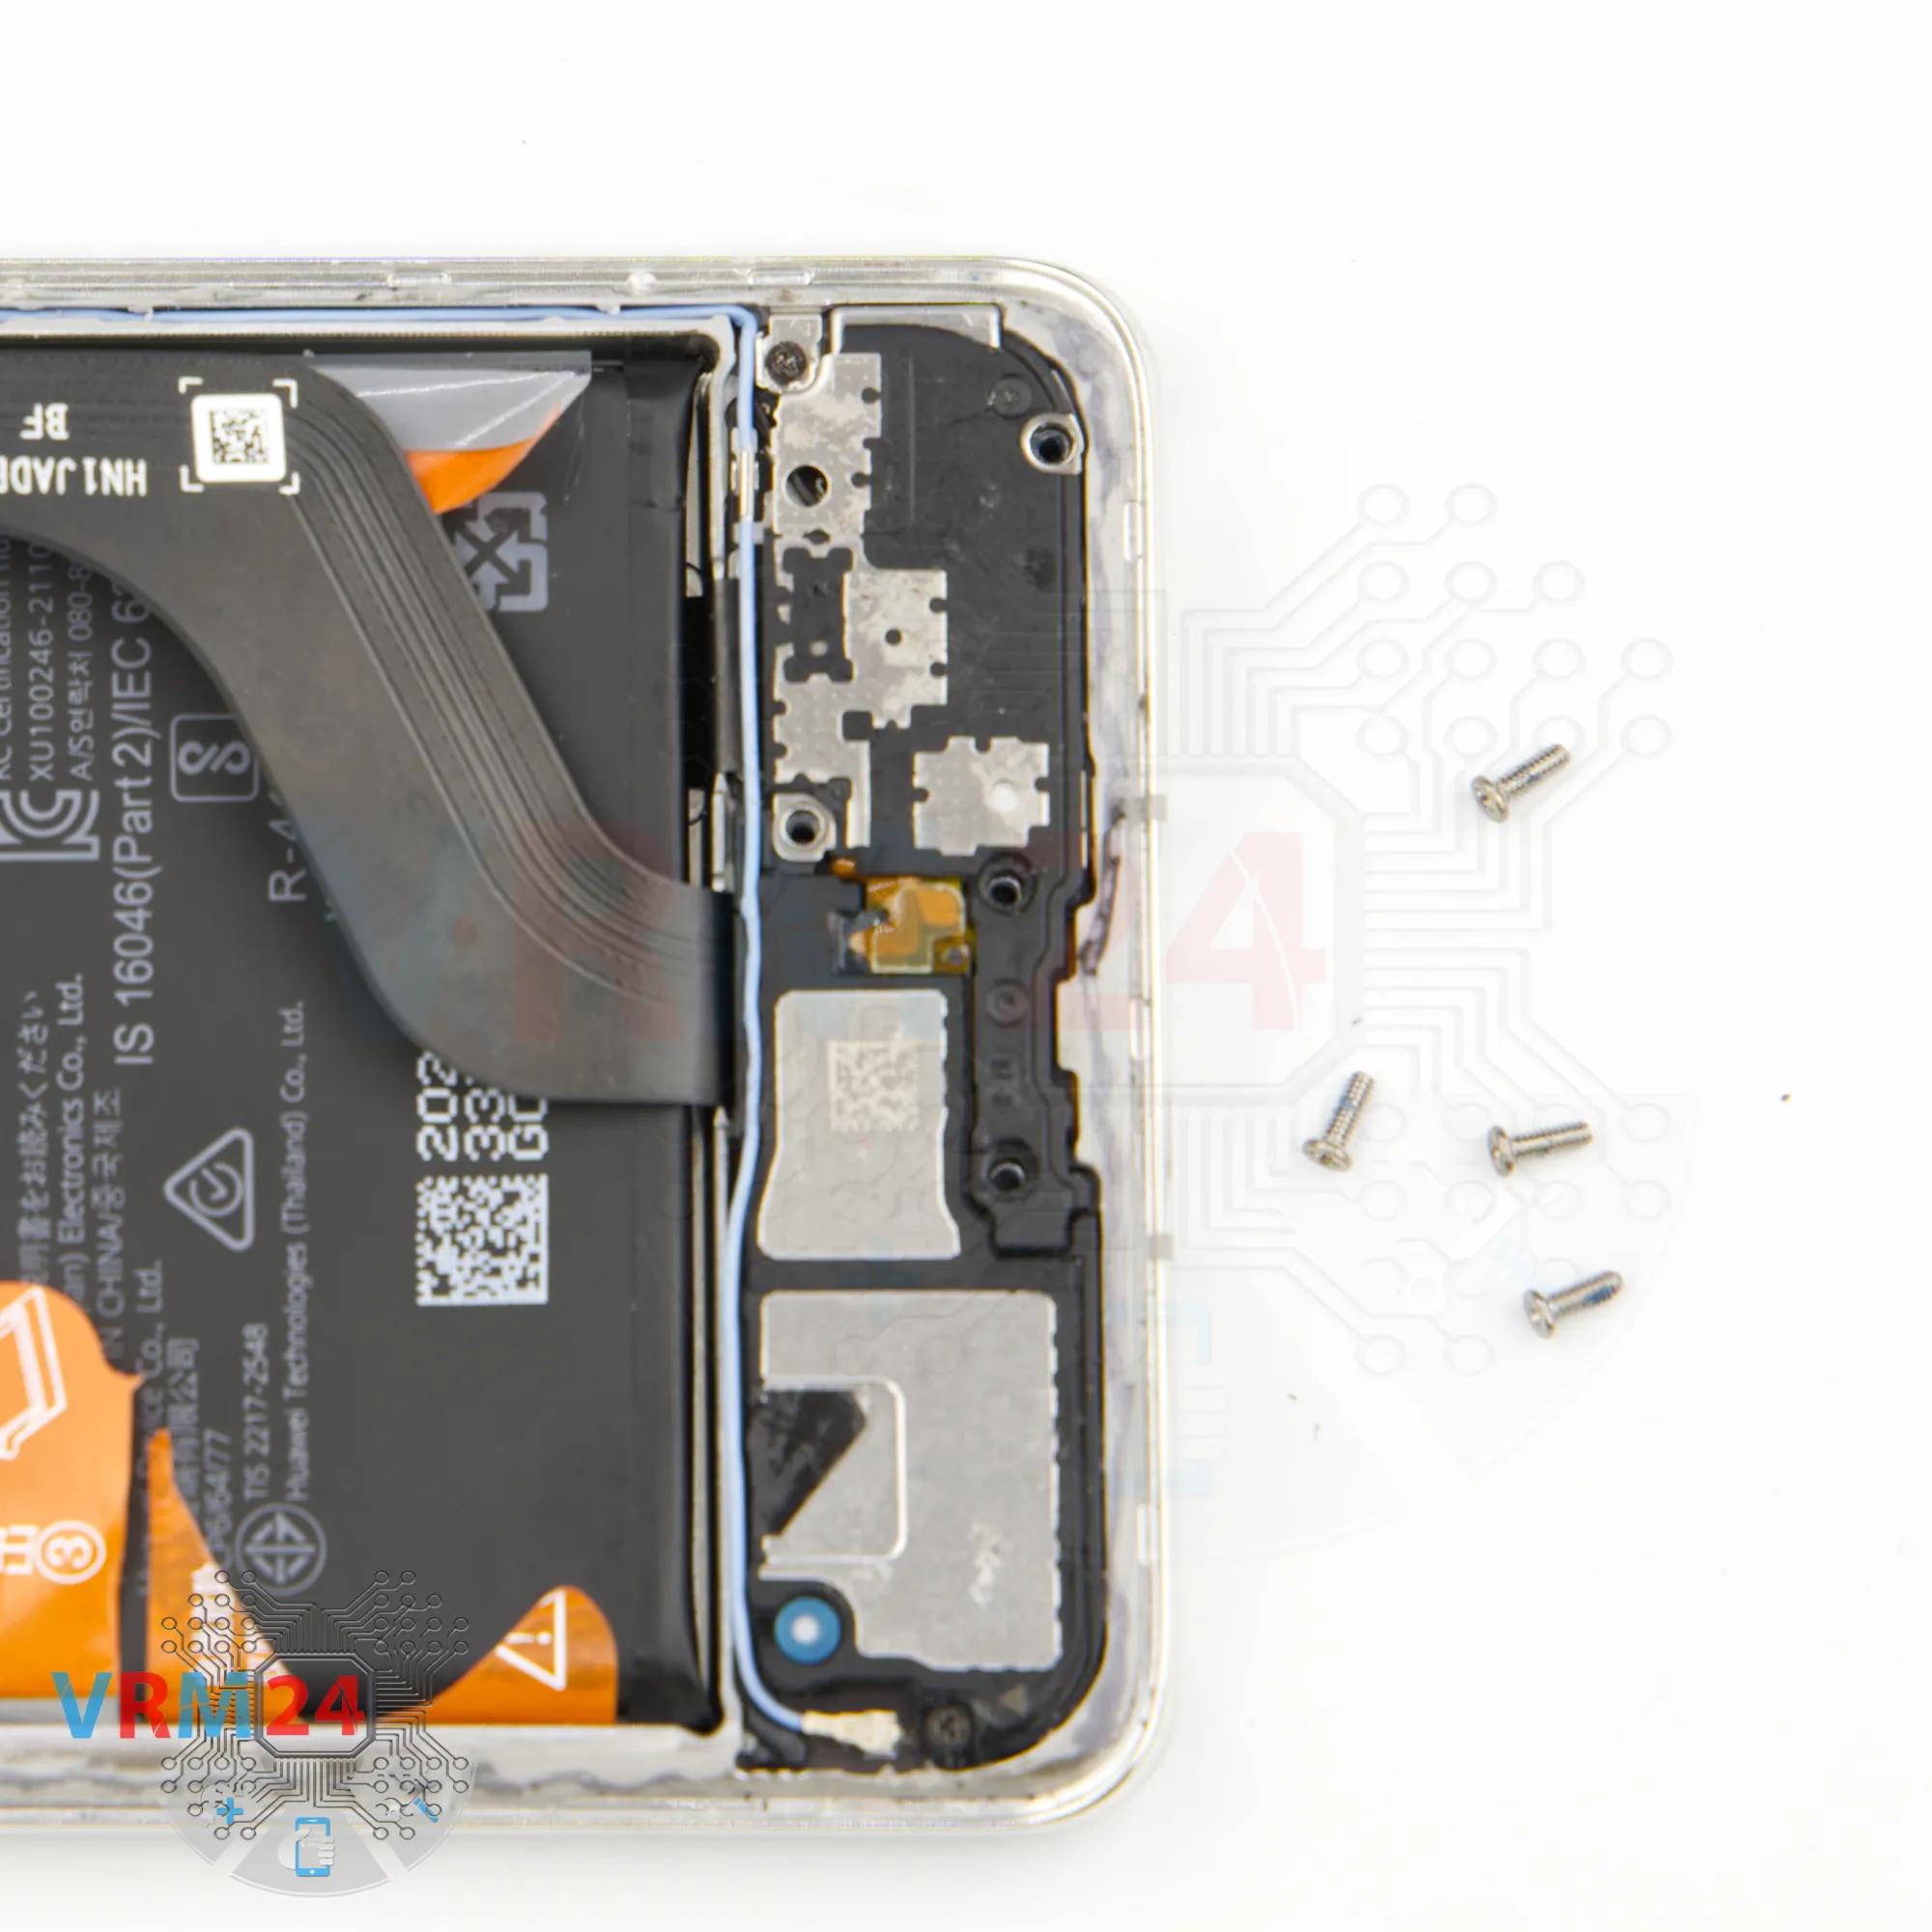
Step 12. Unscrew the screws
Now we move on to the screws in the bottom section.
These screws are also different, so again, it’s a good idea to take a photo them and place them in an organized layout.
Some screws are hard to remove, so we use tweezers to gently pull them out.
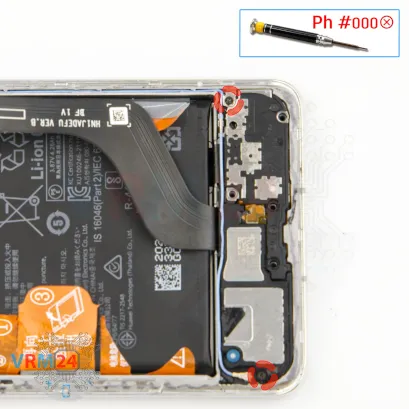


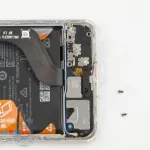
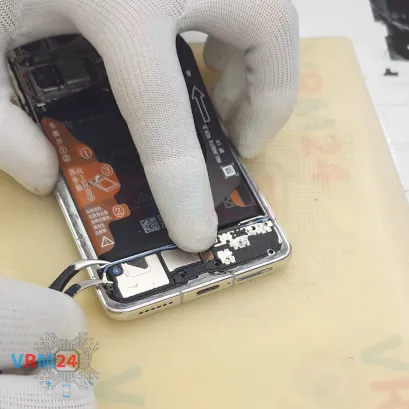
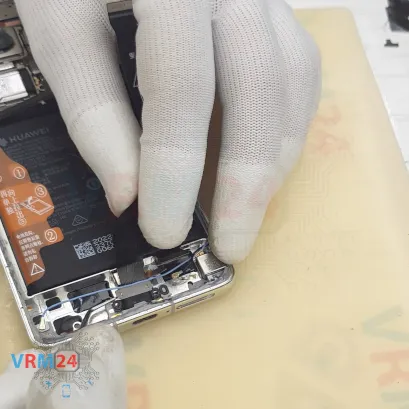
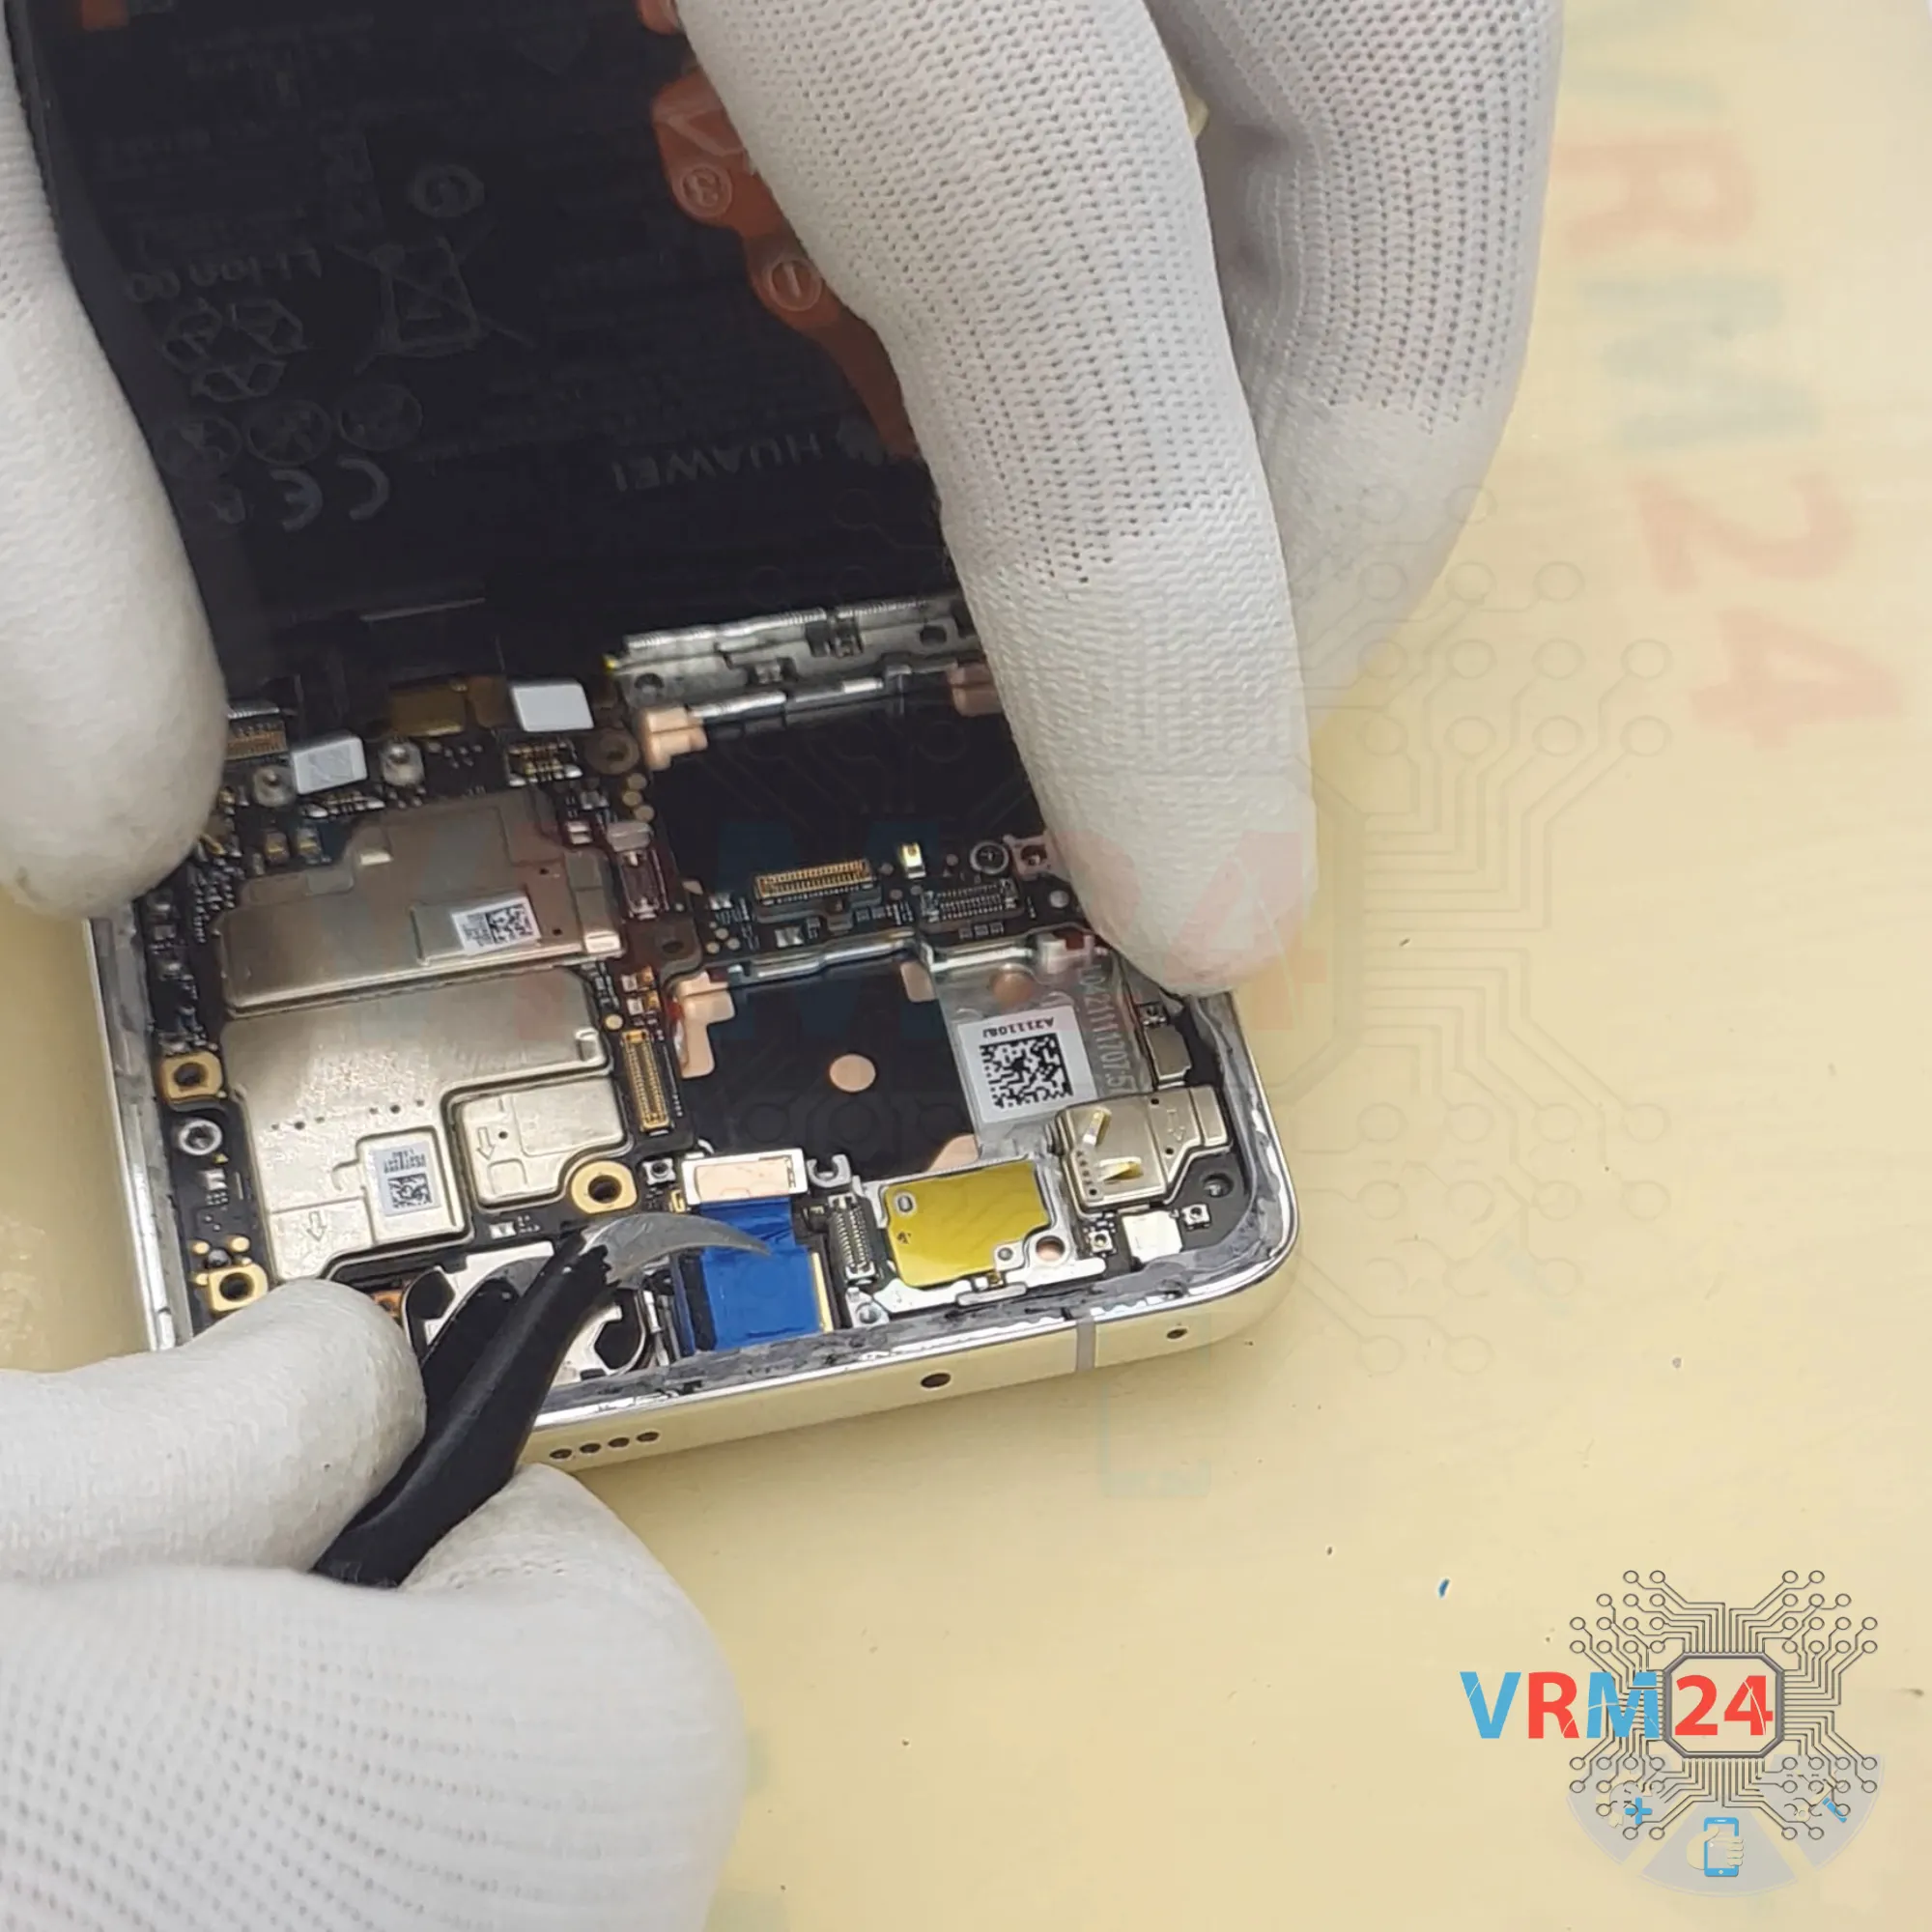
Step 13. Unscrew the screws
Using a screwdriver Phillips 1.5 mm (PH #000), unscrew the two small black screws.


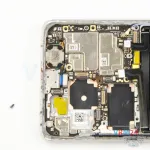
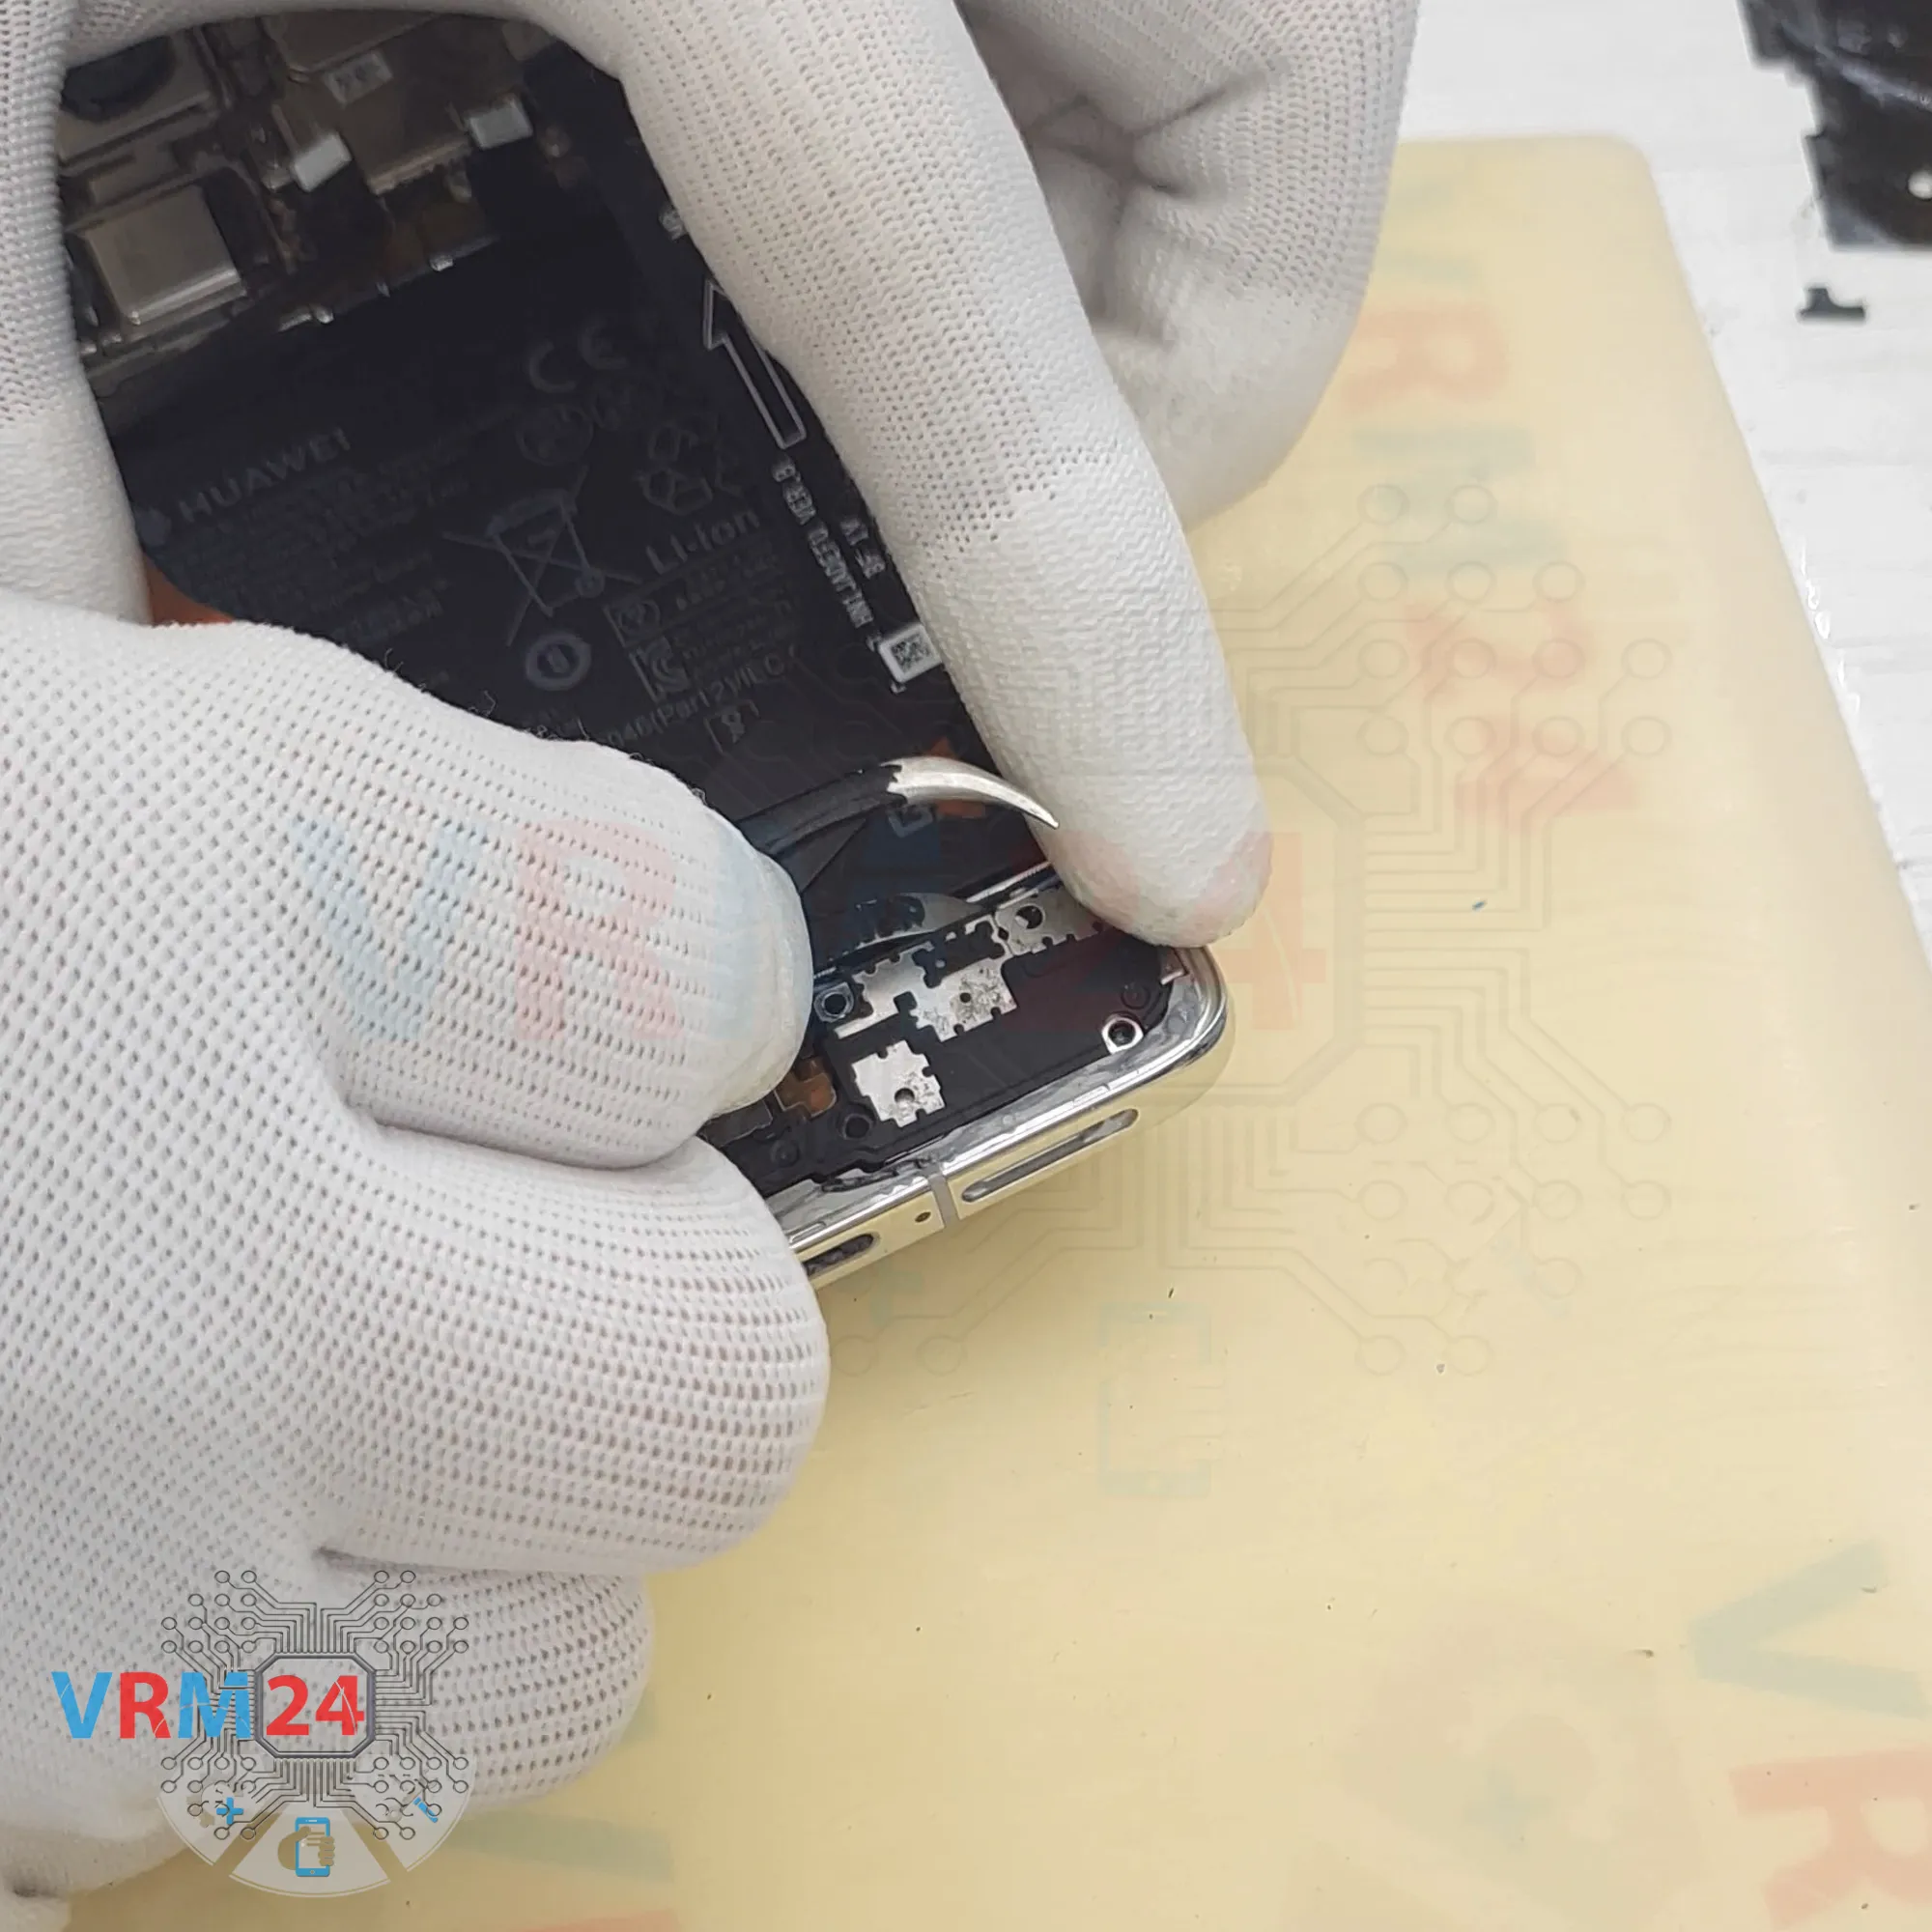
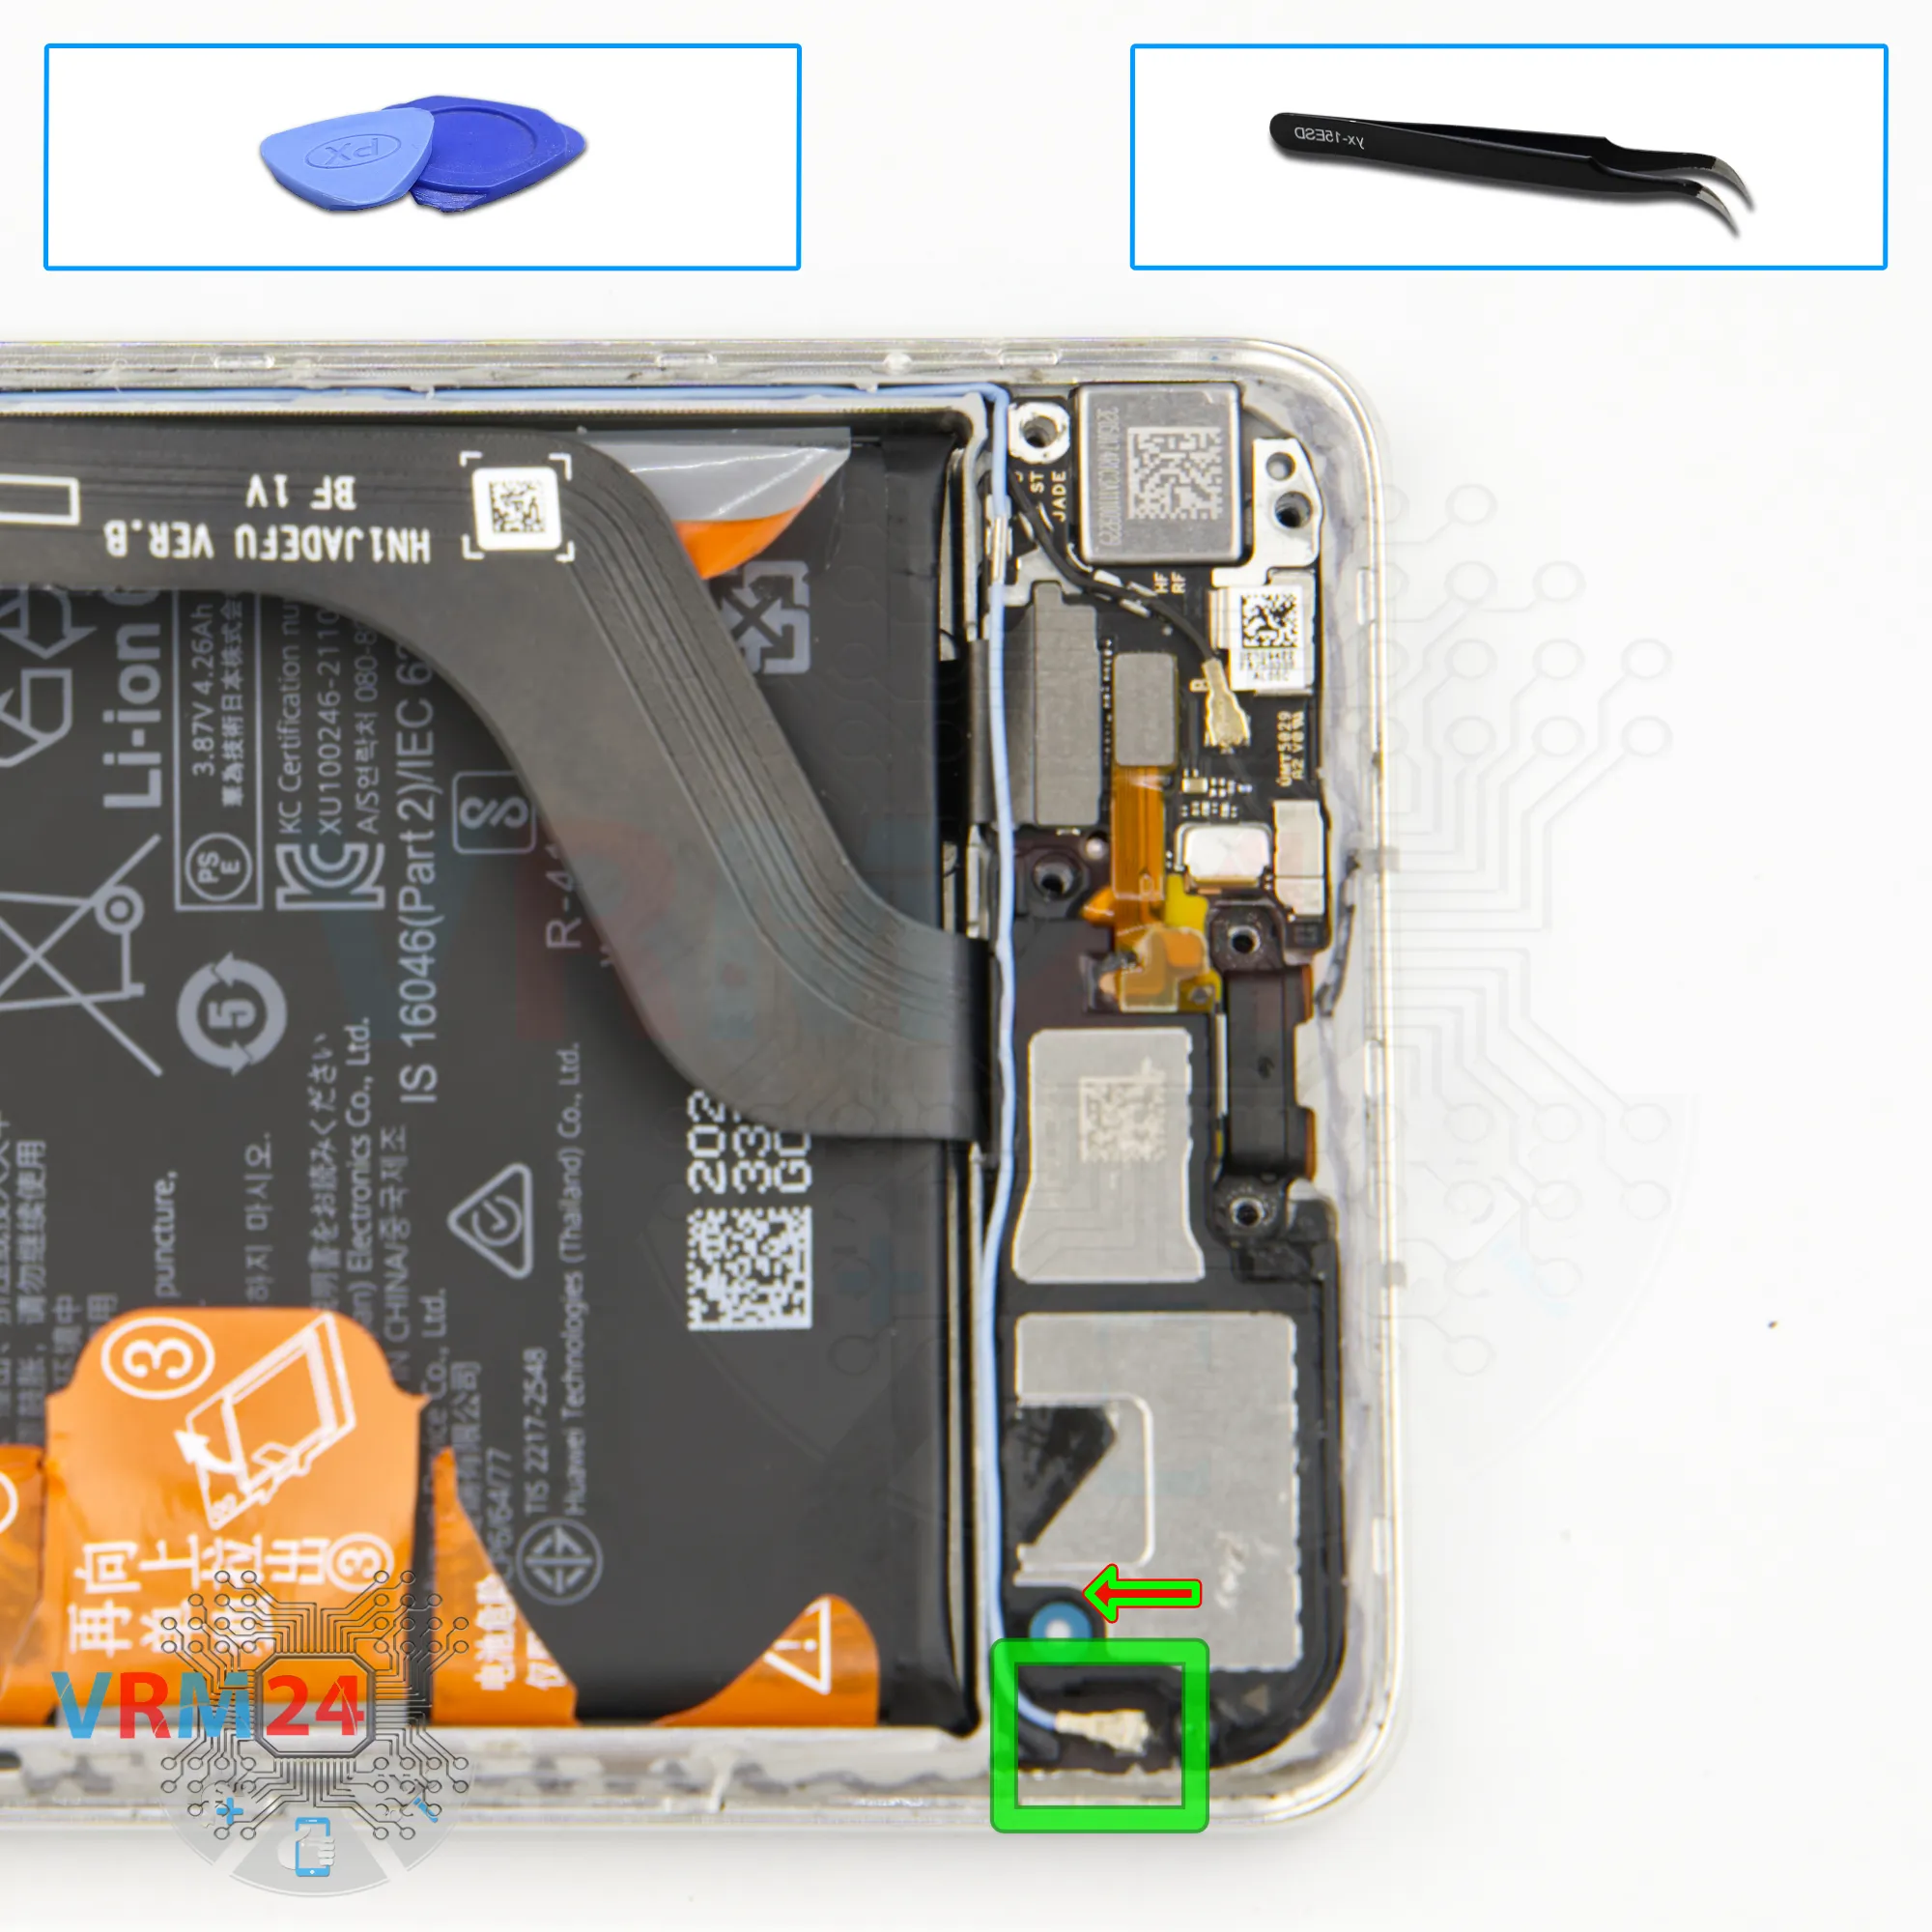
Step 15. Disconnect the connector
It’s best to disconnect the coaxial cable connector so it doesn’t get in the way.


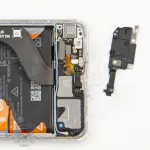
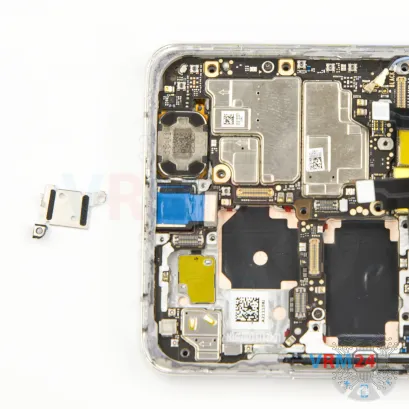
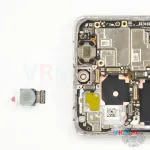
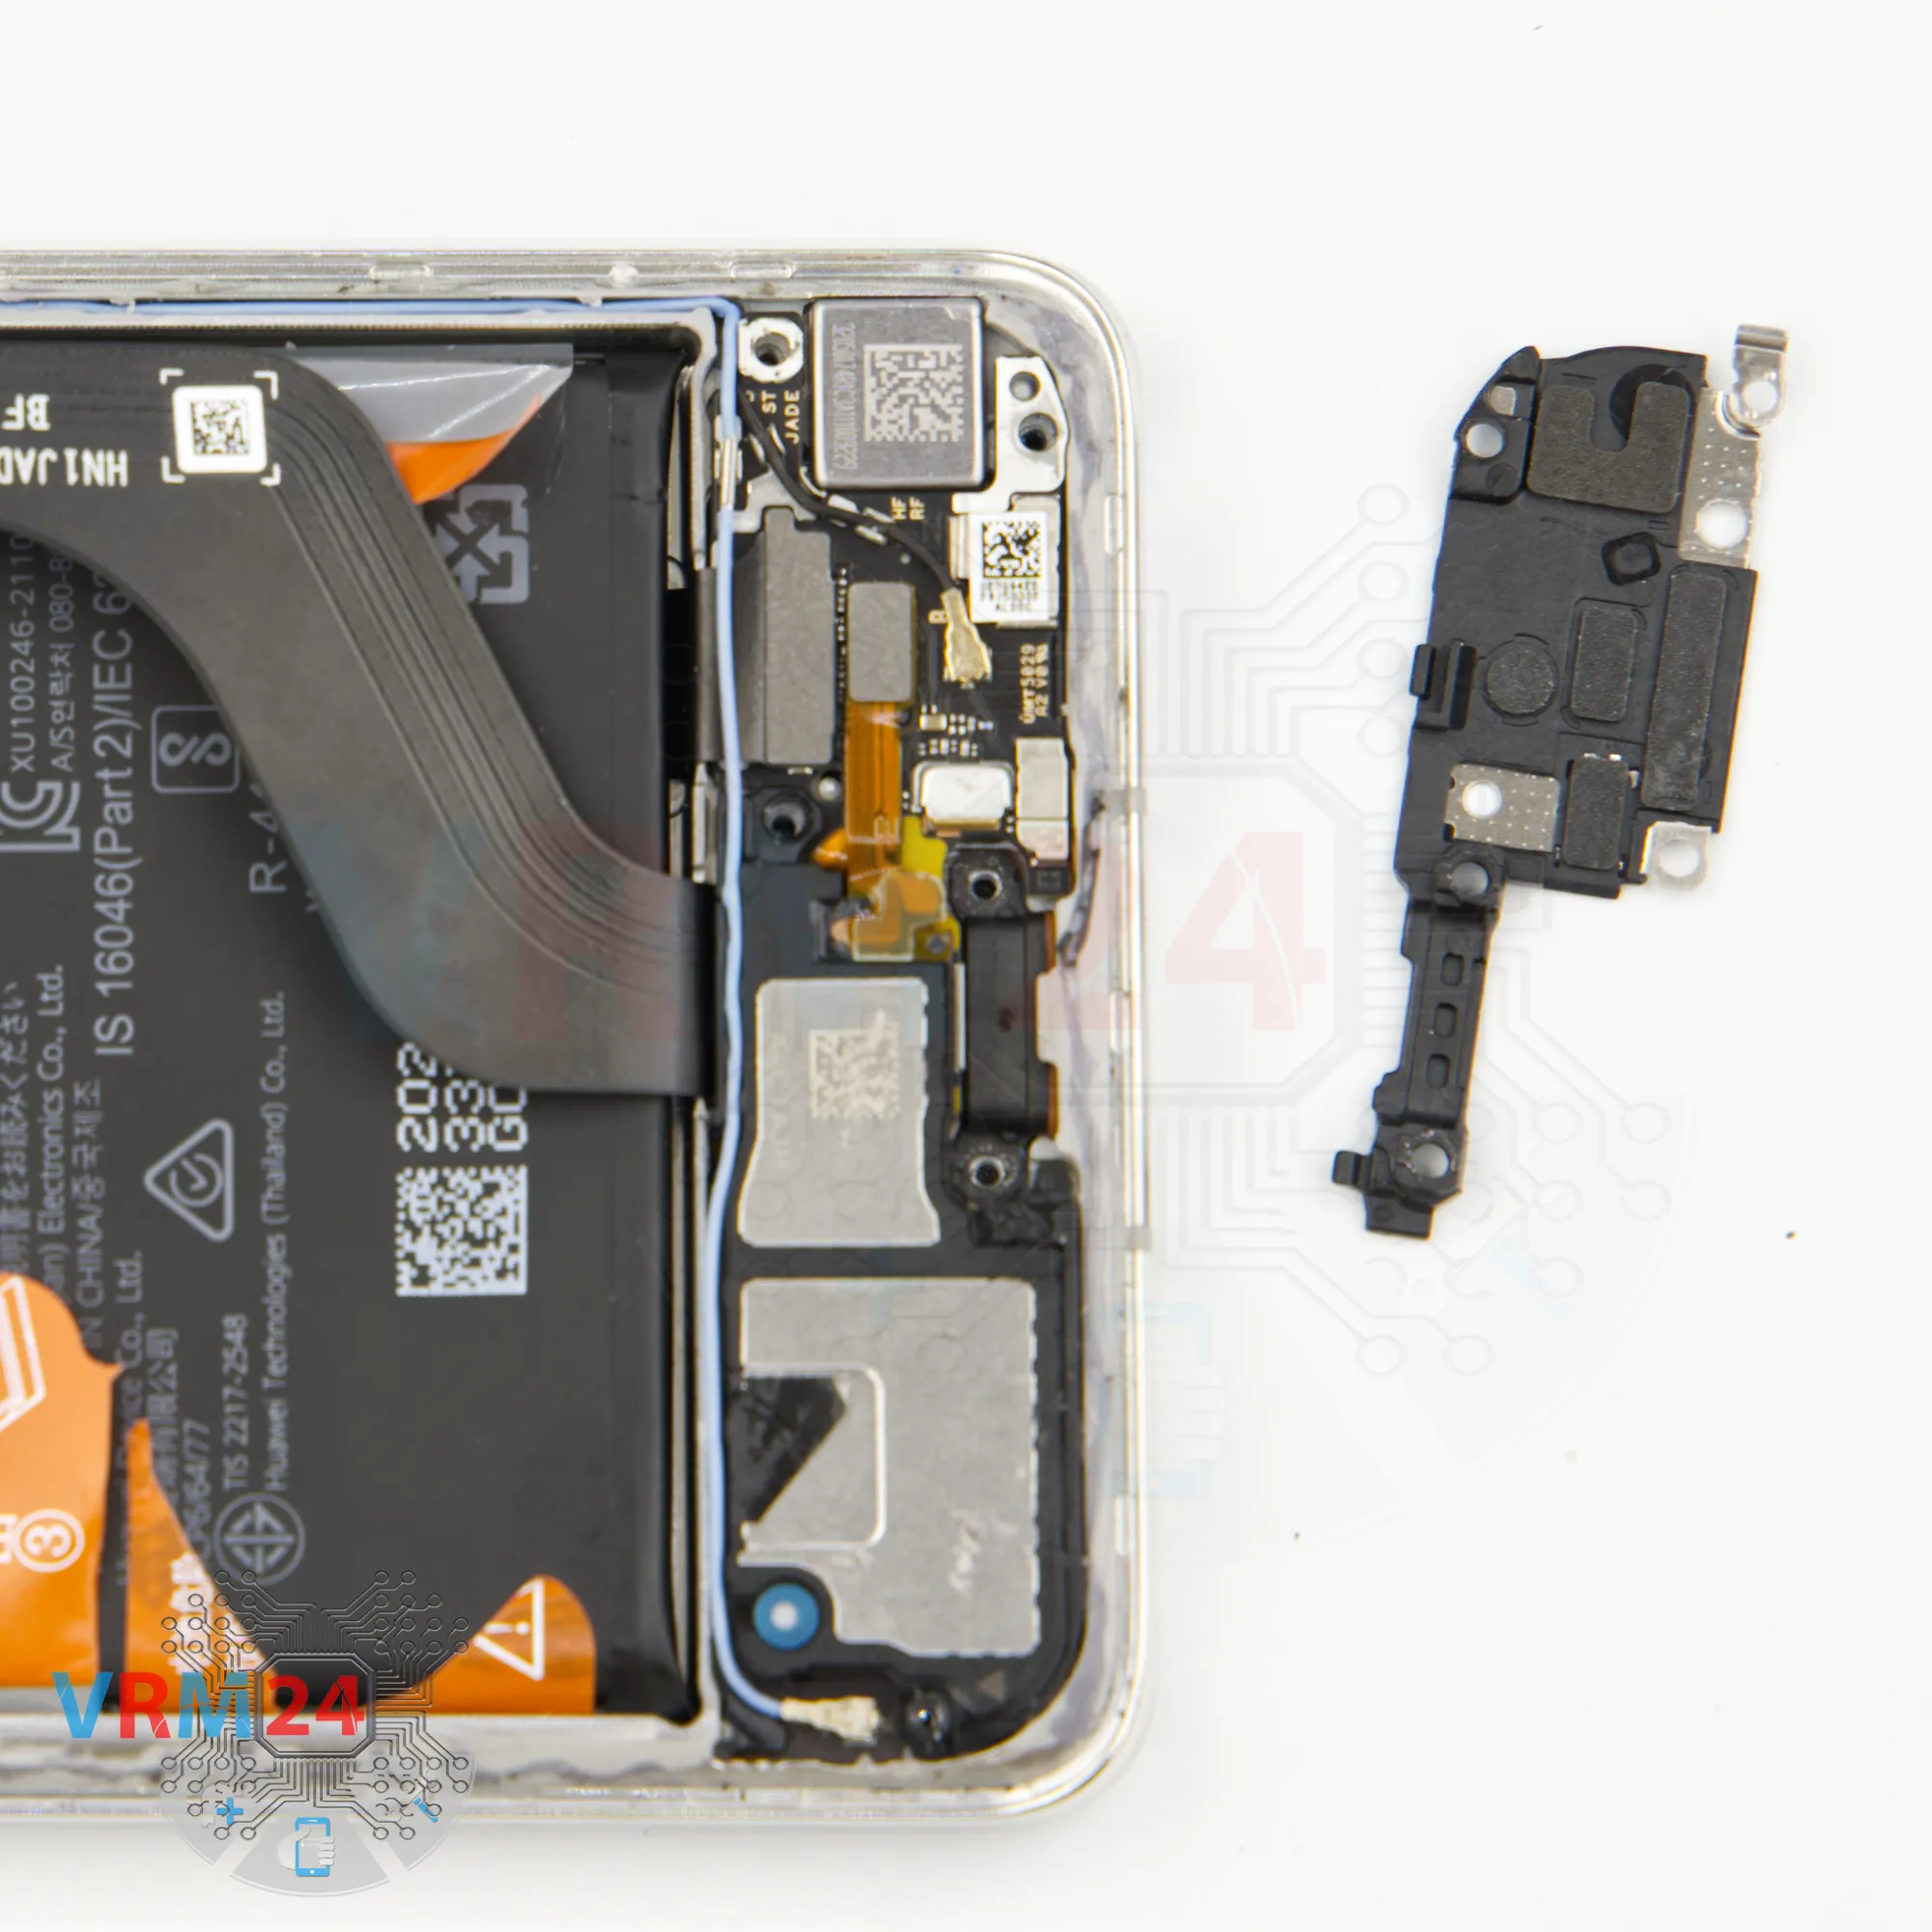
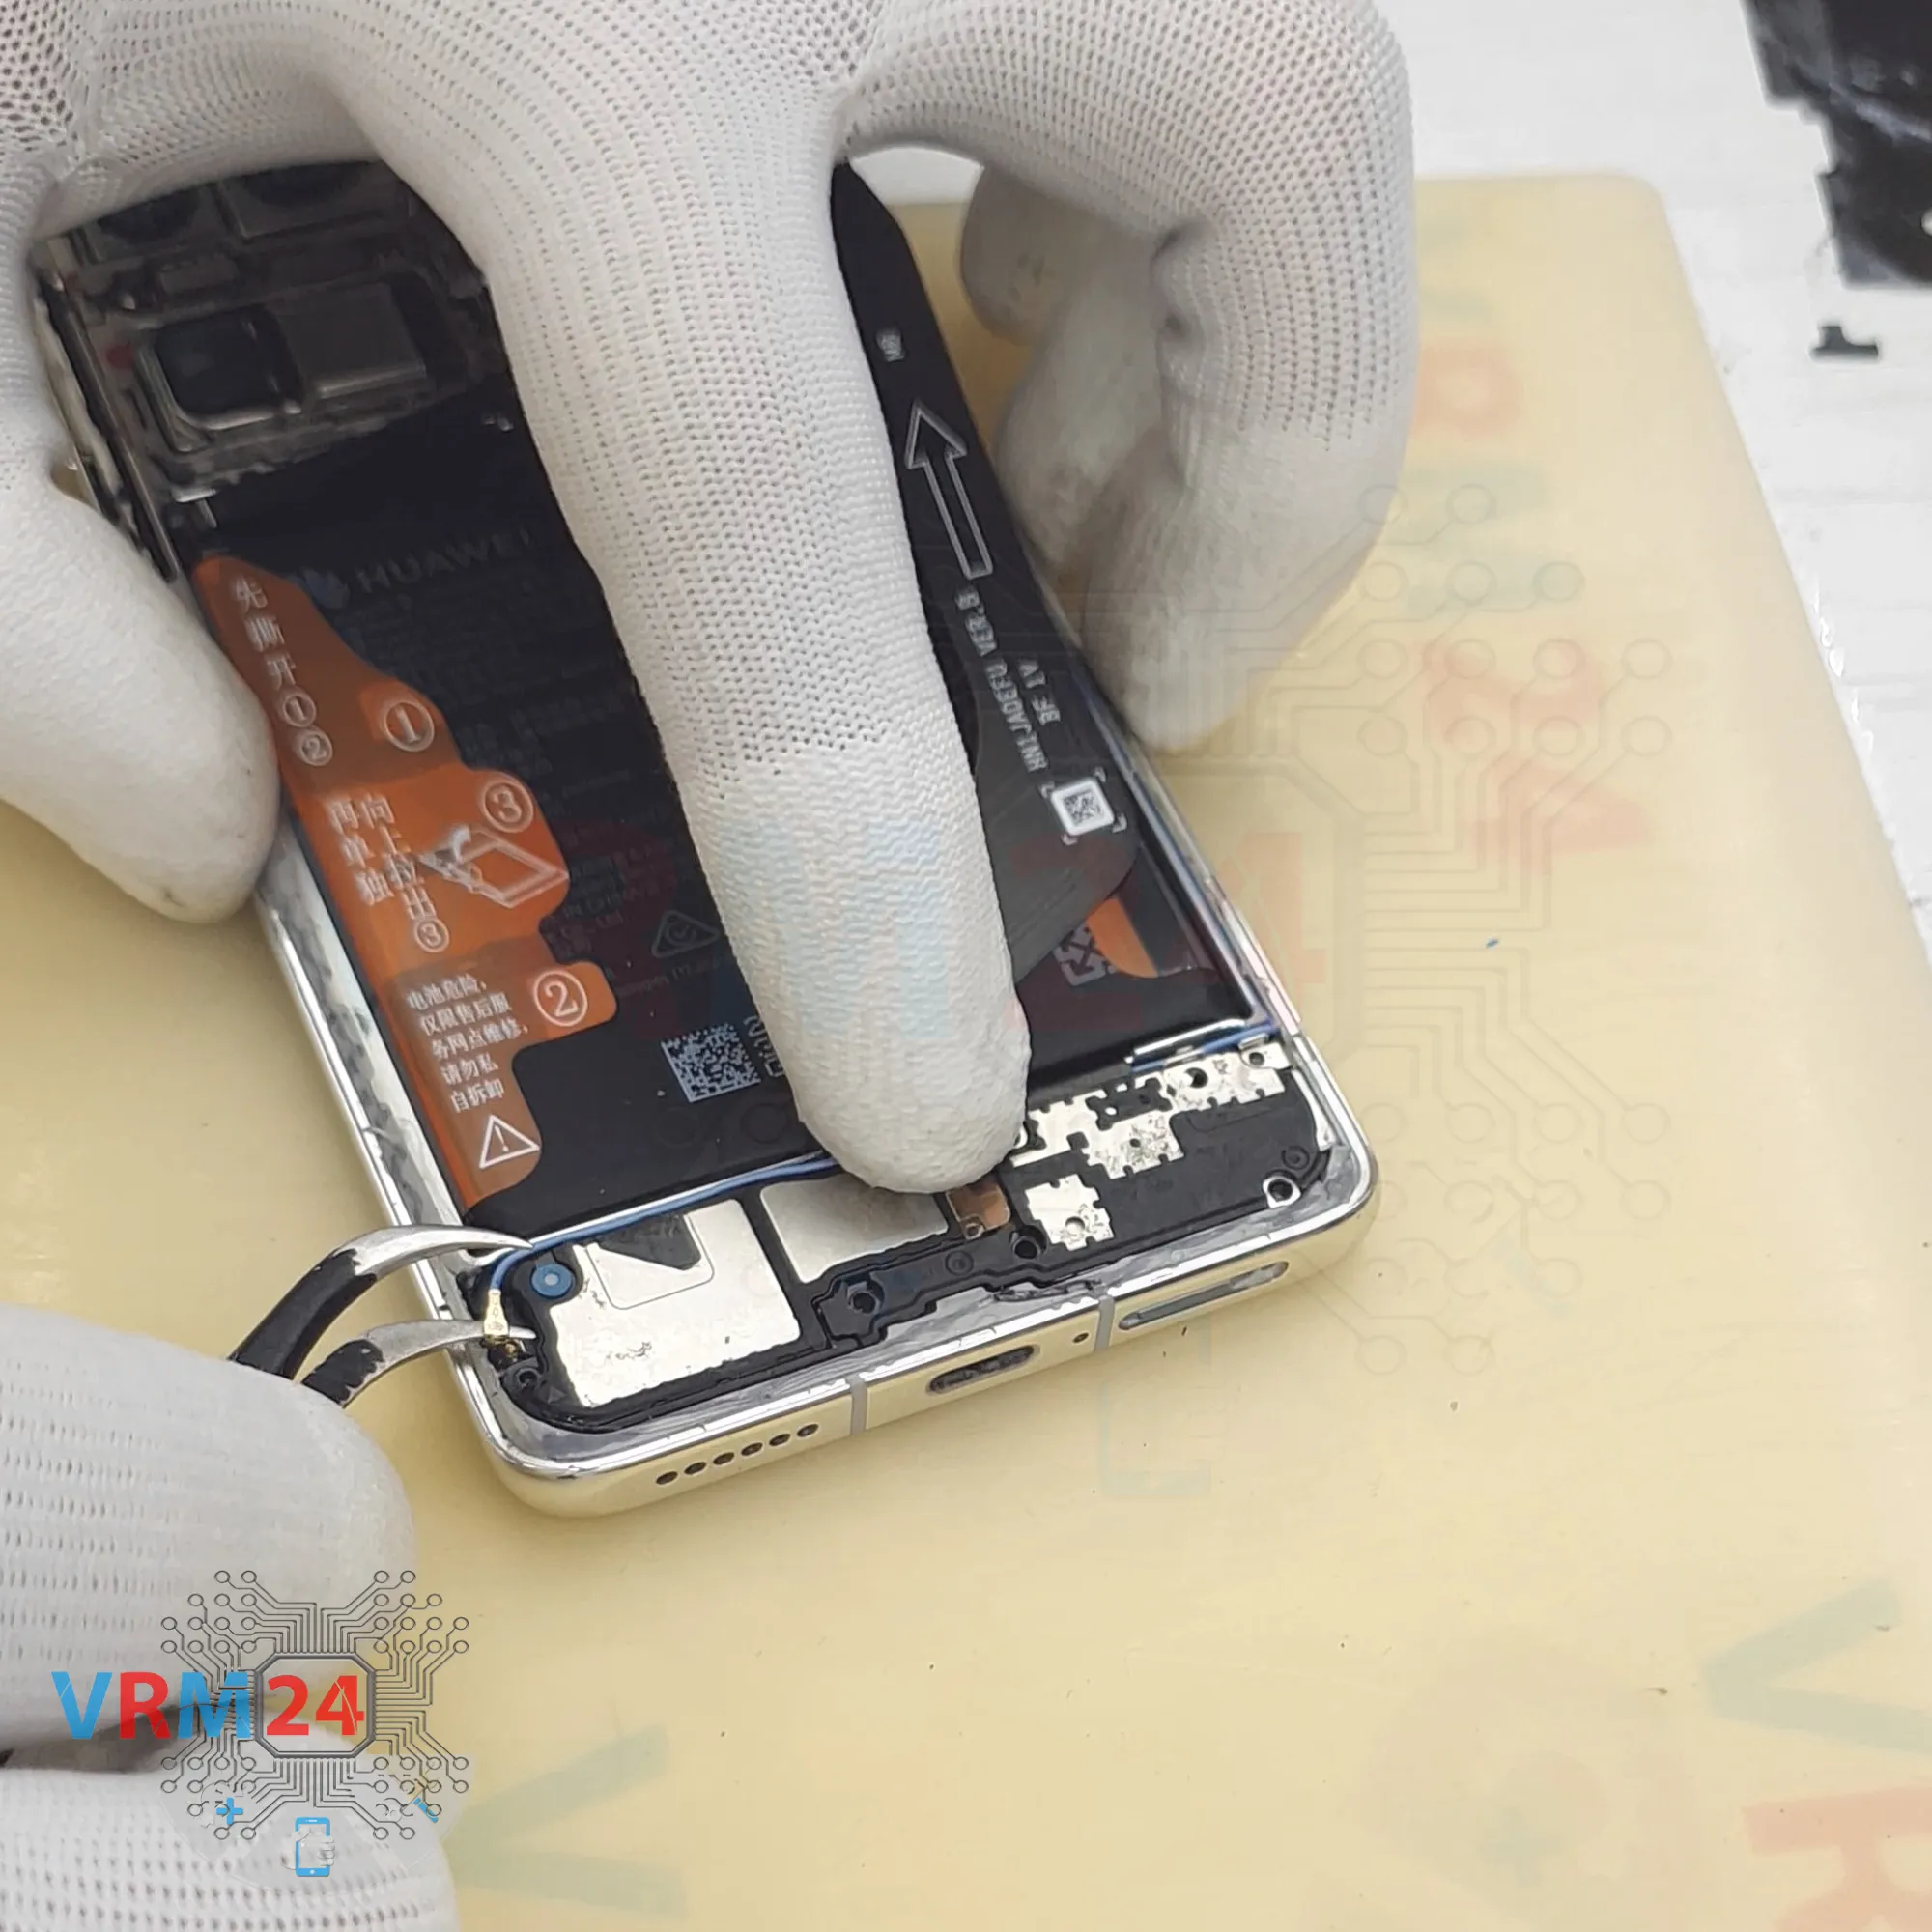
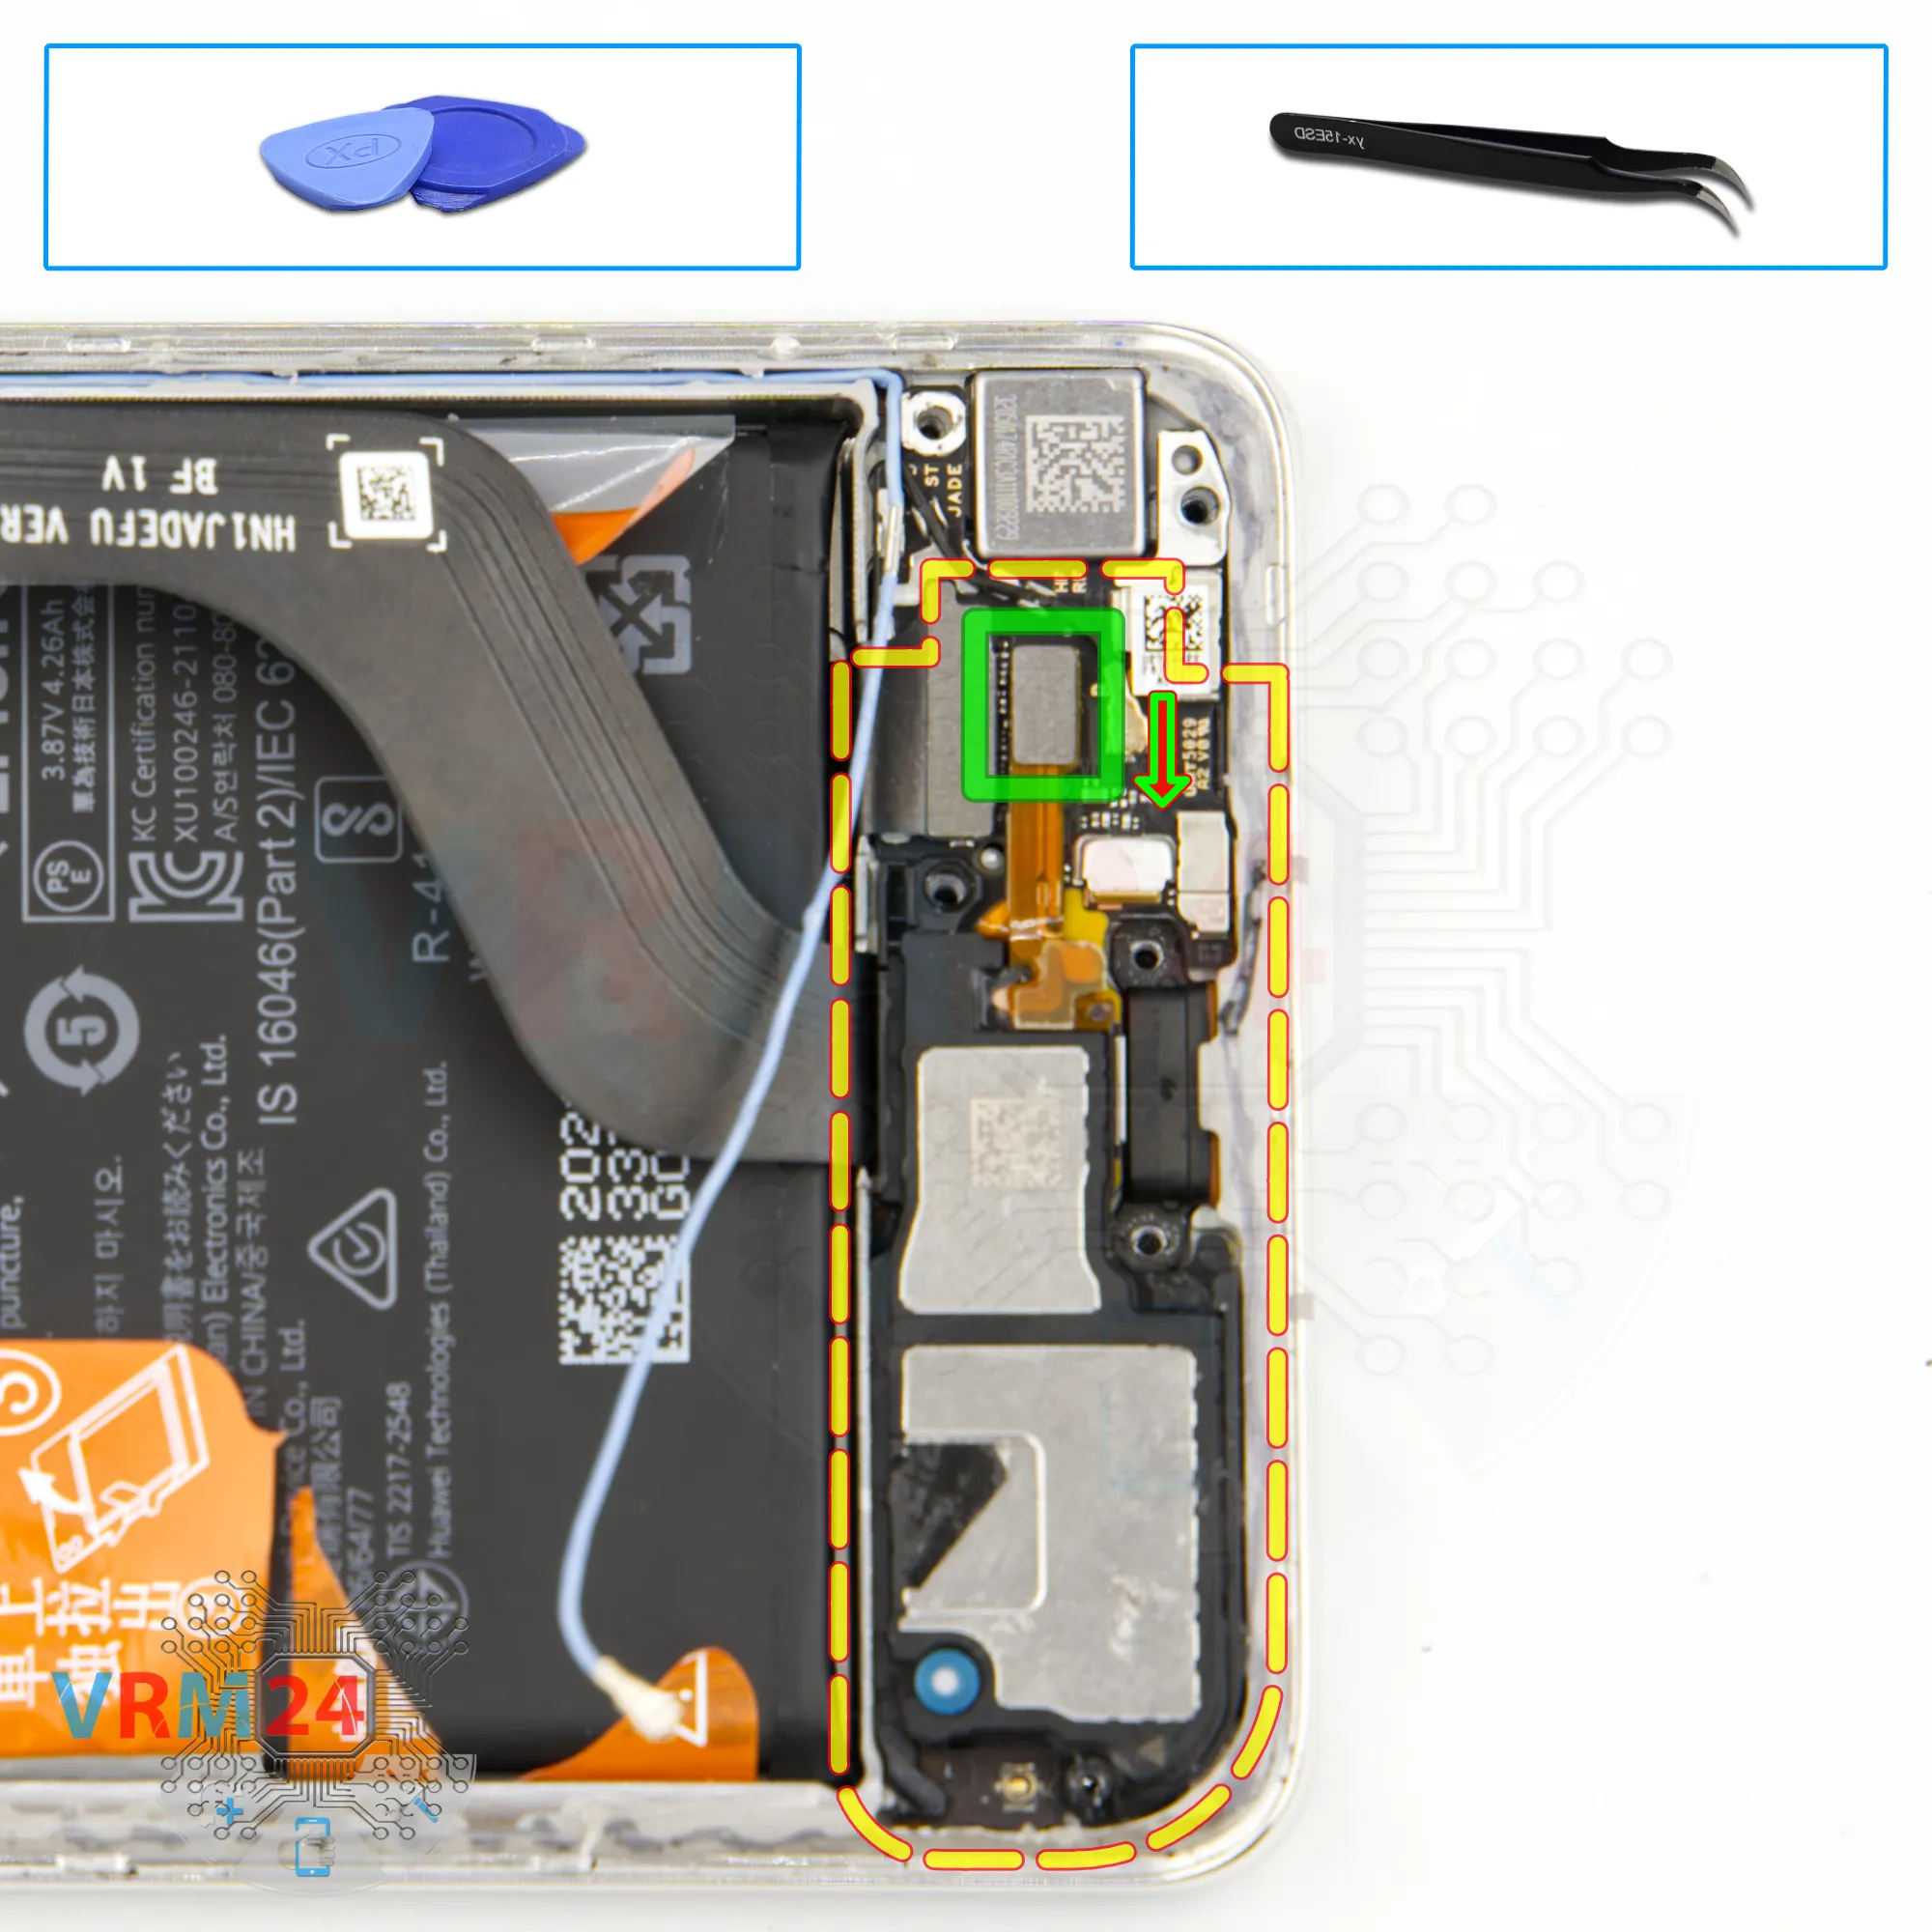
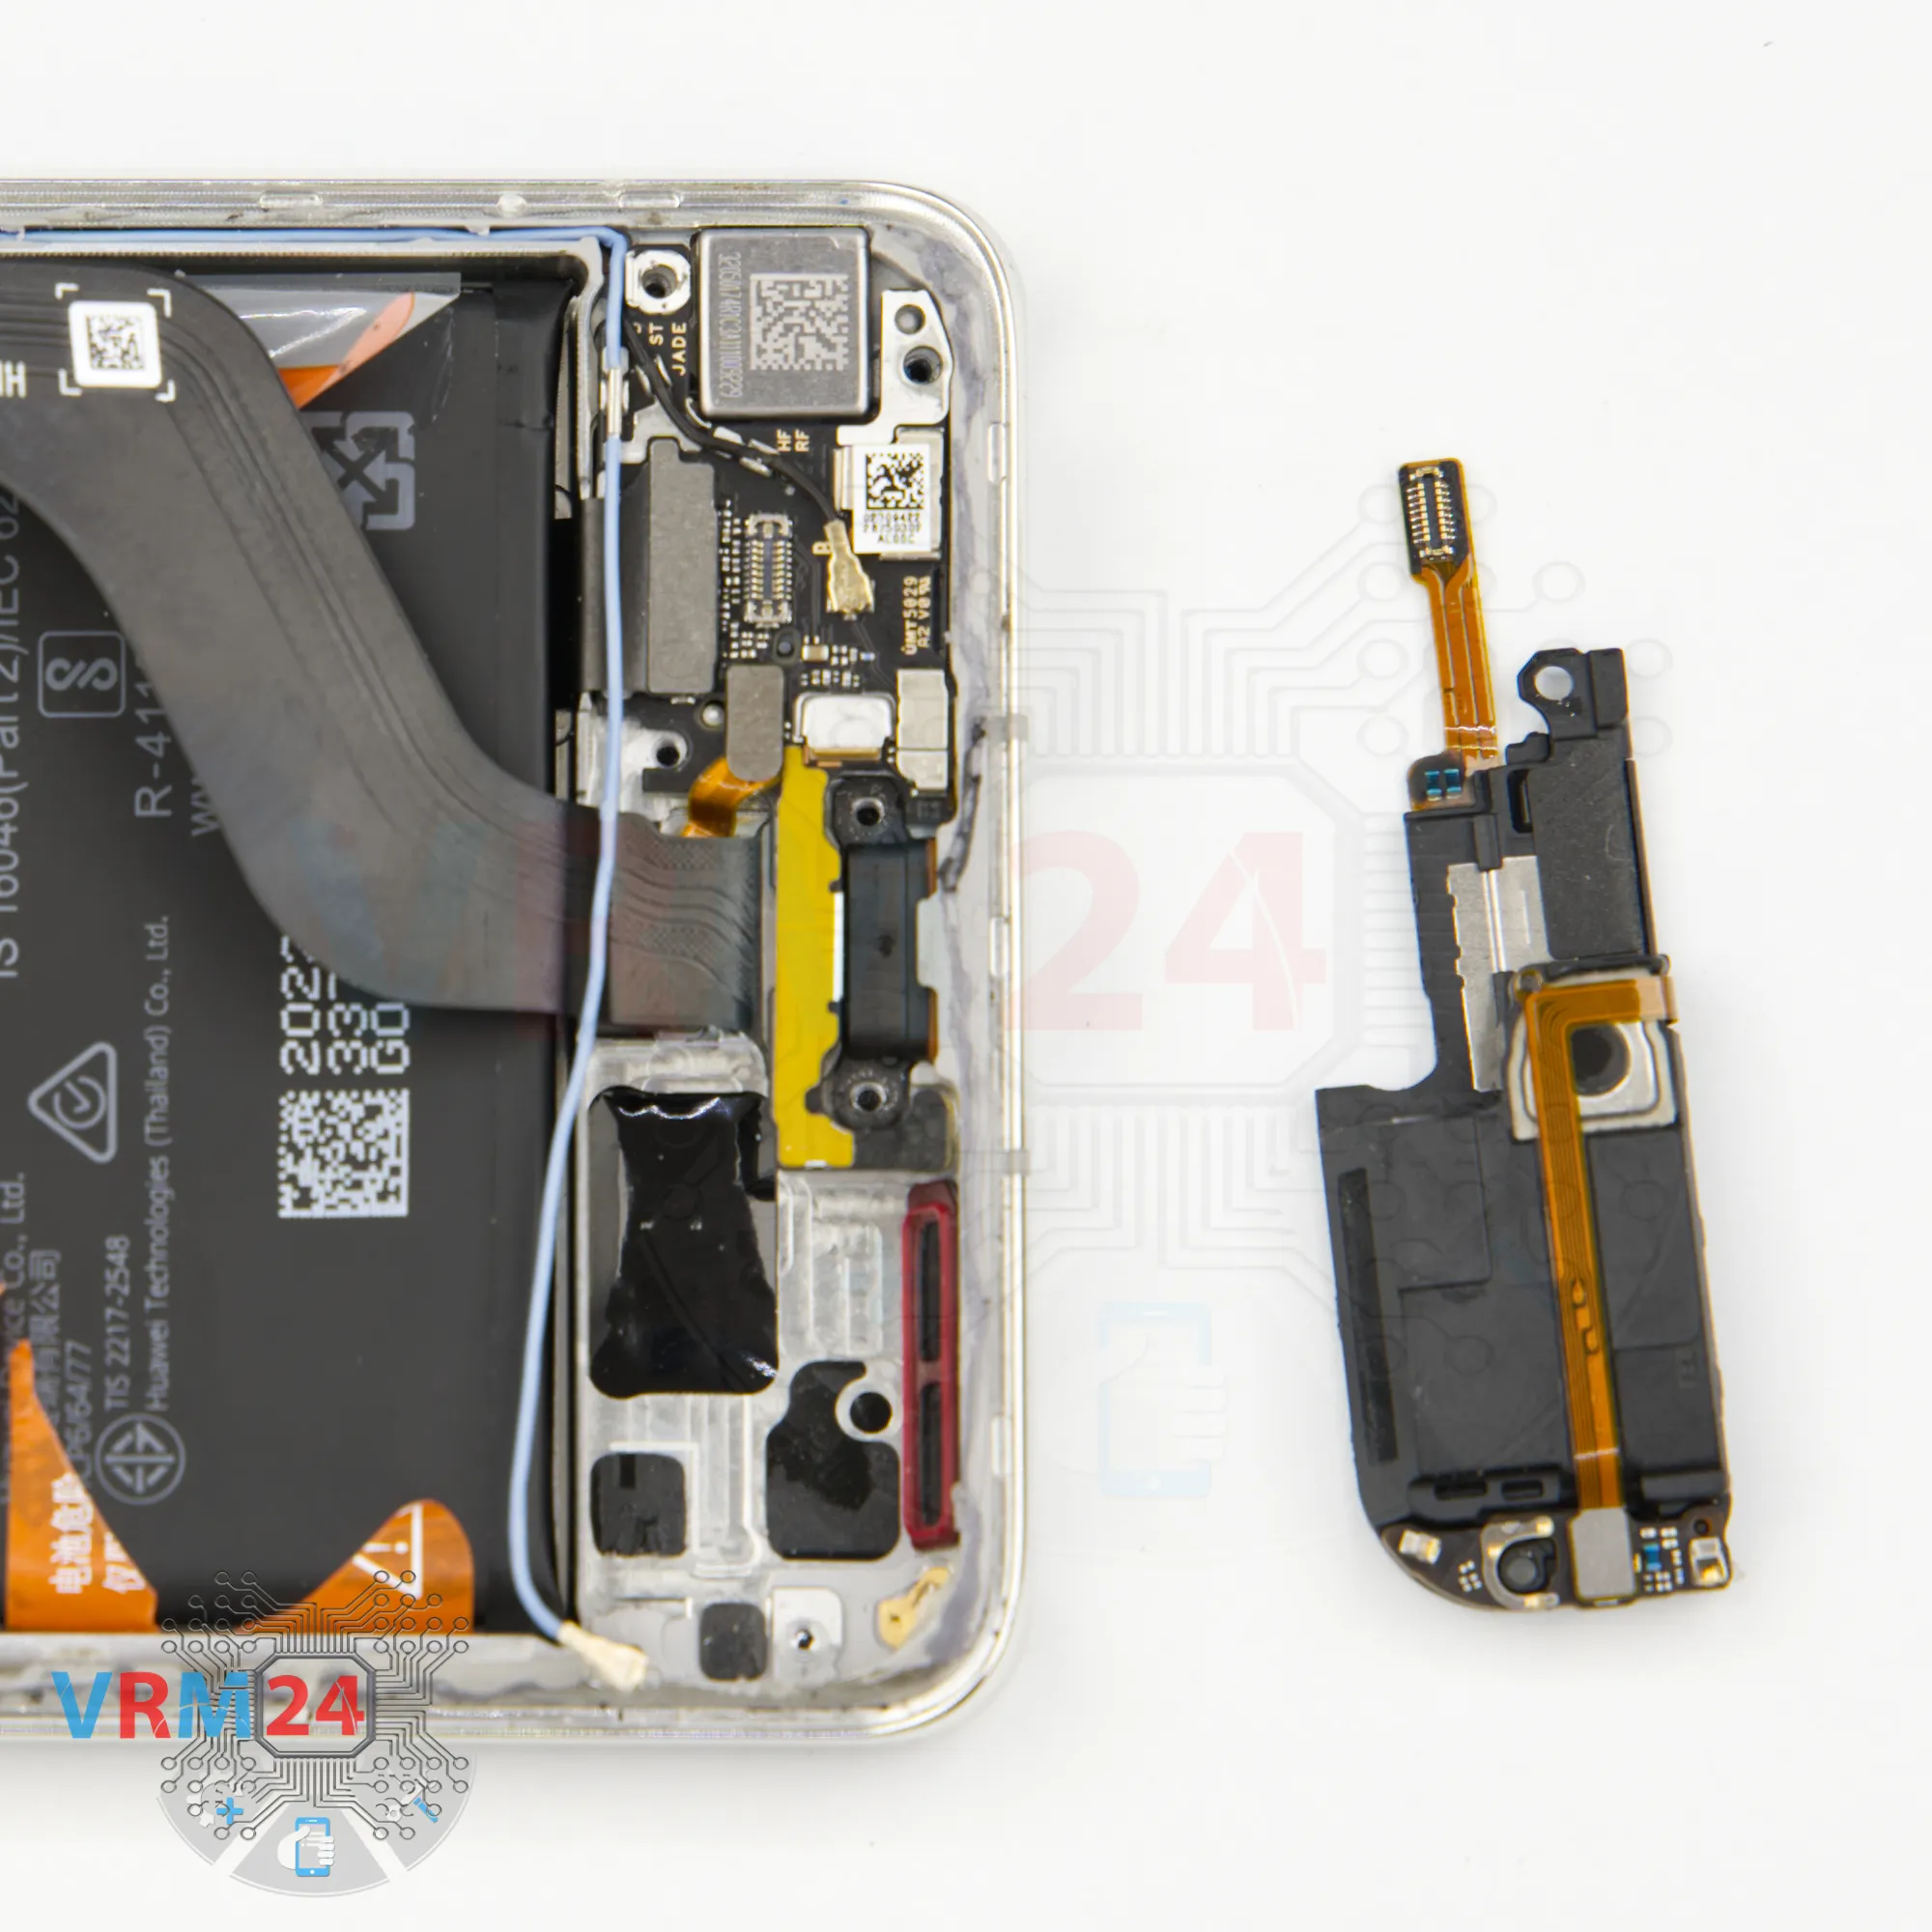
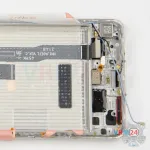
Step 16. Remove the loudspeaker
Next, we disconnect the connector.
Now we can remove the speaker.
It's lightly glued, so carefully lift and detach it from one edge.
The antenna board is also located on the speaker unit.

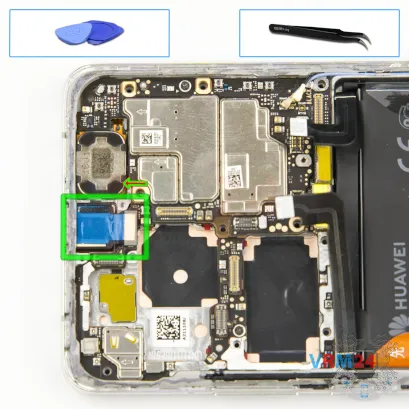
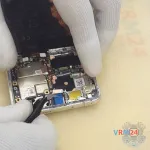
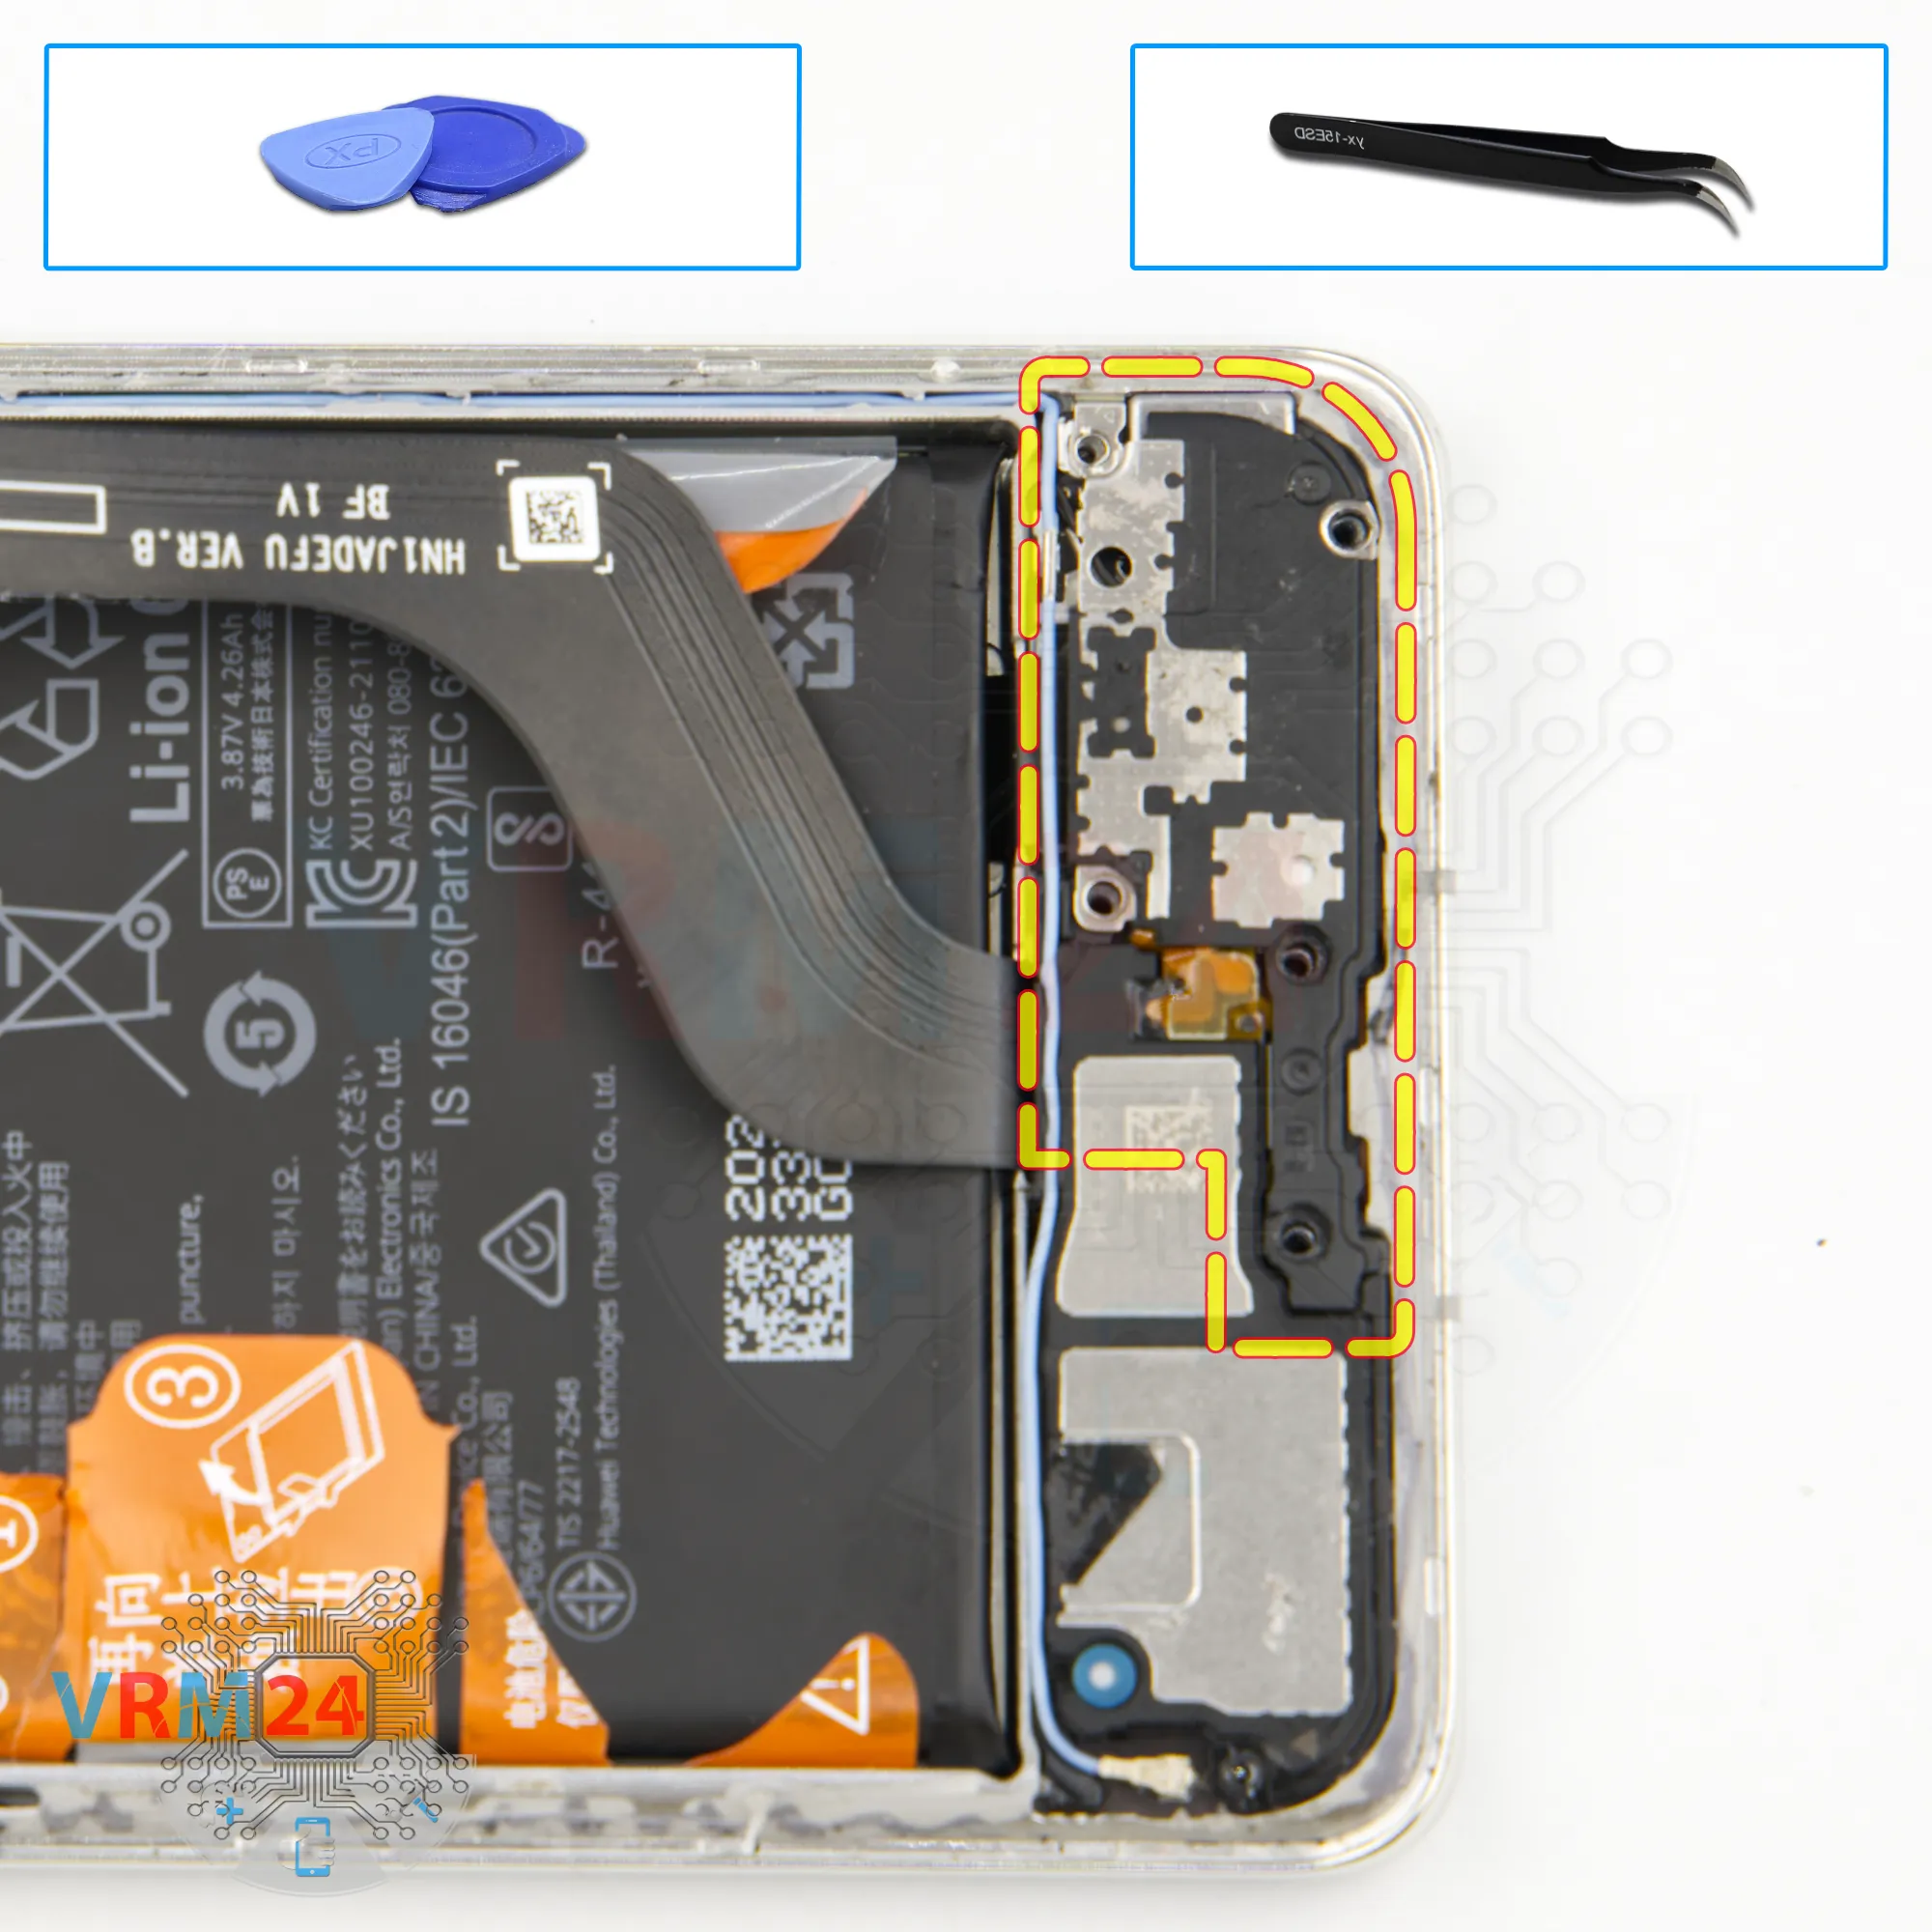
Step 17. Disconnect the connectors
We disconnect the inter-board flex, second coaxial cable, and somewhere inside, we should also find the fingerprint sensor connector.
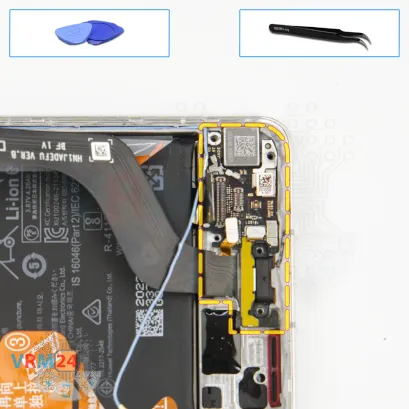
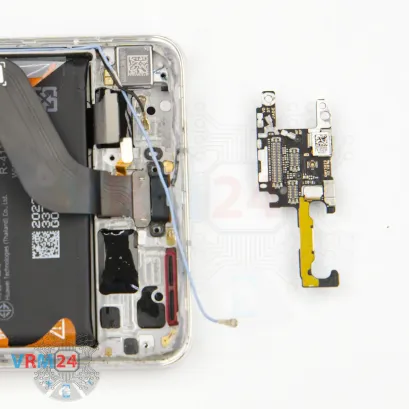


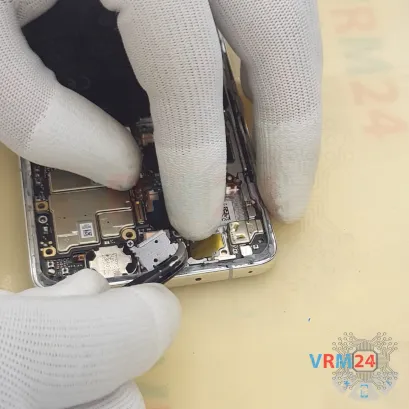
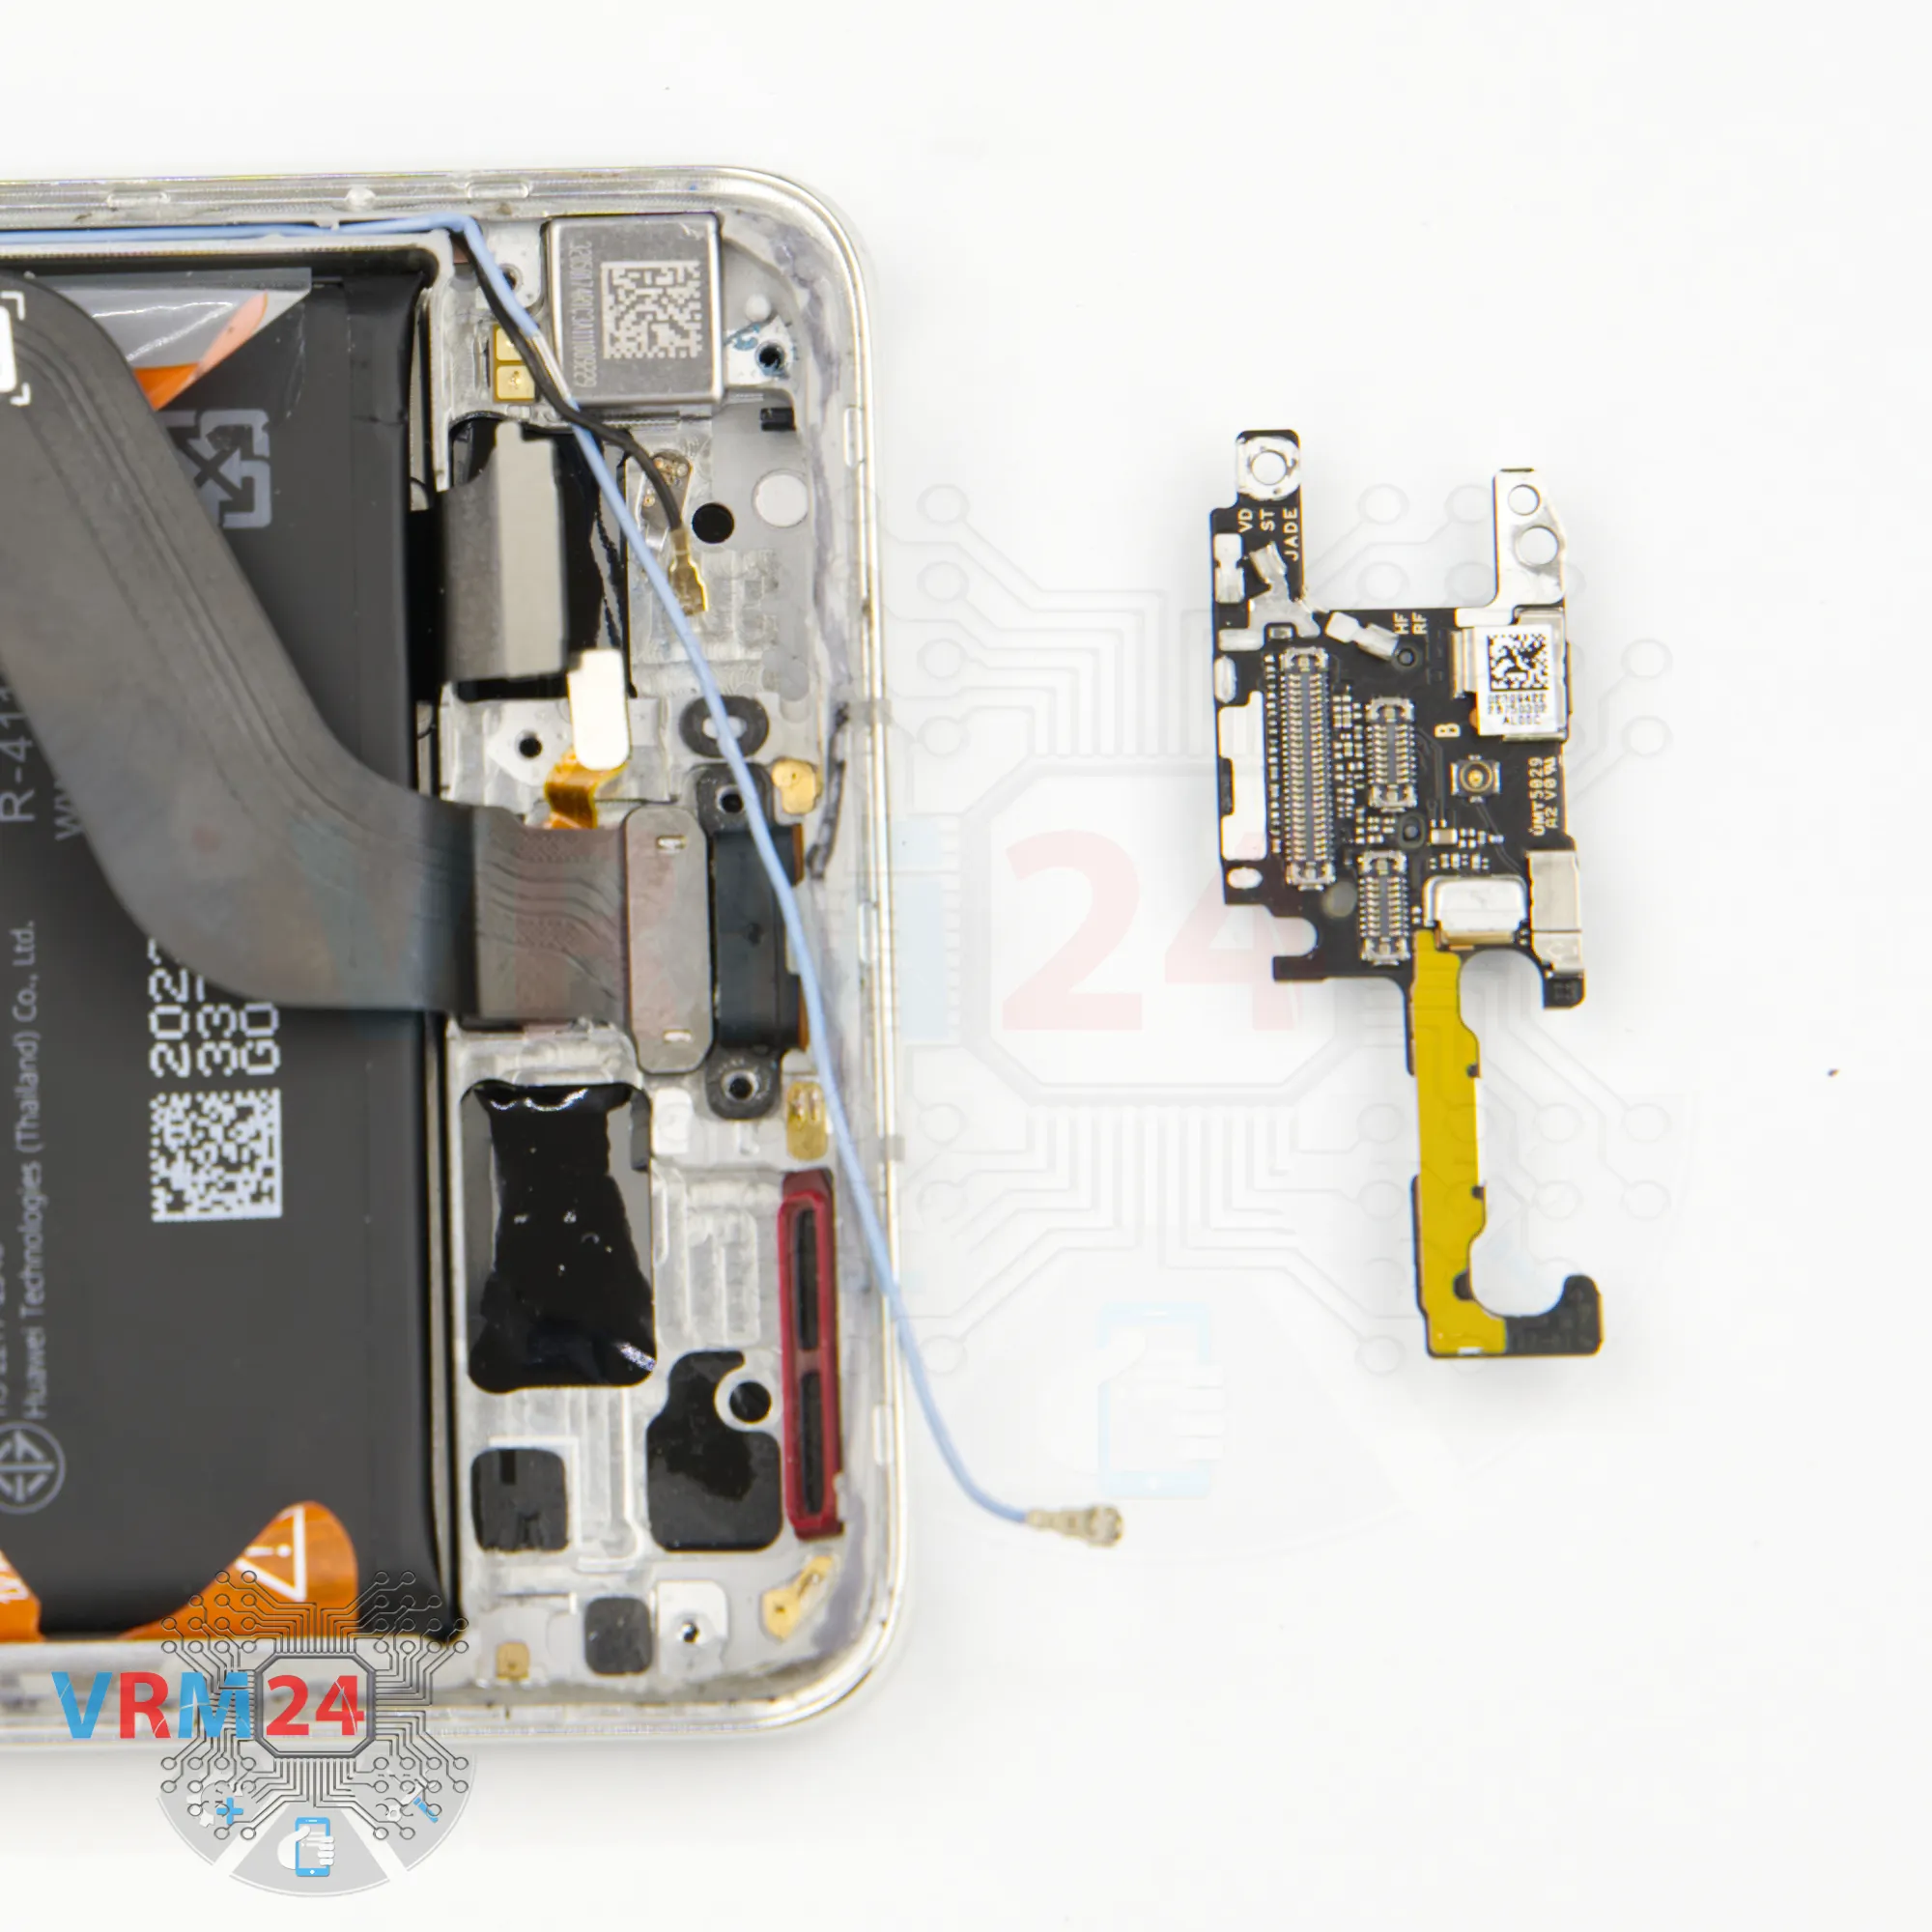
Step 18. Remove the sub-board
Now we can detach the sub-board.
Gently pry it from the edge and lift it out.
As you can see, the sub-board has an extension leading to the charging port.
Make sure the coaxial cable isn’t in the way, and remove the board.


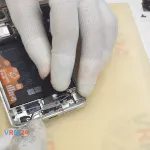
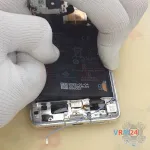
Step 19. Remove the charging port
Next, we can disconnect the charging port. Gently lift and remove it — it’s embedded into the display frame.


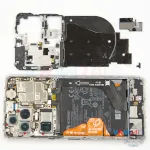
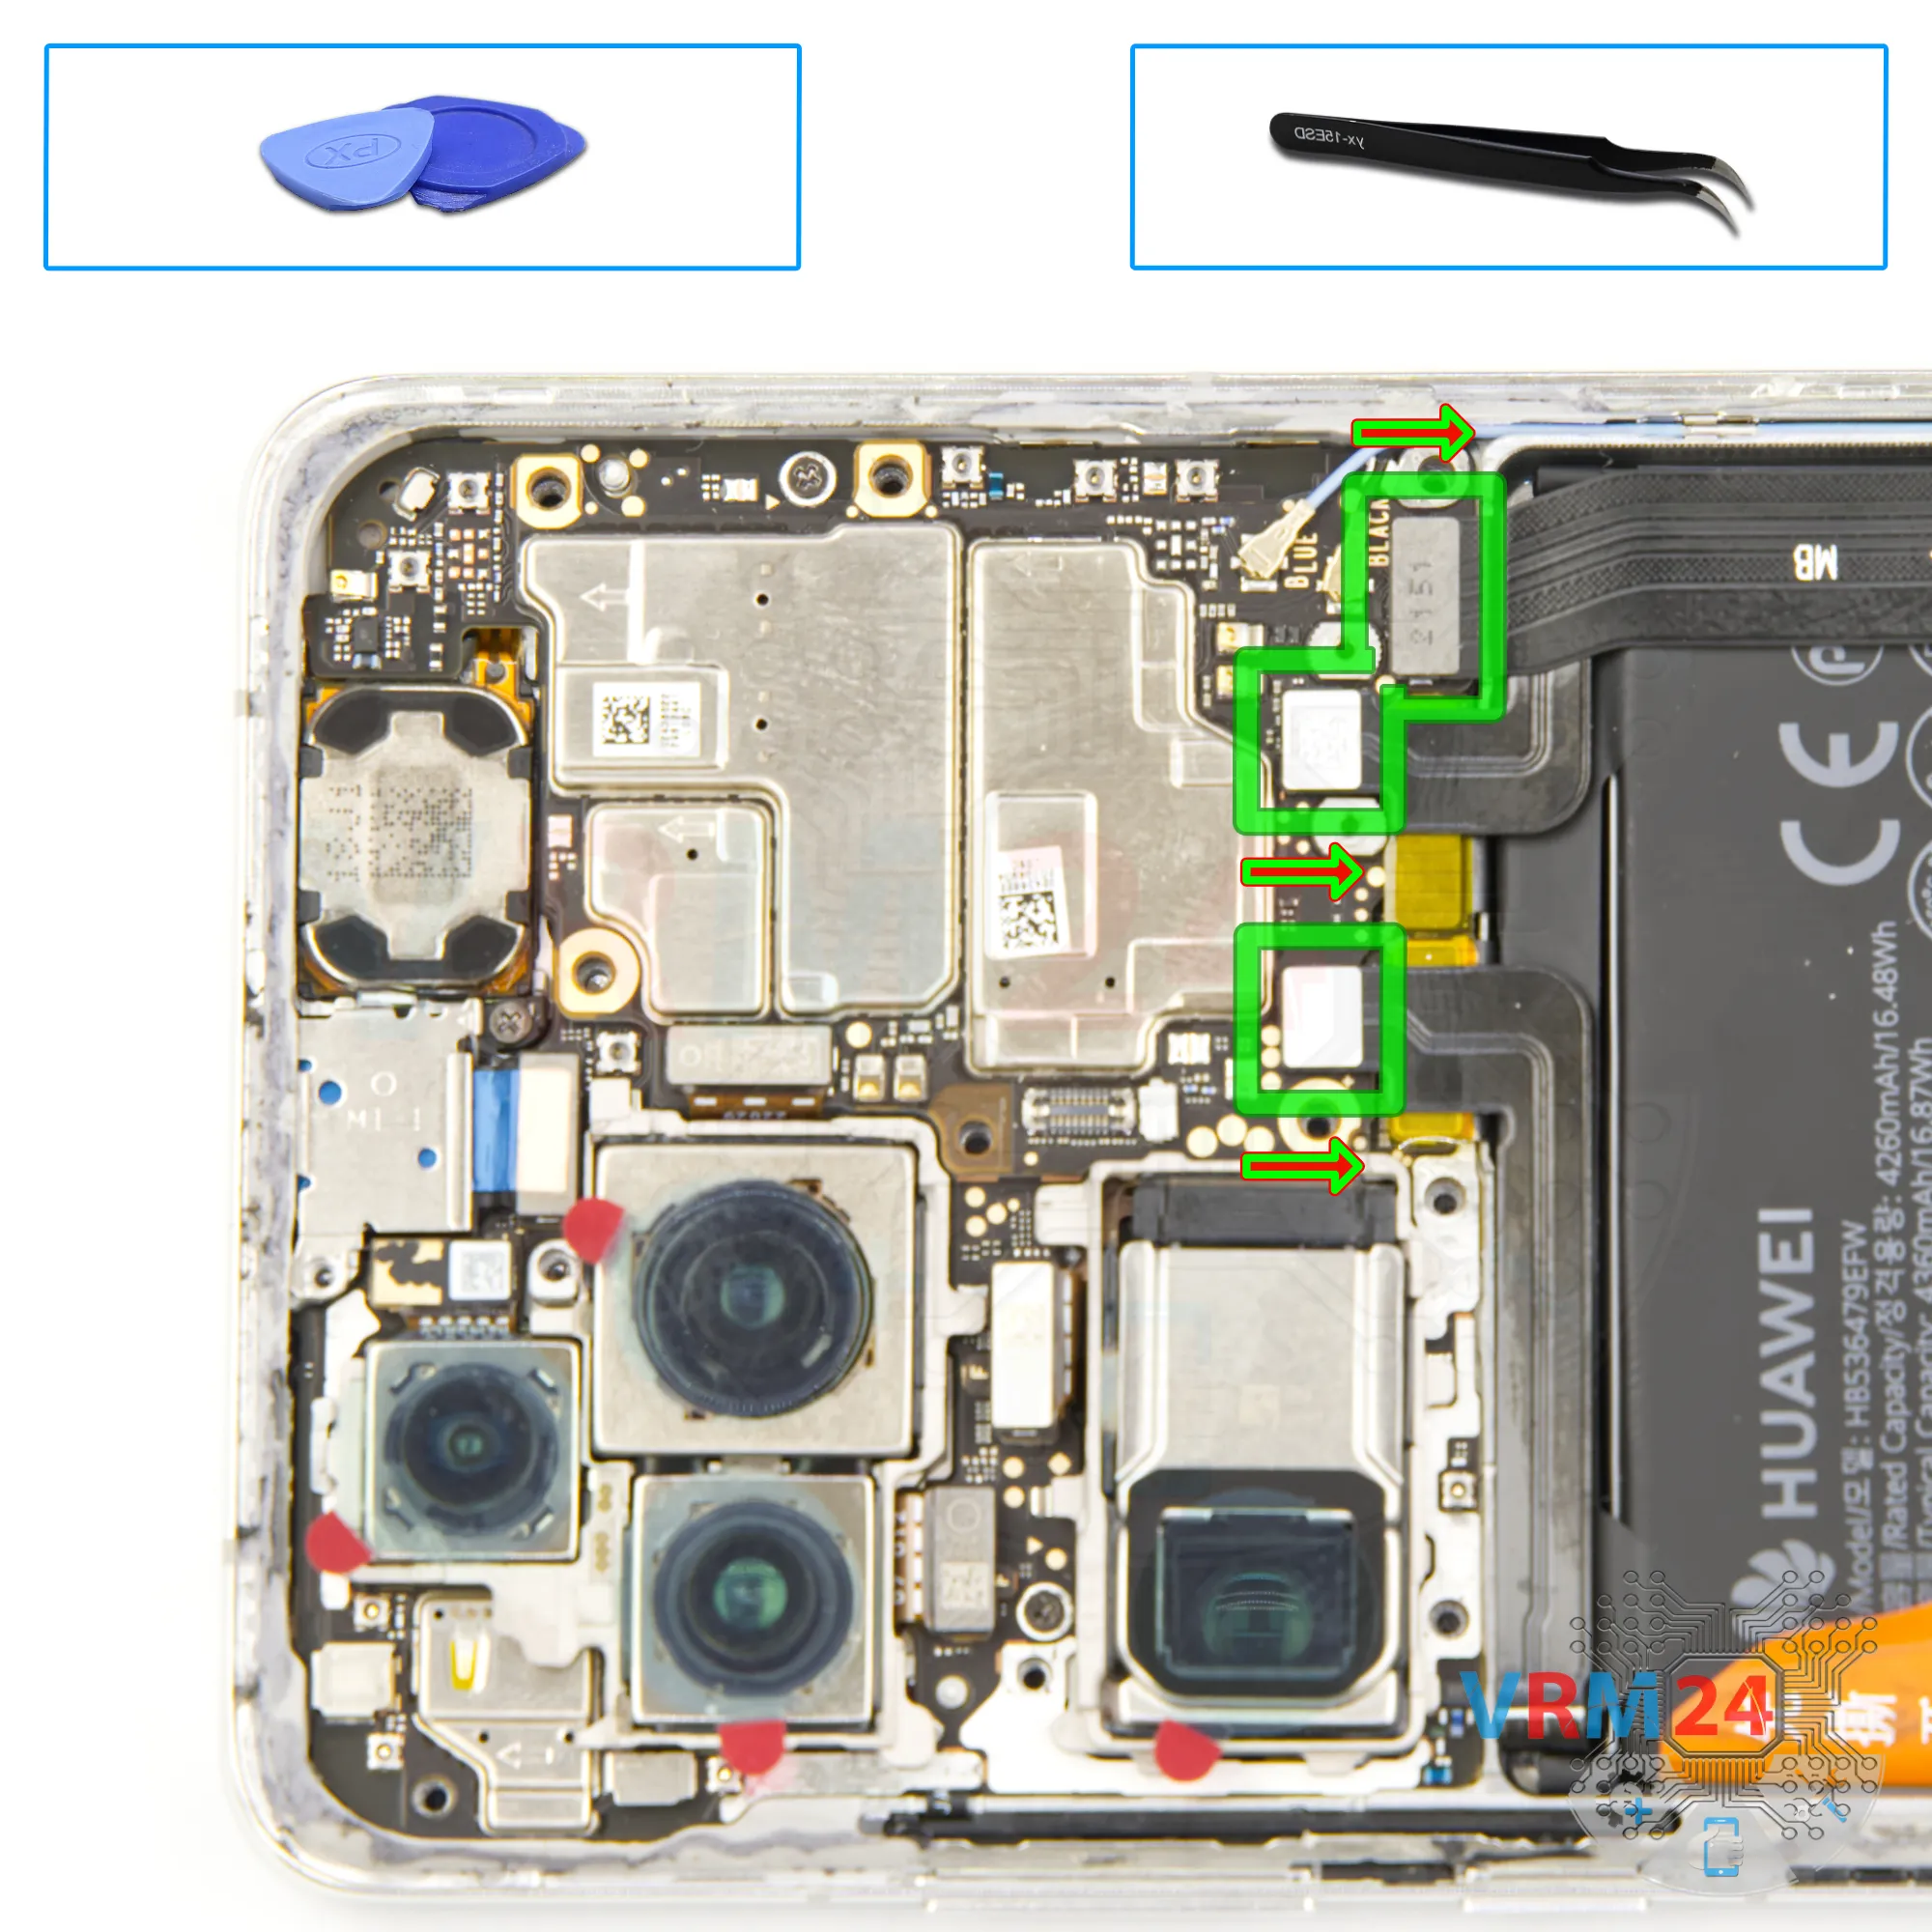
Step 20. Disconnect the connectors
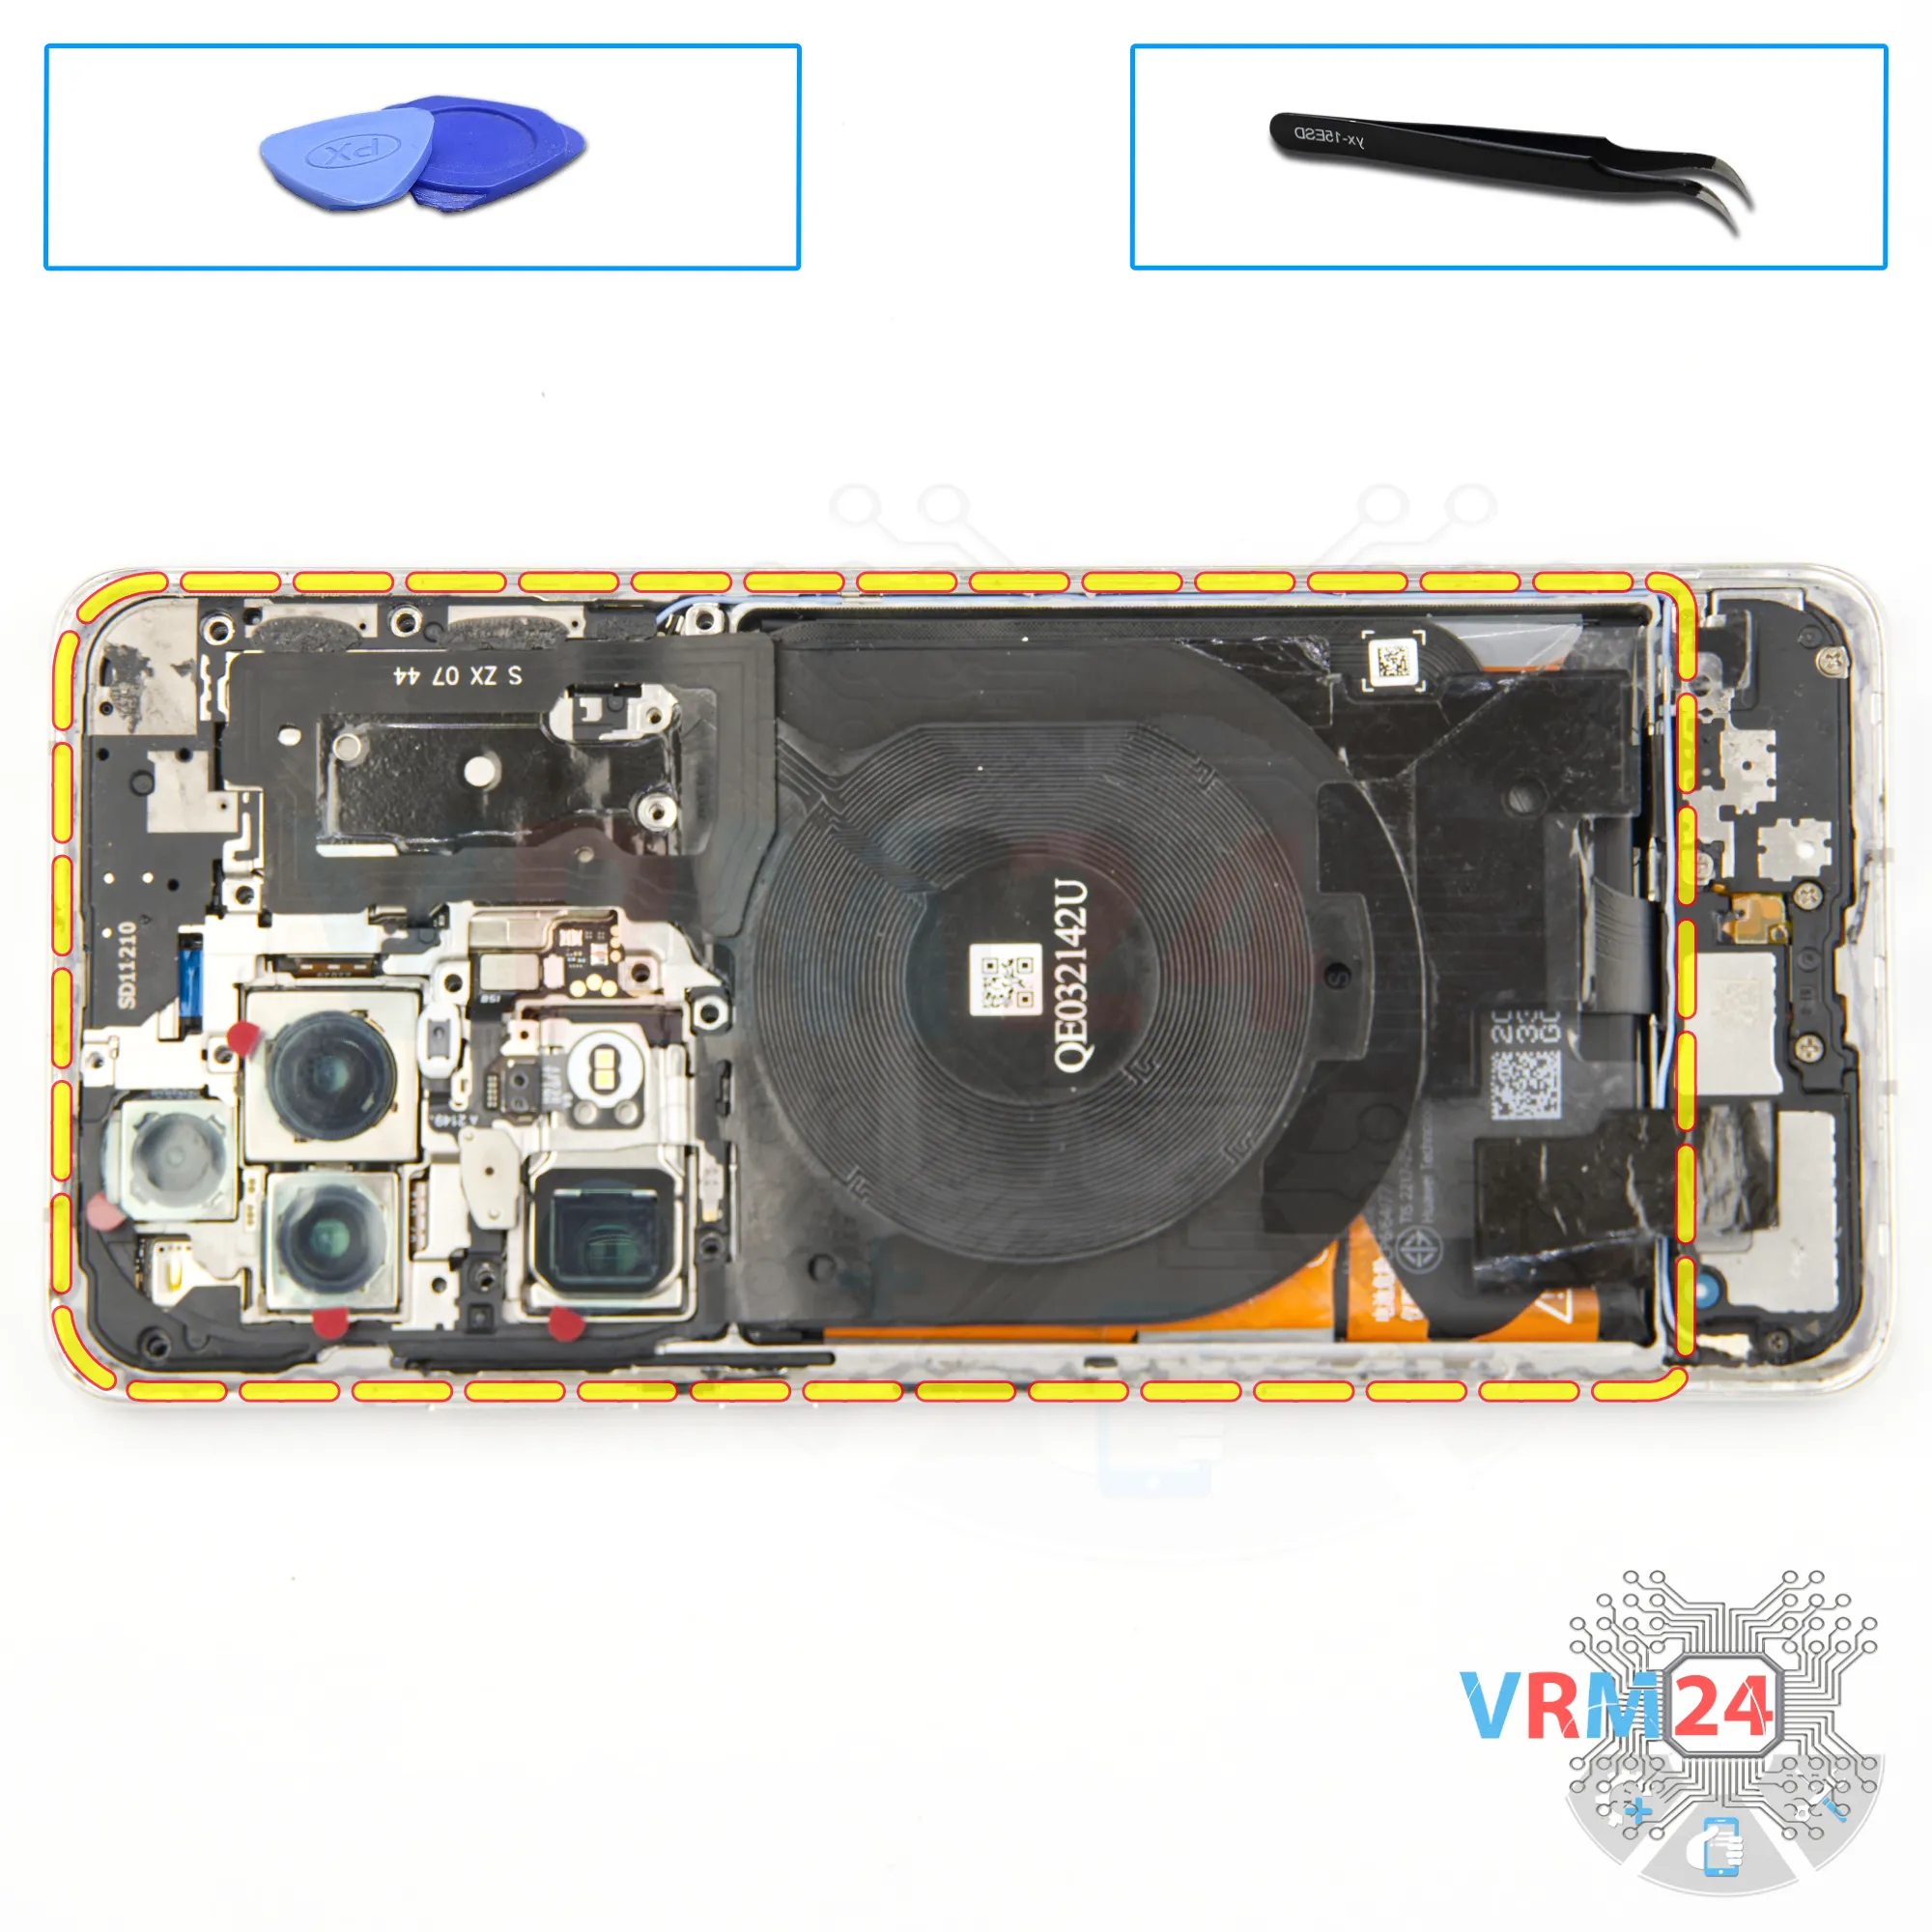
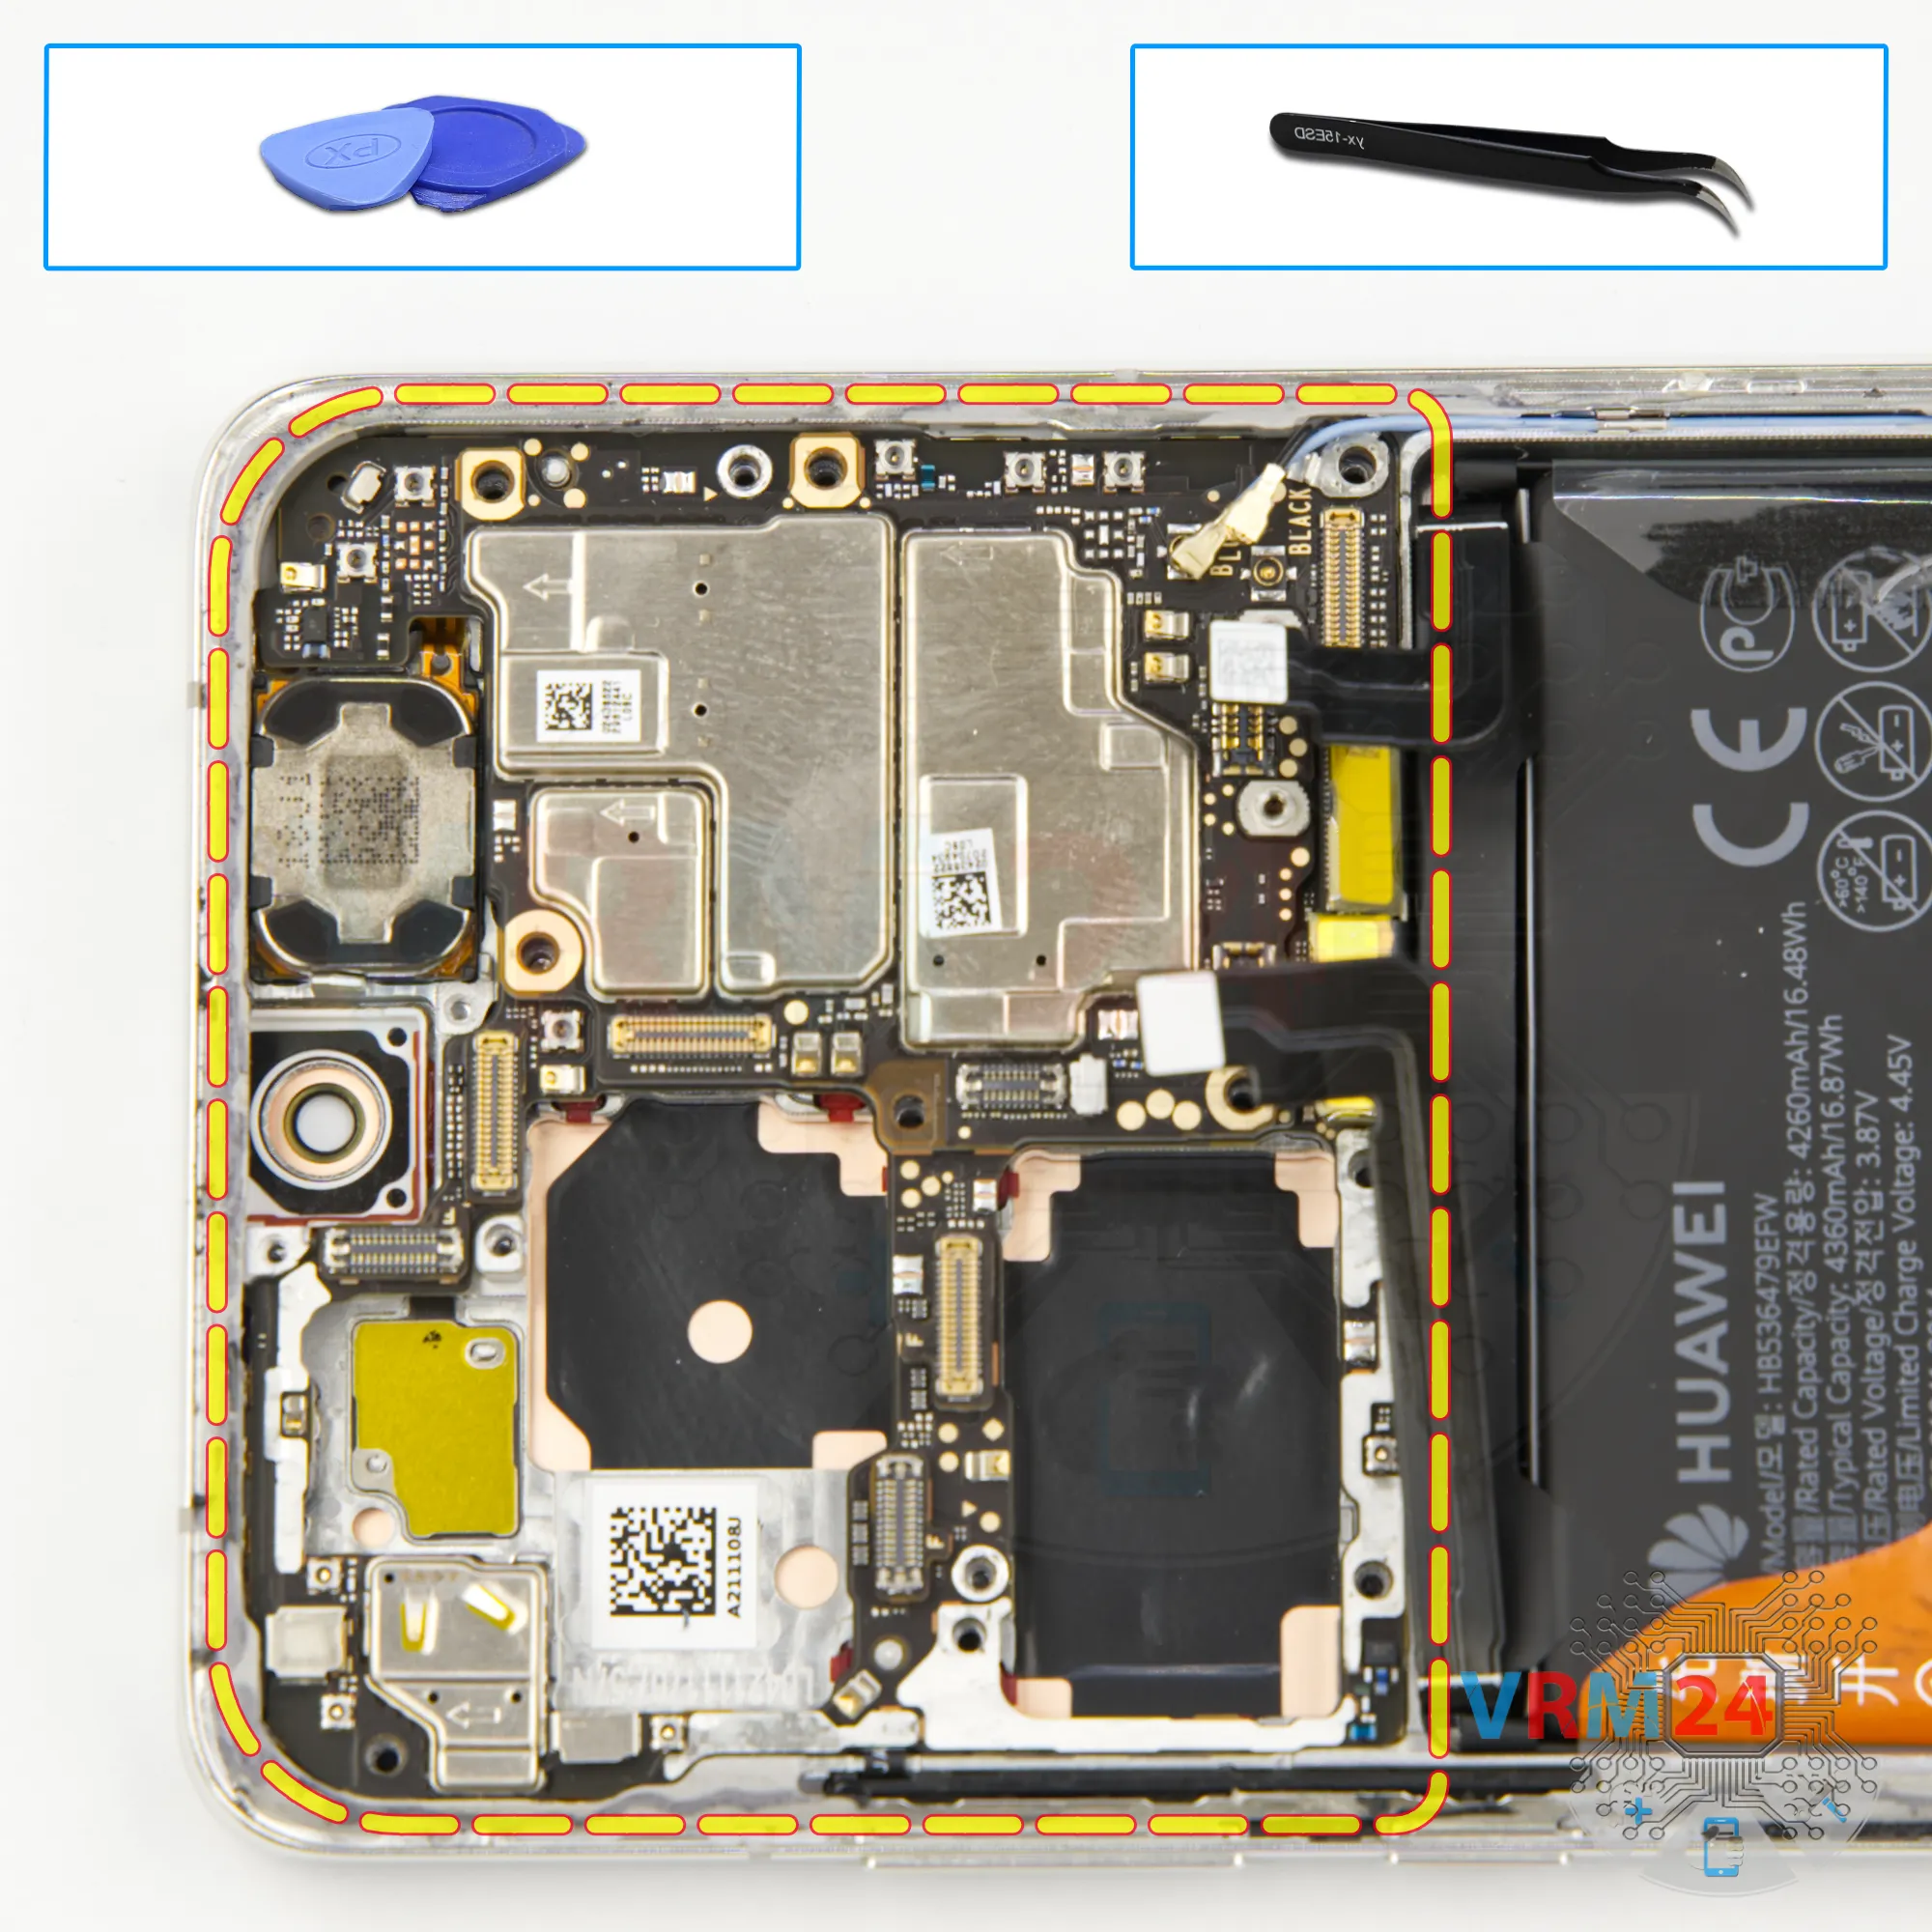
Now we move on to the motherboard.
Disconnect the two coaxial cable connectors, inter-board cable connector and display cable connector.

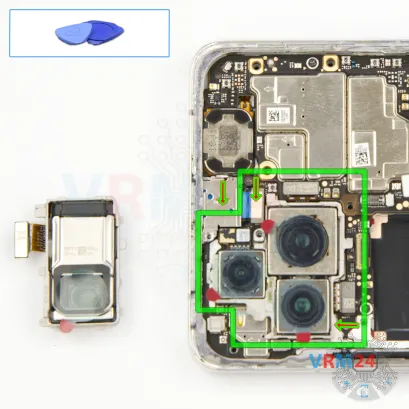


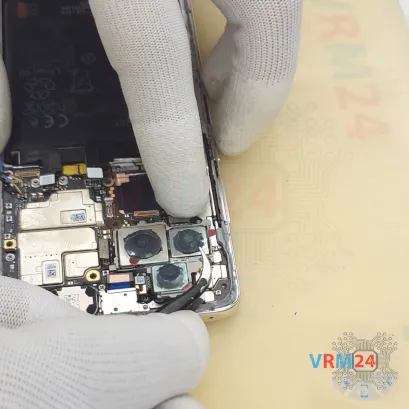
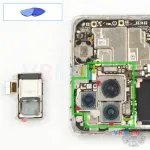


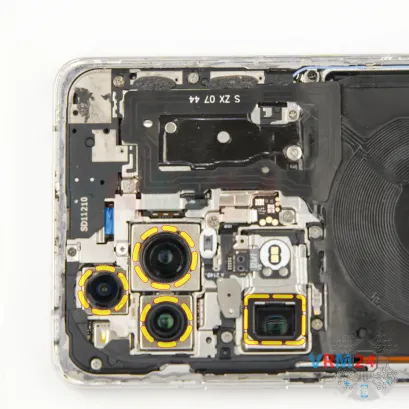
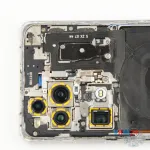
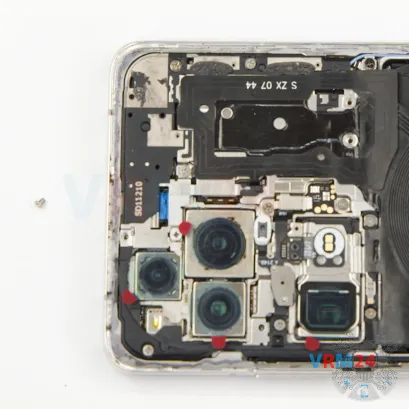
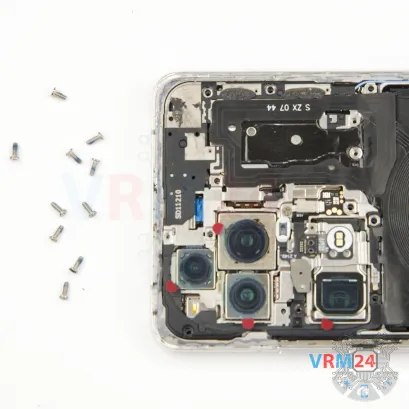
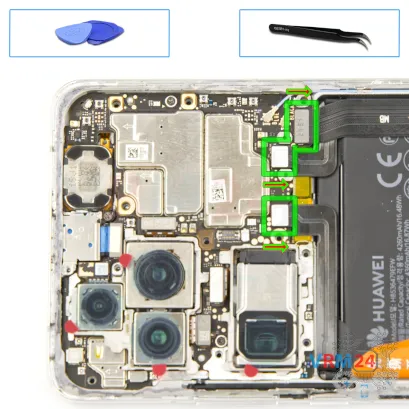
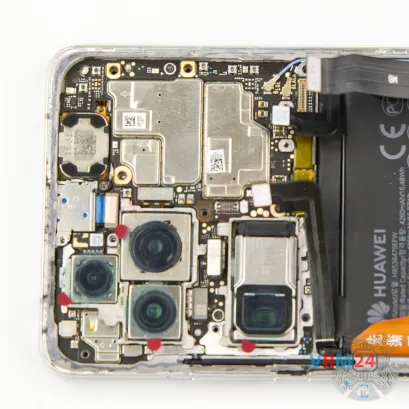
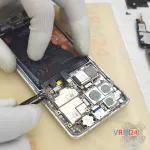
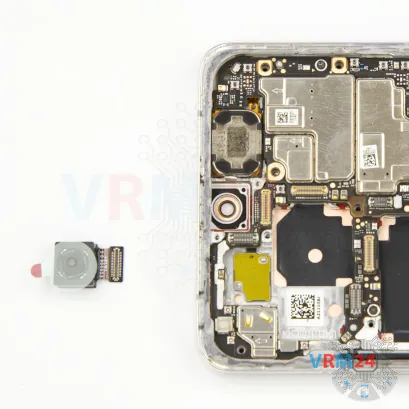
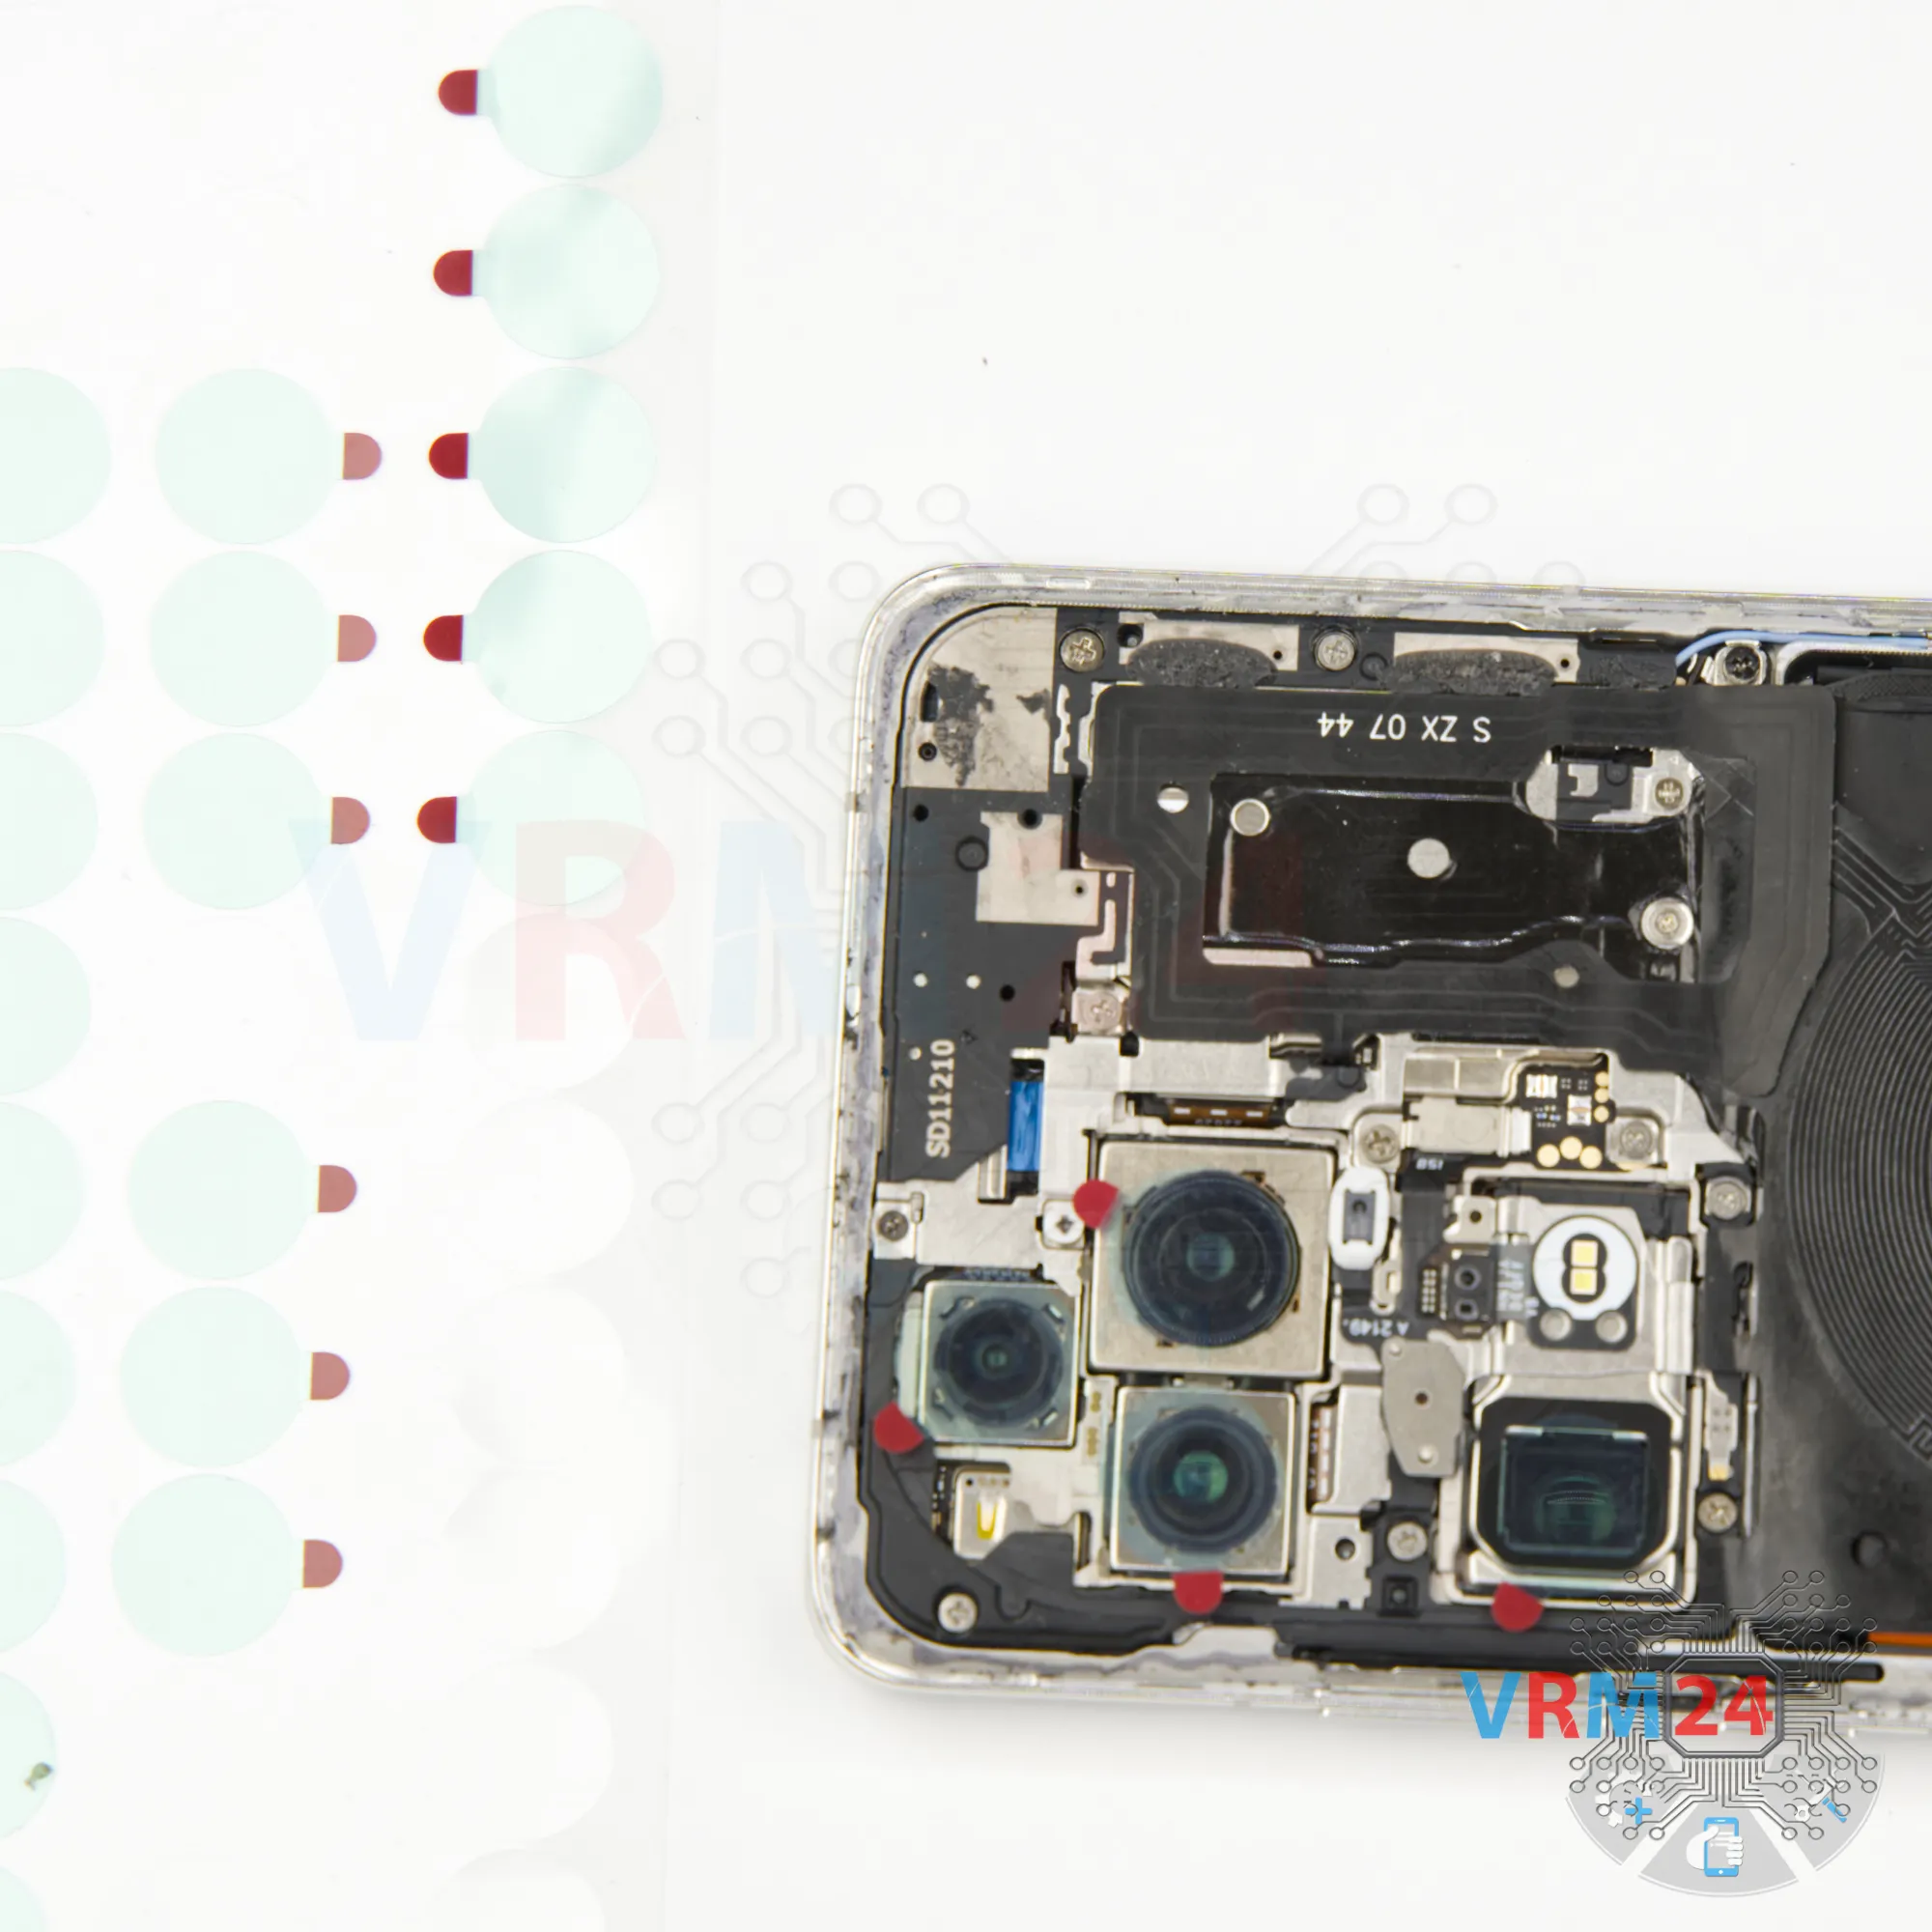
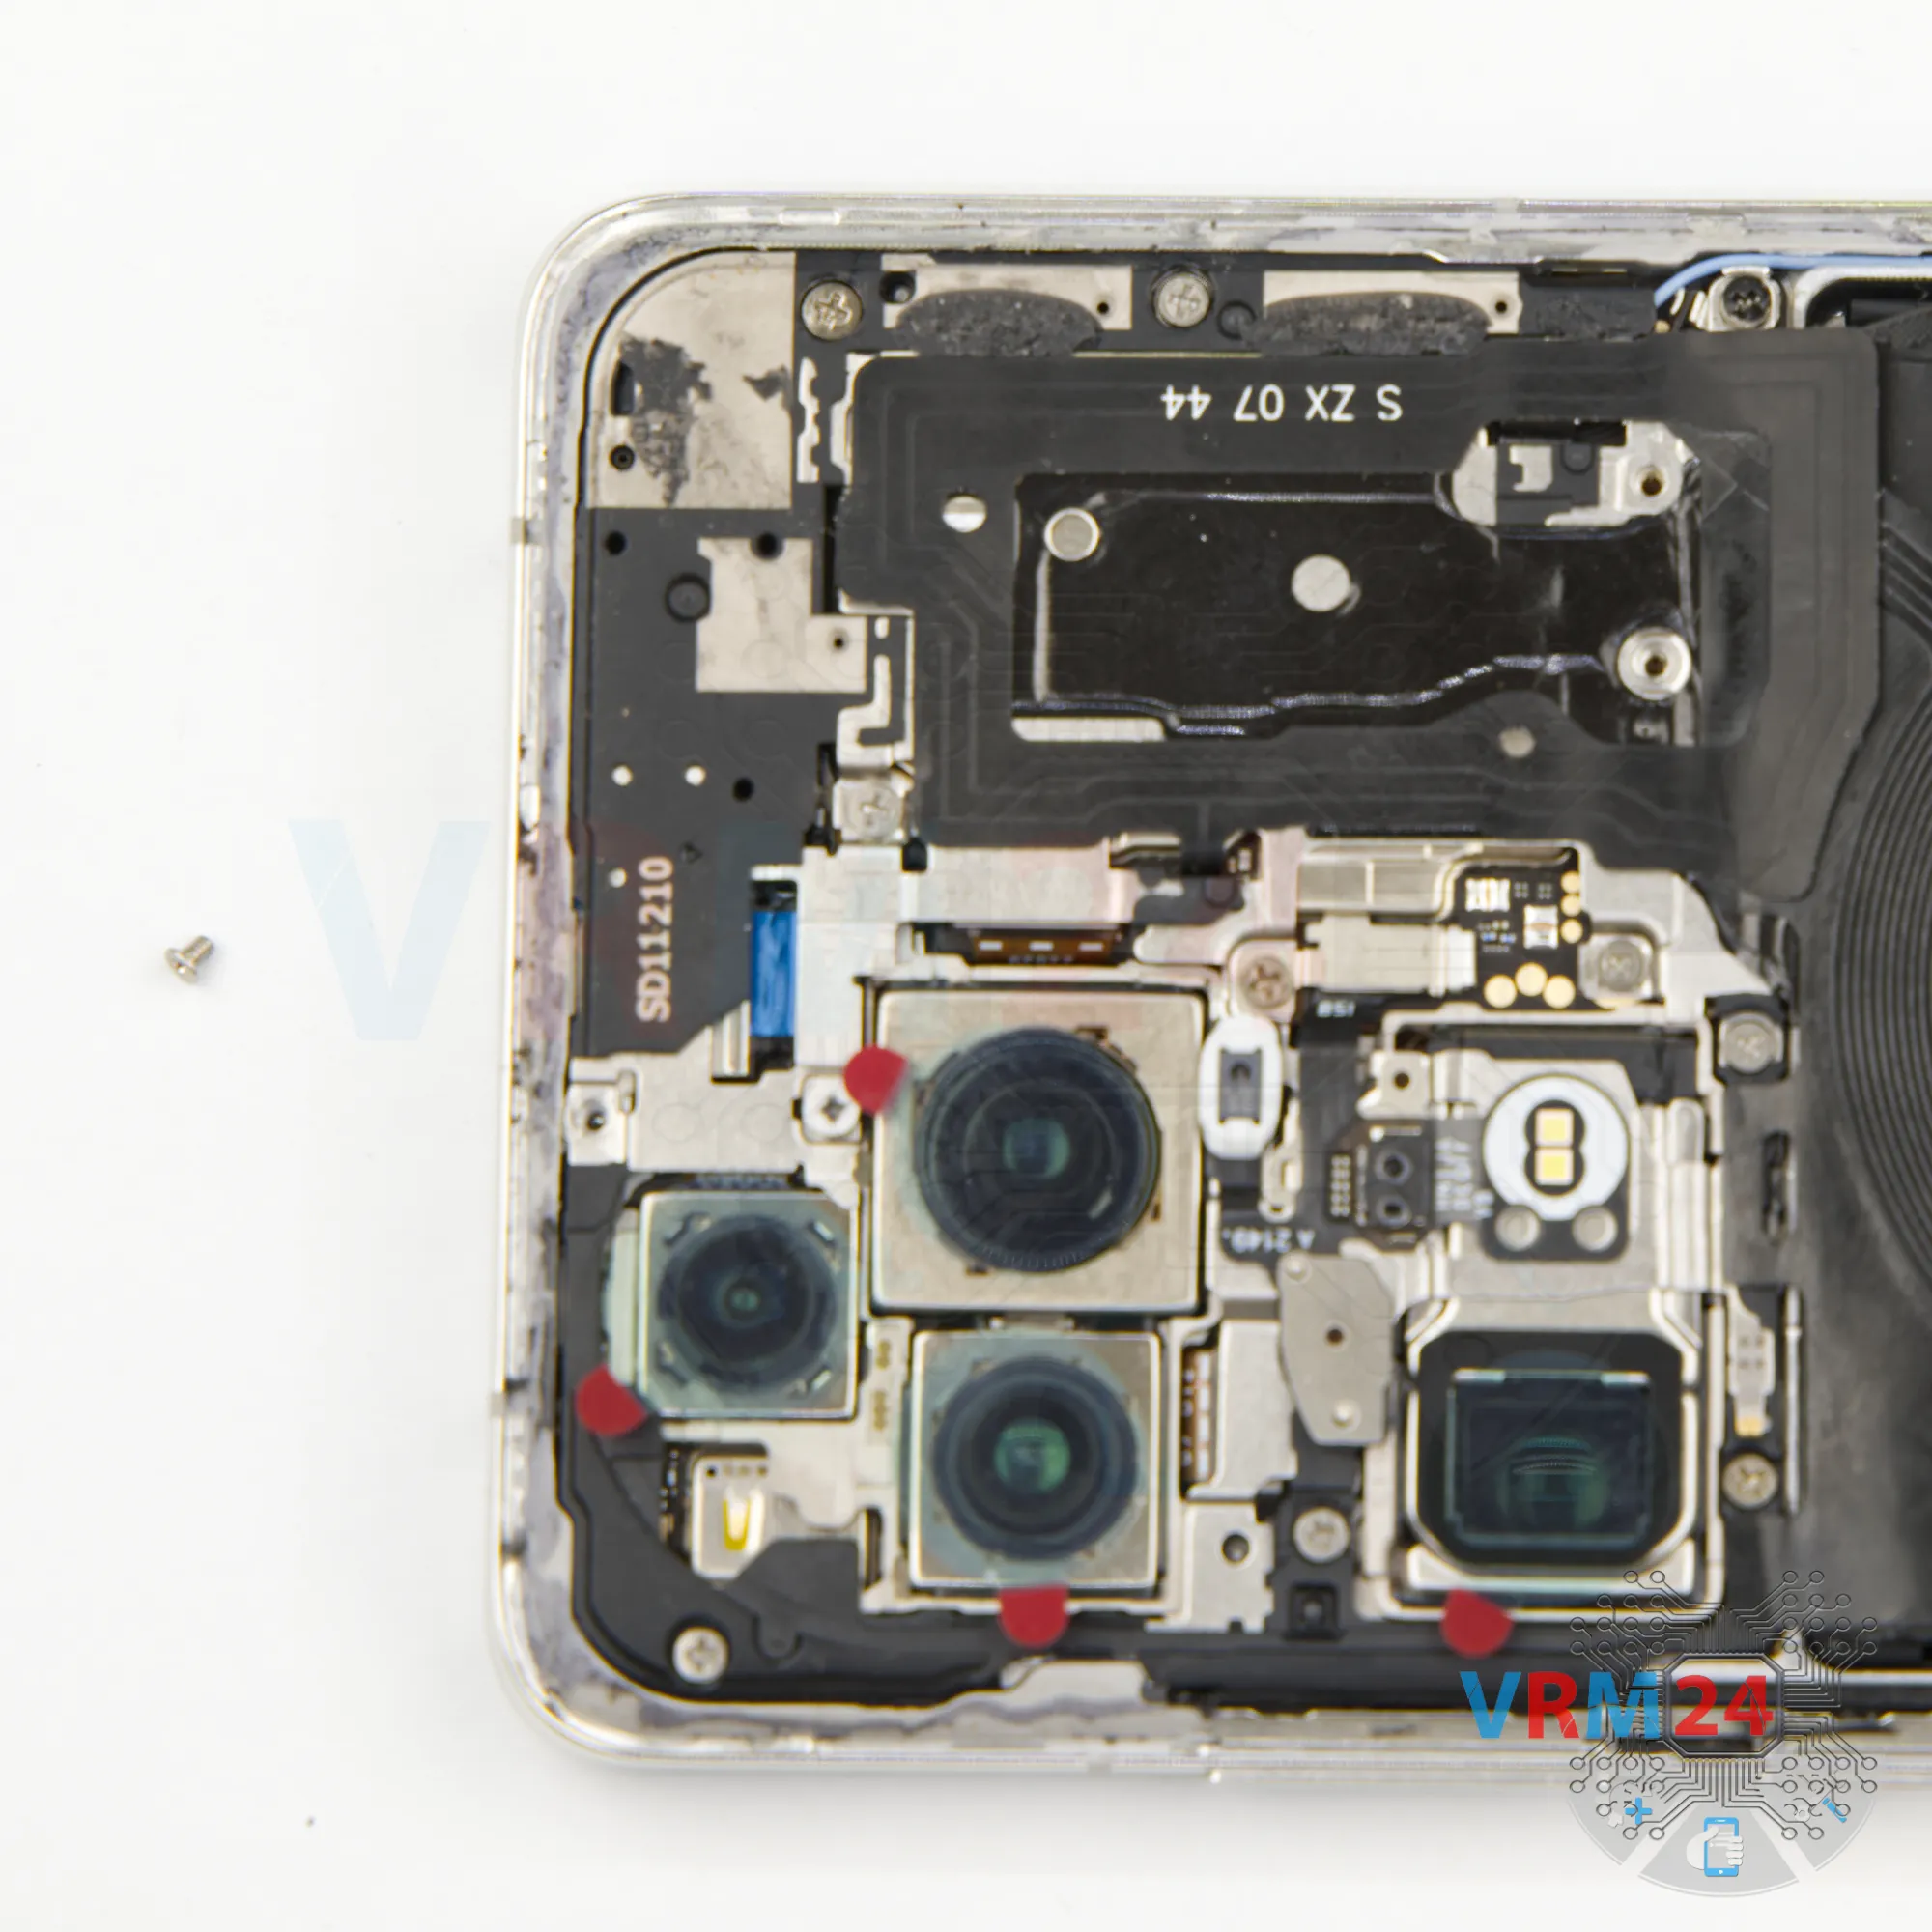
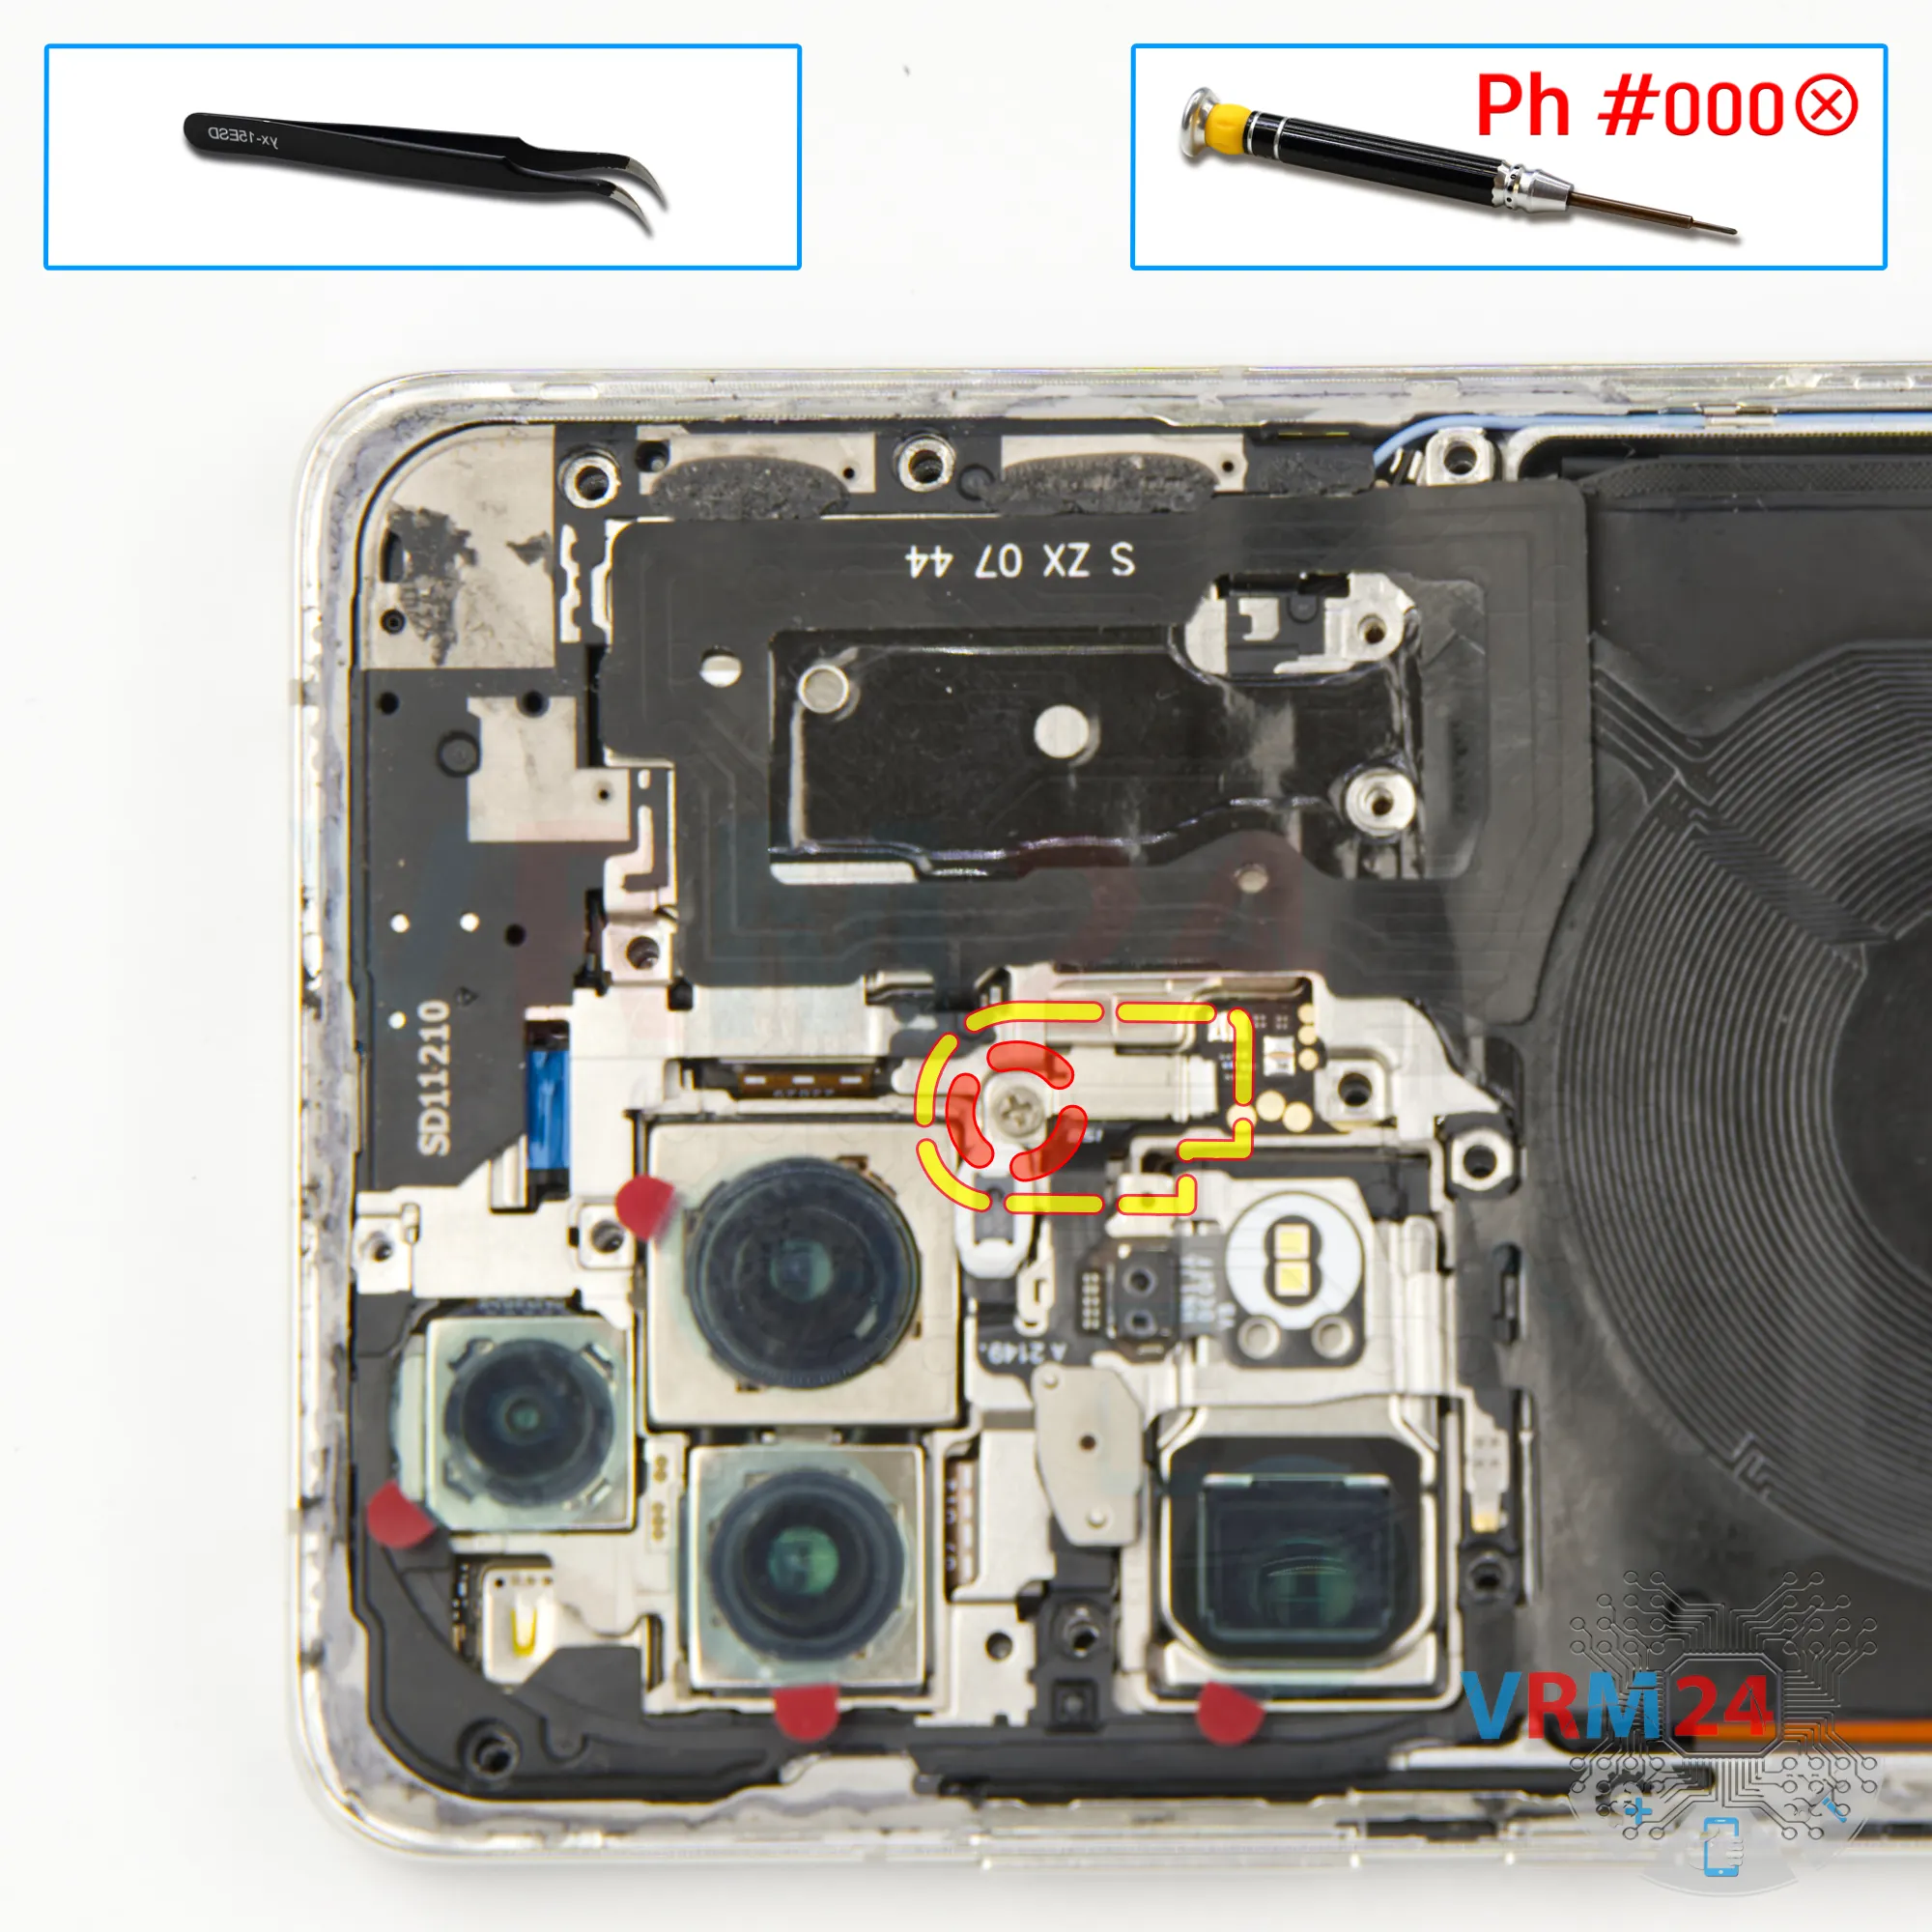
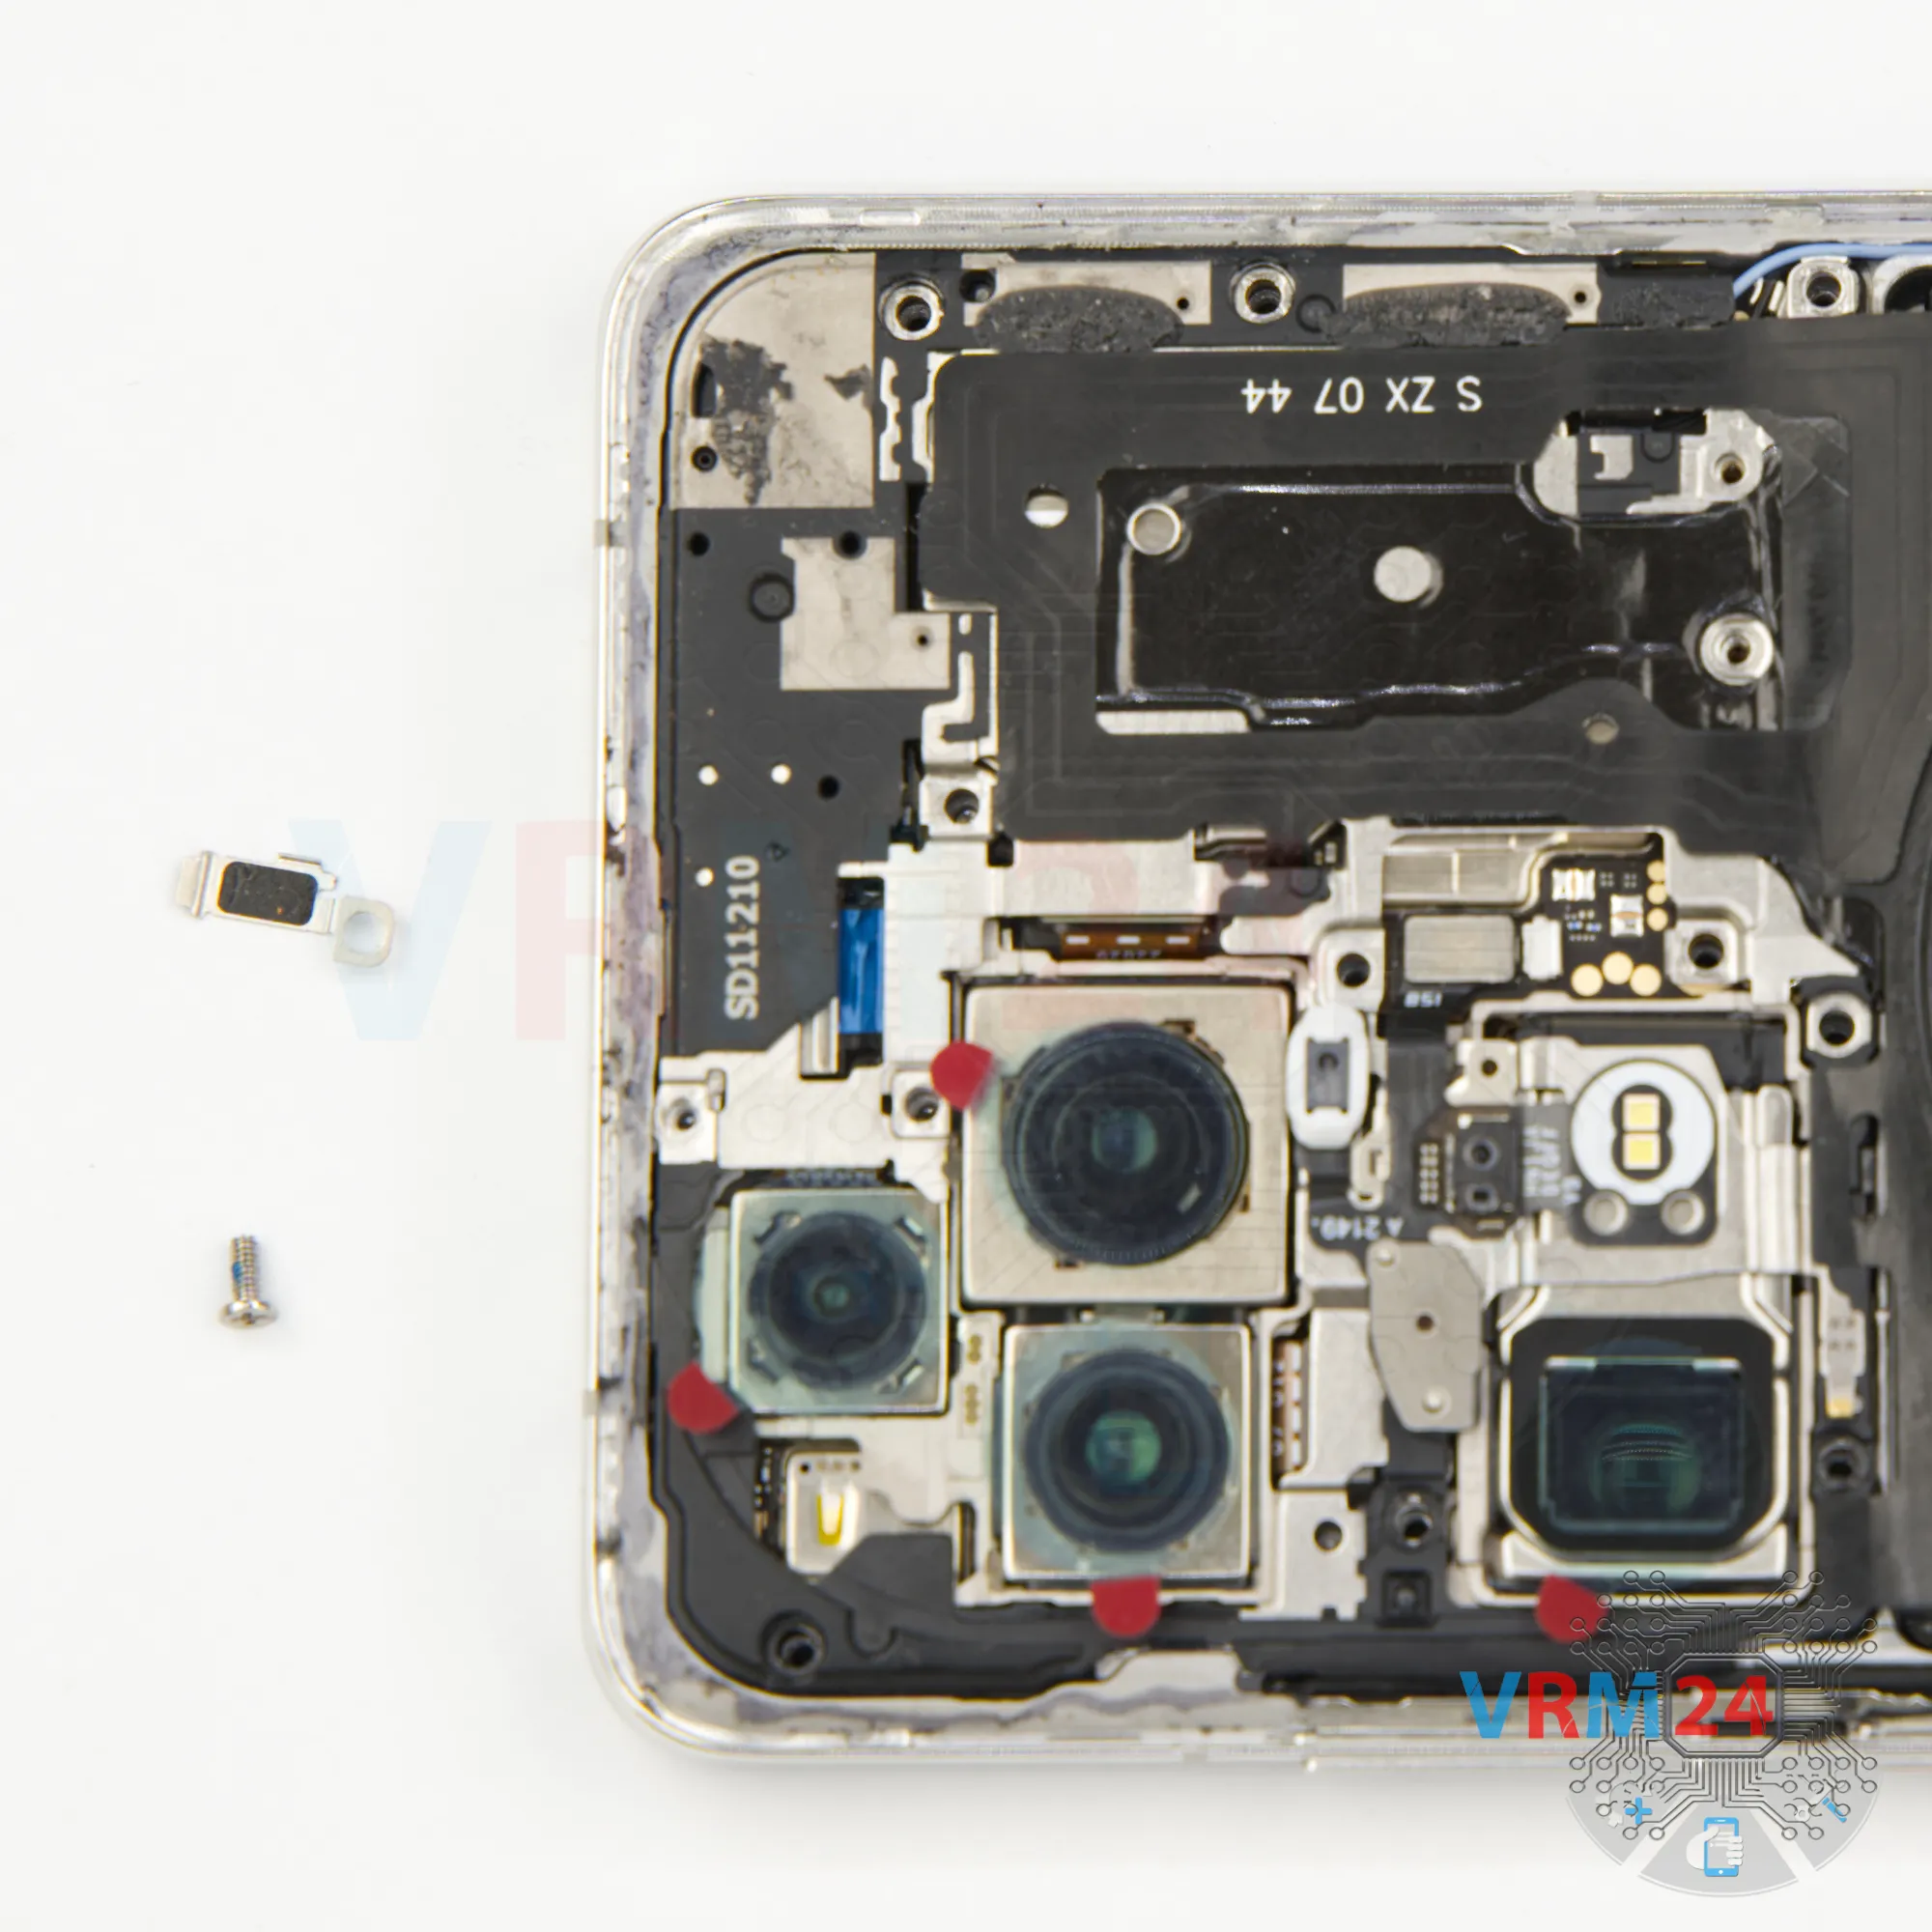
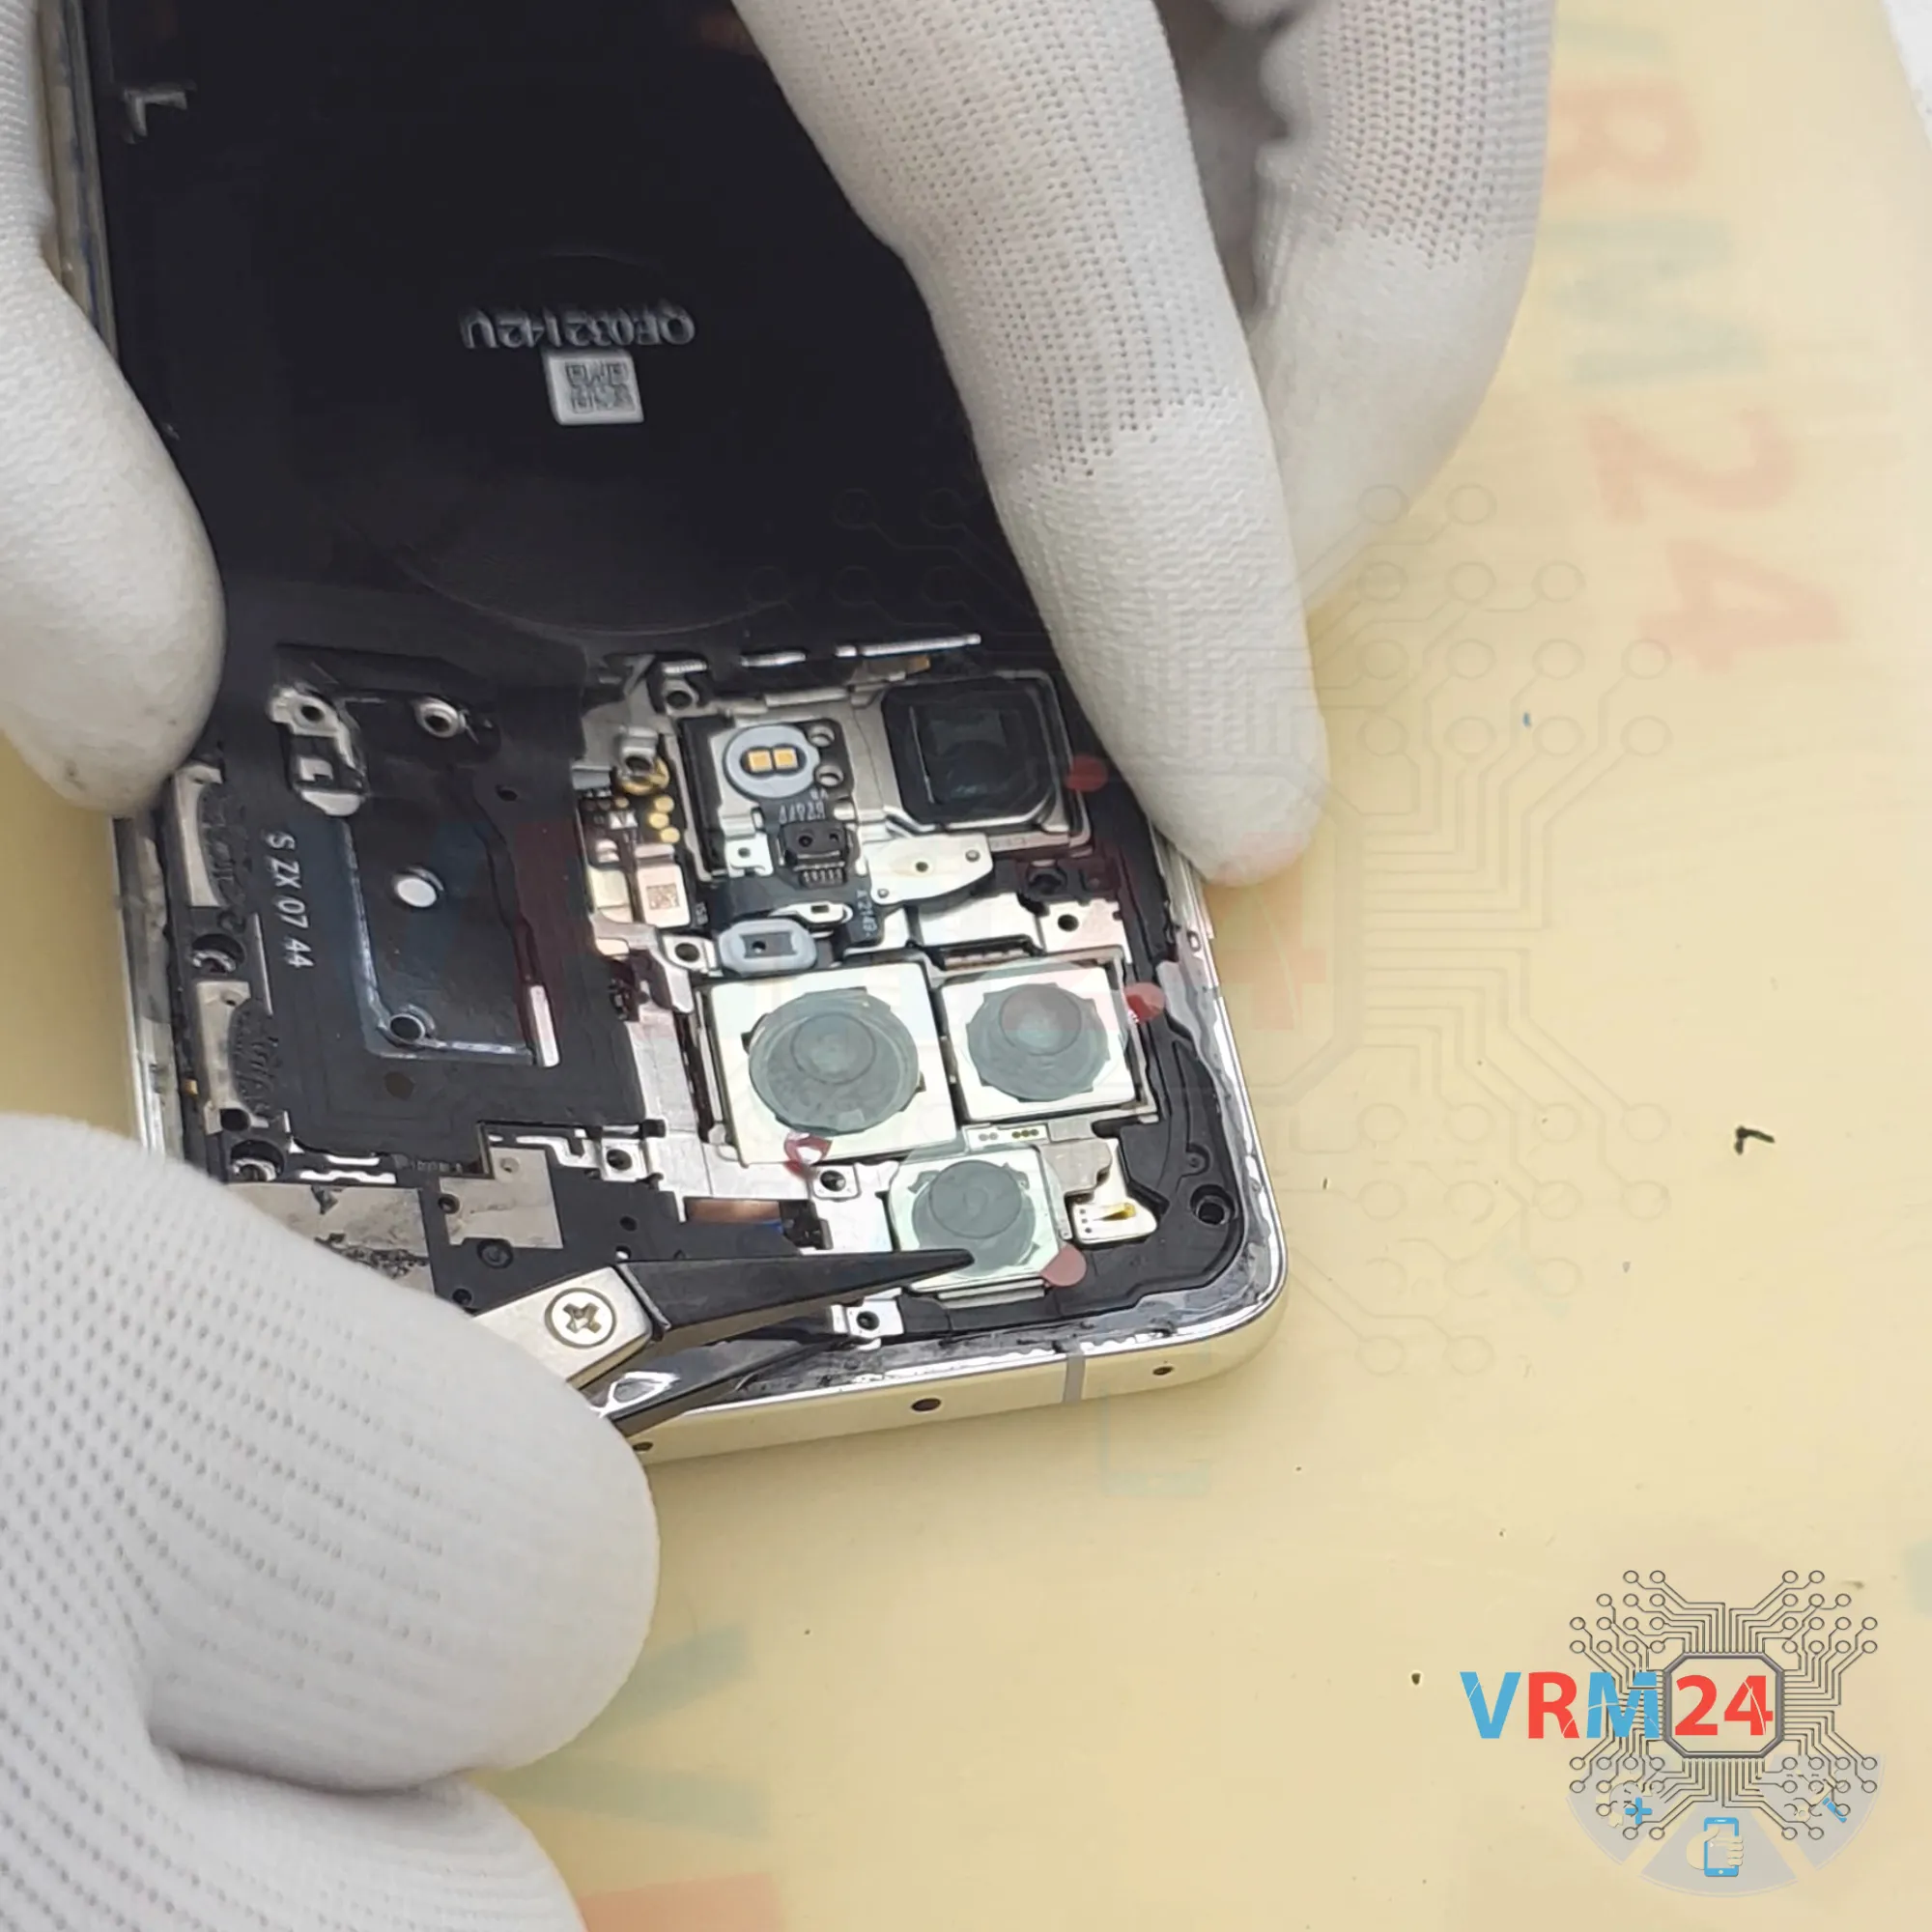
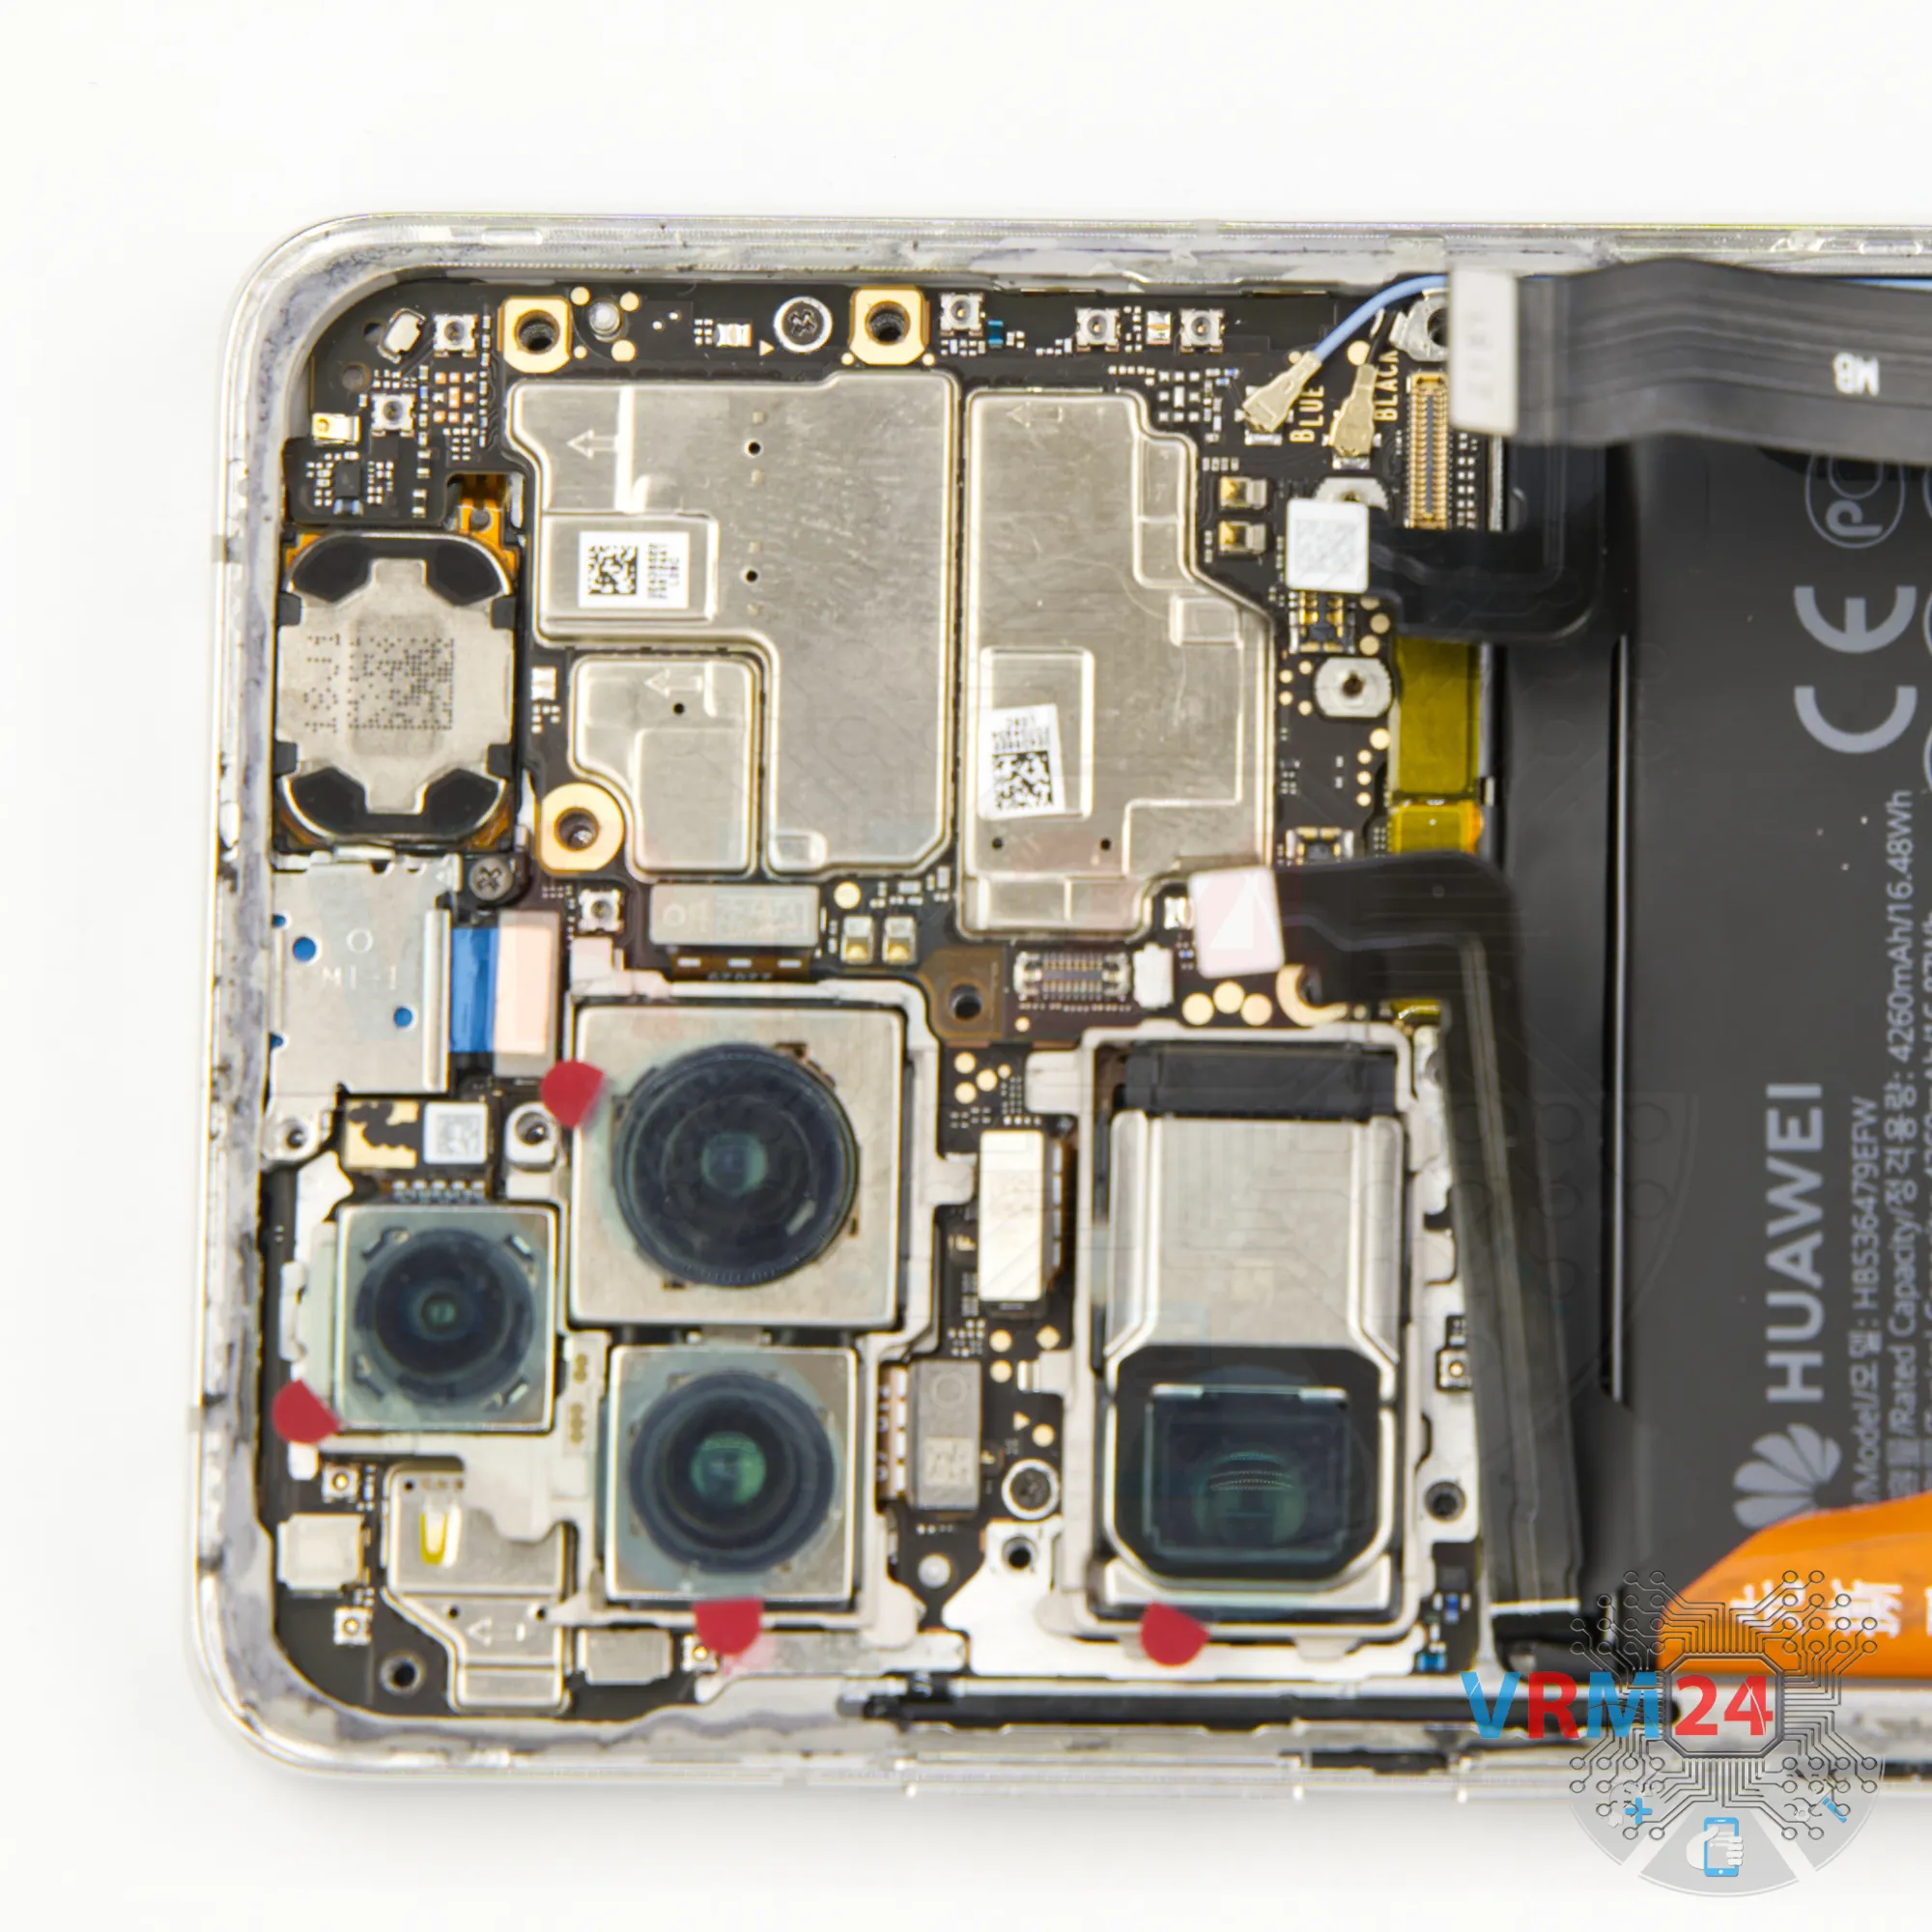
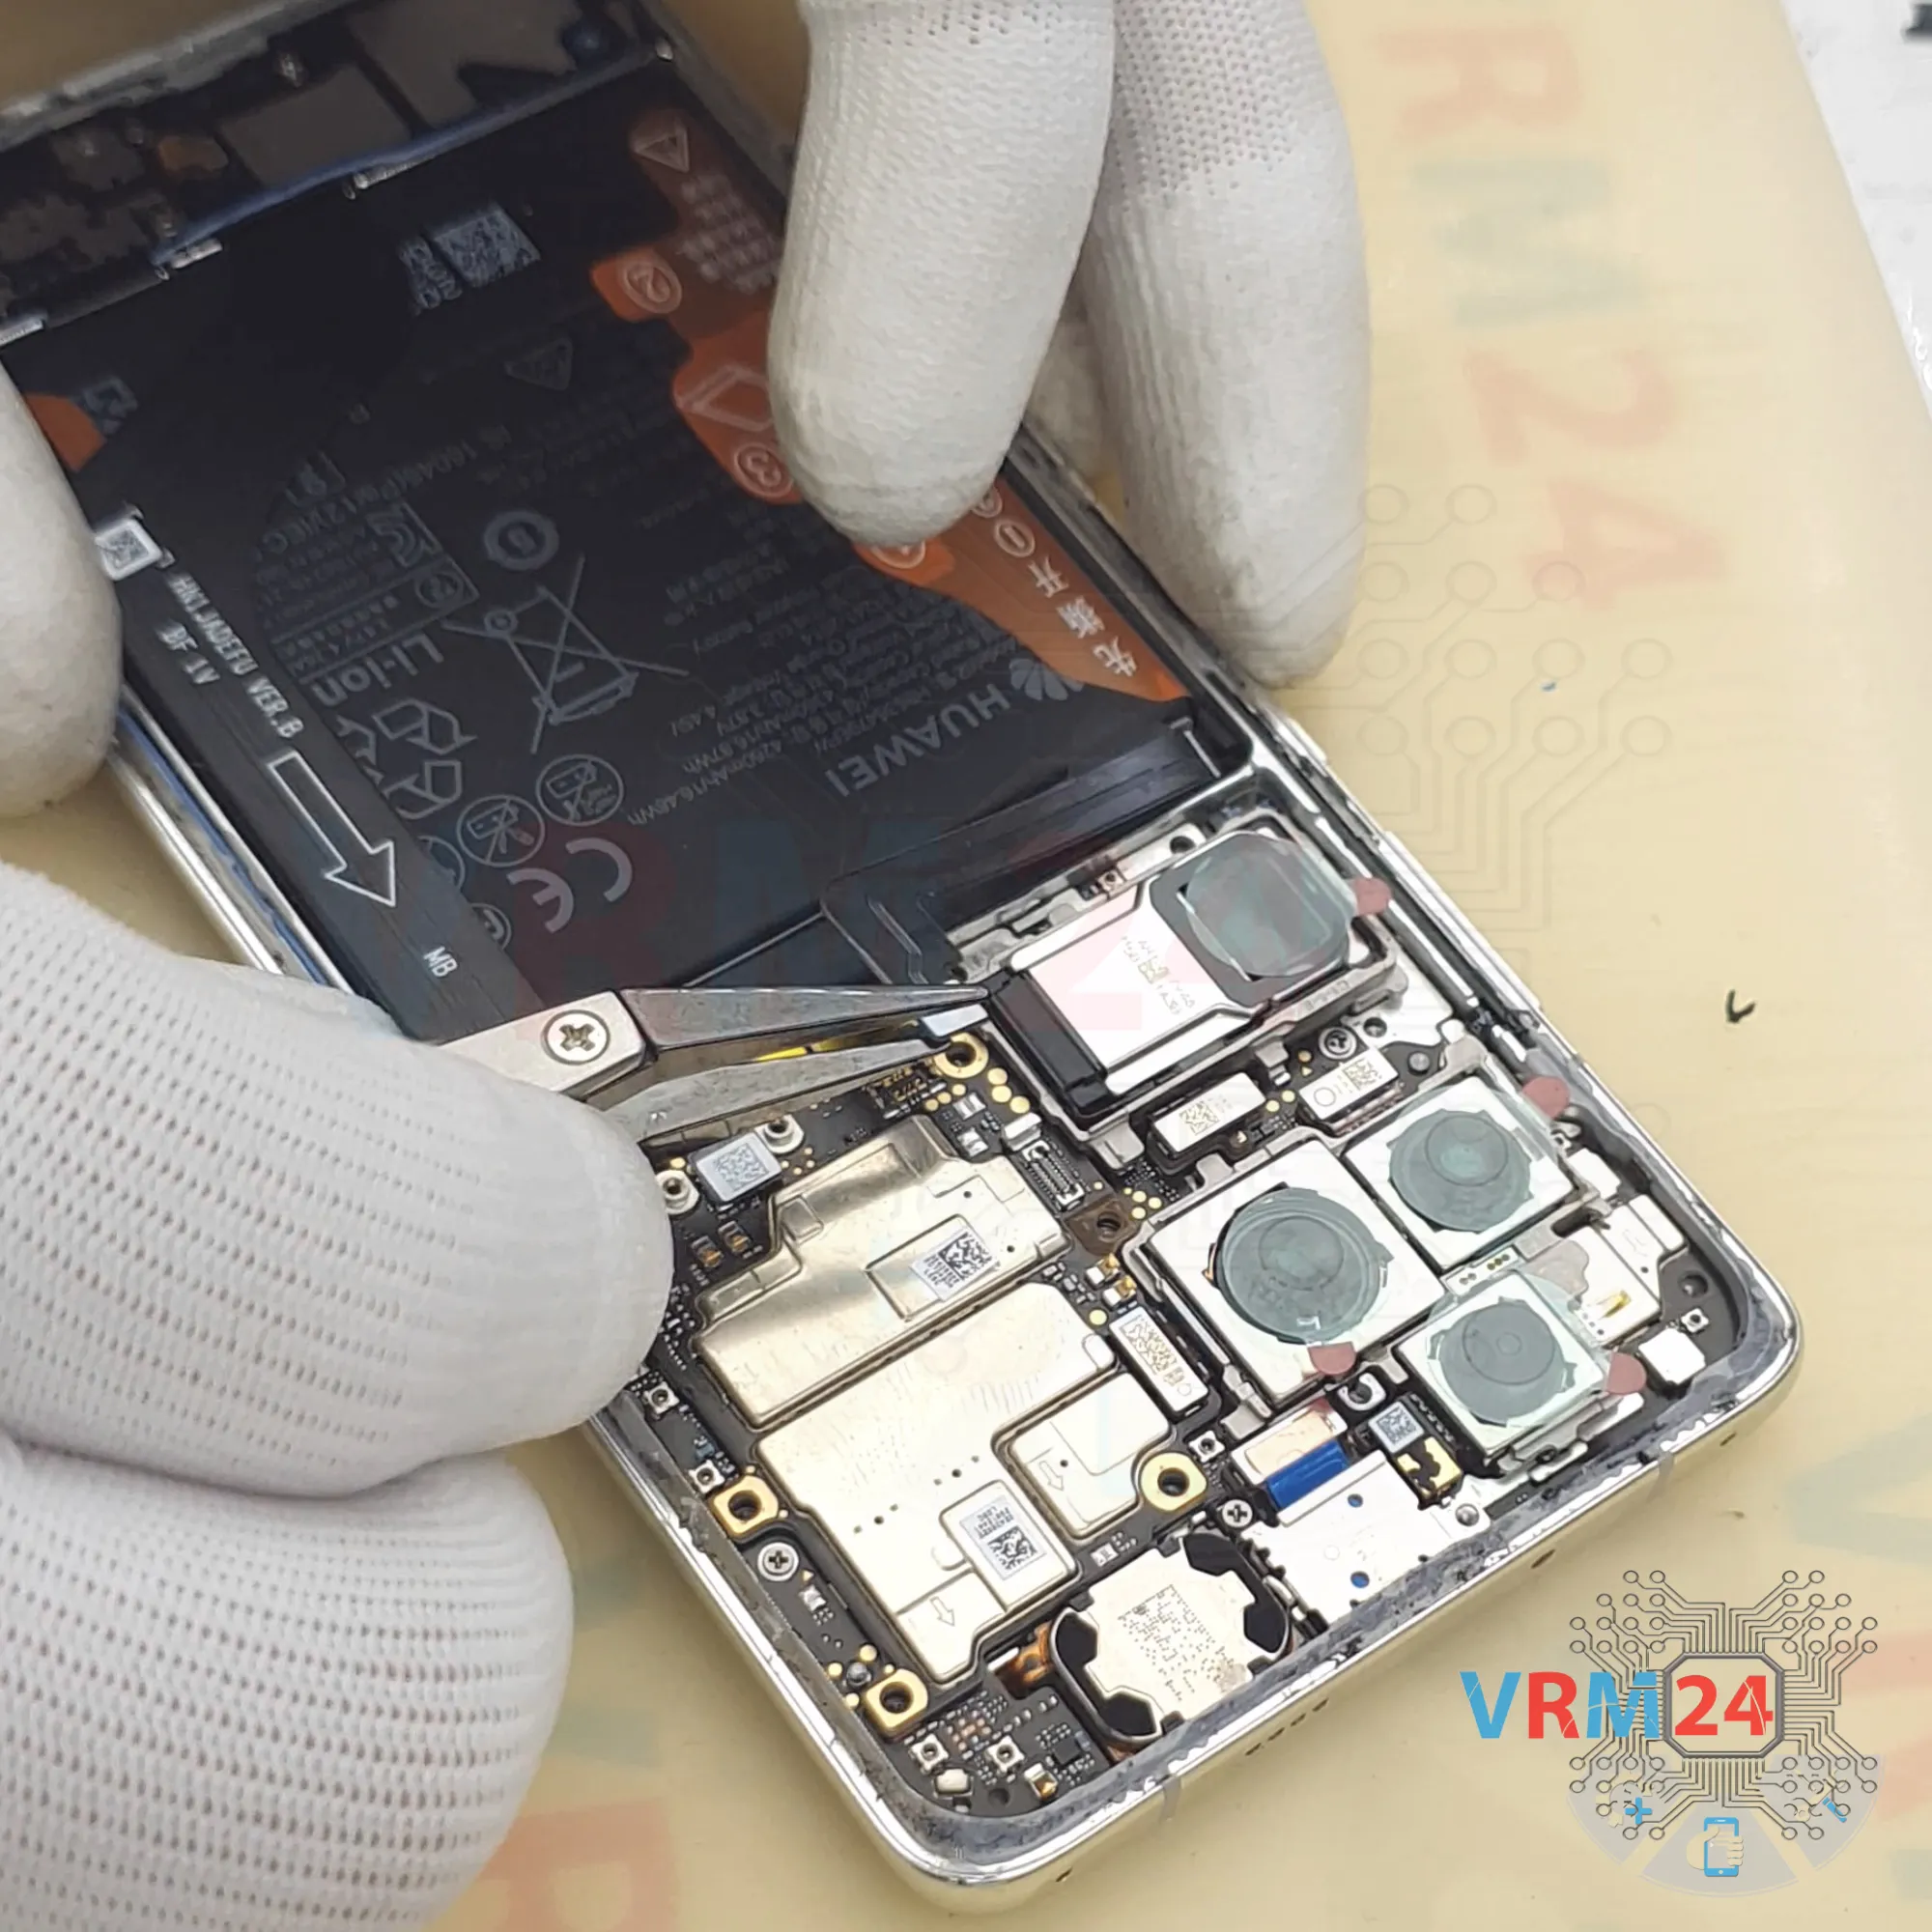
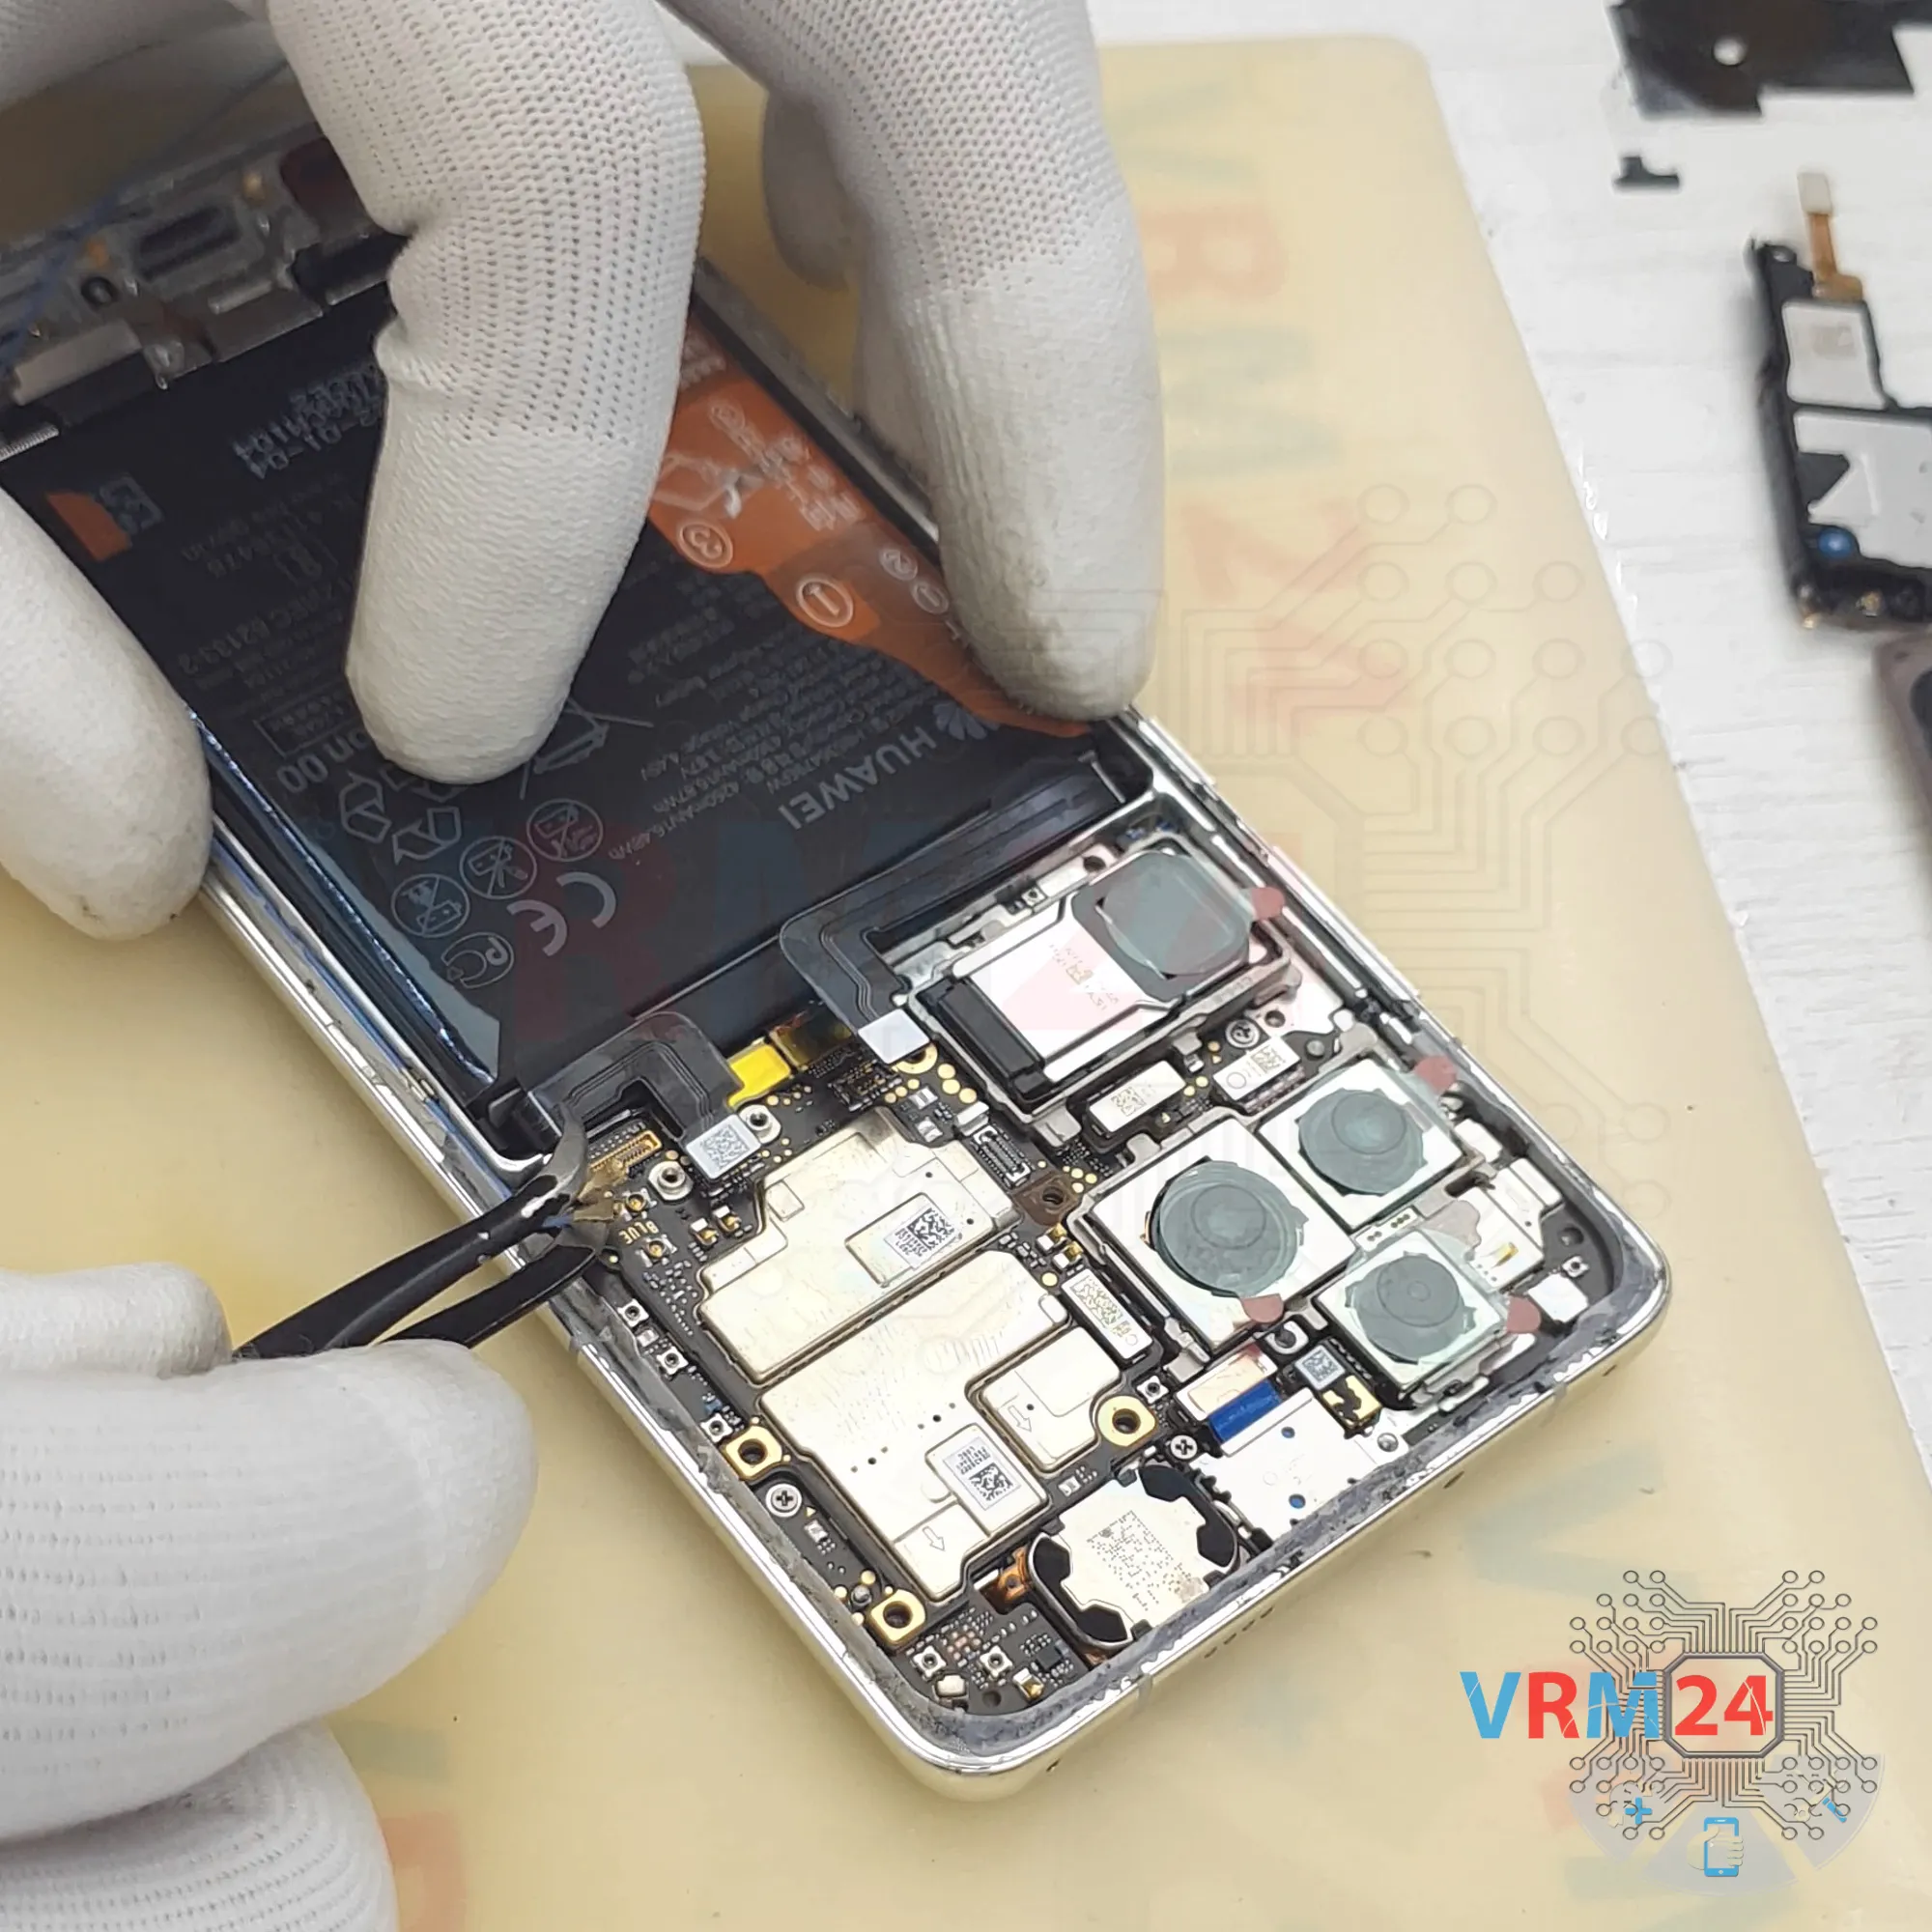
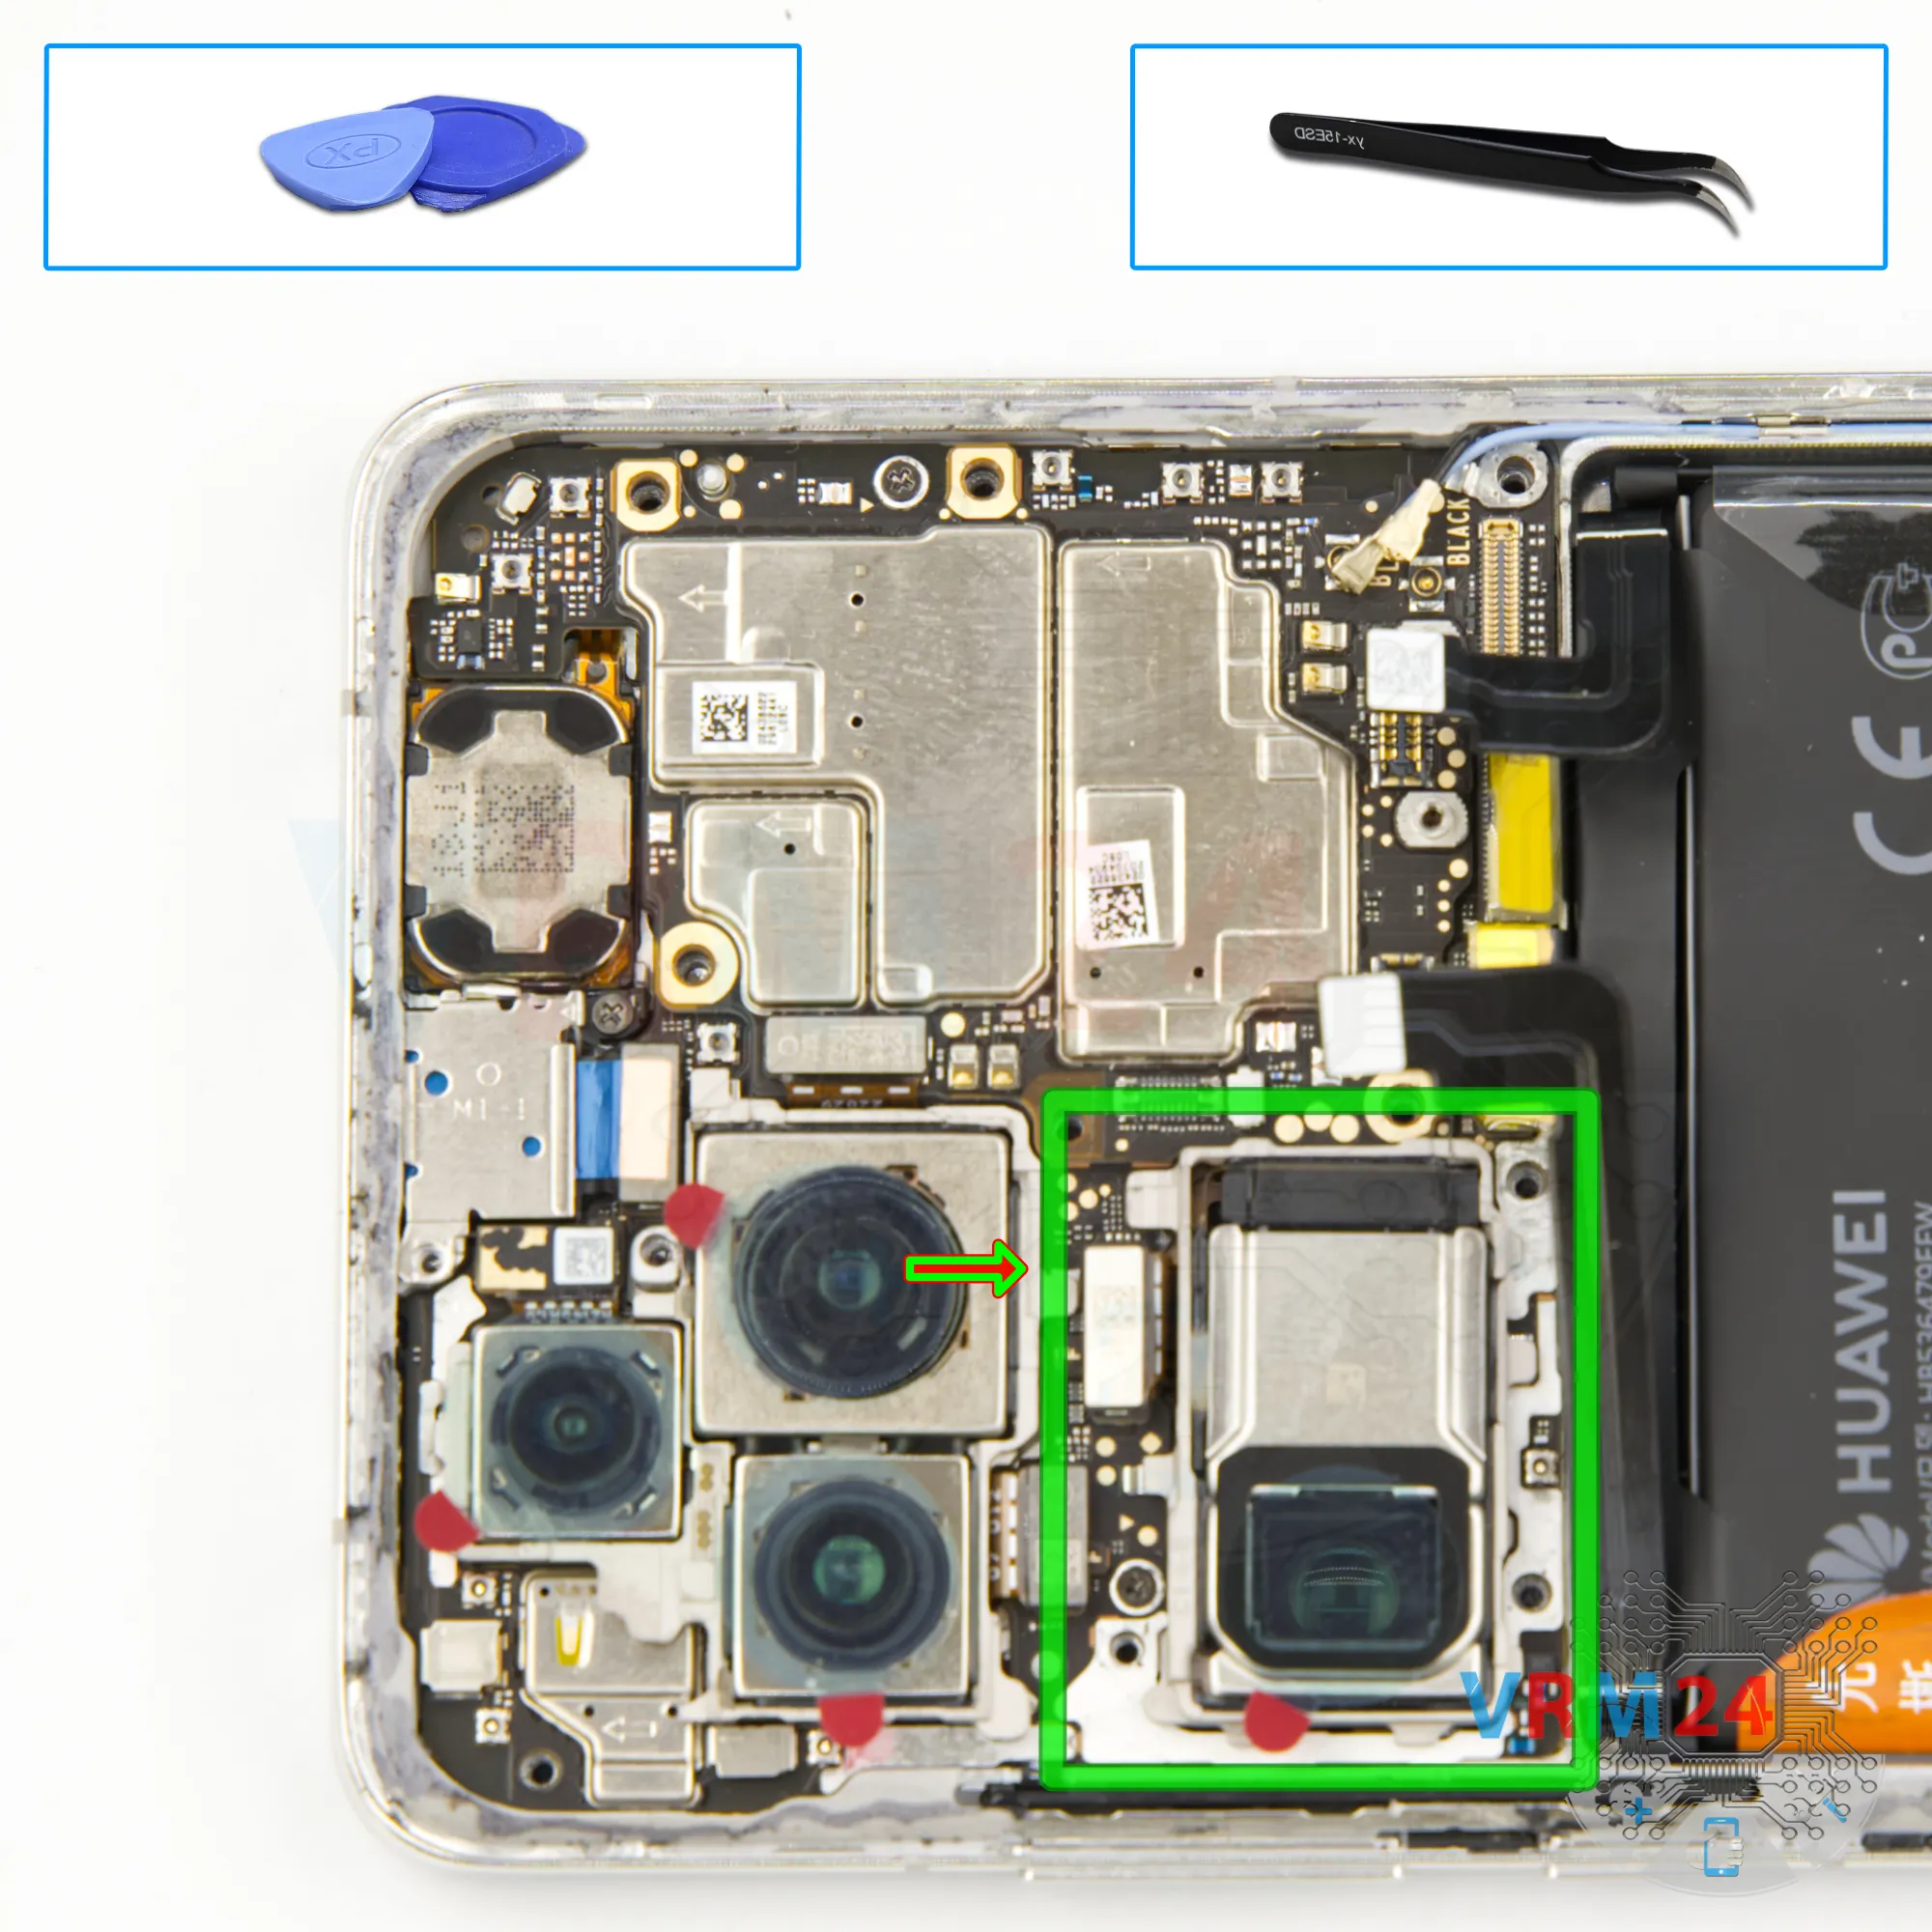
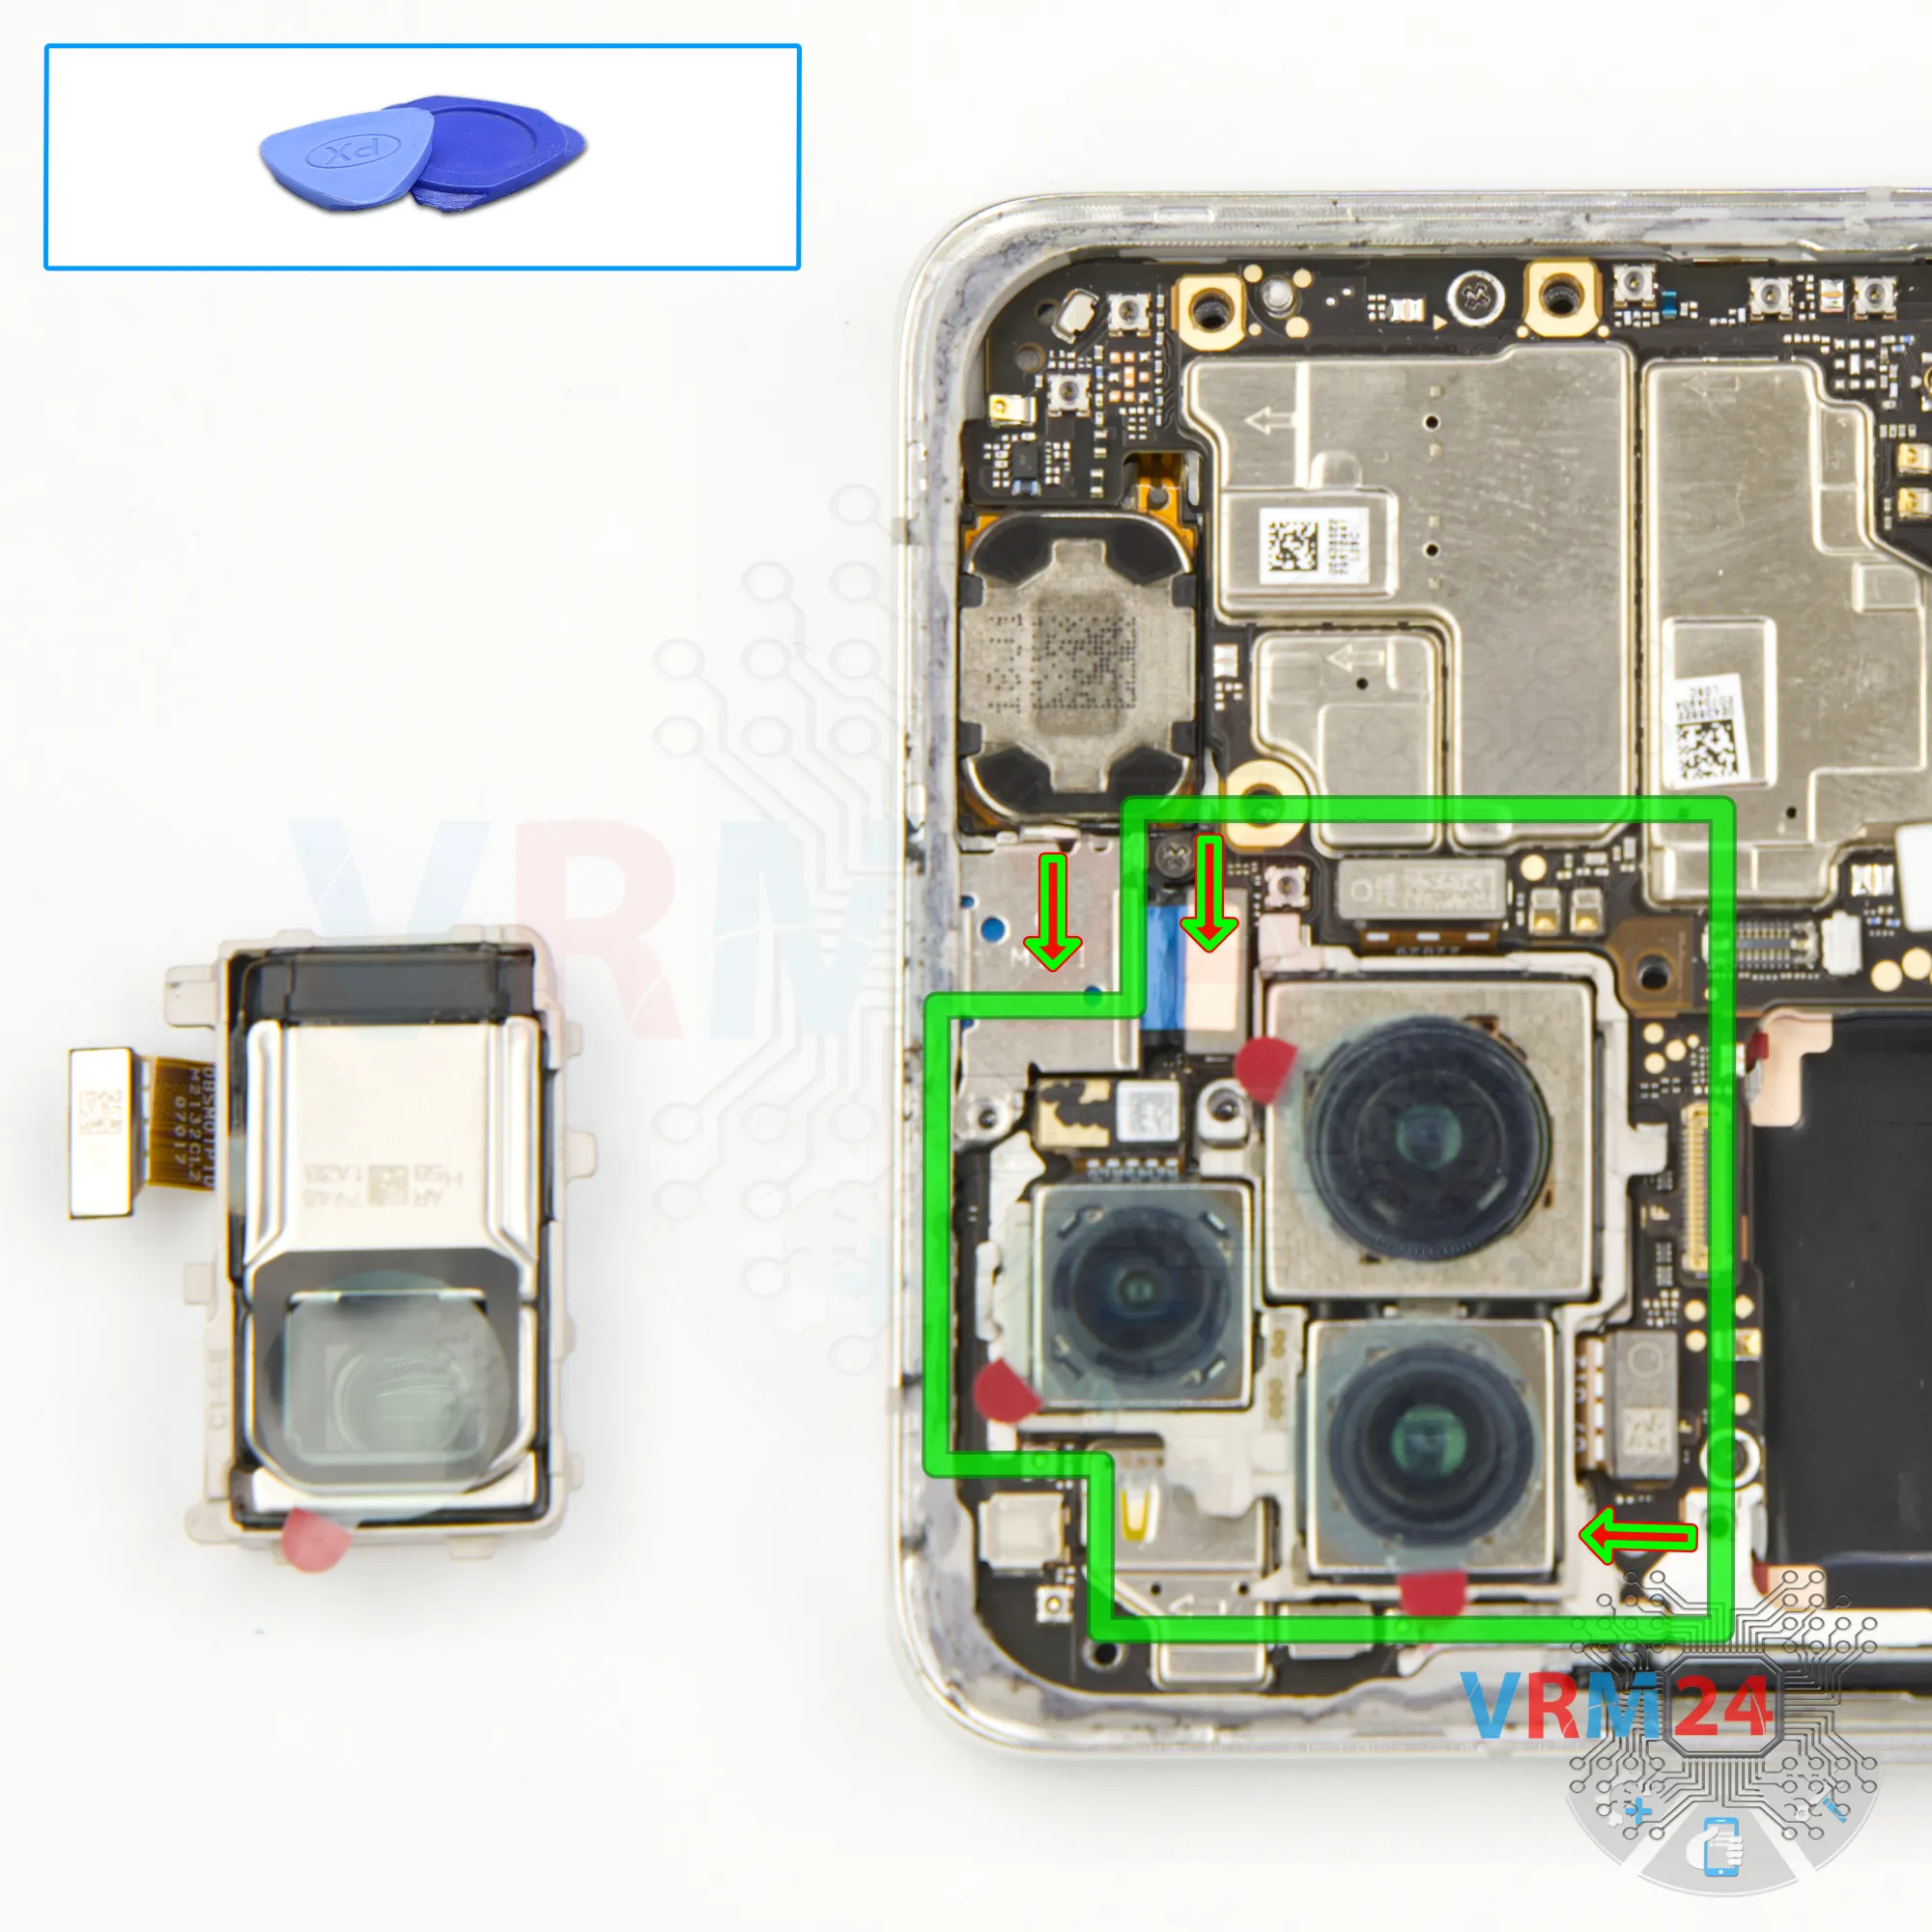
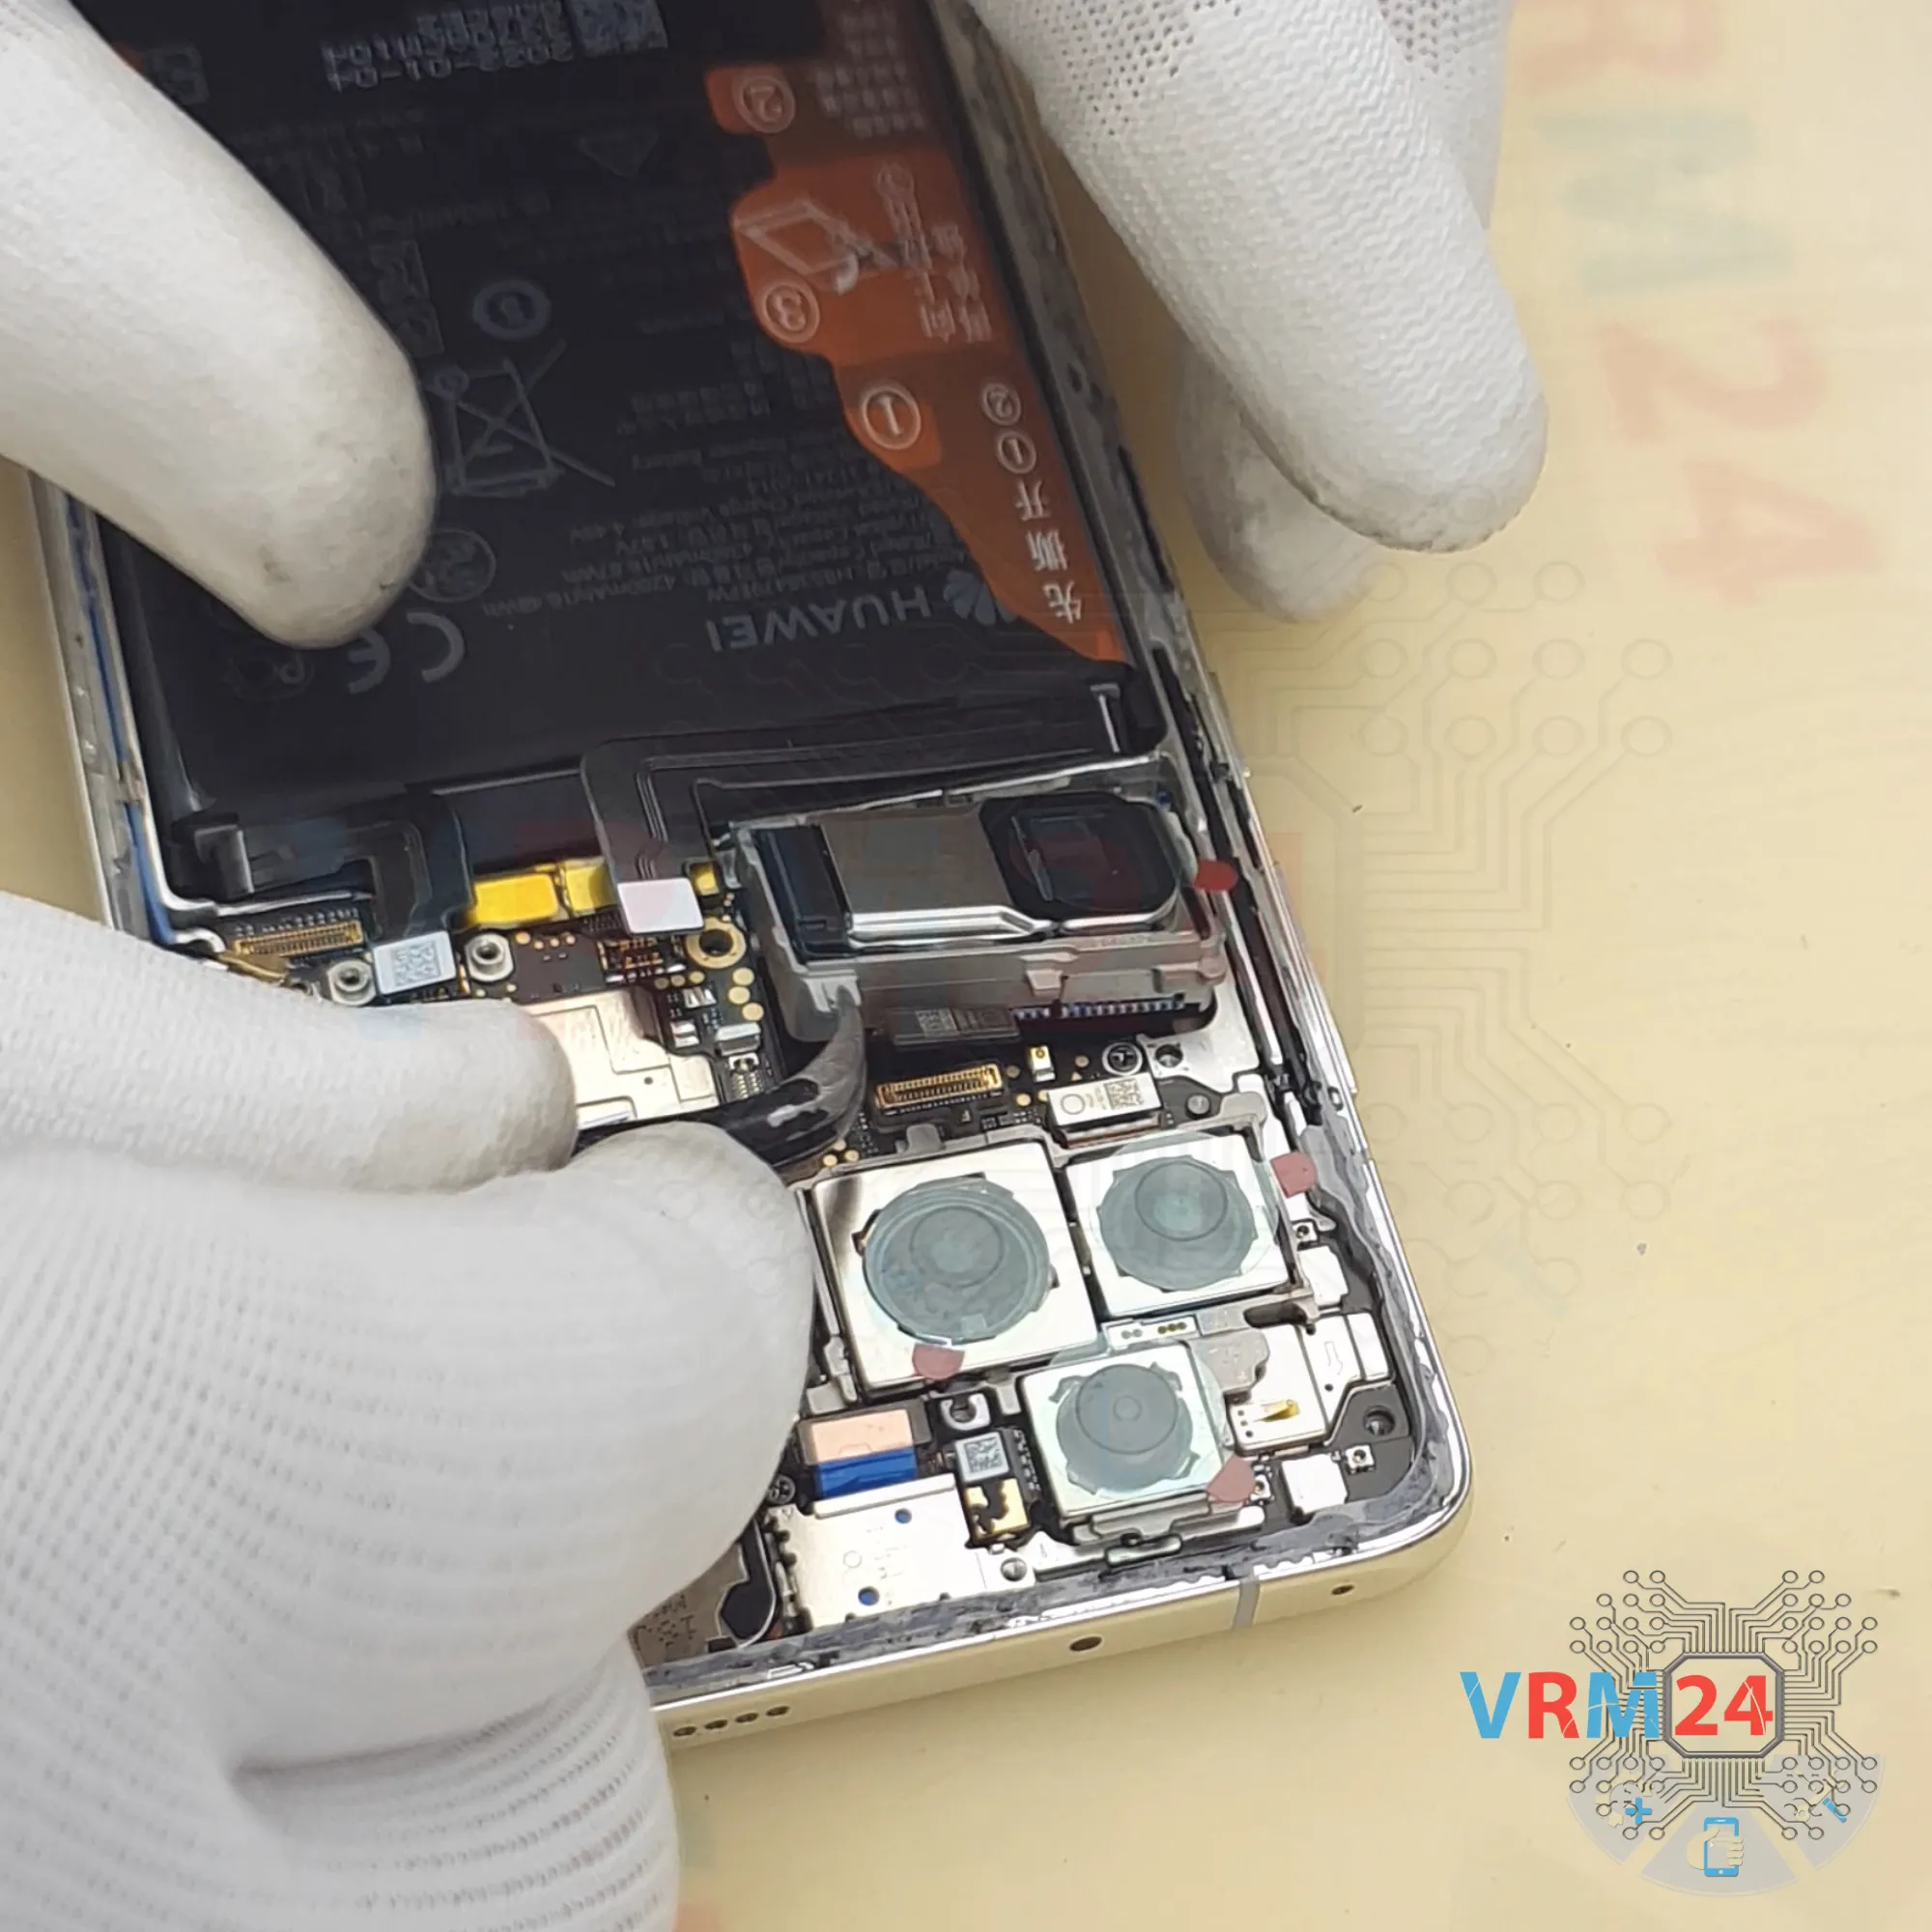
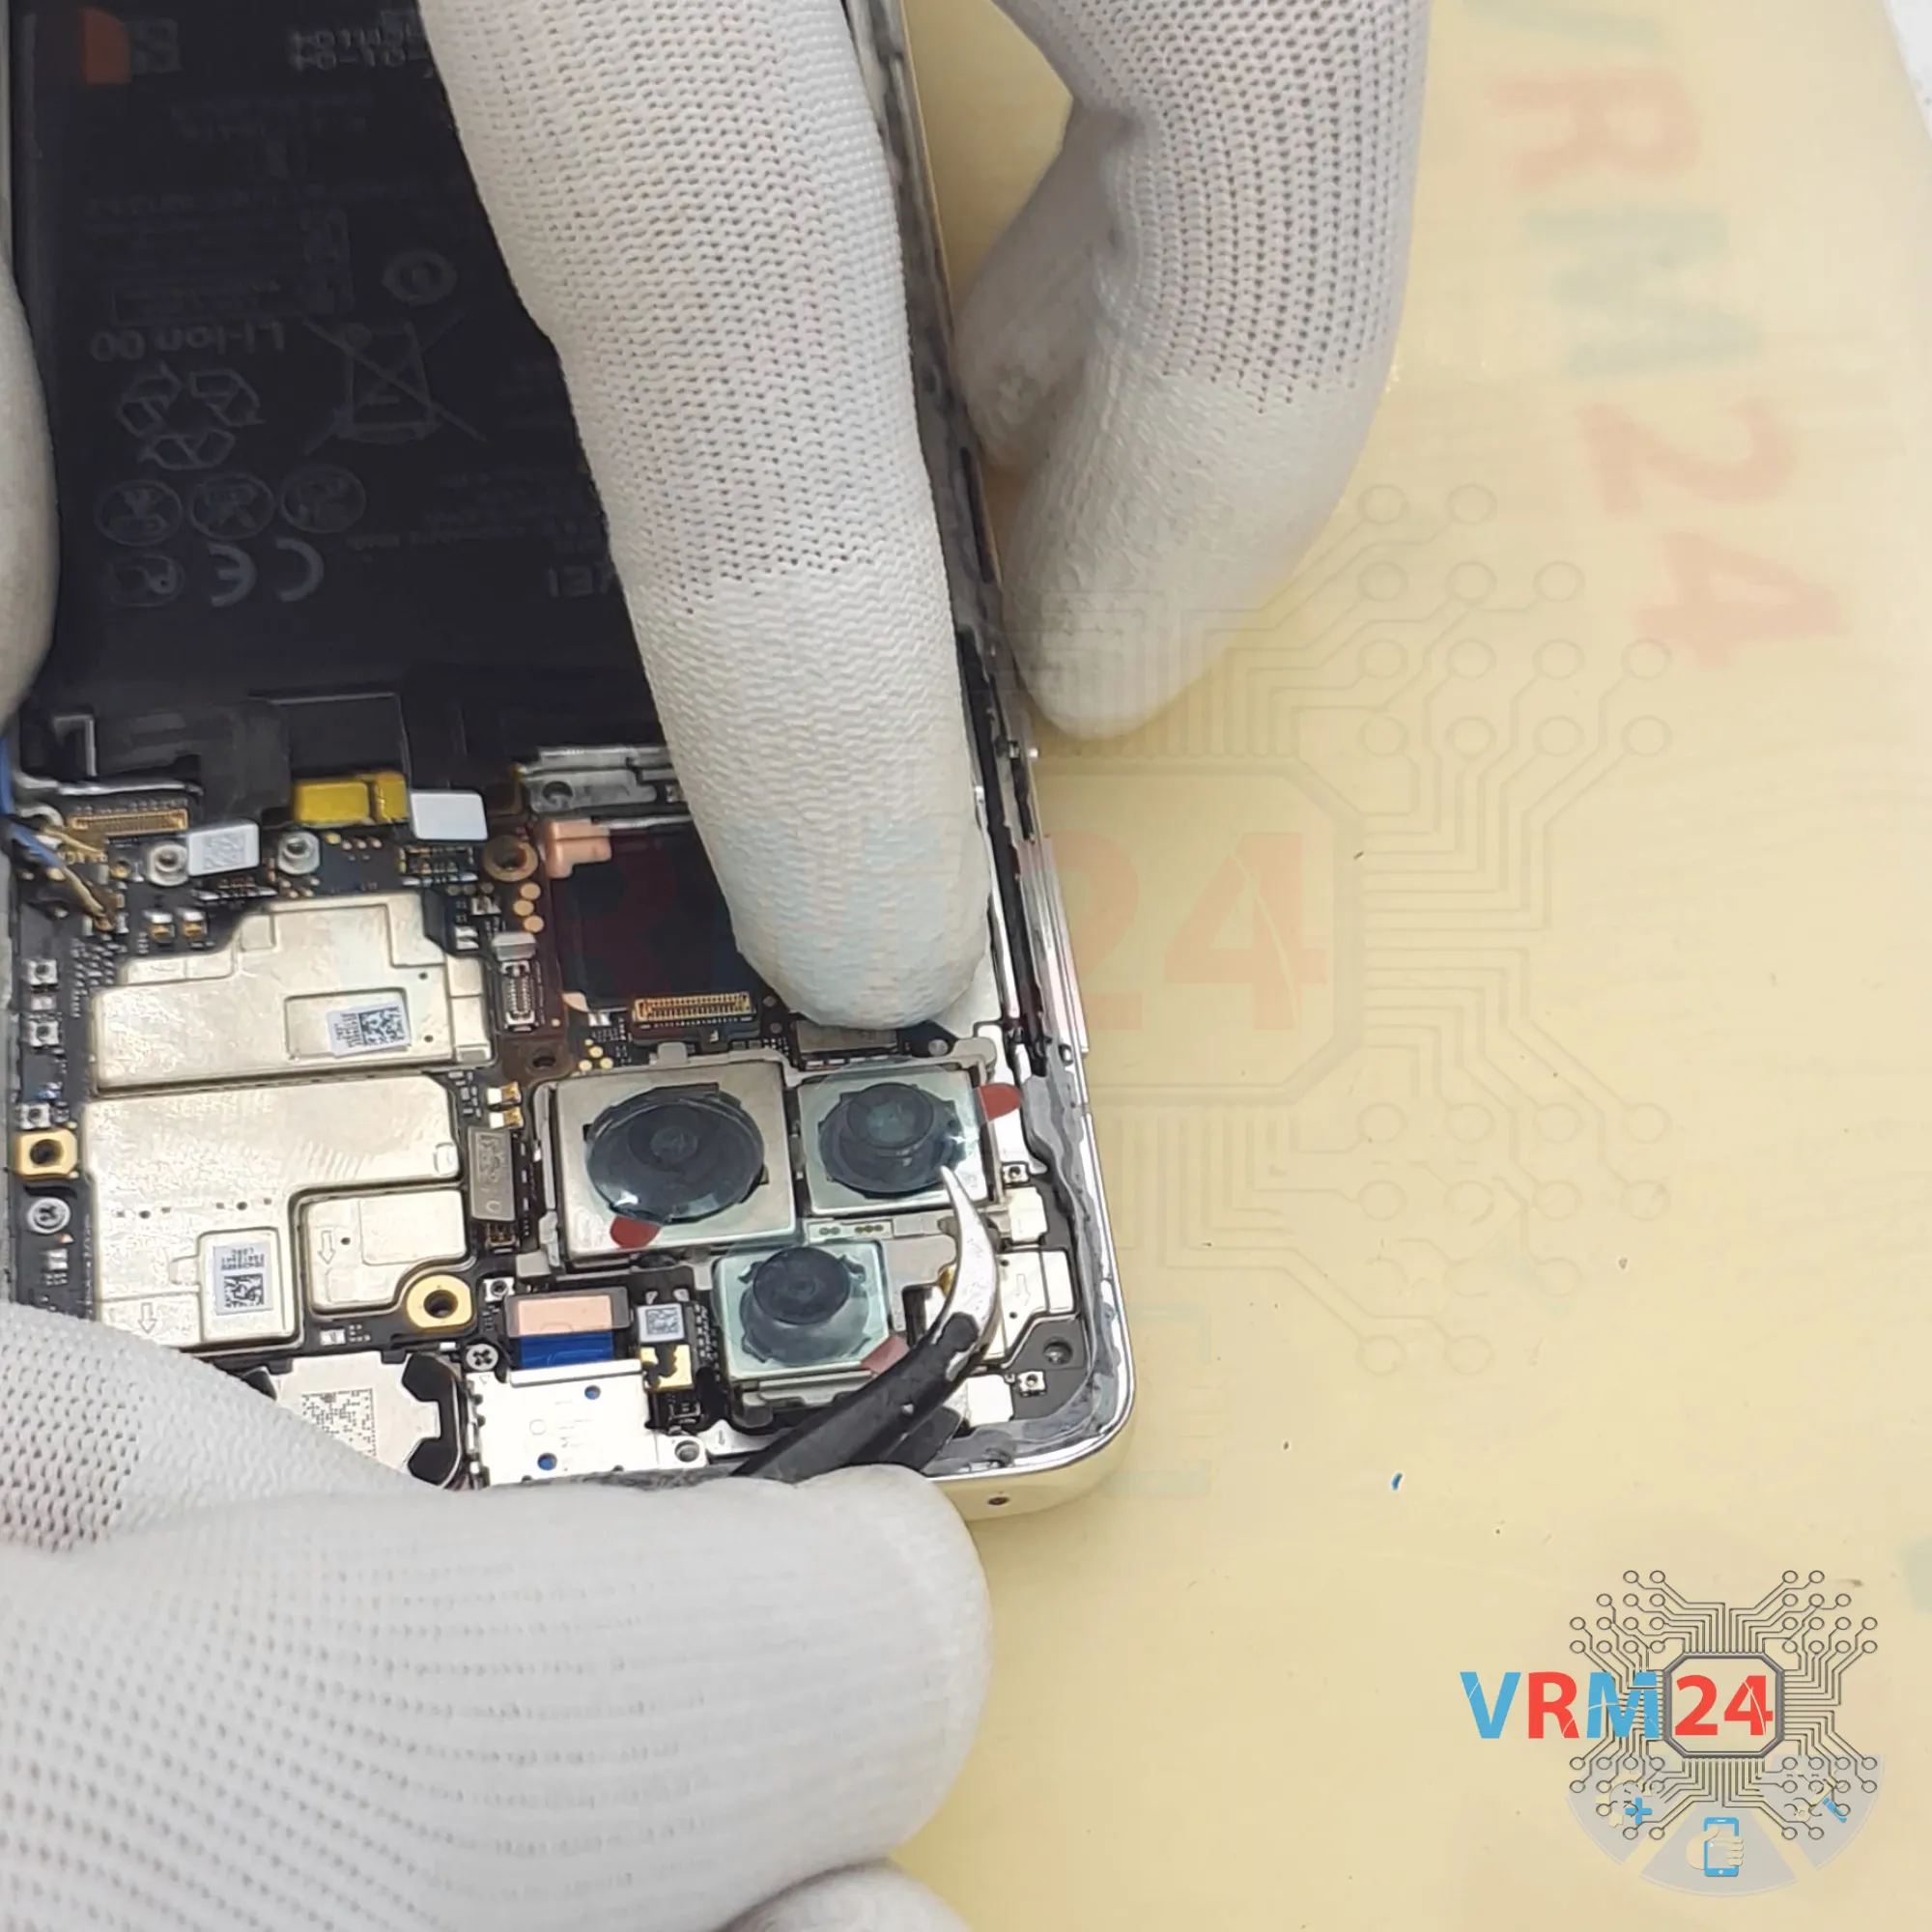
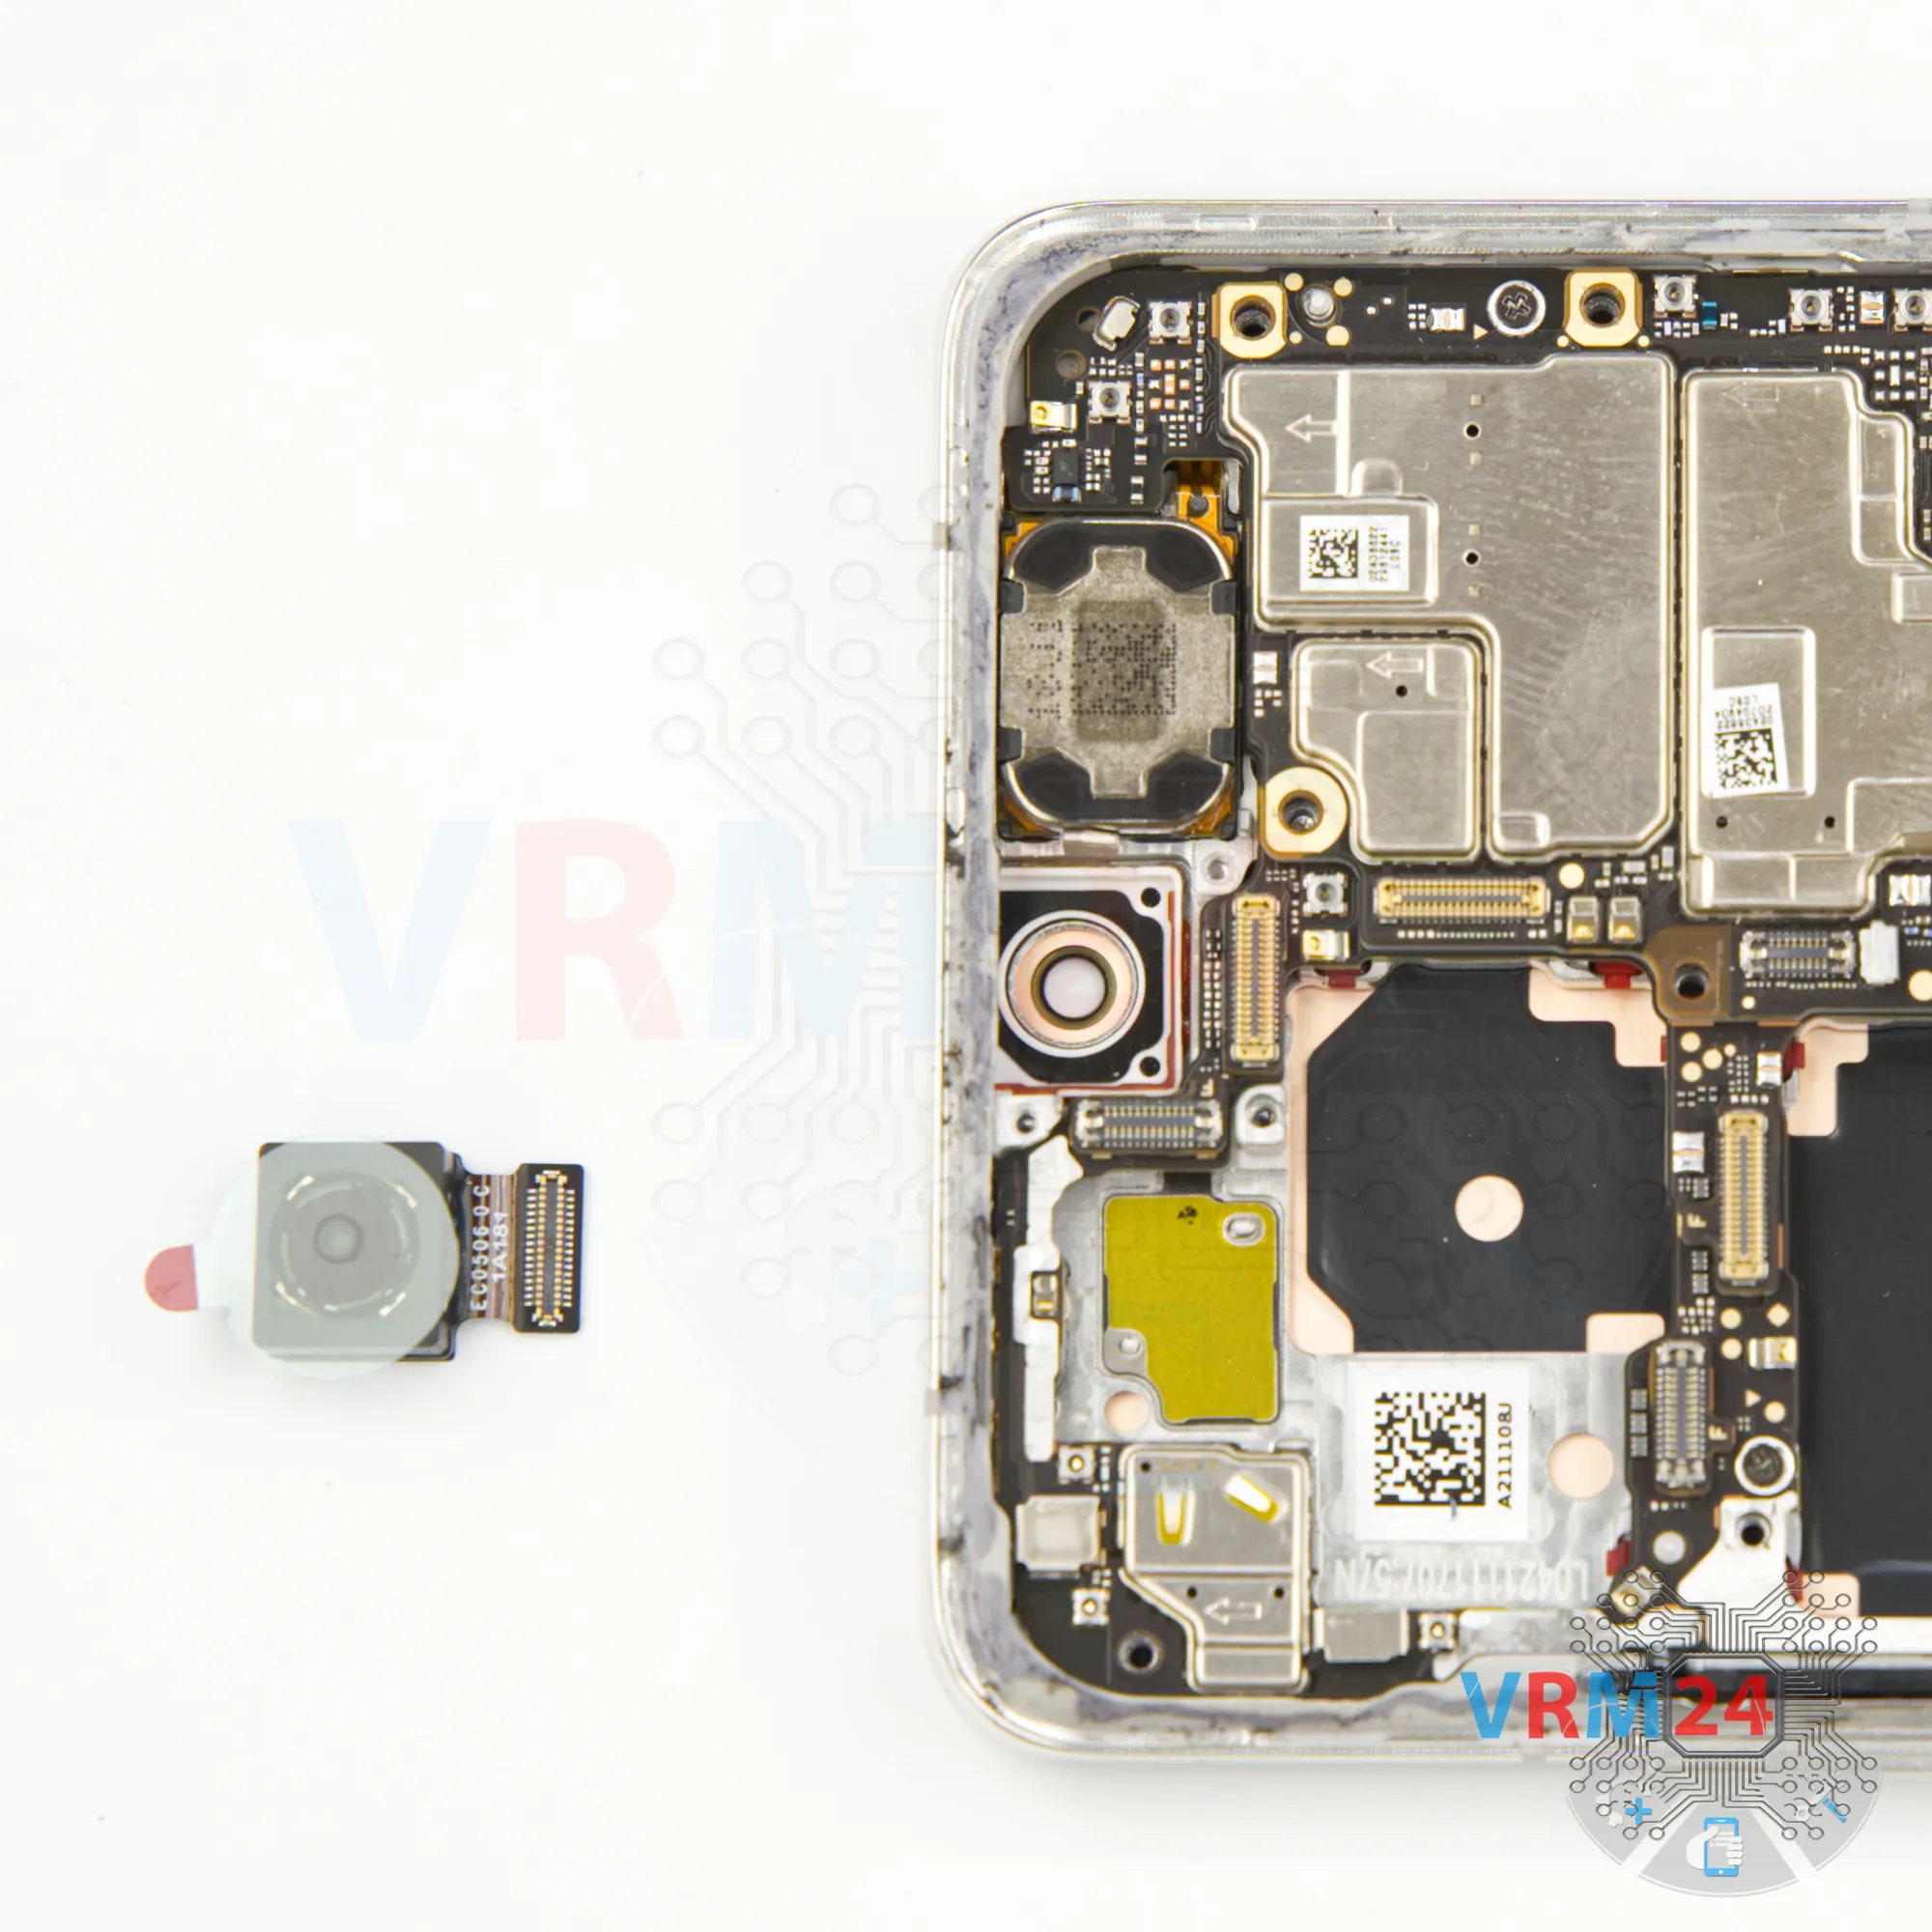
Step 21. Remove the cameras
Then we disconnect the camera connectors, and gently remove the cameras and set them aside.
The cameras are held in a somewhat unusual manner, so you need to be especially careful and precise during this step.
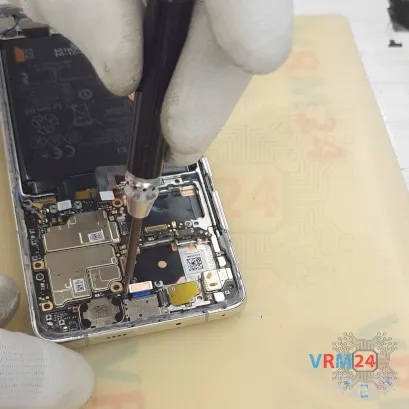

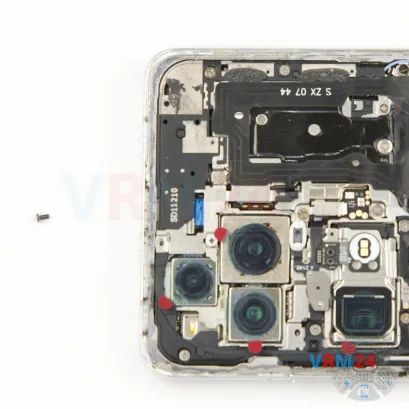
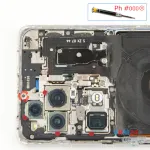
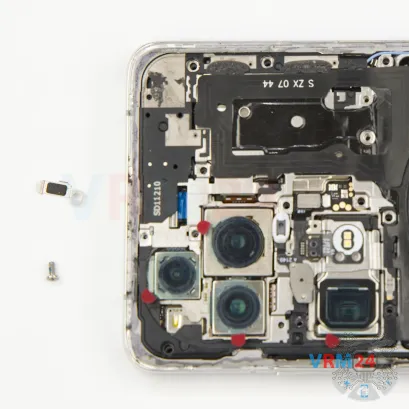
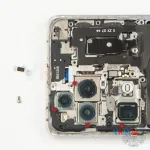
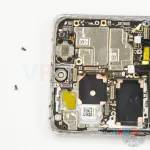
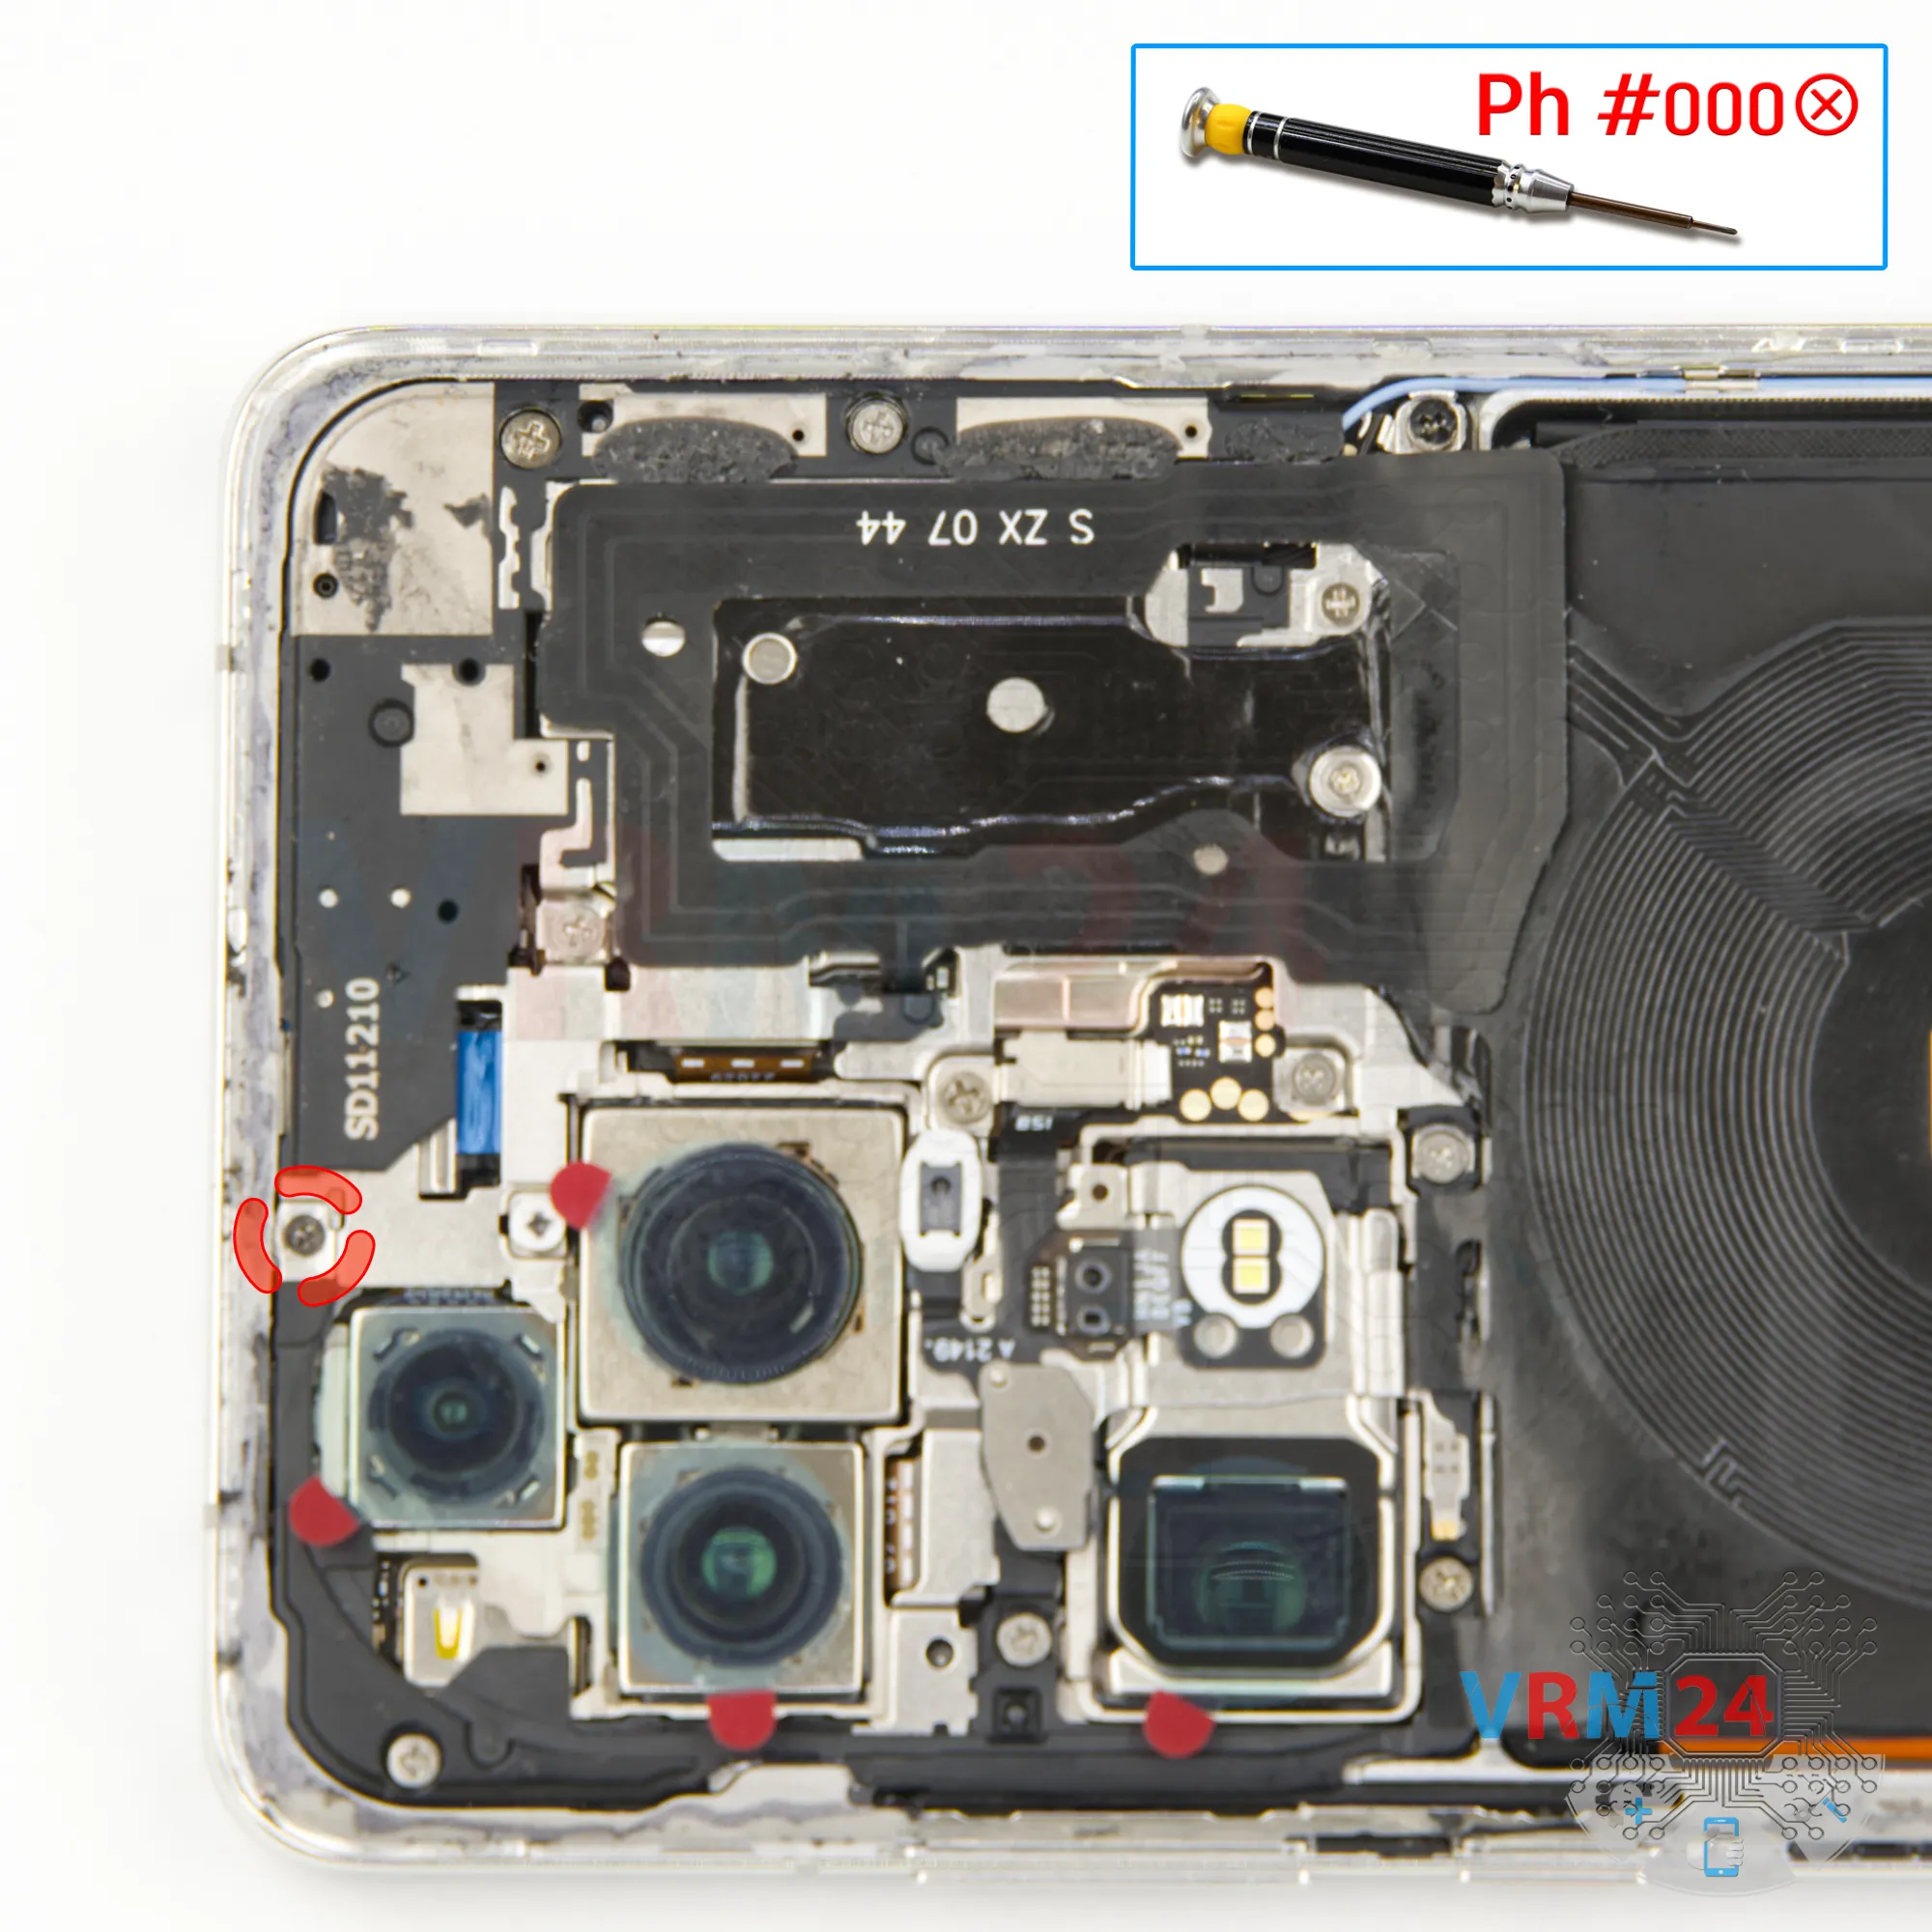
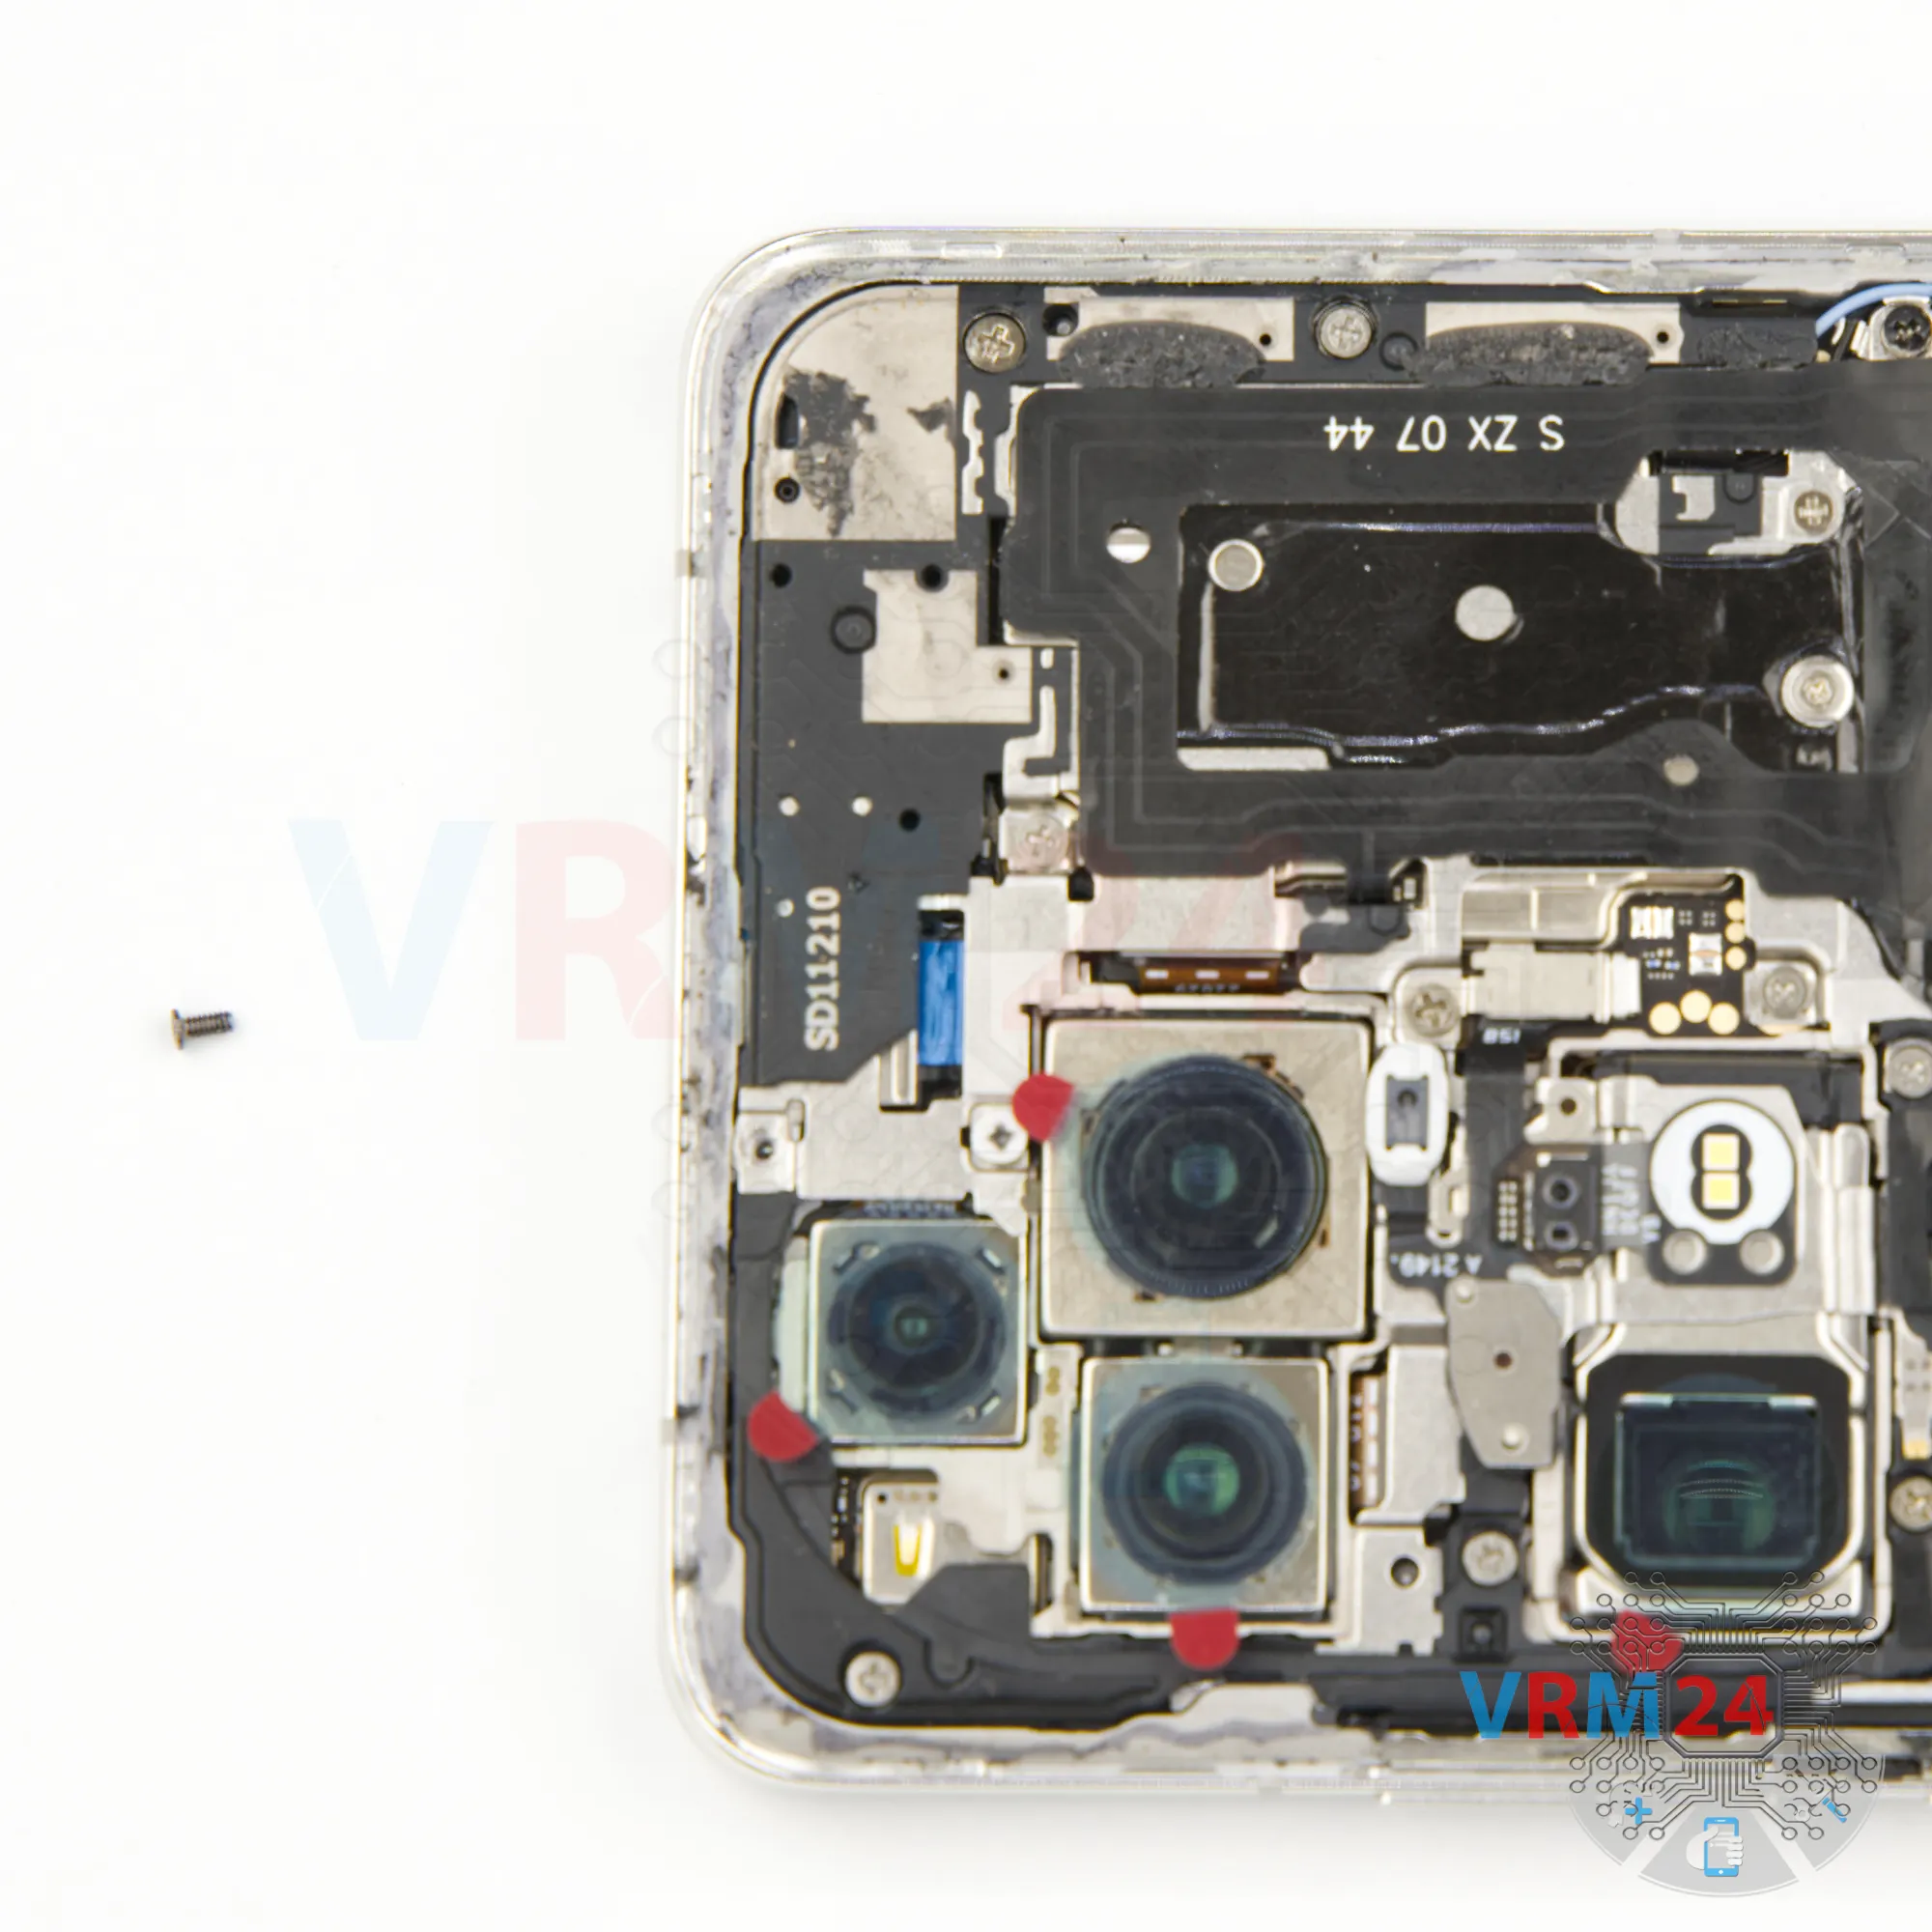
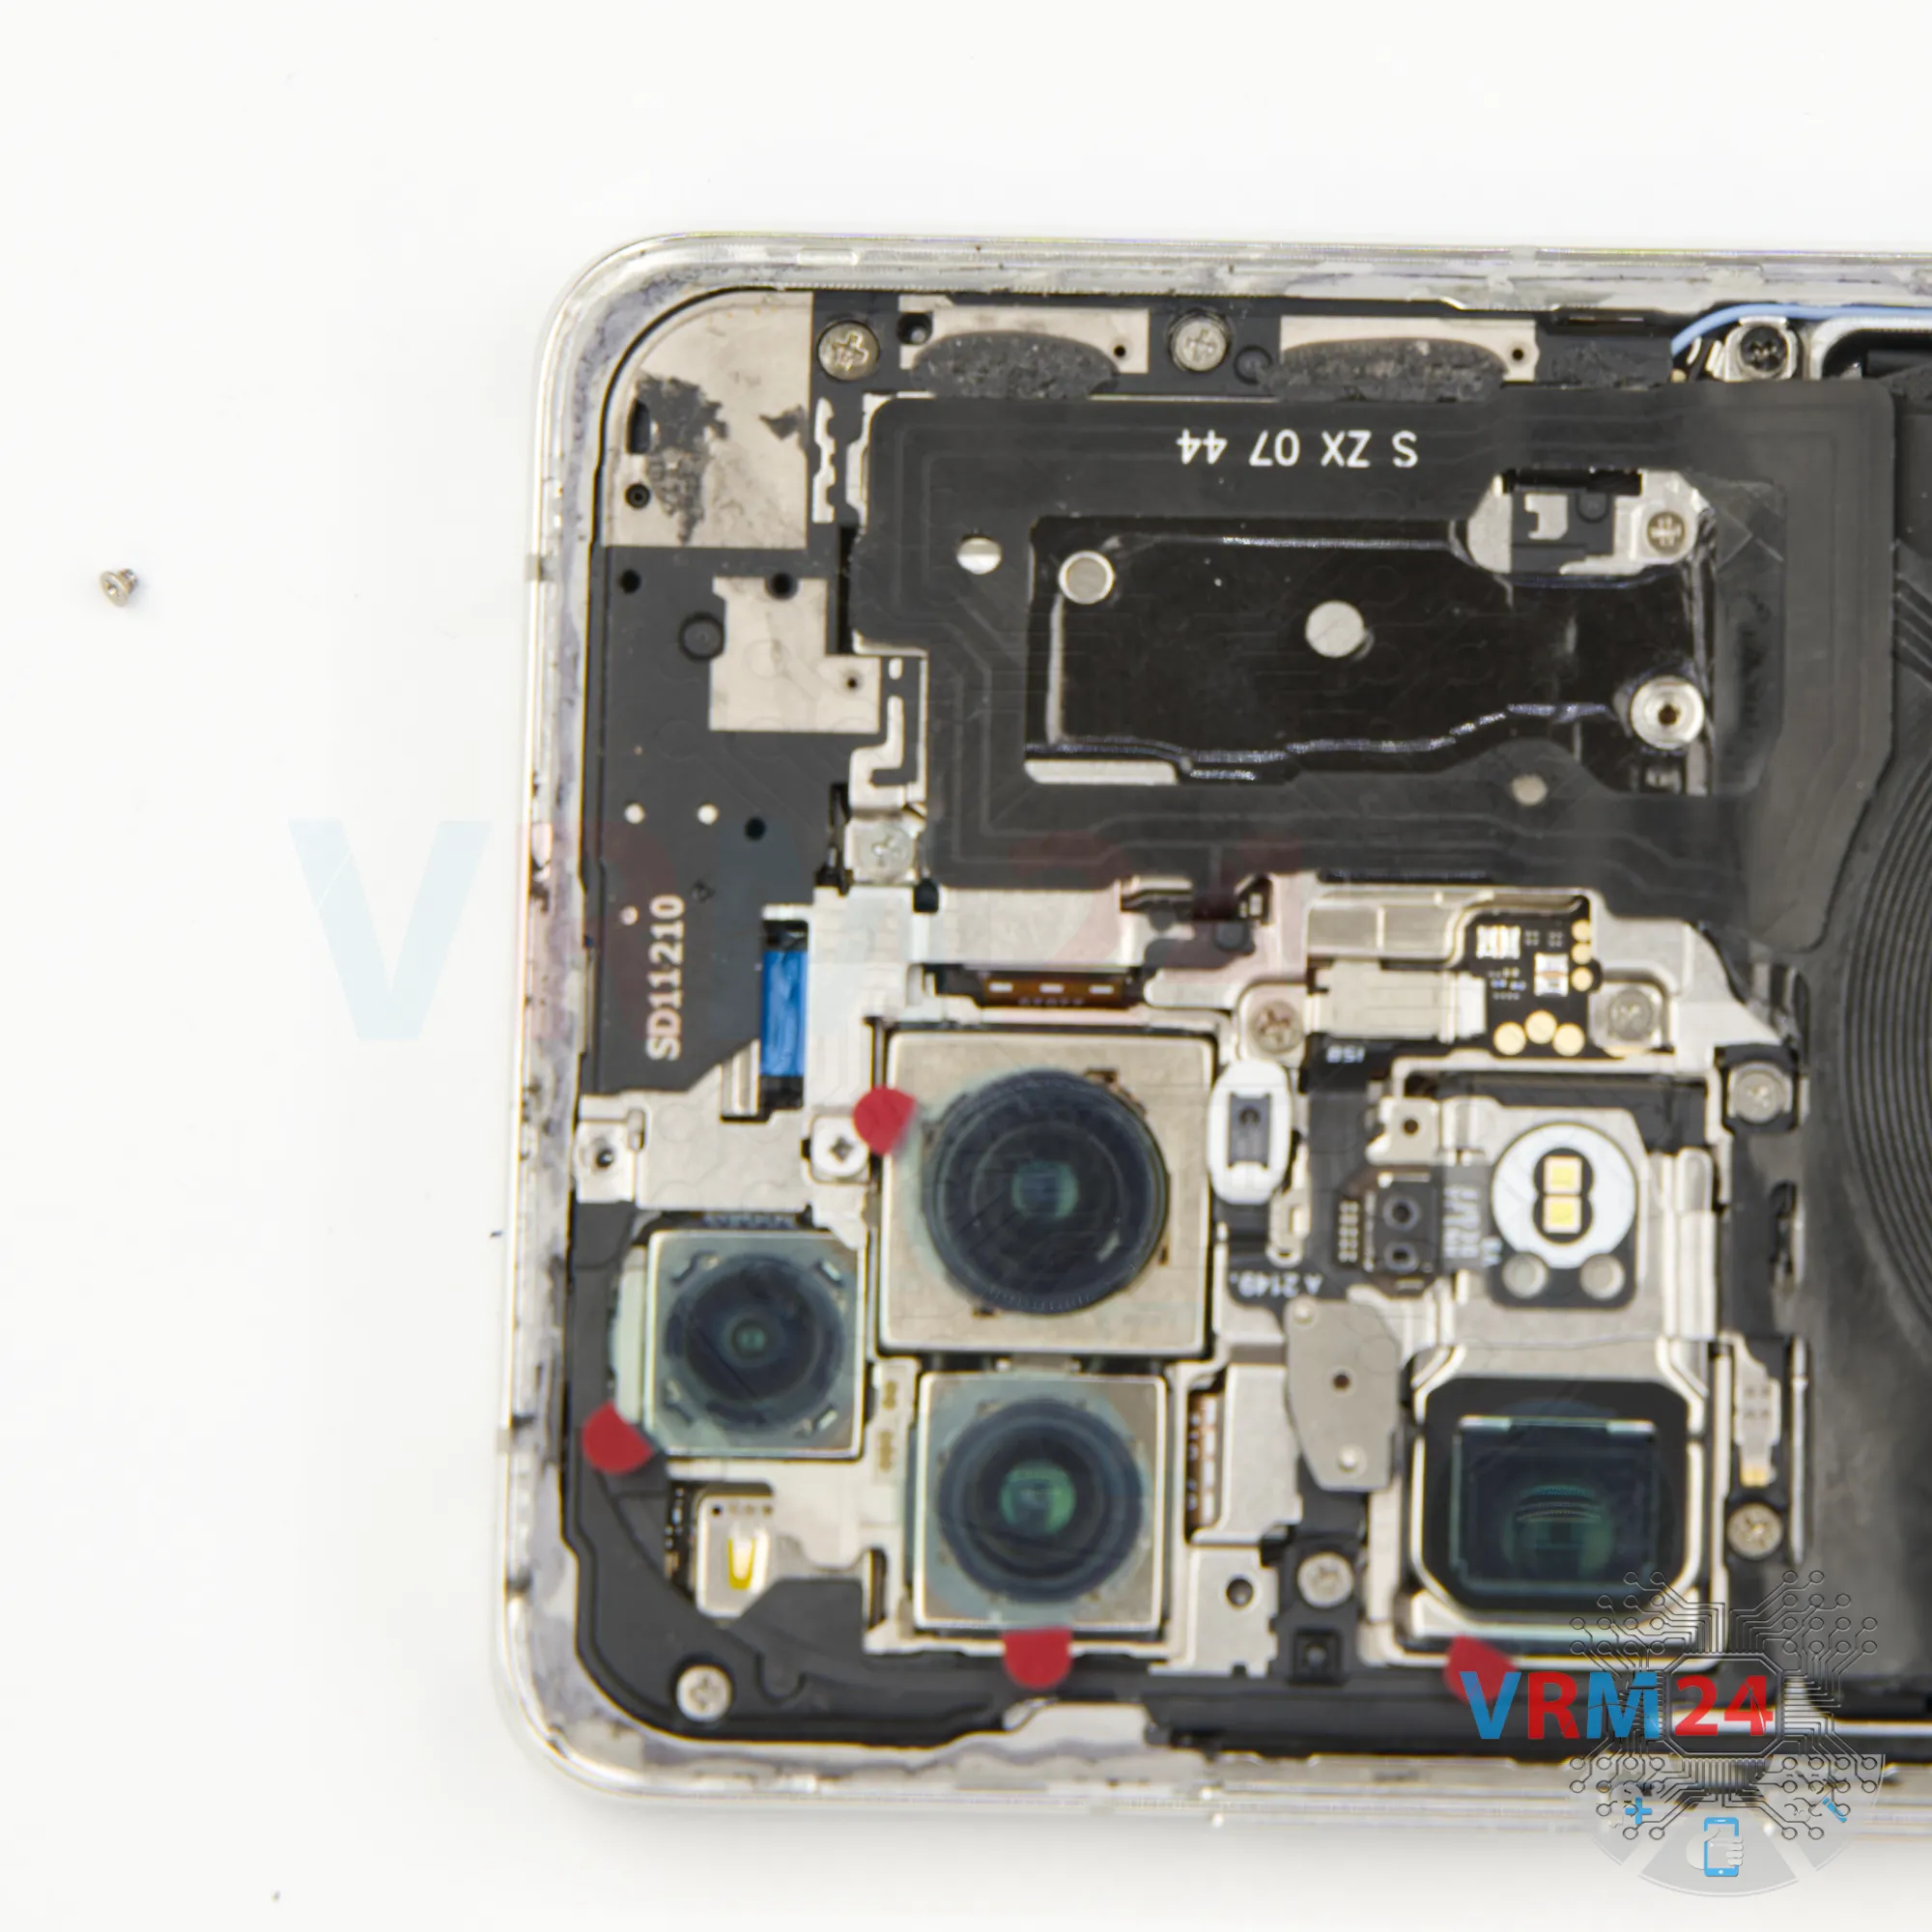
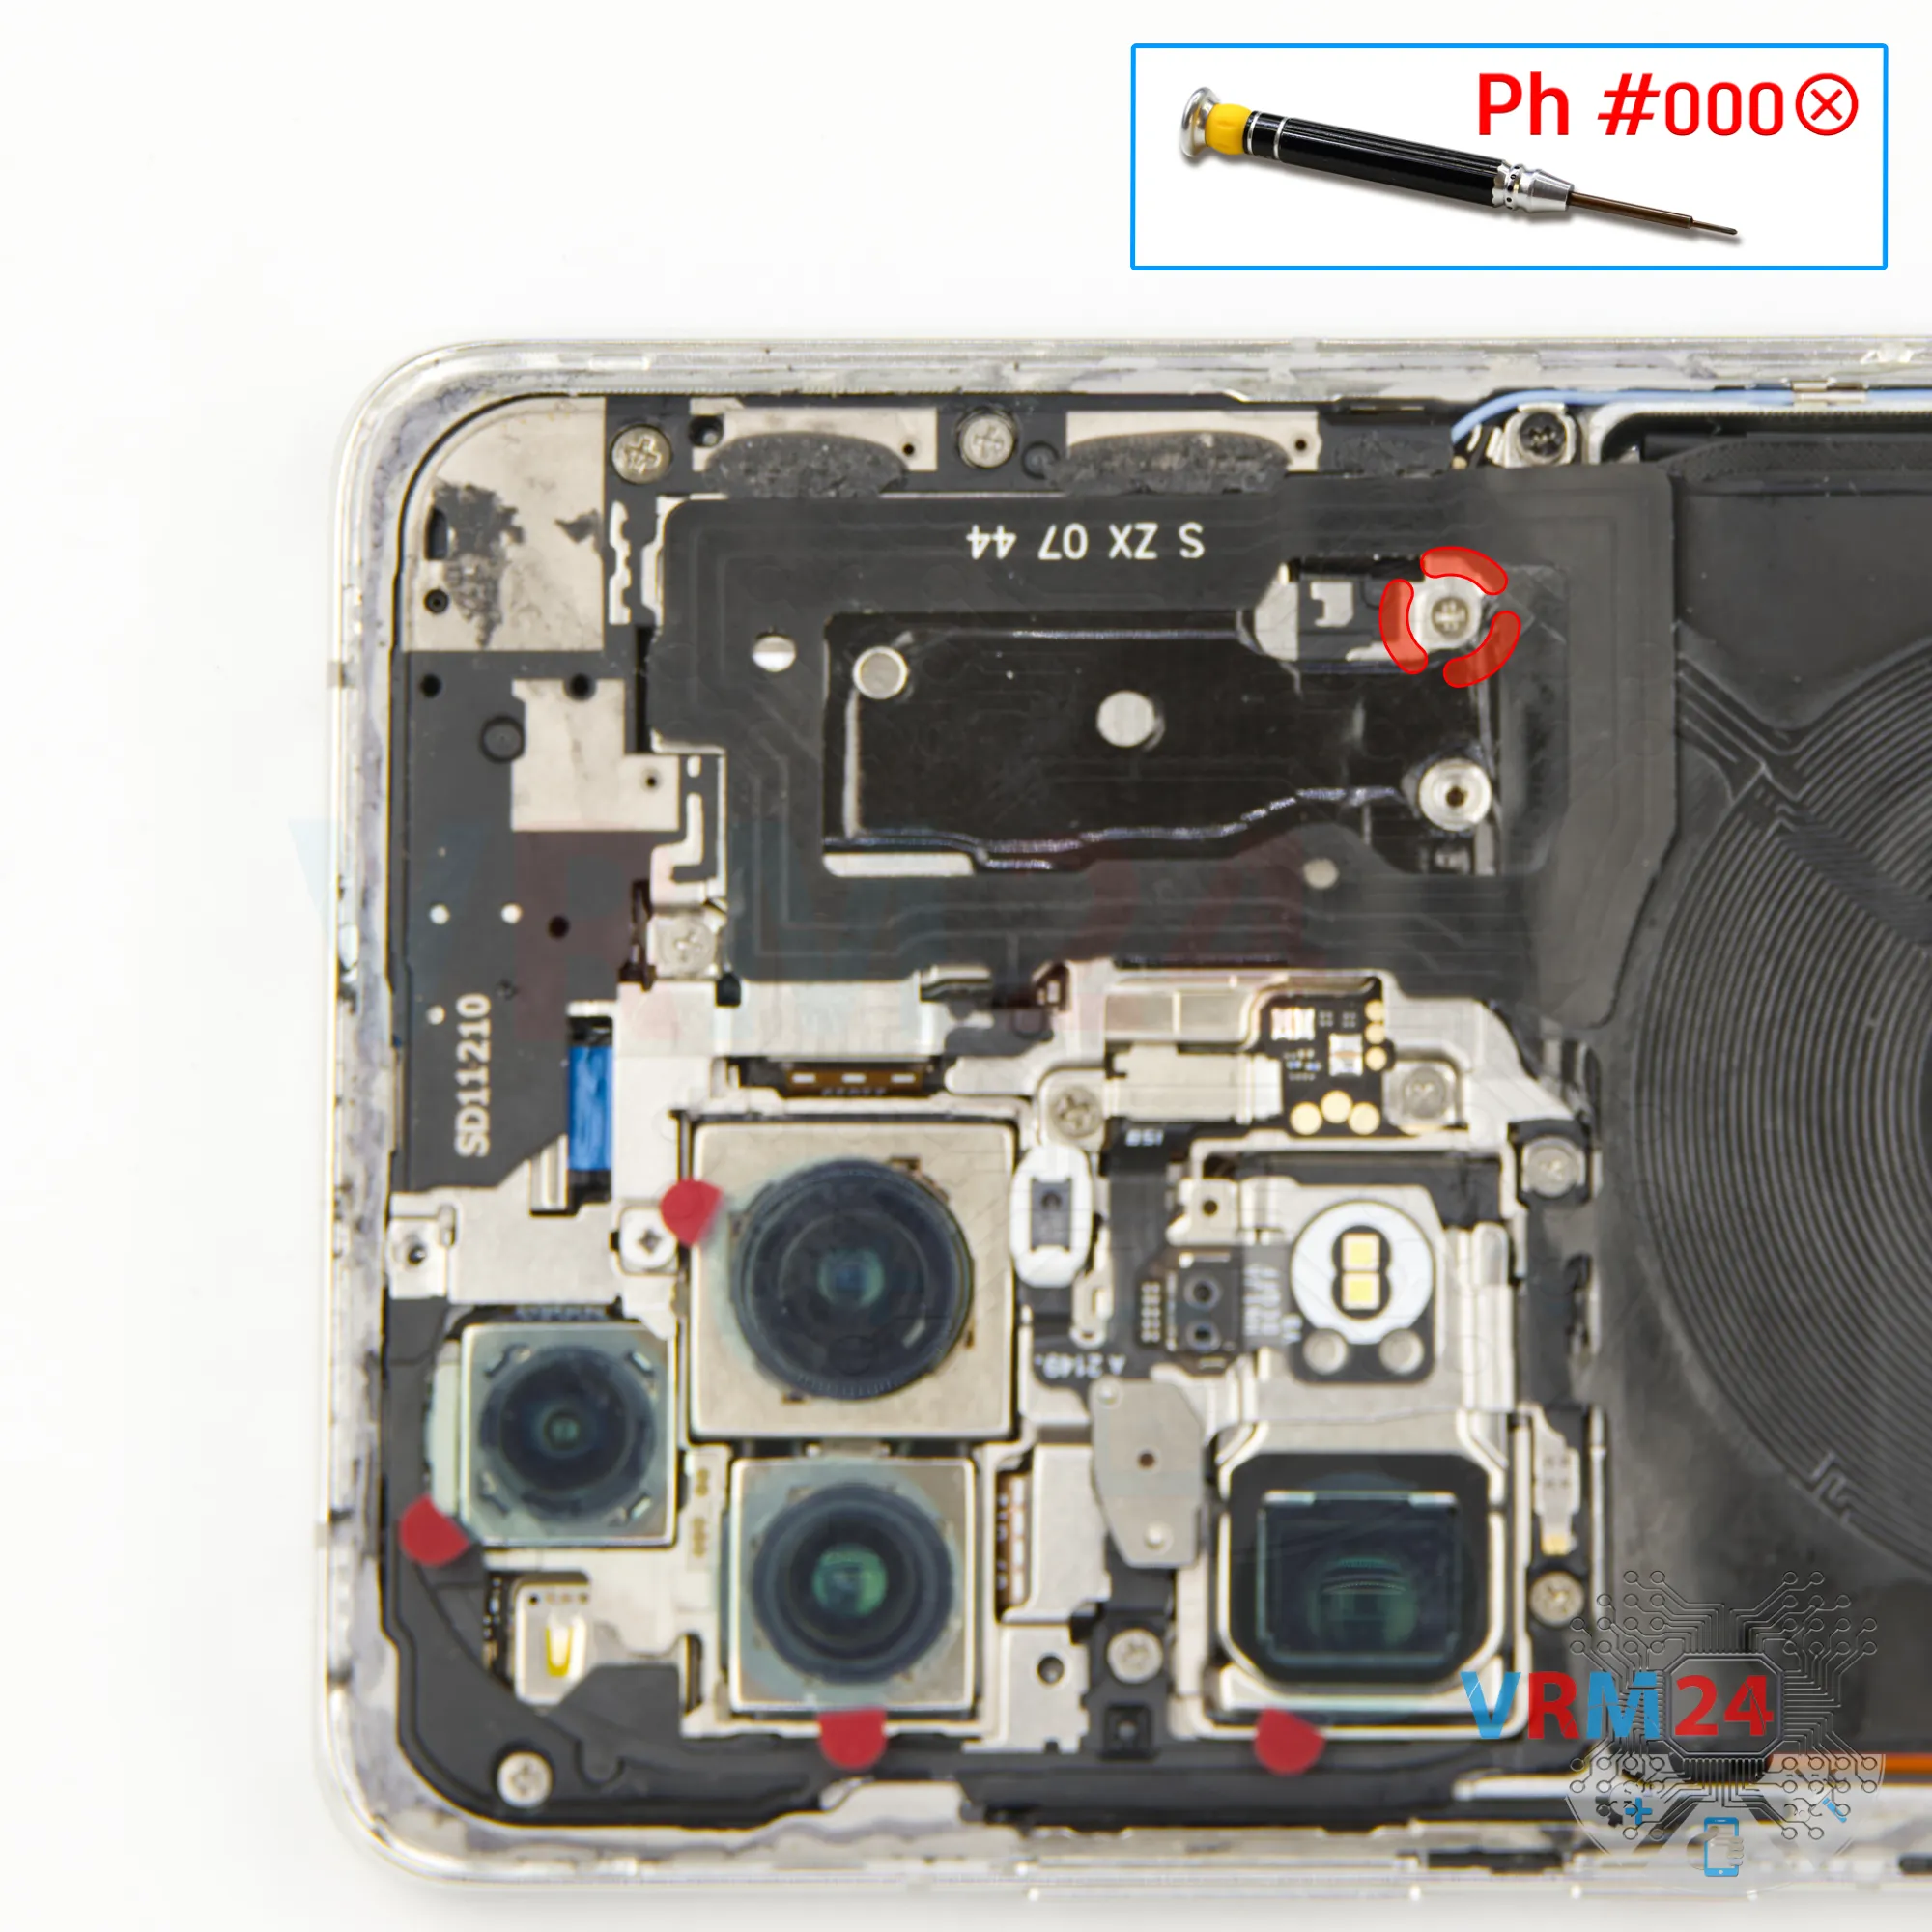
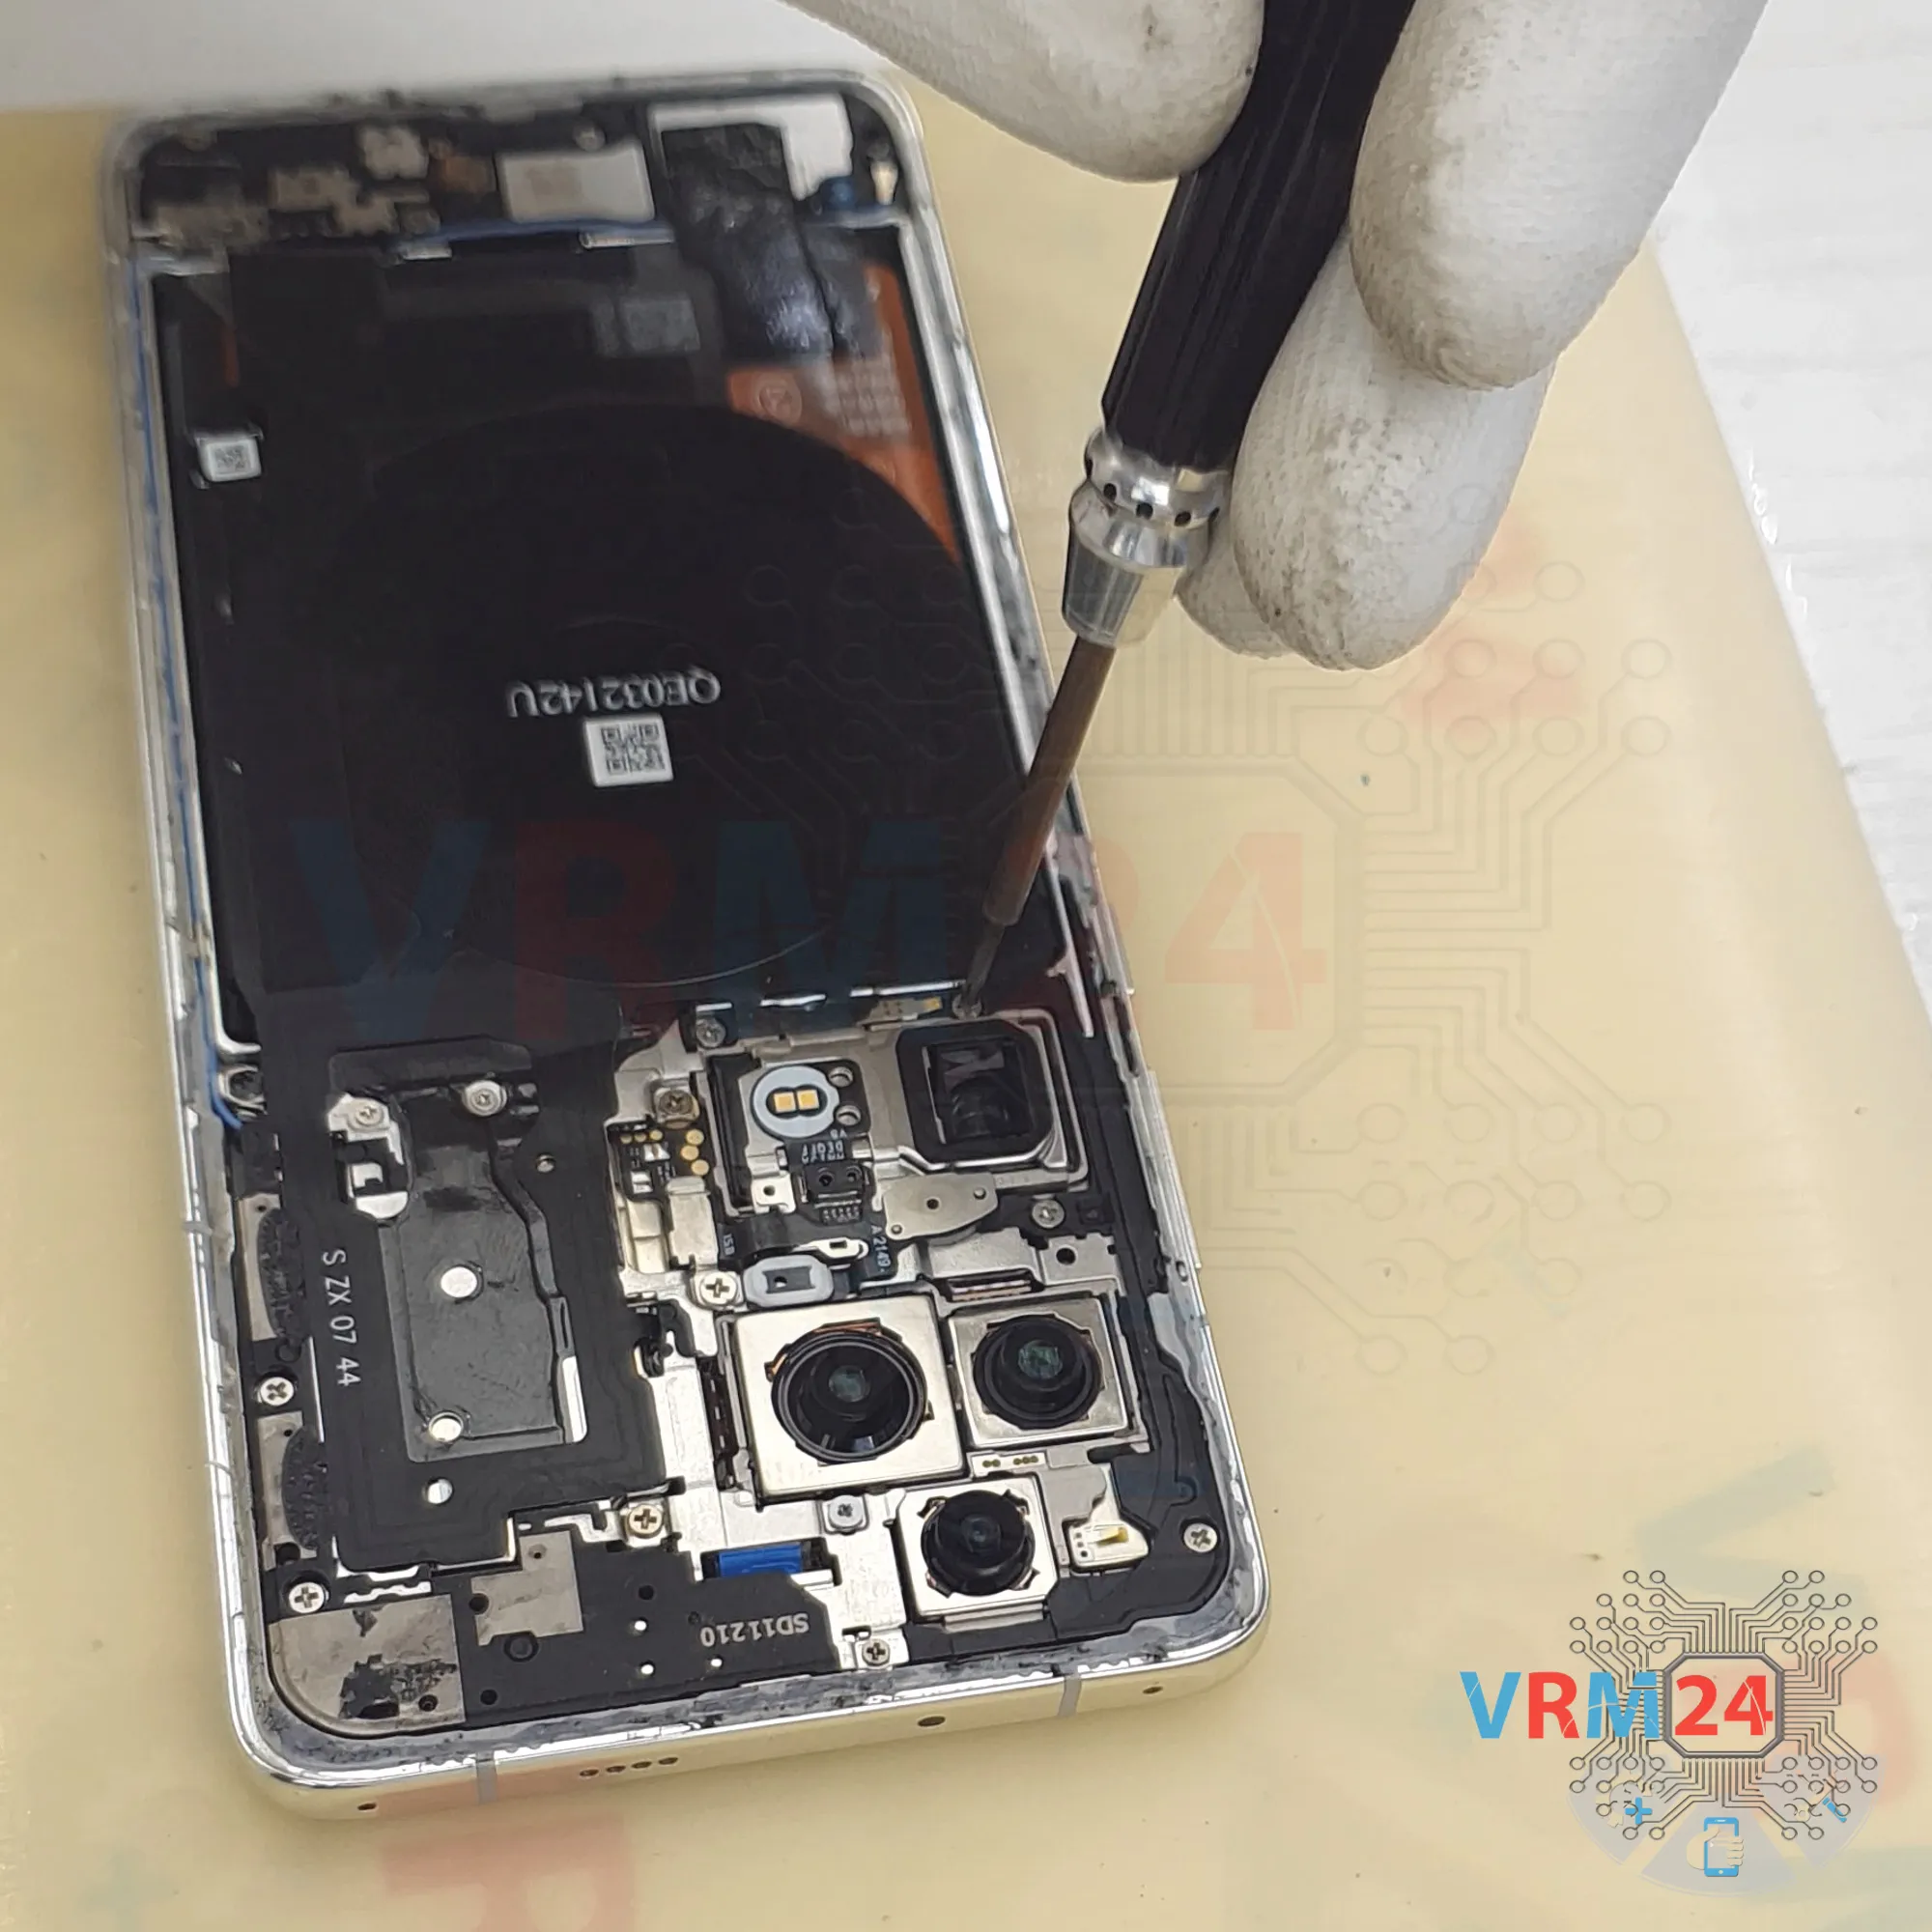
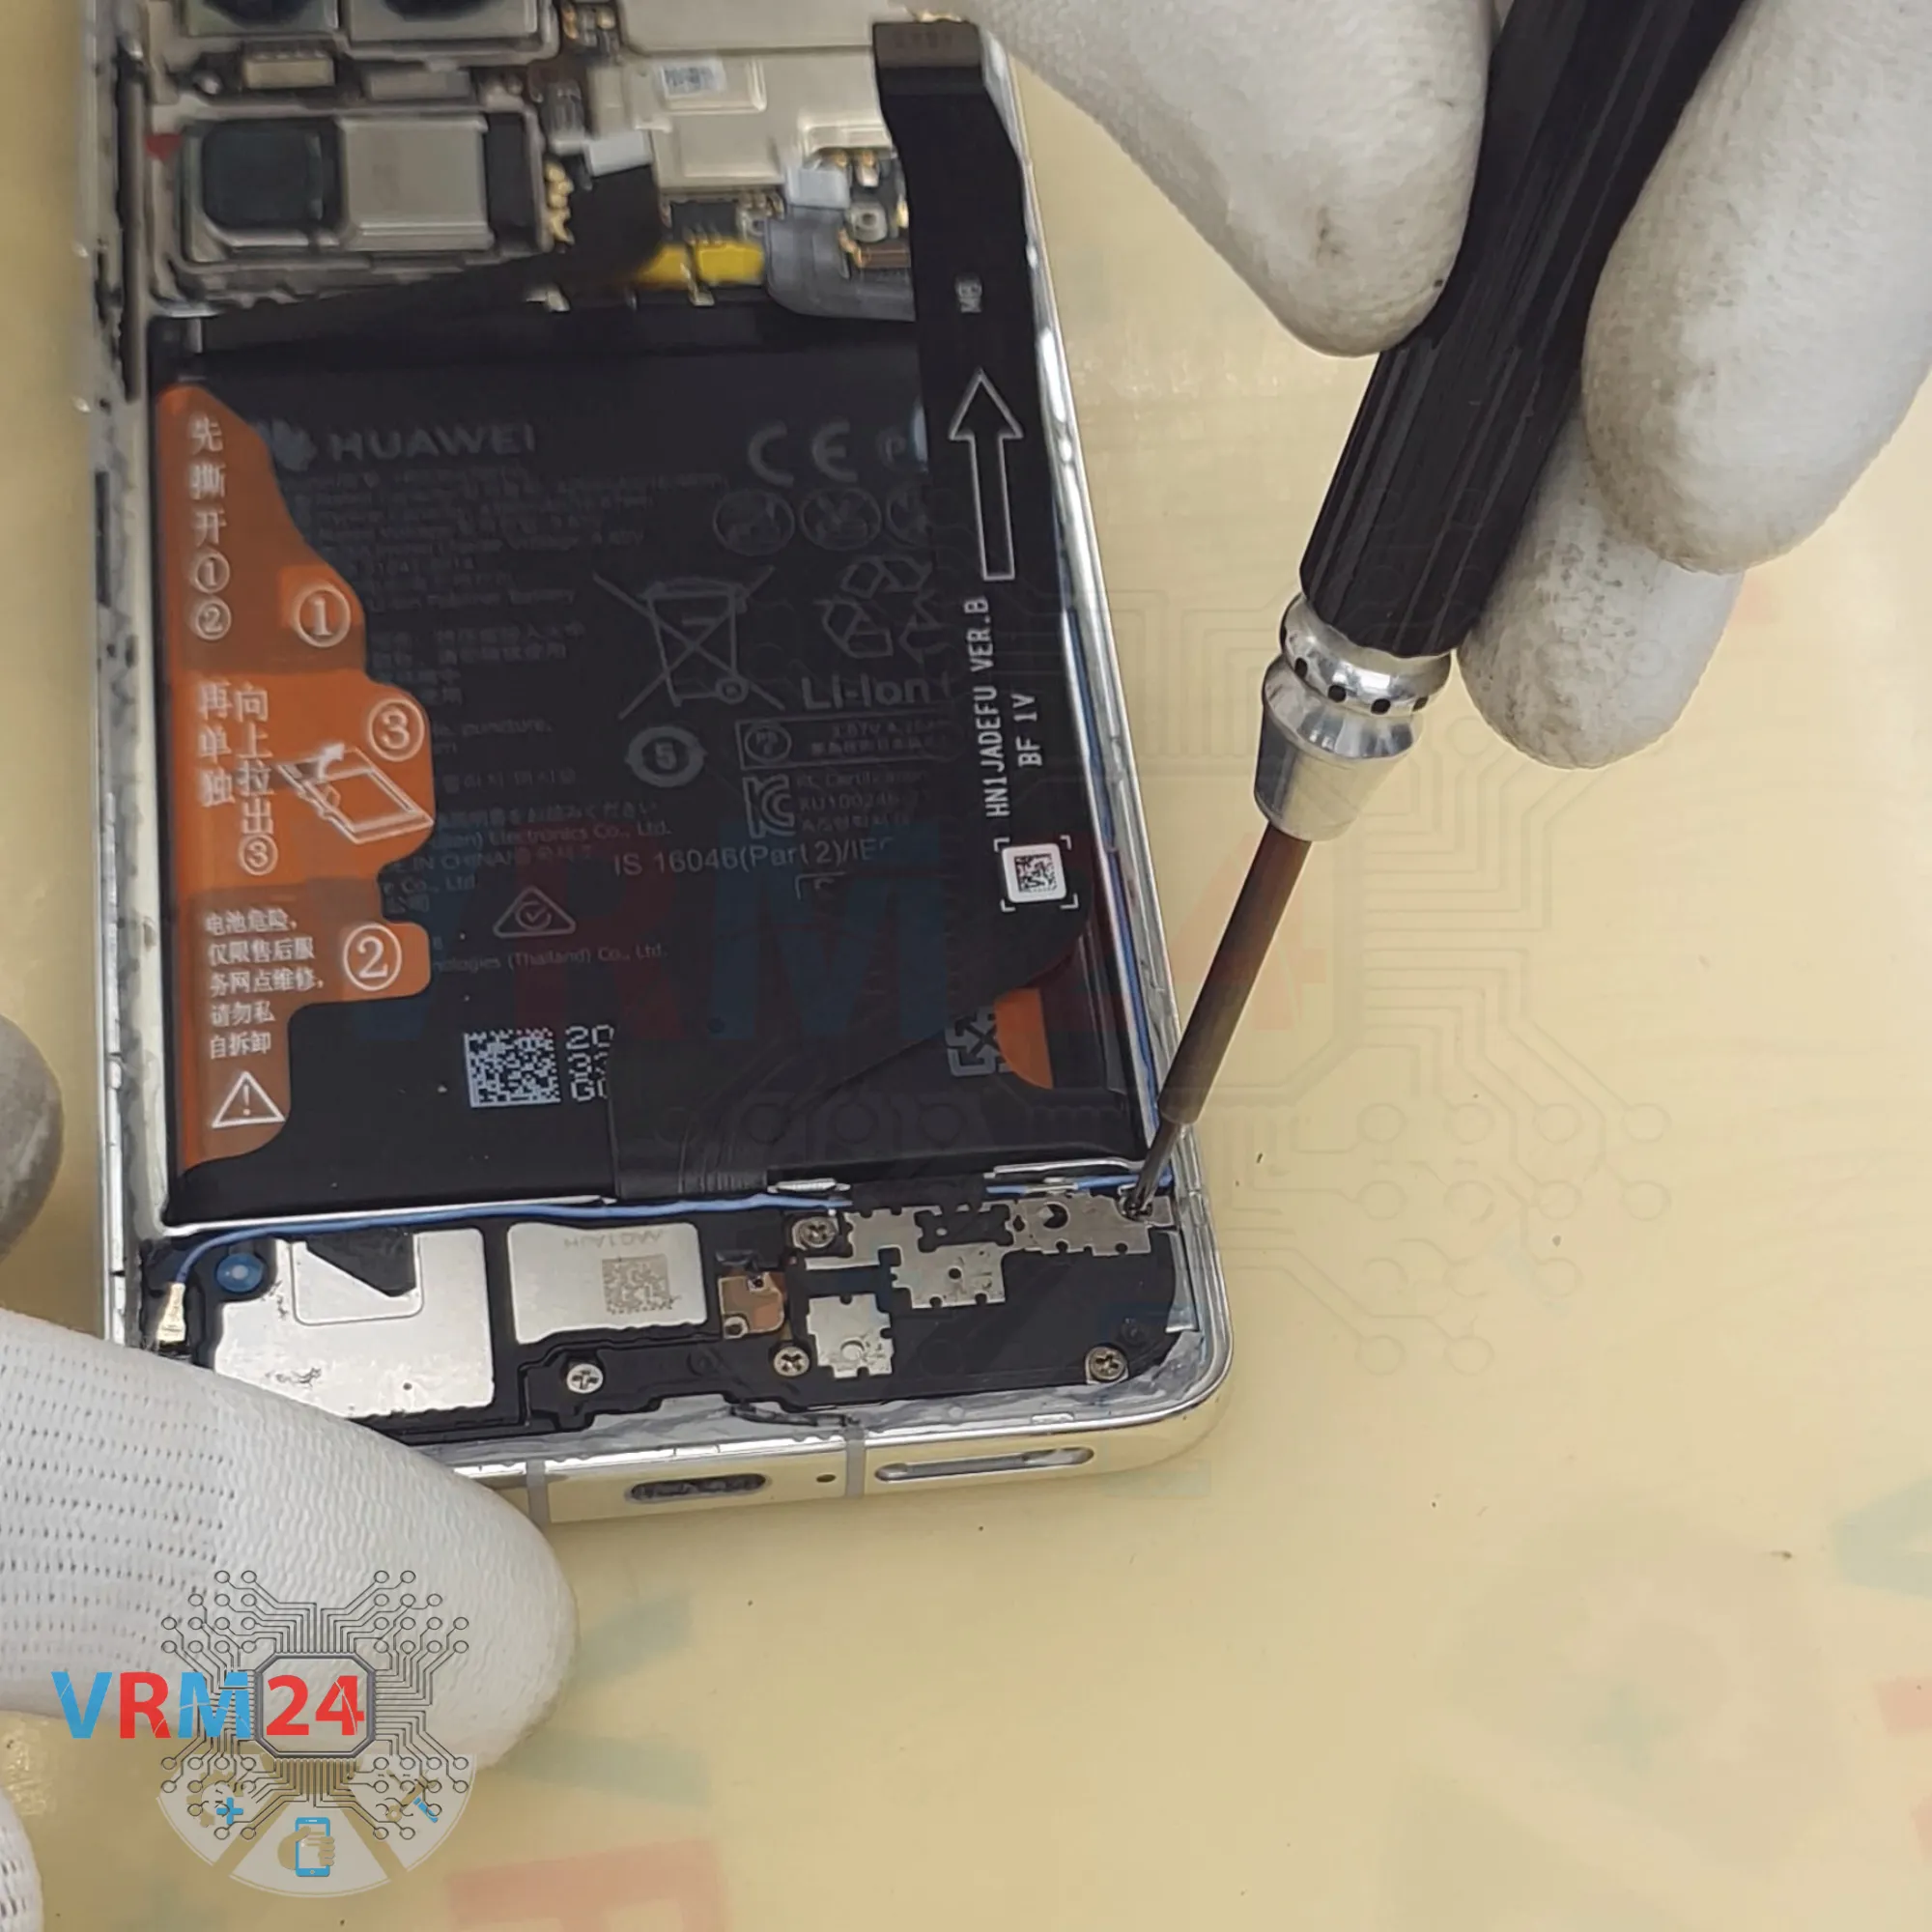
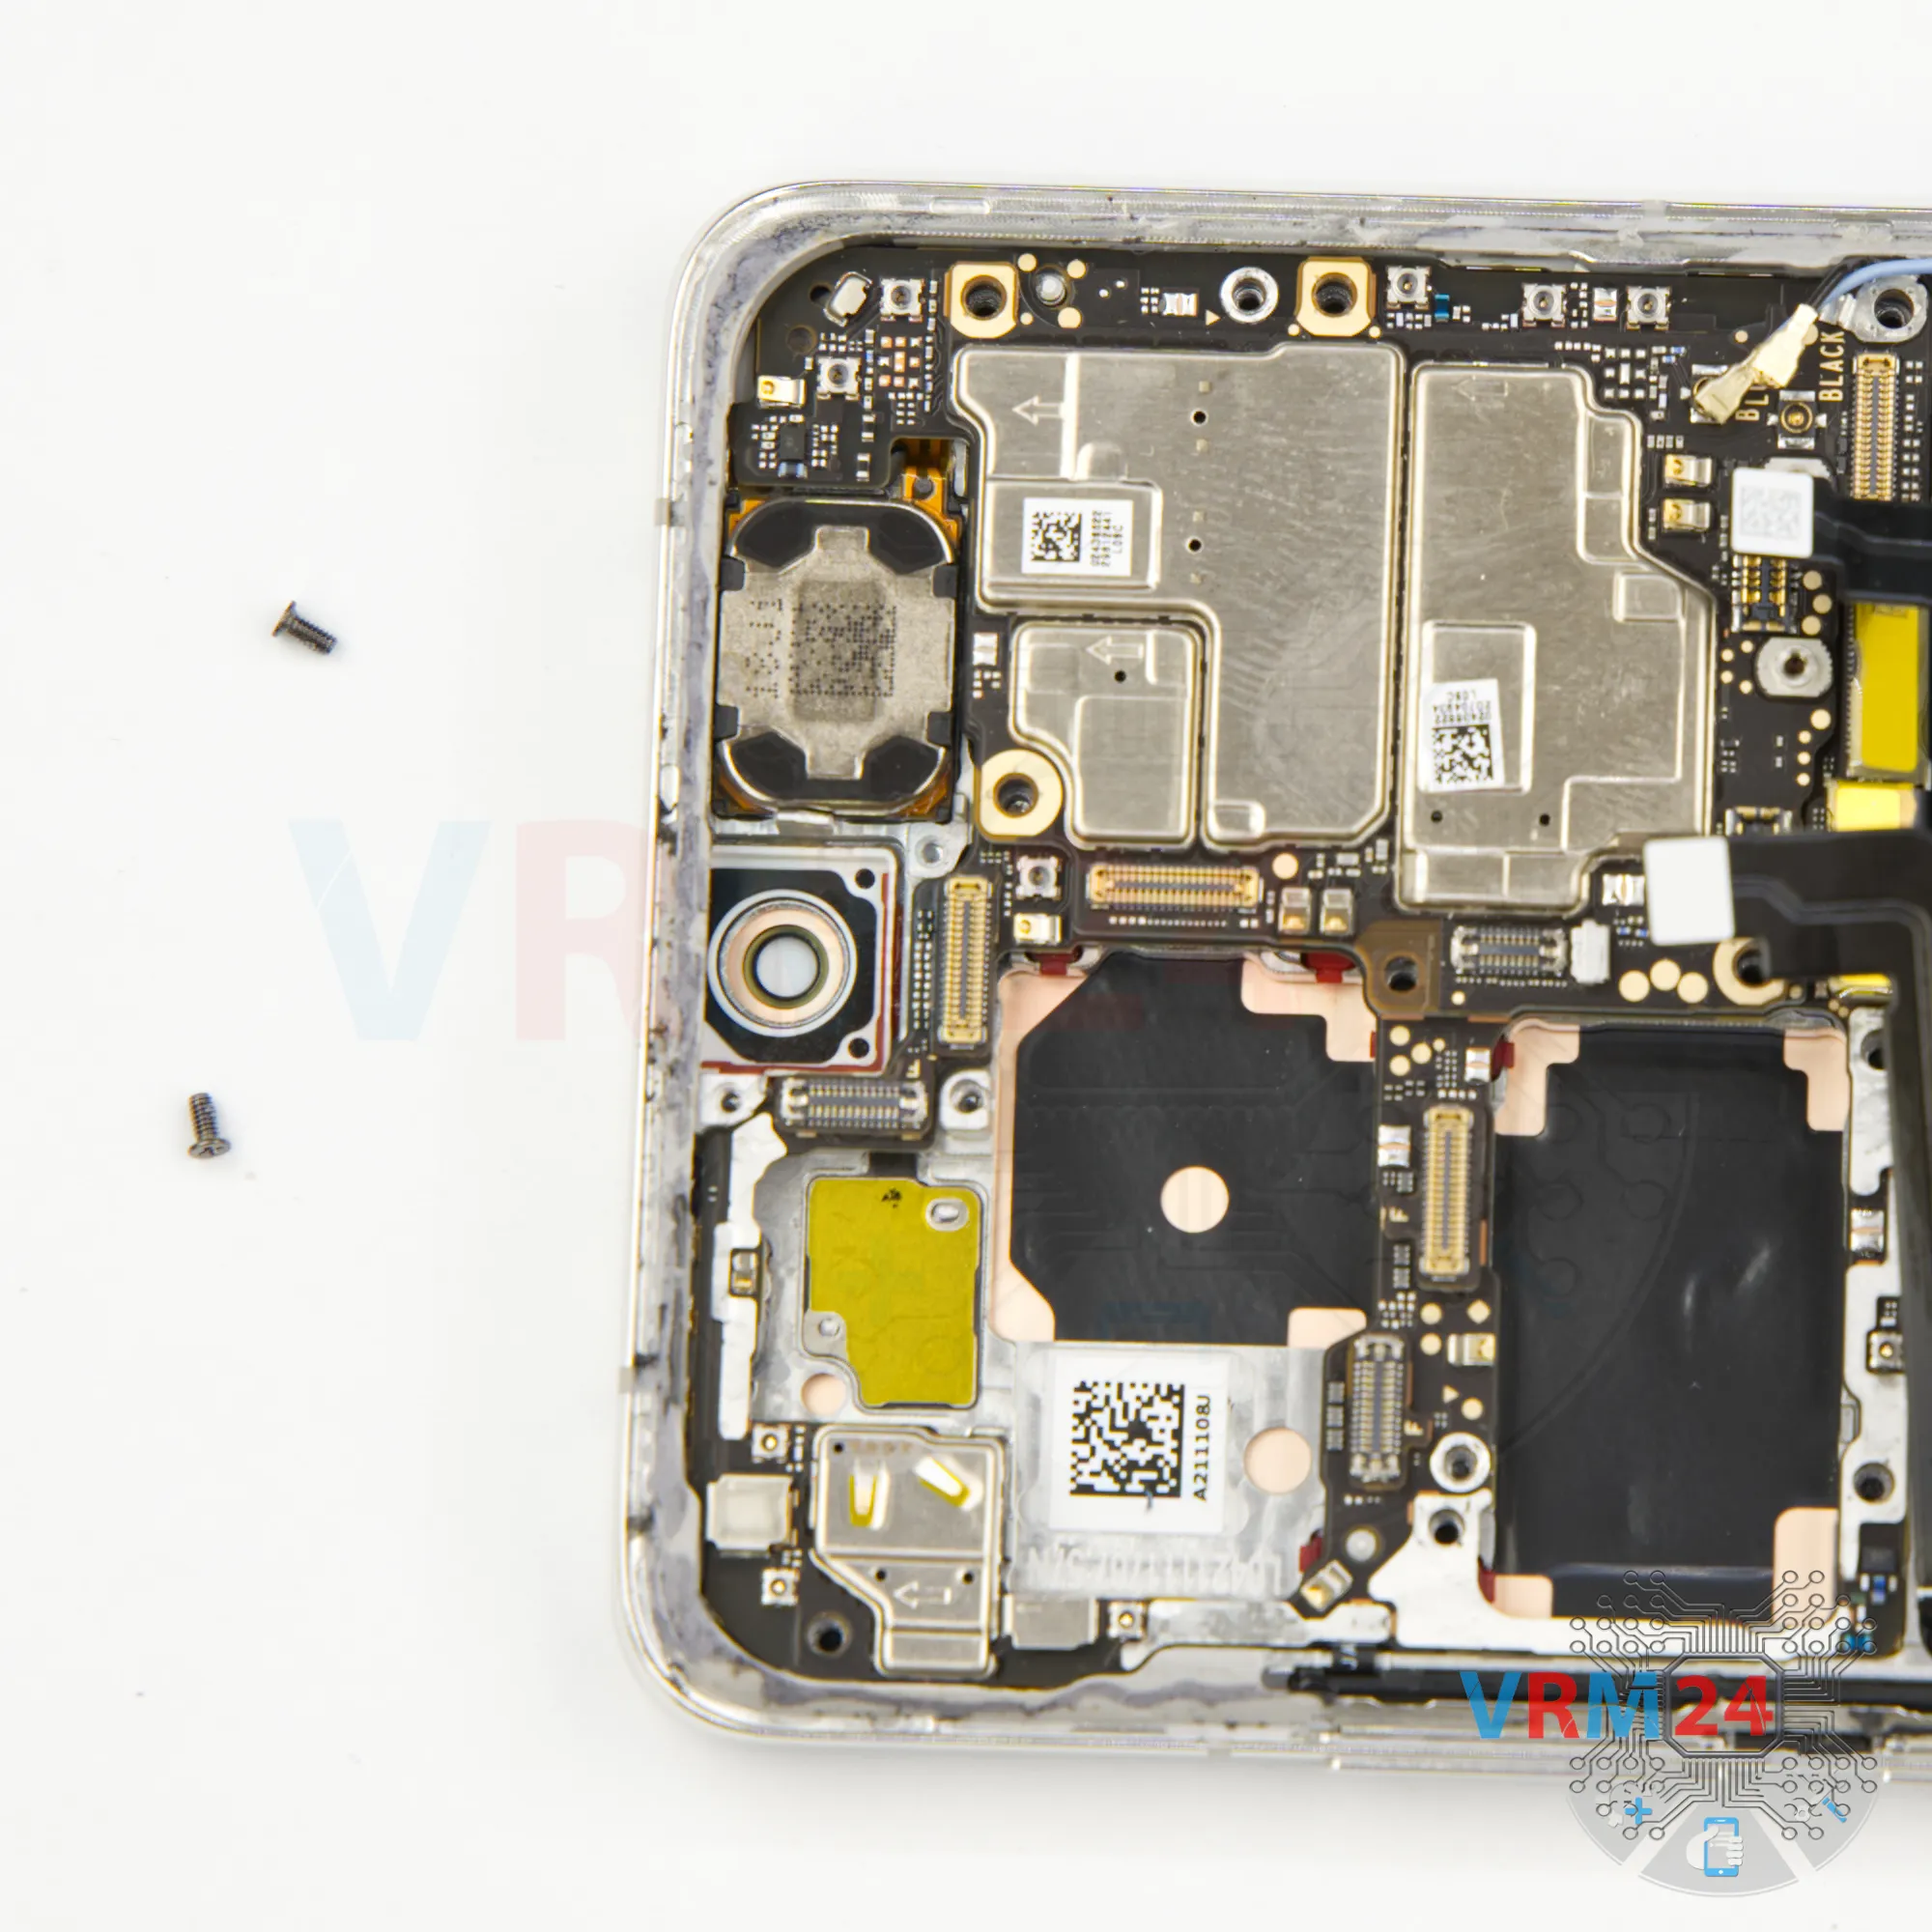
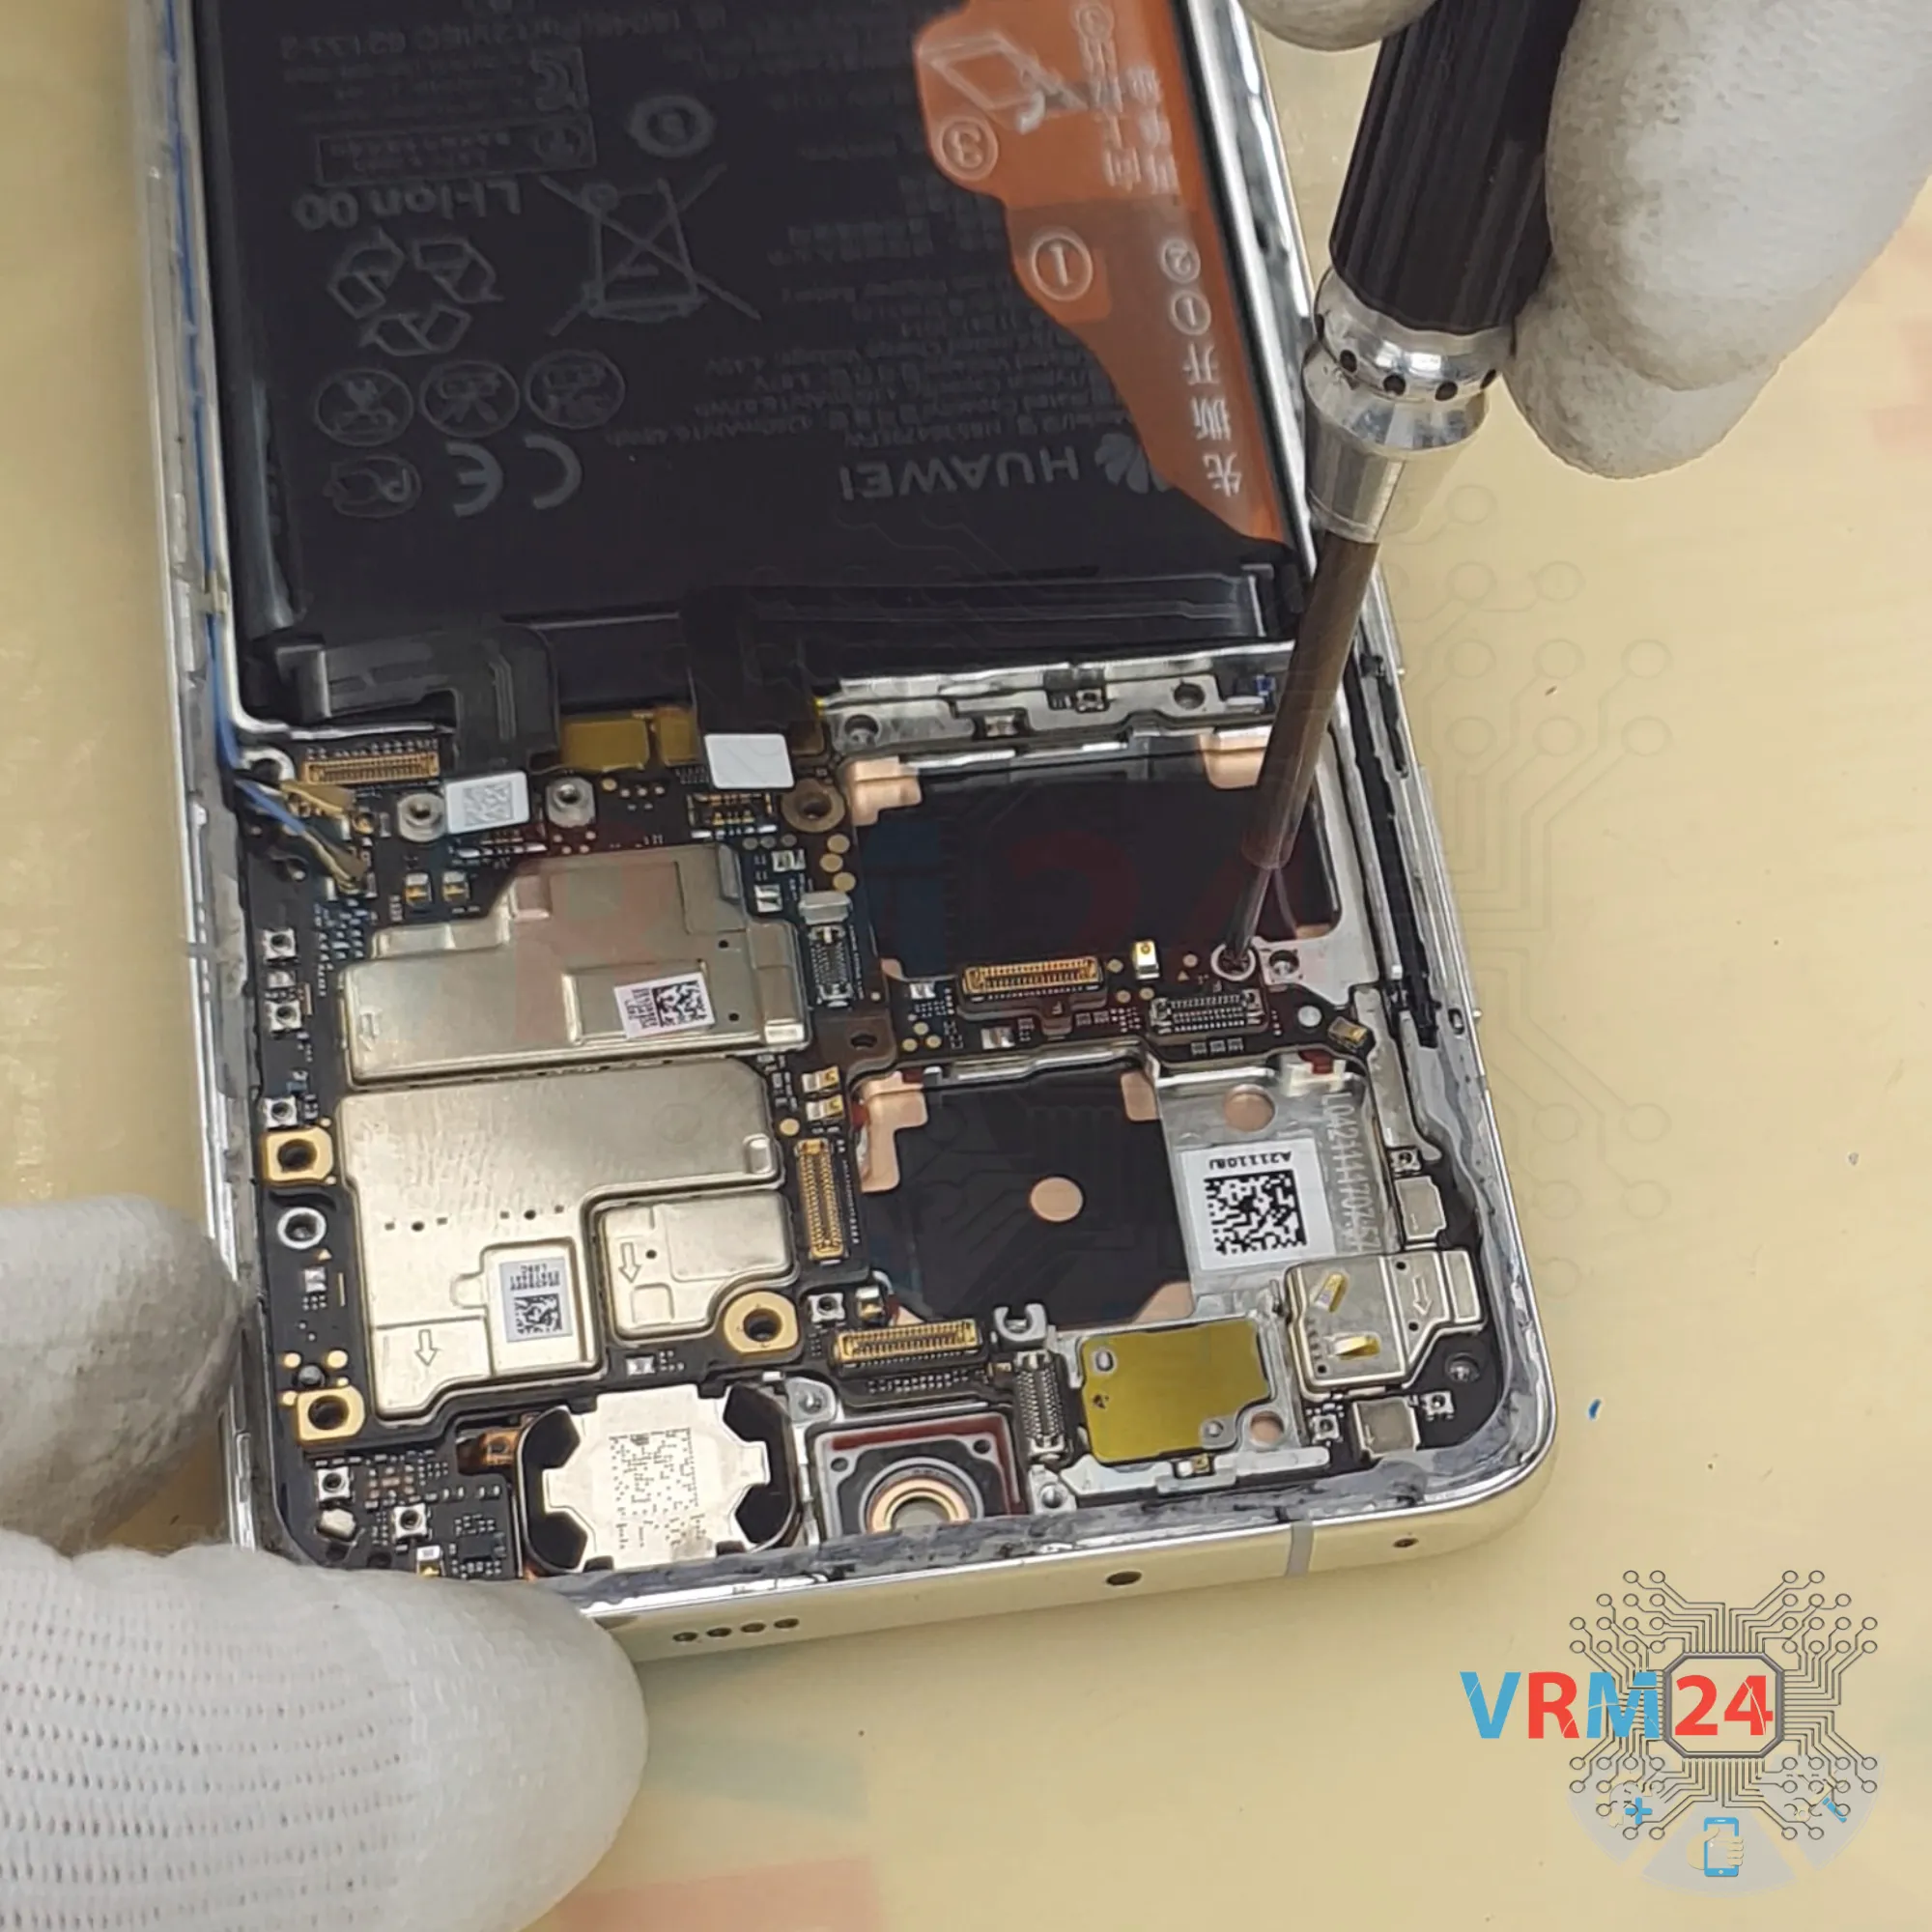
Step 22. Unscrew one screw
We also need to unscrew the screws securing the motherboard. Do this carefully.


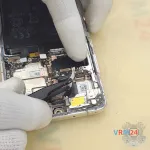
Step 24. Remove the front camera
Then, you can gently lift the front camera by the edge to remove it.


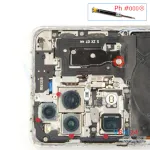
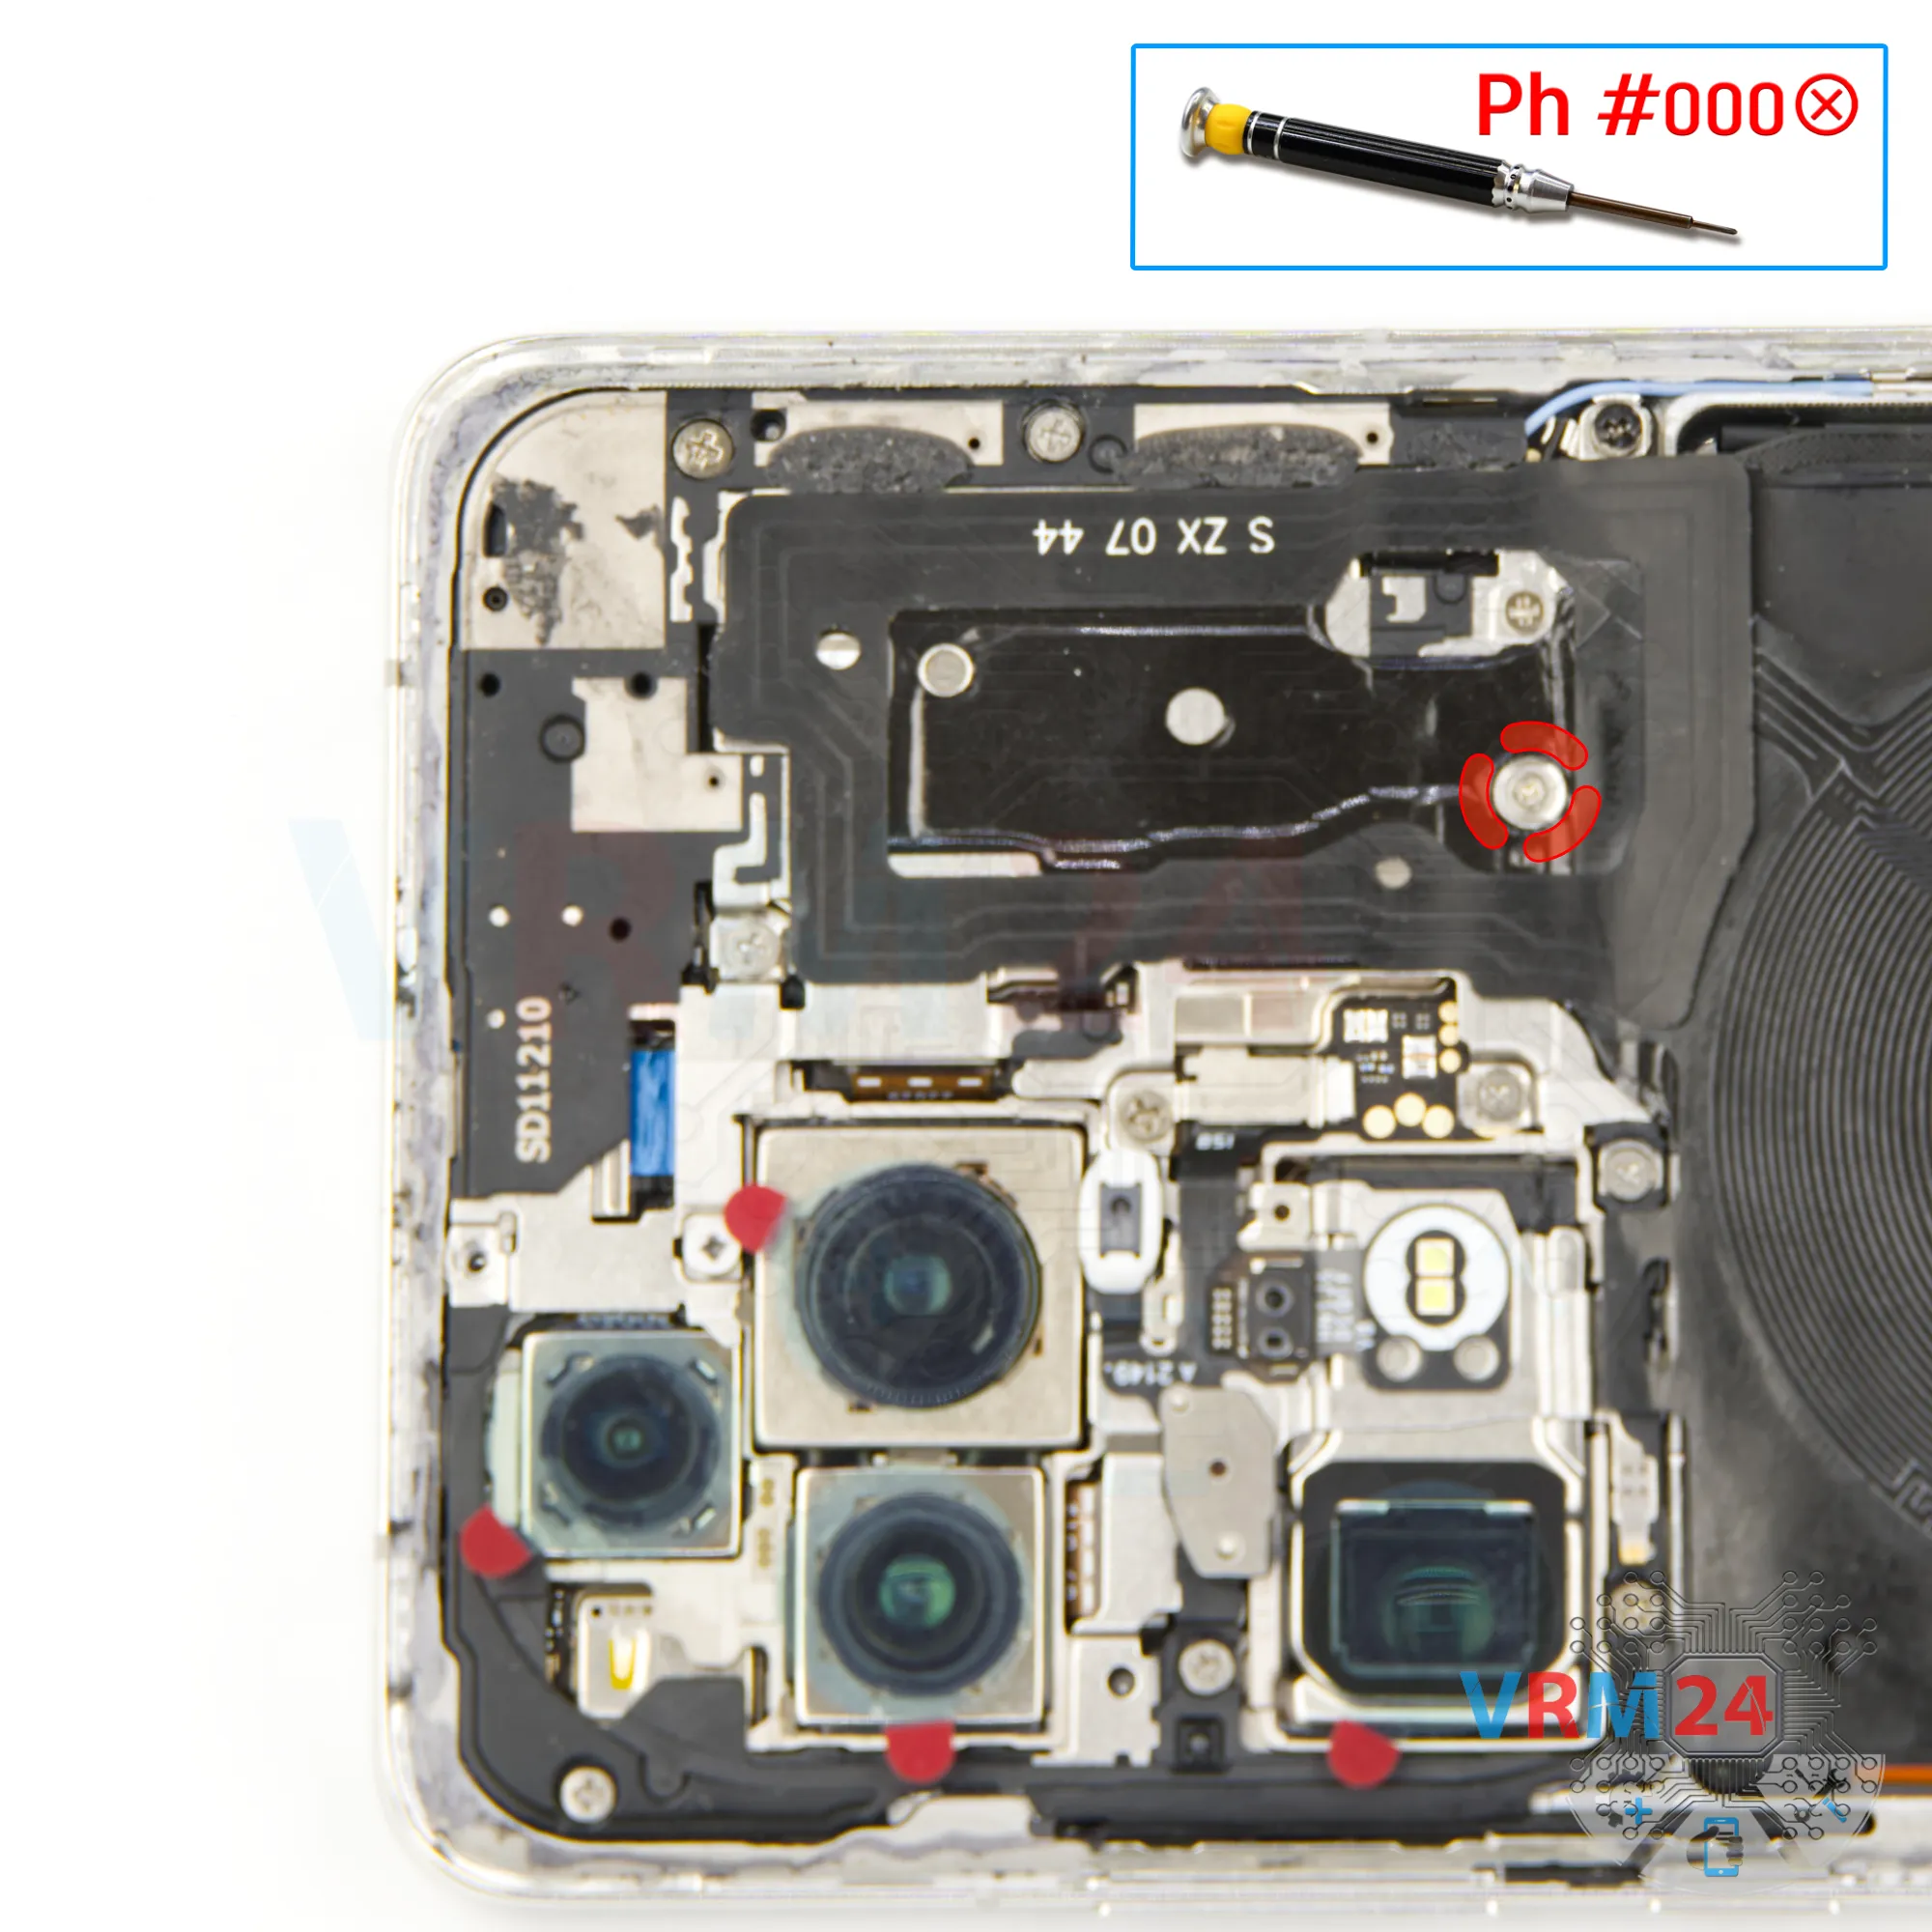
Step 25. Unscrew the screws
There’s two more screws to remove — again, we use the 1.5mm Phillips screwdriver.
Unscrew them and place it on an organized surface.
These screws are different from the others.

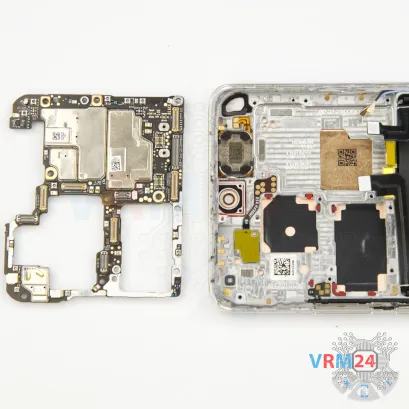

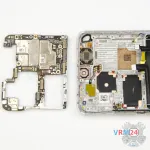
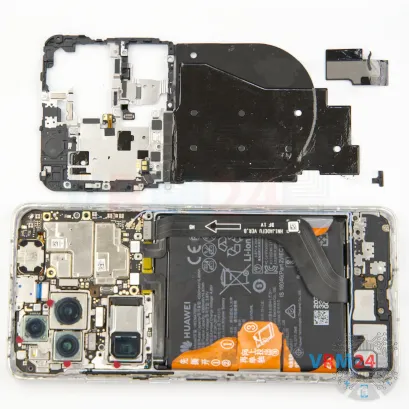
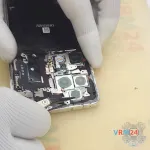
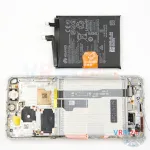
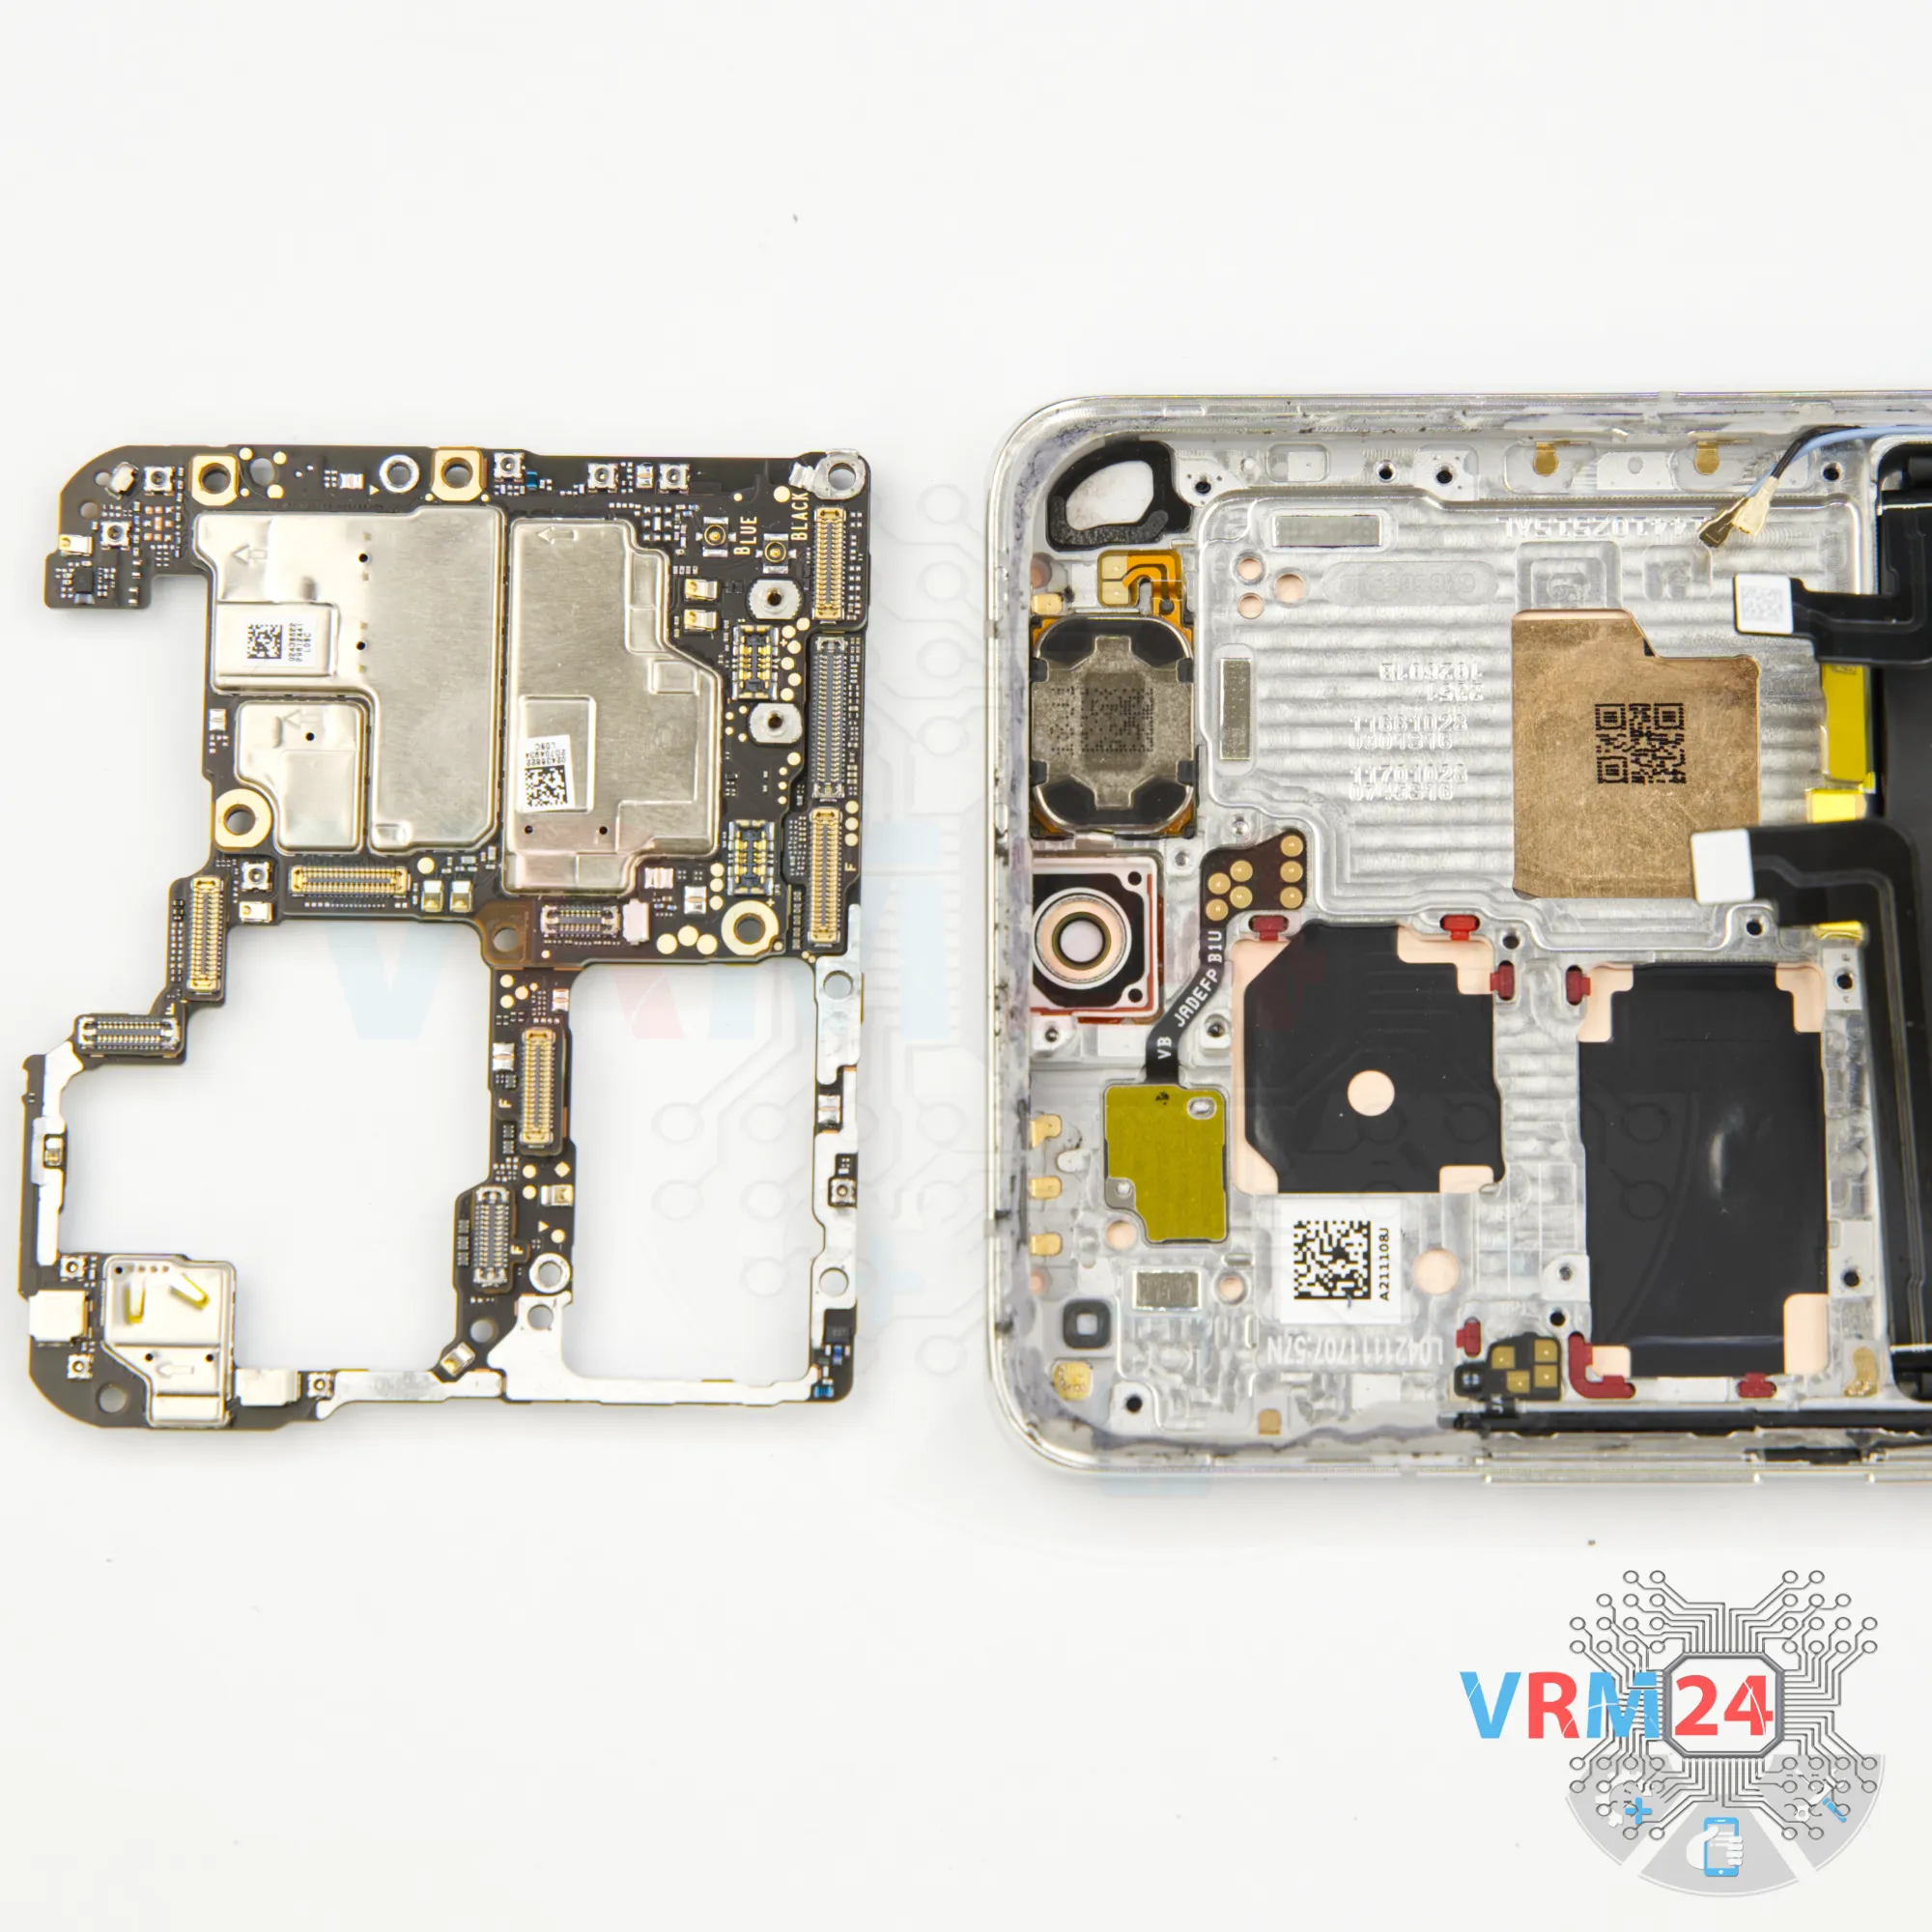
Step 26. Remove the motherboard
Finally, we can remove the motherboard.
Find a safe point to gently lift and remove it.
Make sure all connectors are detached. Lift it out carefully and set it aside.
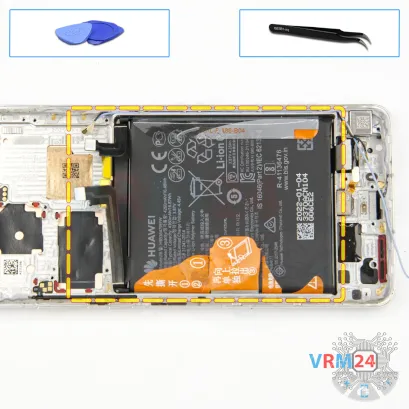

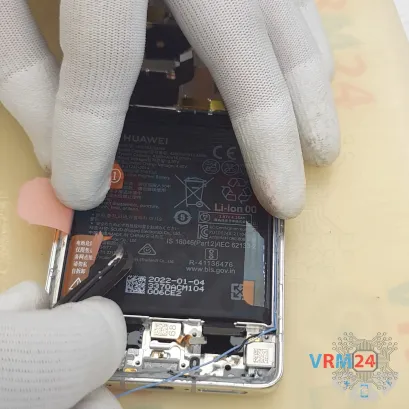
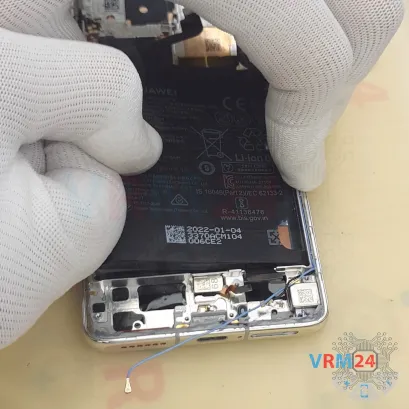


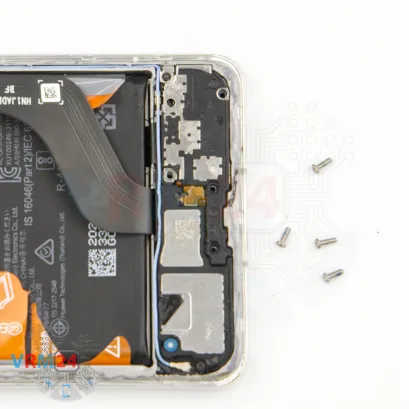
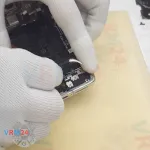
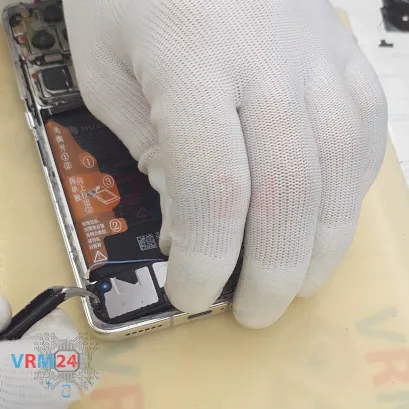
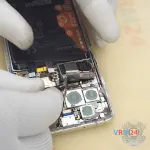
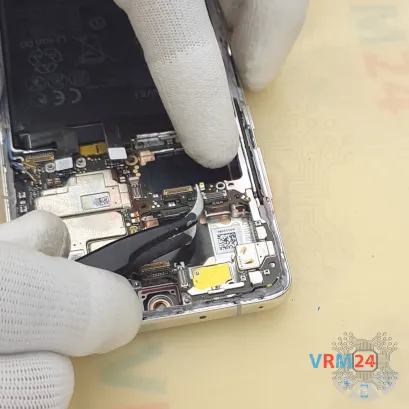
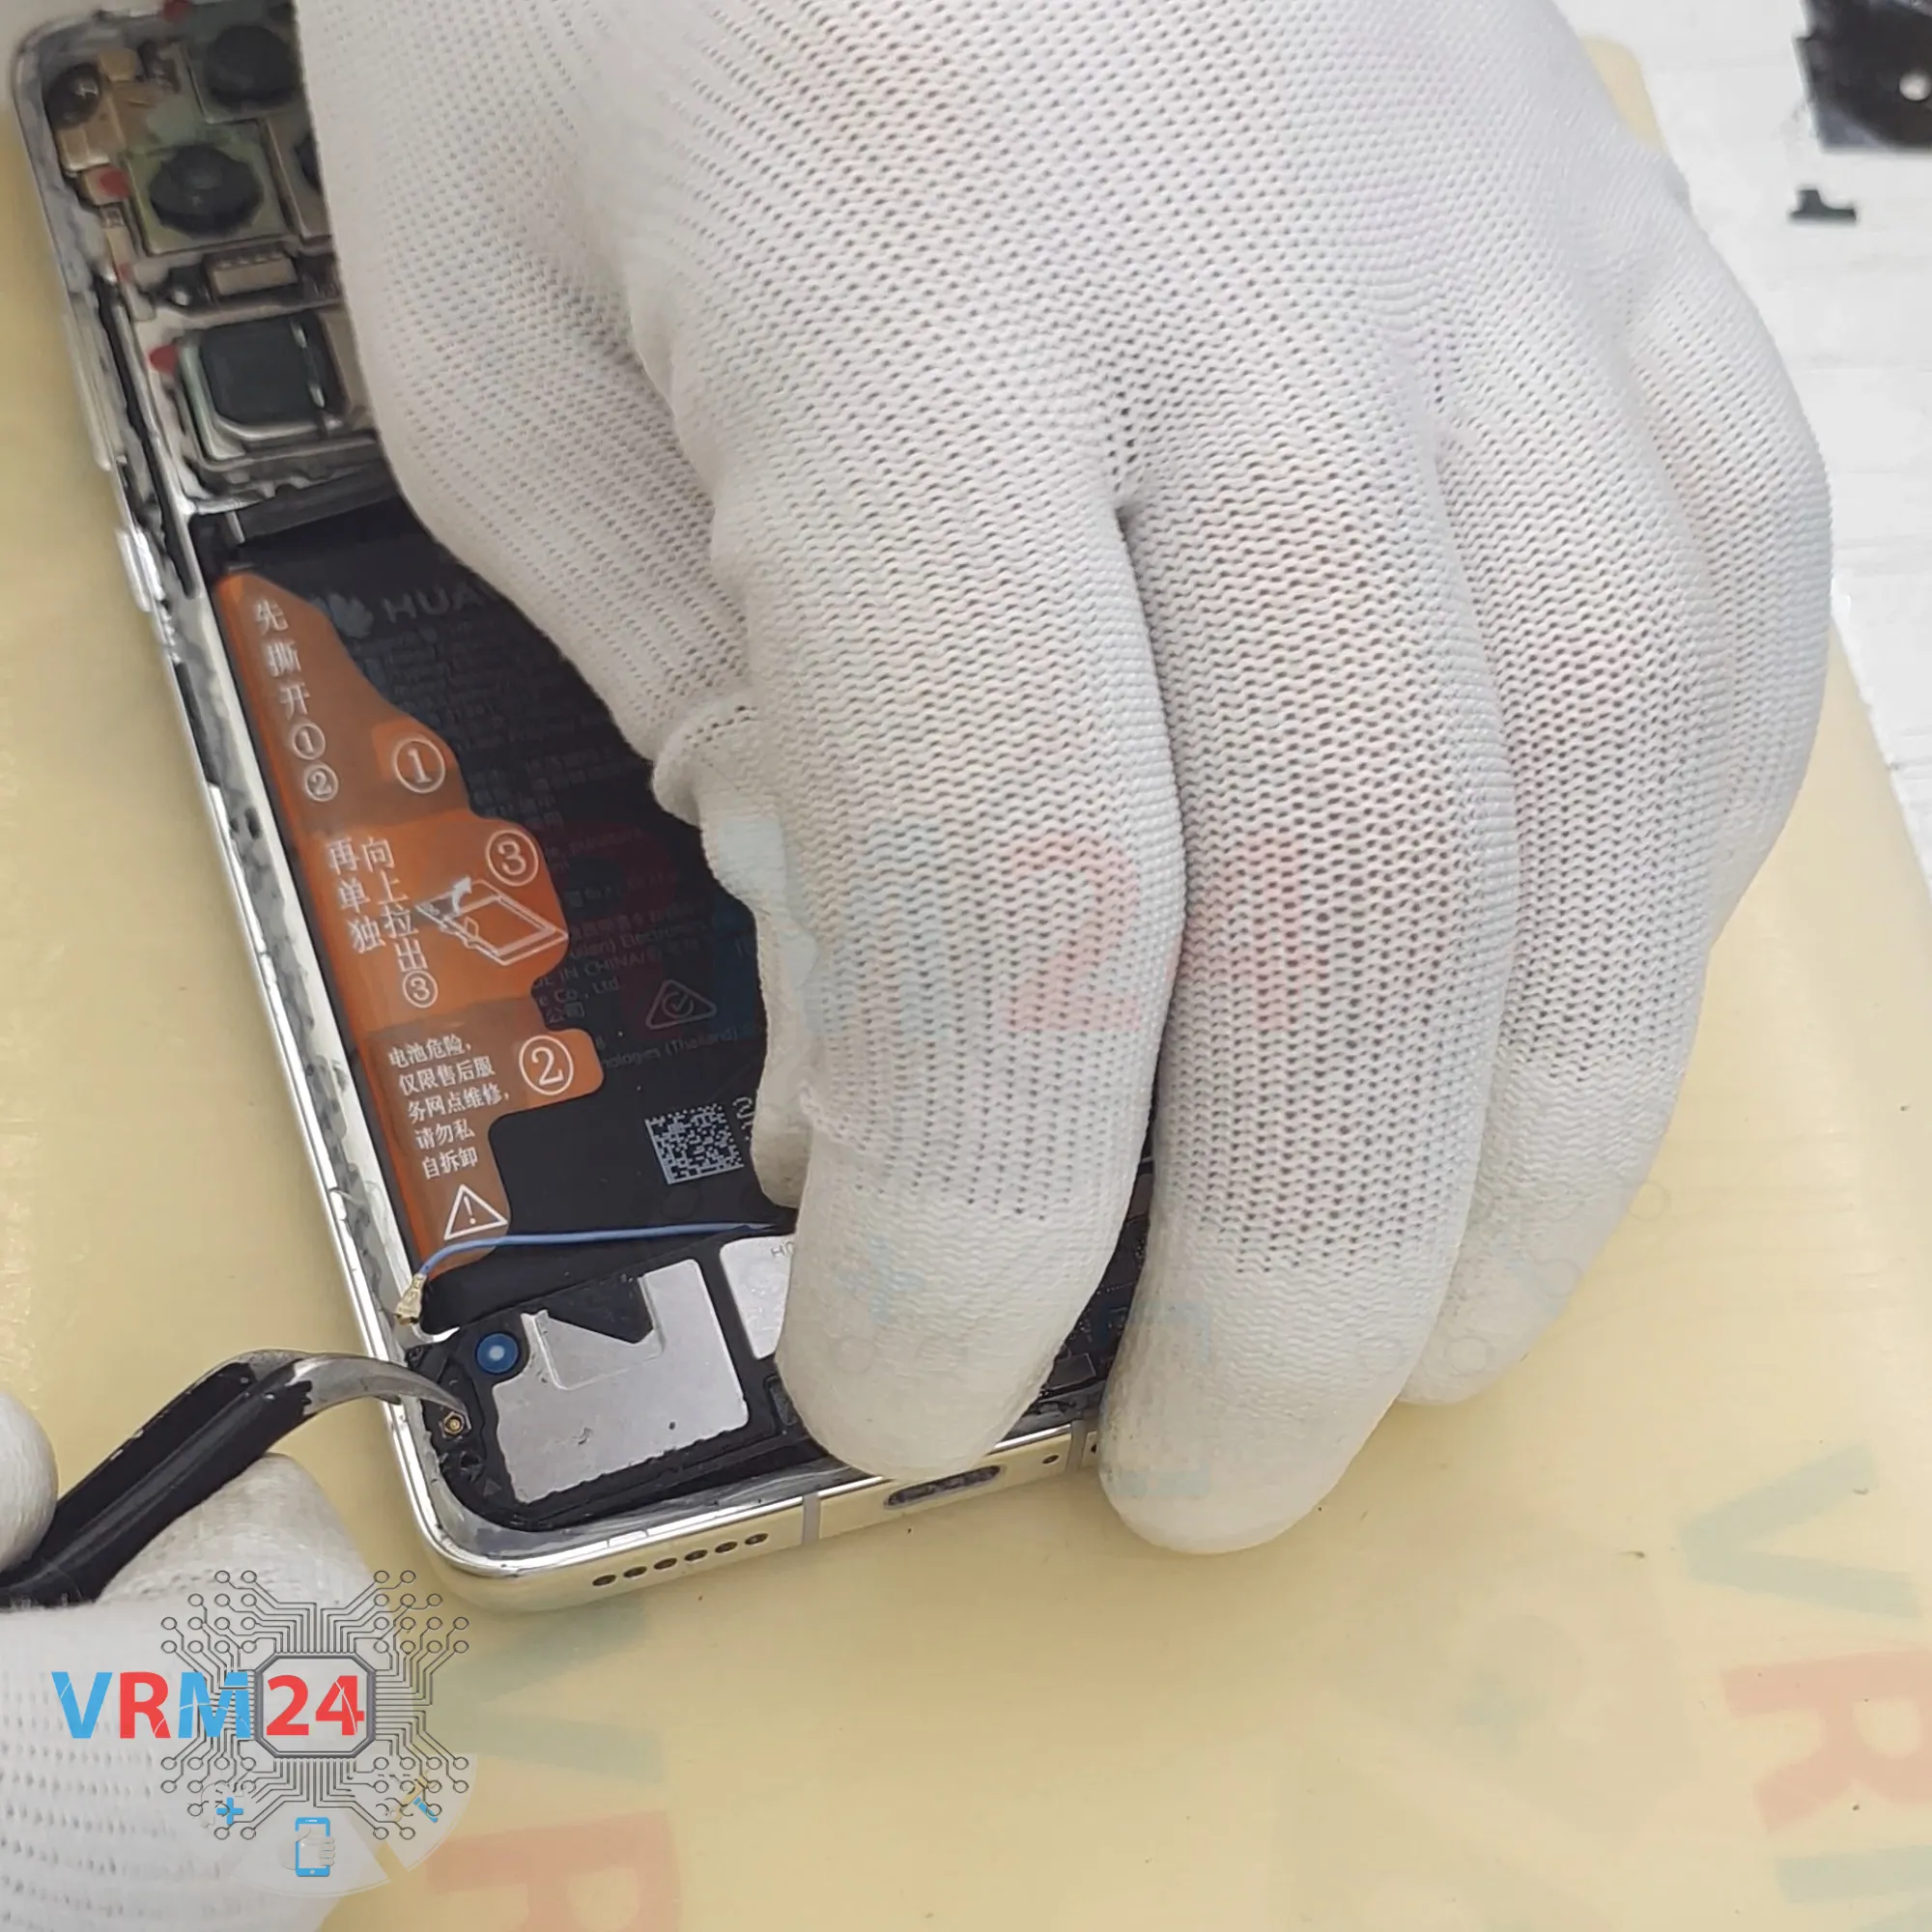
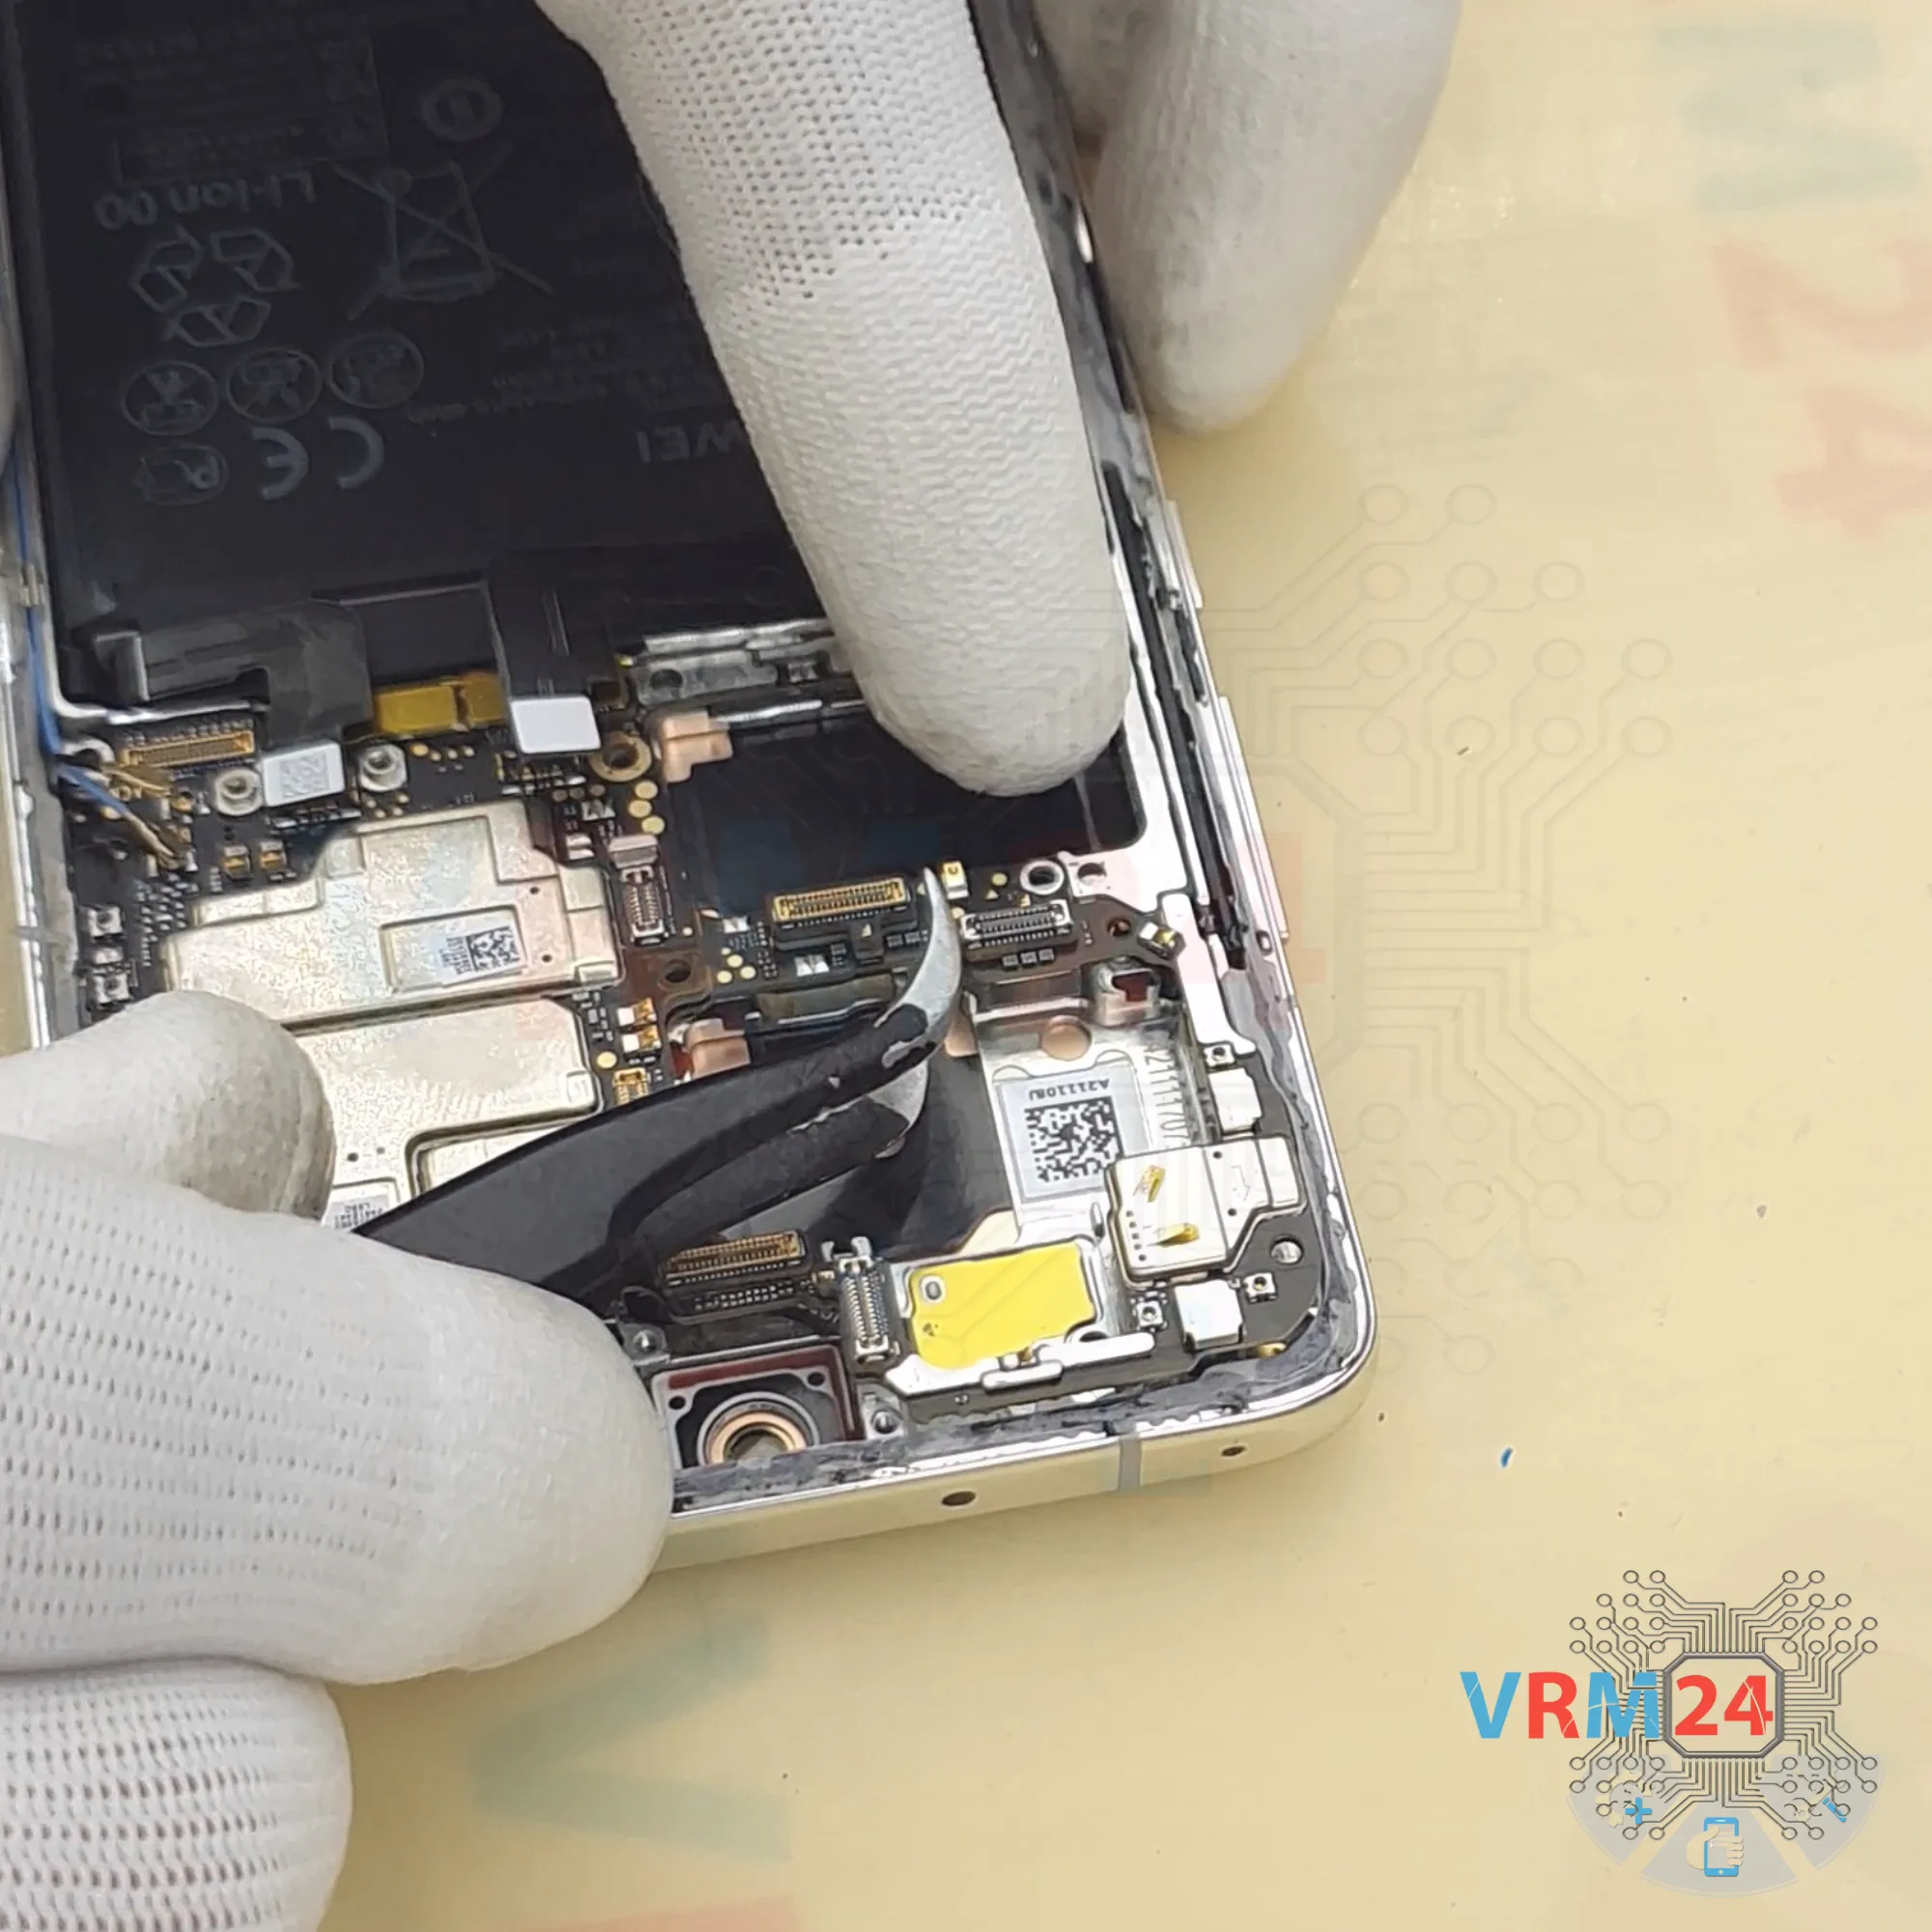
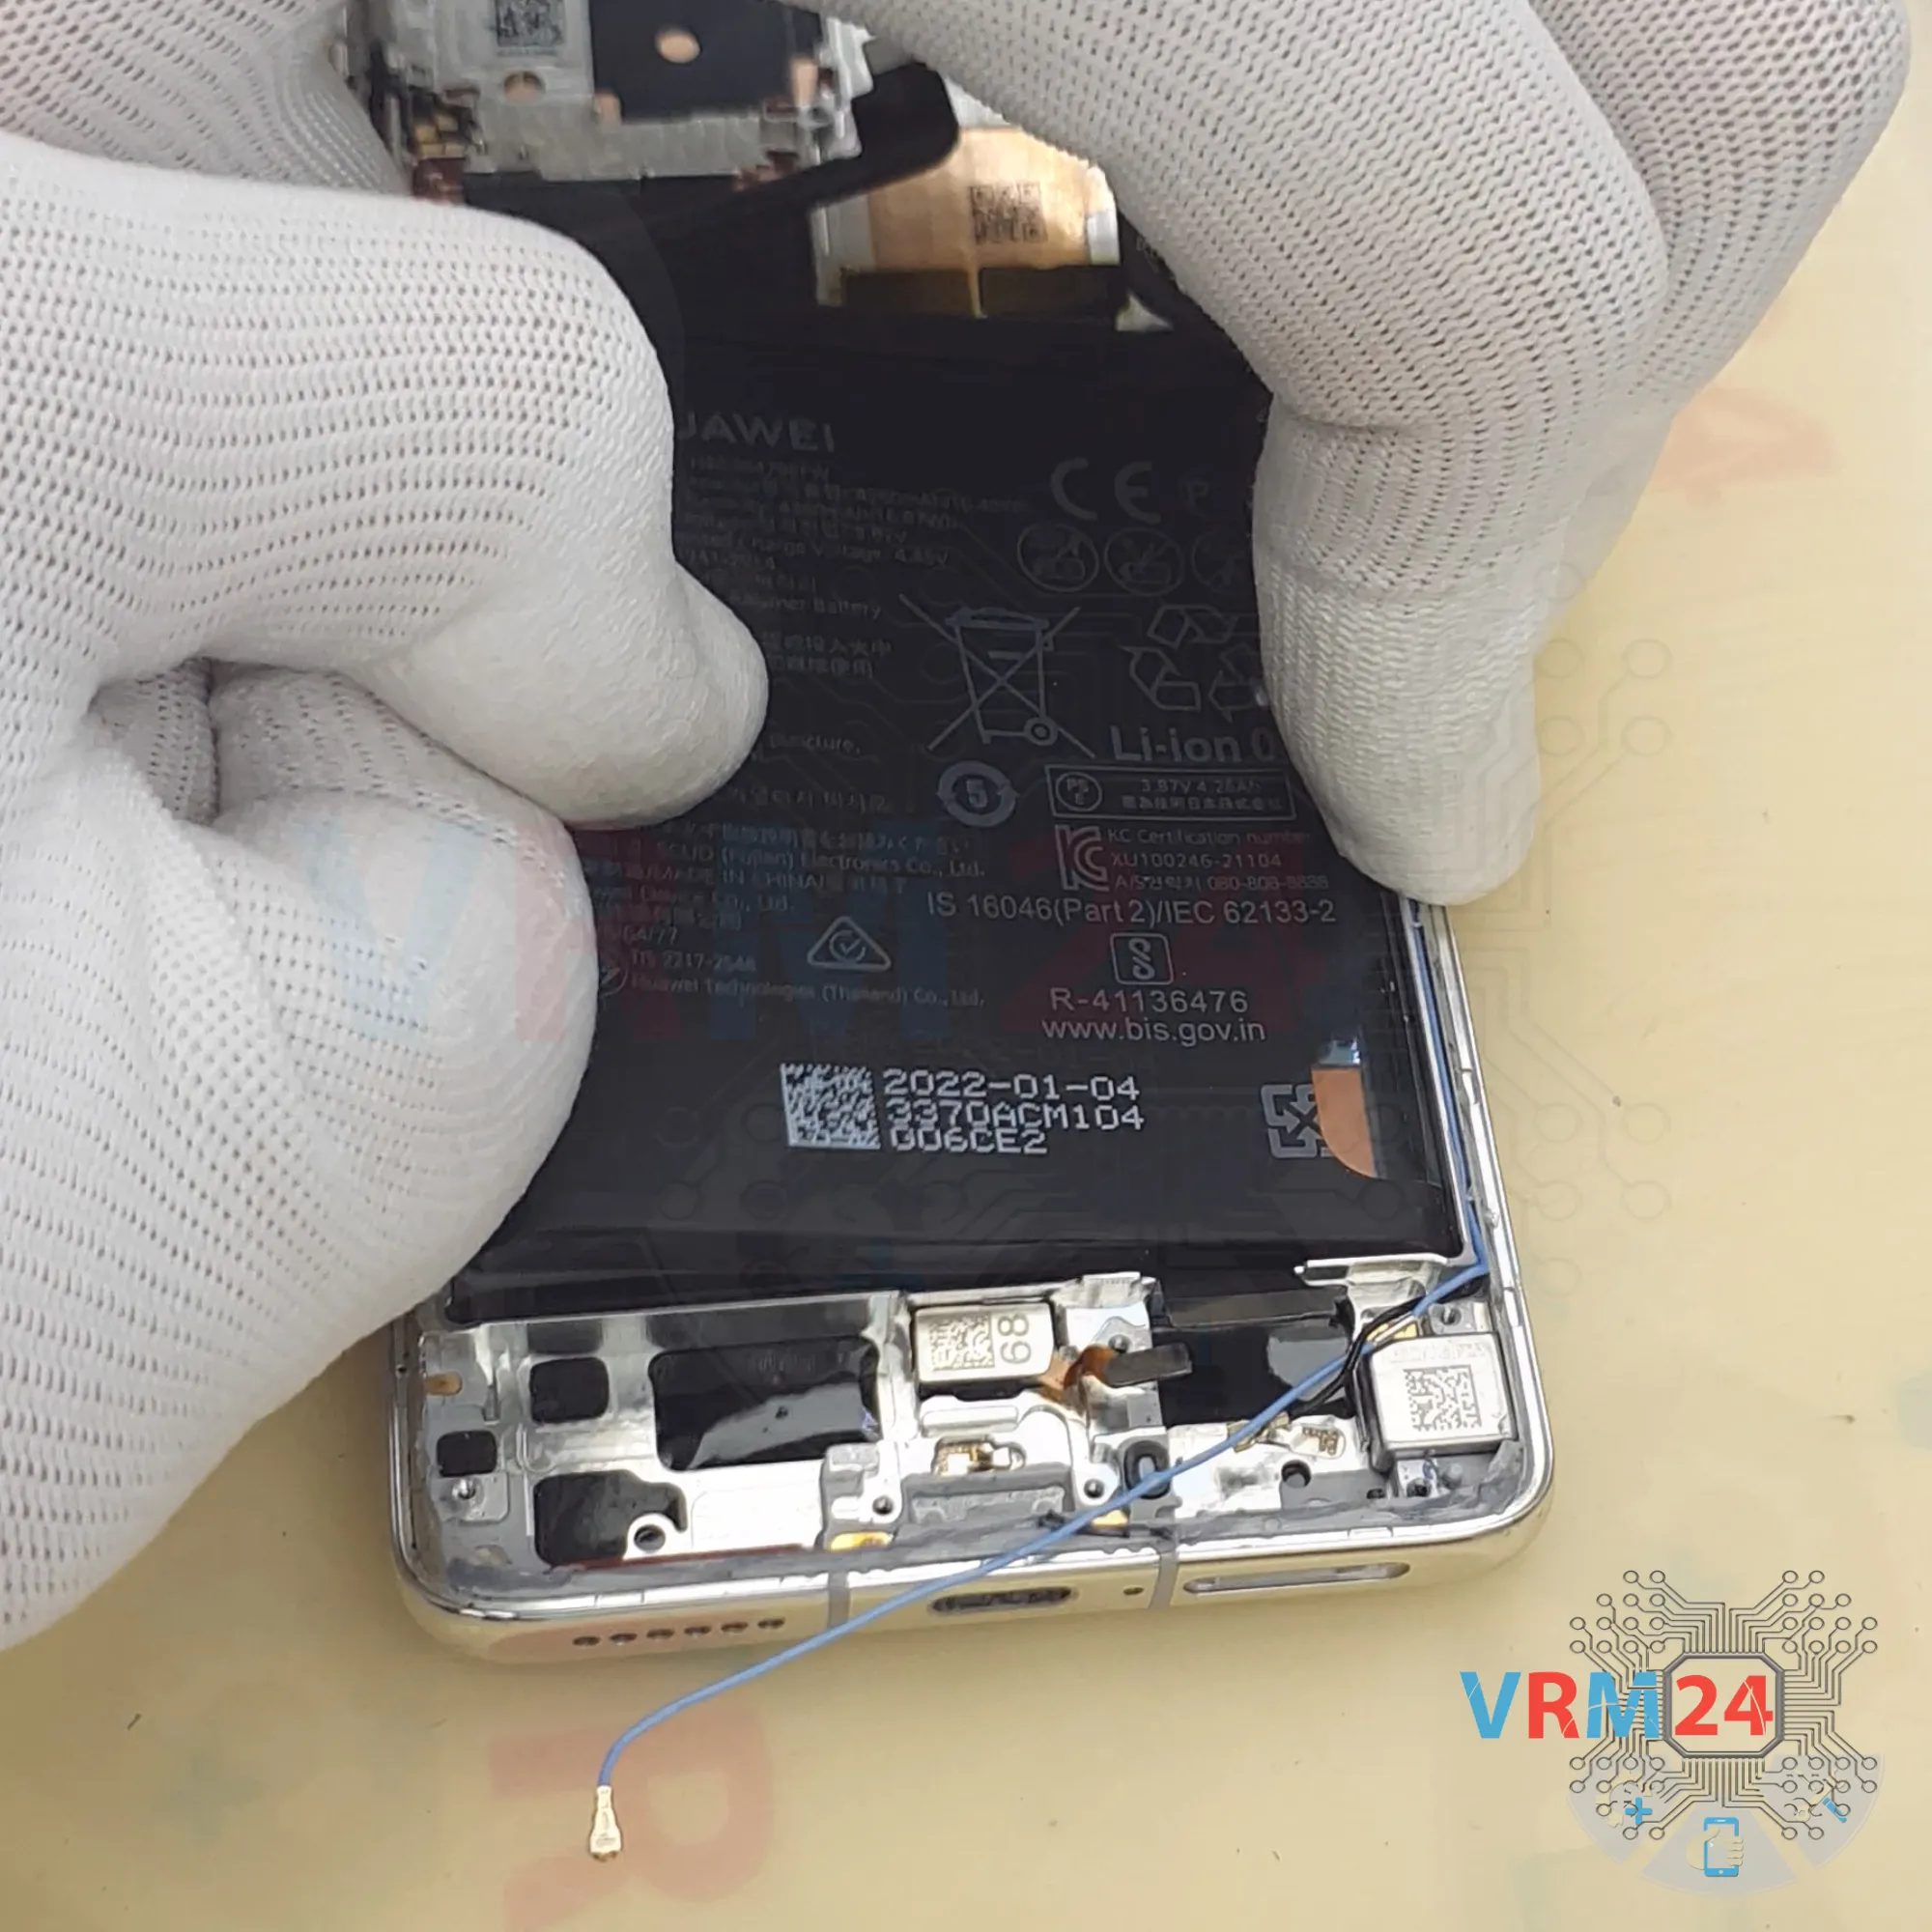
Step 27. Remove the battery
Lastly, we move on to removing the battery.
As is typical for Huawei, there are brown pull tabs that need to be peeled back — but they tear very easily.
Carefully fold the tabs back and pull the center tab to remove the battery.


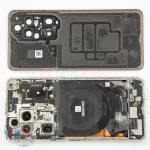
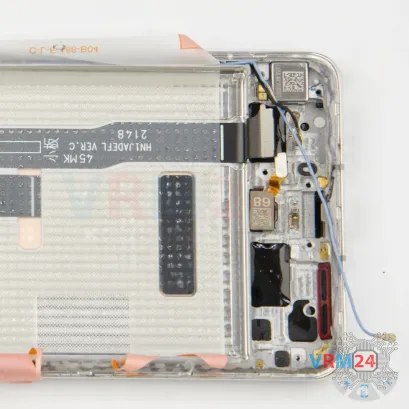
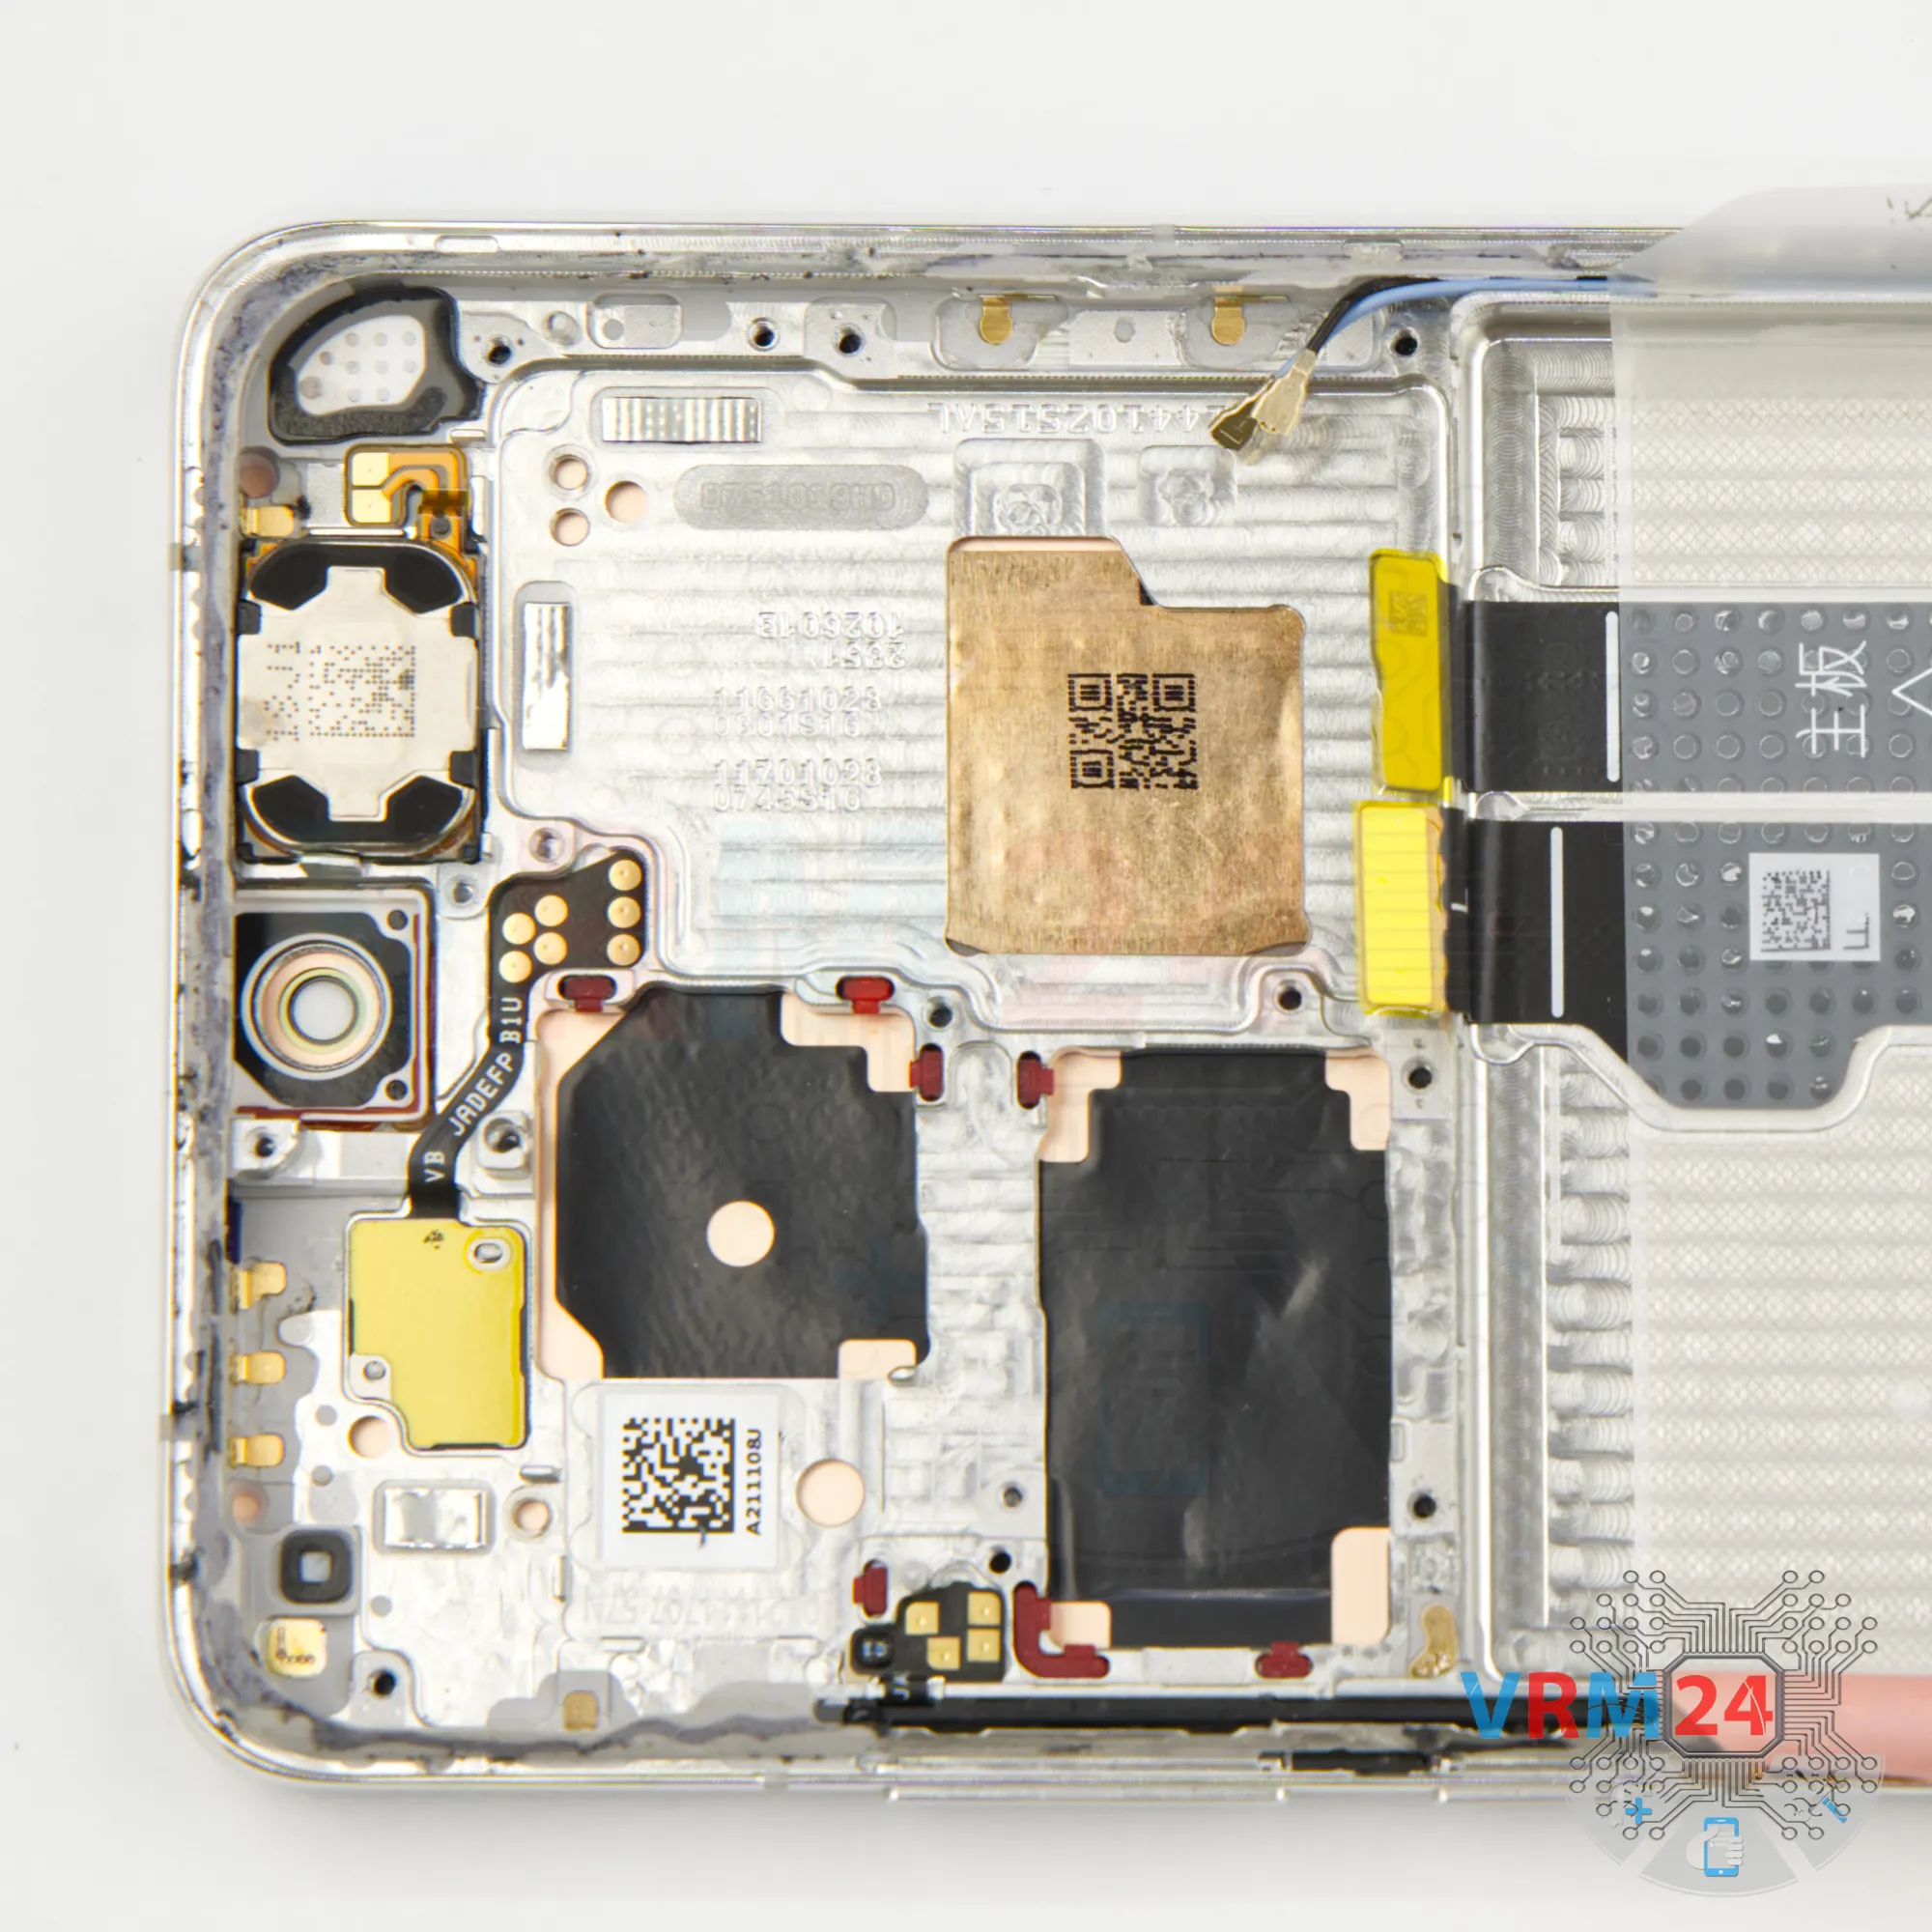
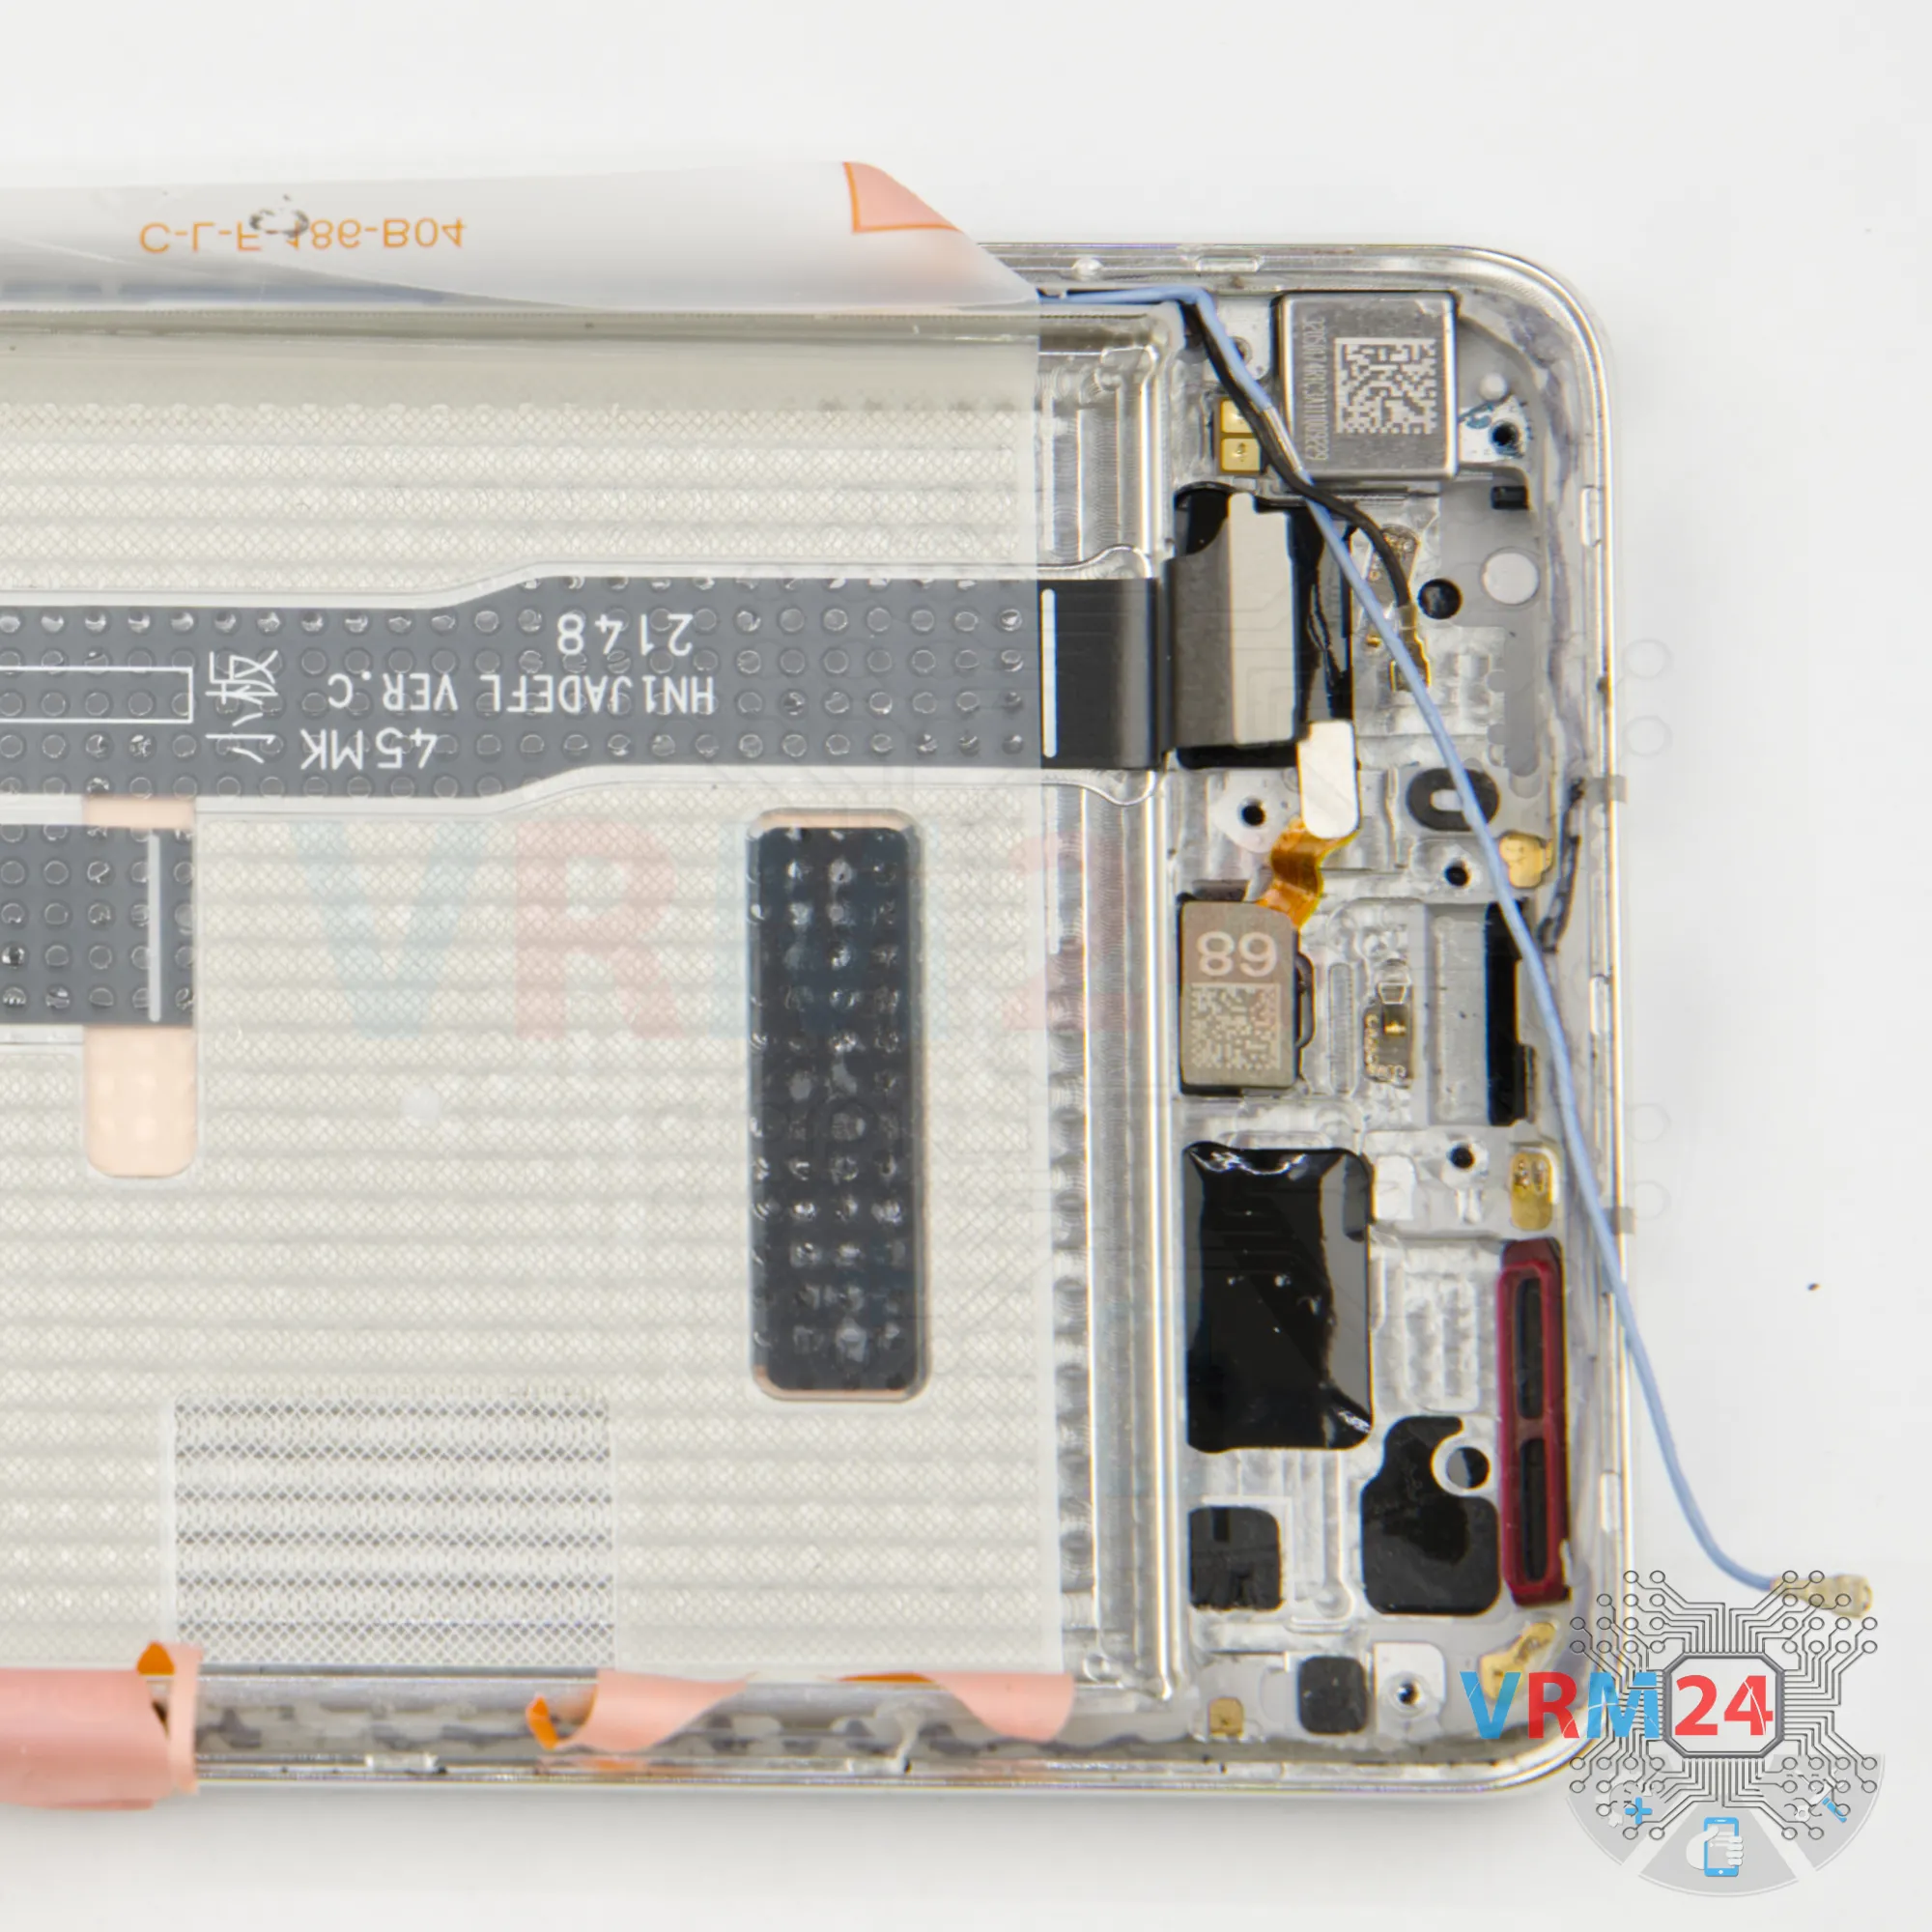
Step 28. In the display frame remained
ℹ️️ In the display frame remained: the earpiece speaker, fingerprint sensor, and vibration motor.
Detailed disassembly instructions of Huawei P50 Pro in the video, made by our mobile repair & service center:
If you have a question, ask us, and we will try to answer in as much detail as possible. If this article was helpful for you, please rate it.

Disassembling\Repair has medium complexity and takes about minutes in time.
Our manual is suitable for all models Huawei P50 Pro — Huawei P50 Pro JAD-LX9 released for markets in different countries.
Back to the list