
⚠️️ Before disassembling, do not forget to turn your phone off.
Teardown difficulty:
Hard
Hard
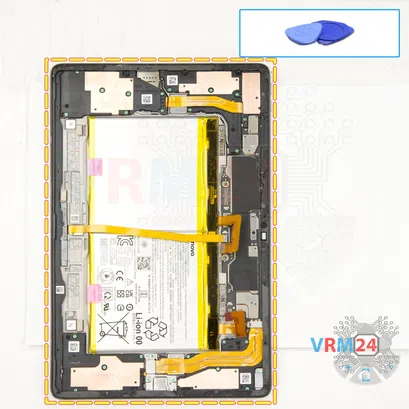
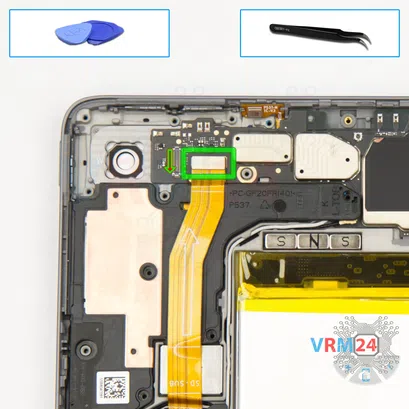
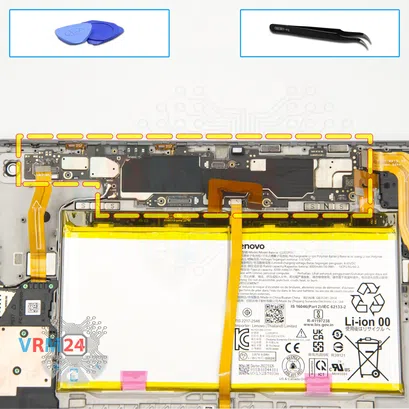
Recommended tools


Disassembly/Repair of the mobile device Lenovo Tab P11 Pro Gen 2 TB-132FU (Lenovo Tab P11 Pro 2022, Lenovo Tab P11 Pro (2nd Gen)) with each step description and the required set of tools.

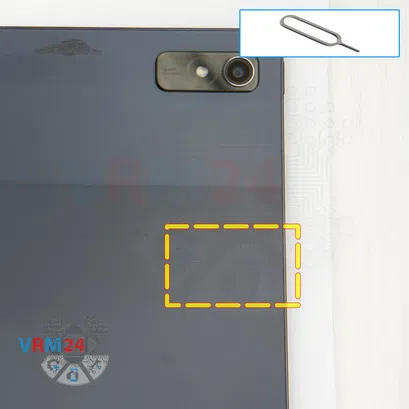
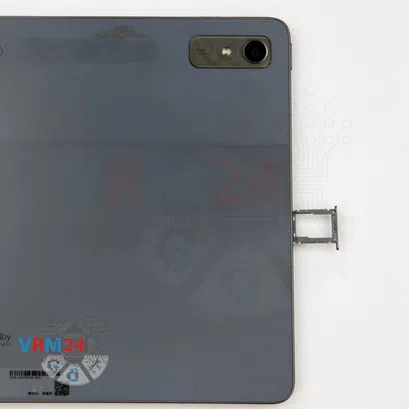

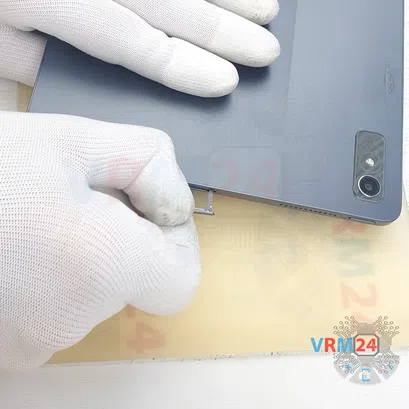

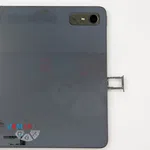

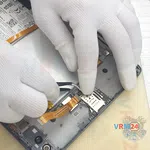
Step 2. Remove the tray
First of all, we need to remove the card tray, for this we use a special tool and we push out the memory card tray.
⚠️️ Pay attention! The tool must be inserted into a hole on the edge of the phone's housing. Do not press too hard. It may break the tray eject mechanism.


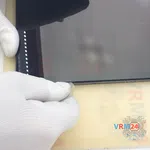
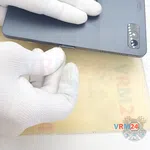
Step 3. Open the display module
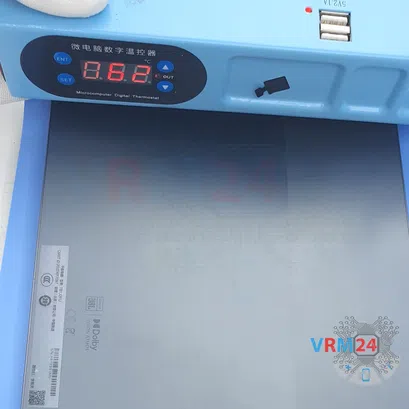
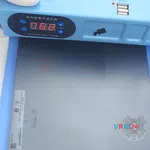
We need to heat the surface of the display to a temperature of about 70 ° C or 160 ° F. For this we use a heating mat, and we recommend using a heating mat or a separator.
Since disassembly has a third maximum difficulty, we will need to detach the display. This is a very difficult thing to do. It is quite difficult to heat the display evenly, and it is extremely easy to damage the display.
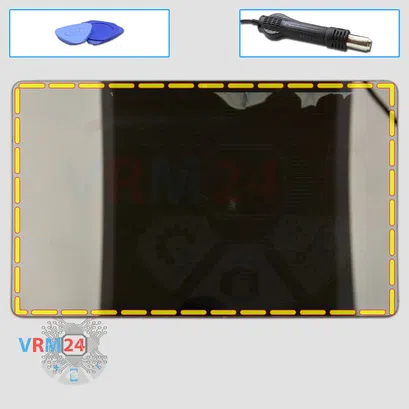
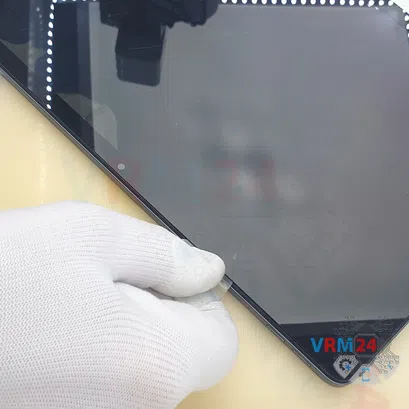
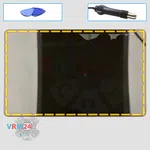
So, after 10- to 15 minutes of heating, we take a thin plastic film.
We insert it into the gap between the housing and the display and carefully run it along the edge, cutting off the adhesive backing.
⚠️️ We need to be really careful in the front camera area.
⚠️️ We need to be careful on the edges.
⚠️️ We don't need to use any force. If in some places the display is sticking back, we can additionally use, for example, a plastic pick to lift the display slightly.
⚠️️ Detaching the display is a time-consuming and labor-intensive procedure.
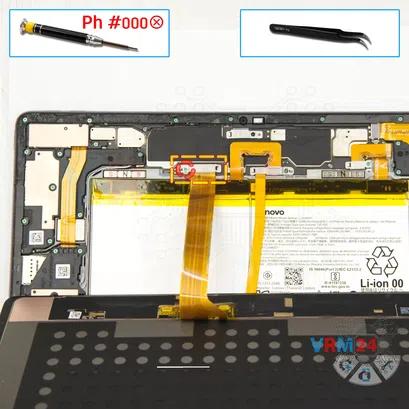


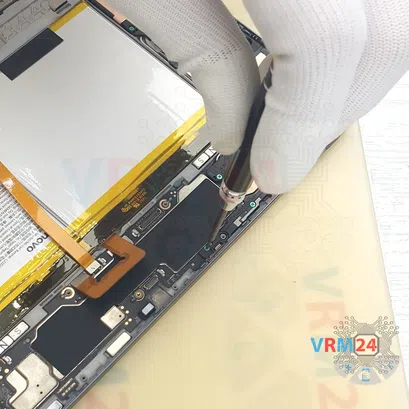
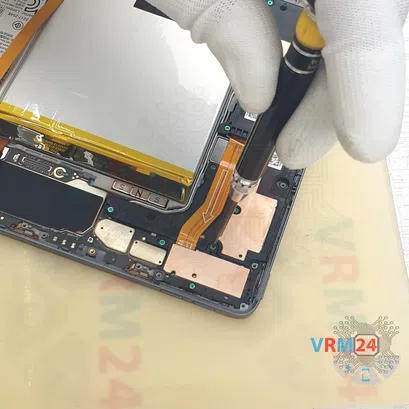
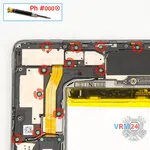
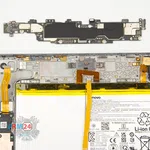
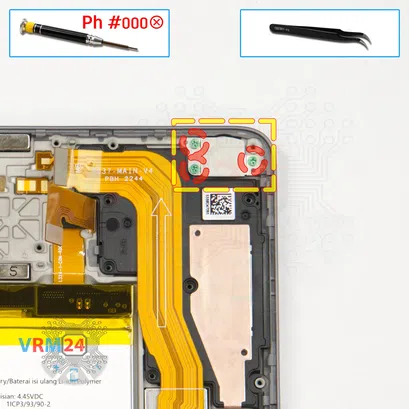
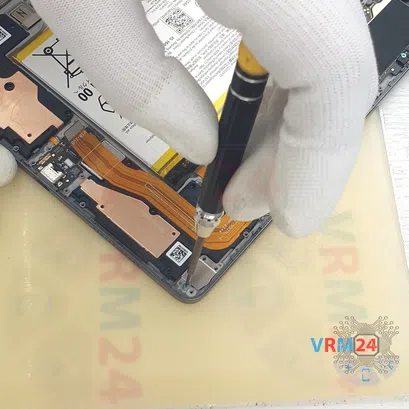
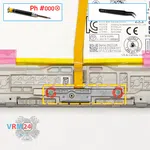
Step 4. Unscrew one screw
Basically, we can carefully lift with one hand, and with the other hand we unscrew one screw (screwdriver Phillips 1.5 mm (PH #000)).
Then we remove the bracket holding the connector.


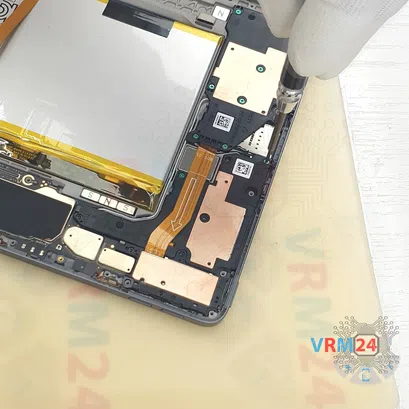
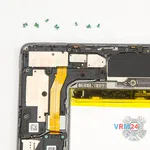
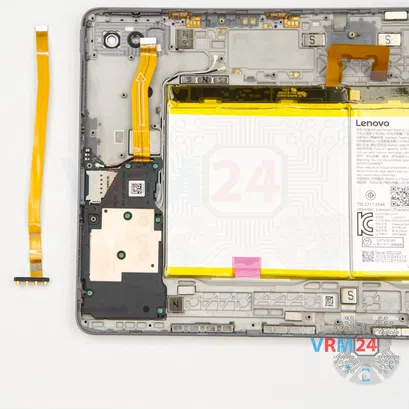
Step 5. Disconnect the connector
And we disconnect the connector of the display cable. And now we can carefully remove, actually, the display itself.
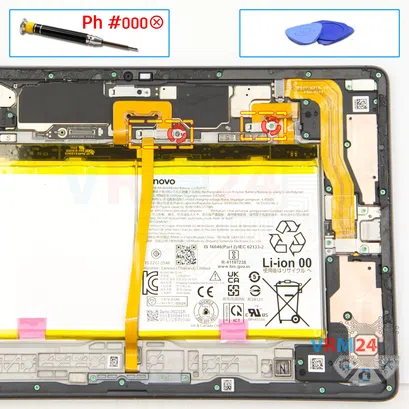
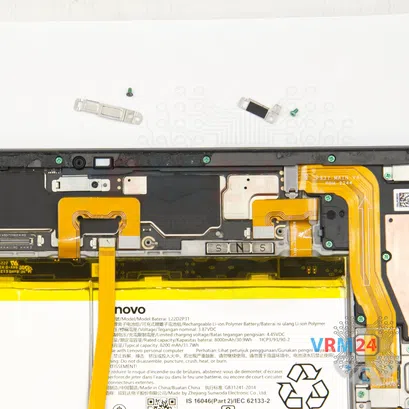

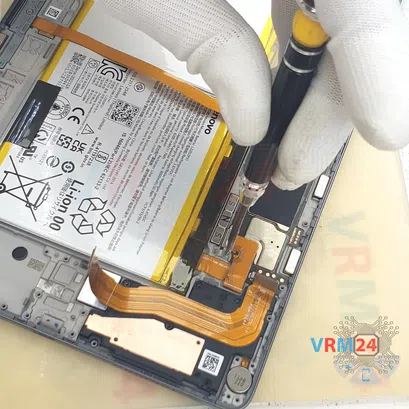

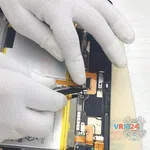
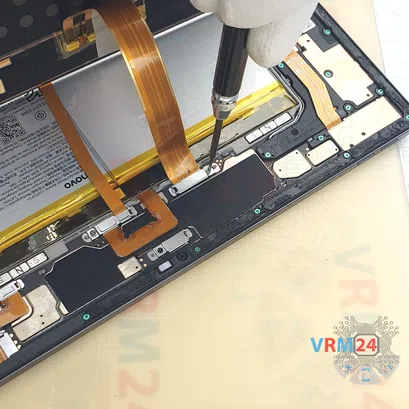
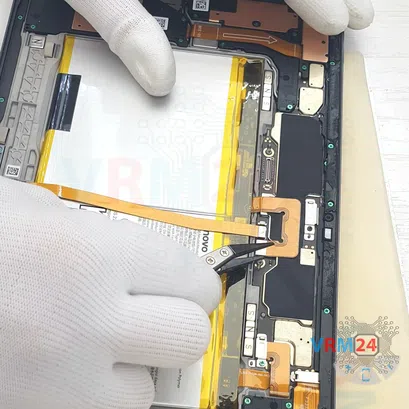
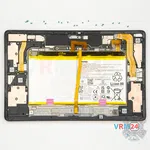
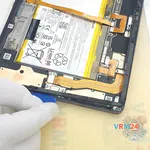
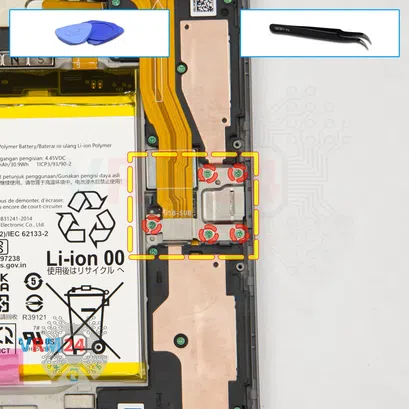
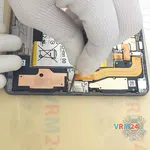
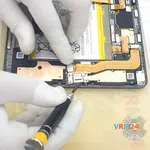
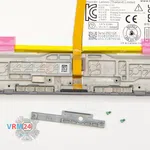
Step 6. Disconnect the connectors
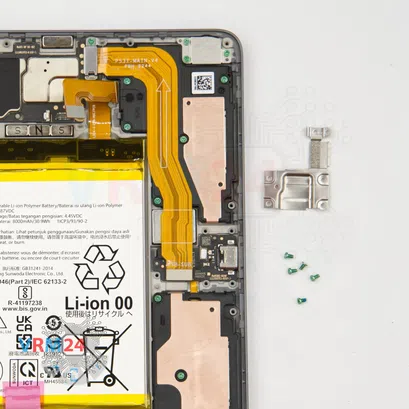
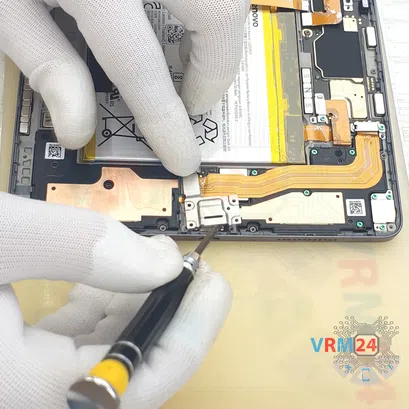
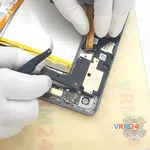
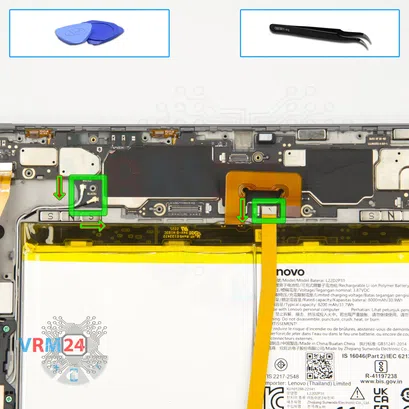
In our case we have two battery connectors. First, we use a Phillips screwdriver one and a half millimeters or Phillips #000, we unscrew the screws, then we remove the brackets.

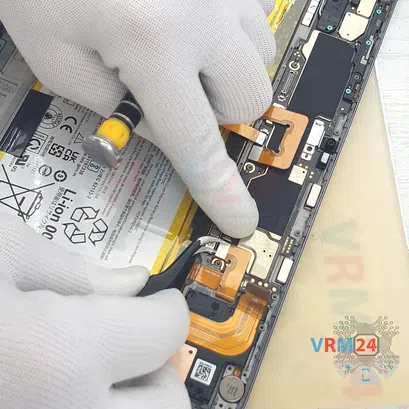

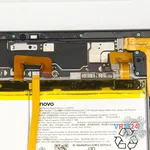


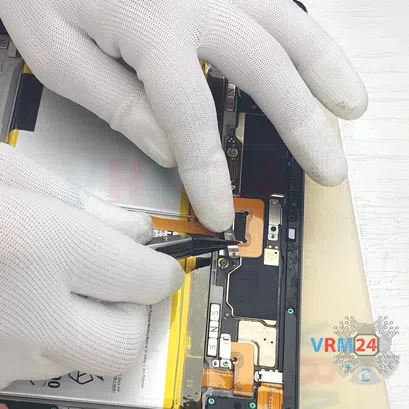
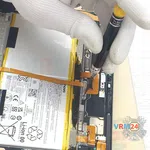
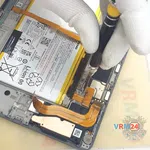
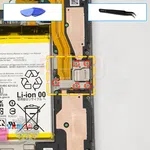
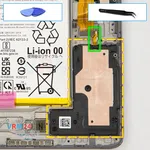
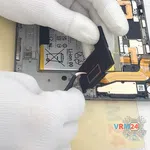
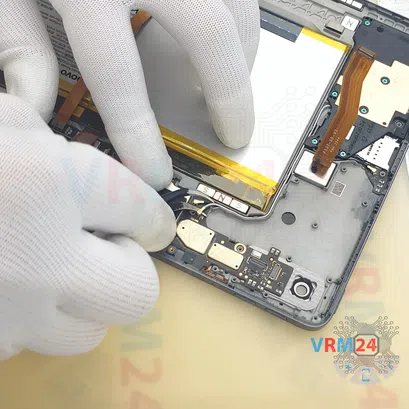
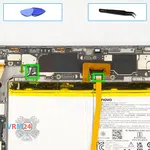
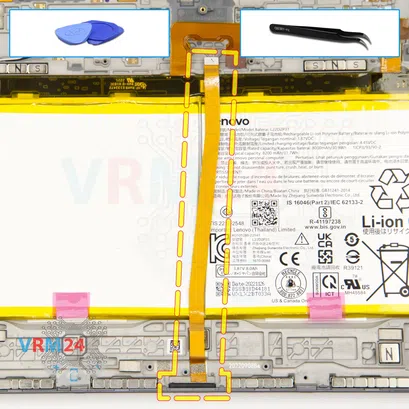
Step 7. Disconnect the battery connector
We disconnect the battery connectors itself with a non-metal tool.
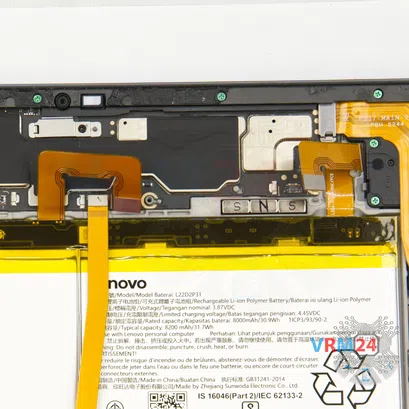
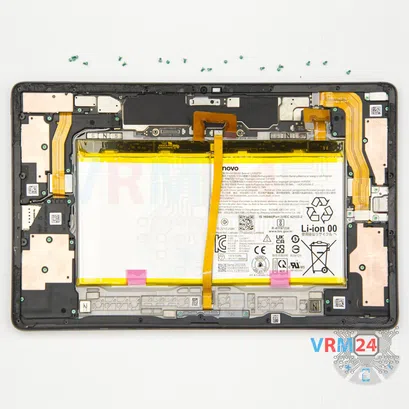
ℹ️️ The Lenovo Tab P11 Pro Gen 2 model has a battery L22D2P31 with a capacity of 8200 mAh (also known as a rechargeable battery).
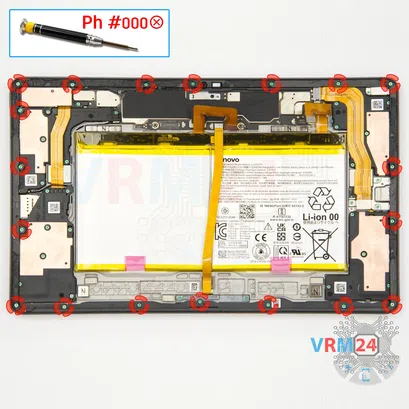


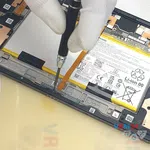
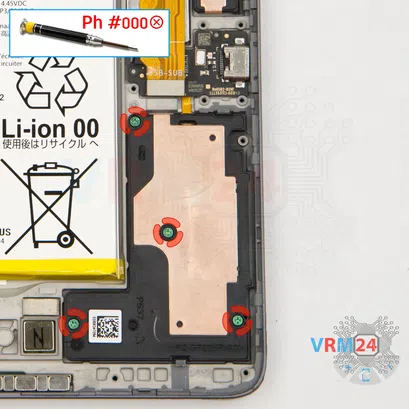
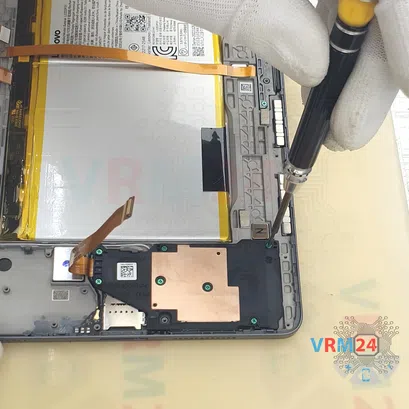
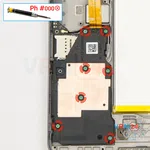
Step 8. Unscrew the screws
Using a screwdriver Phillips 1.5 mm (PH #000), unscrew 19 screws securing the frame.
⚠️️ We can't remove any elements until we unscrew the screws around the edge and remove the frame that holds the speakers, the motherboard, and other elements.

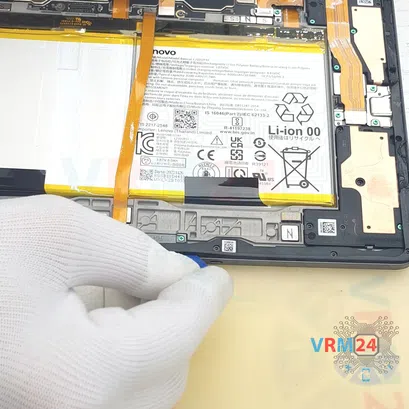
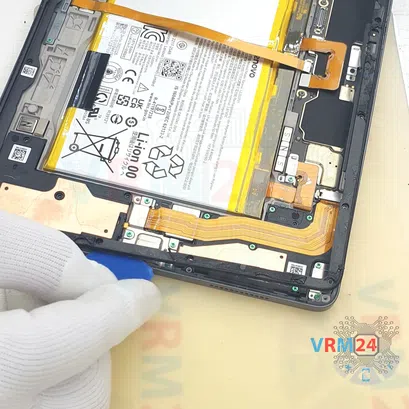

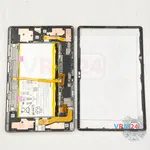

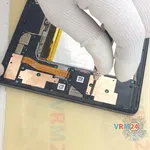
Step 9. Open the mid-frame
We try to detach the frame that holds the various elements. To do this, we use a thin plastic tool. Carefully we insert it into the gap, run it along the edge, detach the clips.
We unclip the clips and thereby detach the frame.
⚠️️ We also need to be careful in the front camera area, on the corners.


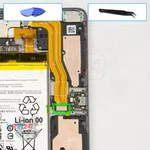
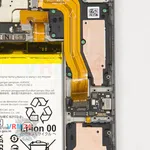
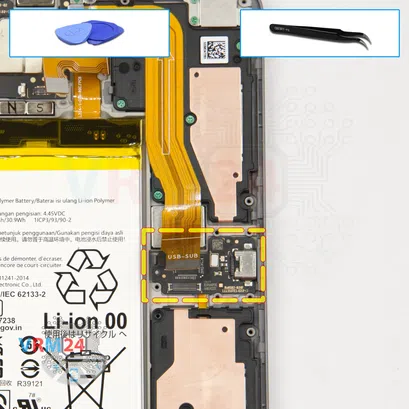
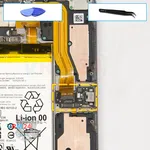
Step 10. Unscrew the screws
After that, we move on to unscrewing the screws.
Carefully remove the screws that hold the small board with the charging port.
We also detach the charging port bracket.
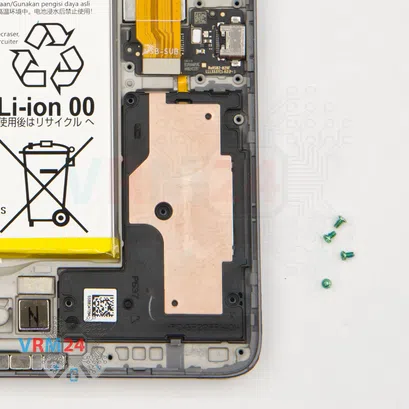

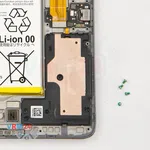

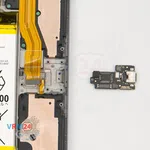
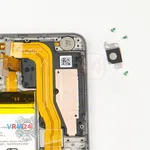
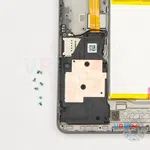
Step 11. Unscrew the screws
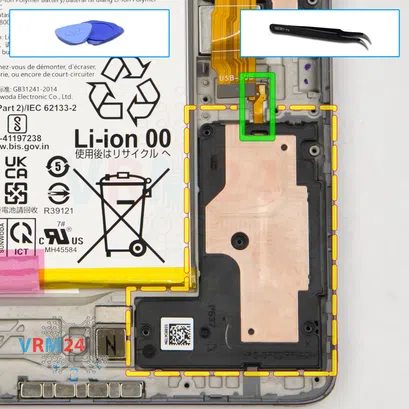
Carefully unscrew the screws that hold the loudspeaker. We use a screwdriver Phillips 1.5 mm (PH #000). There are four of them.


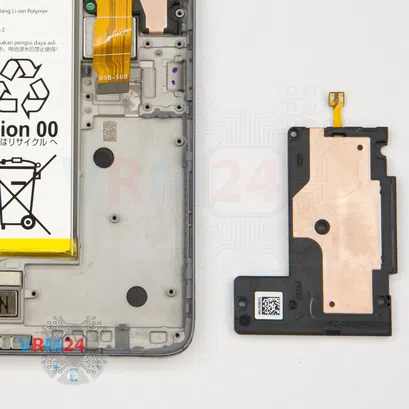
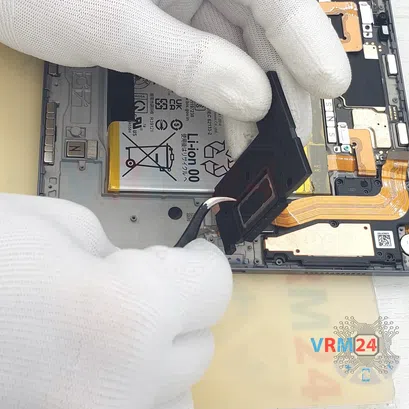

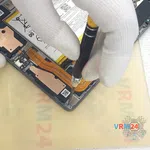
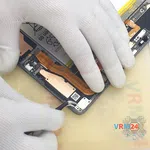
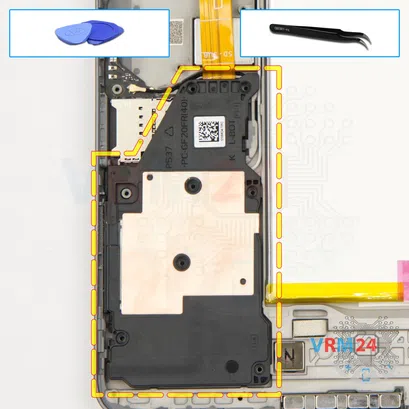
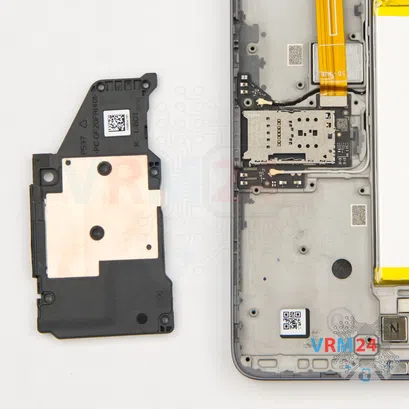
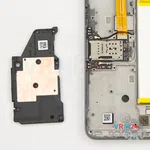
Step 14. Remove the loudspeaker
First we need to lift the loudspeaker from the back side and from the back side of the cable gently hook and pry the contact pad up to remove the speaker.
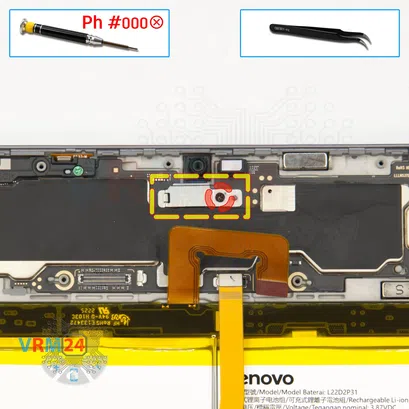


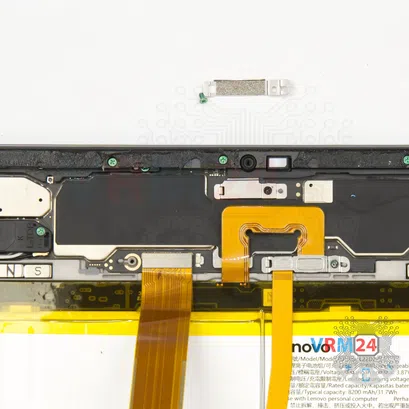
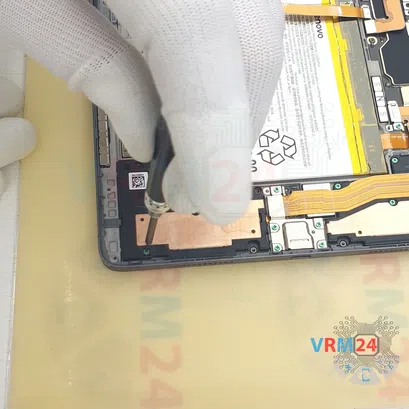
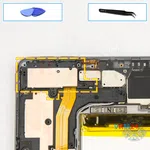
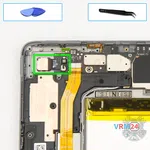
Step 15. Unscrew one screw
We unscrew one screw fixing the front camera and remove the bracket holding the connector.
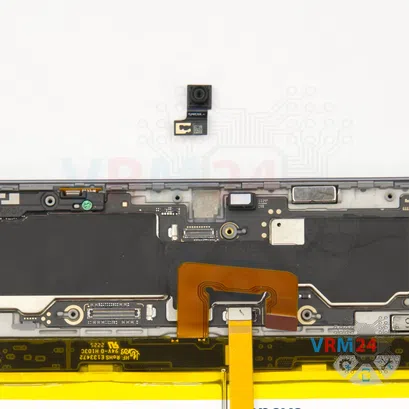

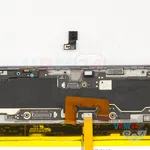
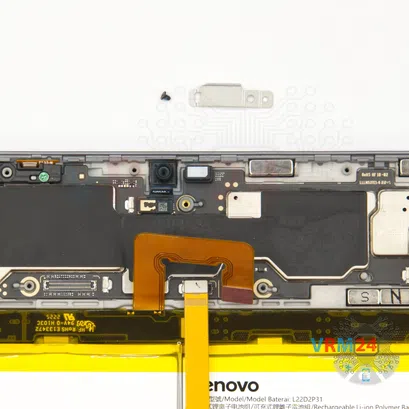
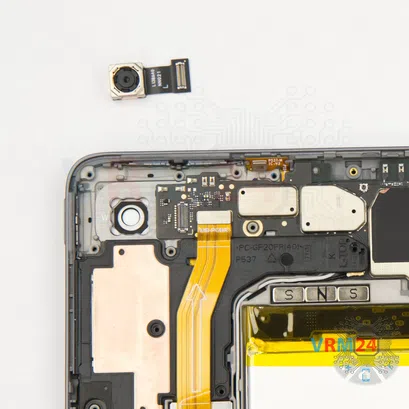
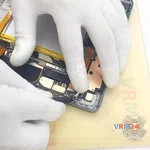
Step 16. Remove the front camera
We disconnect the connector and carefully pry the front camera up by the base to unglue it and put it aside.


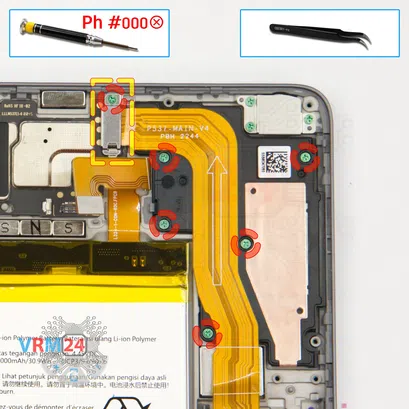
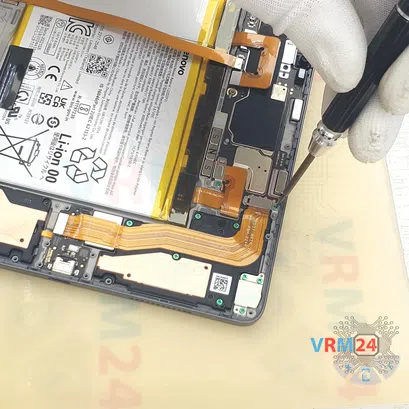
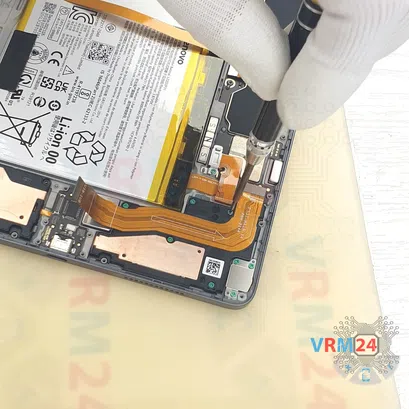
Step 17. Unscrew the screws
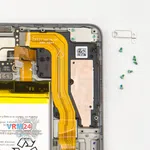
Then we unscrew the eleven screws that hold the motherboard, that hold the speaker, that secure the small cover with antennas that hold microphones.
We unscrew them, put them aside on a special surface, put the screws in a certain order so that we don't mix up anything when reassembling.


Step 19. Open the cover
And we can try to detach the cover on the left side of the top part, which hides the rear camera.


Step 20. Remove the rear camera
We disconnect the connector, pry it up by the body and remove the rear camera.


Step 22. Remove the loudspeaker
We carefully try to lift and remove the speaker. As we can see, this loudspeaker does not have a cable, only the contact pad is located on the speaker itself.

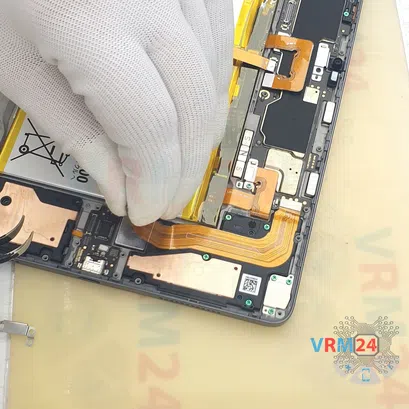
Step 23. Disconnect the connectors
Then we disconnect the connectors of the two coaxial cables on the motherboard.
We also disconnect the connector of the cable to keyboard contacts.


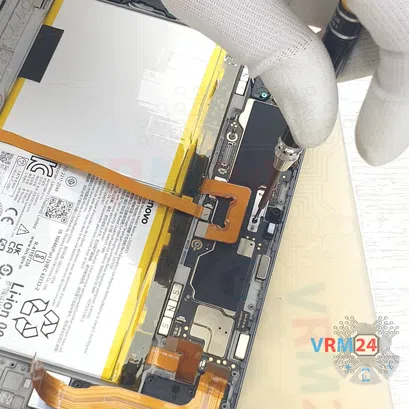
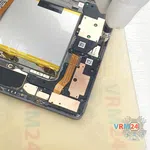
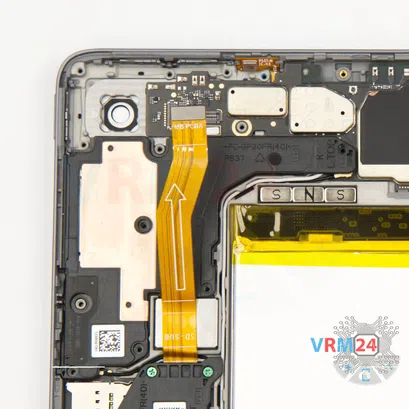
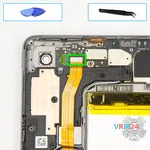
Step 24. Unscrew the screws
Using a screwdriver Phillips 1.5 mm (PH #000), unscrew the six screws and remove the bracket holding the inter-board cable connector.


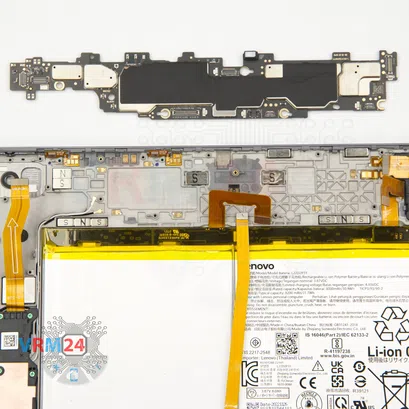
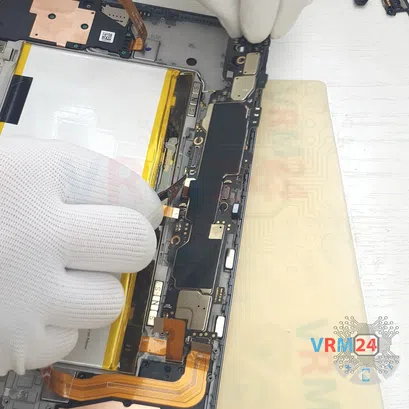

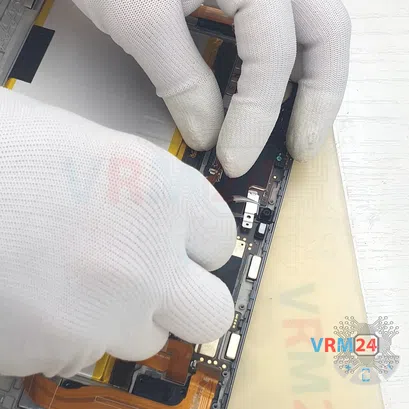
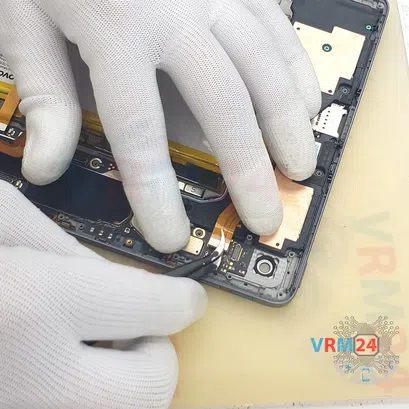
Step 26. Remove the motherboard
We see that there is nothing in the way on the motherboard, that we have disconnected all the connectors.
And try to carefully lift and remove the motherboard.
We unbend the cables so that they do not interfere with us.
And we remove the motherboard.


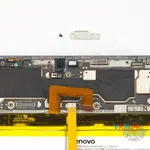
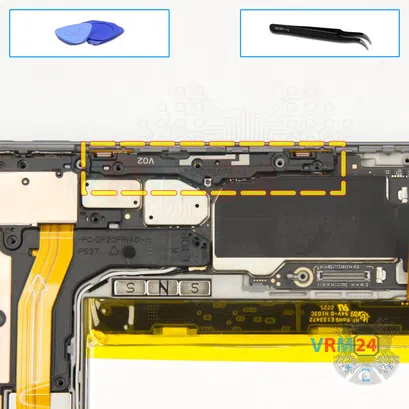
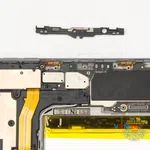
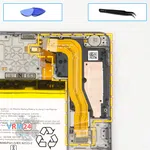
Step 27. Unscrew the screws
Using a screwdriver Phillips 1.5 mm (PH #000), unscrew the three screws and remove the bracket holding the vibration motor.


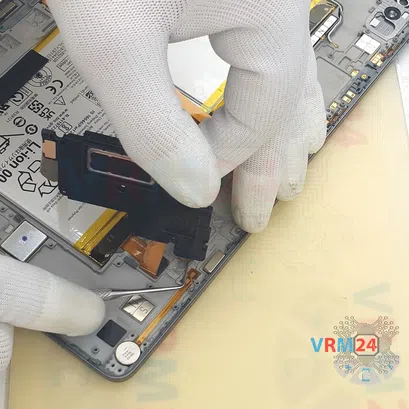
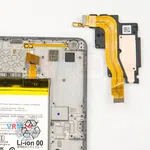

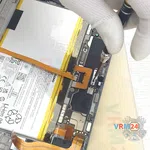
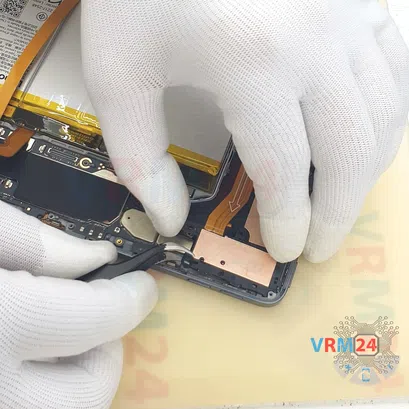
Step 28. Remove the loudspeaker
We can finally try to detach the speaker on the top right side.
We lift up the speaker, run a tool under the cable and the contact pad, and carefully detach the loudspeaker.
We look at the way the cable is glued.
⚠️️ No need to force, no need to hurry, just be as careful as possible. Let's see how we can properly detach the cable. We use a tool that is more convenient for us.
Carefully pry the edge of the contact pad up and remove the loudspeaker with an inter_board cable.
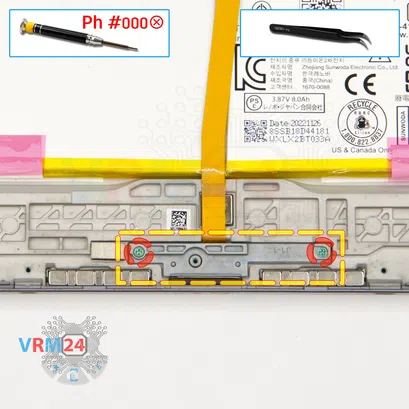
Step 29. Unscrew the screws
Before we remove the battery, of course, we'd better unstick and detach the keyboard connector cable.
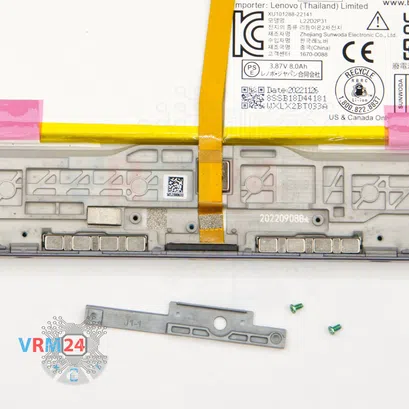
First, we unscrew the two screws holding the cover, and detach the small locking cover in this part.


Step 30. Remove the cable
And we need to detach the cable with keyboard connector itself.
We need to check how it's held in place. We have to understand how we can gently lift it up. We check what we need to unglue.
So we carefully unstick in the areas that we can unstick. Lift in the places where the connector is lifted.
And carefully, without hurry, remove the cable with the contact pad to the keyboard.


Step 31. Unscrew the screws
Using a screwdriver Phillips 1.5 mm (PH #000), unscrew the seven screws securing the loudspeaker.


Step 32. Remove the loudspeaker
And after unscrewing the screws, we can carefully detach the loudspeaker.
We find the right place where we can pry it up, carefully, no need to hurry, no need to force.
As always, it's really important to find the right place where we can hook, lift and effortlessly remove the speaker.
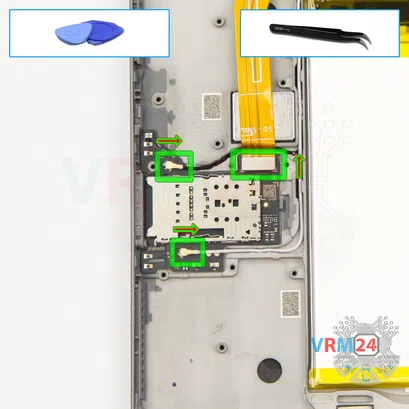

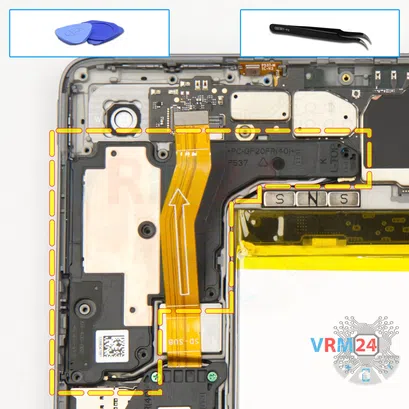
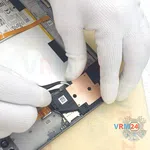
Step 33. Disconnect the connectors
After that, we disconnect the inter-board cable connector on the small board with the card connector.
We disconnect the connectors of the two coaxial cables so that they don't interfere with us.
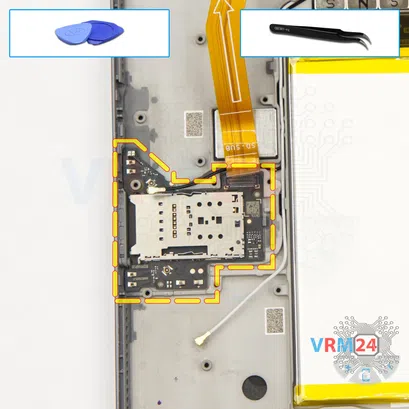

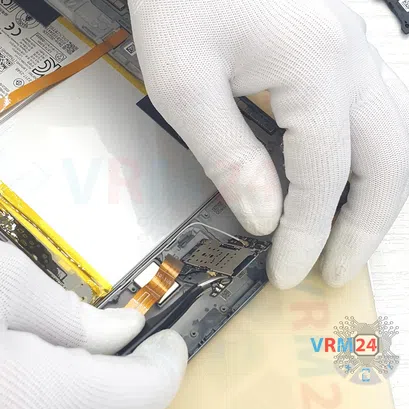

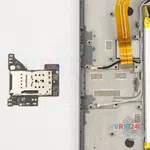

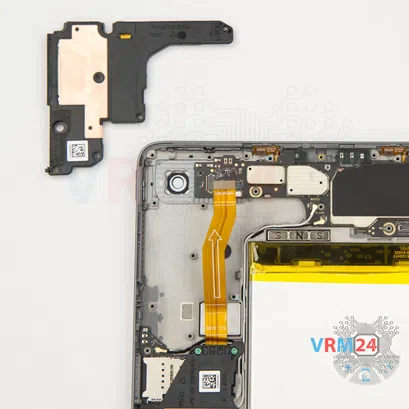
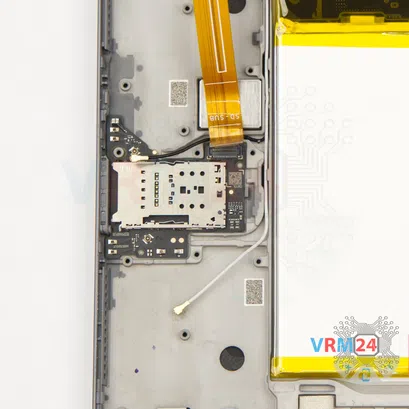
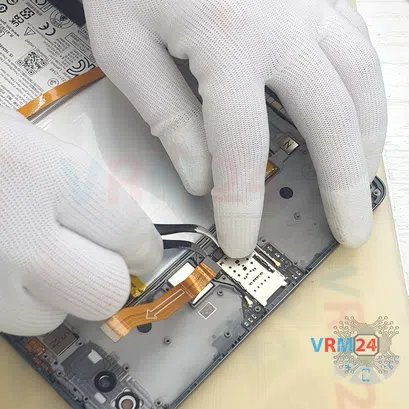
Step 34. Remove the small board
Then we can carefully lift up and remove the small board with the card connector.

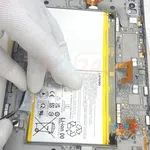
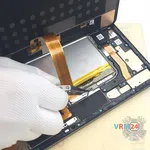
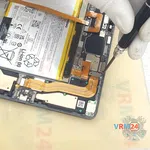
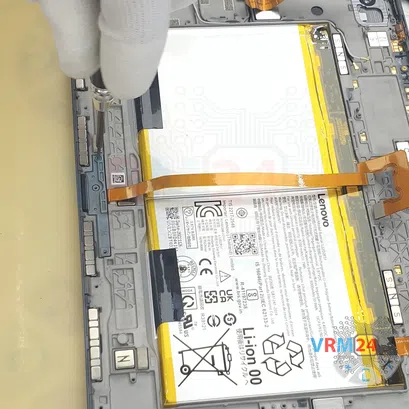
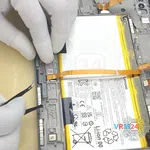
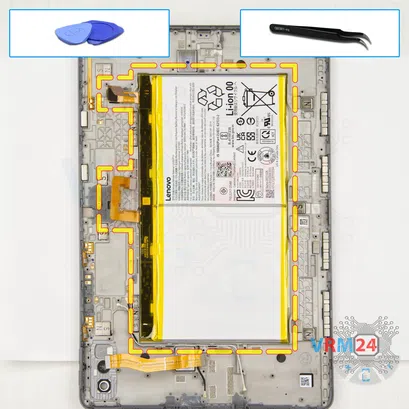
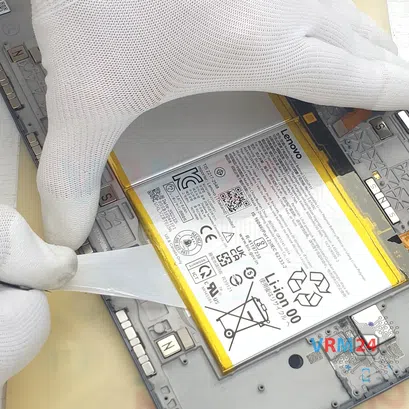
Step 35. Remove the battery
And finally, we move on to detach the battery.
So, we need to unwrap the two black tabs to the side and we also need to peel off the adhesive covering so that we don't accidentally tear off the tabs and we don't have to remove the battery for a long time.
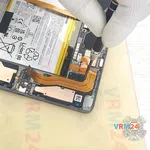
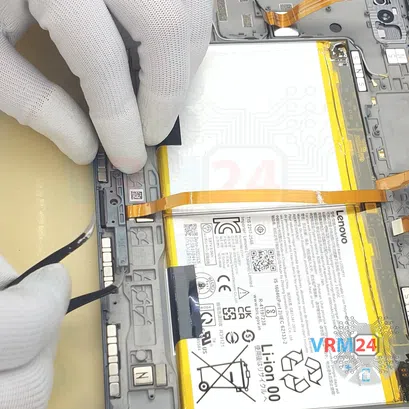
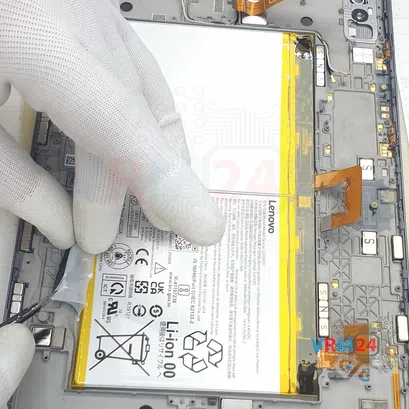
We carefully unwrap the tabs and peel off the adhesive coating.
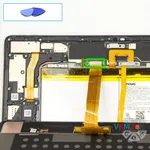
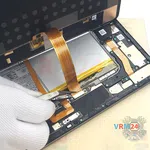
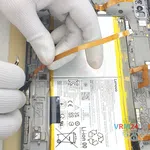
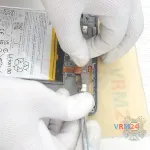
Carefully, not hurriedly, we peel off the covering, so that it does not interfere with us when pulling the adhesive tape.
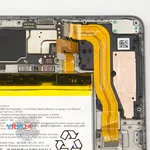
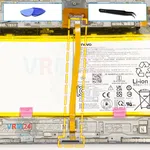
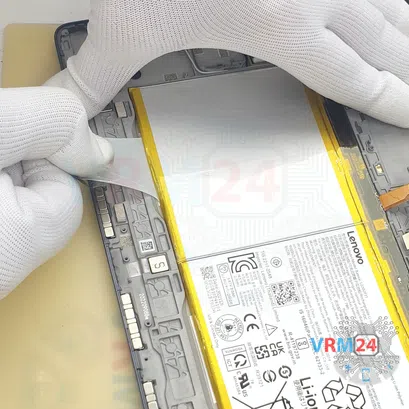
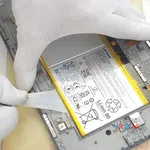
Then gently we pull the tabs to the side, pulling out the adhesive tape.
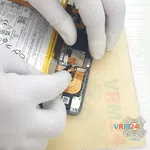
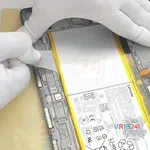
We pull the adhesive tape out on one side and repeat the same procedure on the other side.
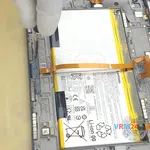
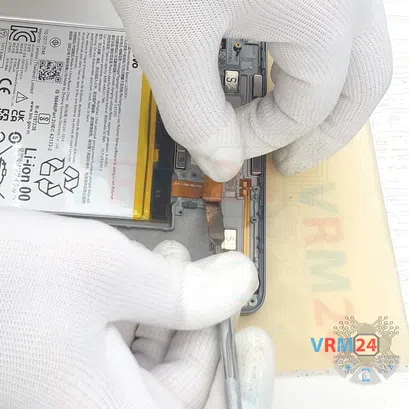
⚠️️ We need to remember to unstick the battery cable!
Detailed disassembly instructions of Lenovo Tab P11 Pro Gen 2 TB-132FU in the video, made by our mobile repair & service center:
If you have a question, ask us, and we will try to answer in as much detail as possible. If this article was helpful for you, please rate it.

Disassembling\Repair has hard complexity and takes about minutes in time.
Our manual is suitable for all models Lenovo Tab P11 Pro Gen 2 TB-132FU — Lenovo Tab P11 Pro 2022, Lenovo Tab P11 Pro (2nd Gen) released for markets in different countries.
Back to the list