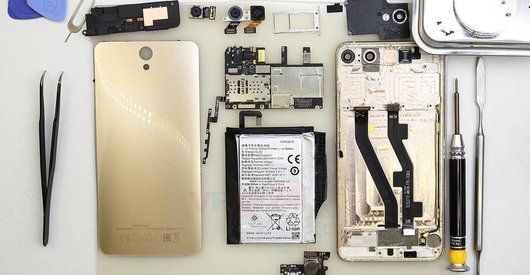





Recommended tools
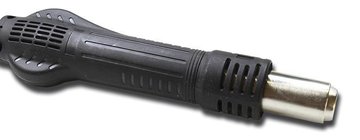
Heat gun
Screwdriver Phillips #000

Opening tool / Spudger

Tweezers

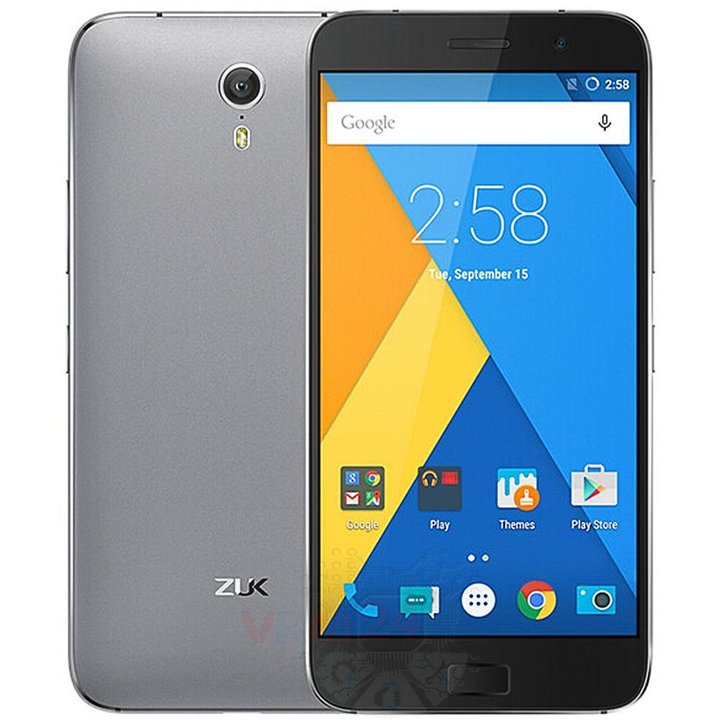
Disassembly/Repair of the mobile device Lenovo ZUK Z1 with each step description and the required set of tools.
7152
Views
1
Likes
—
Share
7
Questions

Step 1.
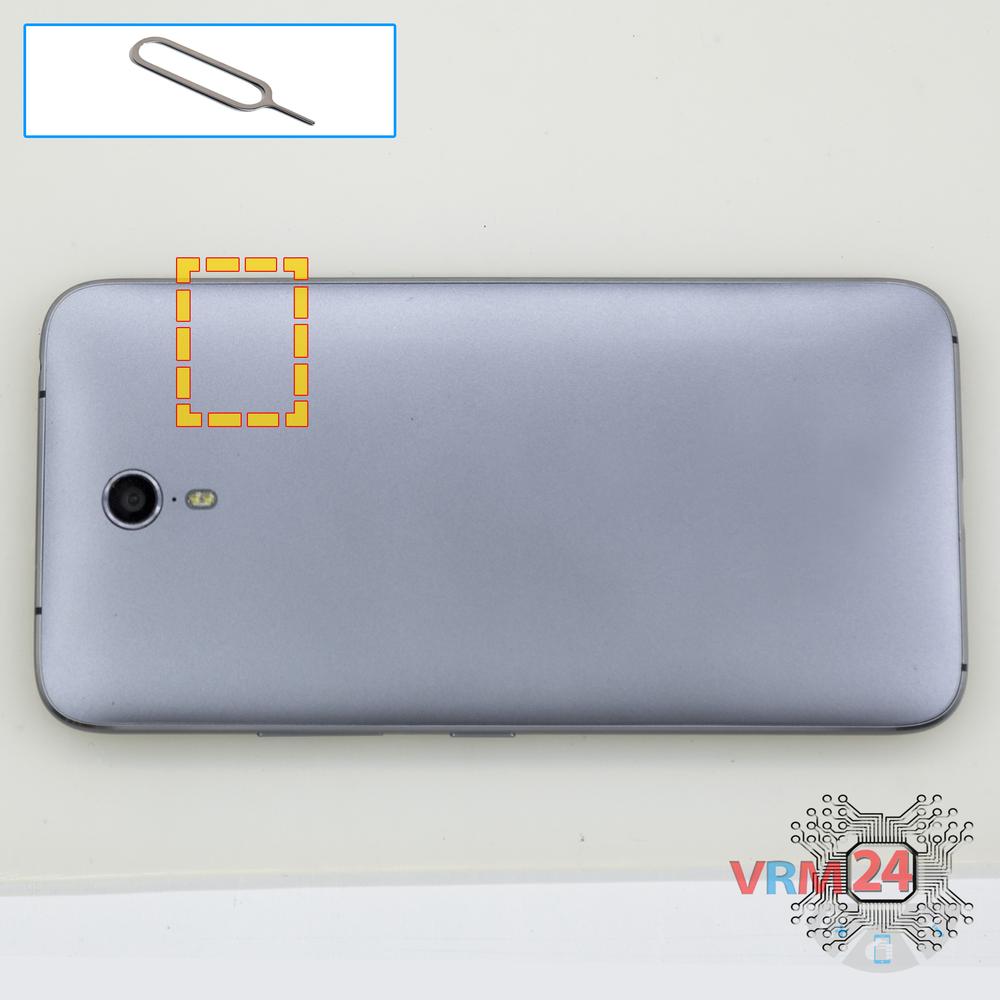
Remove the tray
Use the ejection tool (aka Needle) or Paperclip. Push the tip all the way into the hole until the tray ejects, and then pull the tray of SIM and Memory card (Micro SD) out.
⚠ Pay attention! The tool must be inserted into a hole on the edge of the phone's housing. Do not press too hard. It may break the tray eject mechanism.
Step 2.
Open the back cover
Using a spudger or a plastic pick, carefully, around the edge, detach the back cover clips, and remove it.
Do not insert the tool deeply or bend it. Otherwise, the housing may be tampered with or damaged.
⚠ Be careful when opening the cover from the volume and power buttons side. Thin cable and fragile buttons are straightforward to damage.
Step 3.
Unscrew the screws
Using a screwdriver (Phillips 1.5 mm PH000), unscrew six screws on the upper part.
Step 4.
Open the cover
Remove the cover with antennas. The cover protects the printed circuit board (PCB). Try to lift the cover by the edges and not push anything between them to not accidentally touch or short-circuit anything on the PCB.
Step 5.
Remove the battery
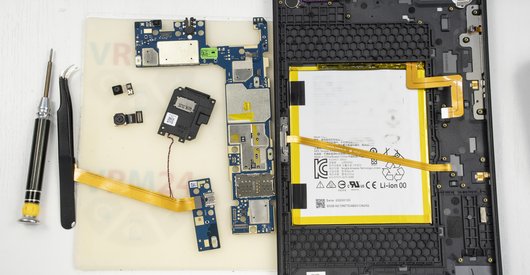
Disconnect the connector on the PCB and remove the battery.
ℹ️ The Lenovo ZUK Z1 model has a battery BL255 with 4100 mAh capacity (aka rechargeable battery).
⚠ It is highly recommended to disconnect the connector to avoid possible short circuits during disassembly.
Step 6.
Unscrew the screws
Using a screwdriver (Phillips 1.5 mm PH000), unscrew seven screws at the lower part.
Step 7.
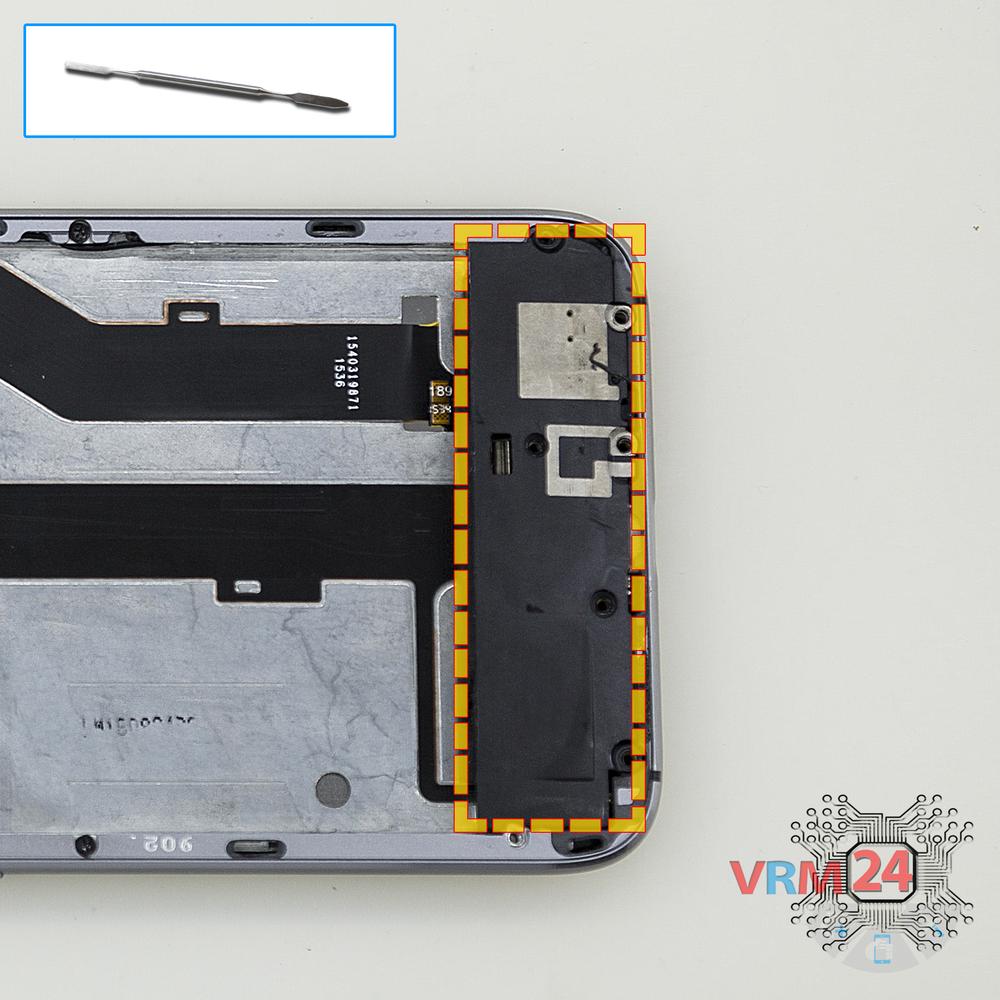
Remove the loudspeaker
Remove the loudspeaker assembly with antennas.
Step 8.
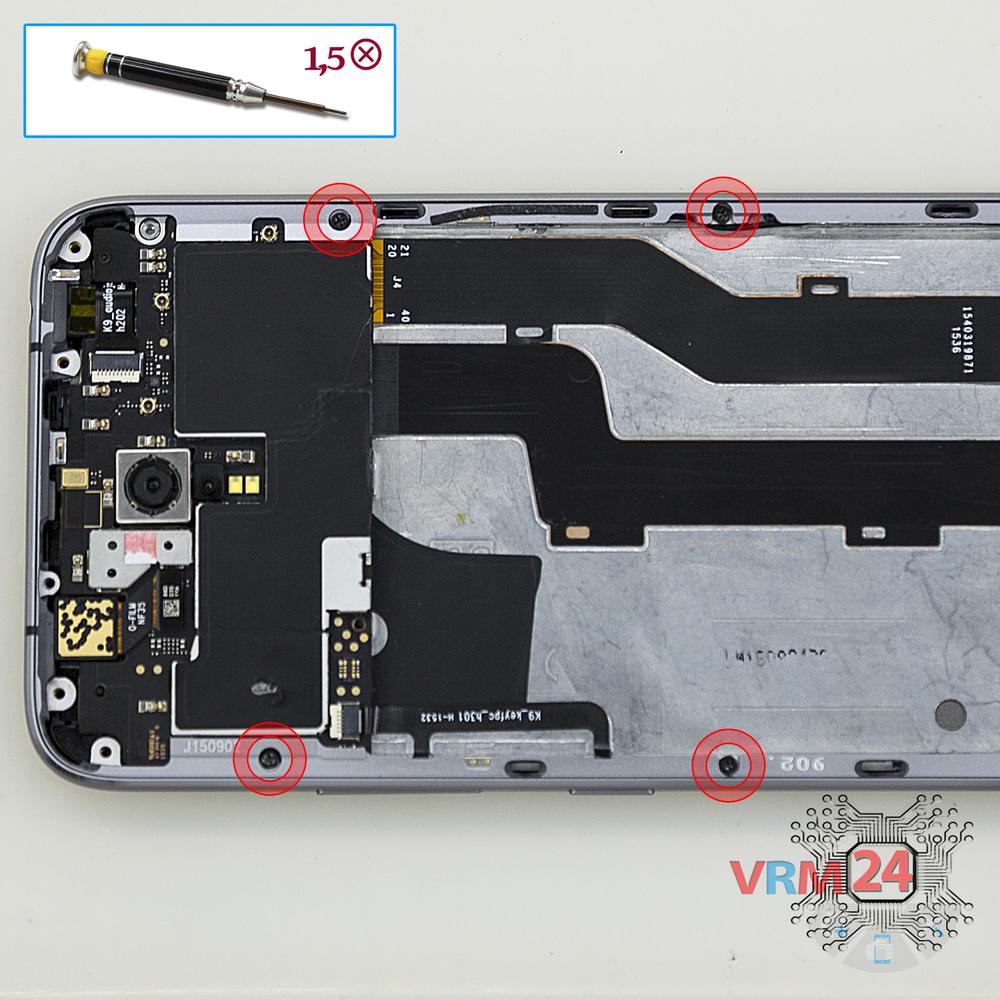
Unscrew the screws
Using a screwdriver (Phillips 1.5 mm PH000), unscrew four screws.
Step 9.
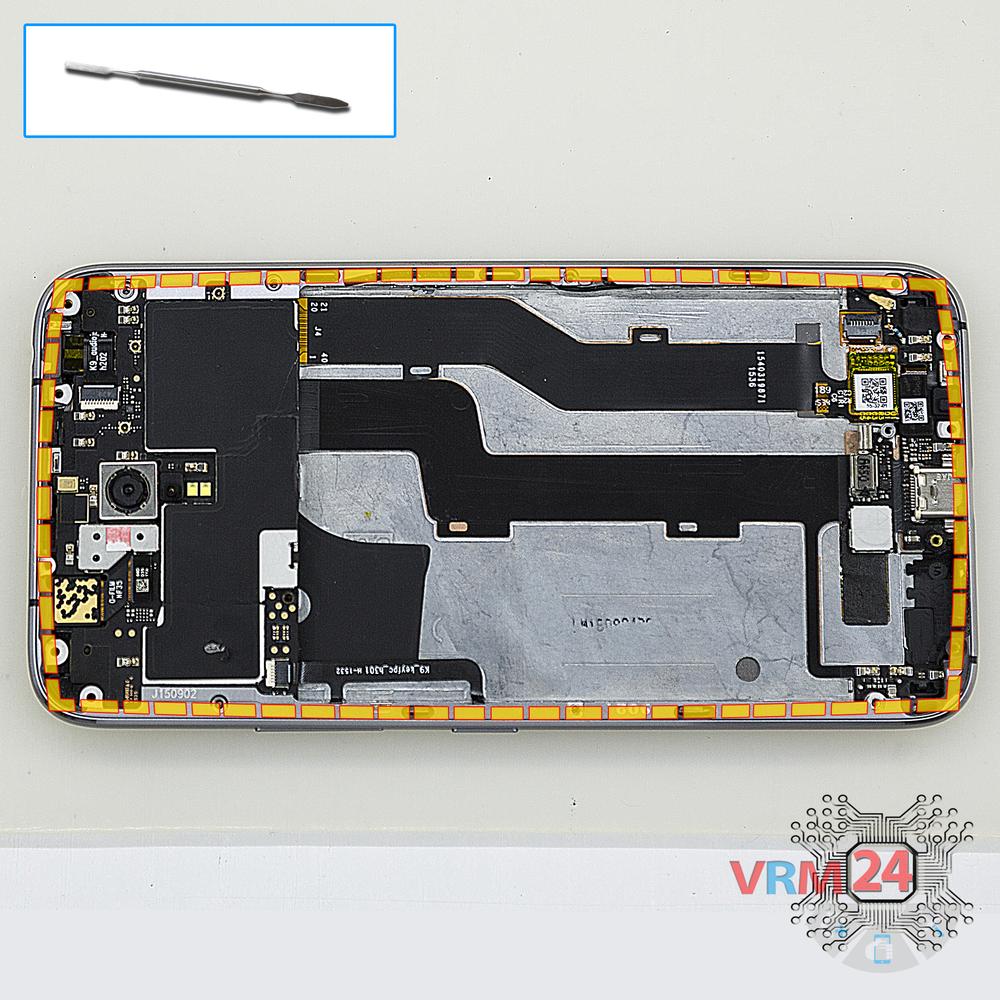
Remove the frame of cameras
Pry and remove the middle frame.
Step 10.
Remove the front camera
Disconnect the connector on the PCB and remove the front (selfie) camera.
Step 11.
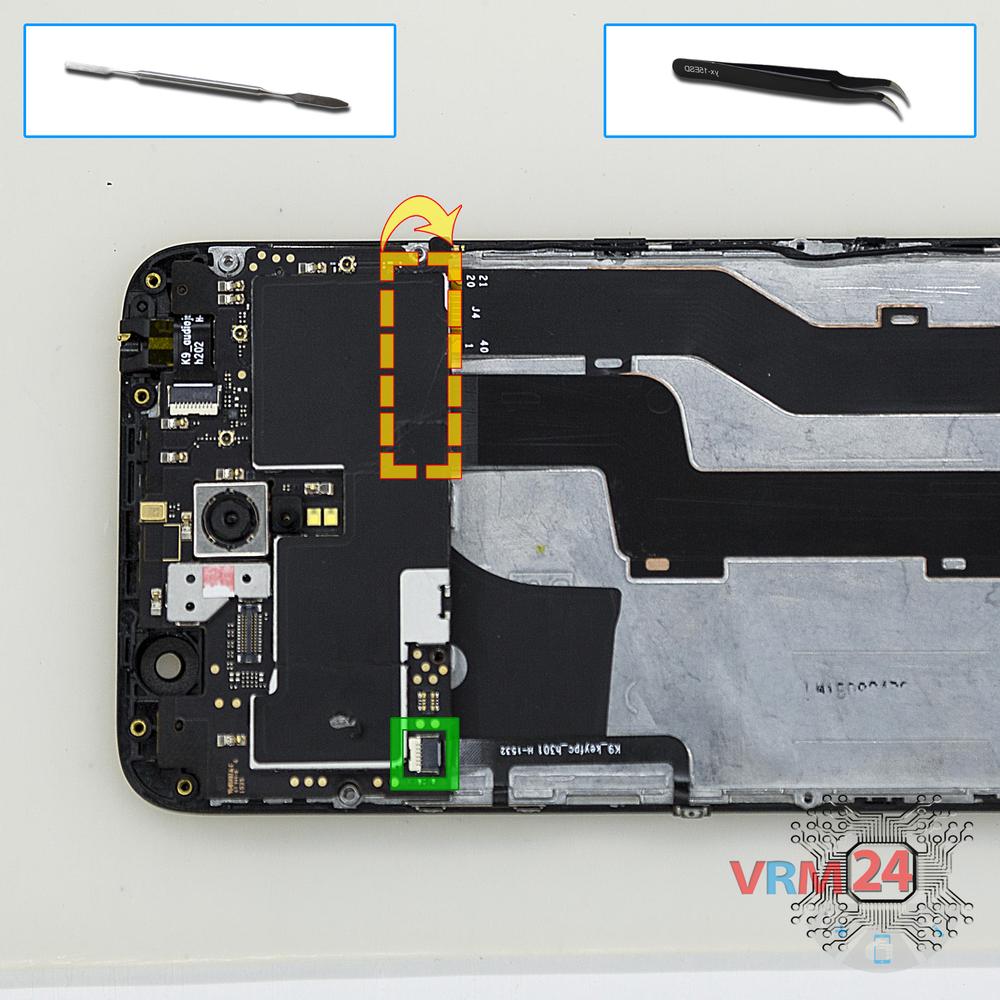
Disconnect the connectors
Pry up the connectors of power volume buttons cable, display module cable, inter-board cable, and coaxial cable.
⚠ Be careful. Most of the cables connectors are located from the inside.
Step 12.
Remove the motherboard
Carefully remove the printed circuit board. There is no need to use a lever or try to reach the board by force. Make sure that nothing is getting in the way or holding the board.
⚠ Do not bend the circuit board when removing it or push tools under it. Unbeknownst to yourself, you can damage components or cables from the inside.
Step 13.
Remove the headphone port
Pry up the headphone jack/socket and remove it.
Step 14.
In the display frame remained
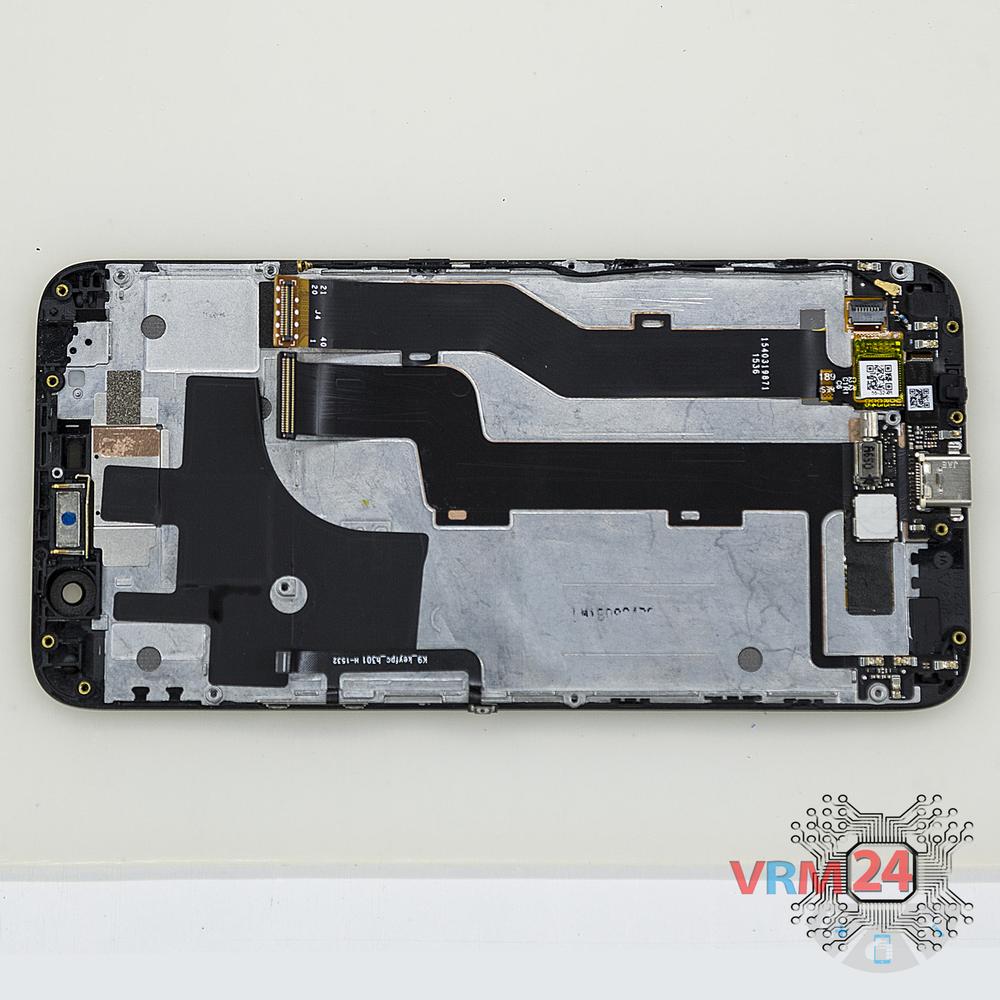
ℹ️ In the display frame remained: the earpiece speaker, charging port, vibration motor, cables.

If you have a question, ask us, and we will try to answer in as much detail as possible. If this article was helpful for you, please rate it.

7152
Views
1
Likes
—
Share
7
Questions
Related Instructions
Related Reviews
Related Blog

Popular Questions

Lenovo ZUK Z1
Can anyone please tell me what screw size is used in this device? Also if all screws are of same size or different ones?
yash
C
Lenovo Vibe X2
how to put that silver part (back of the phone) back? thanks :D
cunga lunga6
J
Lenovo A5000
hi! how can I fix my lenovo a5000 screen npt wprking? it was dropped in water andd put in rice and when i take it off its still not working. so we br…
Jed Sates4
L
Lenovo Vibe S1
what's the title of this music at 7:22?
lukav13
V
Lenovo Vibe C A2020
What will be the price of the touch?
Vivek singh15Top instructions
Check our
Top Lenovo instructions most liked by readers
New instructions
Check our
New Lenovo brand instructions on vrm24.com