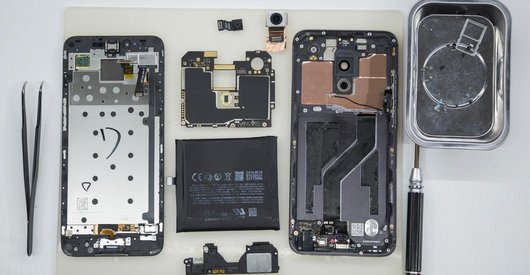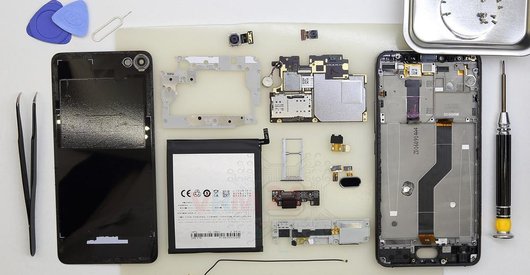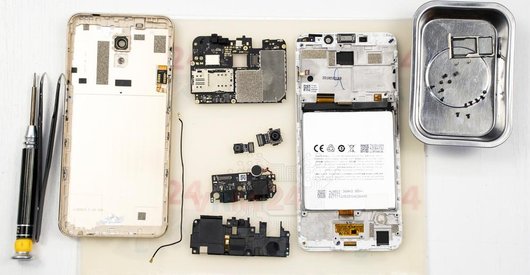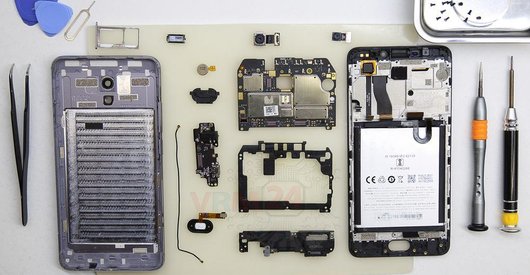

Recommended tools
Screwdriver Five-point P0.8 mm

Screwdriver Phillips #000

Opening tool / Spudger

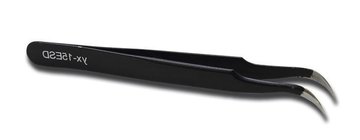
Tweezers
Disassembly/Repair of the mobile device Meizu MX5 M575H with each step description and the required set of tools.
4315
Views
0
Likes
—
Share
3
Questions

Step 1.
Remove the trays
Using the key tool, open the SIM and Micro SD cards tray and remove it.
⚠ Warning!
Do not push too hard this may cause damage.
Step 2.
Unscrew the screws
Using a screwdriver (Star Shape 0.8mm Pentalobe), unscrew 2 screws at the end of the phone.
Step 3.
Open the display module
Open the display module.
Step 4.
Remove the bracket
Using a screwdriver (Phillips 1.5 mm PH000), unscrew 2 screws and remove the bracket holding the connectors.
Step 5.
Open the display module
Pry up the connectors and remove the display module.
Step 6.
Remove the battery
Disconnect the connector on PCB and remove the battery. Also, remove the plank that serves as a separation for battery and PCB.
Step 7.
Unscrew the screws
Using a screwdriver (Phillips 1.5 mm PH000), unscrew 2 screws and remove the spring contacts.
Step 8.
Unscrew the screws
Using a screwdriver (Phillips 1.5 mm PH000), unscrew 3 screws.
Step 9.
Remove the loudspeaker
Pry and remove the buzzer (loudspeaker) assembly.
Step 10.
Unscrew the screws
Using a screwdriver (Phillips 1.5 mm PH000), unscrew 3 screws and remove the spring contacts.
Step 11.
Remove the charging port
Pry up the connectors and remove the cable with a charging port, vibration motor, and microphone.
Step 12.
Remove the bracket
Using a screwdriver (Phillips 1.5 mm PH000), unscrew 10 screws and remove the bracket.
Step 13.
Disconnect the connectors
Disconnect connectors on the PCB.
Step 14.
Remove the motherboard
Remove the PCB.
Step 15.
Remove the cameras
Disconnect connectors on PCB and remove the main and front (selfie) cameras.
Step 16.
Remove the earpiece speaker
Disconnect the connector and remove the frame with an earpiece speaker.

If you have a question, ask us, and we will try to answer in as much detail as possible. If this article was helpful for you, please rate it.

4315
Views
0
Likes
—
Share
3
Questions
Related Instructions
Related Reviews
Related Blog

Popular Questions
J
Meizu MX4 PRO M462
Can yuu take out the buttons?
Juan Ramos15
Meizu M6s M712H
Hi, I bought a meizu m6s last week but I have some problems with Wi-Fi signal. To found the signal I have to close to the modem how can I do to stren…
lucas
D
Meizu MX4 PRO M462
Where can i buy the replacement battery?
Dar Ob7
P
Meizu M6s M712H
Where can I find the battery for this device to buy? Please help me
PALPITES BRASILEIRAO 20202
م
Meizu X8 M852H
Good Quality or not ????
محمد صلاح20Top instructions
Check our
Top Meizu instructions most liked by readers
New instructions
Check our
New Meizu brand instructions on vrm24.com