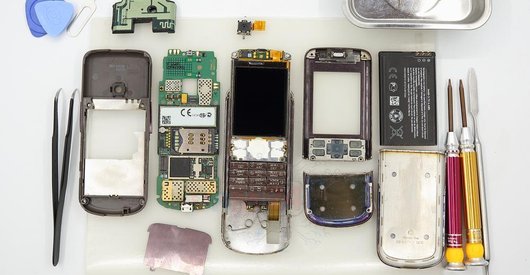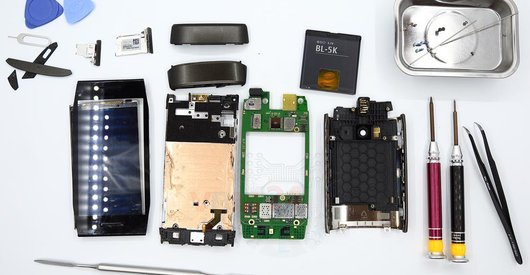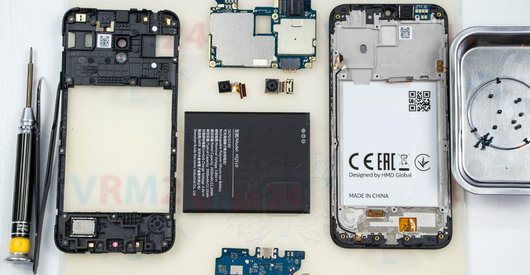







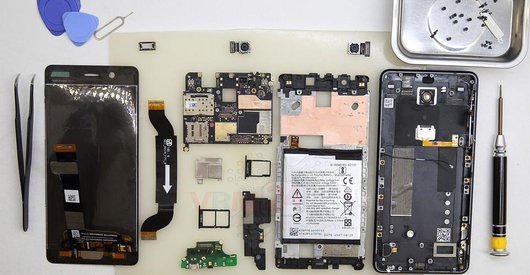
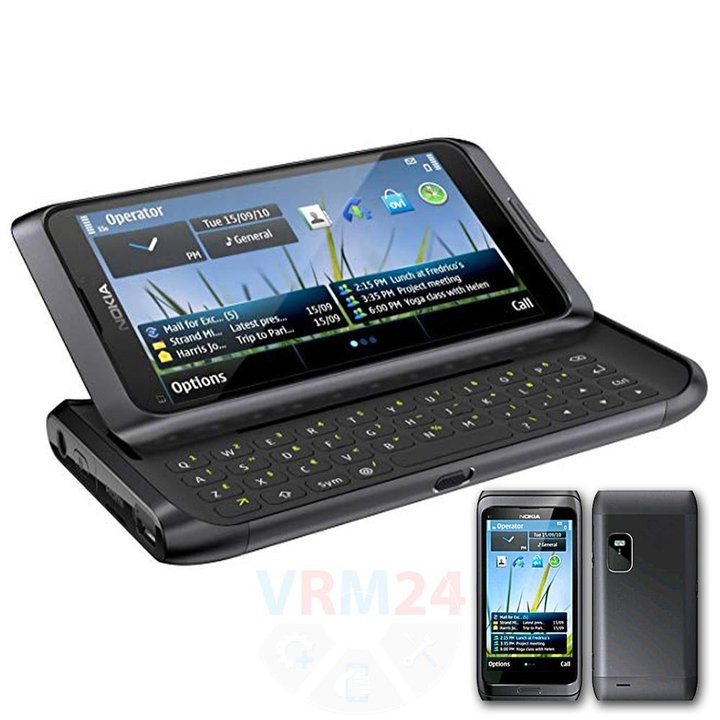
Recommended tools
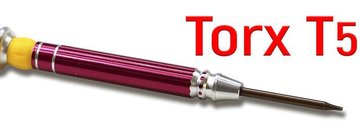
Screwdriver Torx T5
Opening tool / Spudger

Tweezers

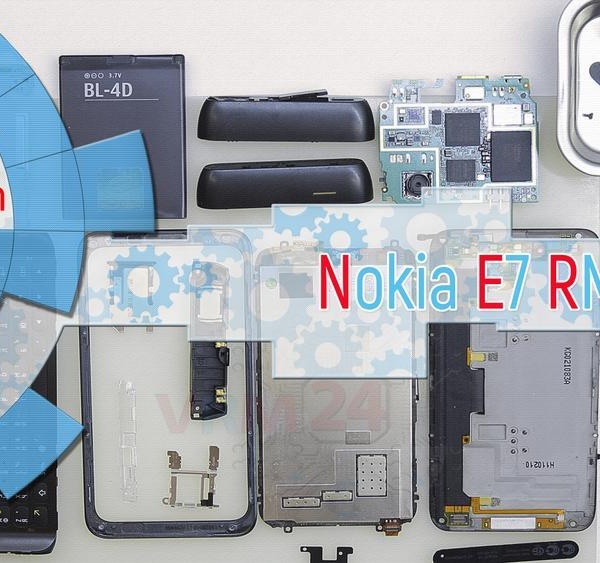
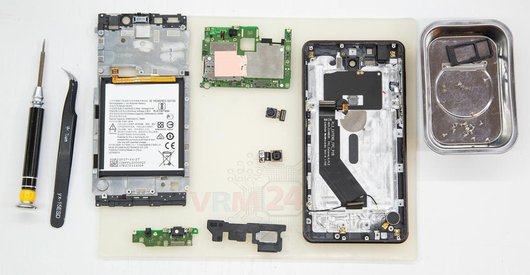
Disassembly/Repair of the mobile device Nokia E7 RM-626 with each step description and the required set of tools.
8160
Views
3
Likes
—
Share
3
Questions

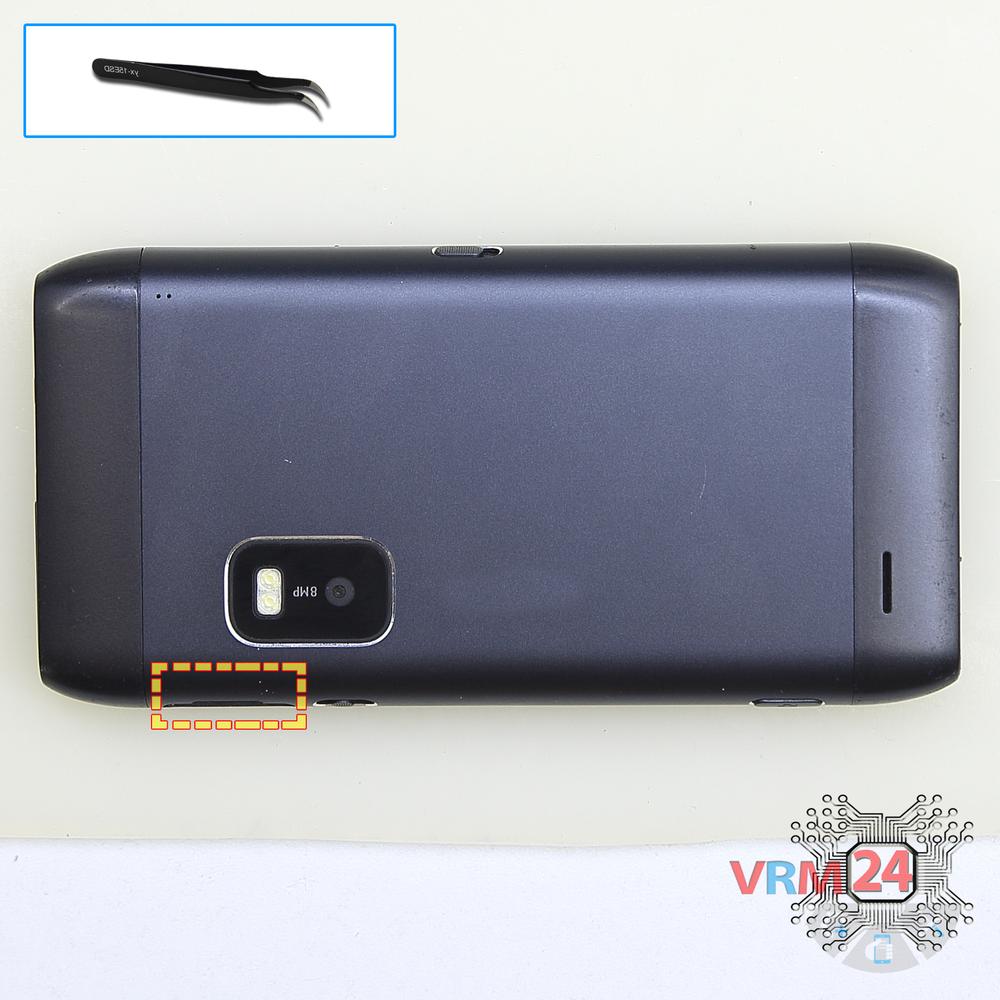
Step 1.
Remove the tray
Using the tweezers, open the SIM card tray and remove it.
⚠ Warning!
Do not push too hard this may cause damage.
Step 2.
Open the covers
Remove the covers.
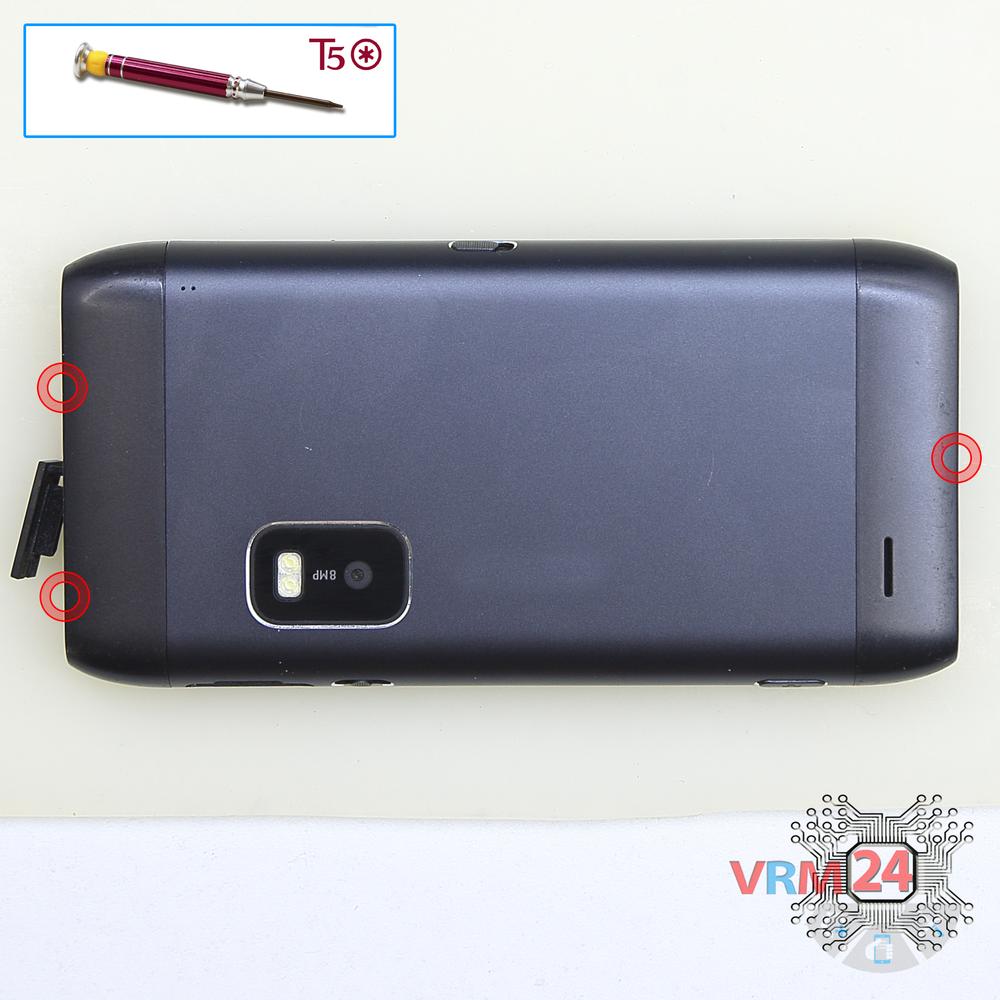
Step 3.
Unscrew the screws
Using a screwdriver (hex T5), unscrew 3 bolts on the ends of the phone.
Step 4.
Open the covers
Remove the covers.
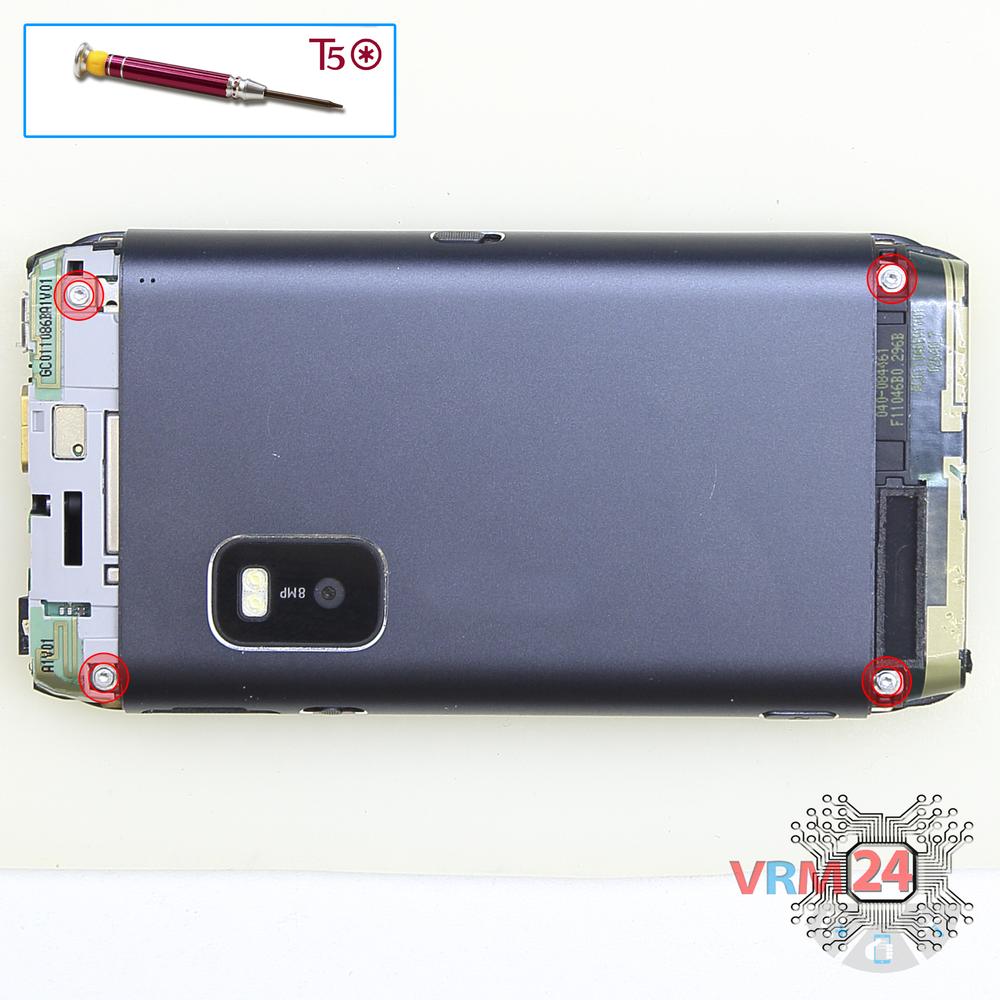
Step 5.
Unscrew the screws
Using a screwdriver (hex T5), unscrew 4 bolts securing the back covers.
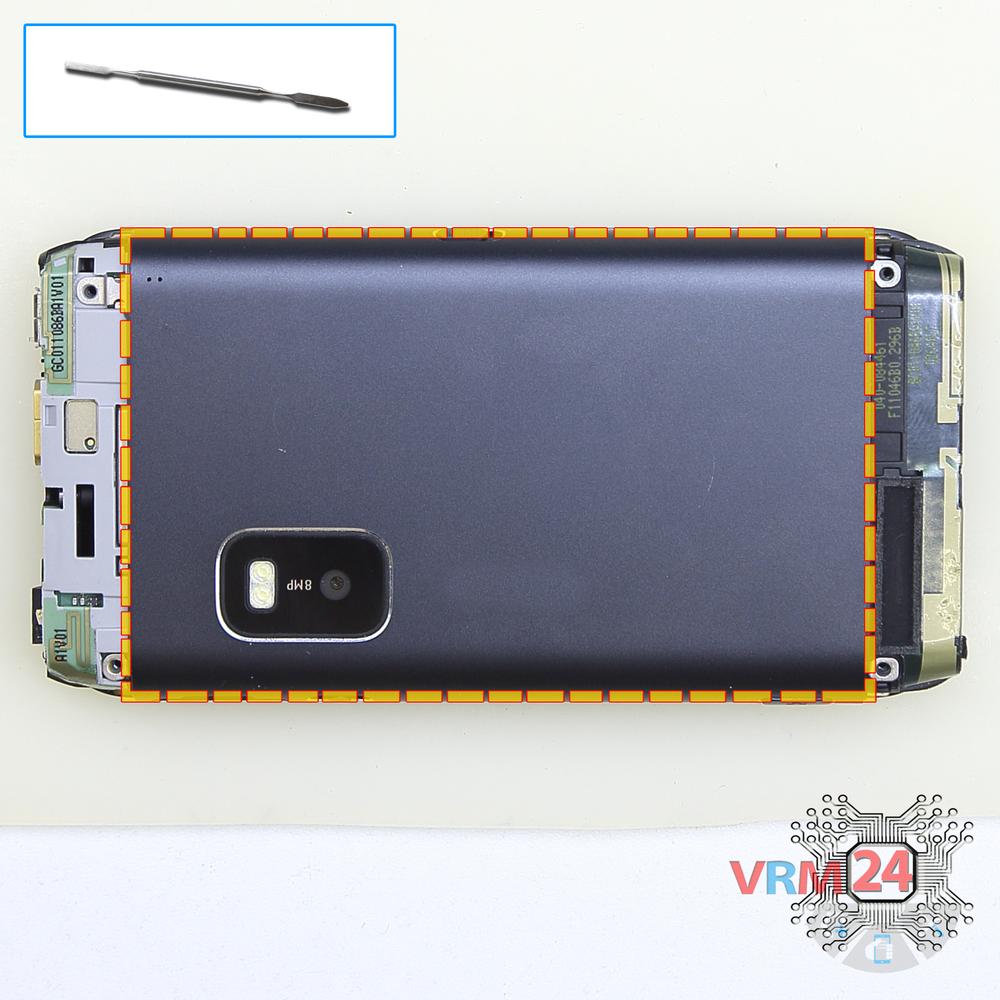
Step 6.
Open the back cover
Open the back cover.
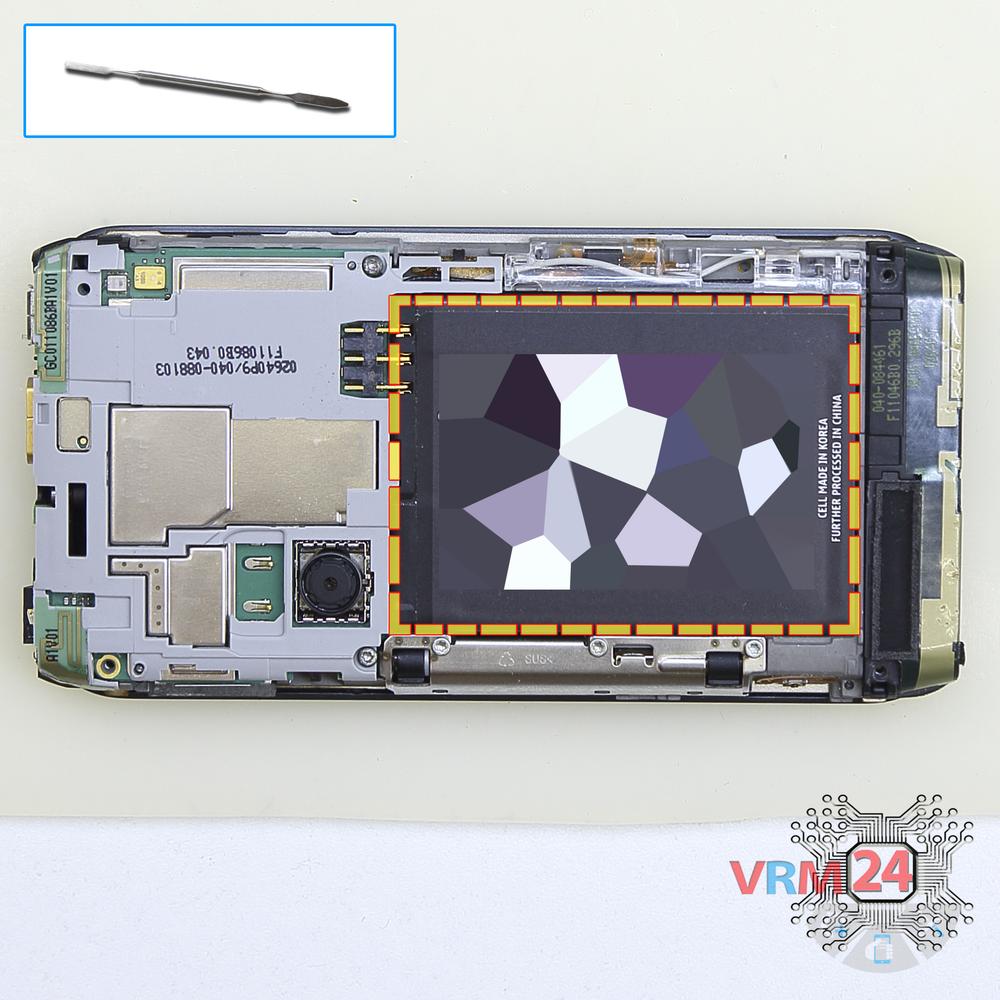
Step 7.
Remove the battery
Lift and remove the battery.
Step 8.
Unscrew the screws
Using a screwdriver (hex T5), unscrew 2 bolts.
Step 9.
Open the cover
Remove the cover hiding the chips.
Step 10.
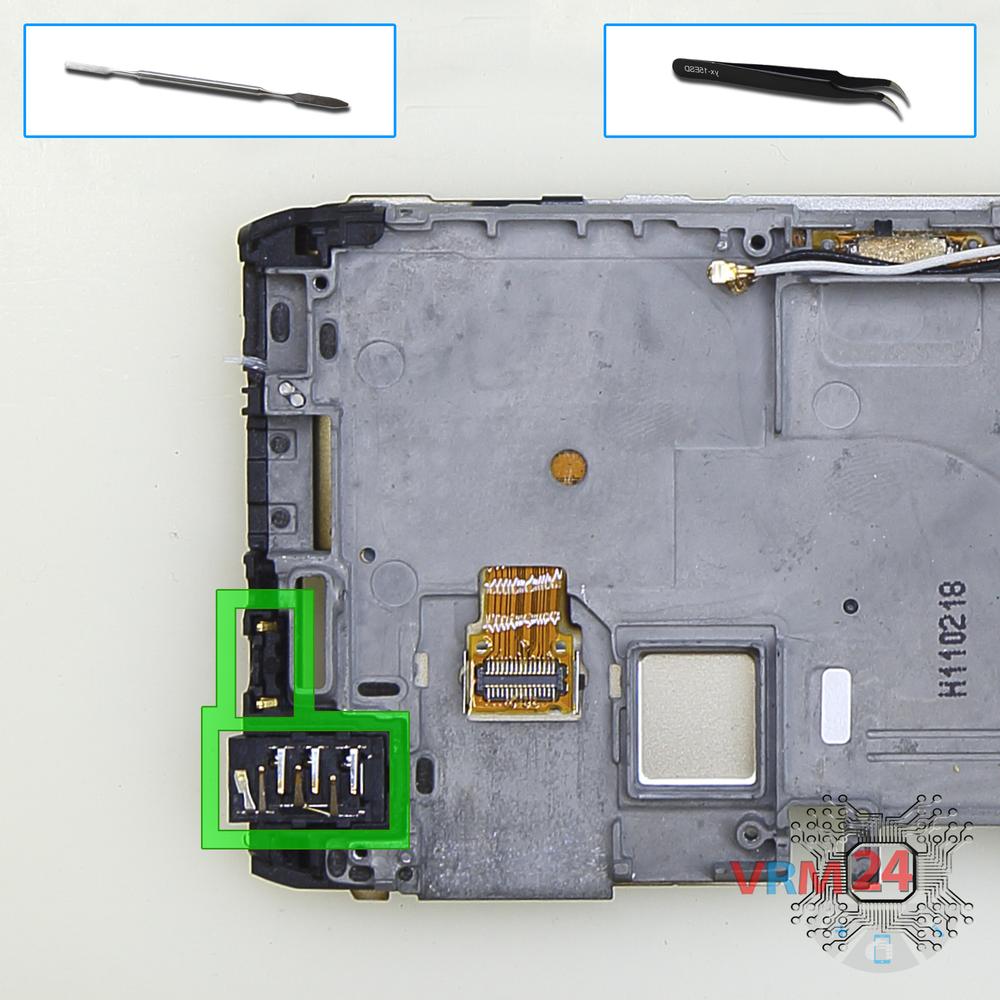
Remove the coaxial cable
Pry up coaxial cable connectors.
Step 11.
Turn over the PCB
Overturn the board, disconnect the connector from the inside and remove it.
Step 12.
Remove the frame
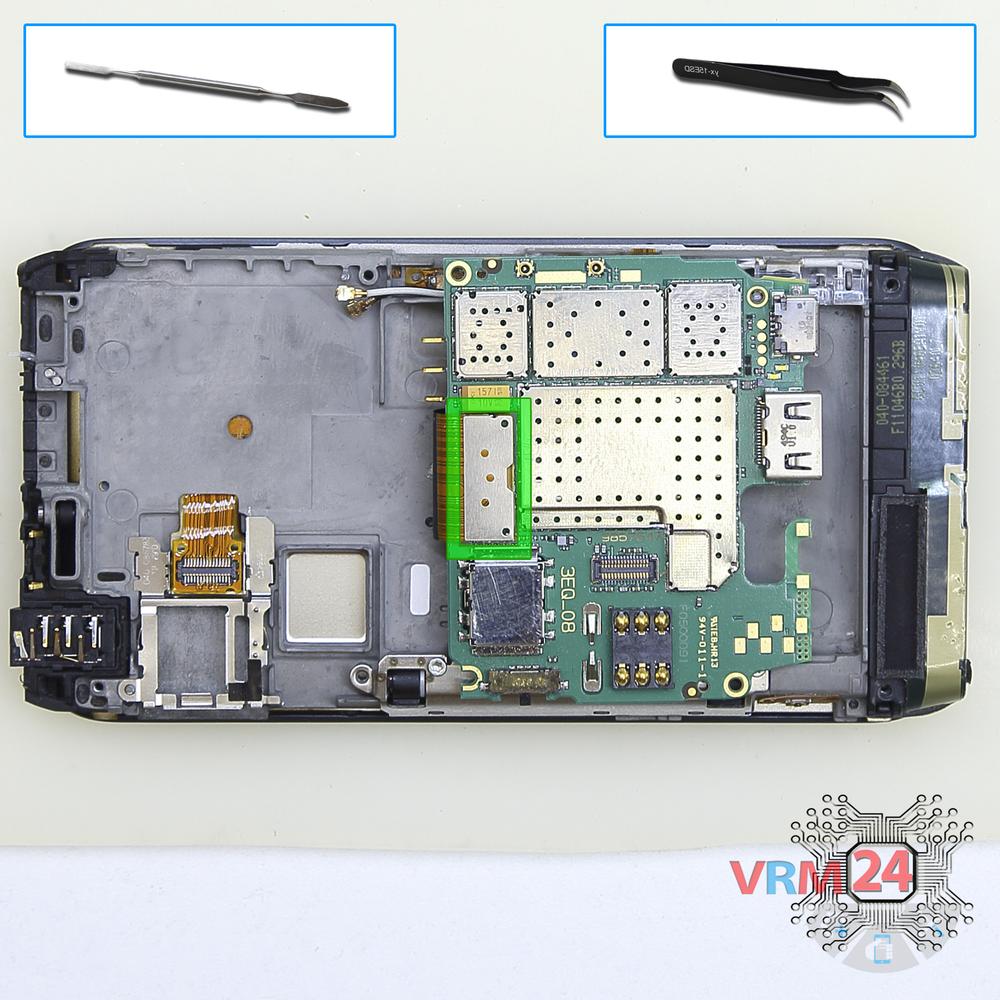
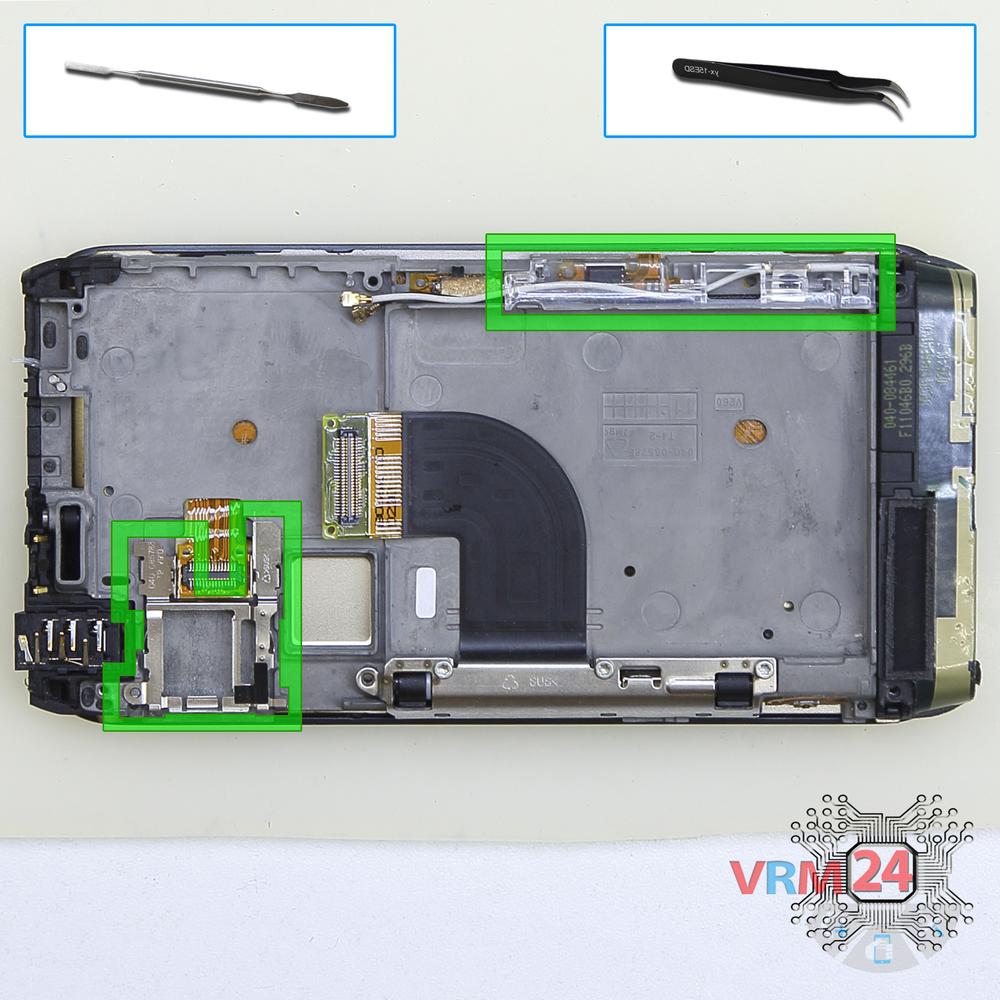
Remove the coaxial cable frame and frame holding a Sim tray.
Step 13.
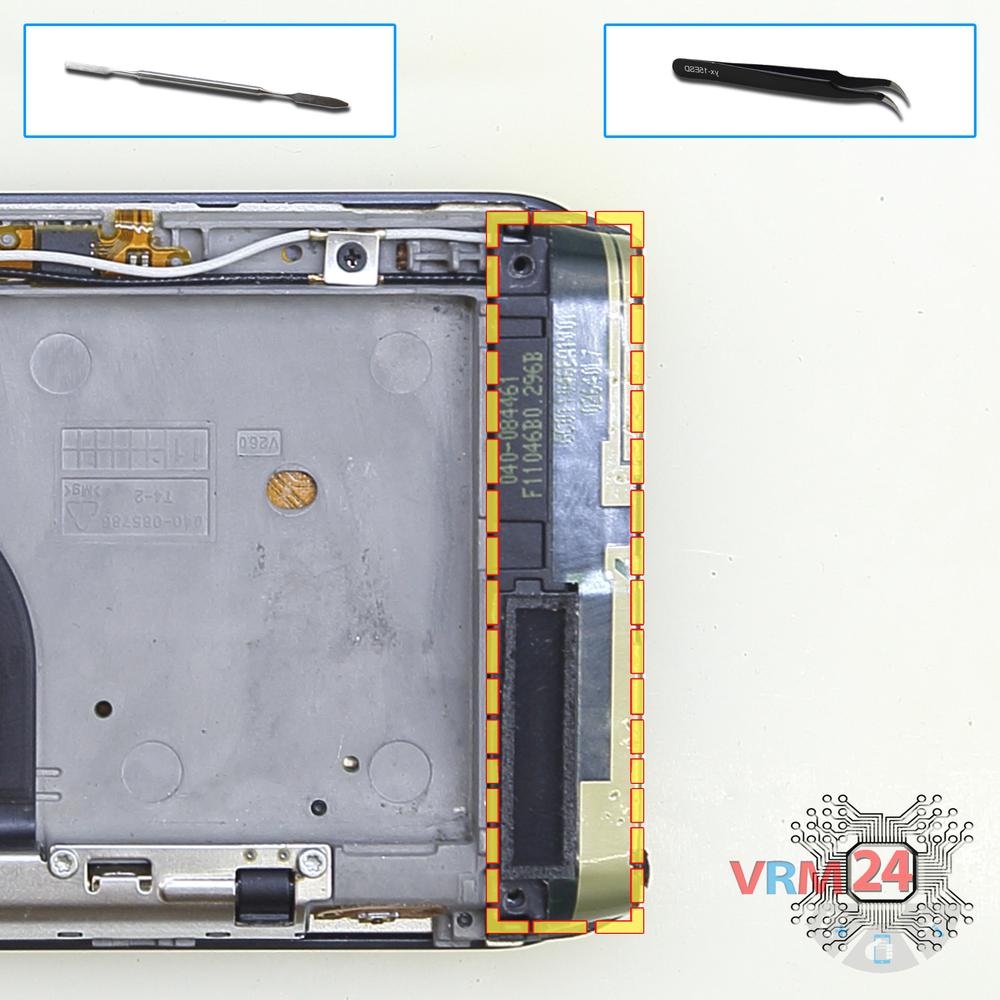
Remove the loudspeaker
Pry and remove the buzzer (speaker) assembly.
Step 14.
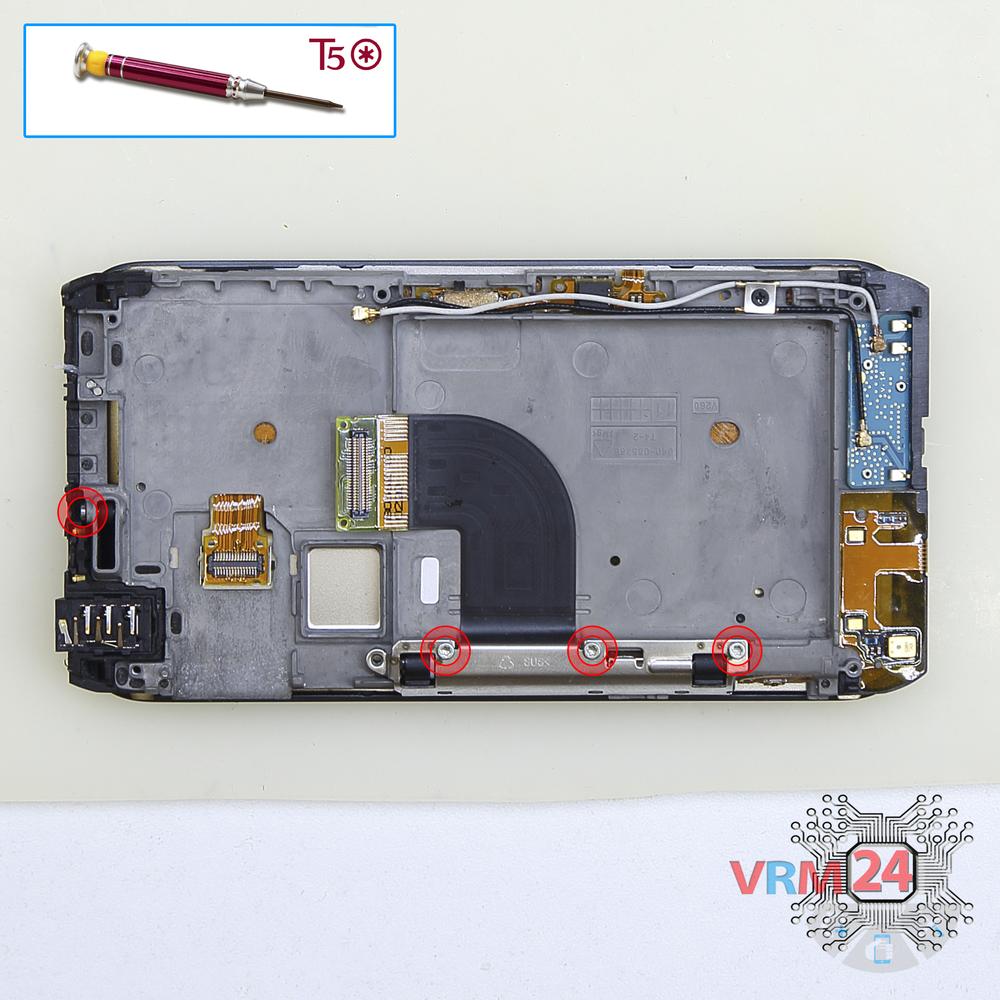
Unscrew the screws
Using a screwdriver (hex T5), unscrew 4 bolts.
Step 15.
Remove the cable
Turn the inter-board cable away and remove the cover with the headphone jack/socket, PCB and coaxial cables.
Step 16.
Remove the headphone port
Pry & remove the headphone jack/socket and power buttons.
Step 17.
Unscrew the screws
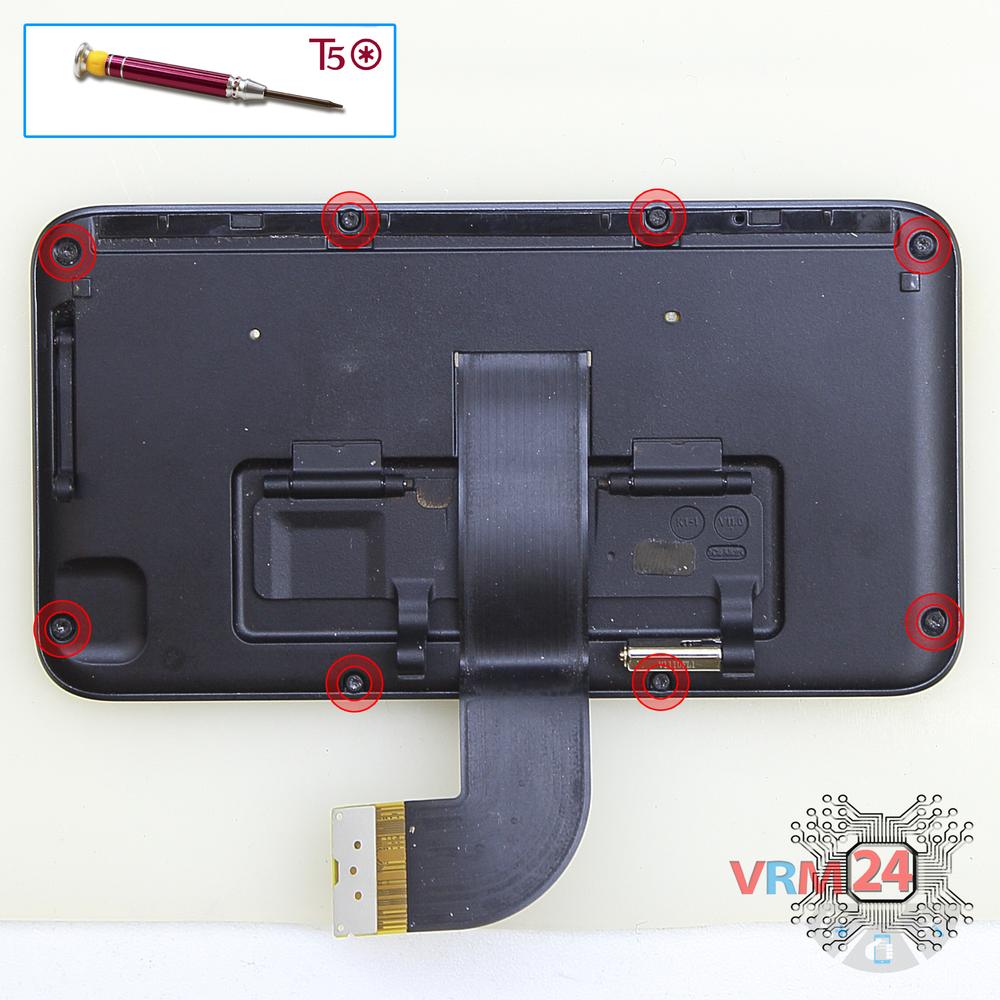
Using a screwdriver (hex T5), unscrew 8 bolts in the display cover.
Step 18.
Open the cover
Remove the cover.
Step 19.
Open the display module
Turn over the display, disconnect the connector from the inside and remove the display.
Step 20.
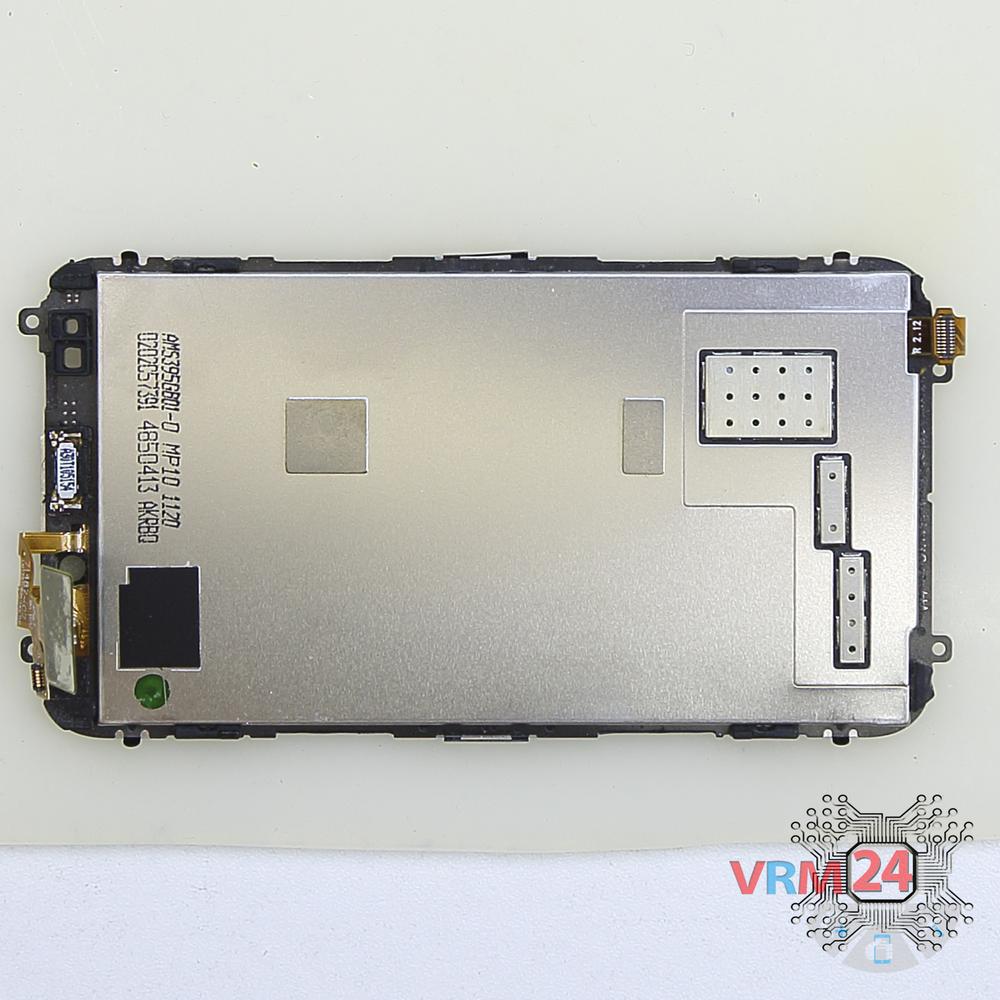
In the display frame remained
The frame with display.

If you have a question, ask us, and we will try to answer in as much detail as possible. If this article was helpful for you, please rate it.

8160
Views
3
Likes
—
Share
3
Questions
Related Instructions
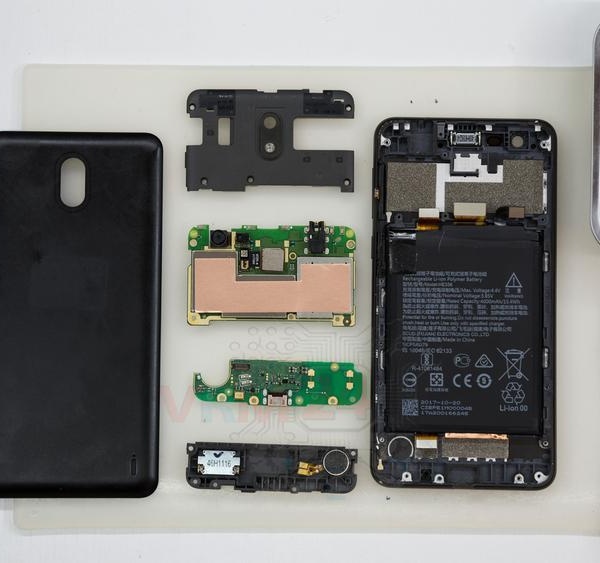
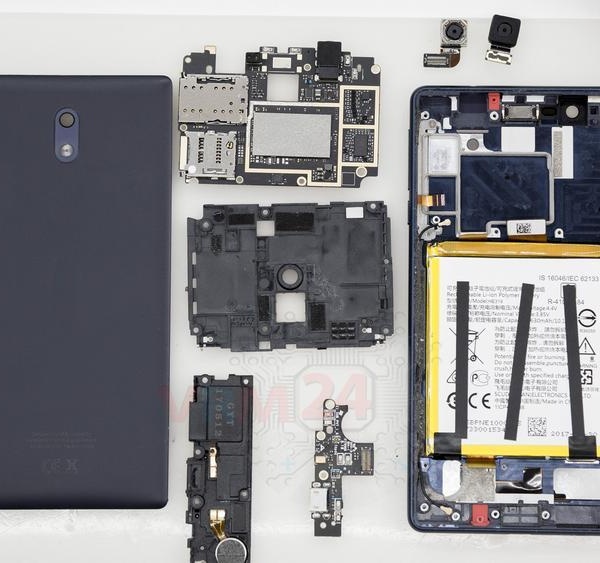
Related Reviews
Related Blog

Popular Questions
R
Nokia 6 (2017) TA-1021
what kind of plastic is that?
ridonculous15
M
Nokia 6 (2017) TA-1021
Ciao, complimenti per il video, sei bravissimo, una domanda, cosa usi per far staccare il display dalla scocca?
Mirko Ascone4
I
Nokia 6 (2017) TA-1021
Are 18 screws the same size?
Integration Of Man and Machine8
Nokia 6700 Classic RM-470
Please my screen has crush and spoil.. Need help urgently to repair and replace the screen for me
abdullah_banibila
M
Nokia 6 (2017) TA-1021
Amigo tengo un Nokia 6 TA1025.. Y se me cayó y se rompió la pantalla pero la imagen da bien y el táctil sirve.. que debo cambiar? Tengo que traer la…
Maicol Aguilar3Top instructions
Check our
Top Nokia instructions most liked by readers
New instructions
Check our
New Nokia brand instructions on vrm24.com