

⚠️️ Before disassembling, do not forget to turn your phone off.
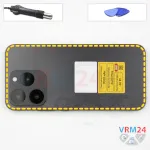
Teardown difficulty:
Moderate
Moderate
Recommended tools


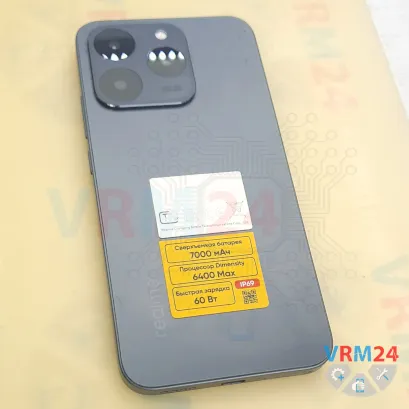
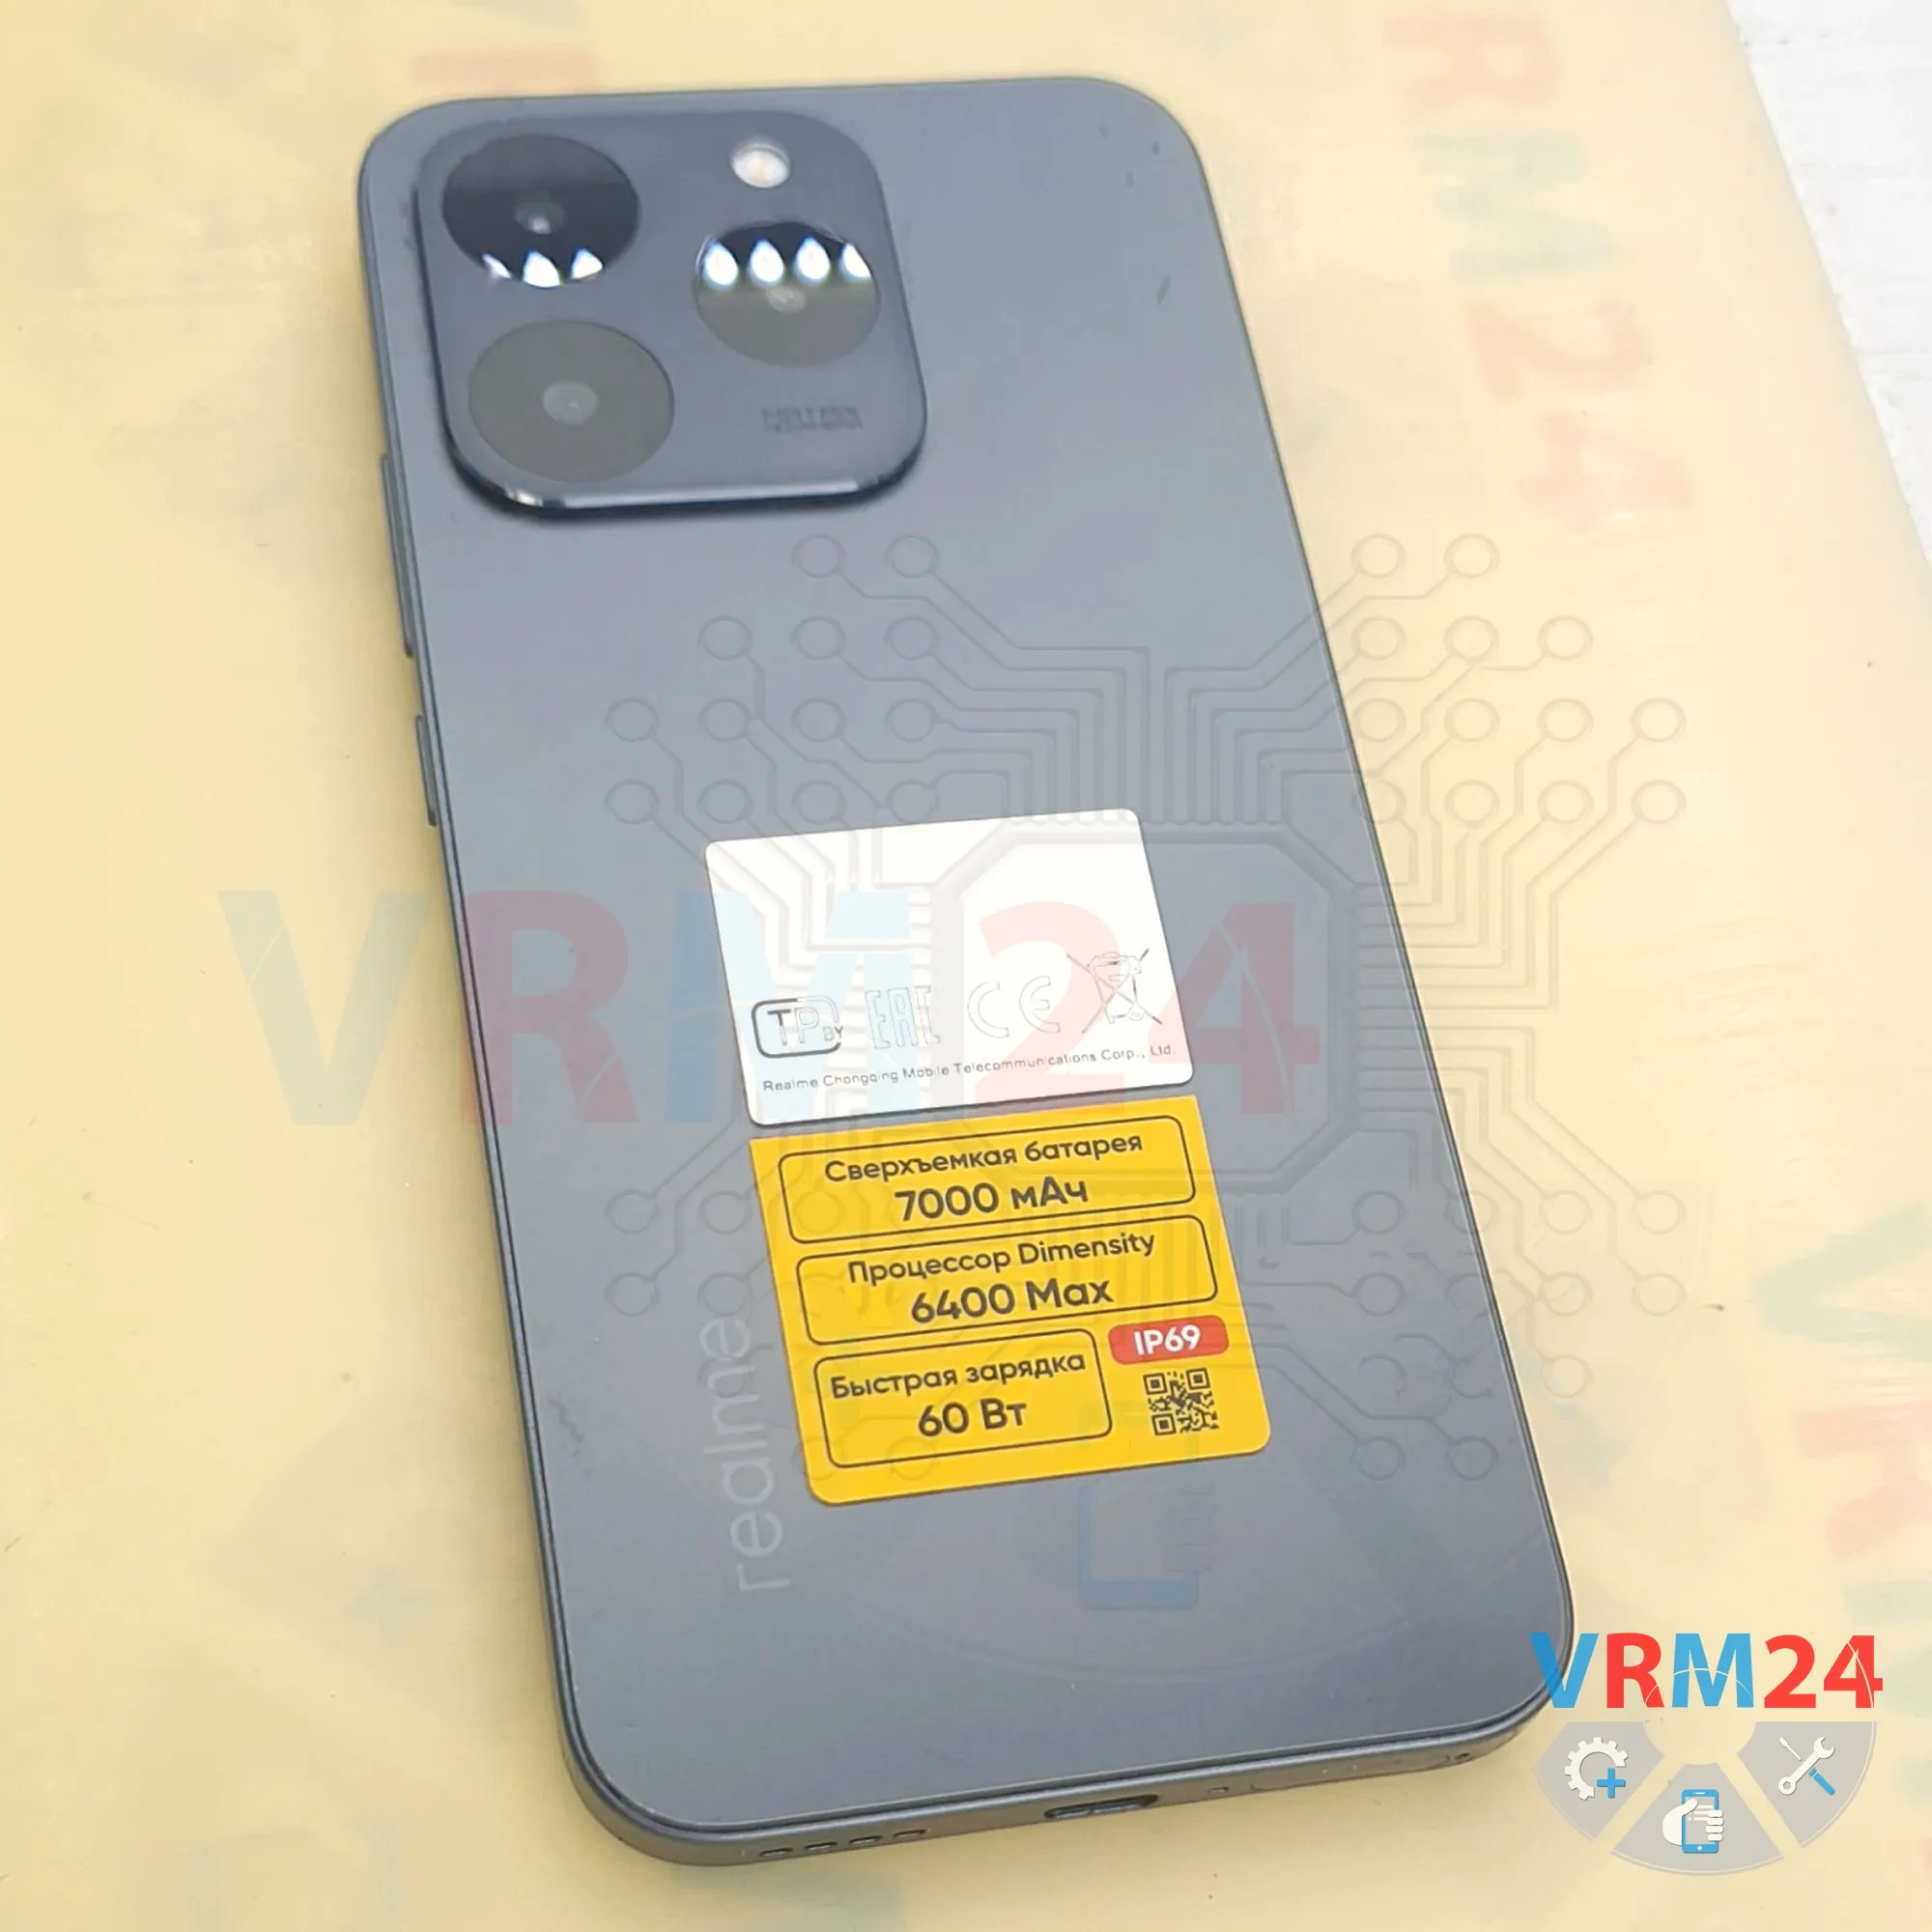
Disassembly/Repair of the mobile device Realme 15T (Realme 15T RMX5111) with each step description and the required set of tools.

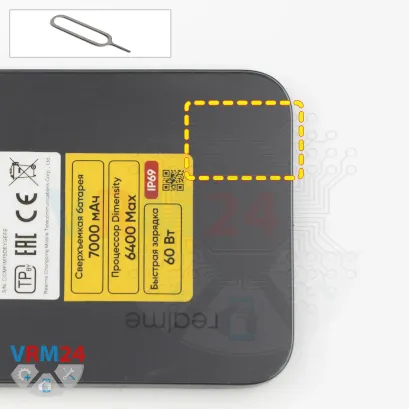


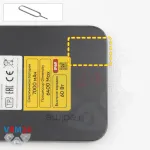
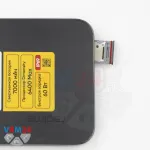
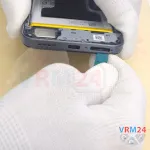
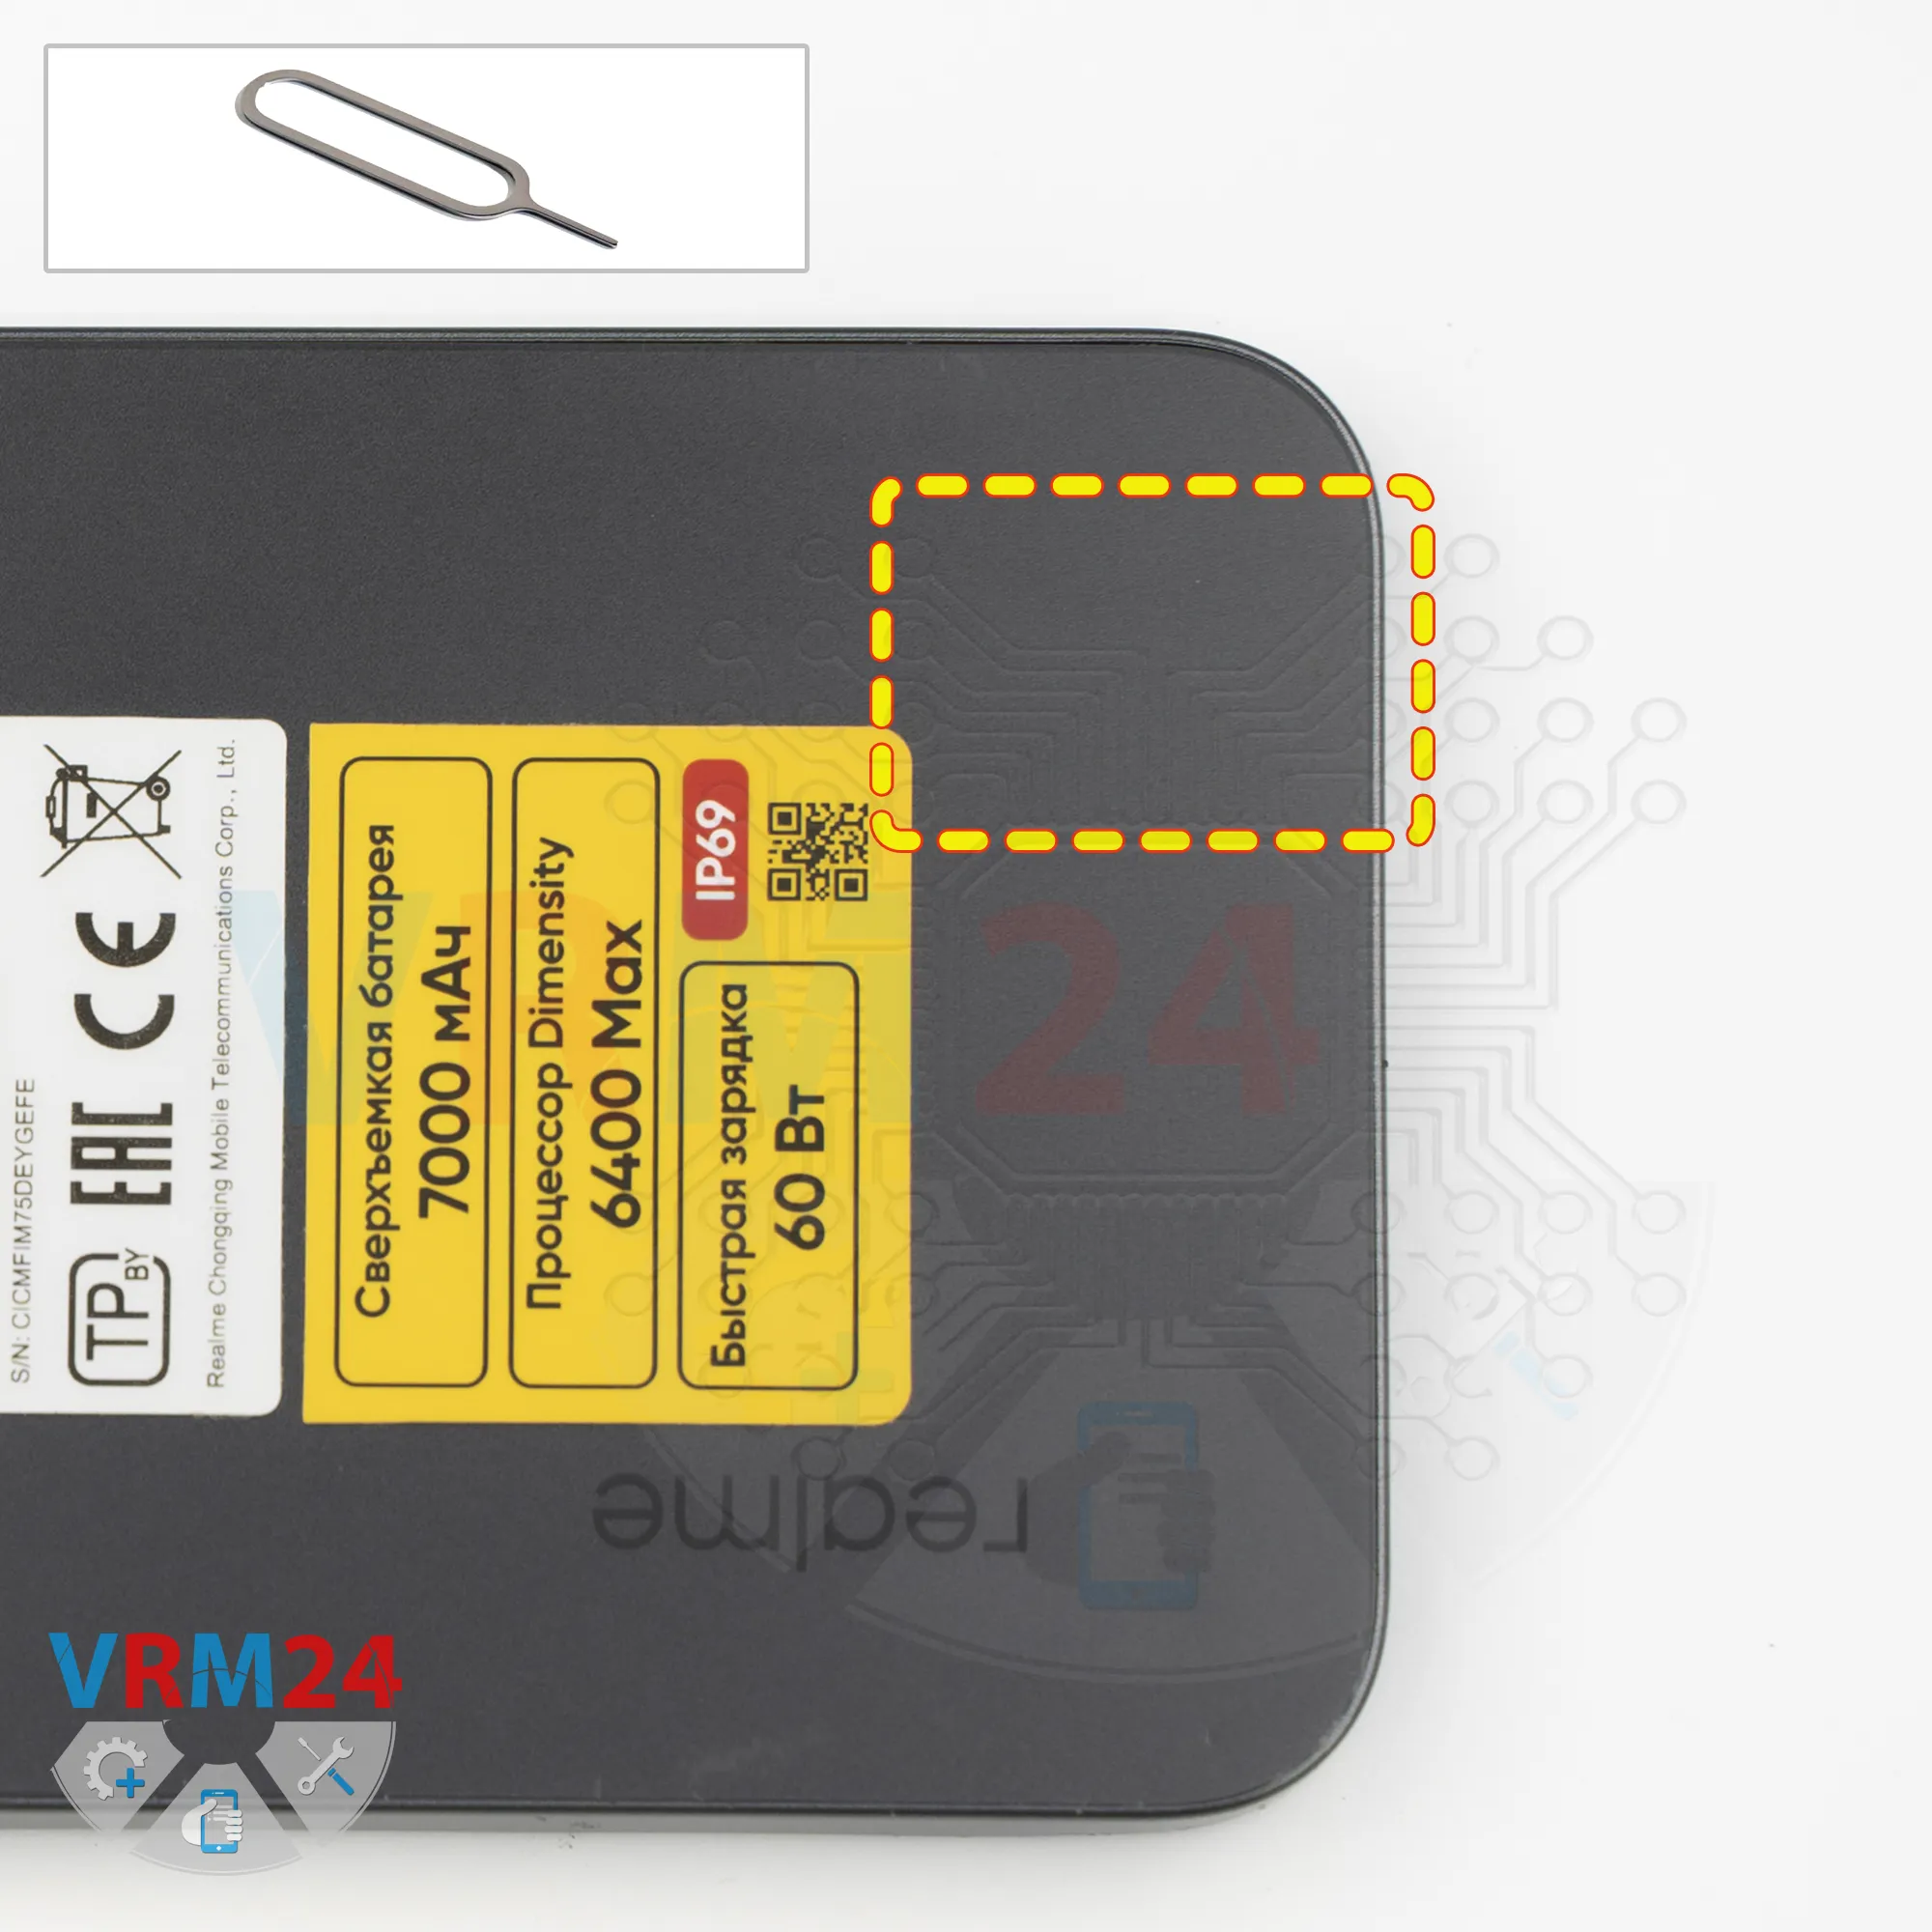
Step 2. Remove the tray
As usual, the first thing we need to do is remove the SIM card tray.
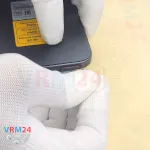
To do that, we use a SIM eject tool, insert it into the eject hole, and push the SIM card tray out.
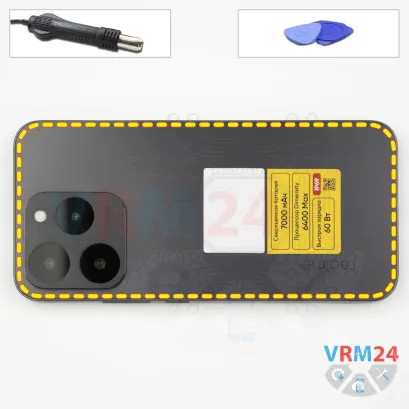


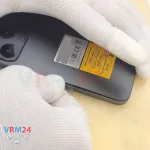
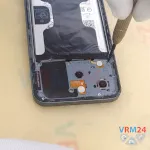
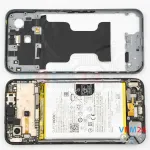
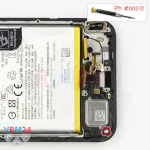
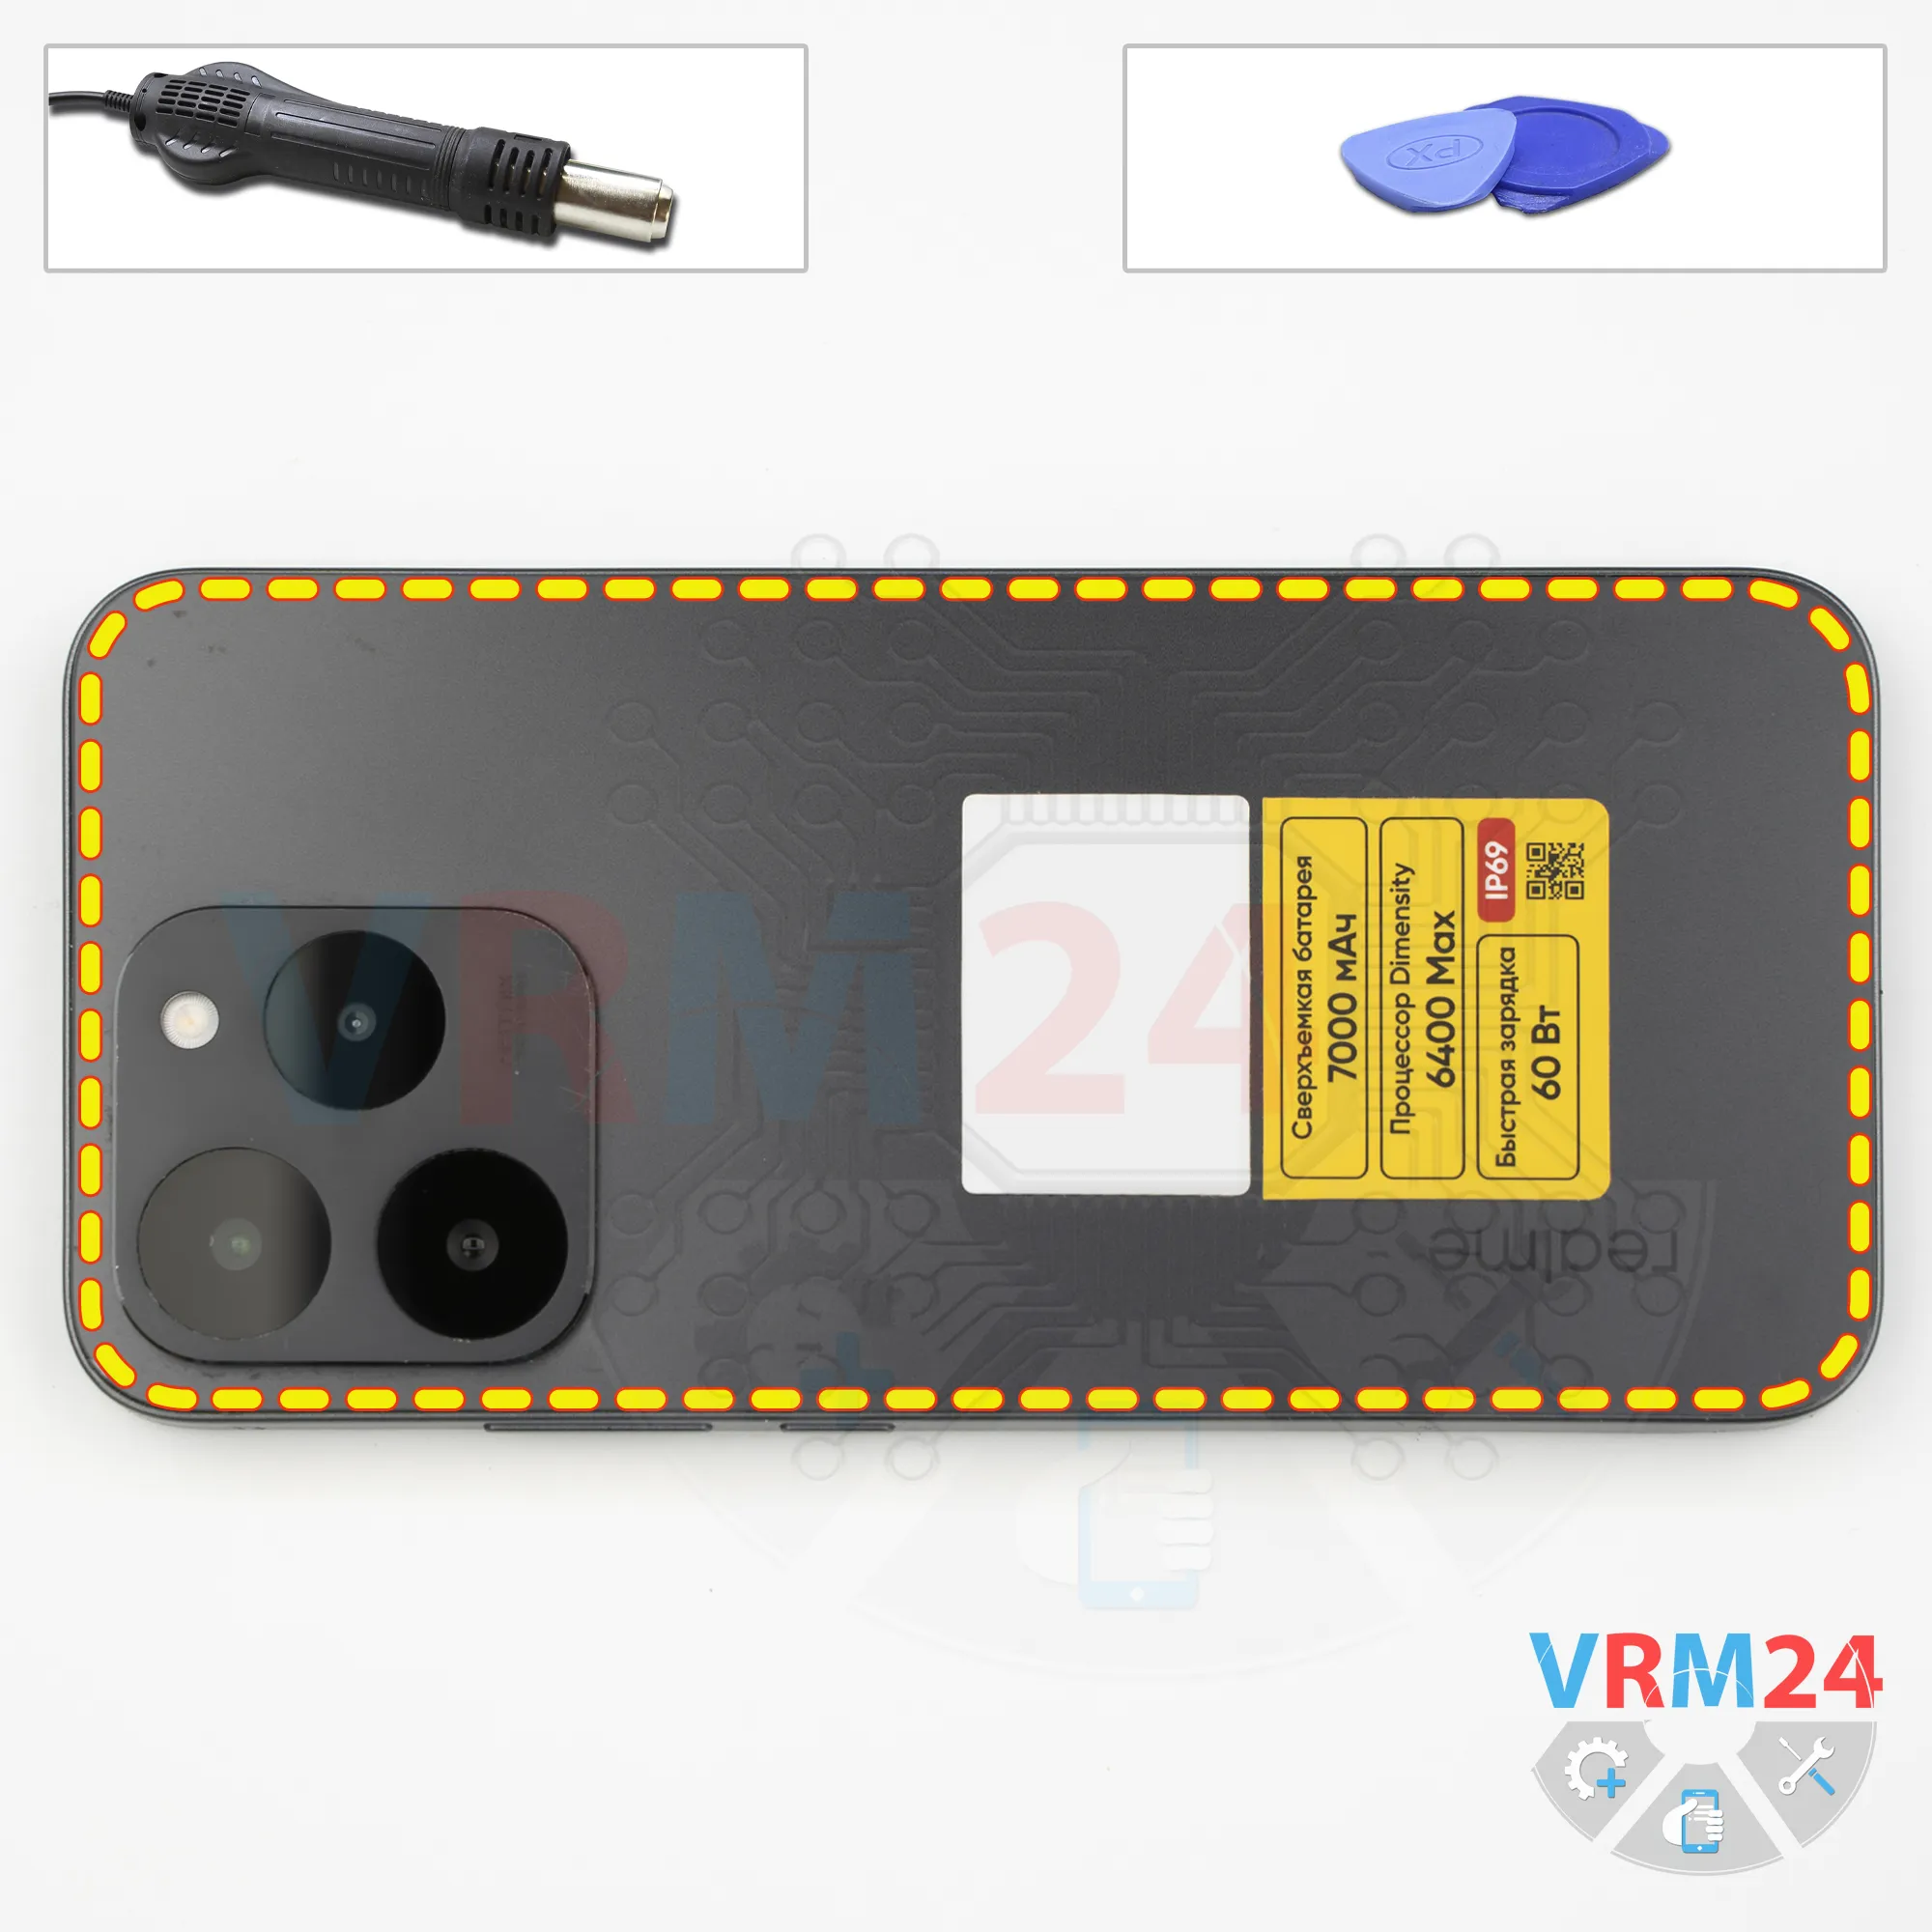
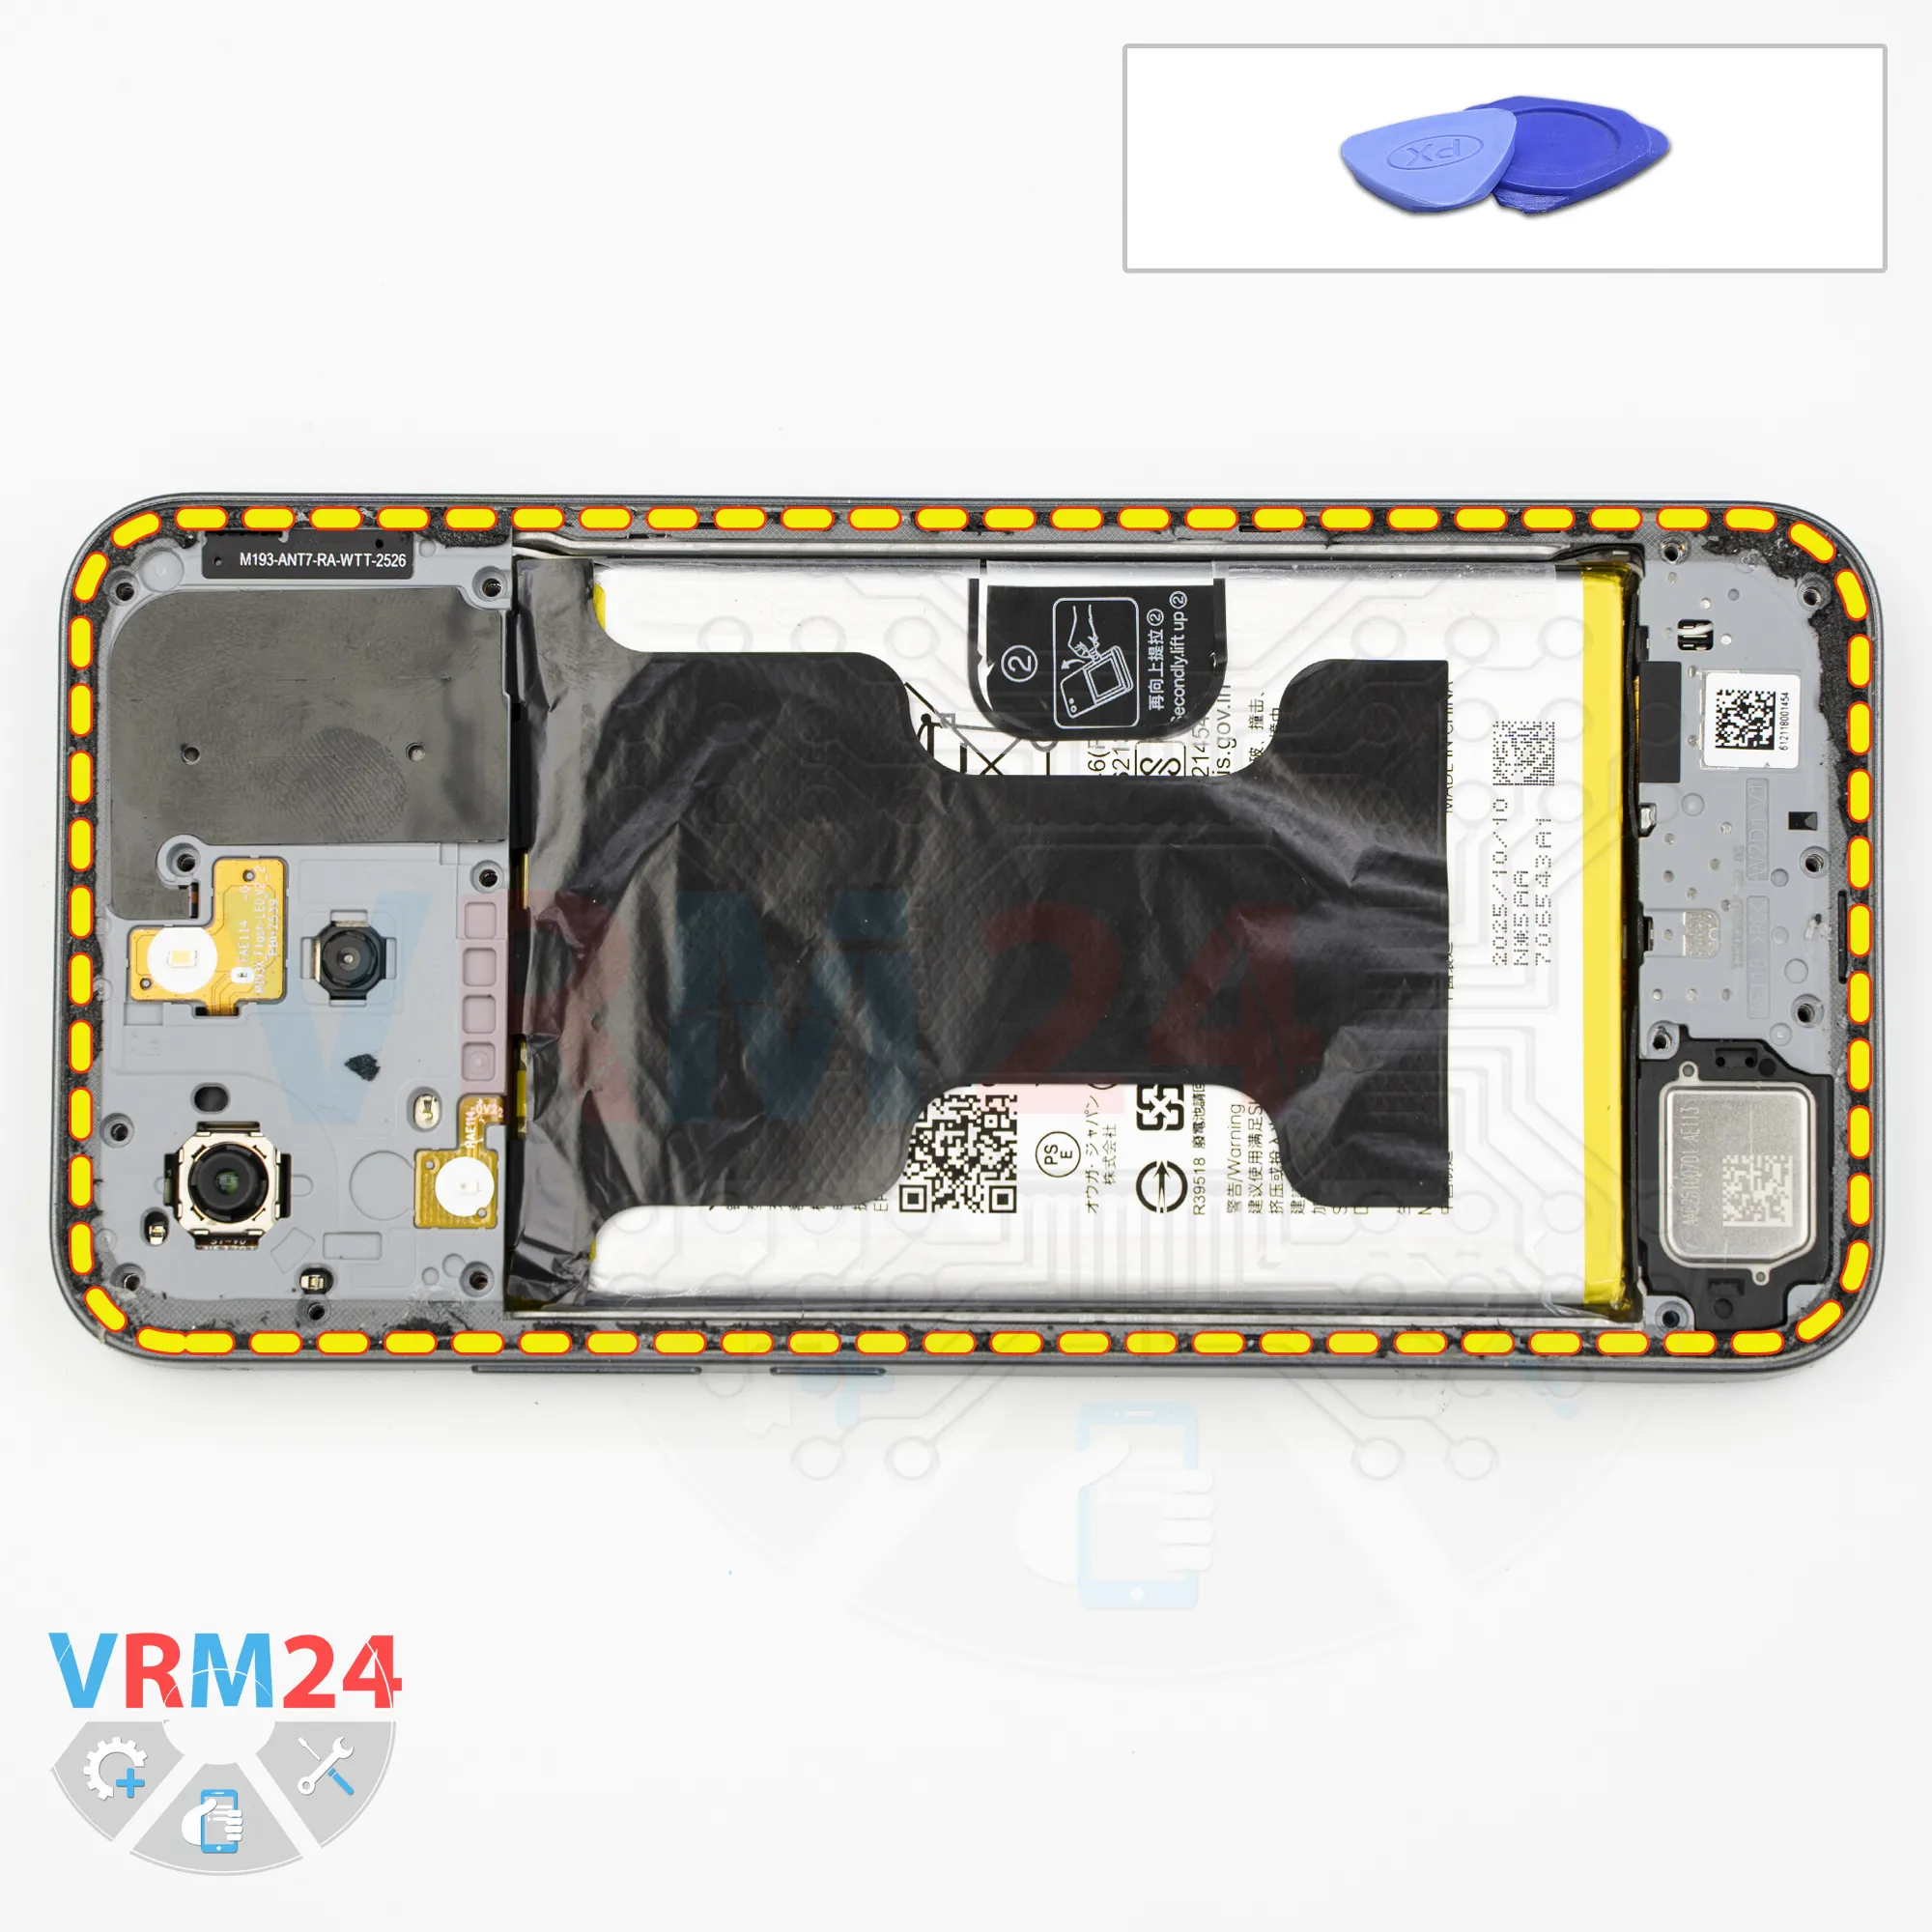
Step 3. Open the back cover
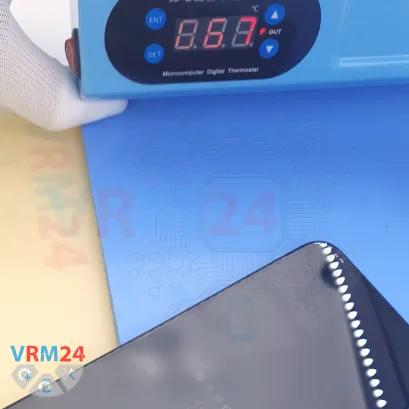
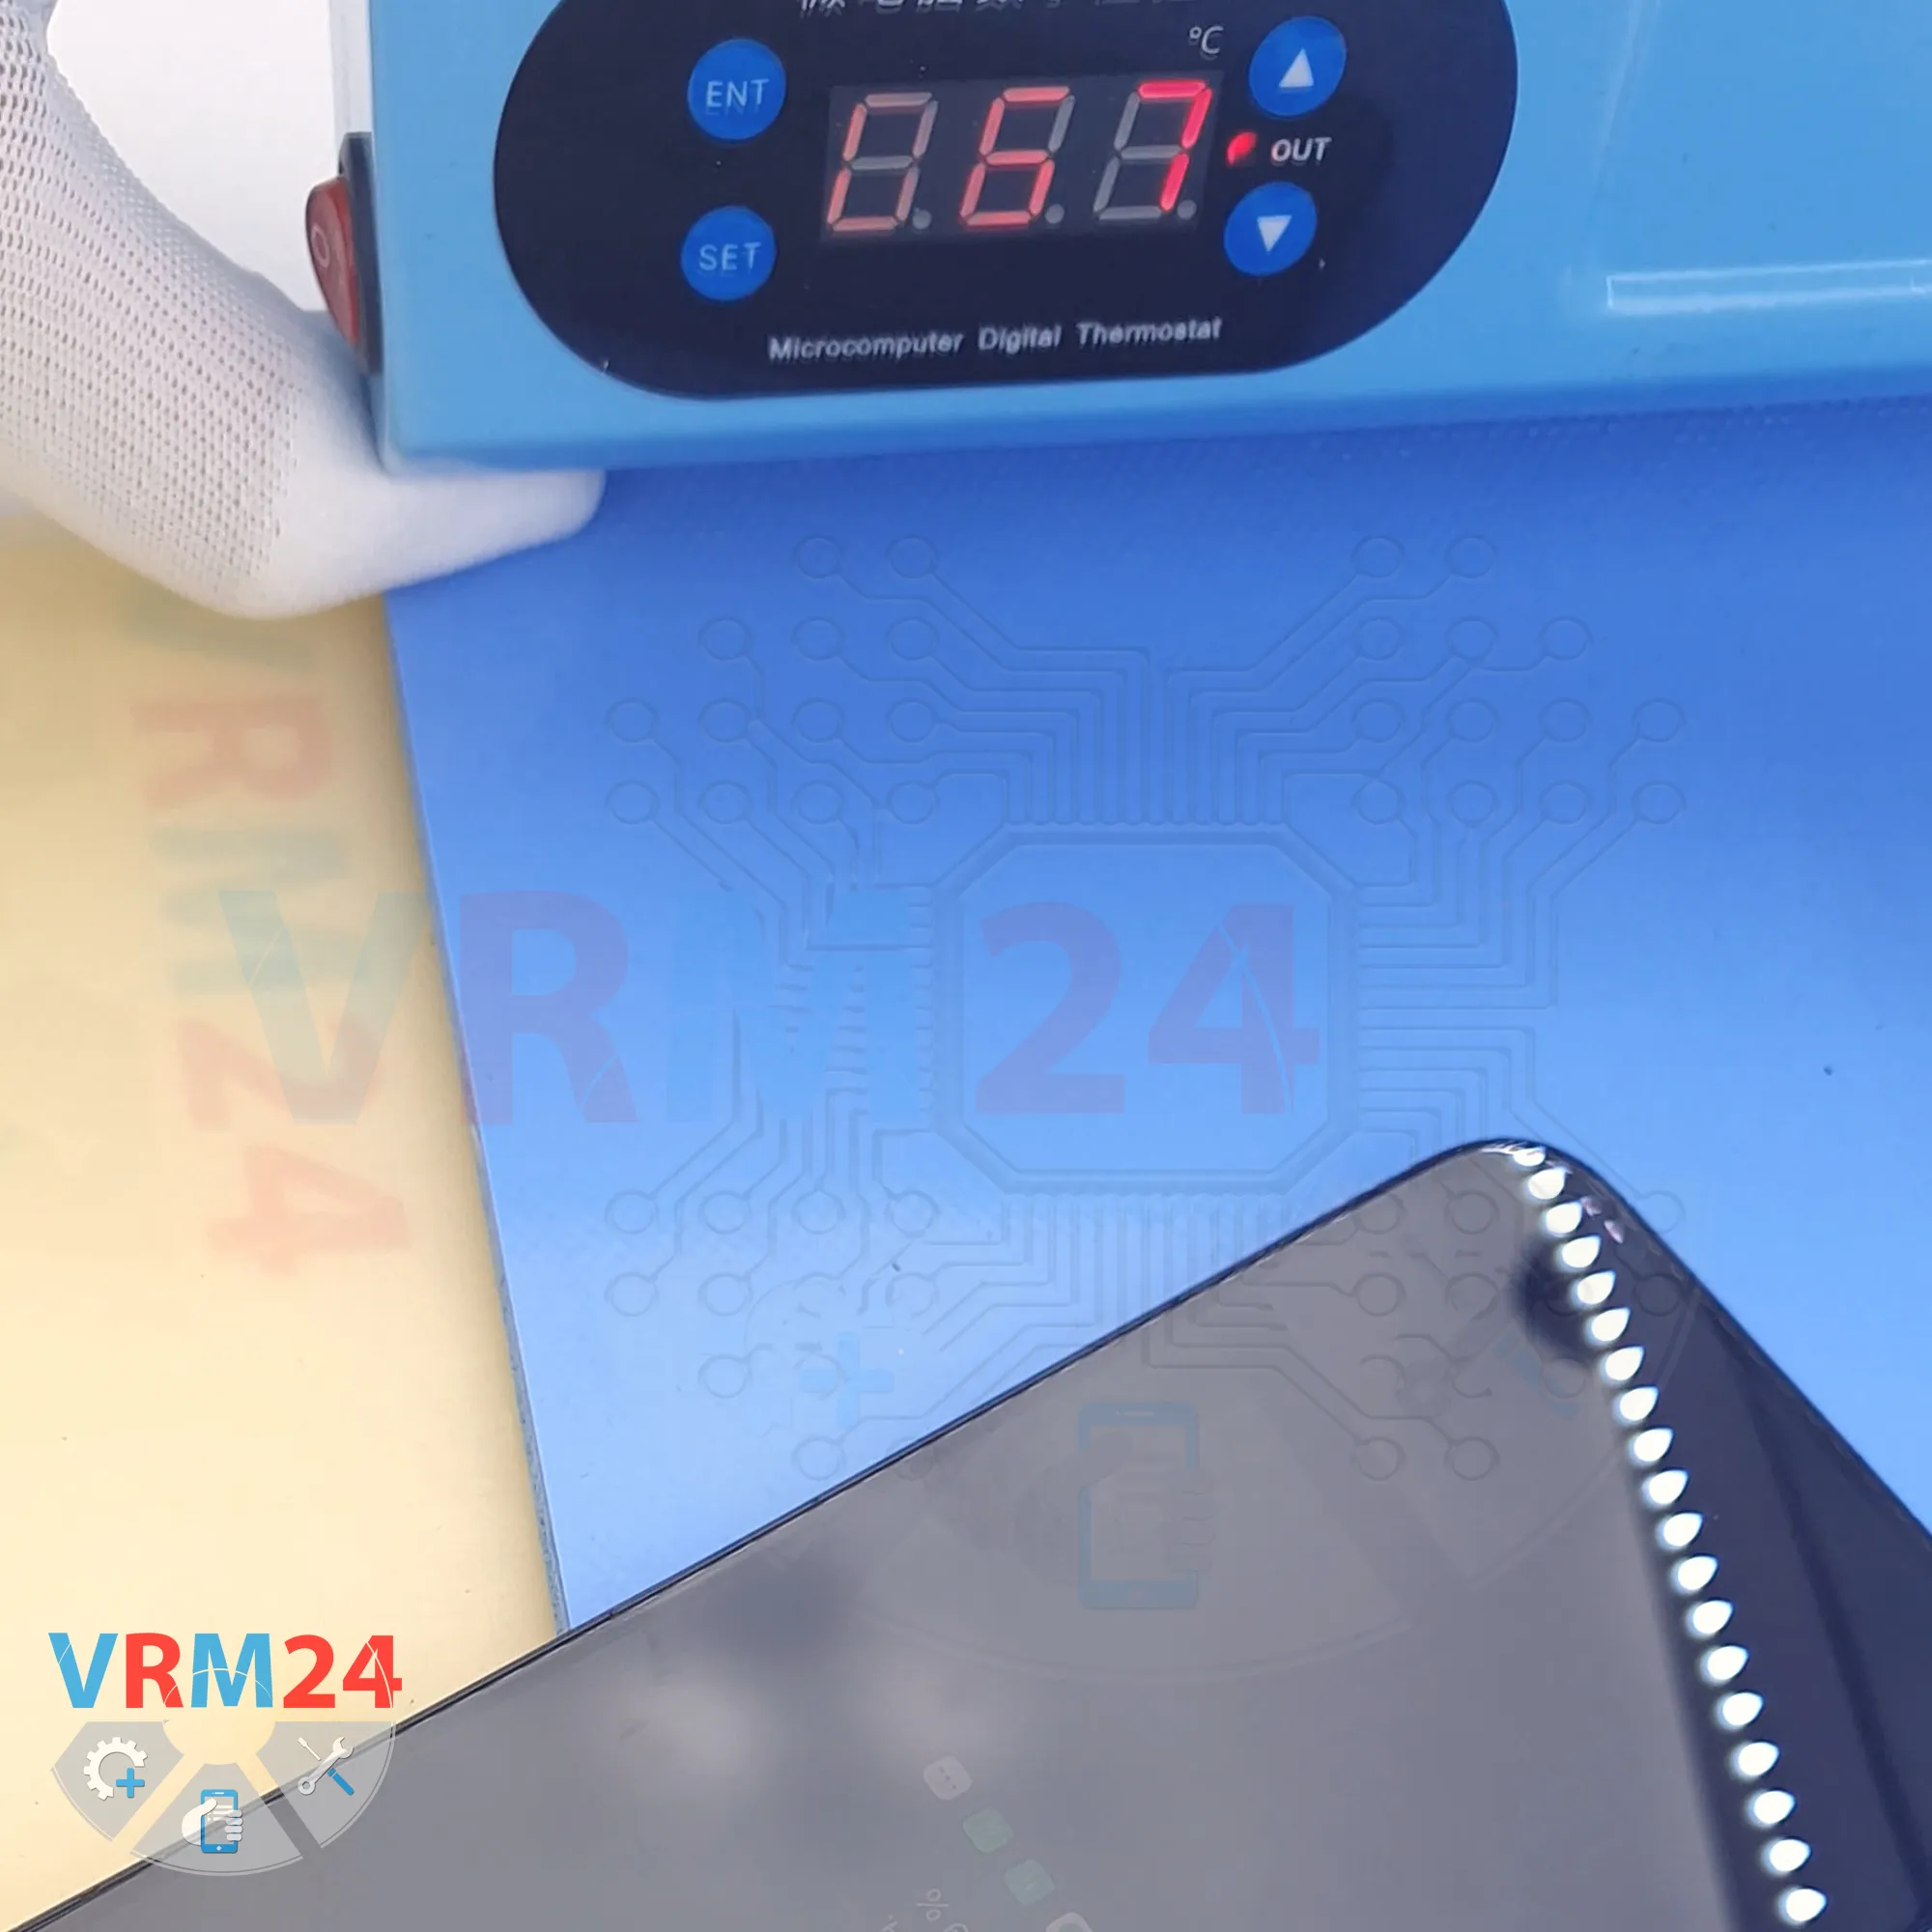
Next, we need to heat the back cover to a temperature of approximately 70°C, or 160°F. We're using a heating mat for this, but you can also use a hair dryer.
After about 5 to 10 minutes, we can begin separating the back cover.
To do that, we use a thin plastic film, insert it into the gap between the back cover and the midframe, and carefully slide it around the edge, cutting through the adhesive.
As always, be especially careful around the camera module so you don't accidentally touch or damage the camera lenses.
Keep in mind that the back cover is also additionally glued around the camera area.
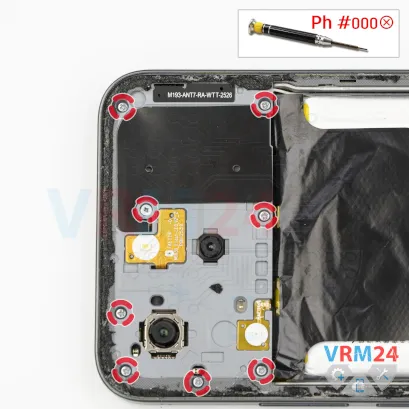
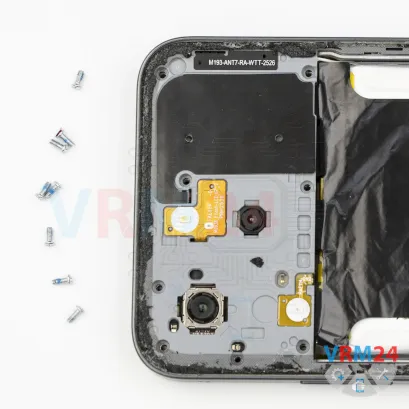
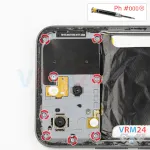
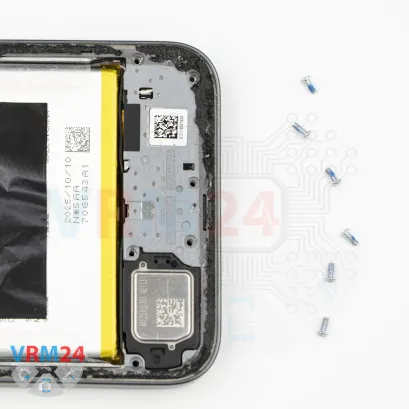
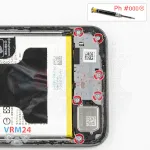
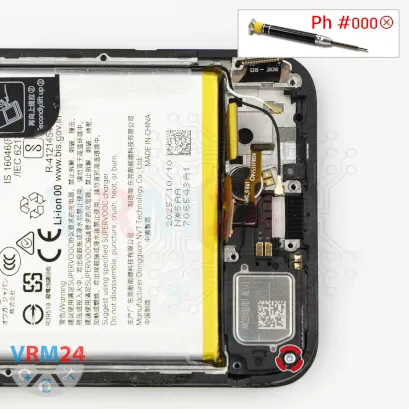
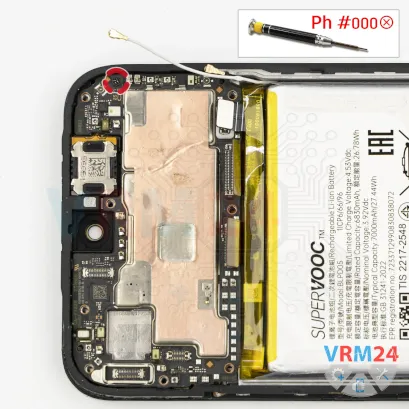
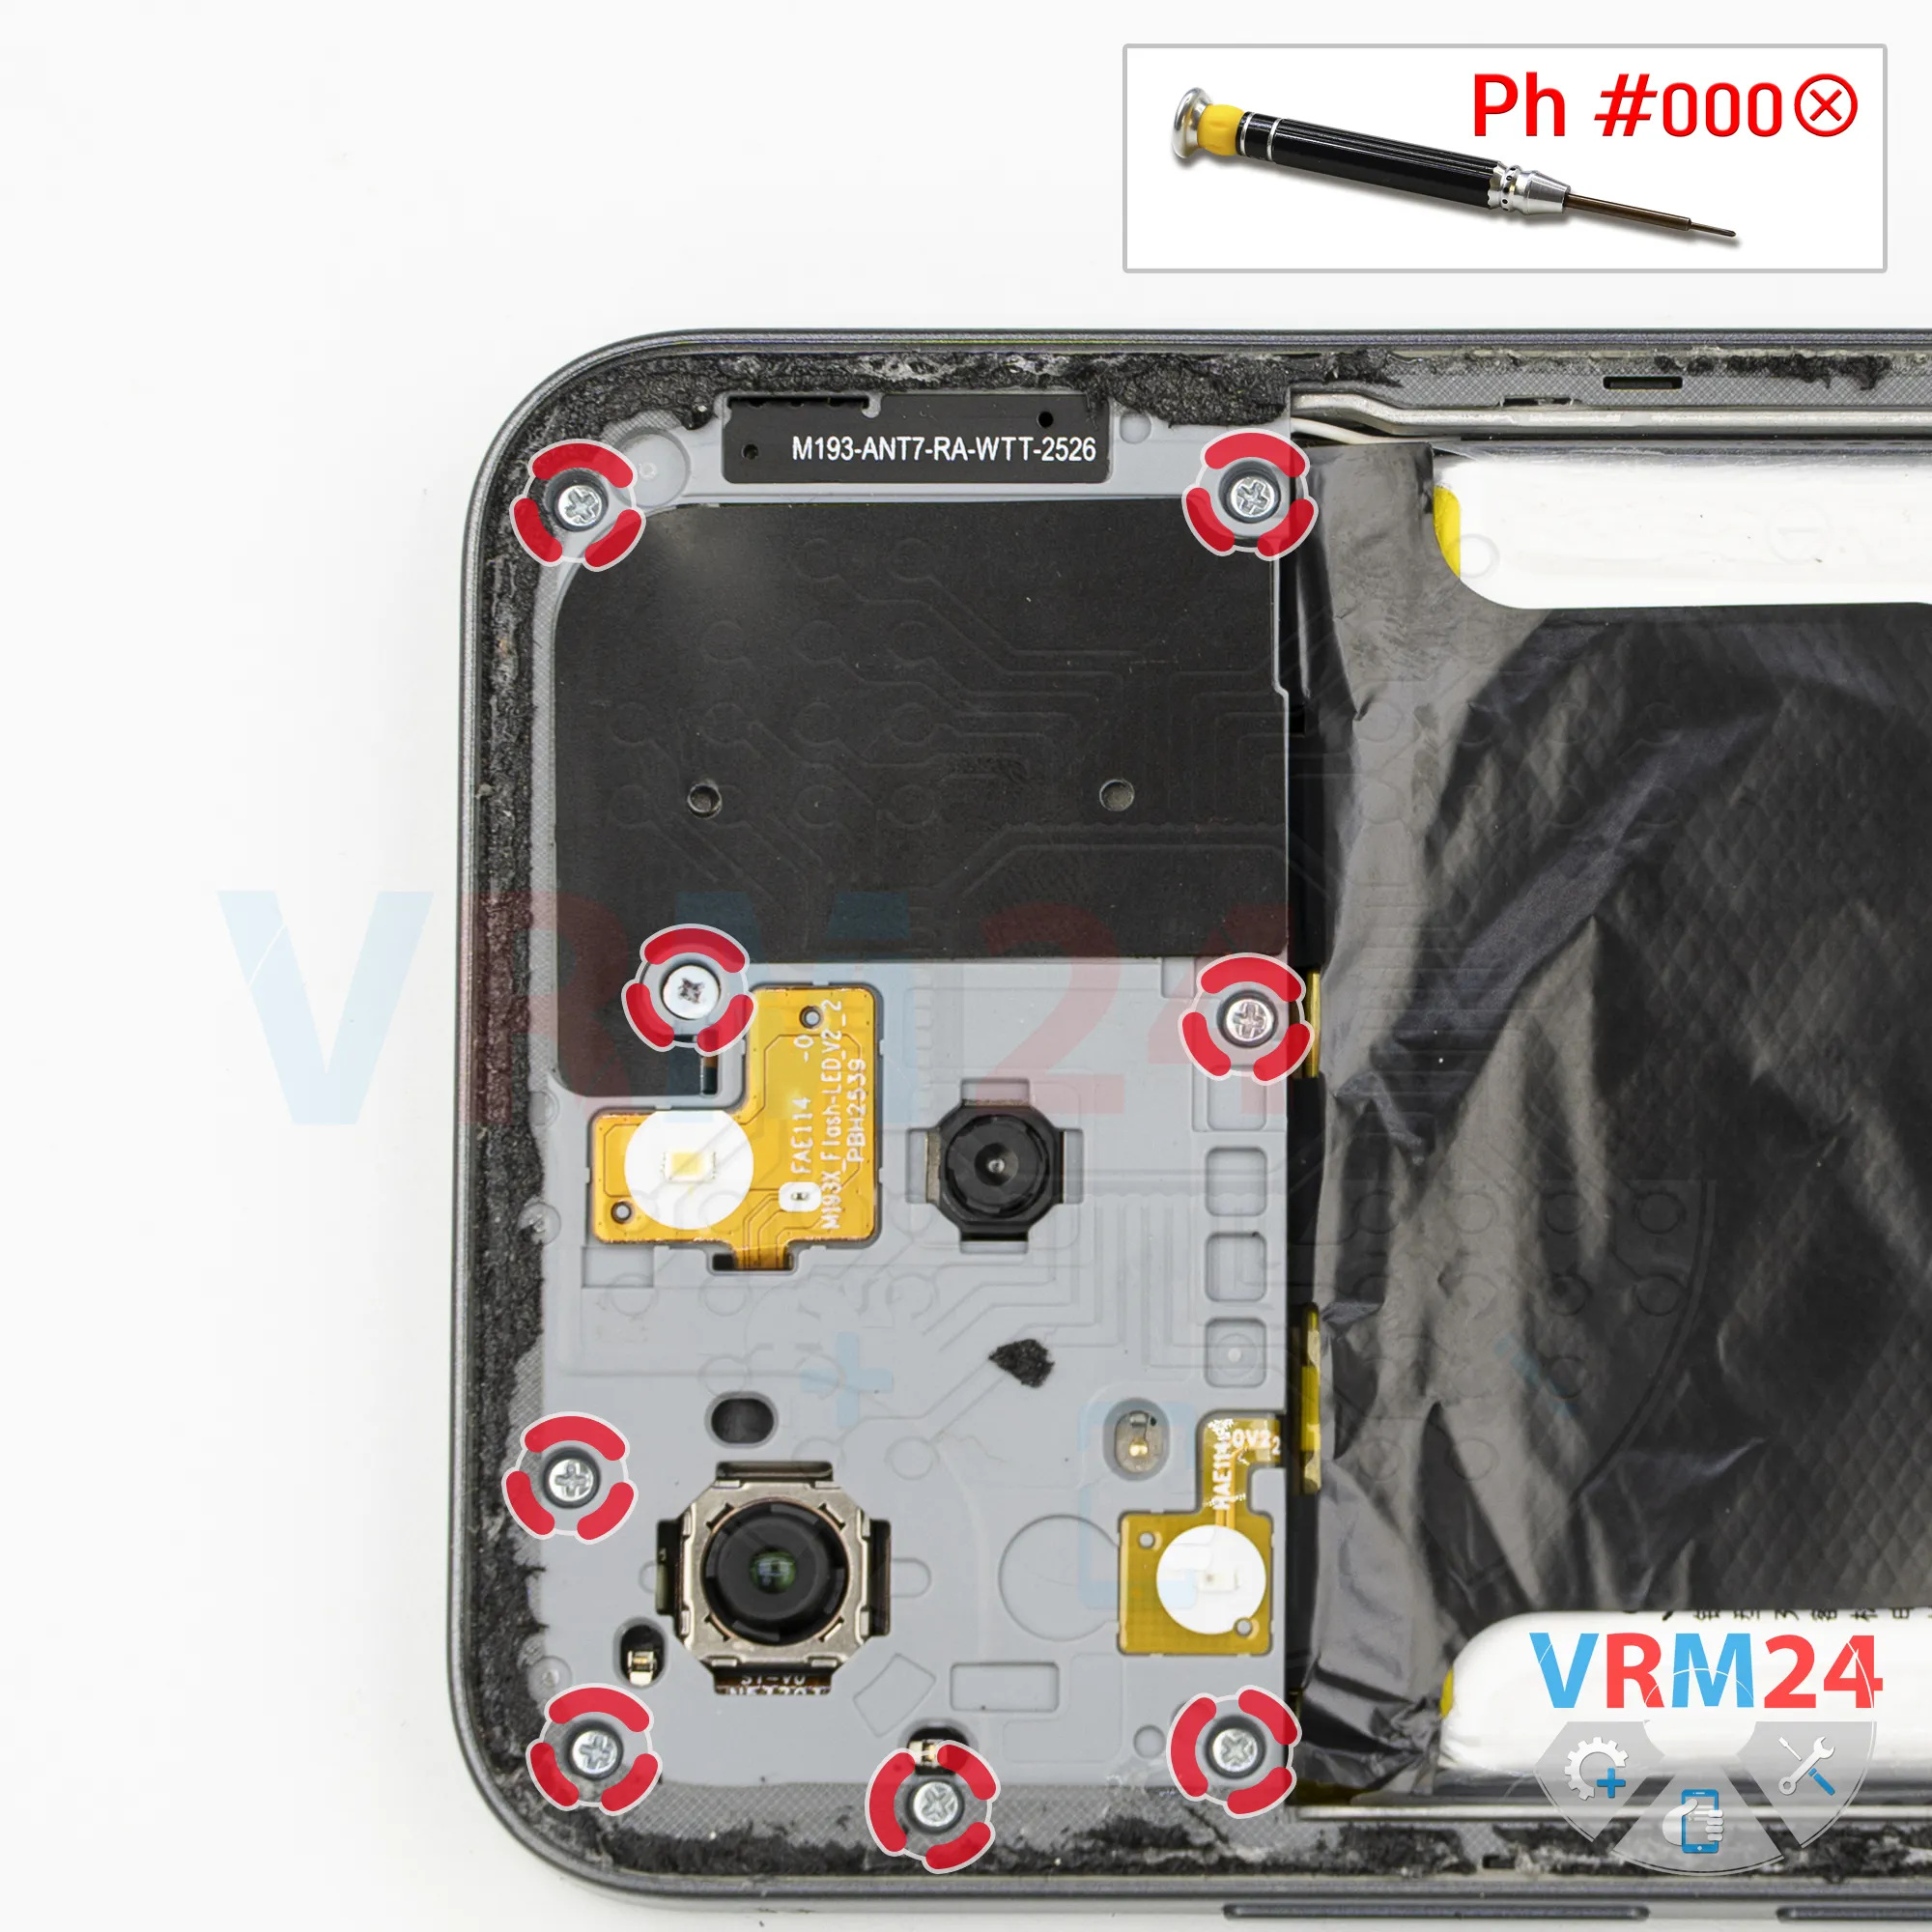
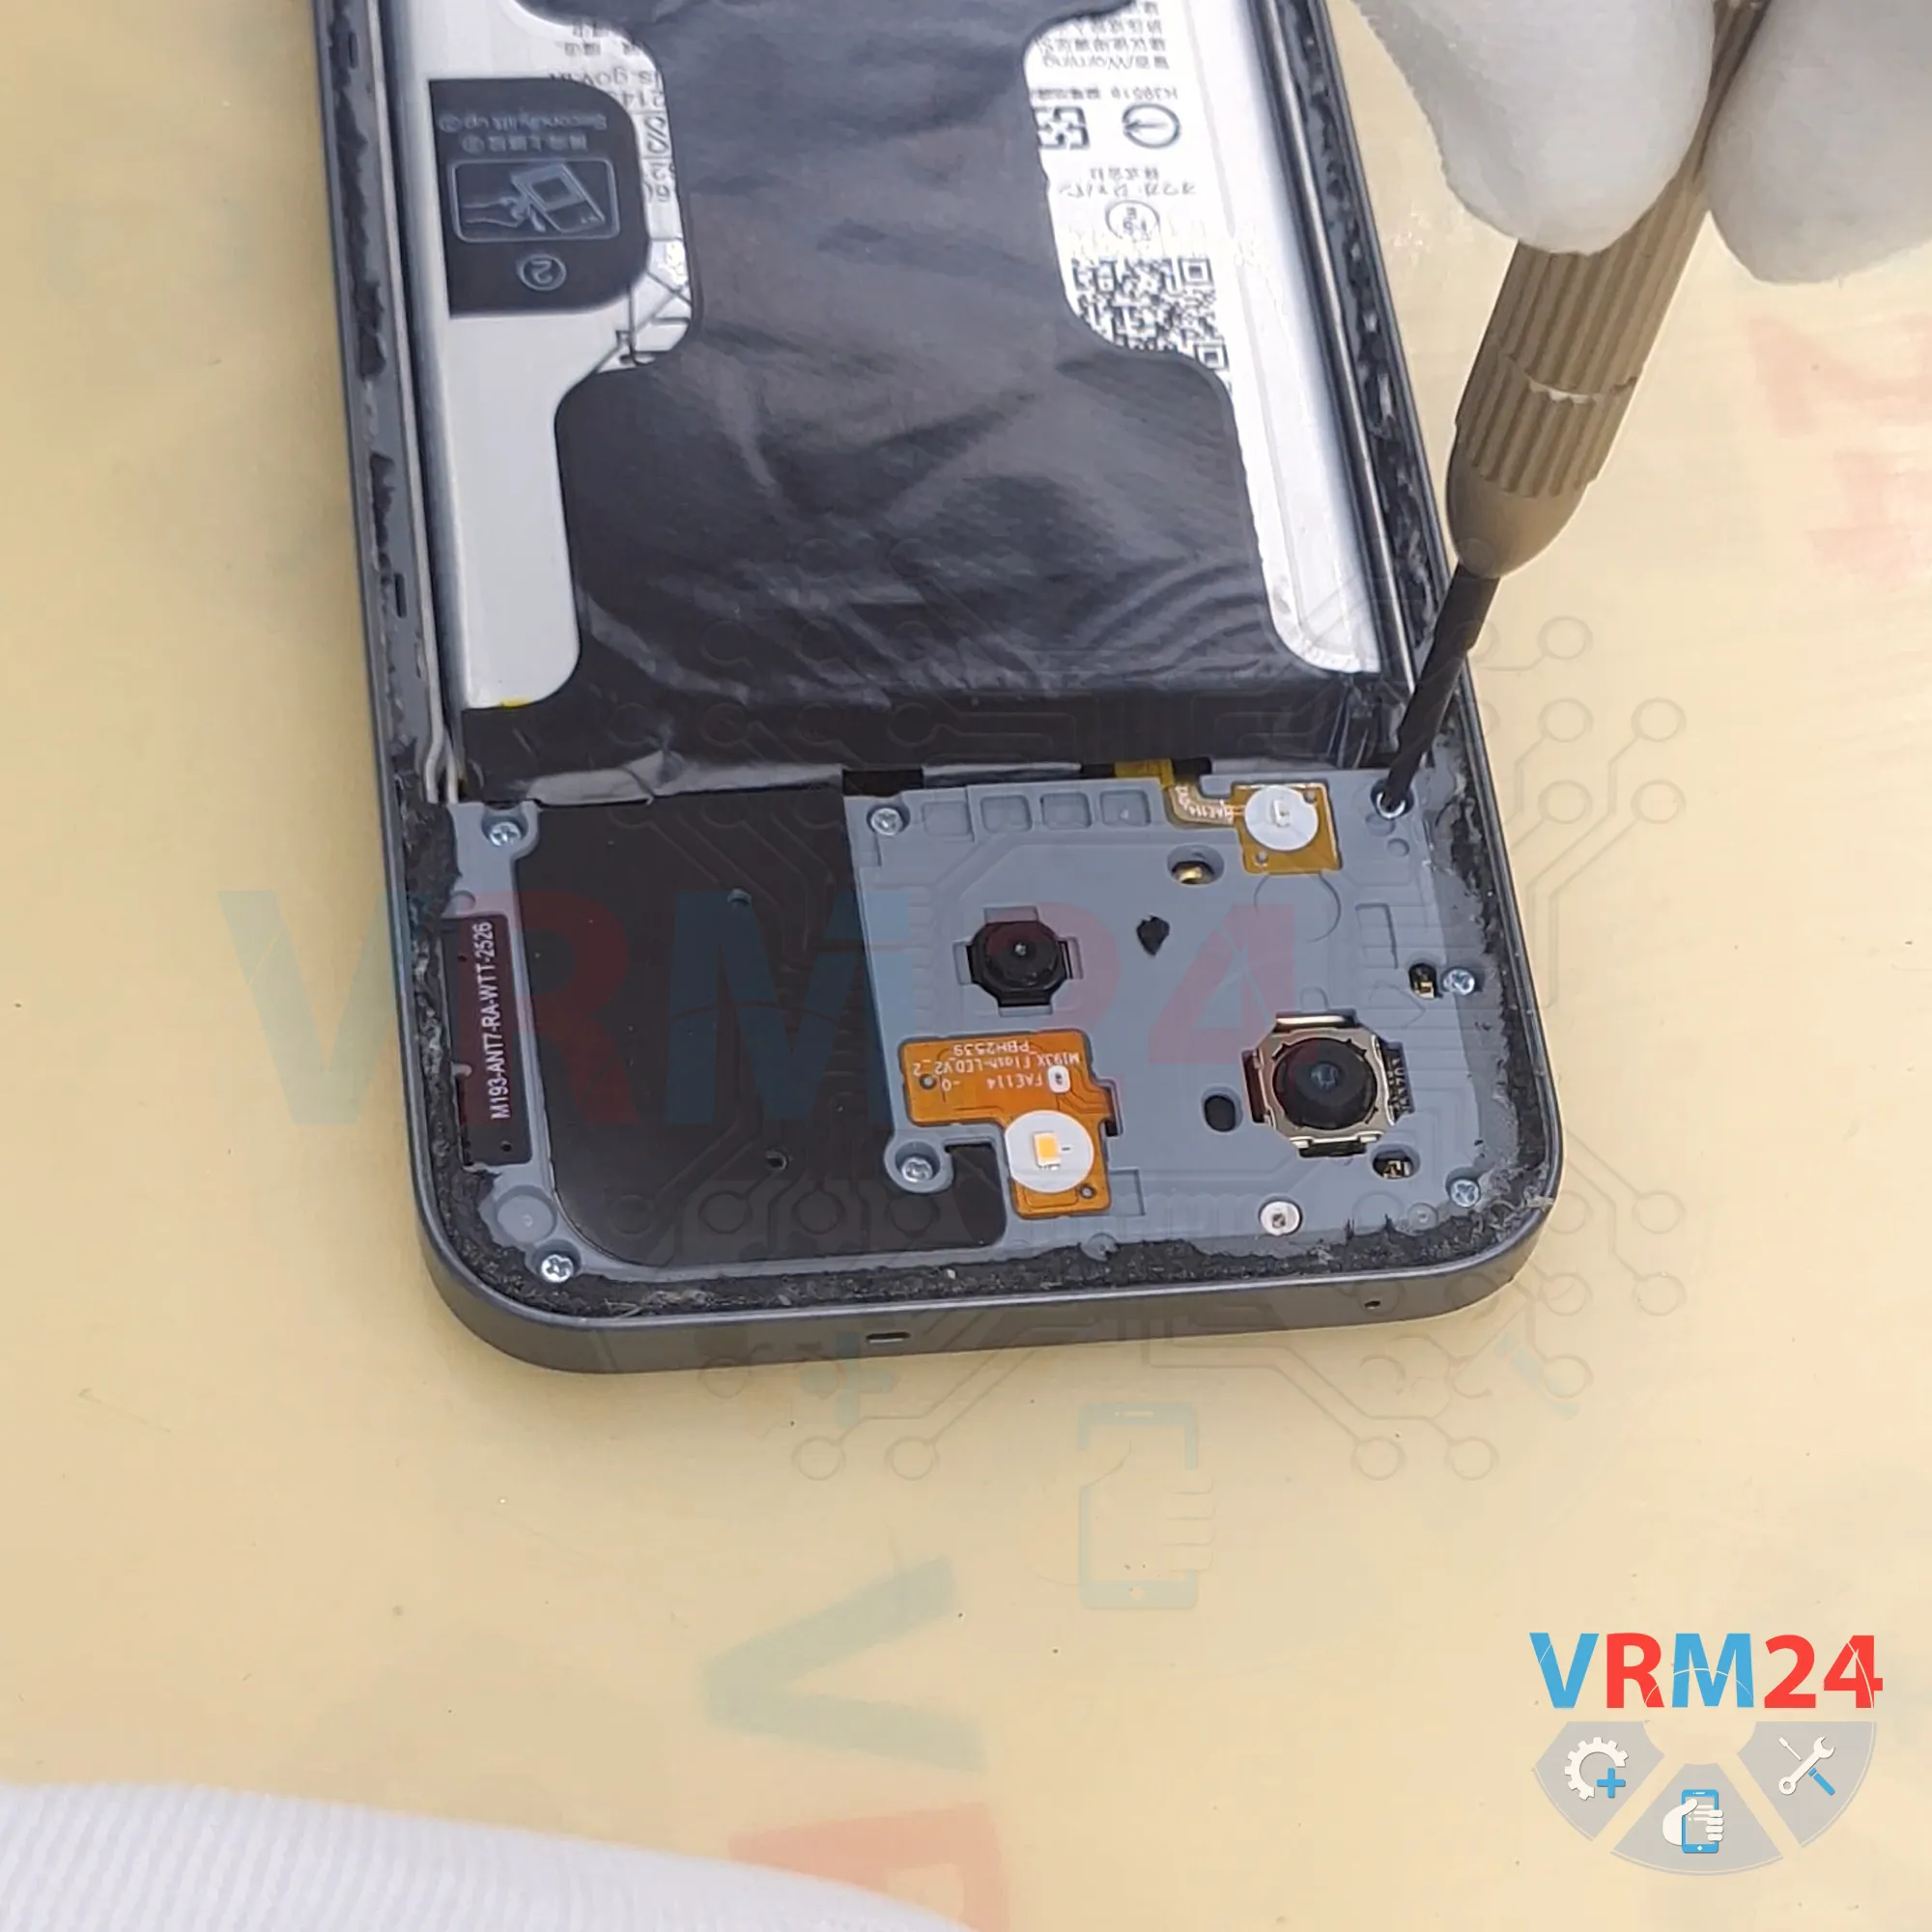
Step 4. Unscrew the screws
Next, we need to remove the screws.
We use a 1.5 mm Phillips screwdriver, also known as a Phillips #000 screwdriver.
It appears that all of the screws are the same, but it's still a good idea to arrange them in order on a magnetic mat or another organized surface, because screws sometimes don't thread properly if they're returned to the wrong holes.
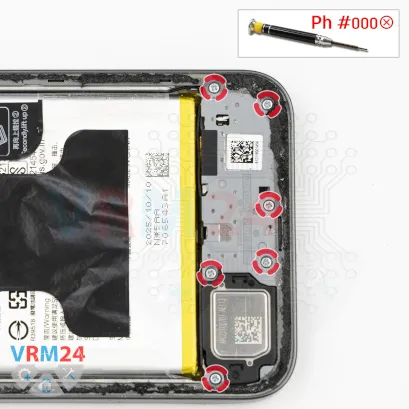
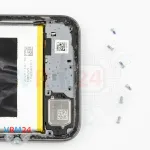

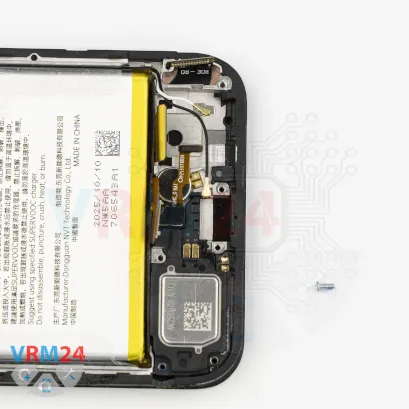
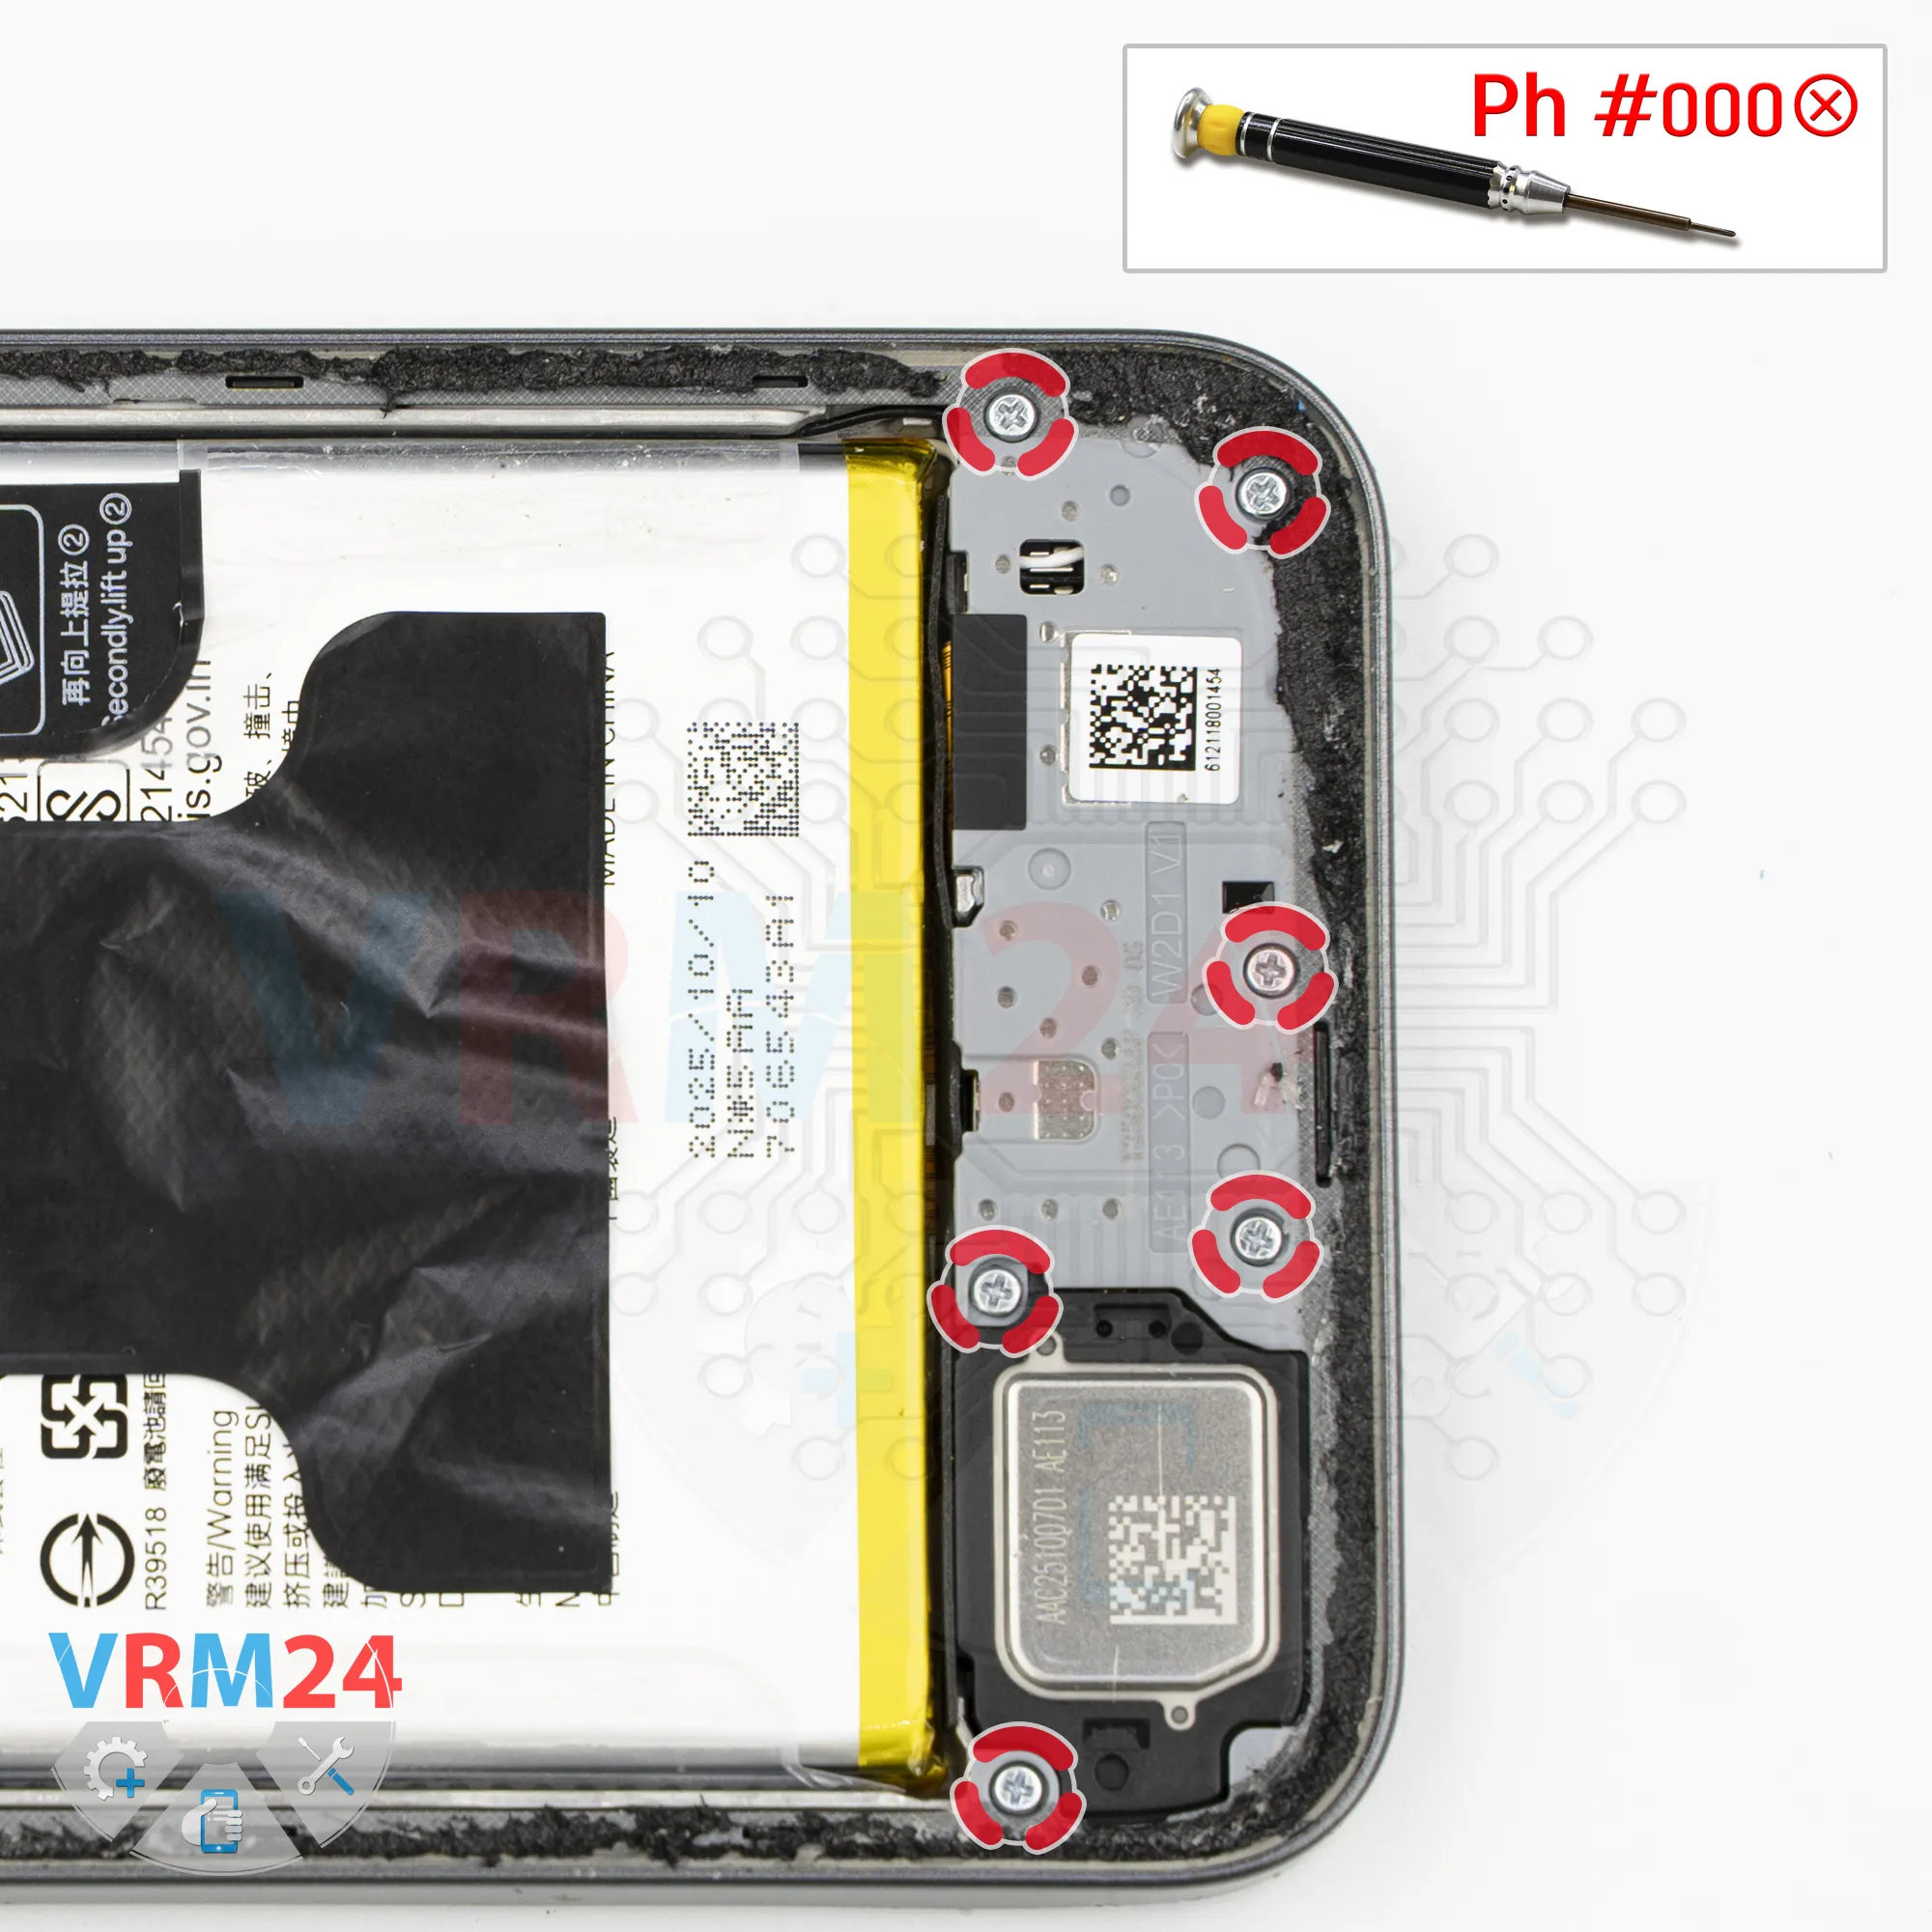
Step 5. Unscrew the screws
The screws in the lower section also appear to be the same, but it's still best to keep them separate from the others.
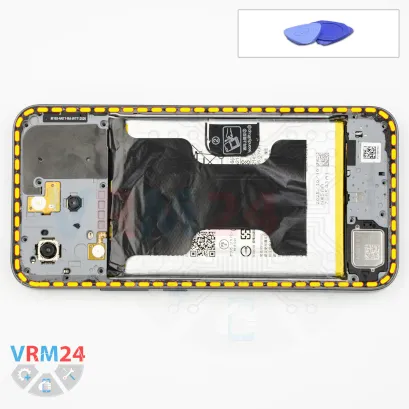


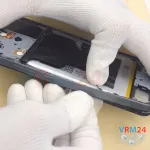
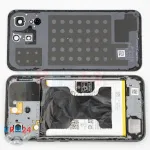
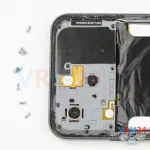
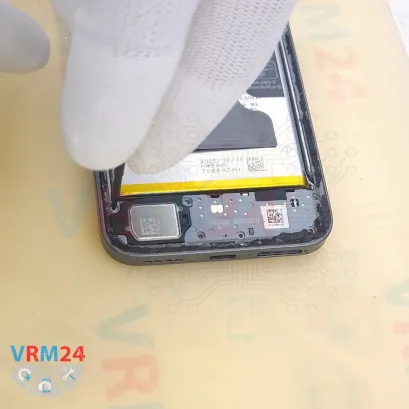
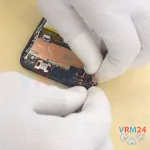
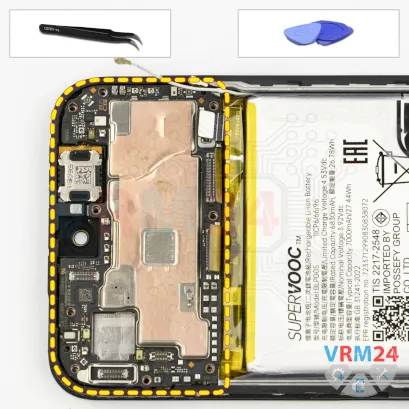
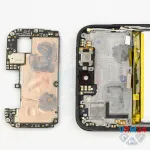
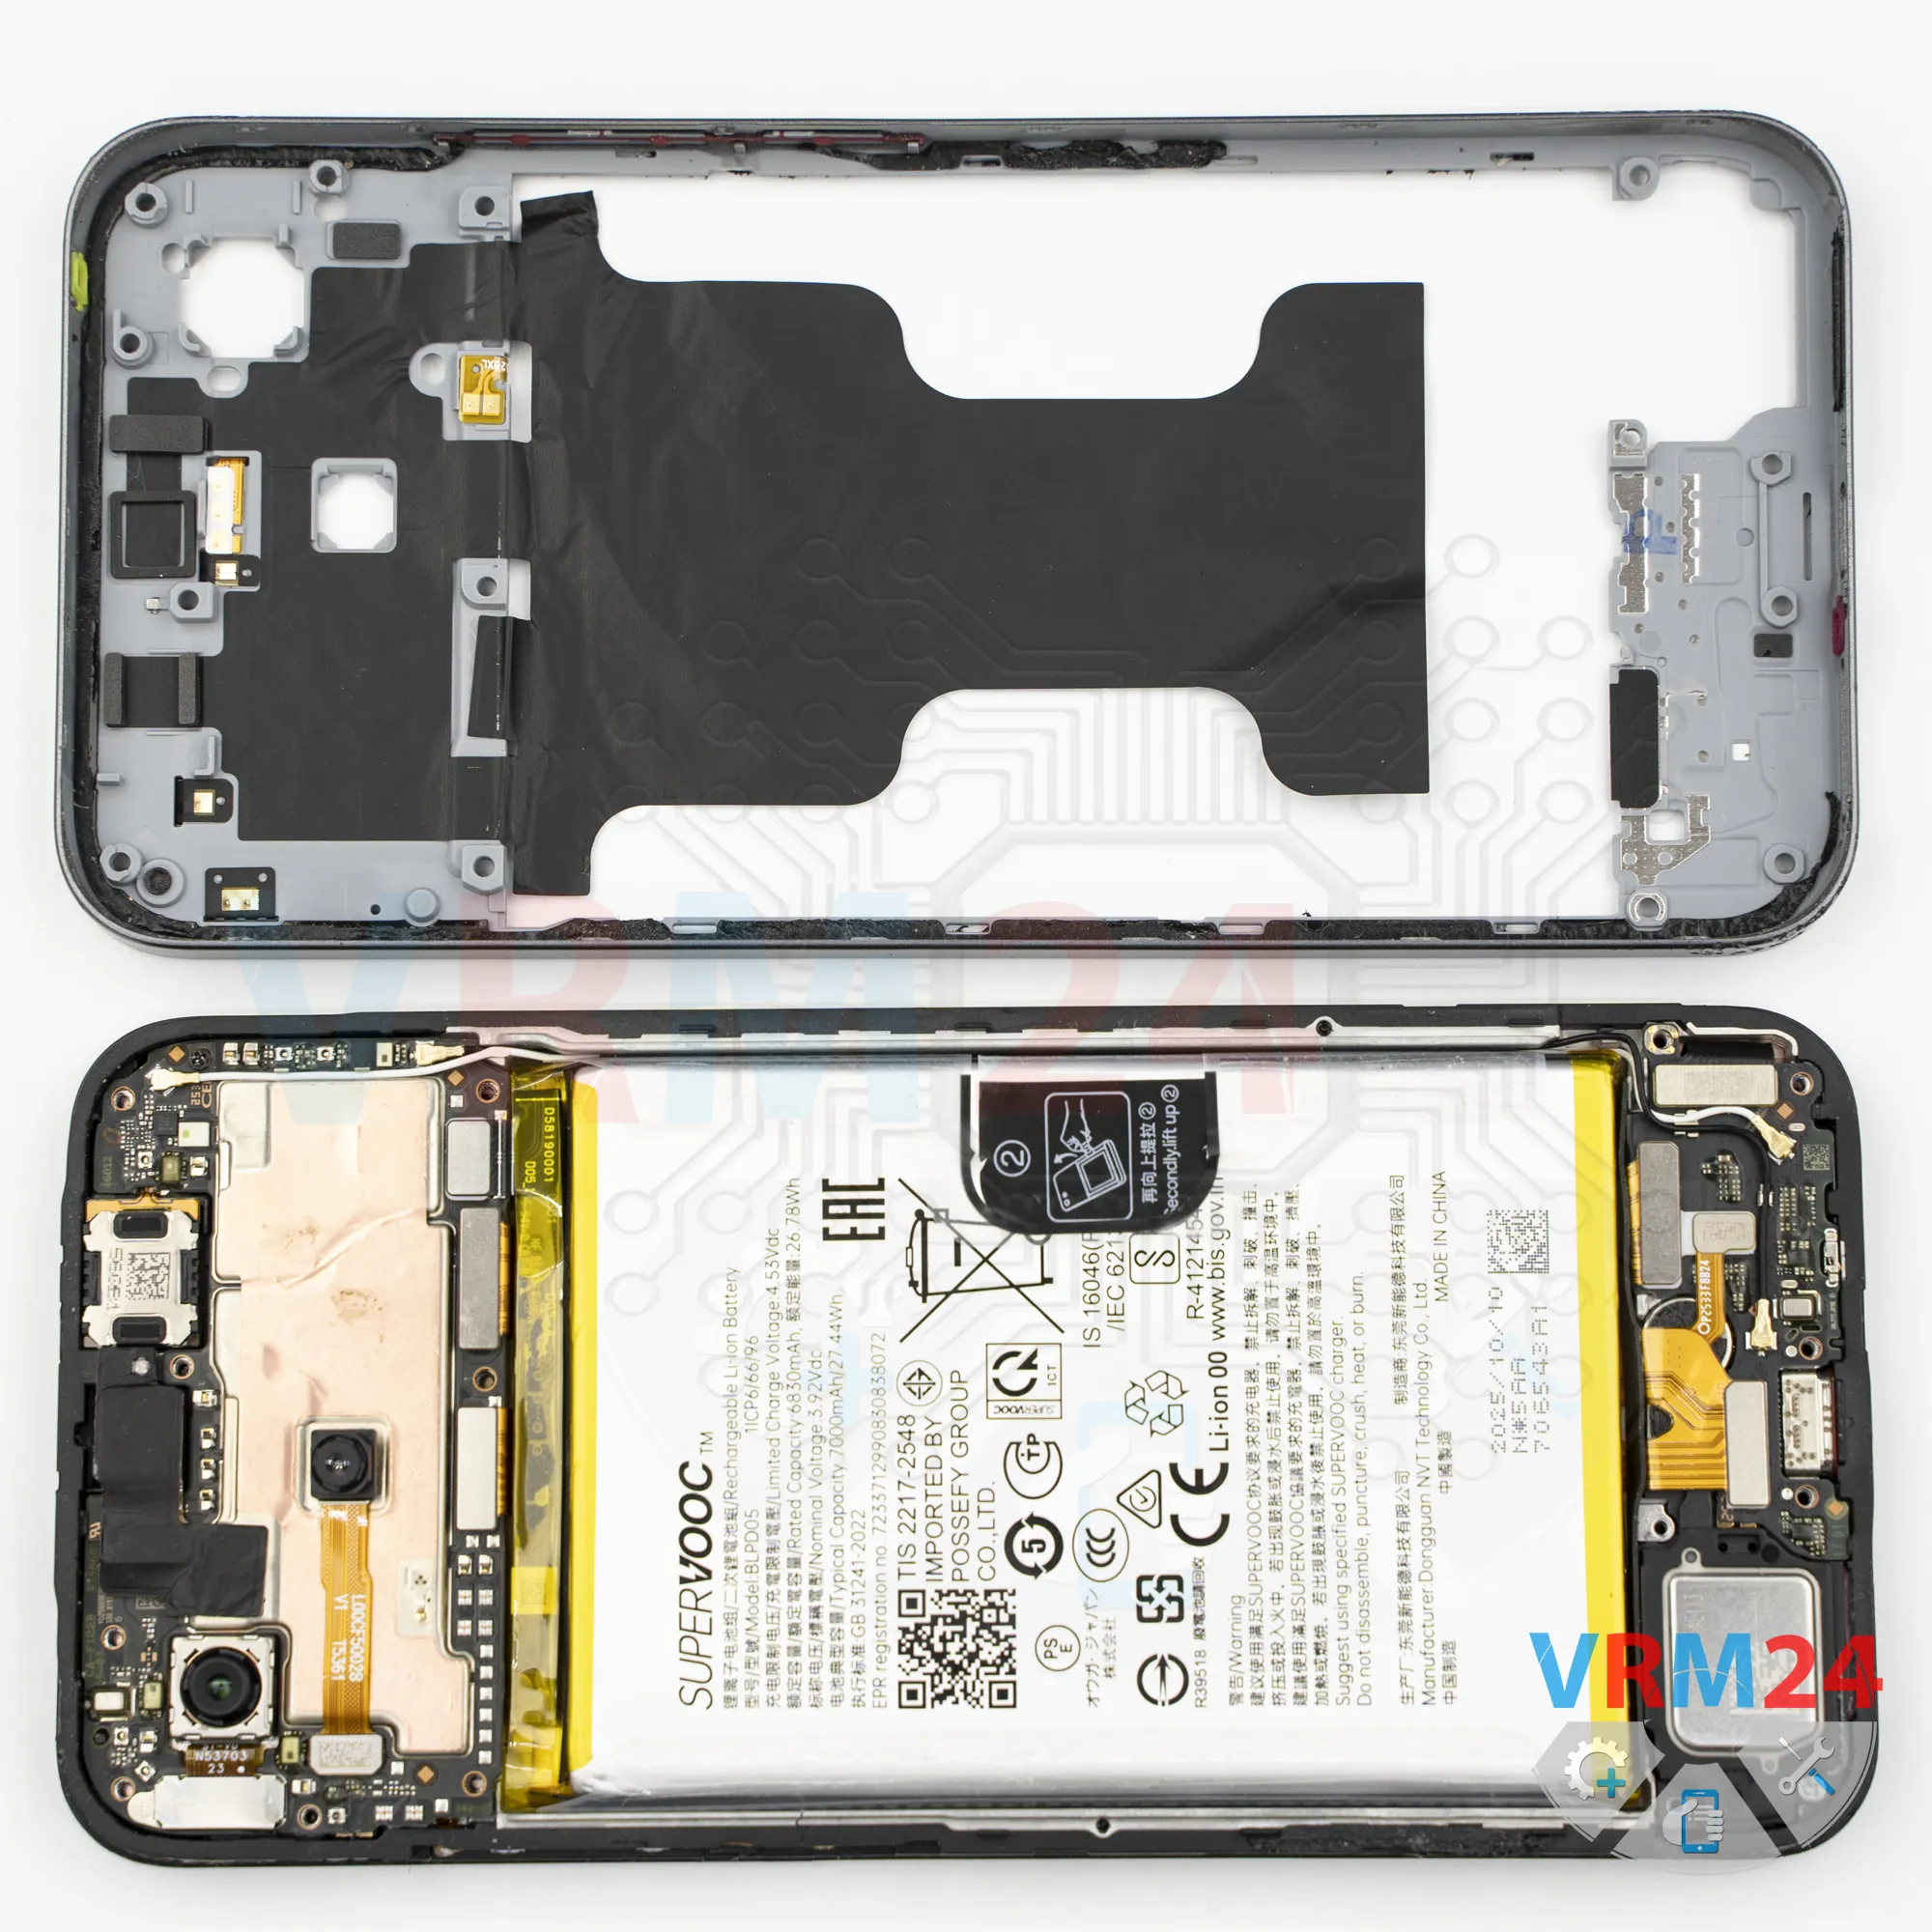
Step 6. Open the mid-frame
Double-check that none (screws) were missed, and then we can move on to removing the midframe.
It's best to start with a thin plastic film.
Insert it into the gap between the display frame and the midframe cover, release a few clips, and then switch to a thicker plastic opening tool.
Keep in mind that on this model the midframe is also secured with adhesive, so it needs to be removed carefully. You'll notice some extra resistance while separating it.
Don't force it. Carefully work the cover loose, peeling away the adhesive. Pay attention to what's underneath, and make sure there aren't any hidden screws. That's really important.
Don't insert the film or the tool too deeply, since we don't know exactly what components are located underneath the midframe cover.
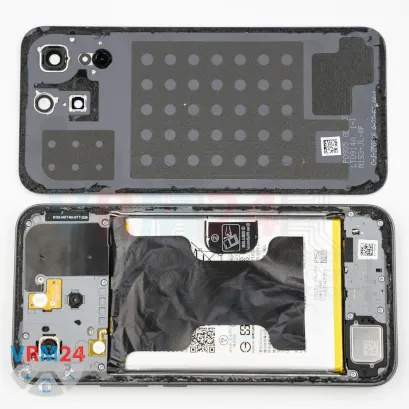
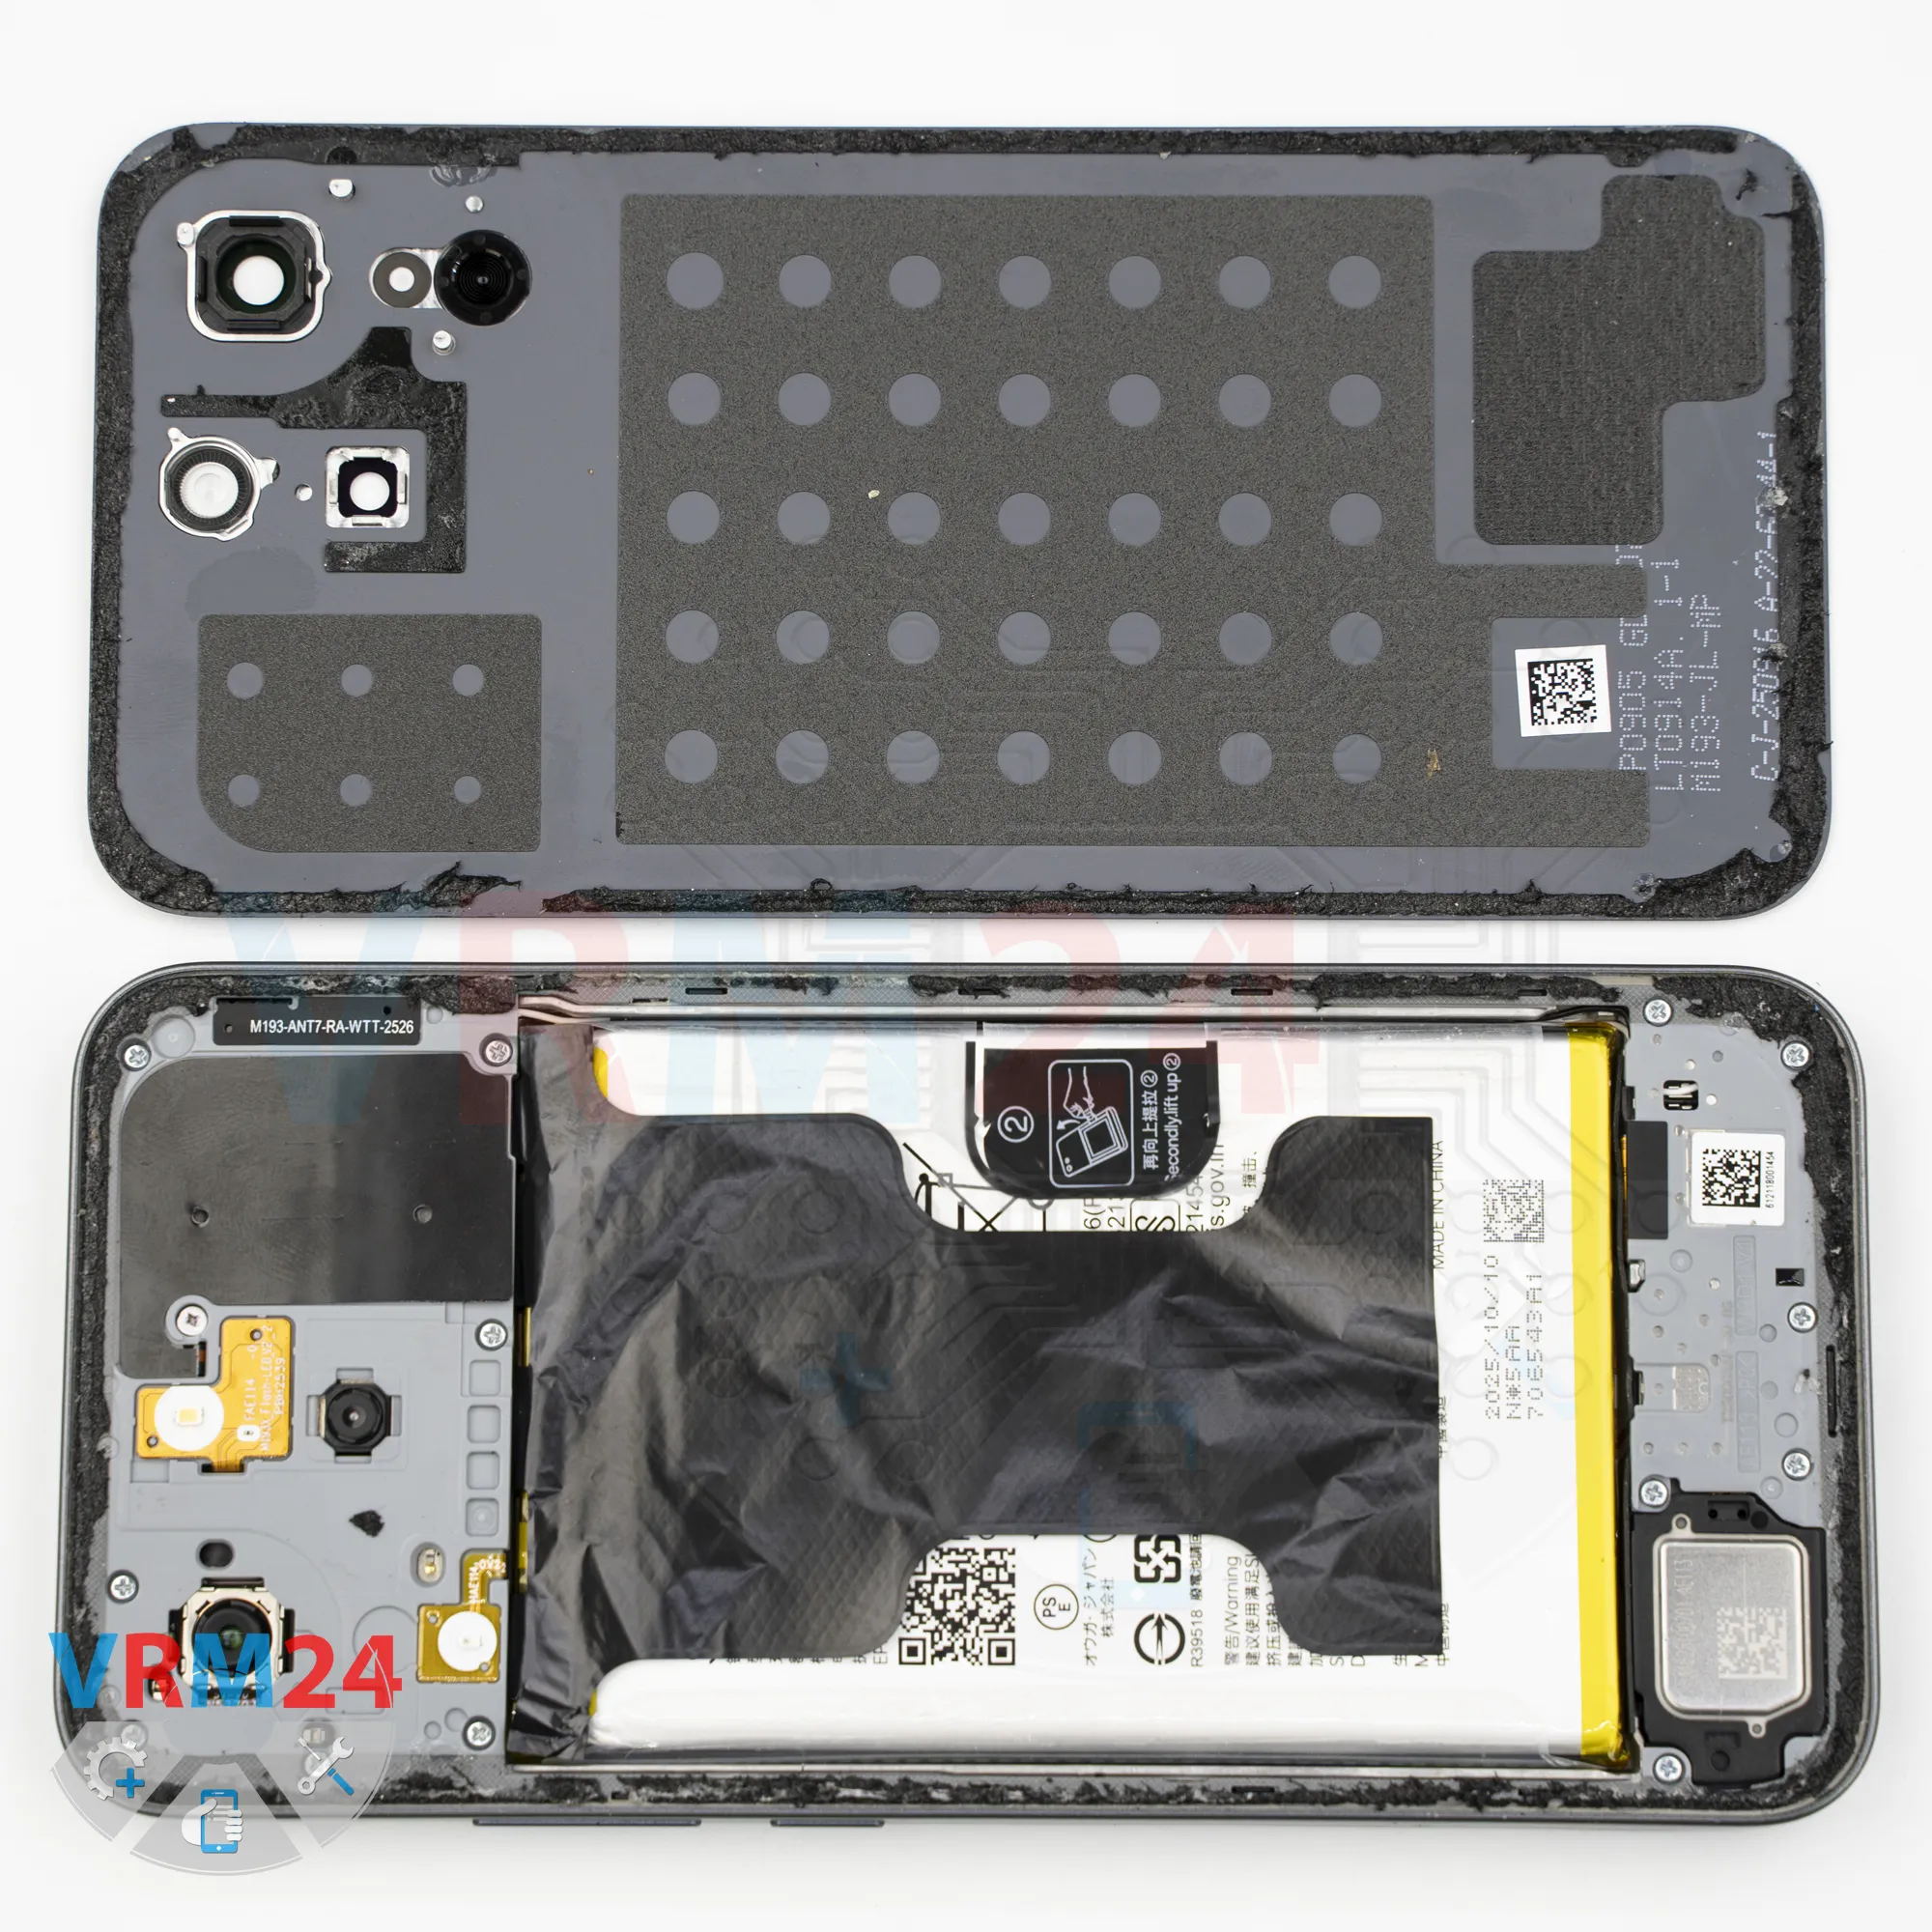
Eventually, the cover comes free. Turn it over, and we'll see the contact pads, antenna traces, and the side button assembly attached to it.
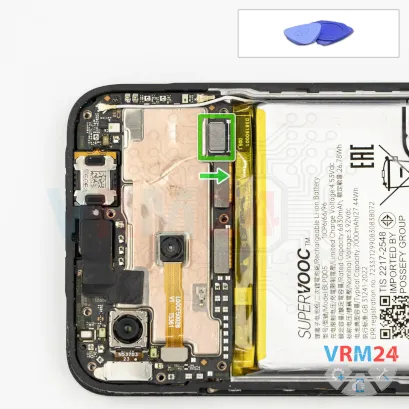


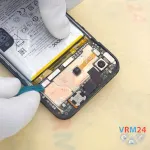
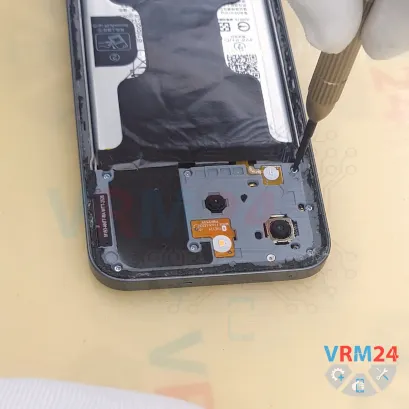
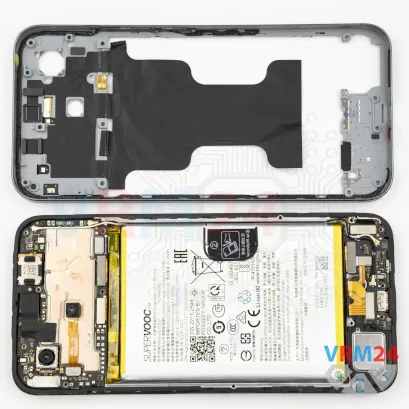
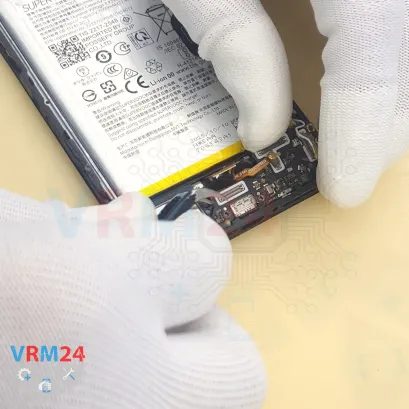
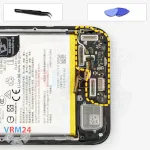
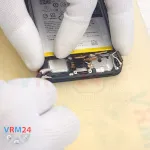
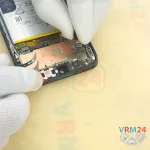
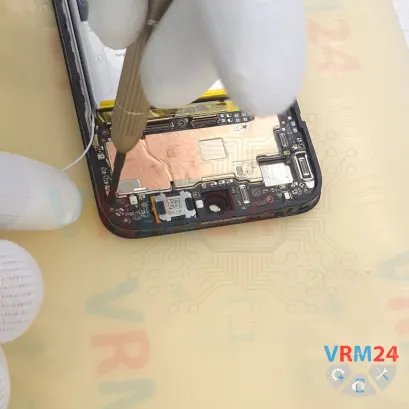
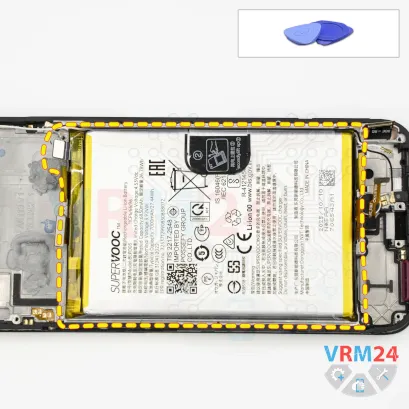
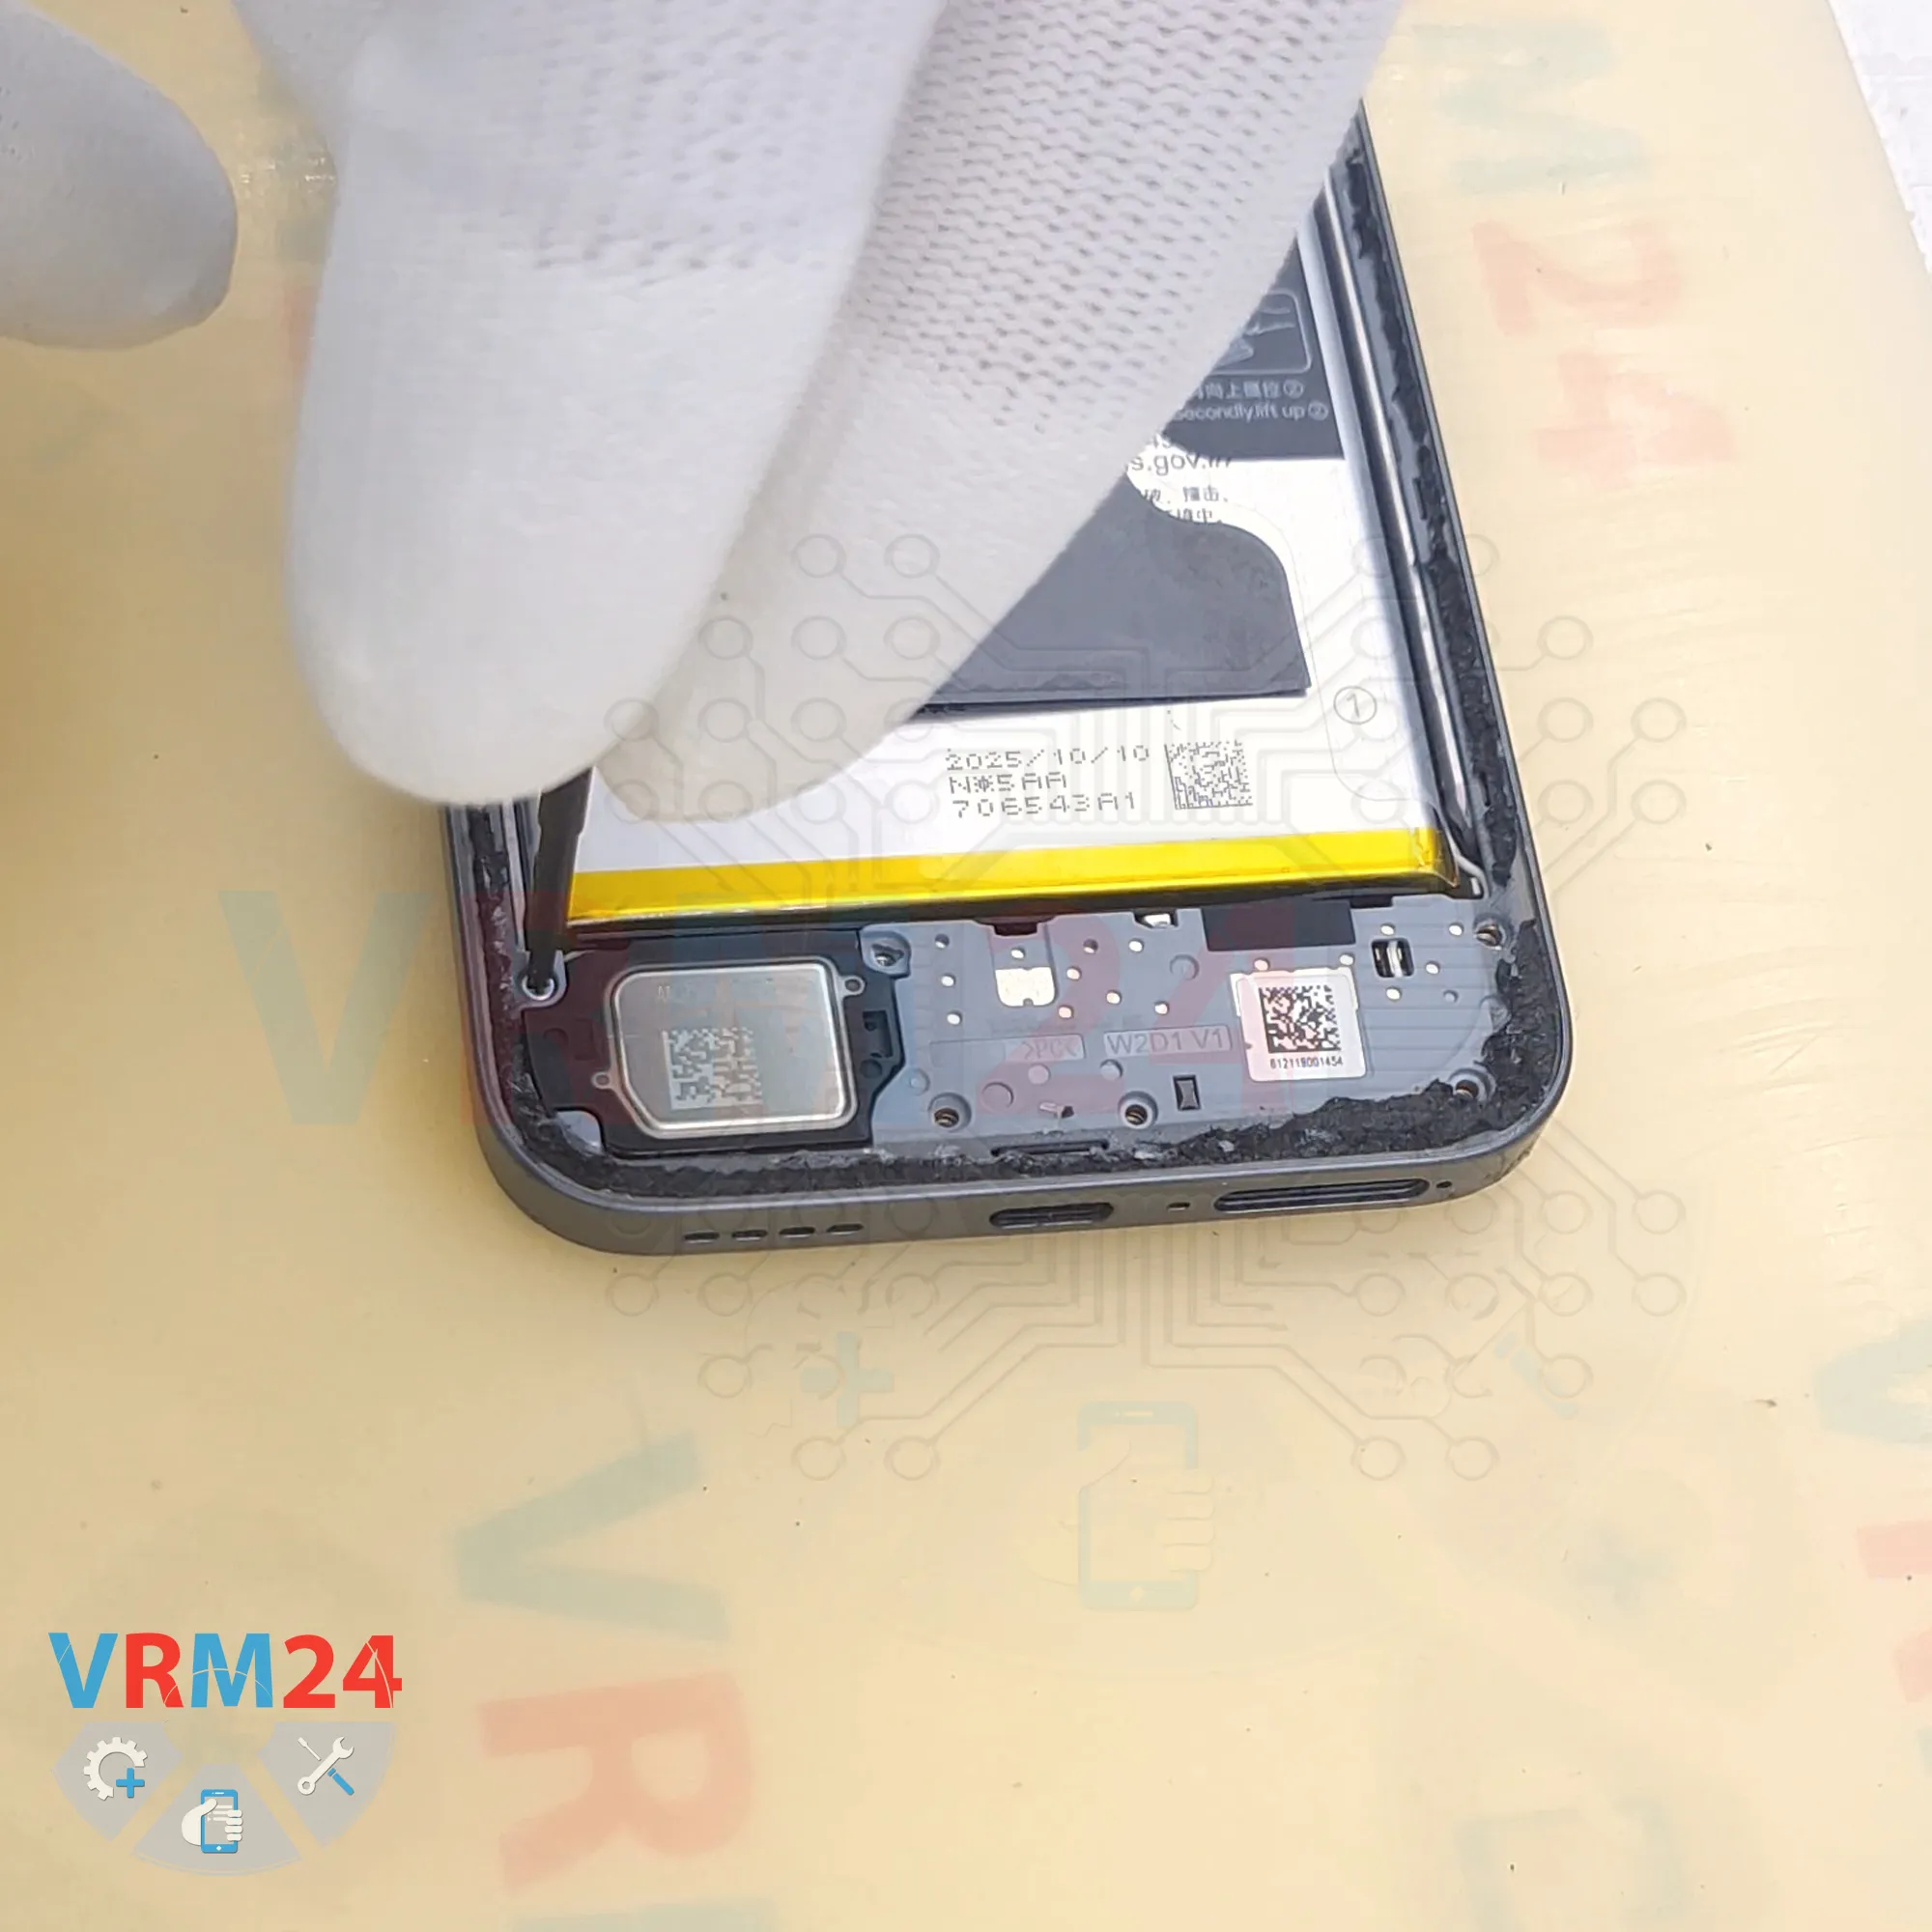
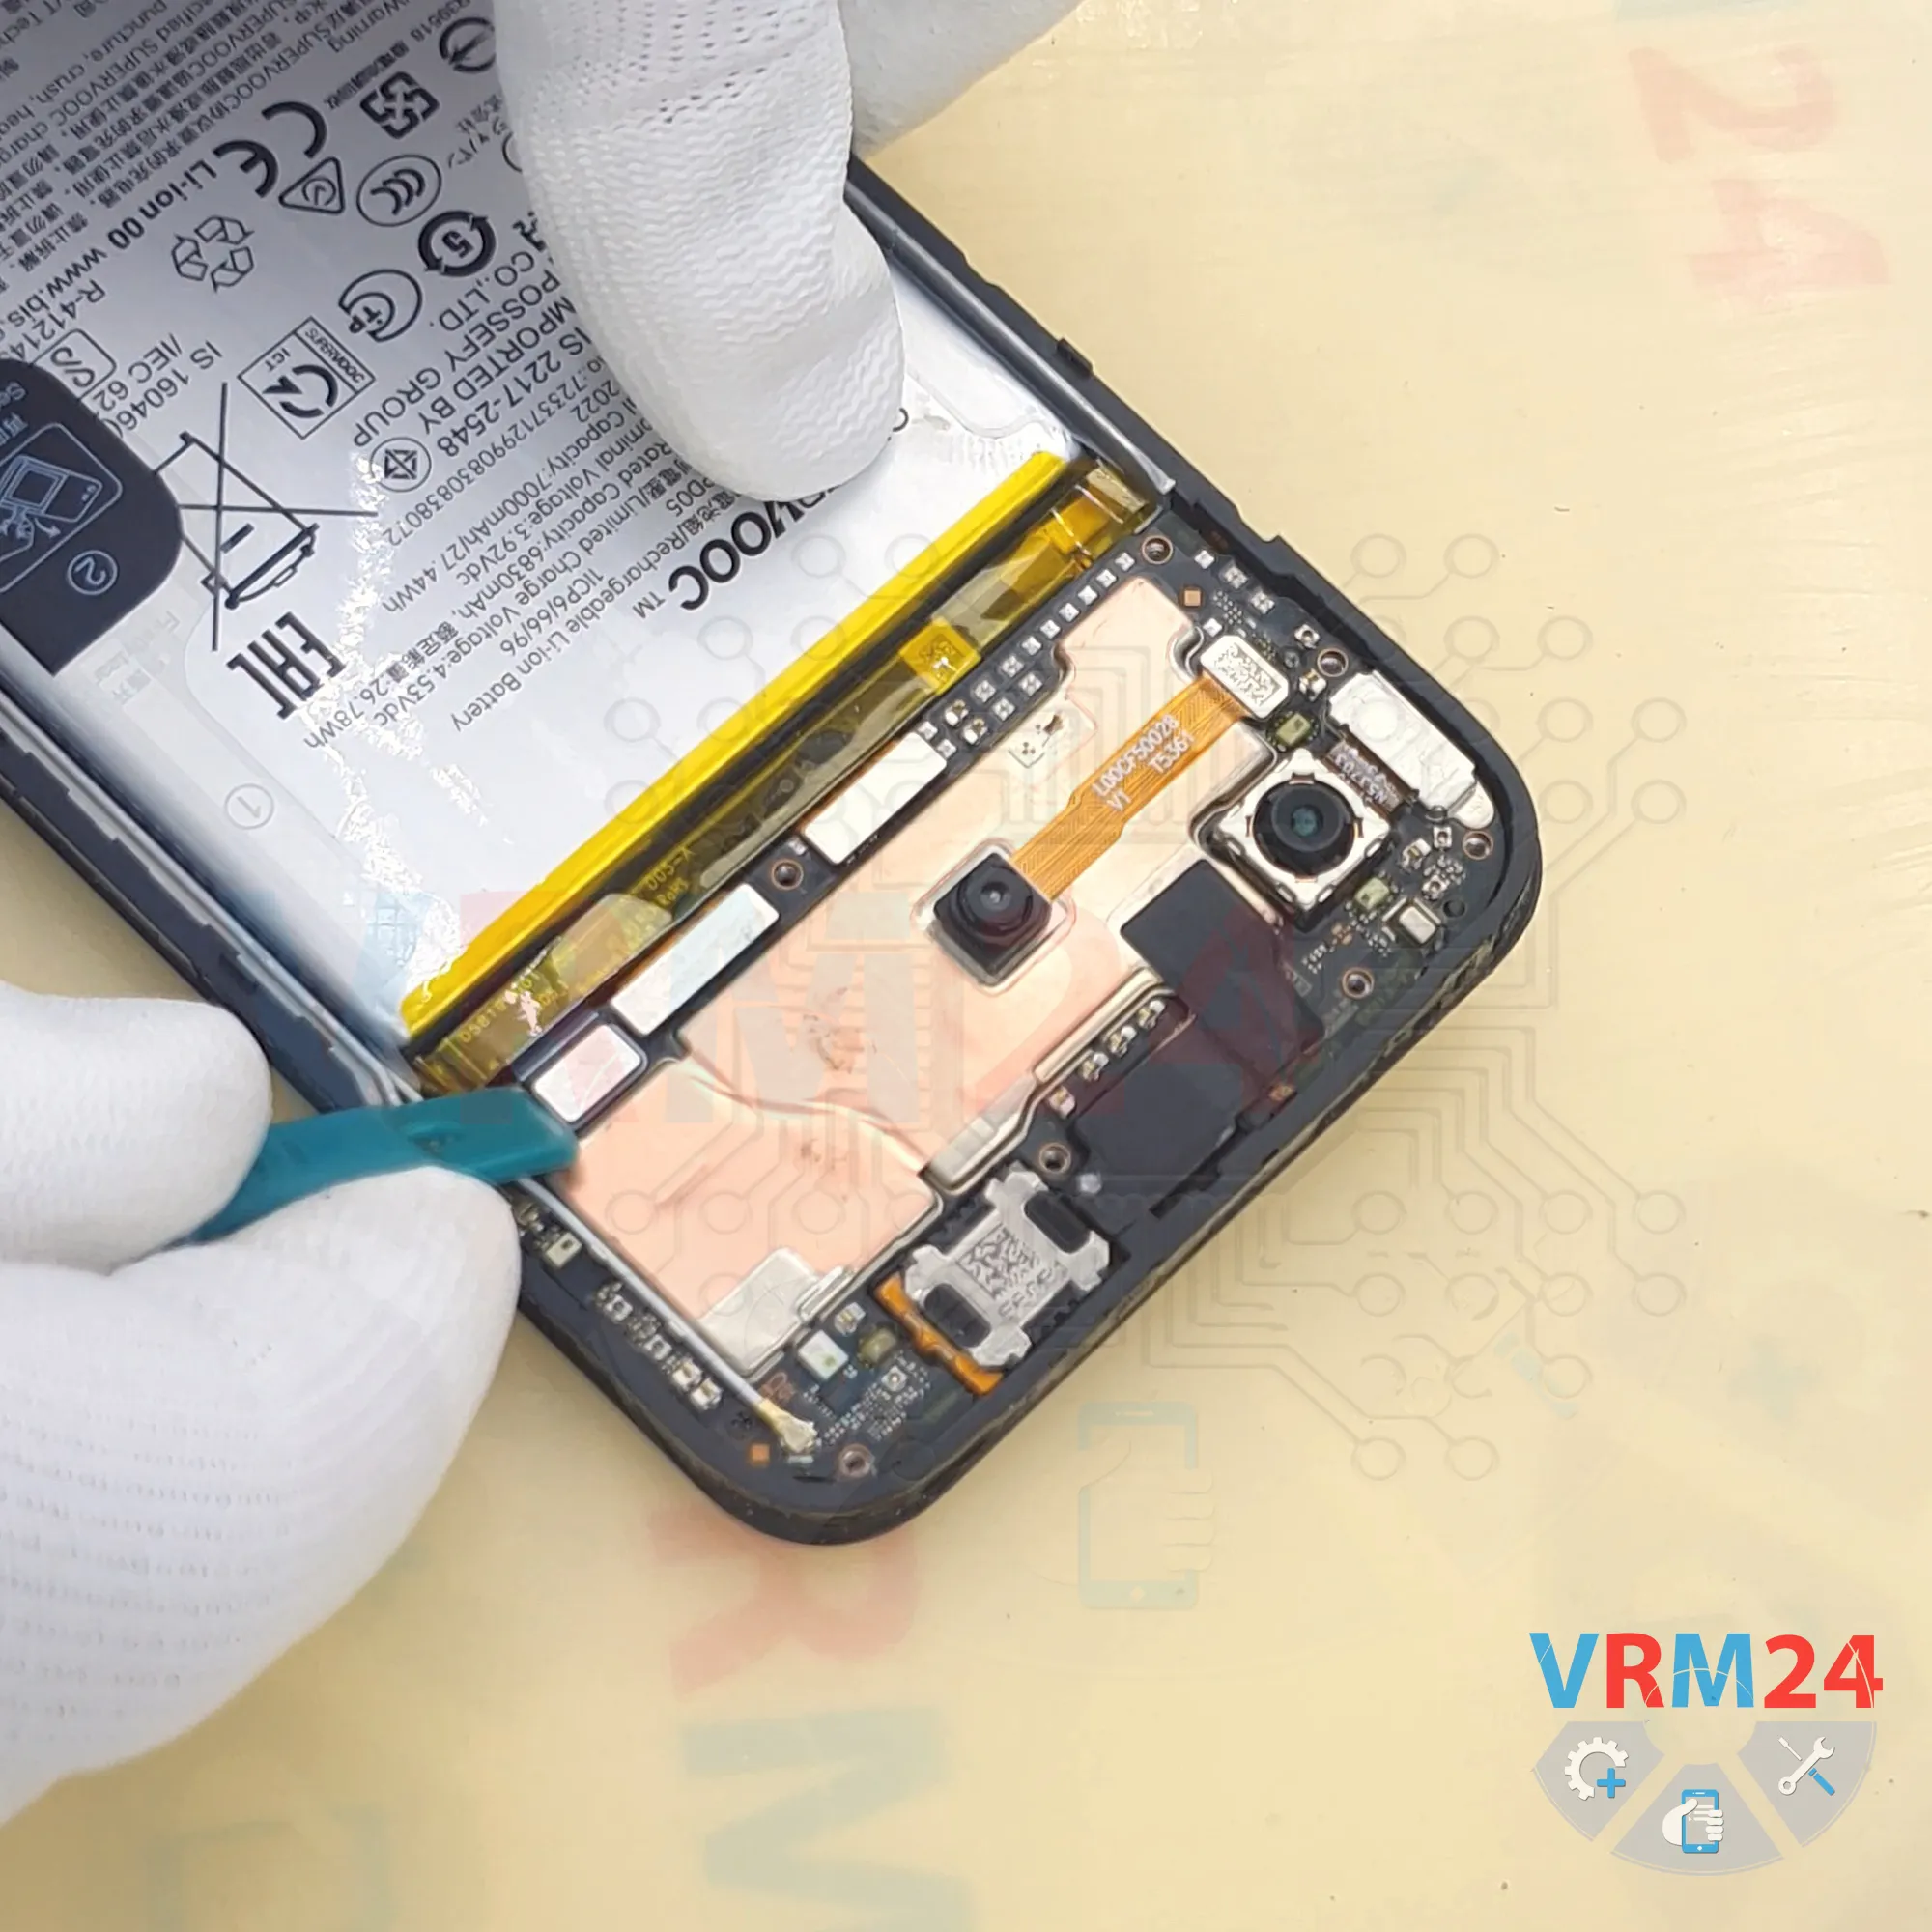
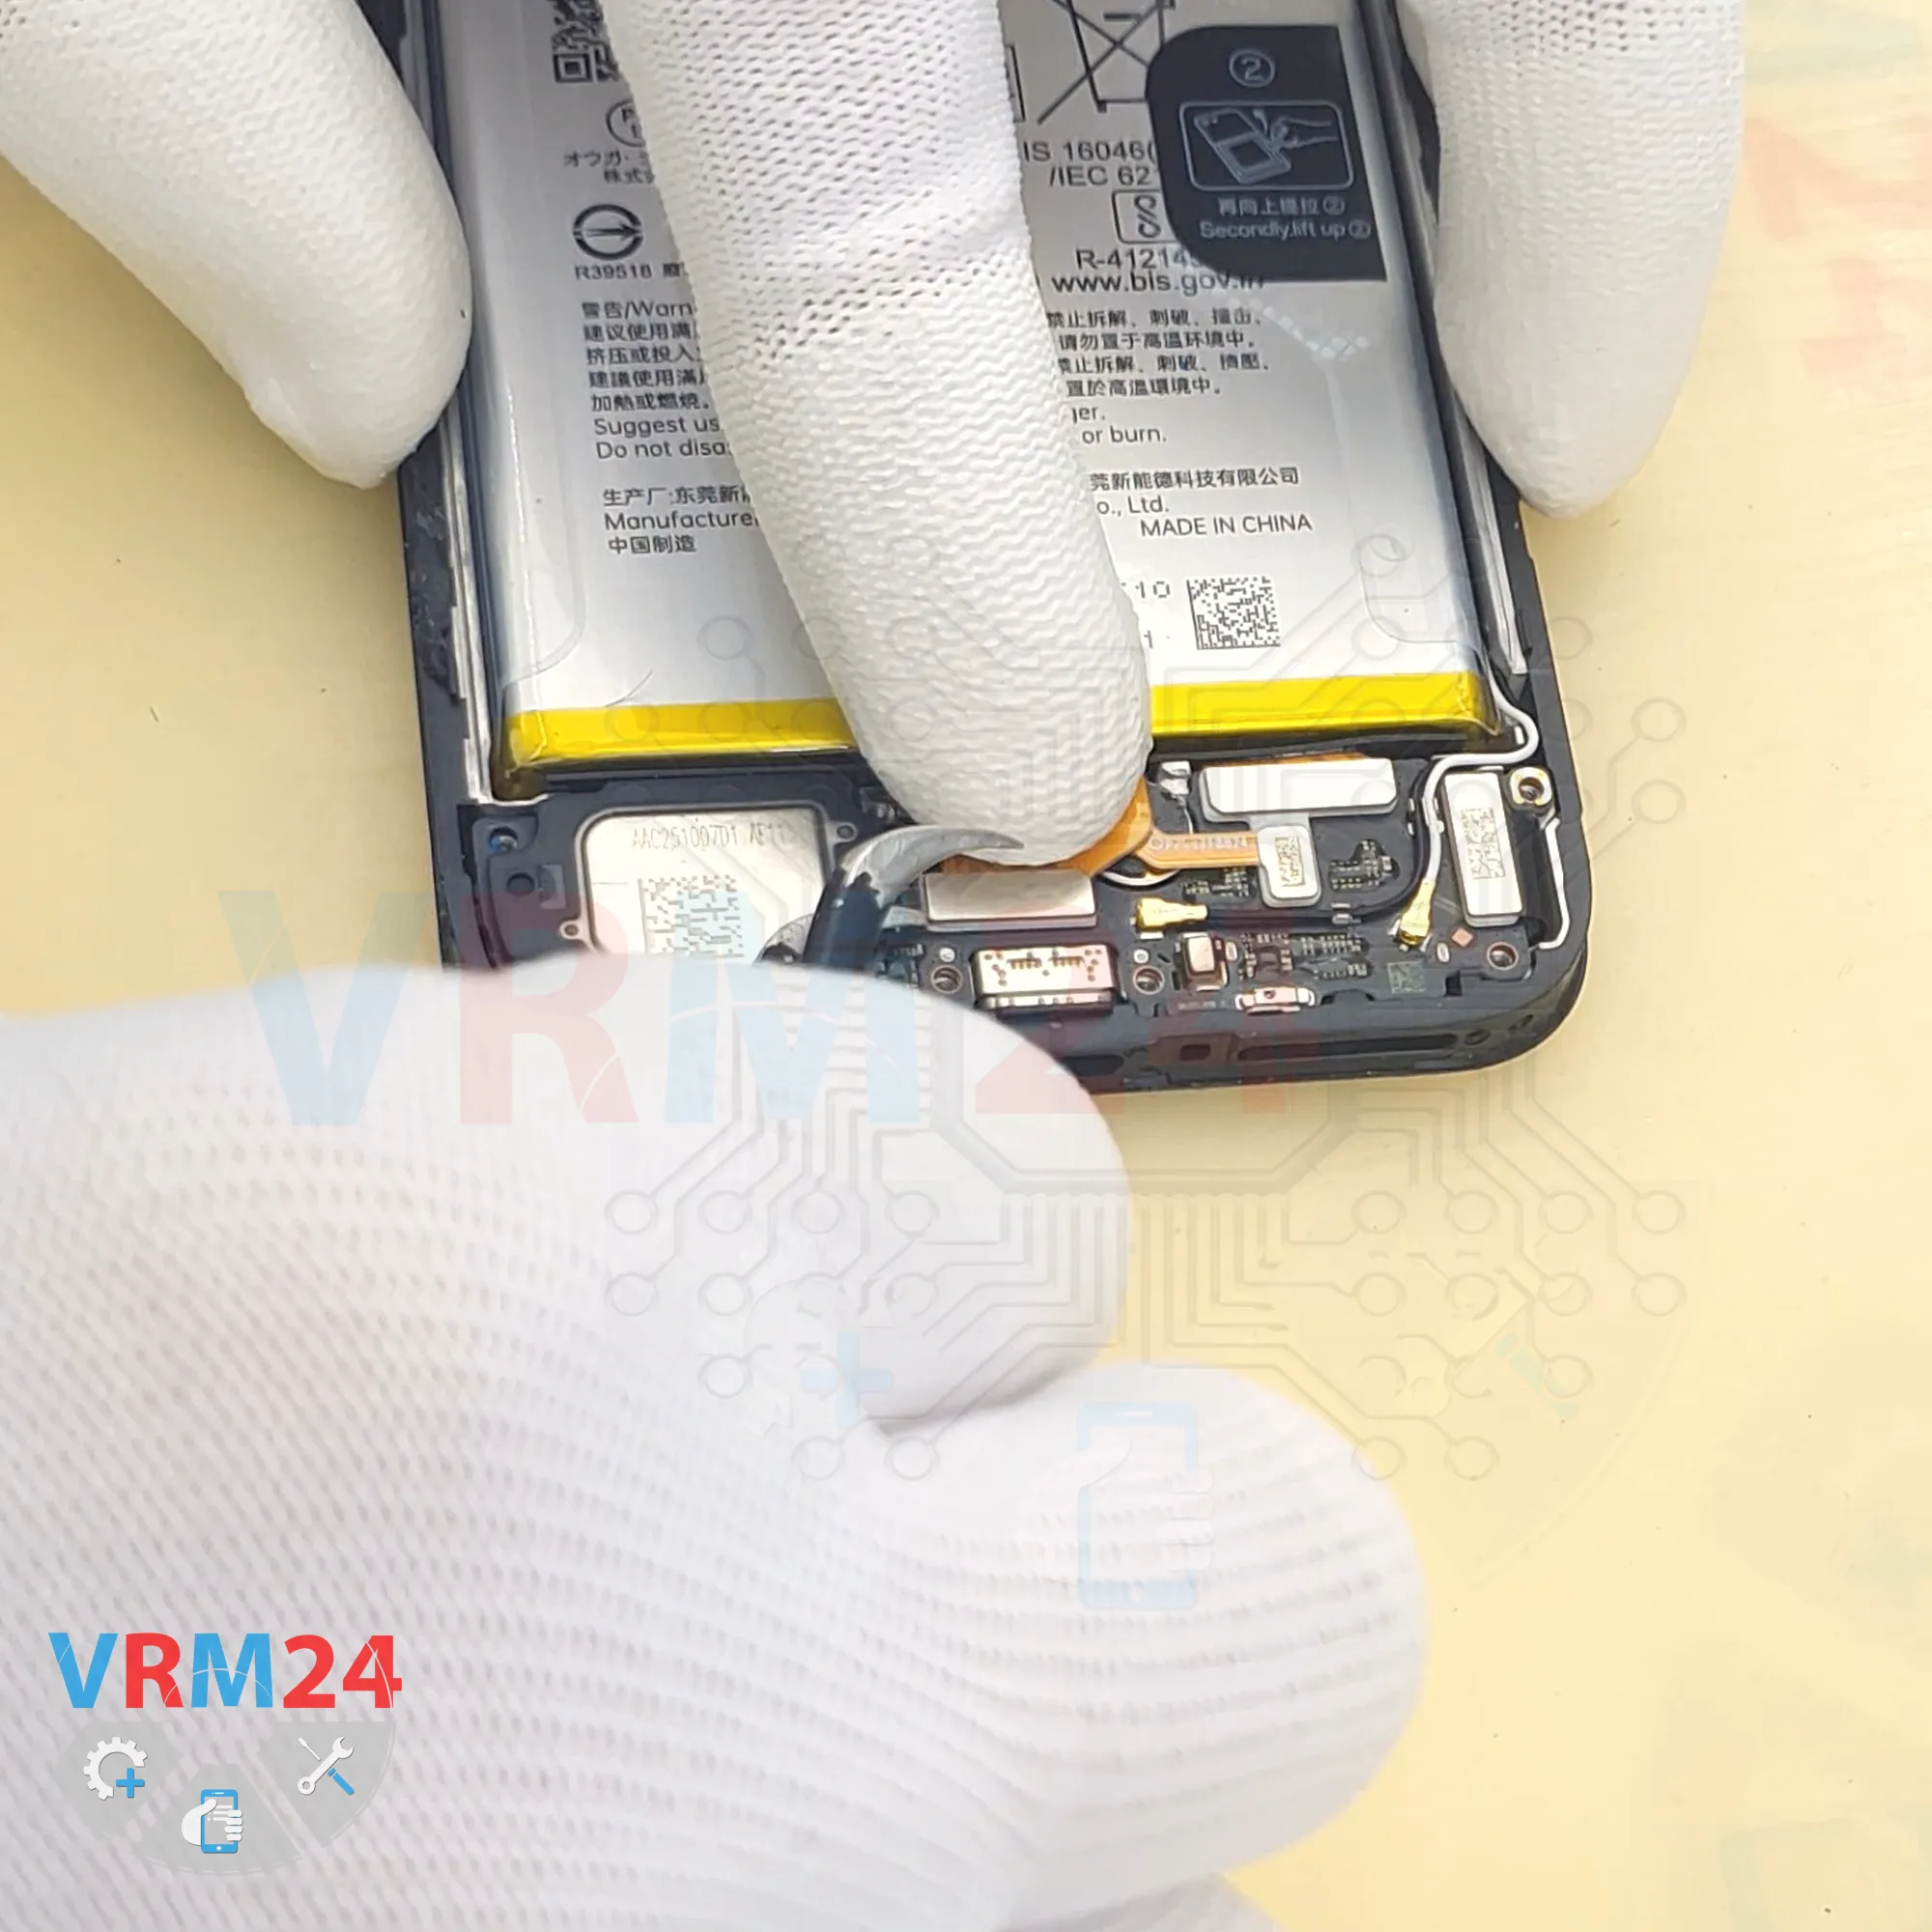
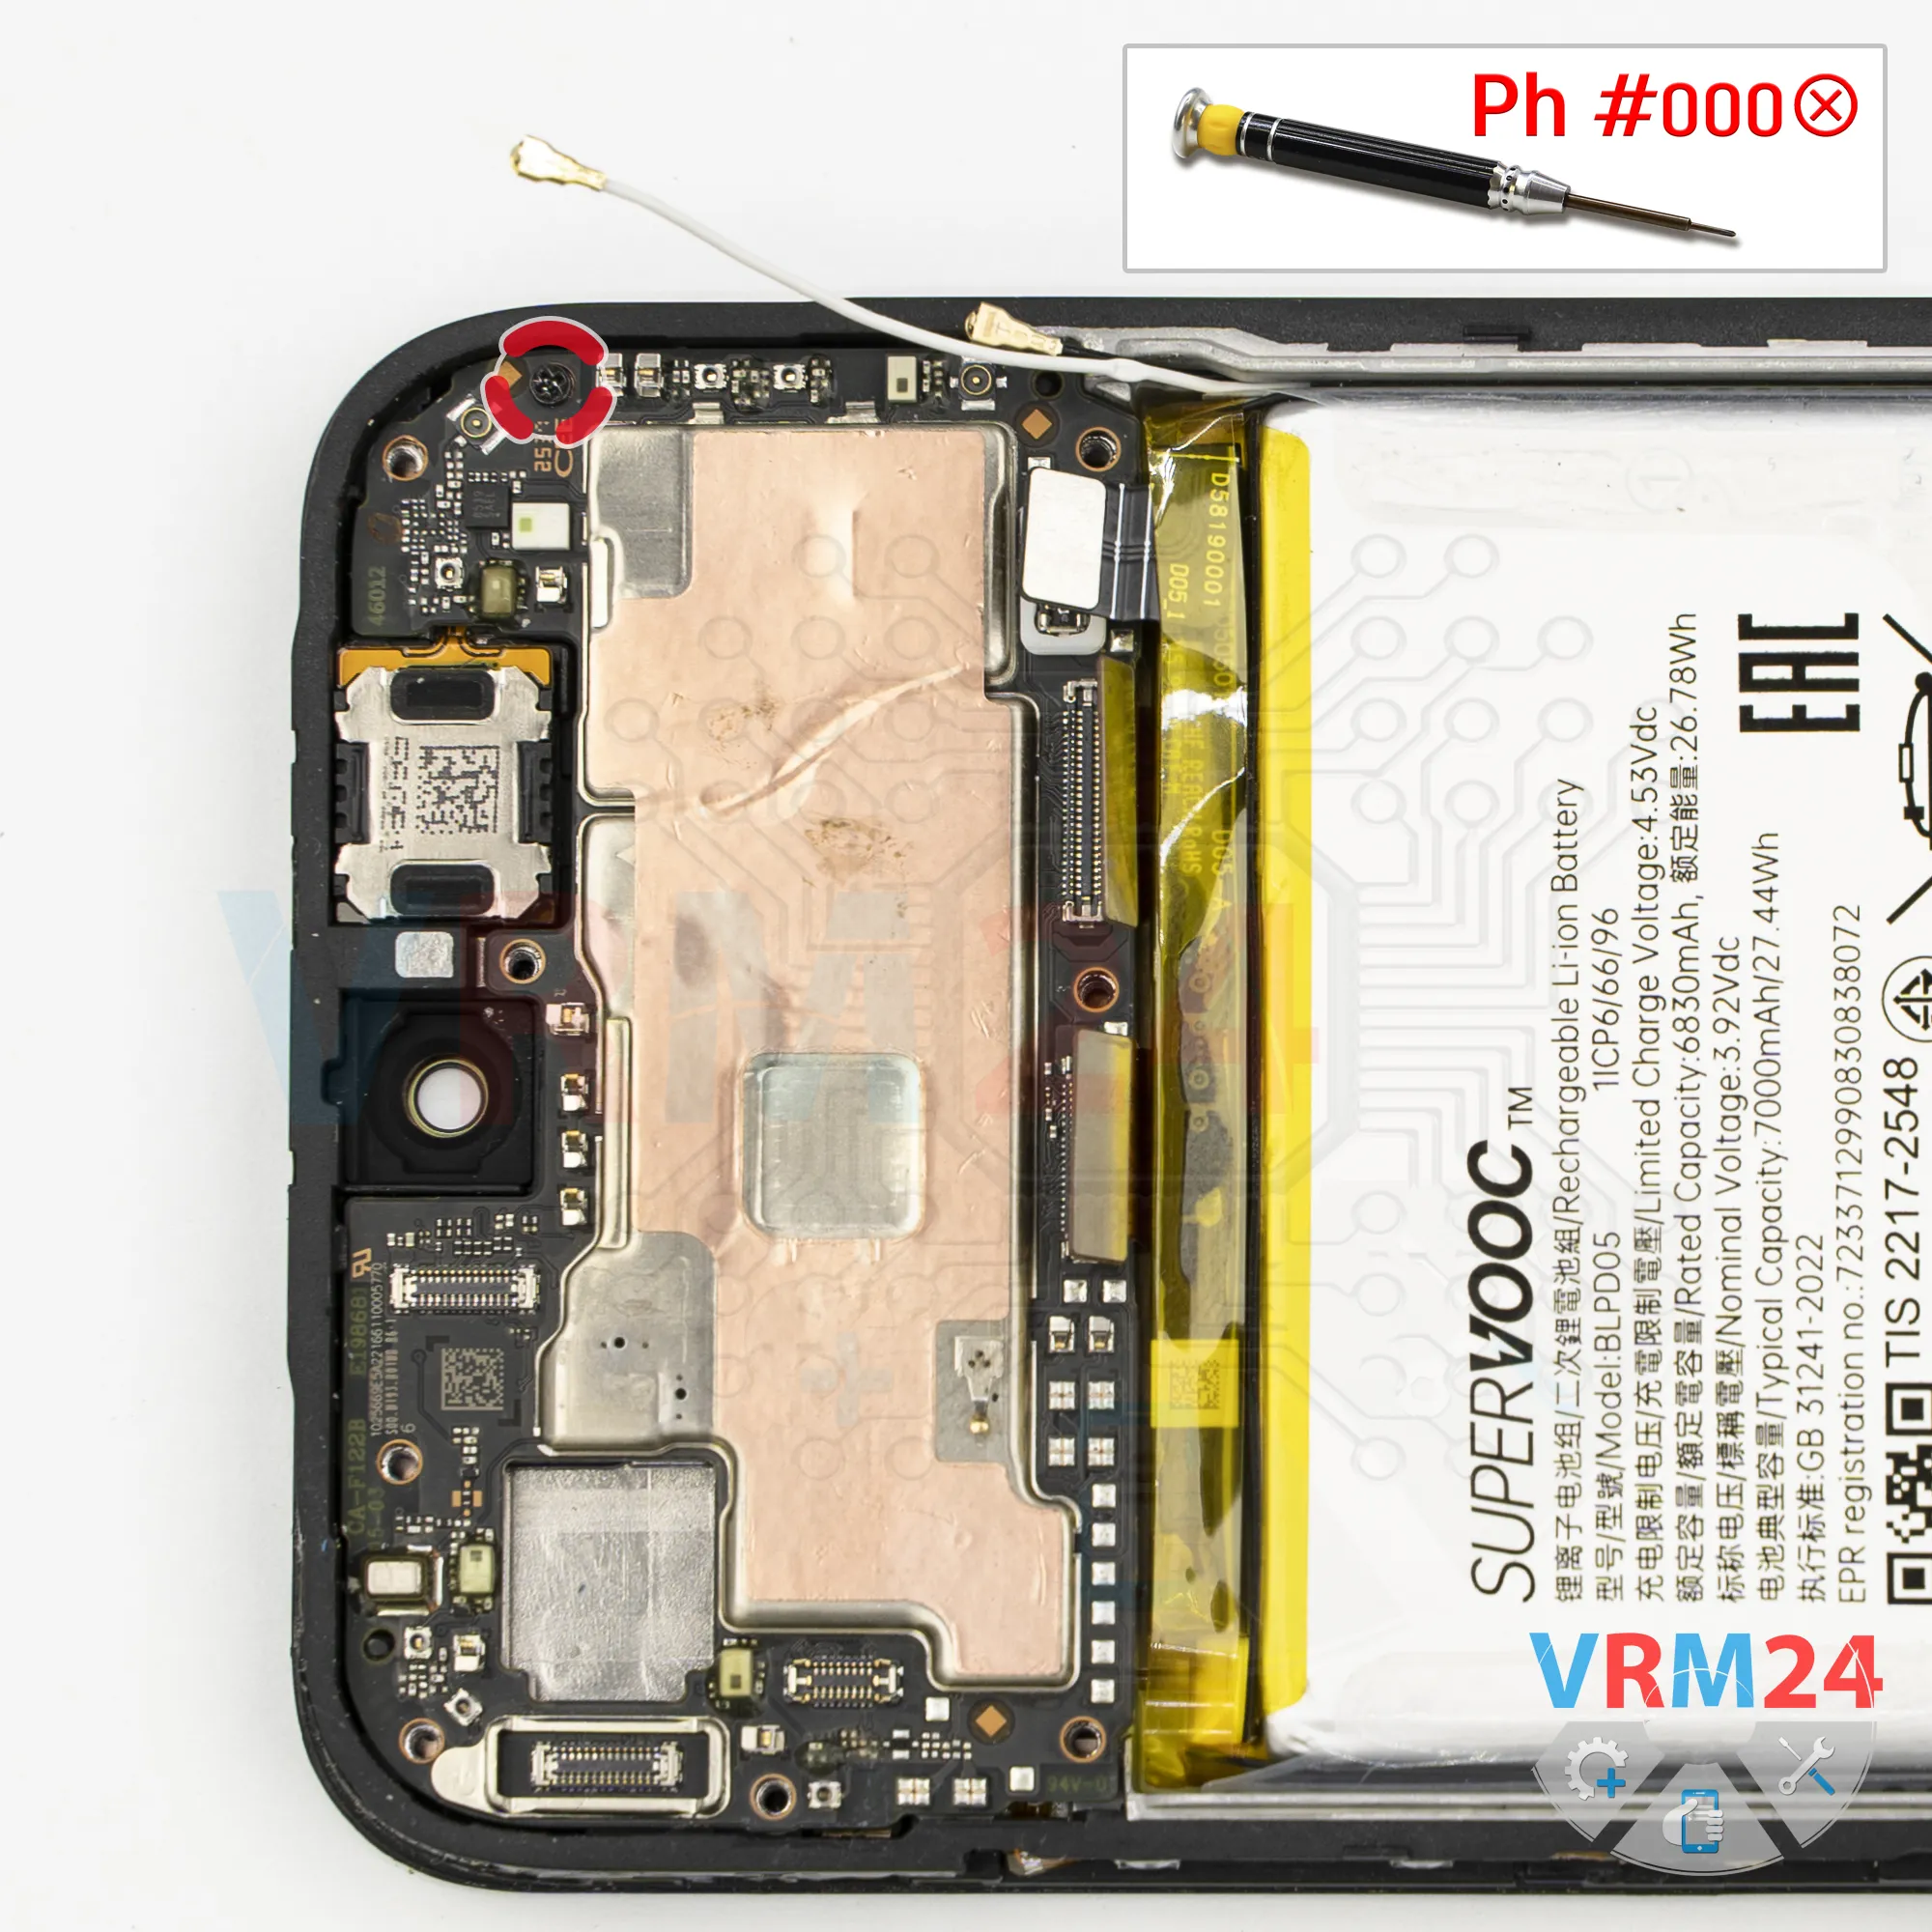
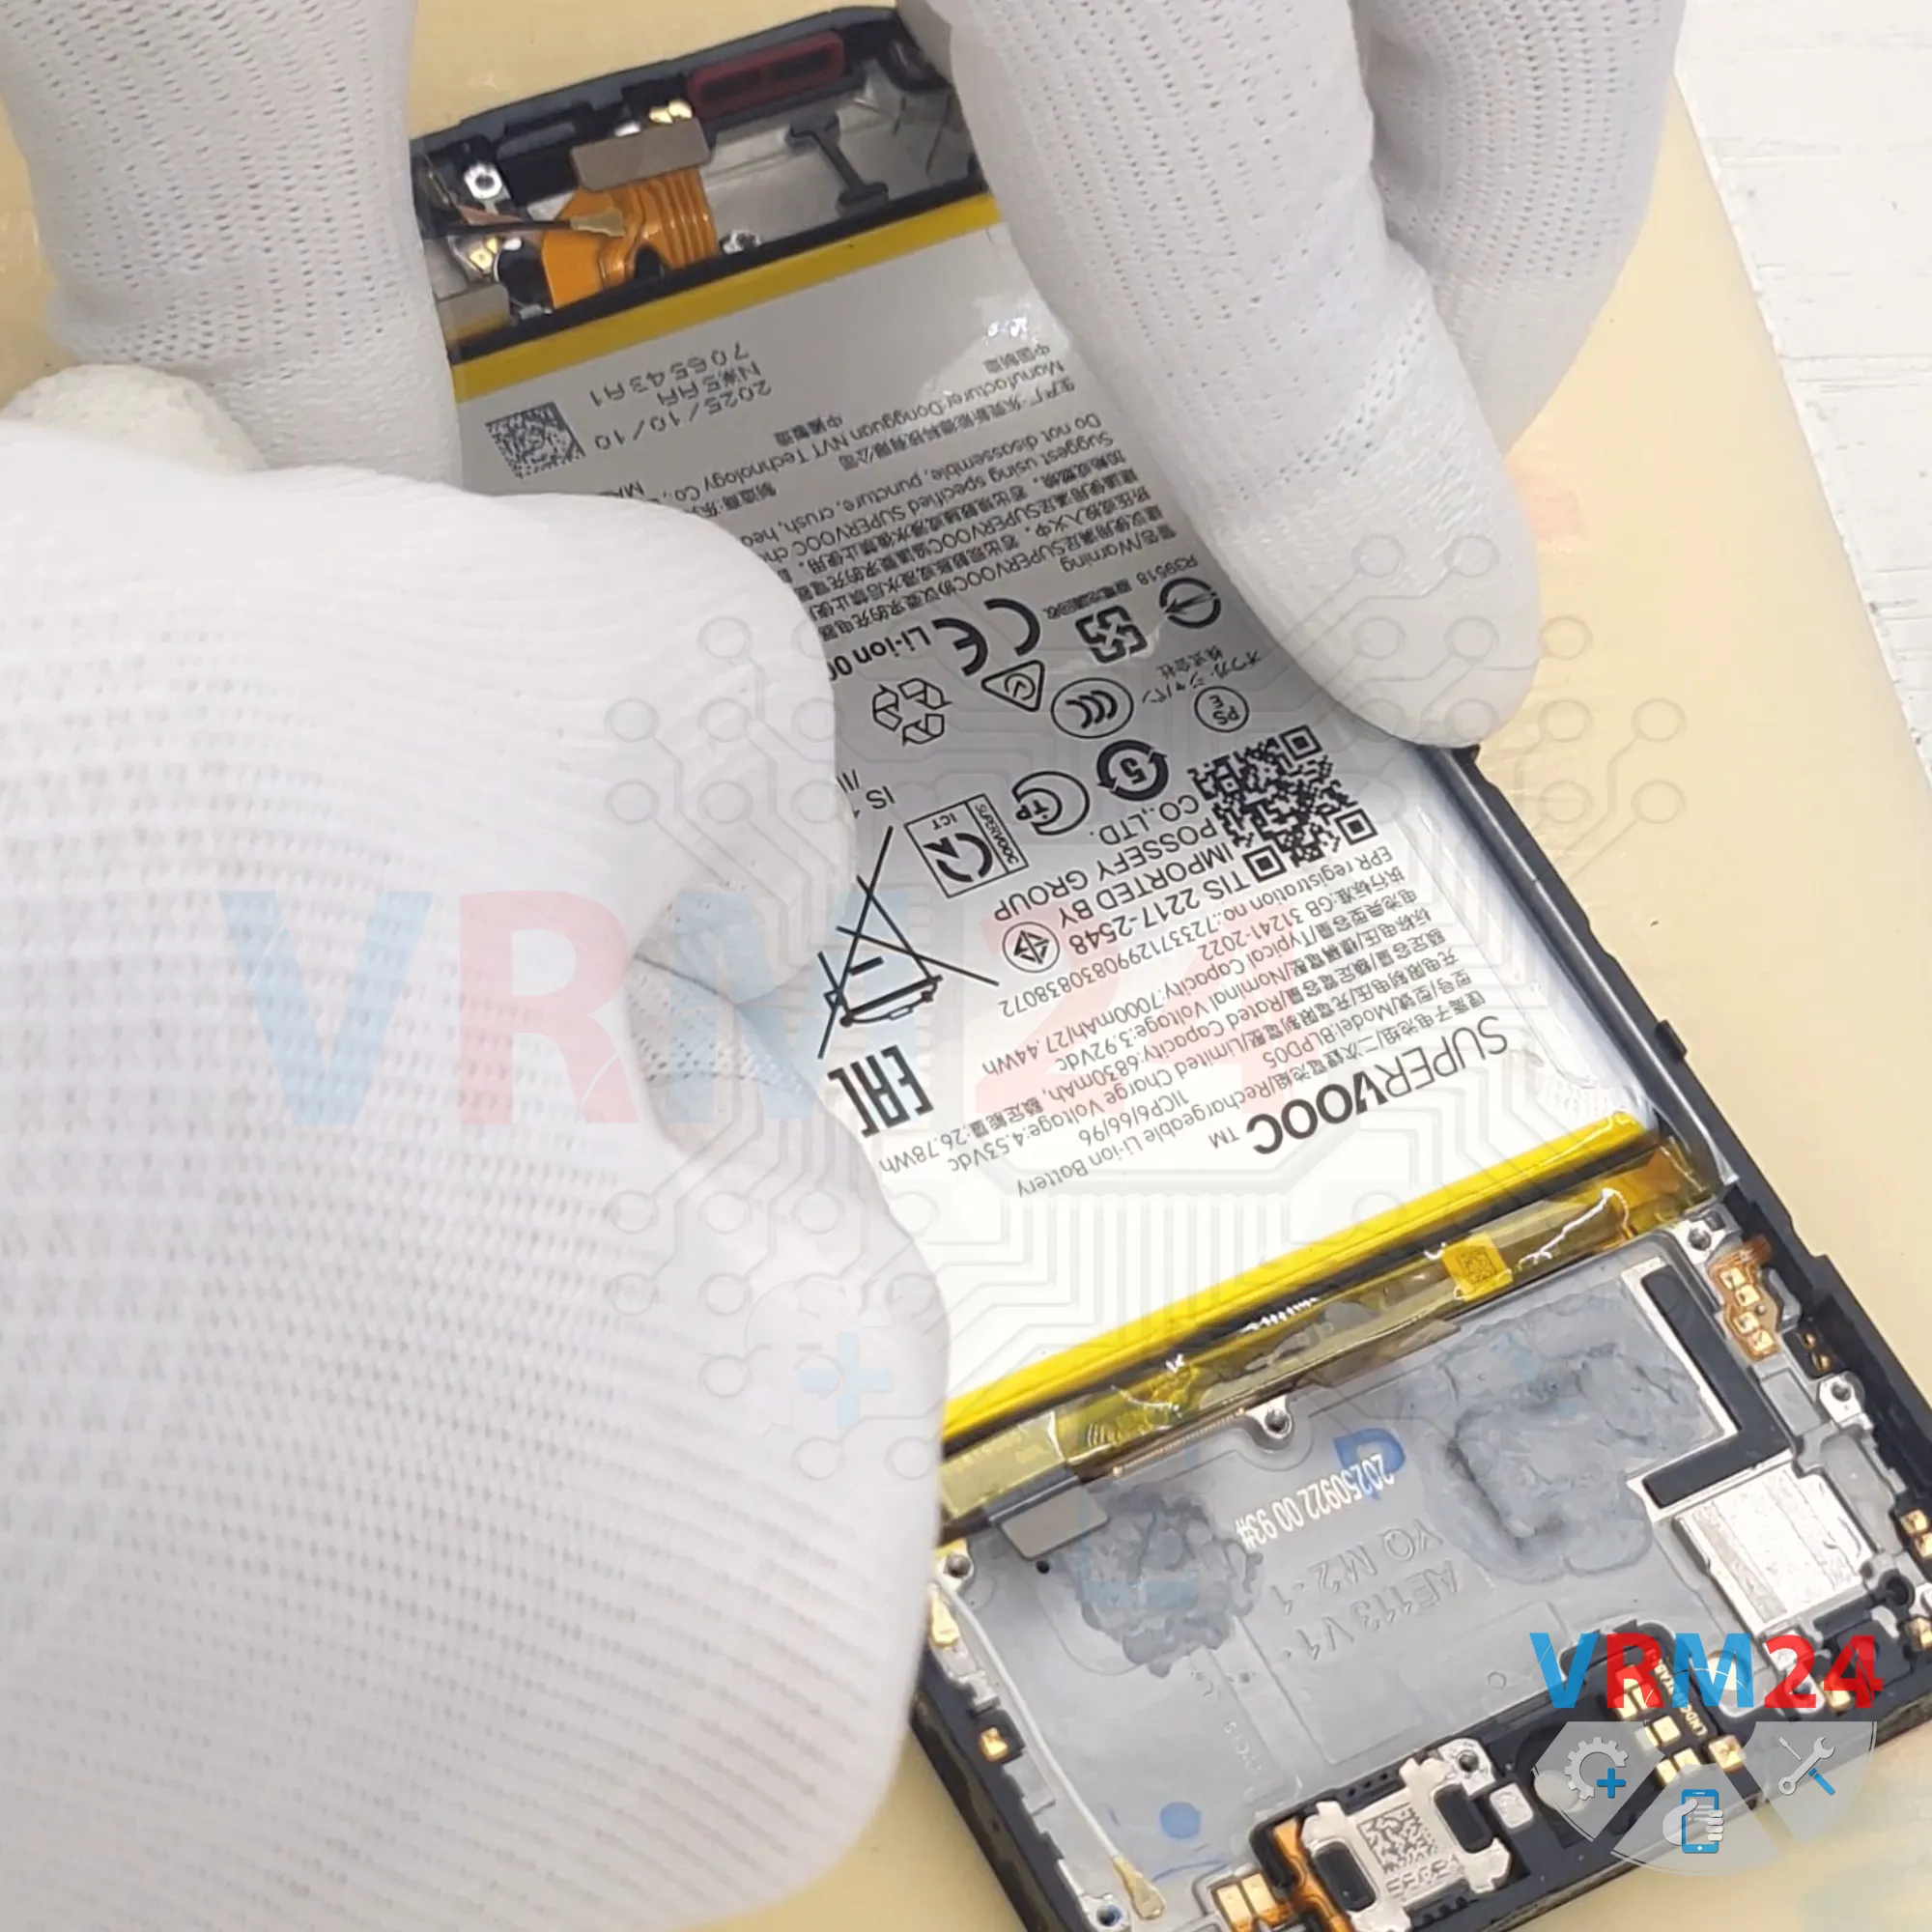
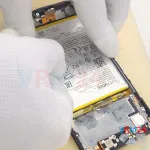
Step 7. Disconnect the battery connector
Next, use a non-metallic tool to disconnect the battery connector, then move on to the lower section.
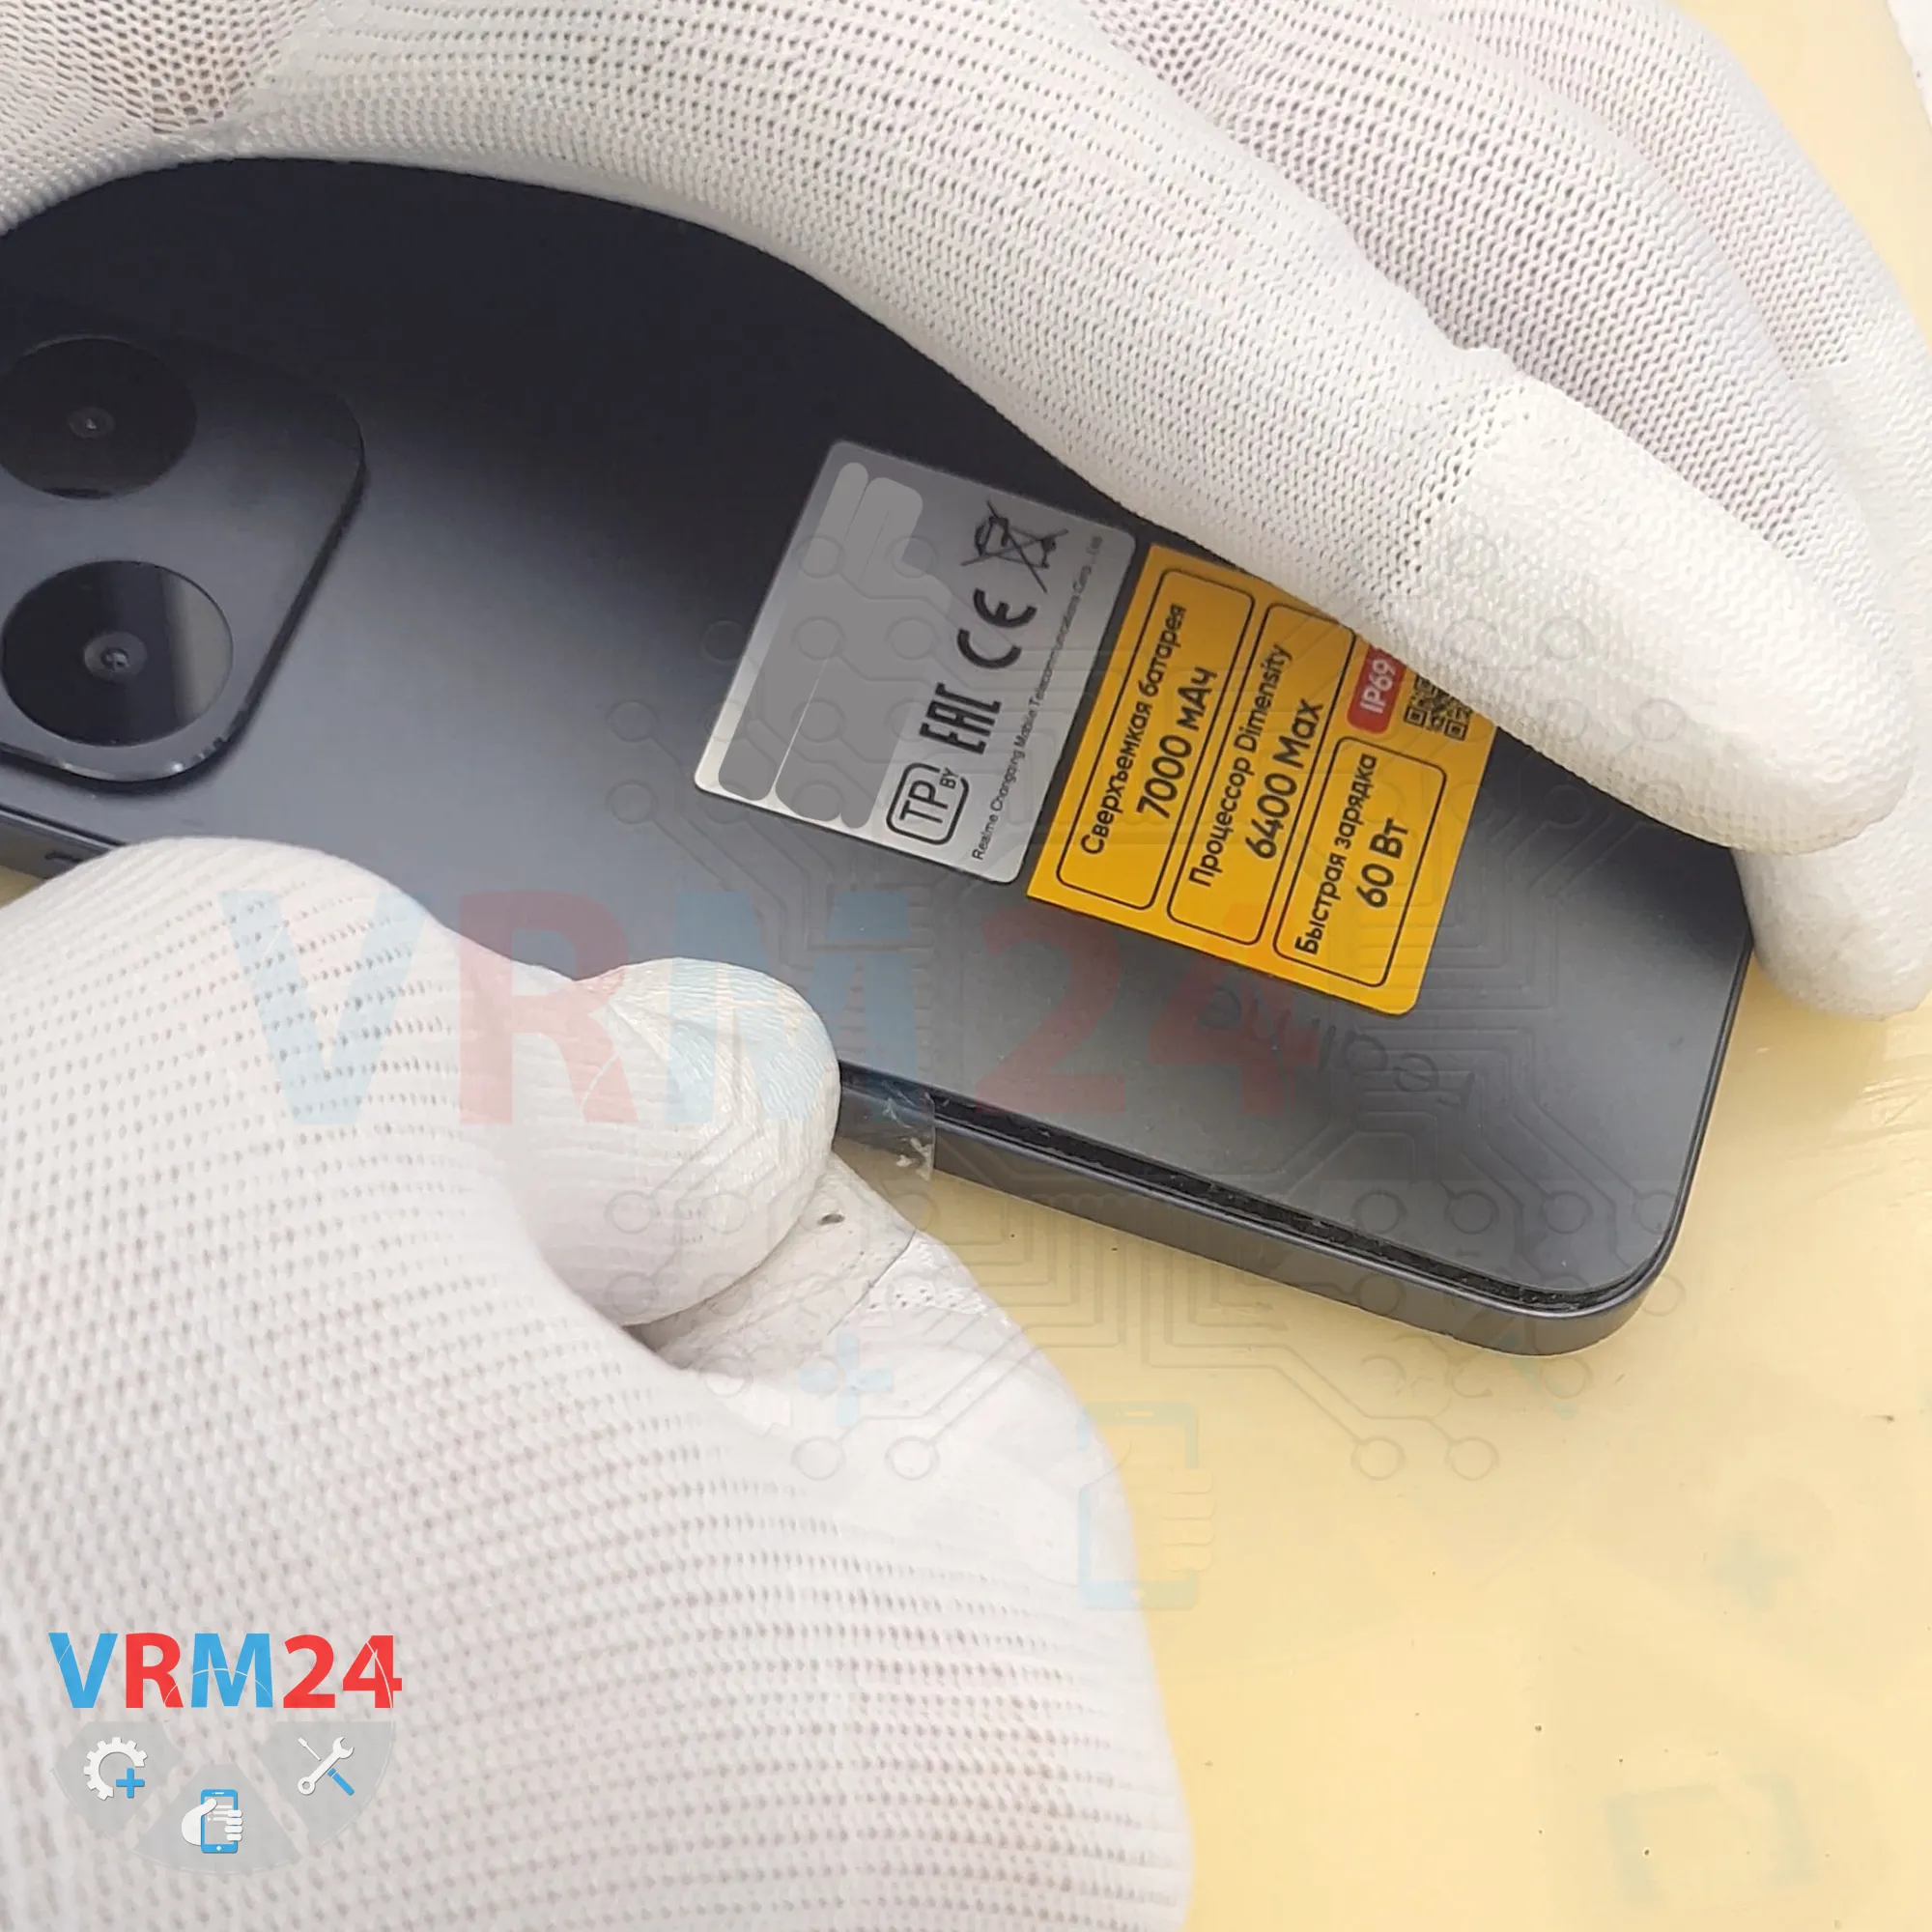
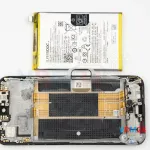
ℹ️️ The Realme 15T RMX5111 uses a BLPD05rechargeable battery with a capacity of 7000 mAh.
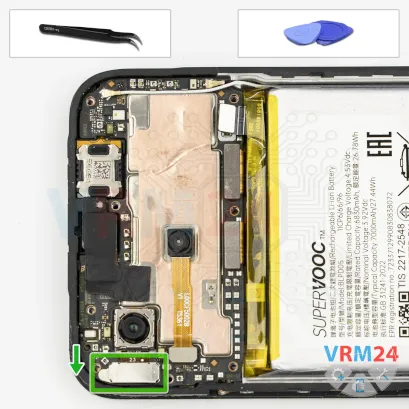
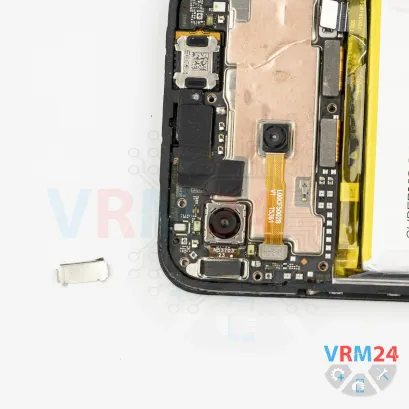
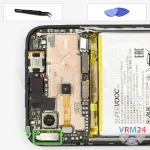
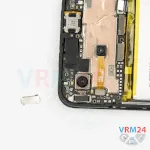

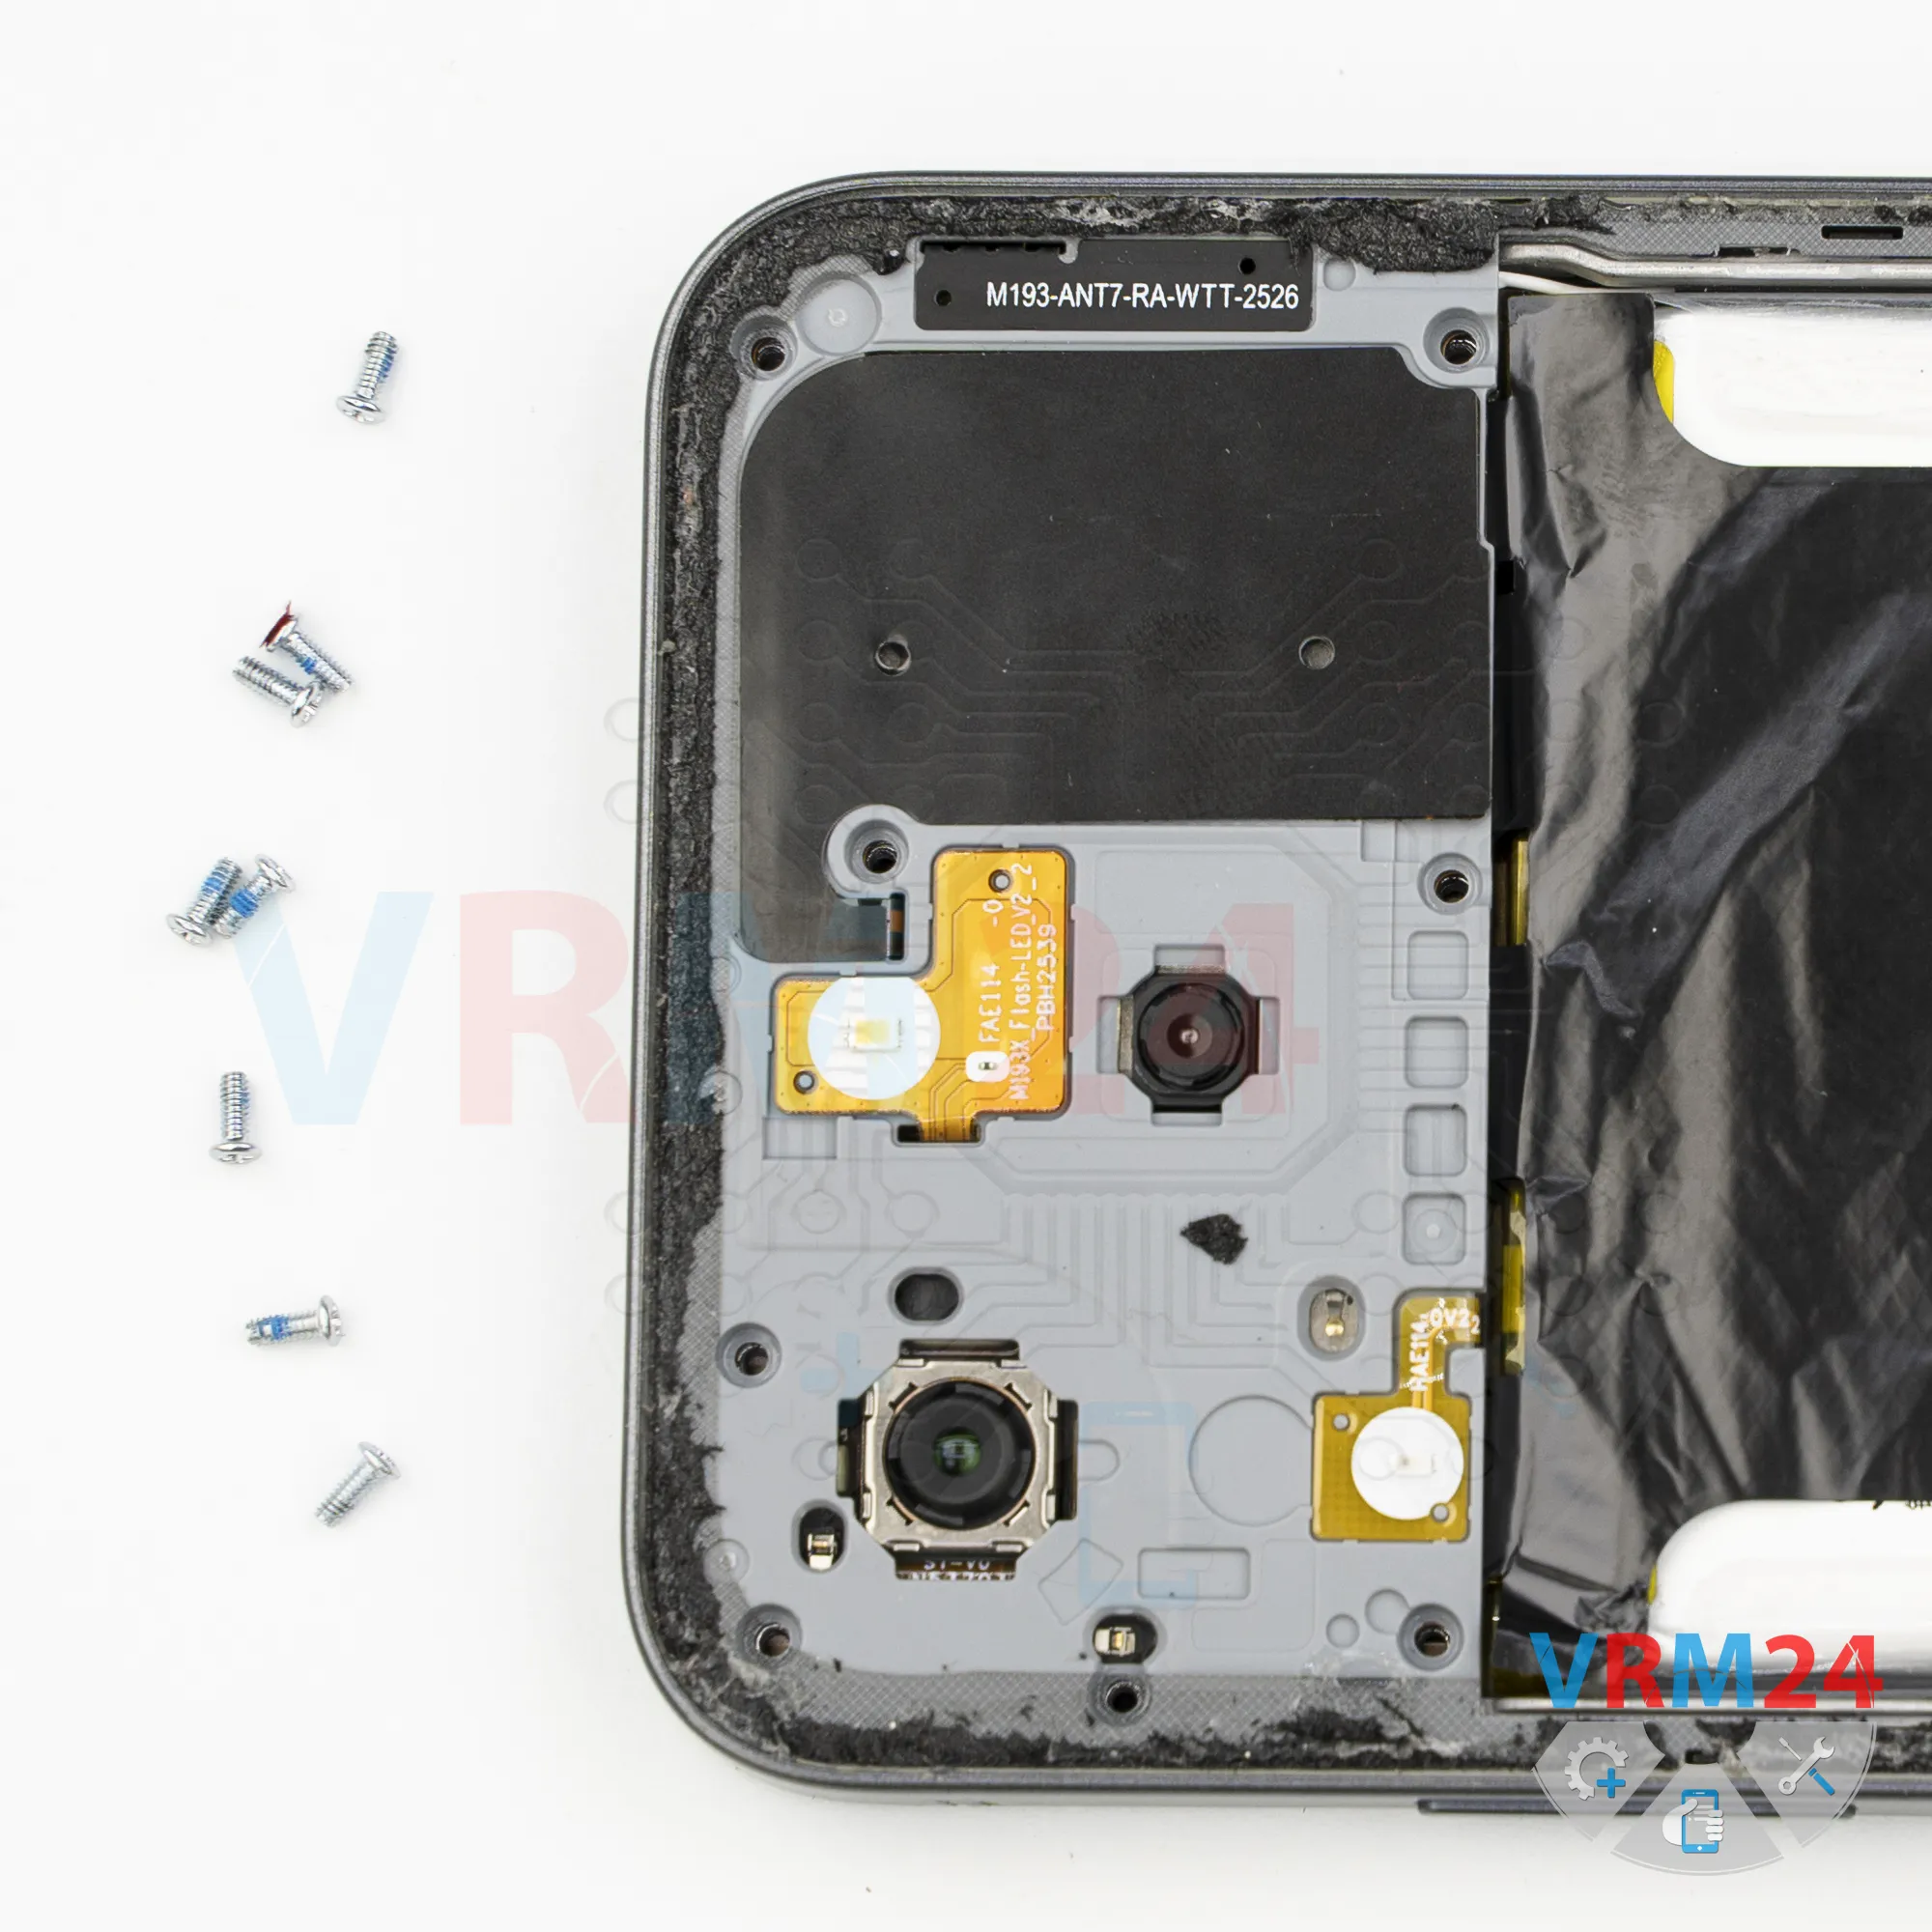
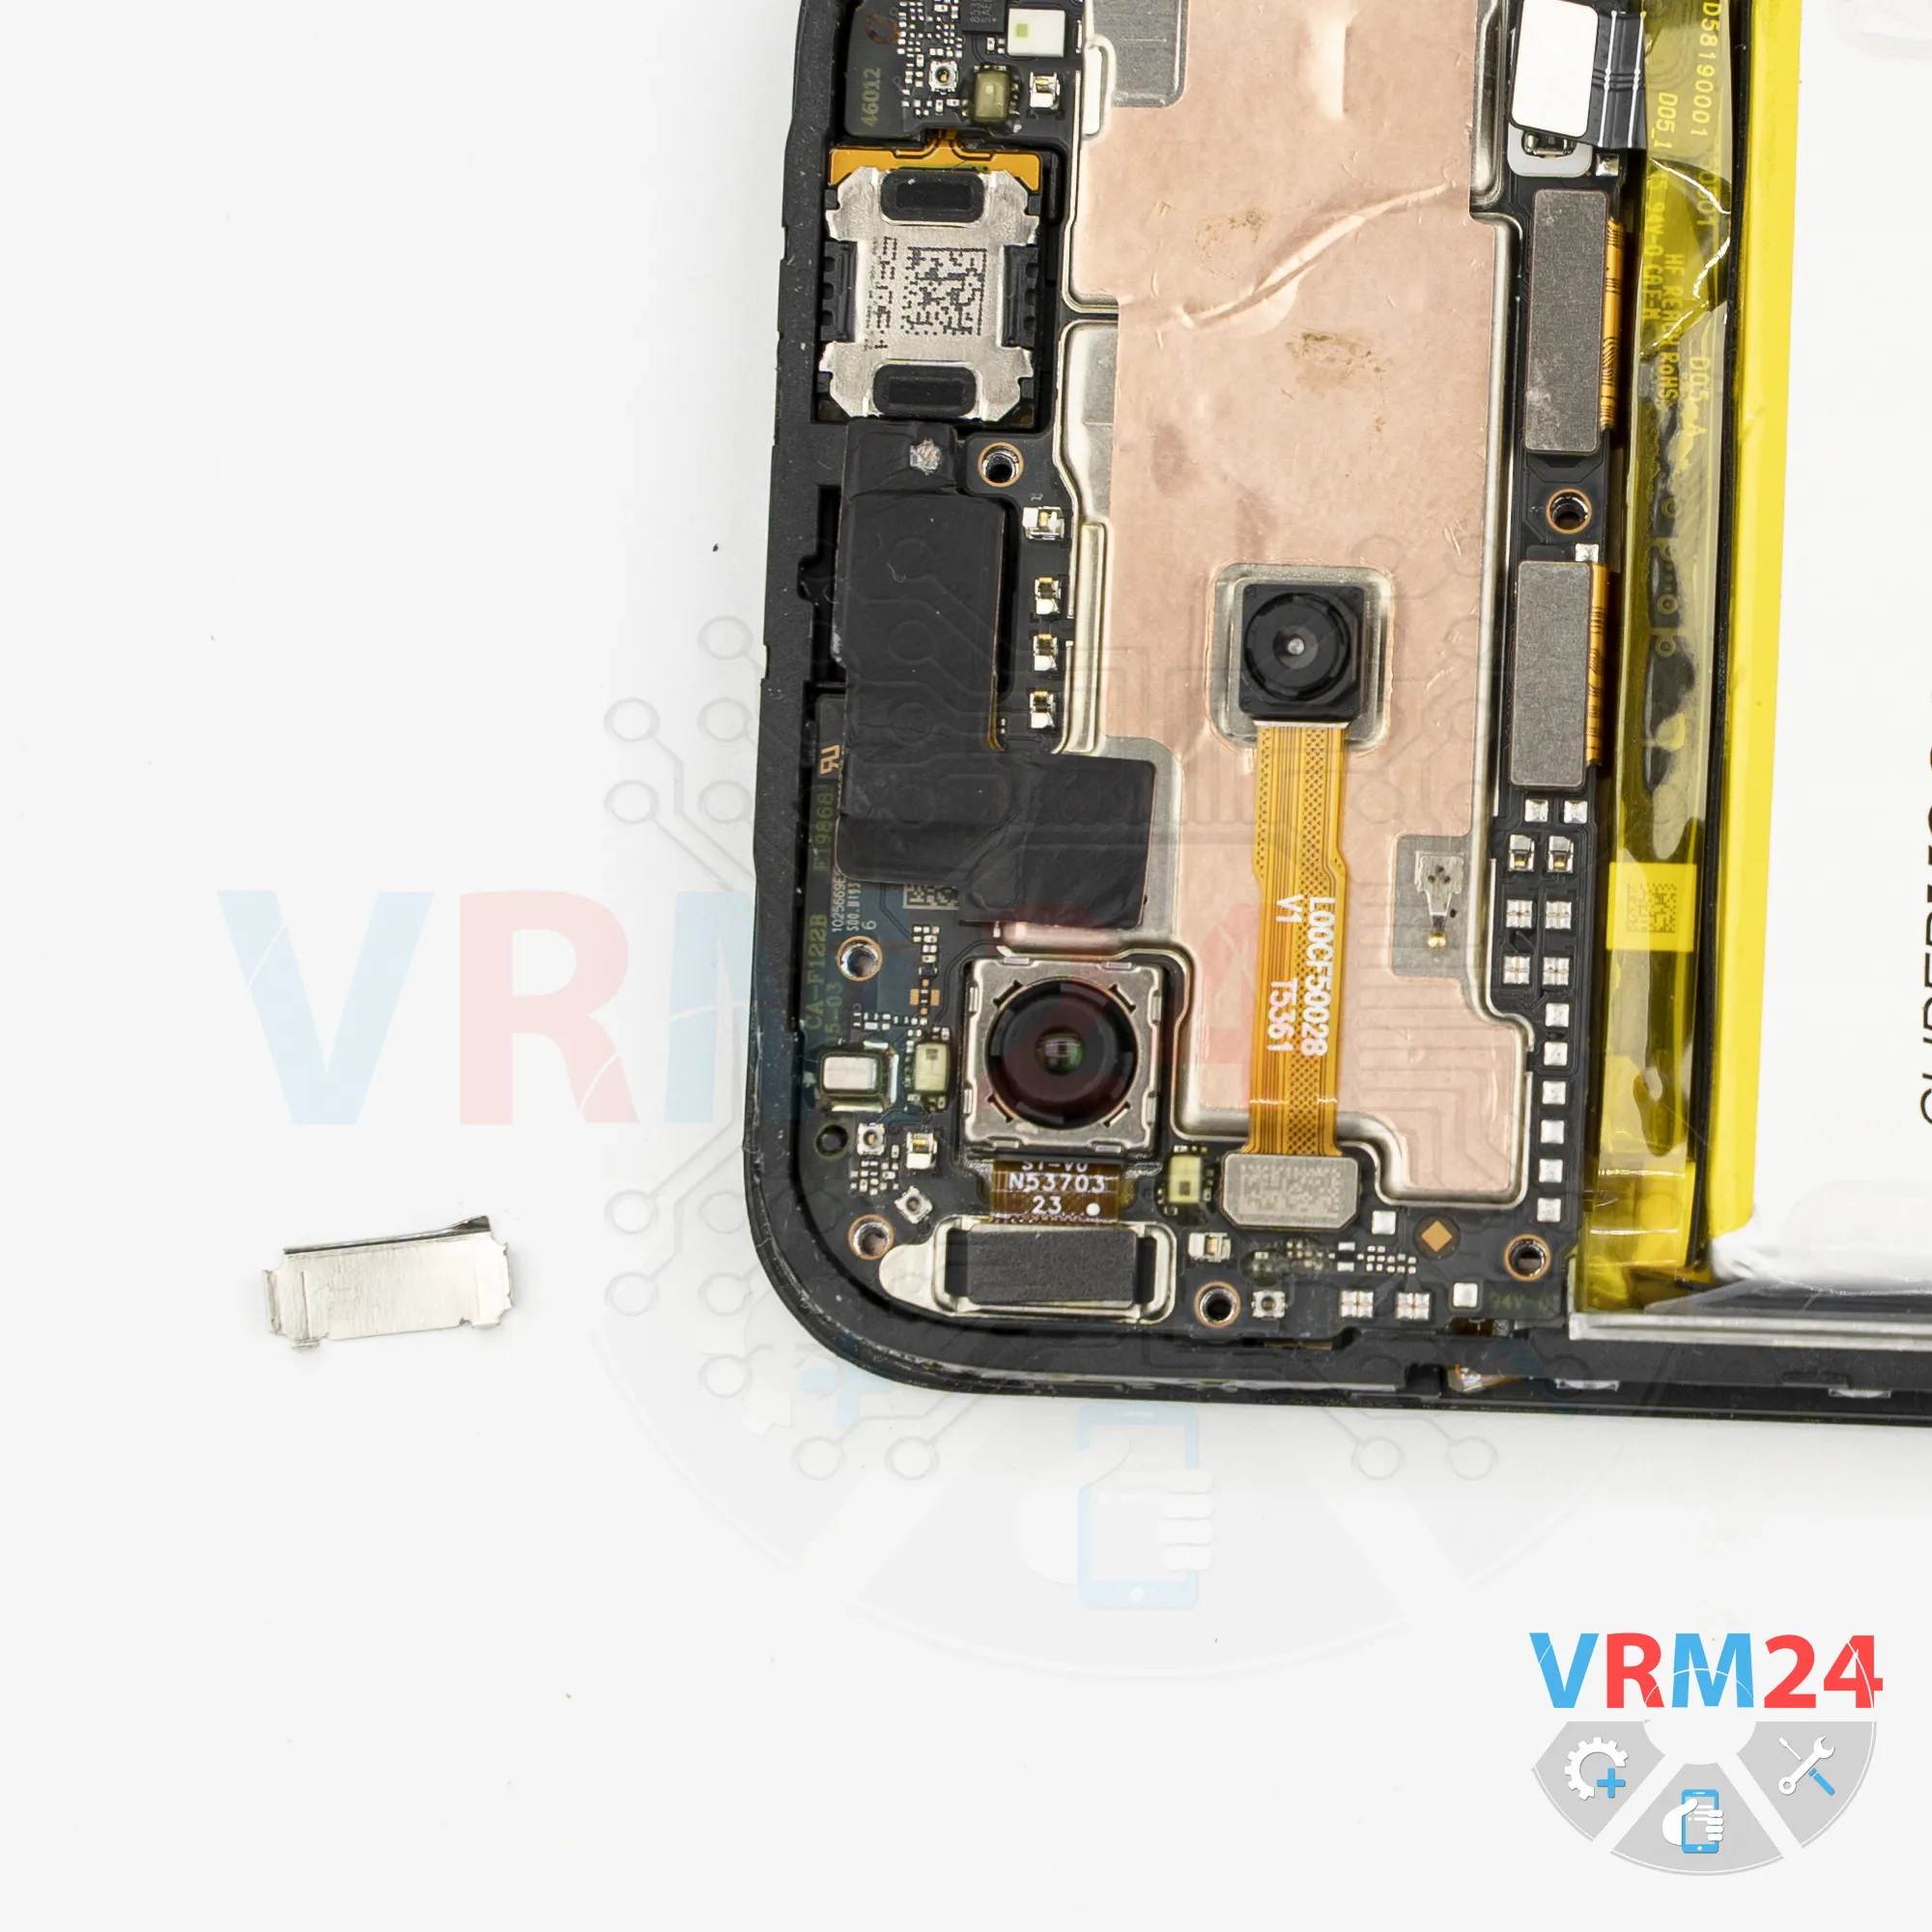
Step 8. Remove the bracket
The main camera connector is secured by a retaining bracket.
Remove the bracket, and set it aside.
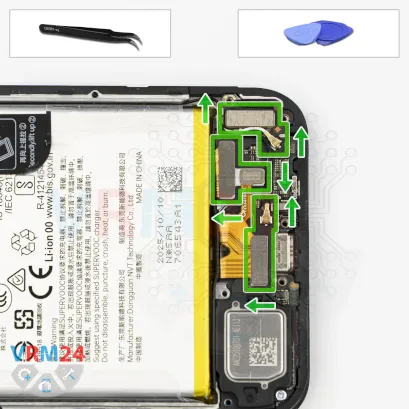


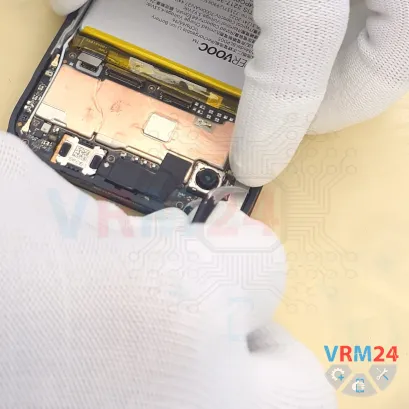
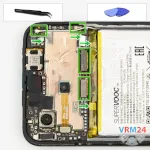
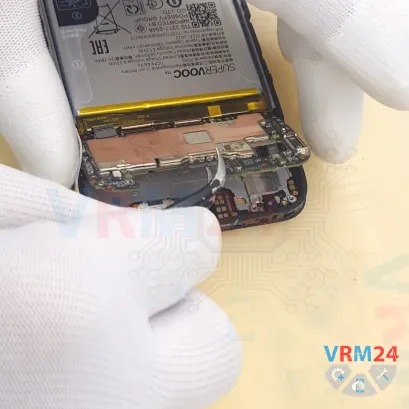
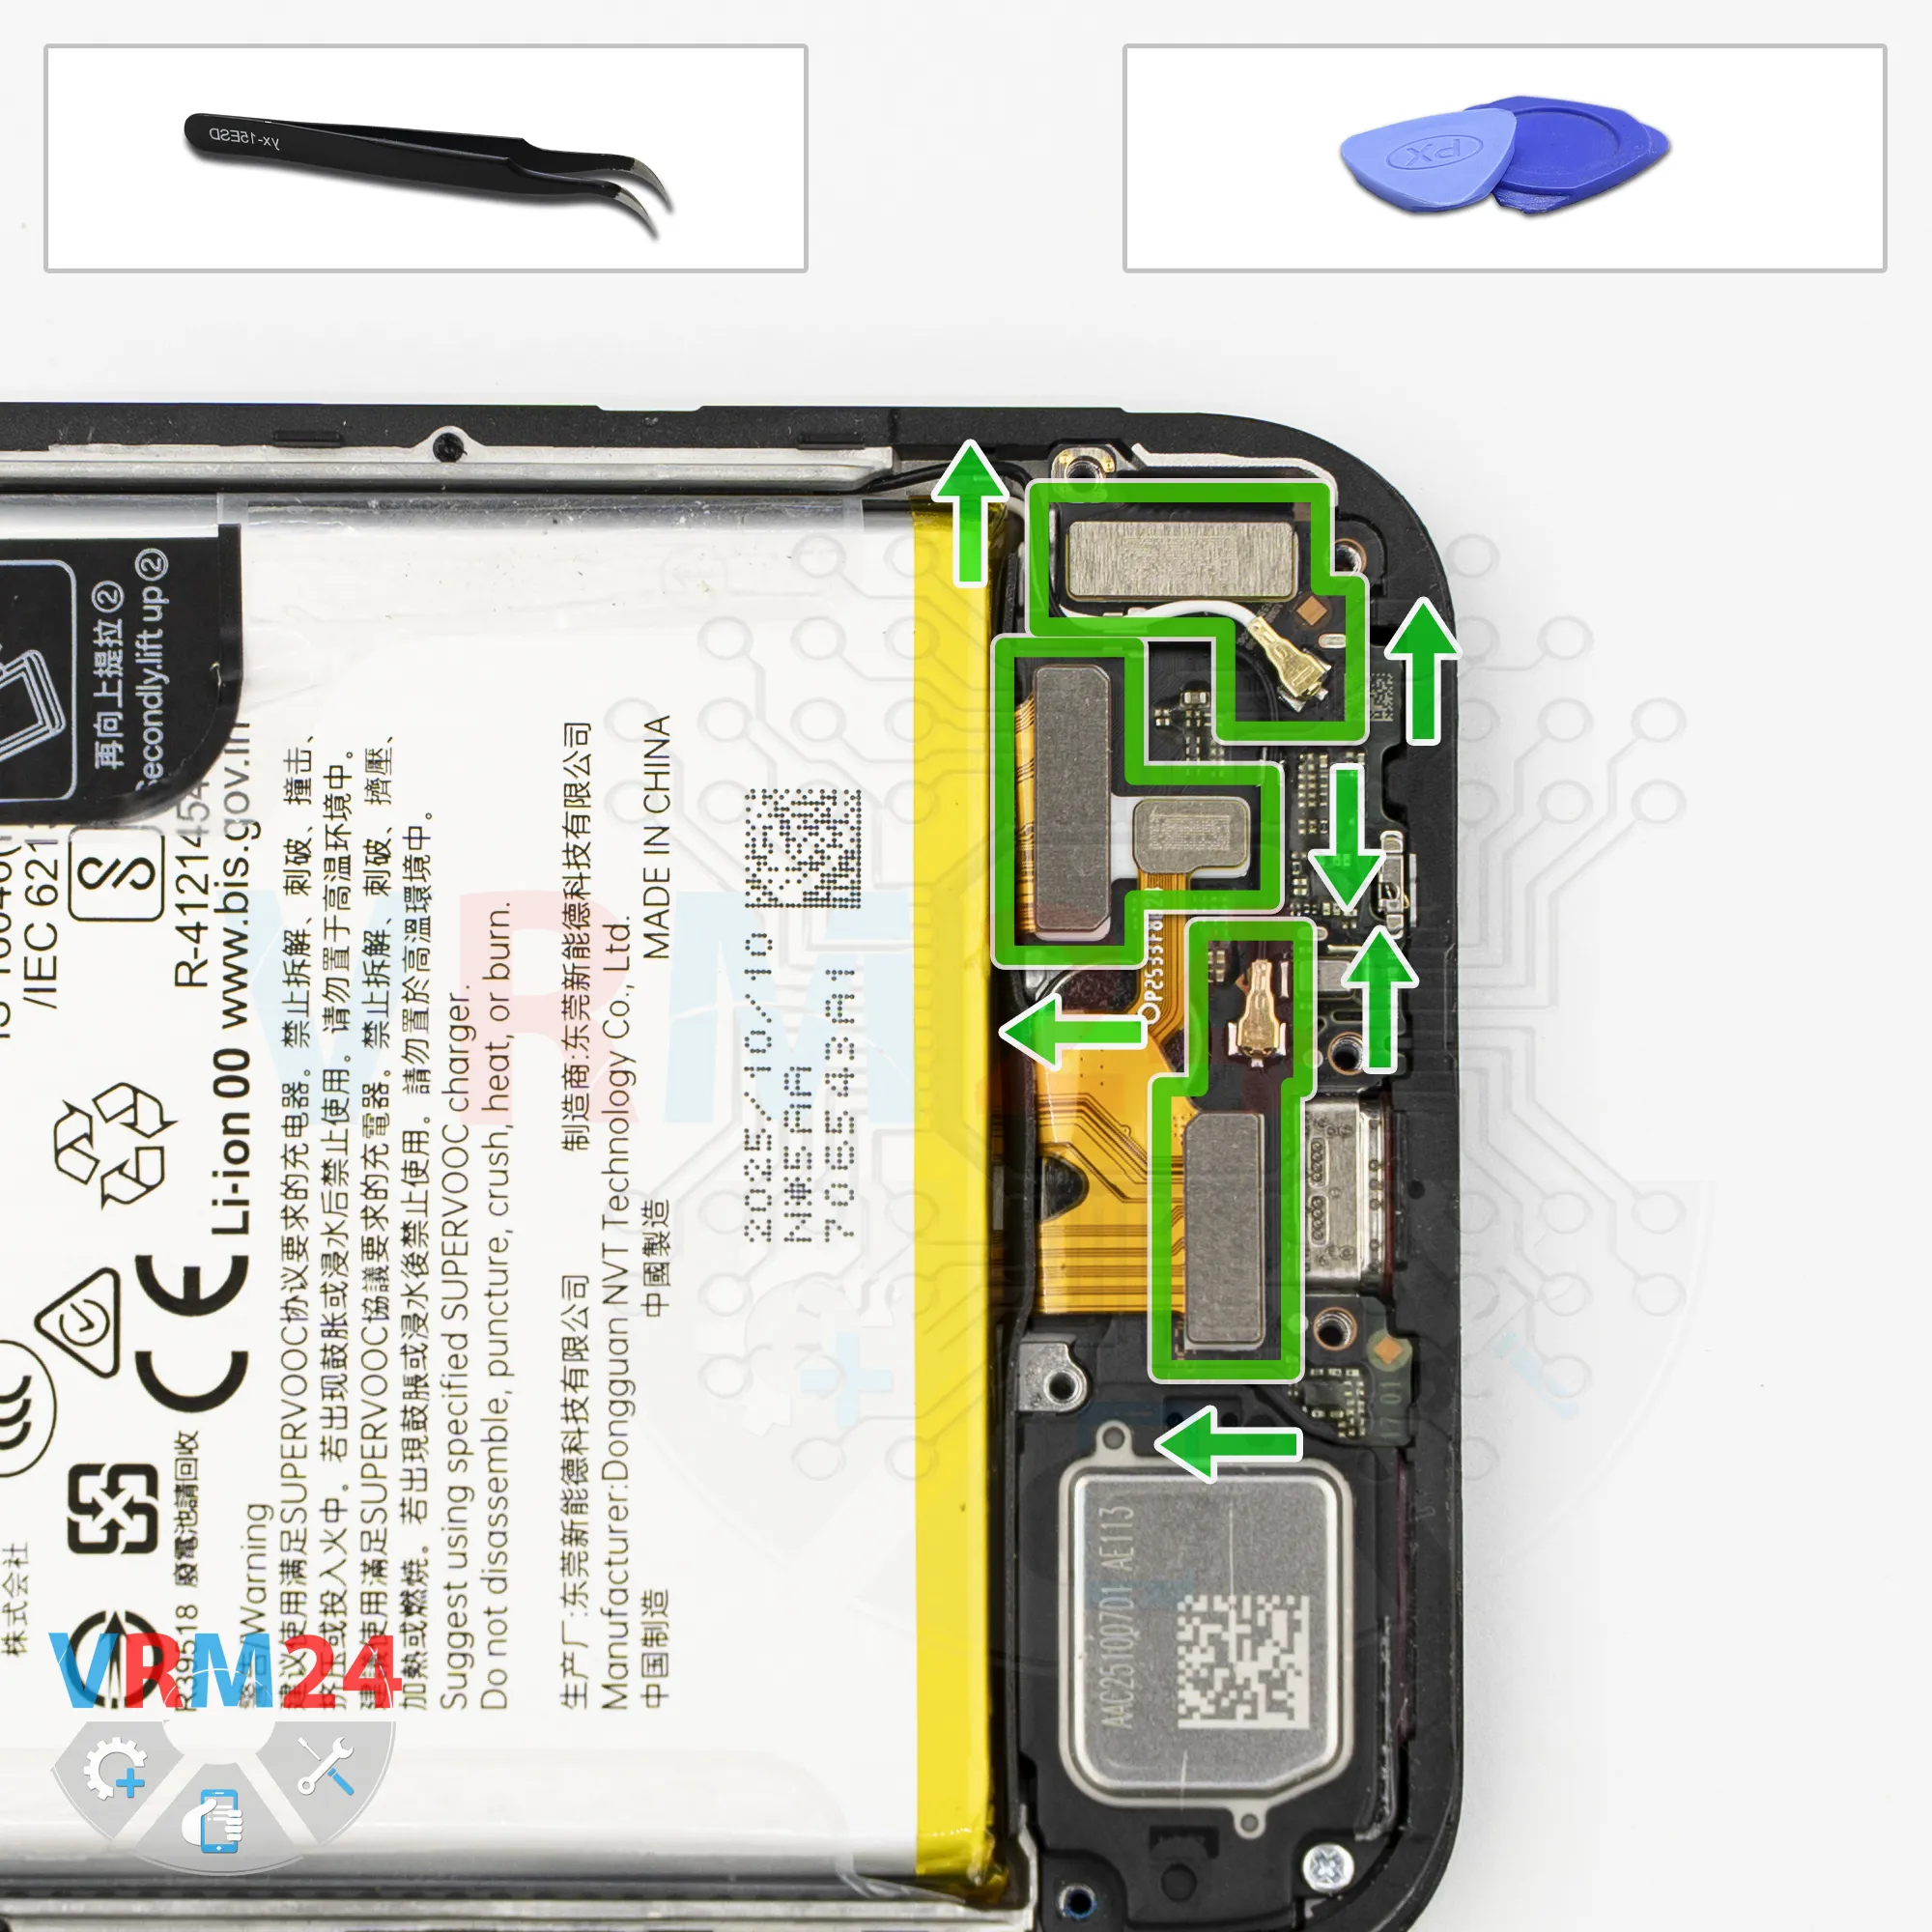
Step 9. Disconnect the connectors
In the lower section, disconnect the interconnect flex cable, disconnect the fingerprint sensor connector, disconnect the second interconnect flex cable, and disconnect the display flex cable.
Disconnect the coaxial cable and release it from its routing so it doesn't get in the way.
We also need to disconnect the second coaxial cable and move it aside.
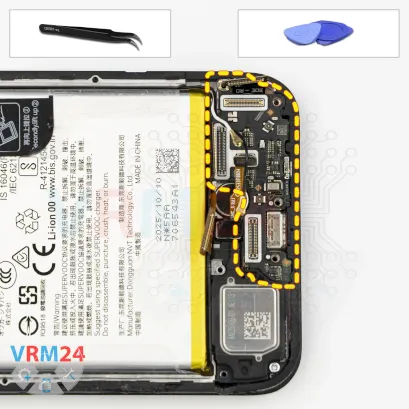
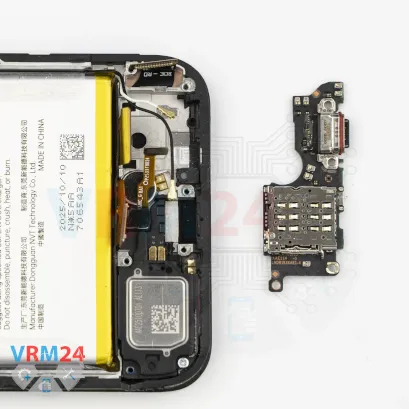
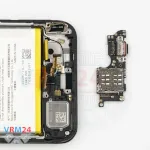
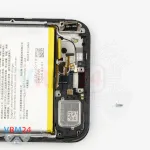
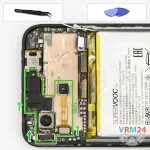
Step 10. Remove the sub-board
Double-check that all of the connectors have been disconnected and moved out of the way.
After that, we can try removing the sub-board.
The sub-board is held in place by clips. Carefully pry it up, move the flex cables aside so they don't interfere, and remove the sub-board, which sits slightly recessed in the display frame.
The sub-board contains the charging port, the microphone, and the SIM card connector on the reverse side.
The only components remaining in the display frame are the fingerprint sensor and the vibration motor.
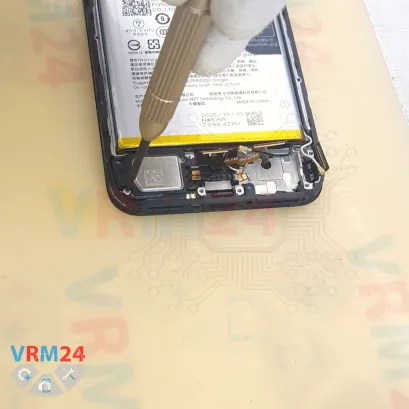
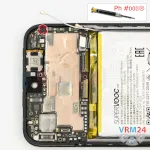
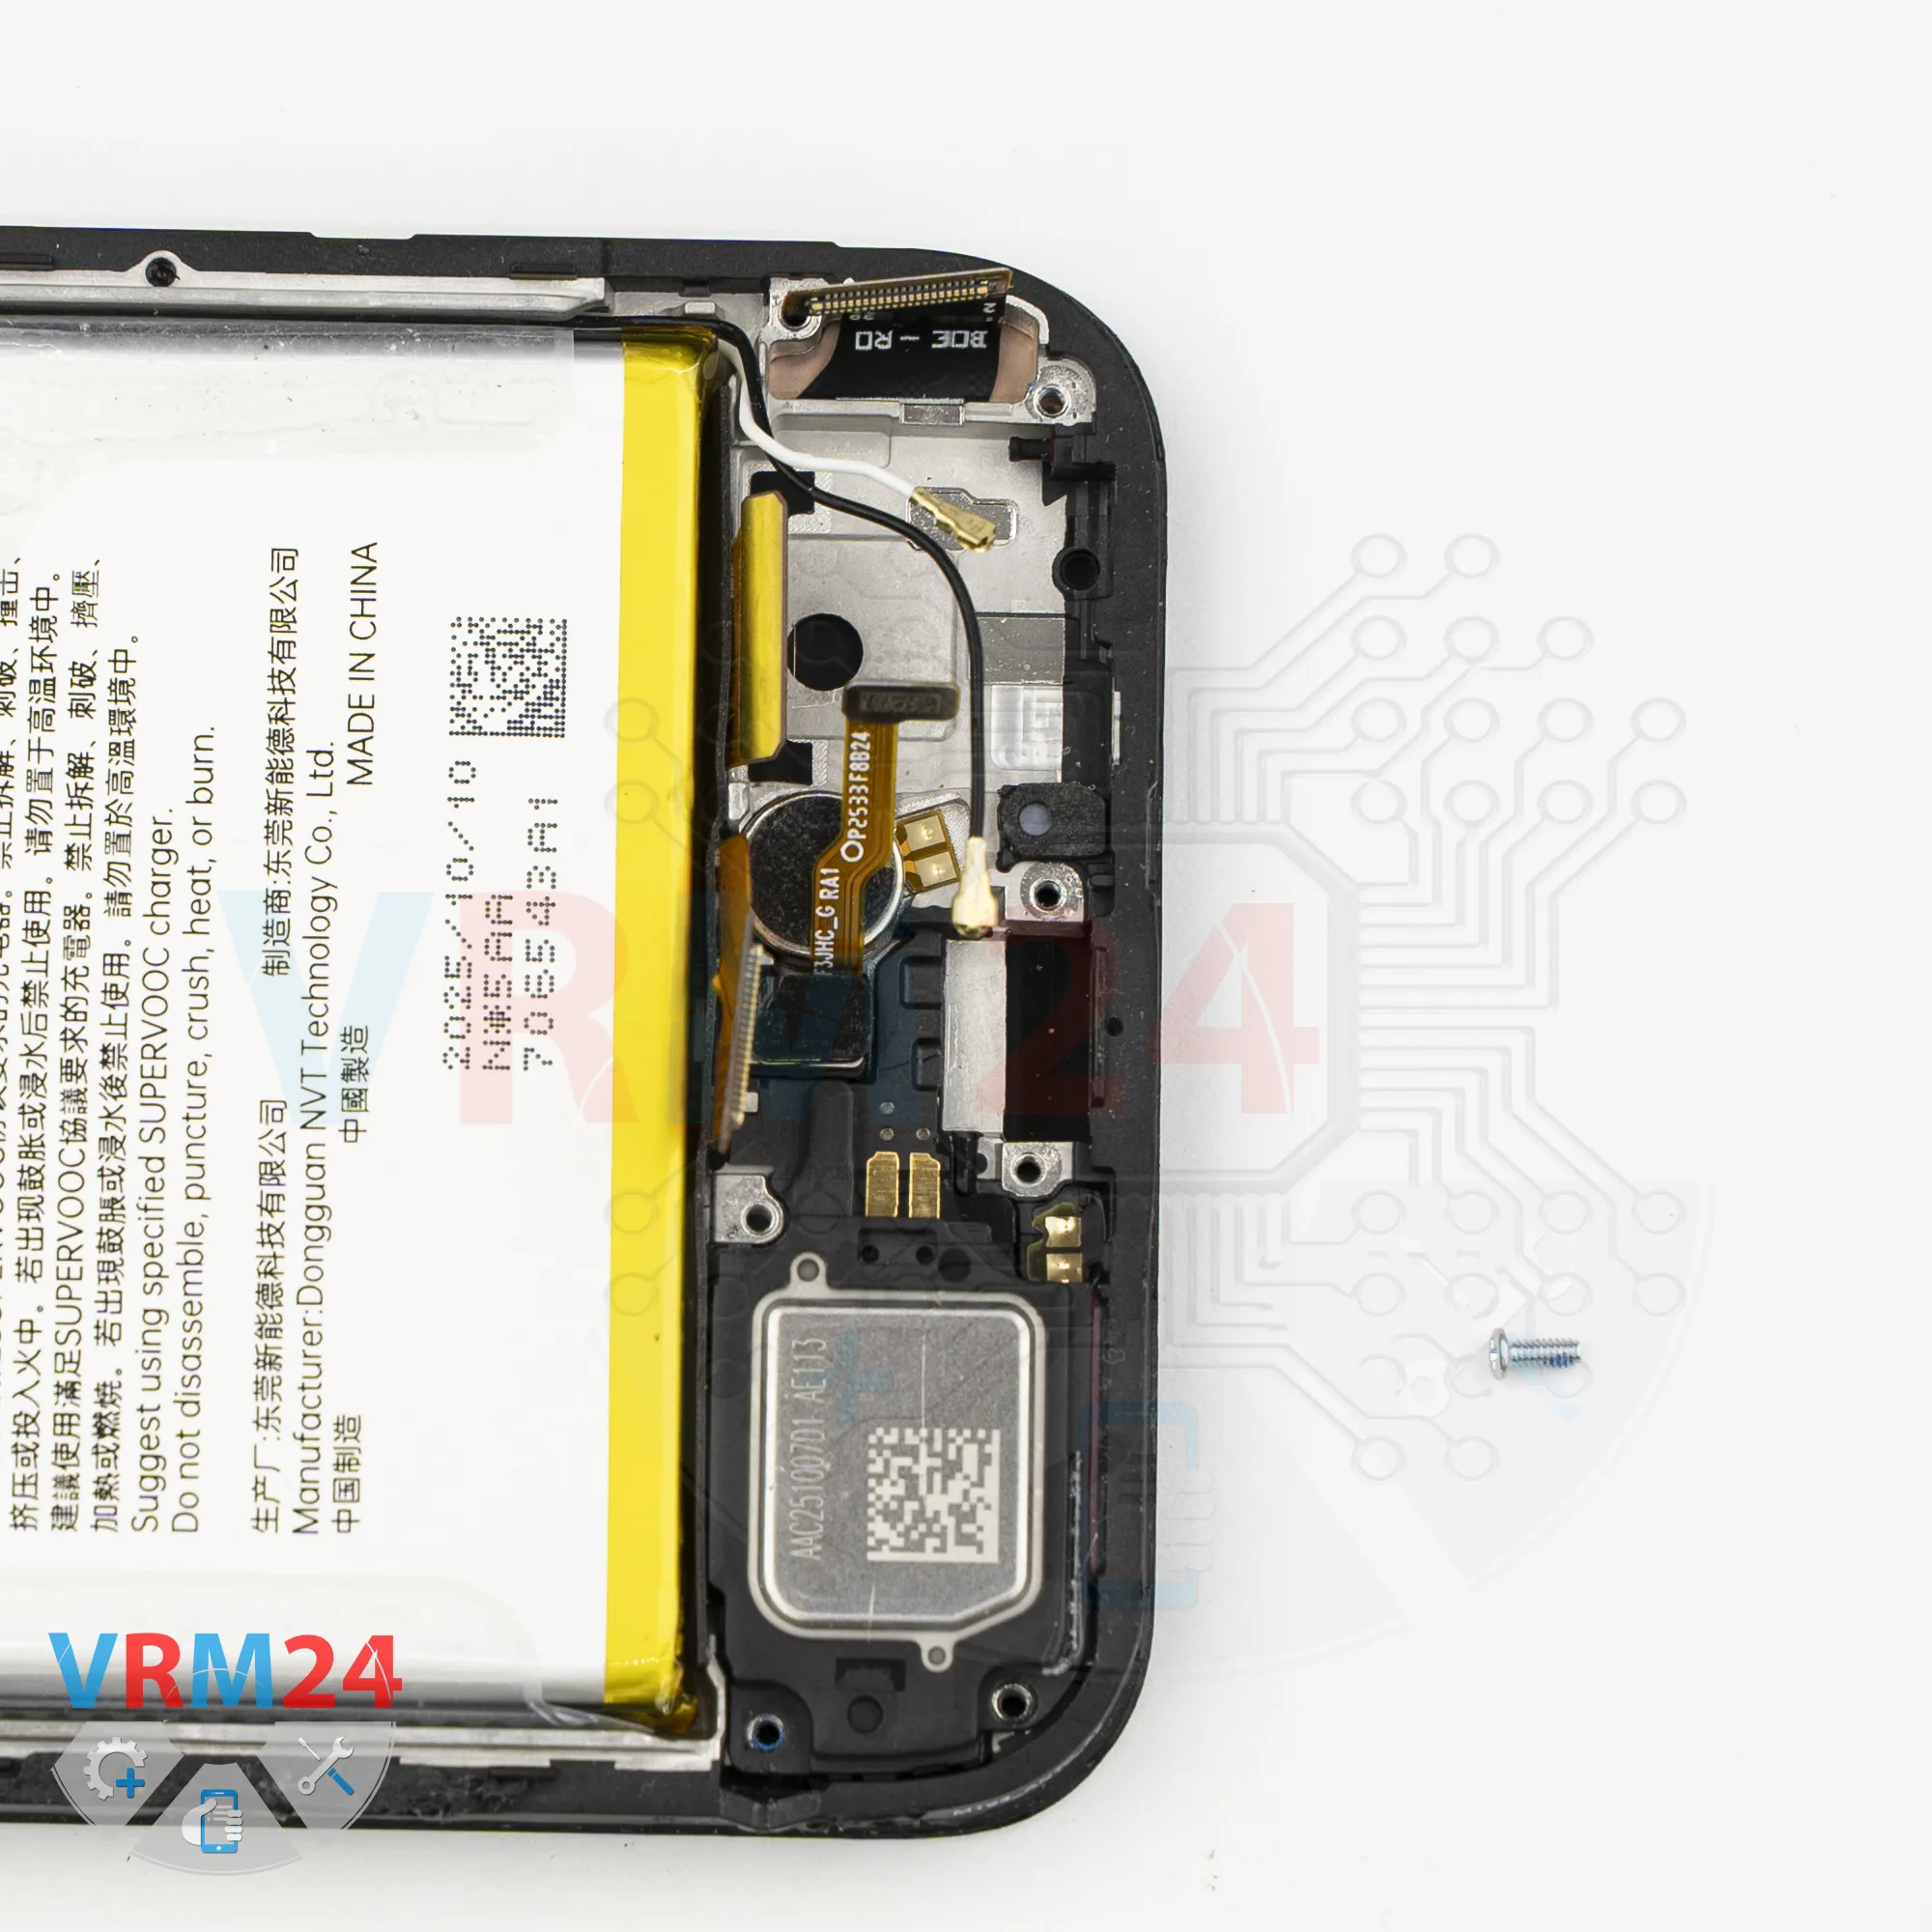
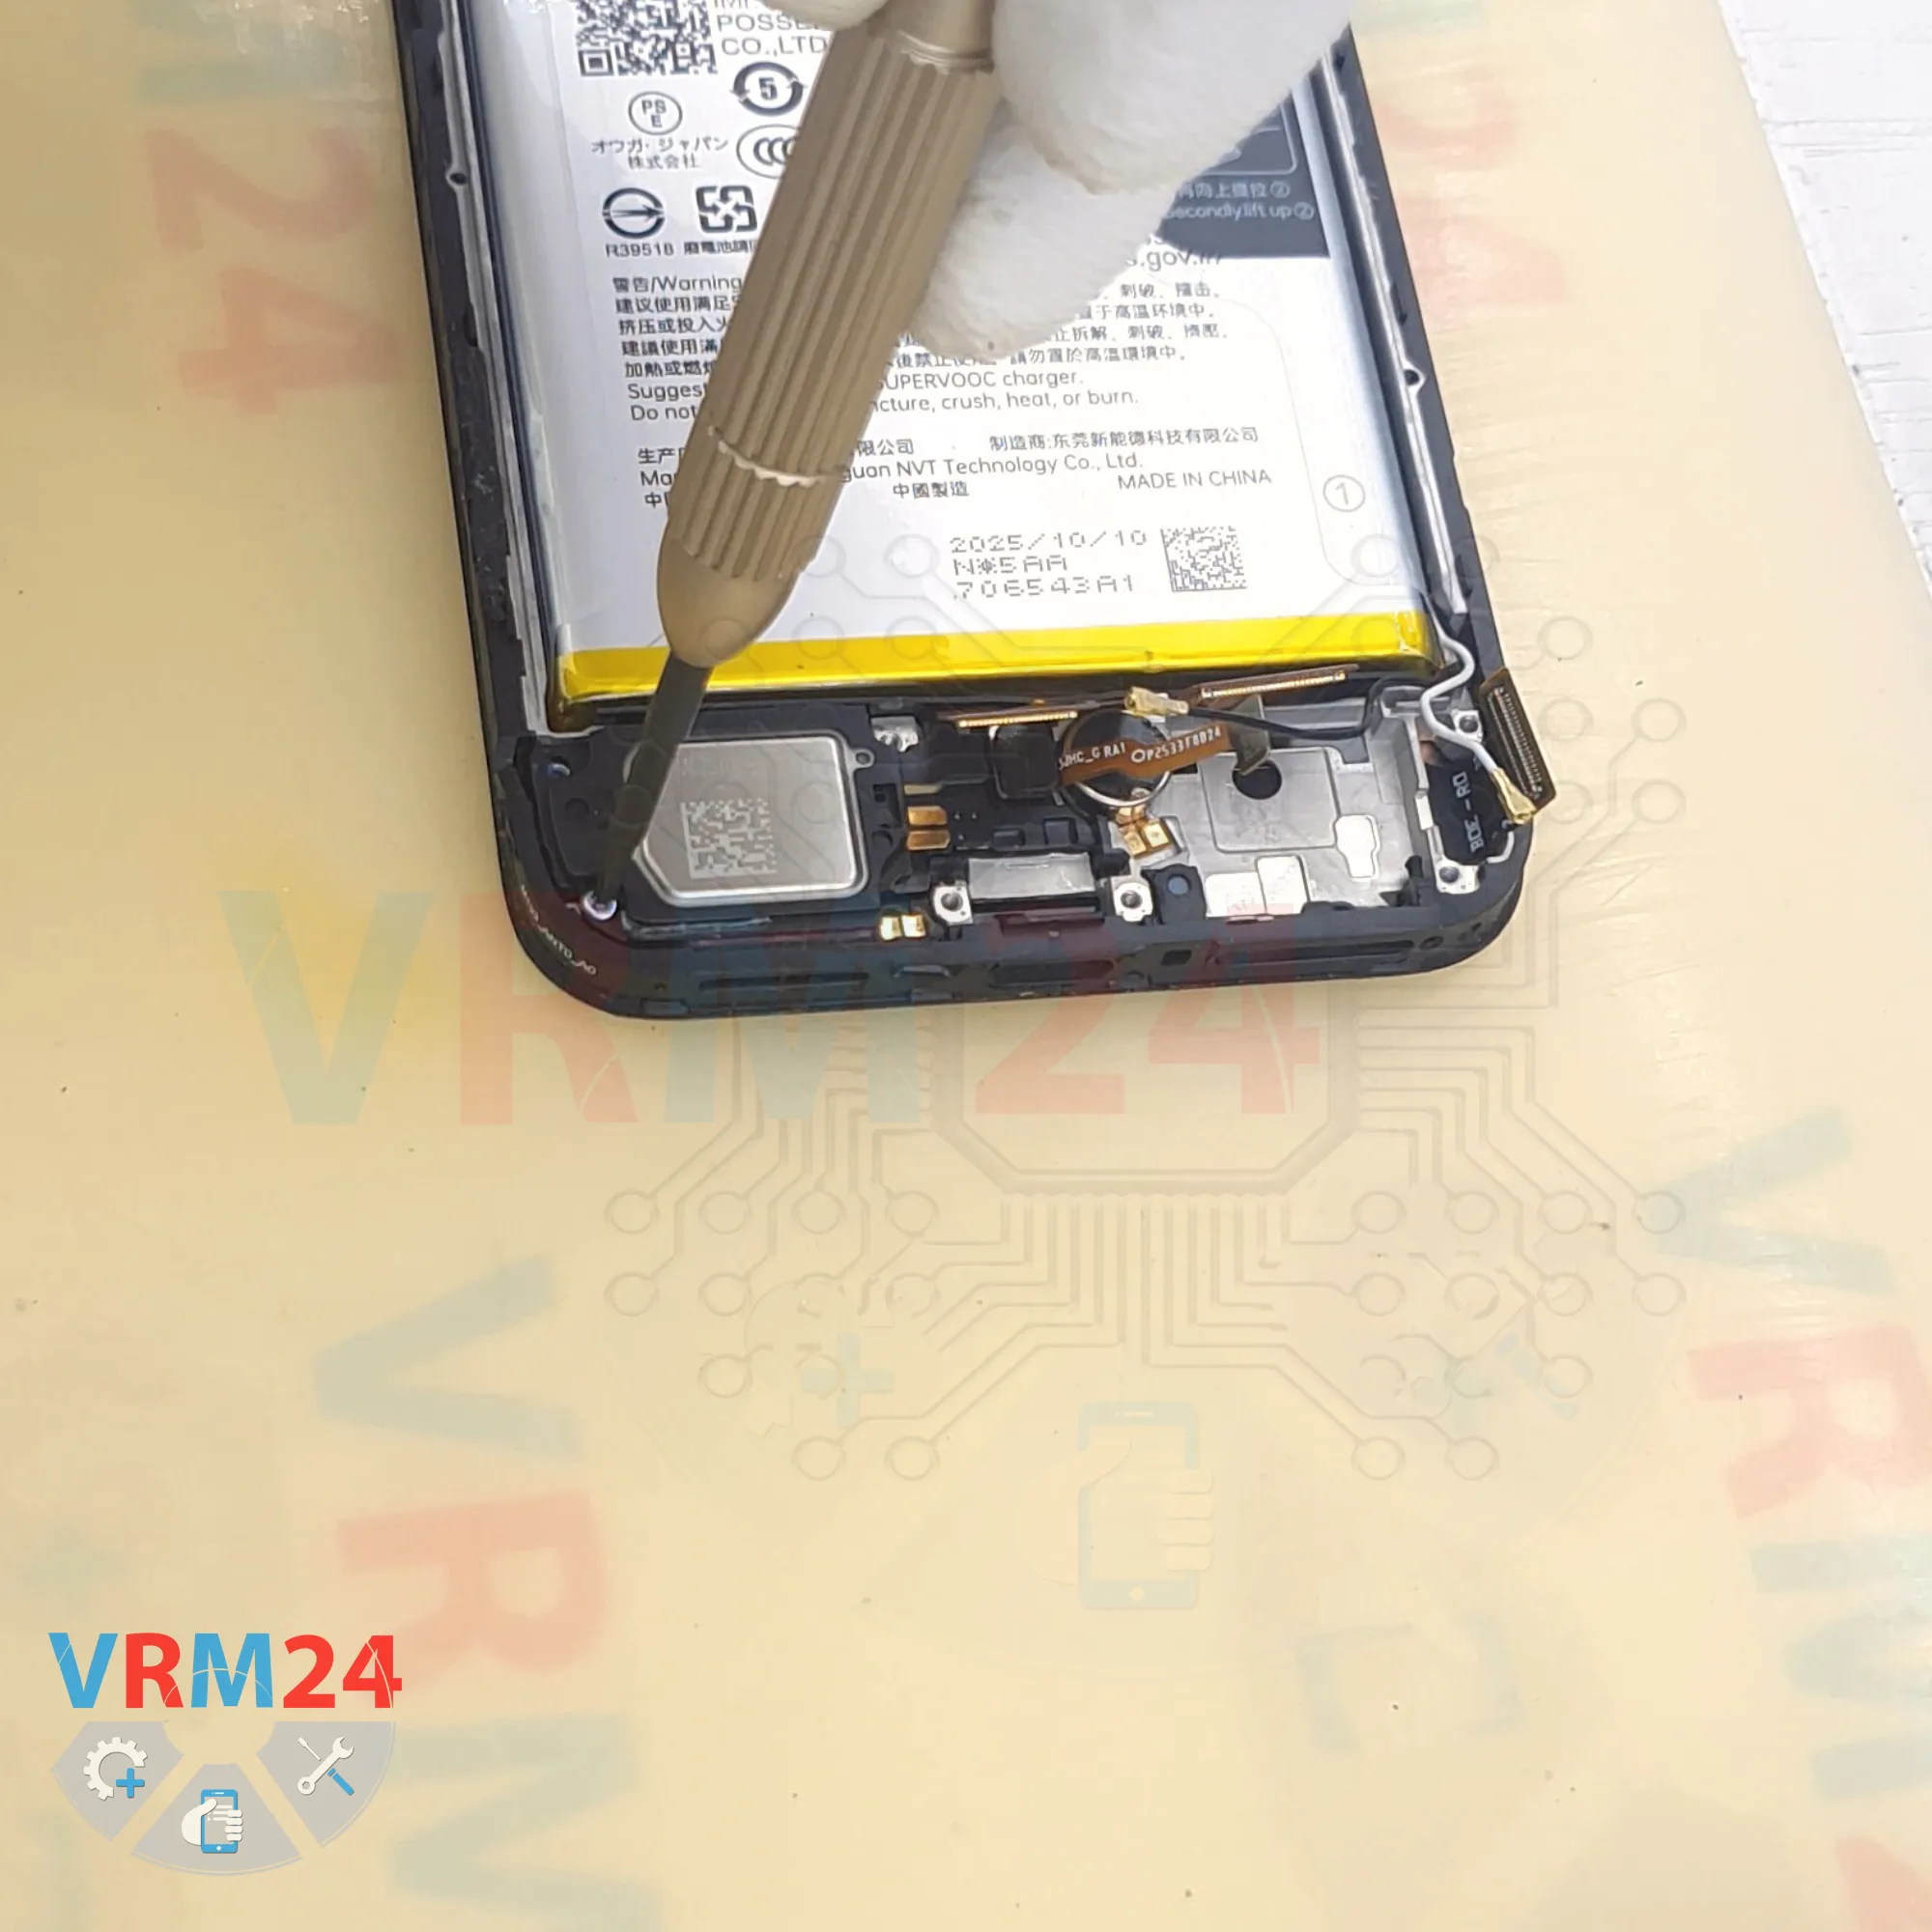
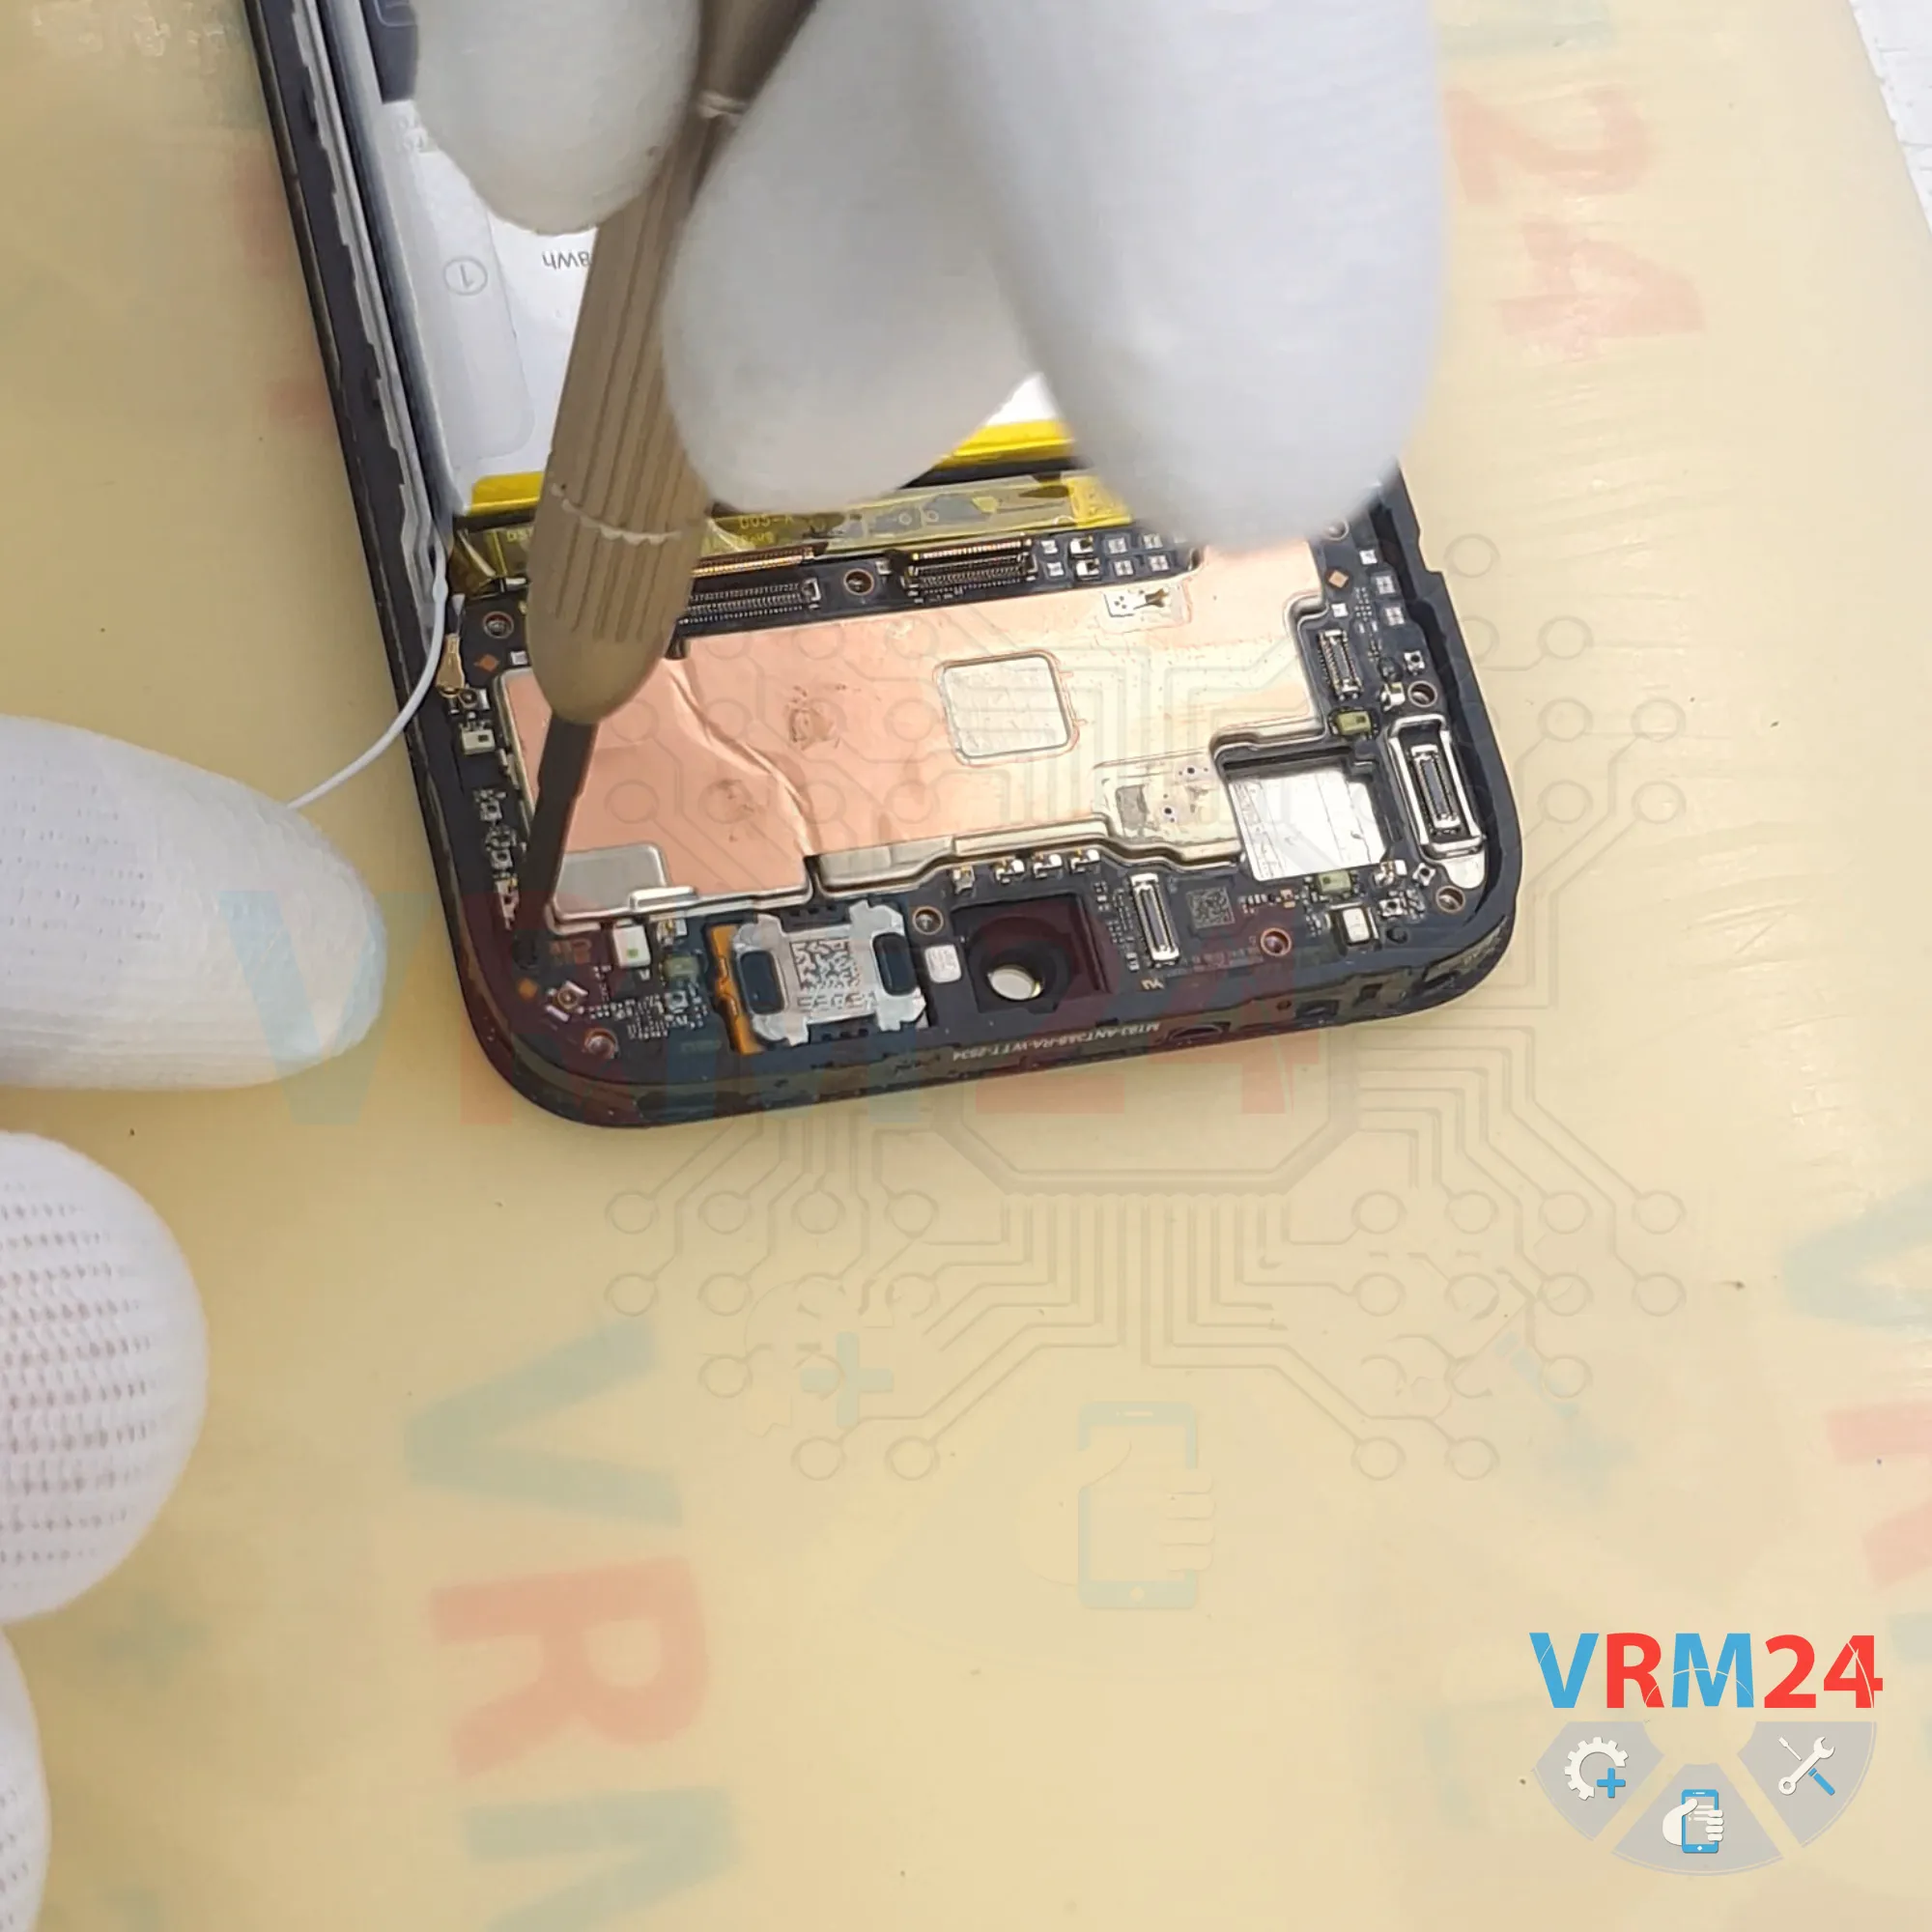
Step 11. Unscrew one screw
There's also one screw securing the loudspeaker cover. Remove that screw and set it aside.


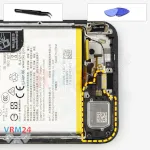

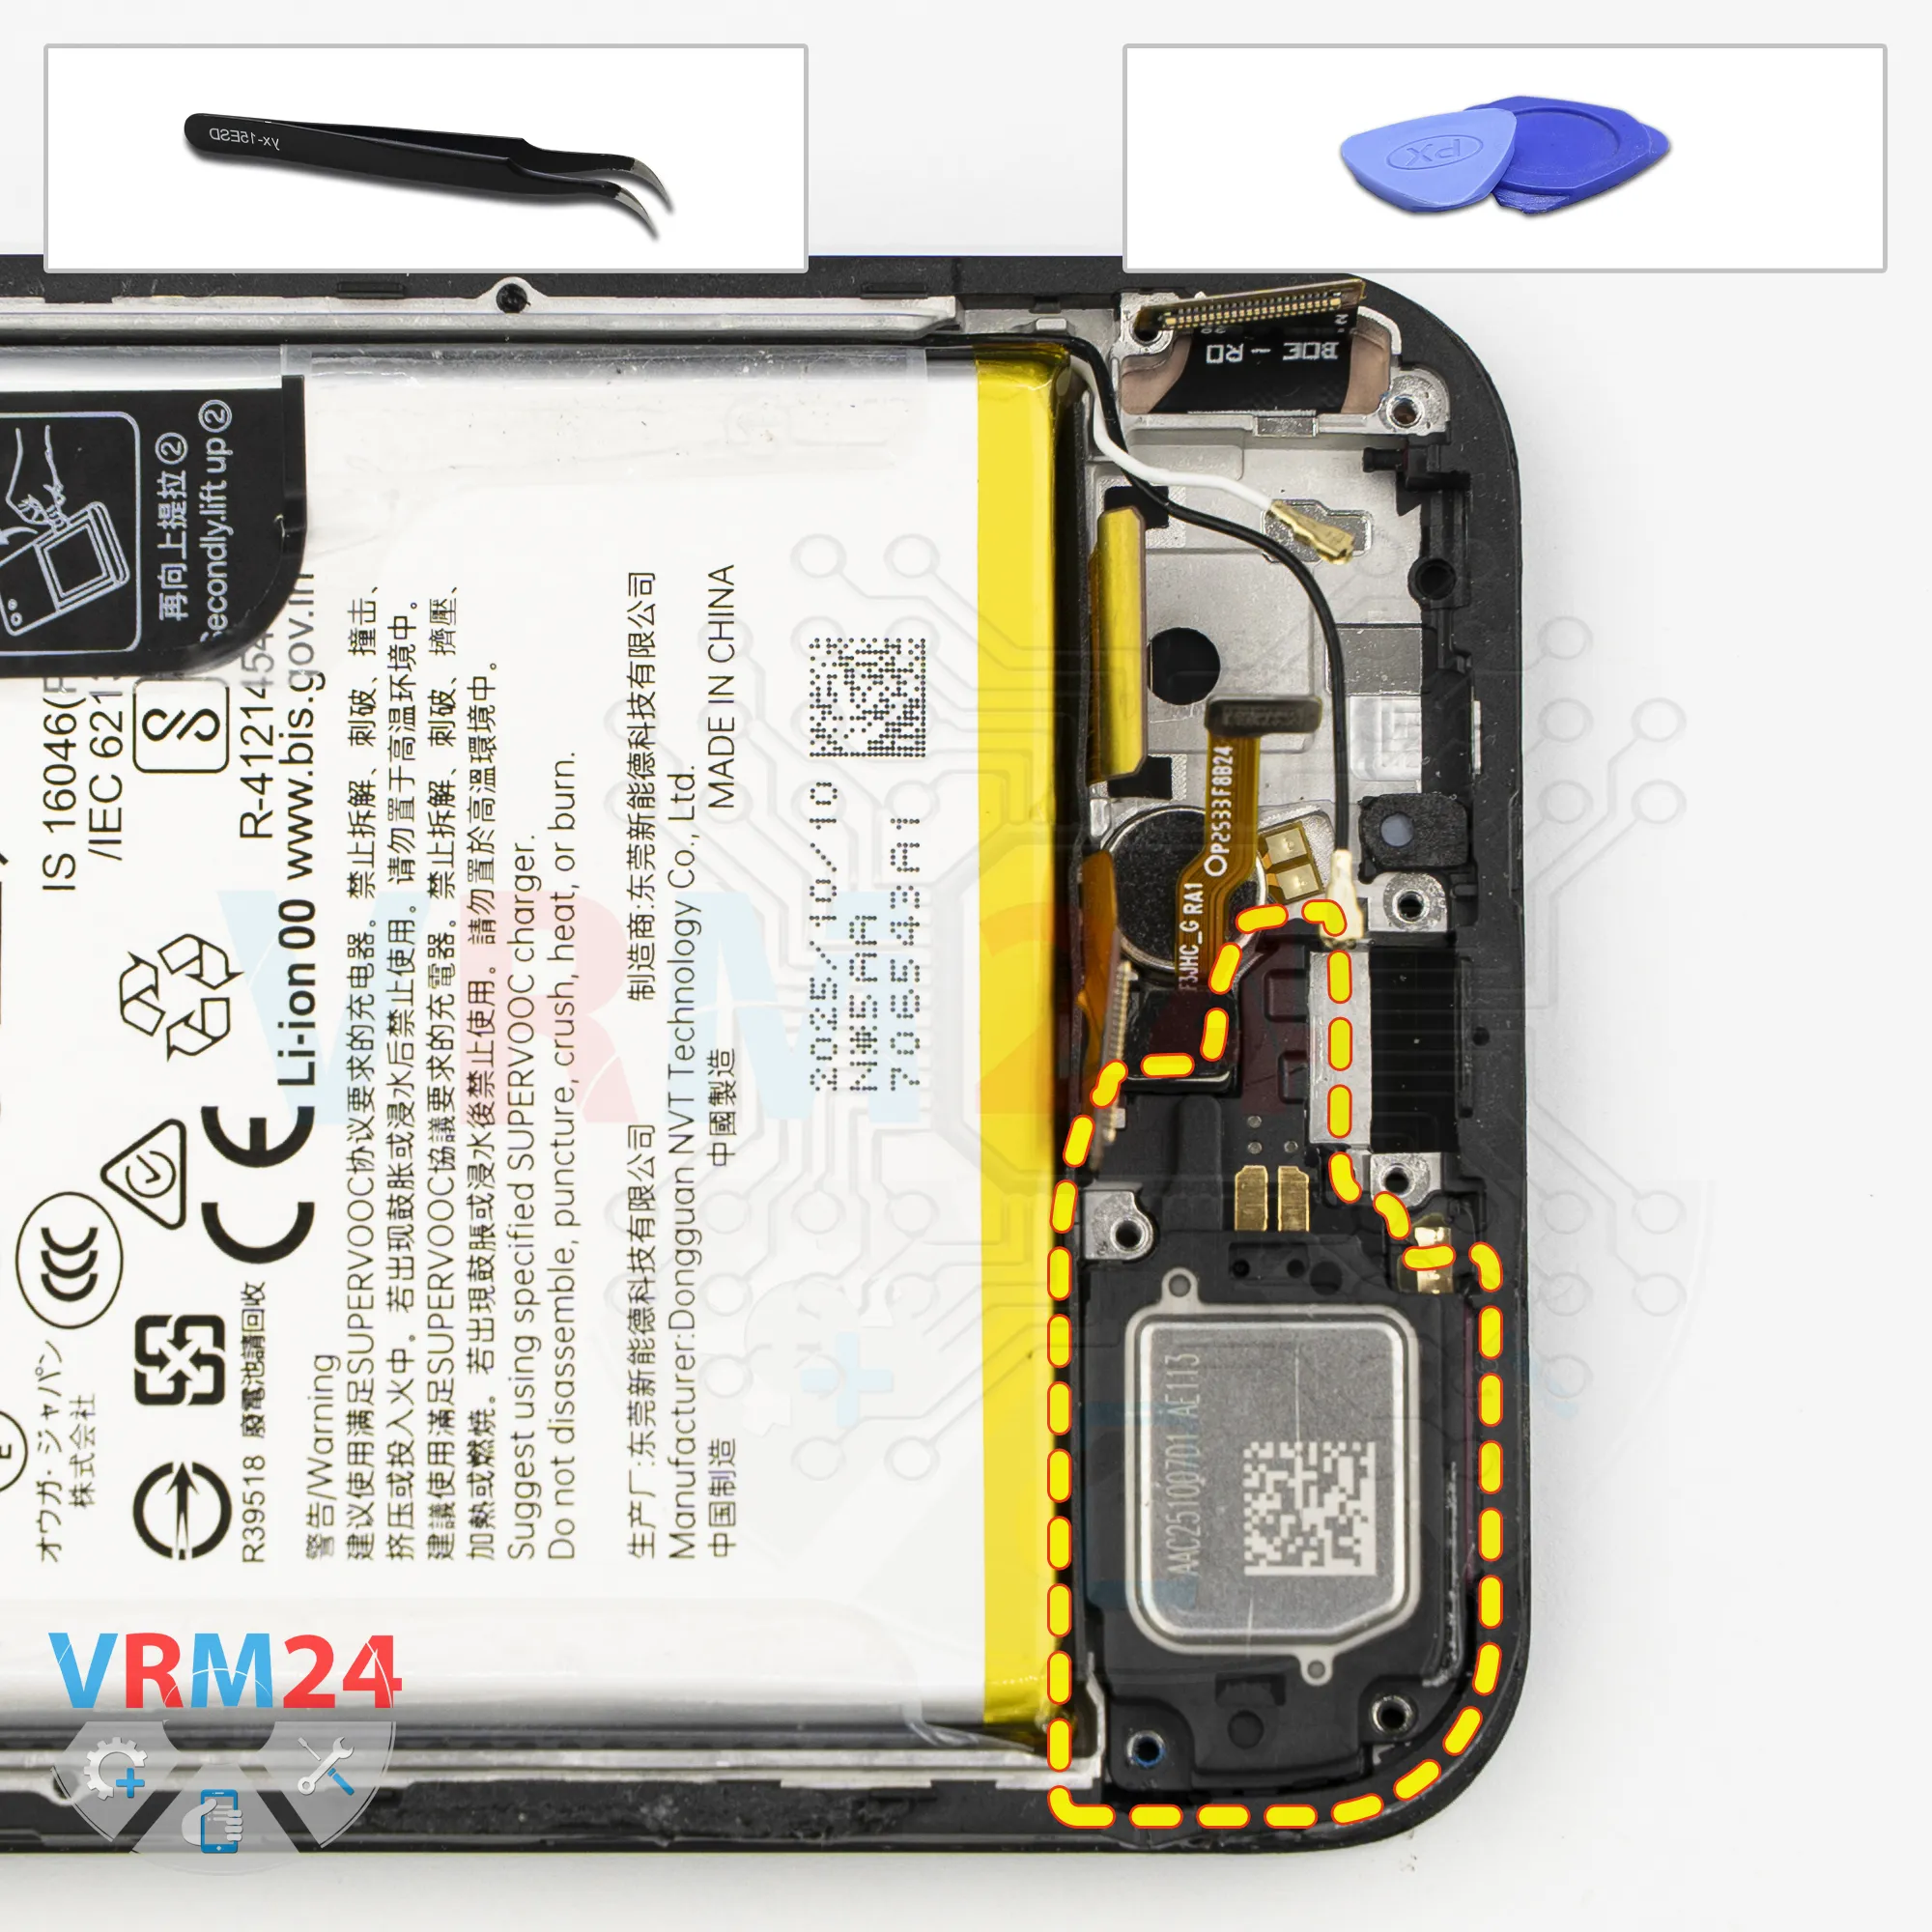
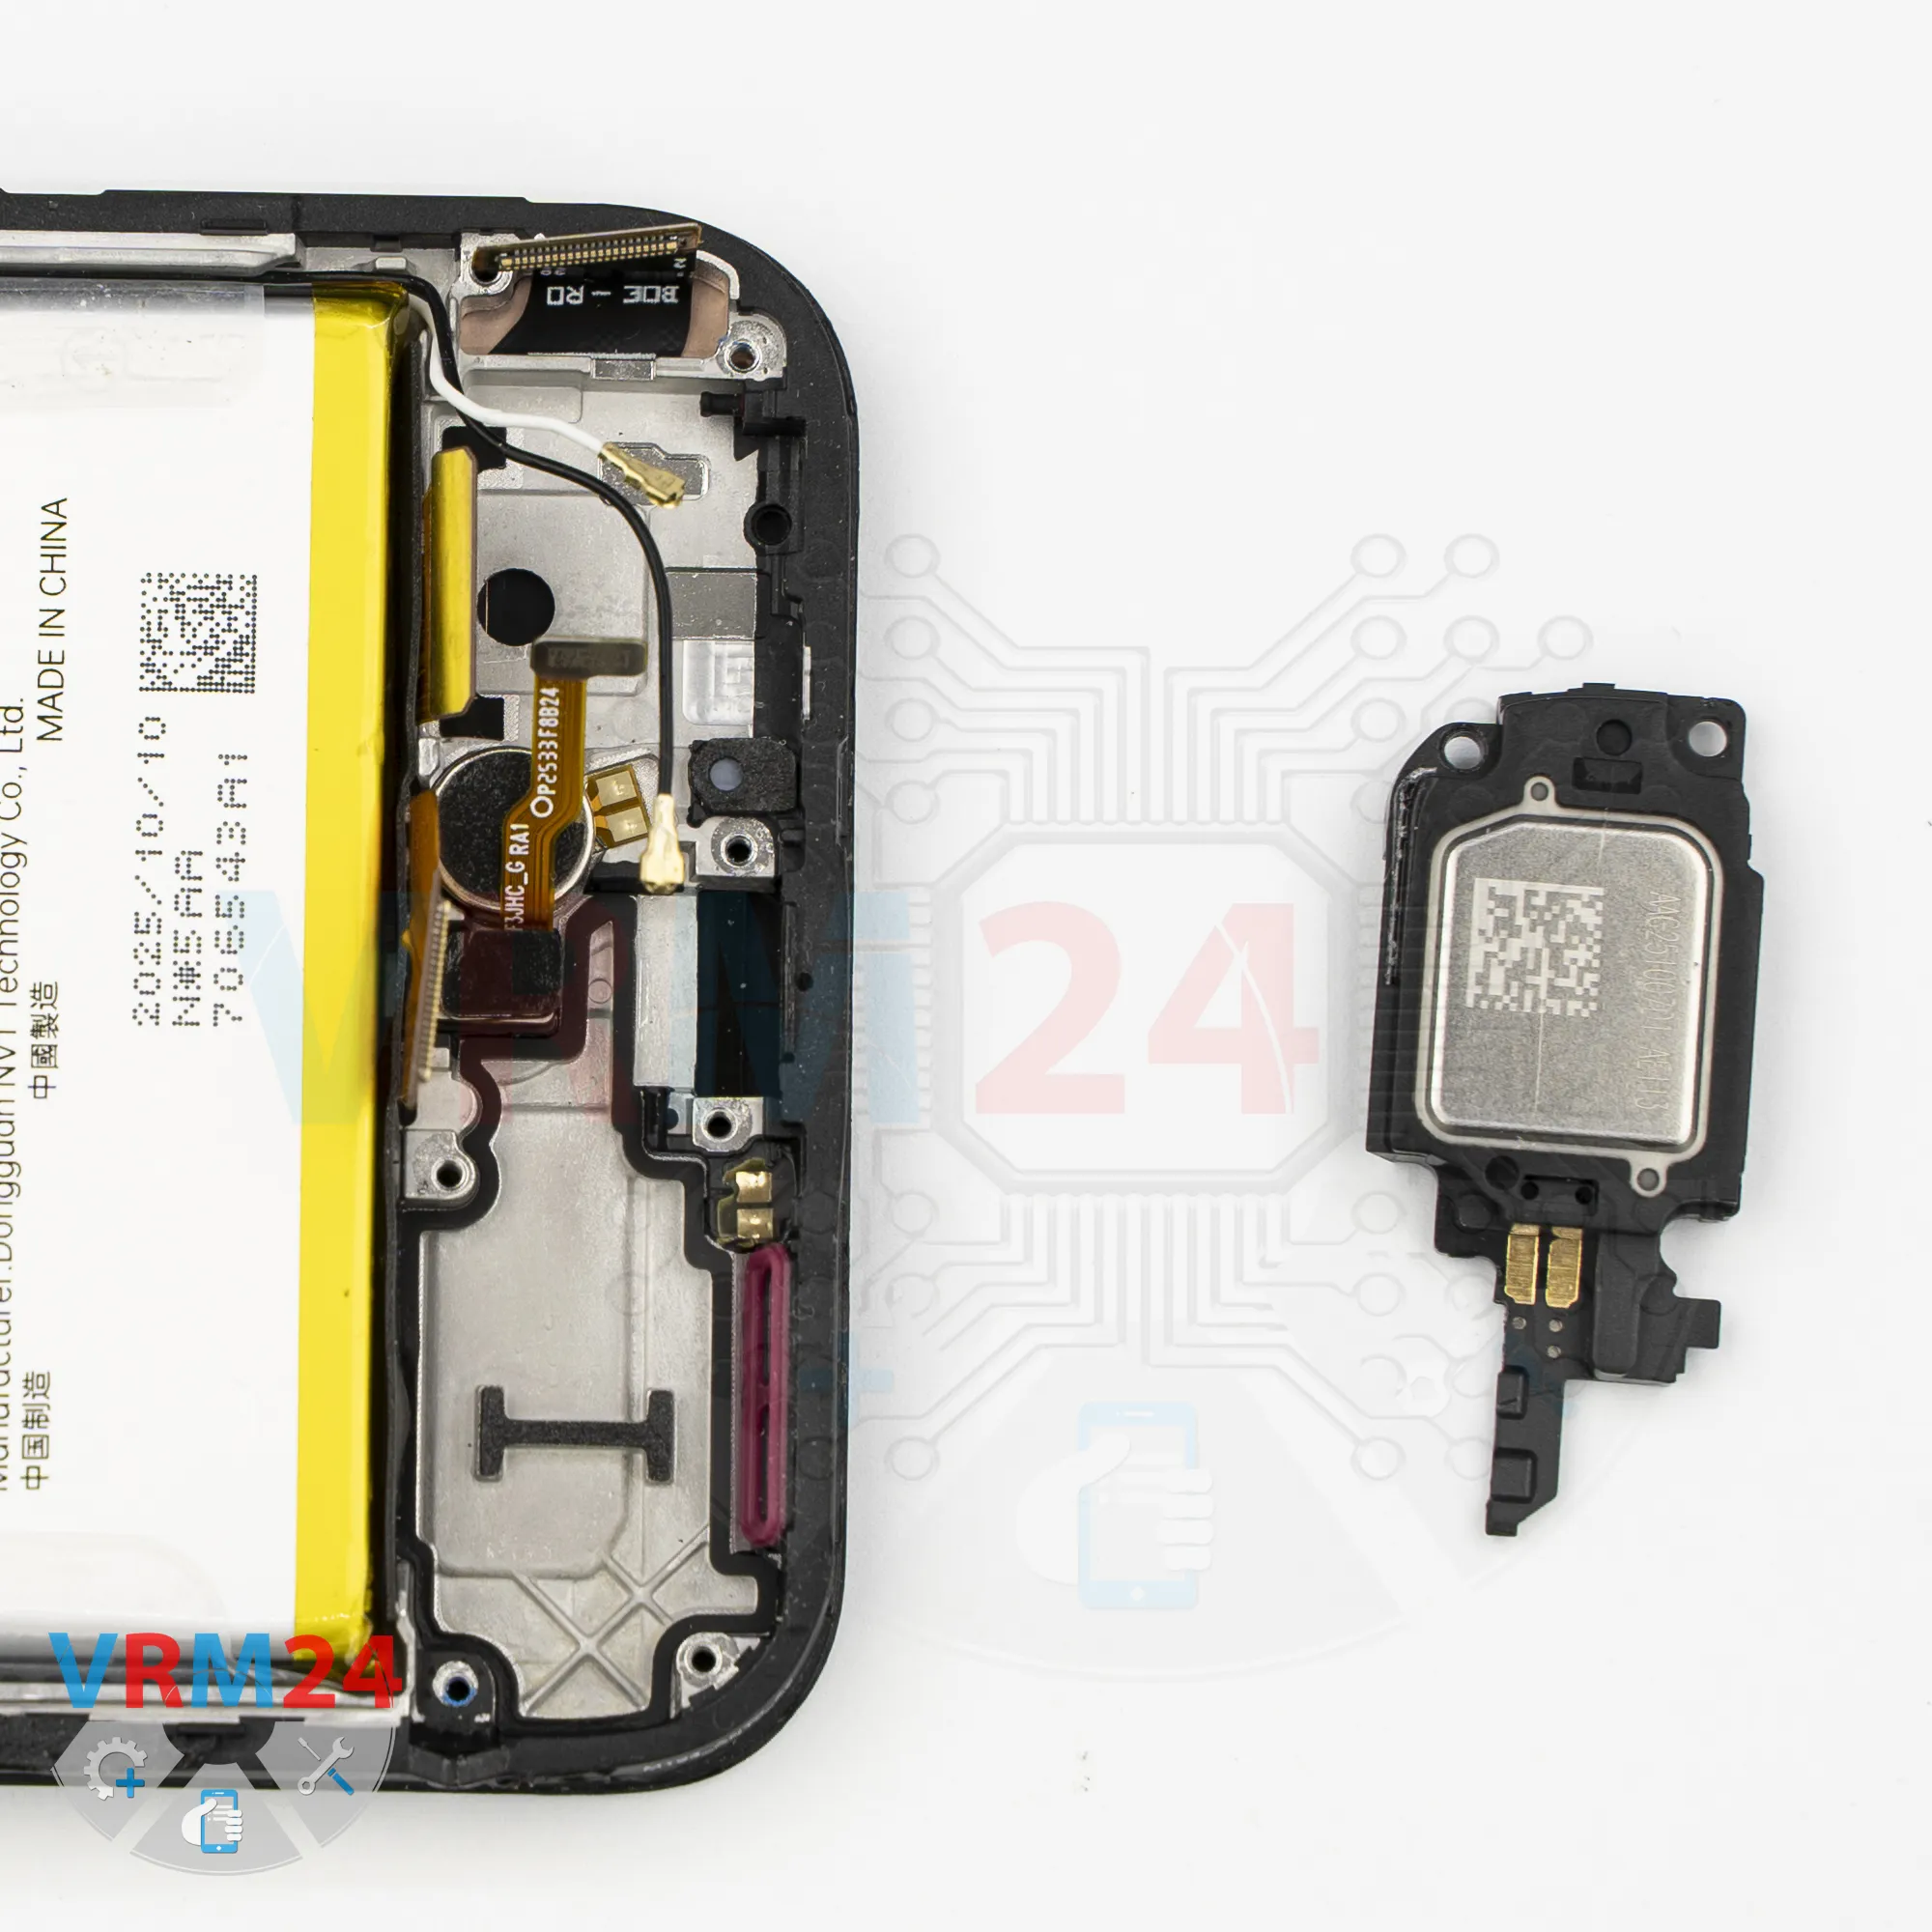
Step 12. Remove the loudspeaker
Next, carefully pry up the edge of the loudspeaker cover, lift it out, remove it, and set it aside.


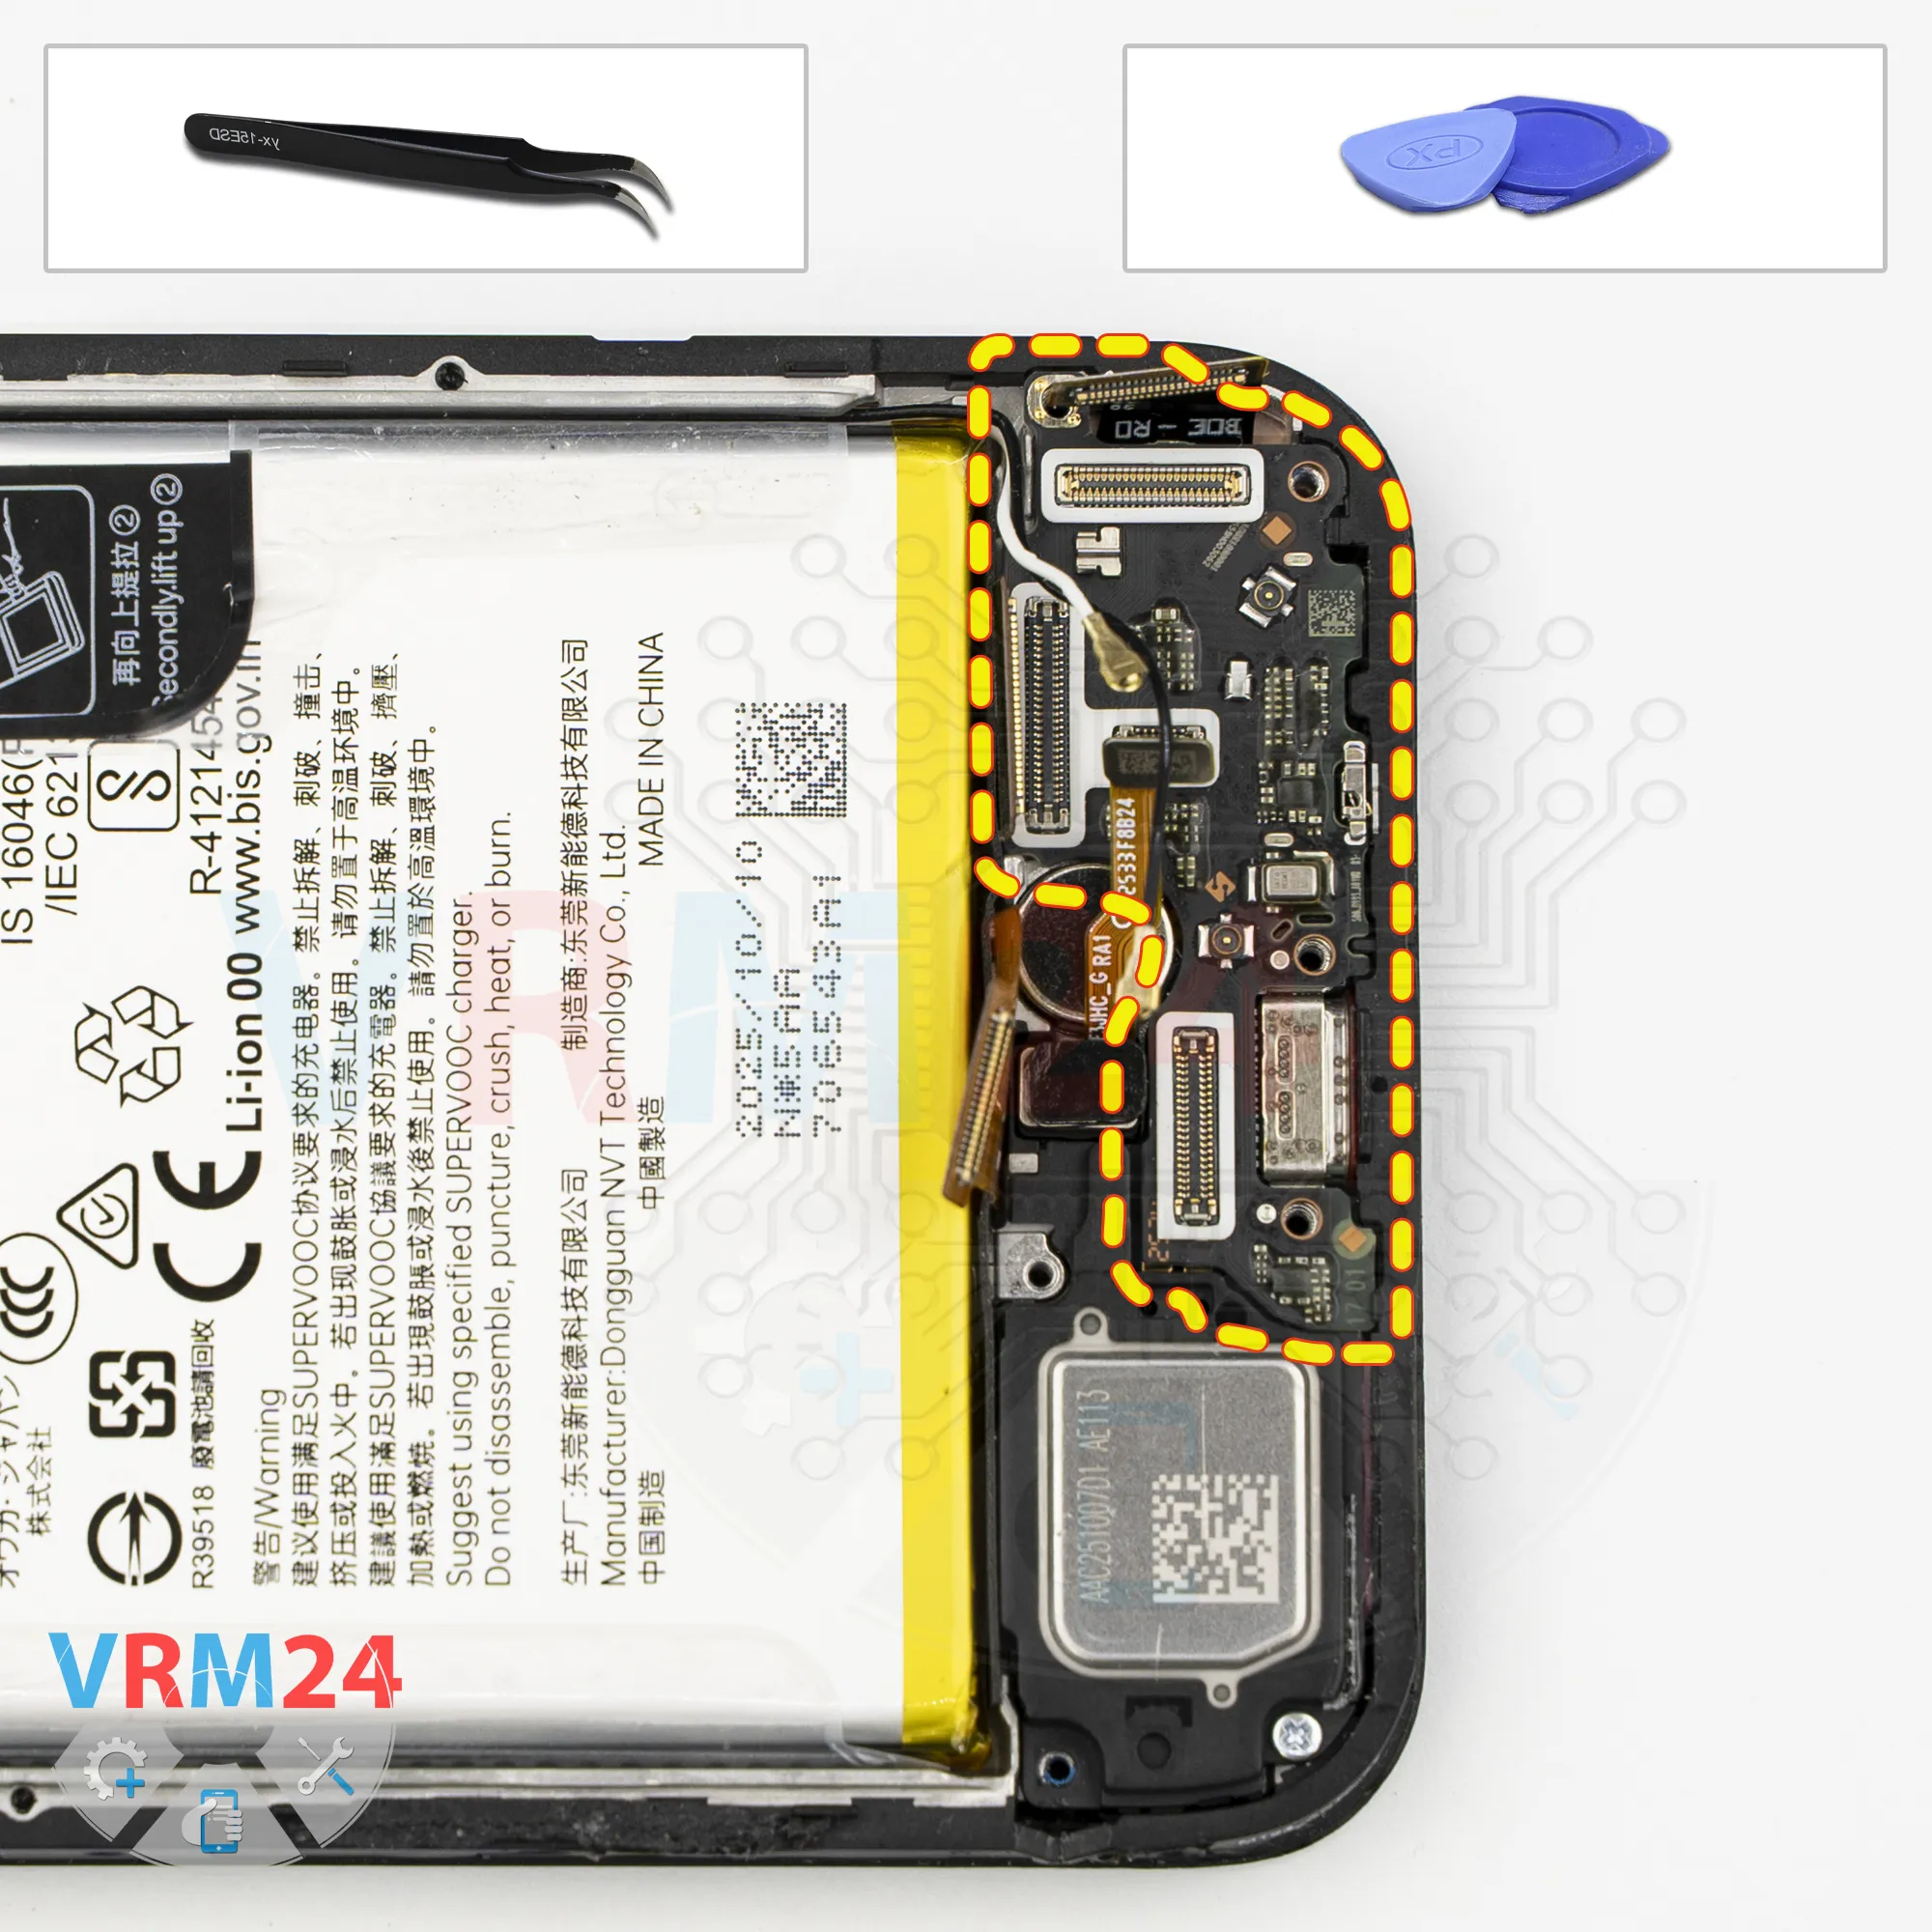
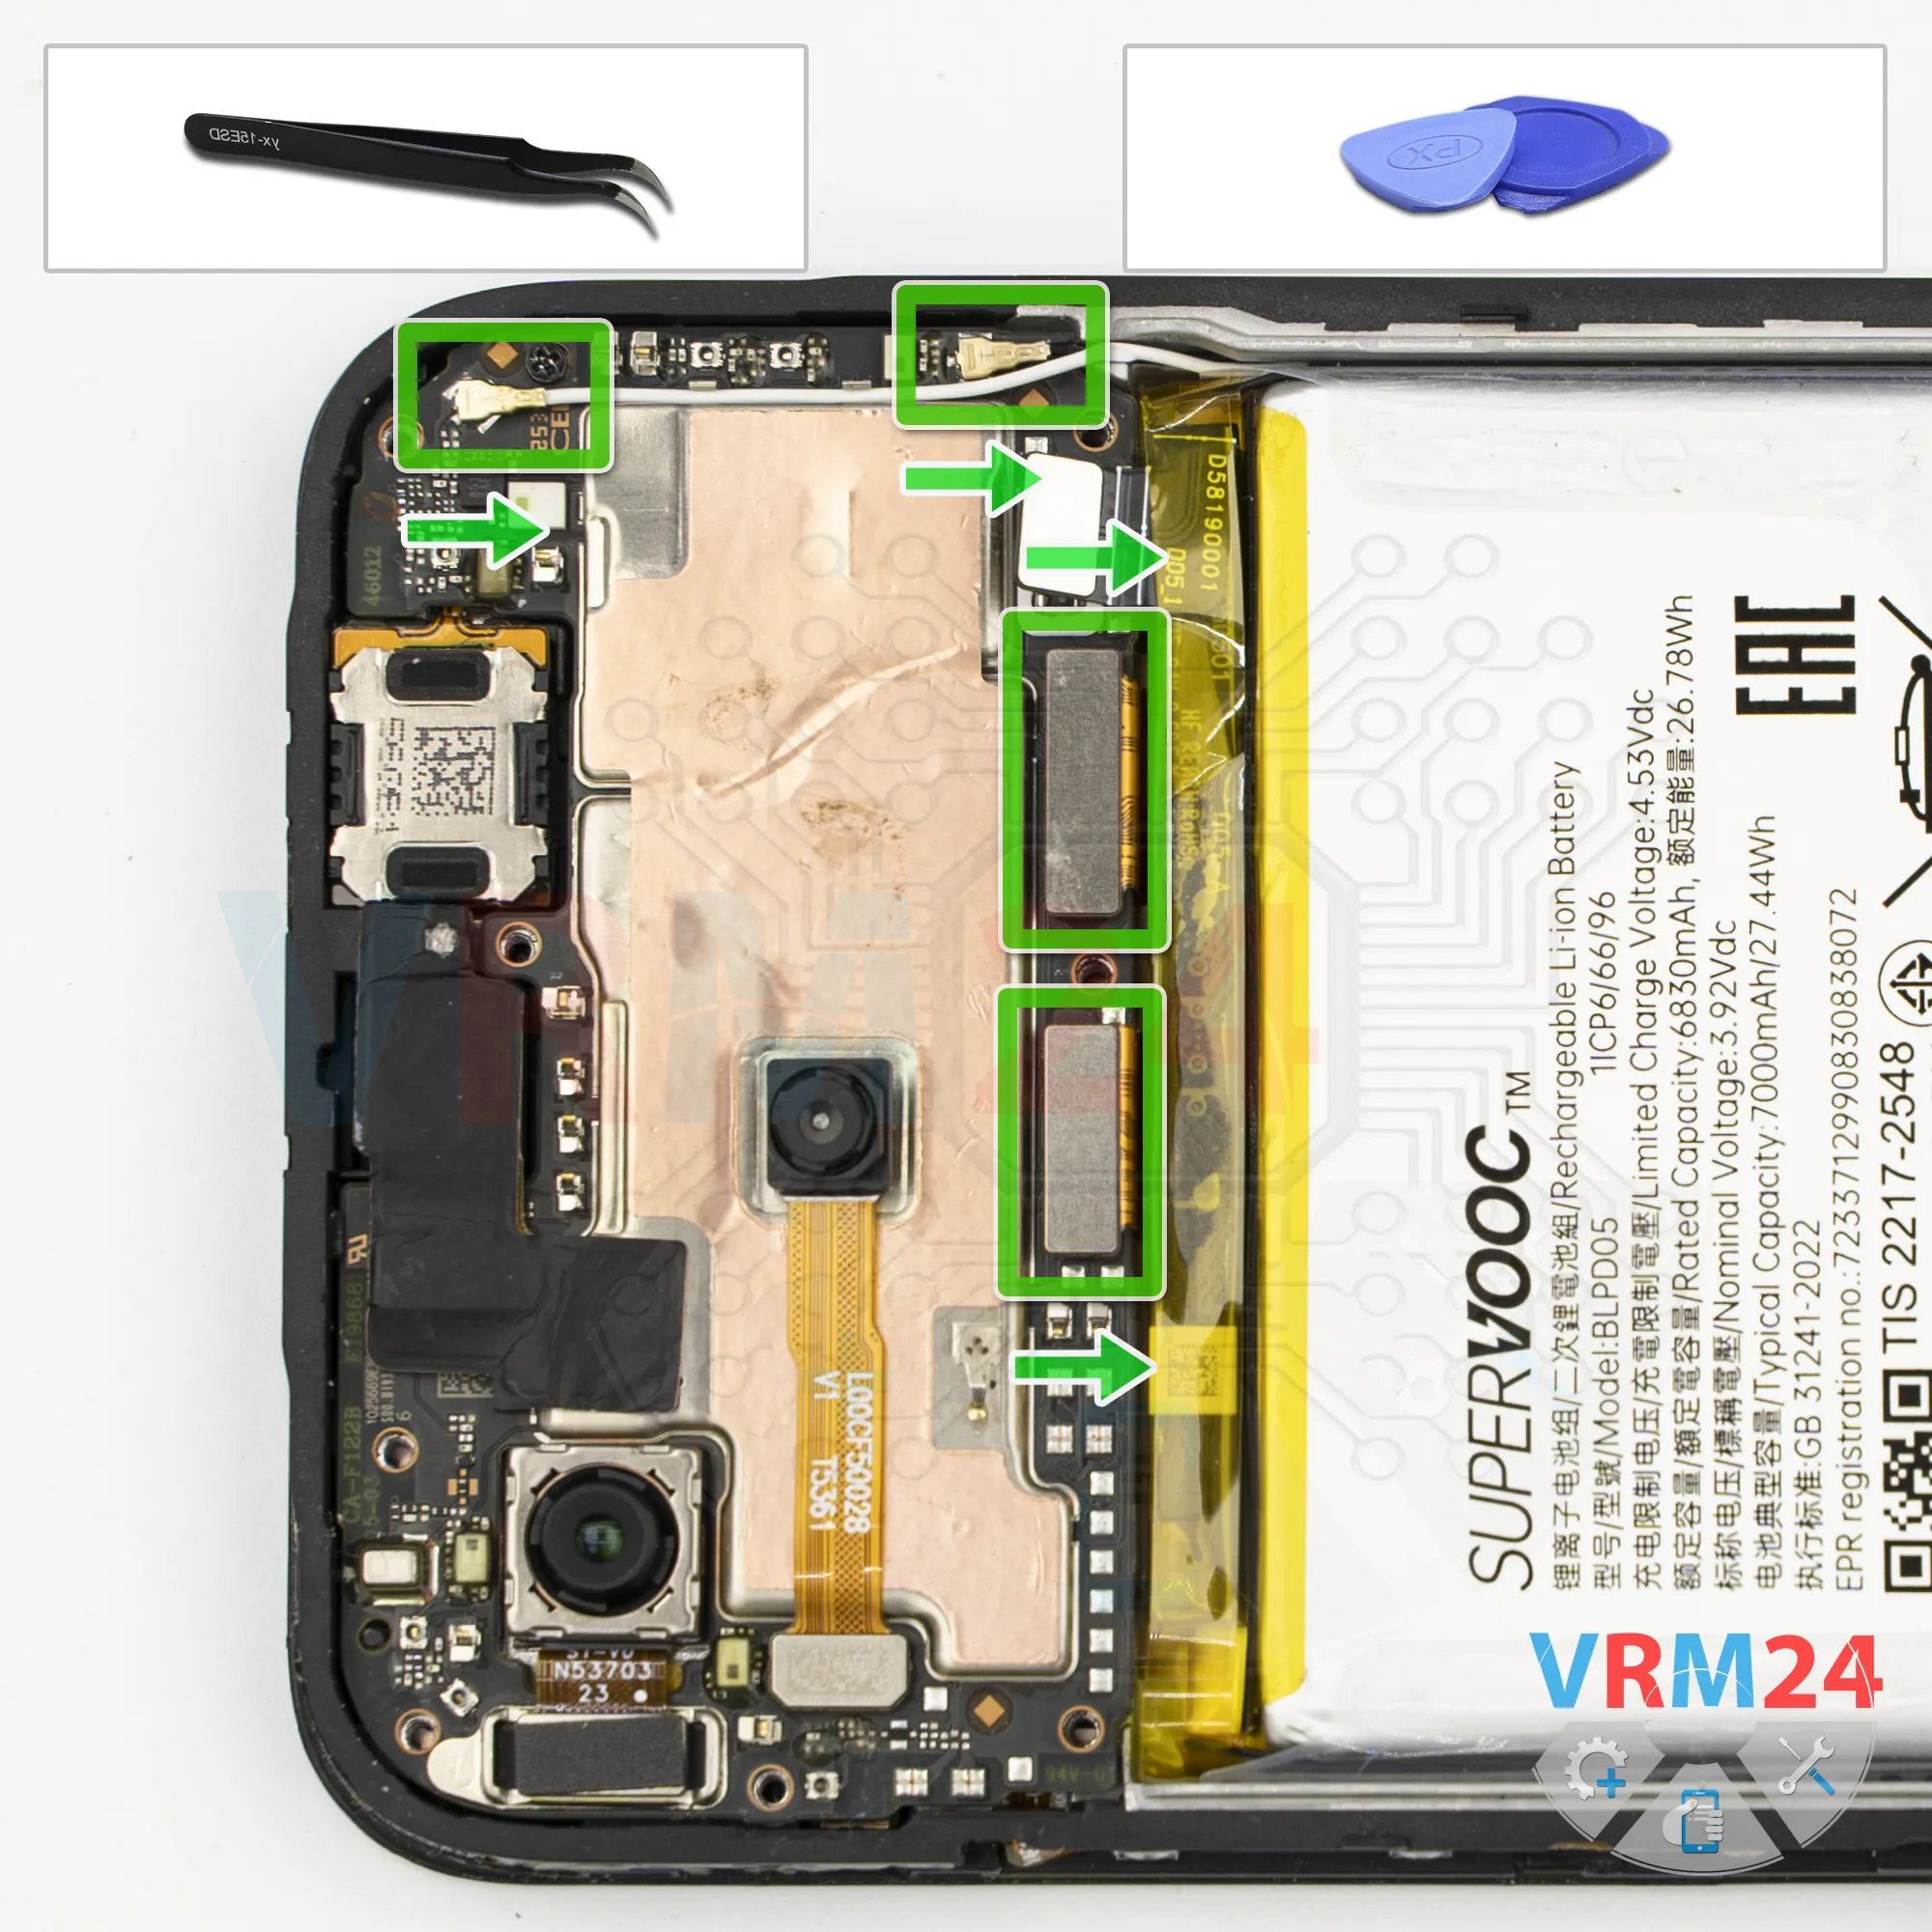
Step 13. Disconnect the connectors
On the mainboard, disconnect the interconnect flex cable, disconnect the display flex cable.
Next, disconnect the coaxial cable connectors and release the cables from the retaining clips on the mainboard.


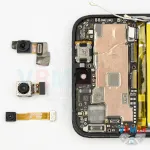
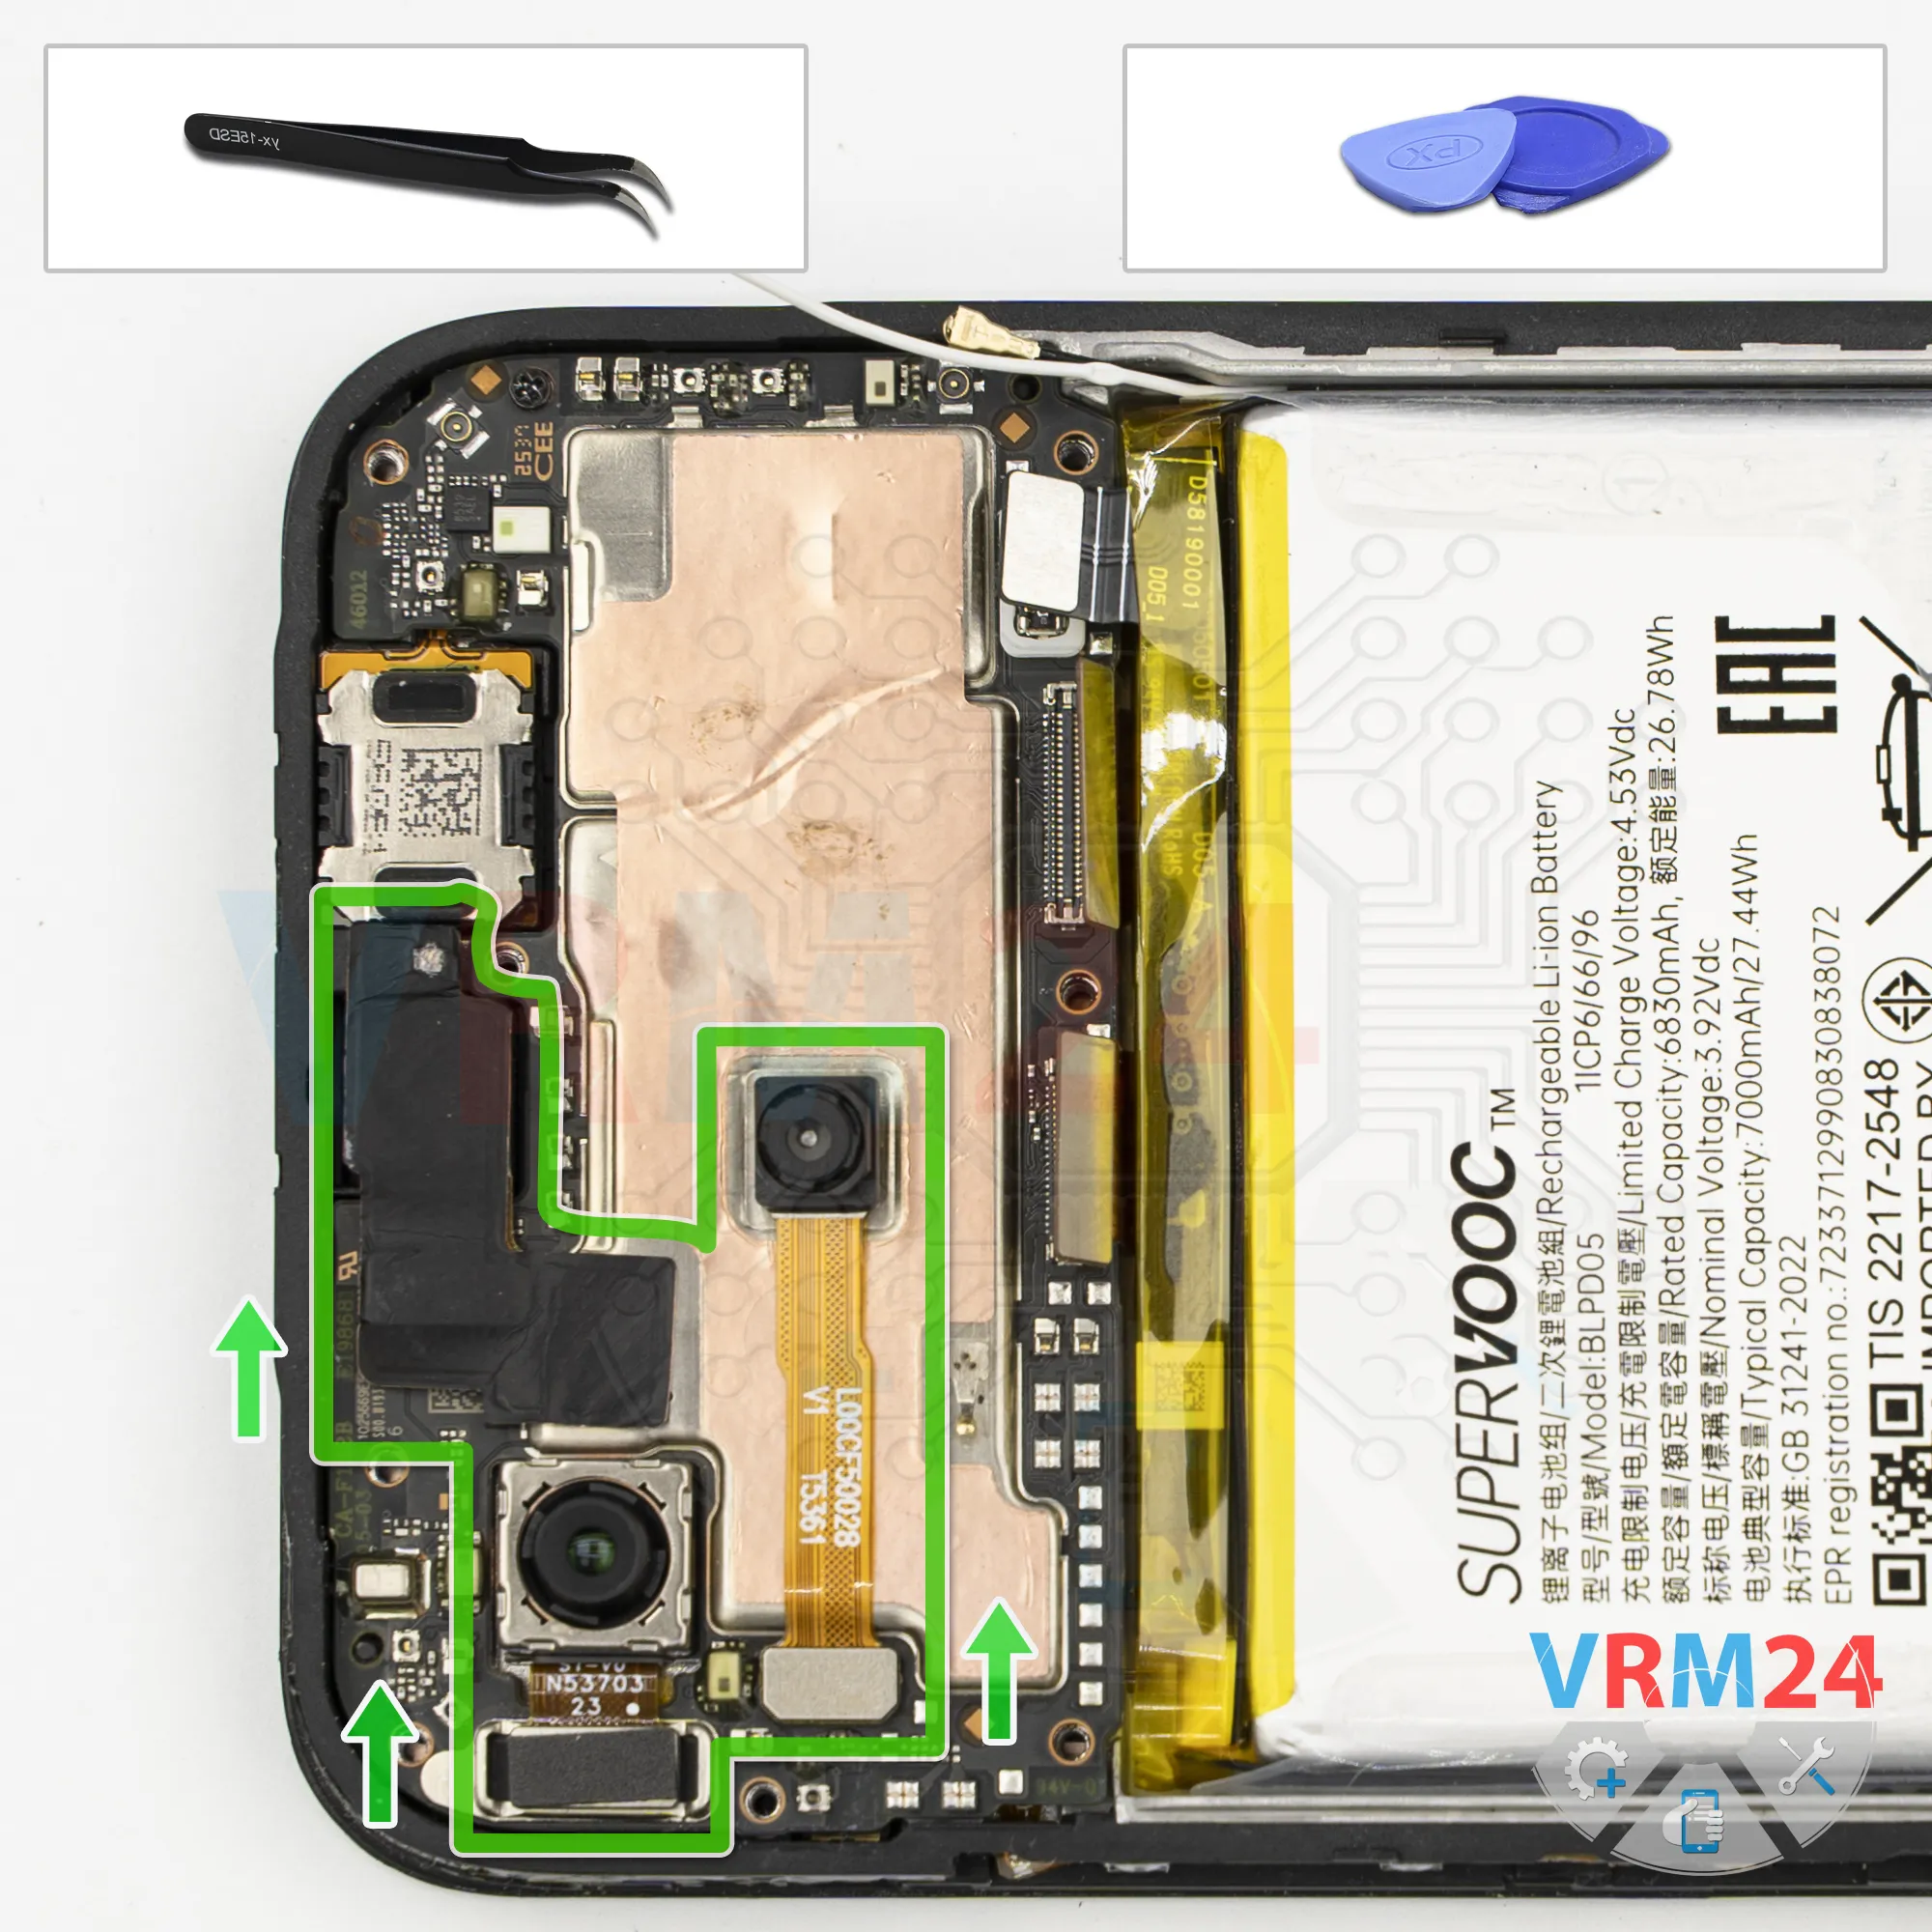
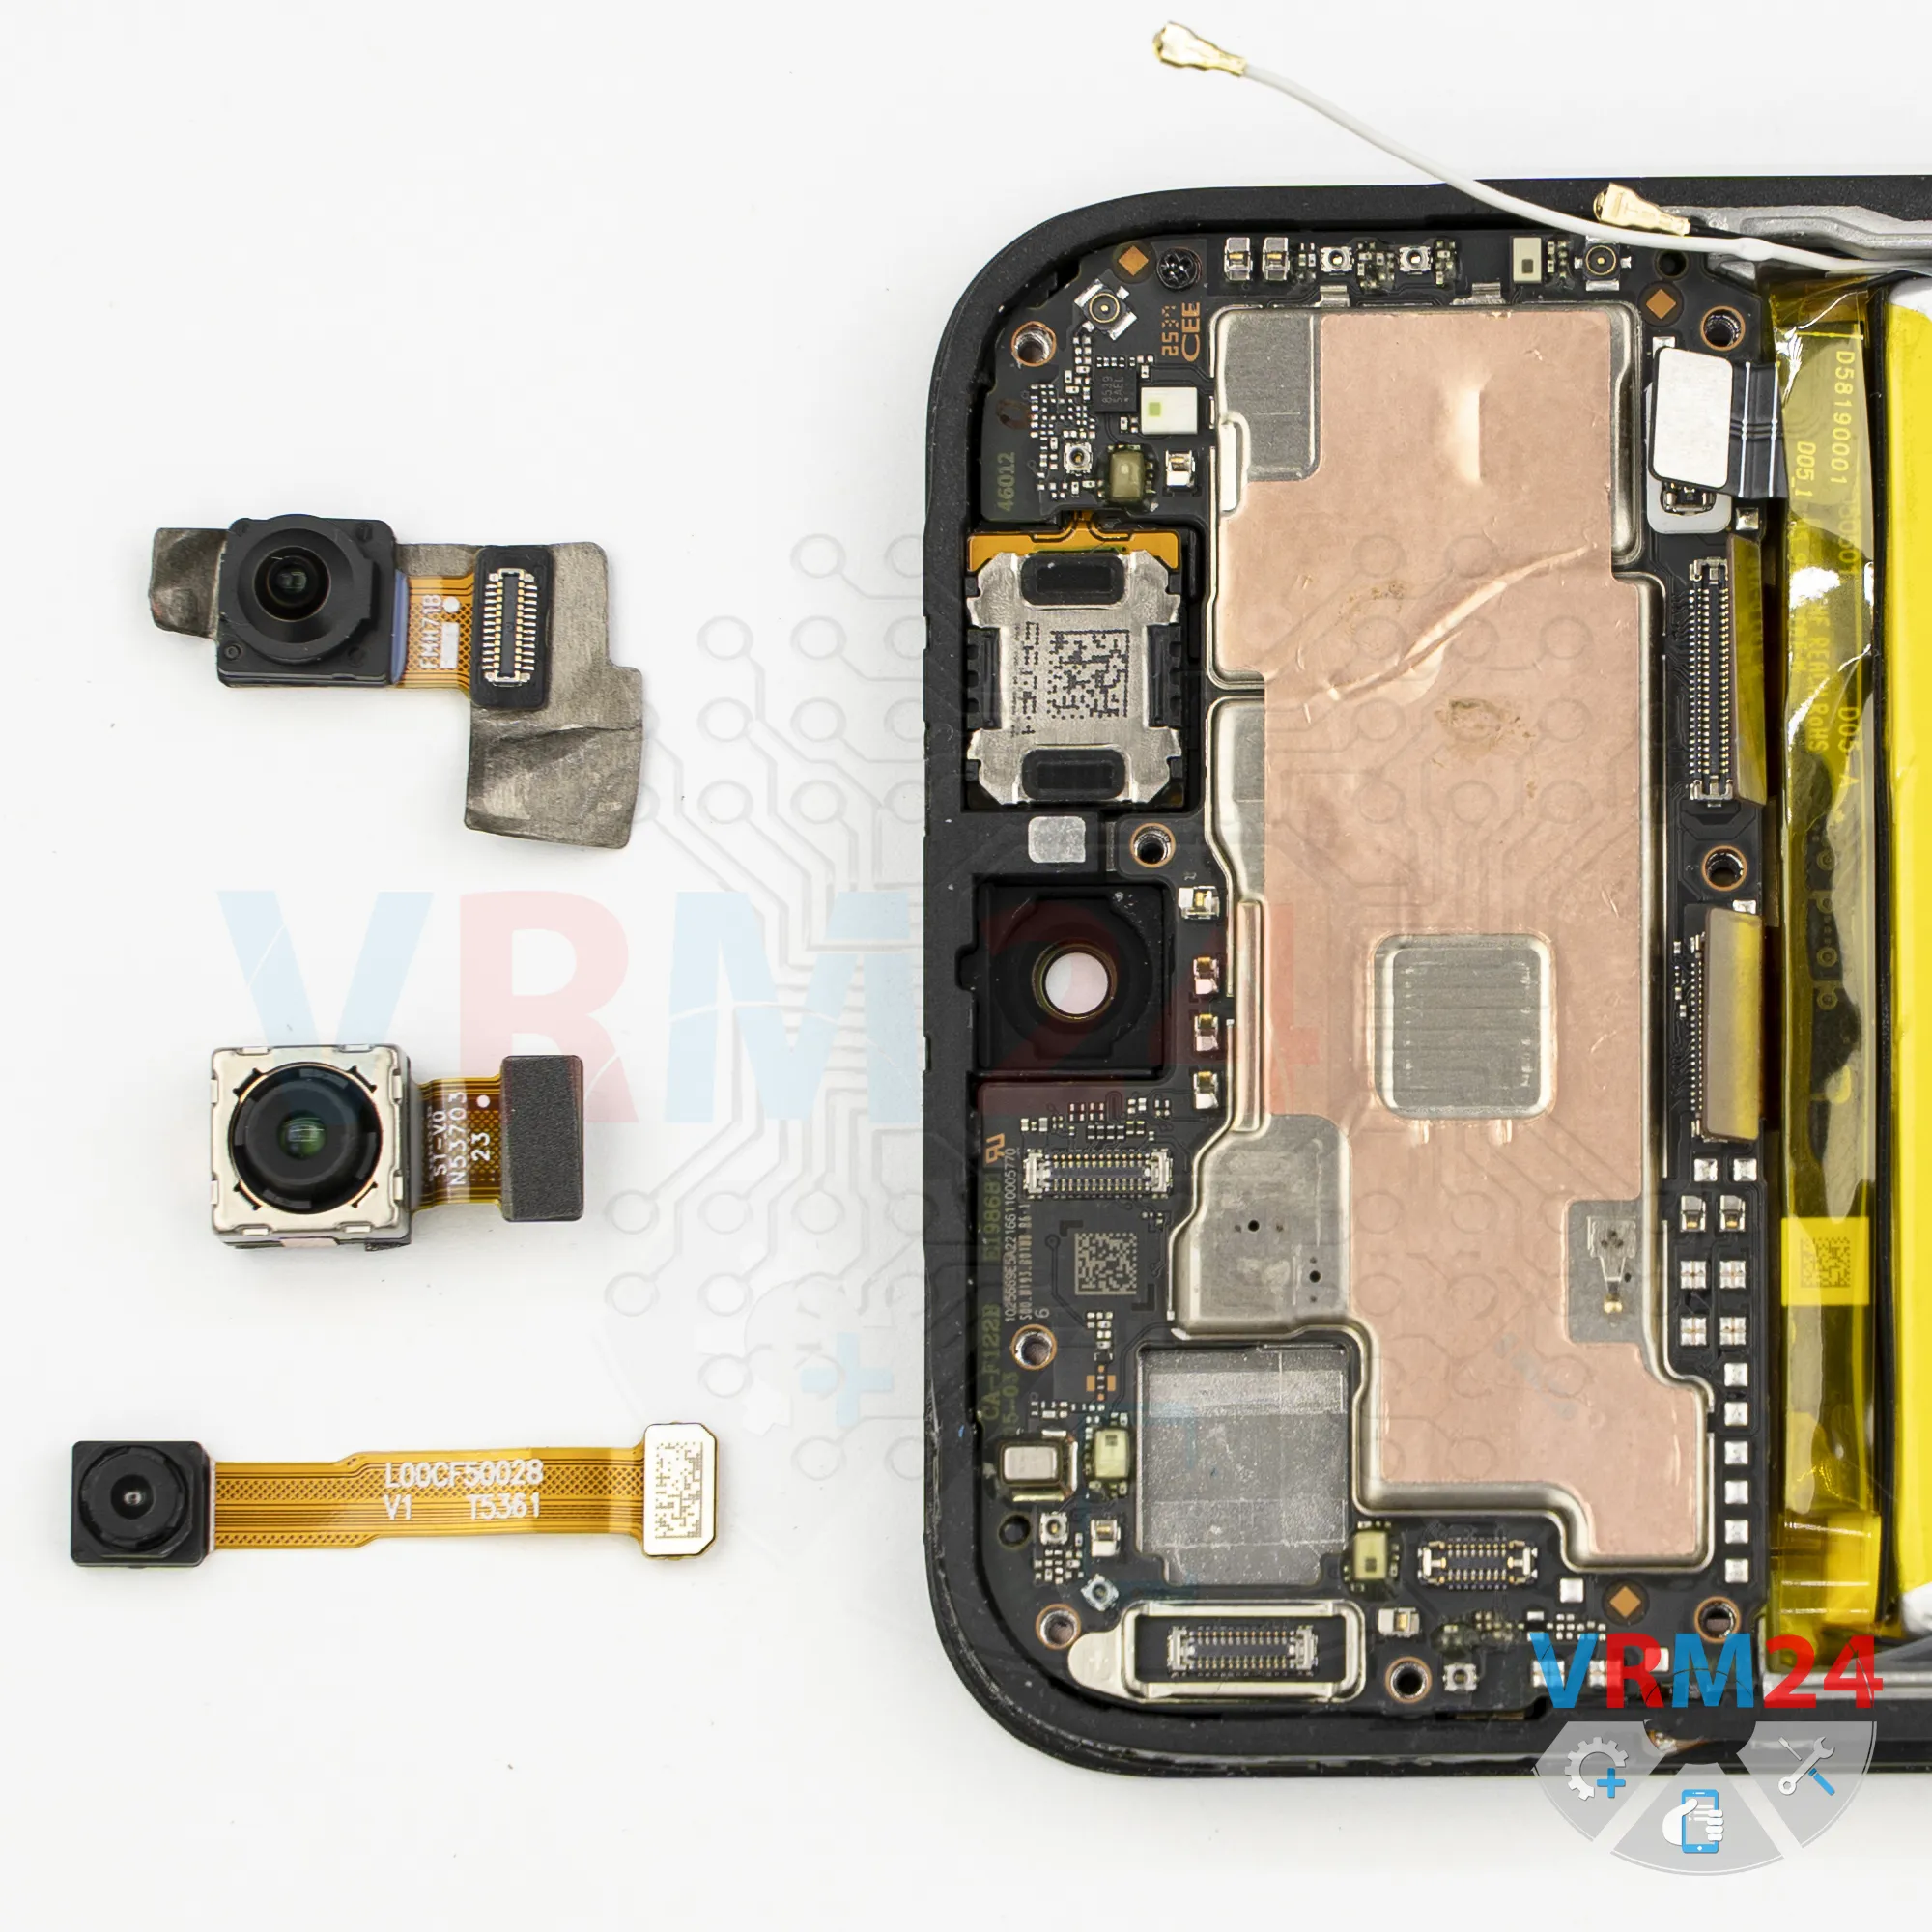
Step 14. Remove the cameras
And we disconnect the rear camera with the long flex cable. After that, we can disconnect the second rear camera.
Now we can disconnect the front-facing camera. It's best to keep the thermal foil intact, since we'll need it again during reassembly.


Step 15. Unscrew one screw
We also need to remove the single screw securing the mainboard. It's clearly different from the previous screws.
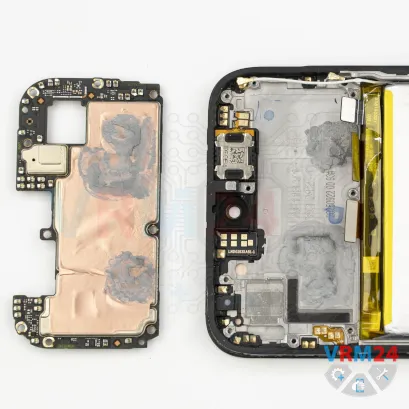


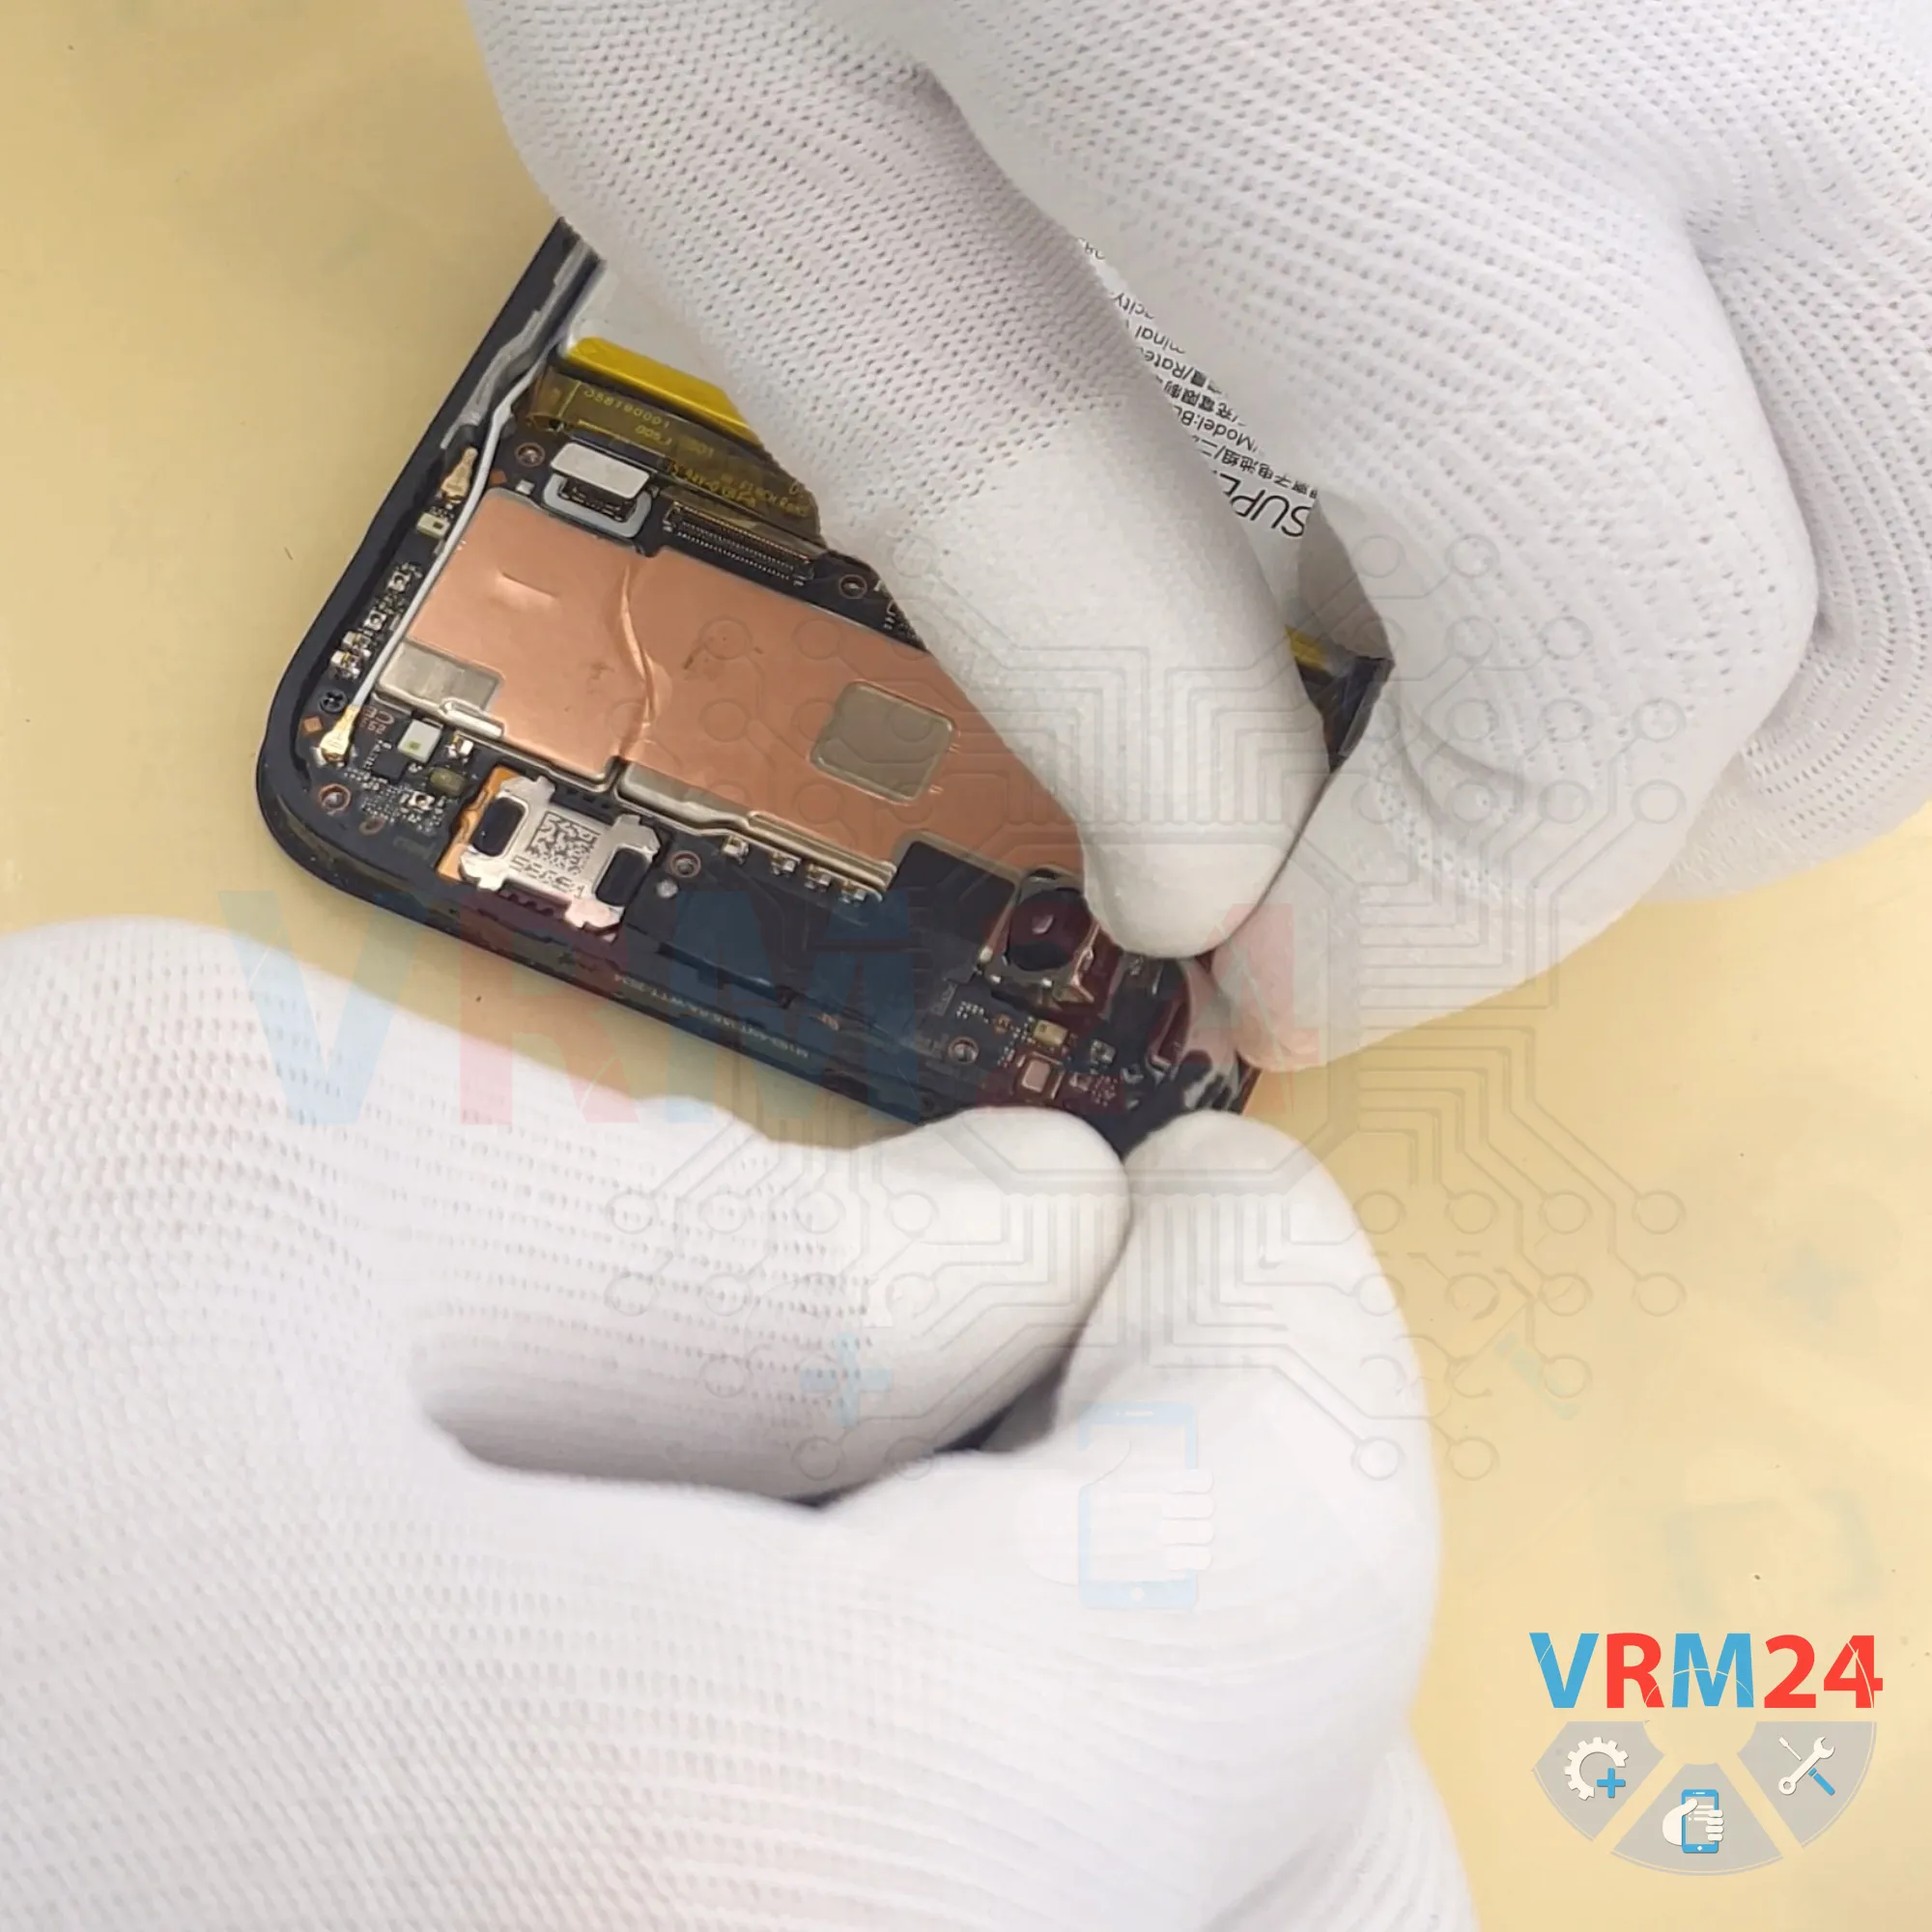
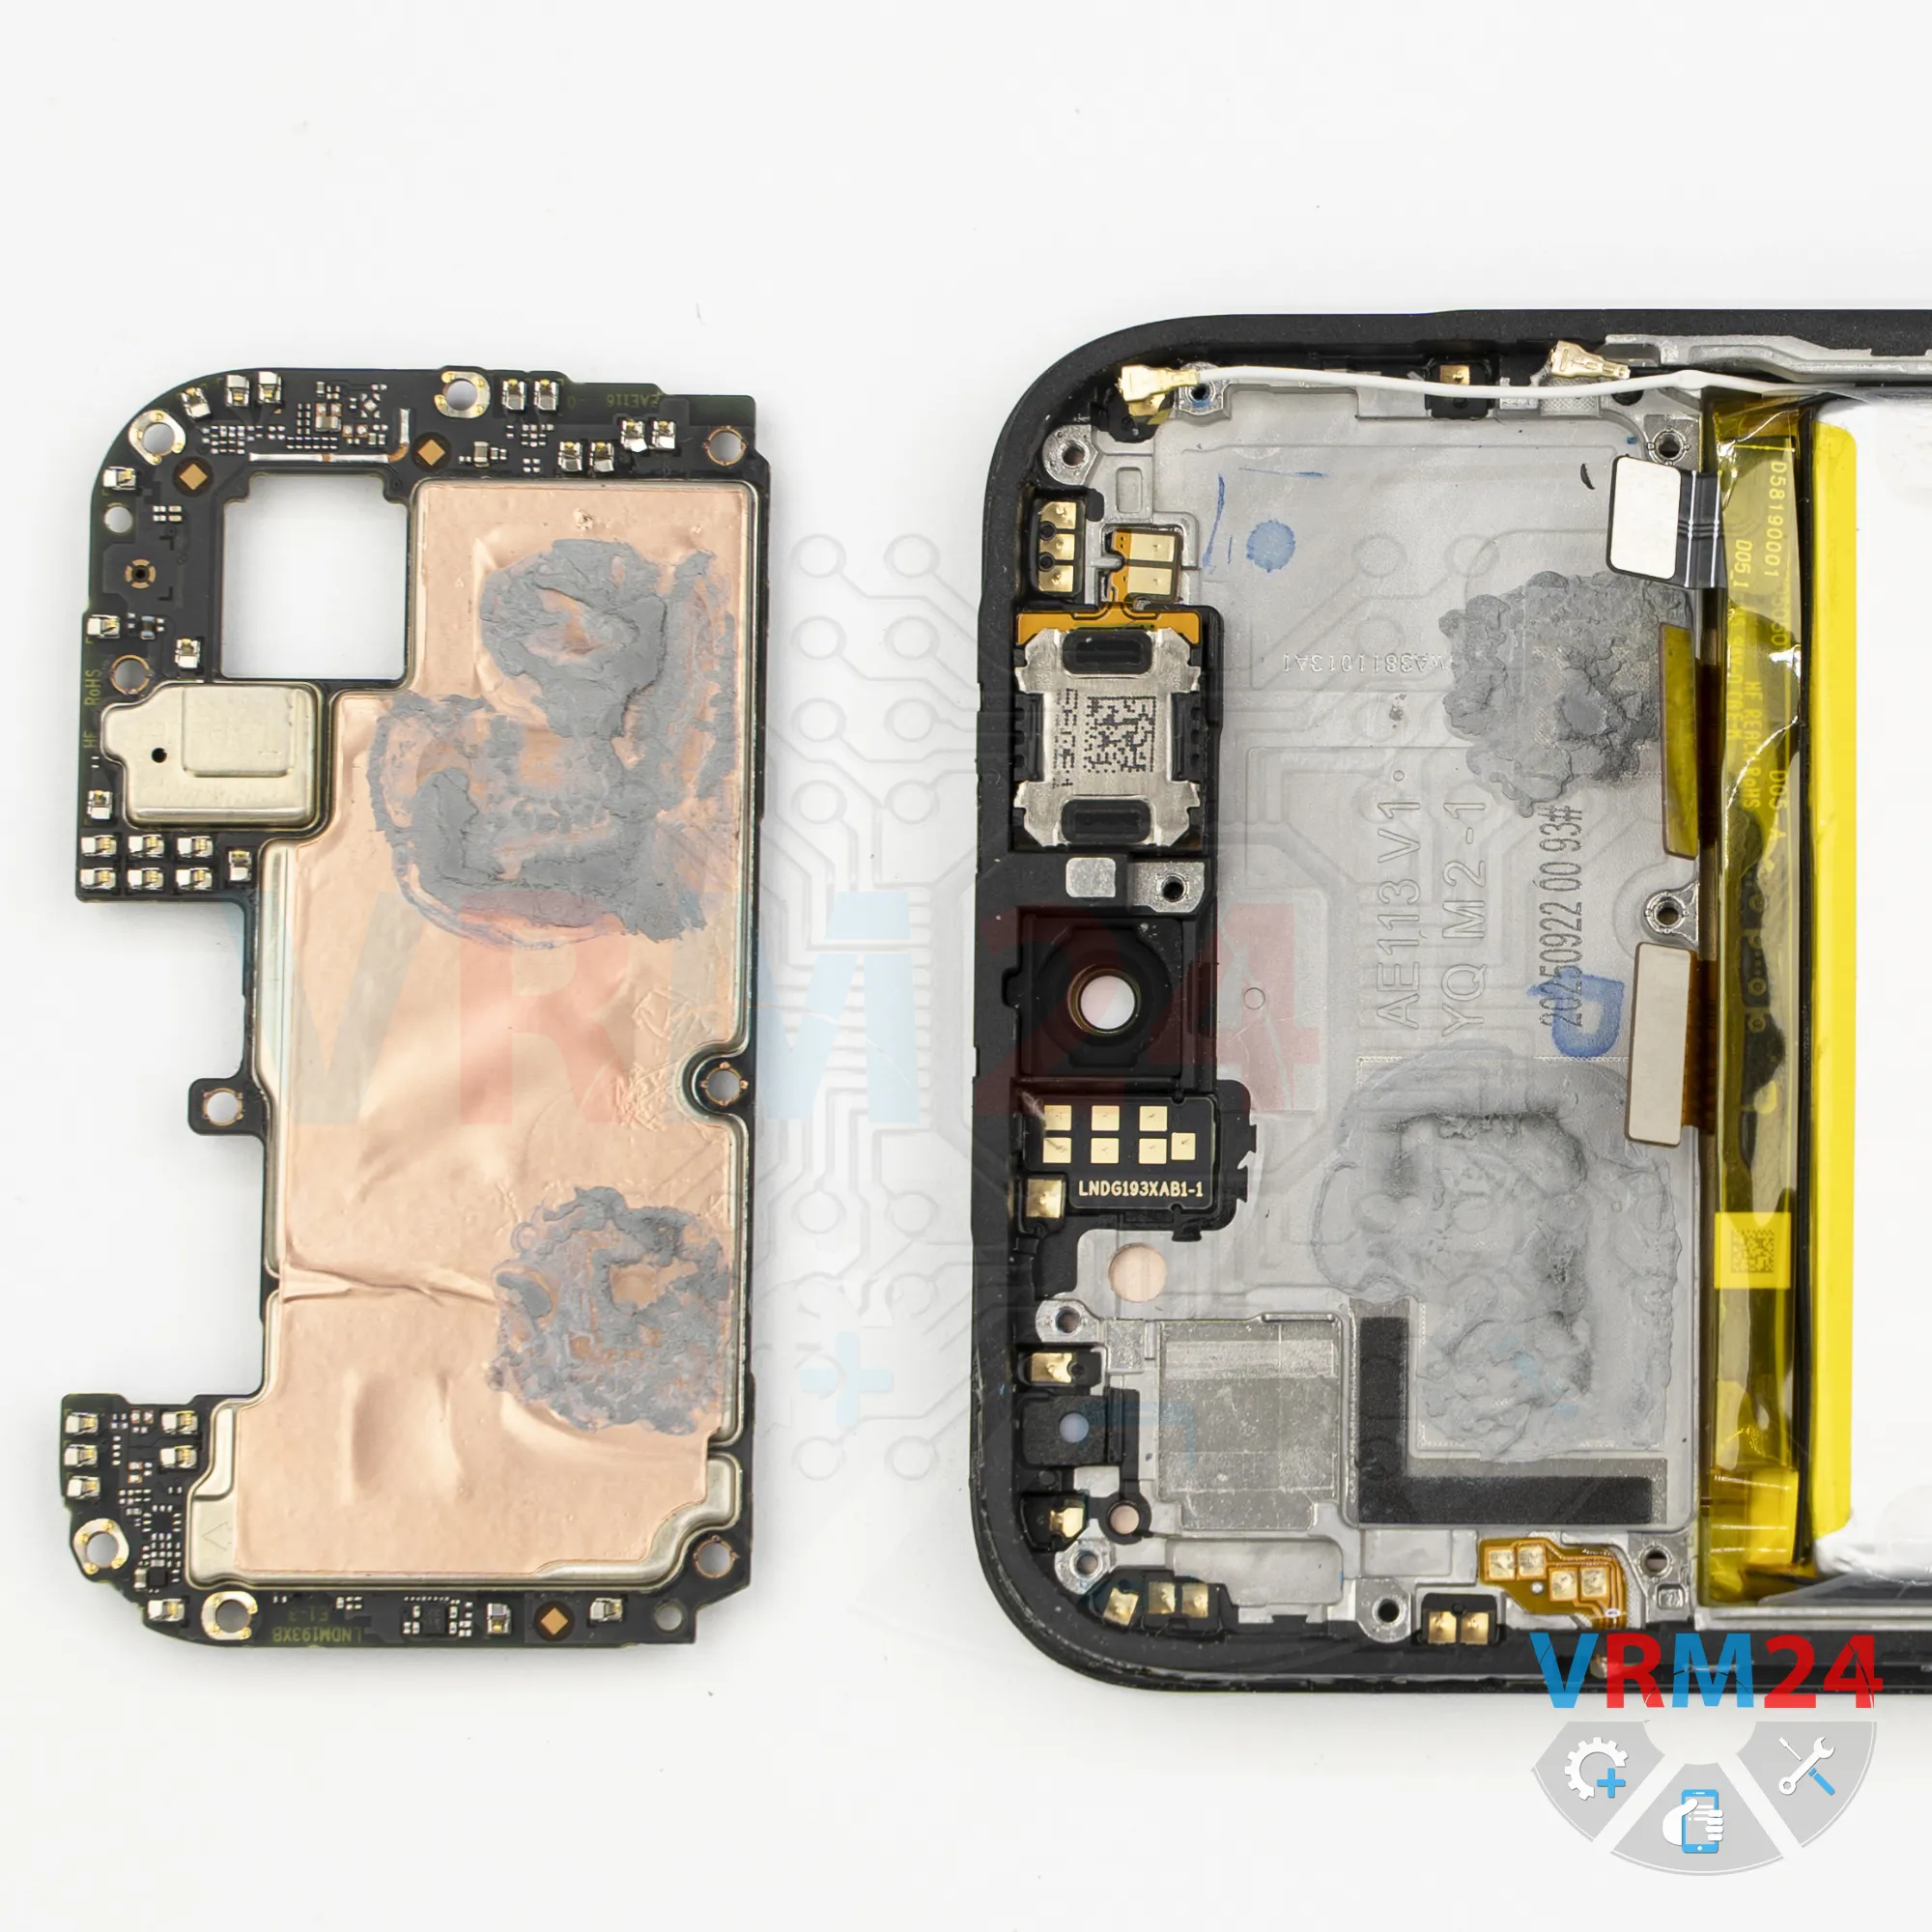
Step 16. Remove the motherboard
Now nothing is holding the mainboard in place. Carefully lift it out and set it aside.
⚠️️ Do not bend the circuit board when removing it or push tools under it. Unbeknownst to yourself, you can damage components or cables from the inside.


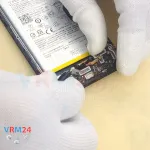
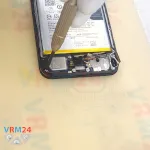
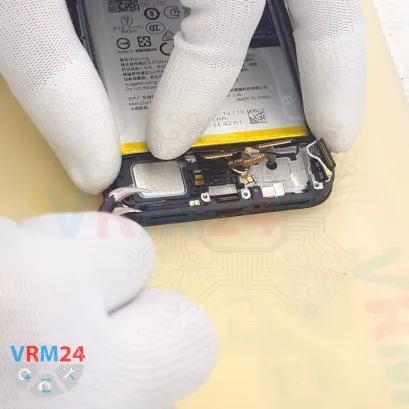
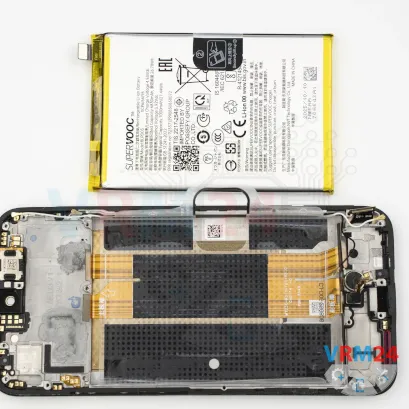
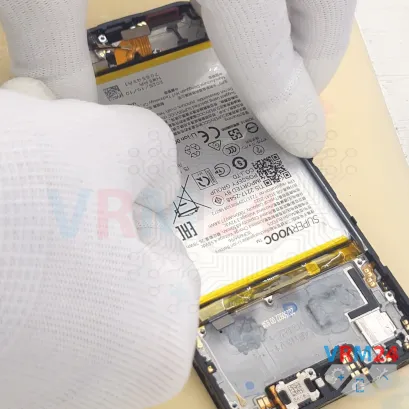
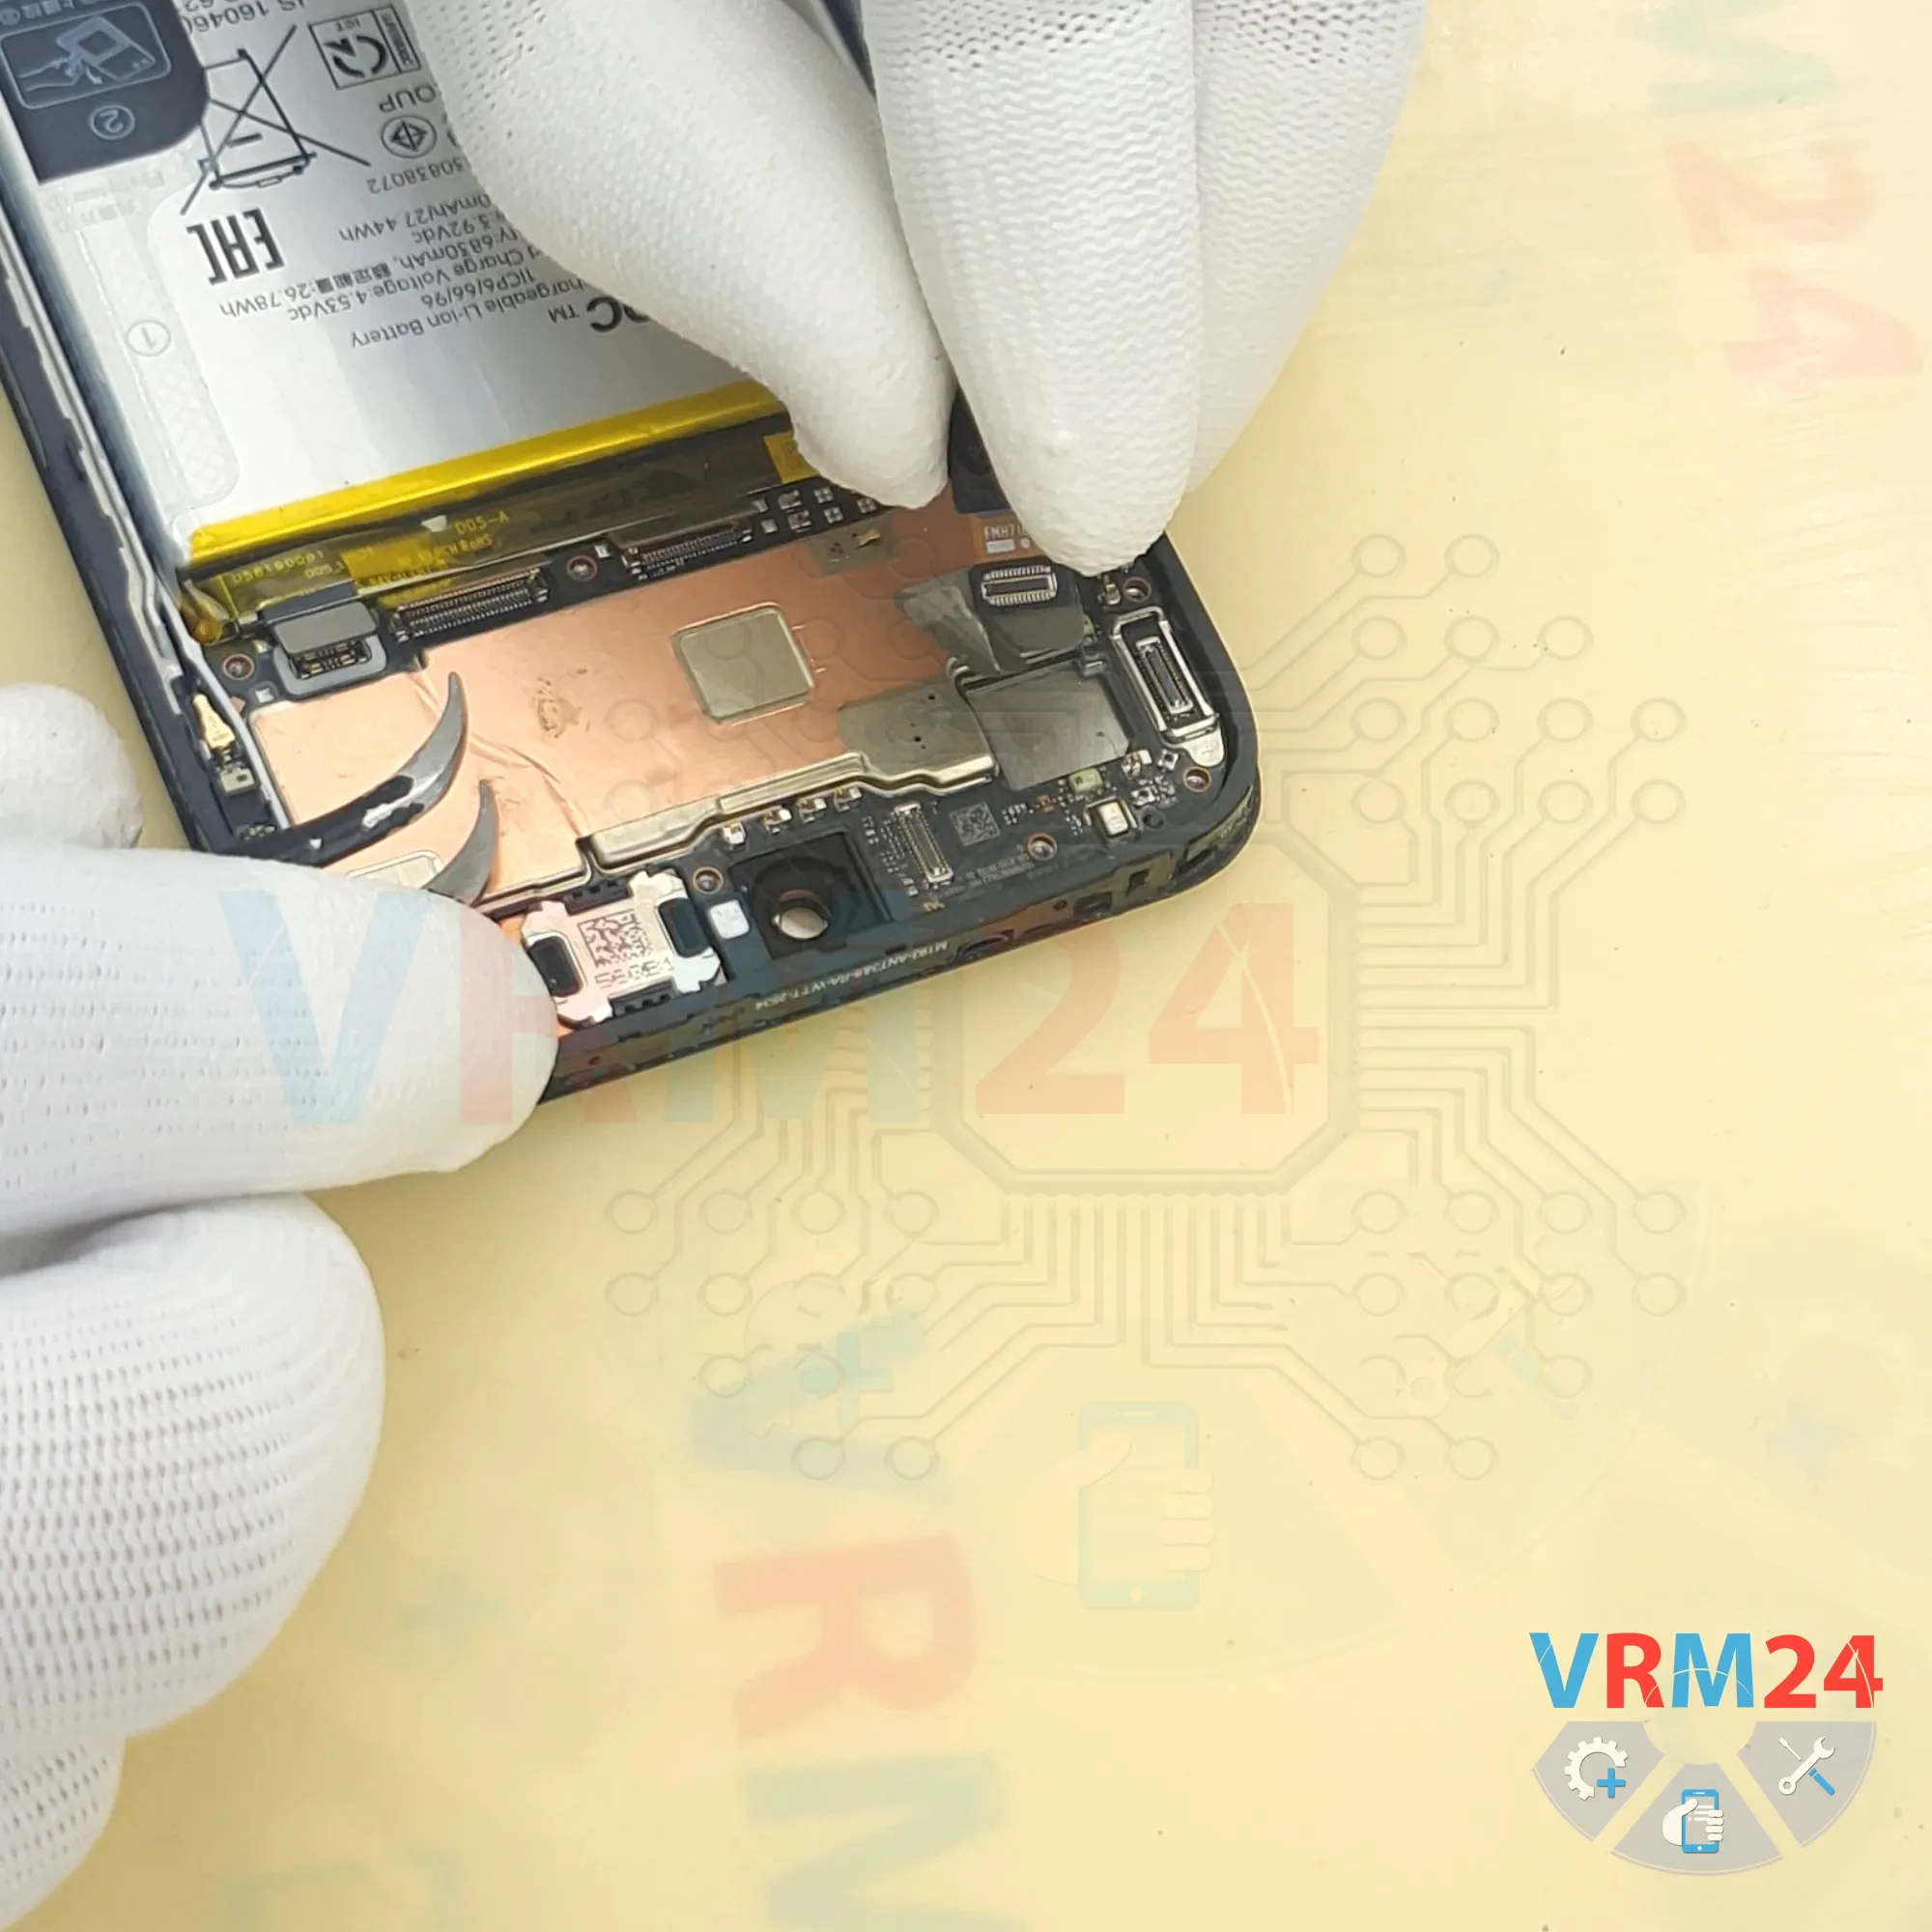
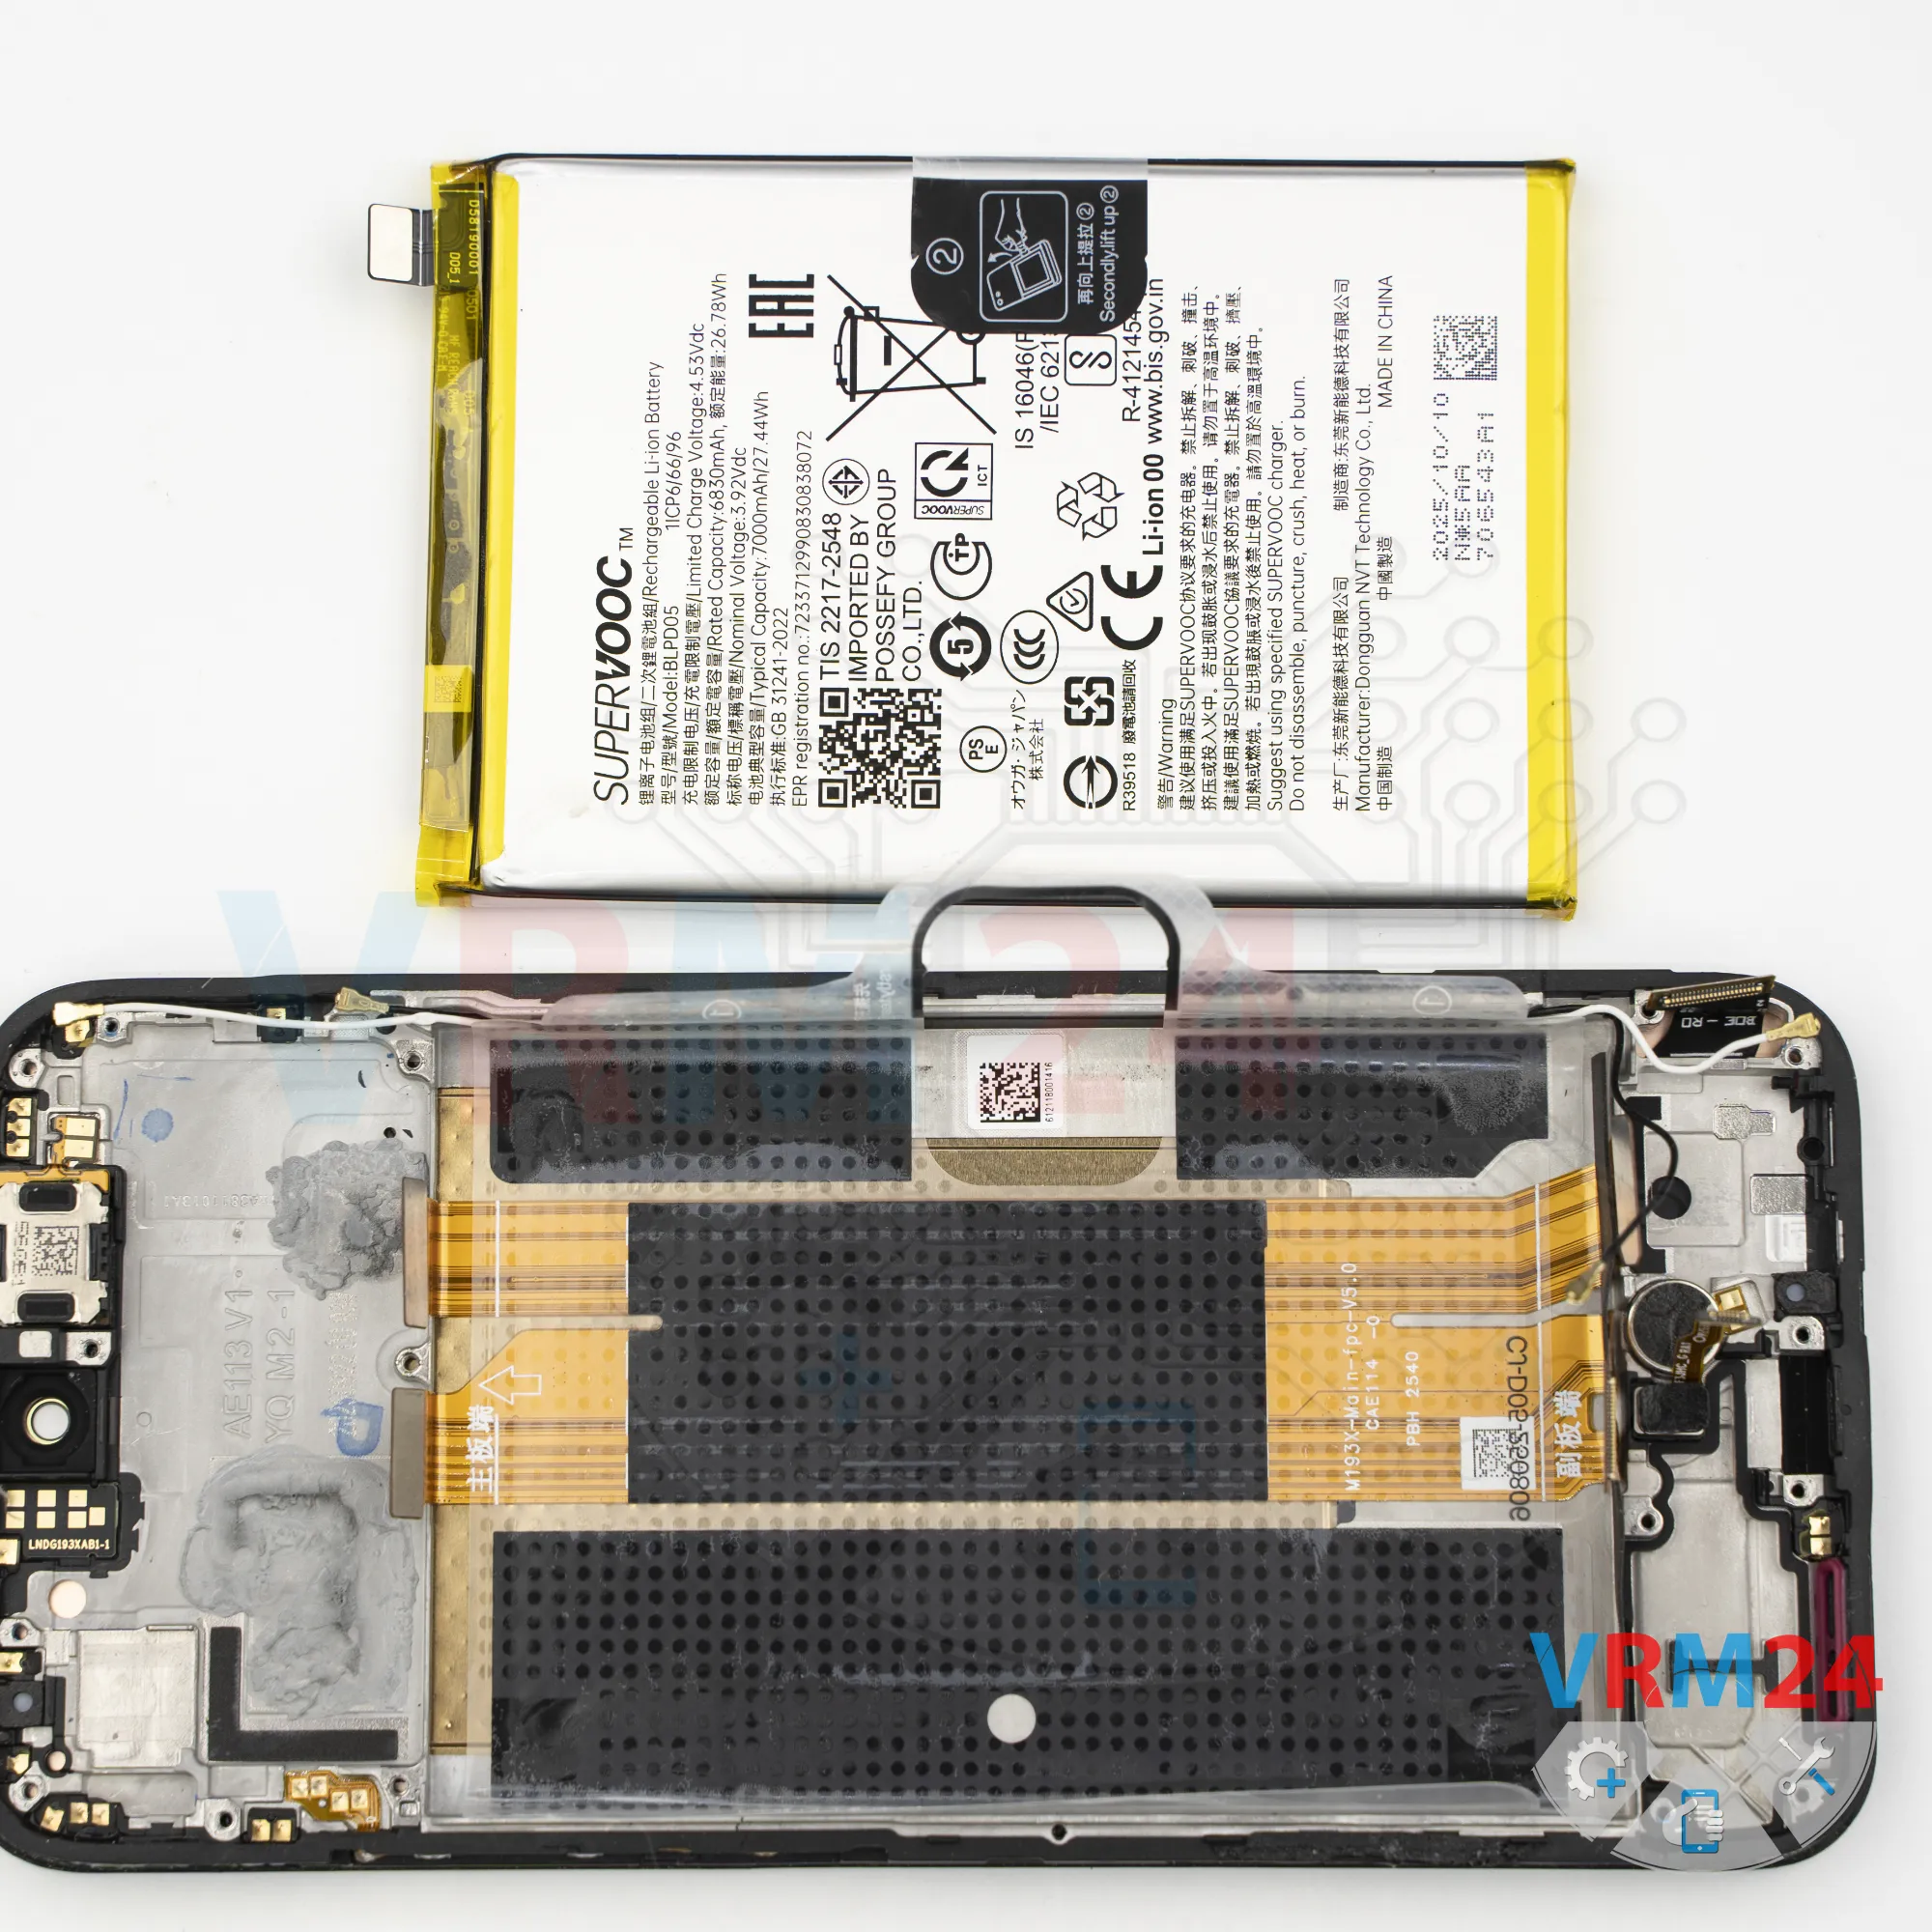
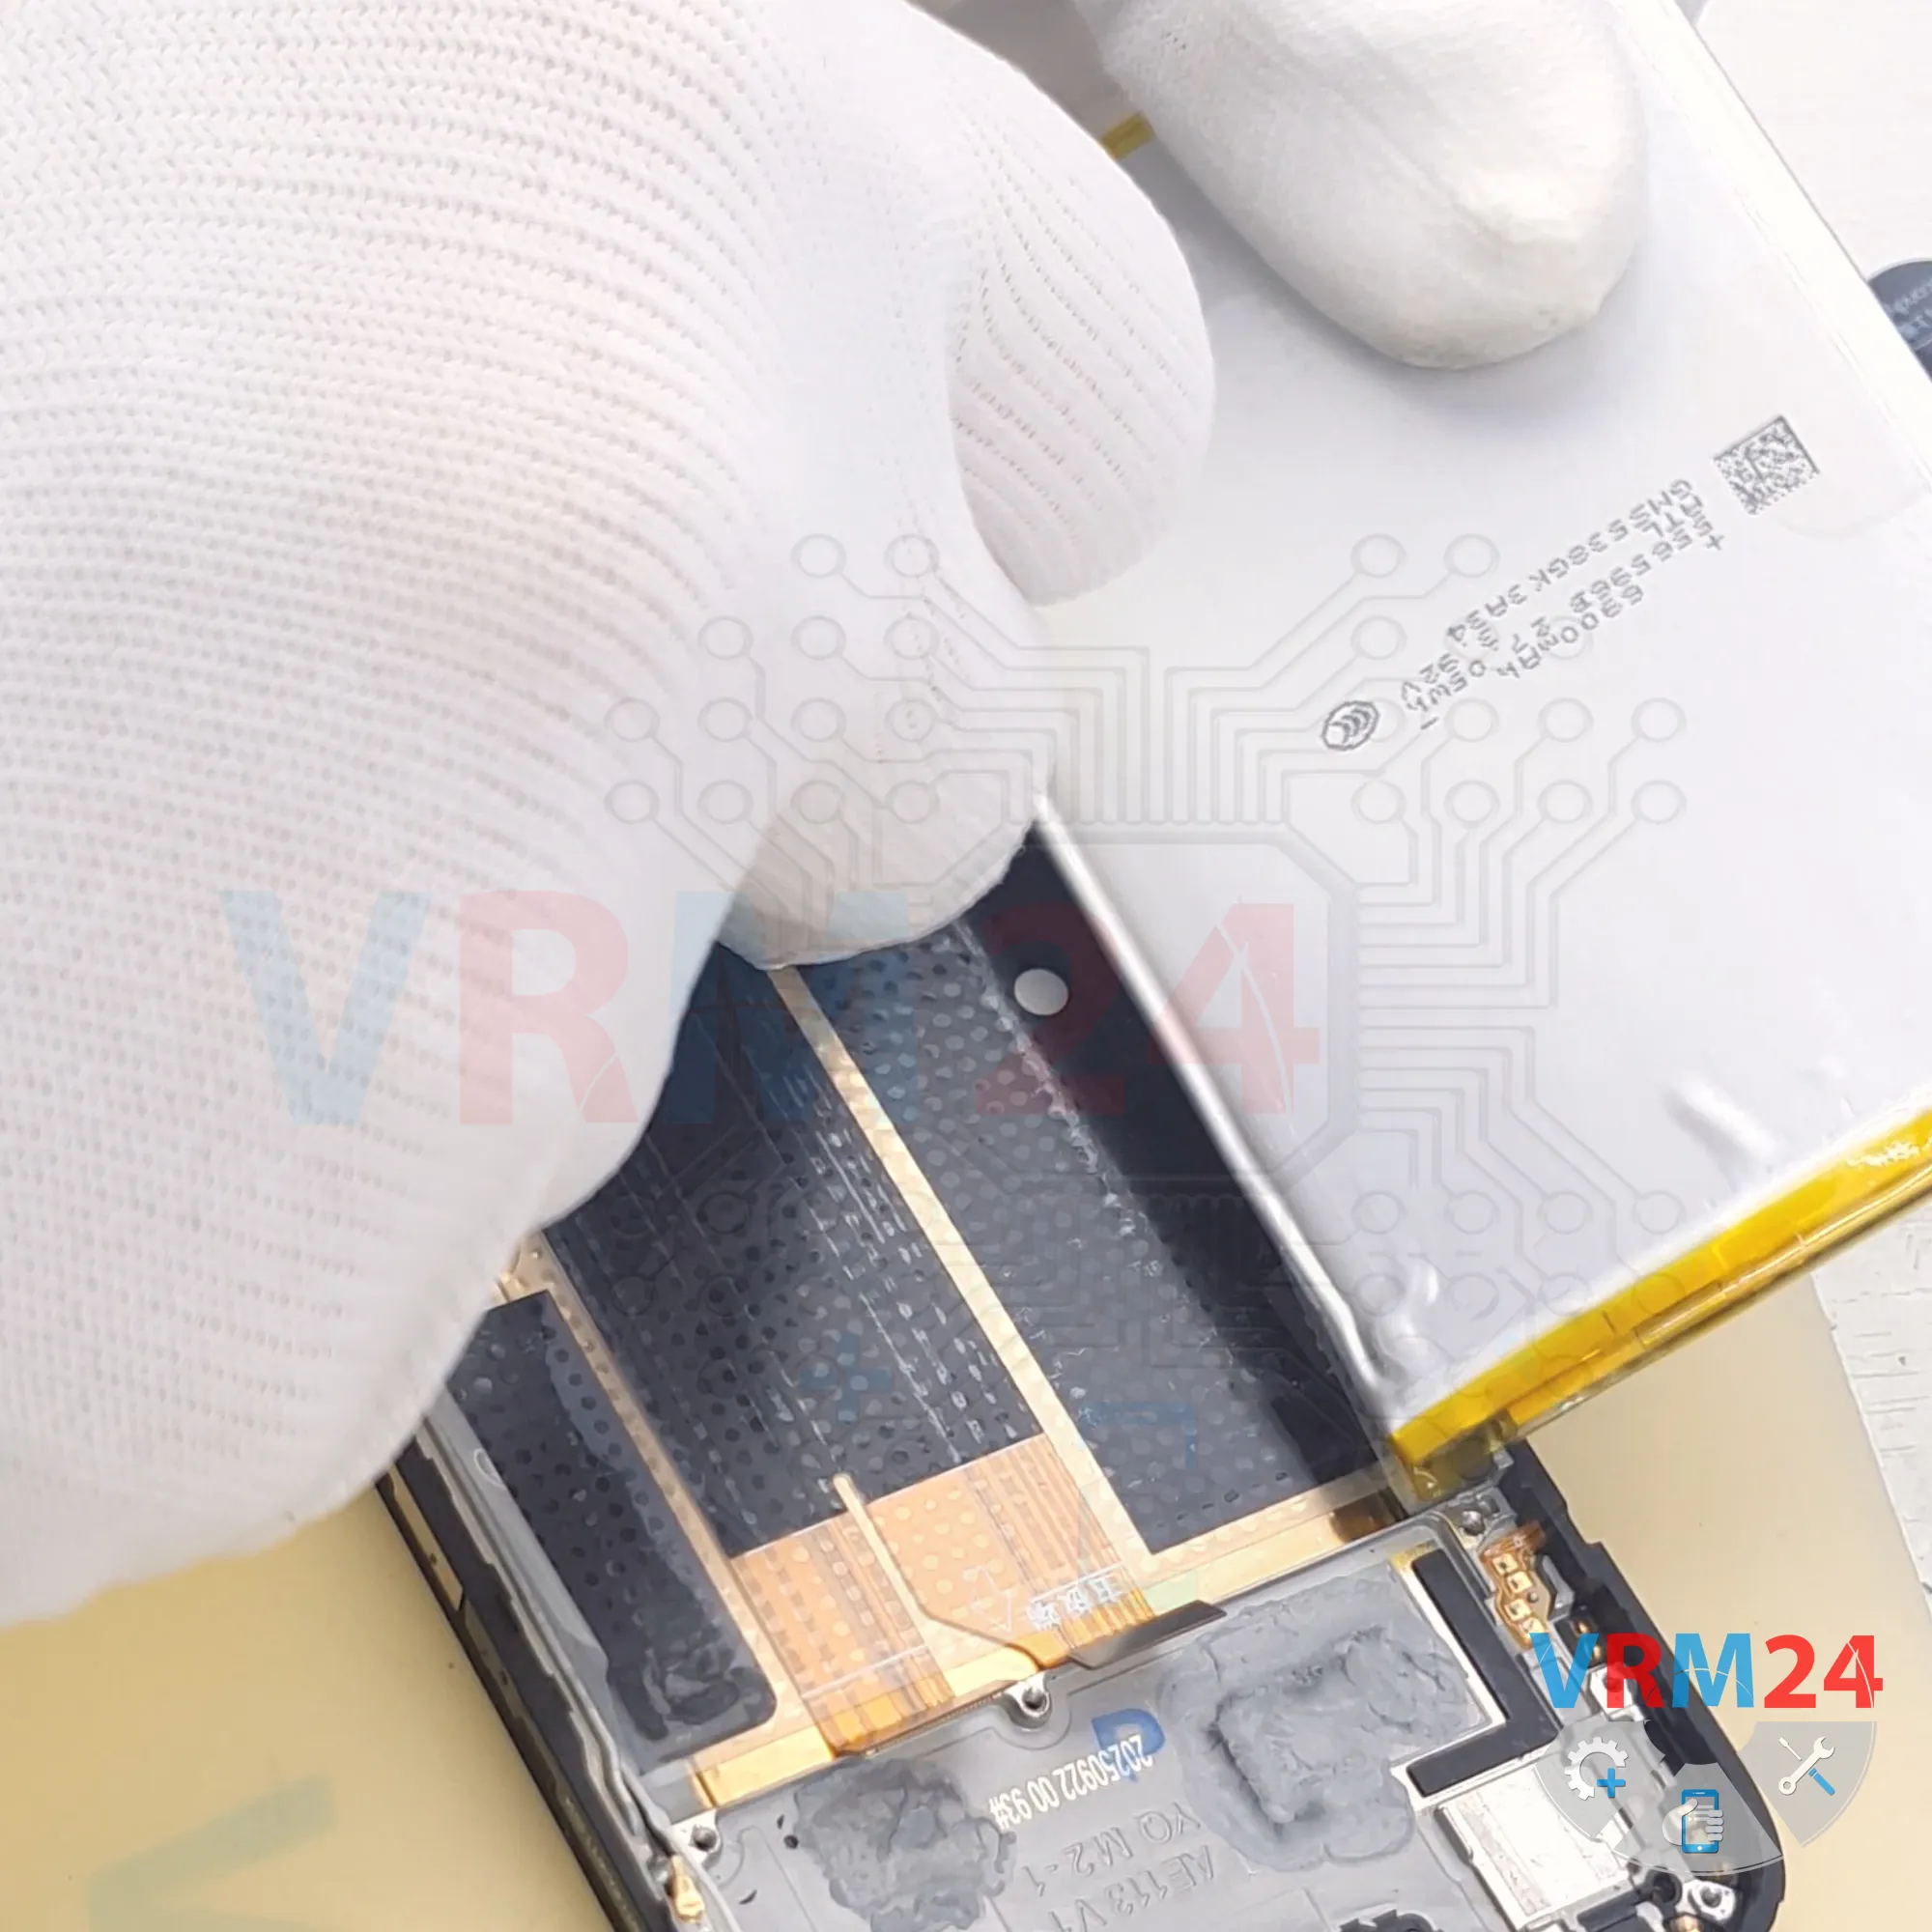
Step 17. Remove the battery
Finally, we can remove the battery.
First, fold the transparent protective film out of the way.
Then gently pull upward on the black pull tab.
Carefully continue pulling the tab upward to release the battery.
Underneath the battery is a transparent protective adhesive film that protects the interconnect flex cables.
Detailed disassembly instructions of Realme 15T in the video, made by our mobile repair & service center:
If you have a question, ask us, and we will try to answer in as much detail as possible. If this article was helpful for you, please rate it.

Disassembling\Repair has medium complexity and takes about minutes in time.
Our manual is suitable for all models Realme 15T — Realme 15T RMX5111 released for markets in different countries.
Back to the list