
Recommended tools
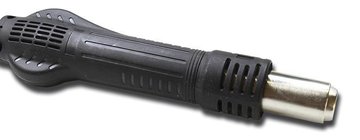
Heat gun
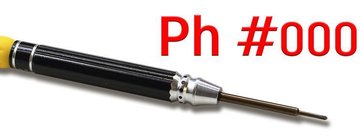
Screwdriver Phillips #000
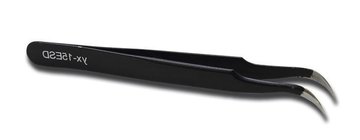
Tweezers
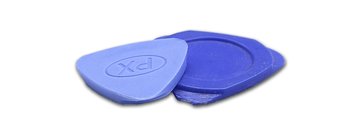
Non-metallic tool
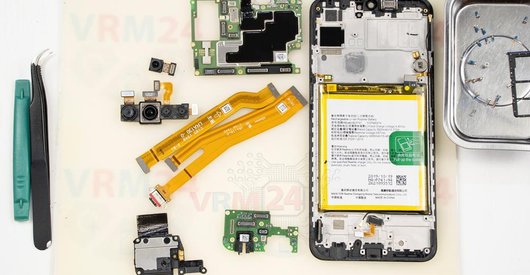
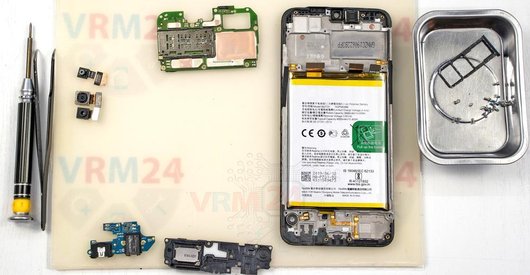
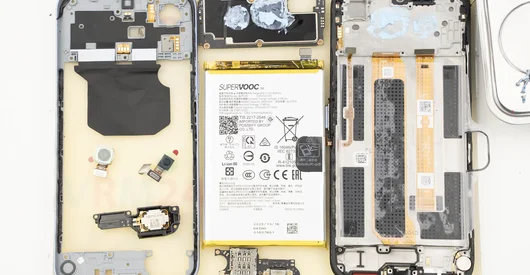
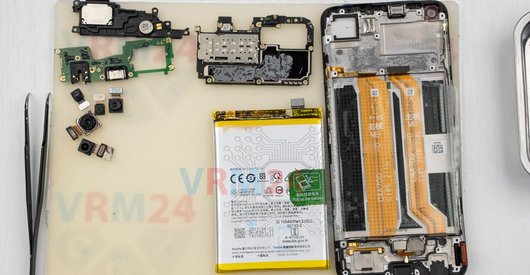
Disassembly/Repair of the mobile device Realme C33 (Realme C33 RMX3627) with each step description and the required set of tools.
5361
Views
0
Likes
—
Share
0
Questions

Step 1.
Before disassembling!
⚠️ Before disassembling, do not forget to turn your phone off.
Step 2.
Remove the tray
First, we need to remove the SIM card tray.
To do this, we use a special SIM ejector tool, insert it into the small hole, and gently push the tray out.
Step 3.
Open the back cover
Next, we need to heat the back cover surface to approximately 70 degrees Celsius (or 160 degrees Fahrenheit). We’re using a heating mat for this, but a hair dryer will work too.
After heating for 5–10 minutes, we can start removing the back cover.
To separate it, we use a thin plastic film — this can be something from a stationery store or even a leftover screen protector. We slide it into the gap between the back cover and the mid-frame, then carefully work our way around the edges to cut through the adhesive.
As always, be especially careful around the camera area so as not to damage the lenses. The adhesive tends to be stronger near the cameras.
Also, use caution near the side buttons and the fingerprint sensor, as ribbon cables might be located in those areas.
Don’t bend the cover or use force. Even though it's plastic, it can deform easily and then won’t fit properly when reassembled.
Step 4.
Unscrew the screws
Now we move on to unscrewing the screws in the upper section. For this, we’re using a 1.5 mm Phillips screwdriver or a Phillips #000.
Also, it’s a good idea to cover the camera lenses with a protective film to prevent dust or debris from getting on them.
If any screws are stuck, you can use tweezers. If they’re not unscrewing easily, try using a magnetizer.
Step 5.
Unscrew the screws
We also remove the screws from the bottom section. It looks like all the screws are the same, but it’s still best to place them on a surface in an organized way so it’s easier to remember where each one goes.
Step 6.
Open the mid-frame
Once all the screws are out, we can move on to removing the mid-frame.
We start by inserting a thin plastic film into the gap between the mid-frame and the display frame, near the SIM tray slot.
After unclipping a few of the clips, we can switch to a slightly thicker prying tool.
Work carefully along the edges. Pay extra attention to the corners, as the clips tend to hold more tightly there.
Step 7.
Disconnect the battery connector
Now we can gently lift and flip over the mid-frame.
Next, we use a non-metal tool to disconnect the battery connector
ℹ️ The Realme C33 RMX3627 model has a battery BLP877 with a capacity of 5000 mAh (also known as a rechargeable battery).
Step 8.
Disconnect the connector
Then we disconnect the fingerprint sensor ribbon cable.
We can now remove the mid-frame, which includes contact pads and the fingerprint sensor cable.
Step 9.
Open the cover
After this, we move on to the bottom section, where we need to remove the lower cover.
We find the right spot — it’s most likely held in place by clips.
Step 10.
Remove the coaxial cable
And without rushing, we can free up the coaxial cable.
Be careful not to break the connectors on the boards.
Step 11.
Disconnect the connector
And we disconnect the inter-board flex cable on the sub-board.
Step 12.
Remove the sub-board
Now we can disconnect the sub-board.
We gently pry it from the edge, lift it up, and take it out.
The sub-board contains the charging port, microphone, headphone jack port, and other components on its reverse side.
Step 13.
Disconnect the connectors
Let’s move on to the motherboard.
We disconnect the inter-board flex cable and the display flex cable.
Step 14.
Remove the cameras
Next, we can disconnect the rear cameras. Gently lift from the edge and remove them, then set them aside.
After that, we disconnect the front camera. It’s also a good idea to cover this lens.
Please note: we don’t place the protective film directly on the lens, but rather on the rim around it.
And we need to peel off the copper heat-dissipating foil that’s holding down the front camera.
Step 15.
Remove the motherboard
After that, we can remove the motherboard. Gently lift it by the edge — it should come out easily.
On the reverse side of the motherboard, we can see thermal paste applied.
⚠️ Do not bend the circuit board when removing it or push tools under it. Unbeknownst to yourself, you can damage components or cables from the inside.
Step 16.
Remove the battery
Finally, we move on to removing the battery.
There’s a transparent plastic tab that we need to fold back, and a green pull tab in the center that we gently pull up to lift the battery out.
Under the battery, there is a clear adhesive protective layer that shields the inter-board flex cables.
Step 17.
In the display frame remained
ℹ️ In the display frame remained: the earpiece speaker, loudspeaker, and vibration motor.

If you have a question, ask us, and we will try to answer in as much detail as possible. If this article was helpful for you, please rate it.

5361
Views
0
Likes
—
Share
0
Questions
Related Instructions
Related Reviews
Related Blog
Popular Questions
C
Realme XT
can you upload on how to replace diplay of this phone?
chad in japan19
P
Realme XT
Where we can buy main board strip..?? For ralme xt
Praveen Selvam3
S
Realme XT
Hello sir! I appreciate your work😄 Sir can you please make a video on Realme XT's processor and cooling system. I'm really curious to know about that…
Sohail Shaikh6
Realme C21Y
What is the bluish substance beneath the motherboard after lifting it? Is it a sign for maintenance if it looks dried up?
super5
S
Realme XT
Sir your video is so good, then why didn't you get many views??? While uploading your video please check that you are uploading the video in gadgets/…
Sohail Shaikh18Top instructions
Check our
Top Realme instructions most liked by readers
New instructions
Check our
New Realme brand instructions on vrm24.com