

 Russian
 Spanish
 Portuguese
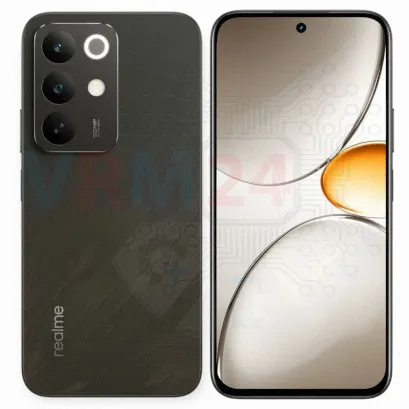
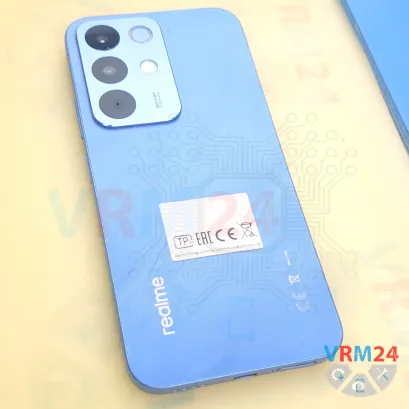
⚠️️ Before disassembling, do not forget to turn your phone off.
Teardown difficulty:
Moderate
Moderate
Recommended tools


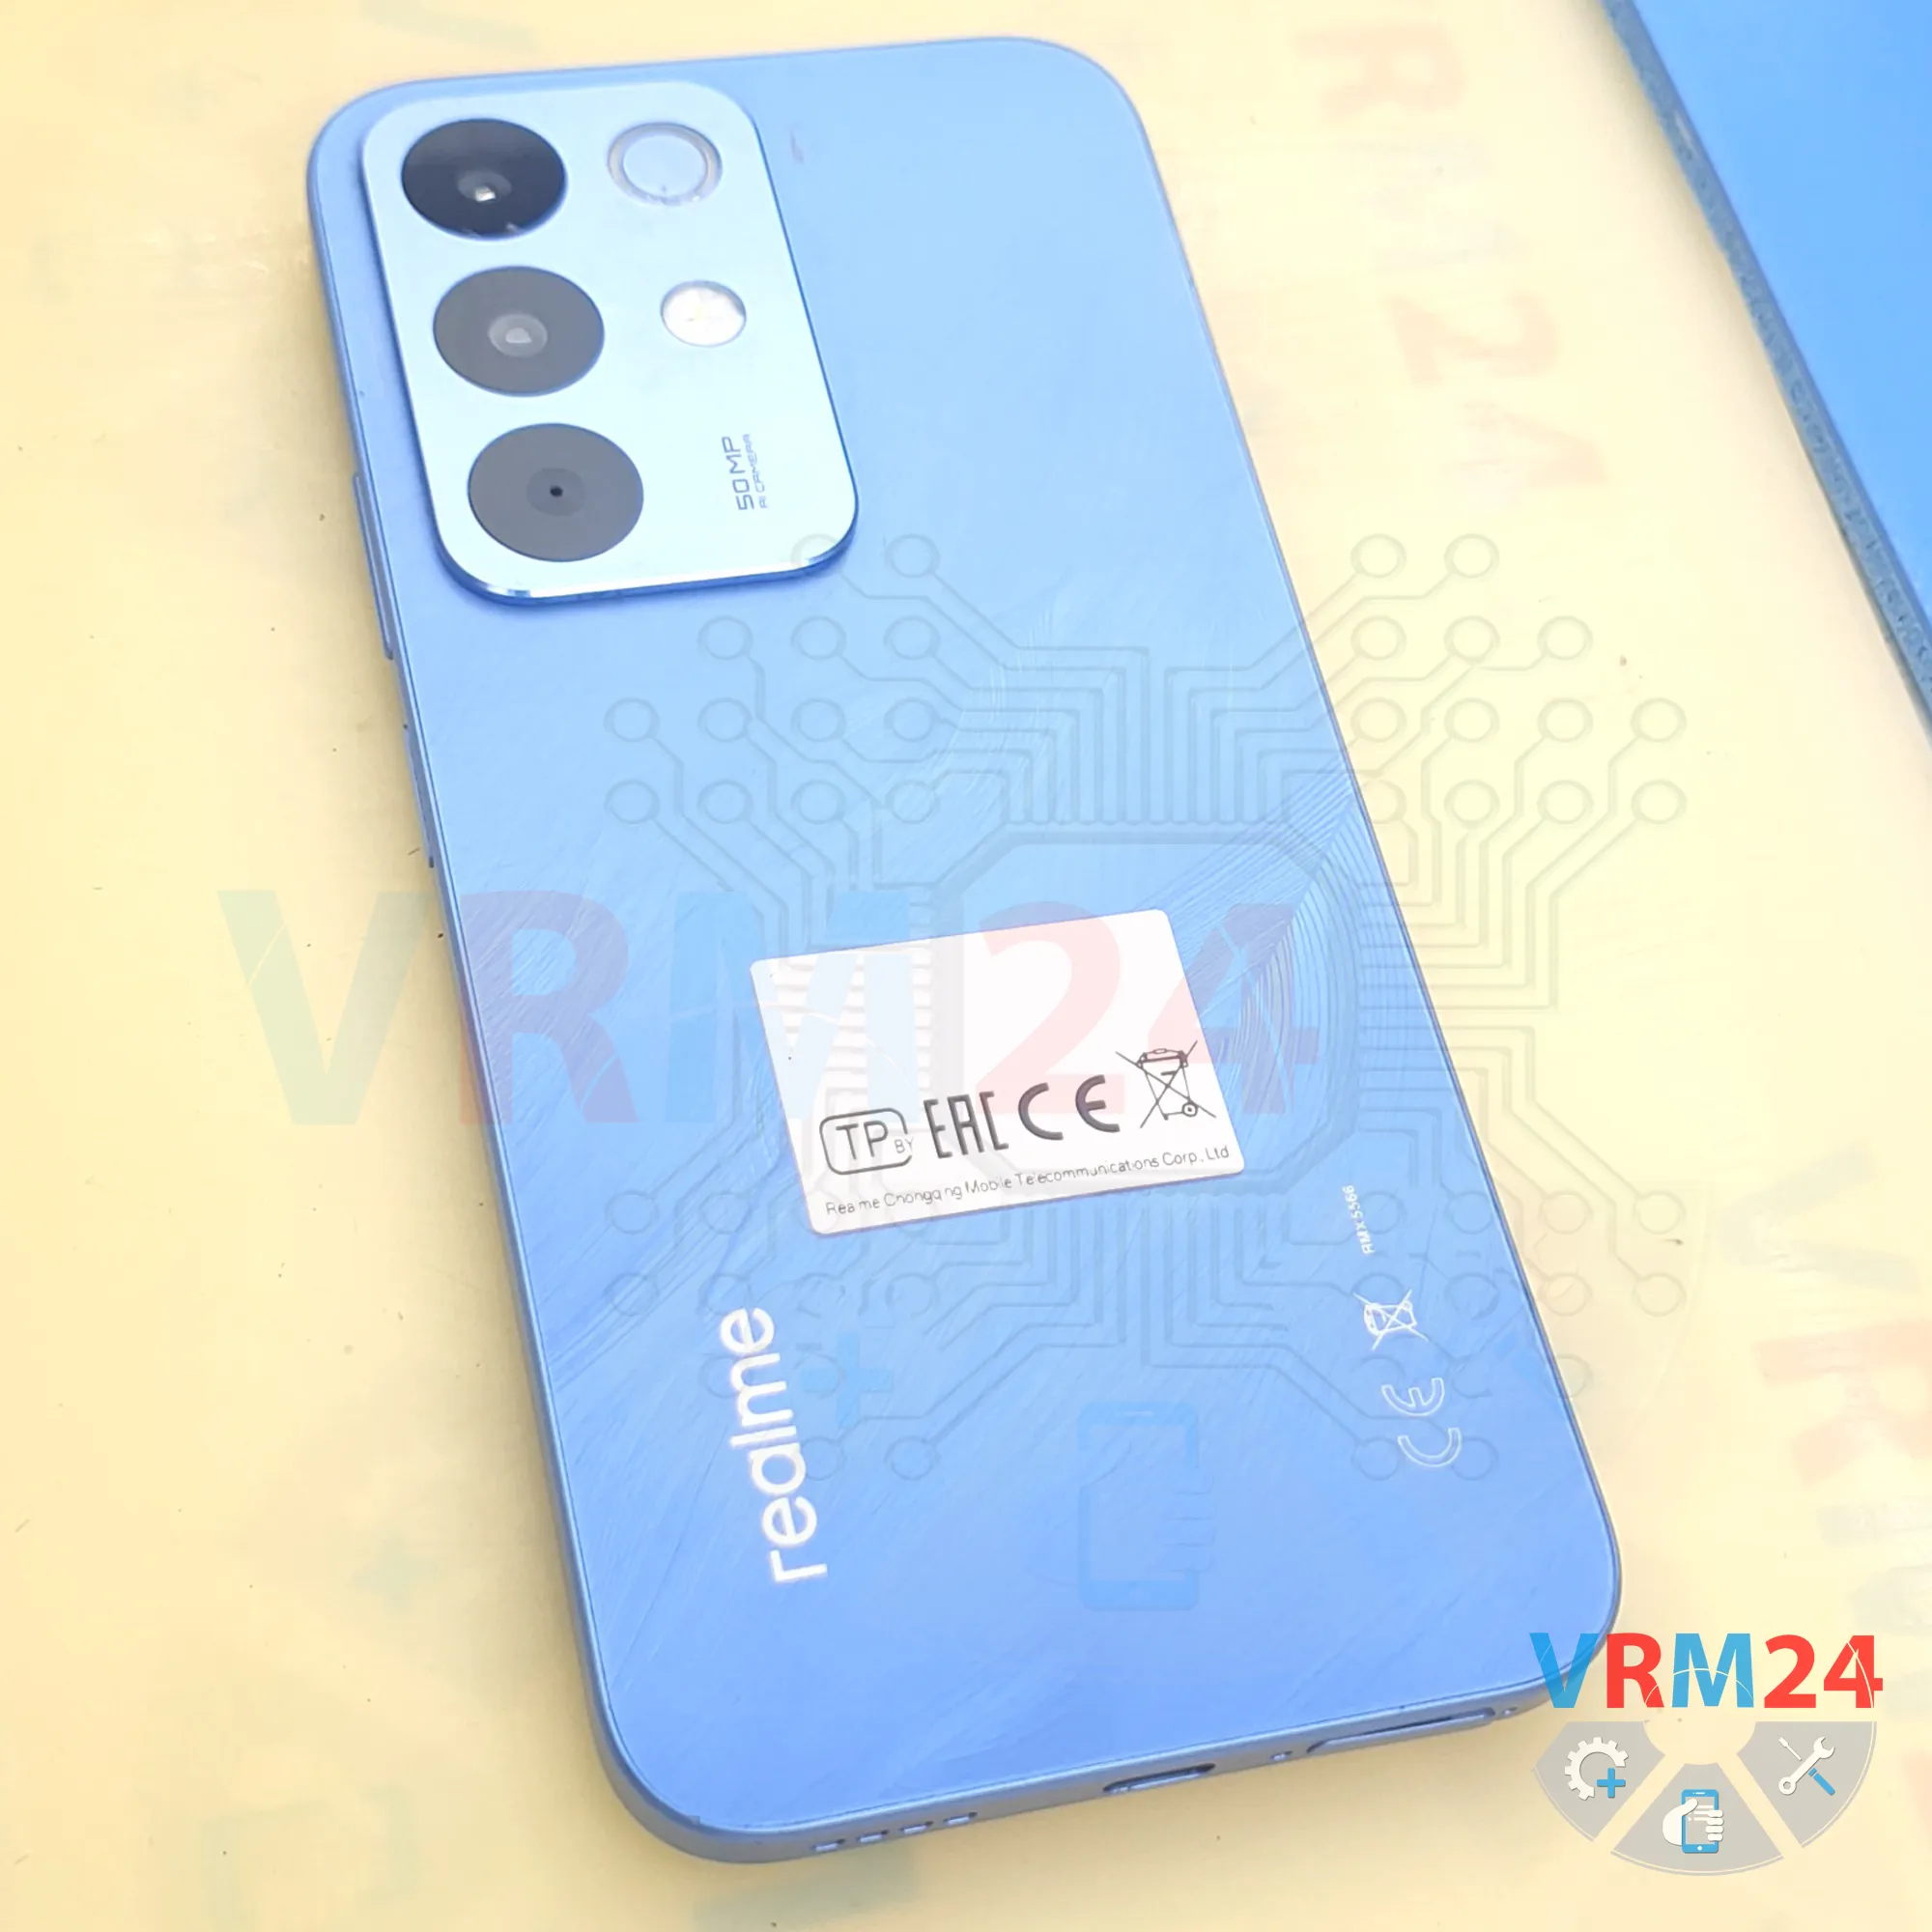
Disassembly/Repair of the mobile device Realme C85 (Realme C85 RMX5566) with each step description and the required set of tools.

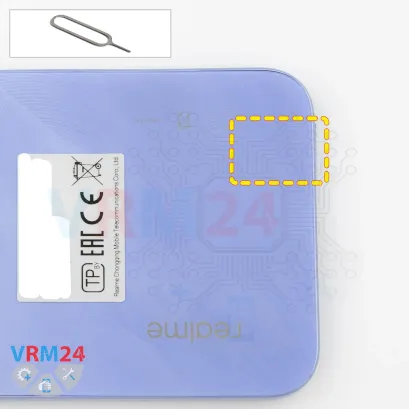
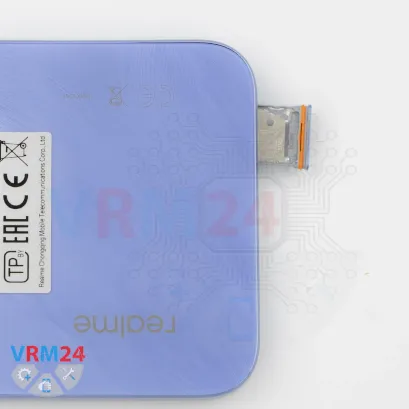
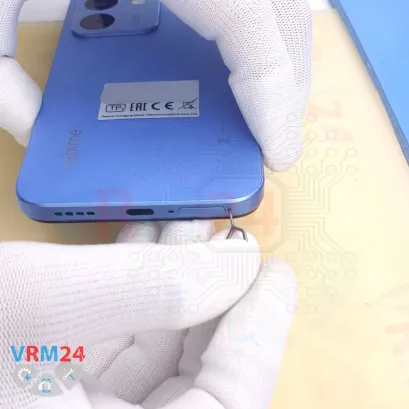
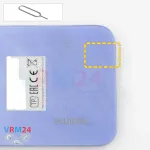
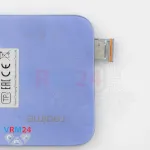
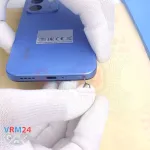
Step 2. Remove the tray
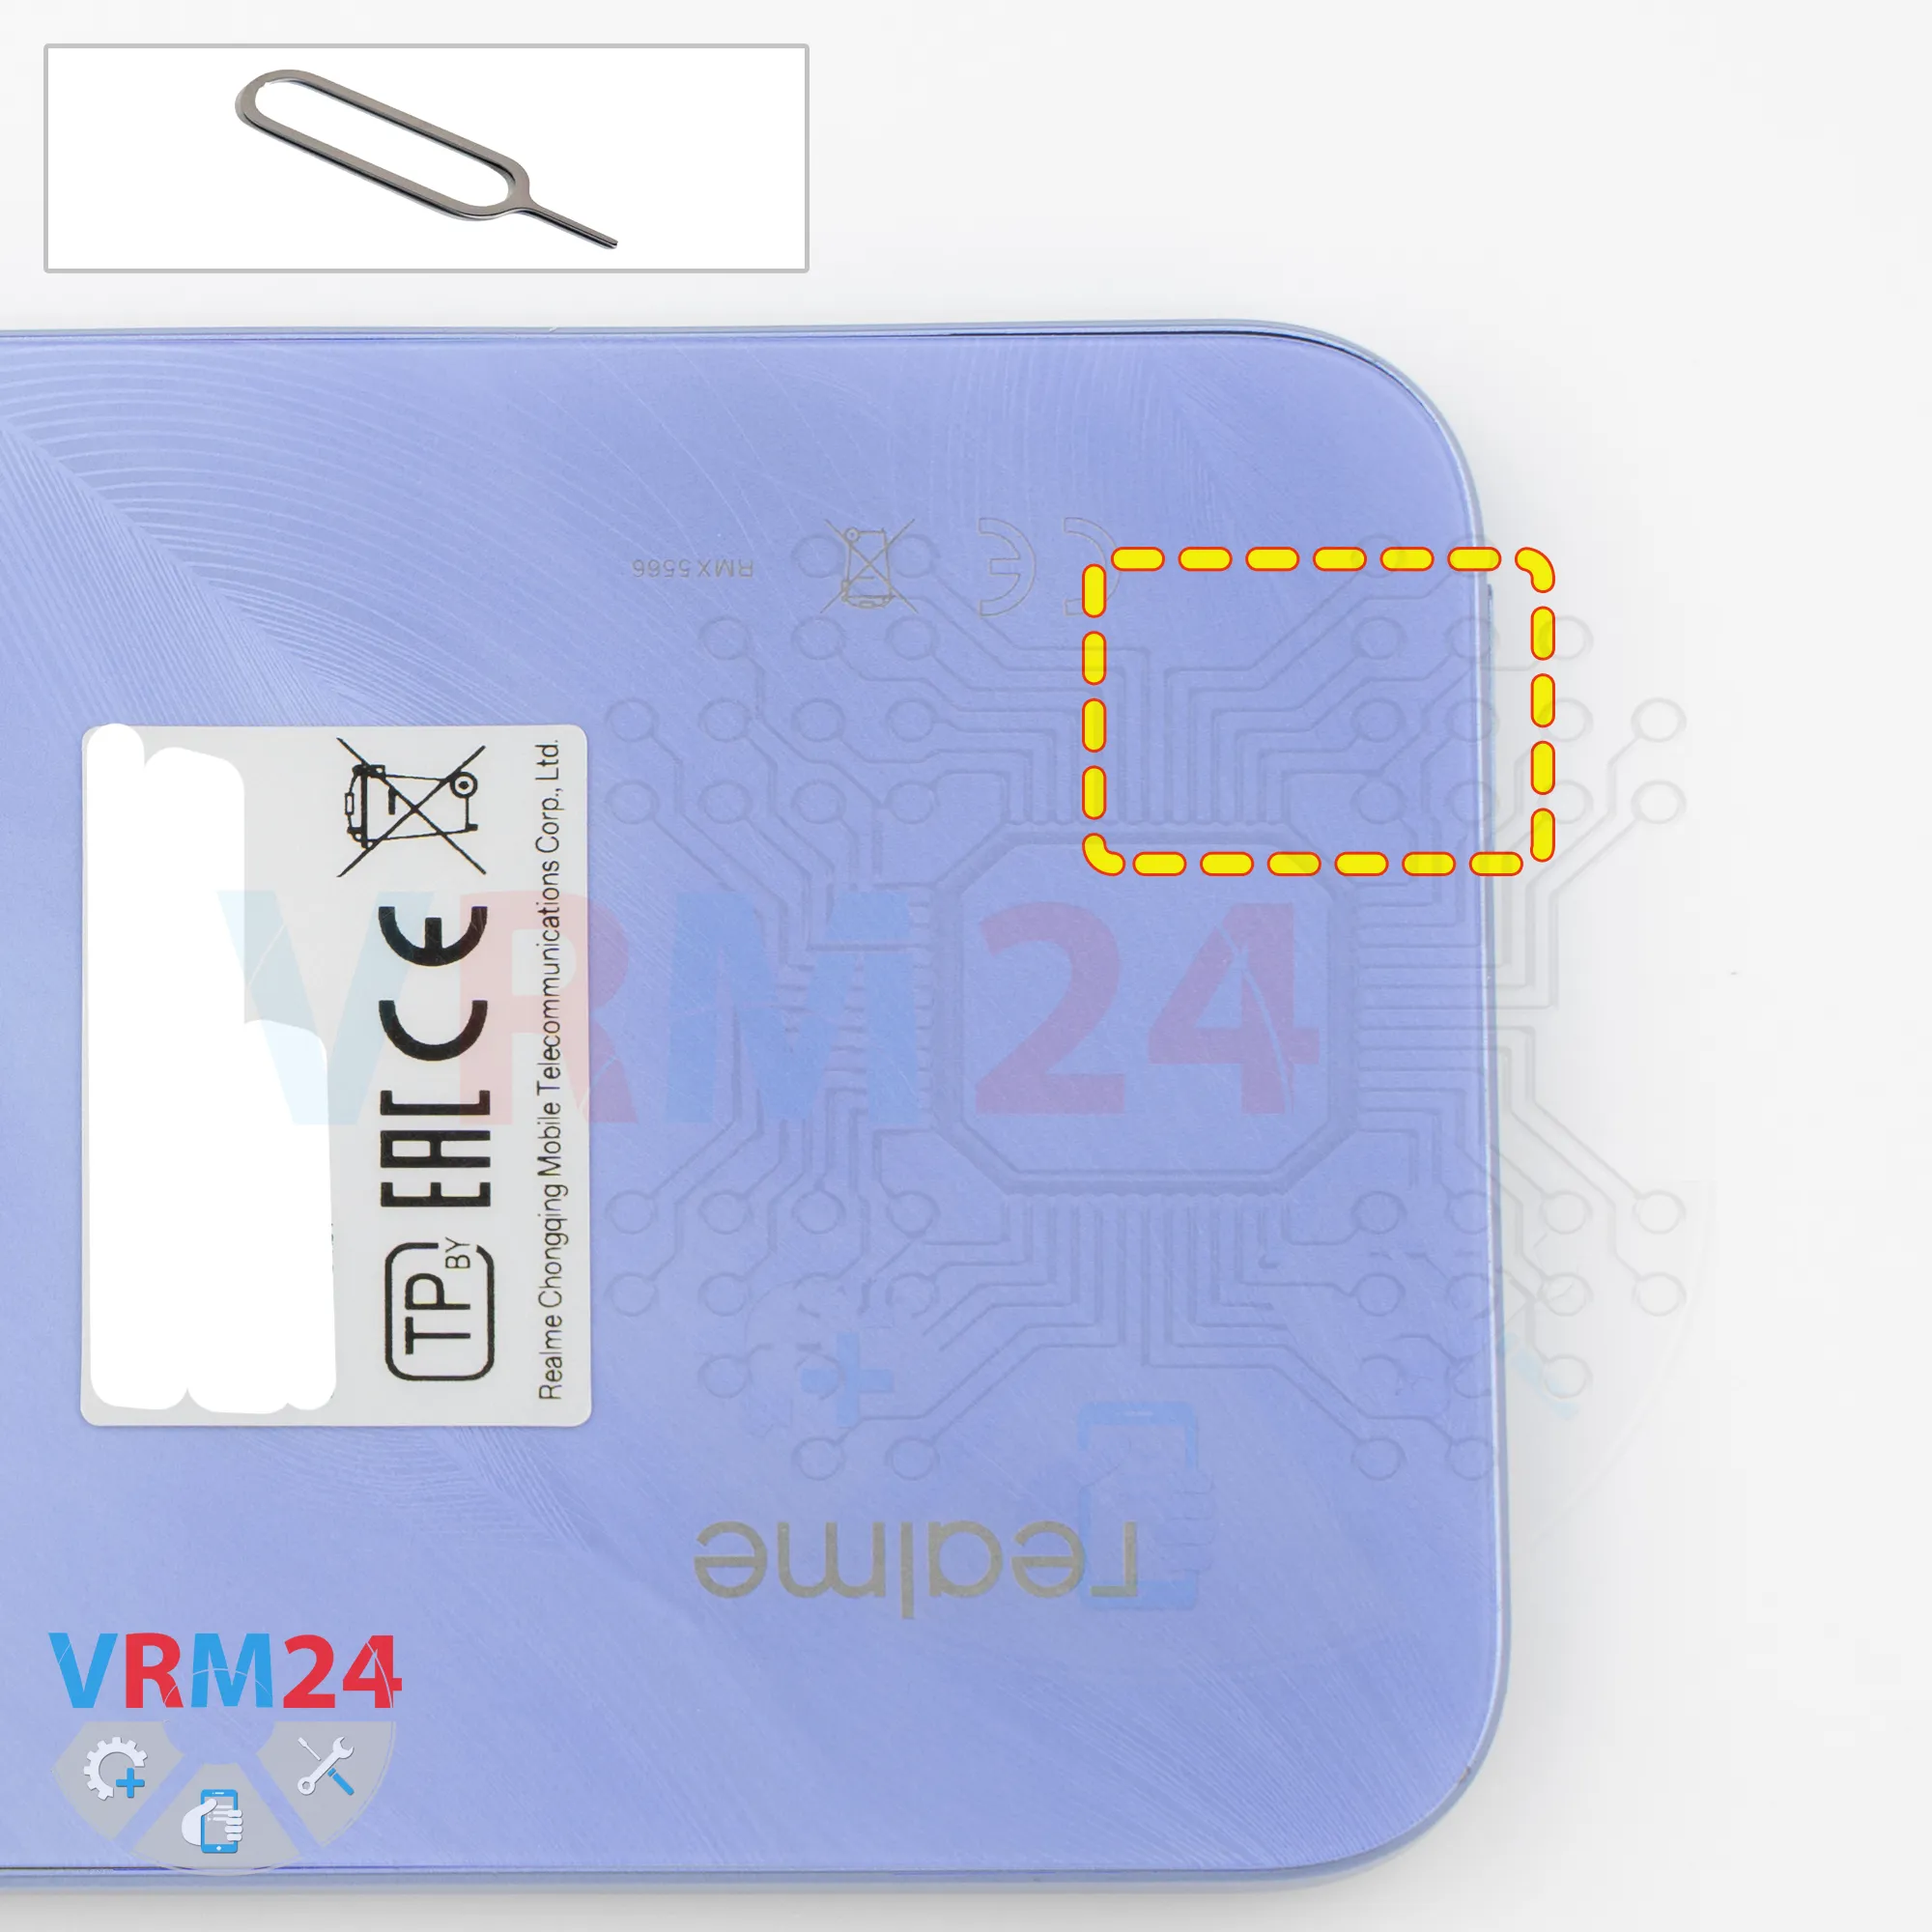
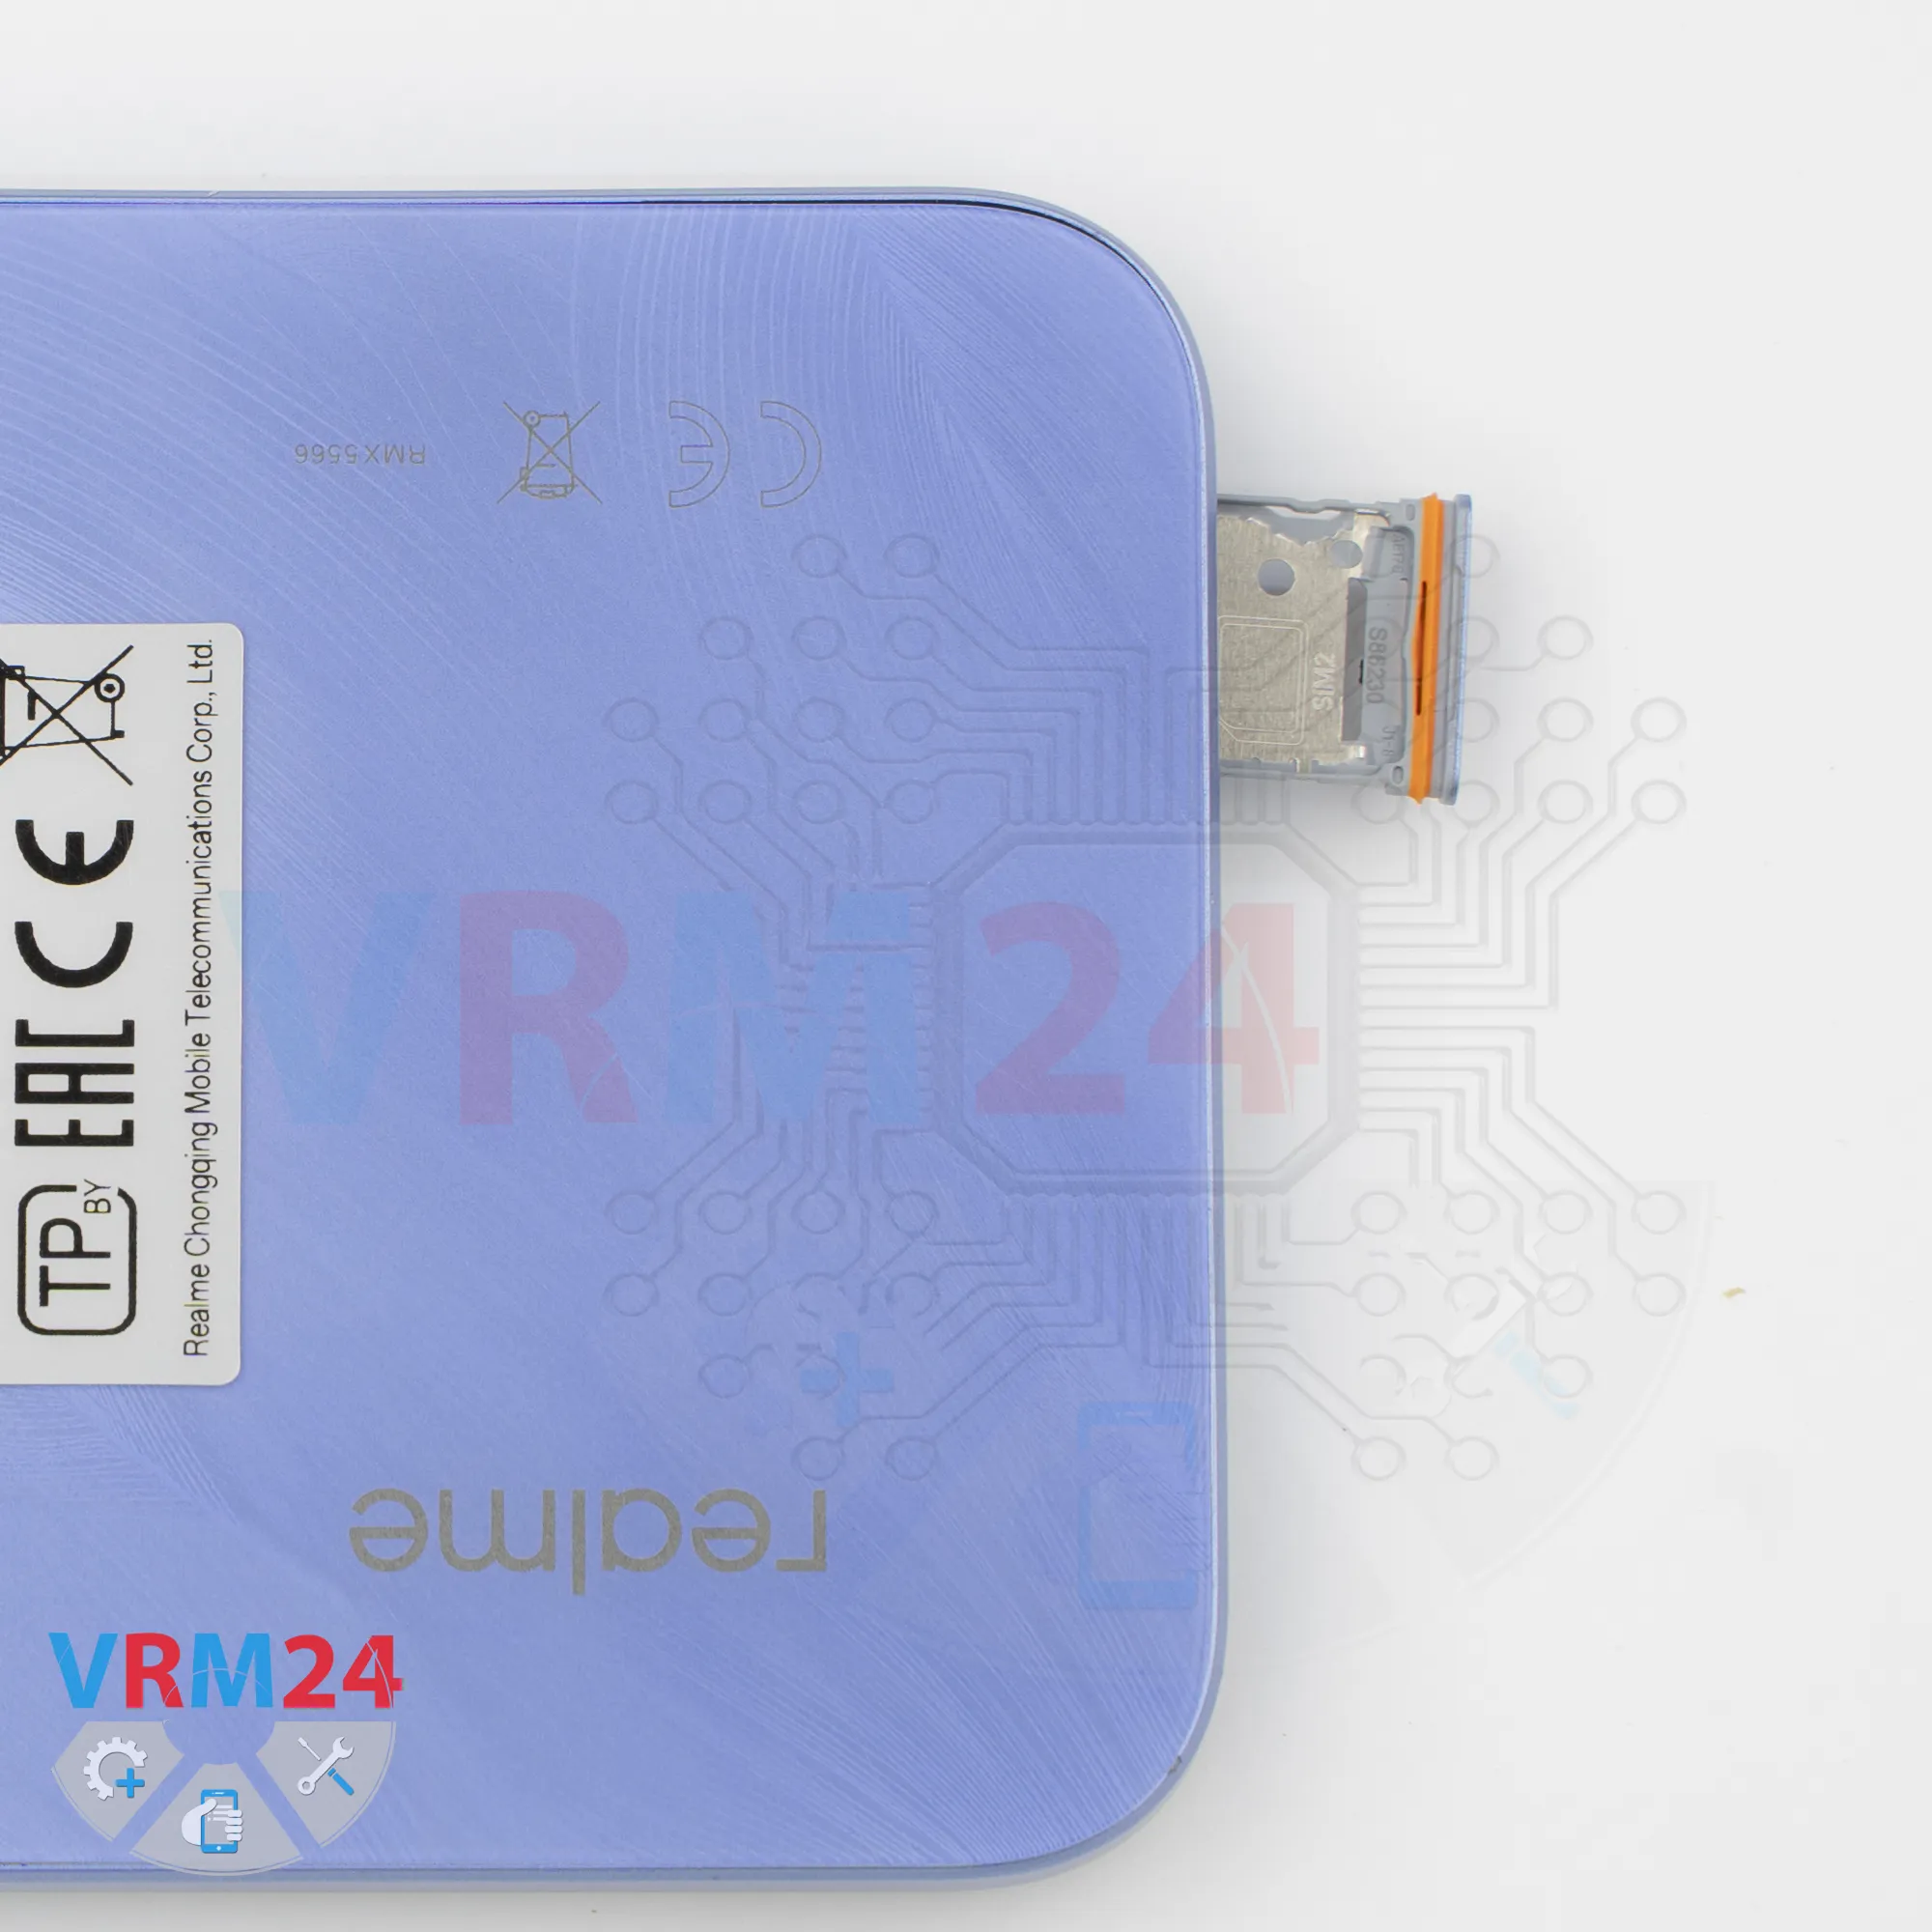
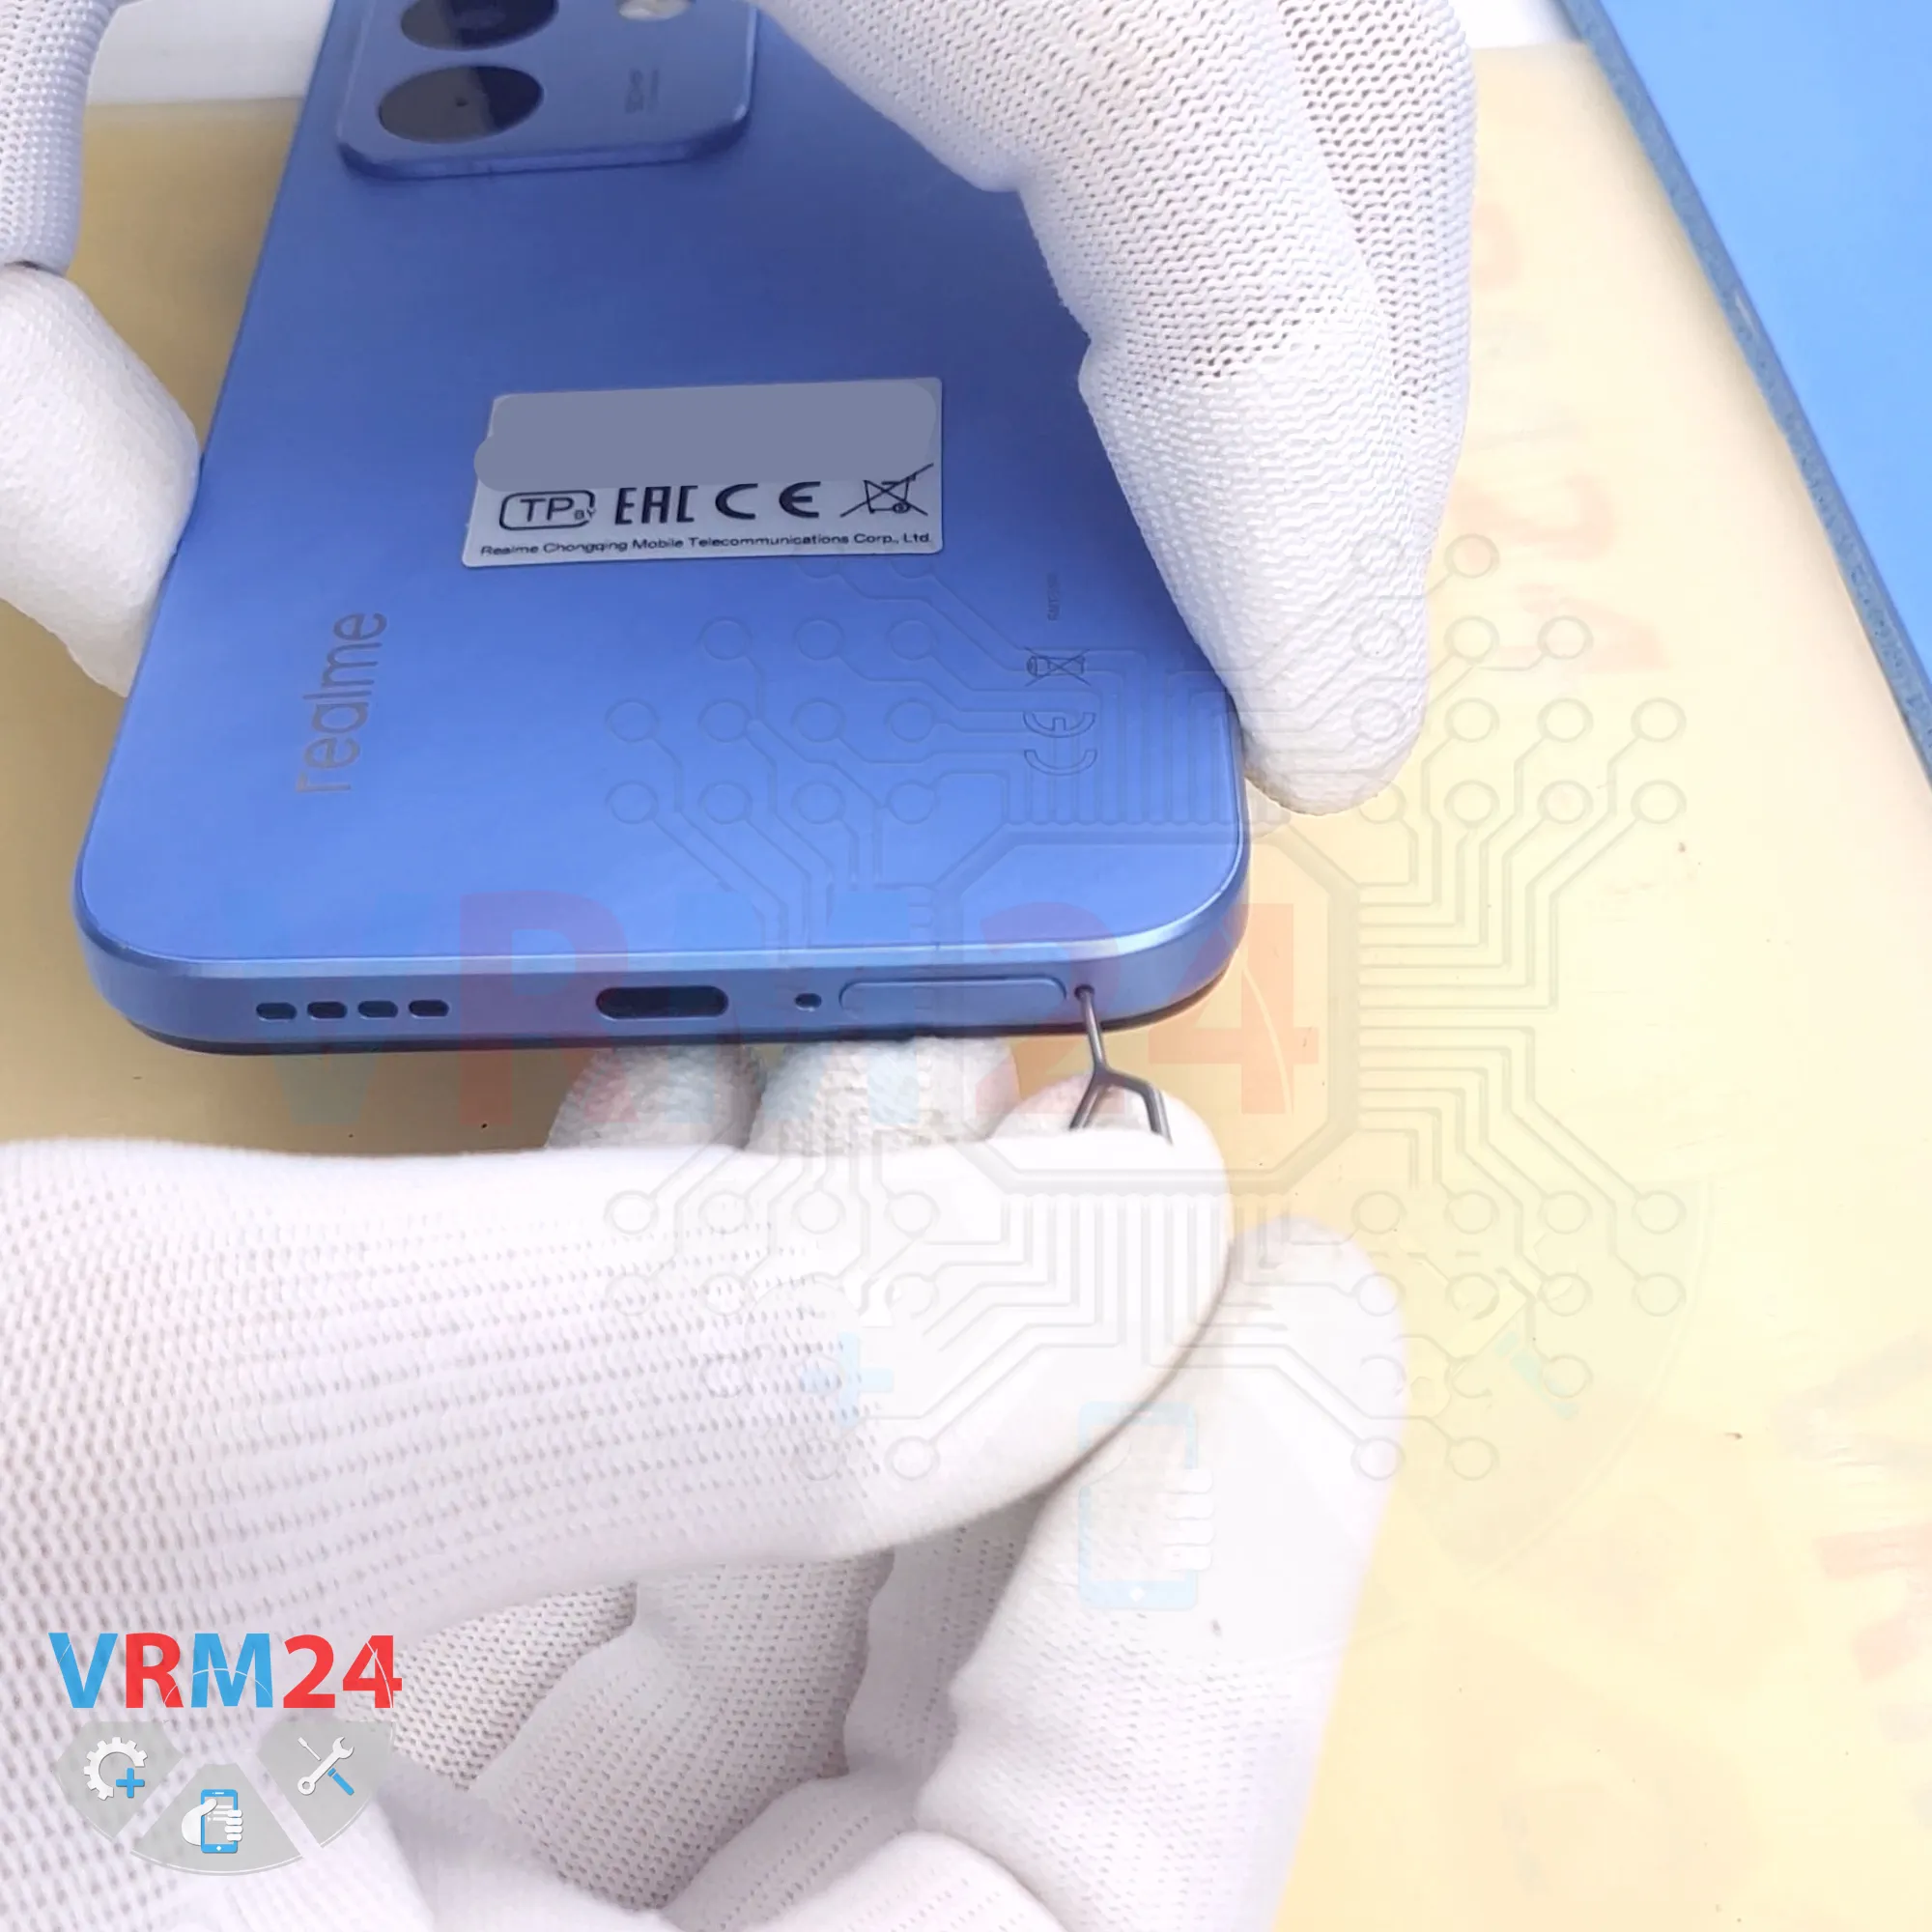
First, as usual, we need to remove the SIM card tray.
To do this, we use a special tool, insert it into the hole, and push the SIM card tray out.
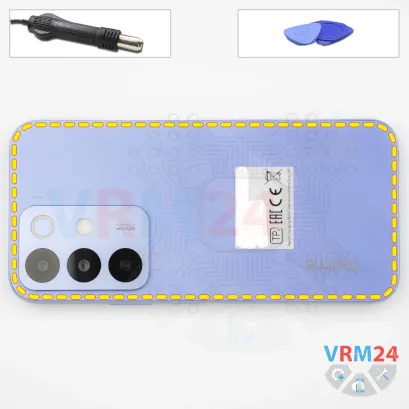
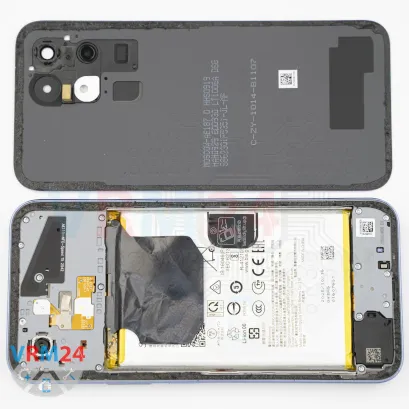
Step 3. Open the back cover
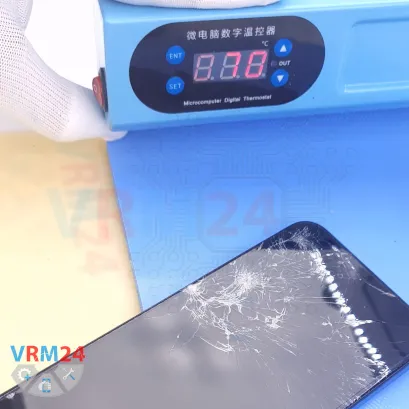
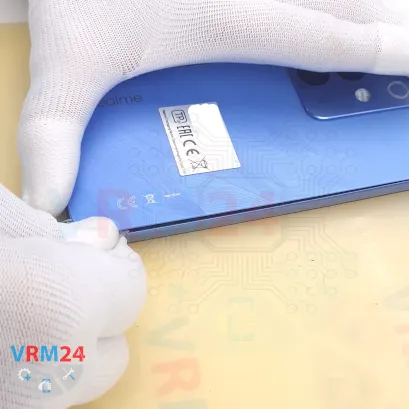
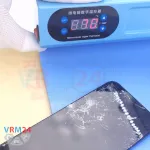
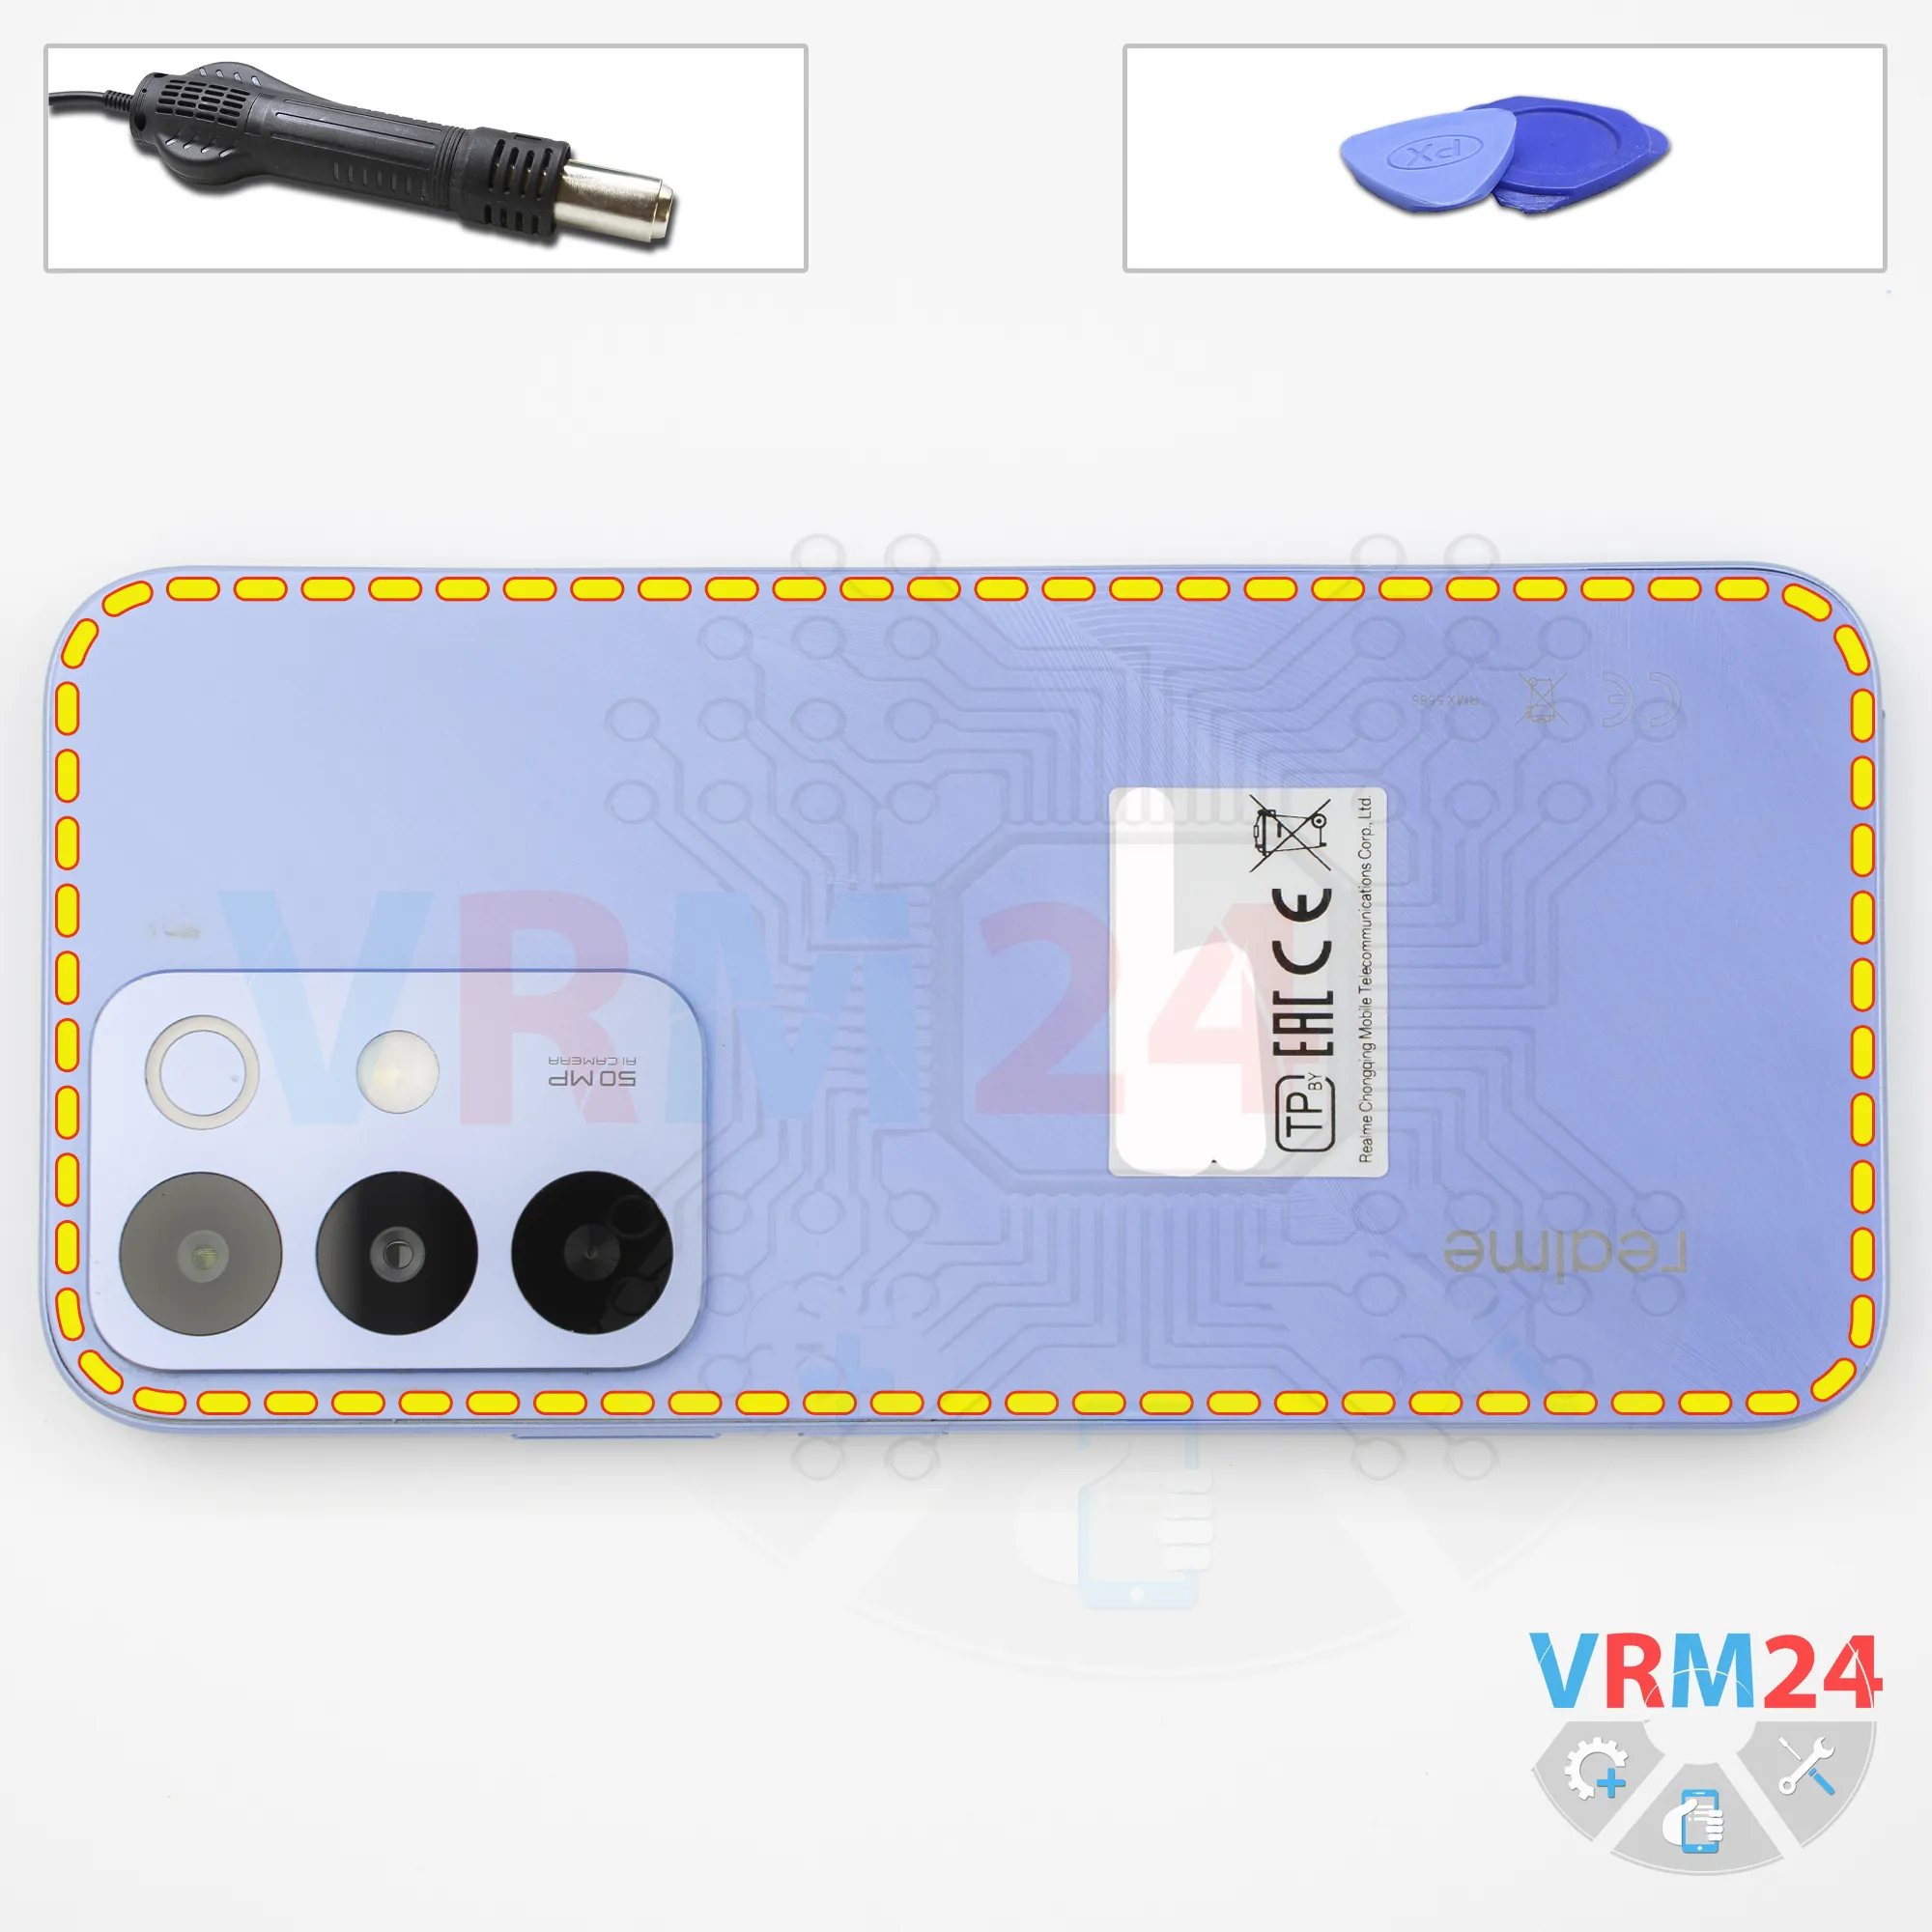
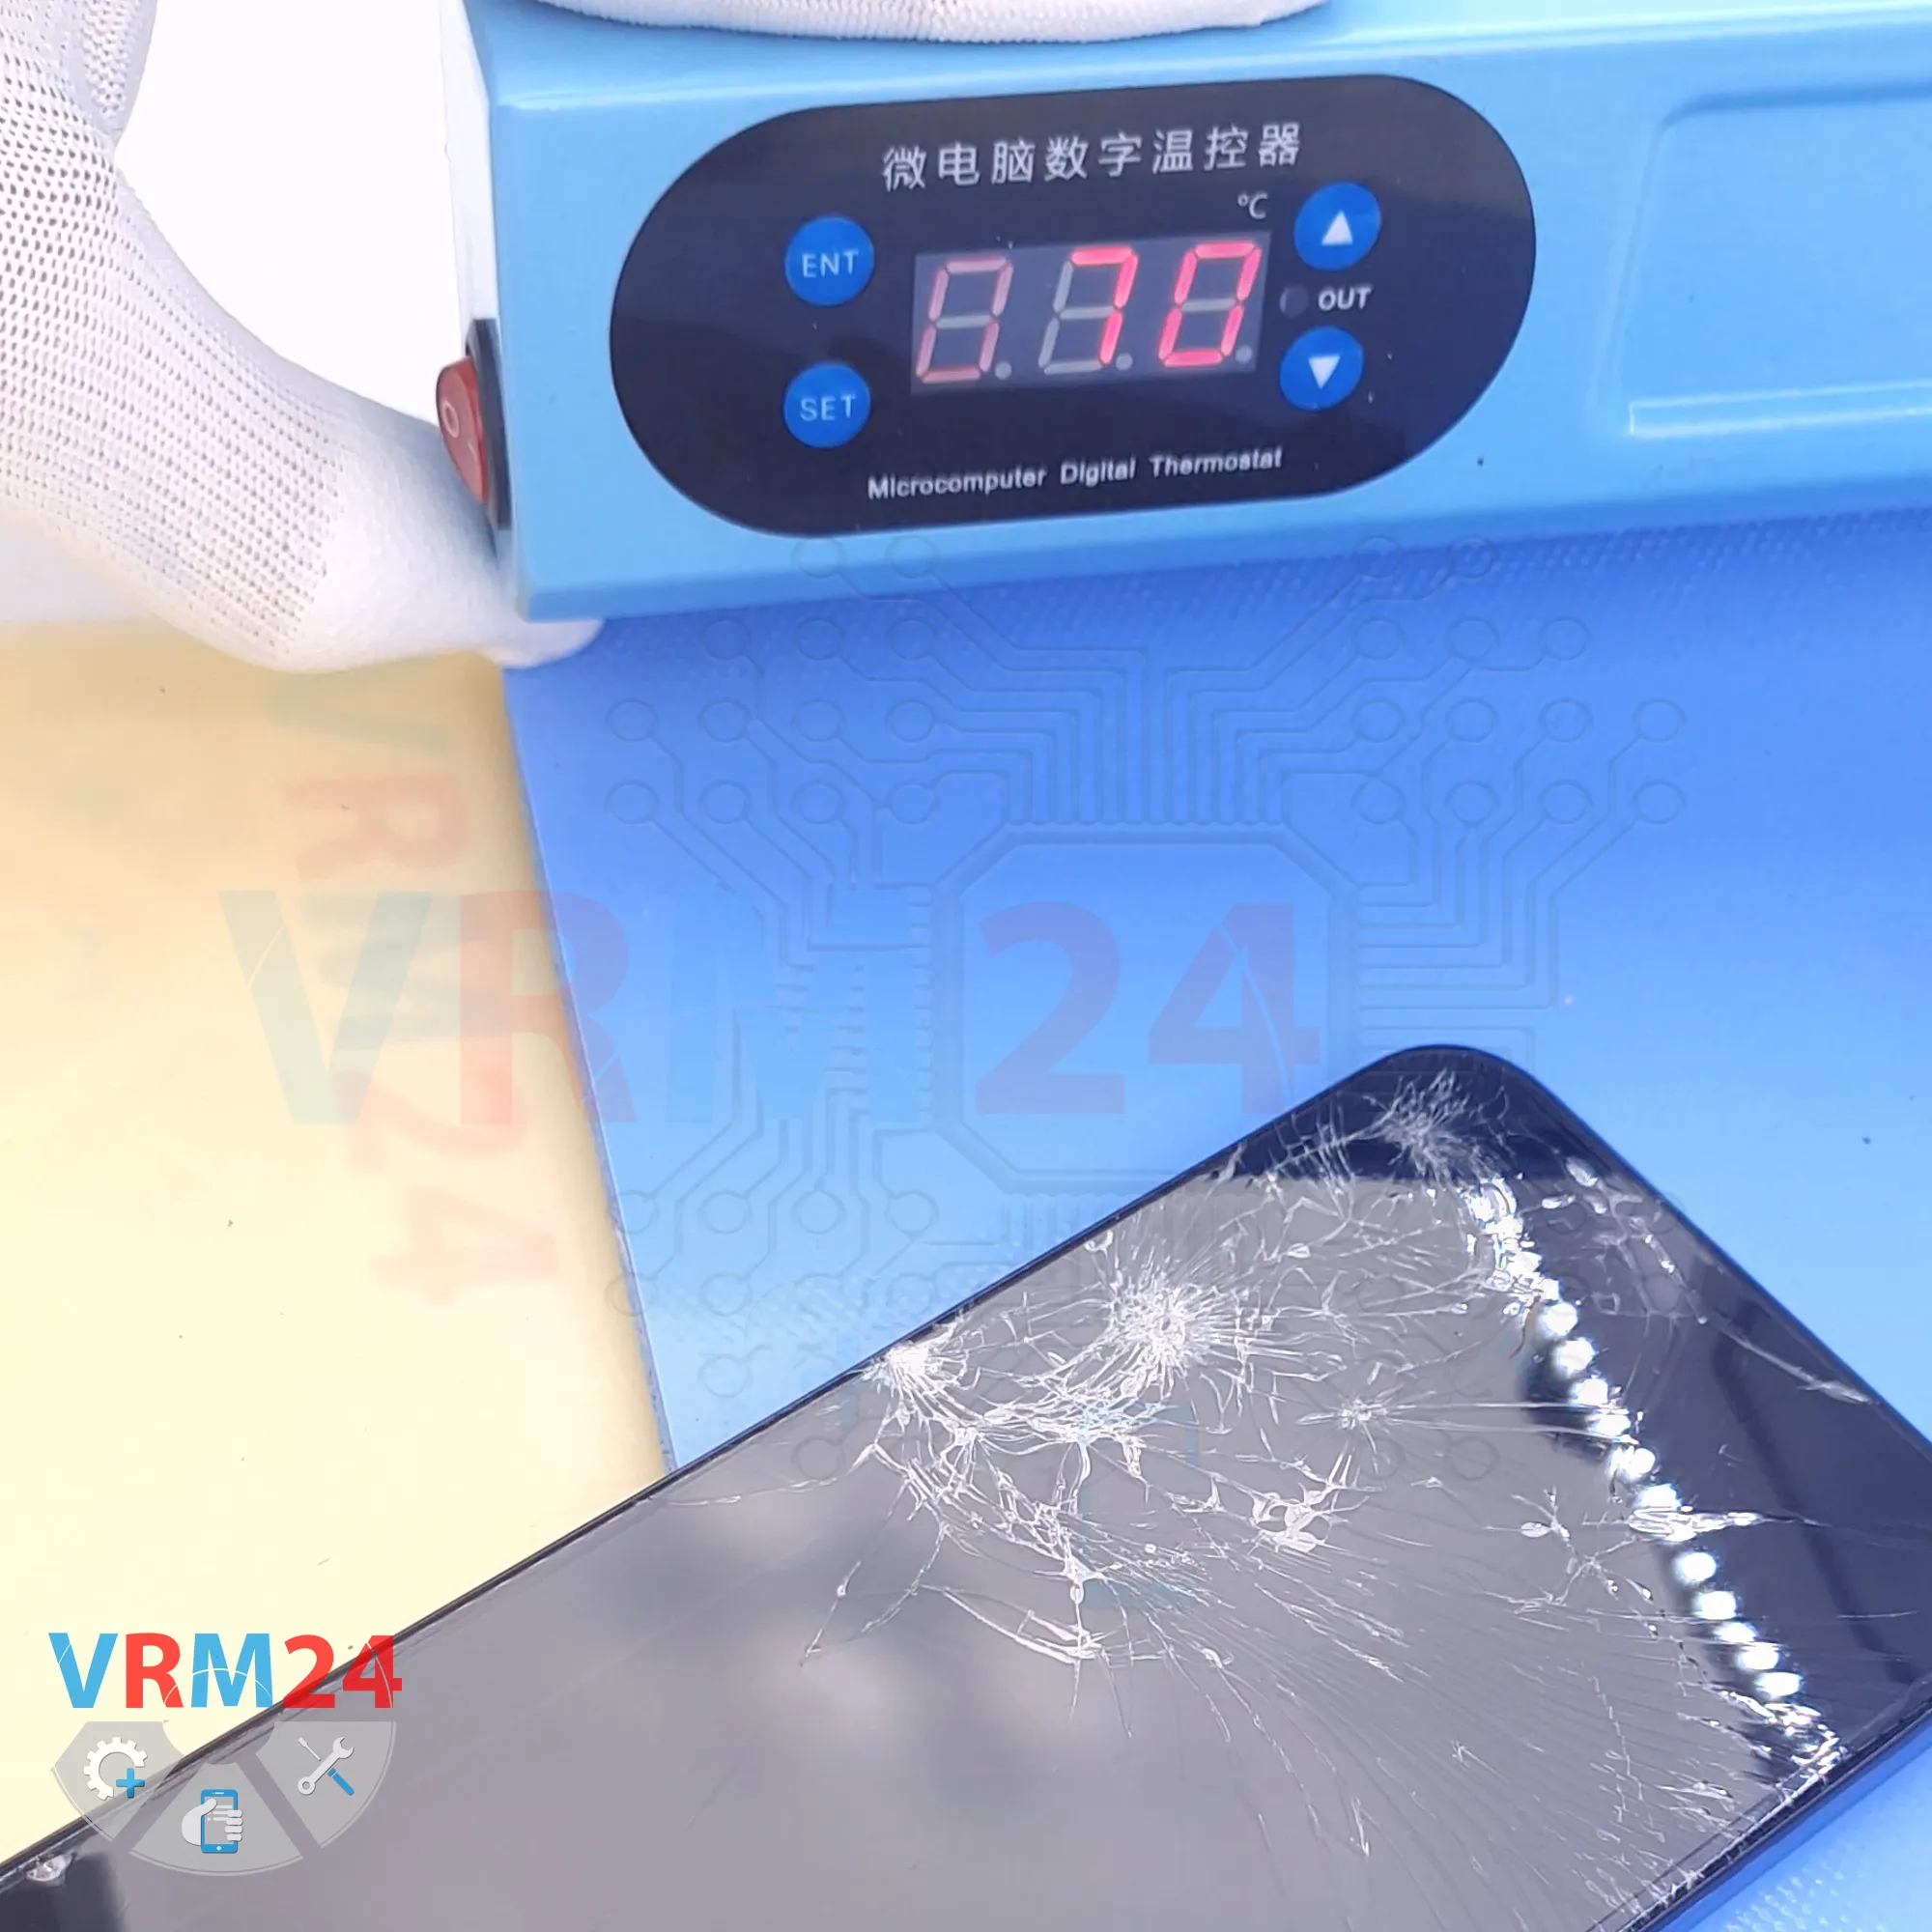
After that, we need to heat the surface of the back cover to approximately 70°C, or 160°F.
For this, we use a heating mat, but you can also use a hair dryer.
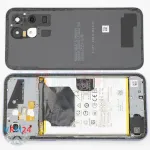
After approximately 5–10 minutes, we can move on to separating or removing the back cover.
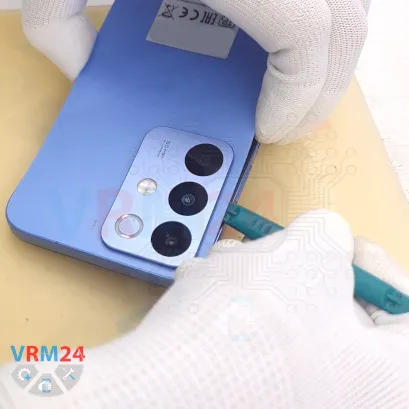
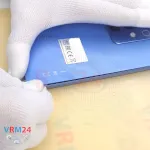
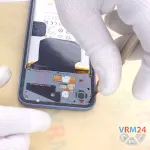
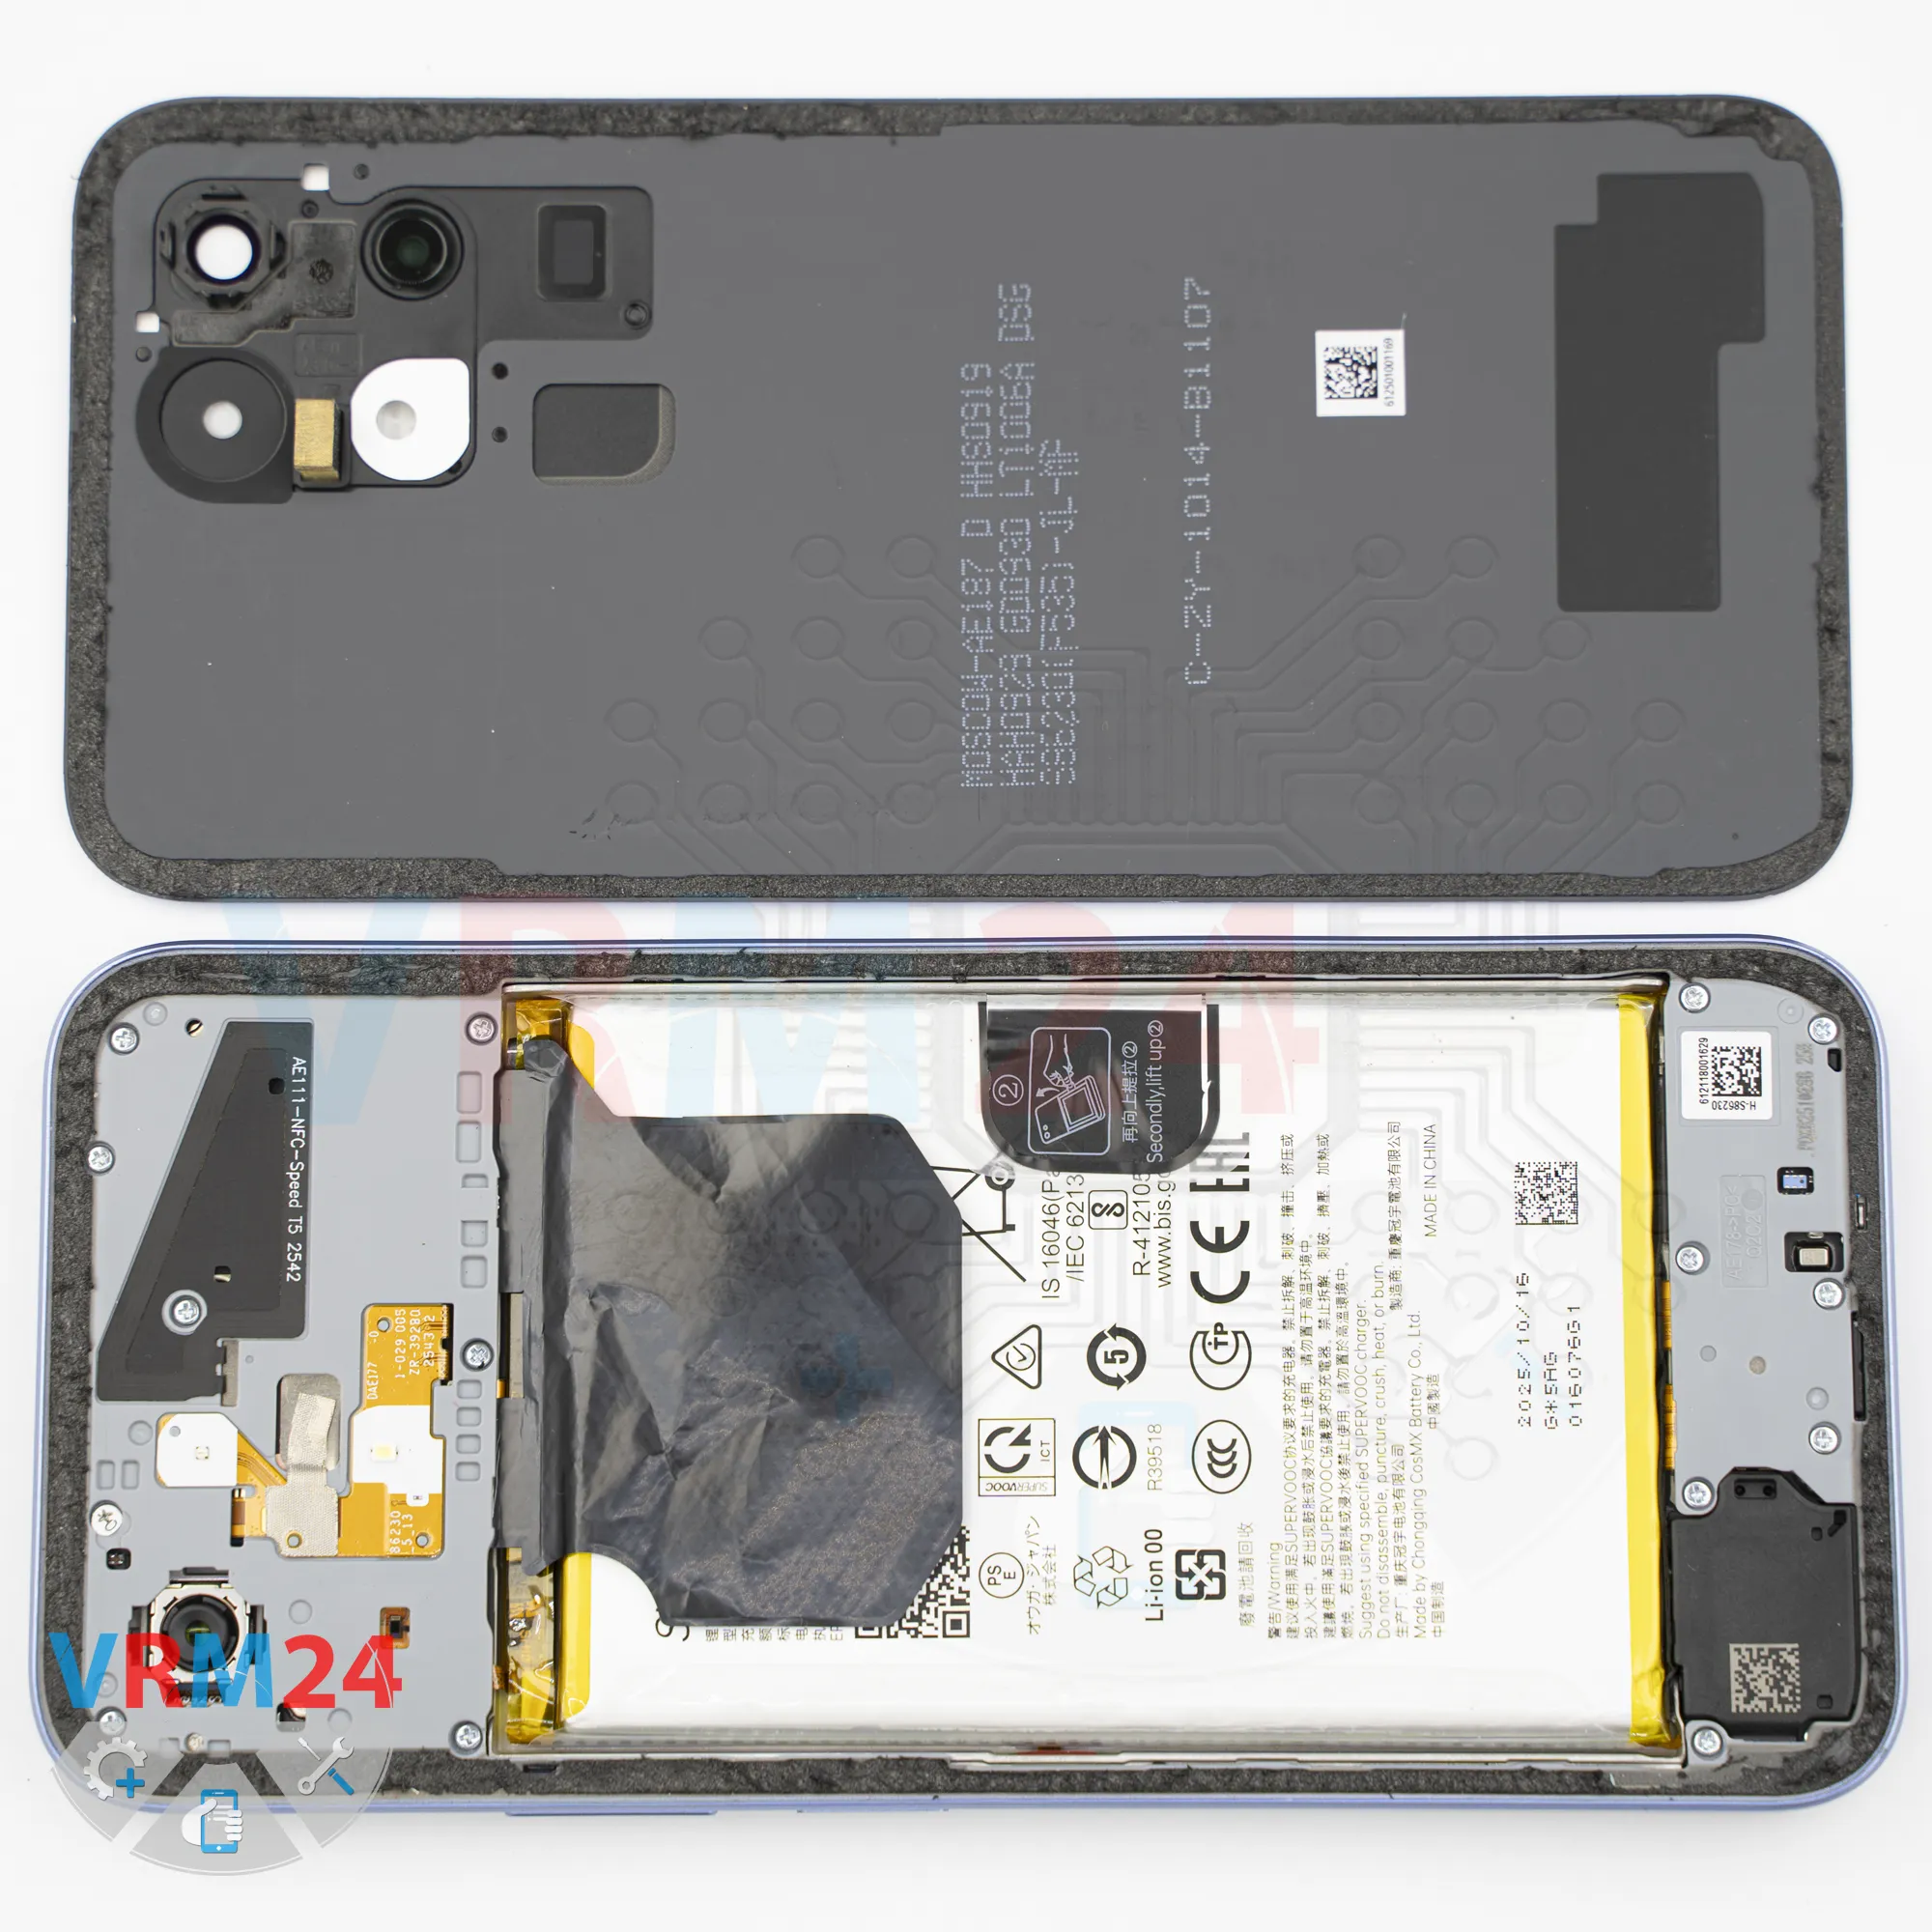
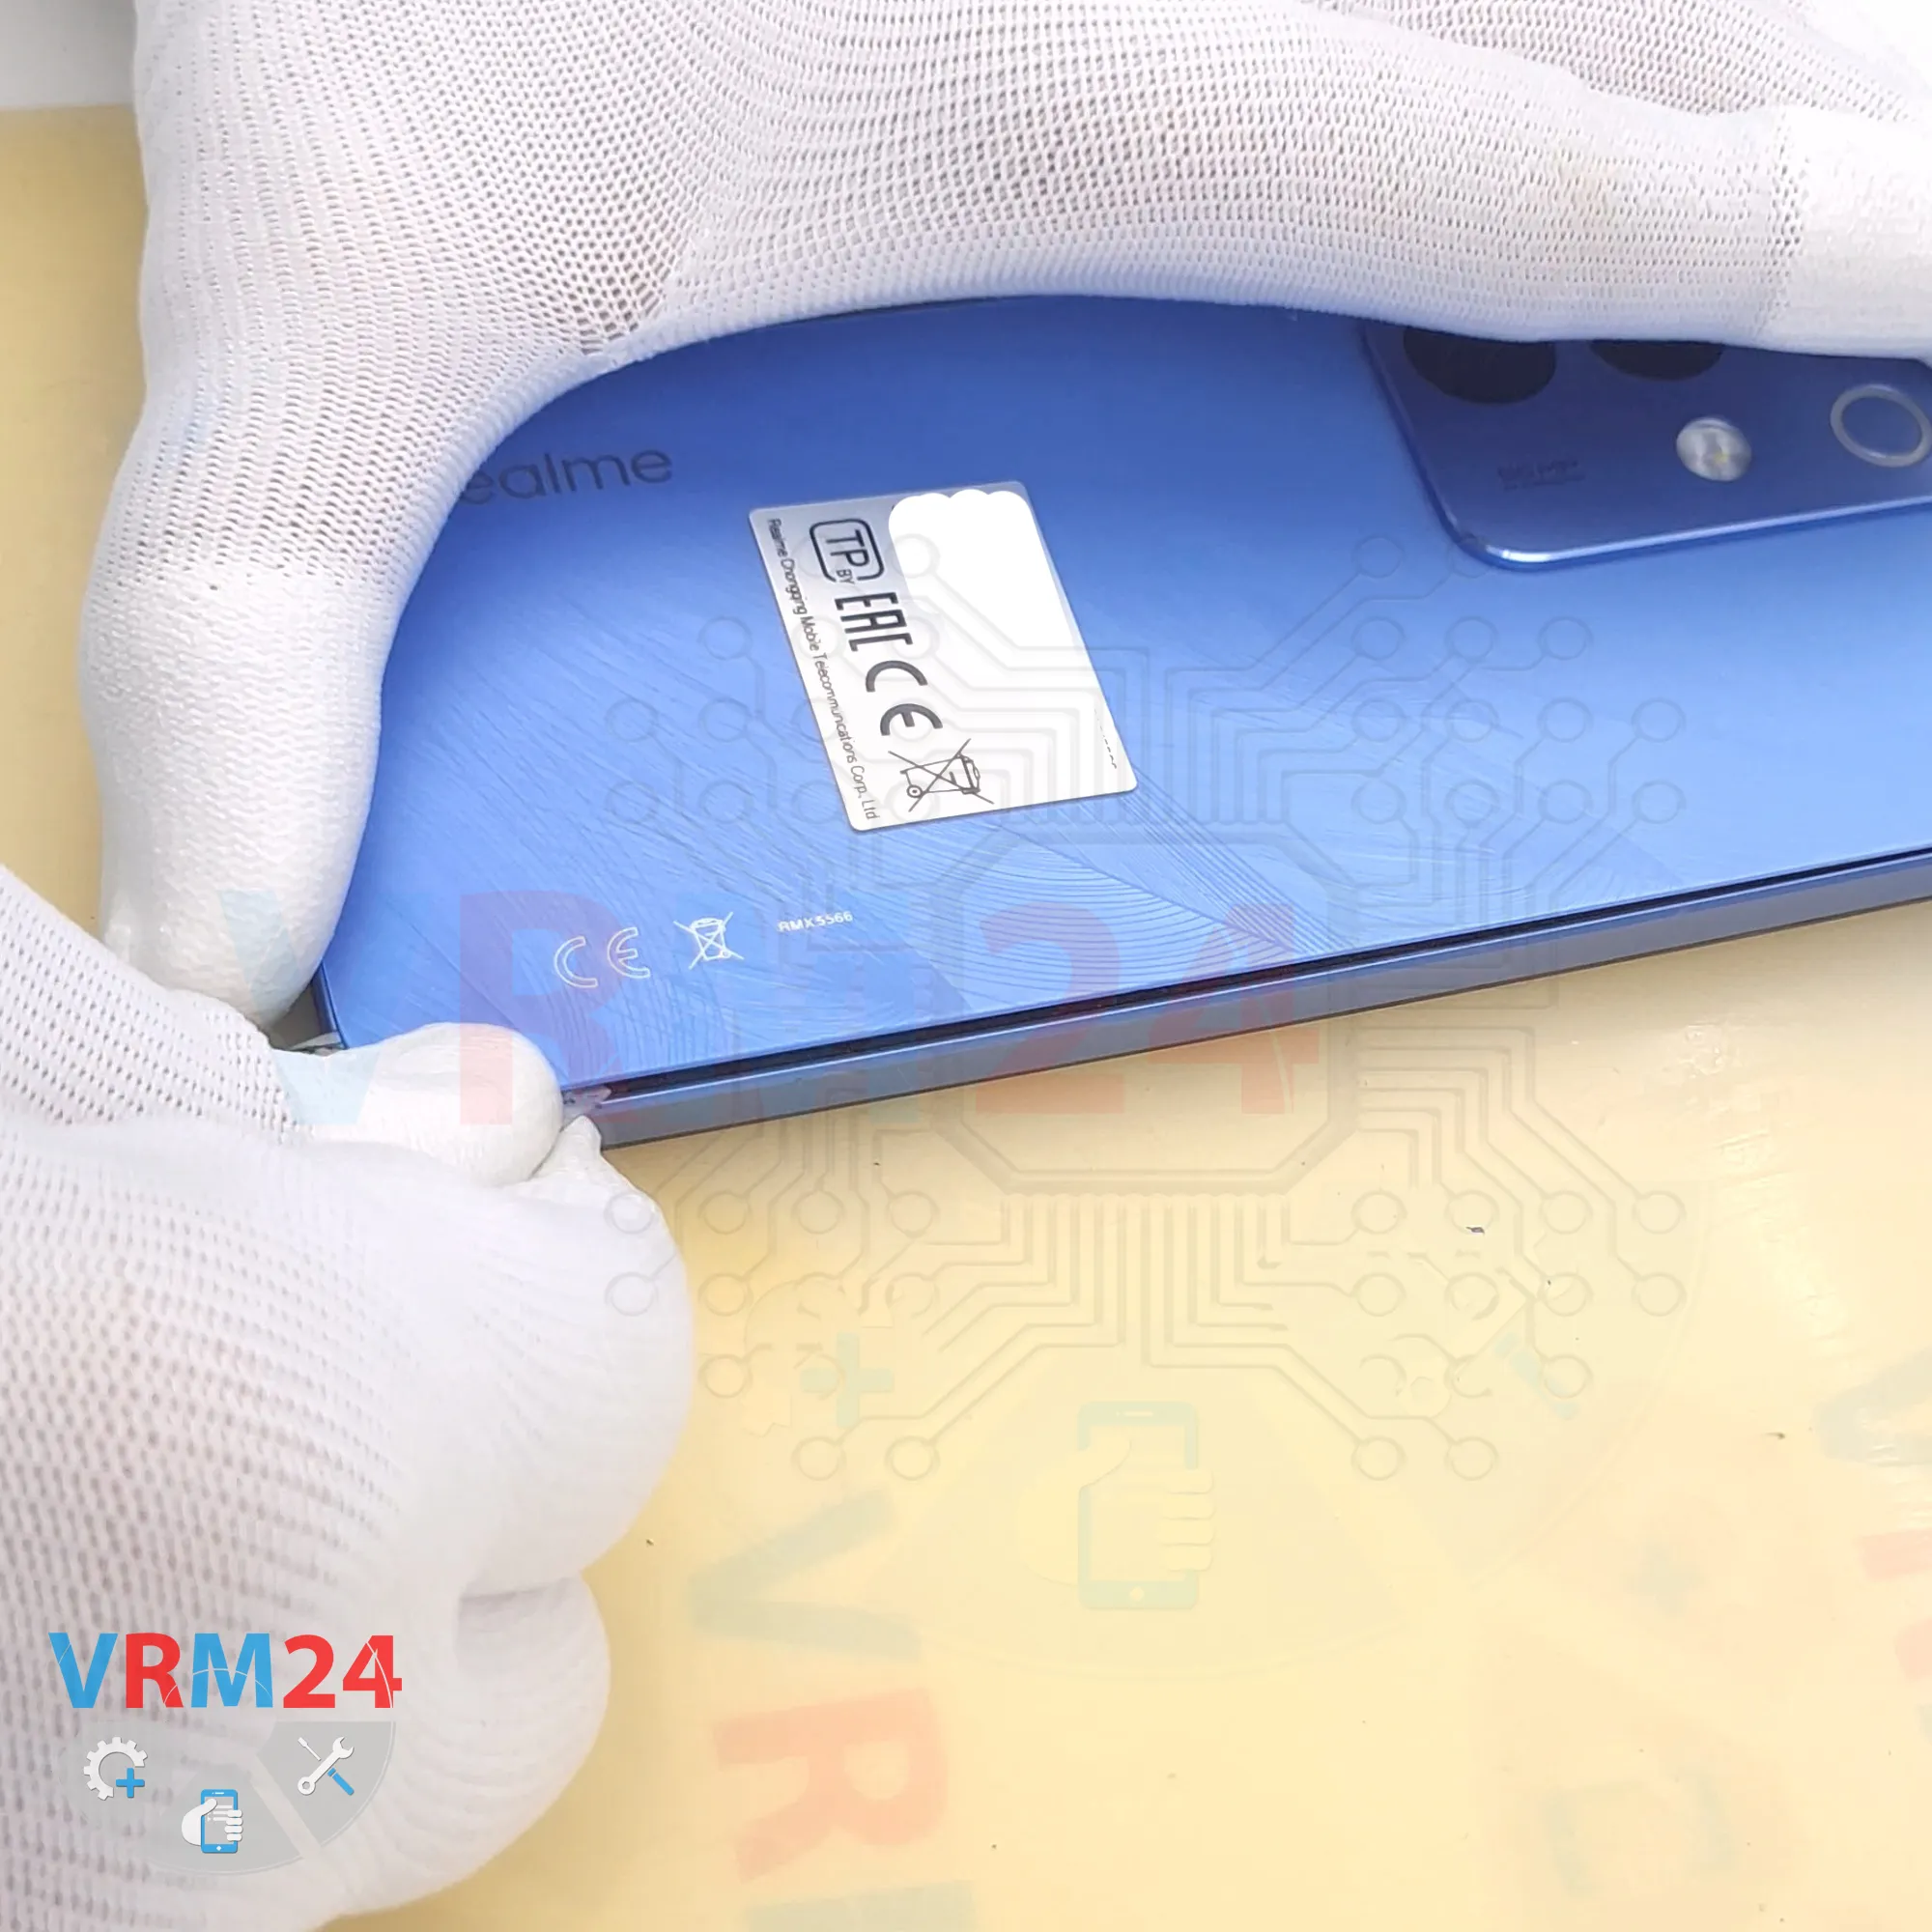
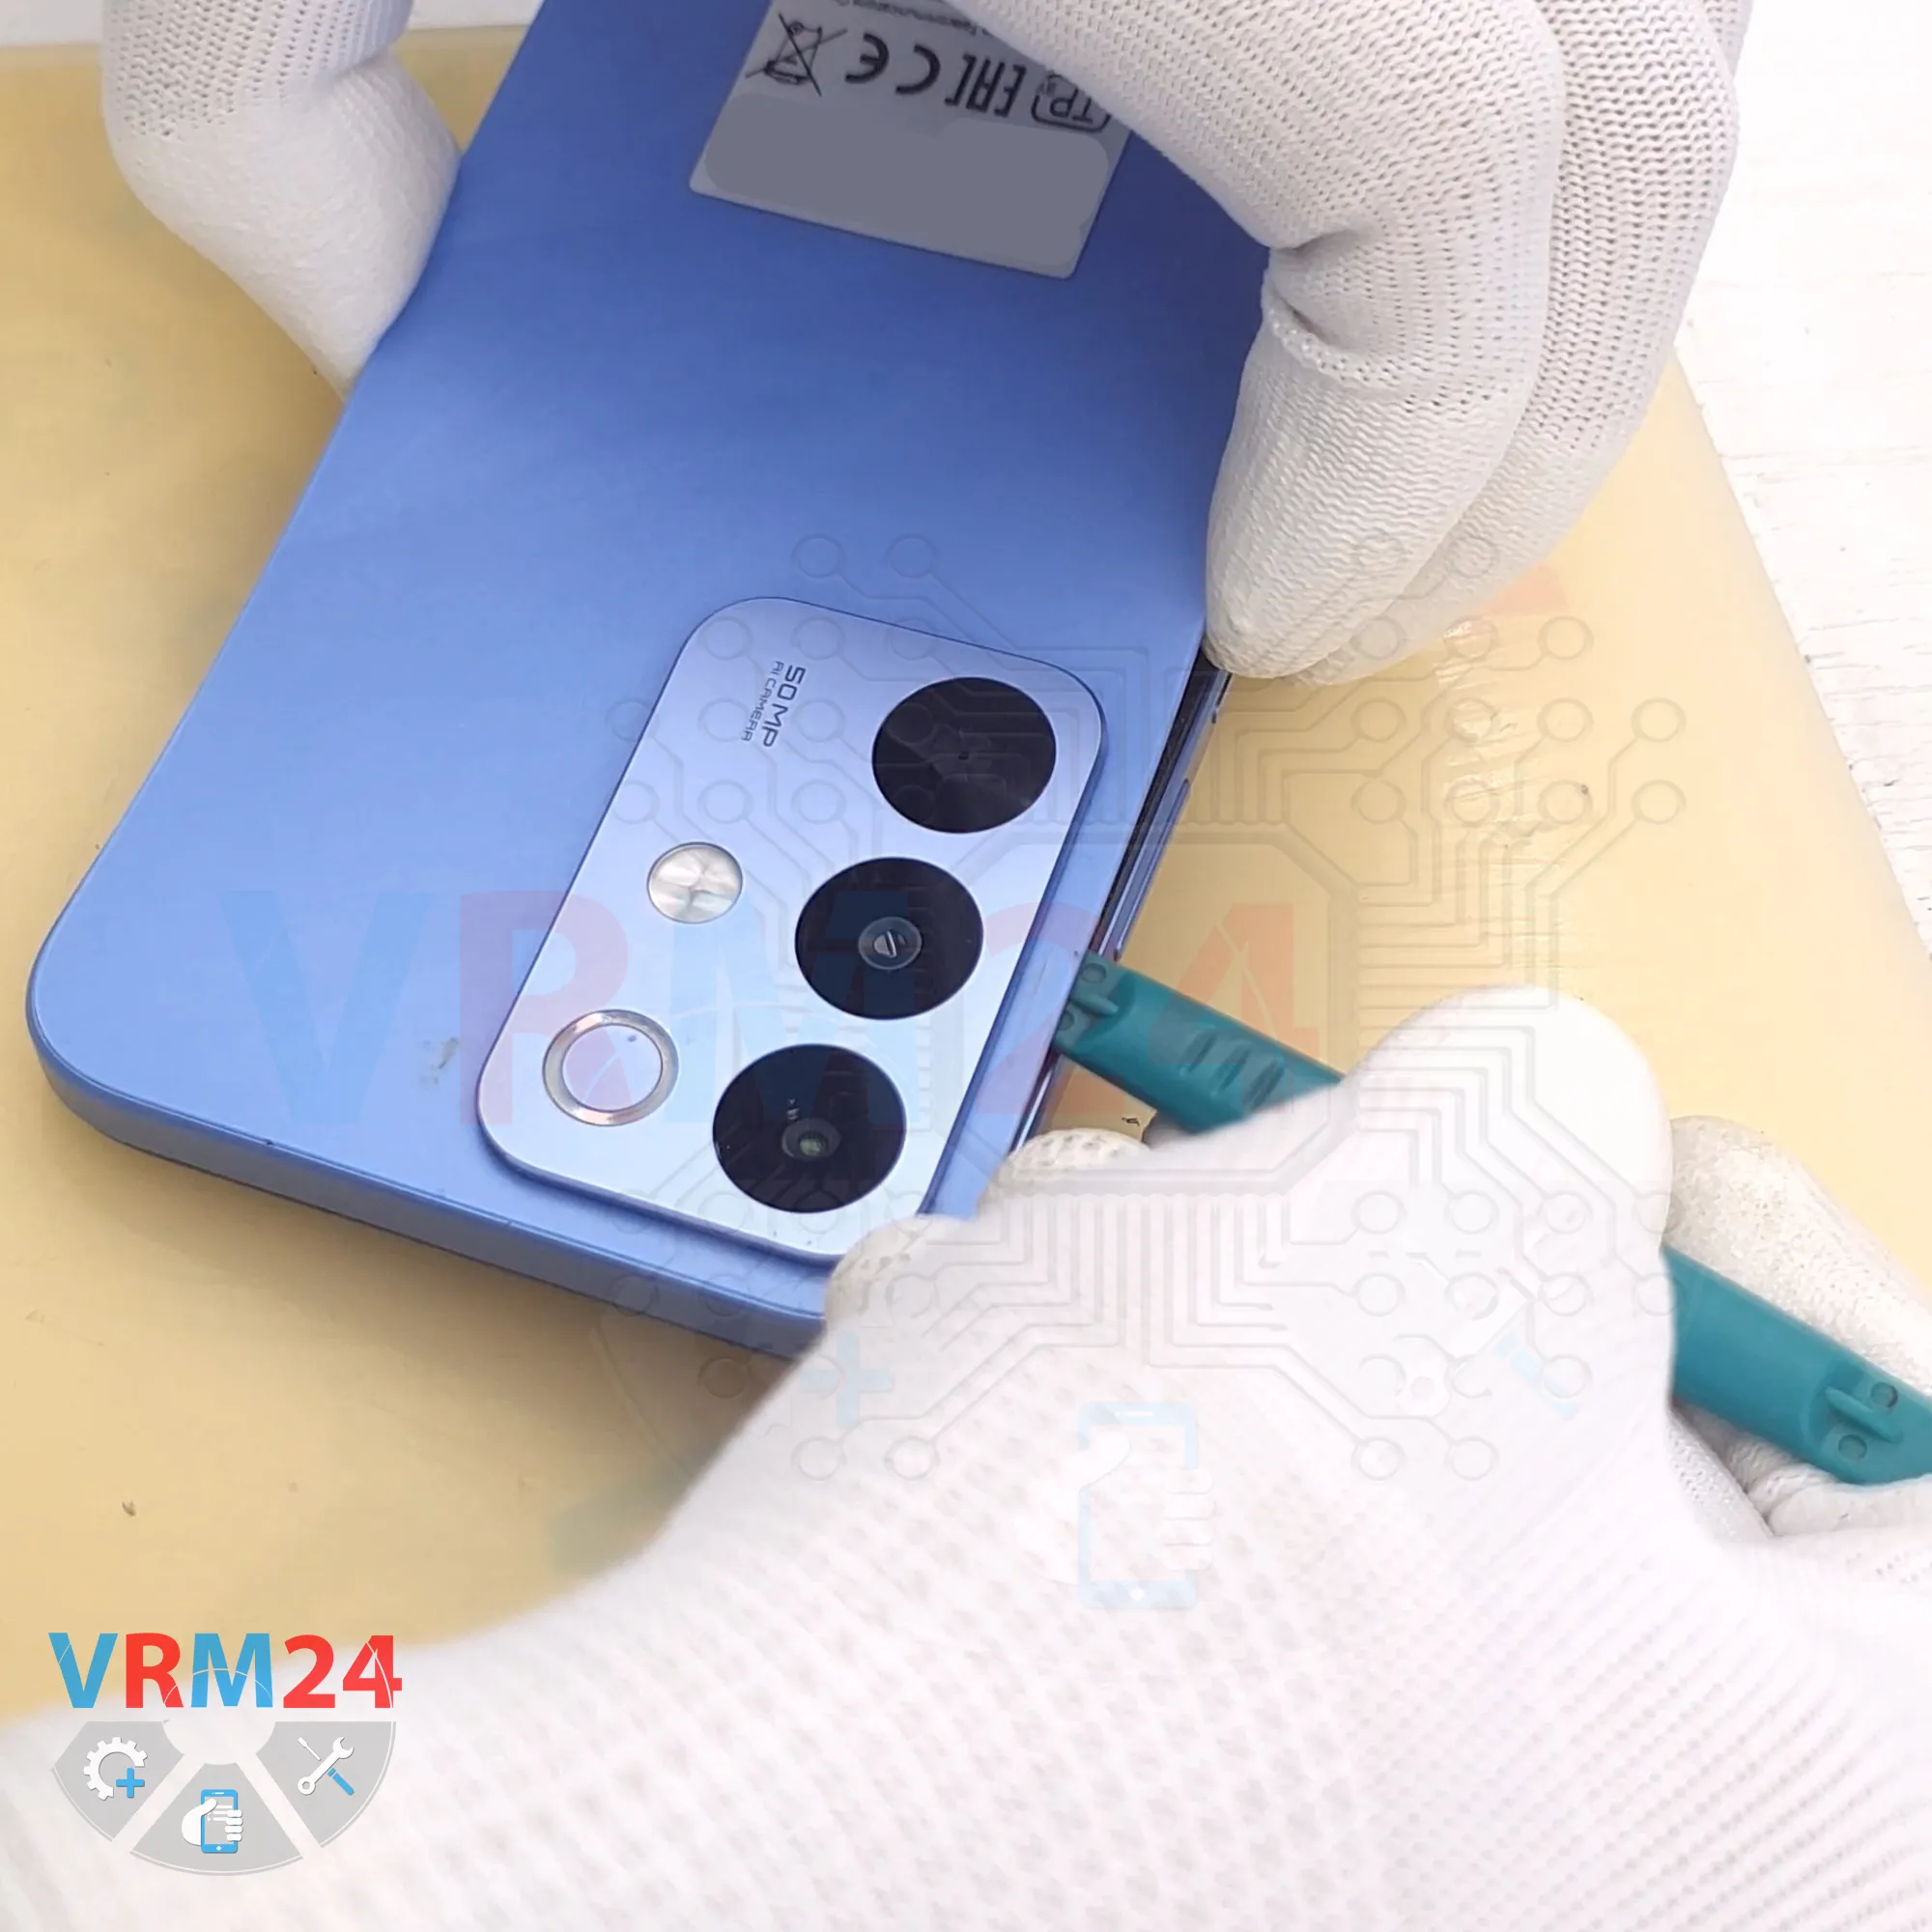
For this, we use a thin plastic film. We insert it into the gap between the back cover and the midframe and carefully run it along the edge, cutting through the adhesive layer.
As always, we need to be careful around the cameras so that we don’t accidentally touch or damage the lenses.
And, of course, we should not push the tool too far underneath the back cover, since we don’t know what is located underneath it.
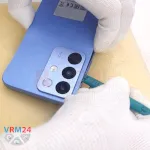
As usual, the cover has additional adhesive around the cameras, and the cover is thicker in this area. We can use a plastic tool to lift the cover slightly in this spot.
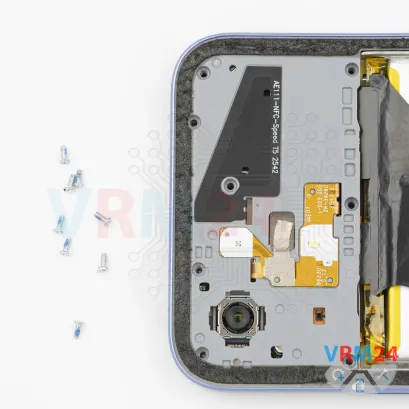
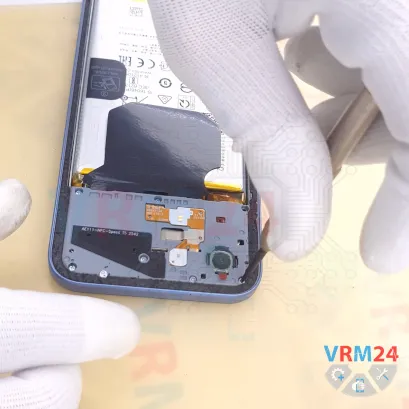
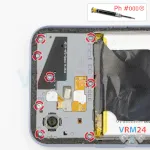
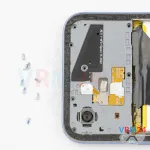
Step 4. Unscrew the screws
After that, it’s better to cover the camera lens with a special film. We have one lens. For this, we use a special film.
And note that we apply the film not directly to the lens, but to the rim around it.
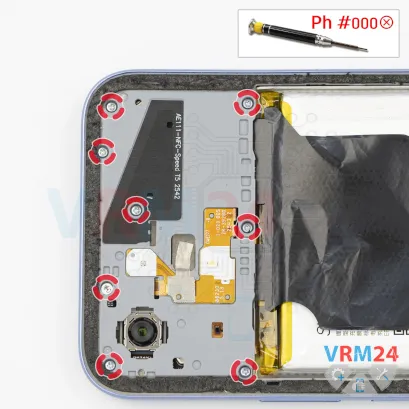
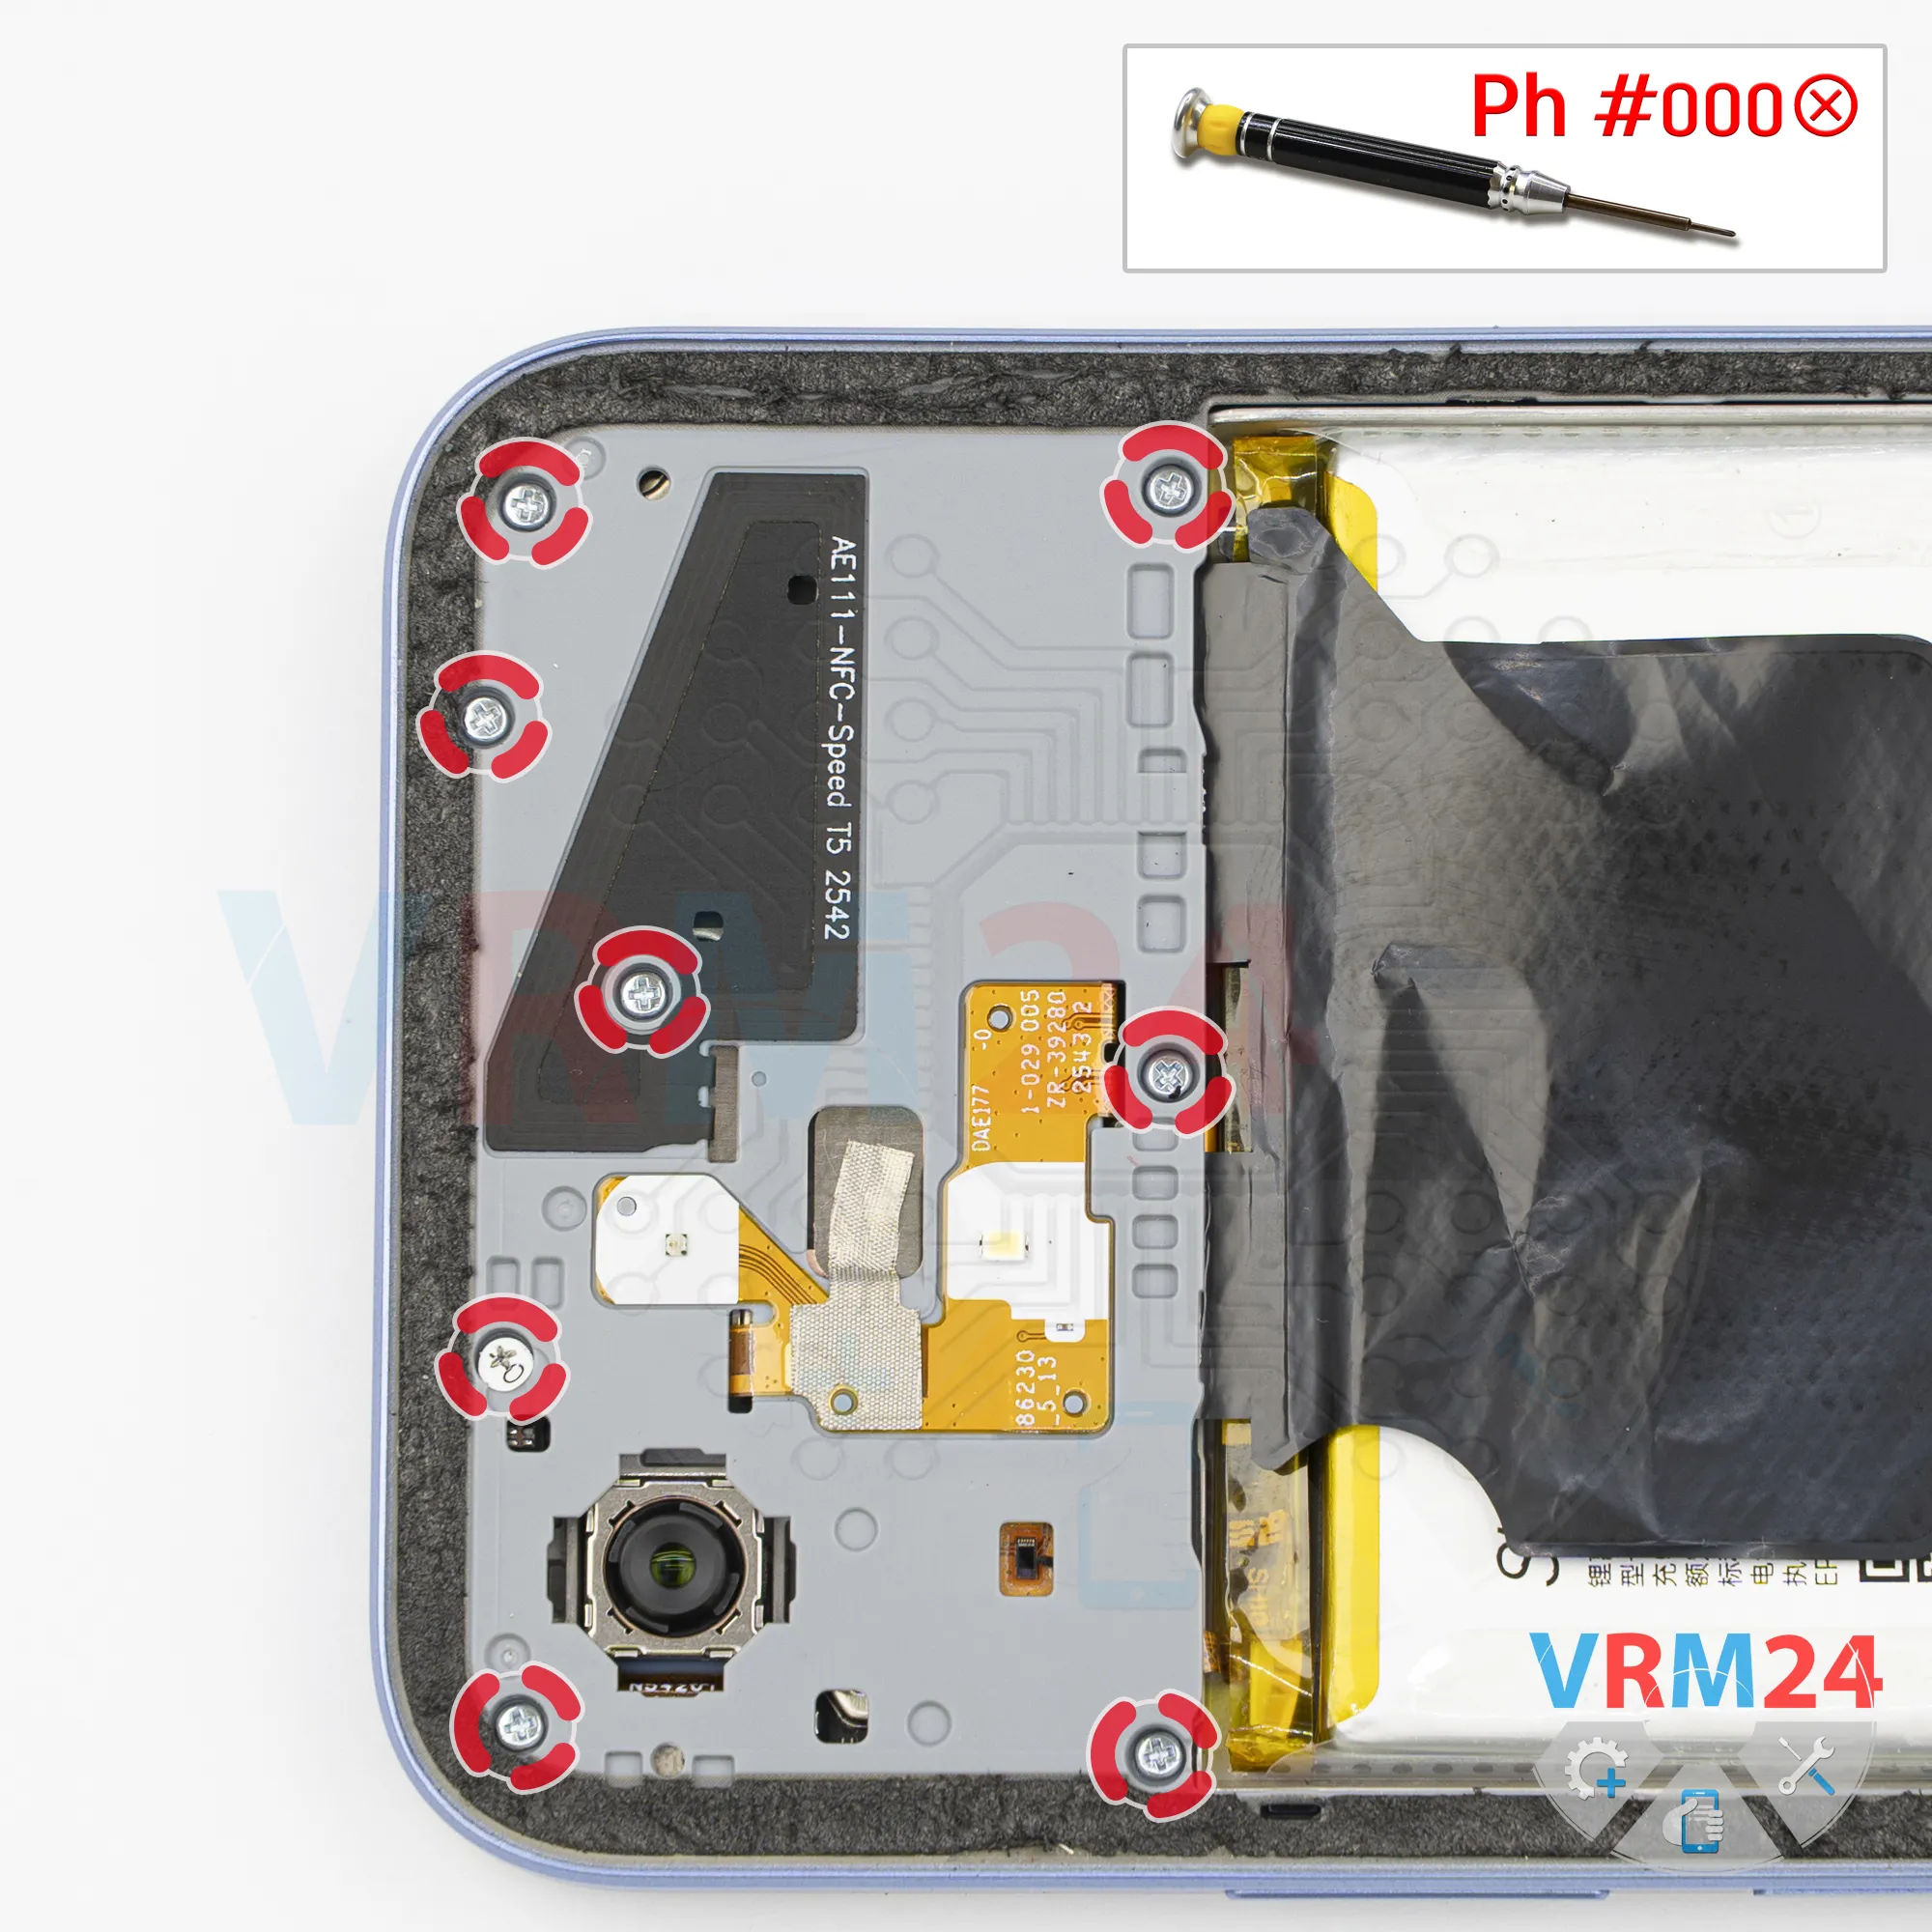
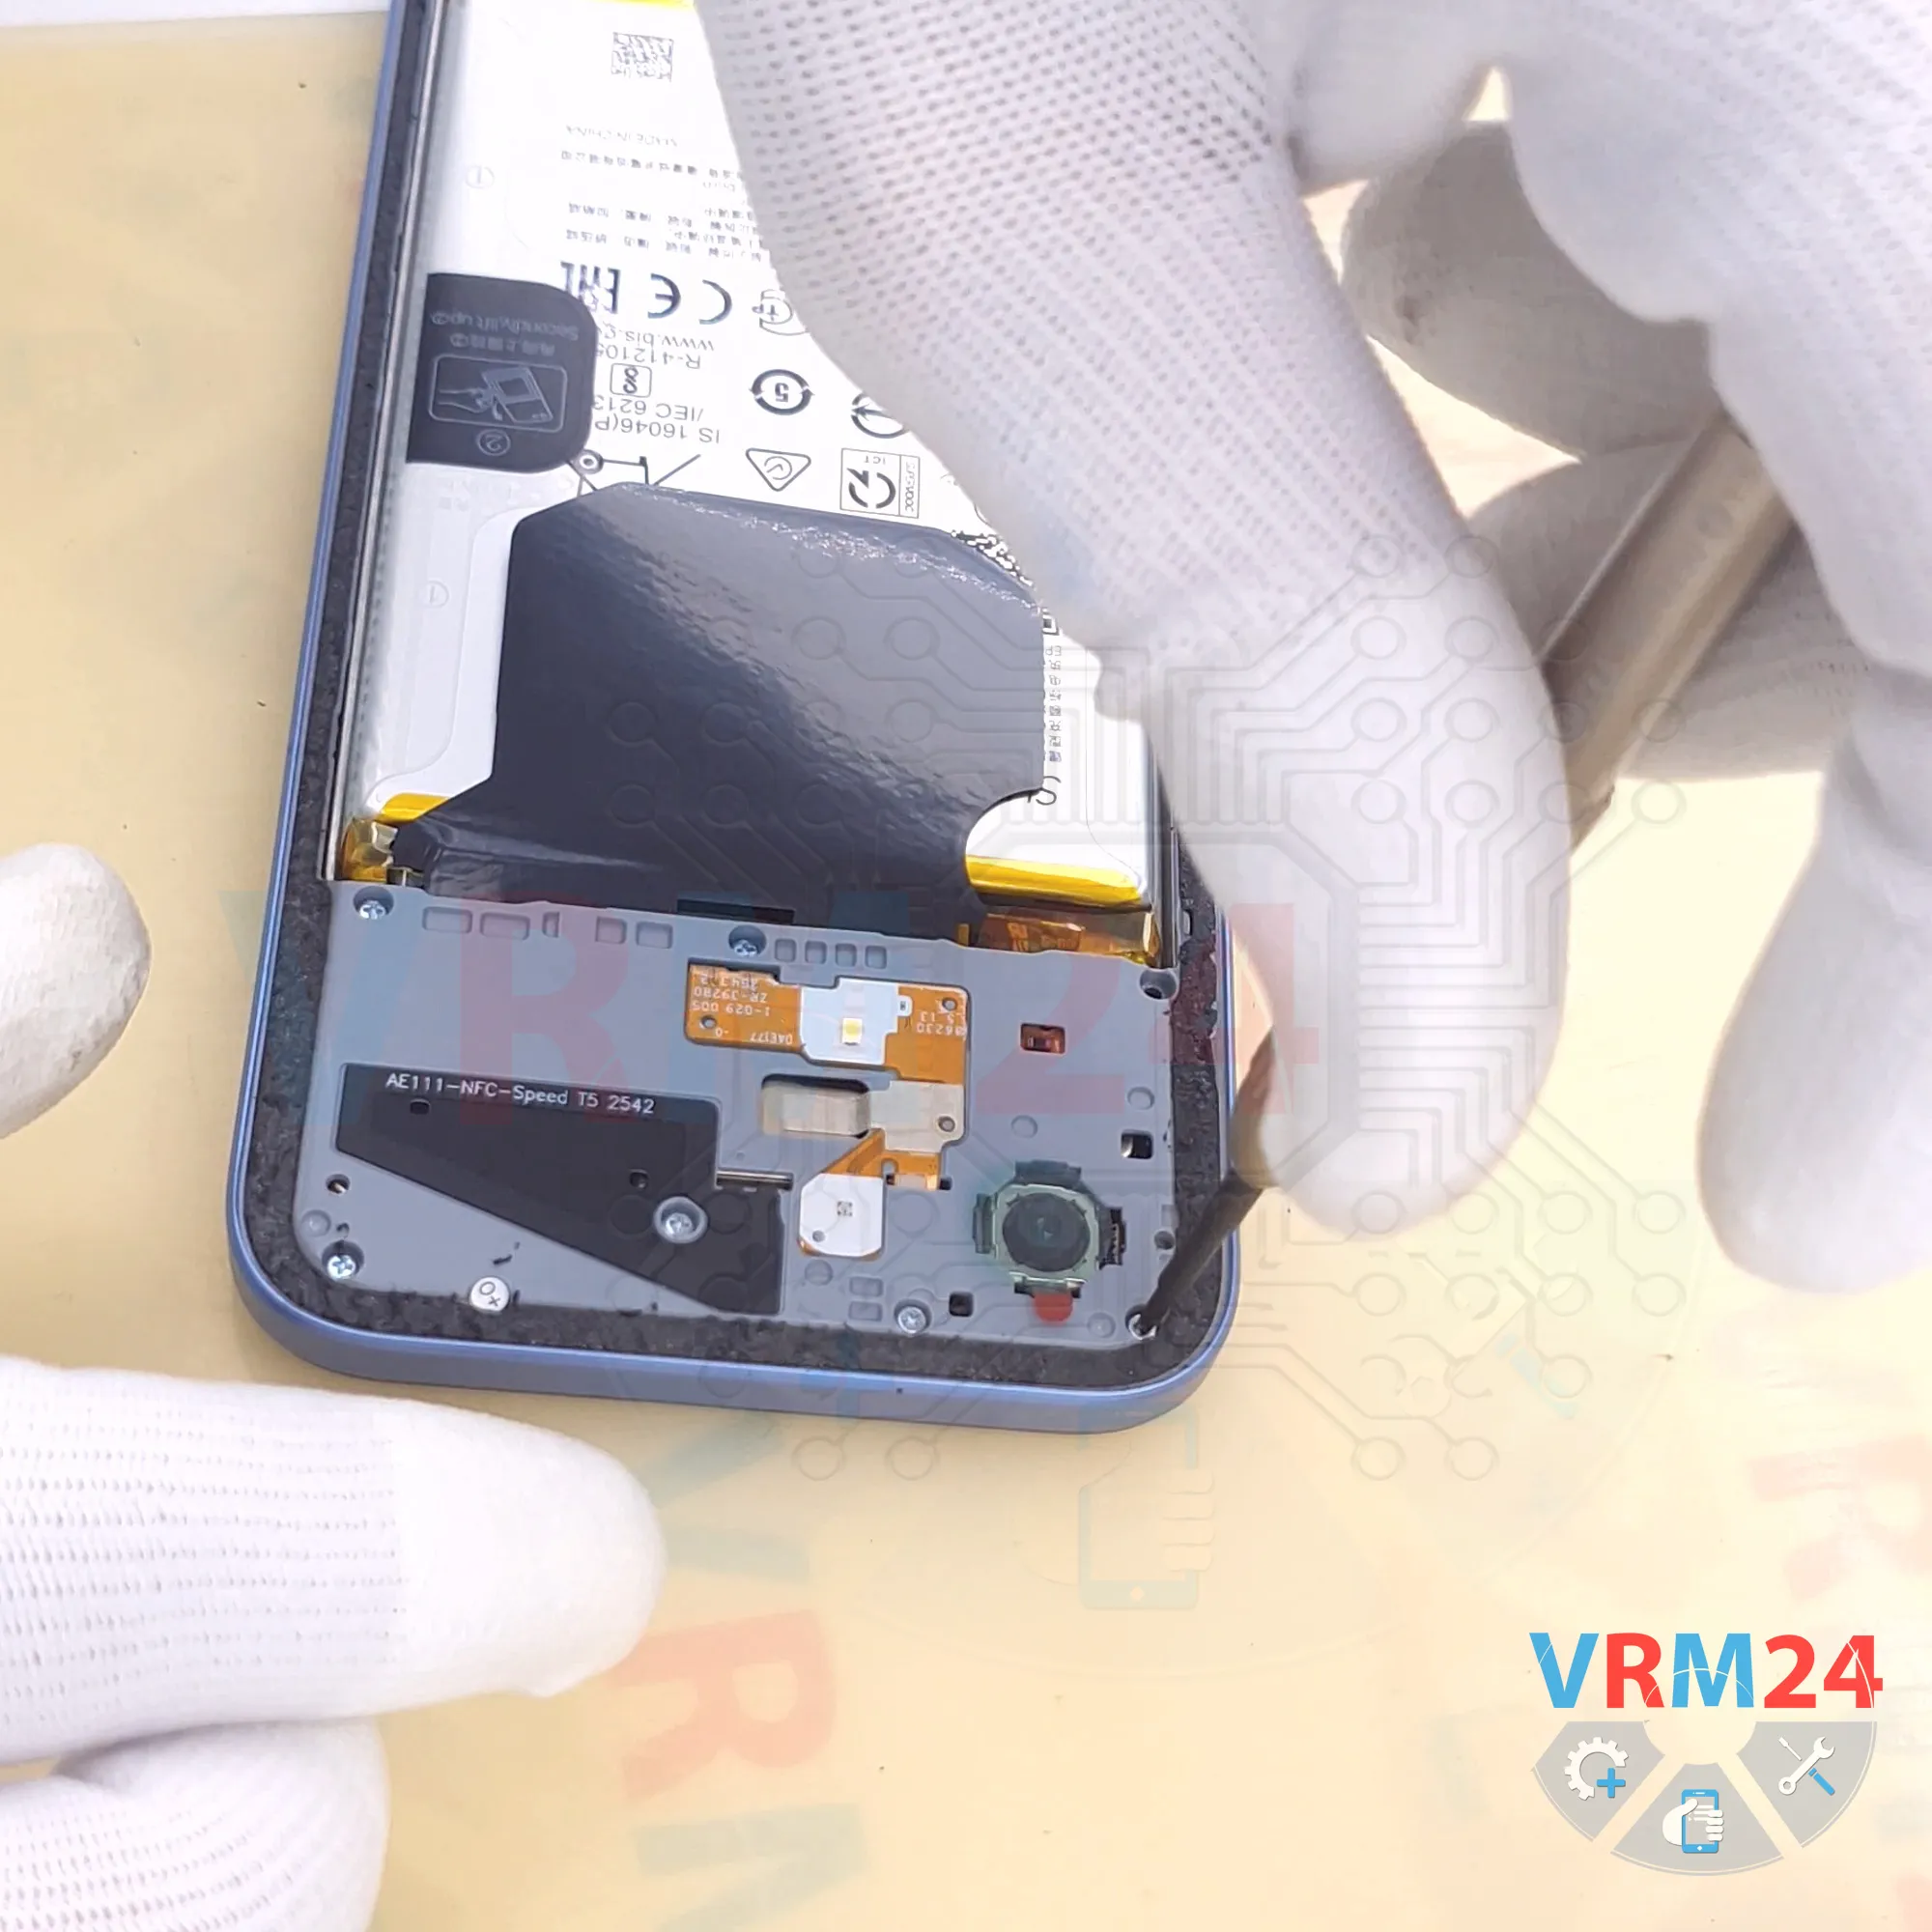
After that, we move on to removing the screws in the upper and lower sections.
For this, we use a 1.5 mm Phillips screwdriver, or Phillips #000.
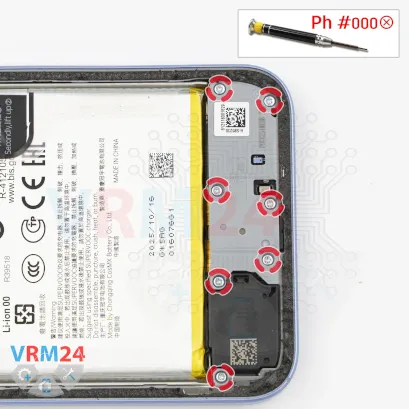
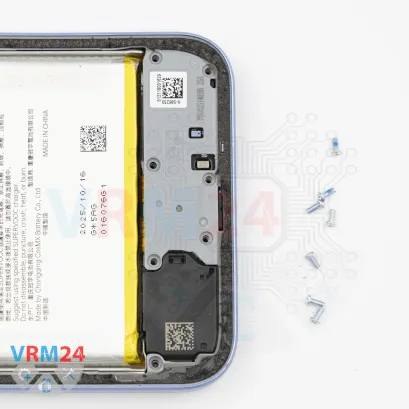
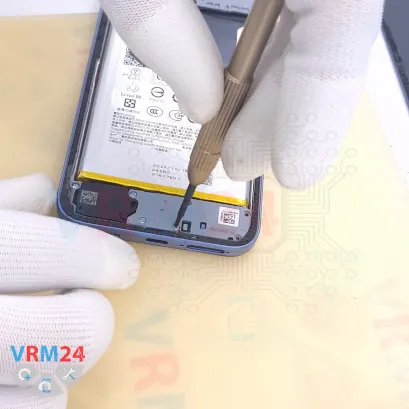
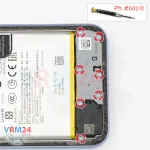
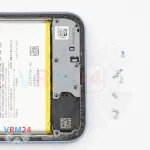
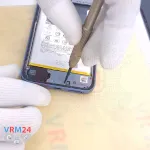
Step 5. Unscrew the screws
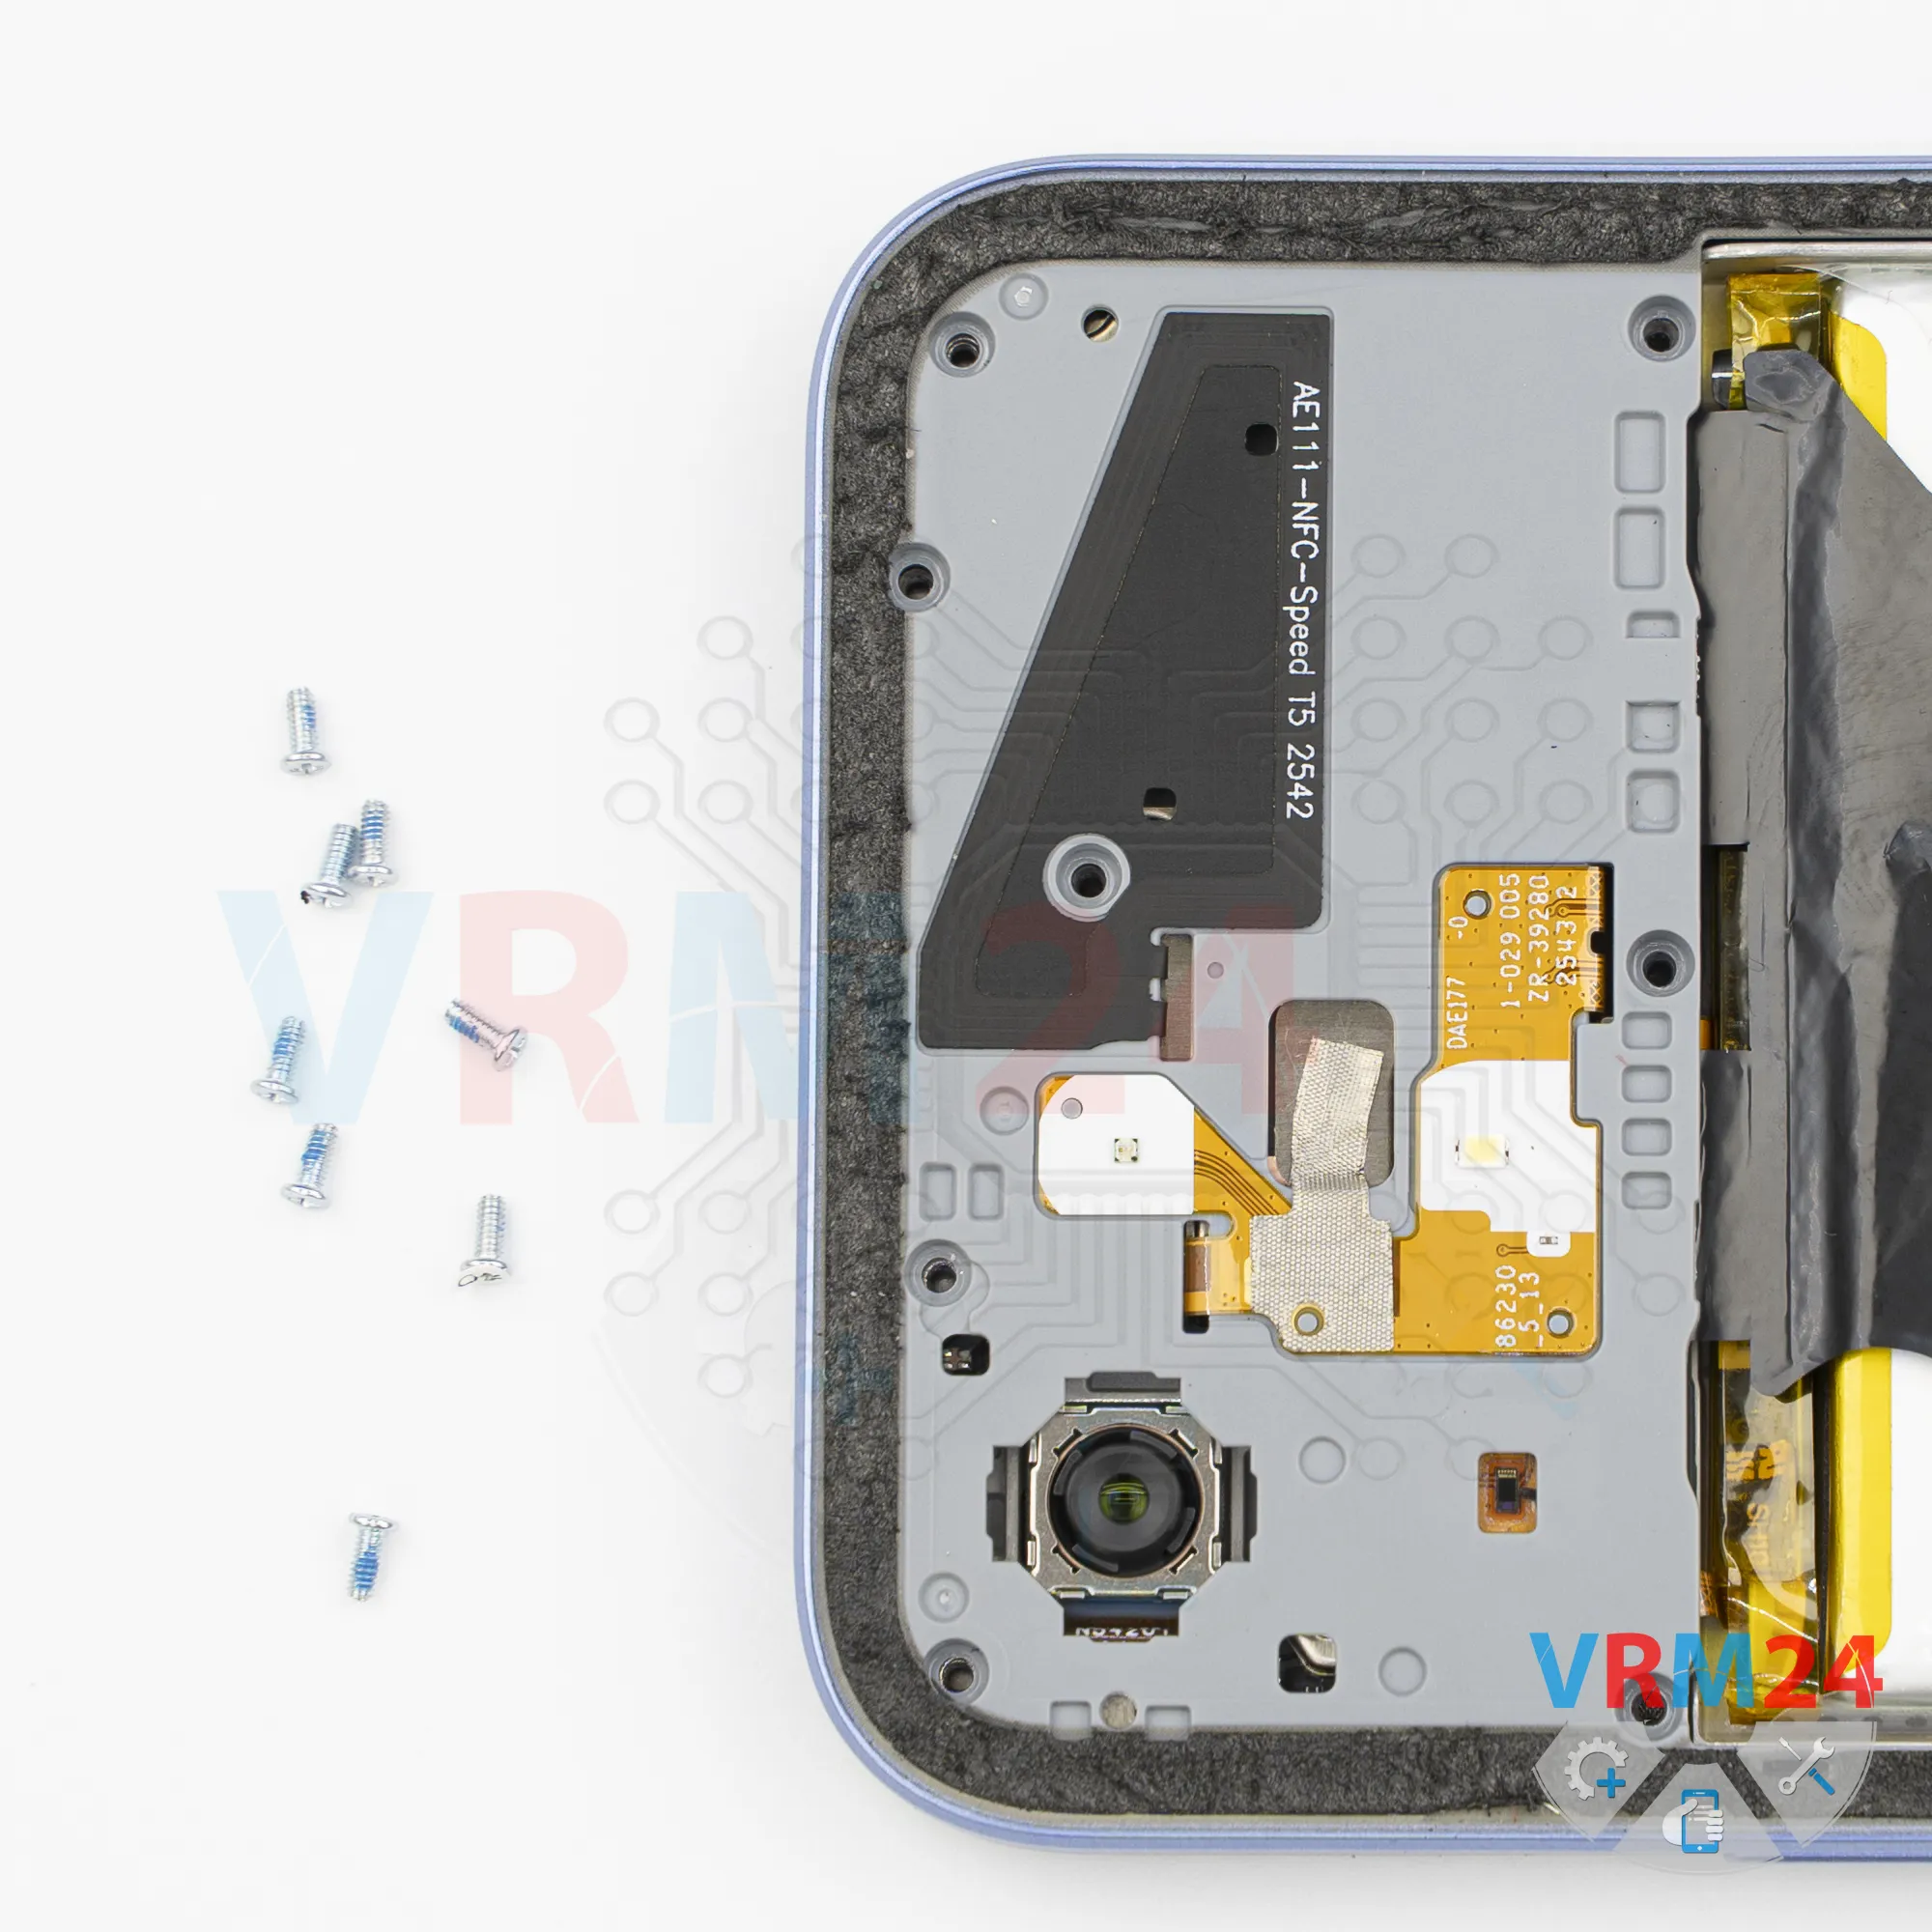
So, we carefully remove the screws and place them on a special surface in a specific order.
Of course, it’s better to keep the screws from the lower section separate from the ones we removed earlier.
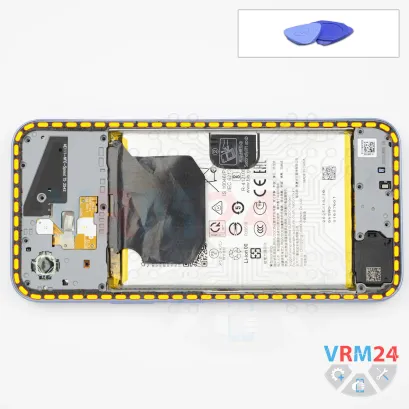
Step 6. Open the mid-frame
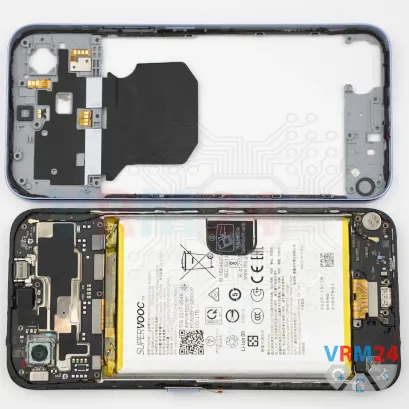
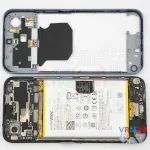
After removing the screws, we move on to separating the midframe.
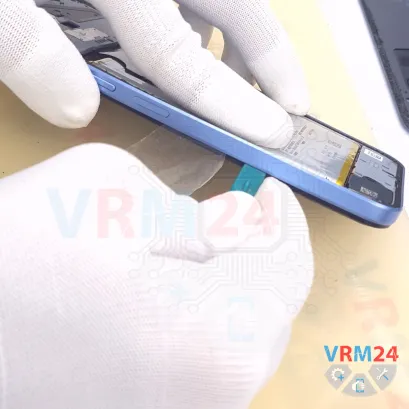
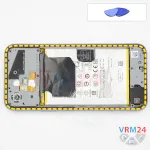
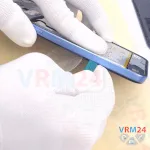
We insert a thin plastic film into the gap between the midframe and the display frame near the SIM card tray opening. We run it along the edge, release several clips, and then use a thicker tool.
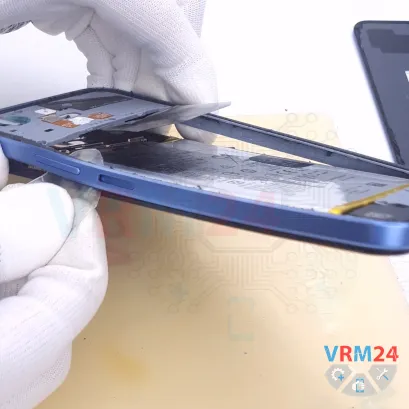
However, in our case, and specifically with this model, the midframe is also additionally glued in place. So even though we release the clips, the cover will not come off.
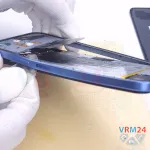
Therefore, we need to determine or check where the additional adhesive is located. We need to carefully lift the cover and separate it by cutting through the adhesive layer.
We need to be really, very careful because the flex cable that goes to the side button - most likely to the fingerprint sensor - is located right in this area. It is extremely thin and quite easy to damage.
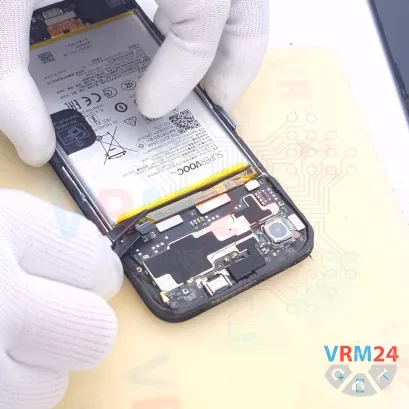
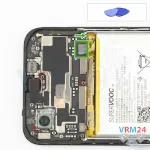
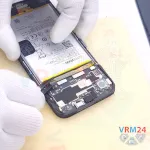
Step 7. Disconnect the battery connector
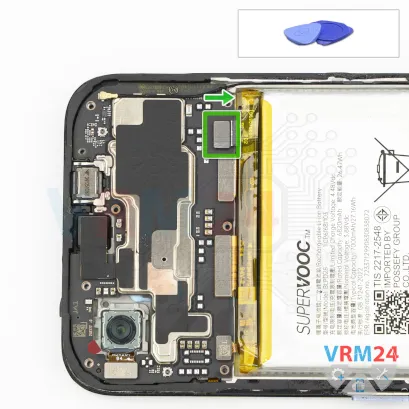
Next, using a non-metallic tool, we disconnect the battery connector and move on to the bottom section.
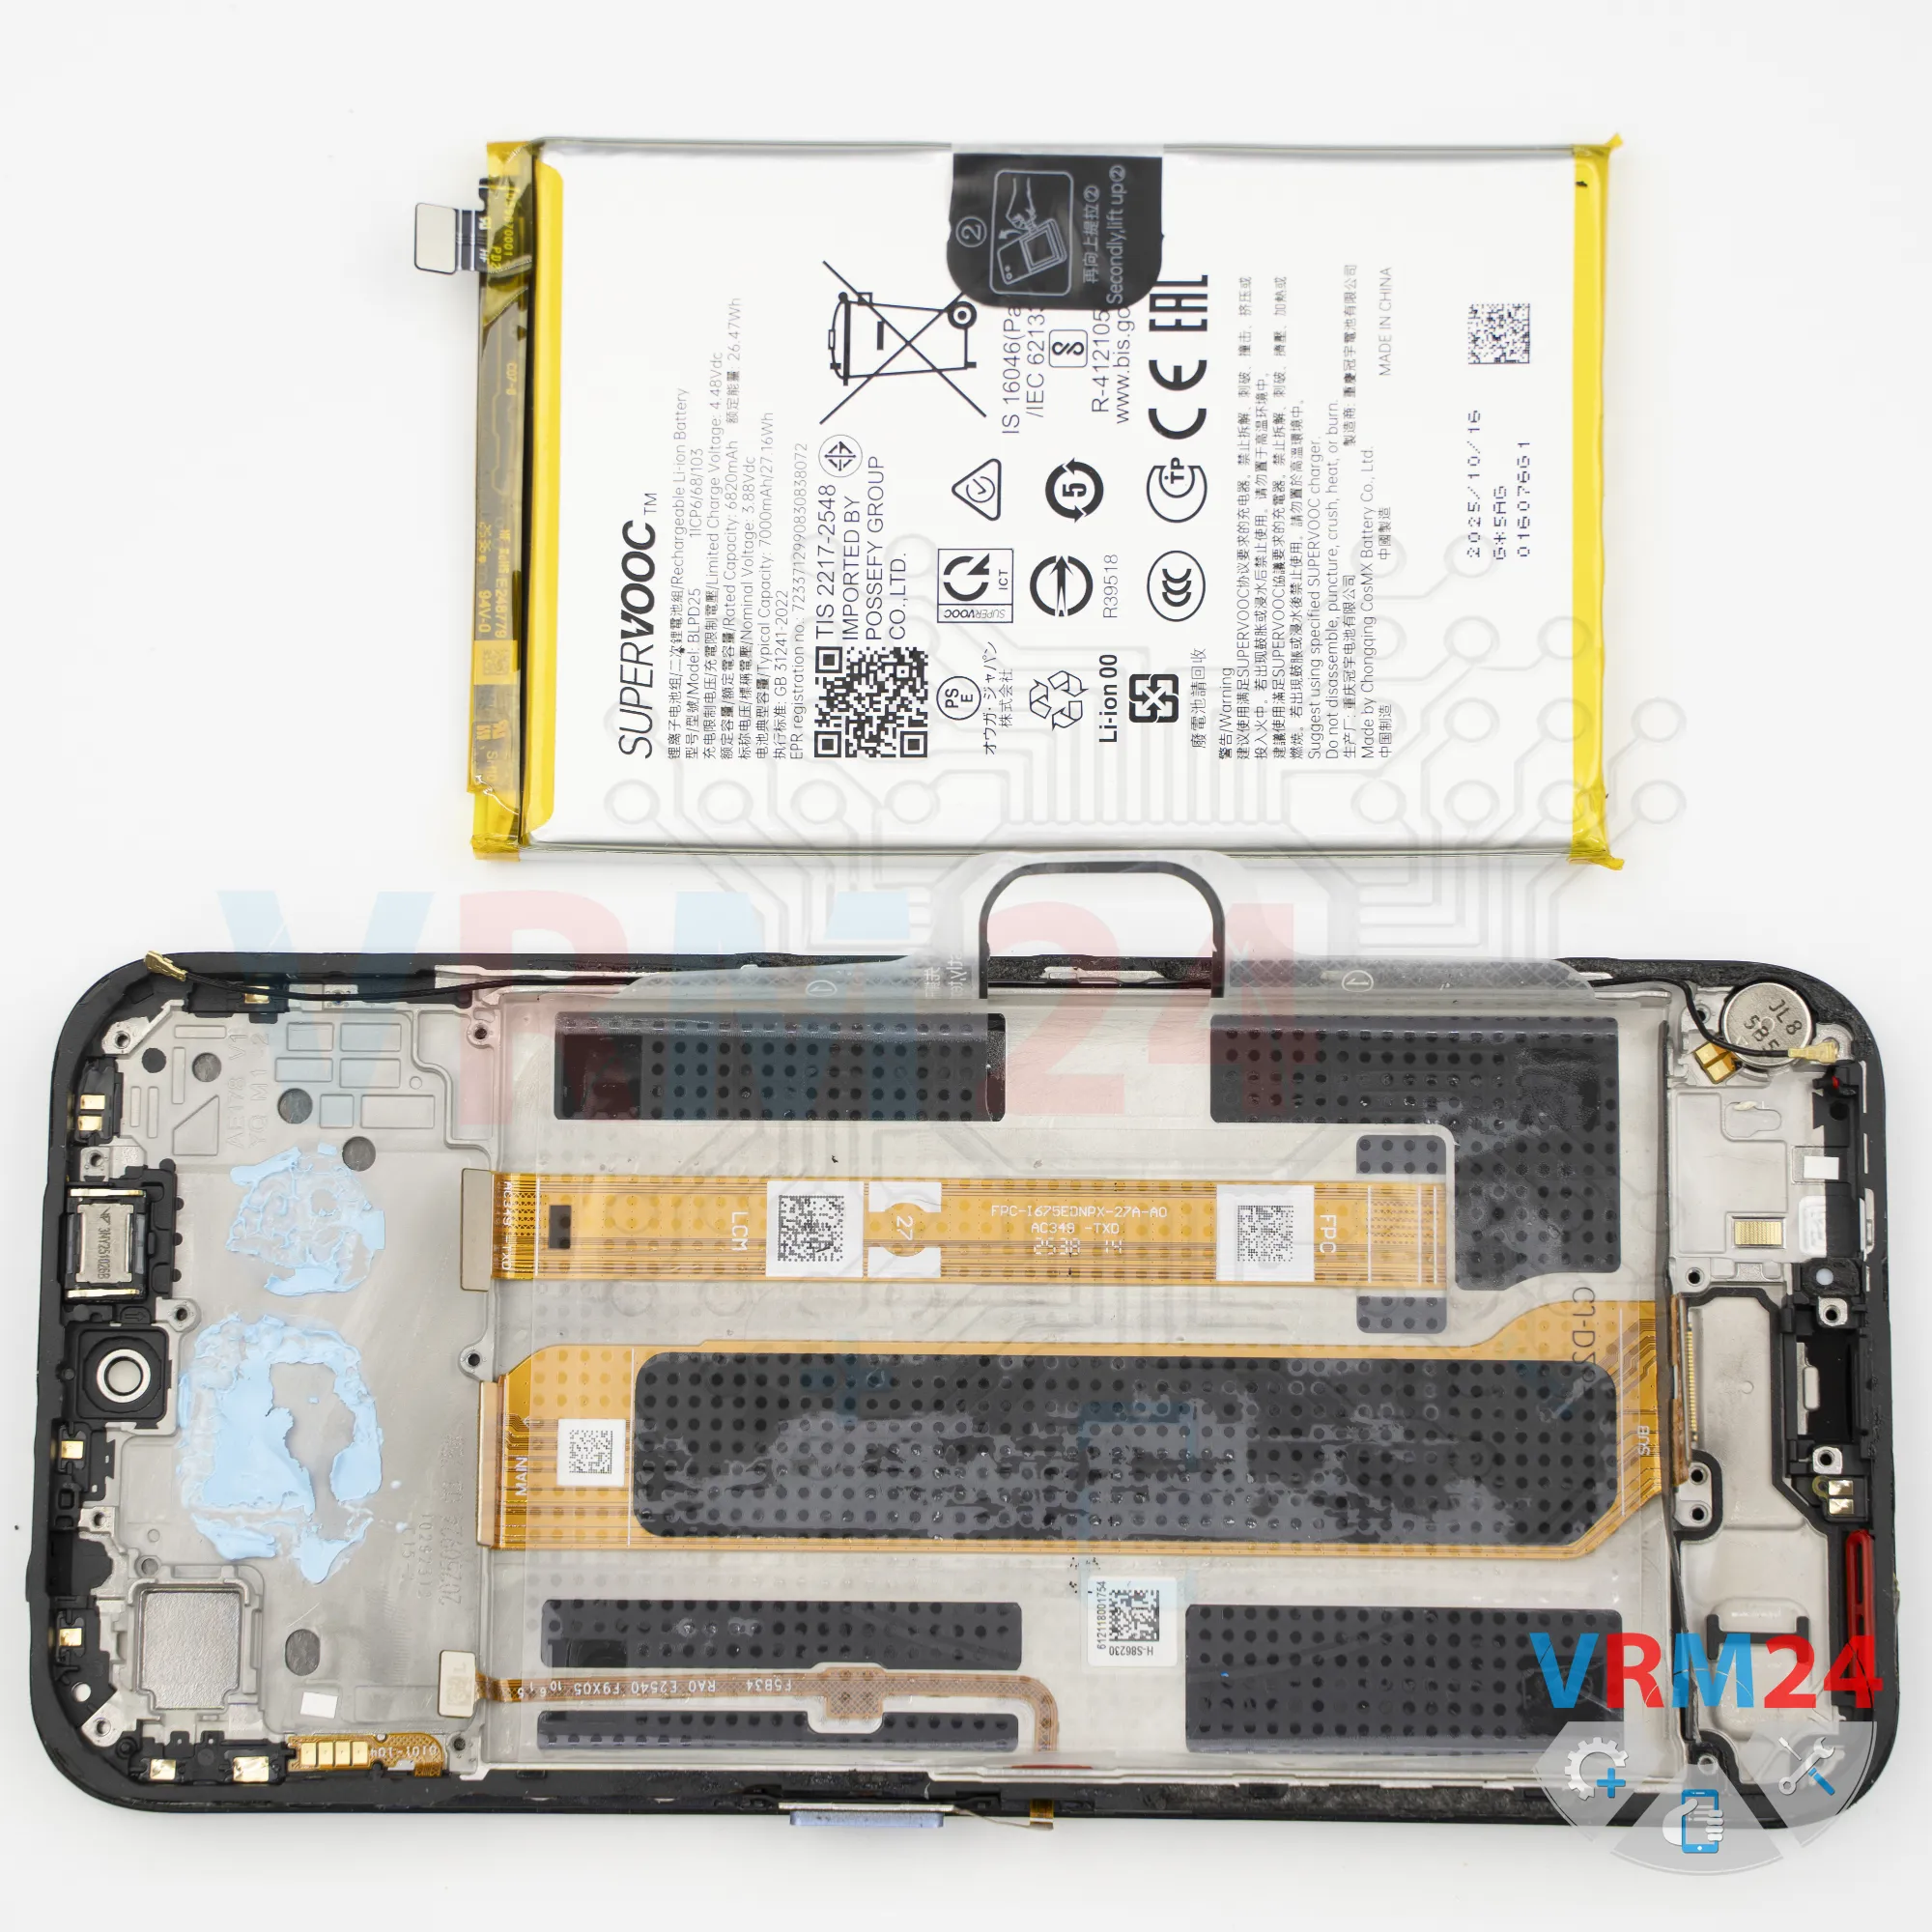
ℹ️️ The Realme C85 RMX5566 uses a BLPD25 rechargeable battery with a capacity of 7000 mAh.
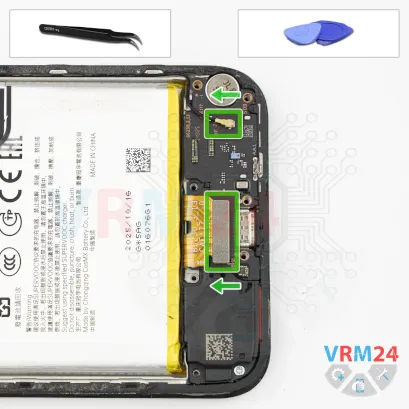
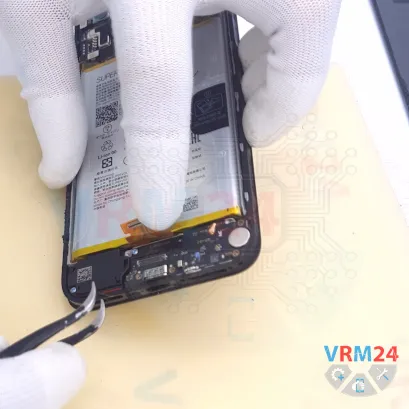
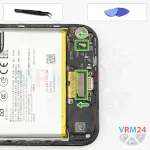
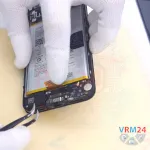
Step 8. Disconnect the connectors
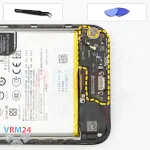
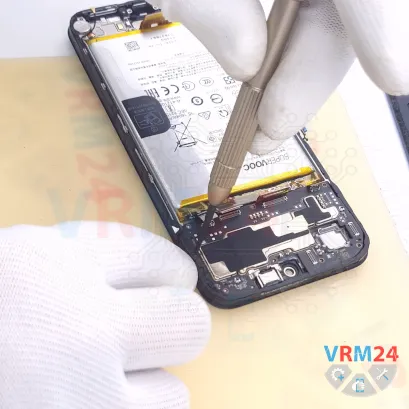
At the bottom, we disconnect the coaxial cable connector and disconnect the inter-board flex cable.
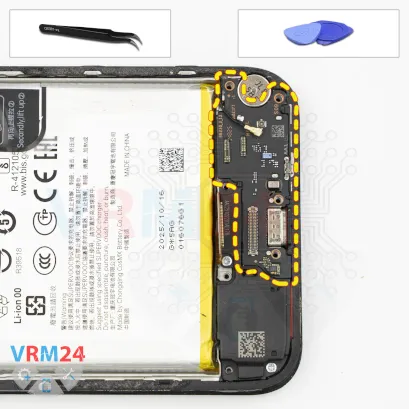
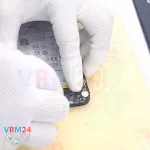
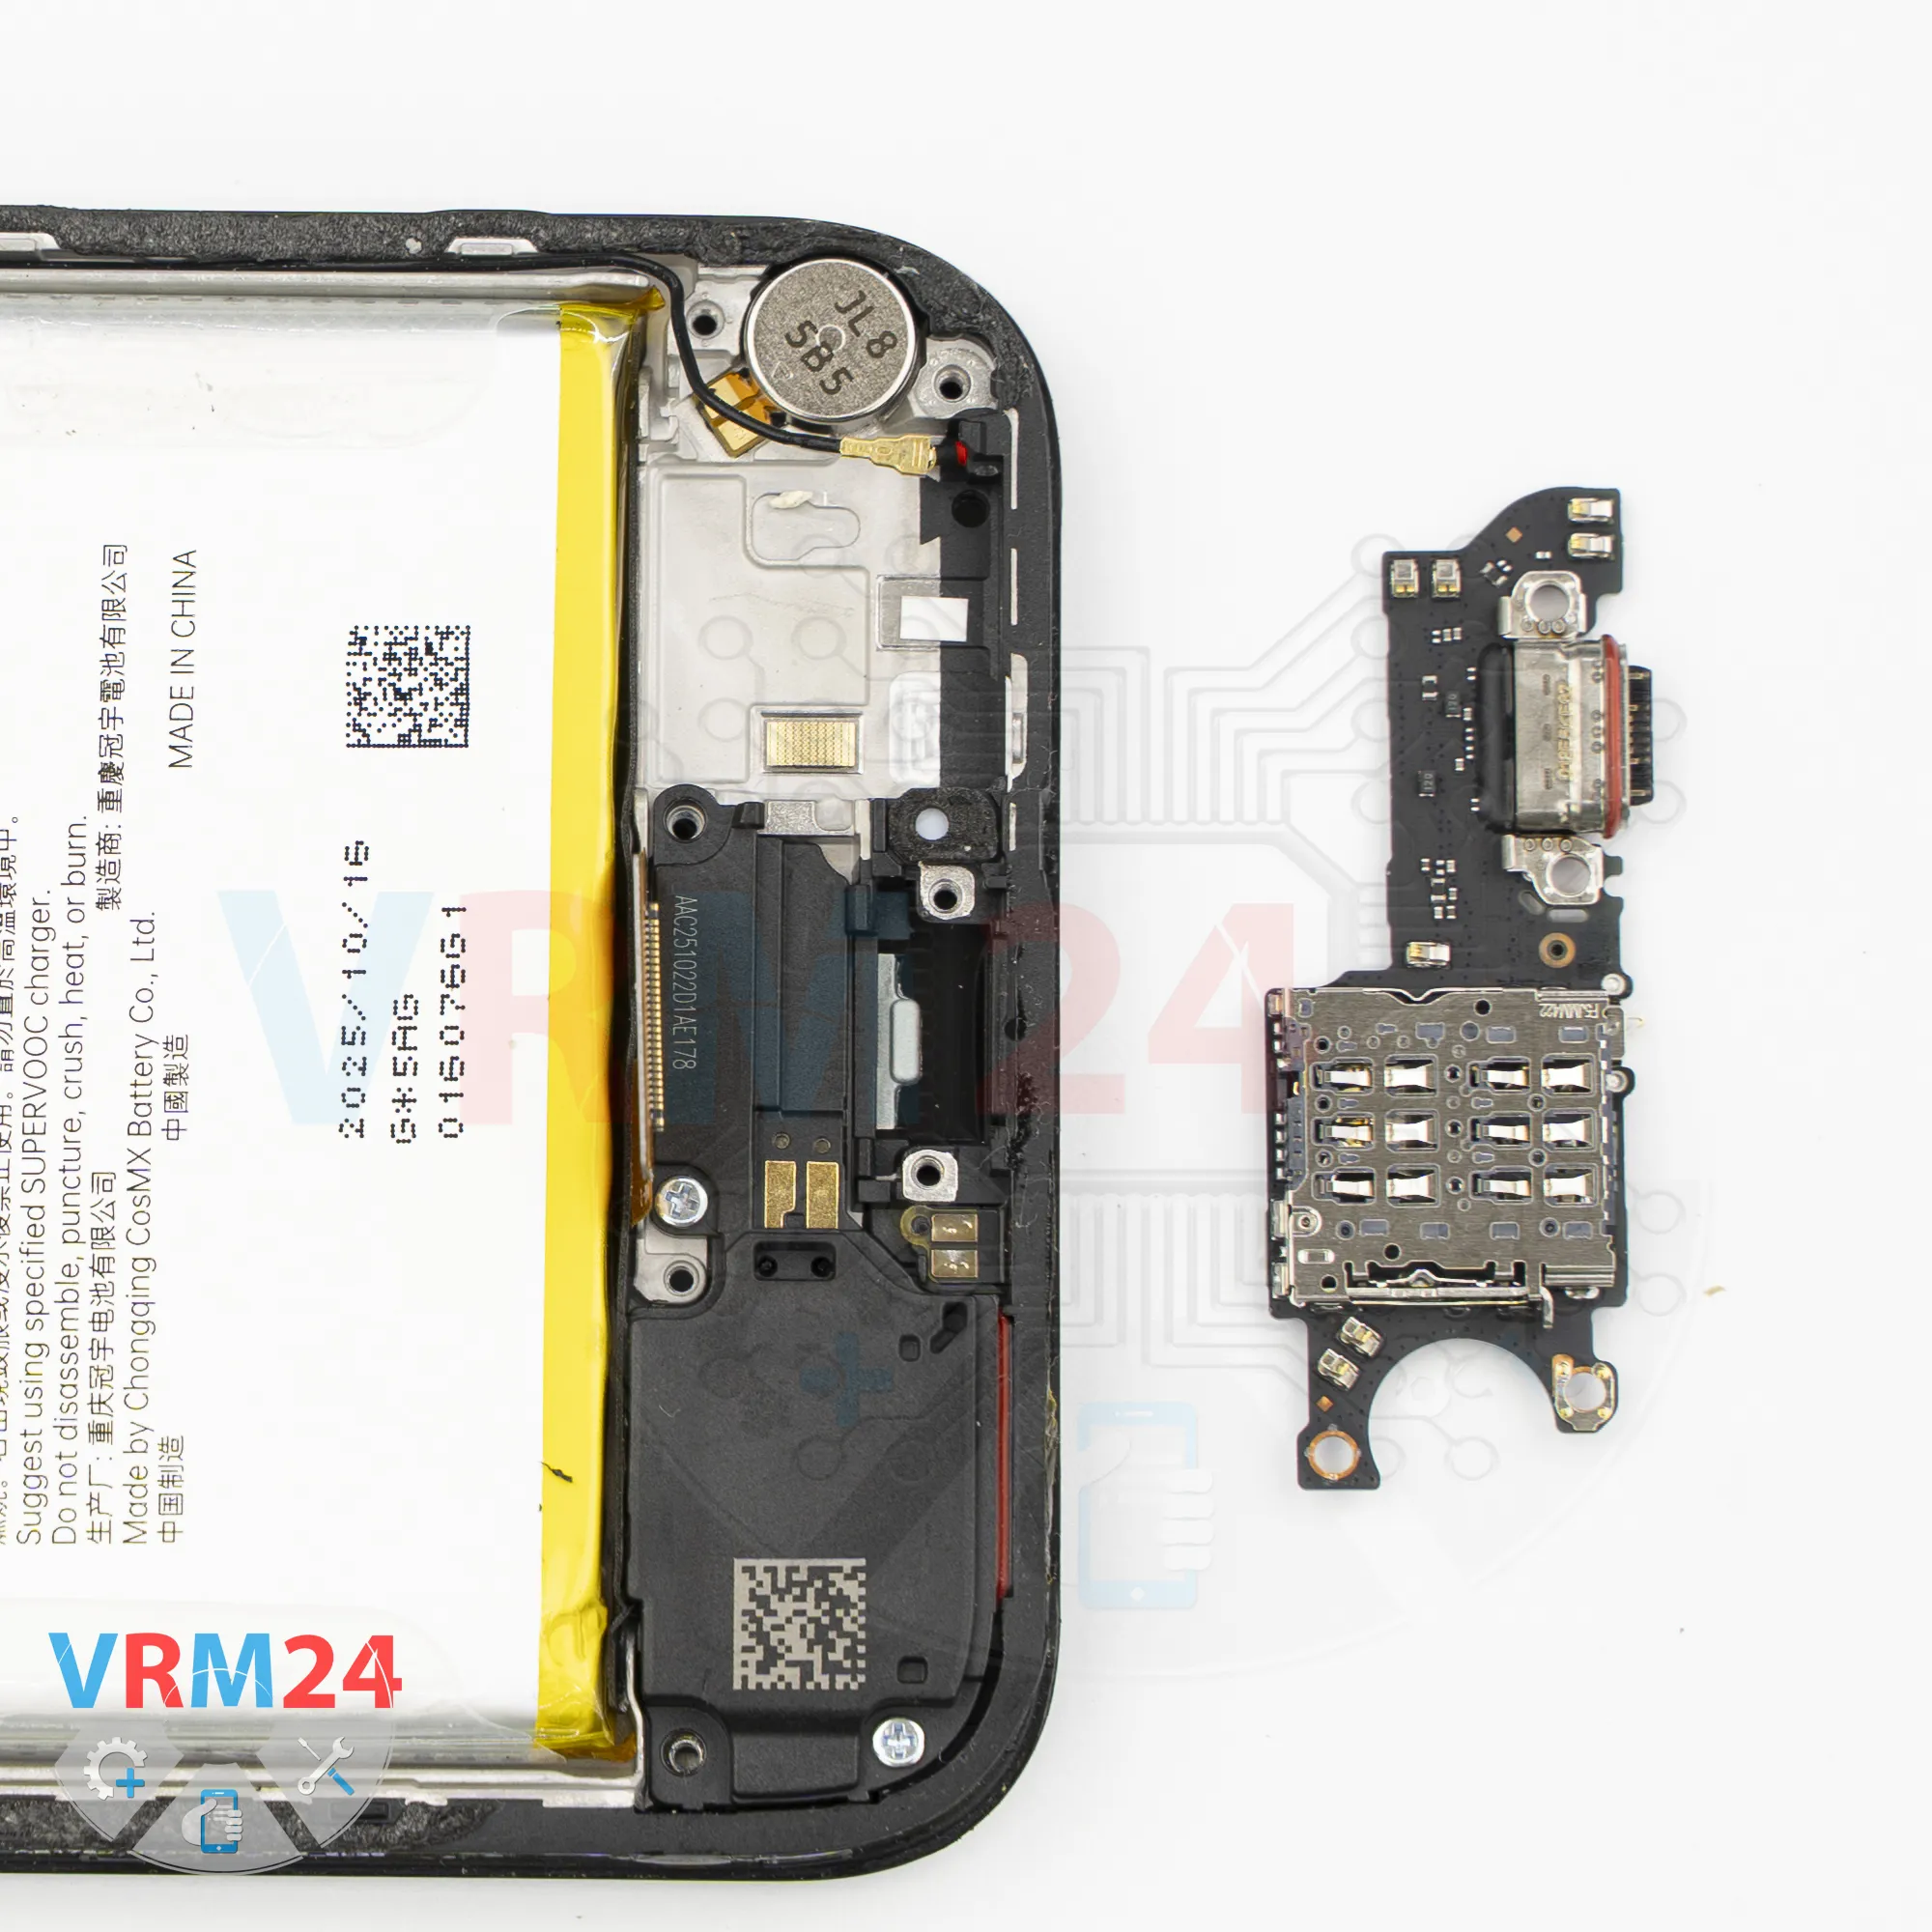
Step 9. Remove the sub-board
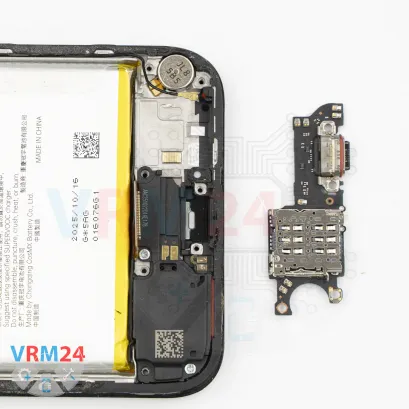
Now we first need to remove the sub-board.
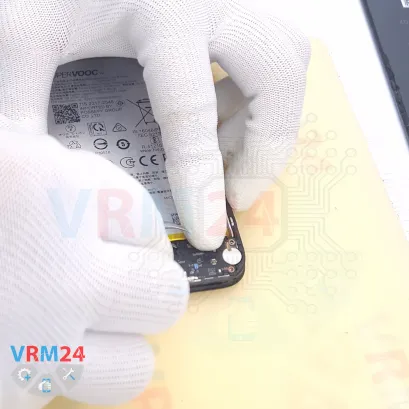
We need to find the right place where we can get underneath it, carefully lift it, and remove it.
The speaker cannot be removed at this stage.
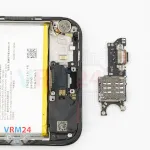
So, we carefully separate the sub-board and lift it. The sub-board is also glued in place, so we remove it.
The sub-board contains the charging port and microphone, with the card connector on the reverse side.
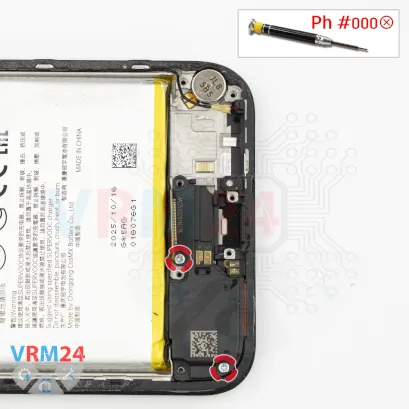
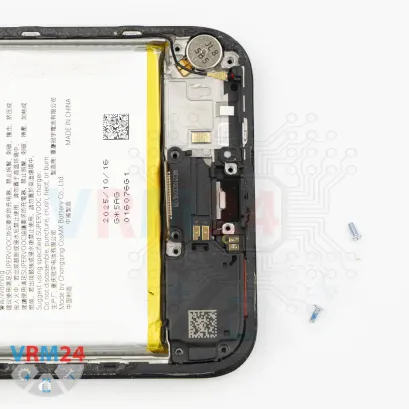
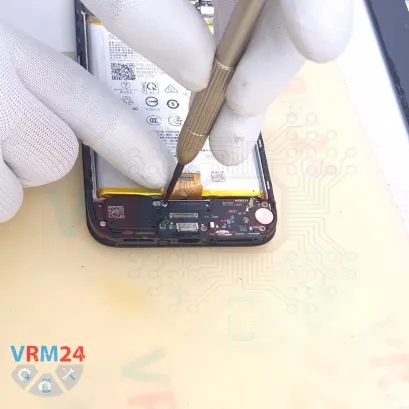
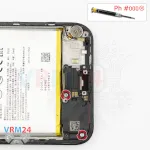
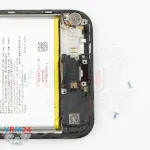
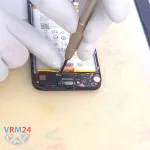
Step 10. Unscrew the screws
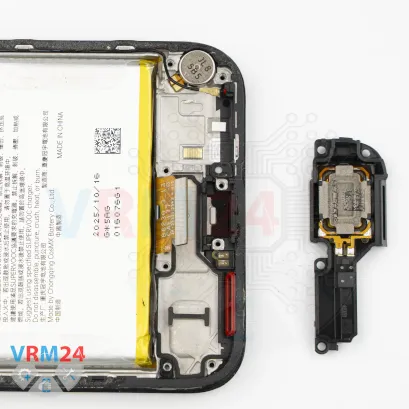
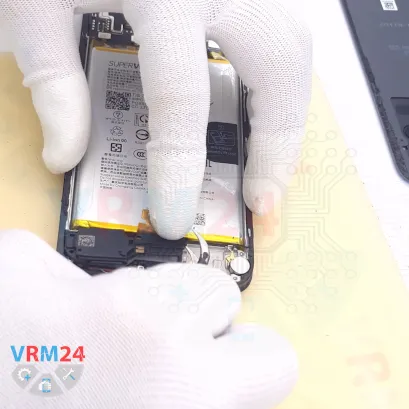
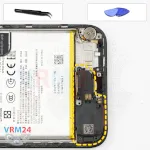
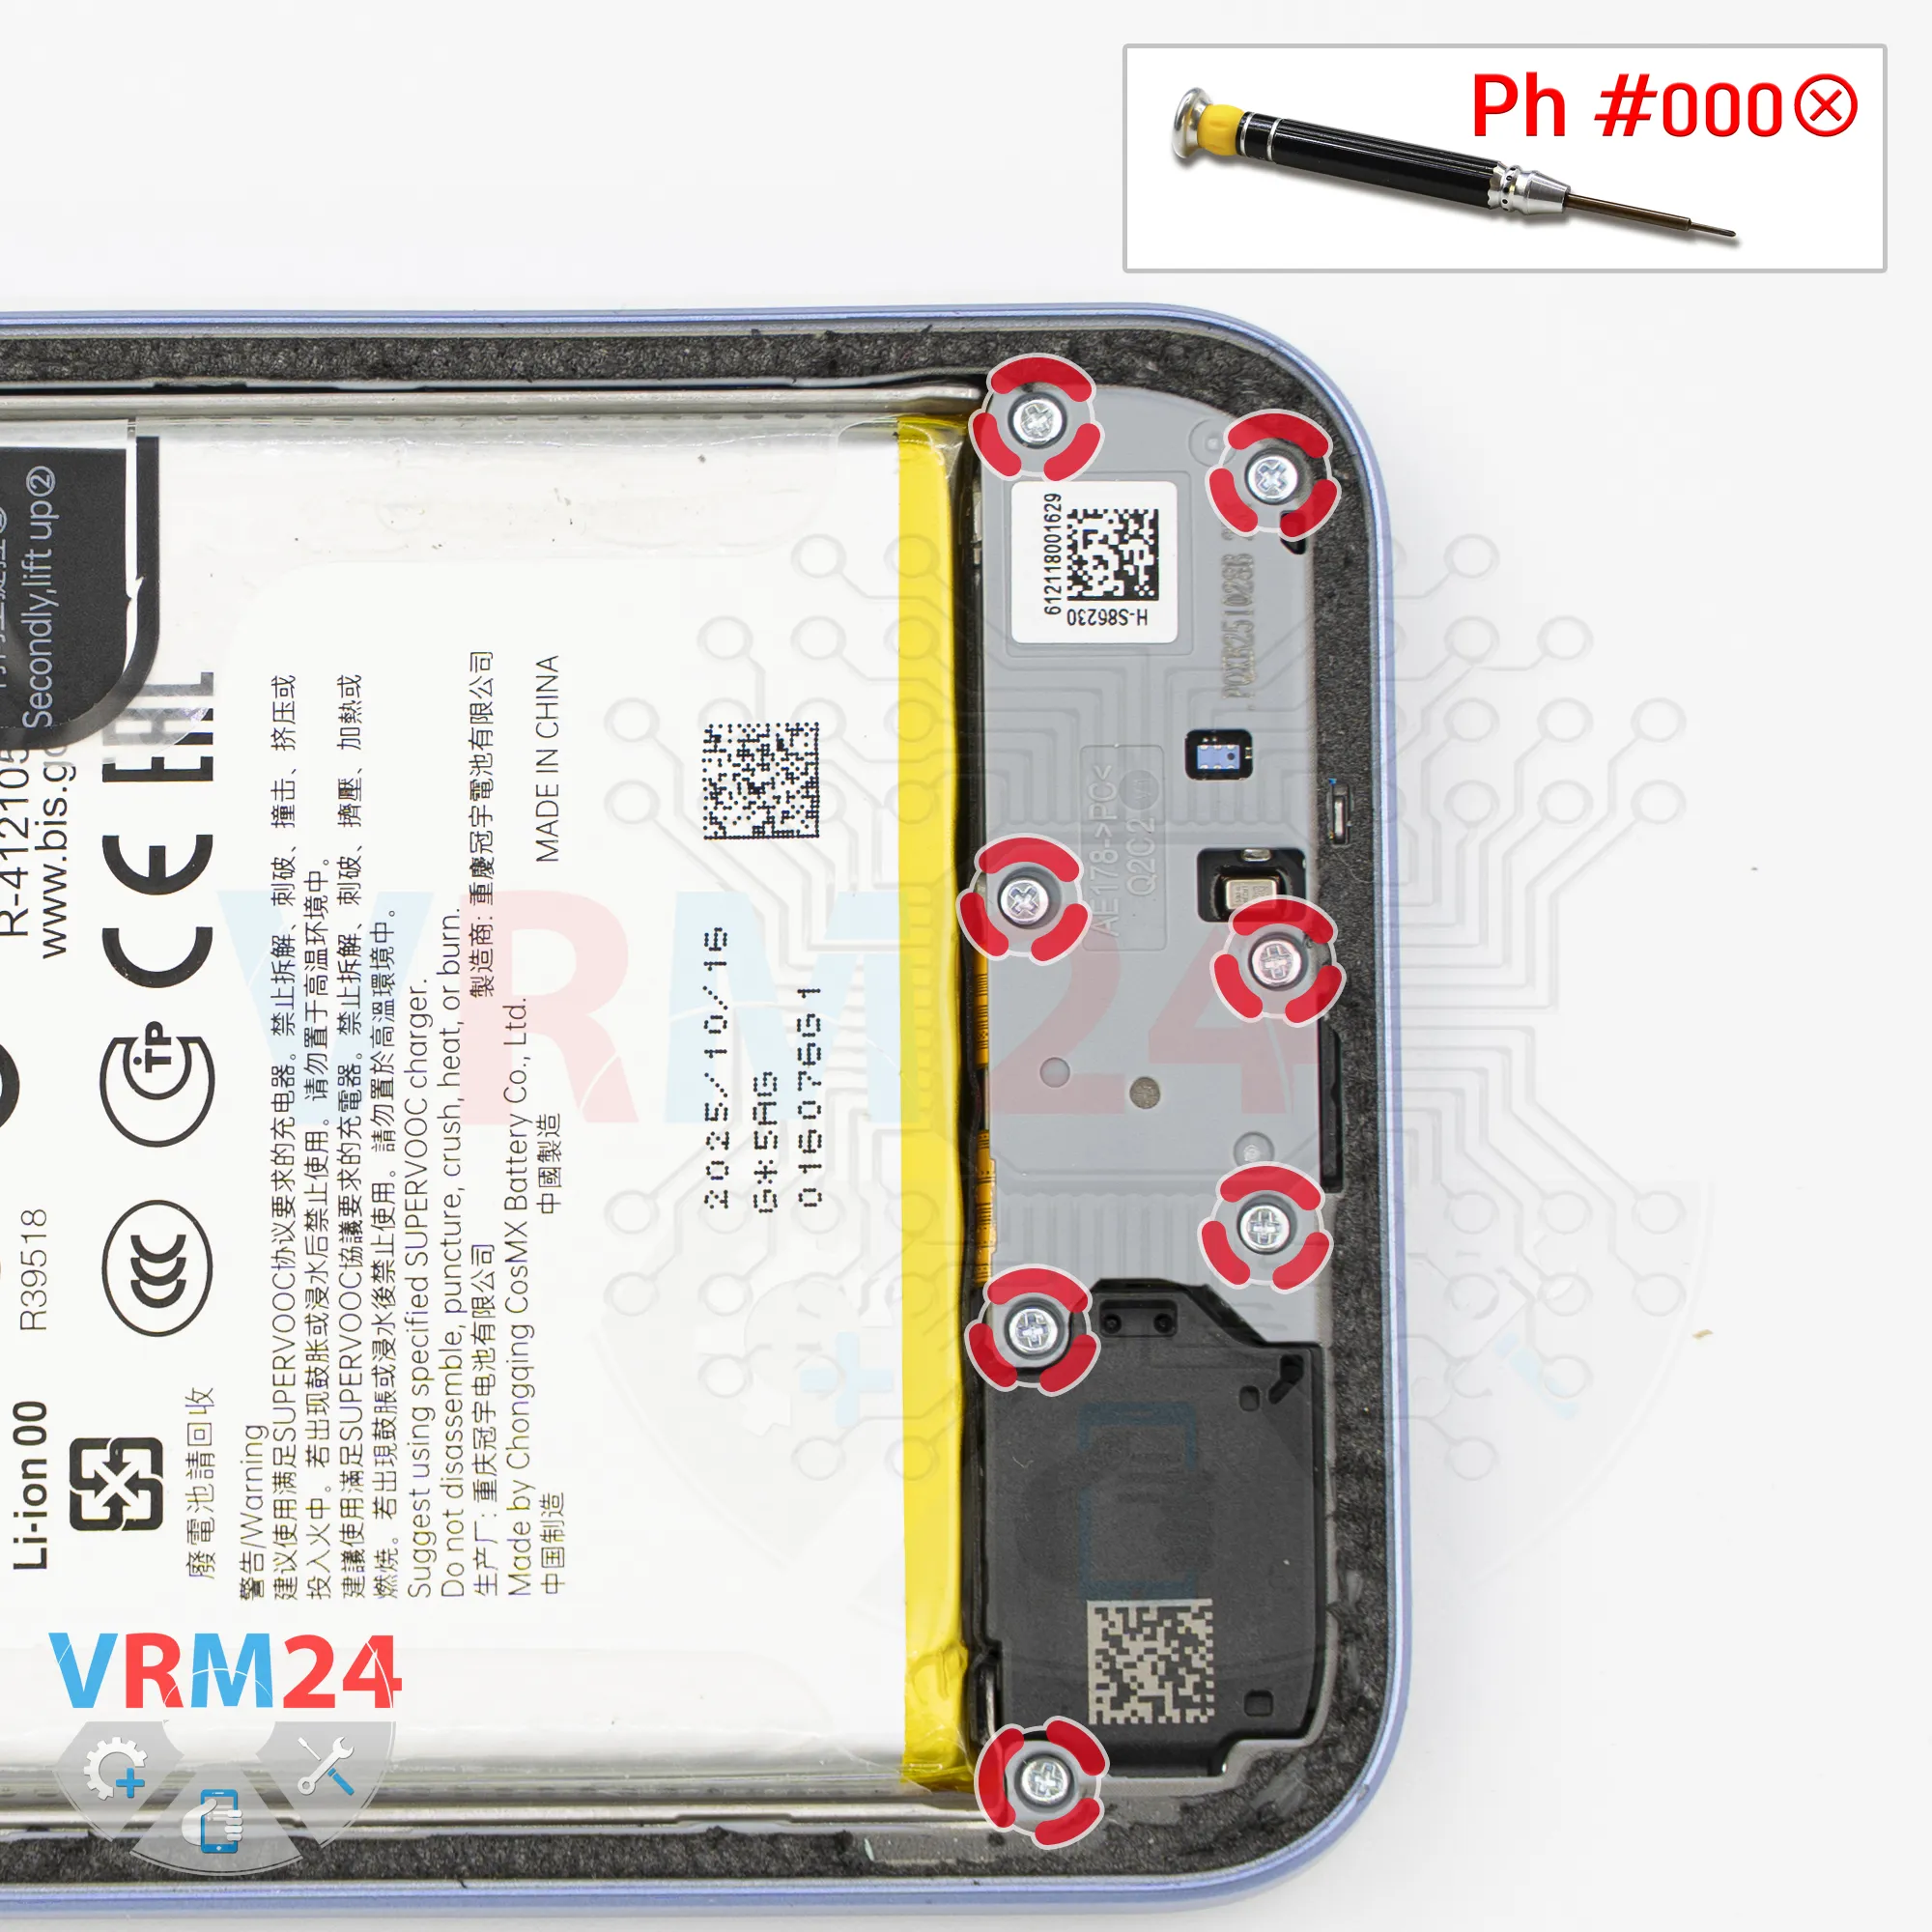
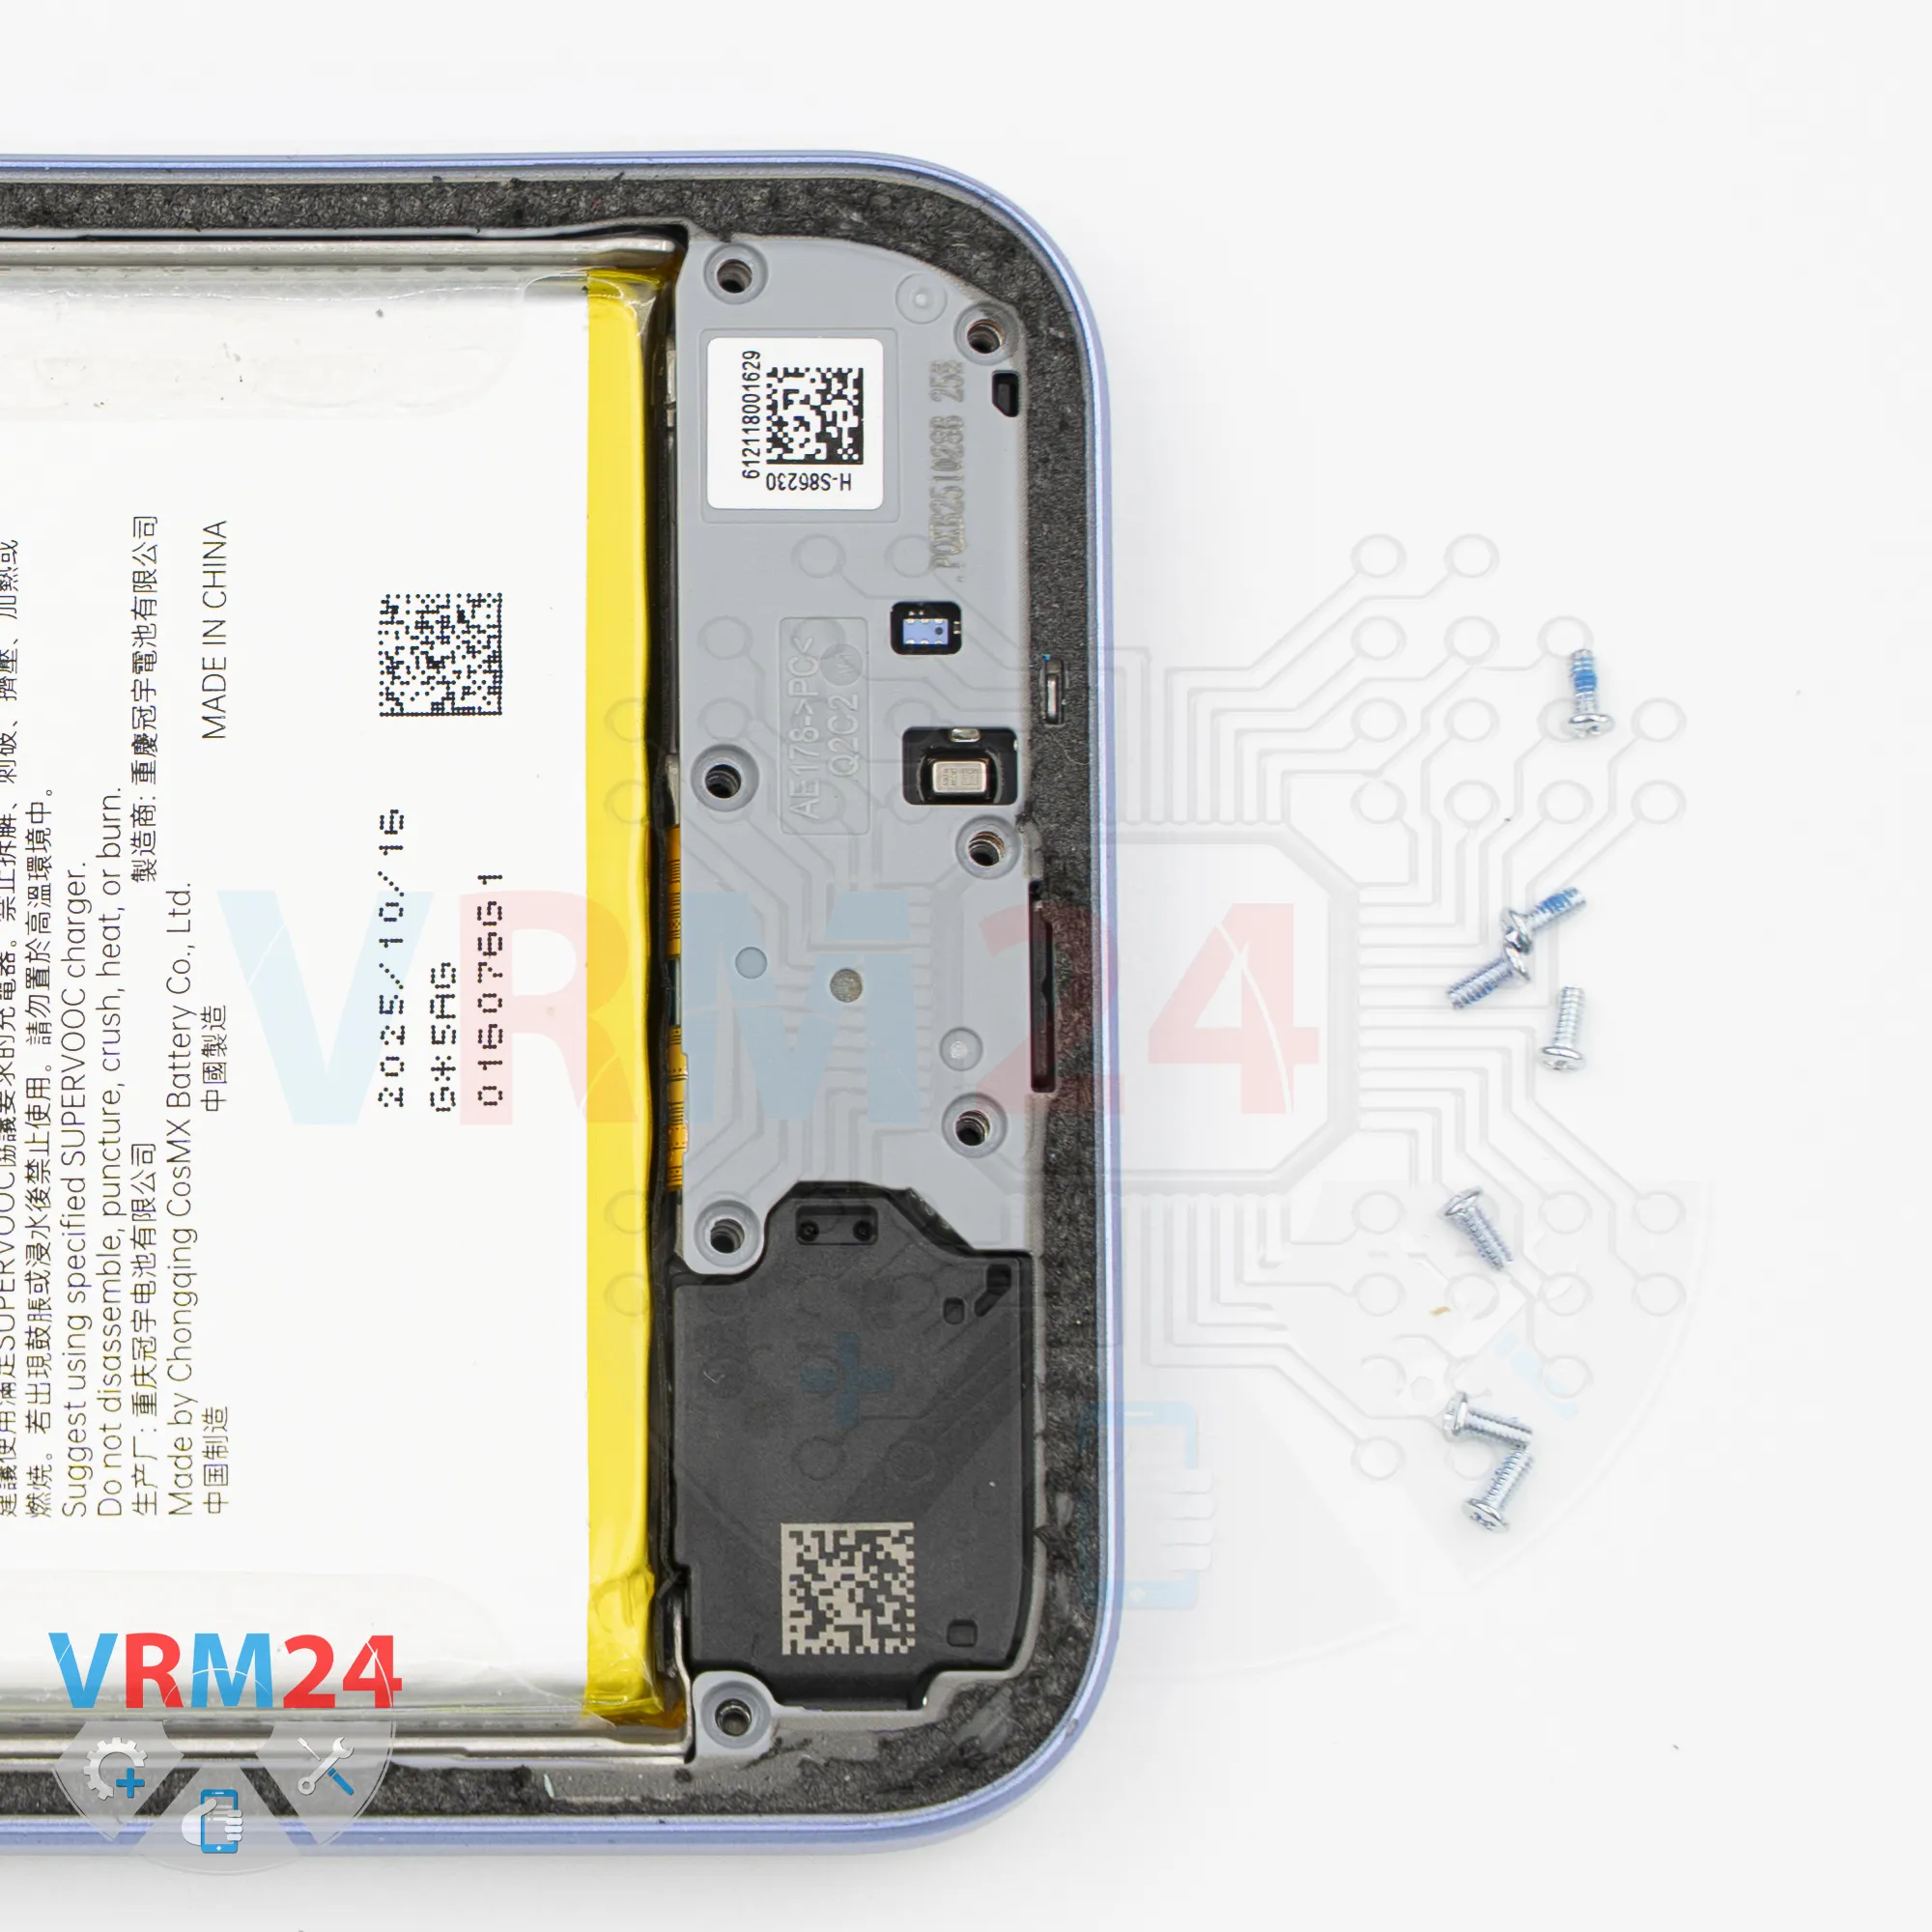
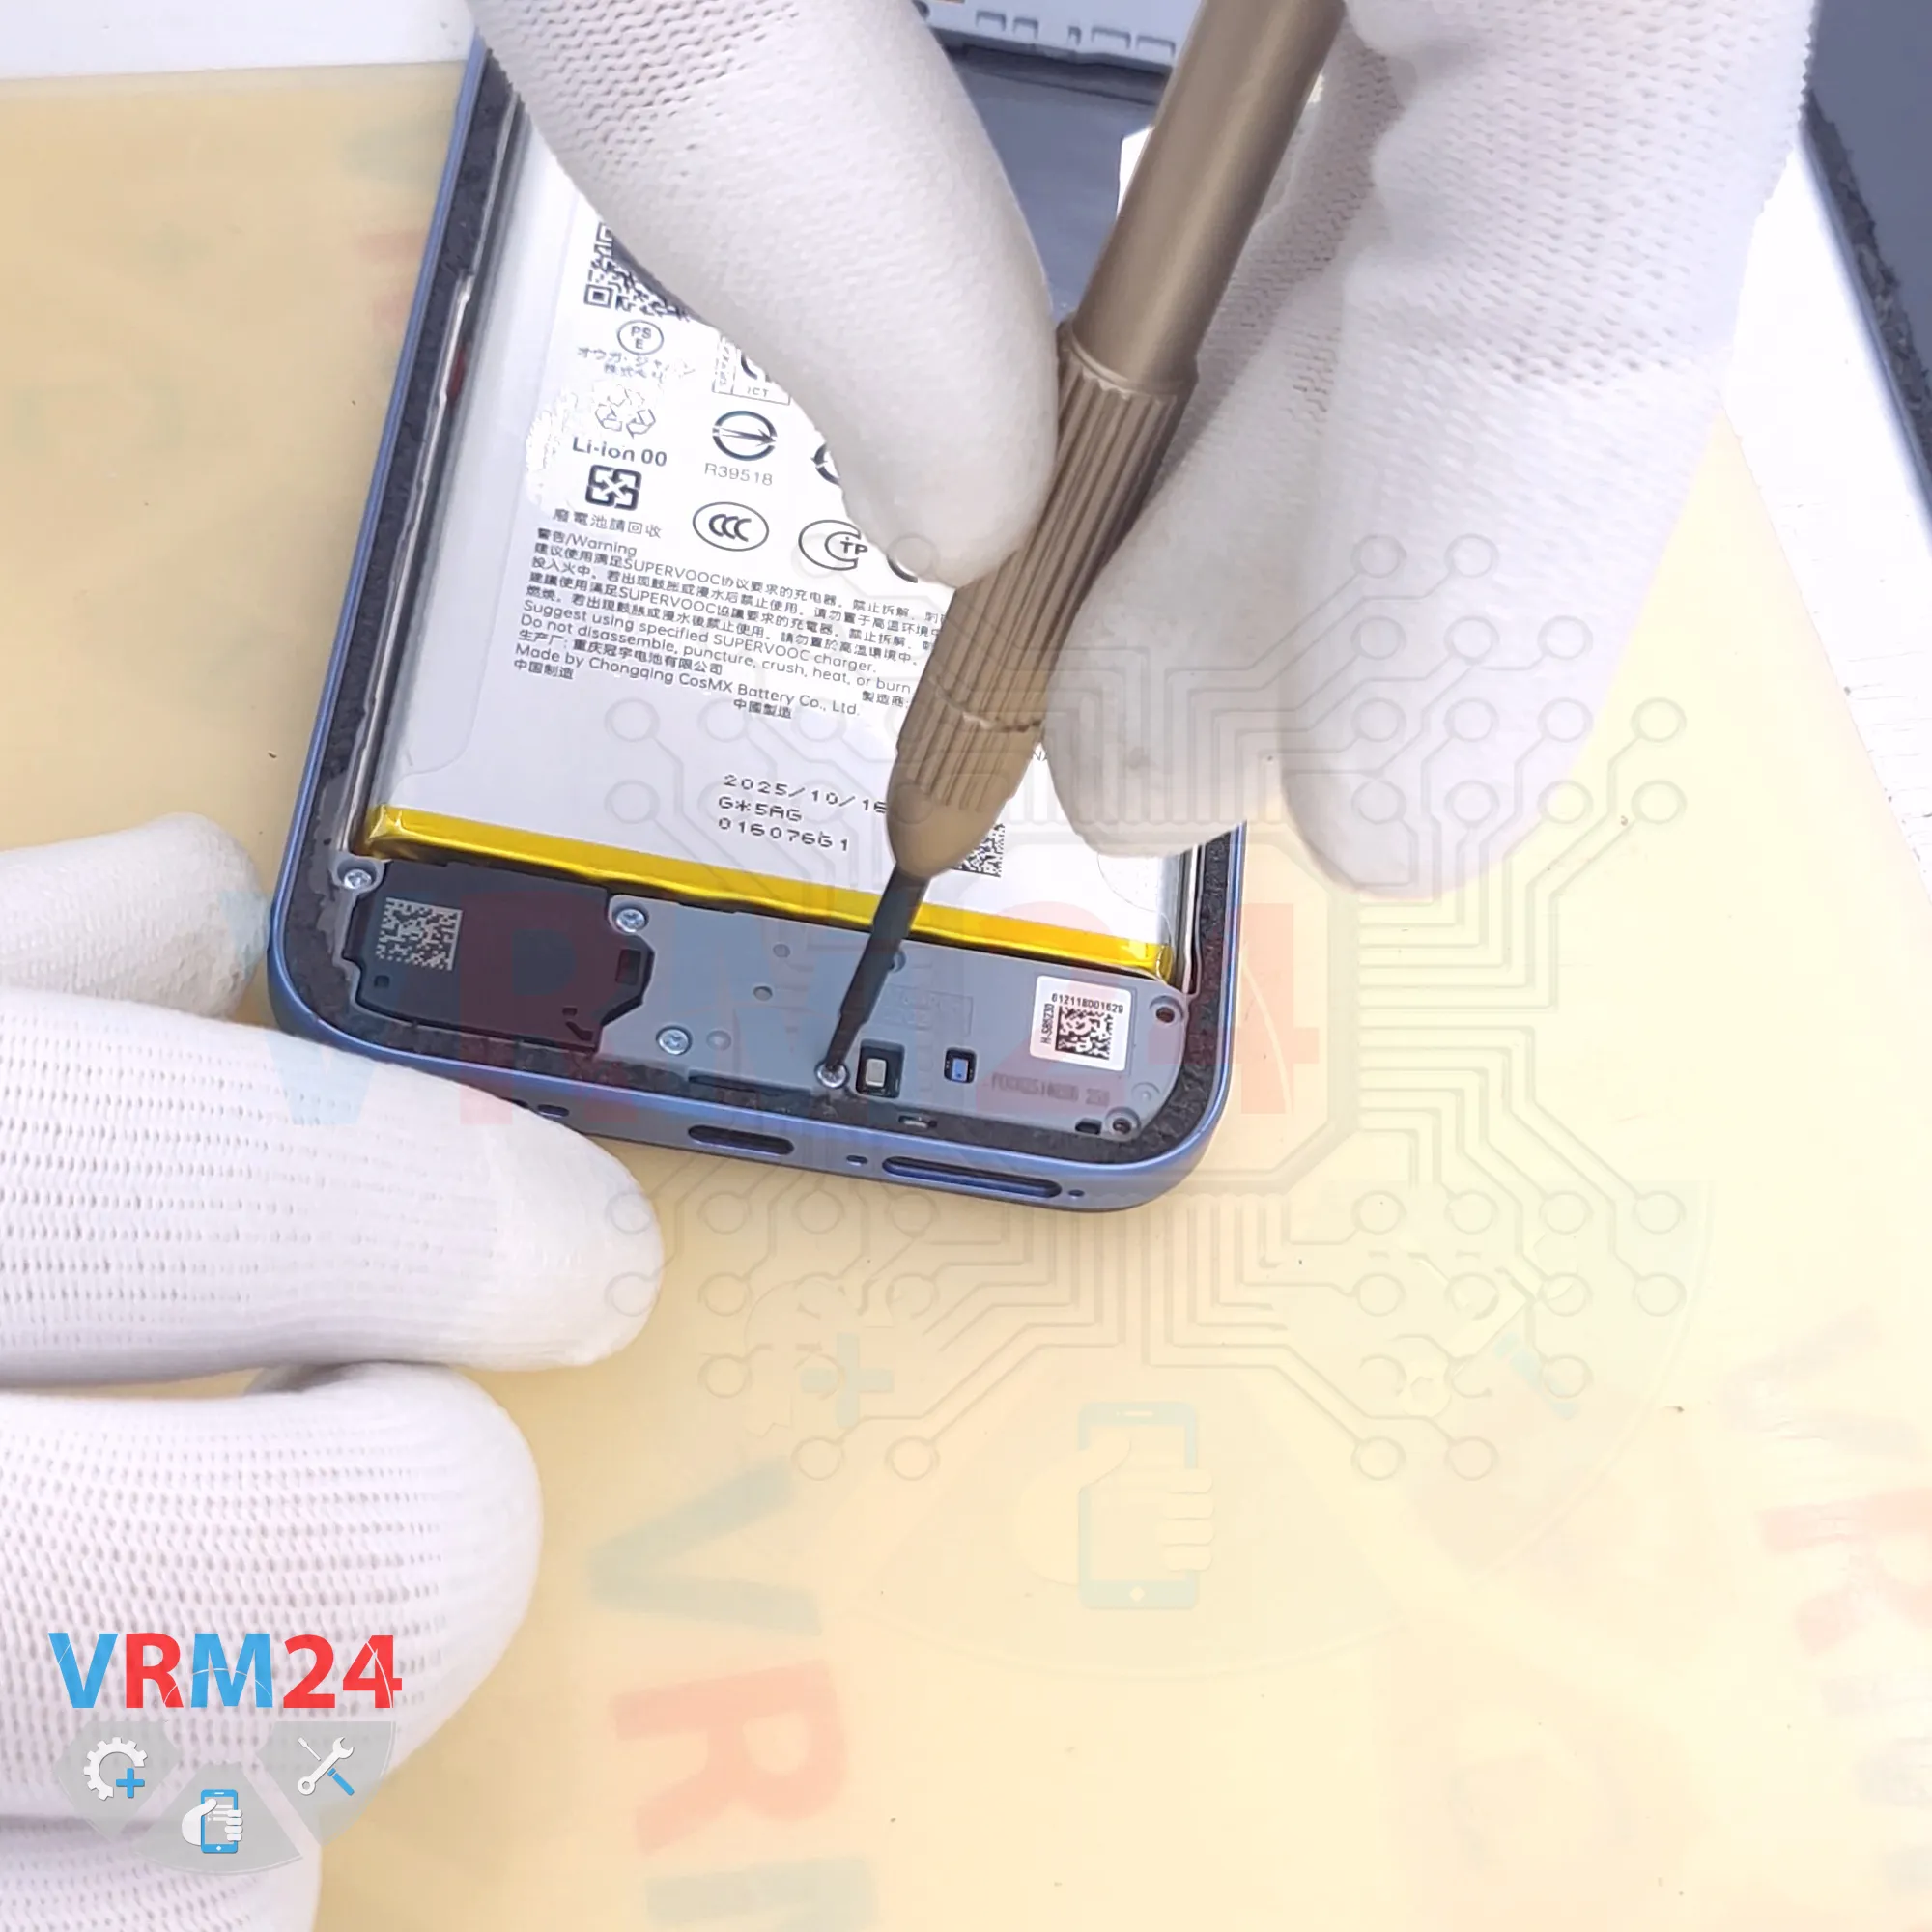
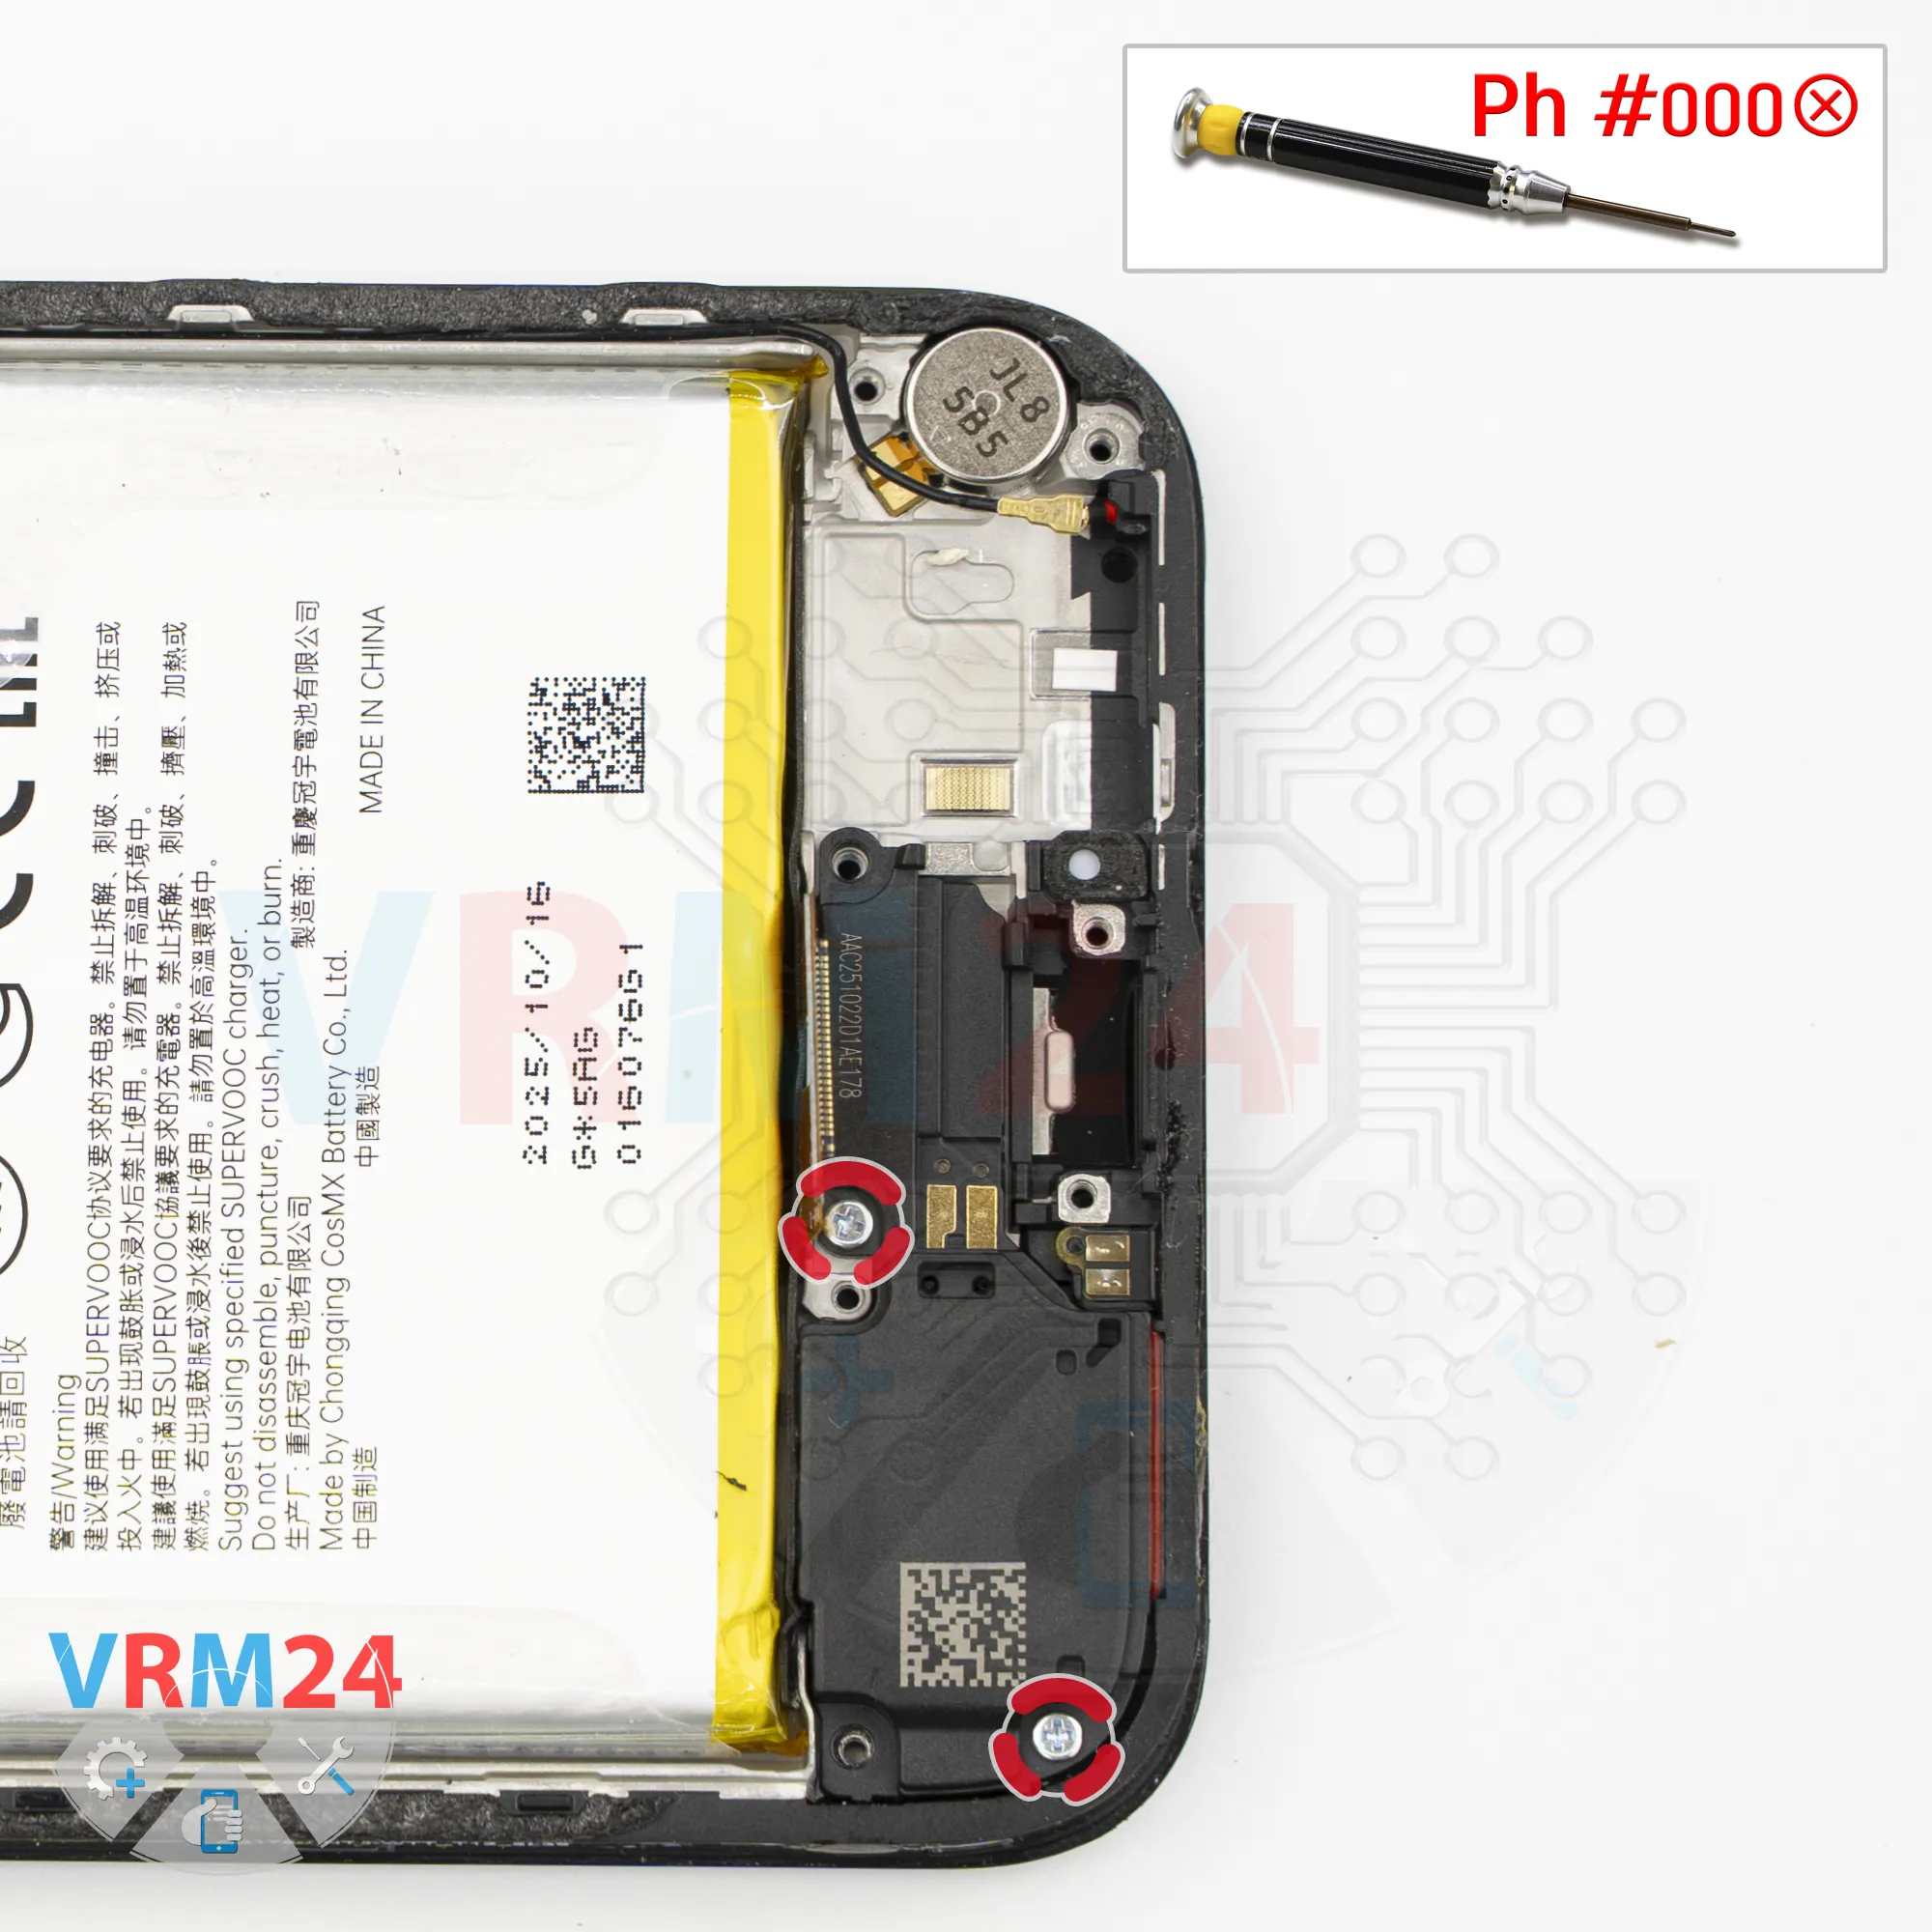
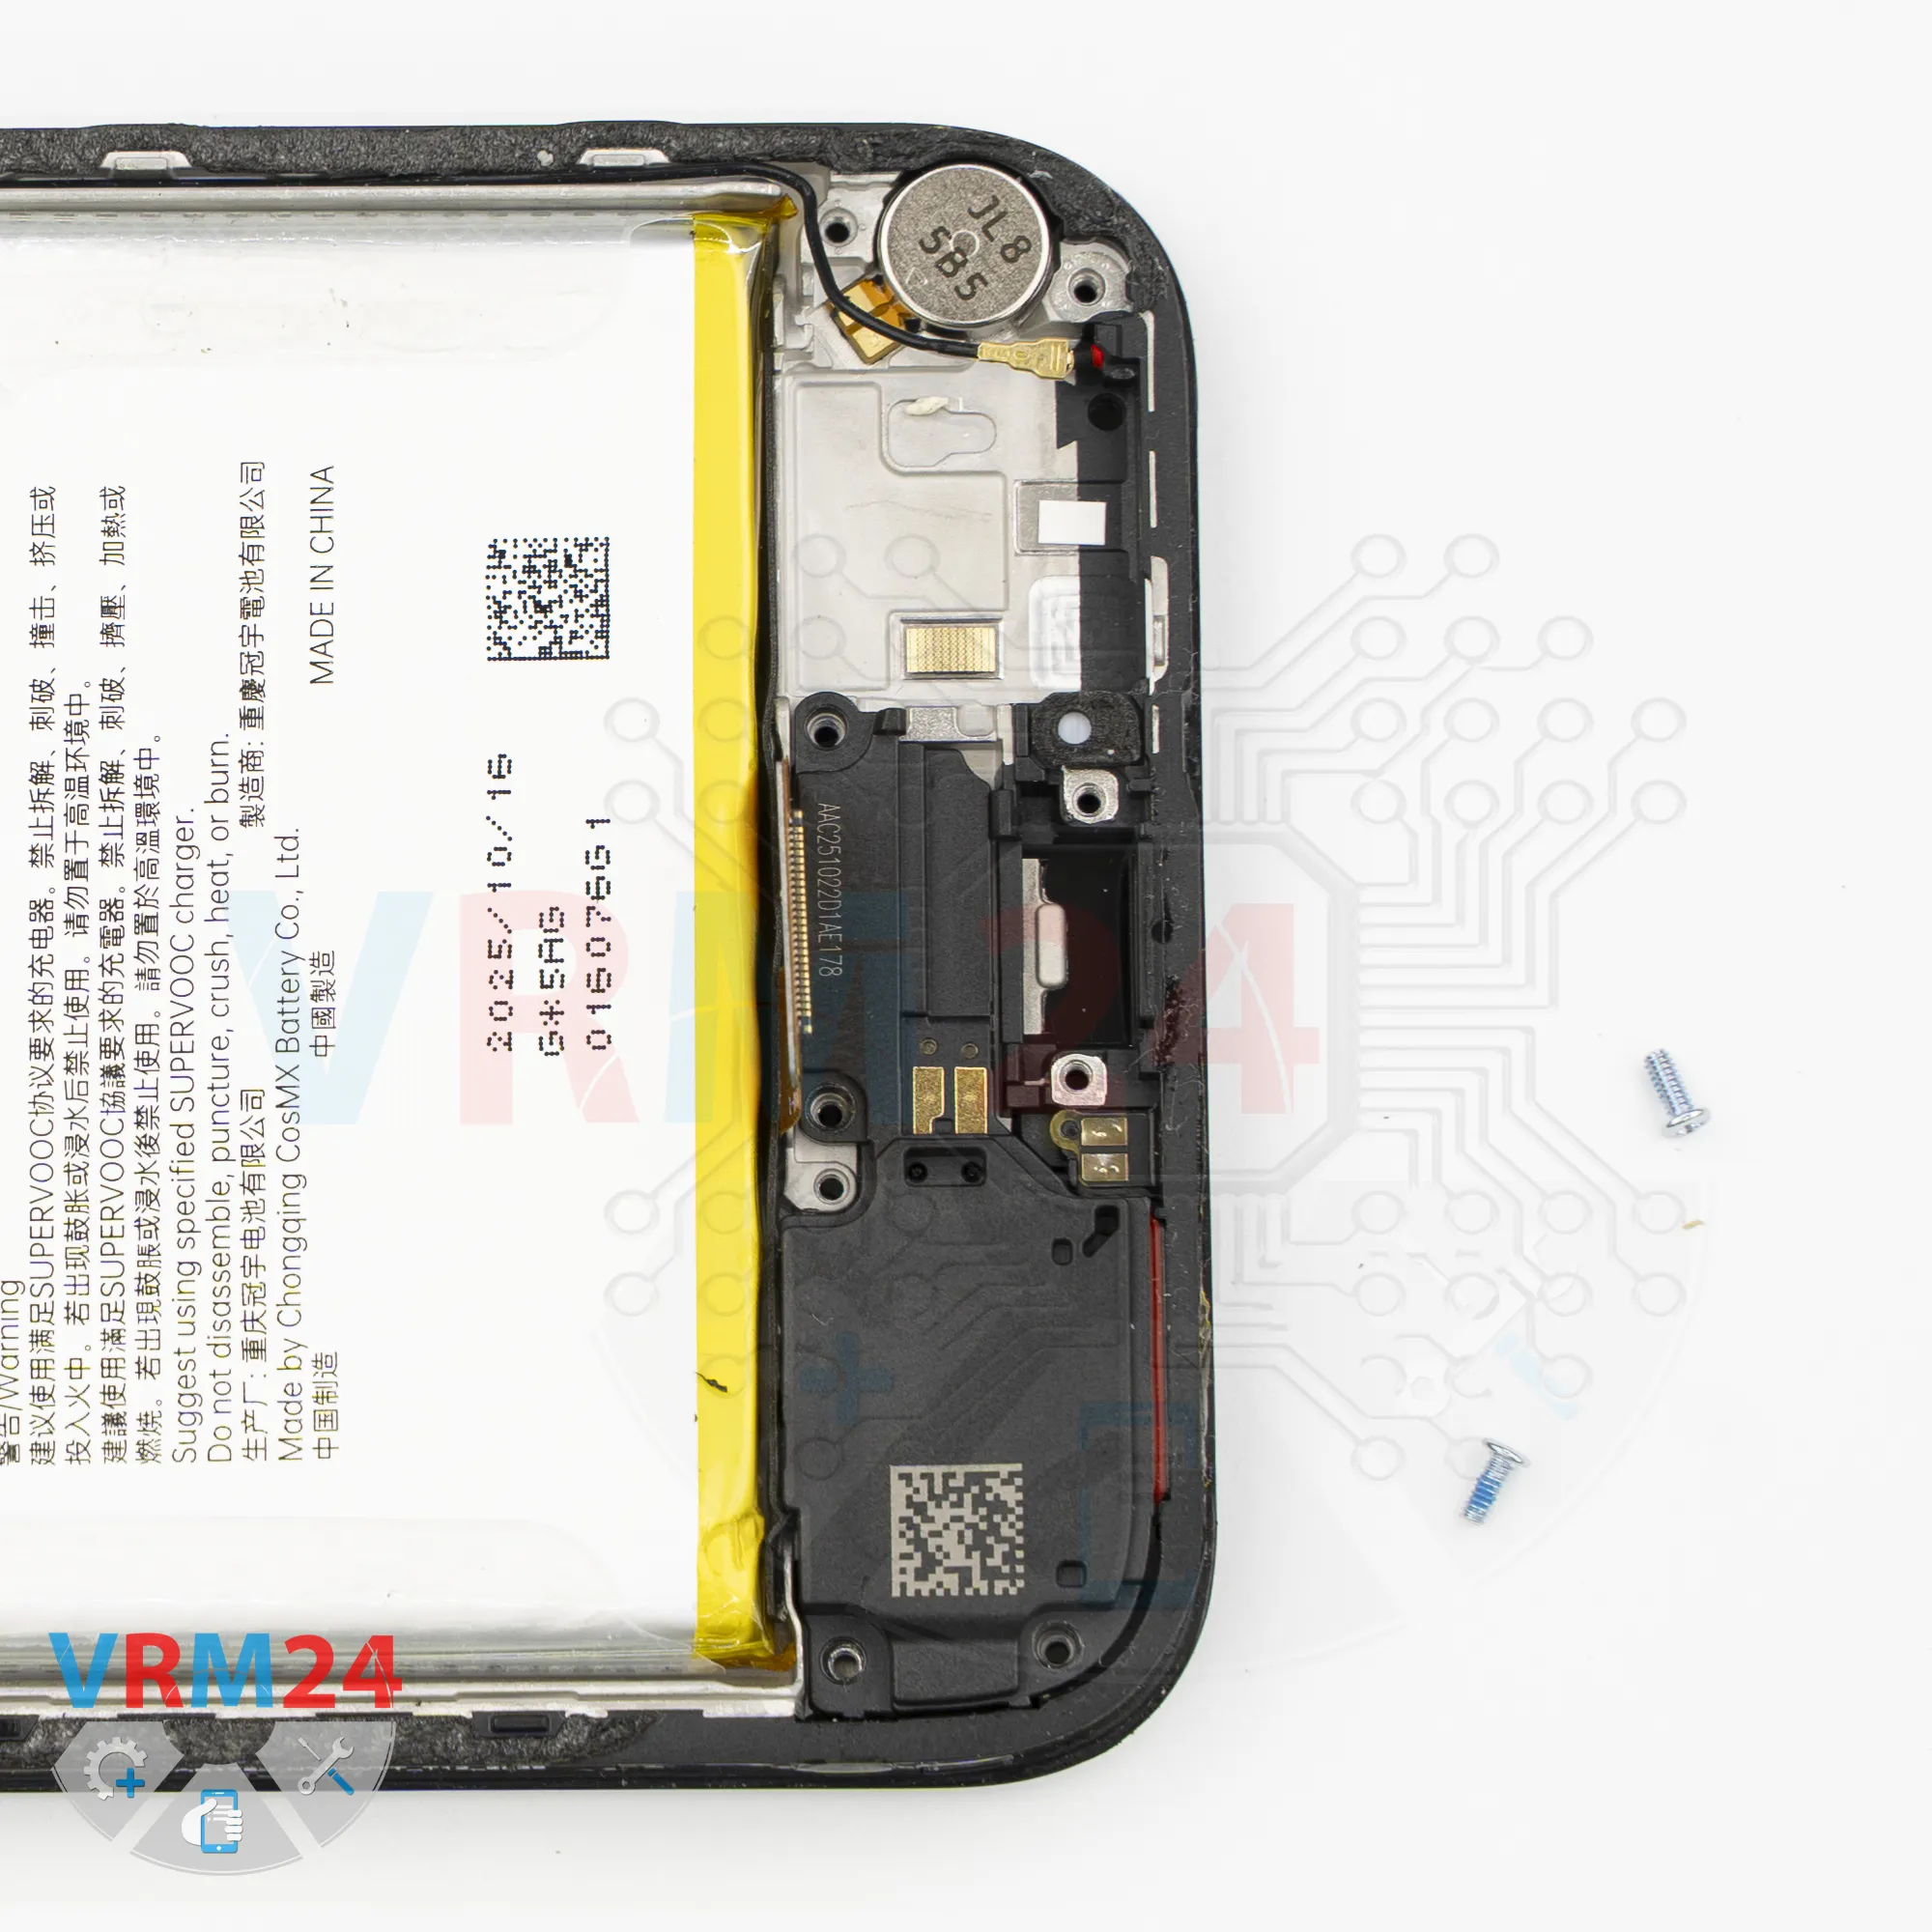
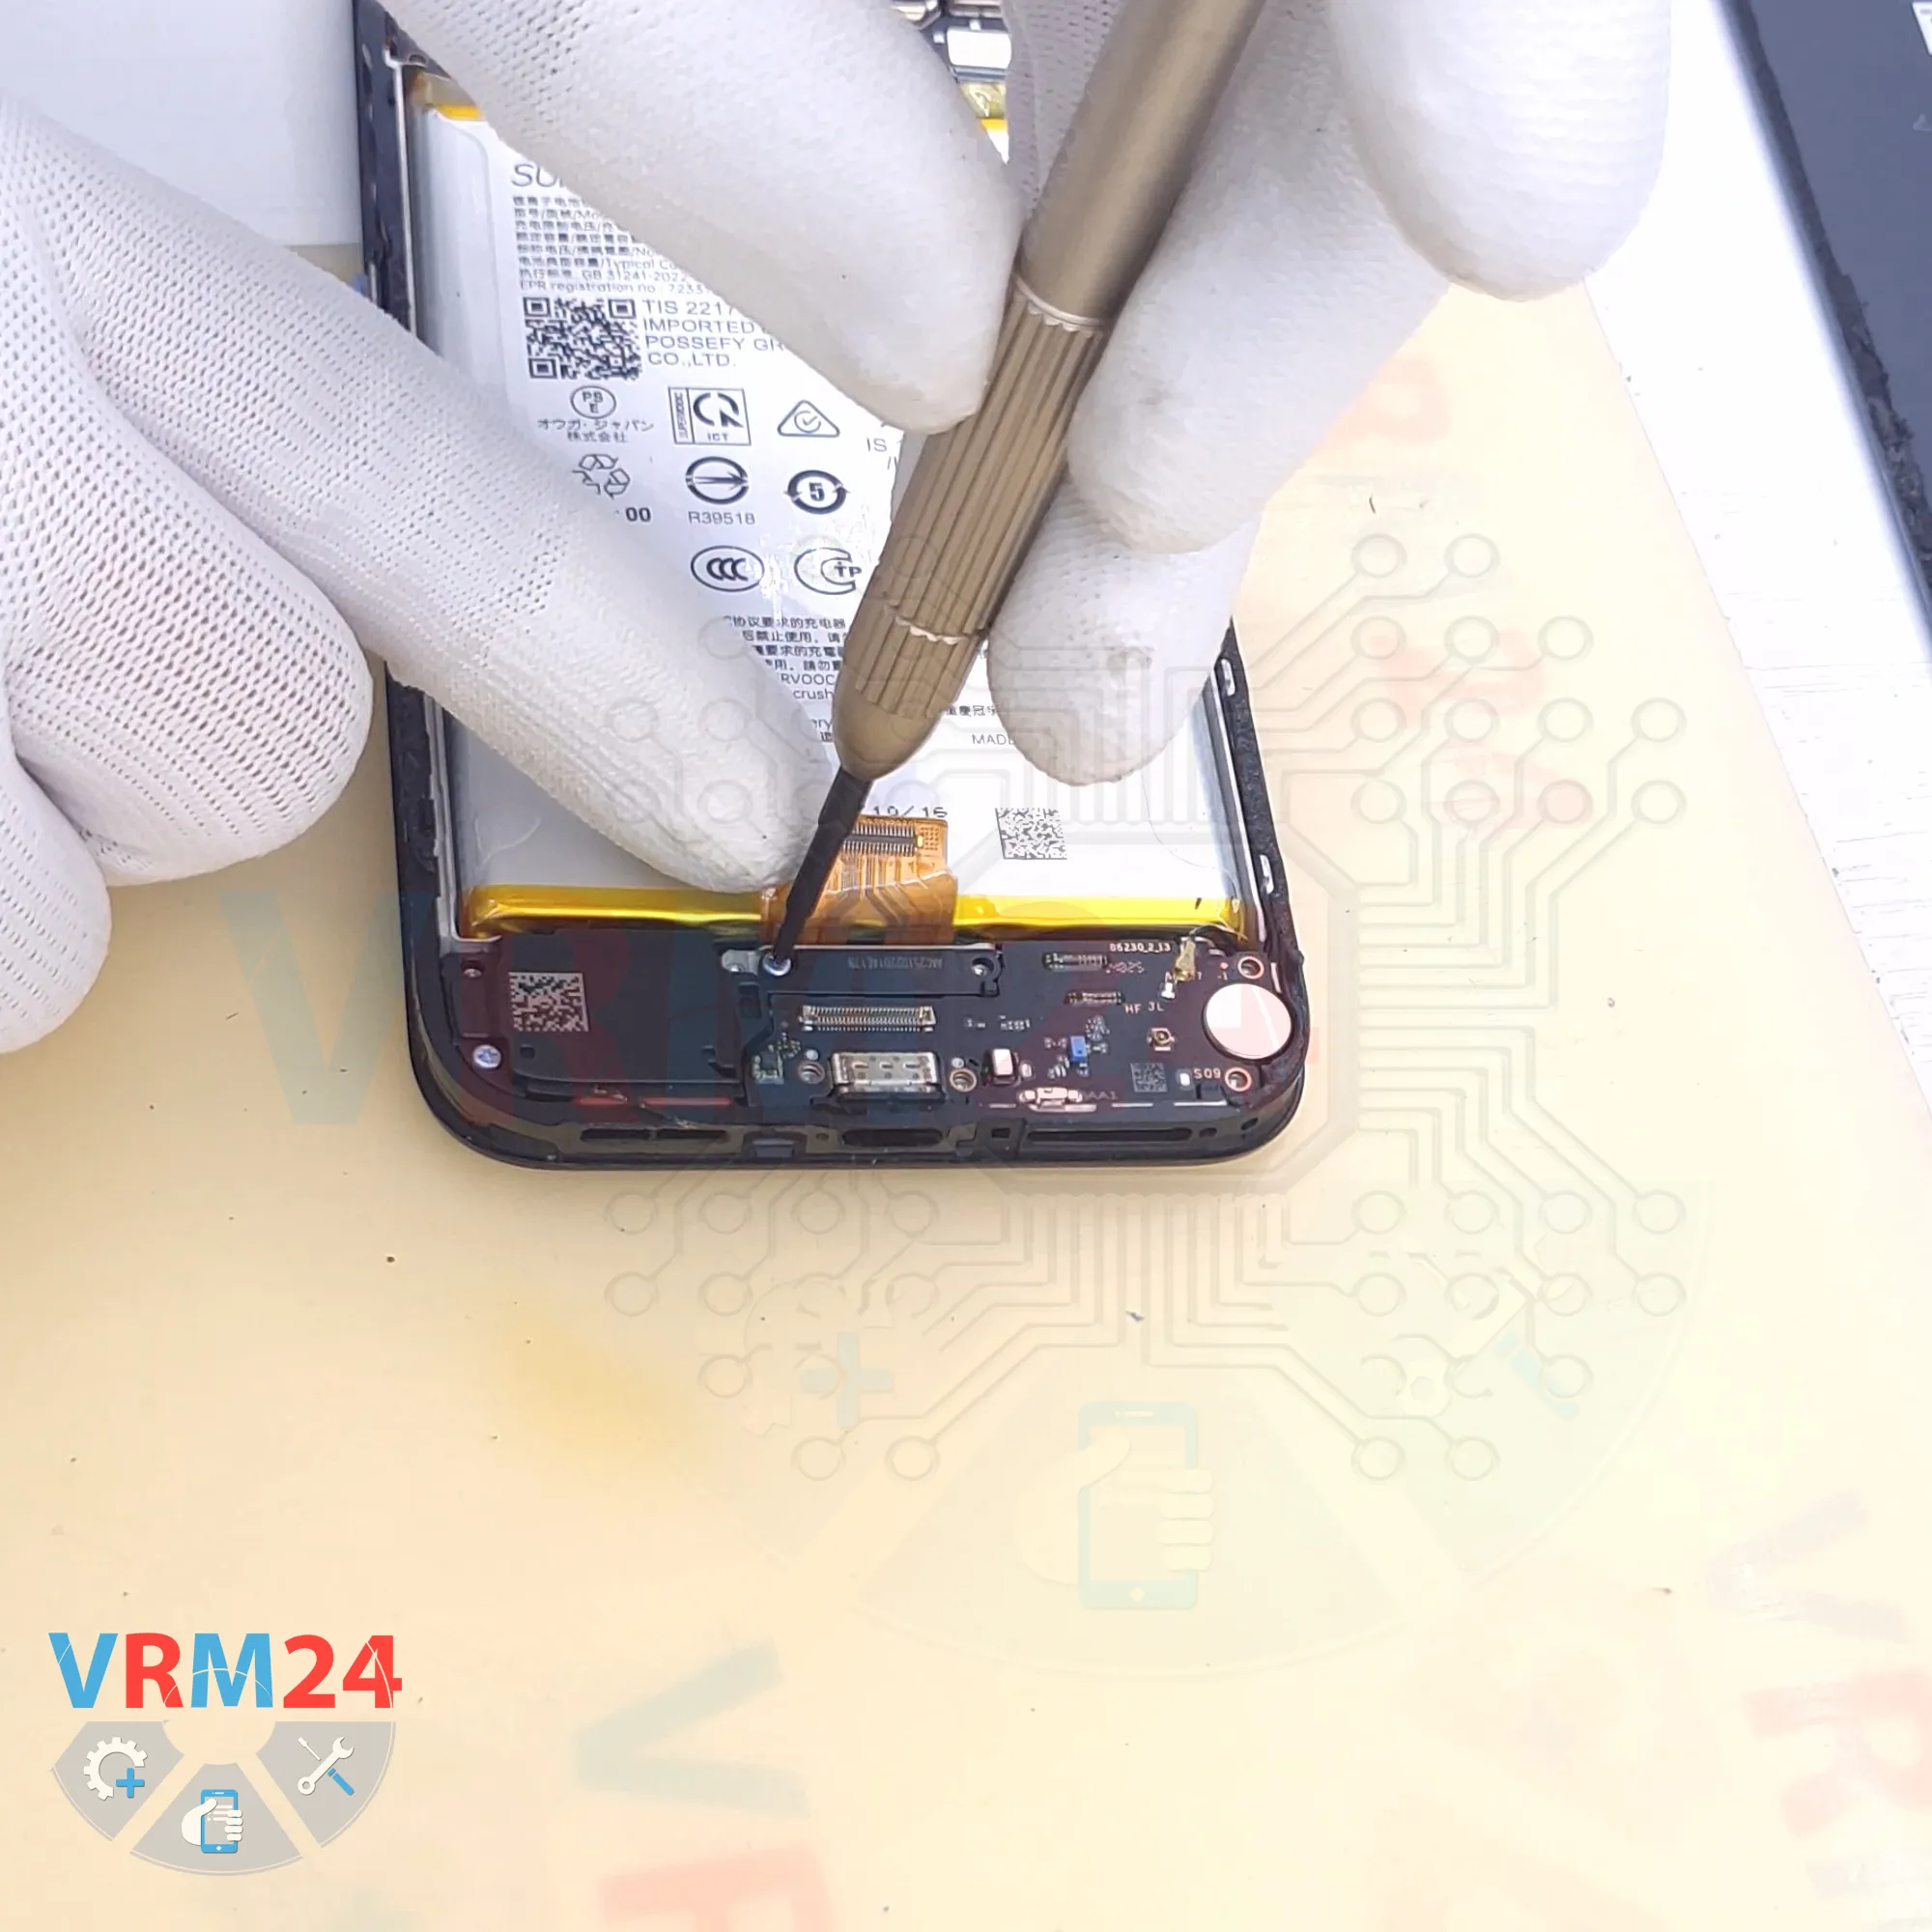
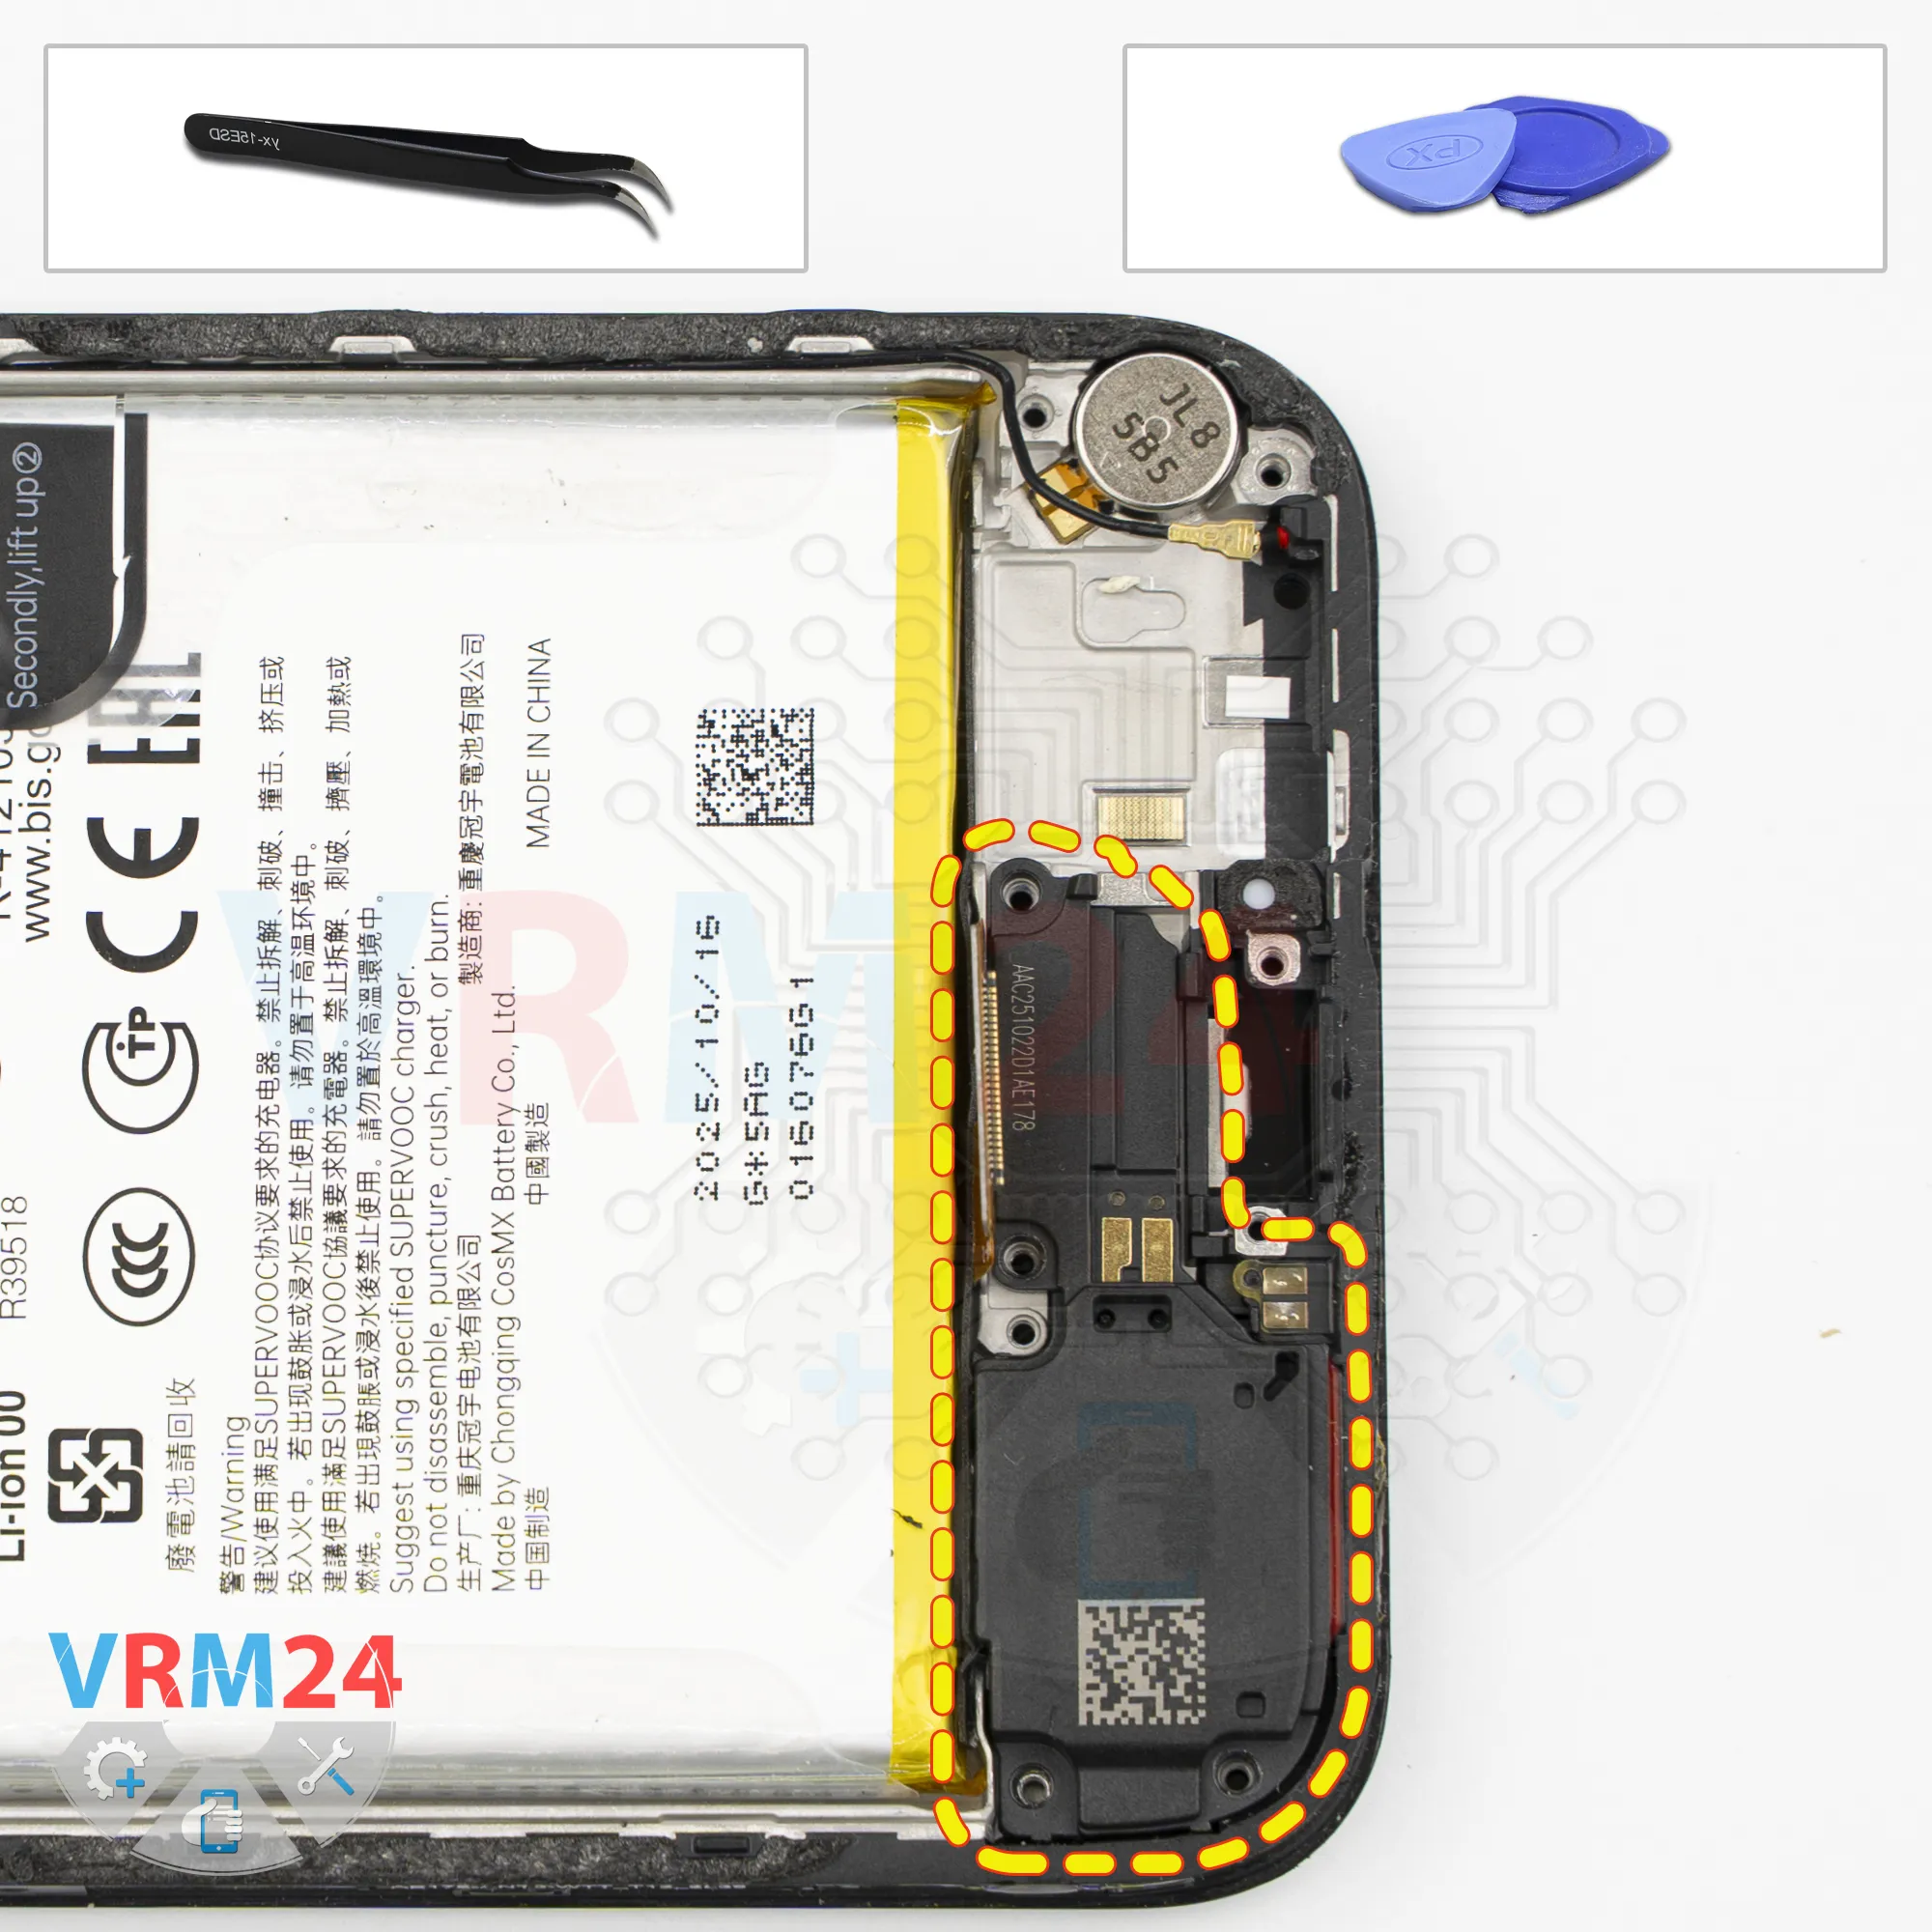
We also need to remove the two Phillips screws that hold the speaker in place.
We carefully remove the screws and set them aside.
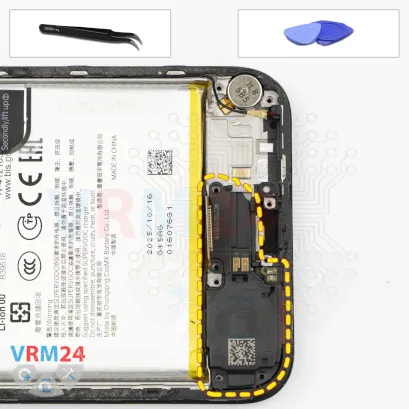
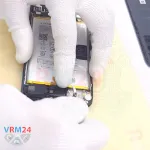
Step 11. Remove the loudspeaker
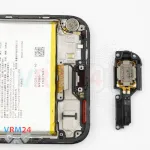
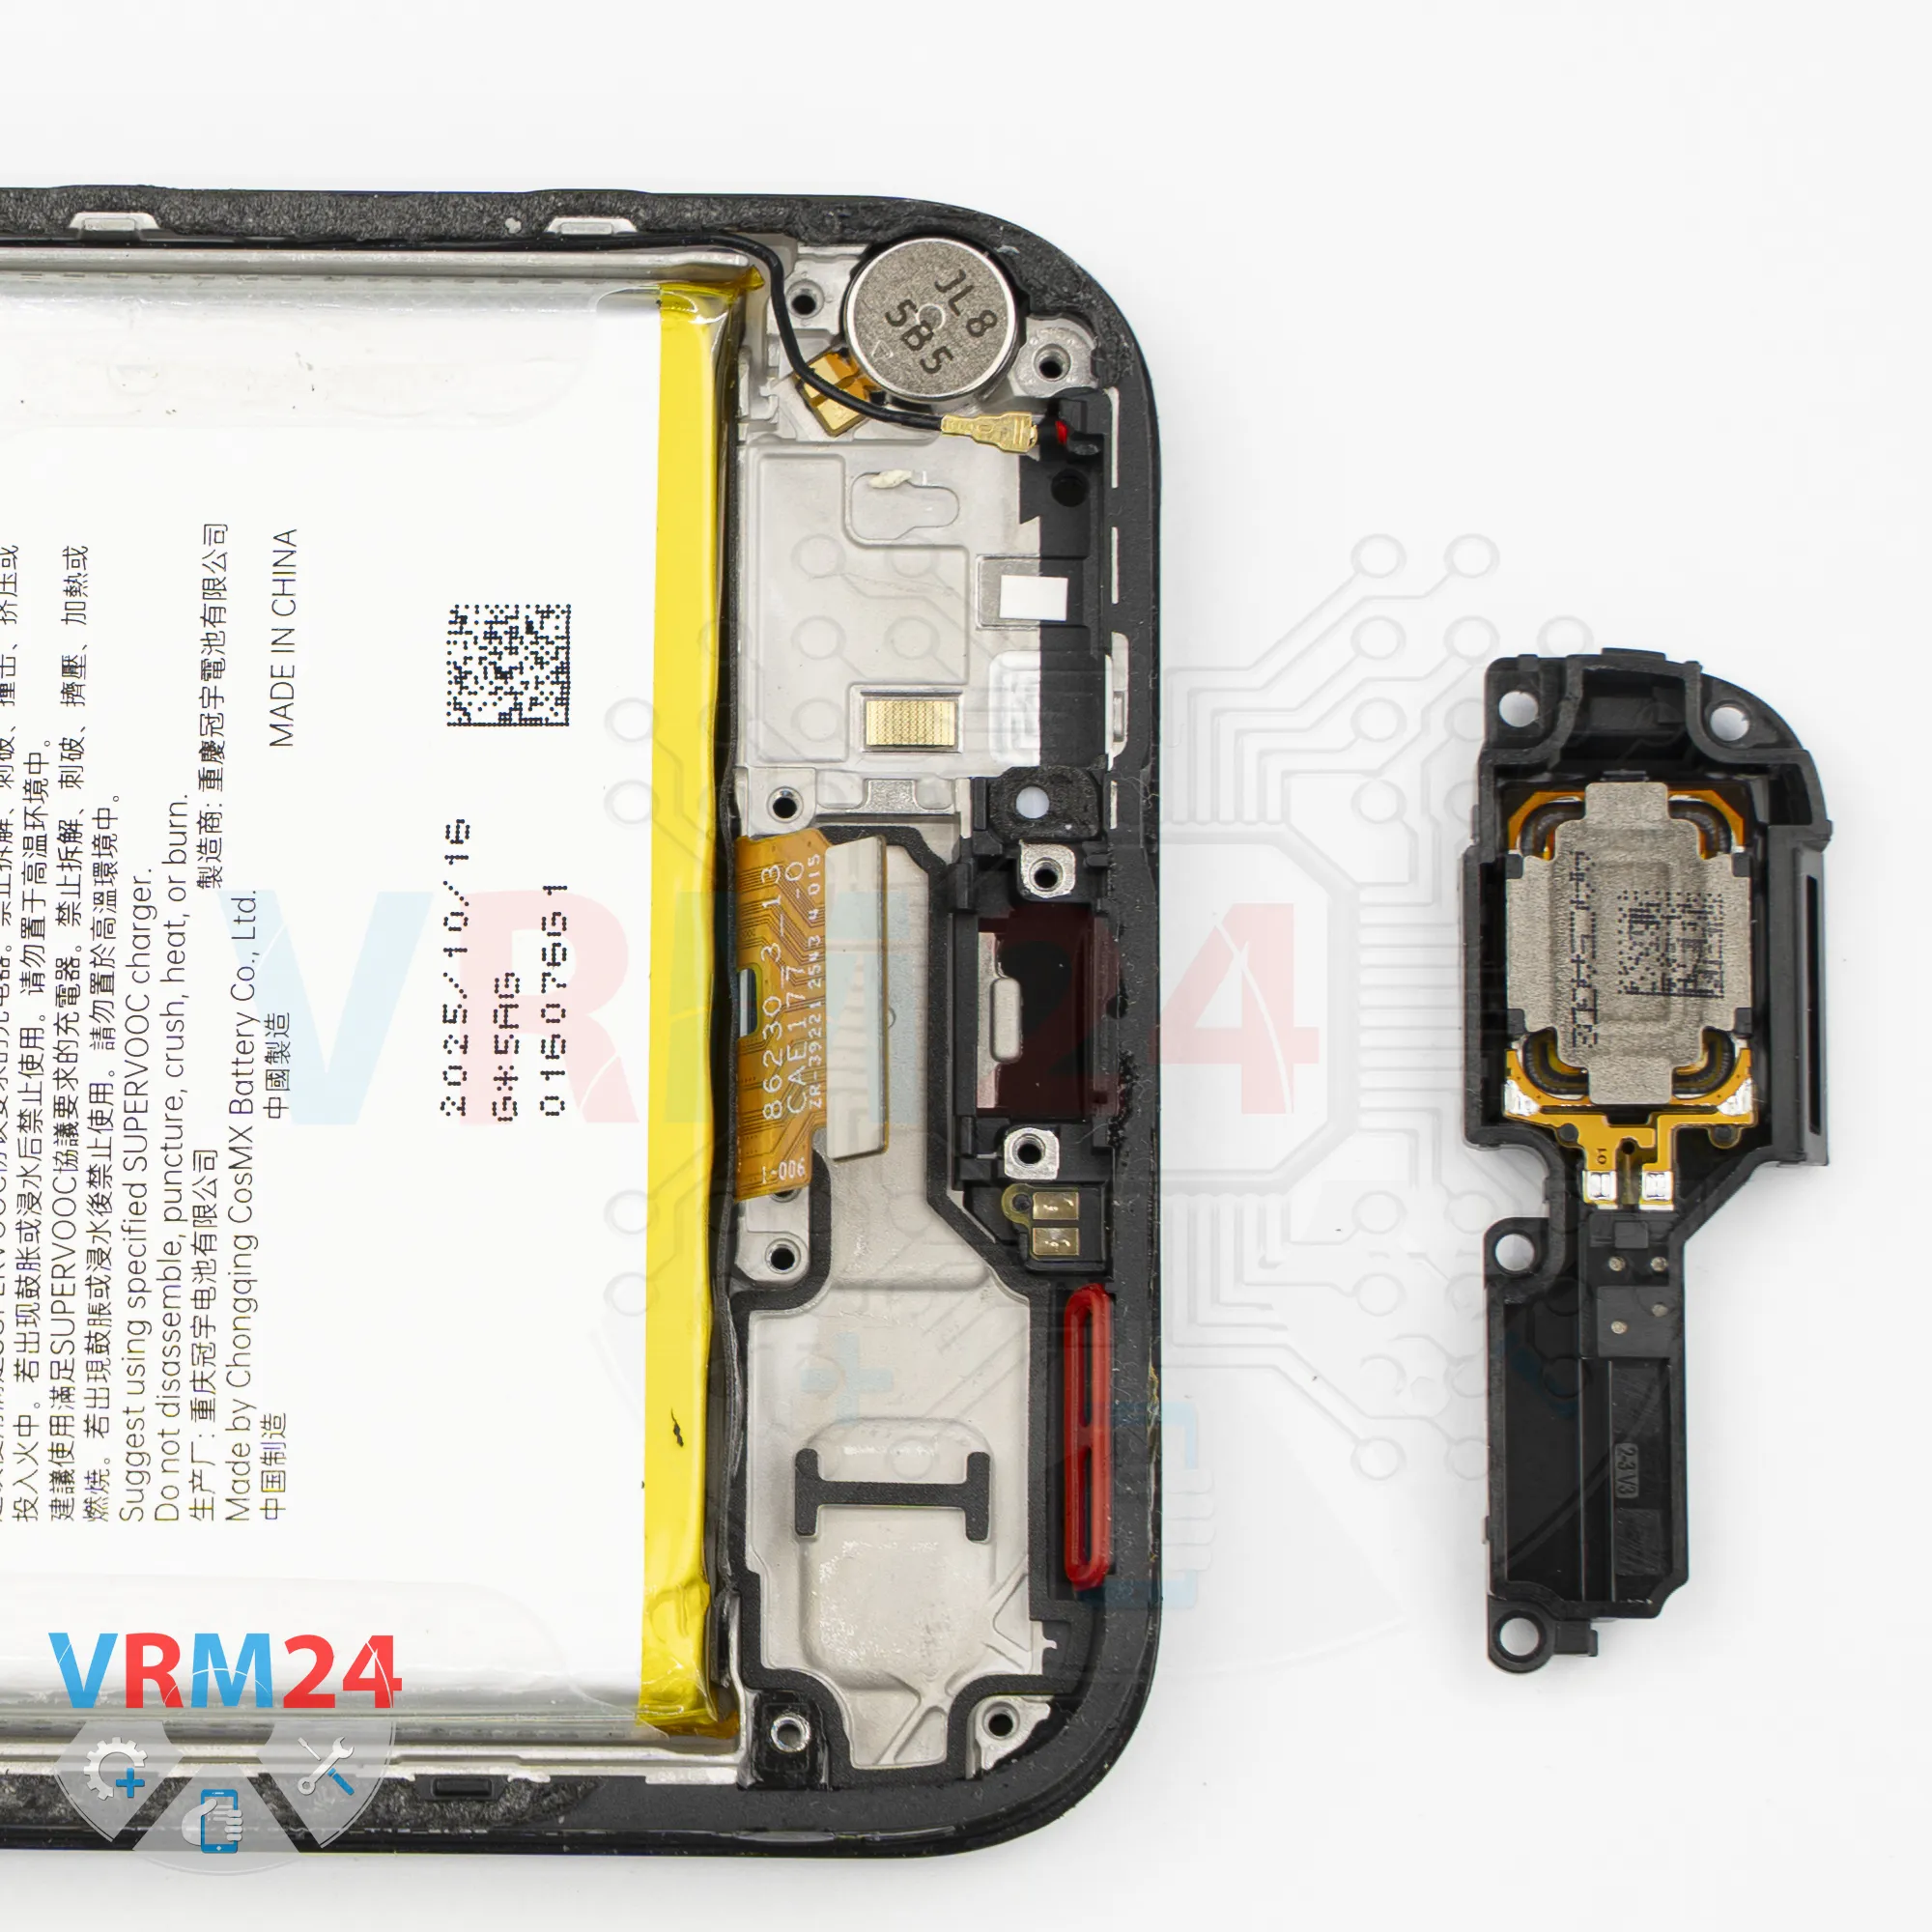
Now we can remove the speaker.
We carefully get underneath it by the edge - it is also slightly glued in place - and remove it.
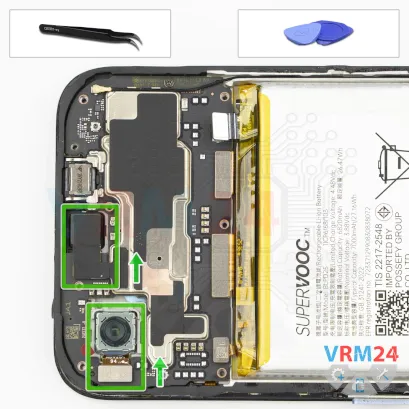
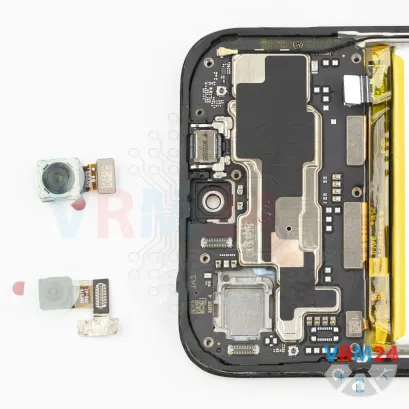
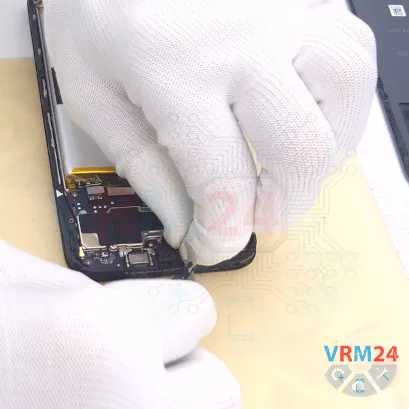
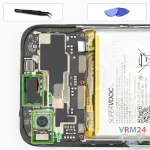
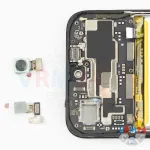
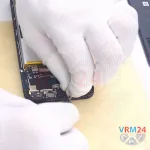
Step 12. Remove the cameras
Now we move on to the motherboard.
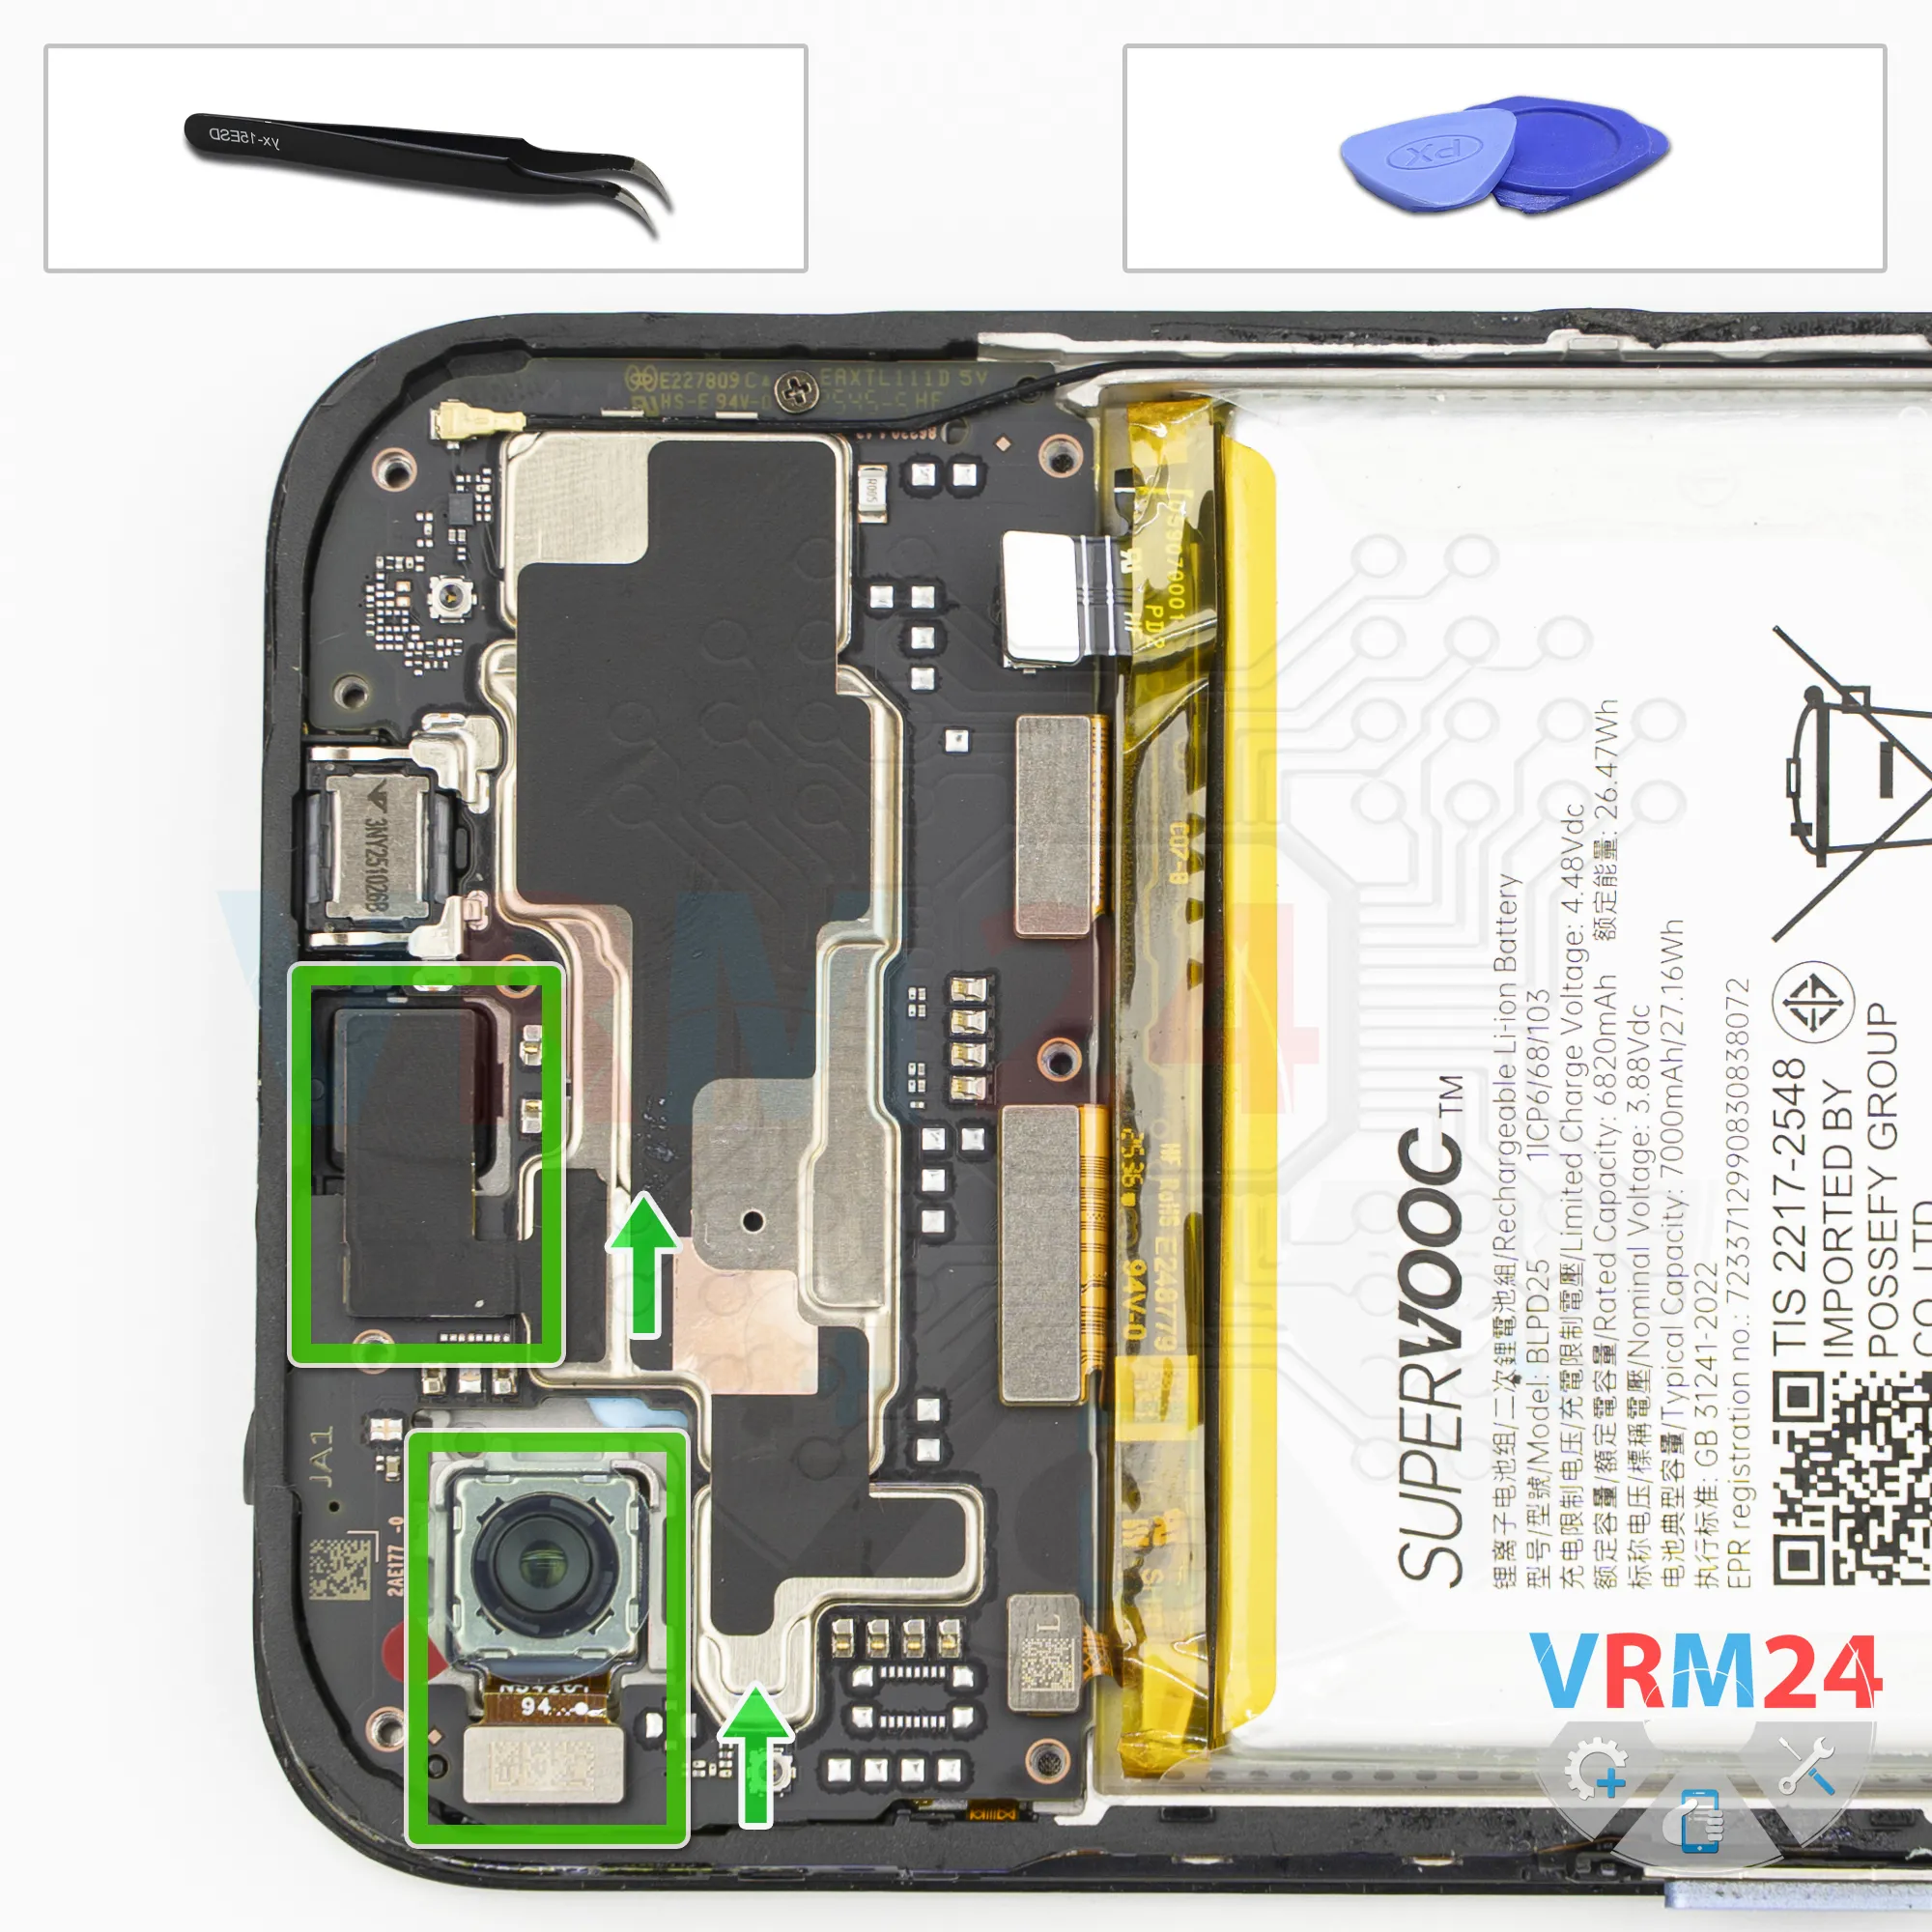
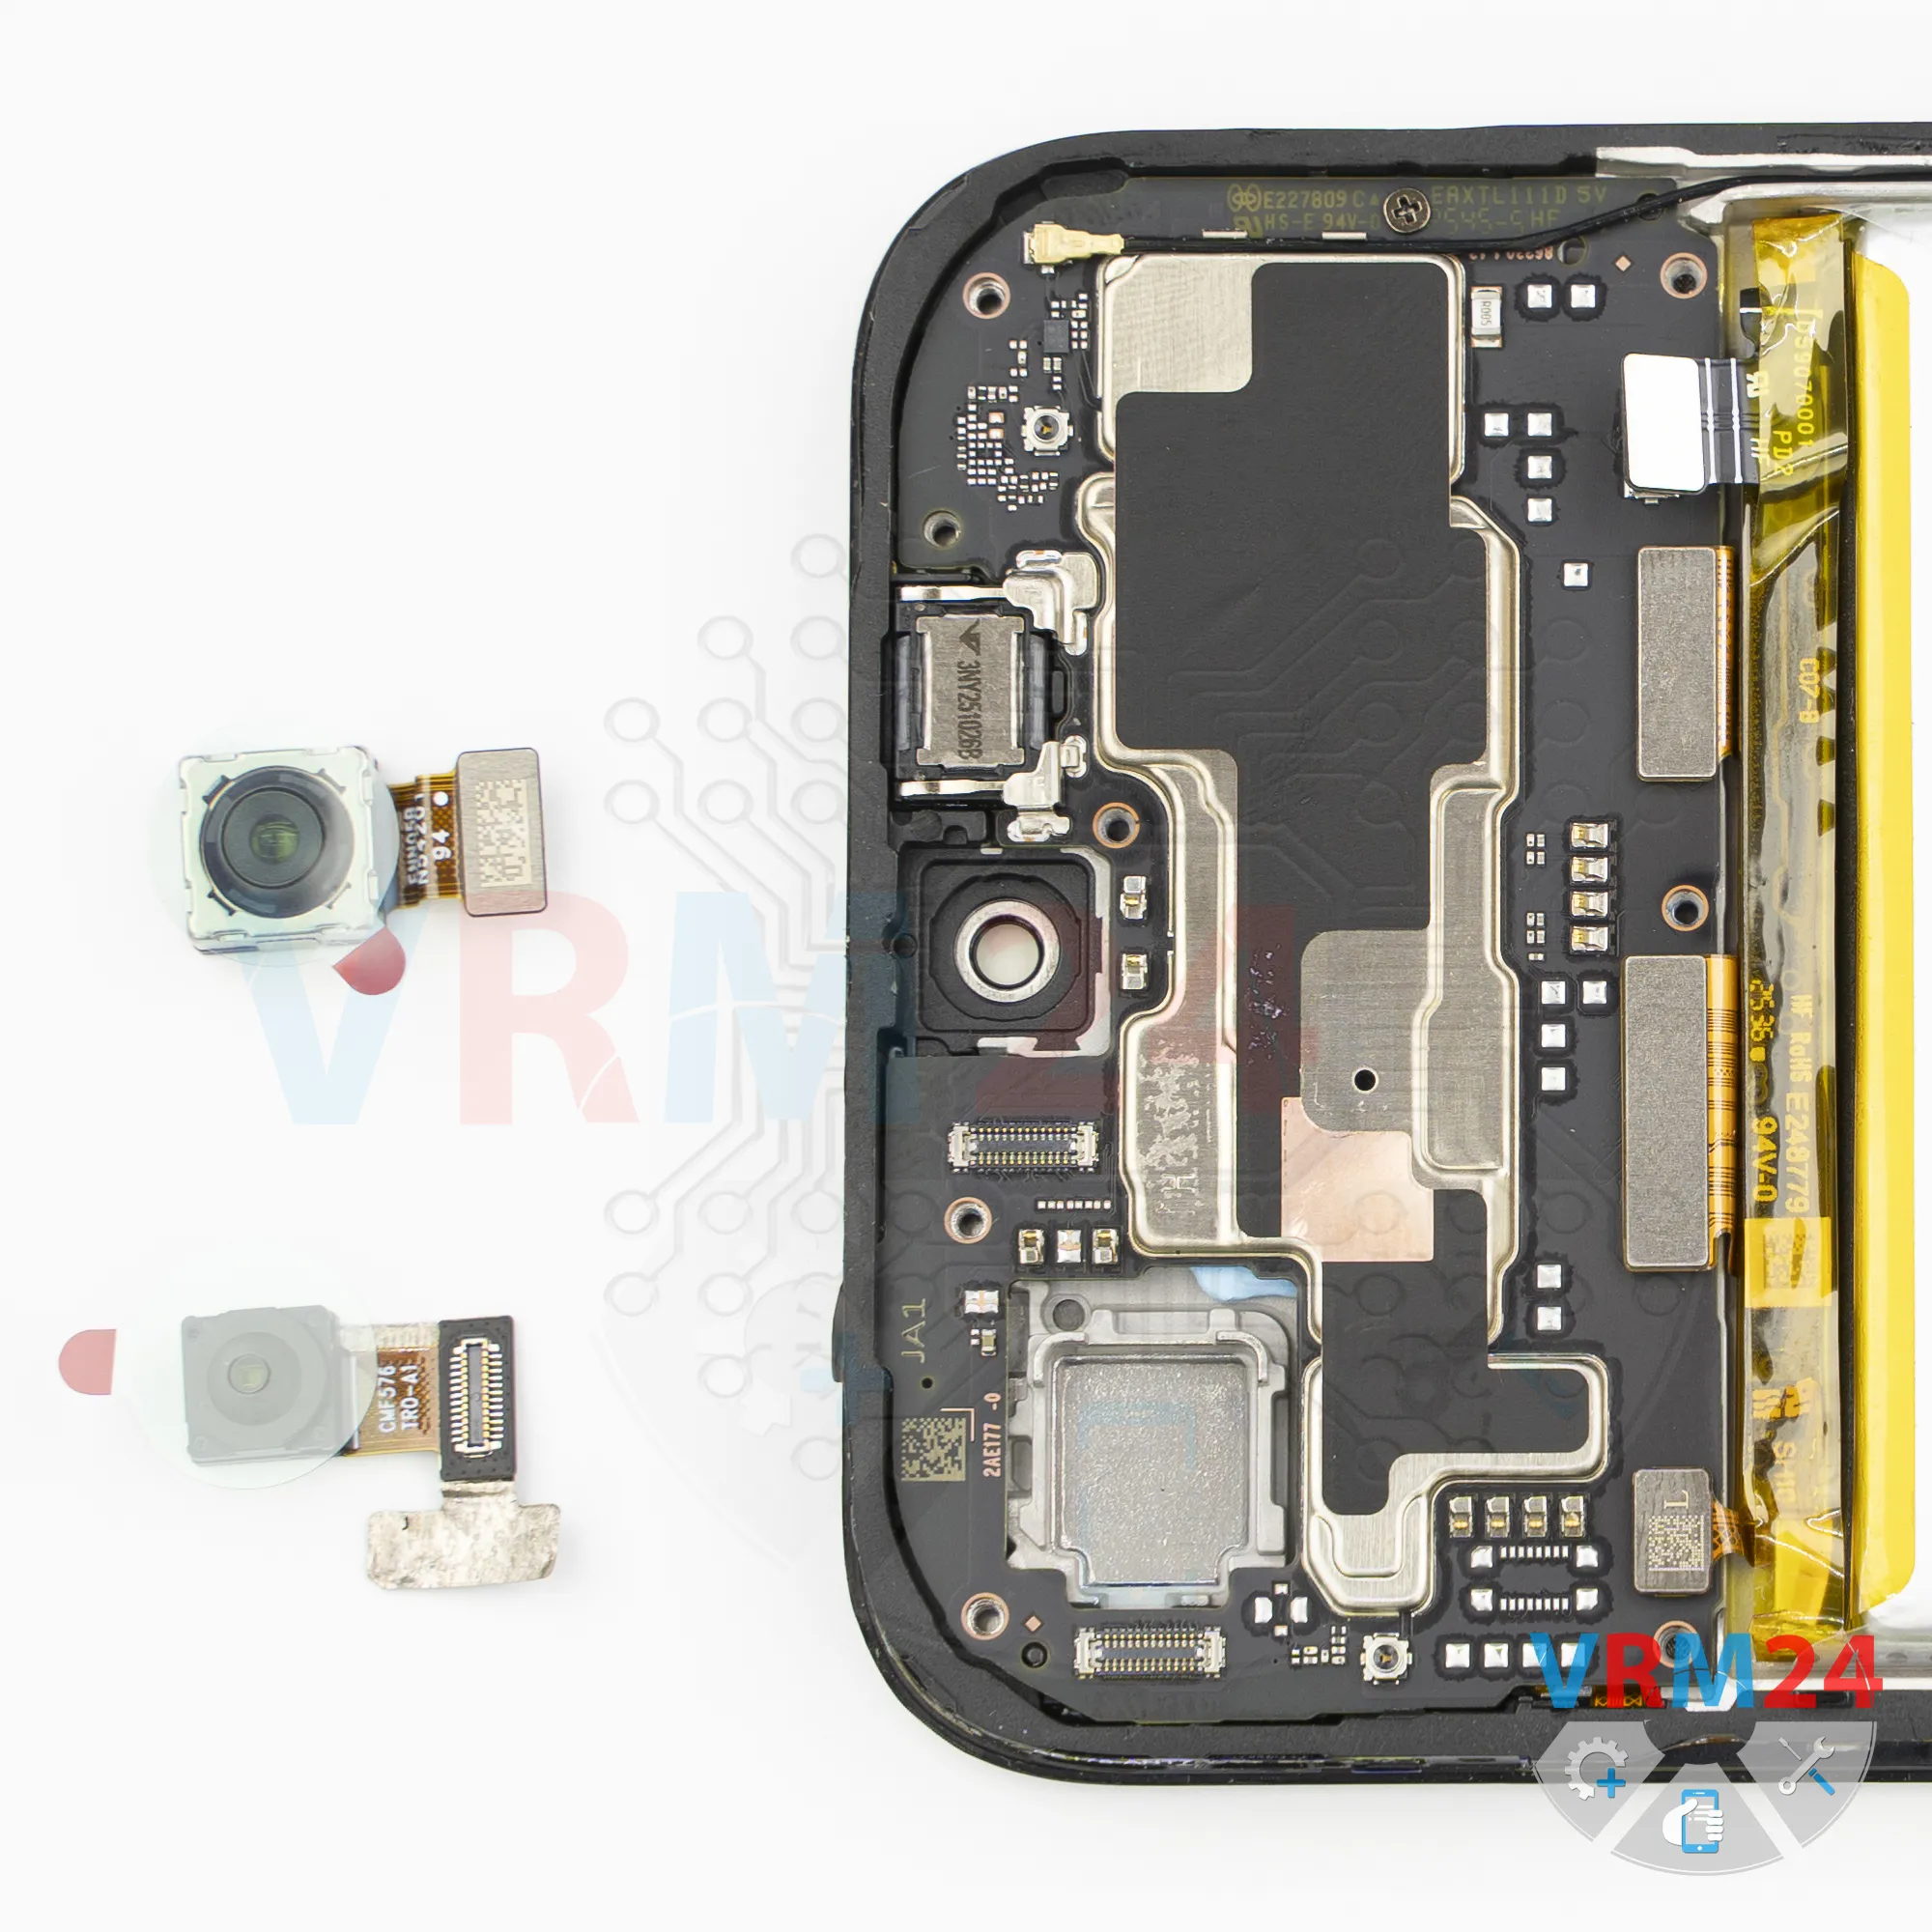
On the motherboard, we disconnect one rear camera and disconnect the front-facing camera.
It’s better to keep the heat-dissipating material from the front-facing camera, as we will need it during reassembly.
It’s also better to cover the camera lens so that no debris or dust gets on it.
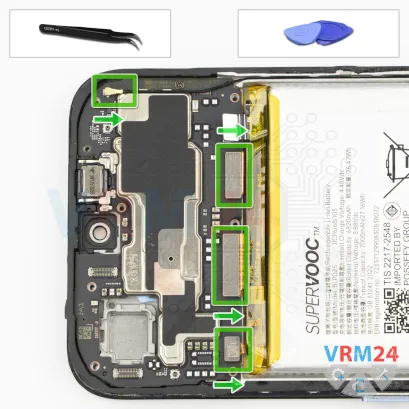
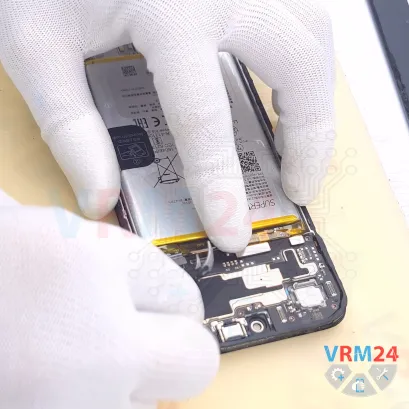
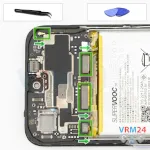
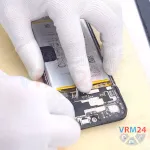
Step 13. Disconnect the connectors
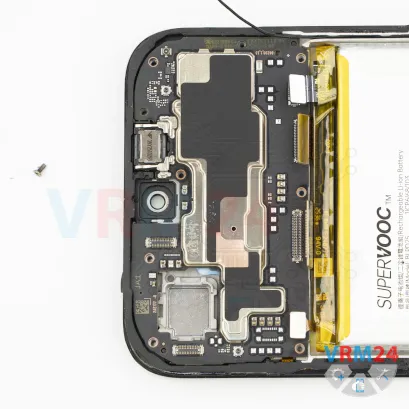
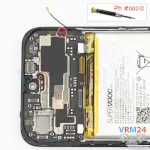
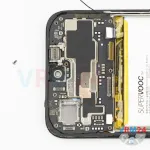
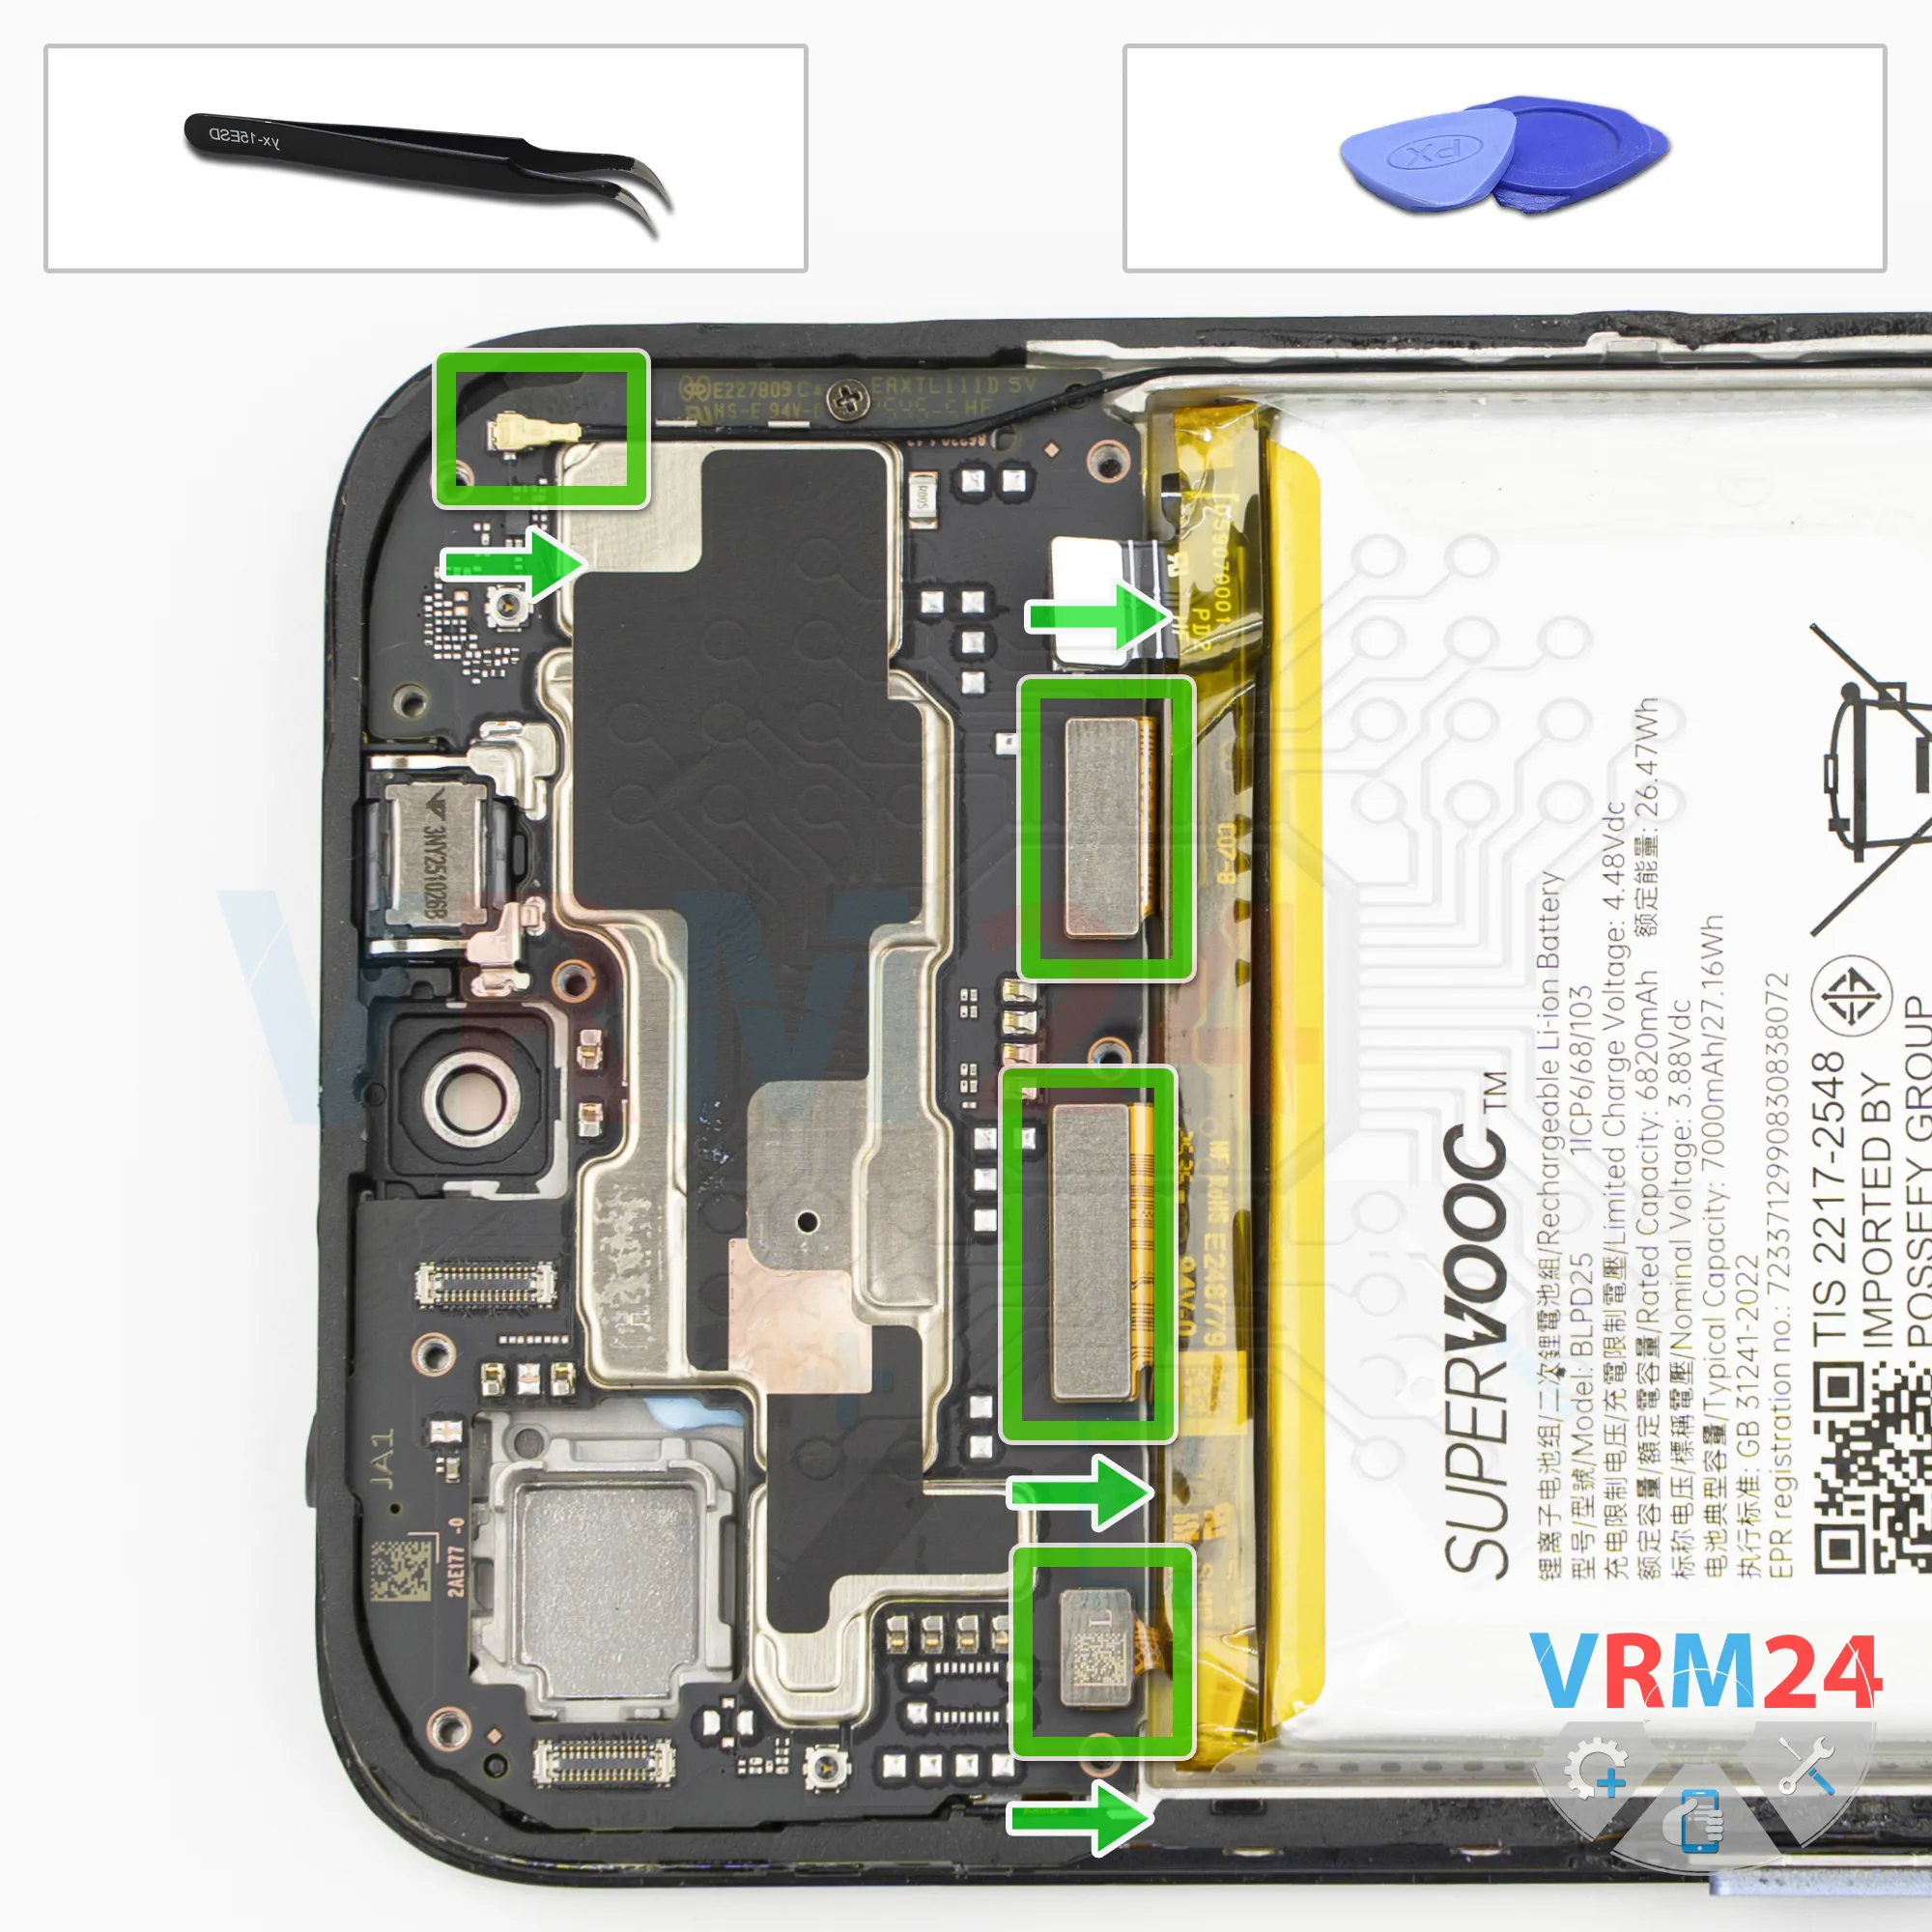
After that, we disconnect the display flex cable connector, disconnect the inter-board flex cable connector, disconnect the flex cable for the side buttons, and disconnect the coaxial cable connector.
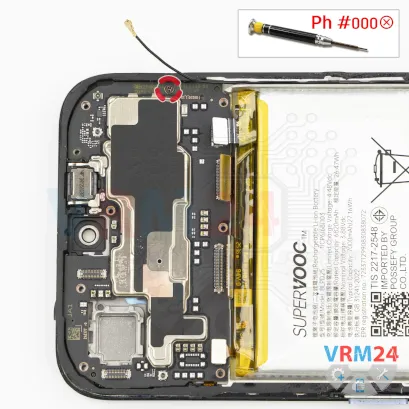
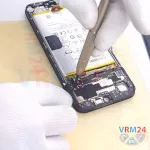
Step 14. Unscrew one screw
We also remove the one screw that holds the motherboard in place.
This screw is different from the previous ones.
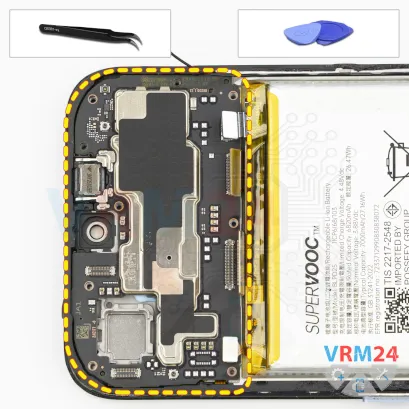
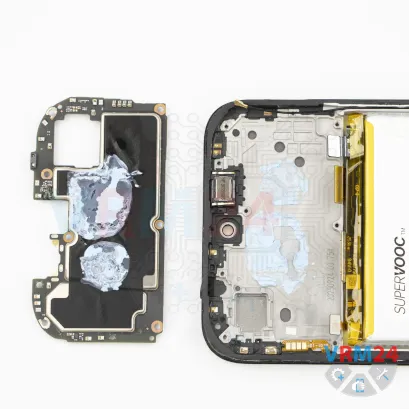
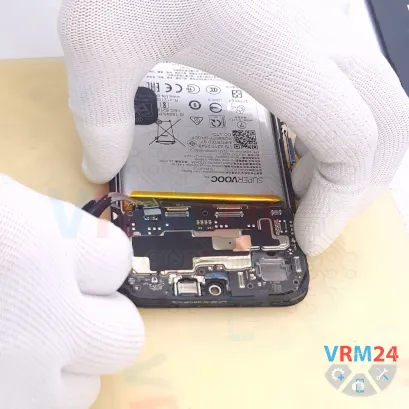
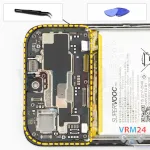
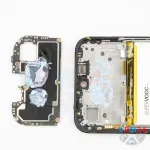
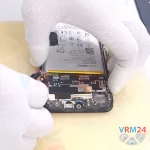
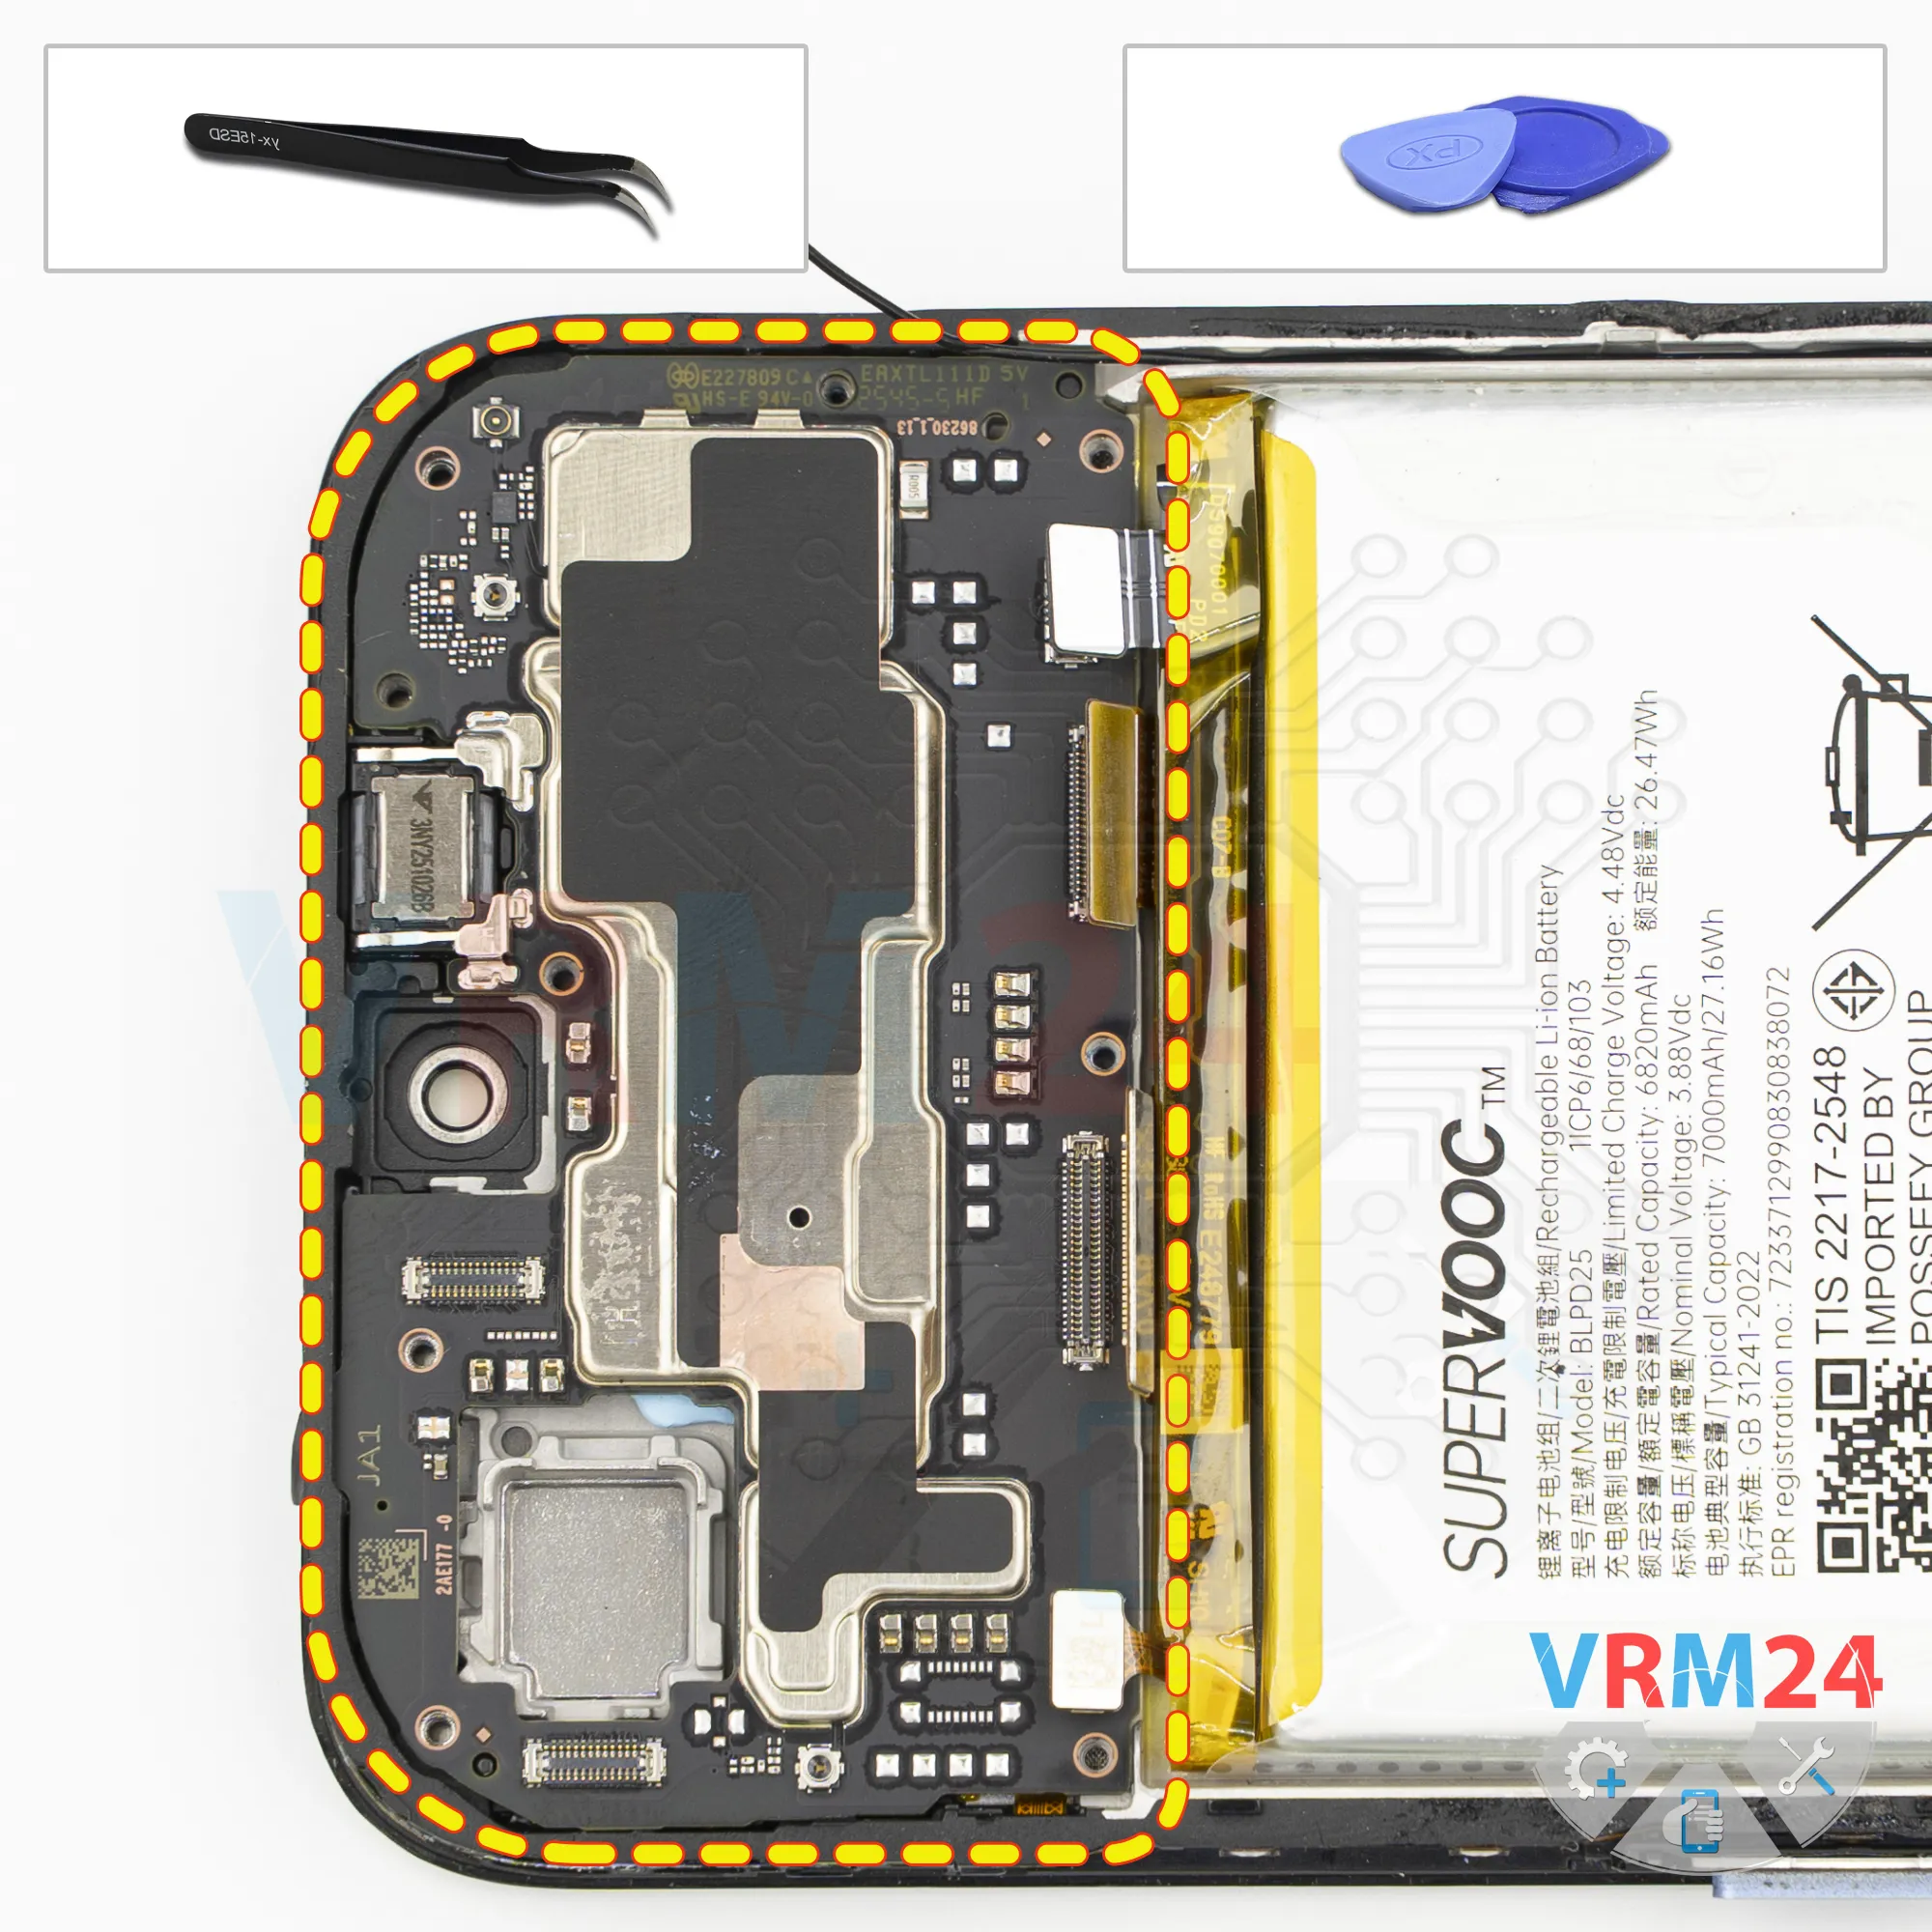
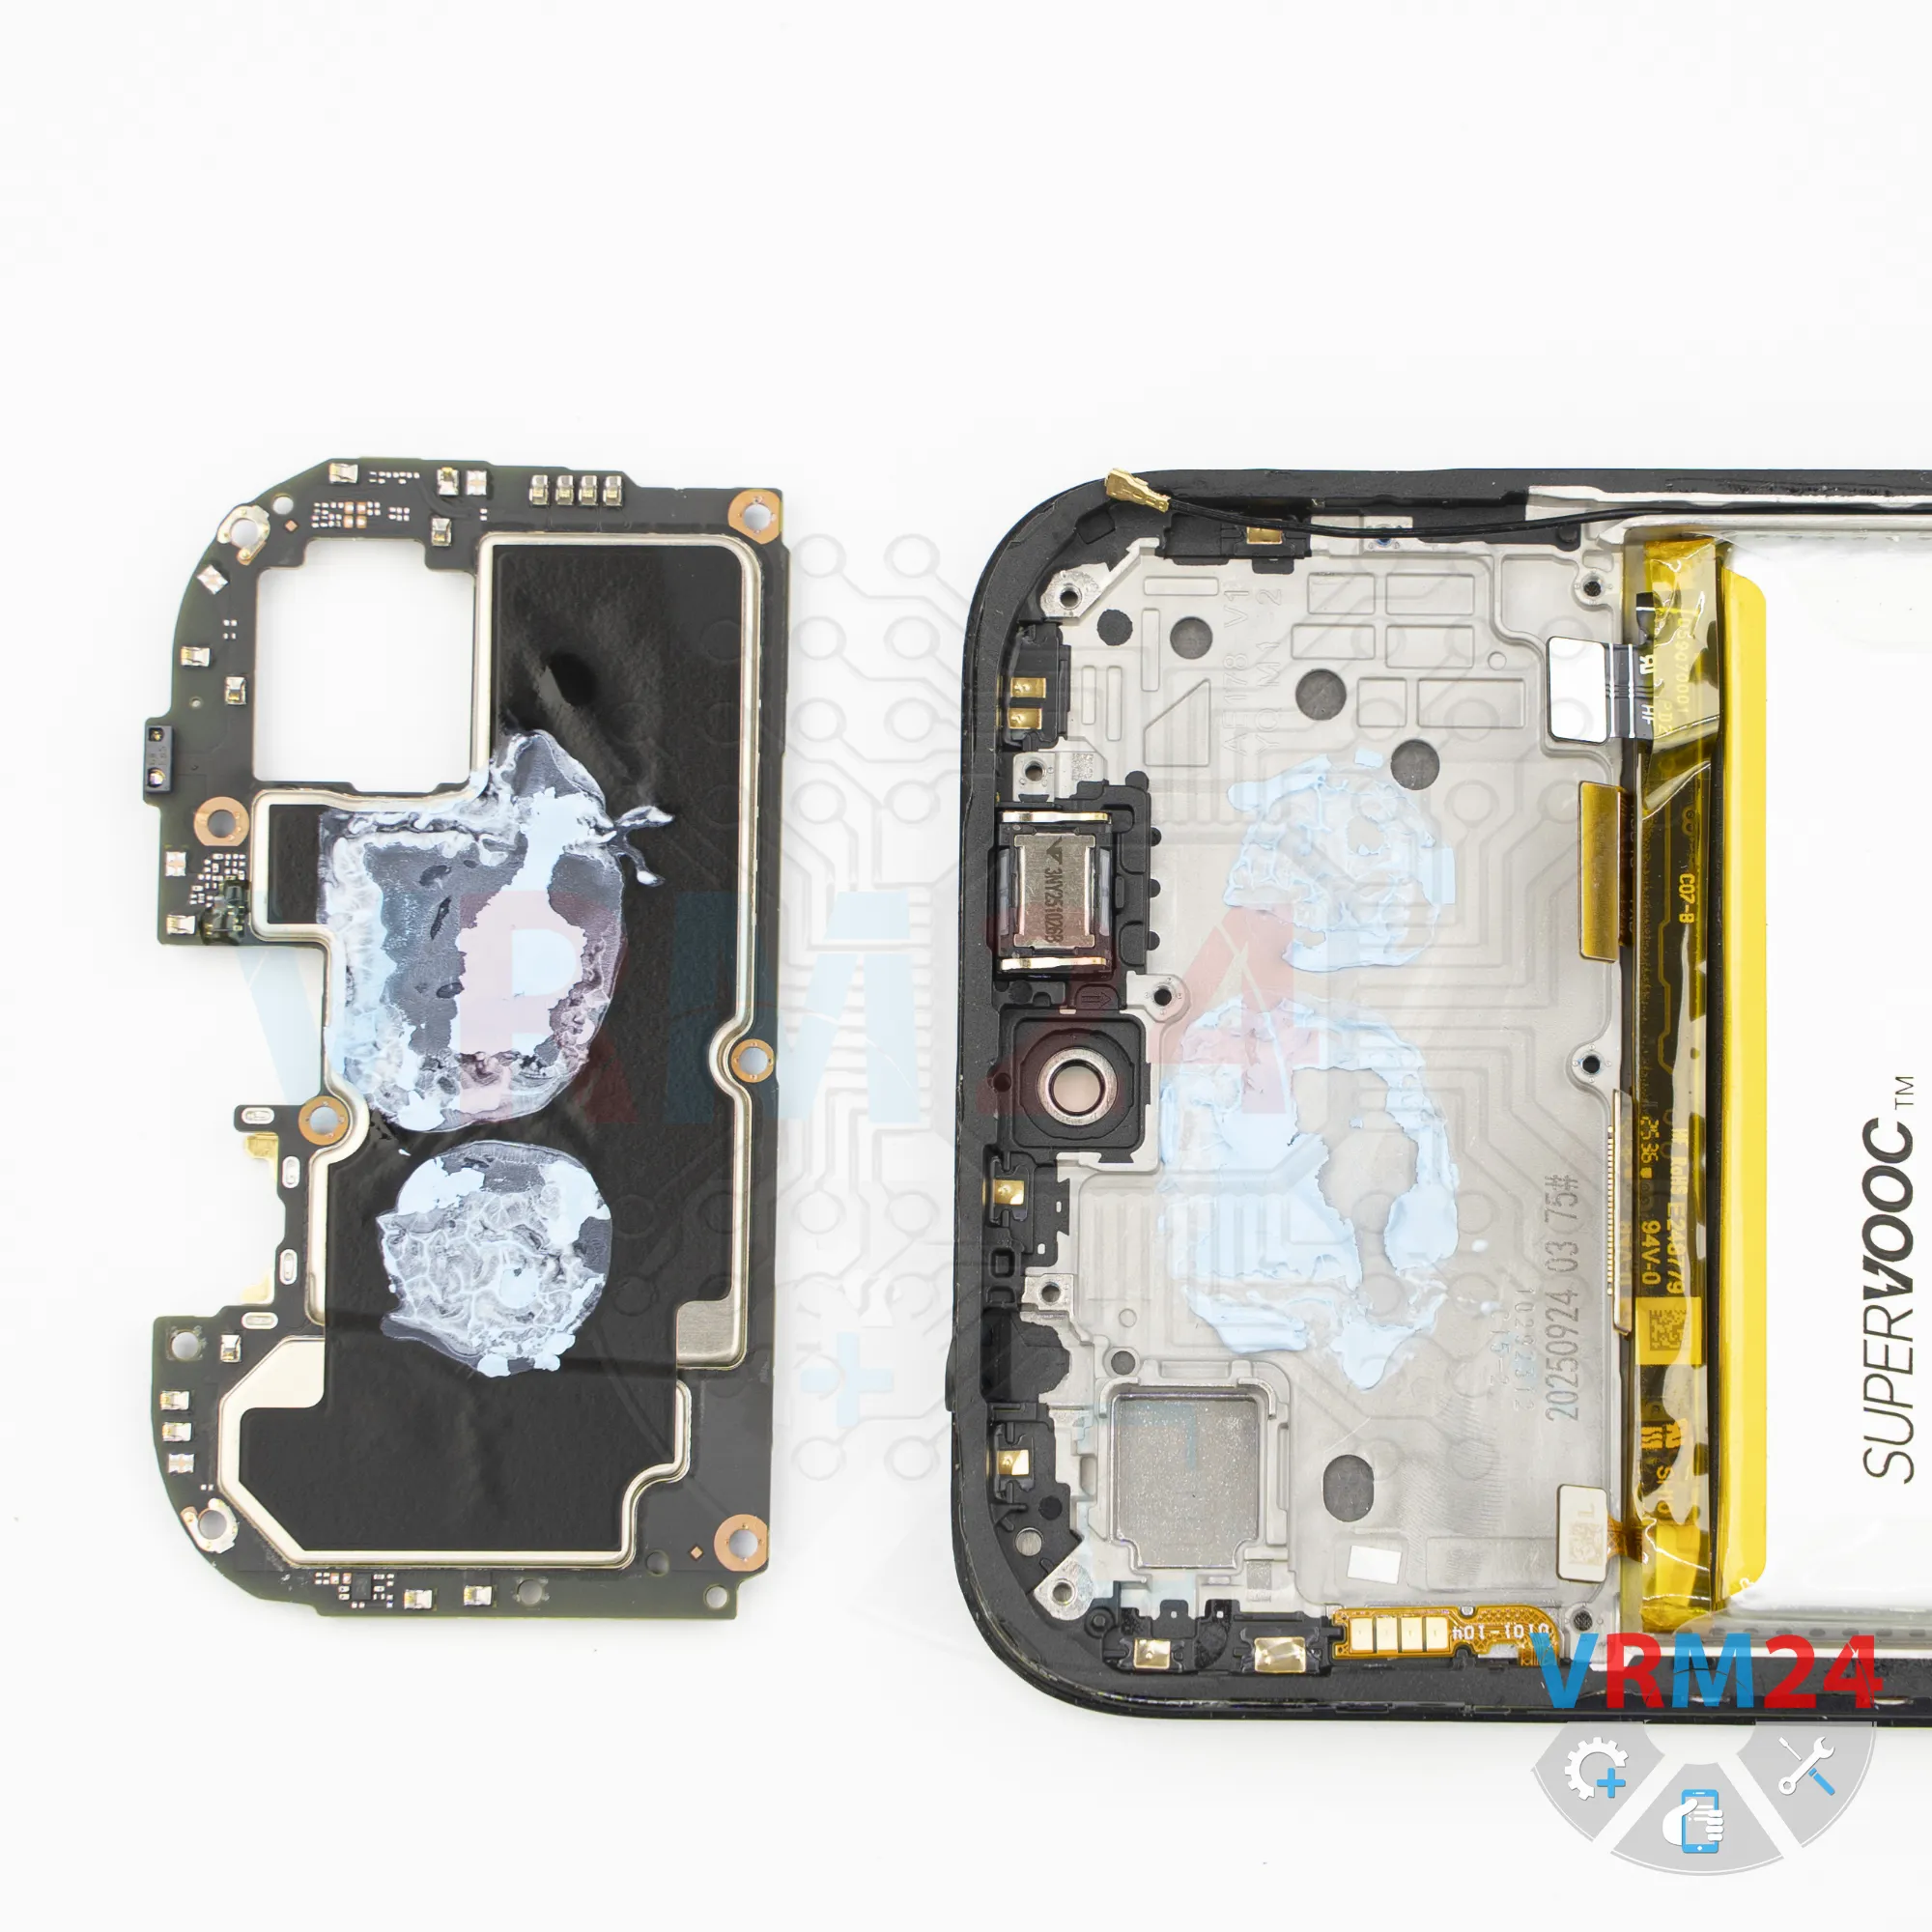
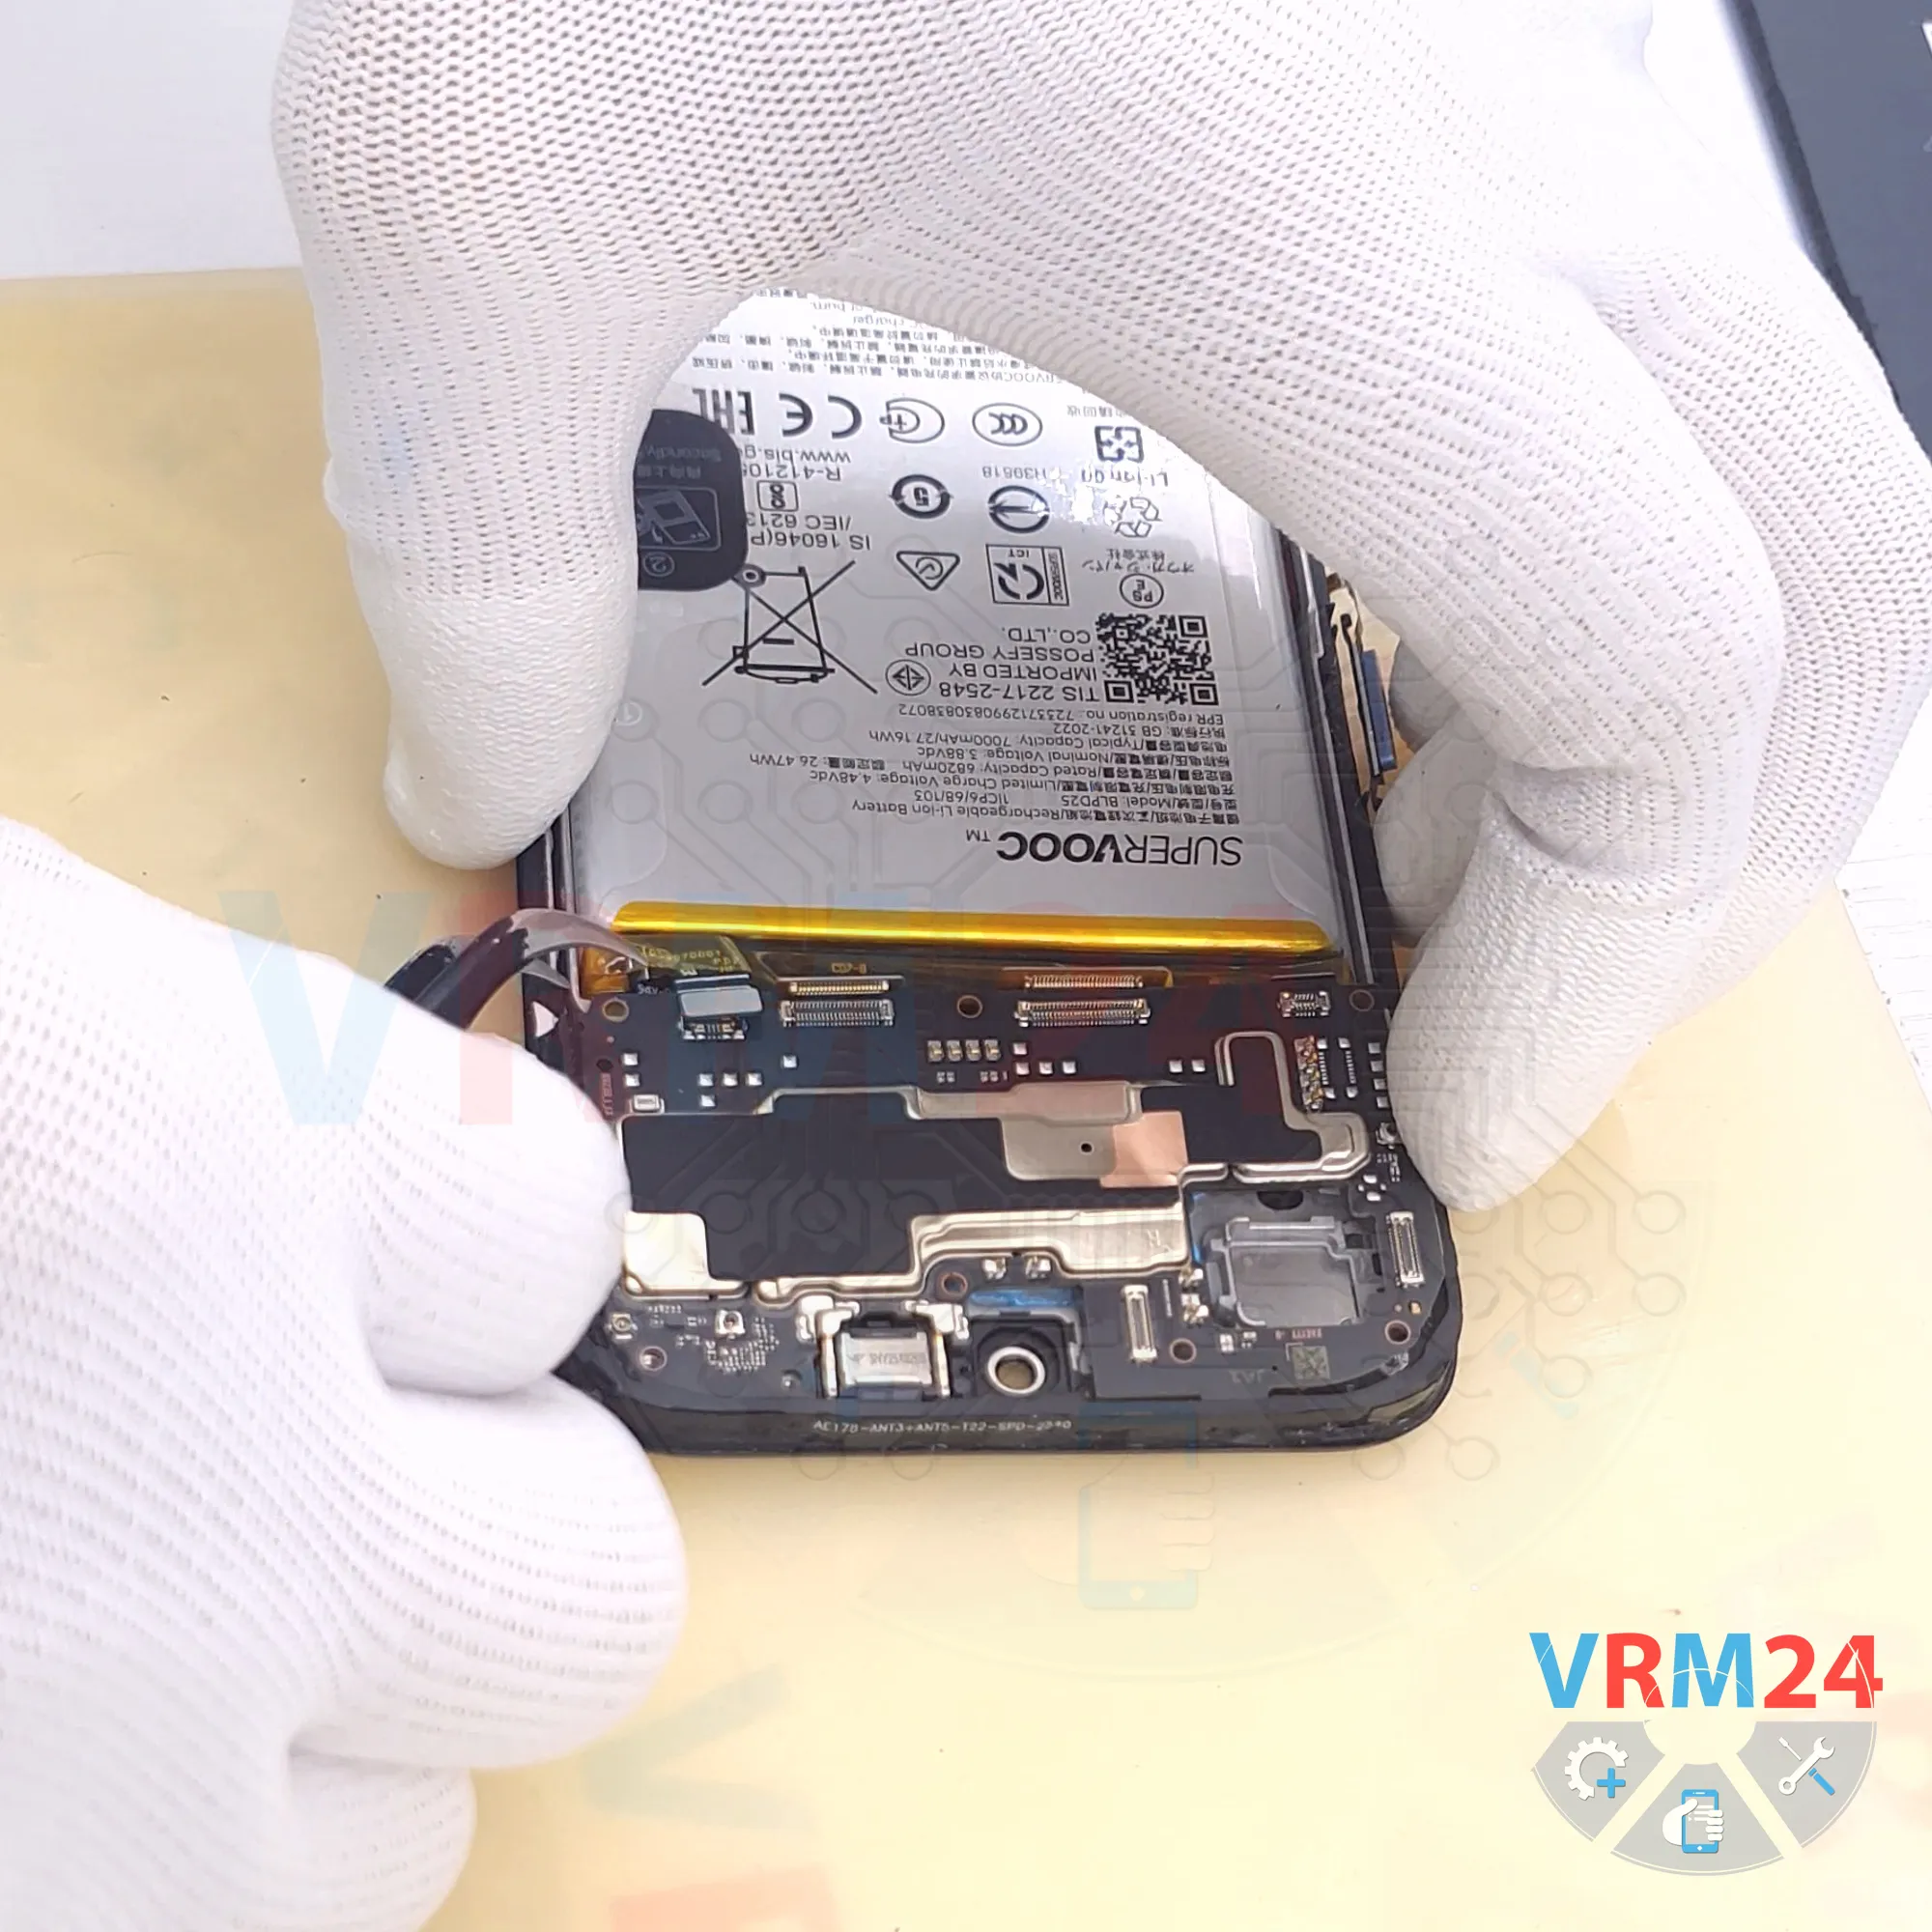
Step 15. Remove the motherboard
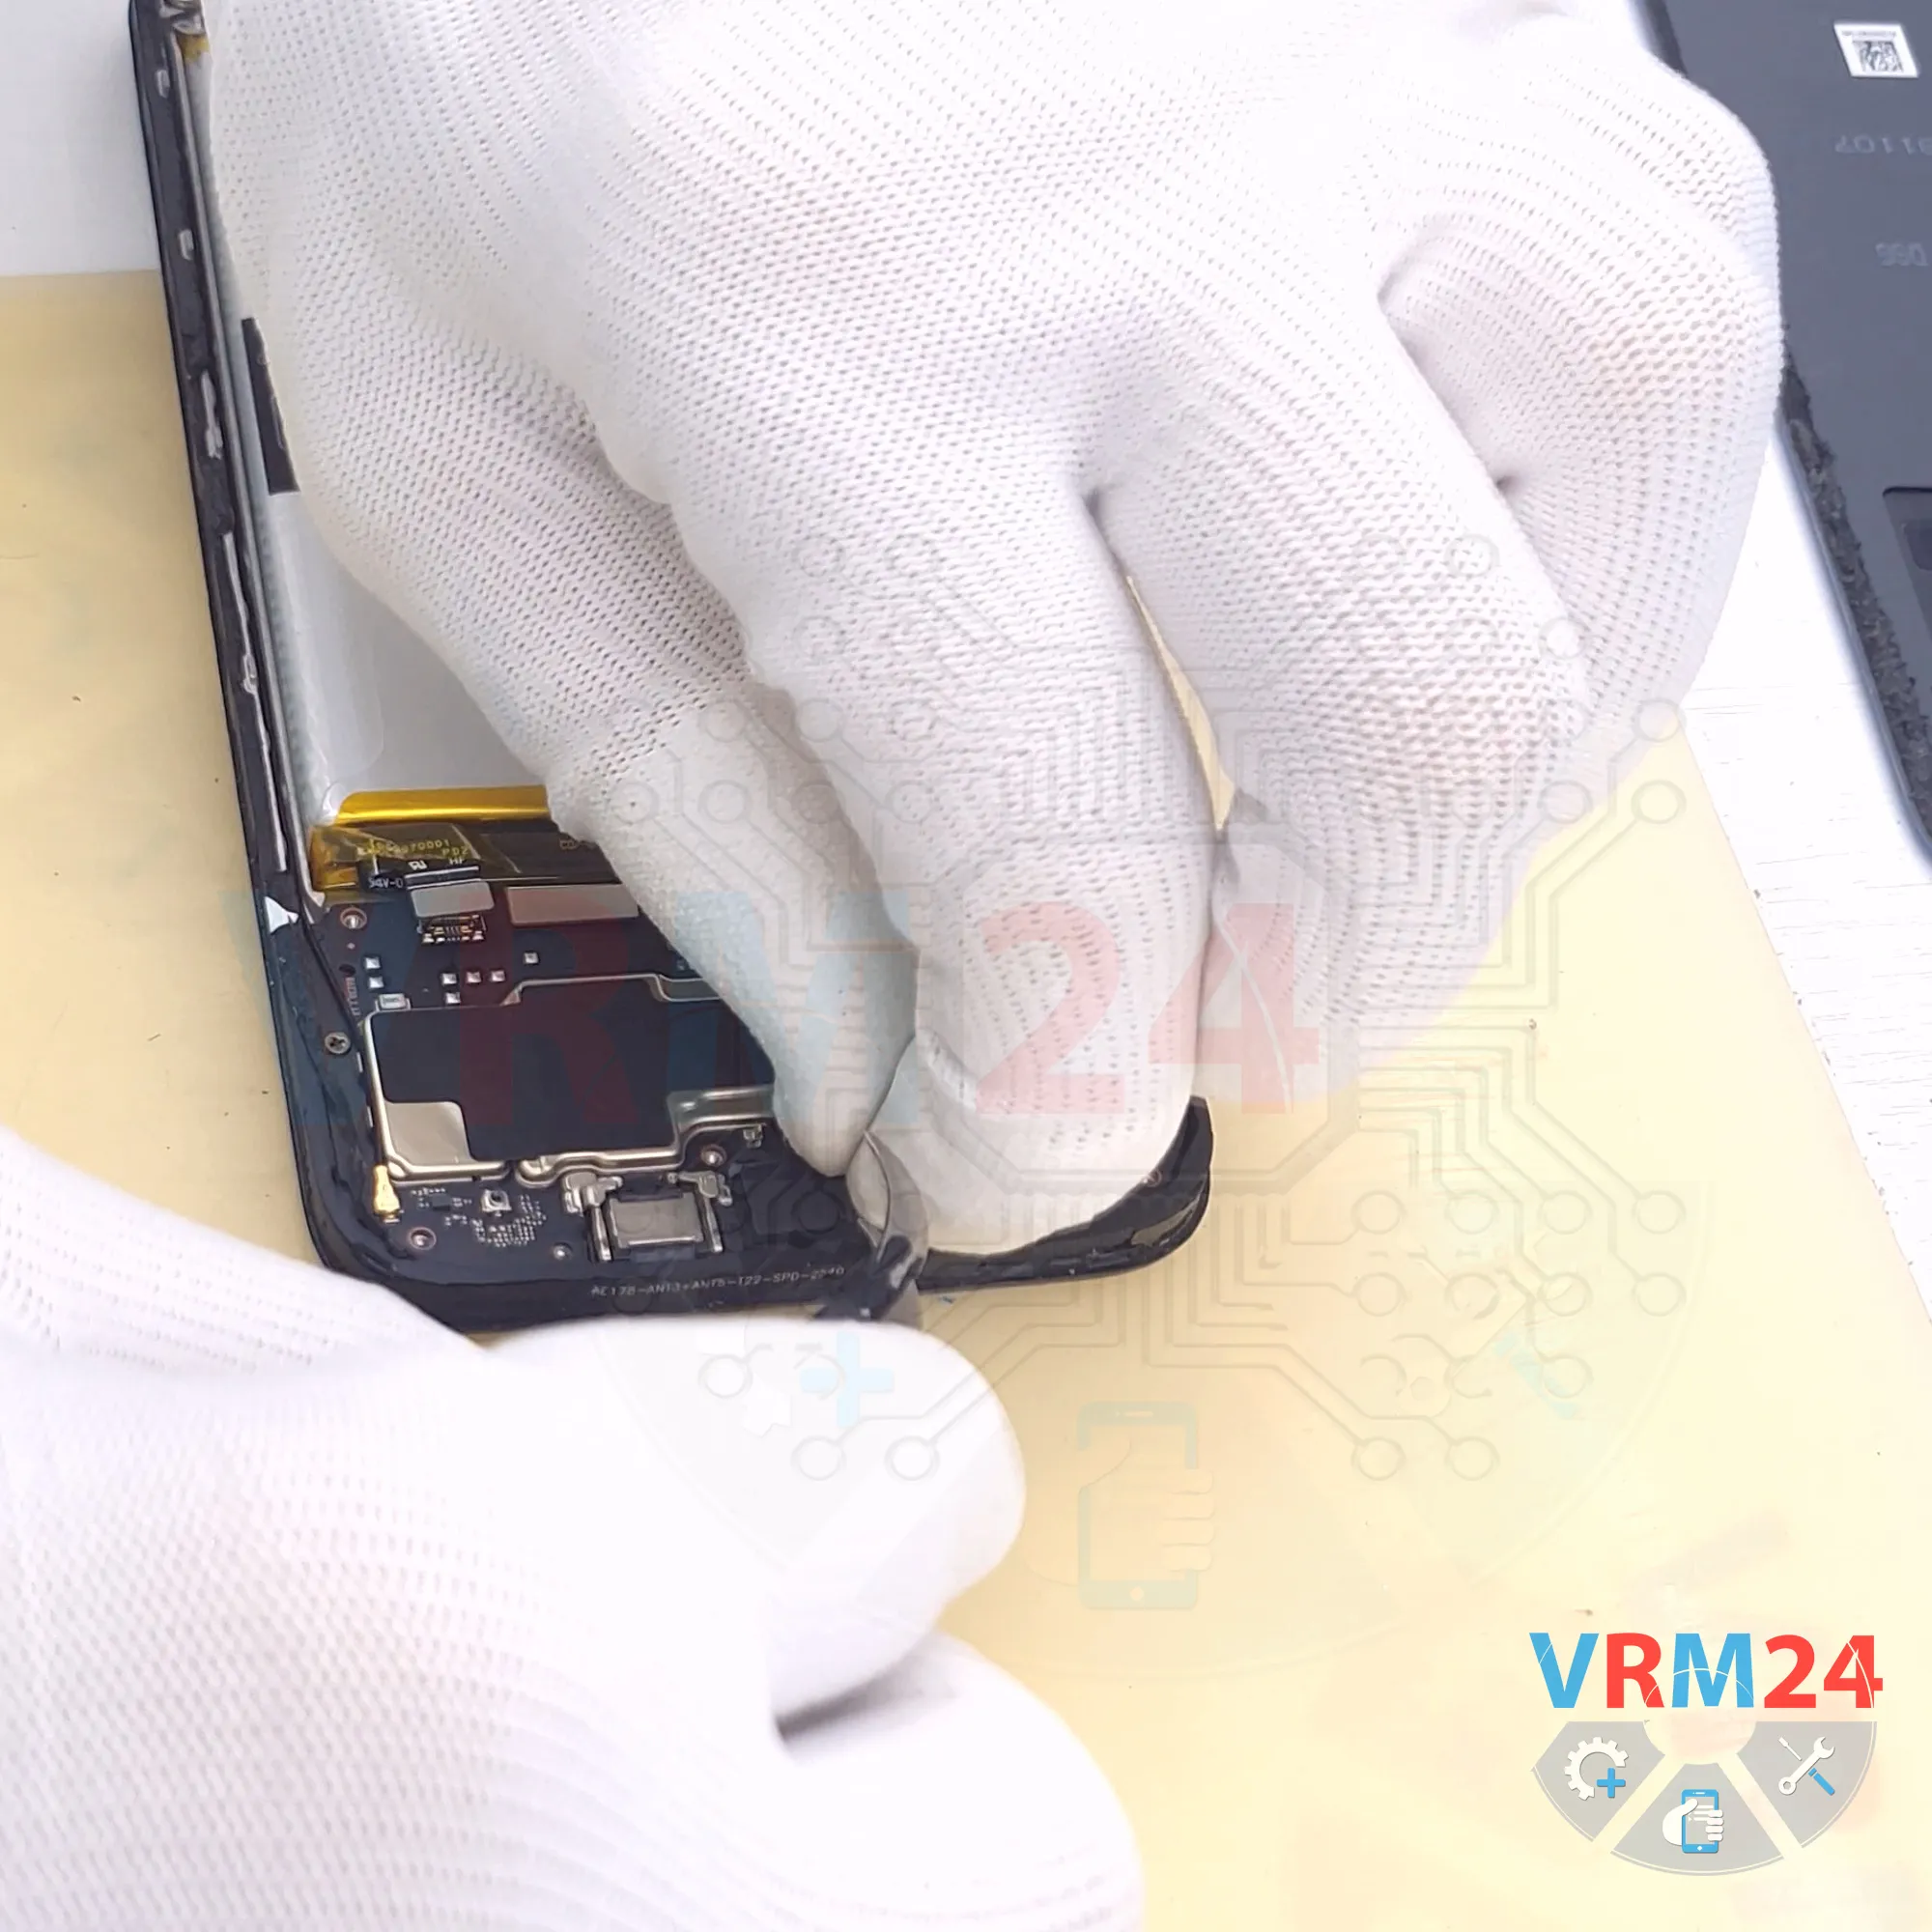
Now nothing is preventing us from removing the motherboard.
We carefully get underneath it at the correct spot.
Note that the motherboard may also be held in place by thermal paste on the reverse side.
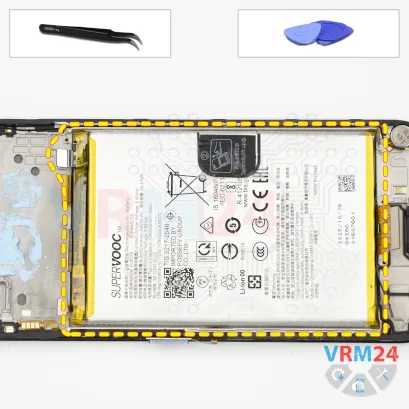
Step 16. Remove the battery
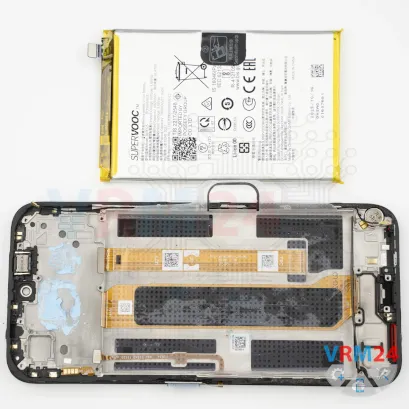
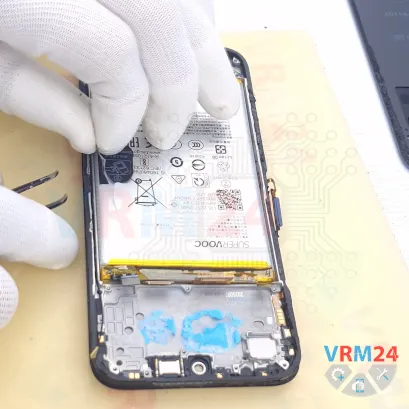
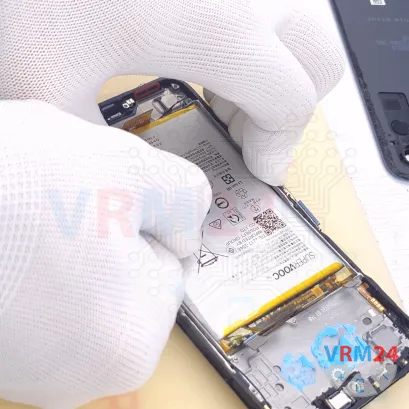
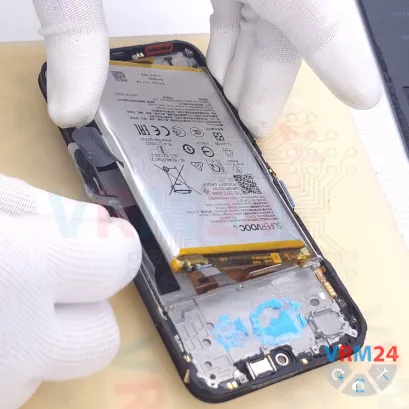
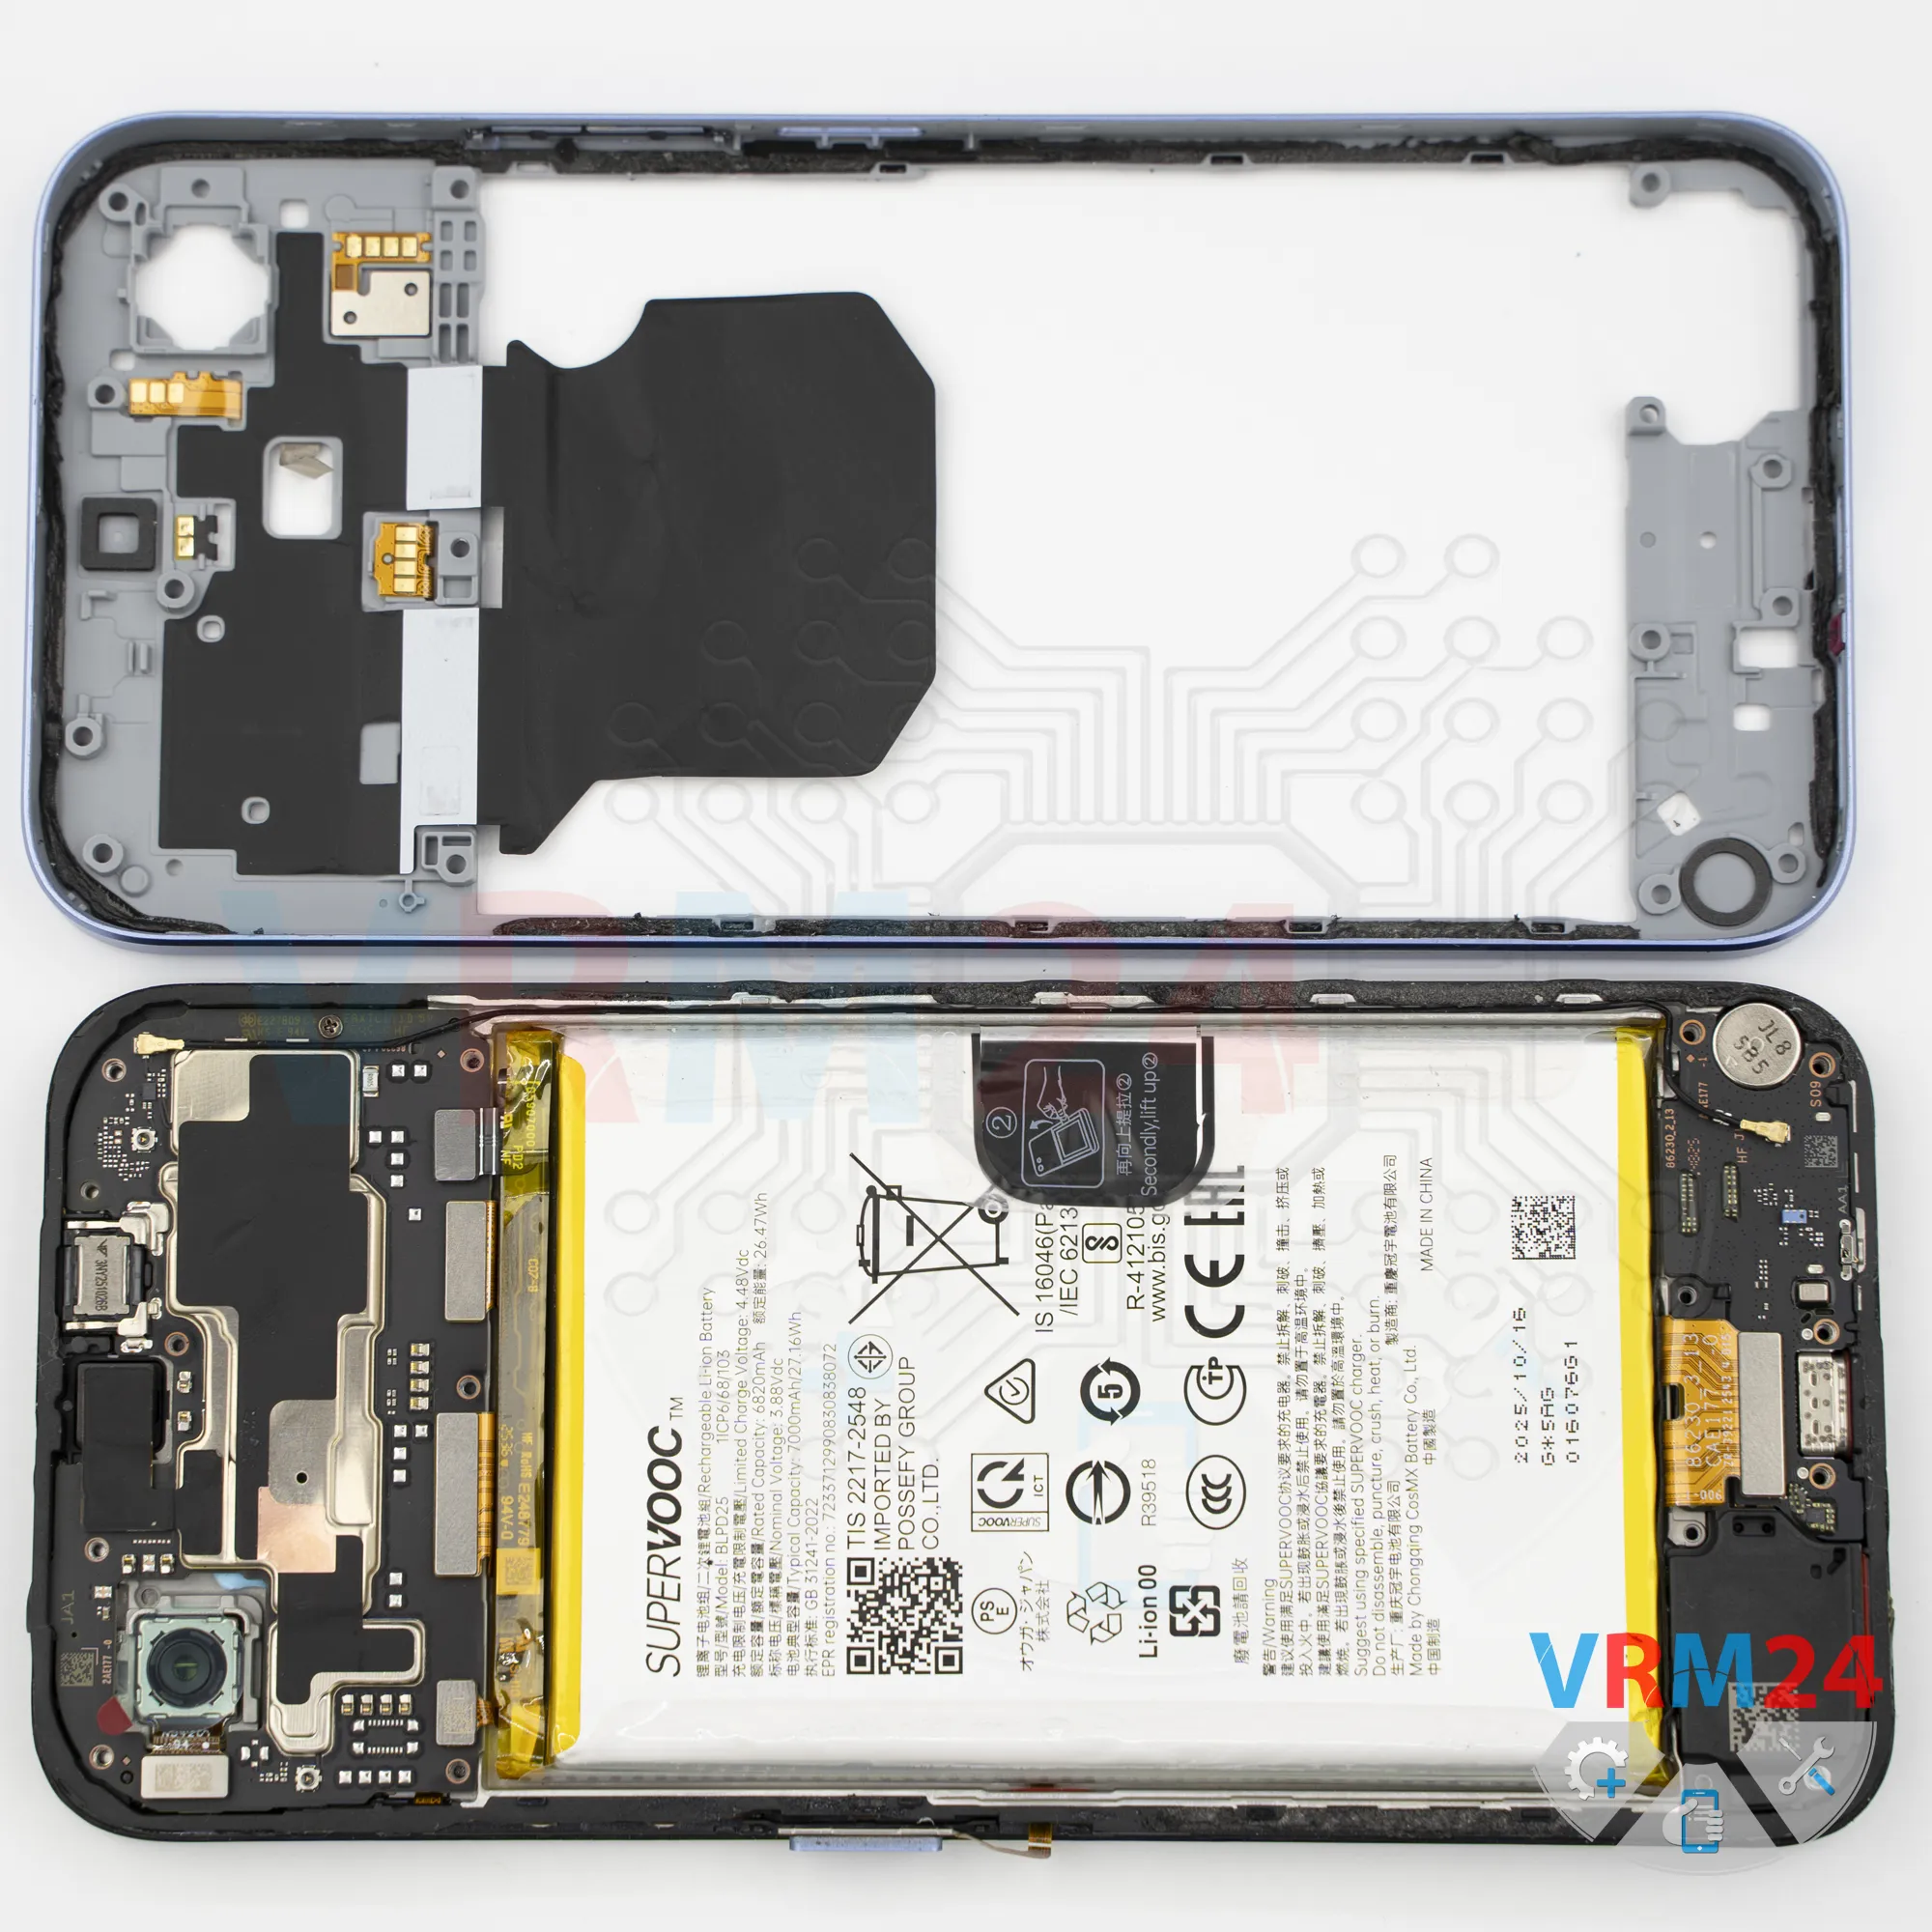
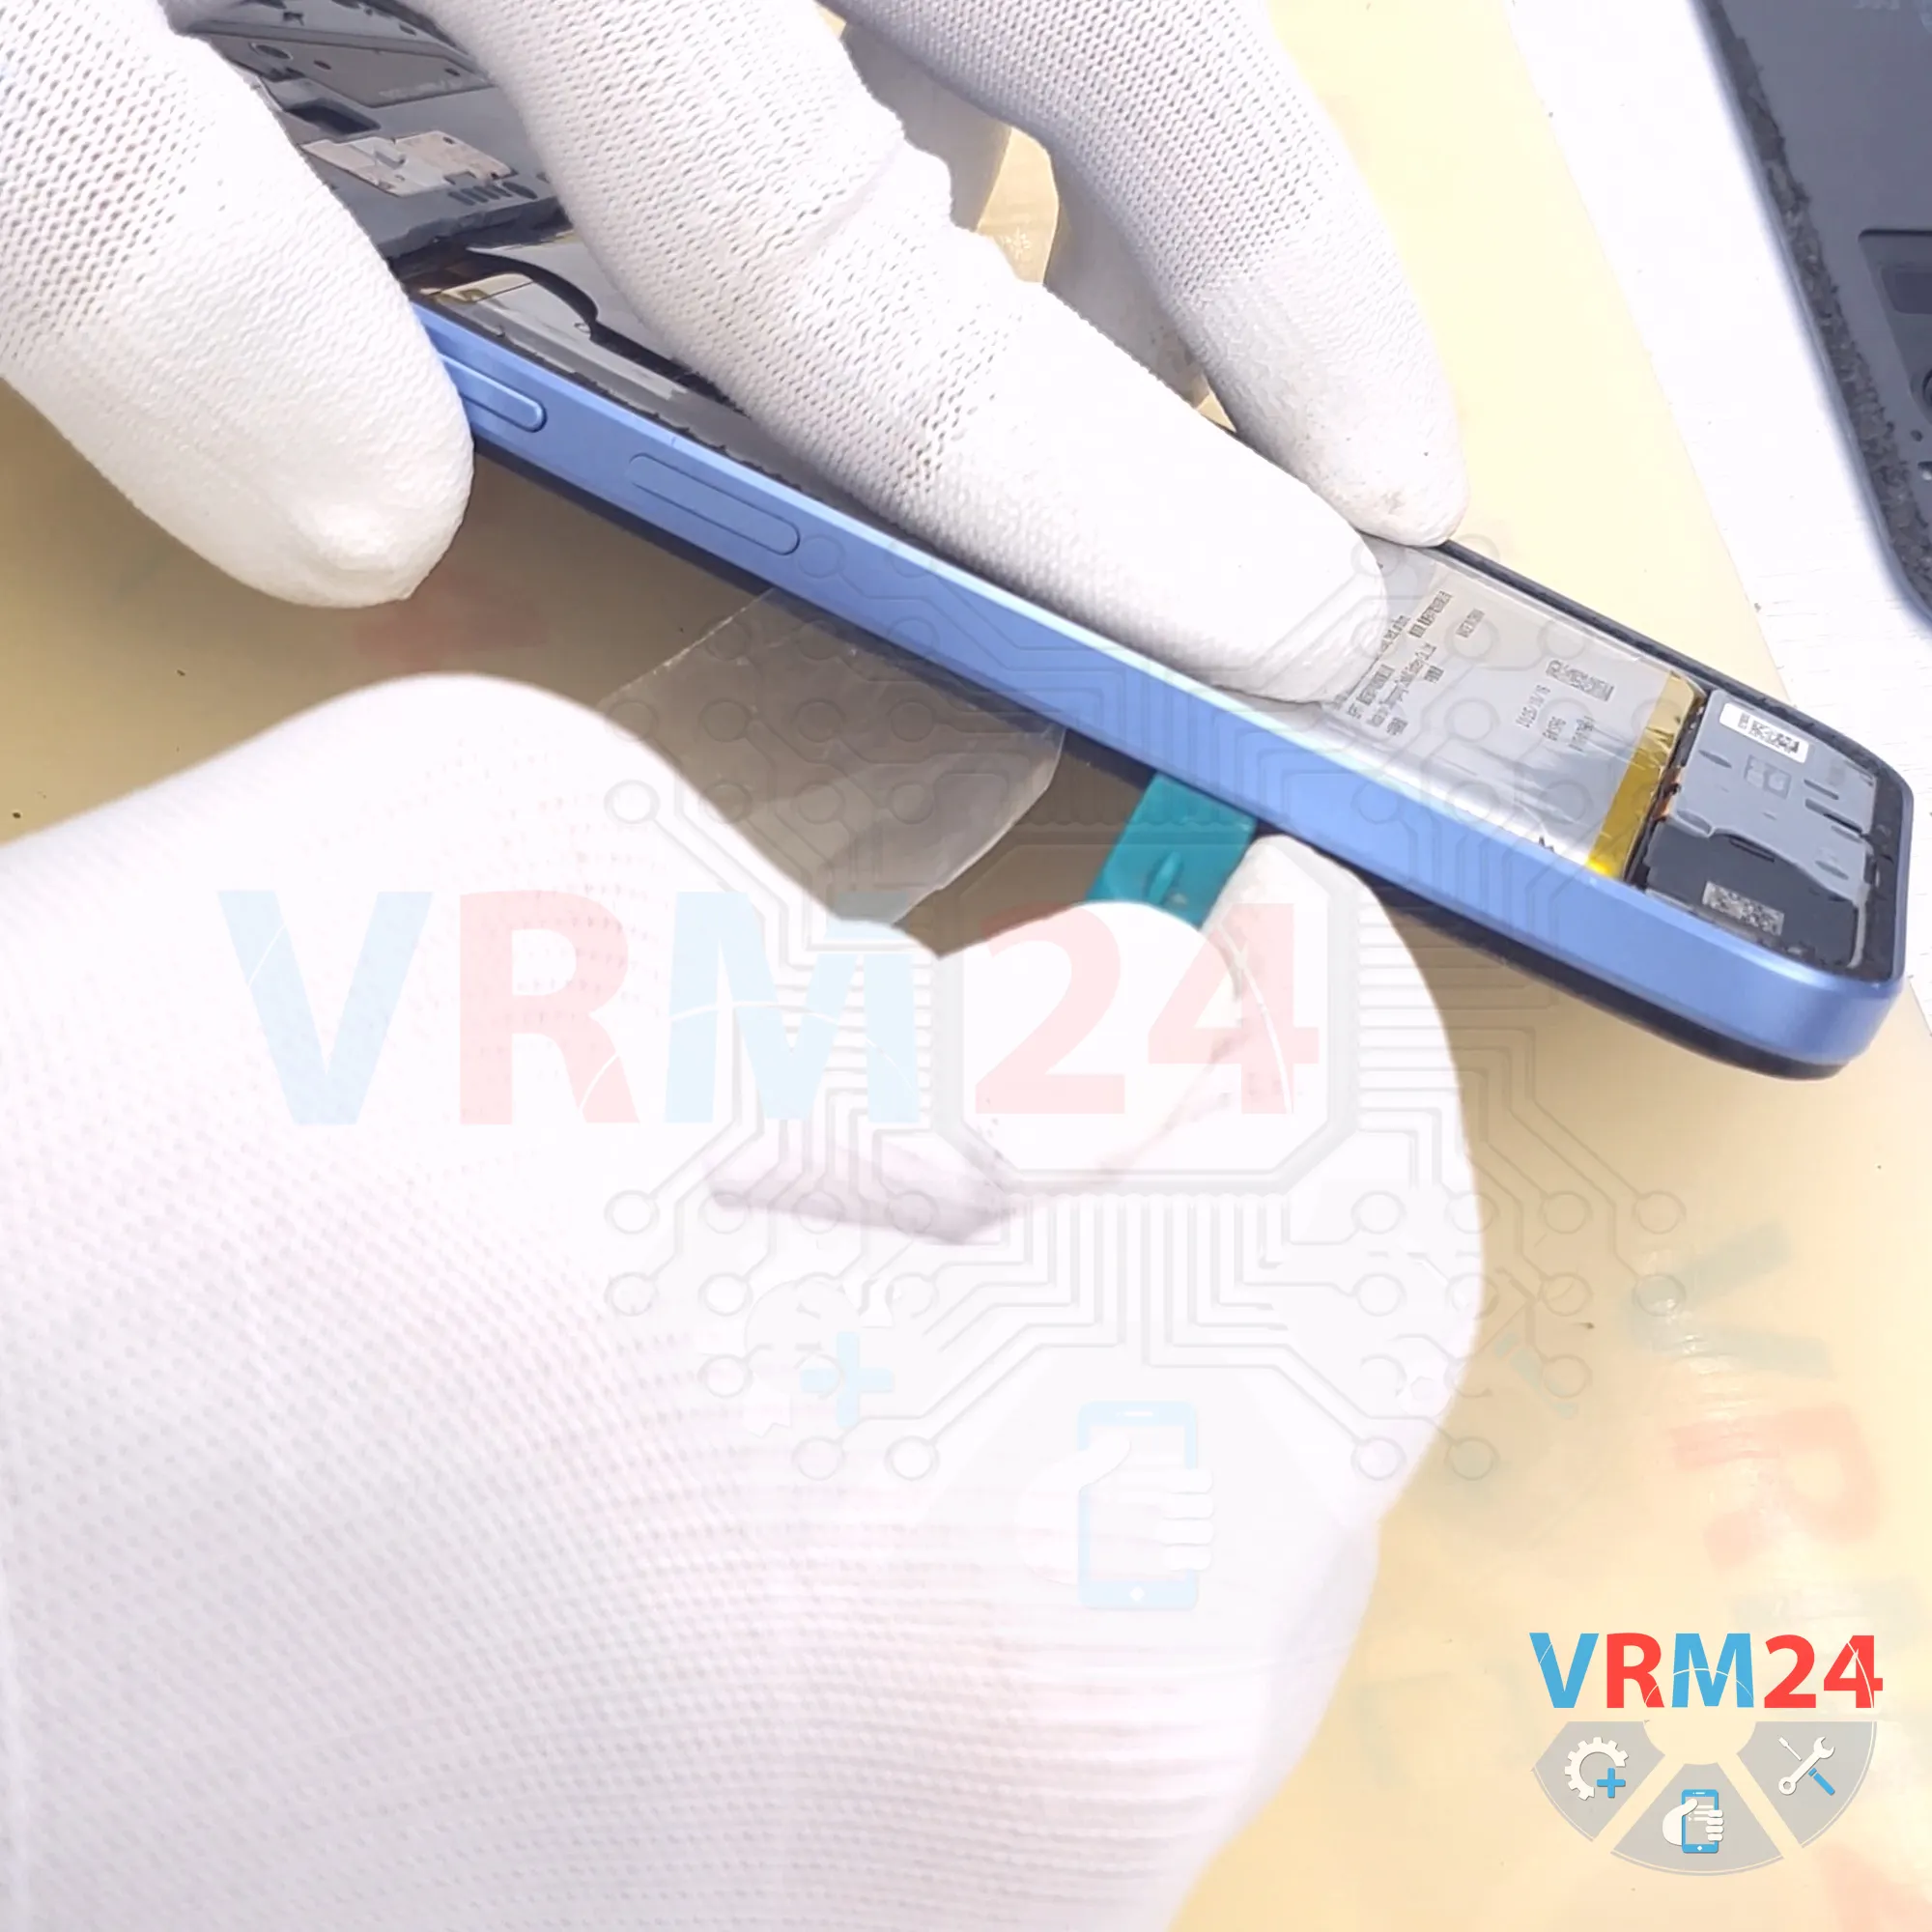
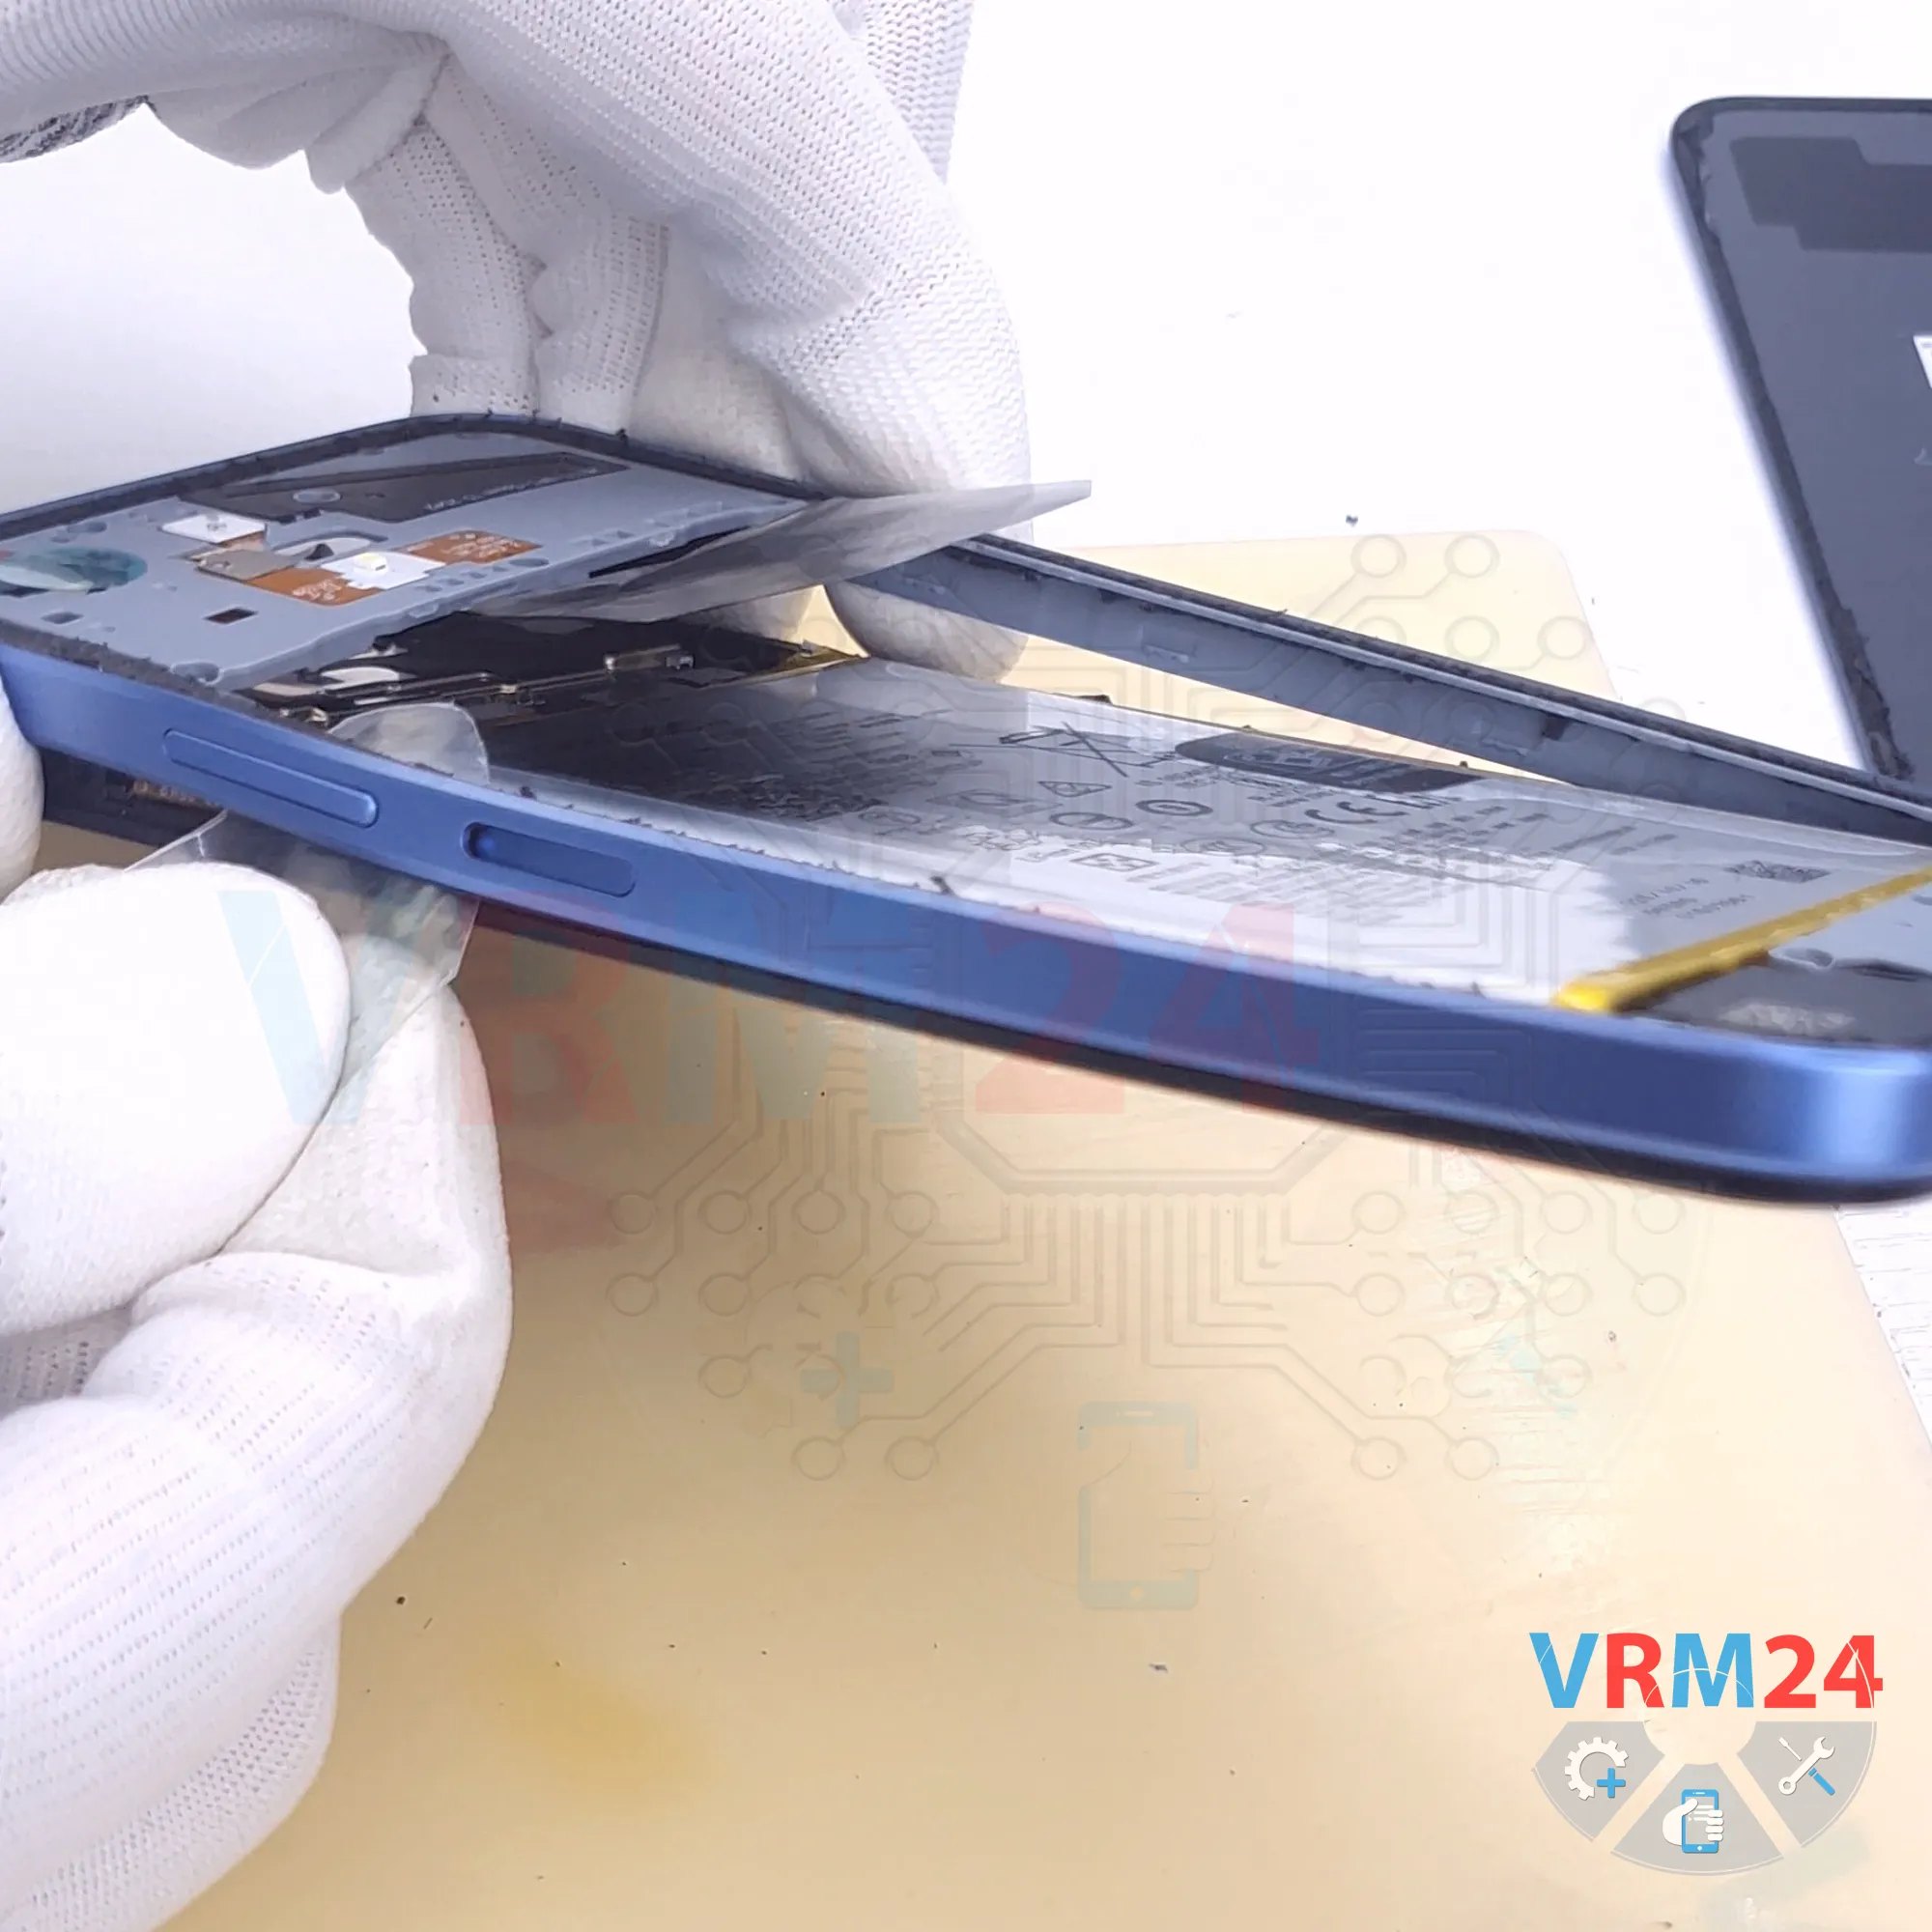
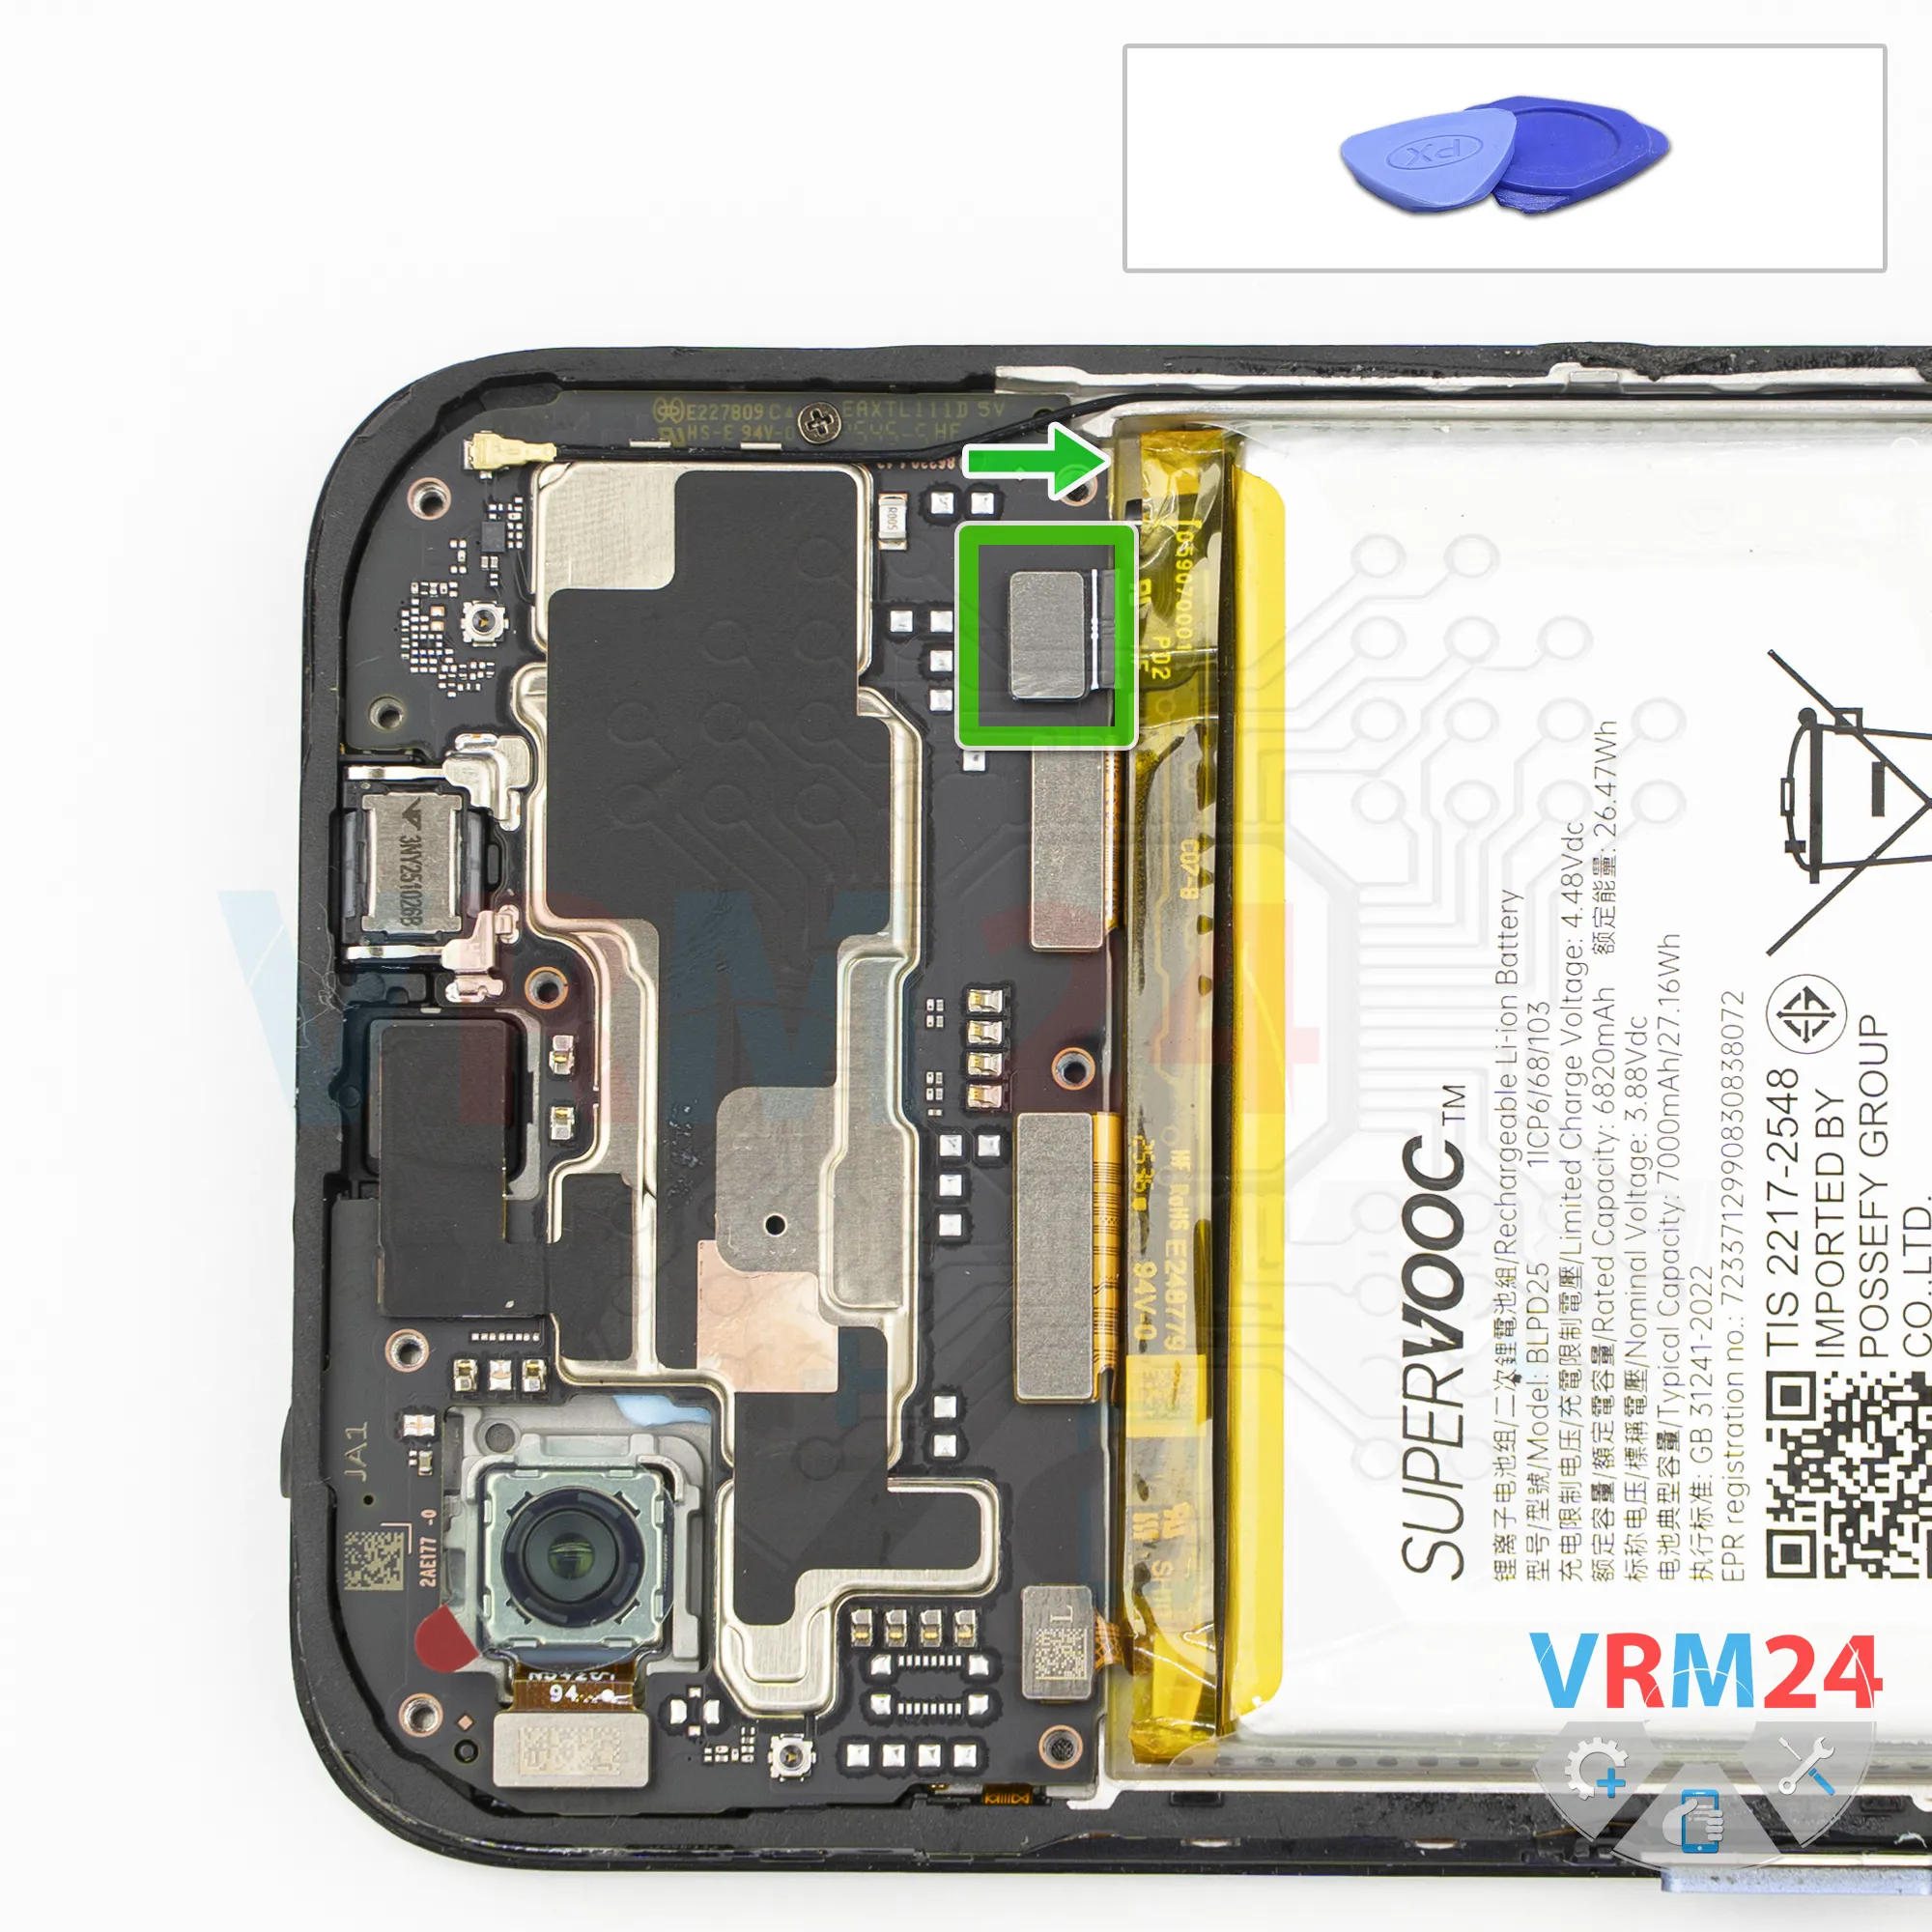
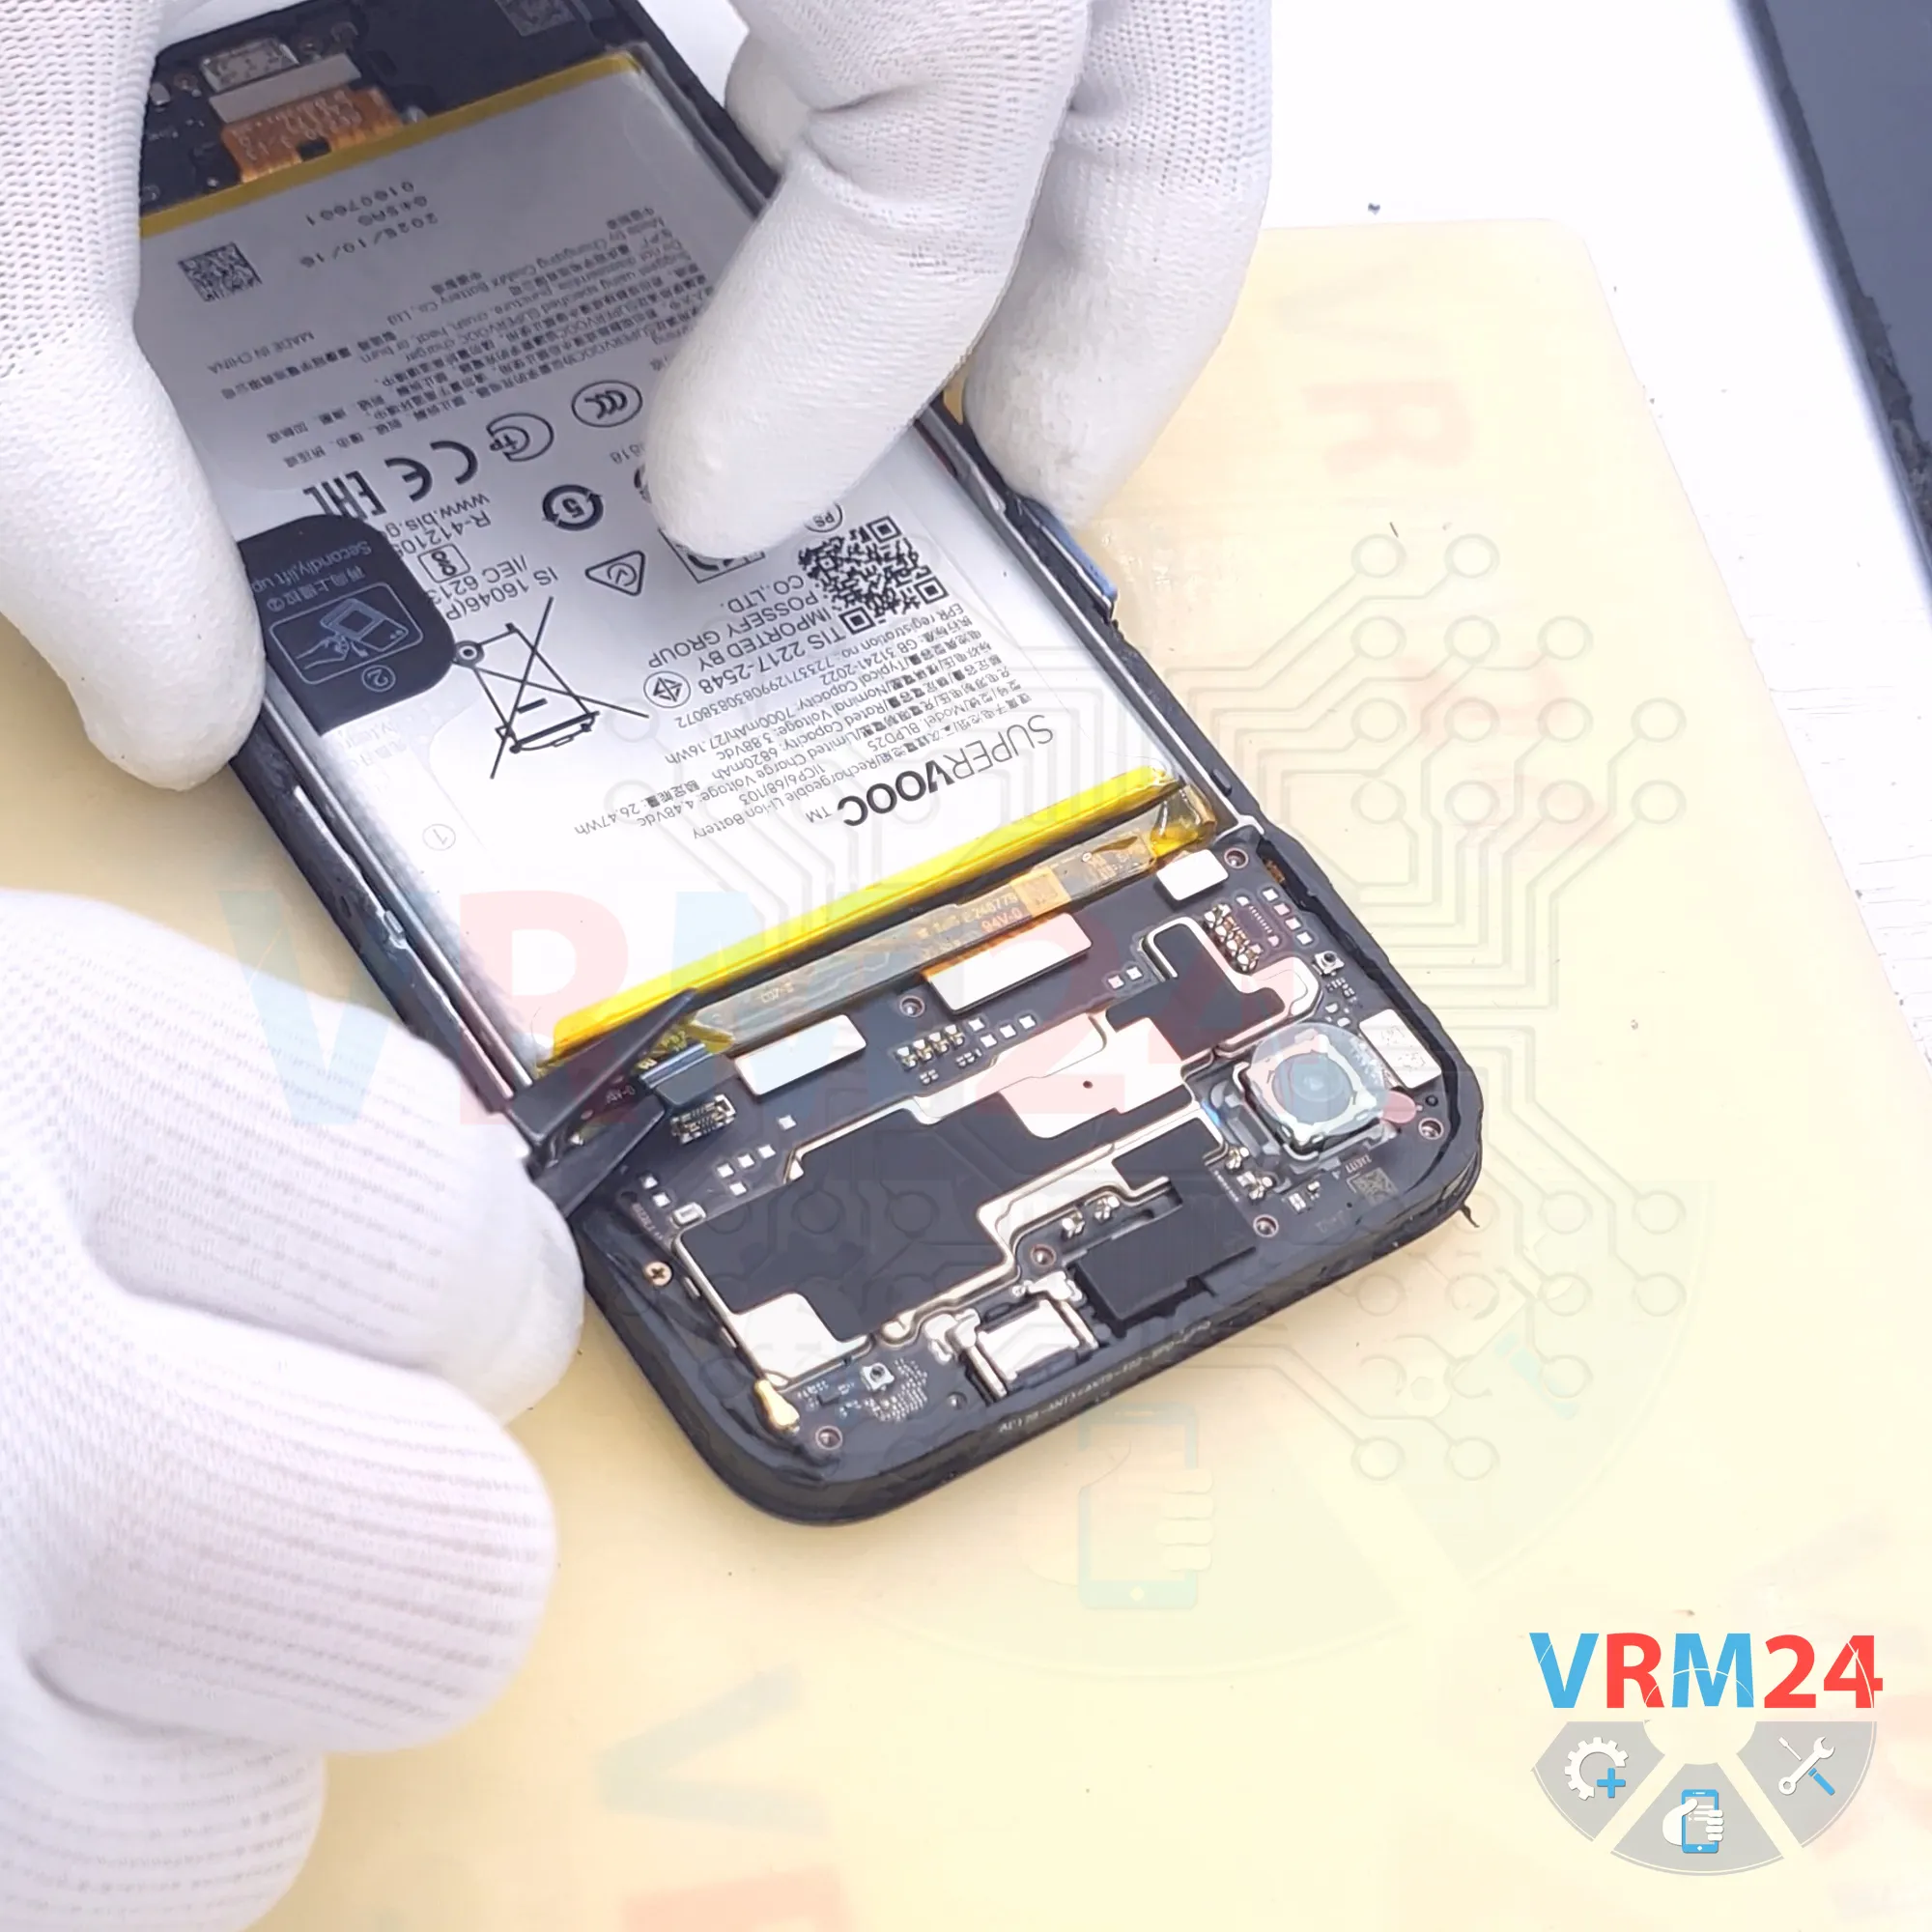
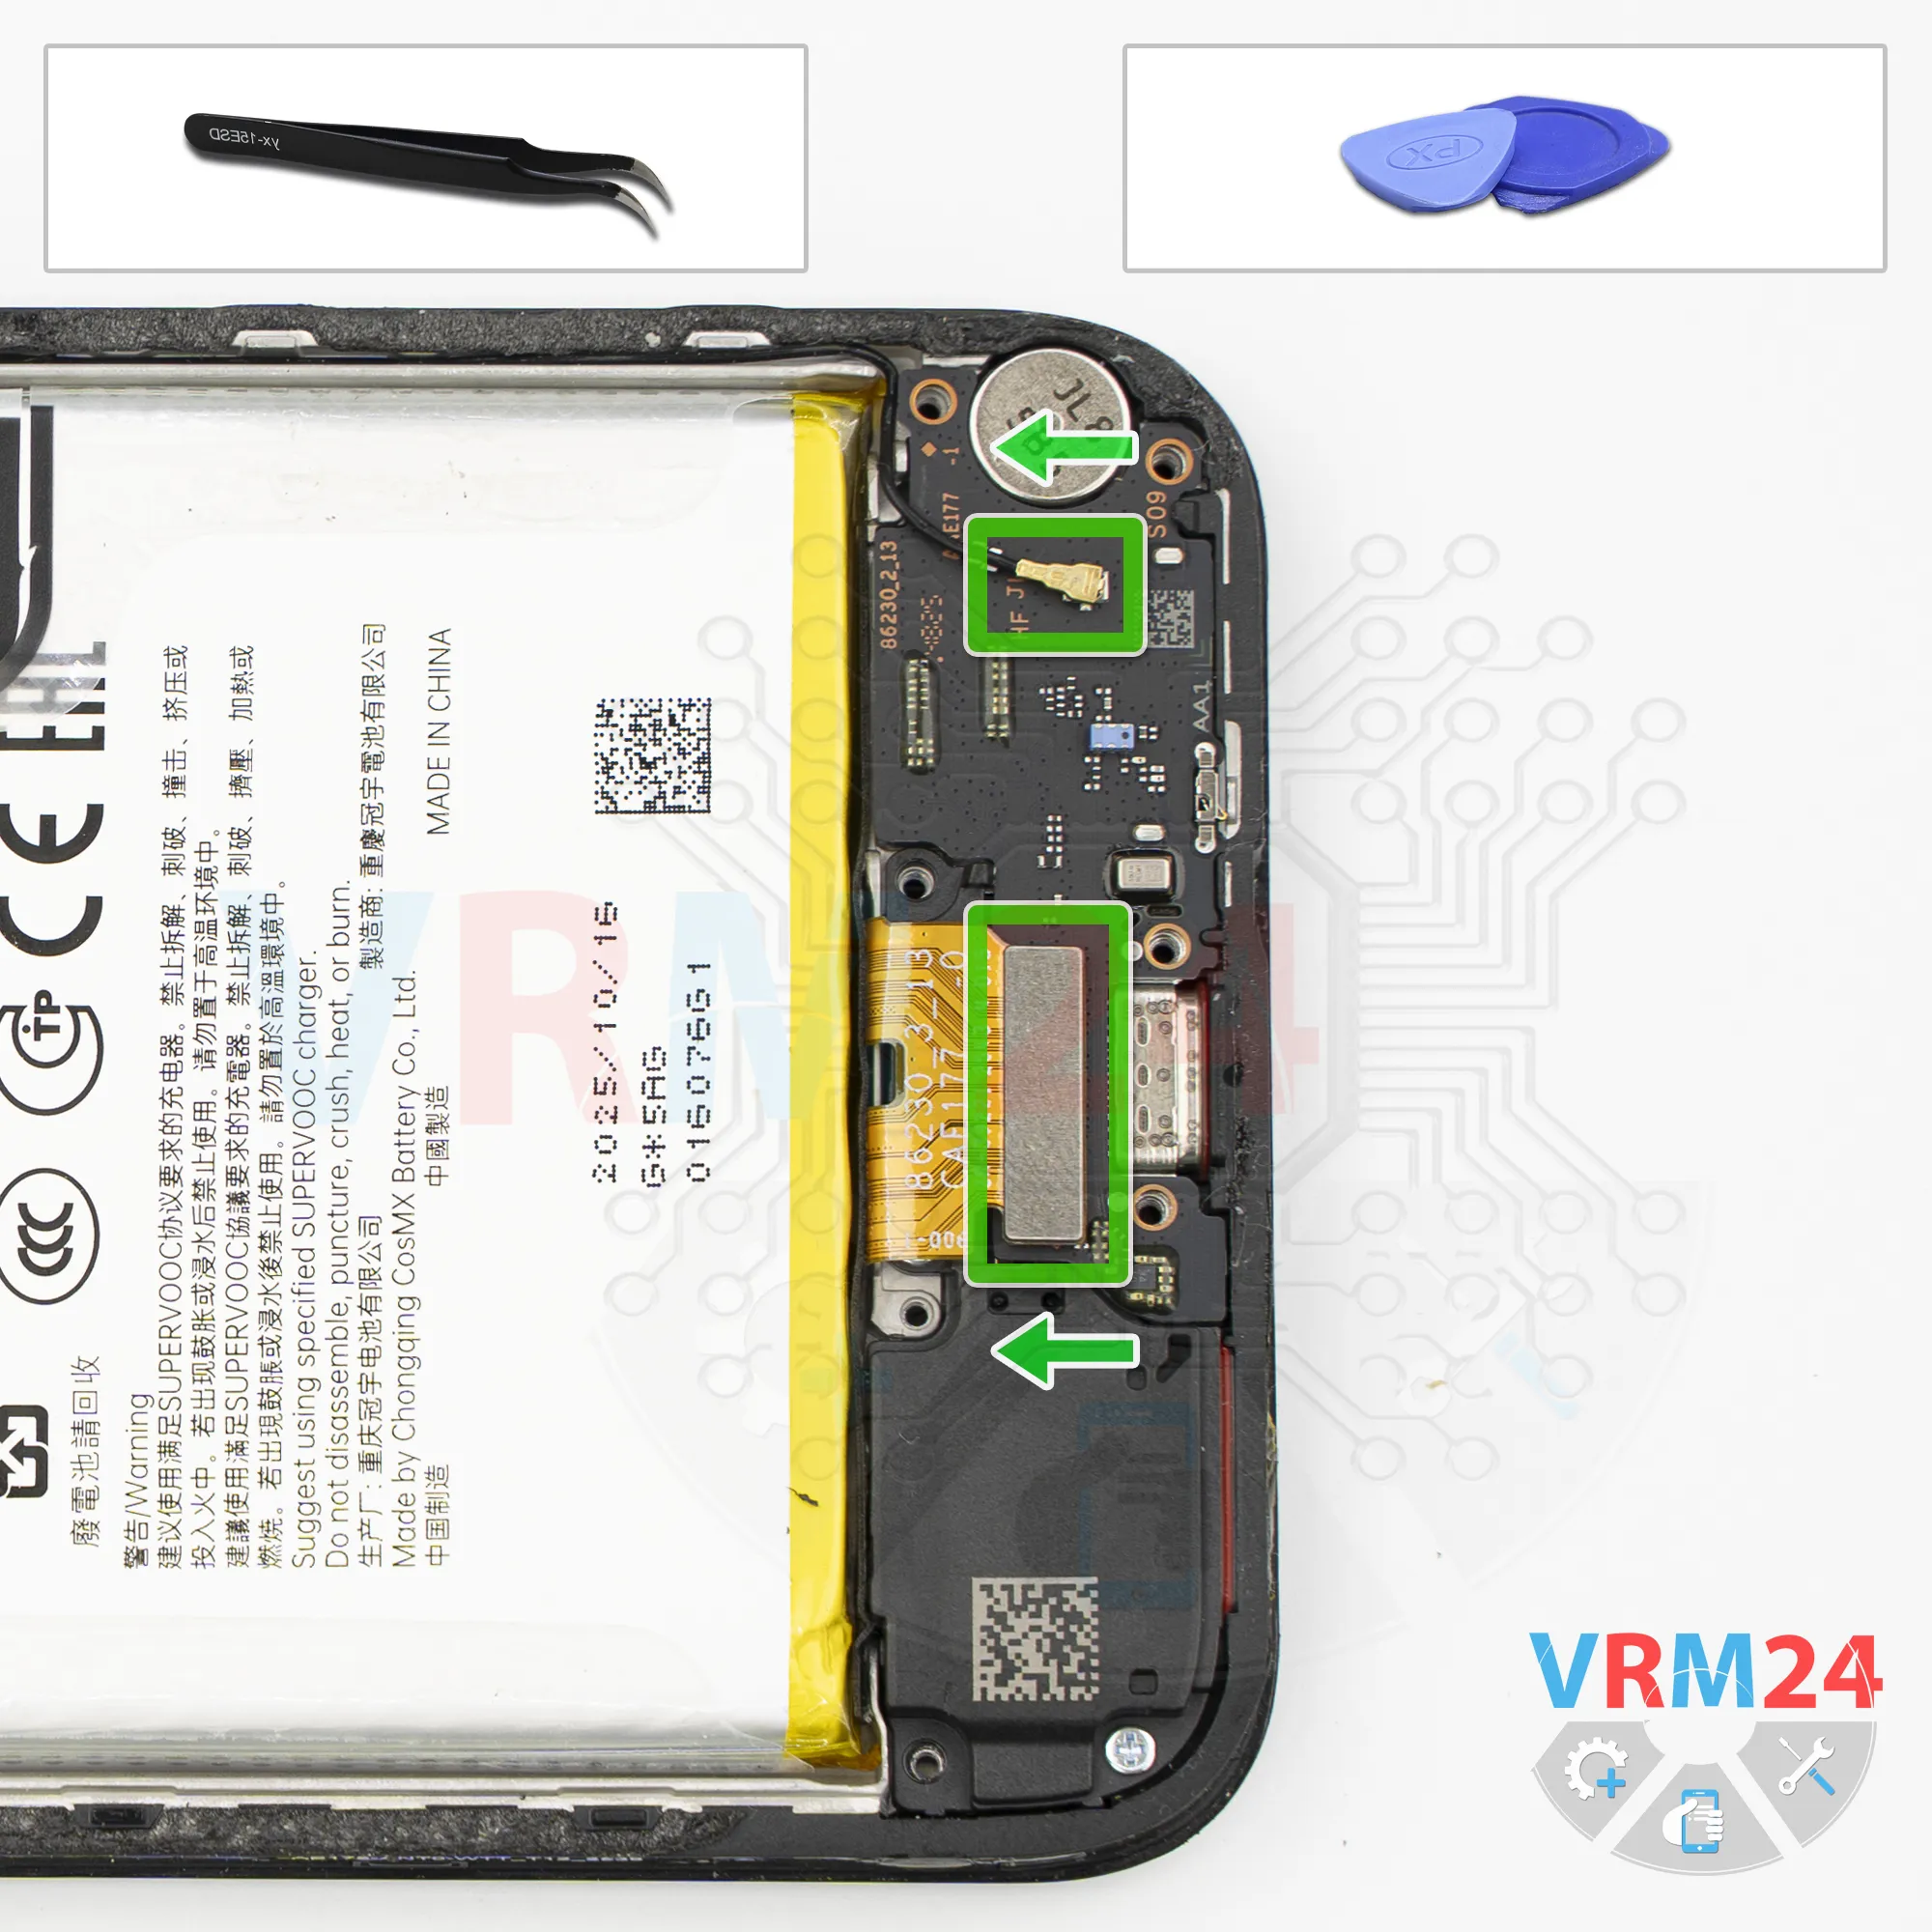
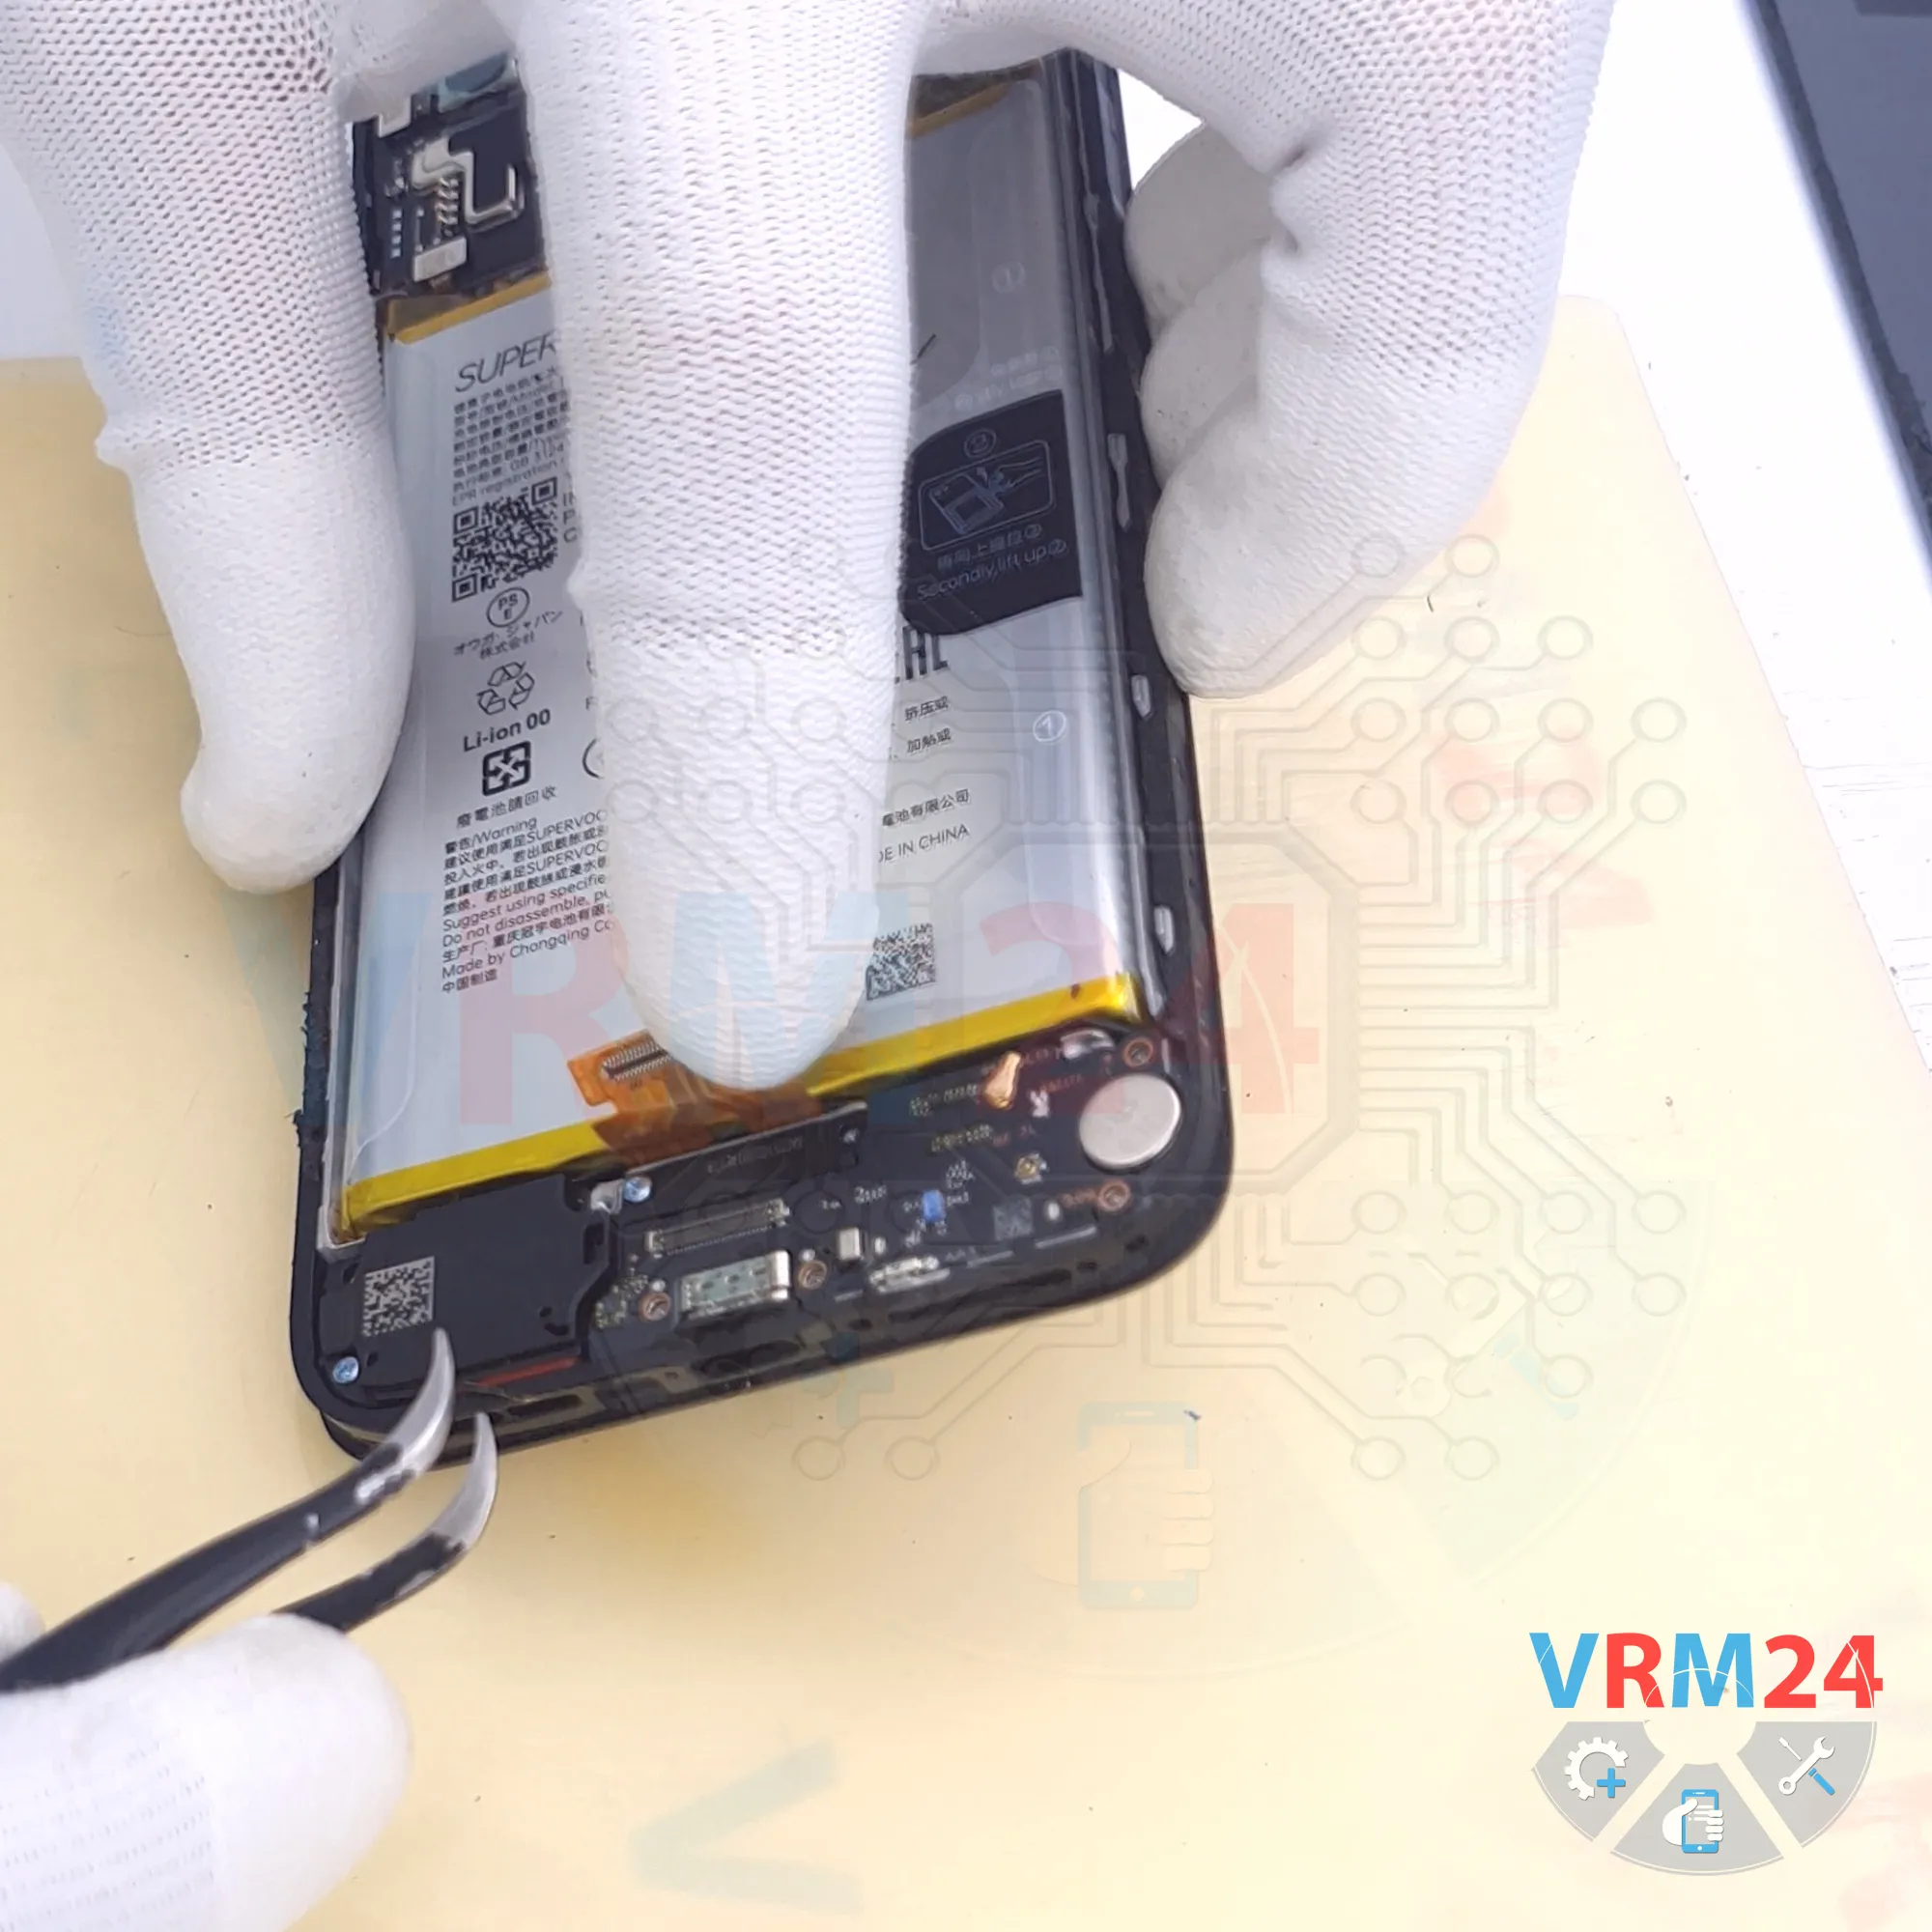
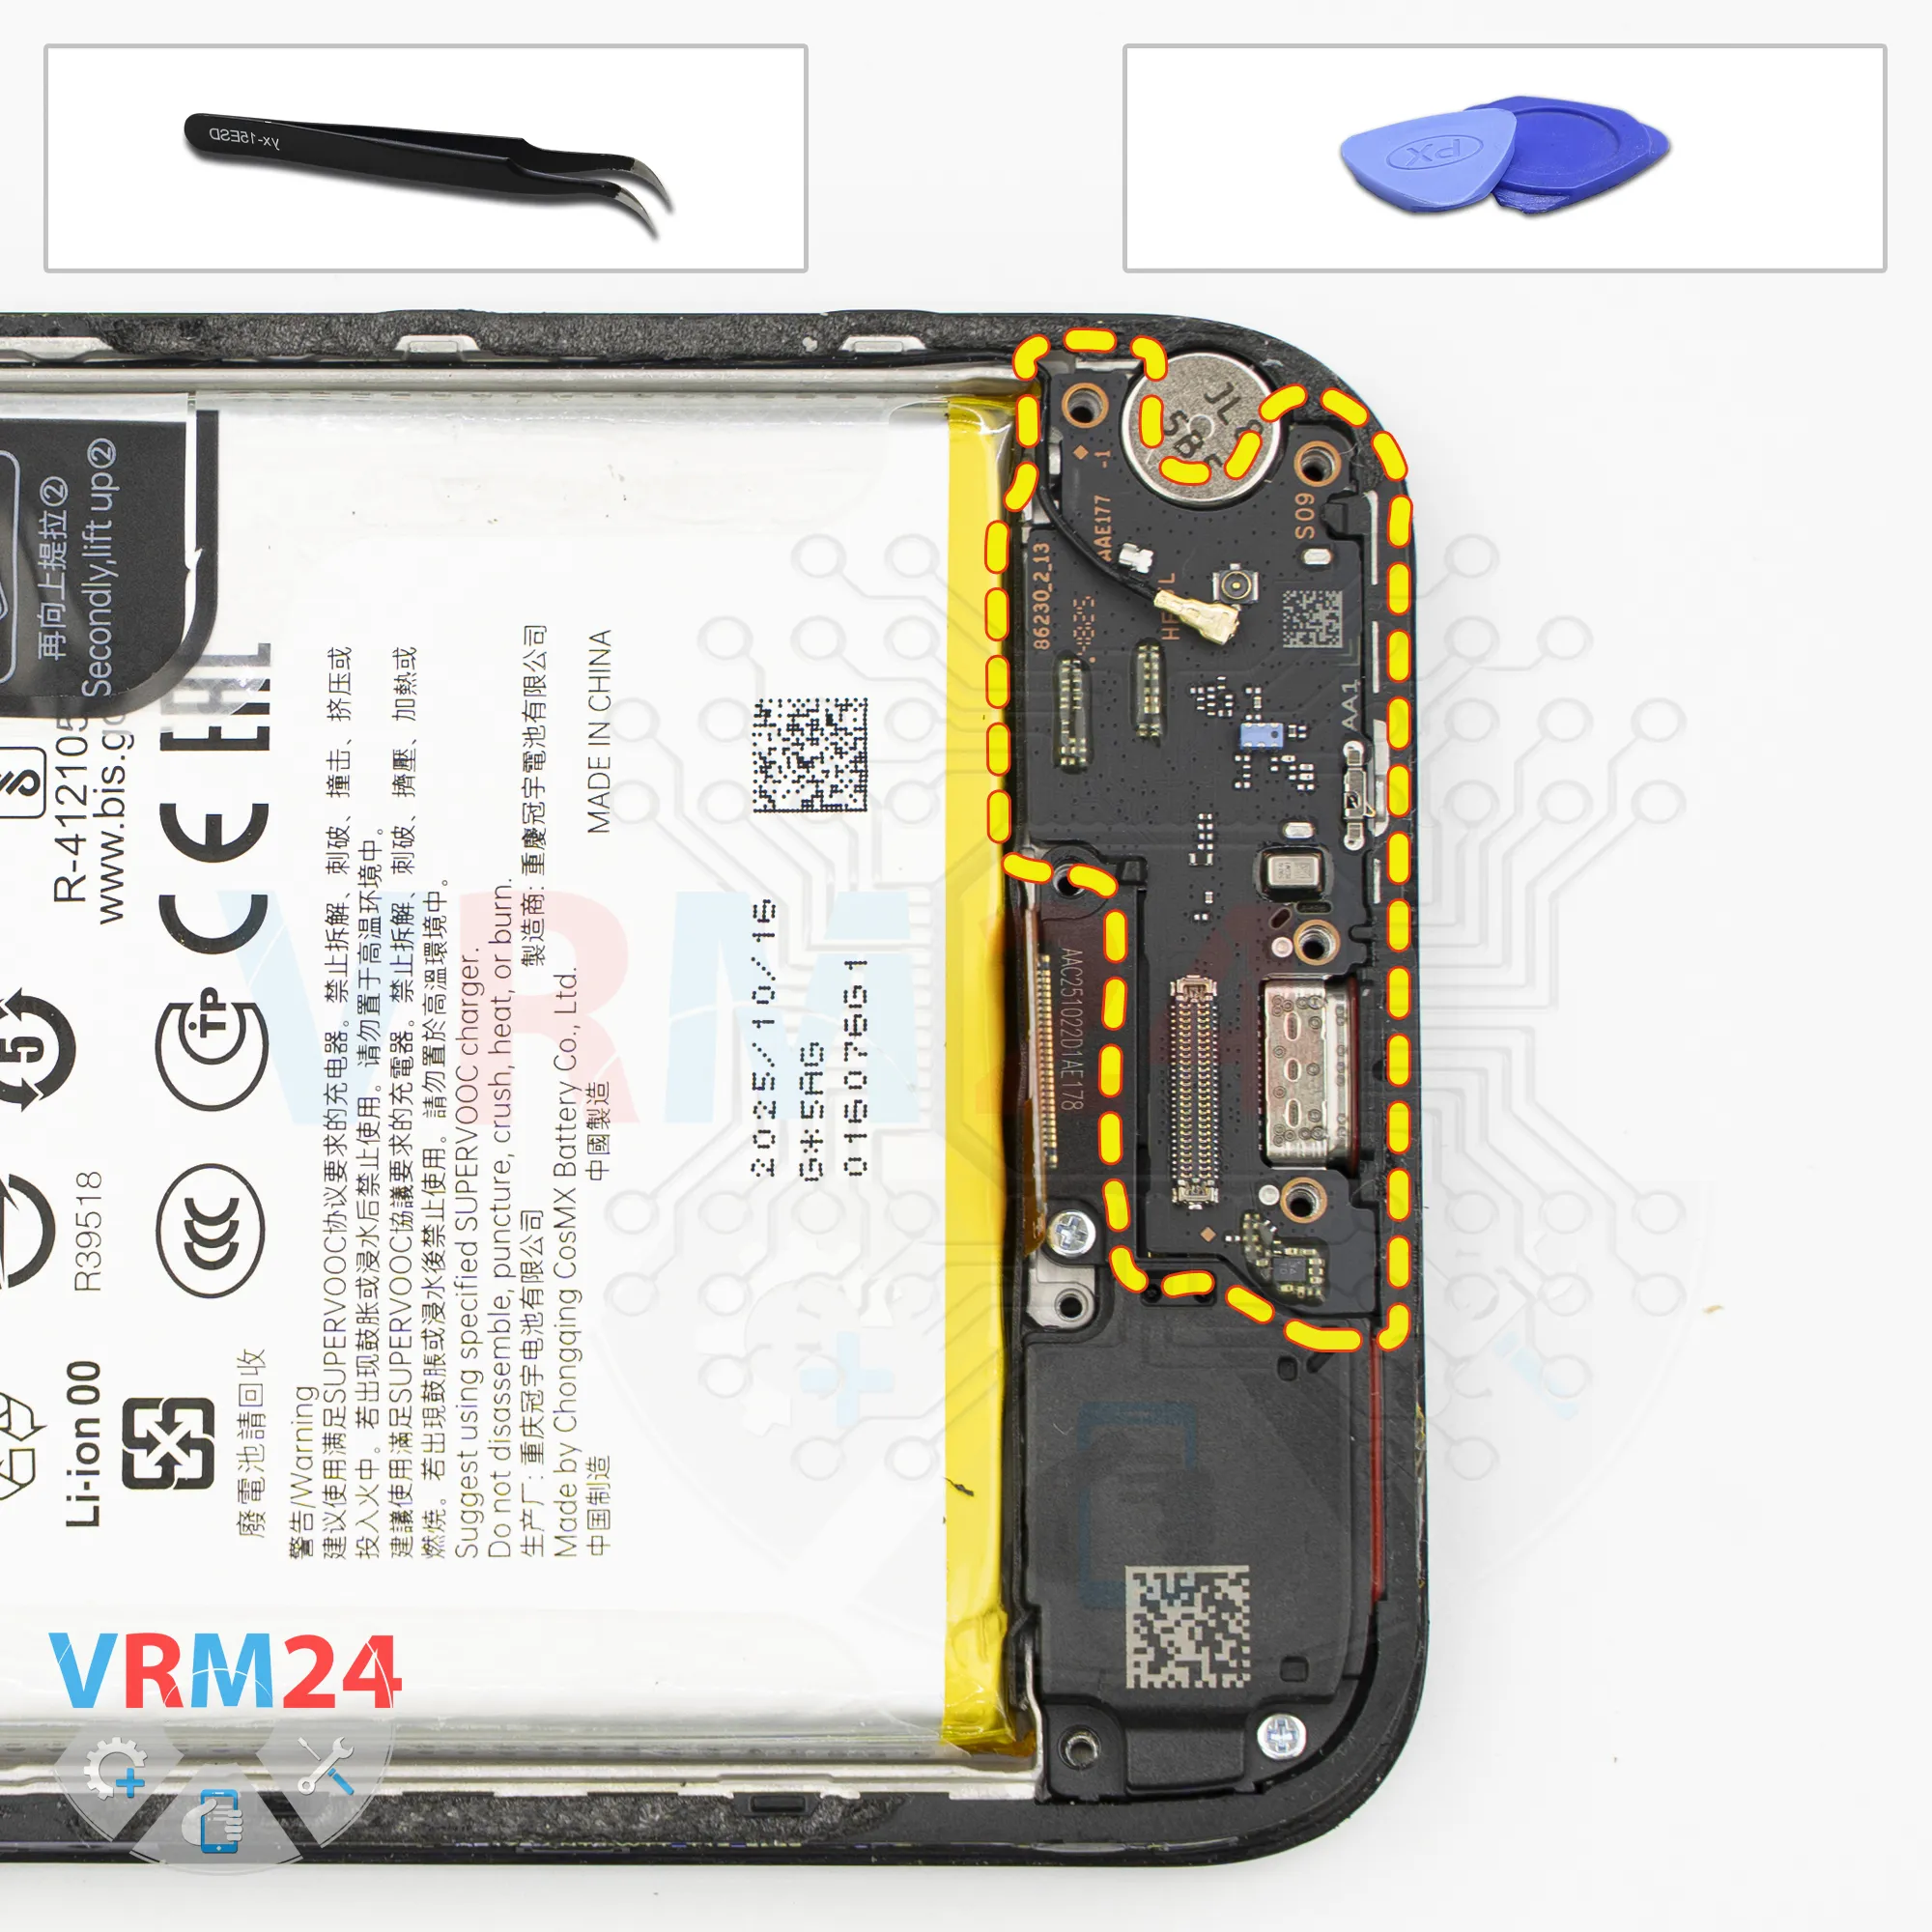
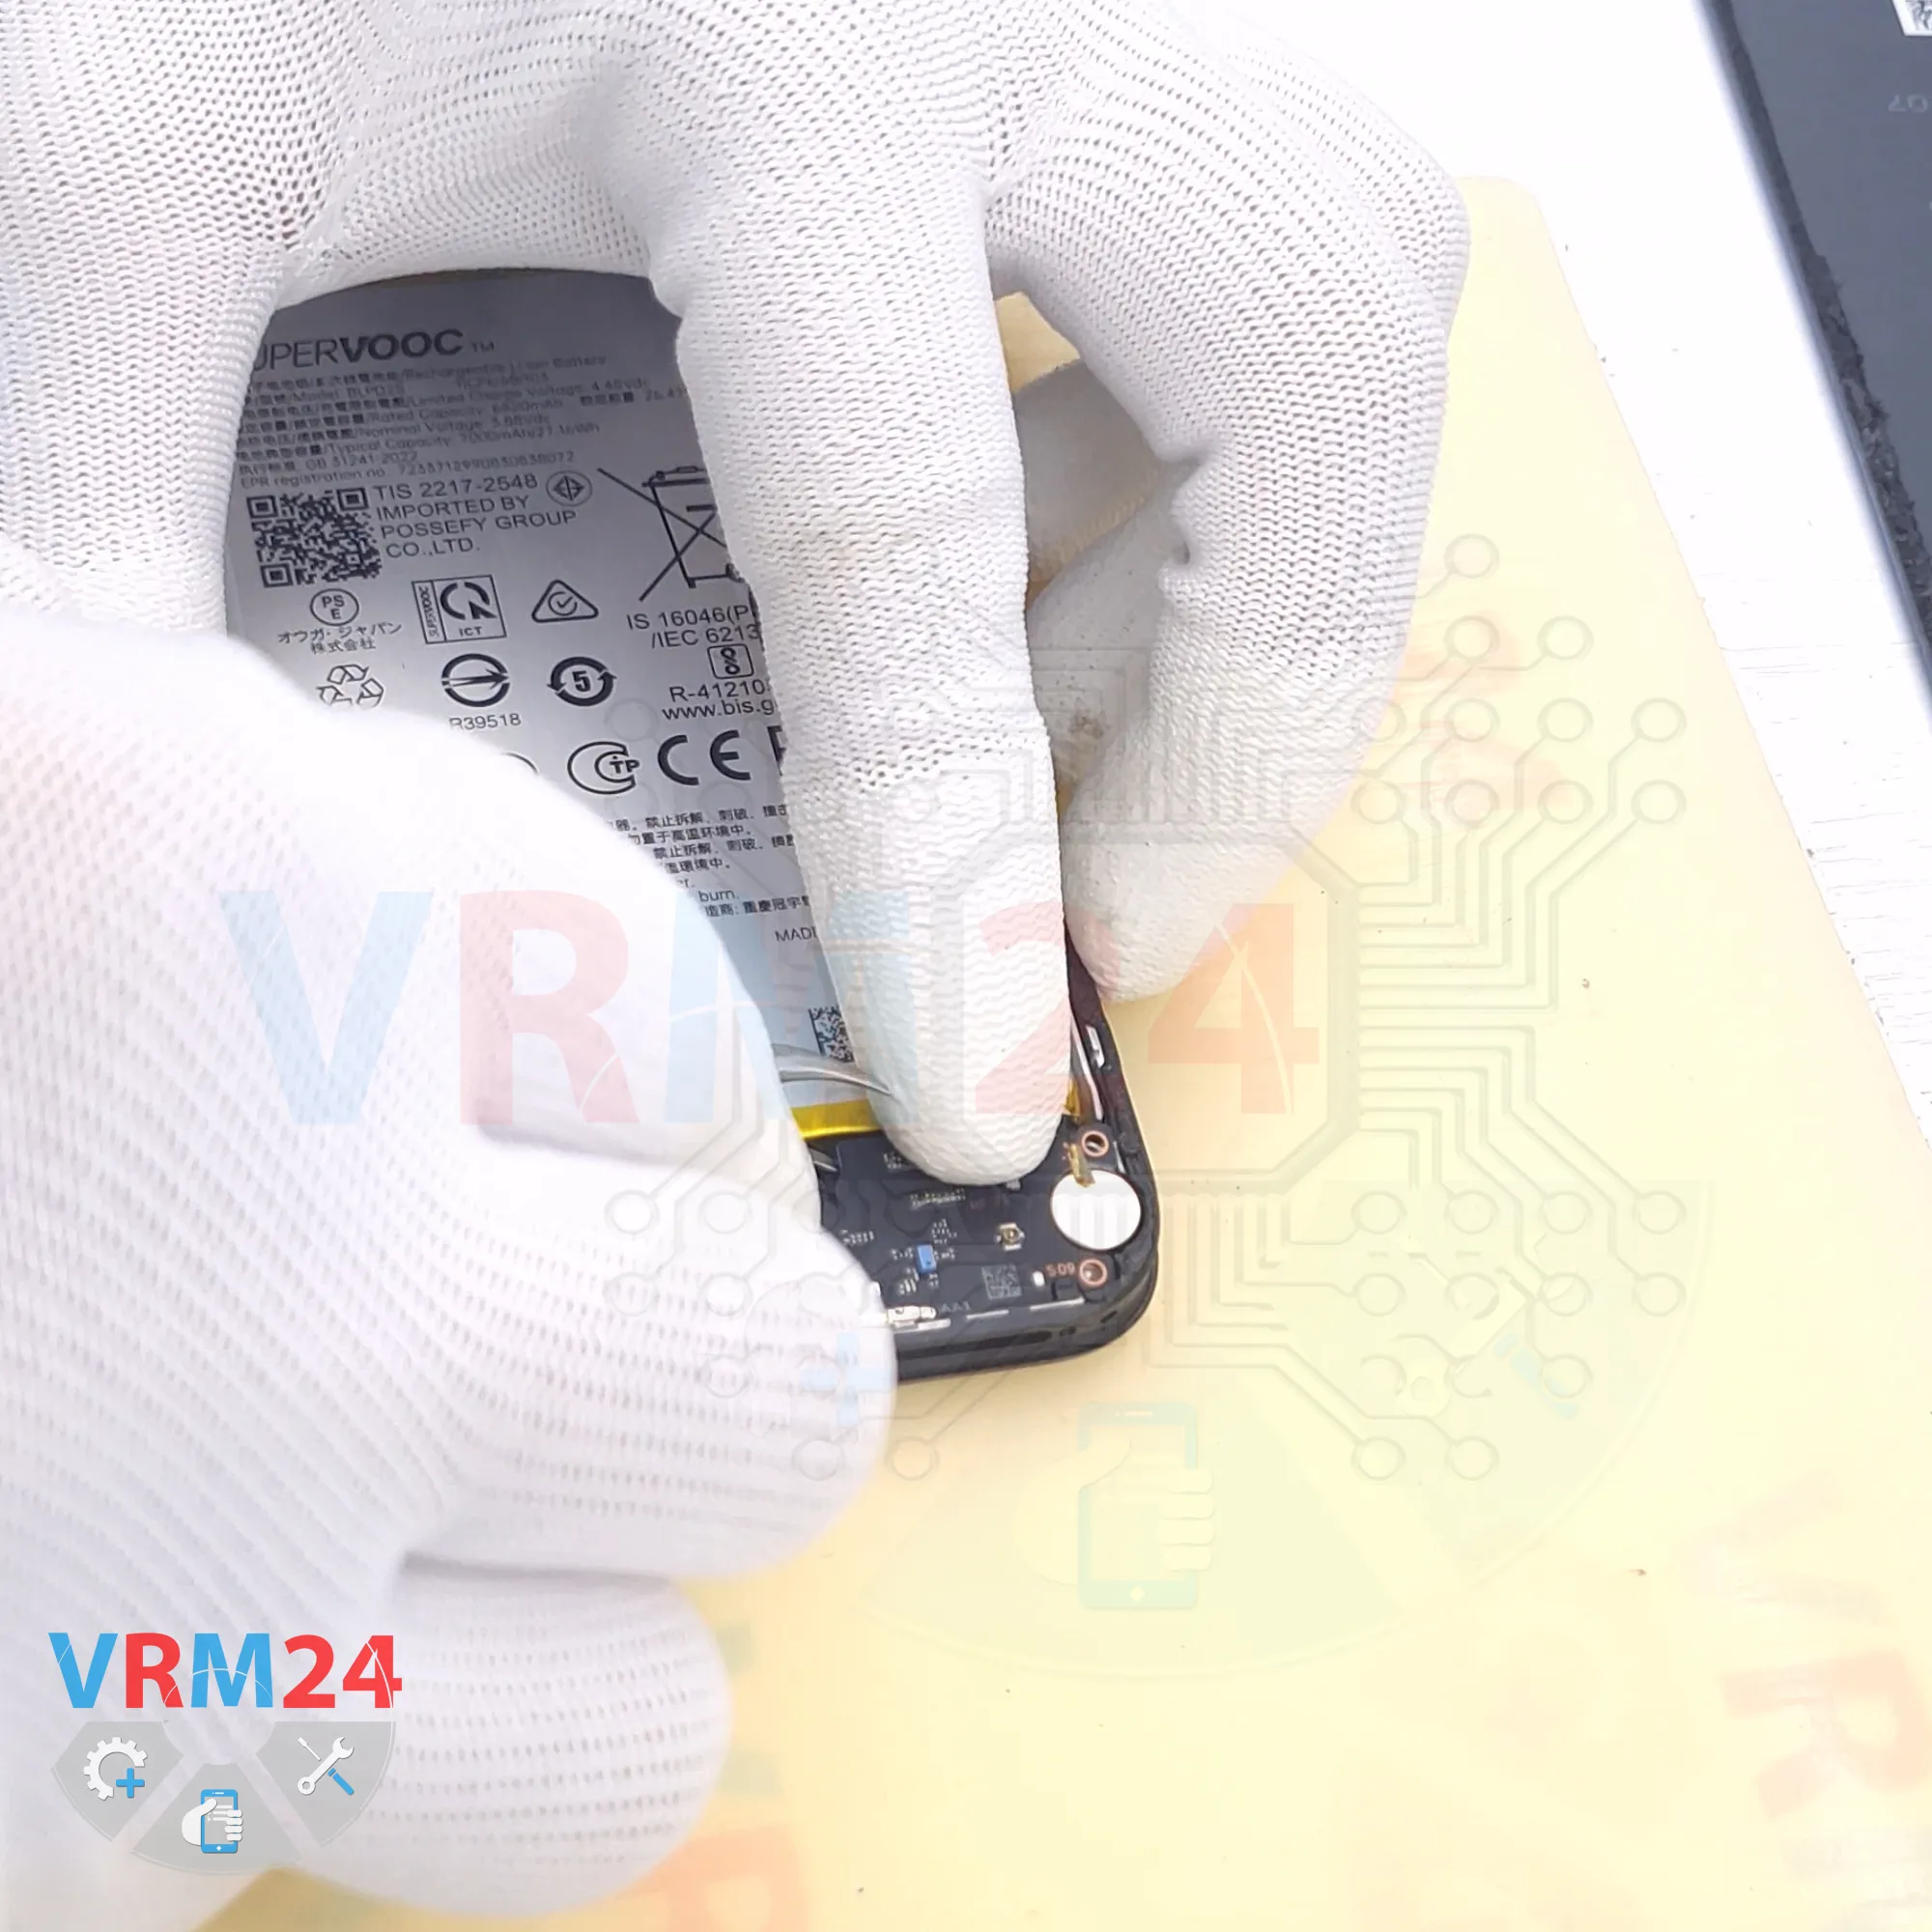
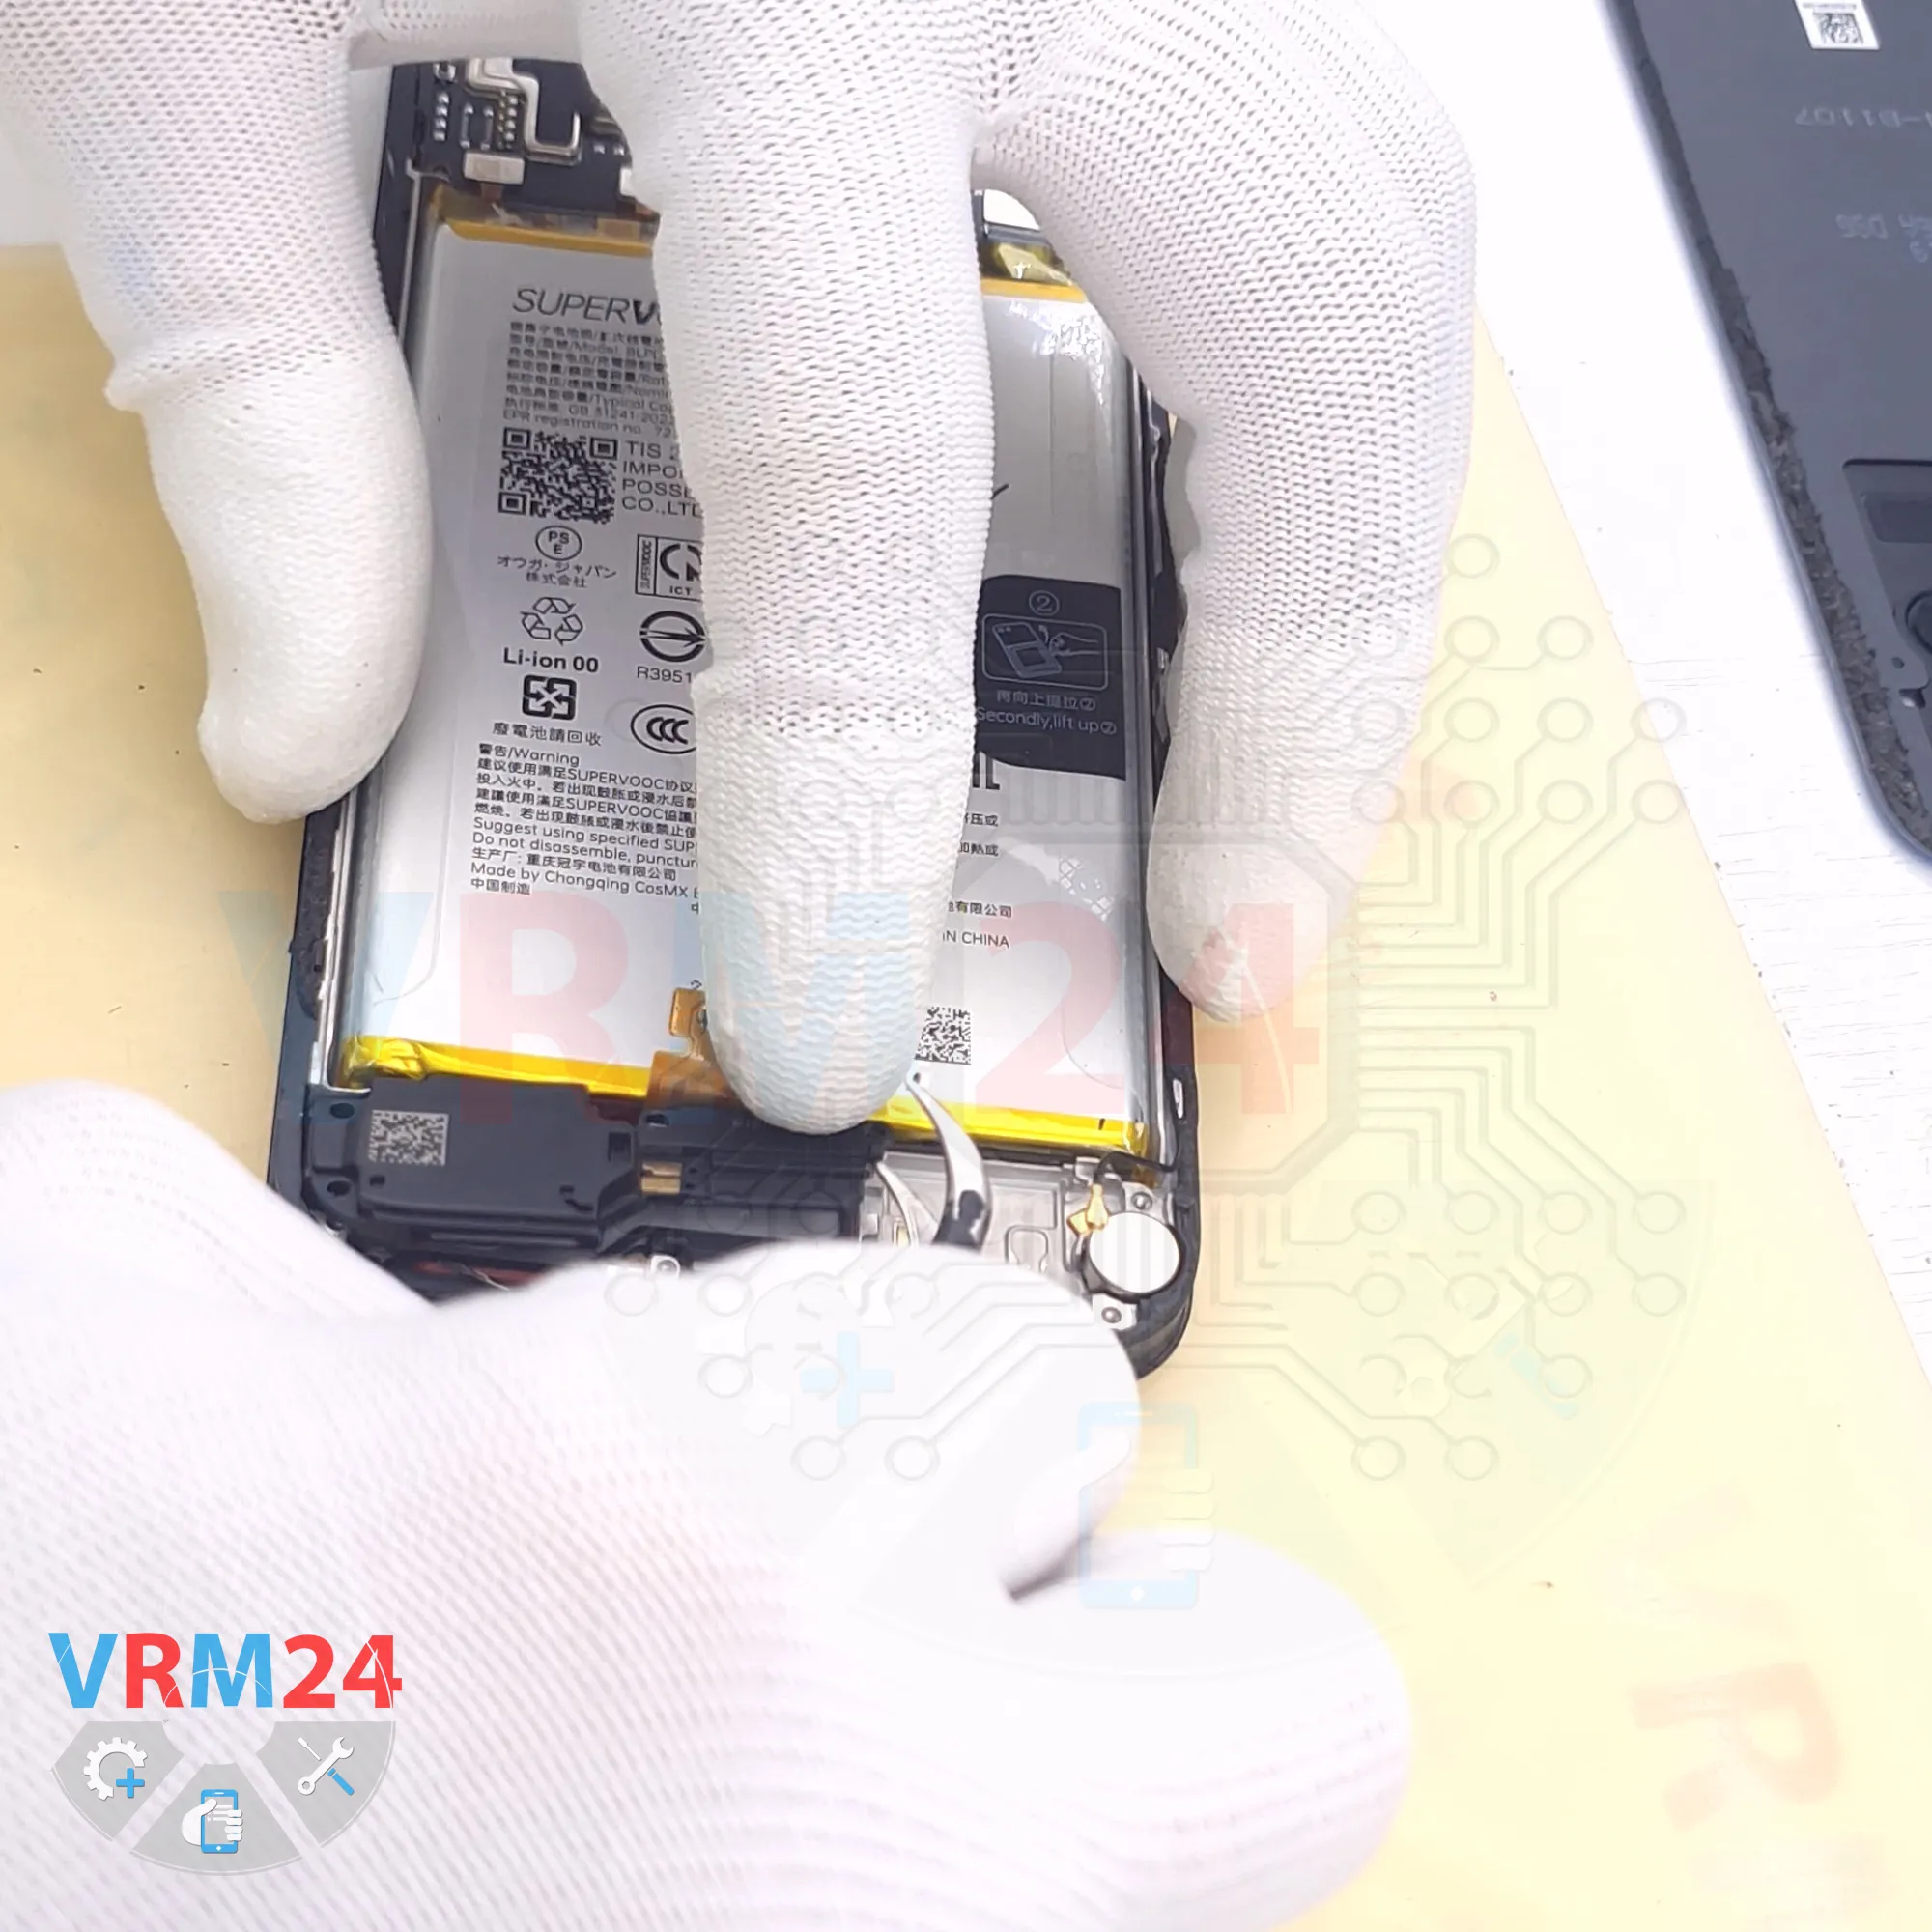
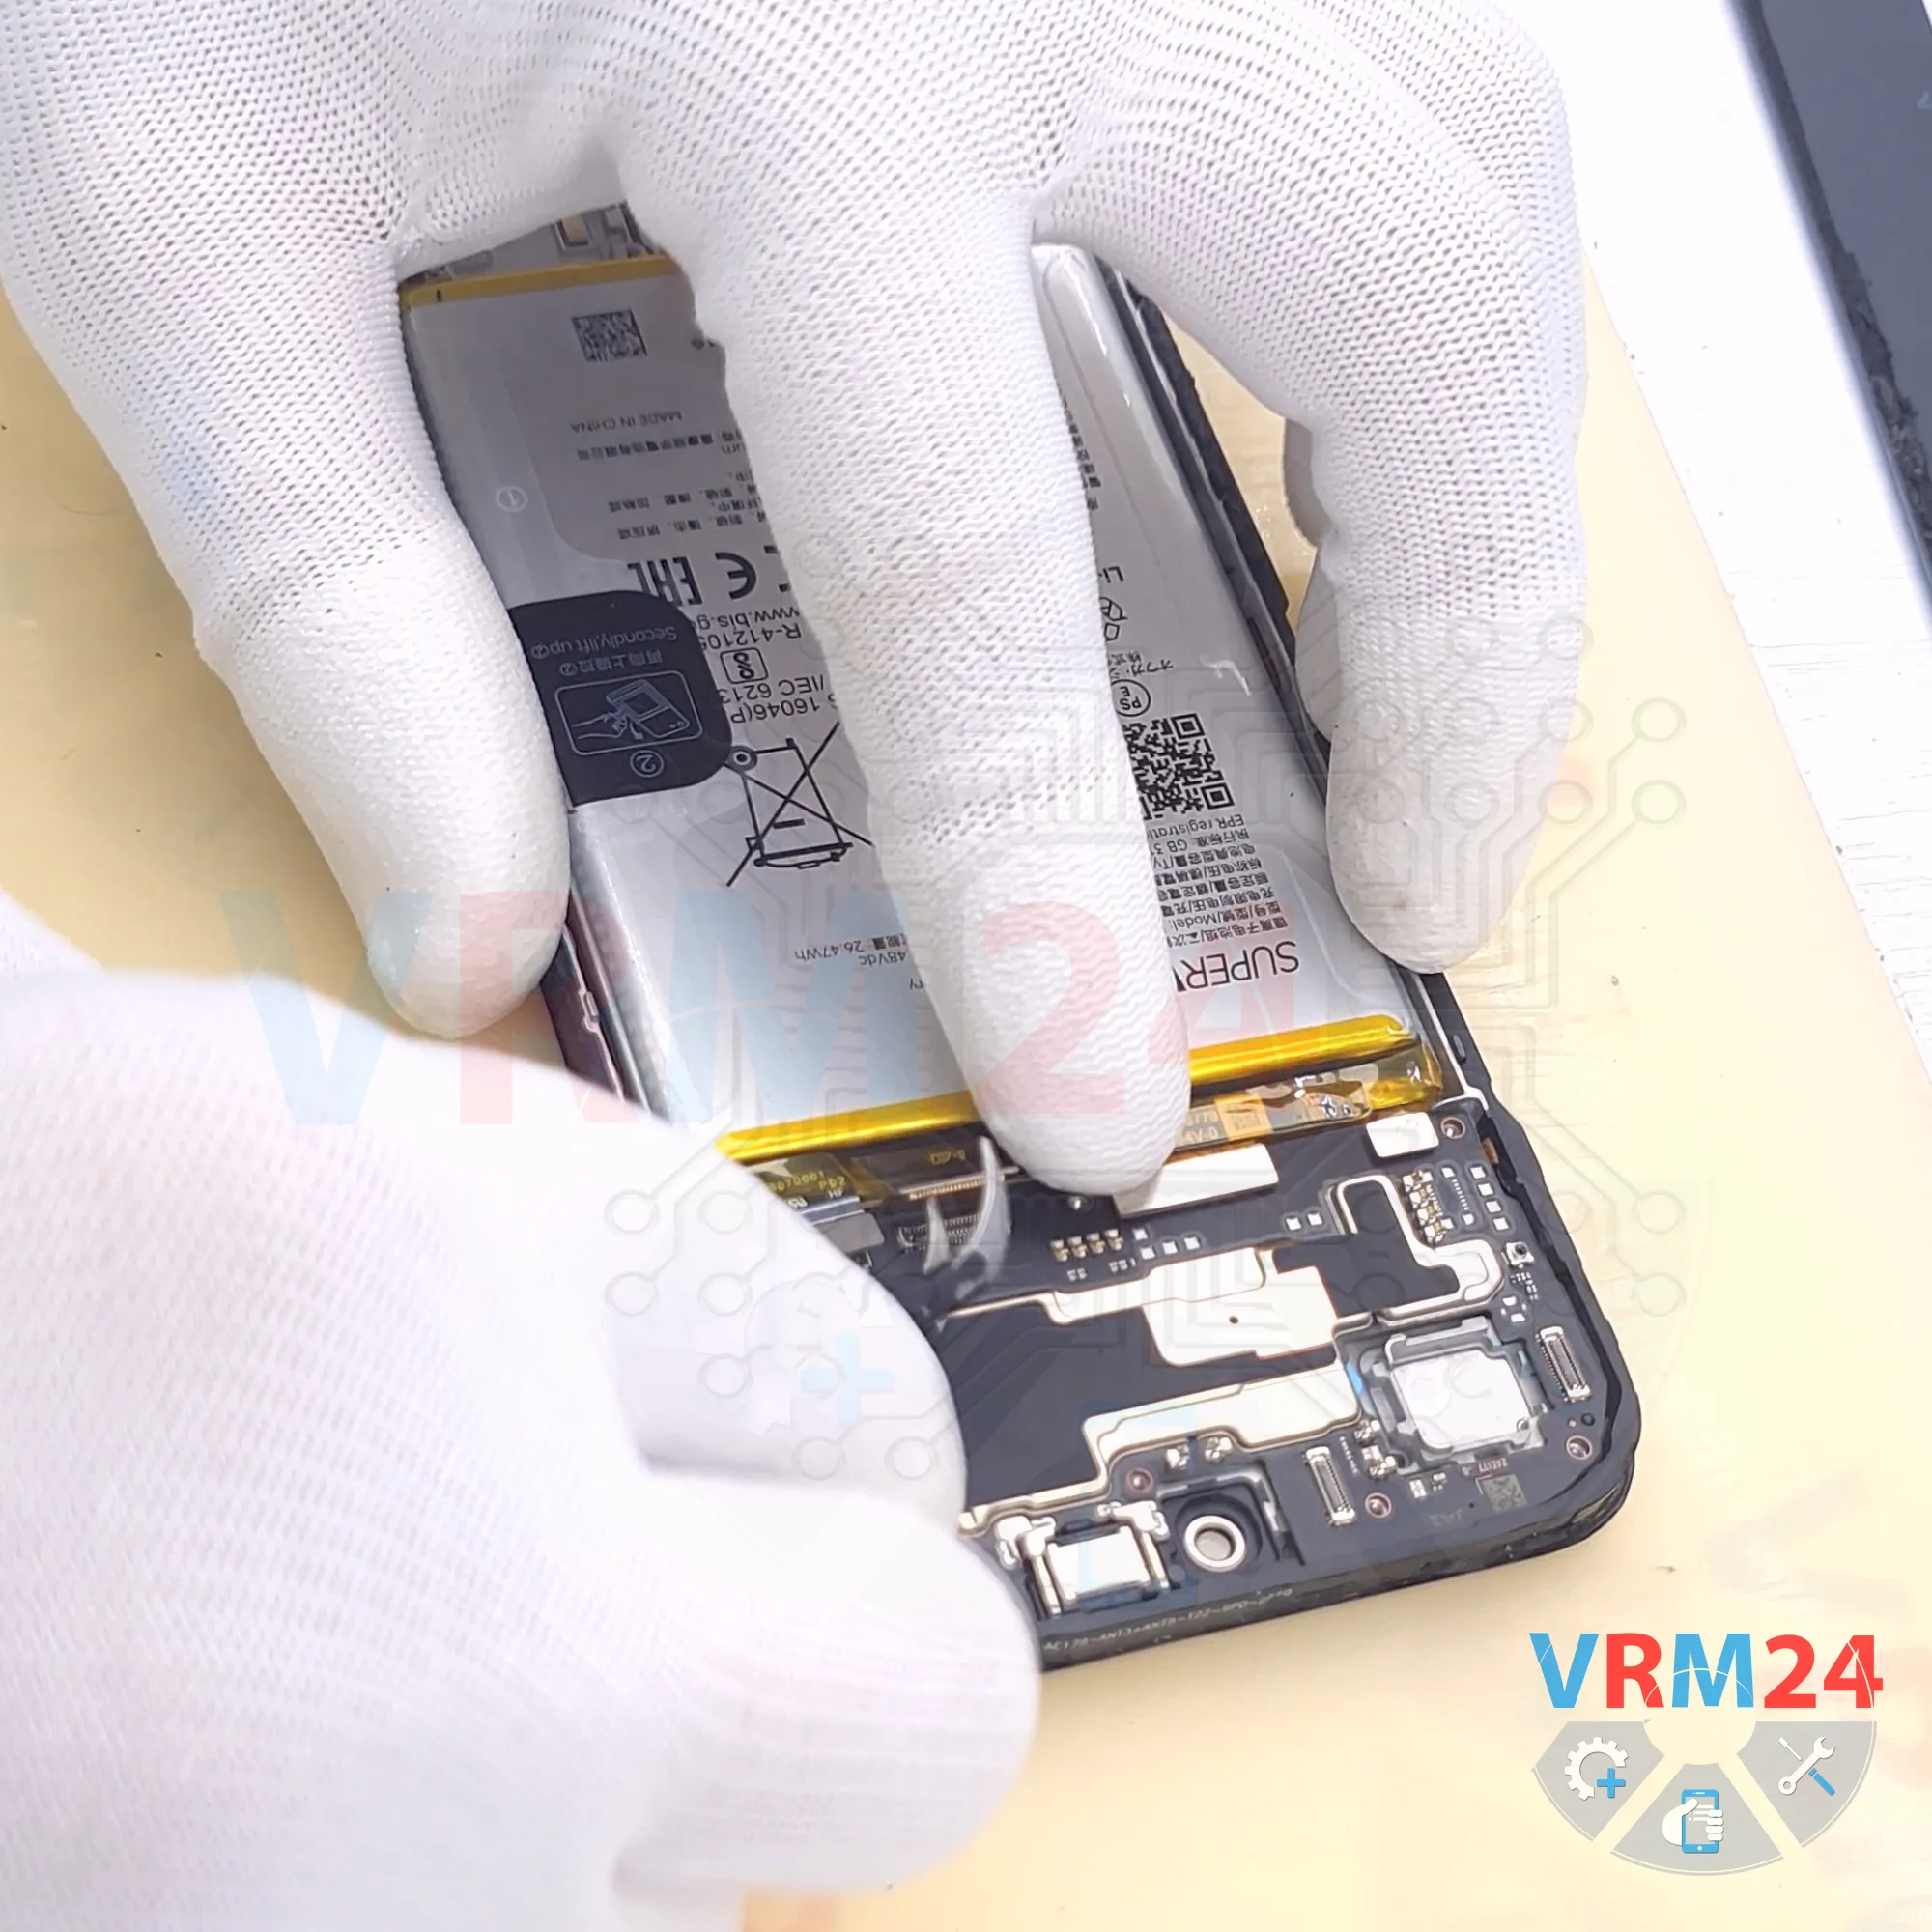
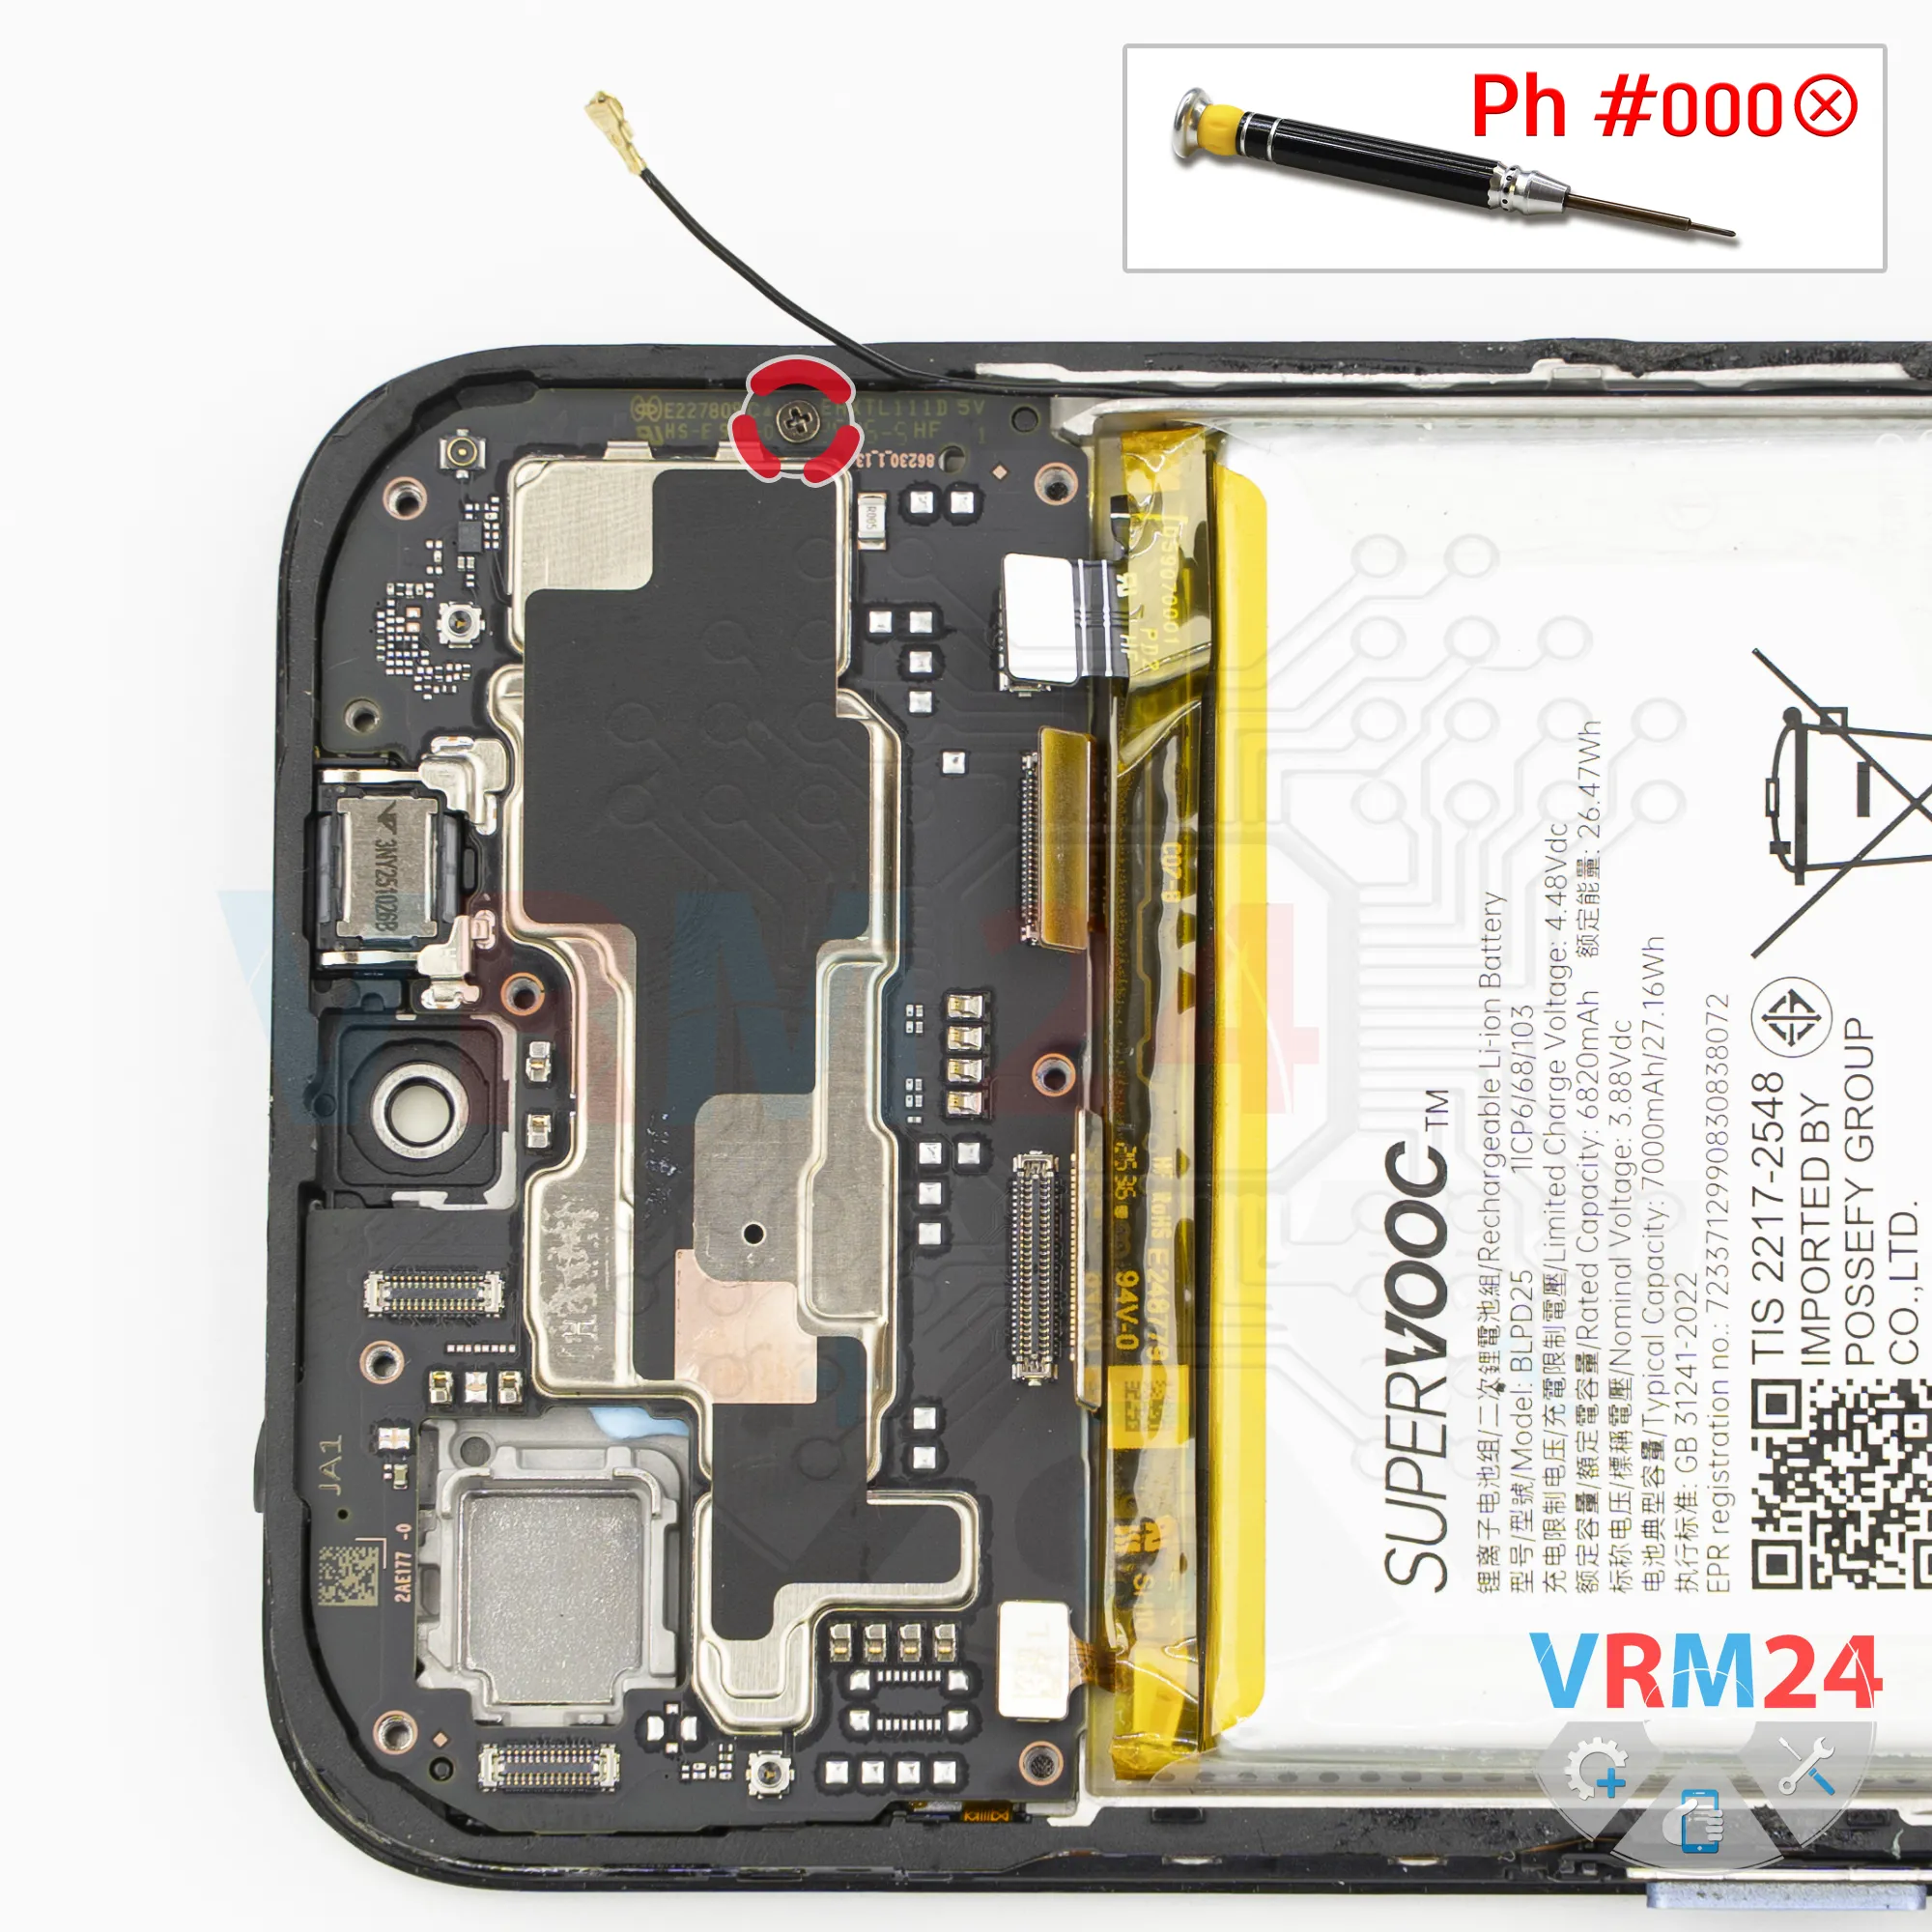
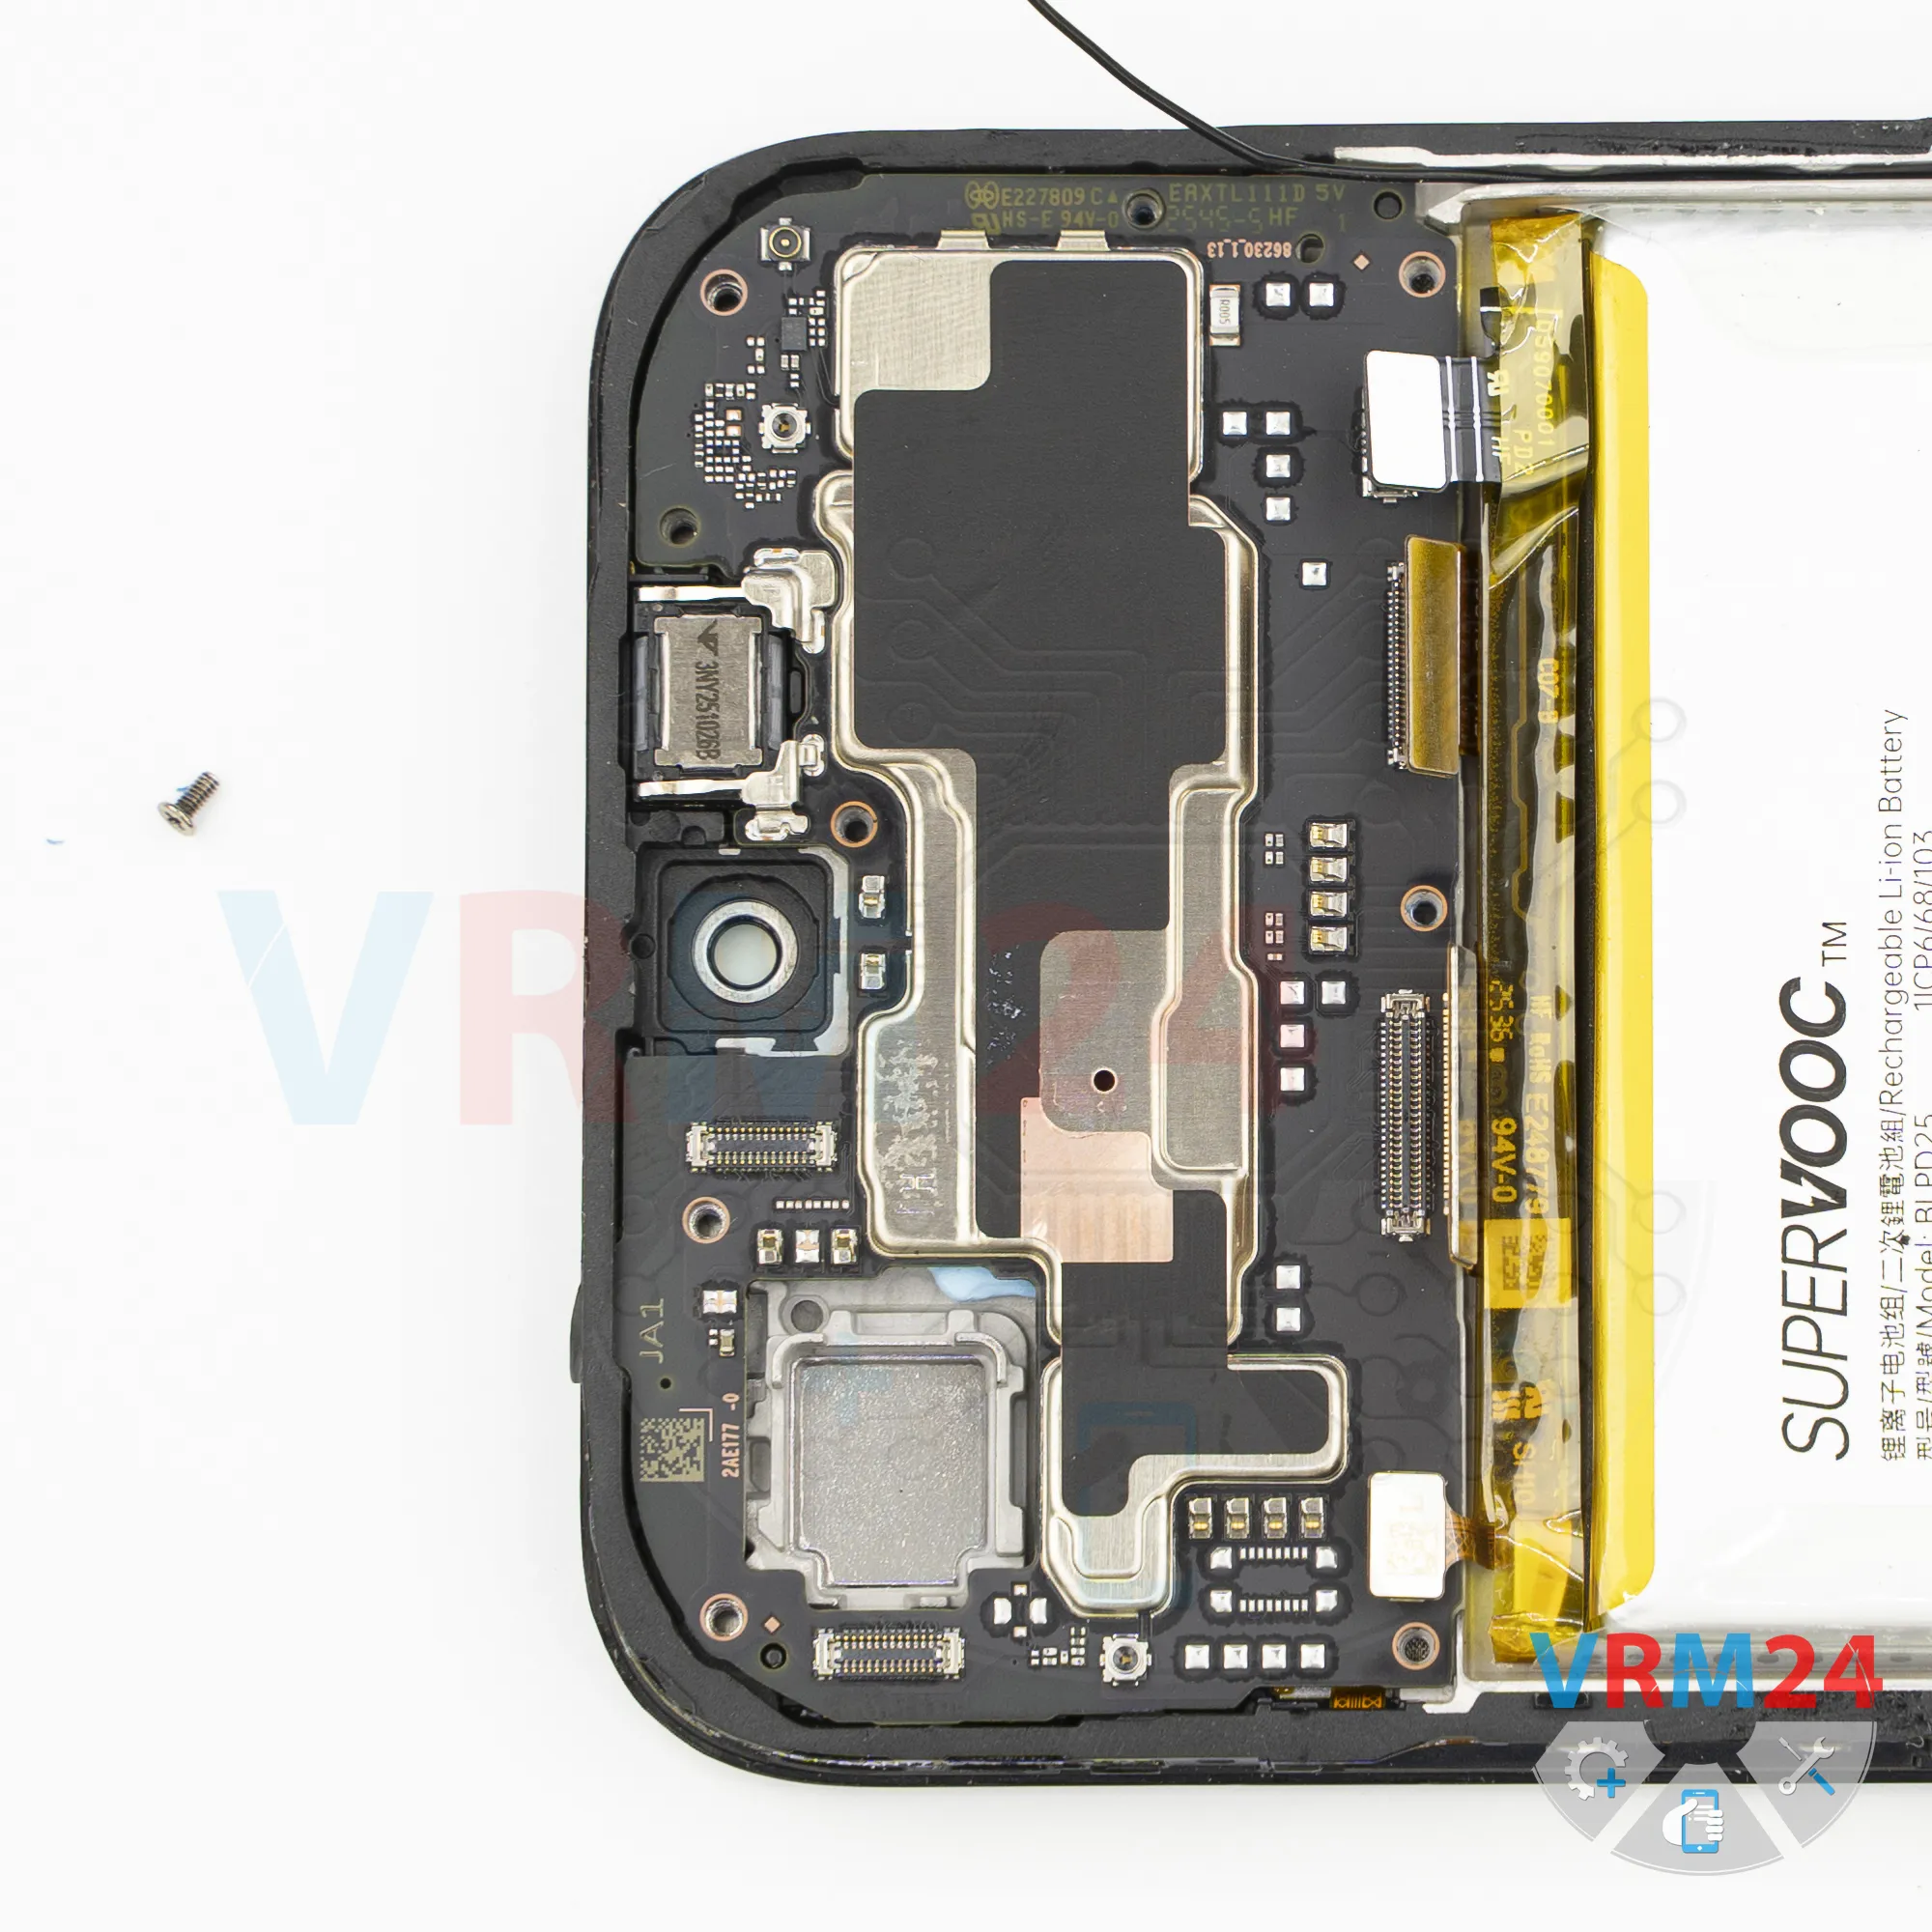
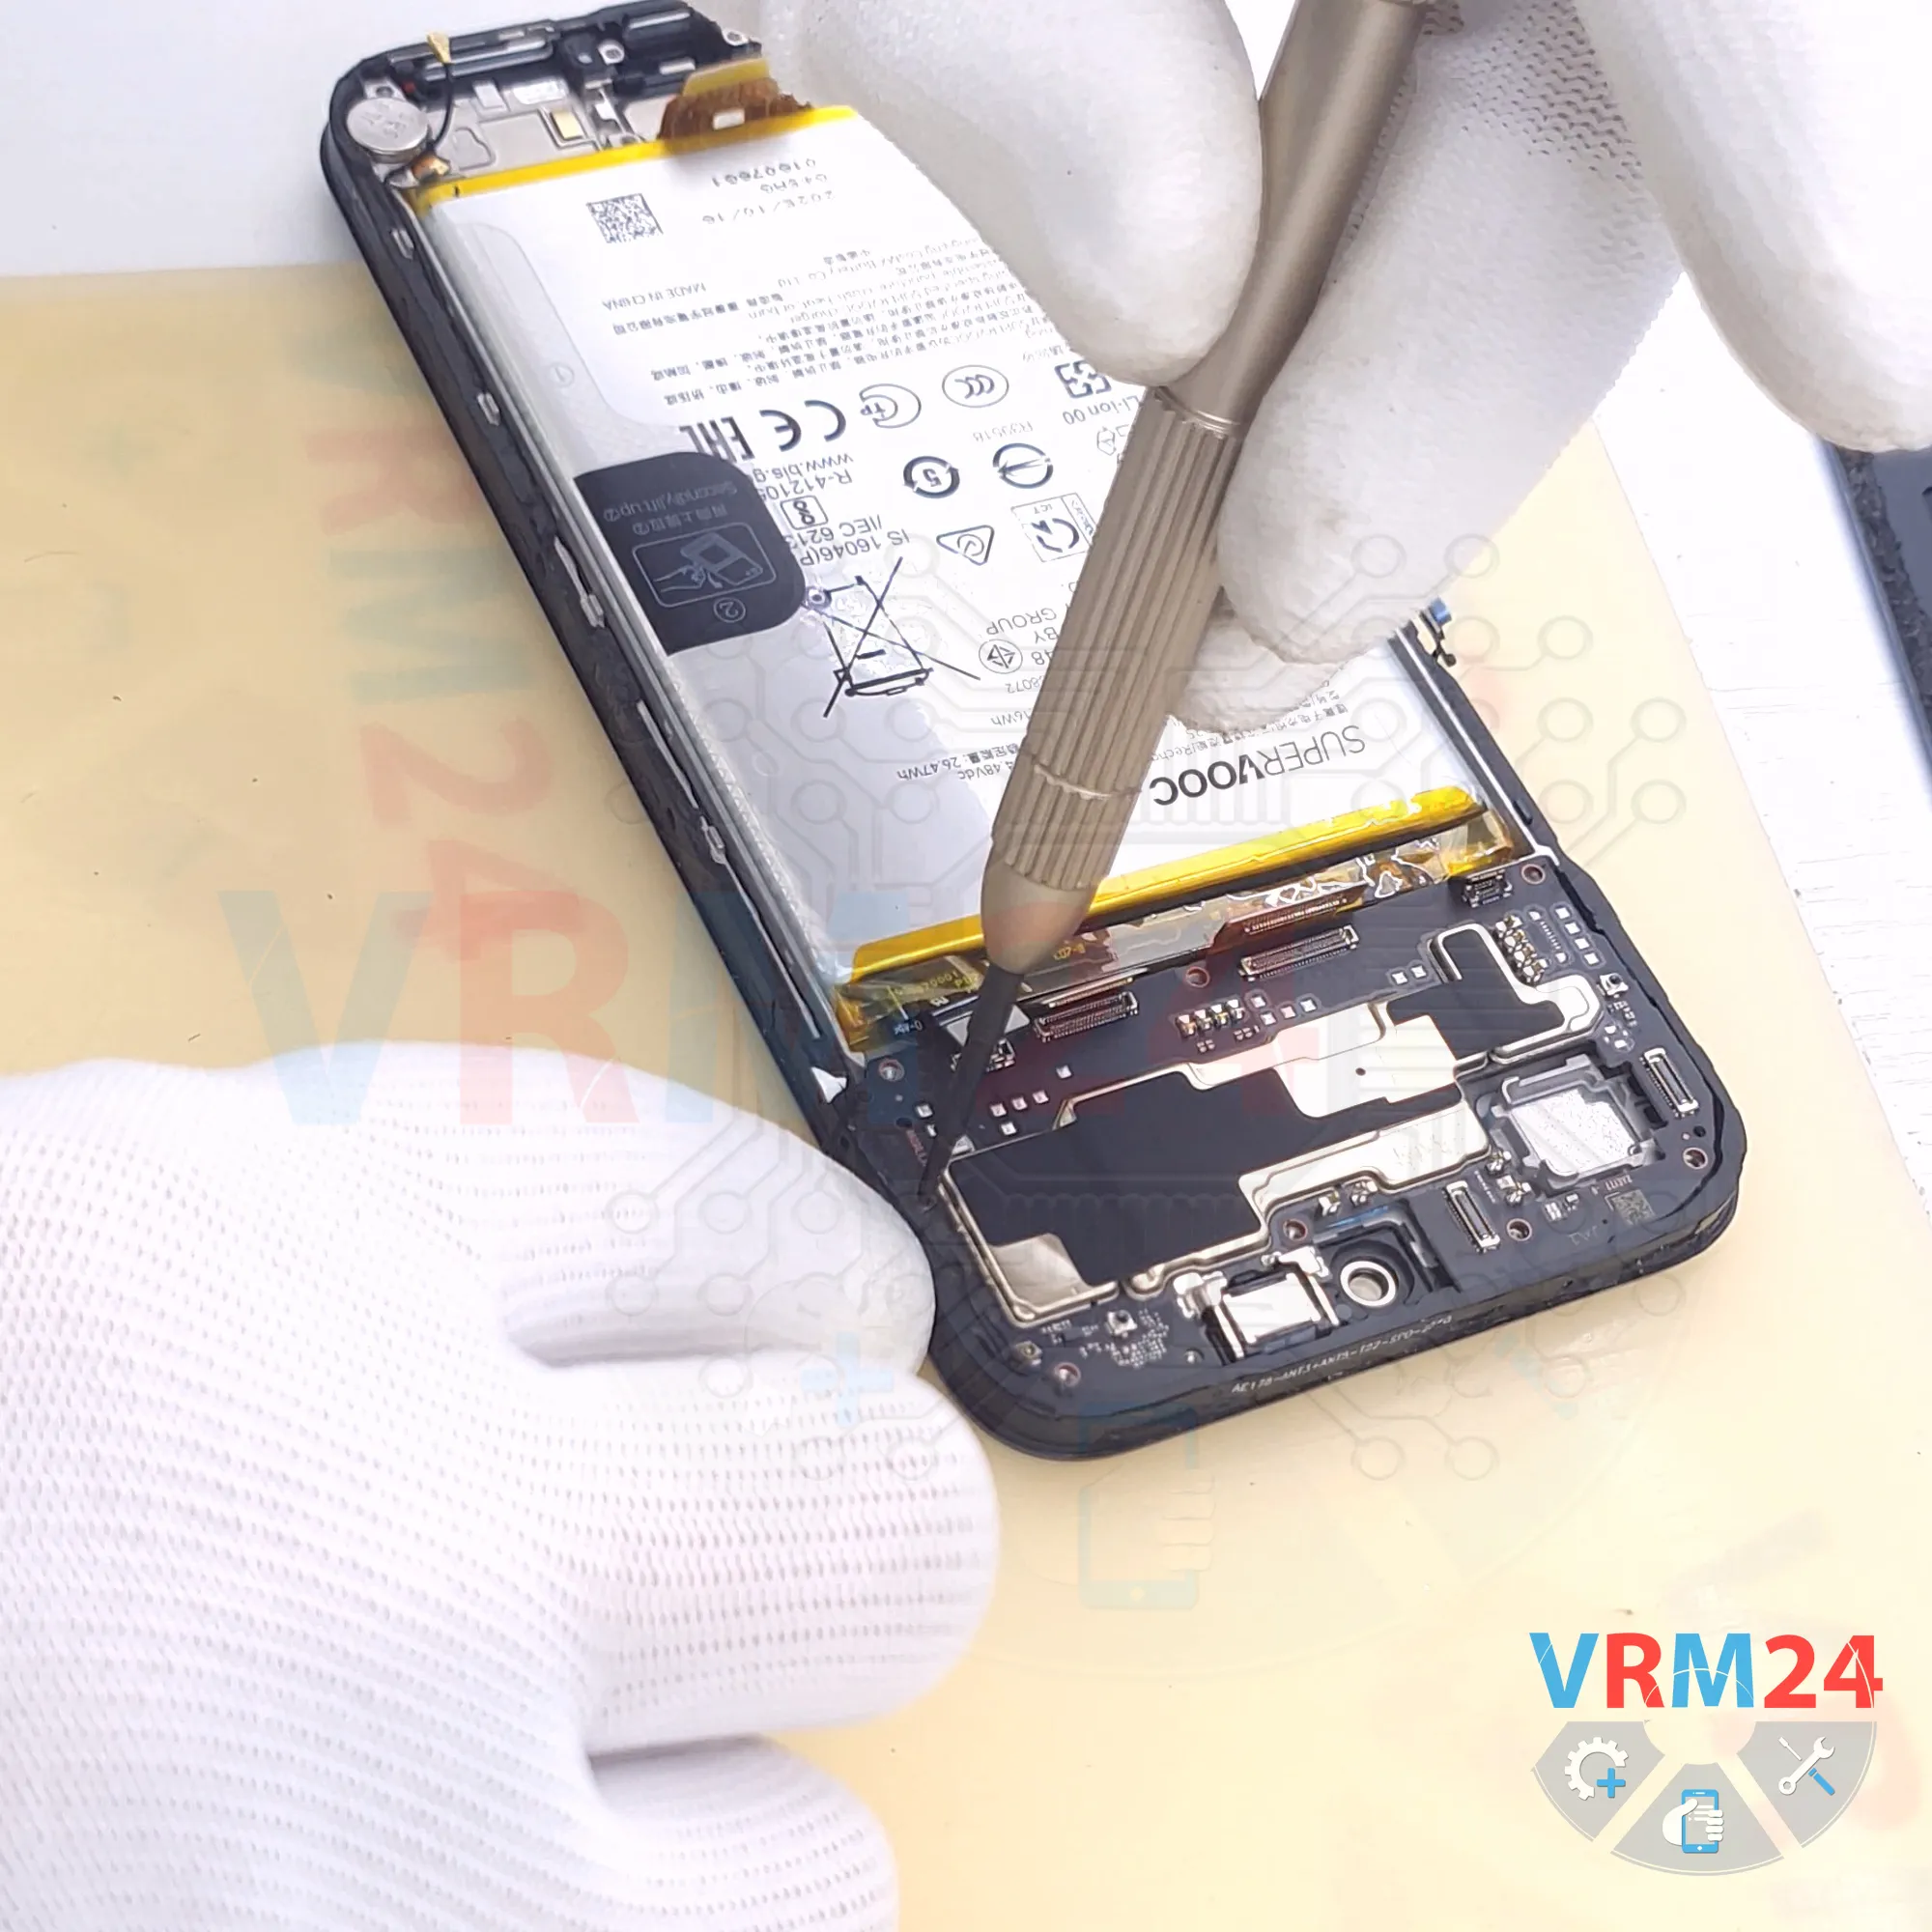
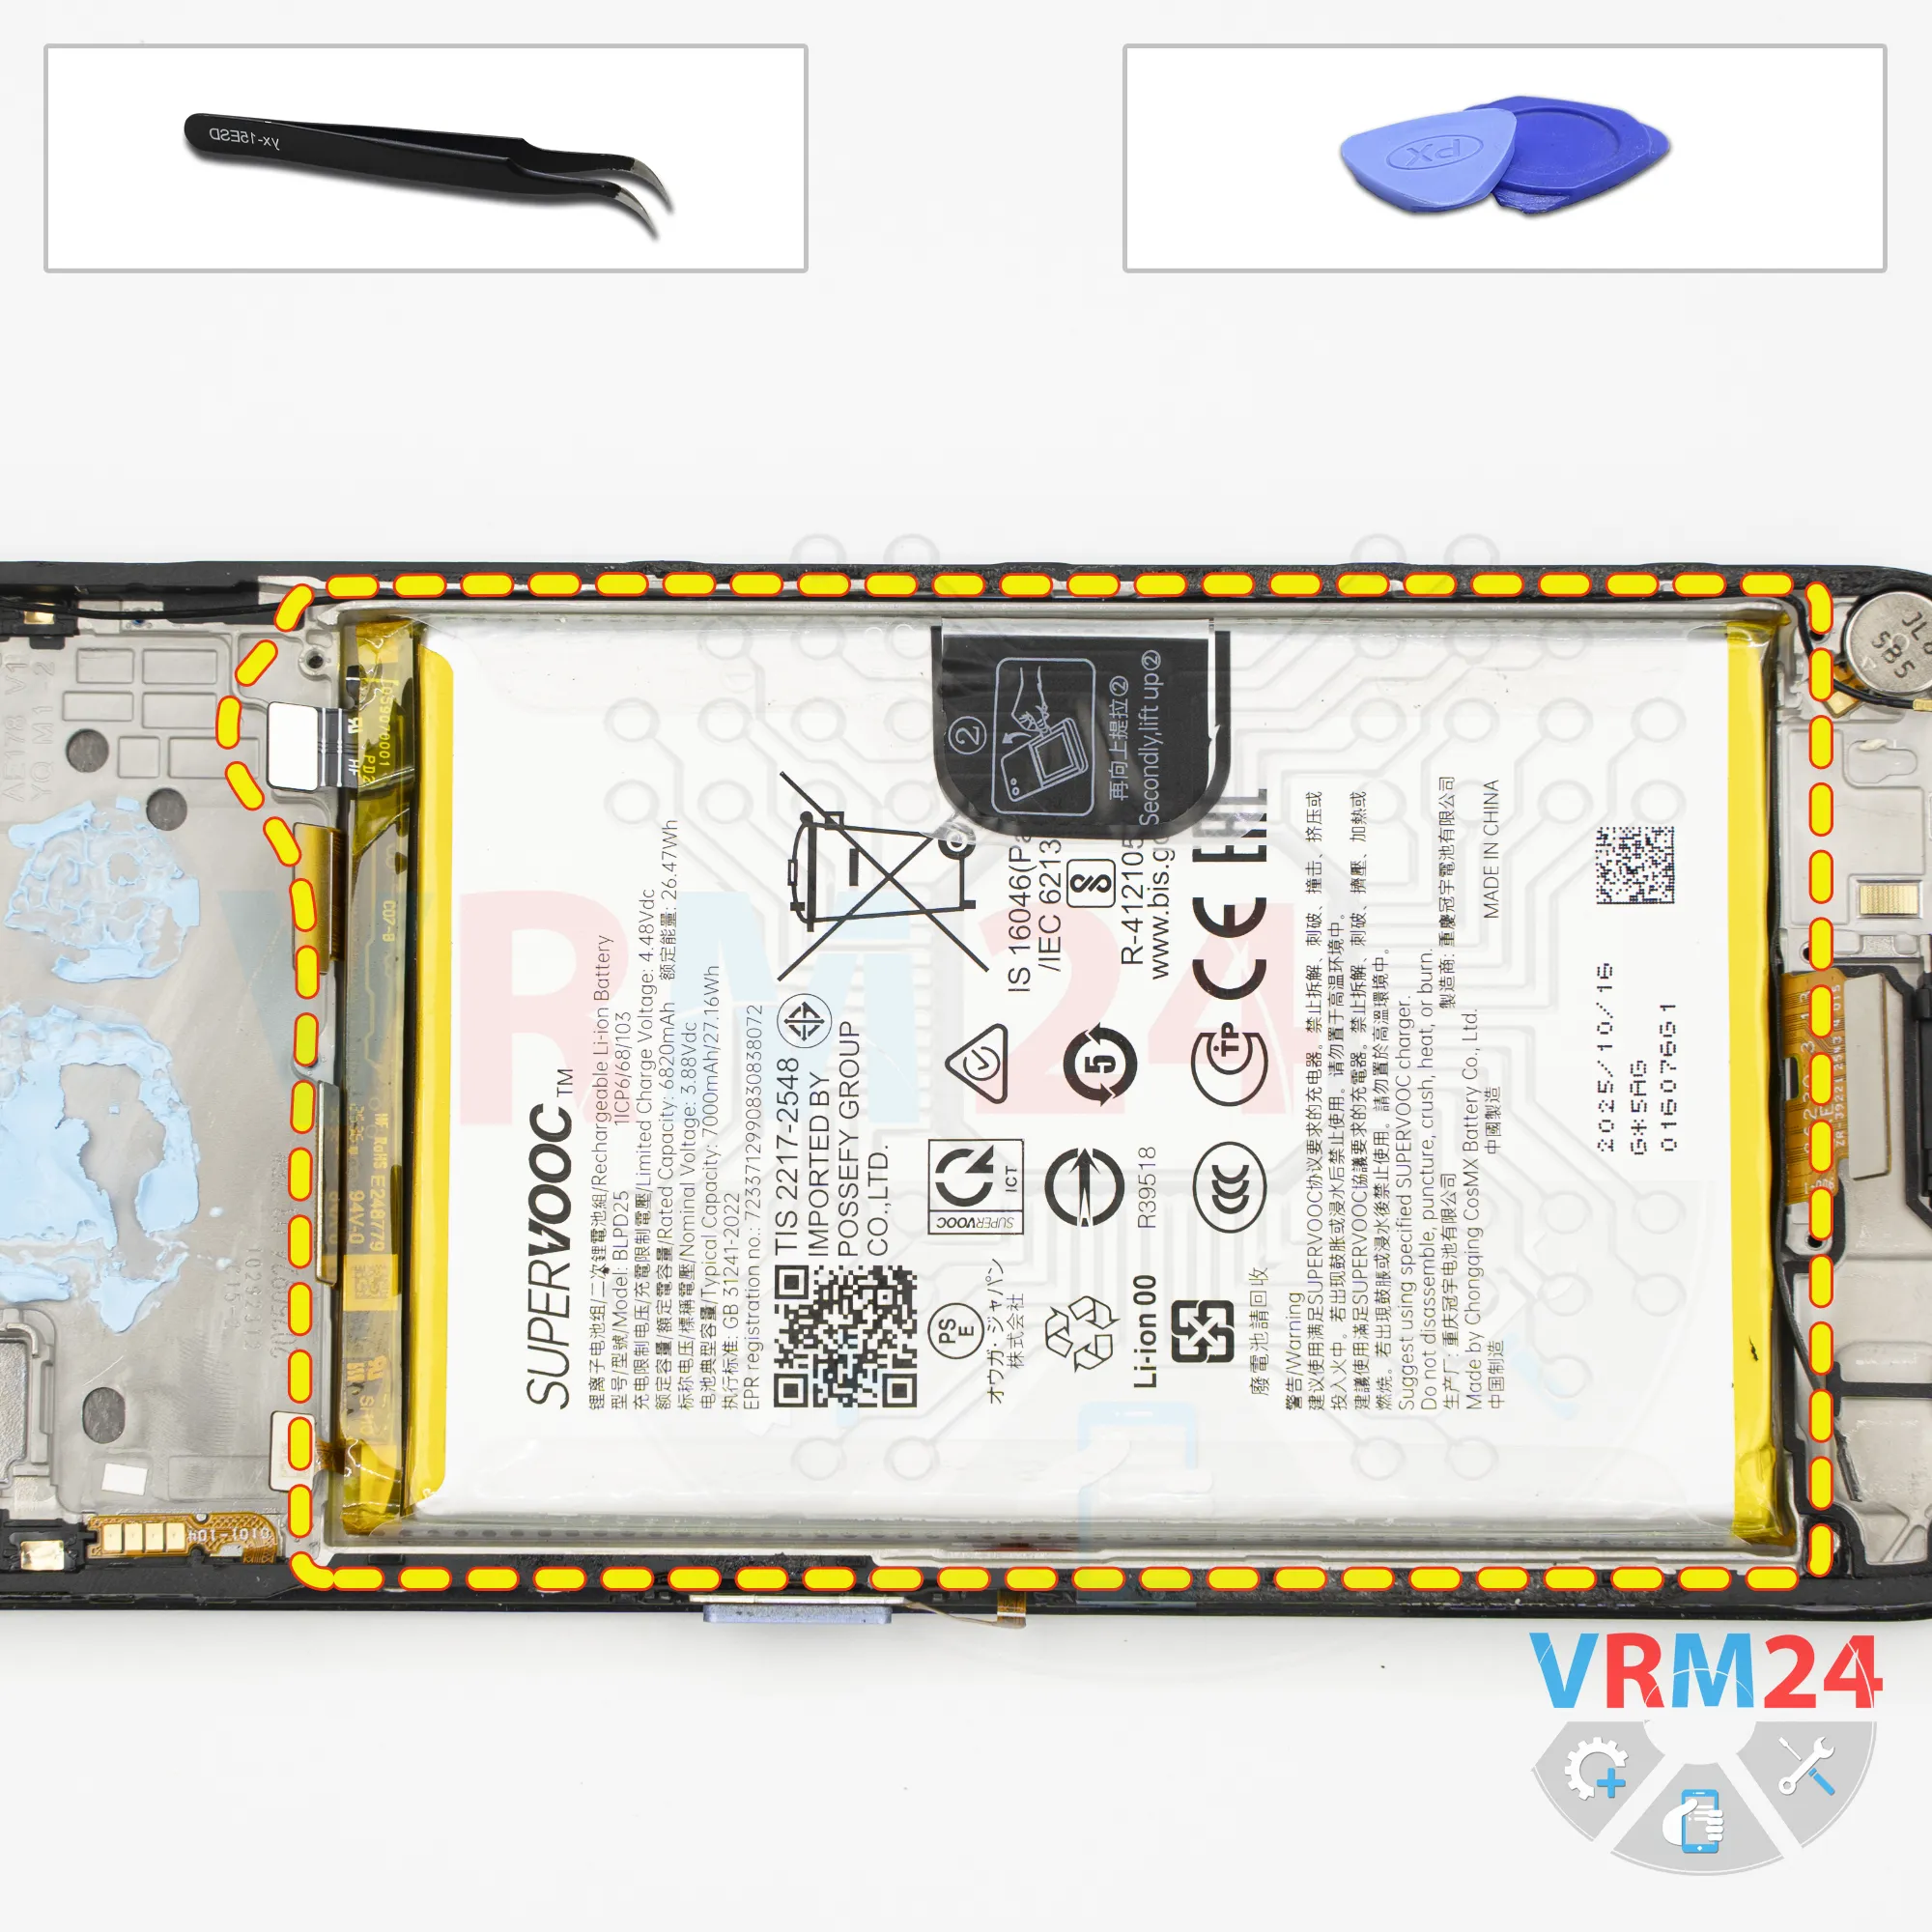
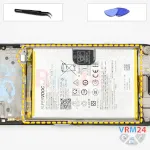
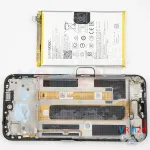
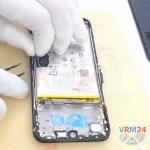
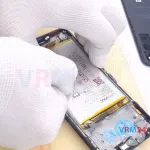
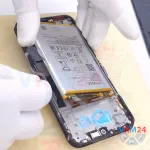
Finally, we move on to disconnecting the battery.
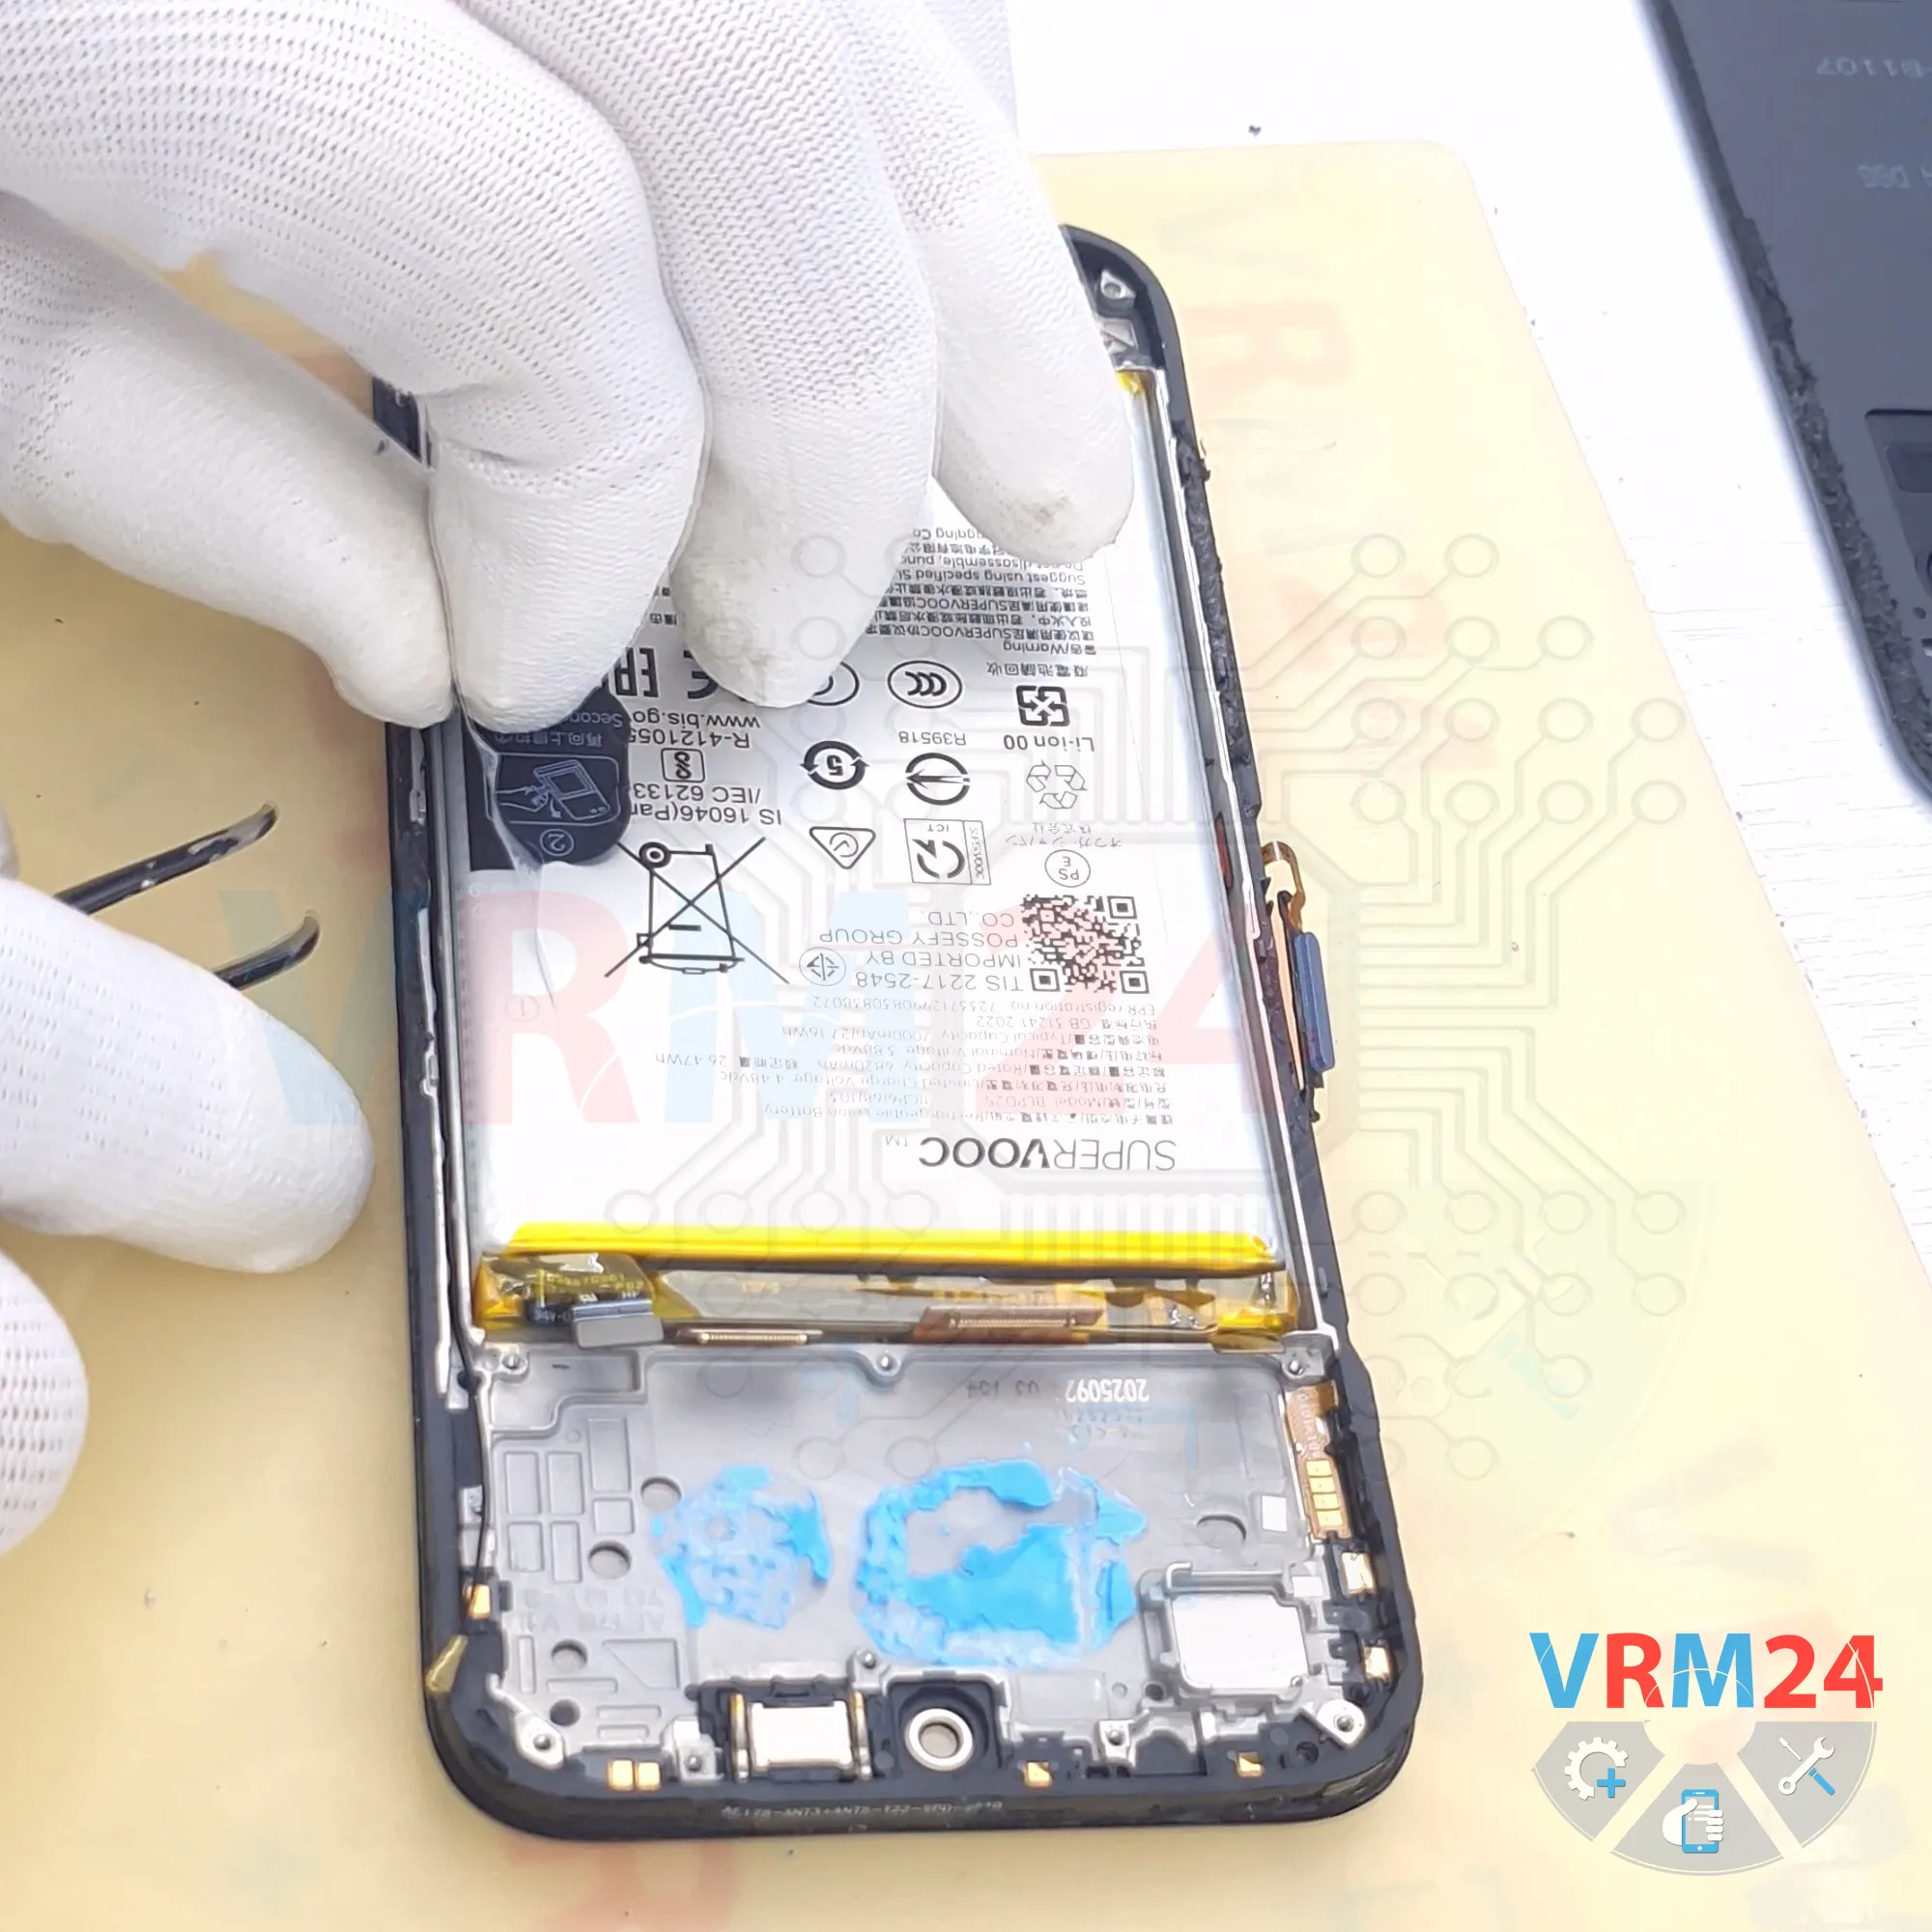
To disconnect the battery, there is a black tab that we need to pull upward.
And, of course, there is a transparent protective film that we need to move out of the way so that it doesn’t interfere.
We move the transparent film as far to the side as possible and pull the black tab upward to disconnect the battery.
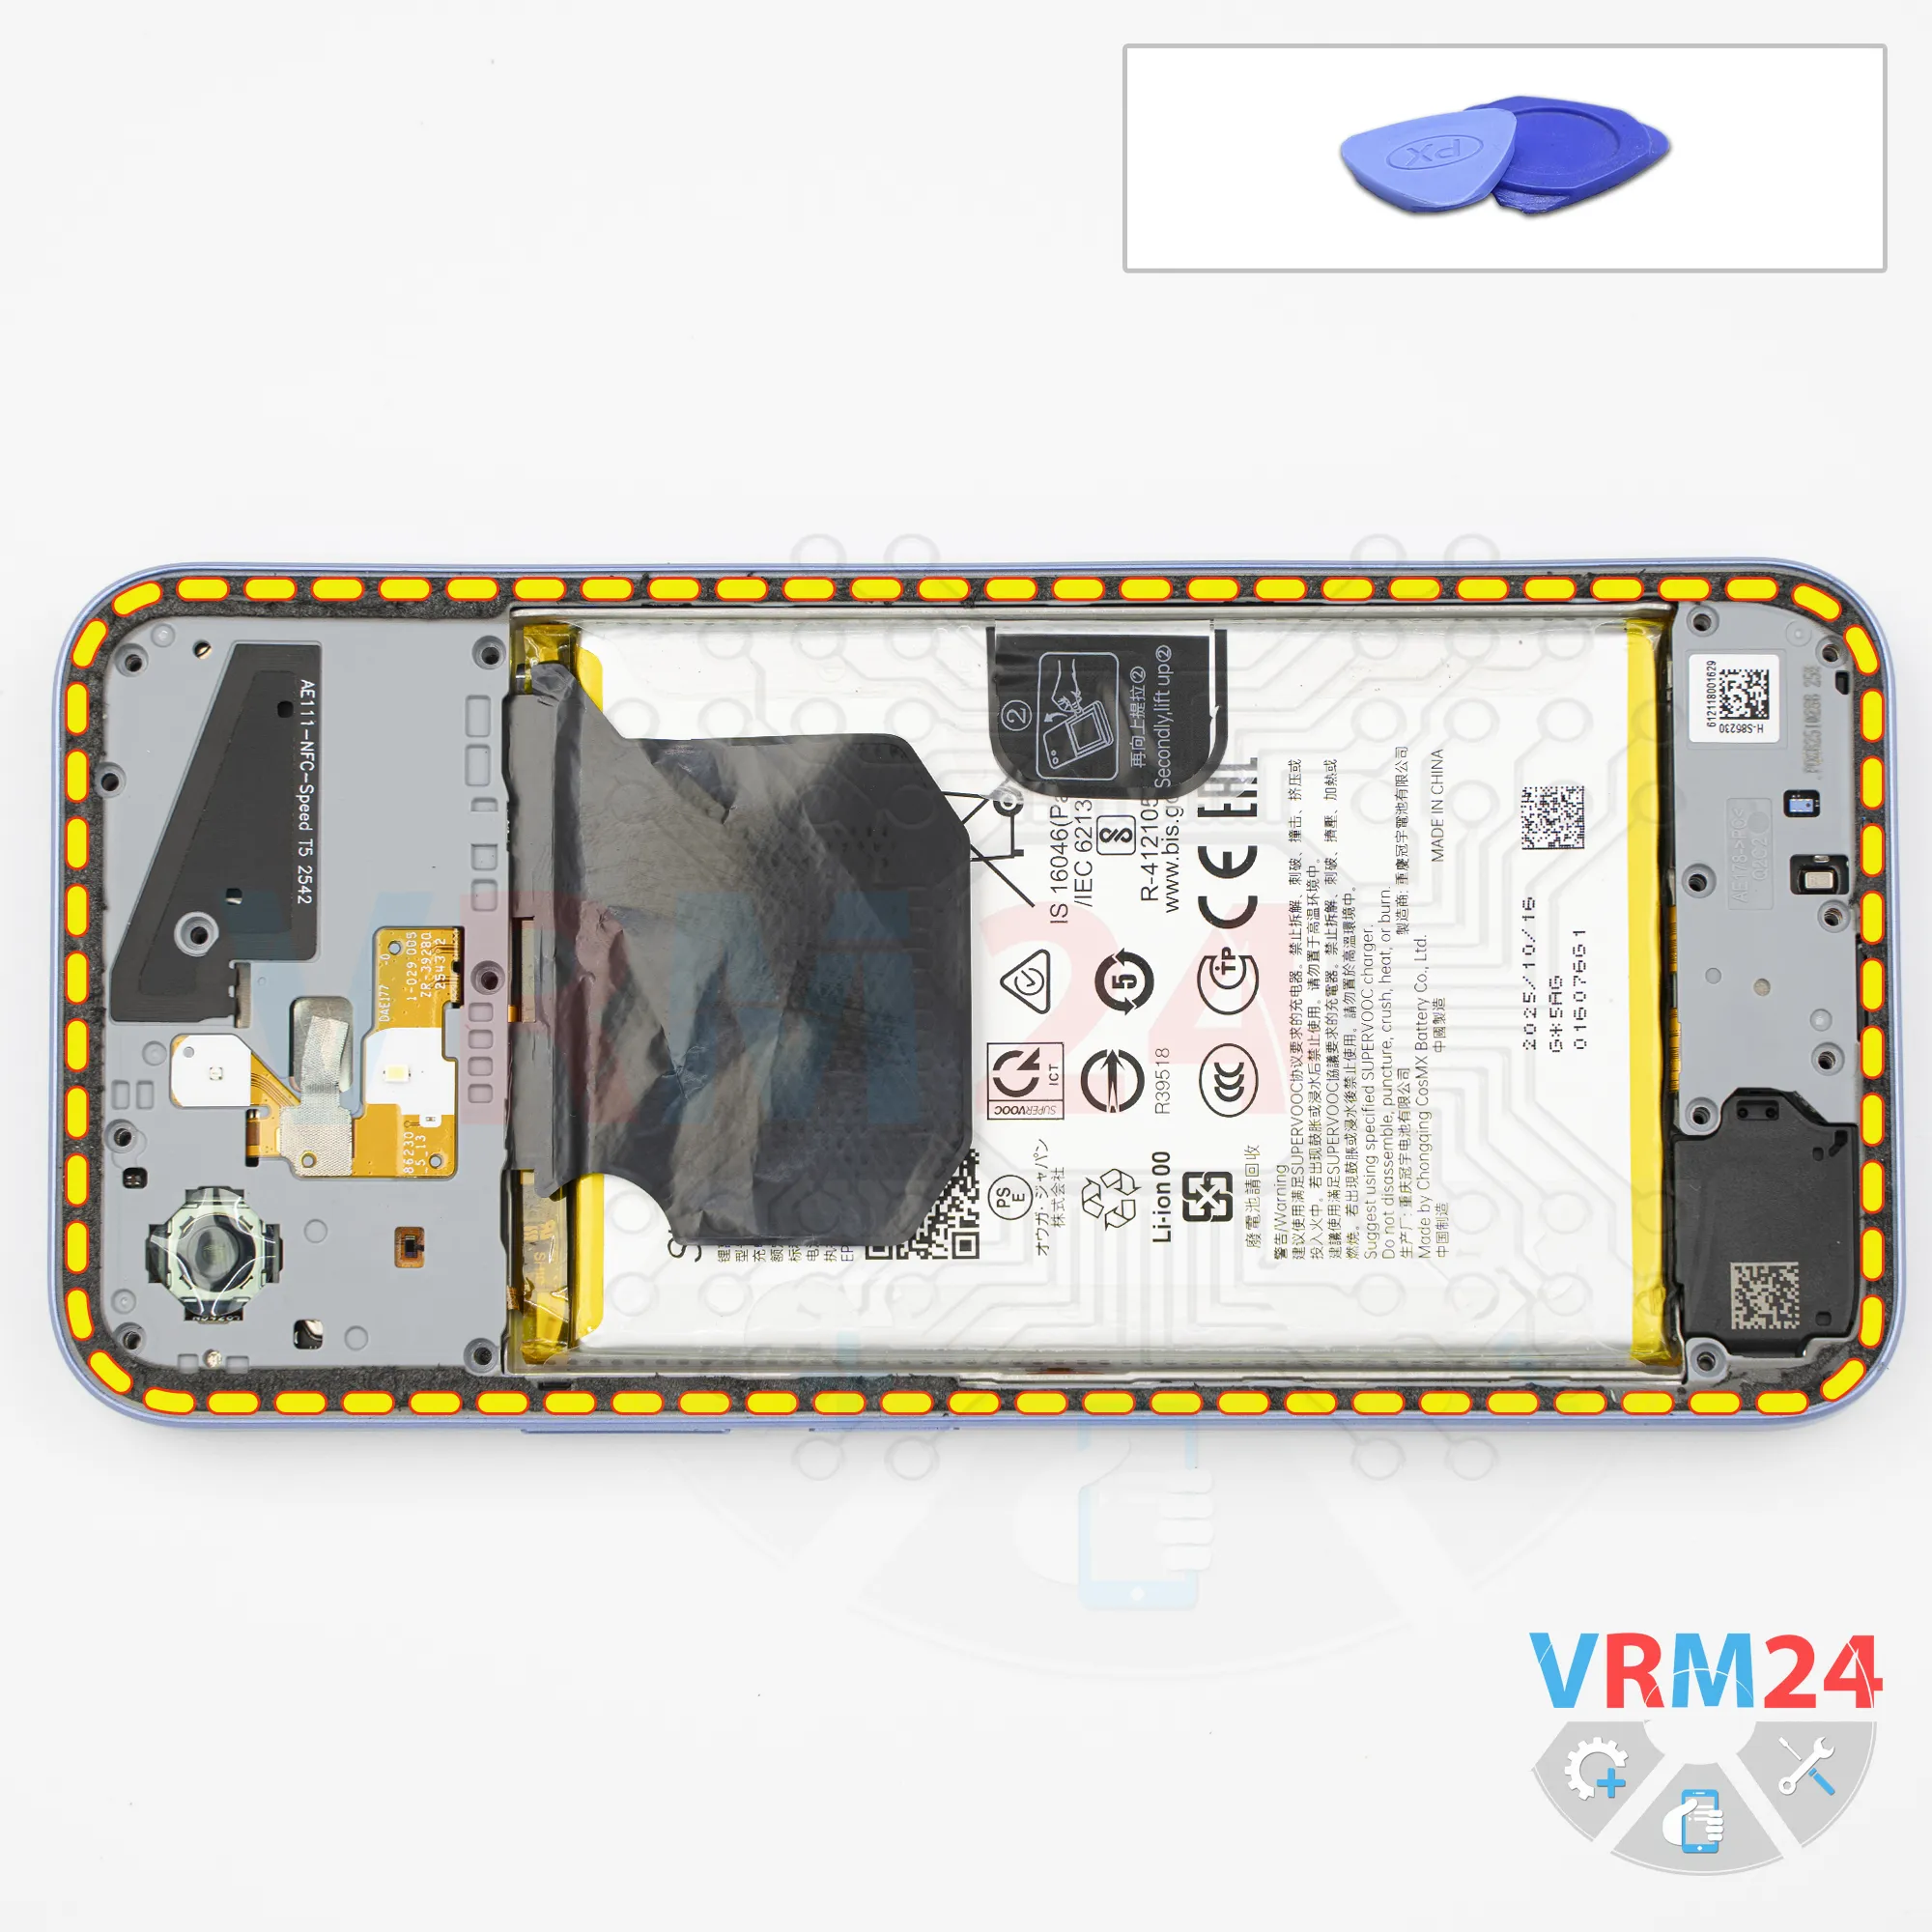
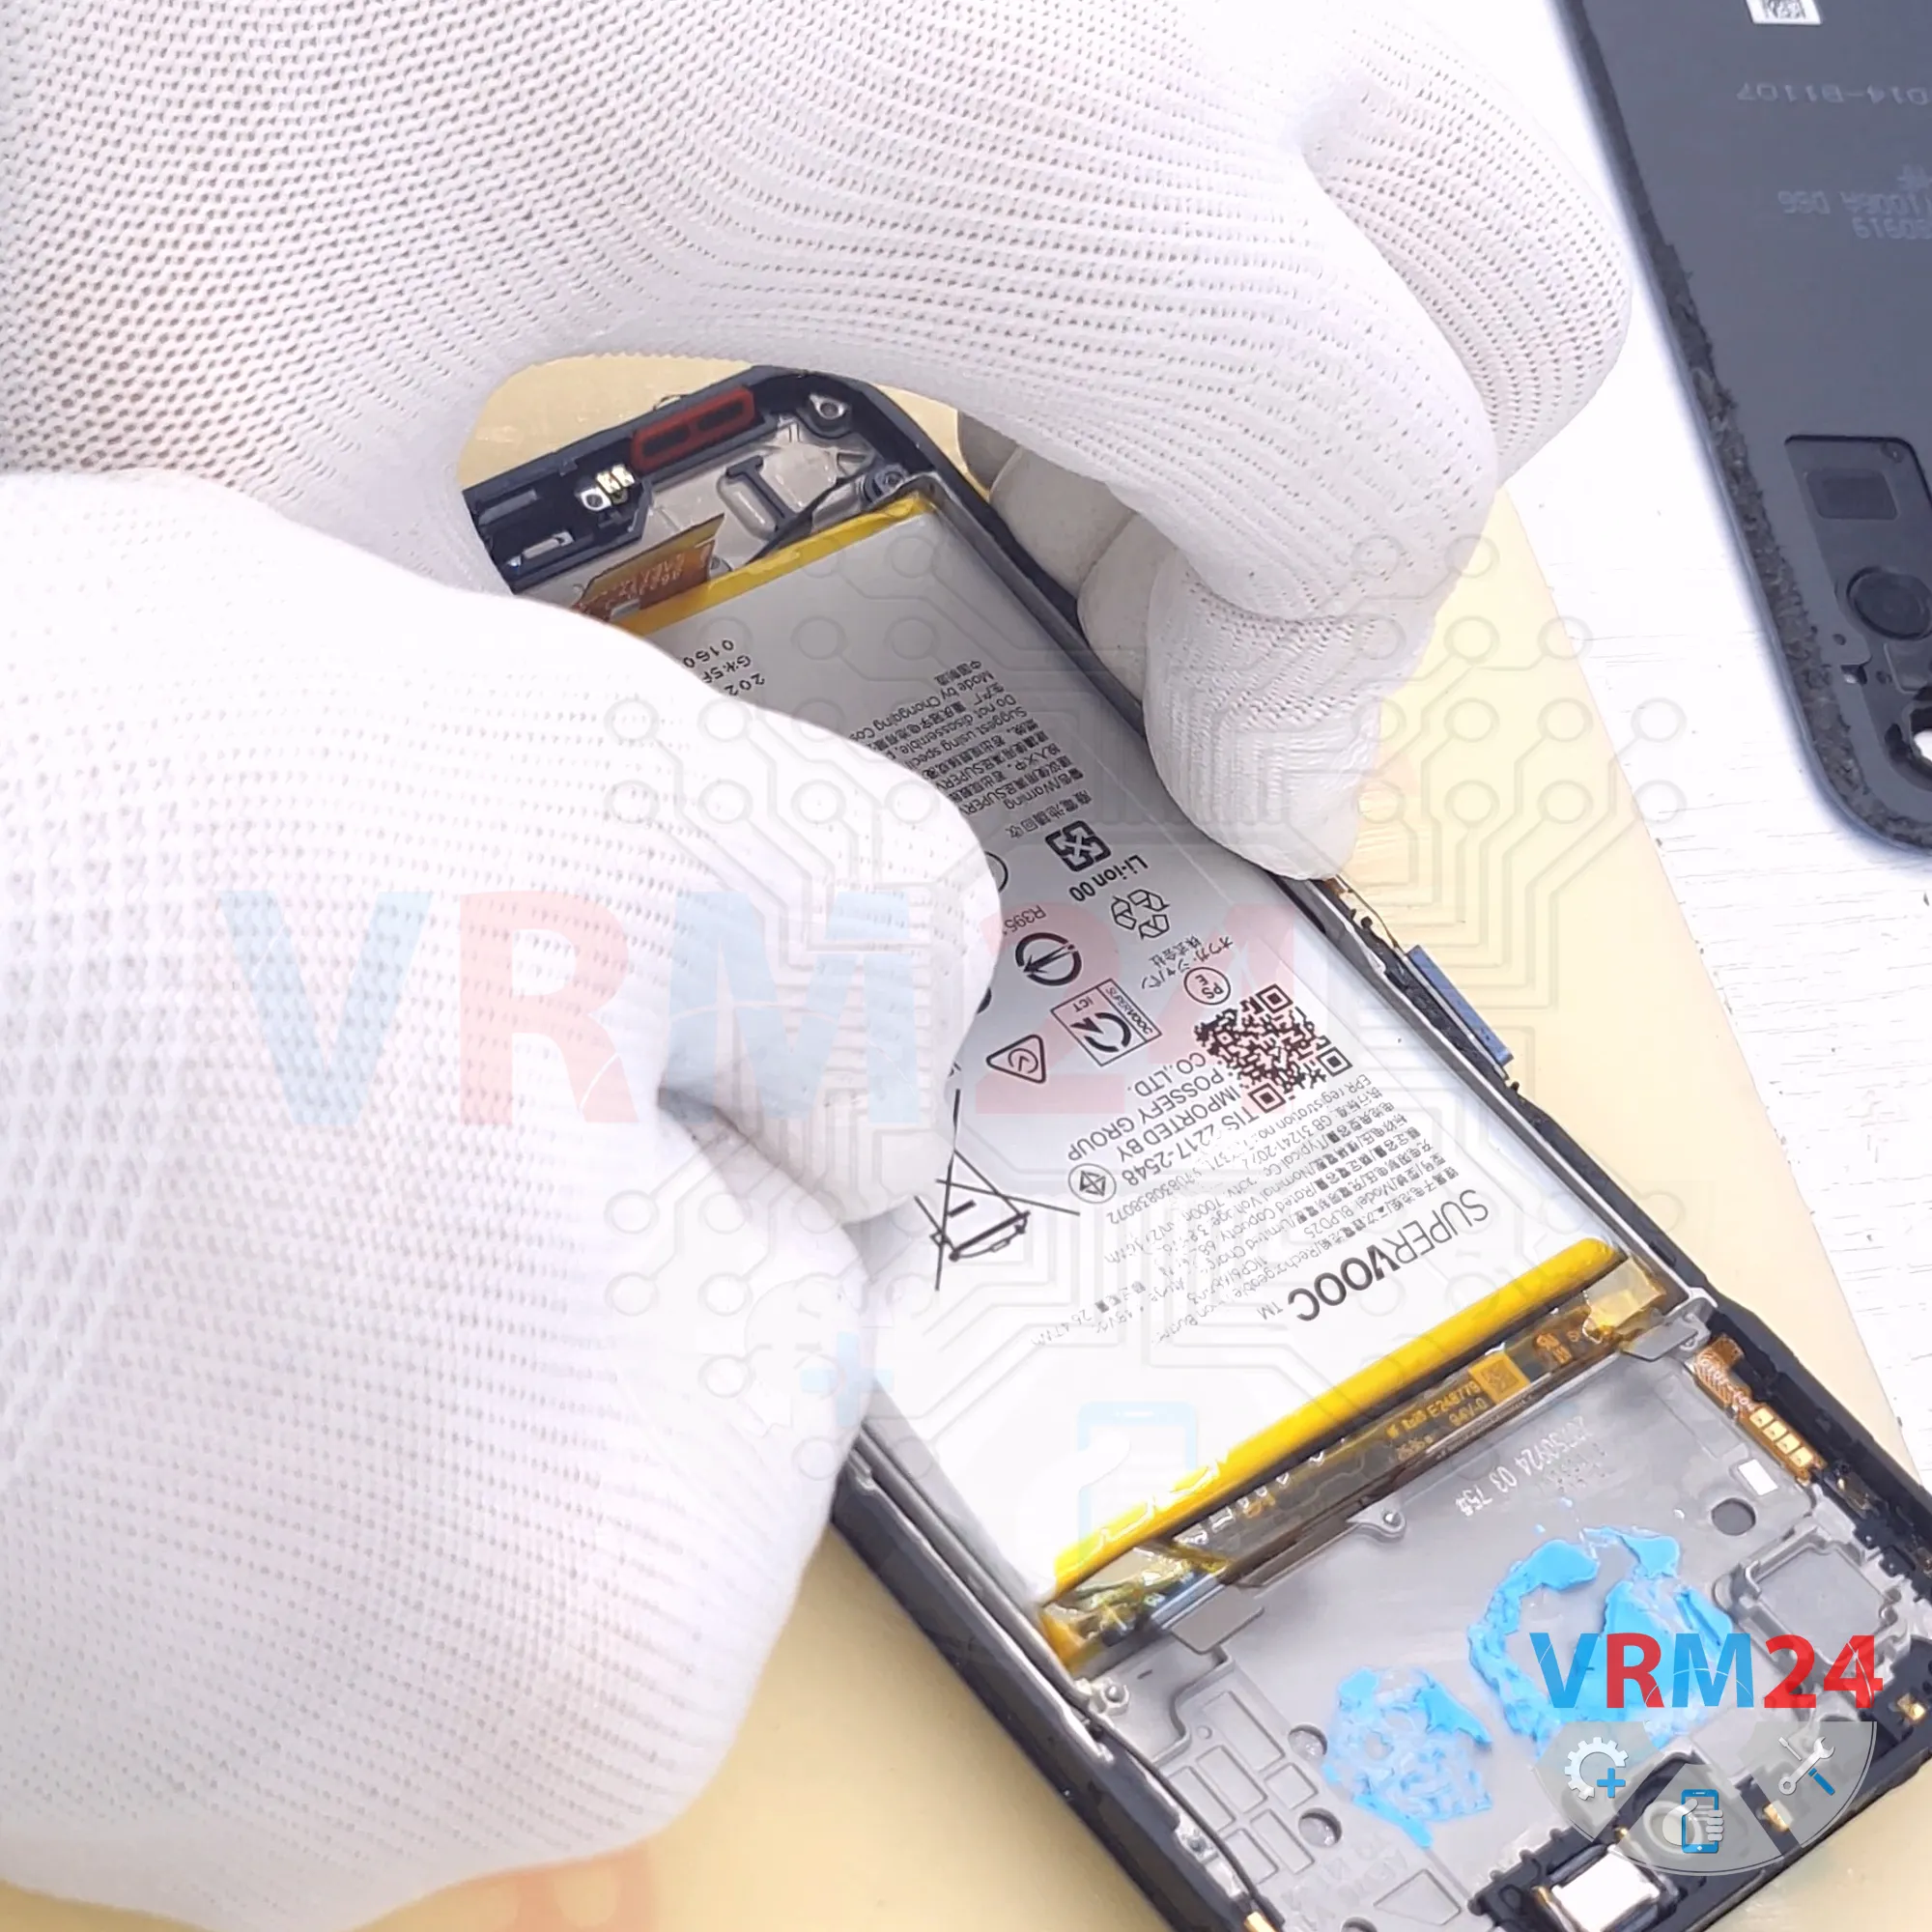
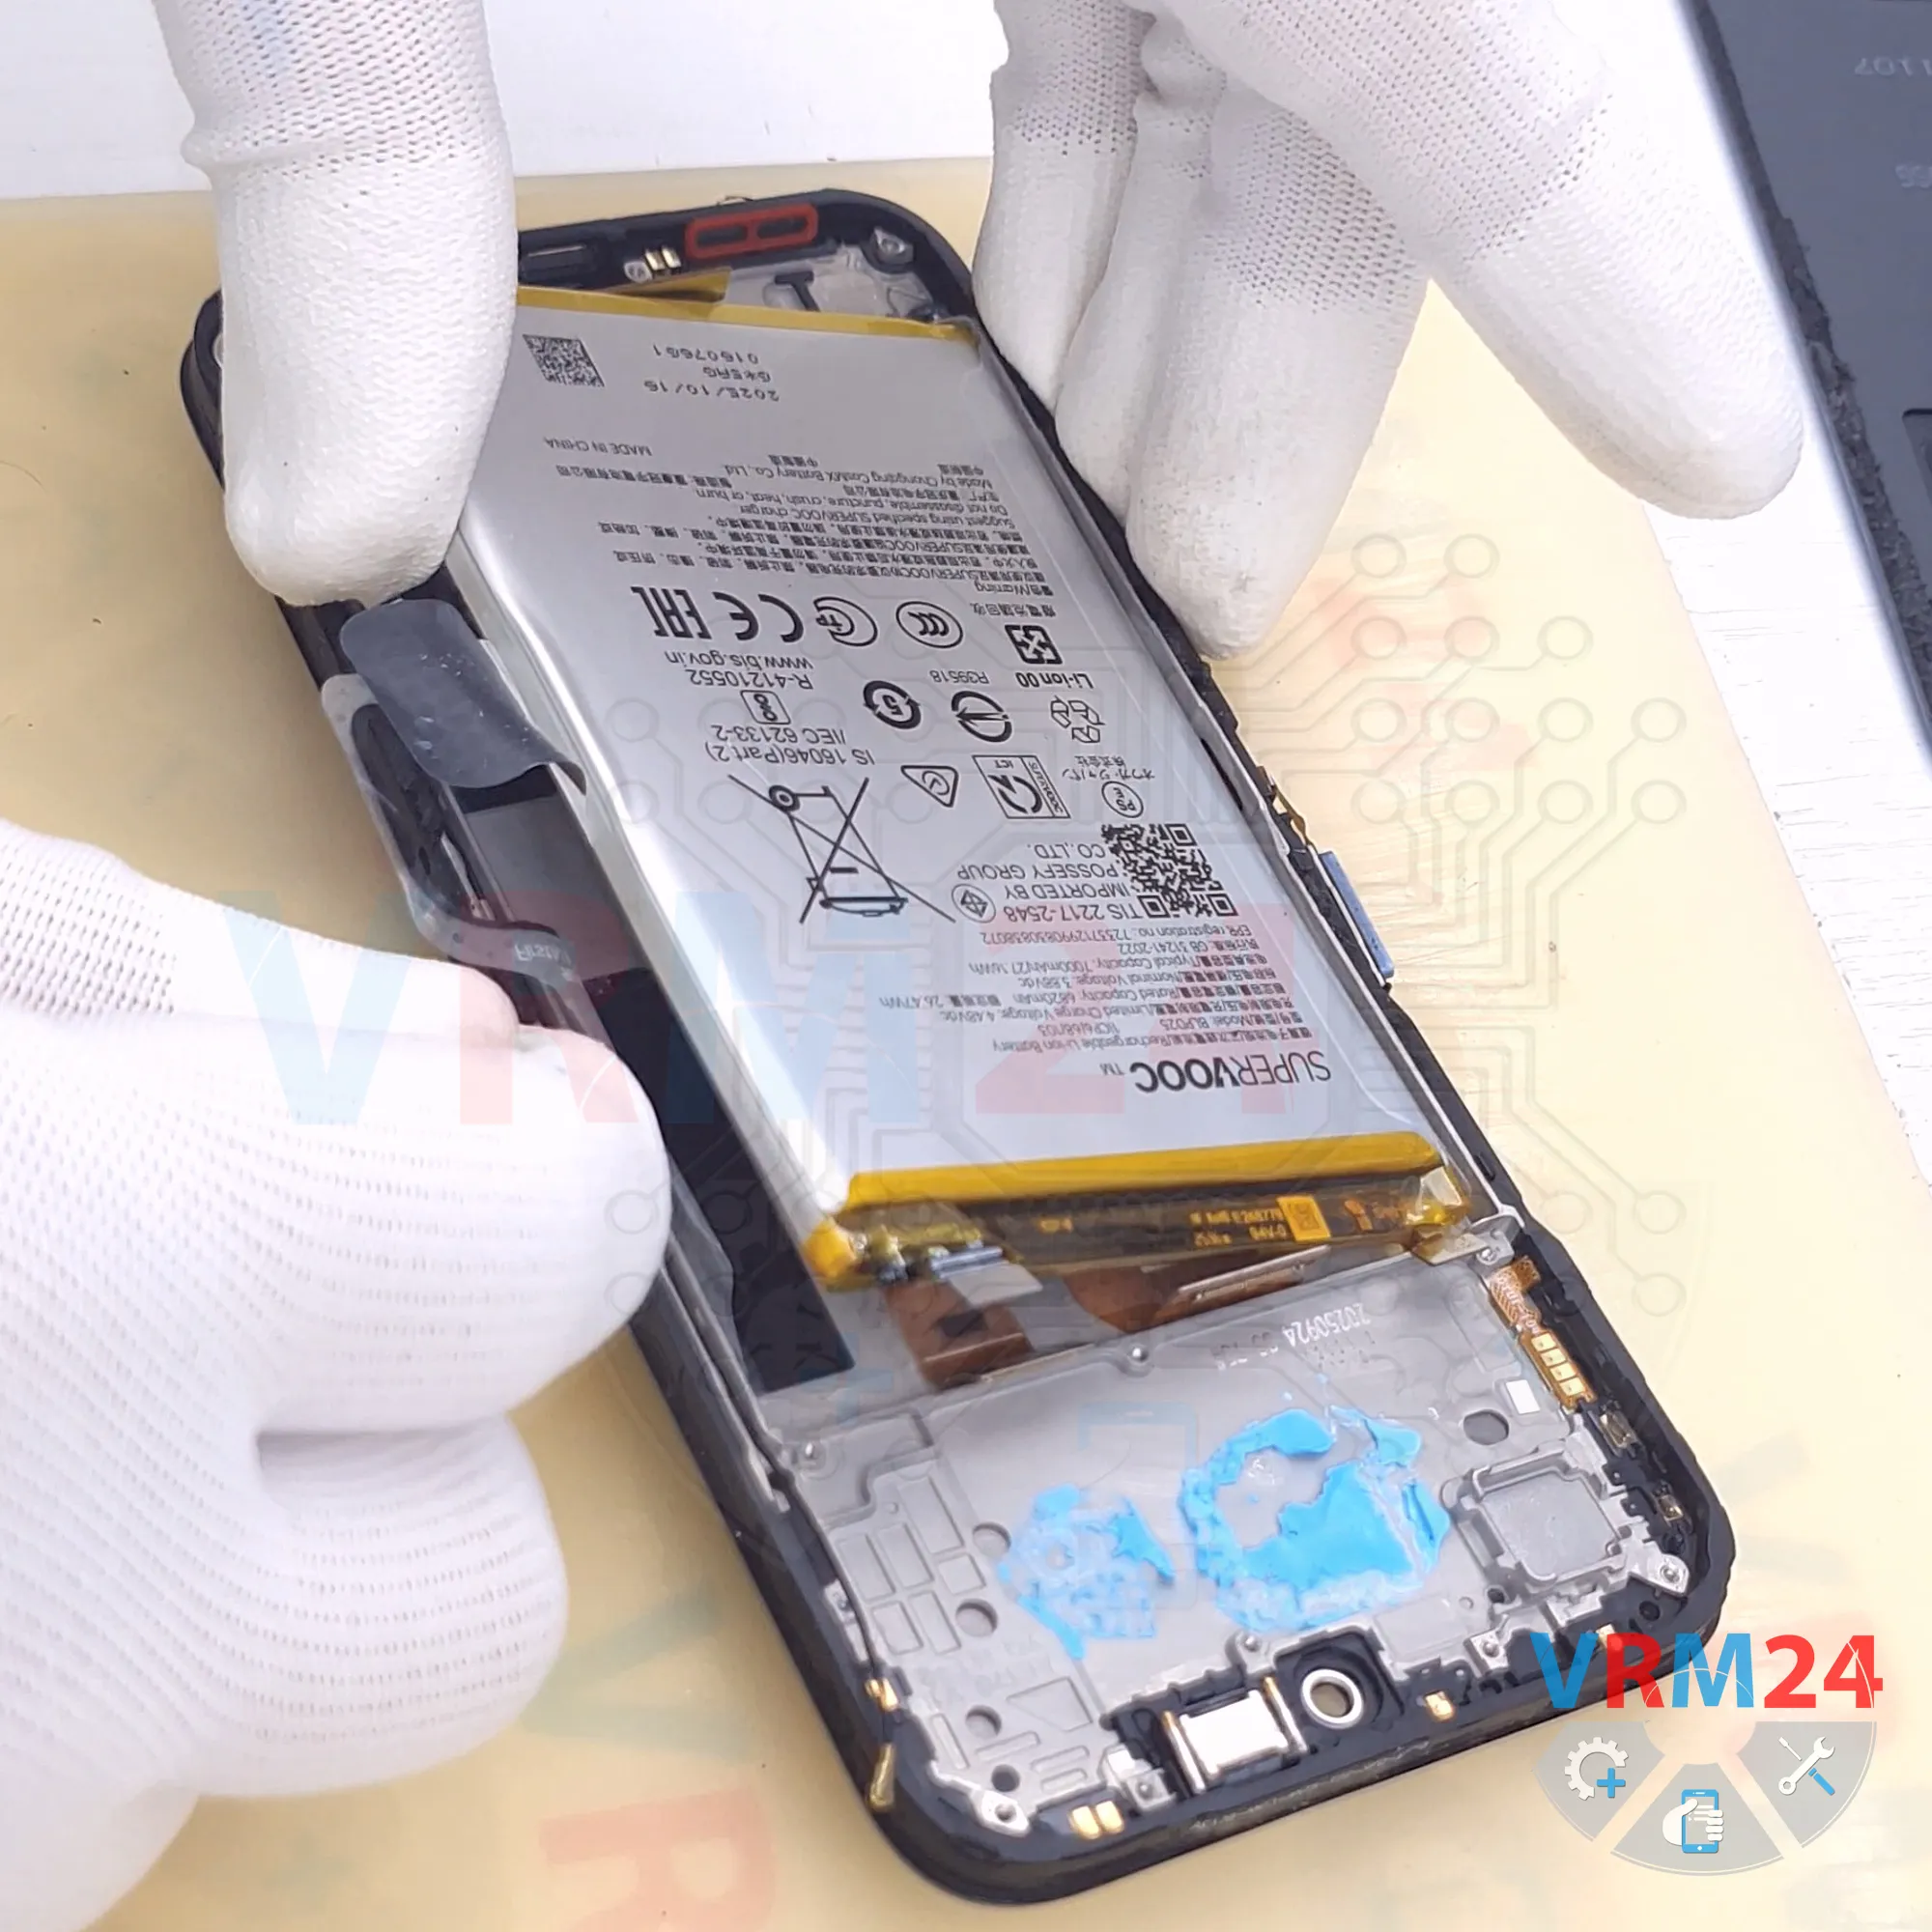
The battery is firmly glued in place.
Under the battery, there is a transparent adhesive protective film that protects the inter-board flex cables.
Detailed disassembly instructions of Realme C85 in the video, made by our mobile repair & service center:
If you have a question, ask us, and we will try to answer in as much detail as possible. If this article was helpful for you, please rate it.

Disassembling\Repair has medium complexity and takes about minutes in time.
Our manual is suitable for all models Realme C85 — Realme C85 RMX5566 released for markets in different countries.
Back to the list