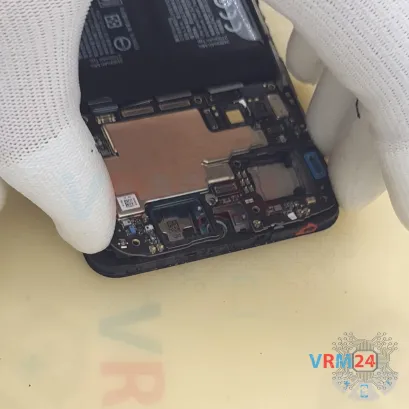
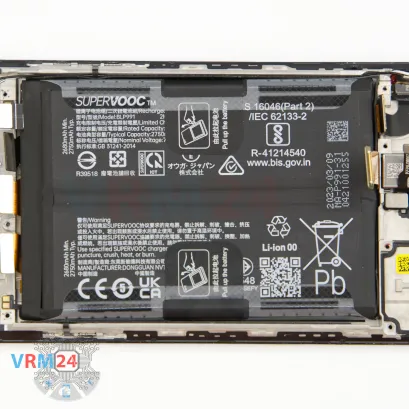
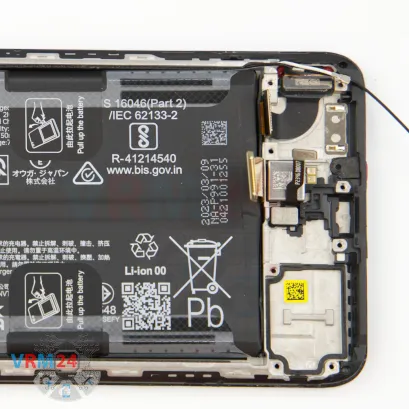
⚠️️ Before disassembling, do not forget to turn your phone off.
Moderate
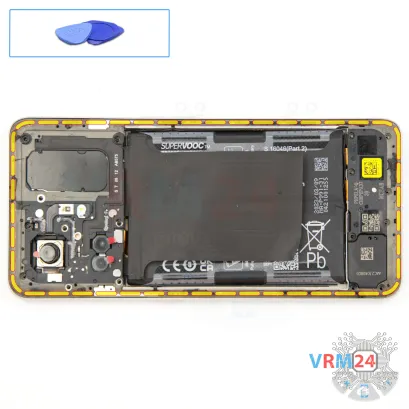
Recommended tools


Disassembly/Repair of the mobile device Realme GT Neo 5 SE (Realme GT Neo 5 SE RMX3701) with each step description and the required set of tools.

Vadim Popoff
Author / content specialist
Author / Content specialist with 10+ years of experience


Step 2. Remove the tray
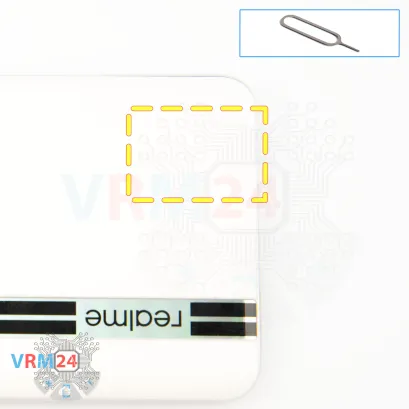
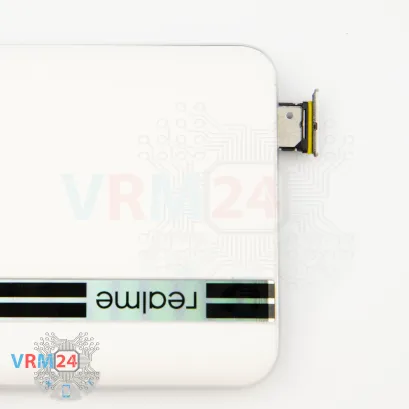
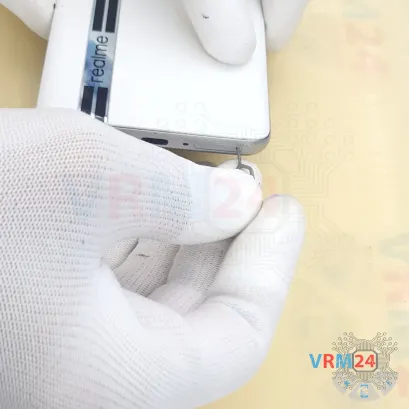
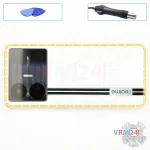
First, we need to remove the SIM card tray. Use the ejector tool, insert it into the hole, and push the tray out.
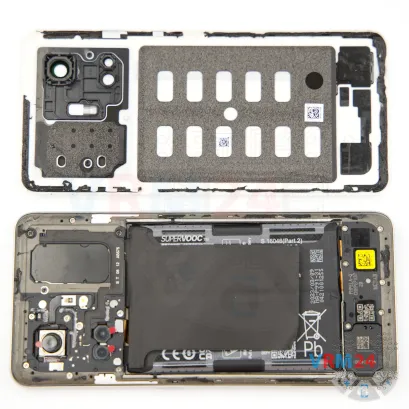
Step 3. Open the back cover
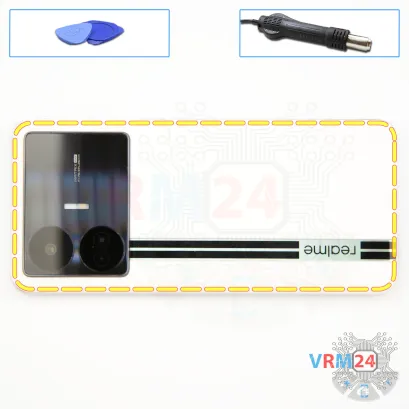
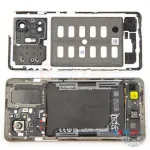
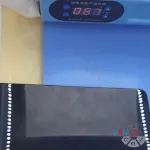
Next, we need to heat up the back cover. We’re using a heating pad for this, but you can also use a heat gun or hair dryer. Heat it to about 70°C, which is around 160°F. Keep the heat on for about 10 minutes.
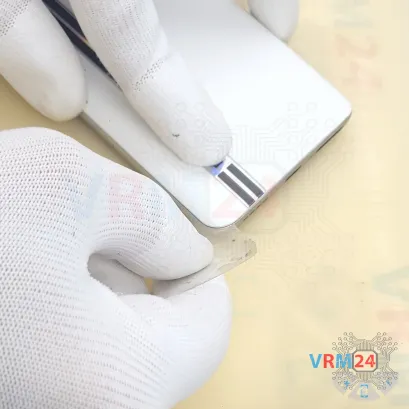
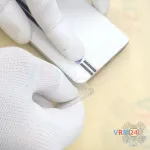
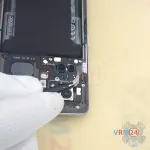
And we move on to separating the back cover. For this, we use a thin plastic film. Insert it into the gap between the back cover and the mid-frame, and gently slide it along the edge to cut through the adhesive.
As always, be extra careful around the camera area, since the cover there may have extra adhesive. And of course, take care not to scratch the lenses.
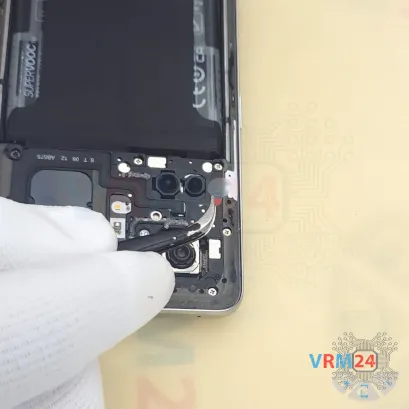
At this point, it’s a good idea to cover the camera lenses. We use a protective film for that.
Important: the film goes on the rim around the lenses, not directly on the lenses themselves.

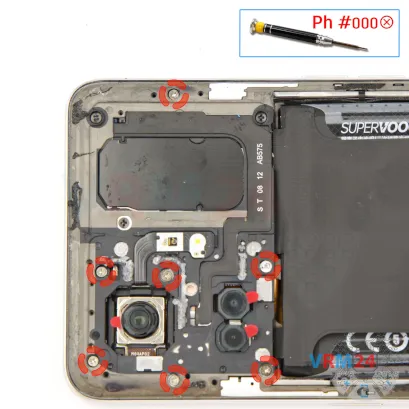
Step 4. Unscrew the screws
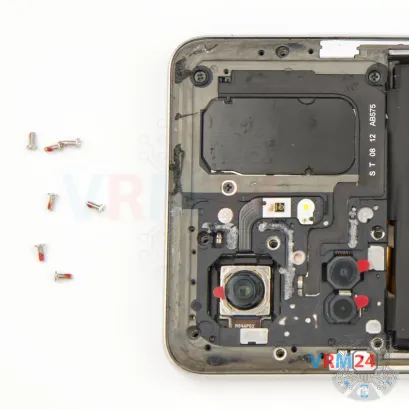
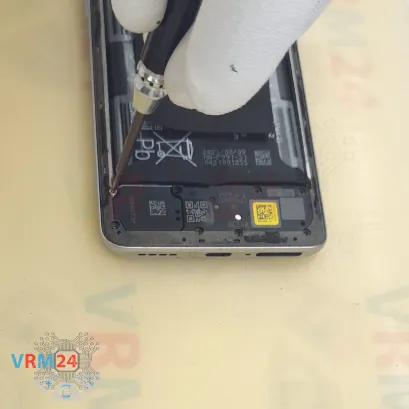
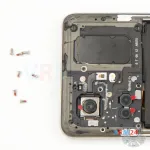
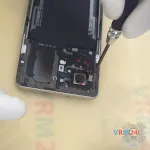
Now we move on to unscrewing the seven screws on the top section.
Carefully unscrew them using a 1.5 mm Phillips screwdriver, or a Phillips #000.
Place the screws on a special tray or magnetic pad in a set order, so you won’t mix them up during reassembly, since they can differ in size and color.
Sometimes screws don’t fit well into other holes, so organization is key.
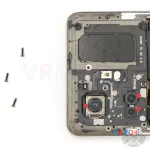
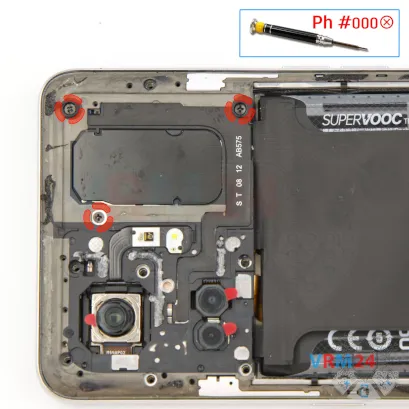
Step 5. Unscrew the screws
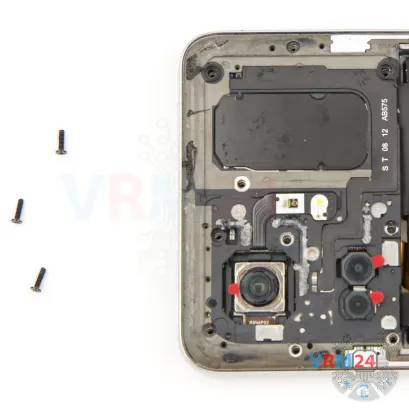
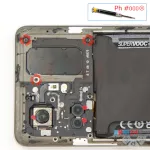
Using a screwdriver Phillips 1.5 mm (PH #000), unscrew the three long black screws .
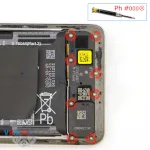
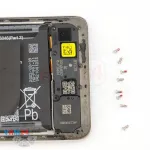
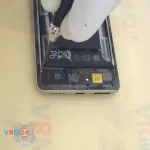
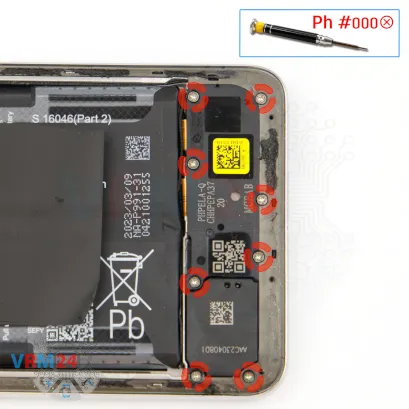
Step 6. Unscrew the screws
Using a screwdriver Phillips 1.5 mm (PH #000), unscrew the eight screws on the bottom section.

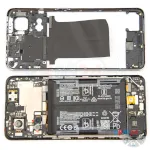

Step 7. Open the mid-frame
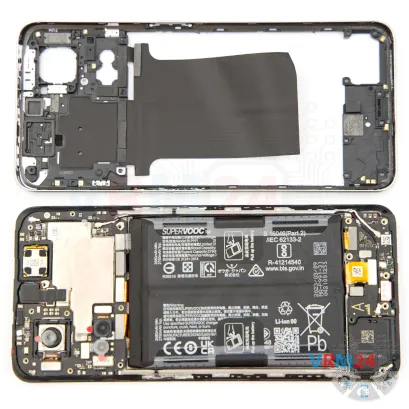
Once all the screws are out, we can detach the mid-frame.
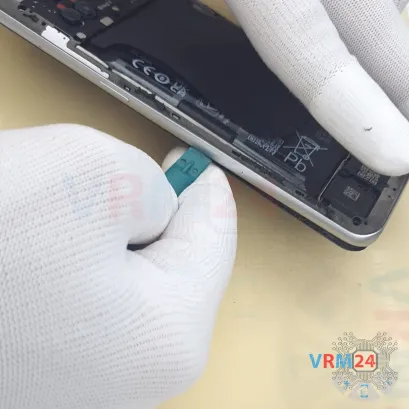
Start again with the thin plastic film—insert it into the gap between the mid-frame and the display frame, preferably near the SIM card slot opening.
Carefully unclip a few clips, then switch to a sturdier tool.
On this model, the mid-frame is especially tight, so be careful at the corners to avoid damaging the display edges.
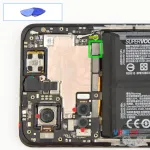
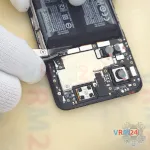
Step 8. Disconnect the battery connector
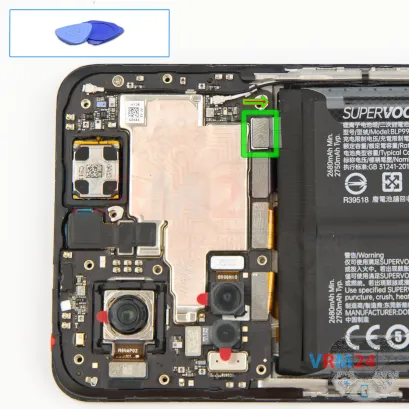
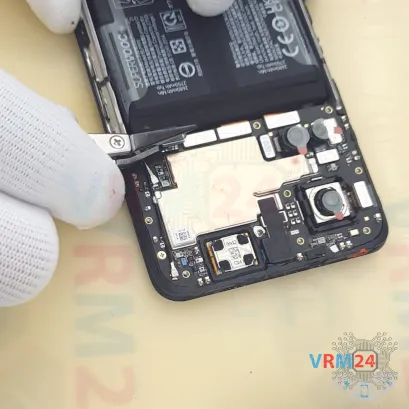
Next, disconnect the battery connector using a non-metal tool.
ℹ️️ The Realme GT Neo 5 SE RMX3701 model has a battery BLP991 with a capacity of 2750 x 2 mAh (also known as a rechargeable battery).
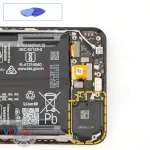
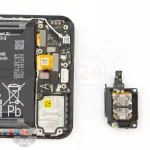
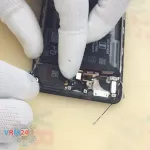
Step 9. Remove the loudspeaker
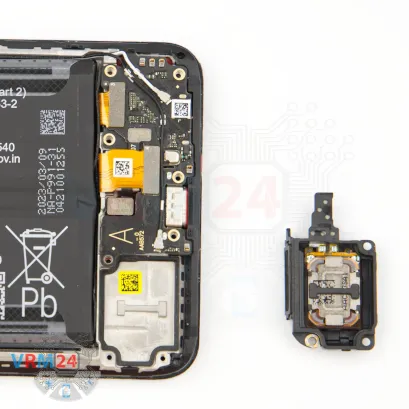
Next, remove the loudspeaker cover.
Again, find the right spot to pry so it comes off smoothly.
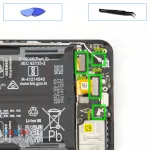
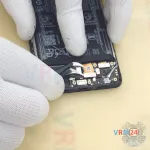
Step 10. Disconnect the connectors
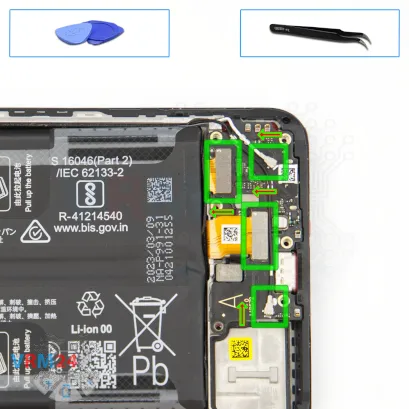
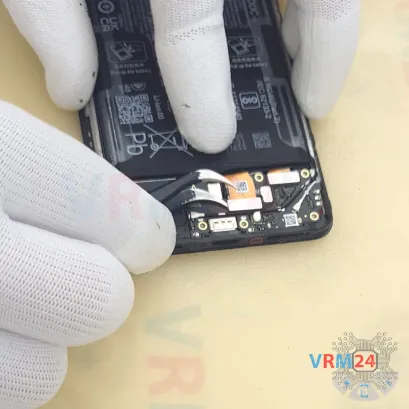
We can disconnect the inter-board flex cables, the fingerprint sensor flex connector, and the coaxial cable connectors.
Free the coaxial cables from the clips holding them on the sub-board.
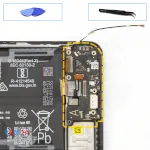


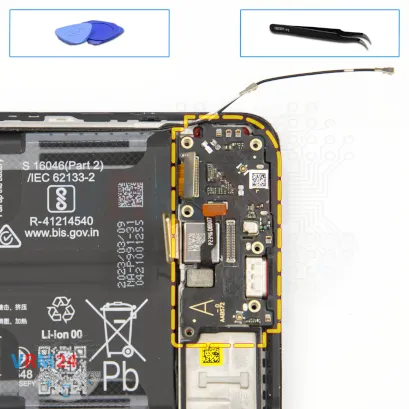
Step 11. Remove the sub-board
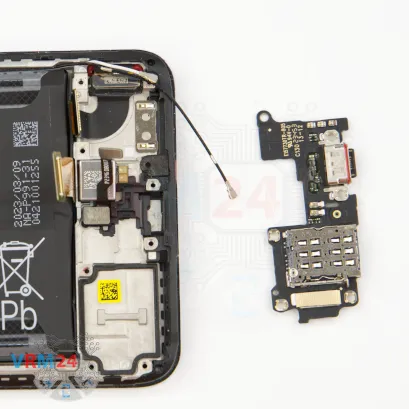
After that, we can remove the sub-board.
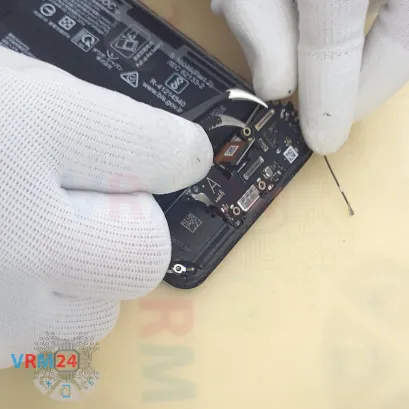
As always, find the right spot to pry it up—don’t force it, and don’t try to bend it.
Once you find where the clip is holding it, gently lift the sub-board.
Note that it sits slightly recessed into the display frame.
On the sub-board, you’ll find the charging port, the microphone, and the SIM connector on the reverse side.
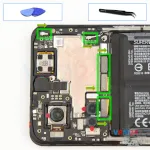
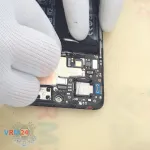
Step 12. Disconnect the connectors
Next, disconnect the coaxial cables and free them from the clips on the motherboard.
And disconnect the inter-board flex connectors and the display flex connector.
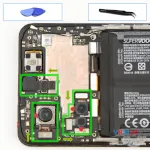
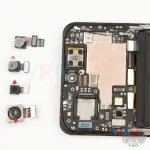
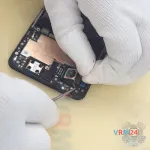
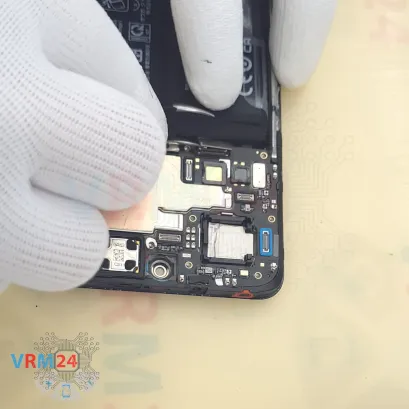
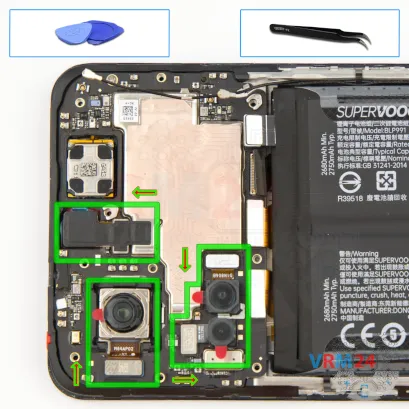
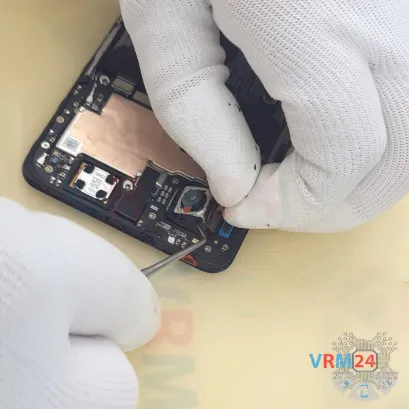
Step 13. Remove the cameras
Disconnect the cameras.
As you’ll see, the cameras are tapped by their base to the display frame and possibly to the shields on the motherboard. Carefully peel them off and set them aside.
Disconnect the rear cameras one by one—never use force, so you don’t tear a flex cable or damage a camera body.
Then disconnect the front camera.
It’s also a good idea to cover its lens with protective film to prevent dust or debris from getting inside.
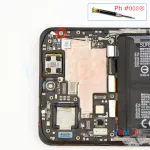
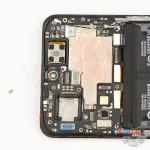
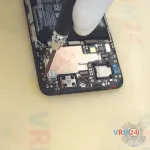
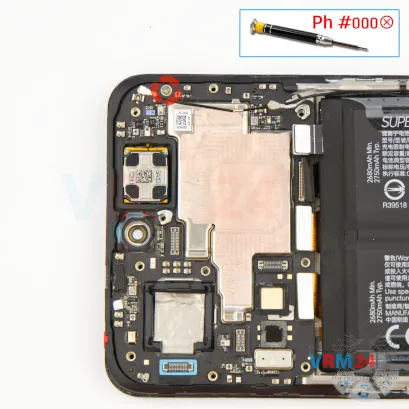
Step 14. Unscrew one screw
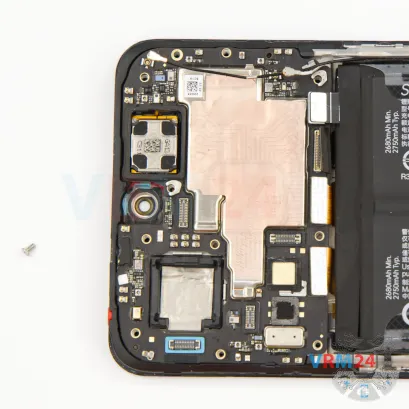
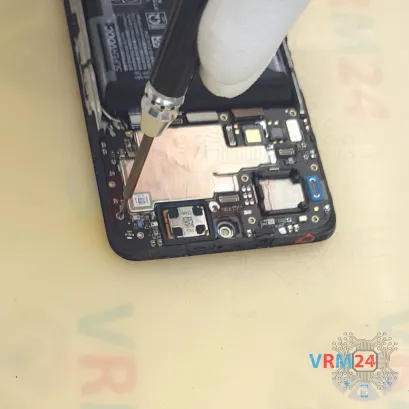
Before removing the motherboard, make sure nothing is holding it down.
As we can see, there’s one last screw securing it.
Unscrew it using the same 1.5 mm Phillips driver.
This screw is different from the others, so set it aside separately.
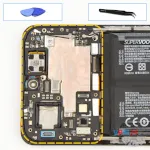
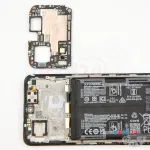

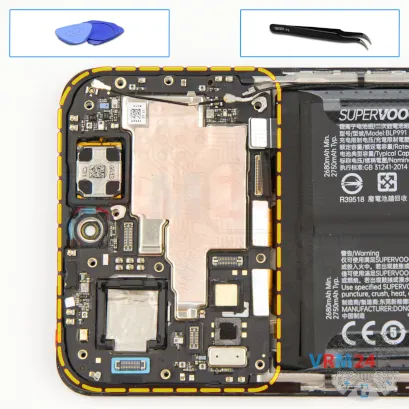
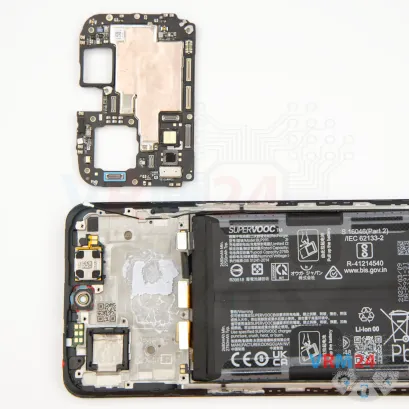
Step 15. Remove the motherboard
Carefully remove the printed circuit board. There is no need to use a lever or try to reach the circuit board by force. Make sure that nothing is getting in the way or holding the circuit board.
The motherboard, also, may be attached with attachments like latches or hooks, be careful.
⚠️️ Do not bend the circuit board when removing it or push tools under it. Unbeknownst to yourself, you can damage components or cables from the inside.
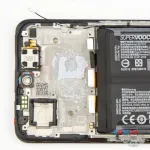
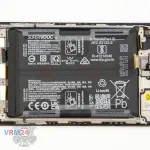
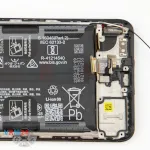
Step 16. In the display frame remained
ℹ️️ In the display frame remained: the earpiece speaker, battery, fingerprint sensor, and vibration motor.
Detailed disassembly instructions of Realme GT Neo 5 SE in the video, made by our mobile repair & service center:
If you have a question, ask us, and we will try to answer in as much detail as possible. If this article was helpful for you, please rate it.

Evgenii Kuzmin
Senior maintenance service and repair engineer
Back to the list


