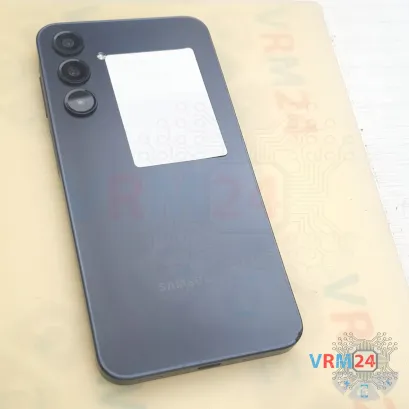
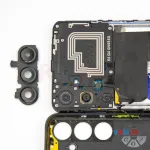
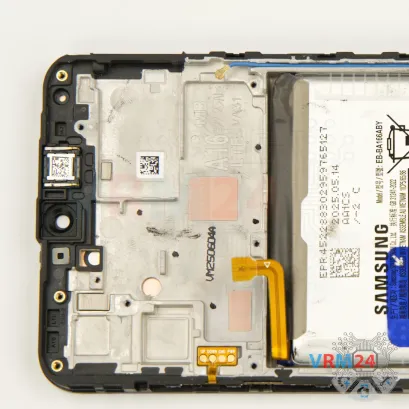
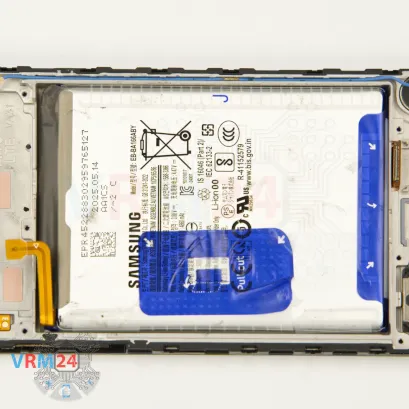
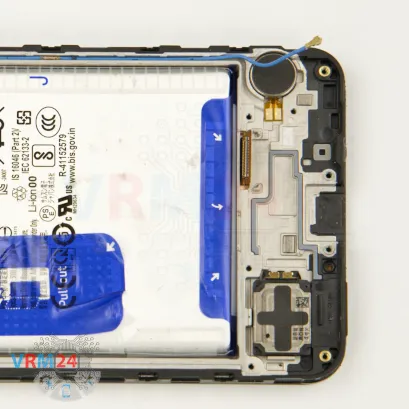
⚠️️ Before disassembling, do not forget to turn your phone off.
Easy
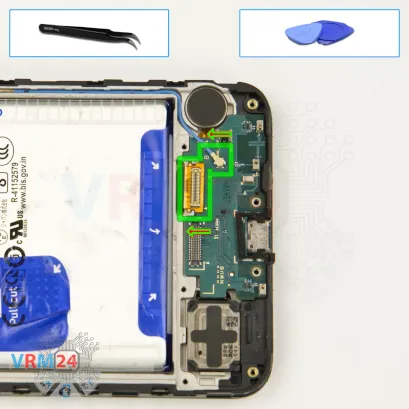
Recommended tools


Disassembly/Repair of the mobile device Samsung Galaxy A16 SM-A166 (Samsung Galaxy A16 SM-A165F, SM-A165F/DS, SM-A165M, SM-A165M/DS, SM-A165F/DSB) with each step description and the required set of tools.

Vadim Popoff
Author / content specialist
Author / Content specialist with 10+ years of experience
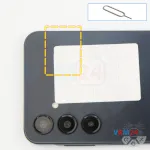
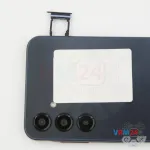
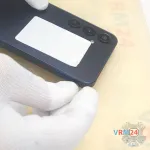
Step 2. Remove the tray
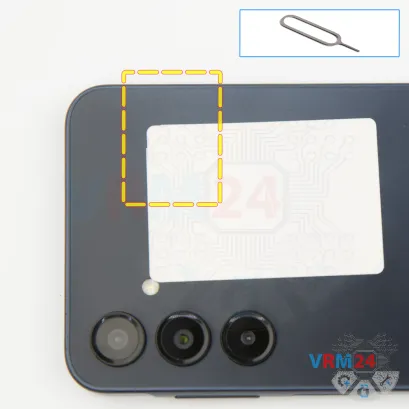
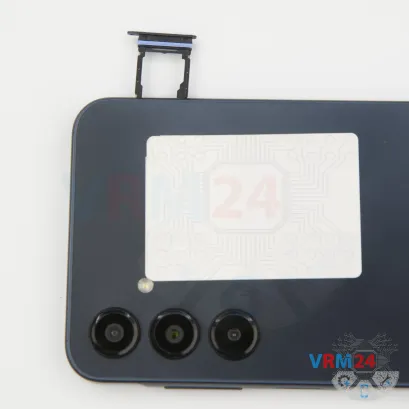
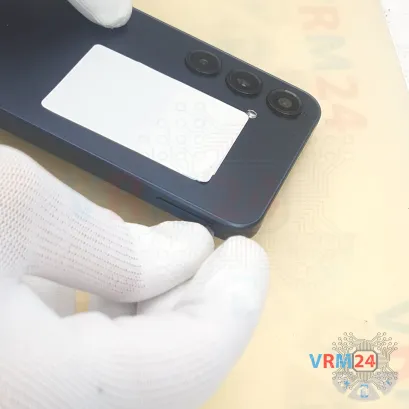
First of all, as usual, we need to remove the card tray.
For this, we use the special tool.
Insert it into the hole and gently push the tray out.
If the tray doesn’t come out well, we can additionally use tweezers.
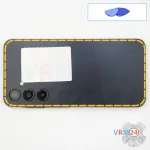
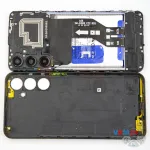
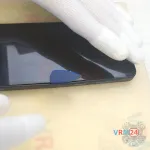
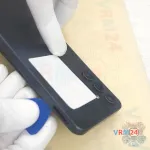
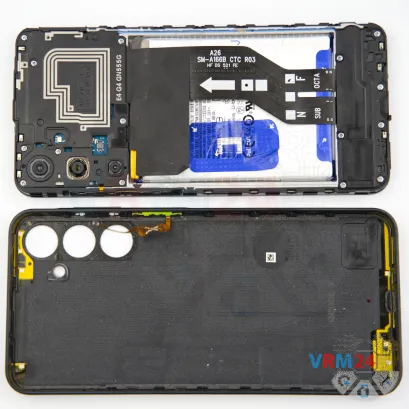
Step 3. Open the back cover
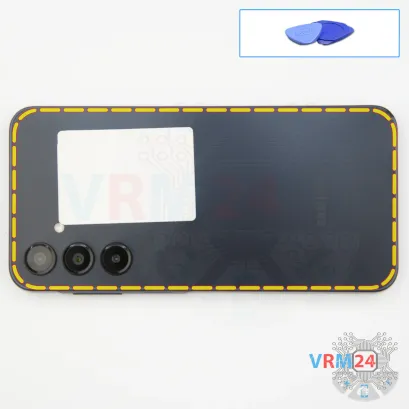
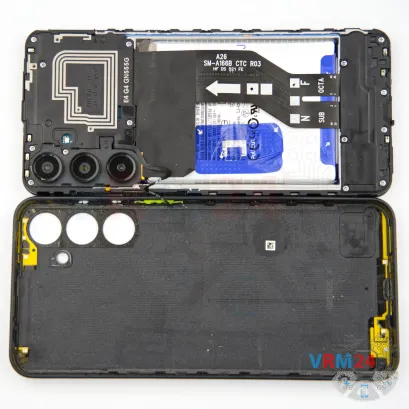
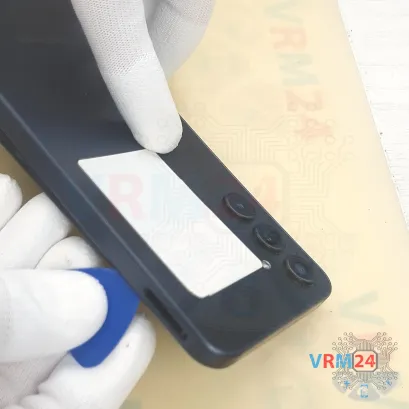
After that, we need to detach the back cover.
On this model, the back cover also serves as the housing.
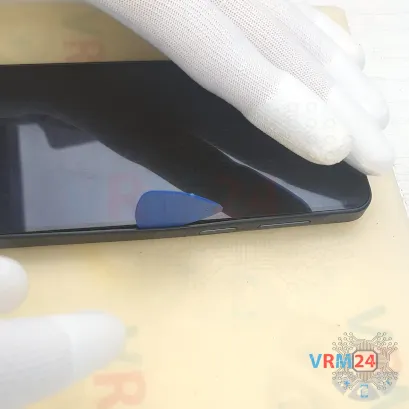
For this, we use a thin plastic tool. Insert it into the gap between the display frame and the back cover and carefully run it along to release the clips.
Please note that the tool needs to be inserted deep enough, and it must be thin enough to disengage the clips.
If we don’t insert the tool deep enough and try pressing on the display, we may damage the edge of the display.
As always, we need to be careful around the side buttons and the fingerprint sensor, because they are physically located there.
Pay attention to which side the fingerprint sensor flex cable is located on.
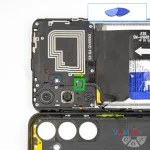
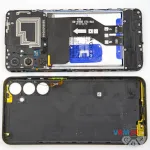
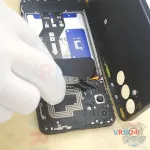
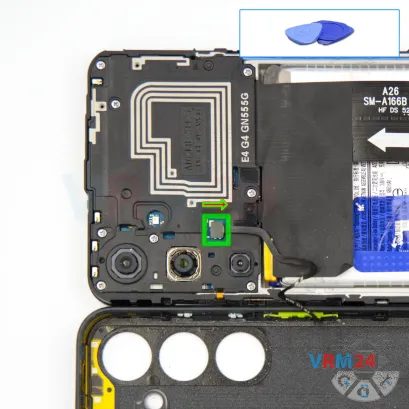
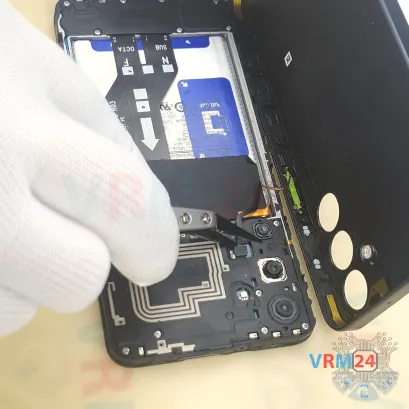
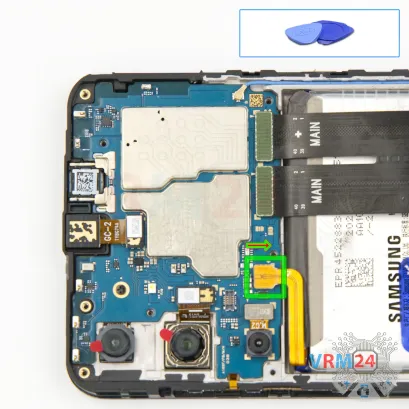
Step 5. Disconnect the connector
Then, using a non-metal tool, disconnect the fingerprint sensor flex connector; the sensor itself is located on the back cover.
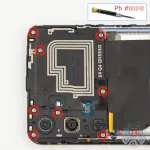
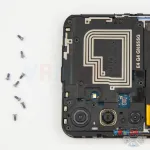
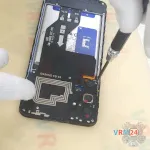
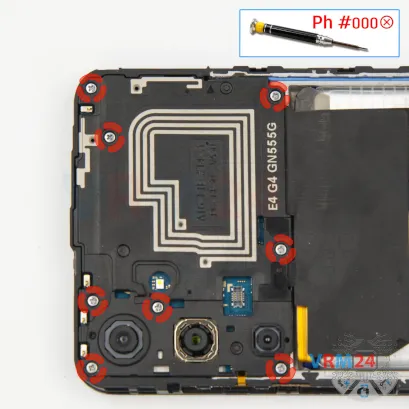
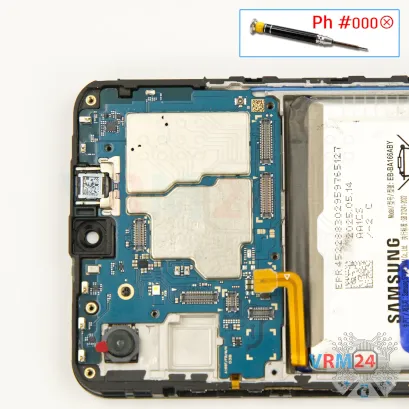
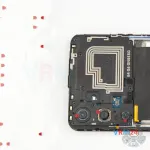
Step 6. Unscrew the screws
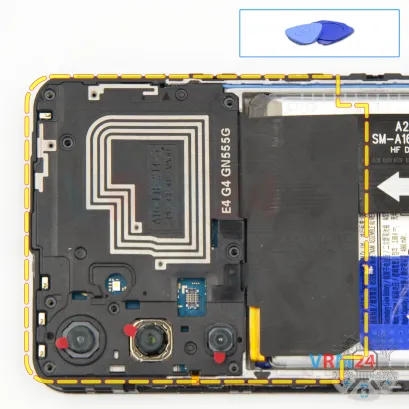
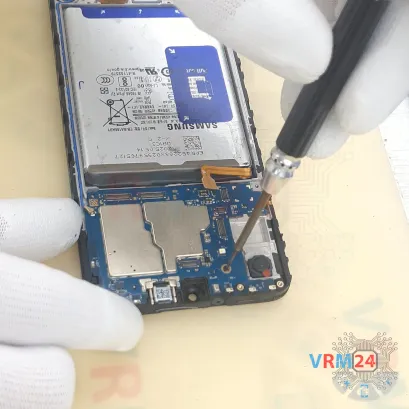
Next, we move on to unscrewing the screws in the upper section.
For this, we use a 1.5 mm Phillips screwdriver or a Phillips #000.
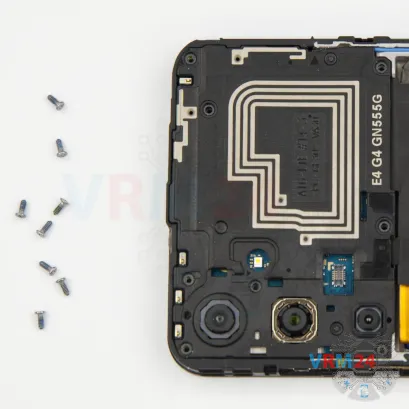
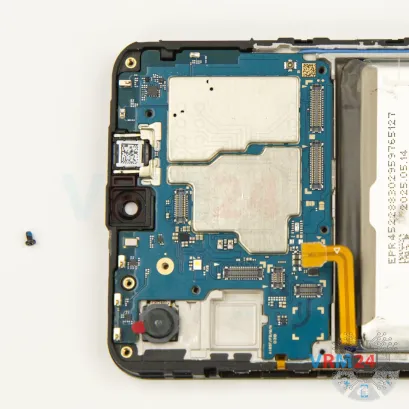
It looks like all the screws are identical — however, these screws don’t go back in well if you mix up their holes.
So, it’s better to keep them arranged in a specific order.
Also, the screws are hard to pull out — you’ll need tweezers to remove them.
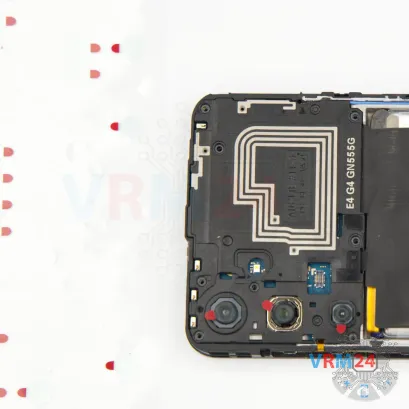
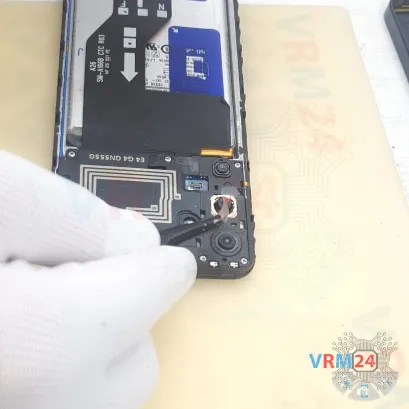
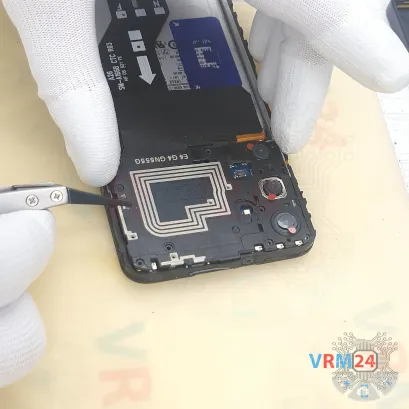
Step 7. Protecting camera lenses
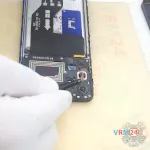
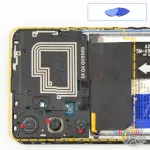
After this, we need to cover the camera lenses. For this, we use special film.
Note that we apply the film not onto the lenses themselves, but onto the rim around them.
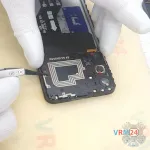
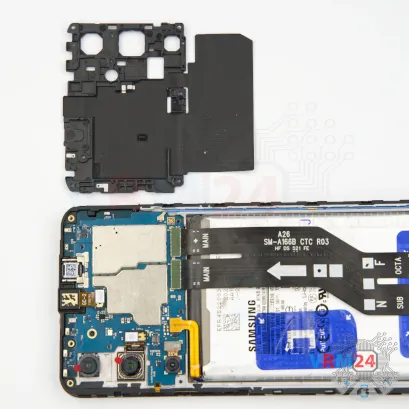
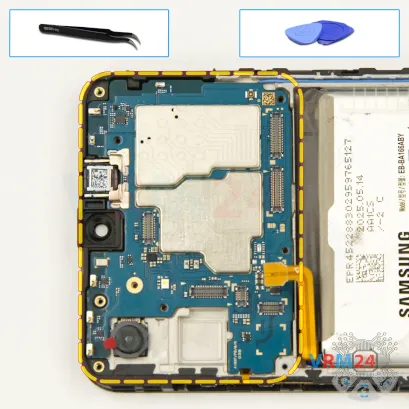
Step 8. Open the cover
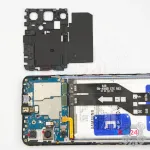
After that, using a non-metal tool, we detach the cover with the antennas. Set it aside.
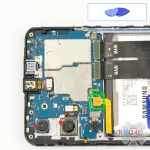
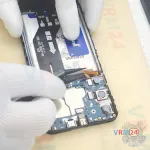
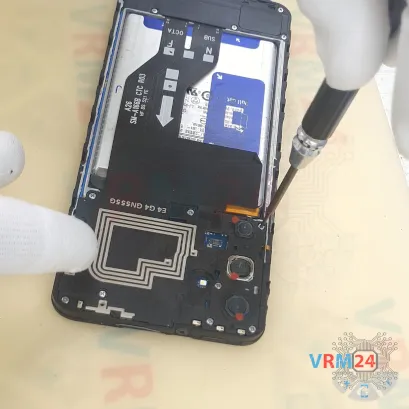
Step 9. Disconnect the battery connector
Disconnect the battery connector as soon as possible. Use a plastic or other non-metallic tool to prevent any damage.
ℹ️️ The Samsung Galaxy A16 model SM-A166 uses a EB-BA166ABY rechargeable battery with a capacity of 4860 mAh.
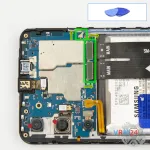
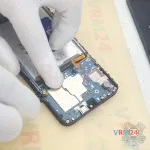
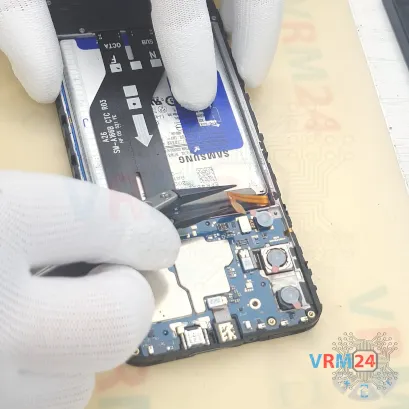
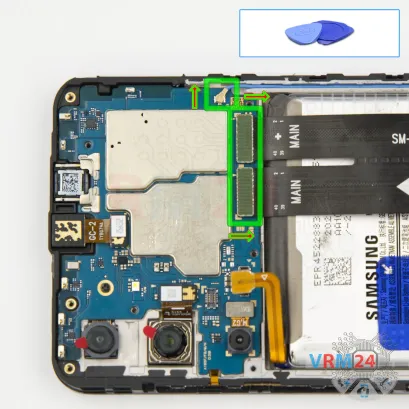
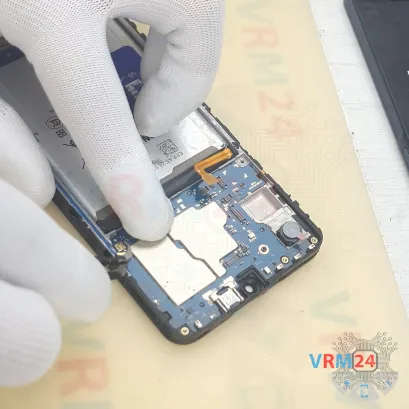
Step 10. Disconnect the connector
Now we can disconnect two inter-board cable connectors and the coaxial cable connector; it is attached quite tightly.
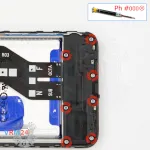
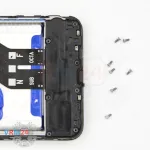
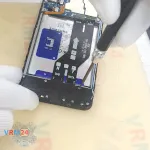
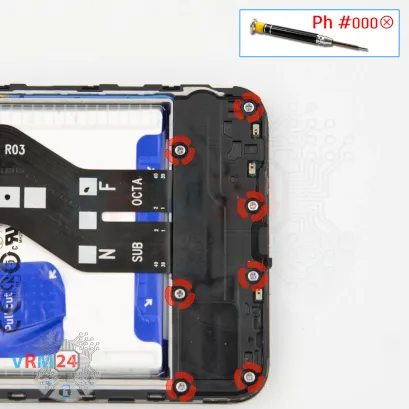
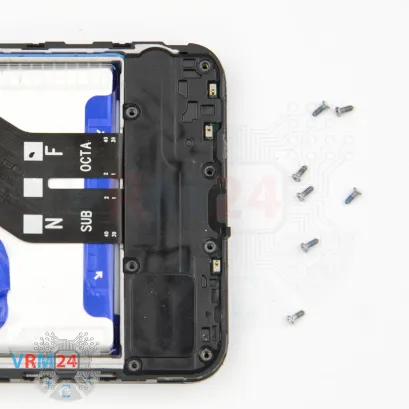
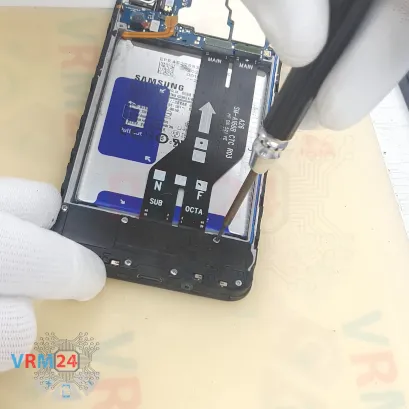
Step 11. Unscrew the screws
We also need to unscrew the screws in the lower section.
For this, we use the same 1.5 mm Phillips or Phillips #000.
It’s better to keep these screws separate from the previous ones.
If the screws are hard to remove, we can use tweezers.
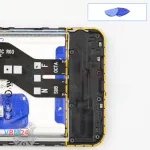
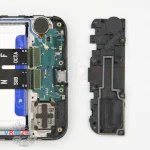
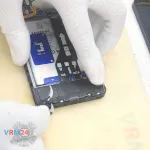
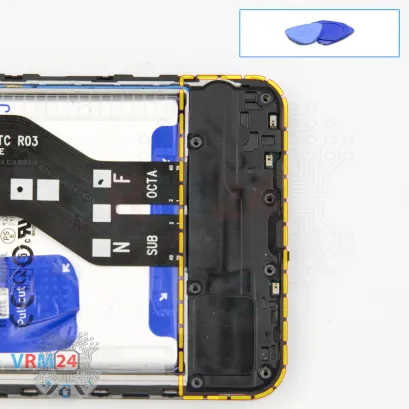
Step 12. Open the cover
Next, we need to detach the cover.
For this, we use a thin tool. Pry it from the edge.
By the way, on this Samsung model there are arrows marking the spots where the covers should be pried open.
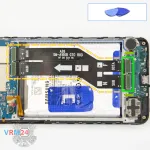
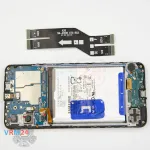
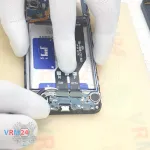
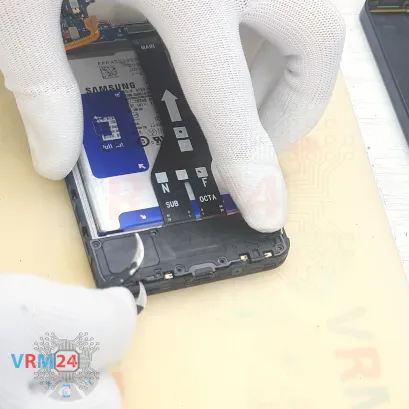
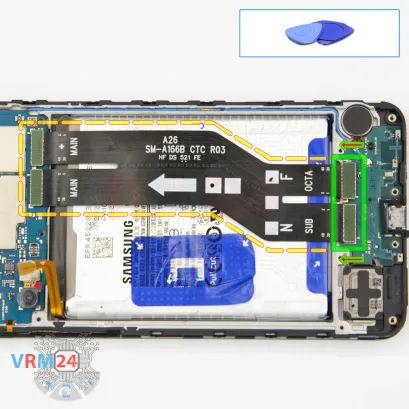
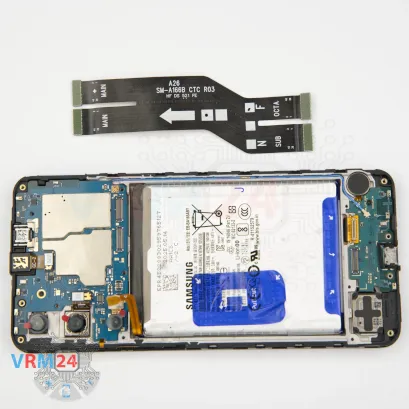
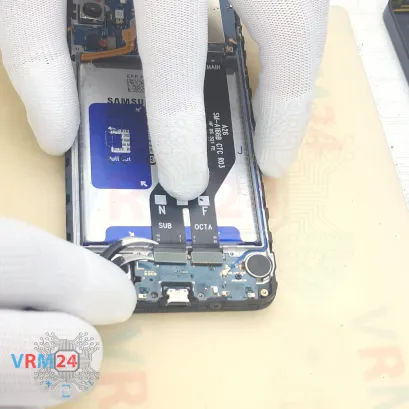
Step 13. Remove the interconnect cables
After that, we disconnect the connectors and remove the interconnect flex.
On the interconnect flex there is also an arrow showing the direction toward the main board.
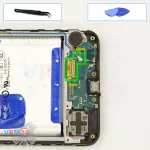
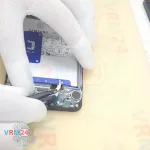
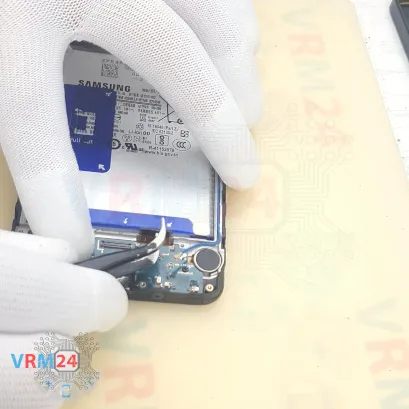
Step 14. Disconnect the connectors
Next, we need to disconnect the coaxial cable connector and the display flex.
Note that a thermistor is located in that area. You need to be very careful not to damage it.
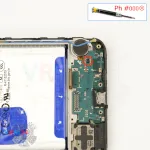
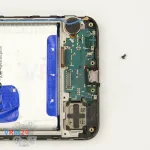
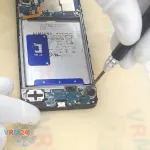
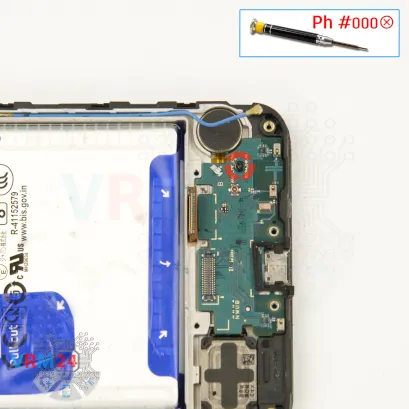
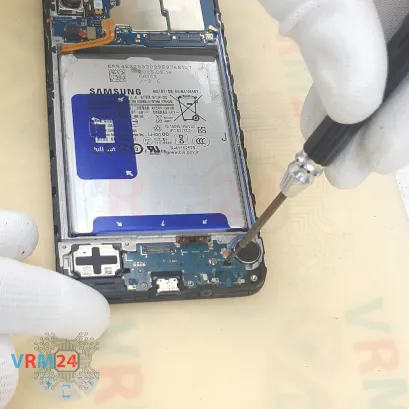
Step 15. Unscrew one screw
After that, we need to unscrew one screw that secures the sub-board. Note that it differs from the previous ones.
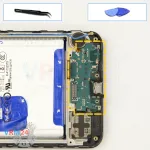
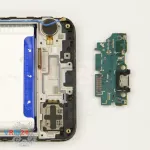
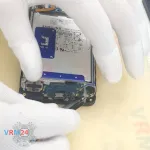
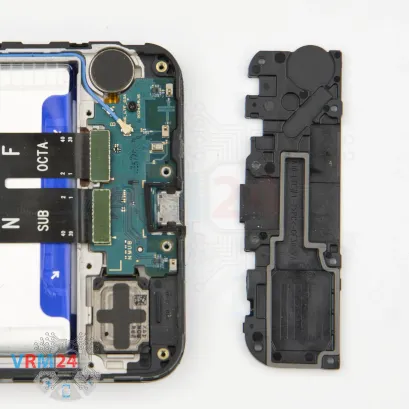
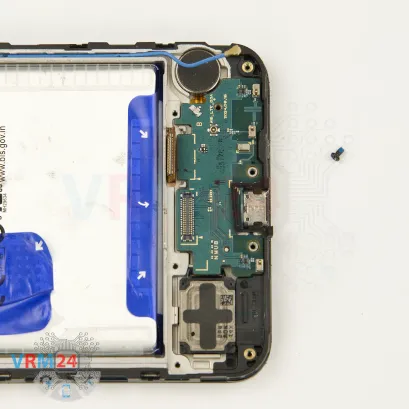
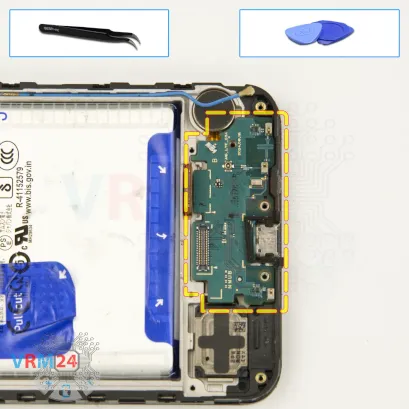
Step 16. Remove the sub-board
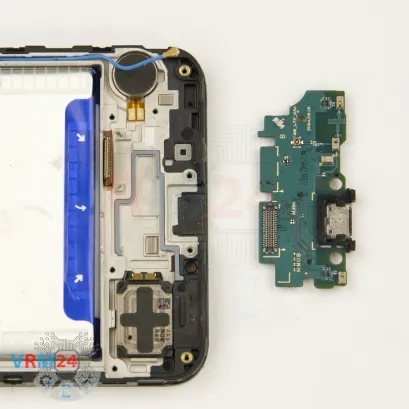
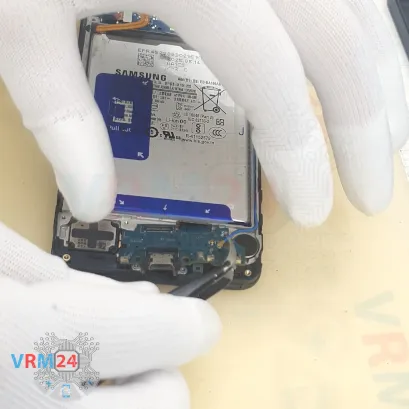
Now we can remove the sub-board. Carefully pry it up and take it out.
The sub-board contains the charging port, microphone, and other components on the back side.
What remains in the display frame is the speaker and the vibration motor.
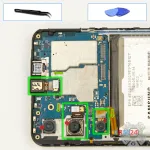
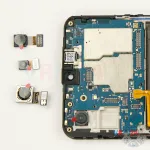
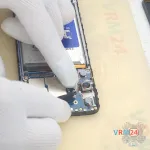
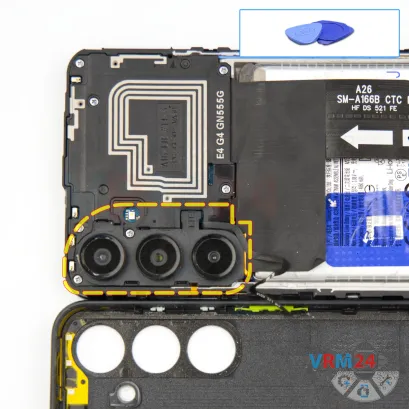
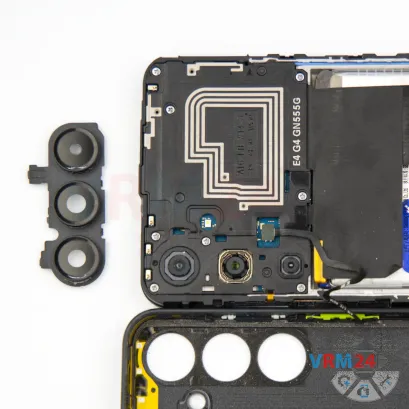
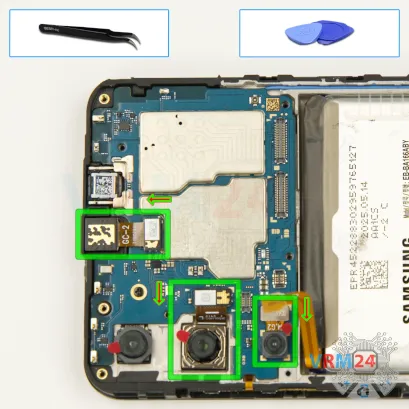
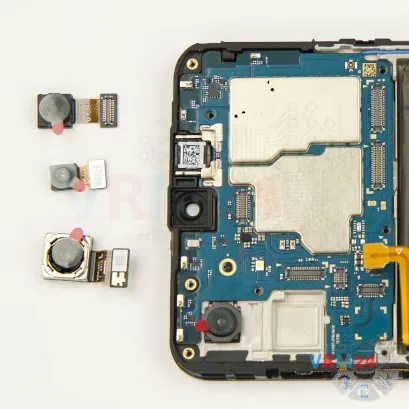
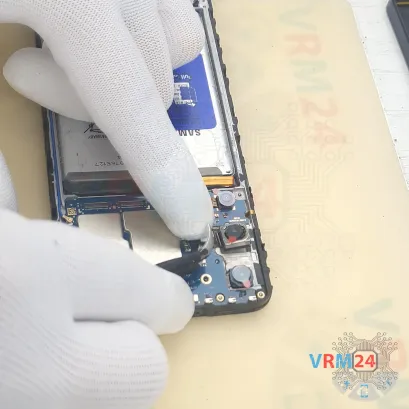
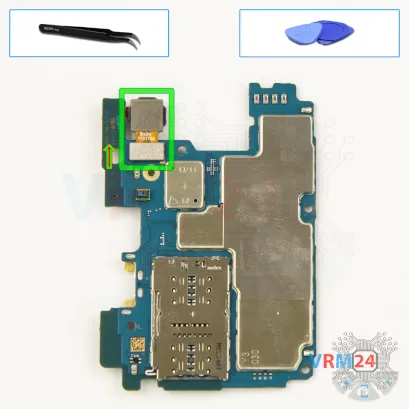
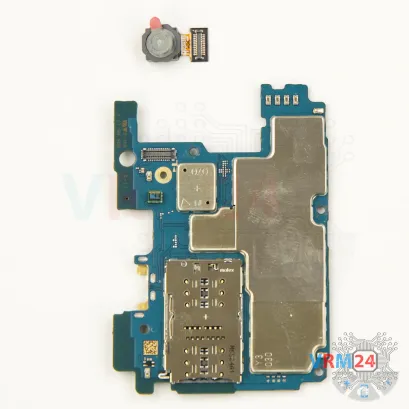
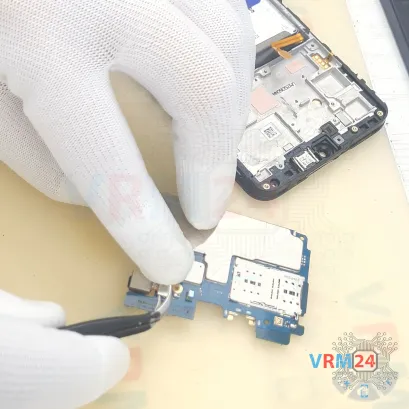
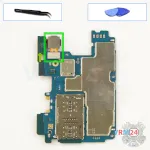
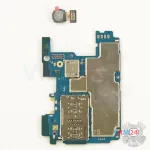
Step 17. Remove the cameras
We need to disconnect the cameras.
Carefully pry them up and disconnect the two rear cameras.
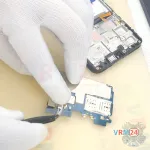
Then we disconnect the front-facing camera.
It’s also better to cover the camera lens with film to prevent dust or debris from getting on it.
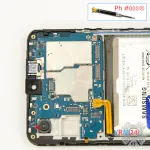
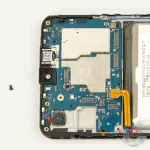
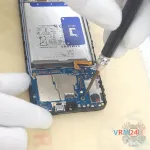
Step 18. Unscrew one screw
Next, we can unscrew the one screw that secures the main board. For this, we also use the 1.5 mm Phillips screwdriver.
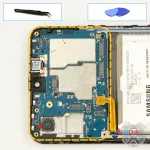
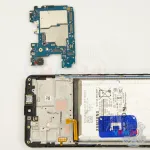
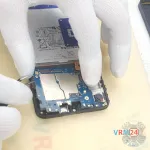
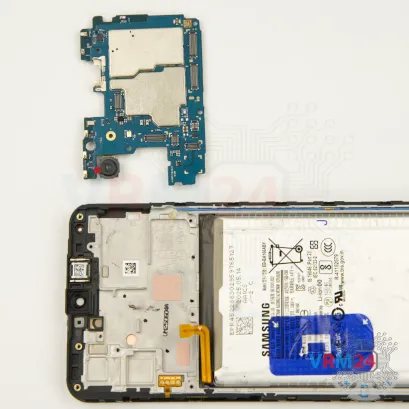
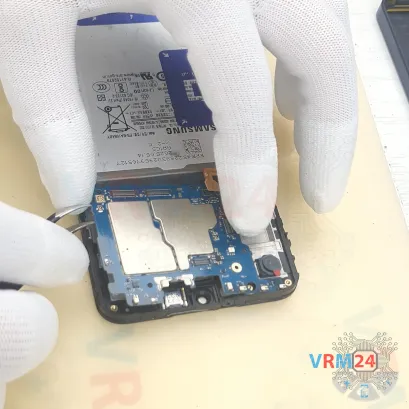
Step 19. Remove the motherboard
Now we can remove the main board.
Carefully pry it from the edge, lift it out, remove it.
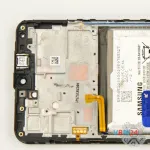
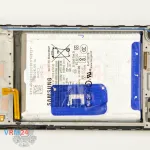
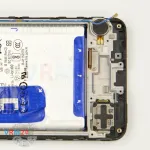
Step 21. In the display frame remained
ℹ️️ In the display frame remained: the earpiece speaker, loudspeaker, battery, and vibration motor.
Detailed disassembly instructions of Samsung Galaxy A16 SM-A166 in the video, made by our mobile repair & service center:
If you have a question, ask us, and we will try to answer in as much detail as possible. If this article was helpful for you, please rate it.

Evgenii Kuzmin
Senior maintenance service and repair engineer
Back to the list

