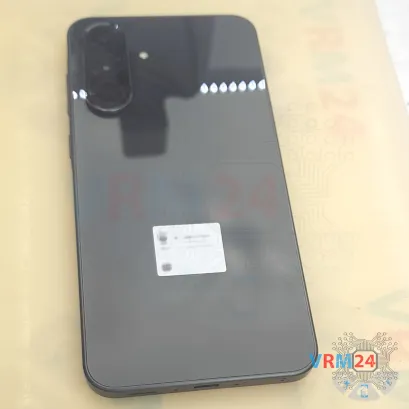
⚠️️ Before disassembling, do not forget to turn your phone off.
Moderate
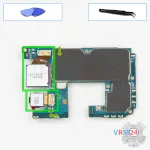
Recommended tools


Disassembly/Repair of the mobile device Samsung Galaxy A36 SM-A366 (Samsung Galaxy A36 SM-A366E, SM-A366E/DS, SM-A366B, SM-A366B/DS, SM-A366U, SM-A366U1) with each step description and the required set of tools.

Vadim Popoff
Author / content specialist
Author / Content specialist with 10+ years of experience
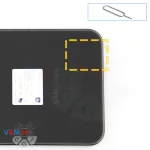
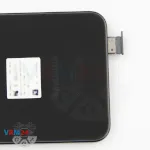
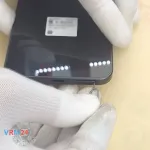
Step 2. Remove the tray
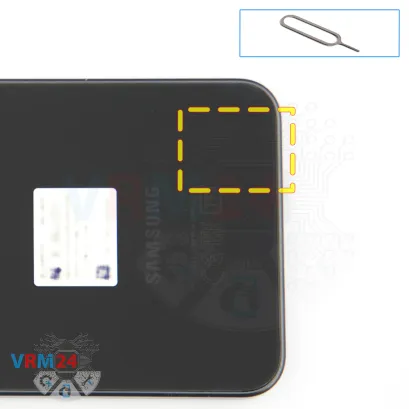
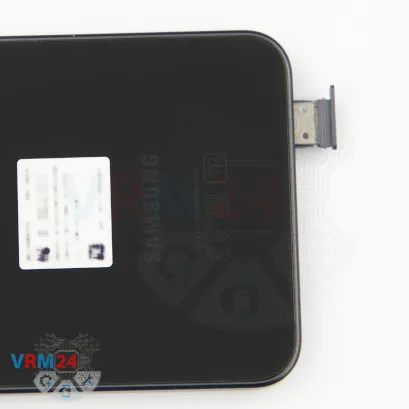
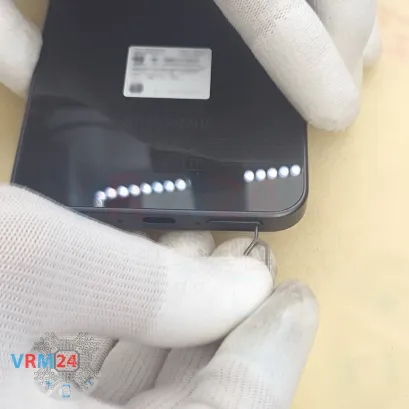
First, we need to remove the SIM card tray. For that, we’ll use a special tool.
Carefully insert the tool into the small hole and push the tray out.
If it’s stuck or hard to remove, you can use tweezers to help pull it out.
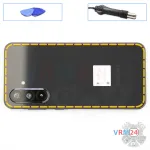
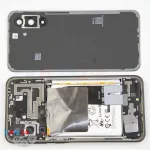

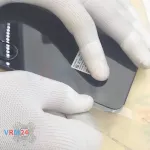
Step 3. Open the back cover
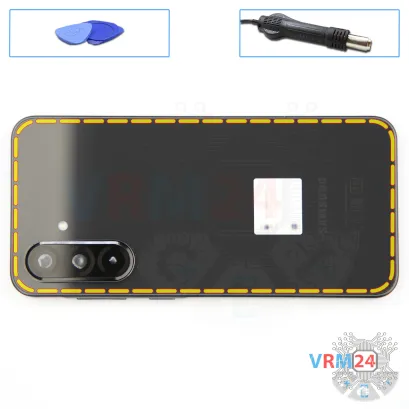
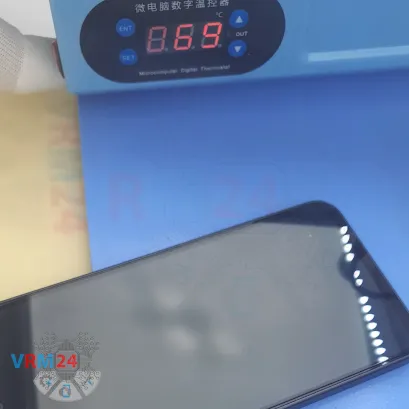
Next, we’ll heat the back cover to about 70°C (or 160°F). We’re using a heating mat for this, but you can also use a hair dryer.
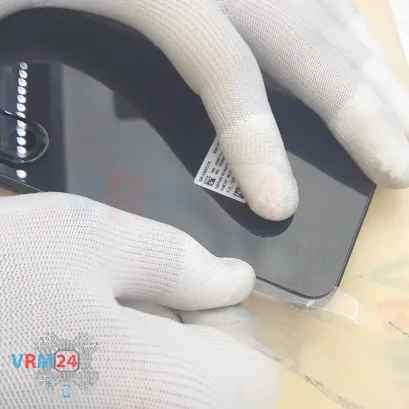
After about 5 to 7 minutes of heating, we can start removing the back cover. To do this, we’ll use a thin plastic film — this could be a film from stationery store or even a screen protector film.
Gently slide the sheet along the edge to cut through the adhesive underneath.
As always, be extra careful around the camera area to avoid damaging the lenses.
Also, don’t push the film in too deep — we don’t want to accidentally hit any ribbon cables inside the phone.
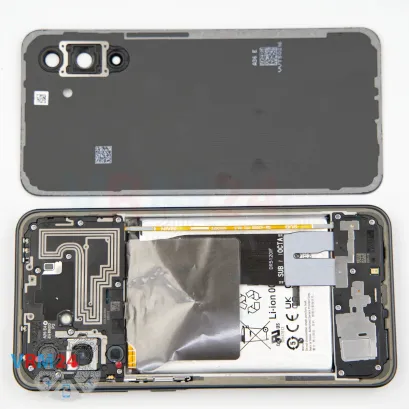
Once the adhesive is loosened, we can carefully lift and open the back cover. As you can see, there’s nothing attached to the inside of the cover.
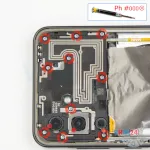
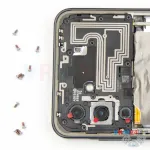
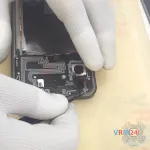
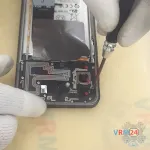
Step 4. Unscrew the screws
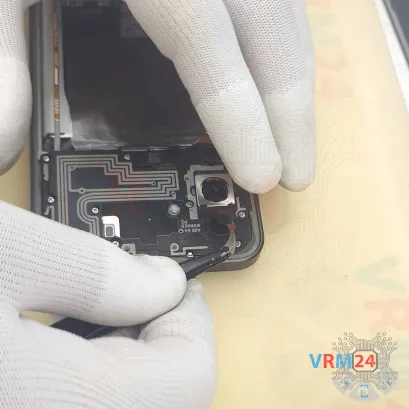
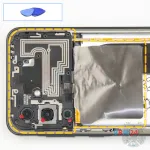
Now it’s a good idea to protect the camera lenses. We use a special protective film for this.
Make sure to stick the film only to the rims — not directly on the lenses themselves.
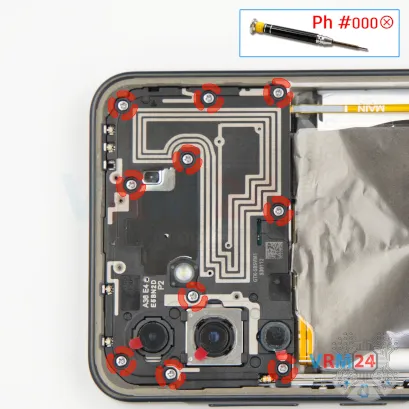
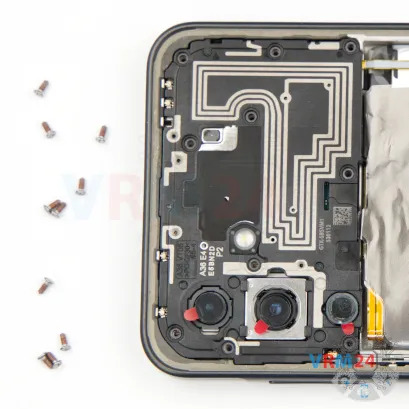
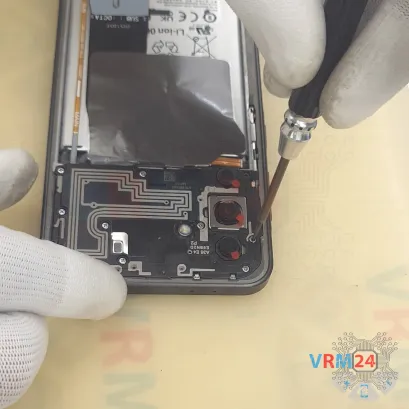
Next, we’ll remove the screws. Use a 1.5 mm Phillips screwdriver (or a #000 Phillips).
Carefully unscrew all the screws and place them on a special magnetic pad or tray, just in case.
Step 5. Open the cover
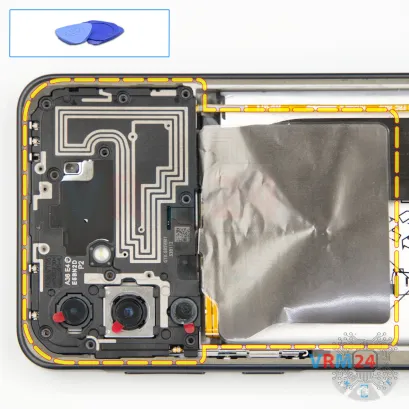
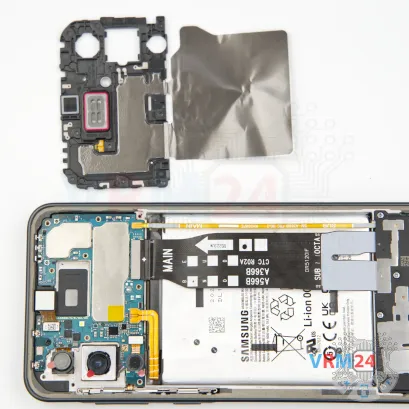
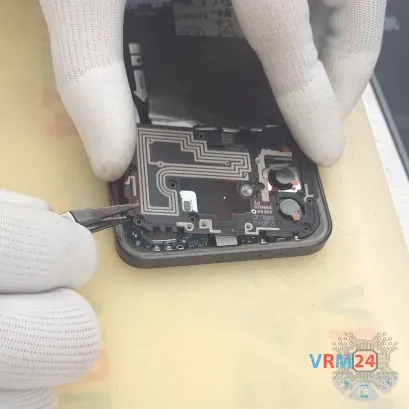
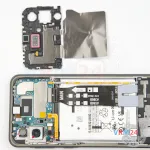
Once the screws are out, we’ll detach the top internal cover that includes the antenna tracks/or lines. Use a non-metallic tool to gently pry it off.
There’s a speaker mounted on this cover, by the way.
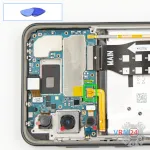
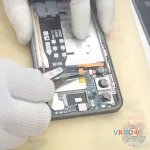
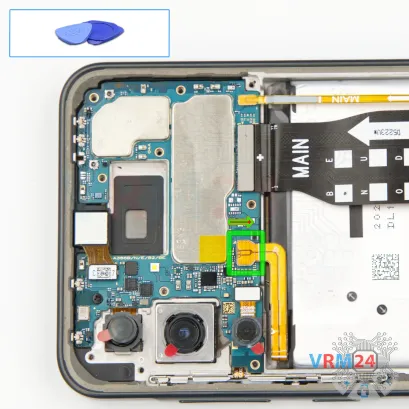
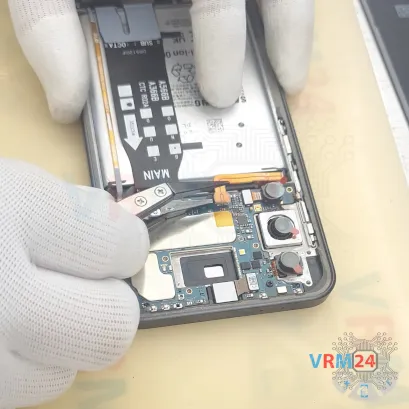
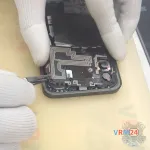
Step 6. Disconnect the battery connector
After that, use the same non-metallic tool to disconnect the battery connector.
ℹ️️ The Samsung Galaxy A36 SM-A366 model has a battery EB-BA566ABY with a capacity of 5000 mAh (also known as a rechargeable battery).
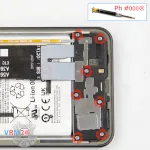
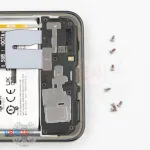
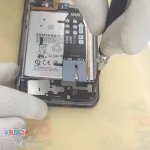
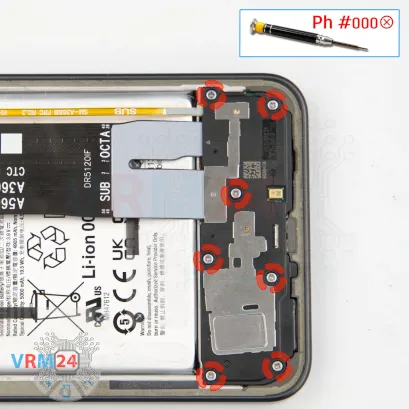
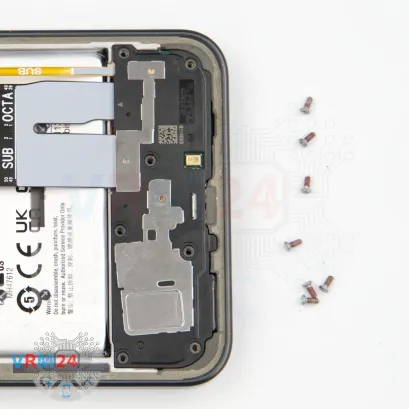
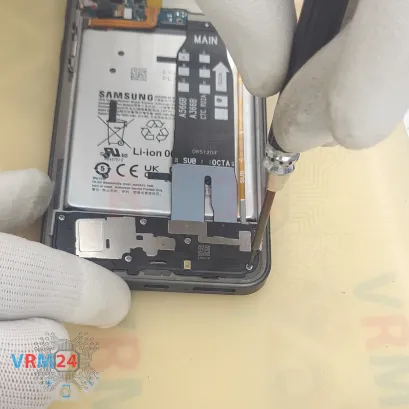
Step 7. Unscrew the screws
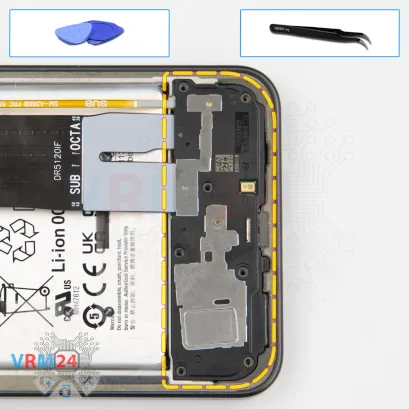
Now we’ll move on to the screws at the bottom section.
Again, use the same 1.5 mm Phillips screwdriver. If the screws are hard to remove, we can use a magnetizer, tweezers, or both to help get them out.
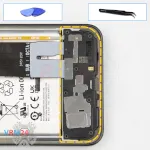
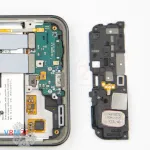
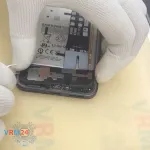
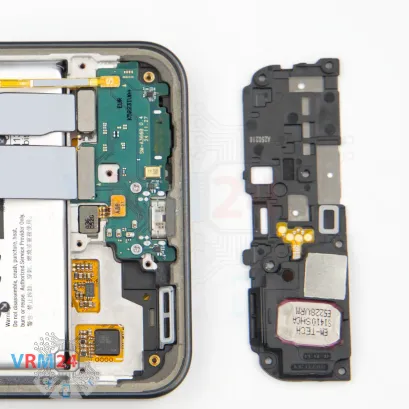
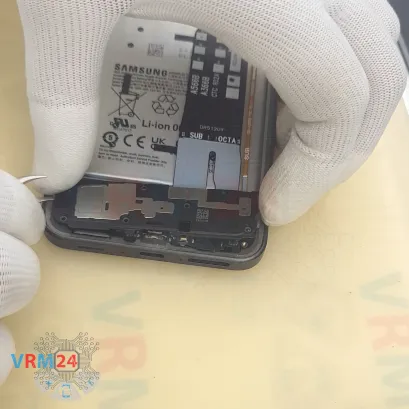
Step 8. Remove the loudspeaker
Once the screws are removed, we’ll carefully detach the bottom internal cover. Lift it gently — it also has a loudspeaker attached.
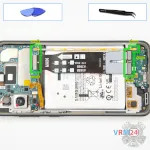
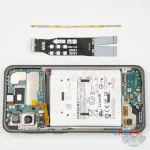
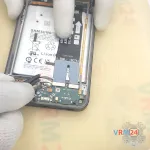
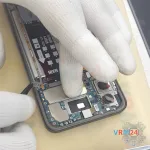
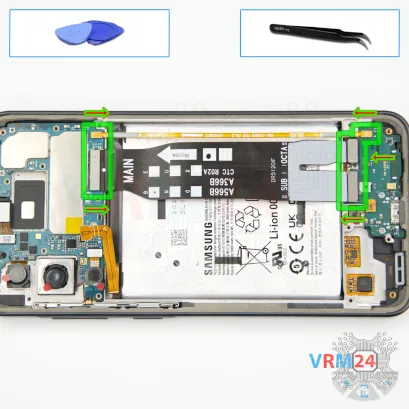
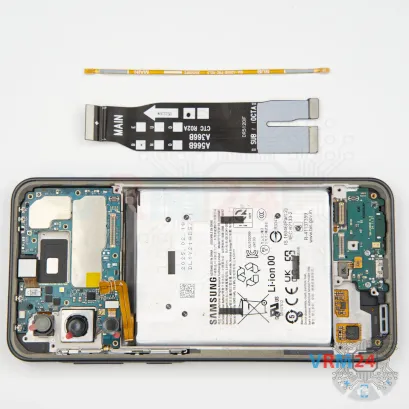
Step 9. Remove the interconnect cables
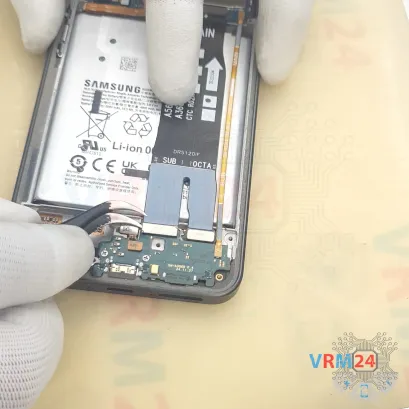
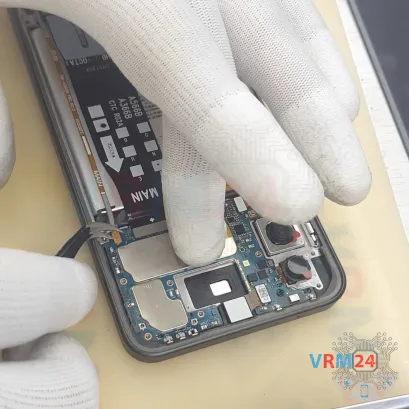
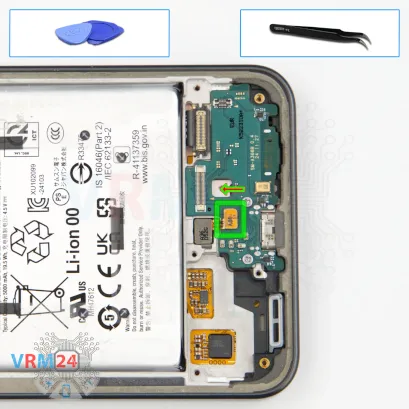
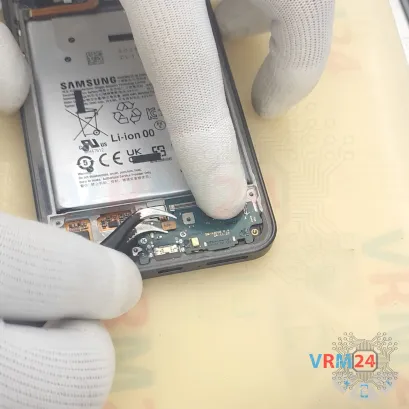
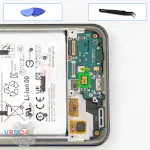
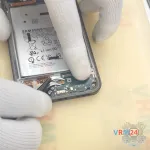
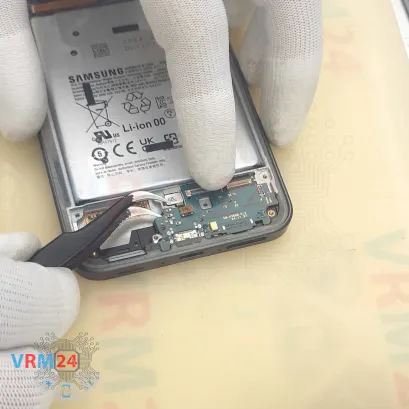
Now, we’ll disconnect the connectors on the sub-board: the interconnect ribbon cable and the antenna cable.
Then, do the same on the motherboard side — disconnect and move all the cables aside.
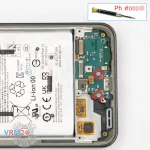
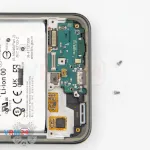
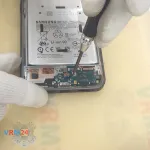
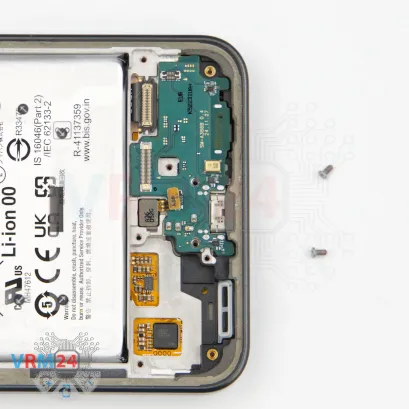
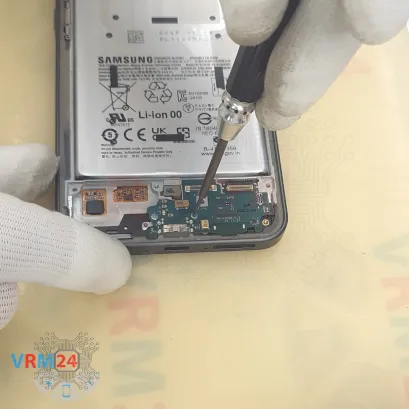
Step 11. Unscrew the screws
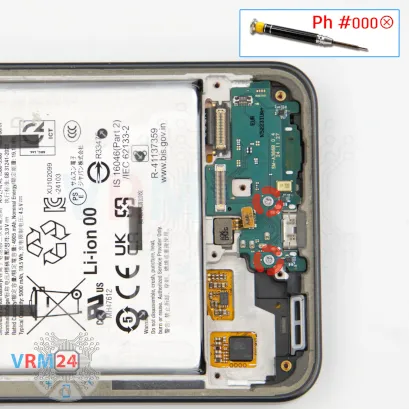
And we remove the two screws on the sub-board.
It's best to keep these screws separate from the previous ones — just in case.
Also, remember the placement of each screw on the sub-board so you don’t mix them up during reassembly.
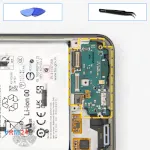
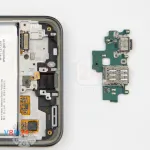
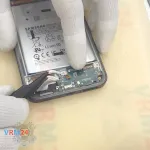
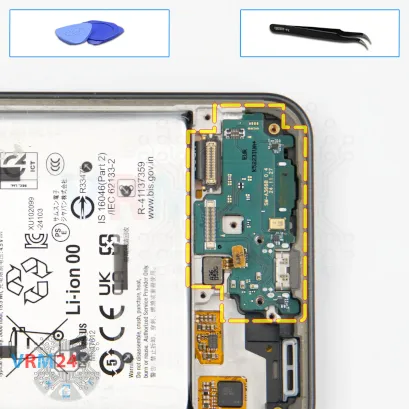
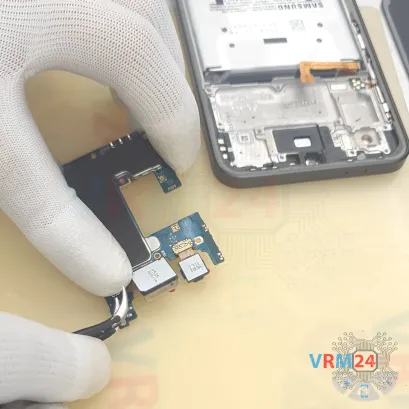
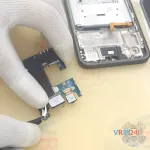
Step 12. Remove the sub-board
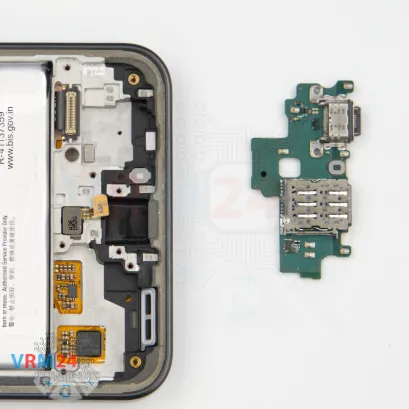
Carefully remove the sub-board. We could notice it sits slightly recessed.
On this sub-board, we have the charging port, microphone, and the SIM card tray connector on the backside.
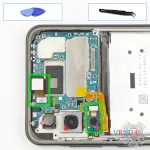
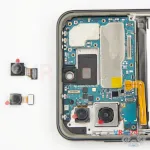
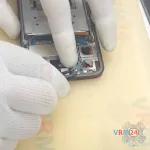
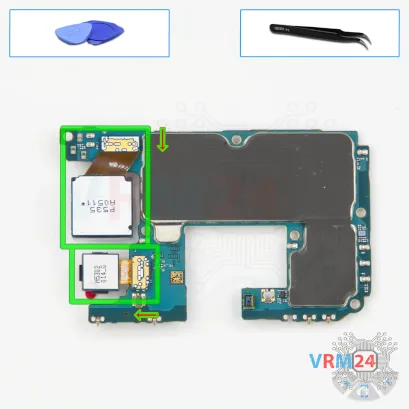
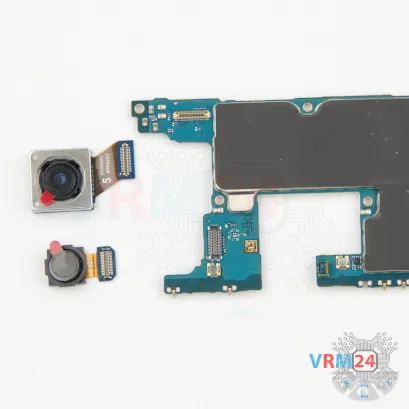
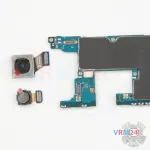
Step 13. Remove the cameras
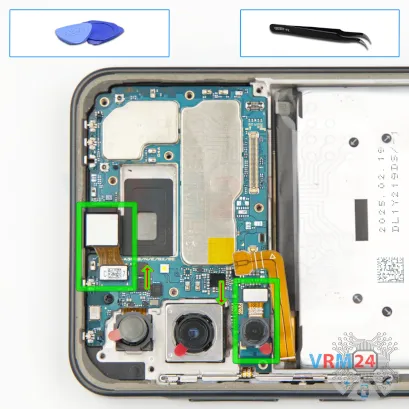
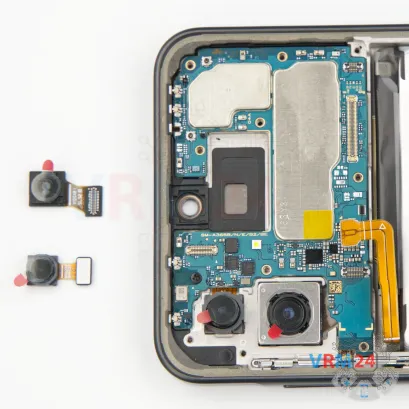
Up here, we can usually only disconnect one rear camera and the front-facing camera.
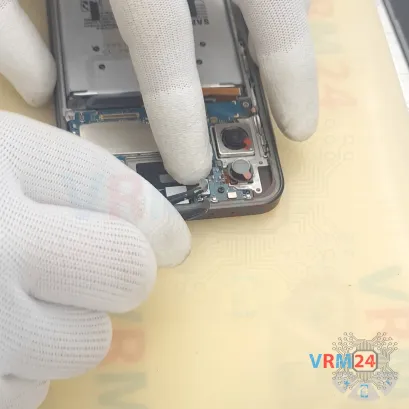
It’s a good idea to remove the front camera and cover the lens to keep dust out.
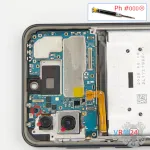
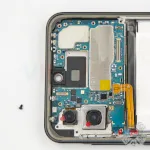
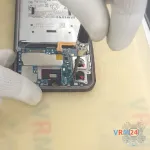
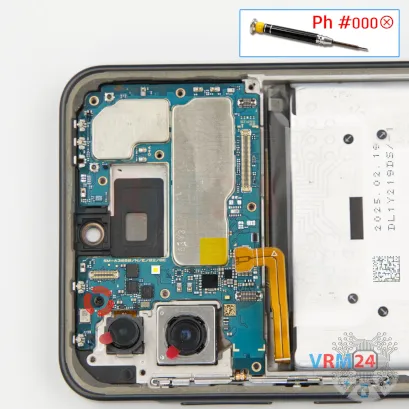
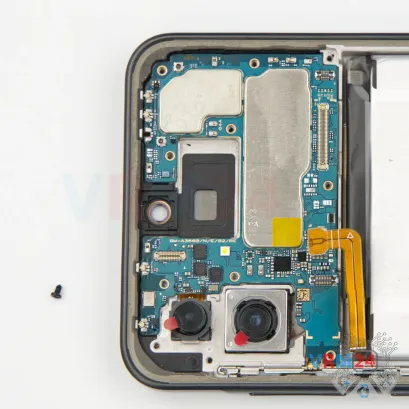
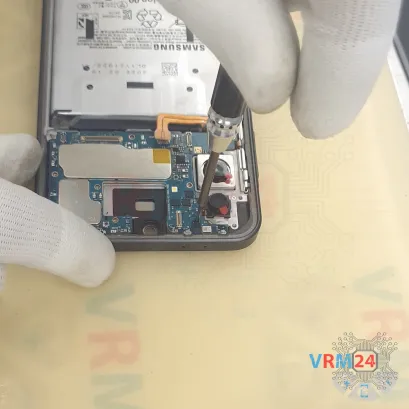
Step 14. Unscrew one screw
Then, we remove the one screw holding the motherboard in place.
Again, use the same 1.5 mm Phillips screwdriver, and keep this screw separate — it’s different from the others.
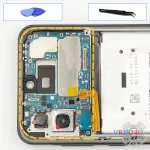
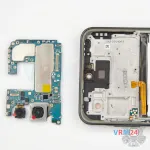
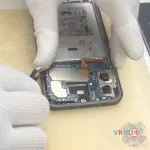
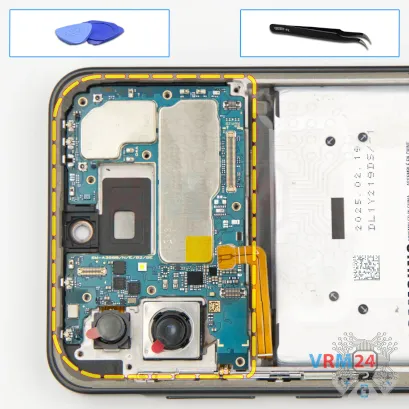
Step 15. Remove the motherboard
Carefully remove the printed circuit board. There is no need to use a lever or try to reach the circuit board by force. Make sure that nothing is getting in the way or holding the circuit board.
The motherboard, also, may be attached with attachments like latches or hooks, be careful.
⚠️️ Do not bend the circuit board when removing it or push tools under it. Unbeknownst to yourself, you can damage components or cables from the inside.
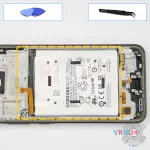
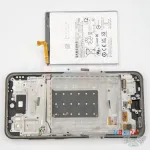
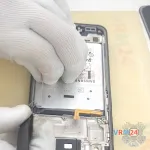
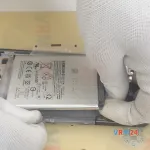
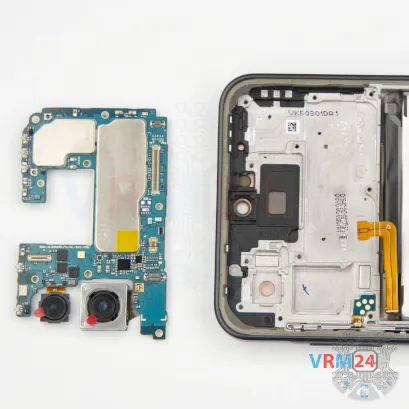
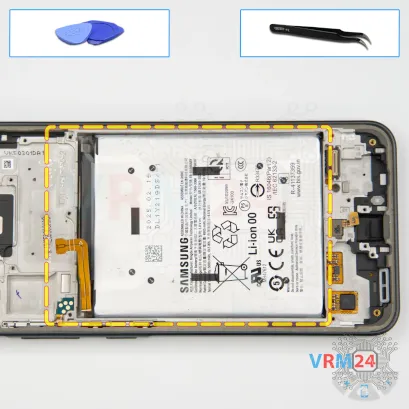
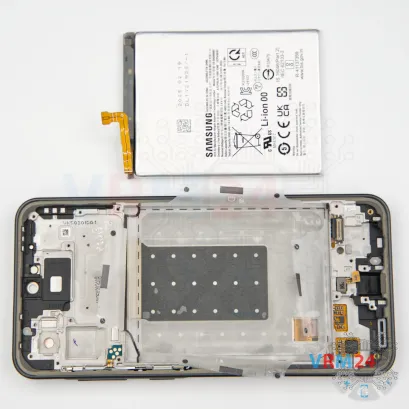
Step 17. Remove the battery
Now we can set the motherboard and cameras aside and move on to removing the battery.
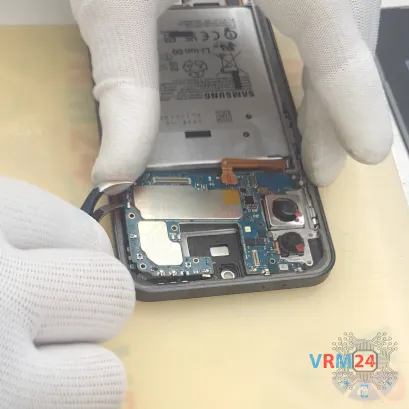
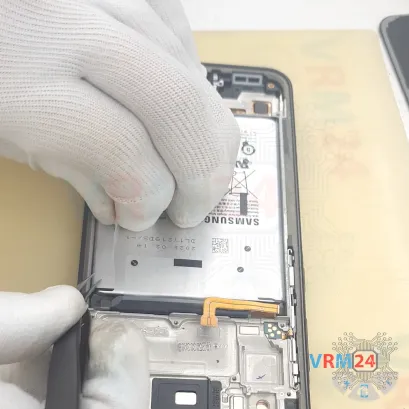
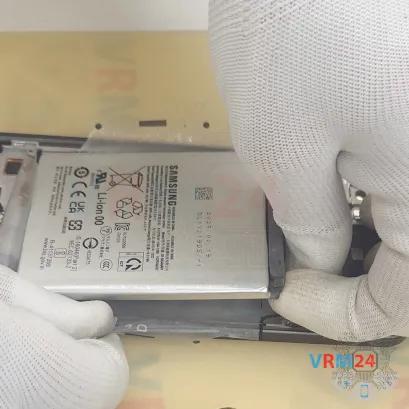
In the 2025 Galaxy series, the battery is held in place with transparent pull tabs. Peel them off carefully and fold them to the side. Then gently lift the battery out.
By the way, the battery is not glued down on the bottom or the back.
Be extra cautious with the battery connector cable. Make sure it doesn’t get stuck to one of the transparent pull tabs — otherwise, when you pull the battery out, it could tear the cable. Unfortunately, that does happen sometimes.
Carefully peel the tabs and remove the battery.
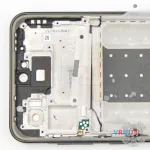
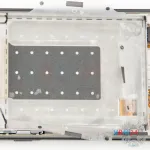
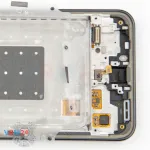
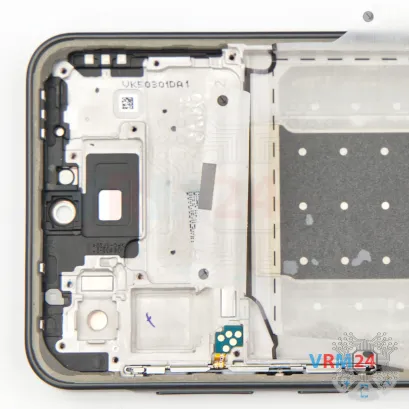
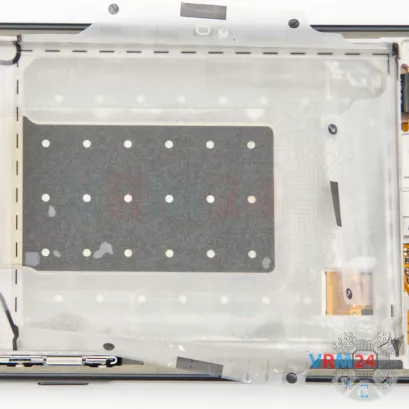
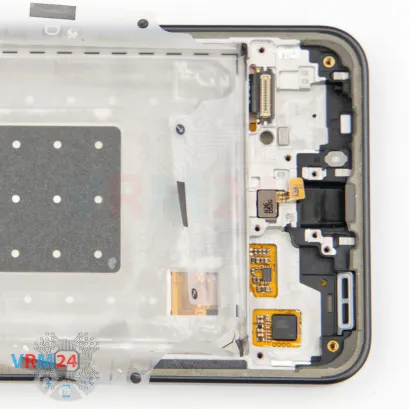
Step 18. In the display frame remained
ℹ️️ In the display frame remained: the fingerprint sensor and side buttons.
Detailed disassembly instructions of Samsung Galaxy A36 SM-A366 in the video, made by our mobile repair & service center:
If you have a question, ask us, and we will try to answer in as much detail as possible. If this article was helpful for you, please rate it.

Evgenii Kuzmin
Senior maintenance service and repair engineer
Back to the list

