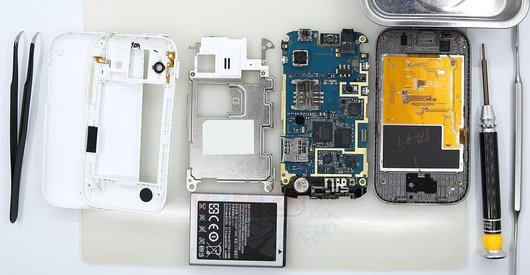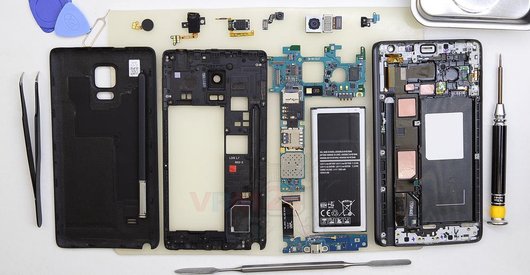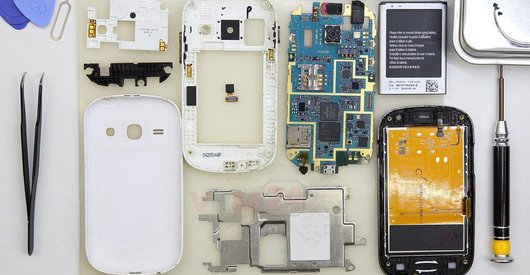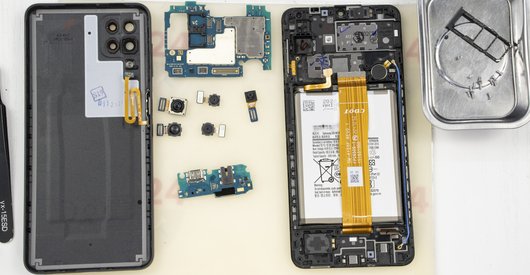
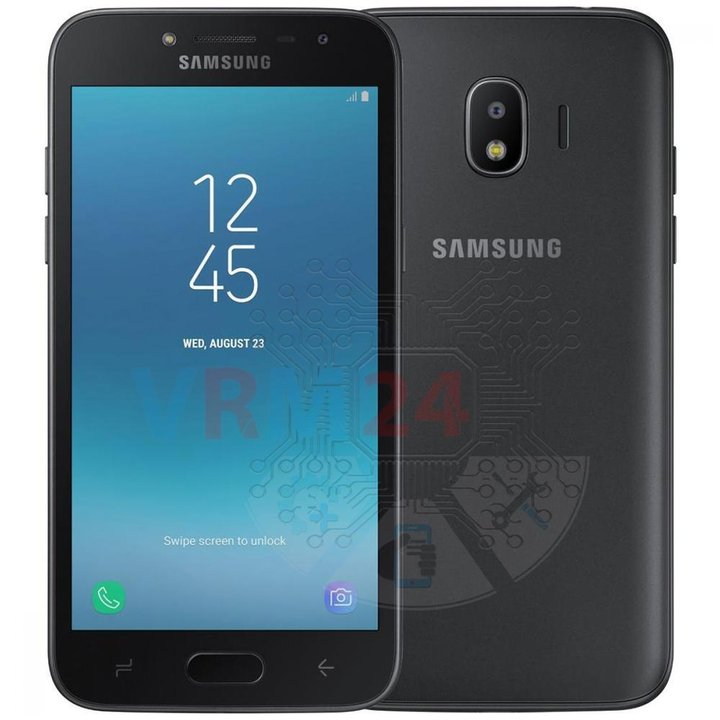
Recommended tools
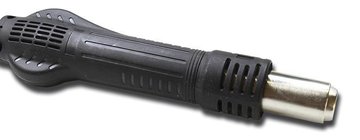
Heat gun
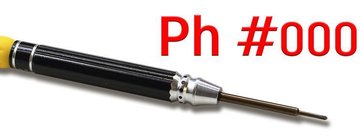
Screwdriver Phillips #000
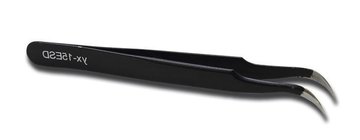
Tweezers
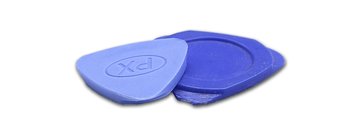
Non-metallic tool
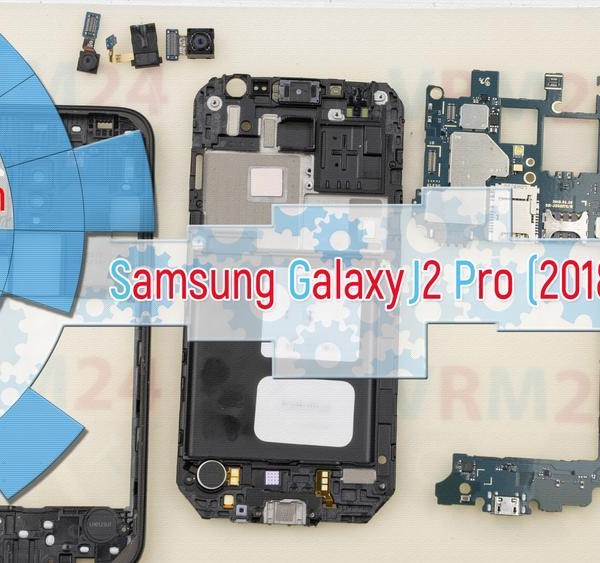
Disassembly/Repair of the mobile device Samsung Galaxy J2 Pro (2018) SM-J250 with each step description and the required set of tools.
10450
Views
1
Likes
—
Share
3
Questions

Step 1.
Before disassembling!
⚠ Before disassembling, do not forget to turn your phone off.
Step 2.
Open the back cover
Open the back cover using a gap on the side of the smartphone.
Step 3.
Remove the battery
There is an indentation at the end of the battery on the middle cover. Hook the battery at this point, lift it up and remove the battery.
Step 4.
Unscrew the screws
Using a screwdriver (Phillips 1.5 mm PH000), unscrew 10 screws.
Step 5.
Open the cover
Open the cover hiding the connector.
Step 6.
Disconnect the connector
Disconnect the display module connector.
Step 7.
Open the display module
⚠ Pay attention! Disassembly has a maximum 3rd difficulty because the process begins with the disassembly of the display module. If you have no experience or are not sure of your skills, we strongly recommend that you contact a specialized service center.
We recommend using a special heating device such as a separator machine, heat gun, or heating mat. It will simplify the process. You can use a home hairdryer, but you will have to make a nozzle by hand or have a suitable one in the kit to gently heat and concentrate the heat flow in the right place.
ℹ️ The surface of the display module must be heated to soften the adhesive underneath. The approximate heating temperature is 50° C / 125° F.
Use a thin plastic film or pick for separation. To facilitate the process, you can use isopropyl alcohol. It is often most difficult to pass the tool between the parts to be divided. Choose the far edge from the FFC cables or buttons.
Do not use a lever or any force for separation that could damage the elements inside.
Step 8.
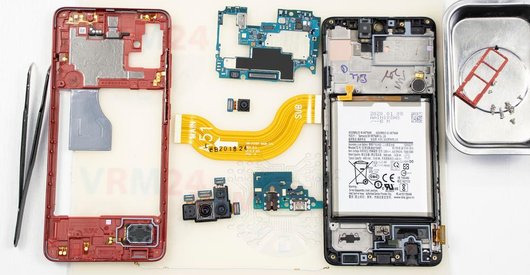
Open the mid-frame
Separate the middle cover with the motherboard from the housing with a loudspeaker.
Step 9.
Remove the front camera
Pry up the connector and remove the front (selfie) camera.
Step 10.
Unscrew one screw
Using a screwdriver (Phillips 1.5 mm PH000), unscrew one screw.
Step 11.
Remove the motherboard
Carefully remove the printed circuit board. There is no need to use a lever or try to reach the board by force. Make sure that nothing is getting in the way or holding the board.
⚠ Do not bend the circuit board when removing it or push tools under it. Unbeknownst to yourself, you can damage components or cables from the inside.
Step 12.
Remove the headphone port
Pry up the connector and remove the headphone jack socket.
Step 13.
Remove the rear camera
Pry up the connector and remove the rear camera.

If you have a question, ask us, and we will try to answer in as much detail as possible. If this article was helpful for you, please rate it.

10450
Views
1
Likes
—
Share
3
Questions
Related Instructions
Related Reviews
Related Blog
Popular Questions
U
Samsung Galaxy J7 (2016) SM-J710
Hi, sorry, what should the heat gun be set to and for how long do you need to heat the display?
Uruk Hai4
Samsung Galaxy Tab S2 9.7'' SM-T819
What is the heat gun's safe temperature/wind speed when trying to open the tablet from its LCD side? is it possible to change the micro USB socket…
sina
Samsung Galaxy Tab A 7.0'' SM-T285
What should I do? i want to fix my niece tablet,sir. Pls. i need your response.
sam
D
Samsung Galaxy S7 Edge SM-G935
hallo my i ask you , my sony c3 doesn't start up and can't on , i already did hard reset using small button on the side of sim card ,, but doesn't he…
dahlia lia19Top instructions
Check our
Top Samsung instructions most liked by readers
New instructions
Check our
New Samsung brand instructions on vrm24.com