
⚠️️ Before disassembling, do not forget to turn your phone off.
Also, do not forget to remove S pen or stylus, just in case.
To ask the question please sign in with one of your existing third party accounts.
To get notifications please sign in with one of your existing third party accounts.
Please sign in with one of your existing third party accounts.


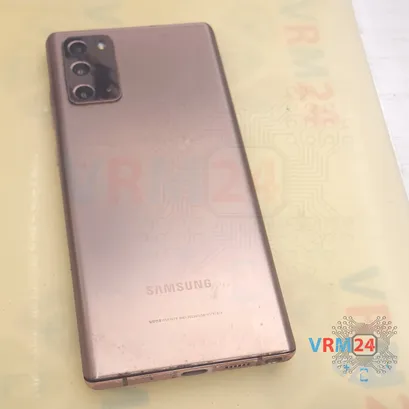
⚠️️ Before disassembling, do not forget to turn your phone off.
Also, do not forget to remove S pen or stylus, just in case.


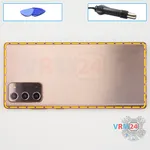
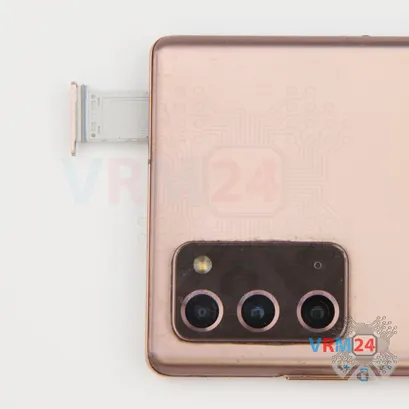
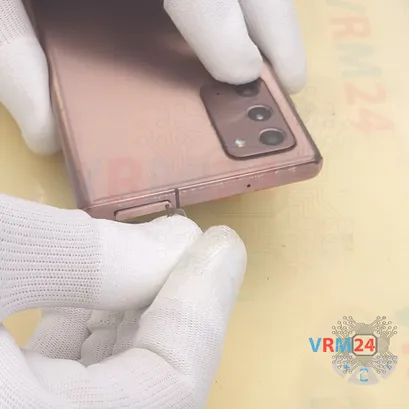
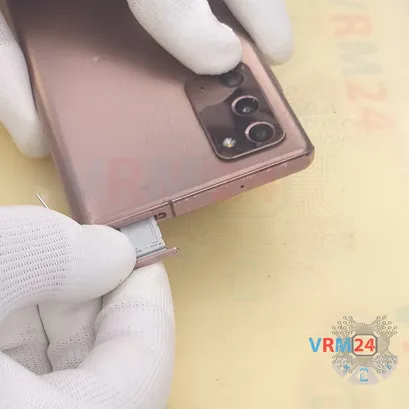
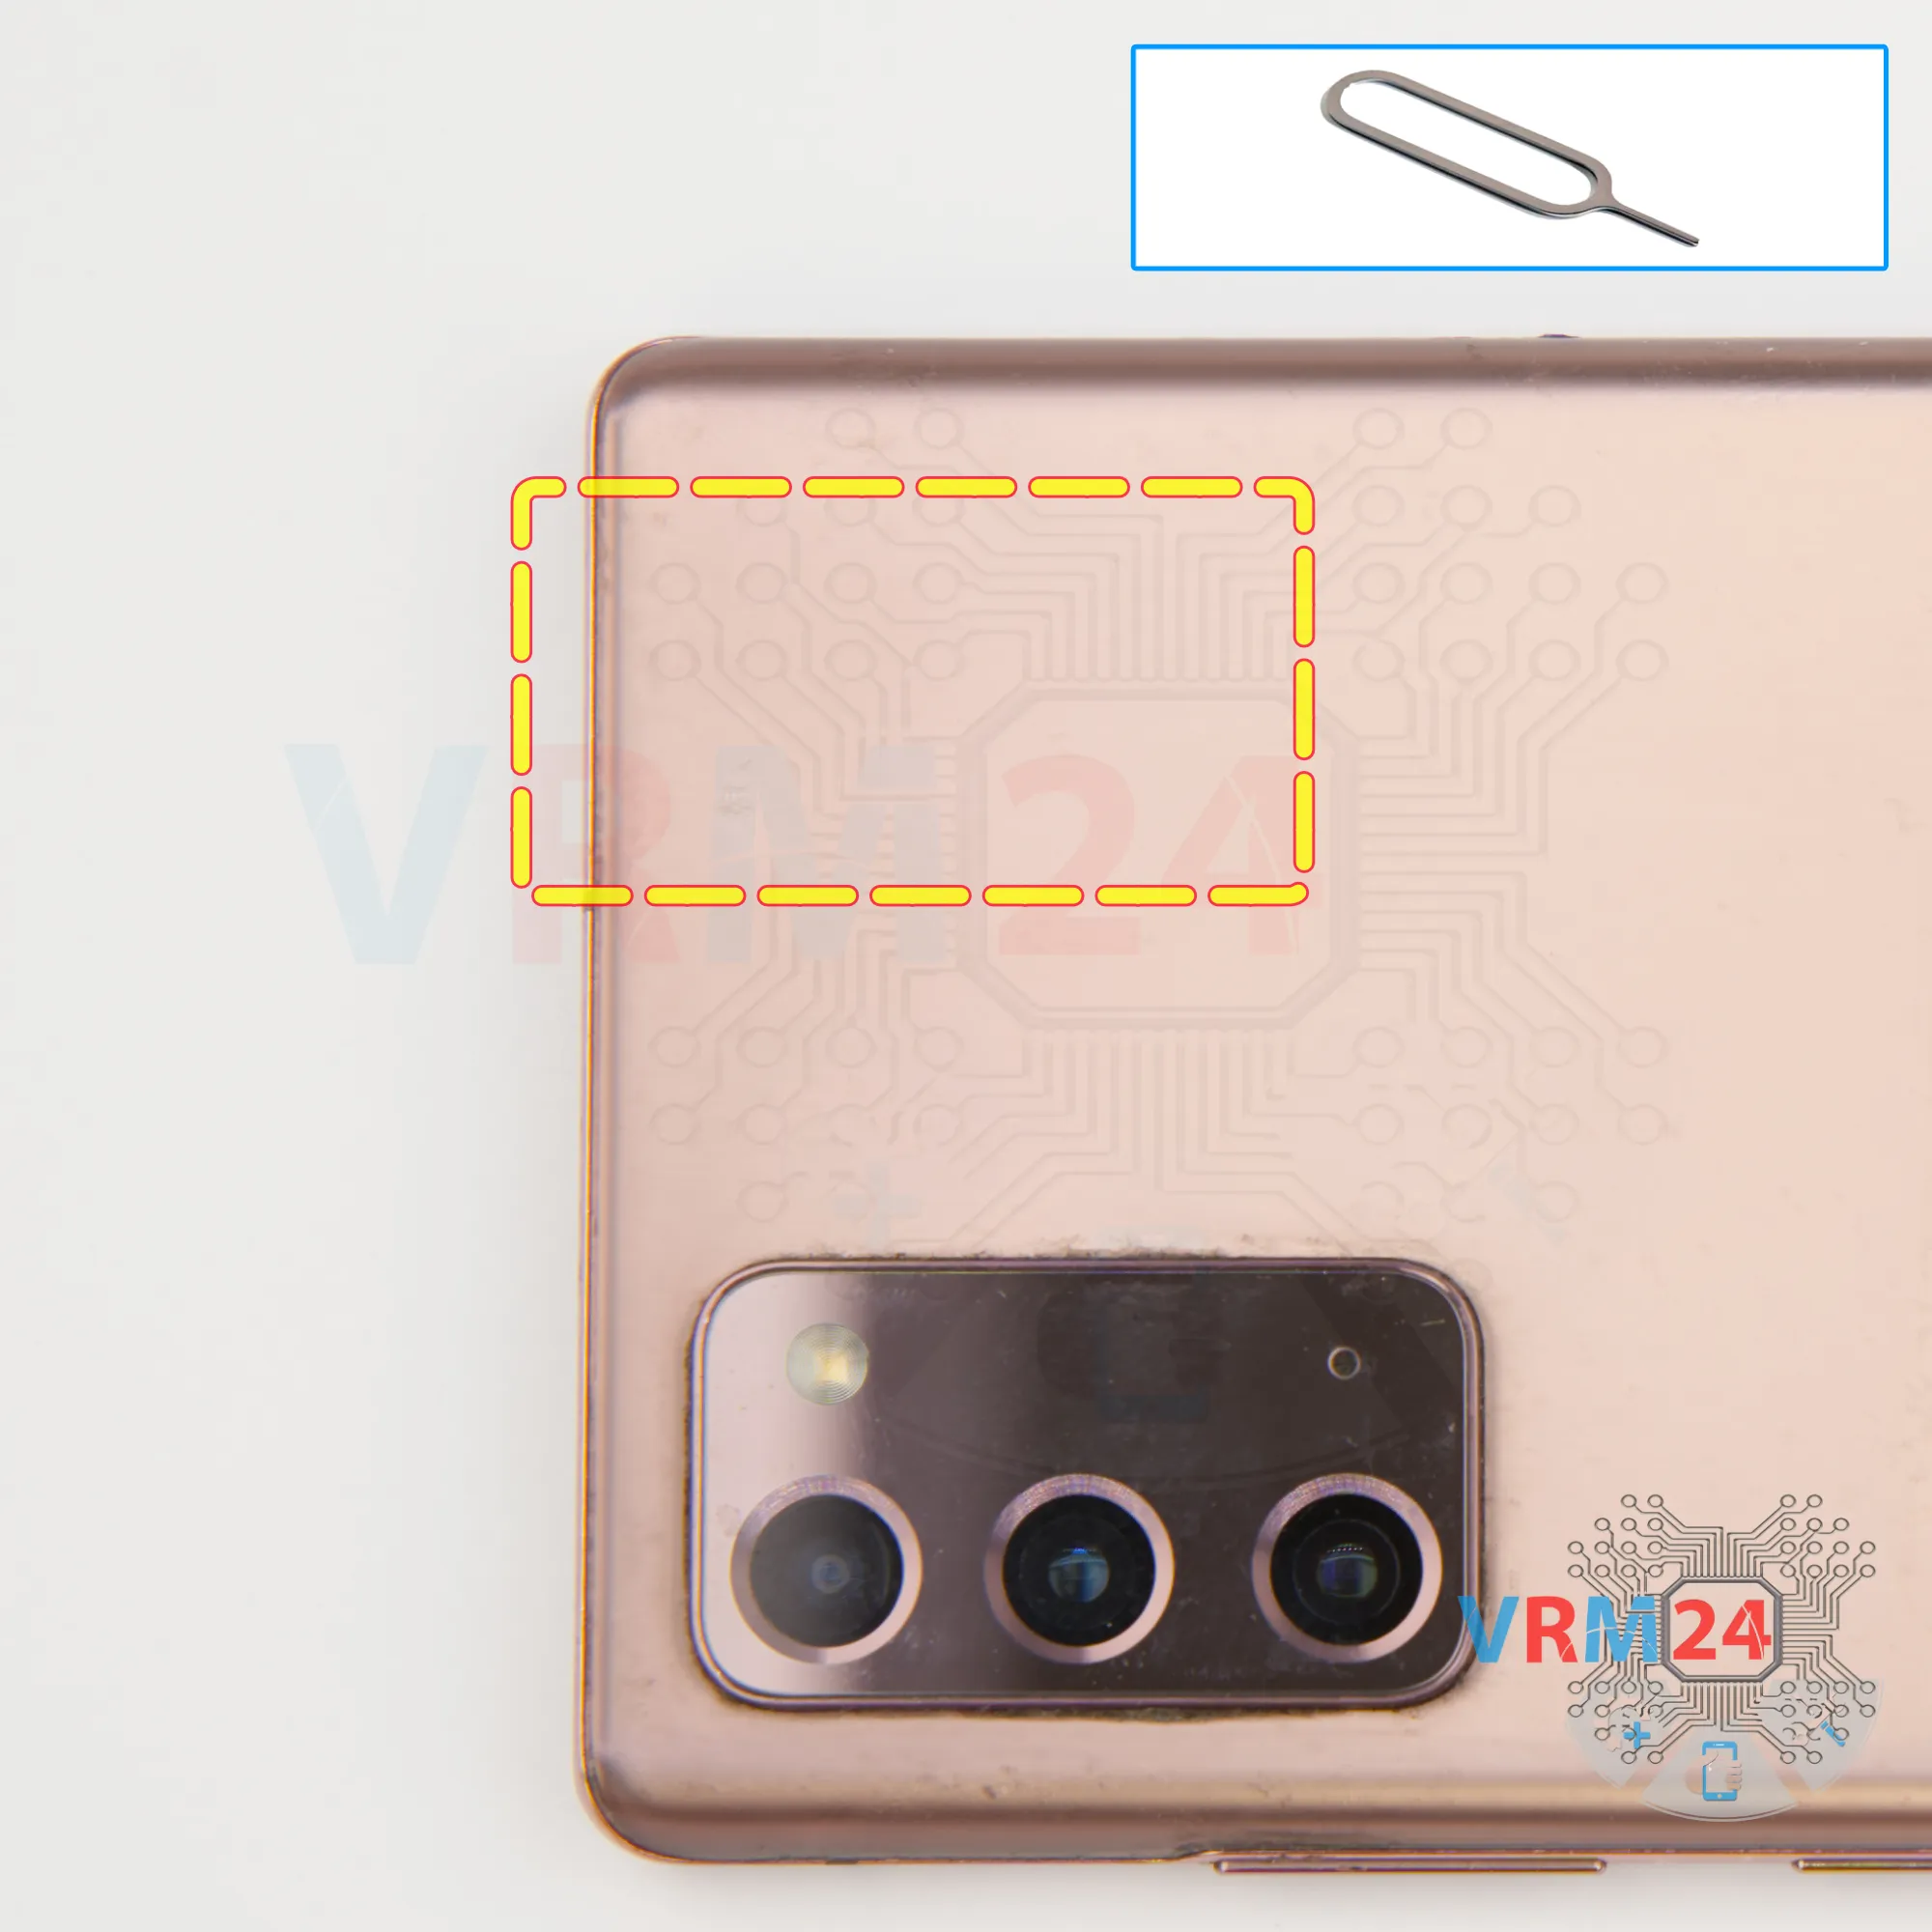
First of all, we need to remove the card tray, for this we use a special tool, insert it into the hole and carefully push out the card tray.
⚠️️ Please note that the tray is located at the top.
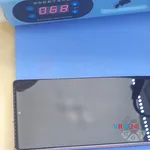
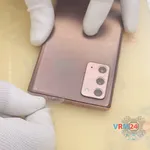
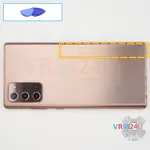
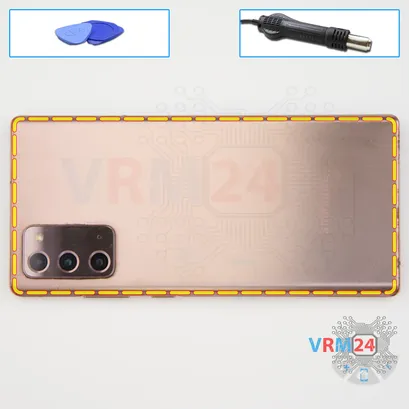
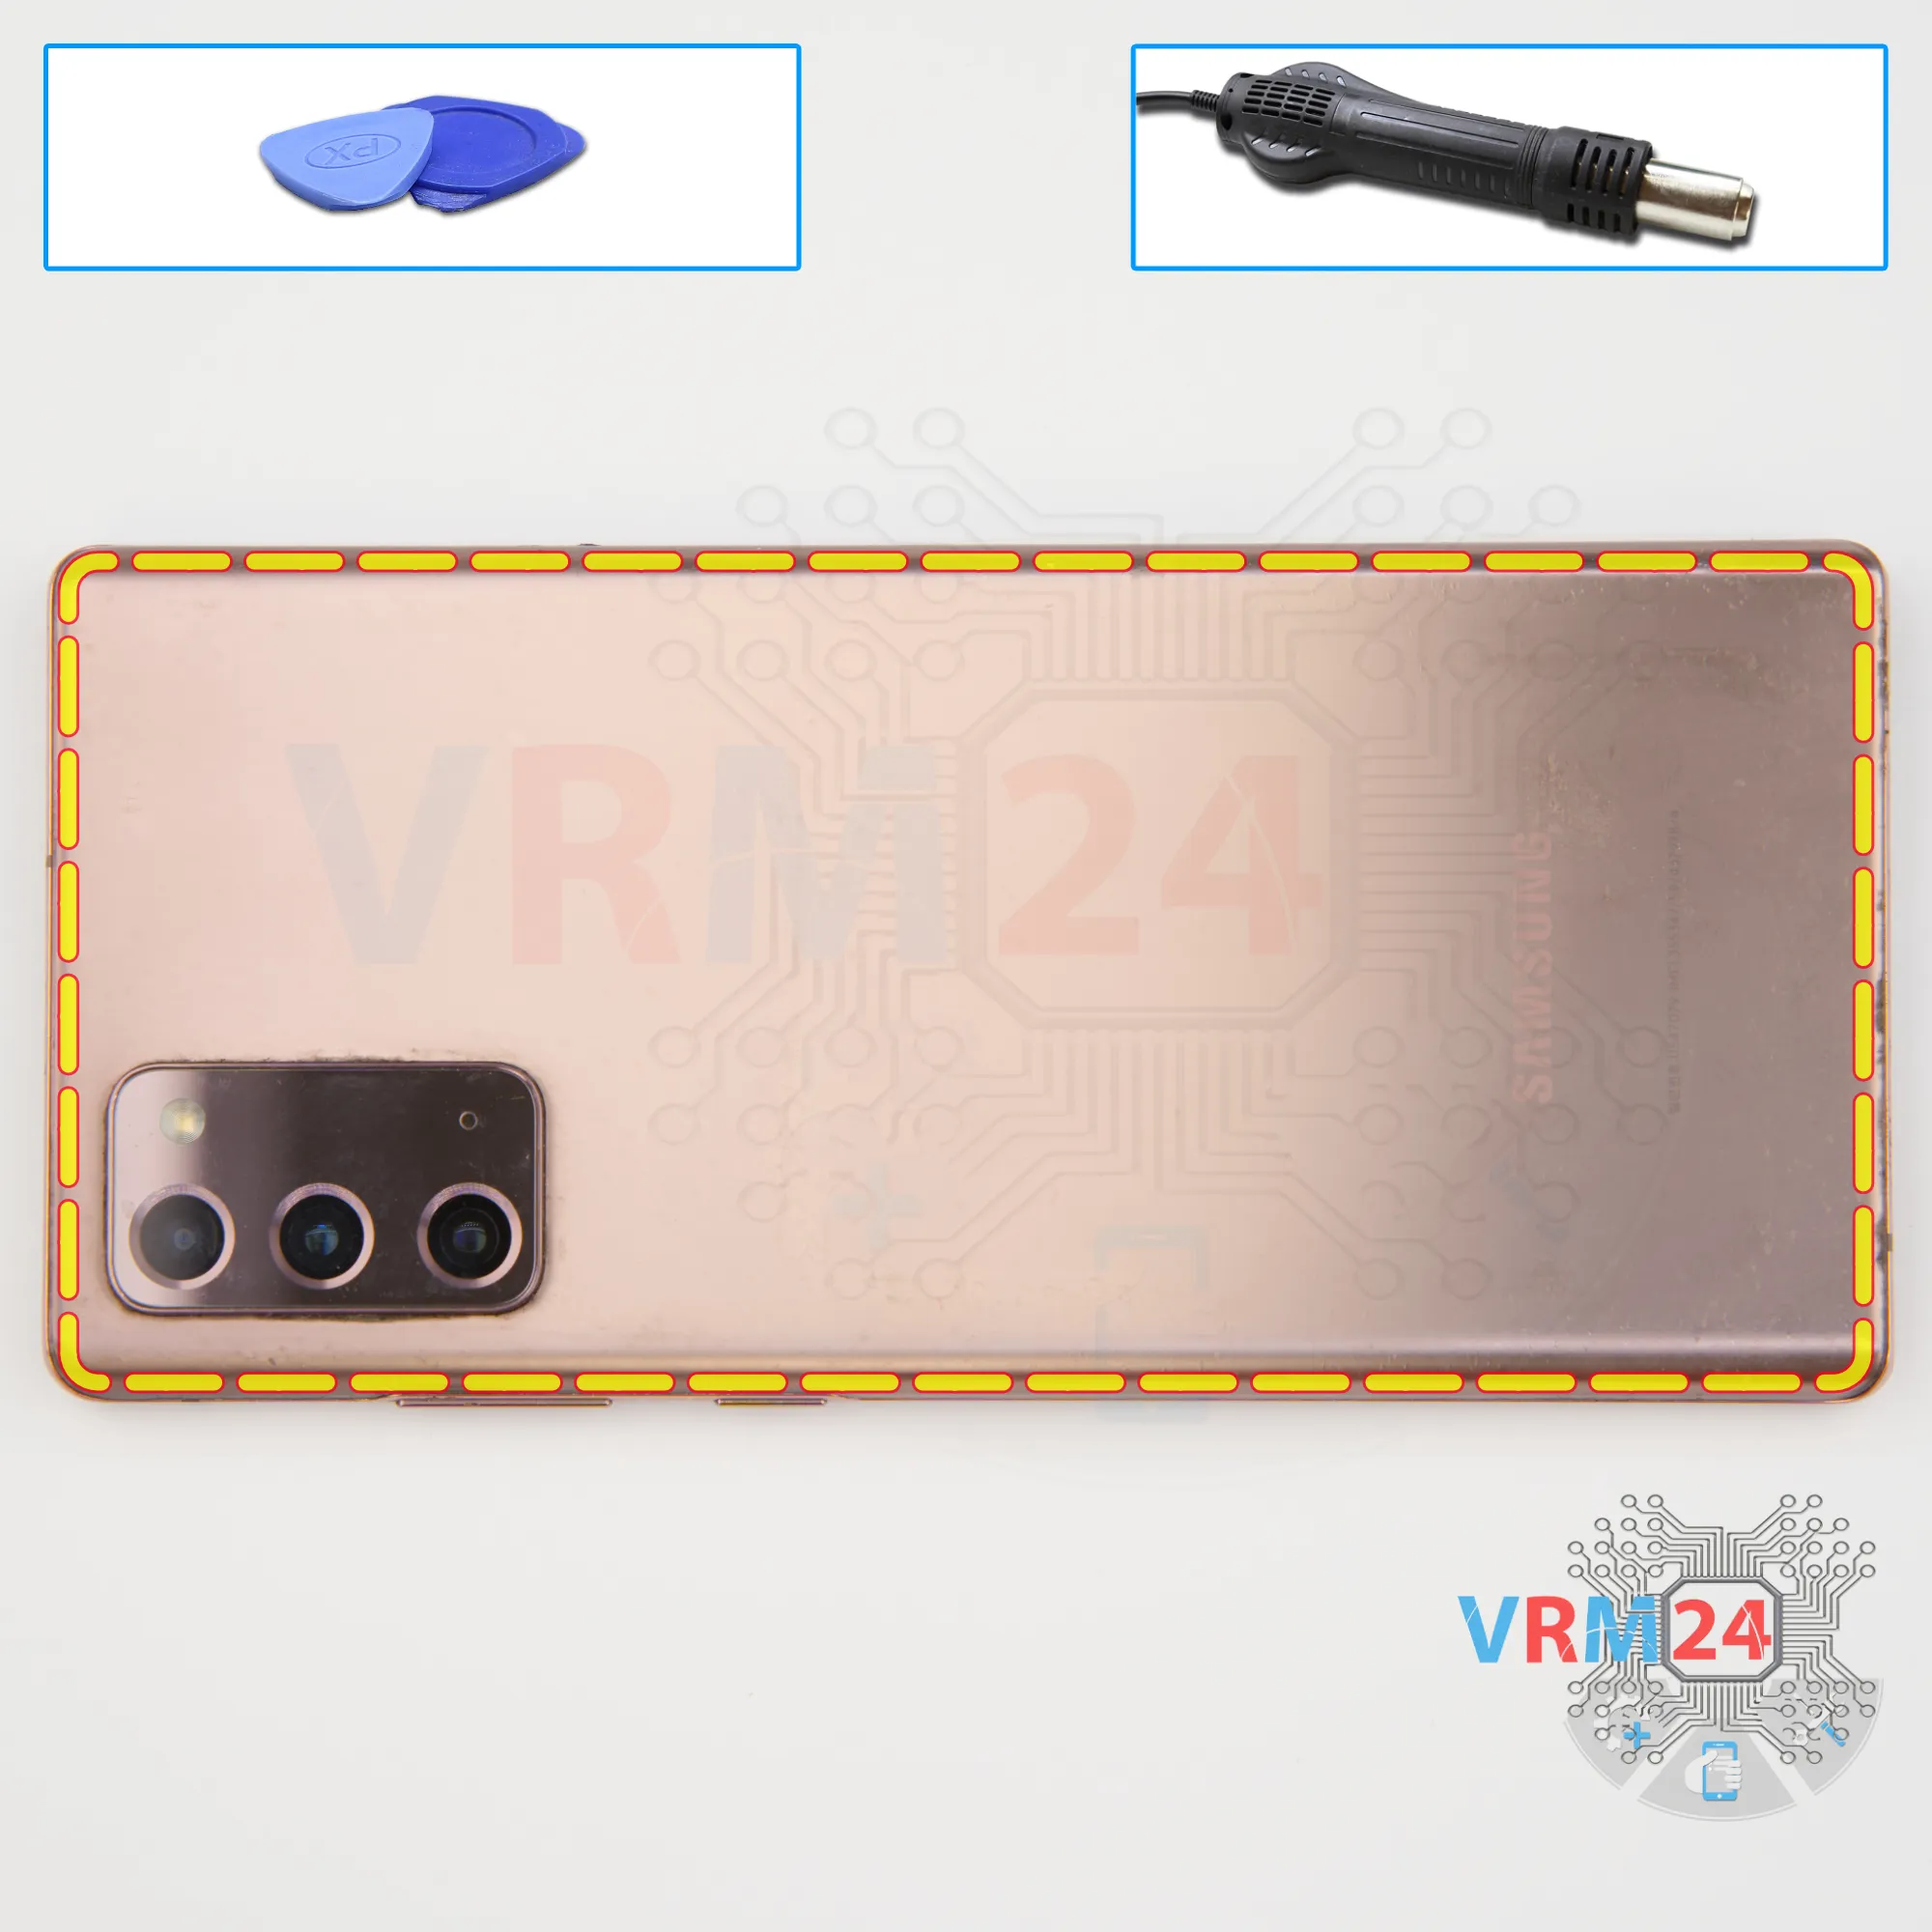
We need to heat the surface of the back cover to a temperature of about 70 degrees Celsius or 160 degrees Fahrenheit. For this we can use a heating mat or a hair dryer.
And after 5 to 7 minutes, we can move on to detaching the back cover.
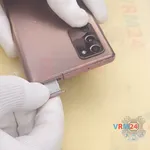
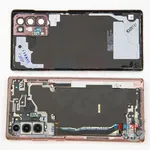
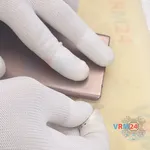
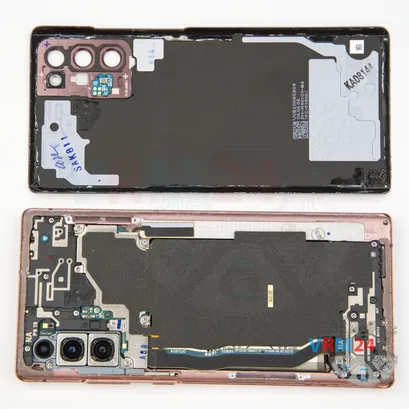
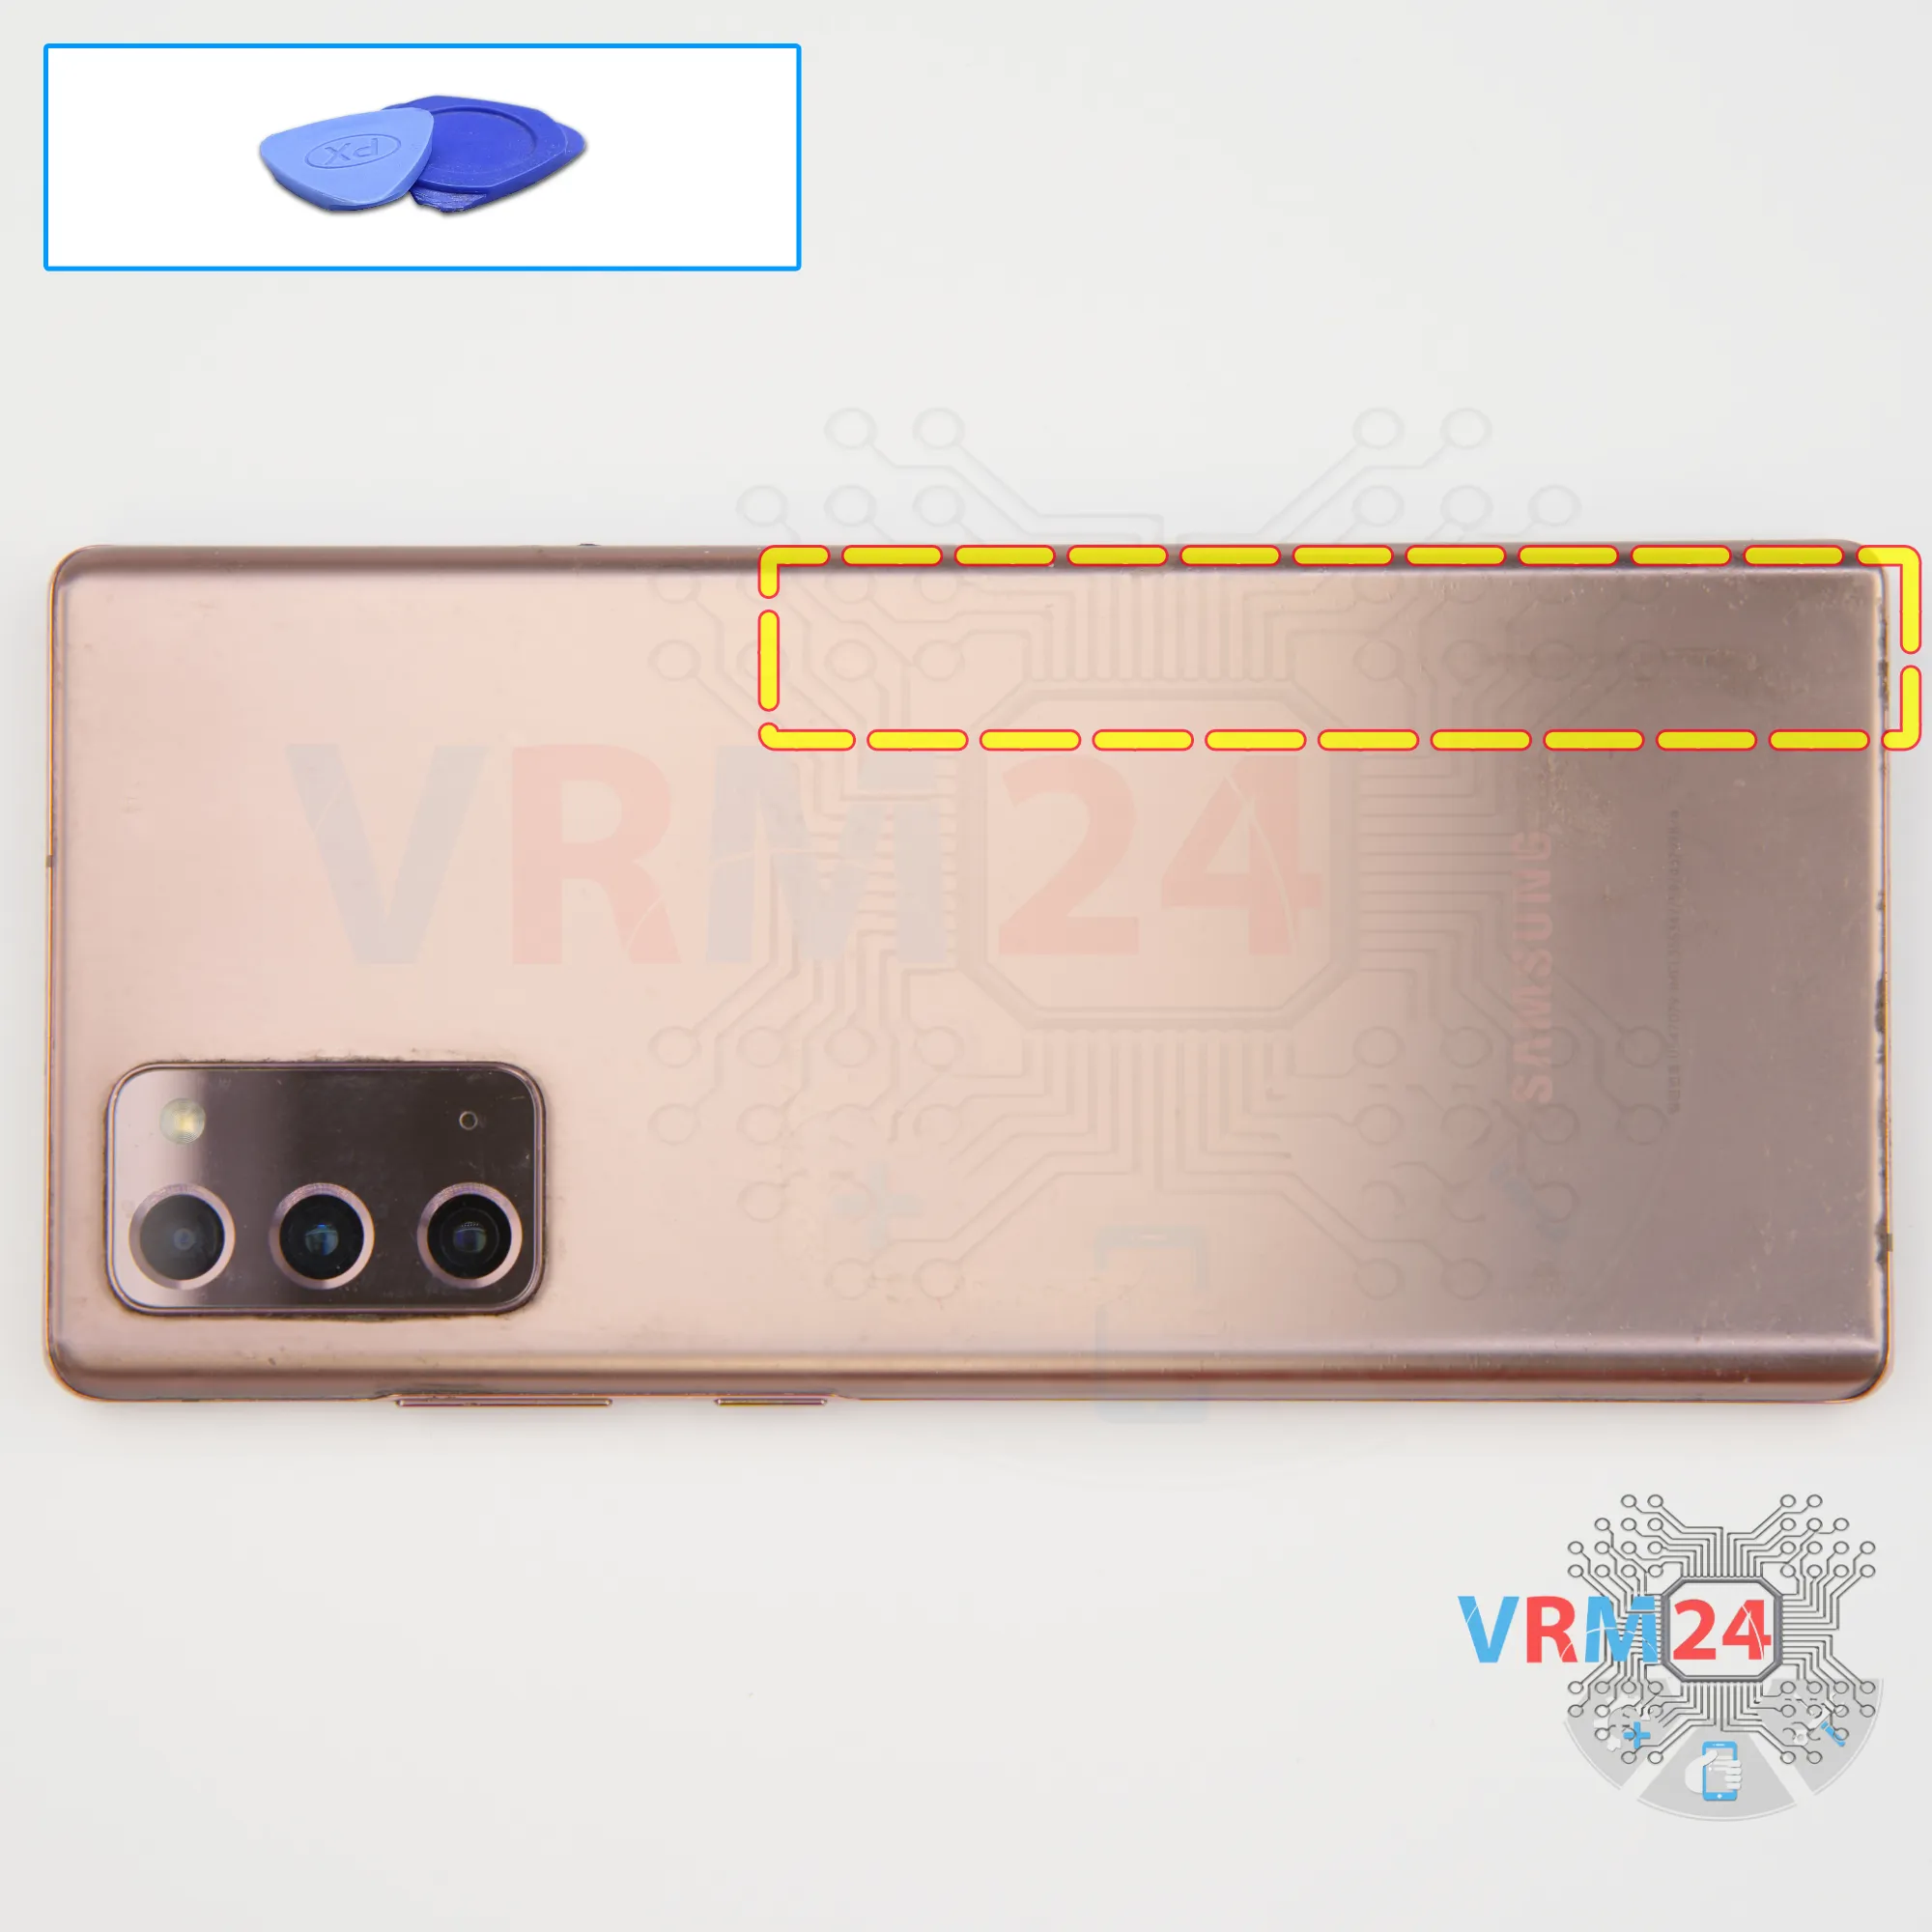
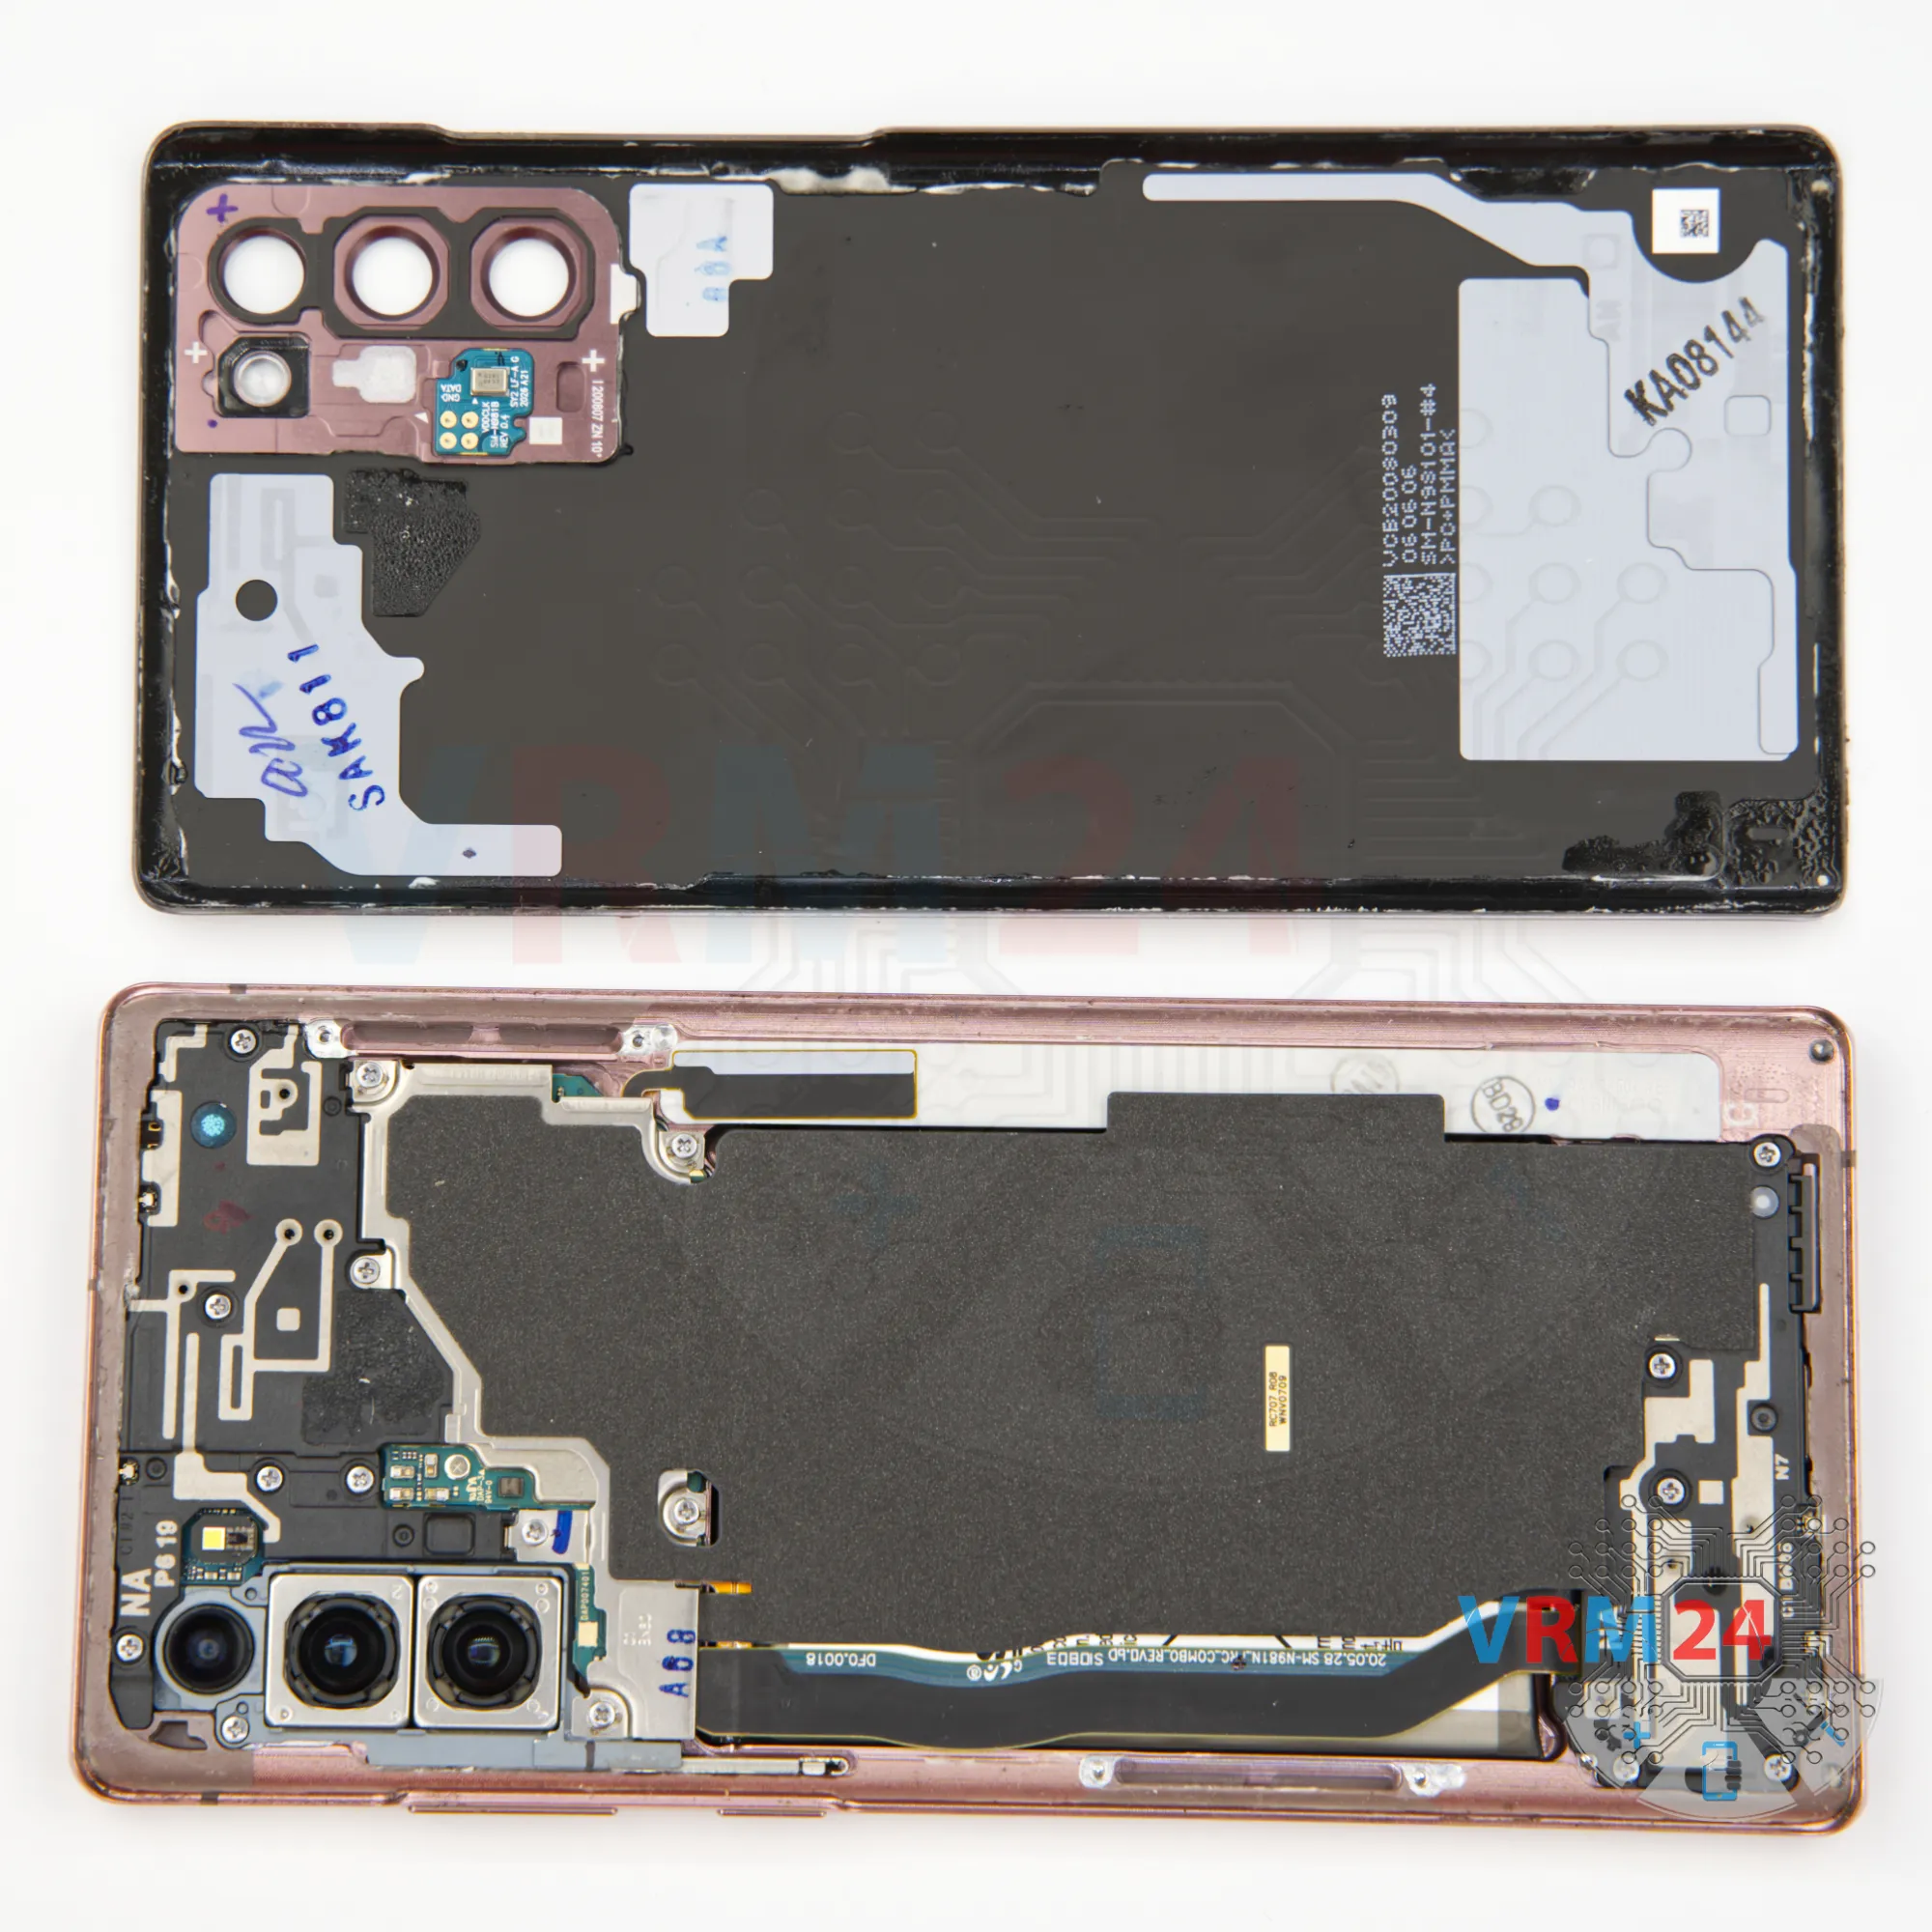
To detach the back cover, we use a thin plastic film. We insert it into the gap between the back cover and the middle cover and gently run it along the edge cutting off the adhesive base.
⚠️️ It's always necessary to be careful in the camera area so as not to damage the lenses.
⚠️️ And also need to be careful in the area of the side buttons because in these places may be located cables.


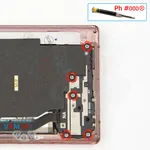
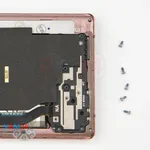
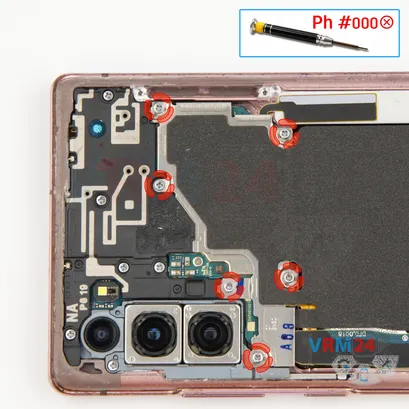
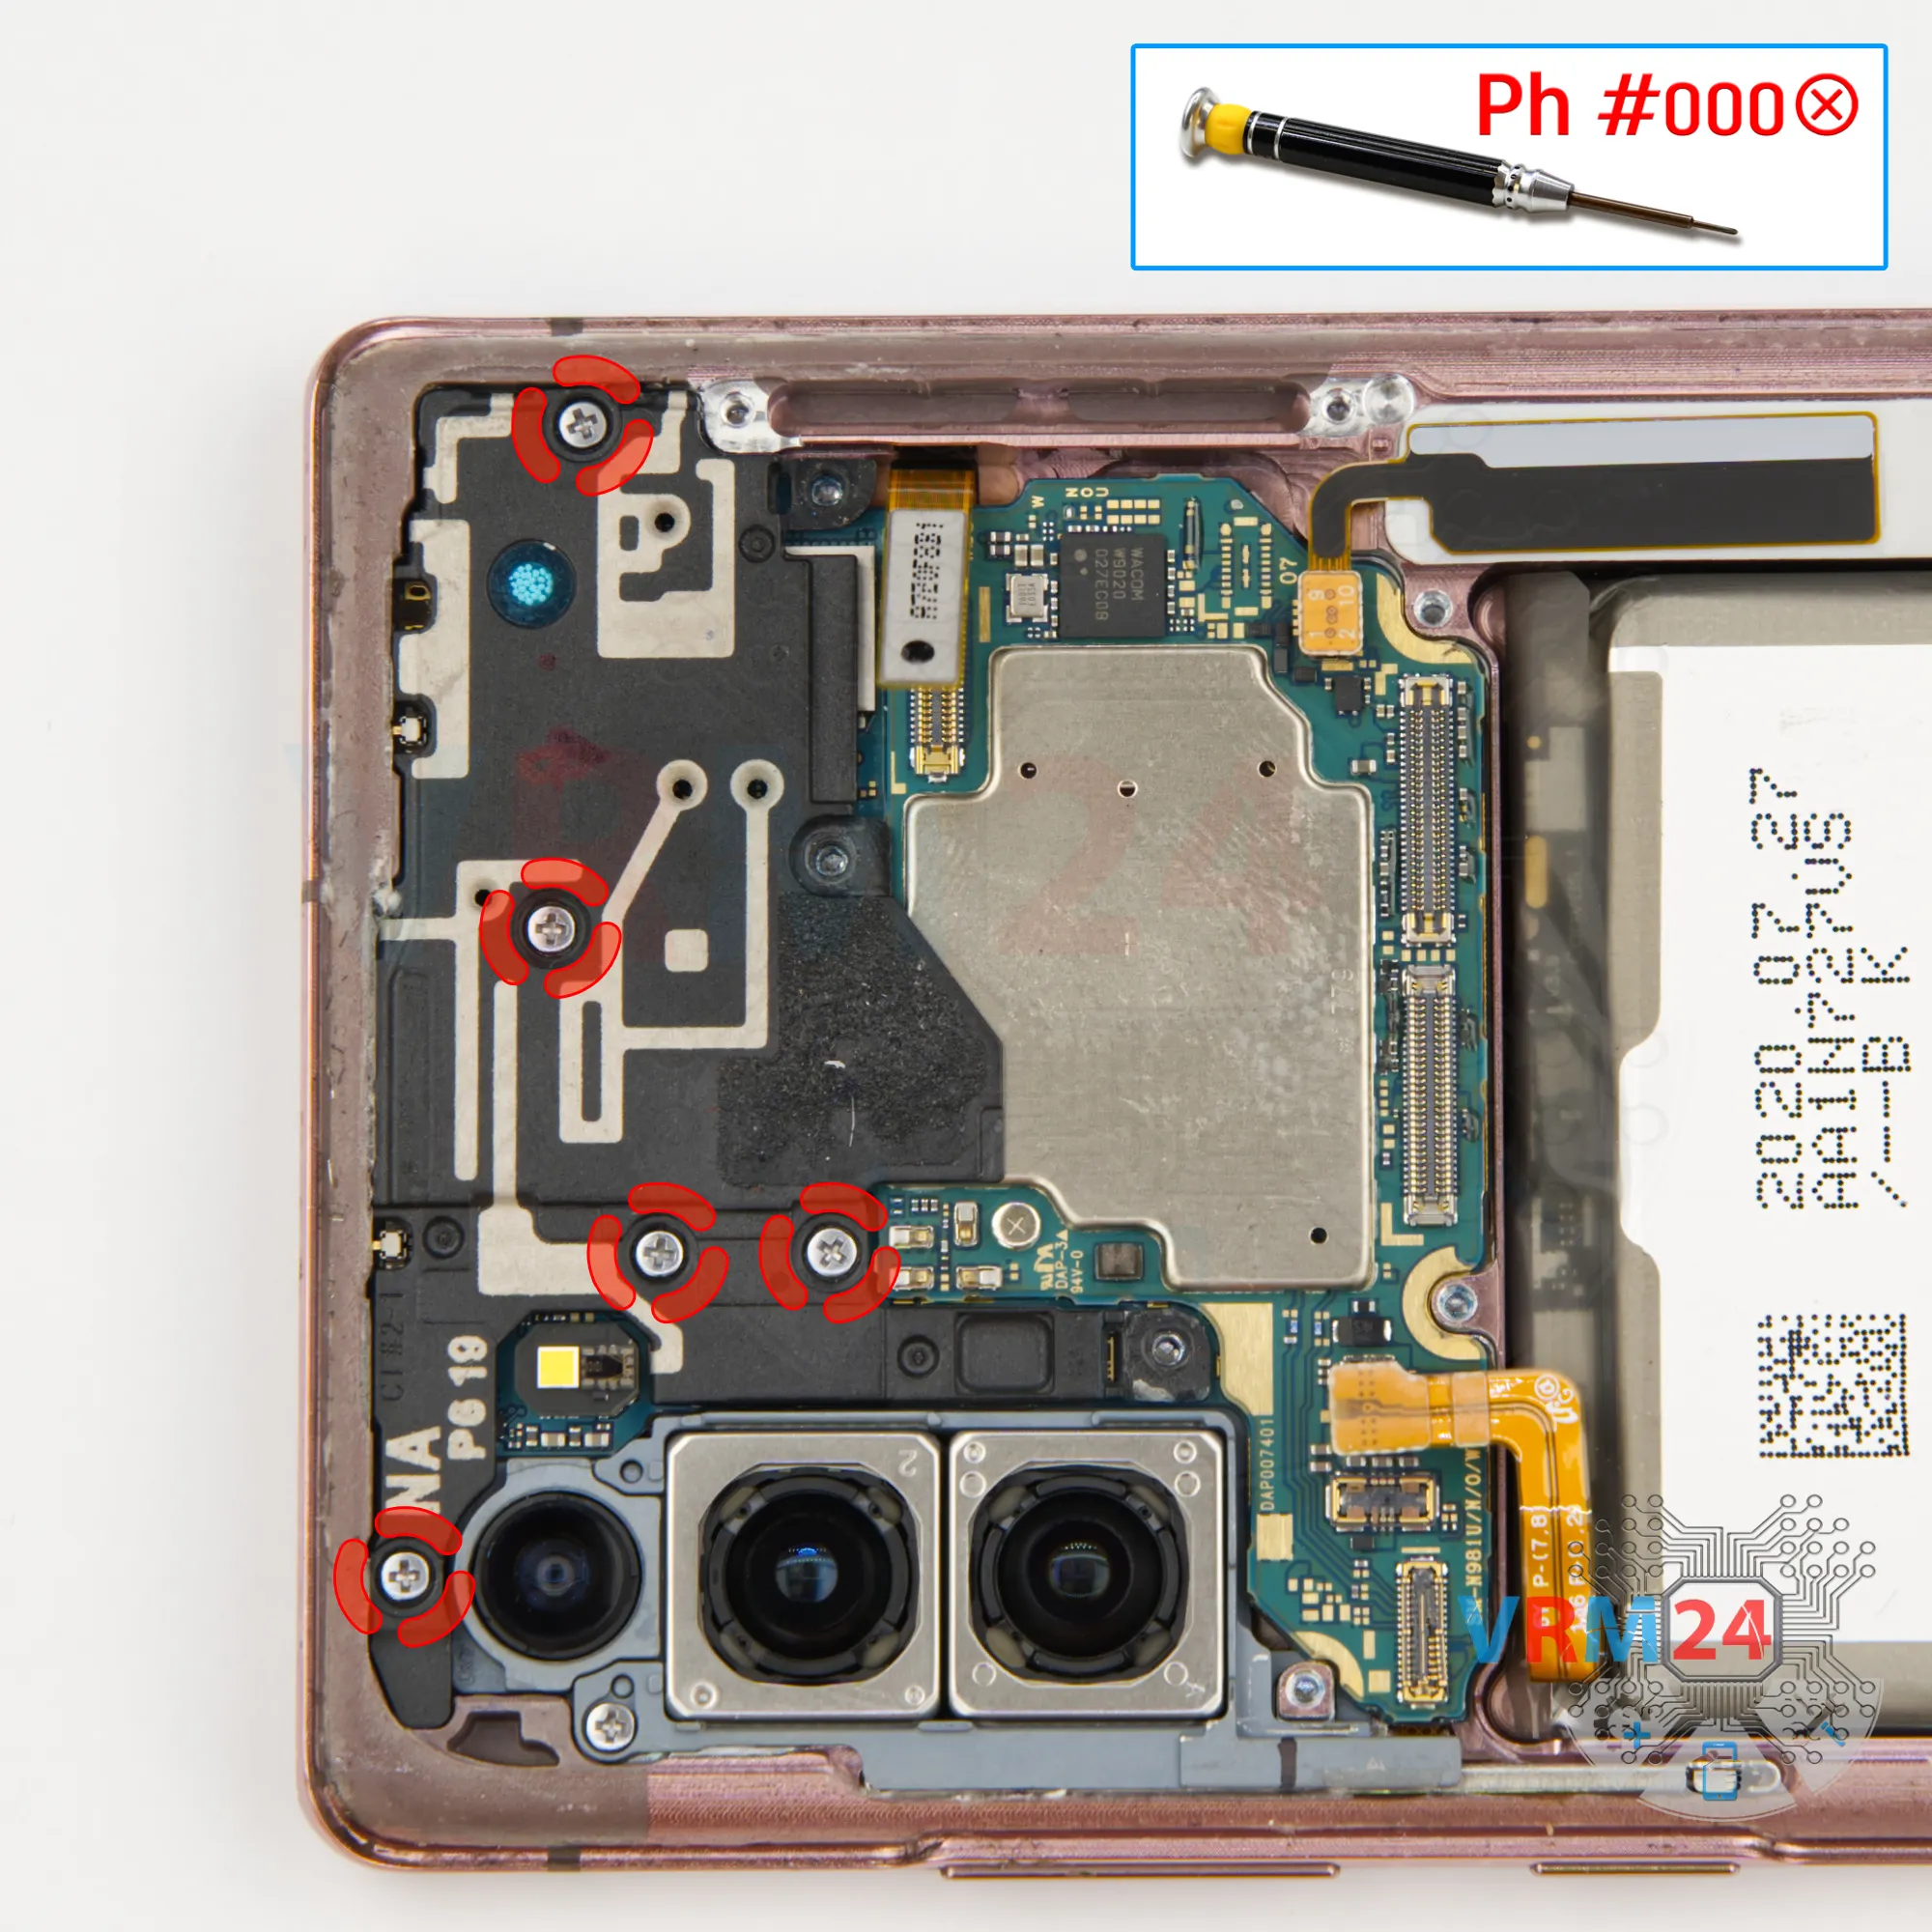
We need to unscrew the six screws at the top. For this, we use a 1.5mm Phillips screwdriver or a Philips #000.


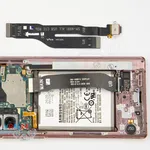
And we can disconnect the wireless charging connector and we detach the small cover with NFC and wireless charging and flip it to the side.


Disconnect the battery connector as soon as you can. Use a non-metallic or plastic tool to avoid any damage.
ℹ️️ The Samsung Galaxy Note 20 5G SM-N981 model has a battery EB-BN980ABY with a capacity of 3000 mAh (also known as a rechargeable battery).

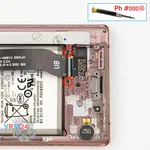
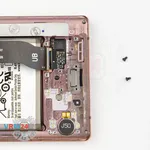
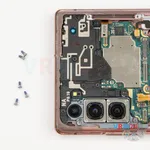
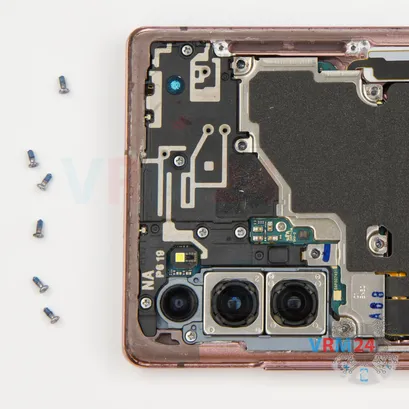
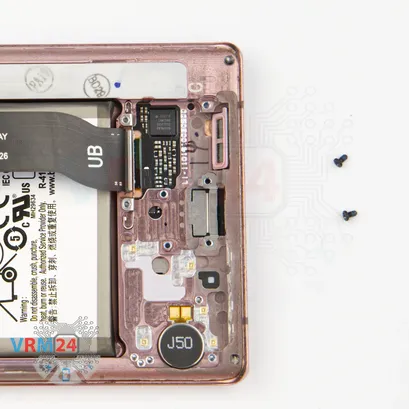
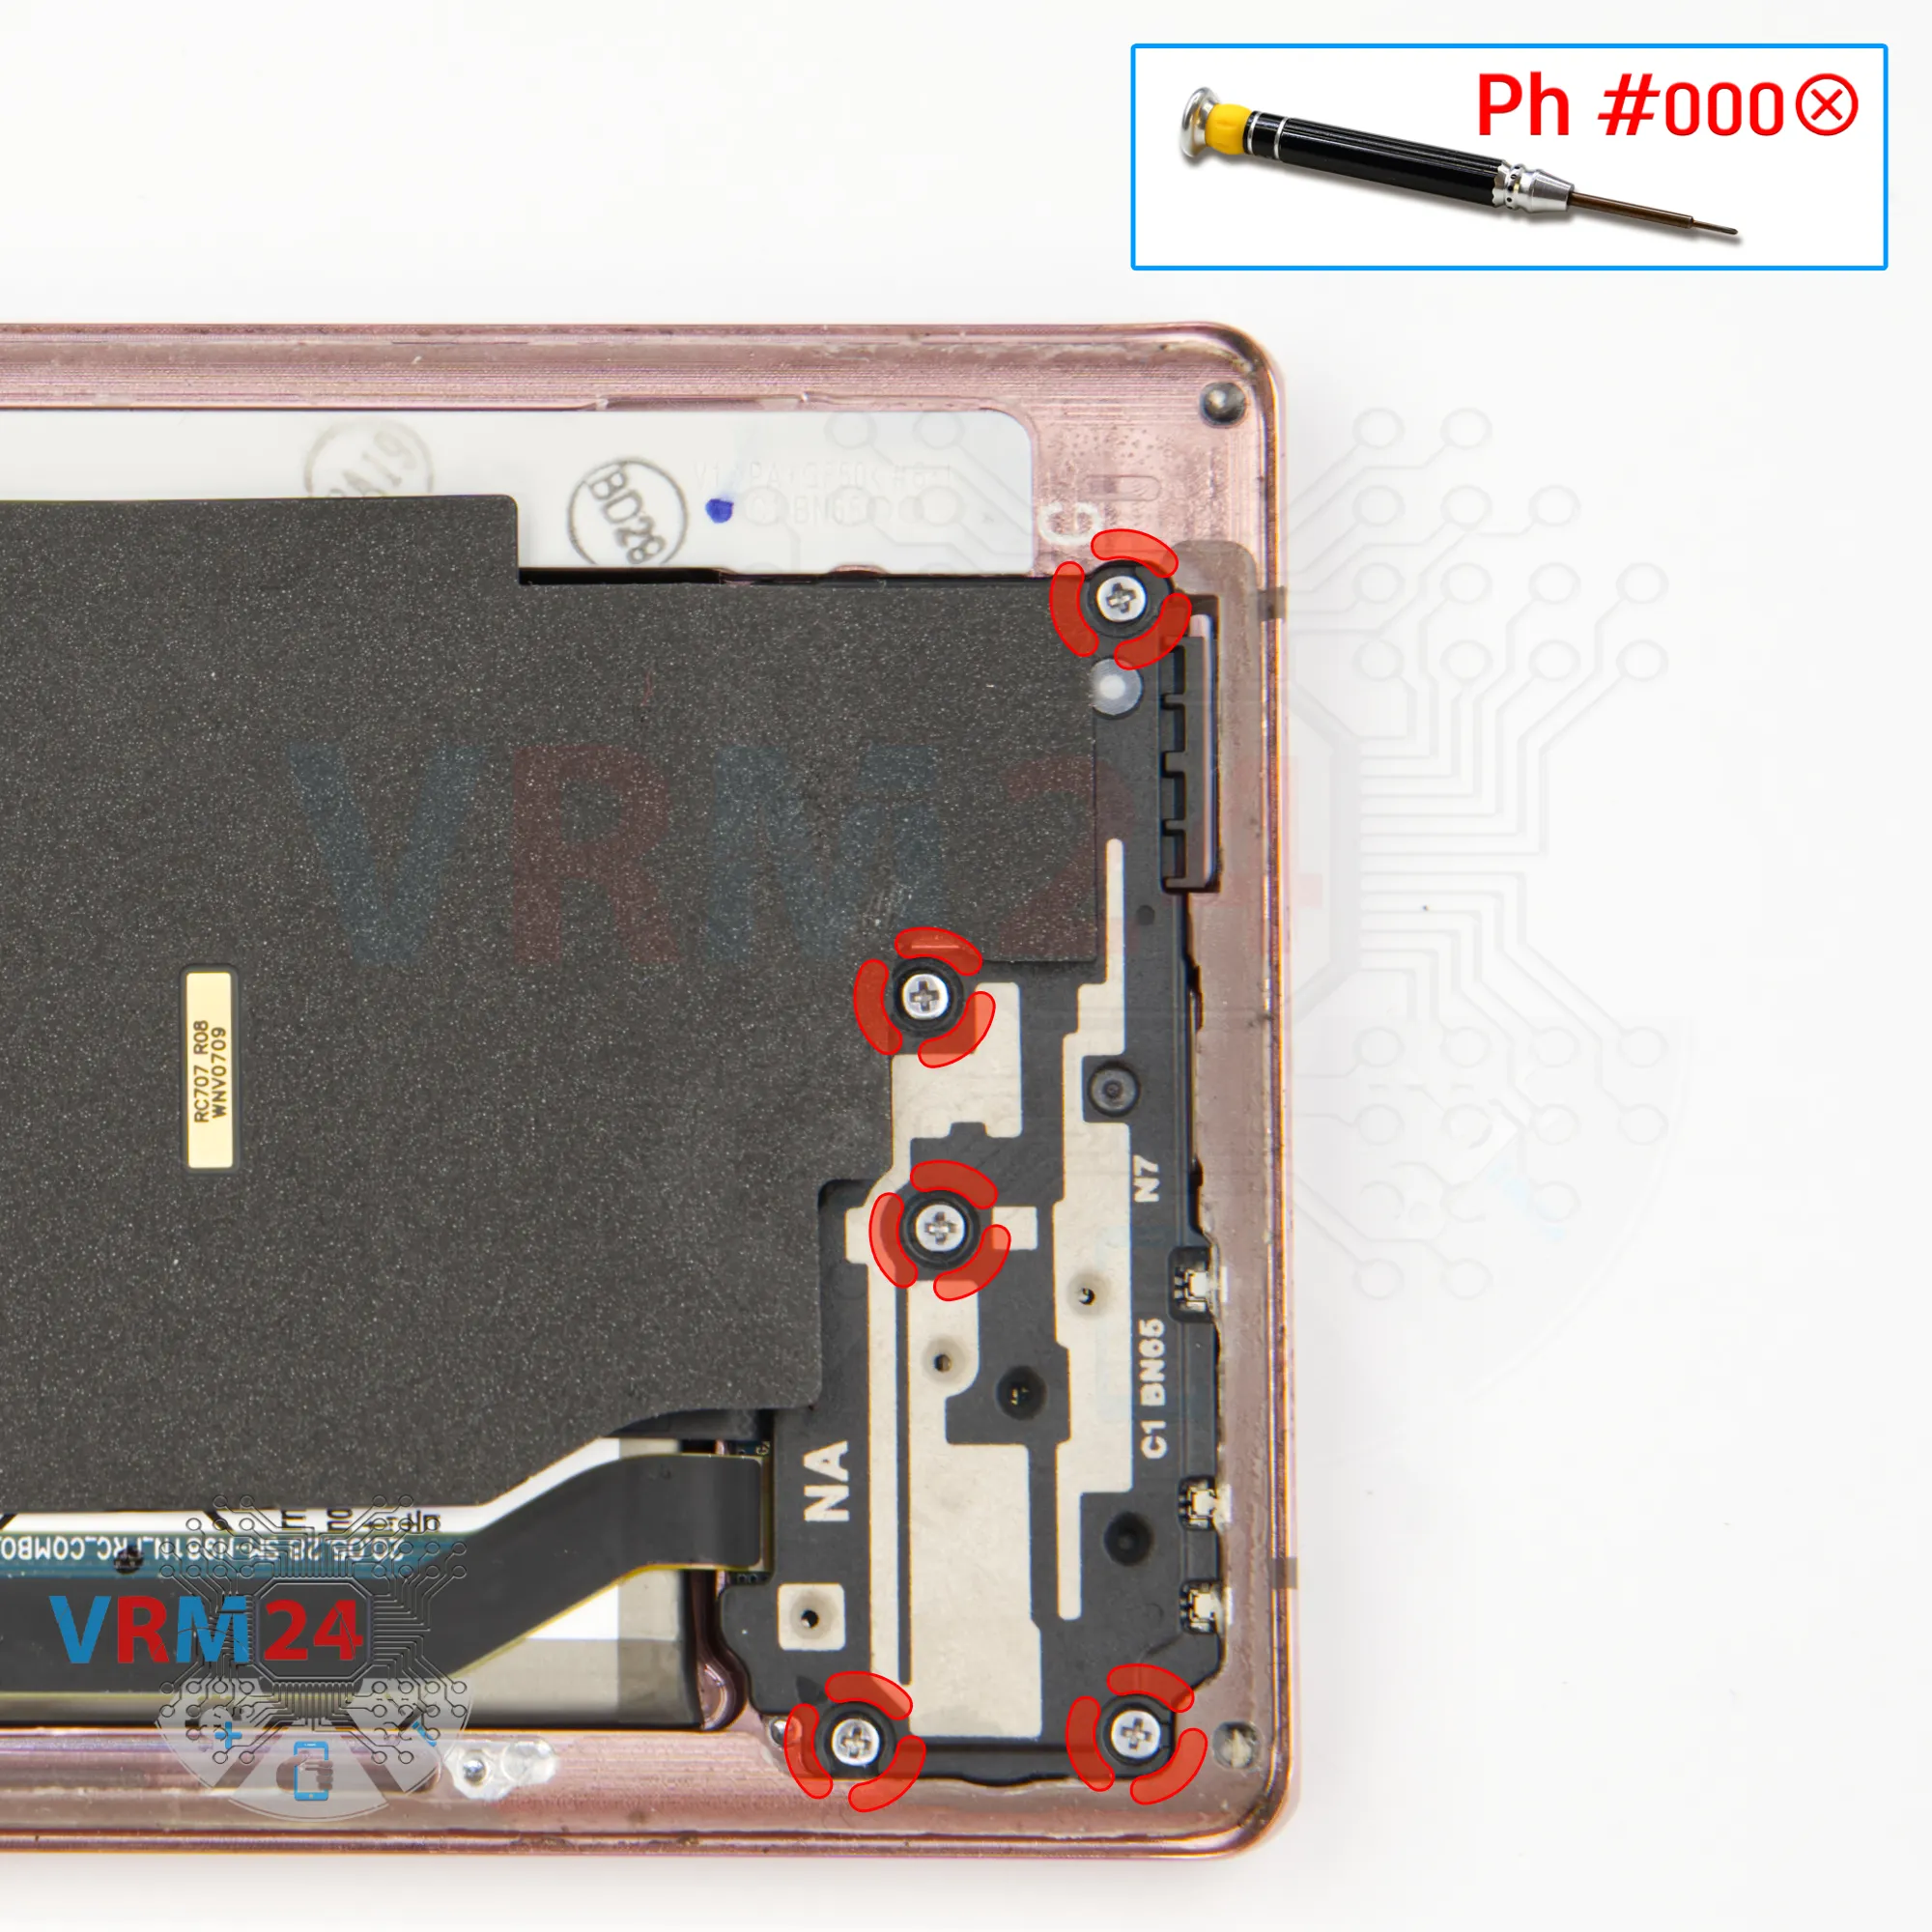
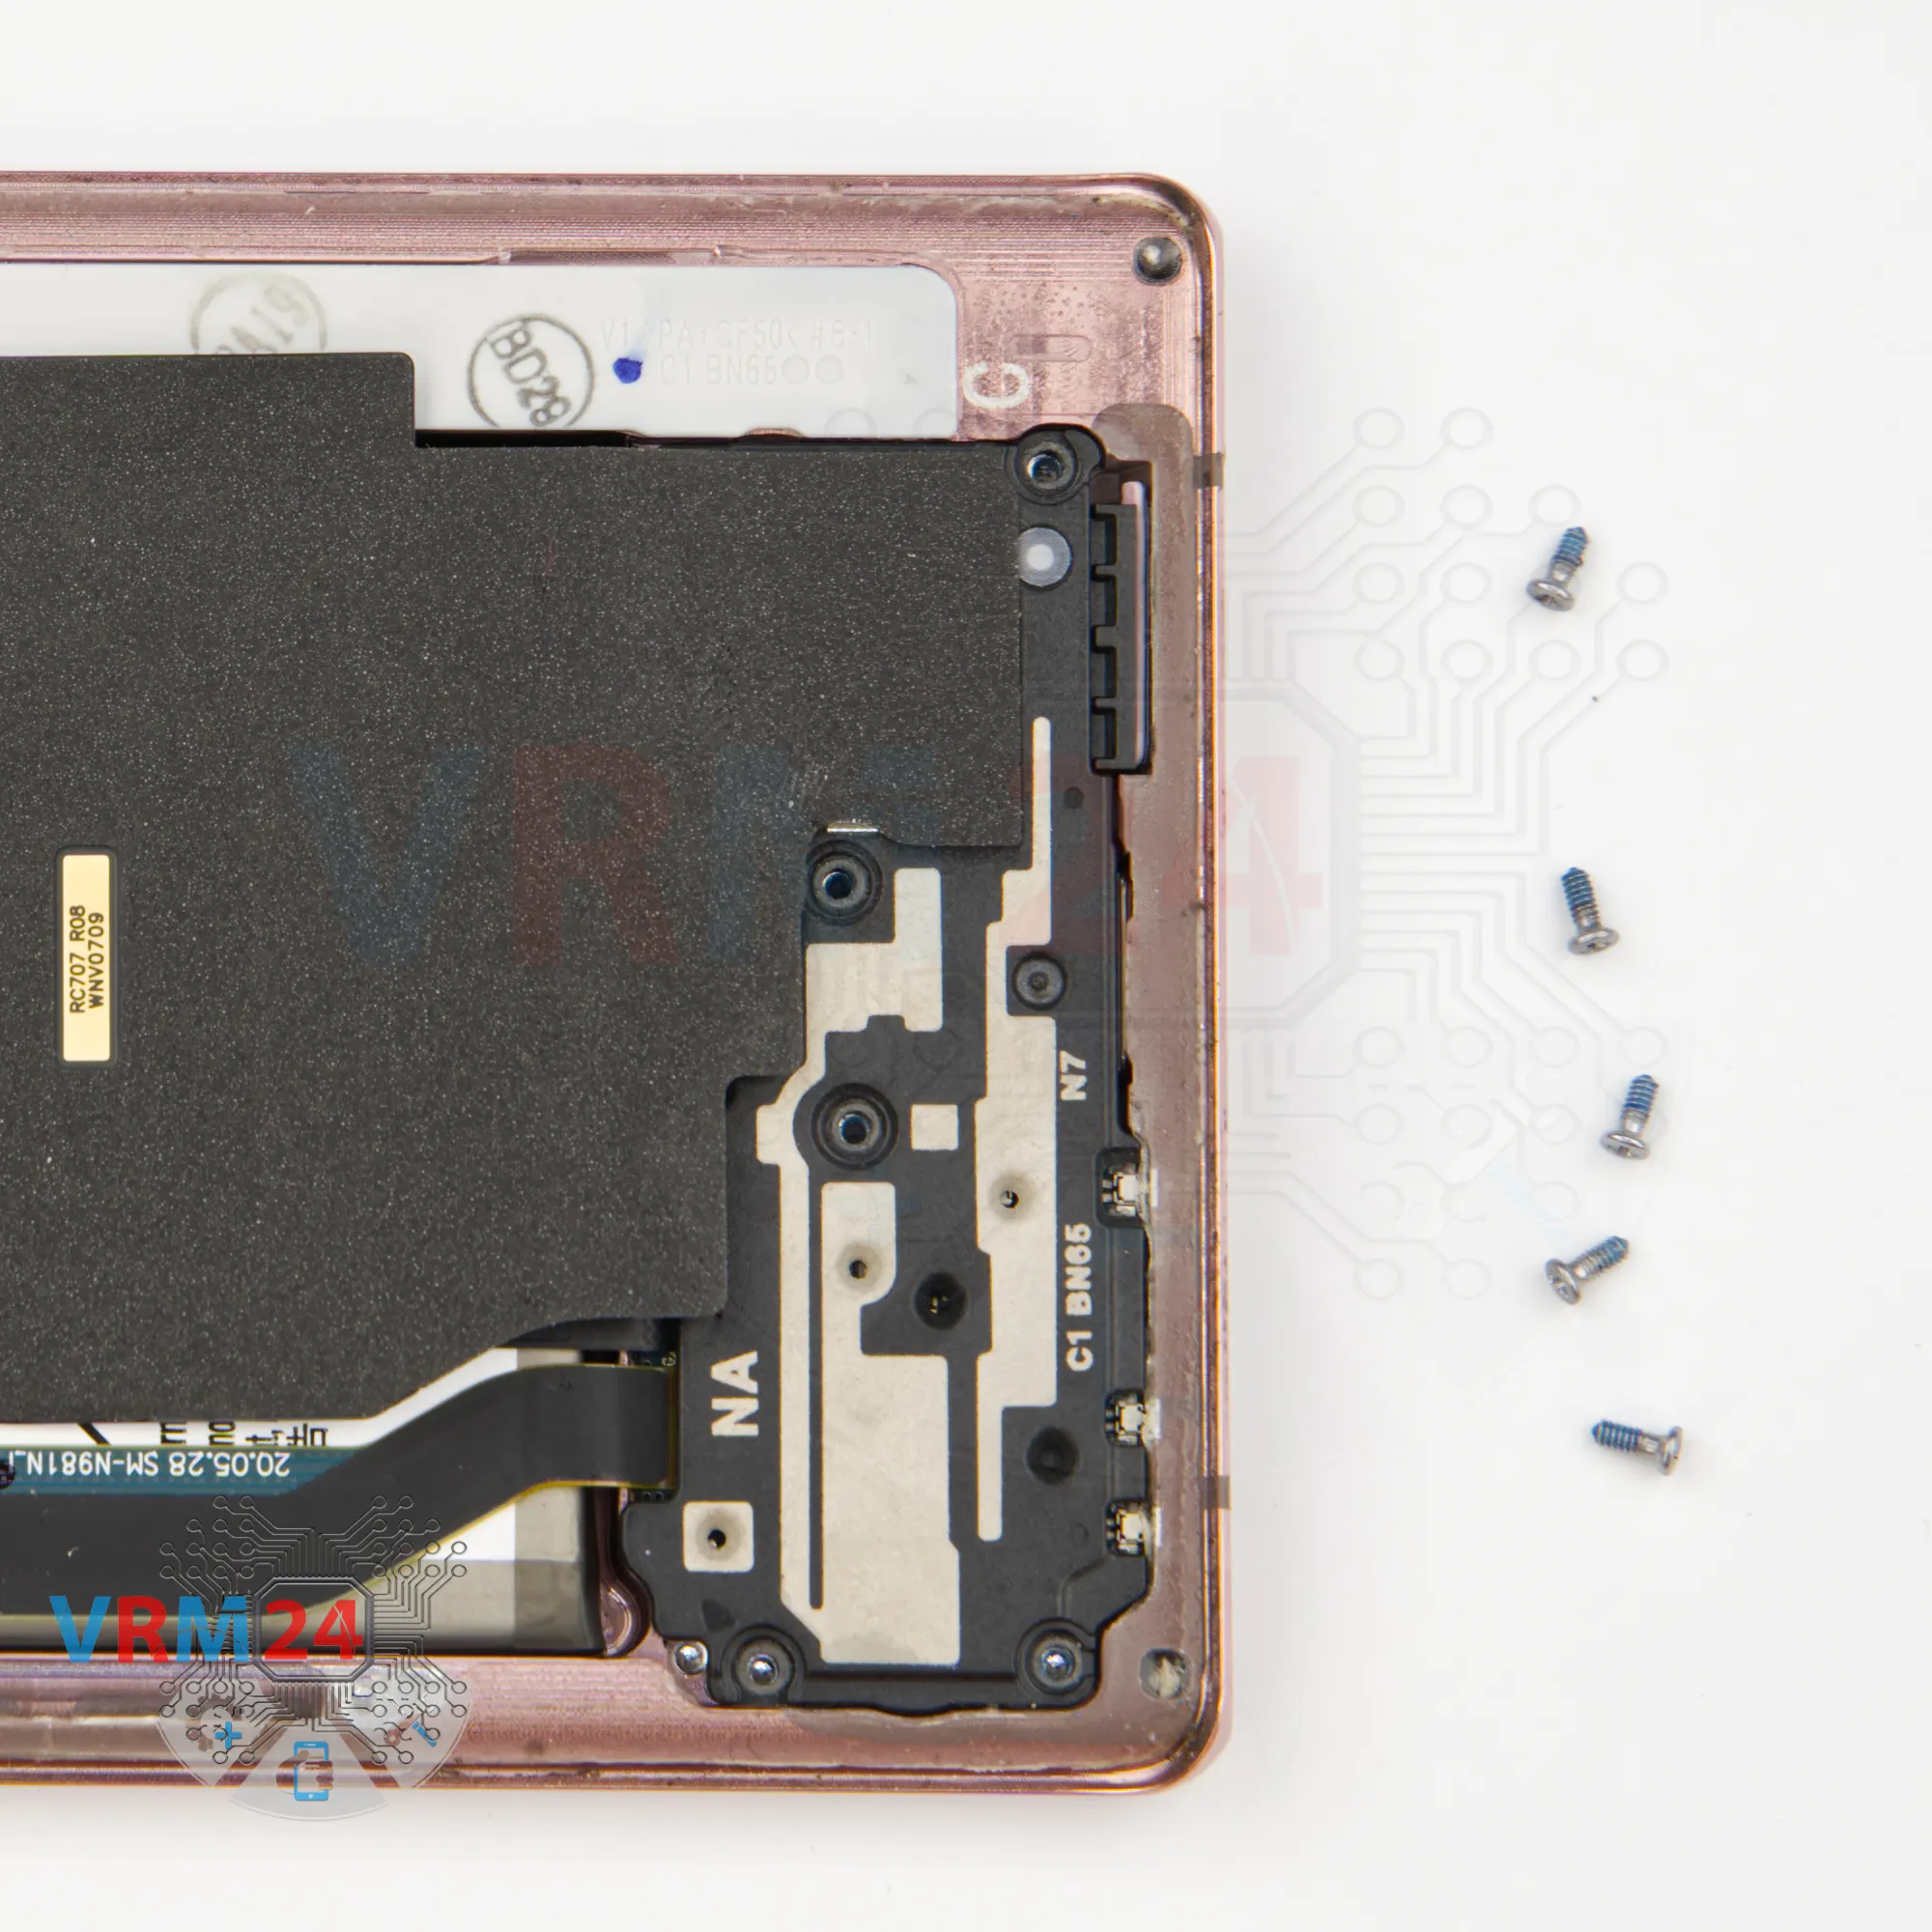
We move on to removing the five screws at the bottom. For this we also use a 1.5mm Phillips screwdriver or Philips #000.


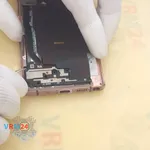
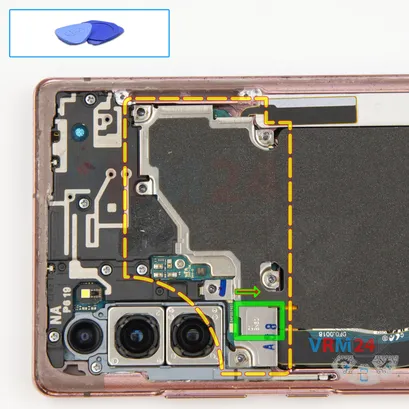
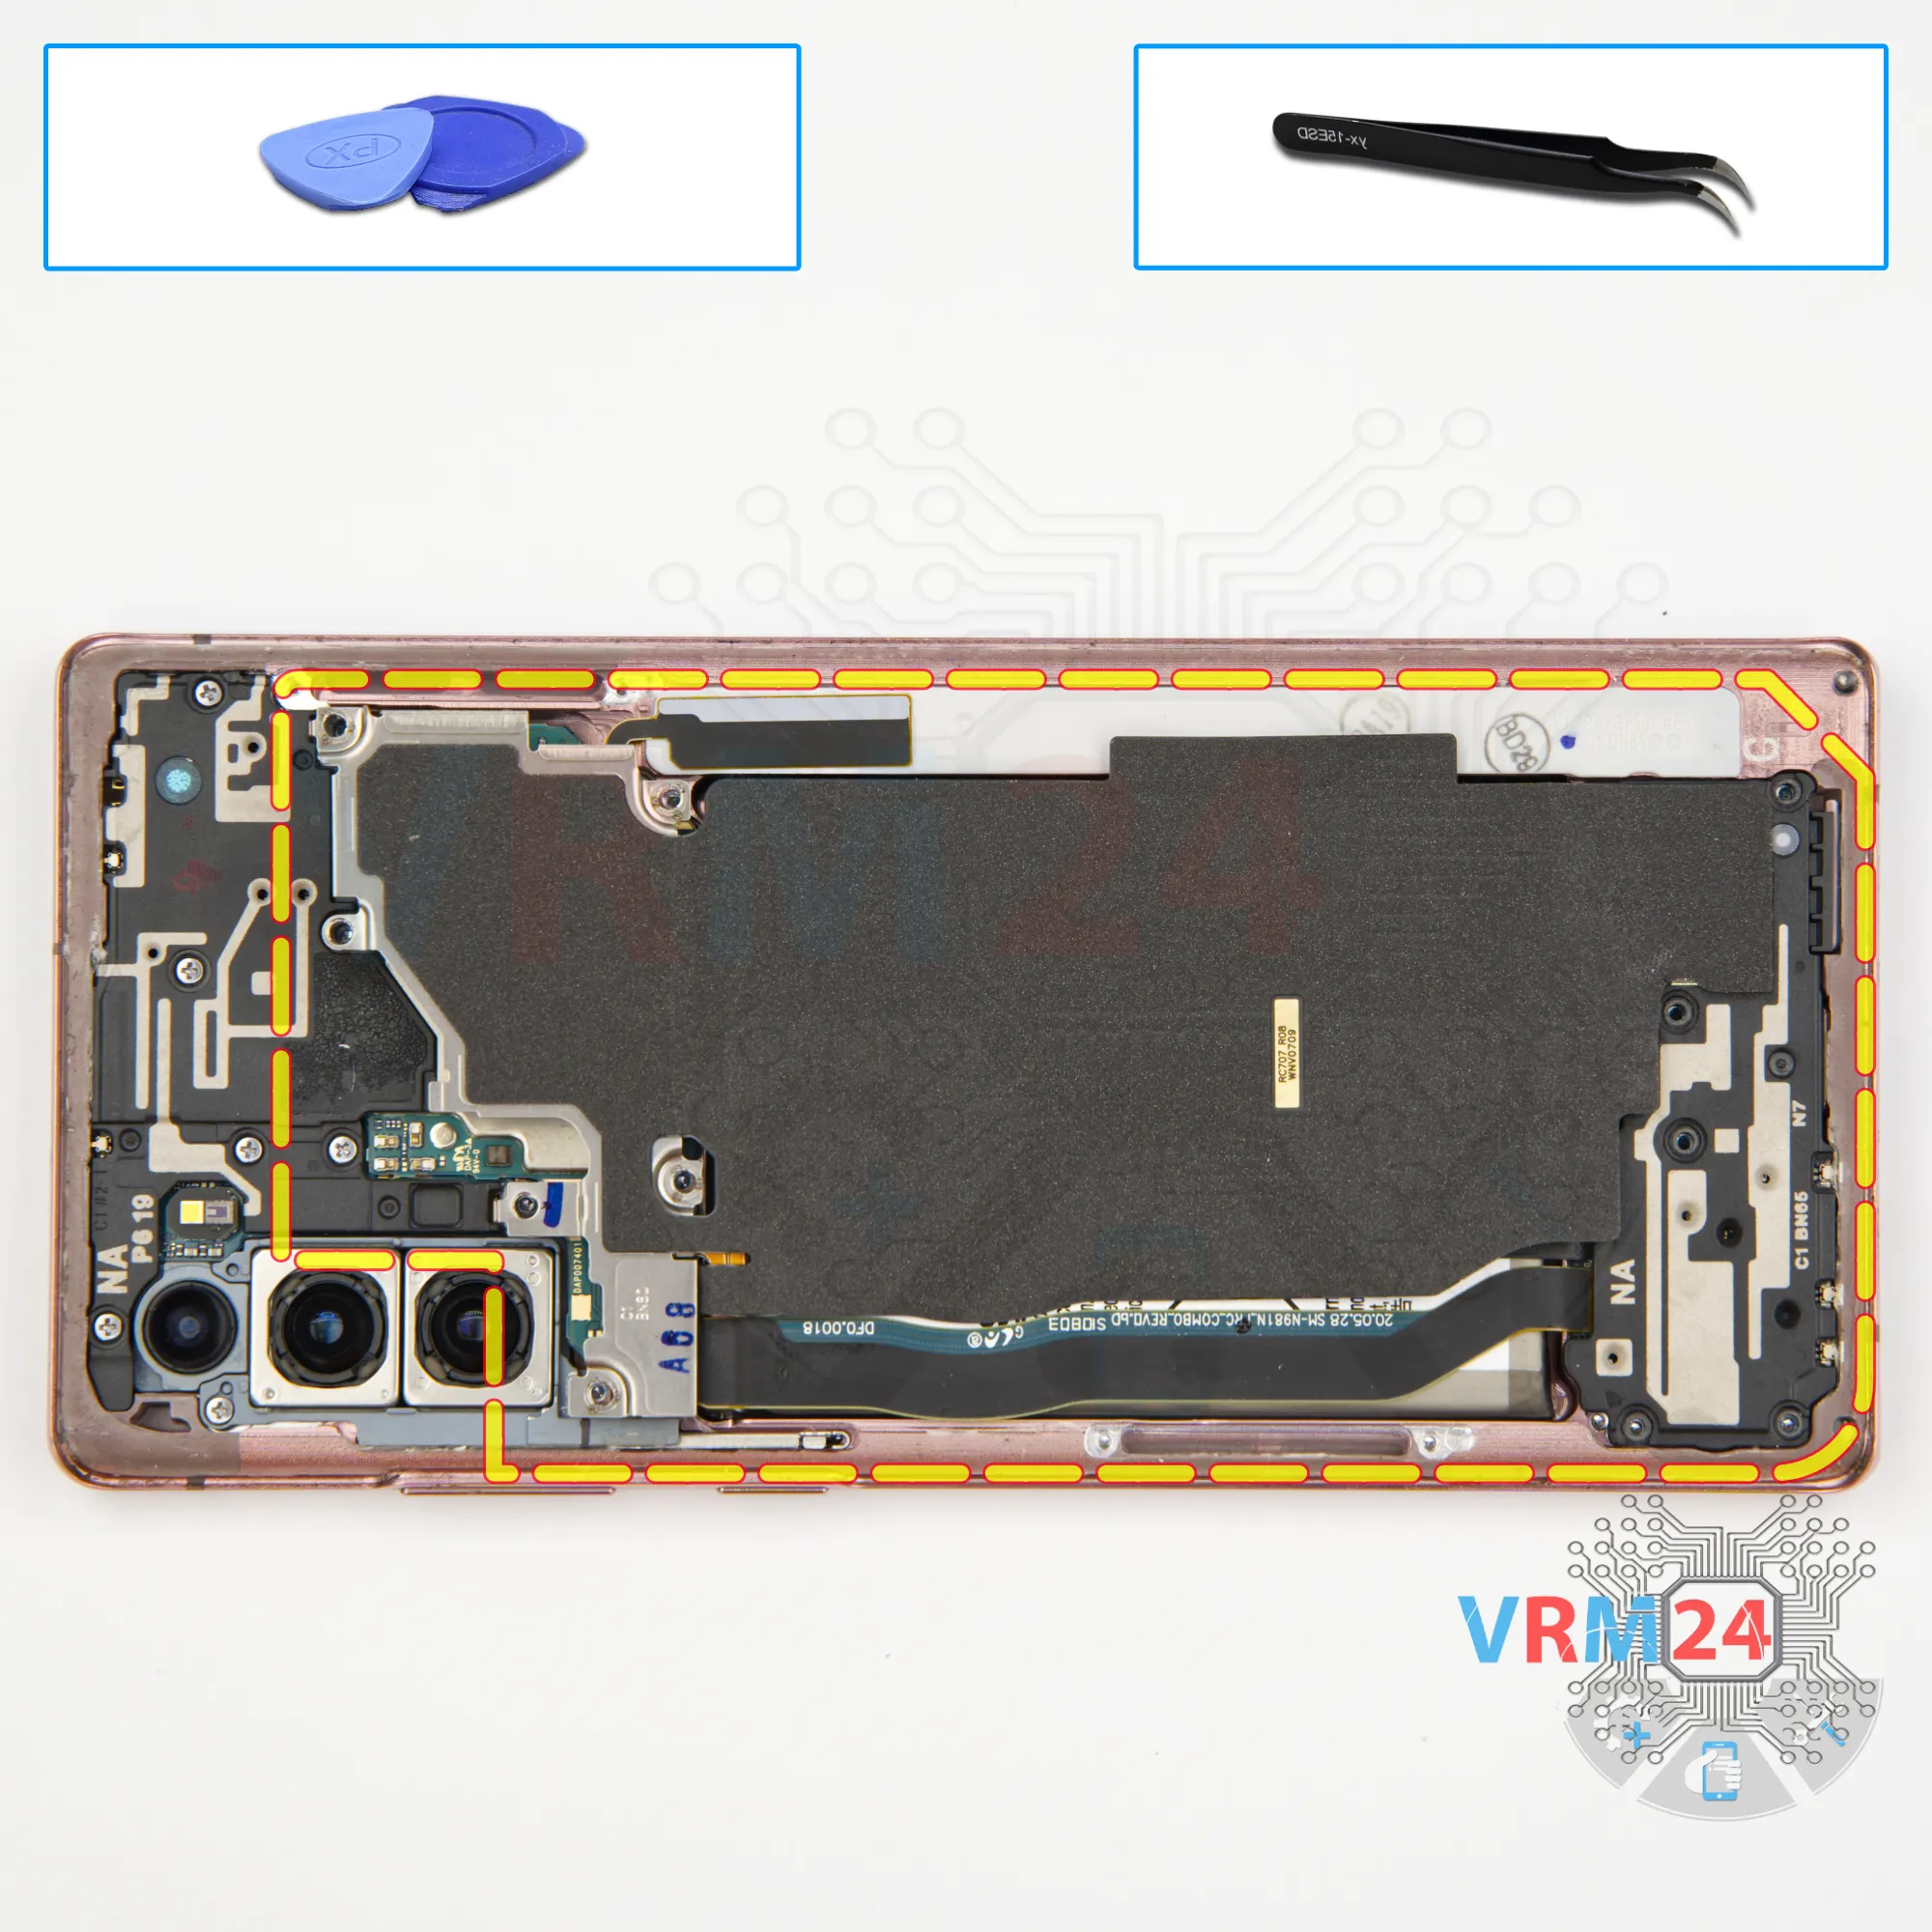
Then we need to detach the cover at the bottom. Gently hook the edge, lift it up and remove the cover together with NFC and wireless charging.
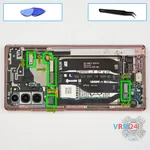

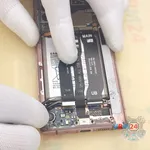
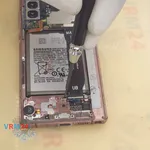
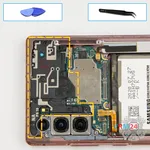
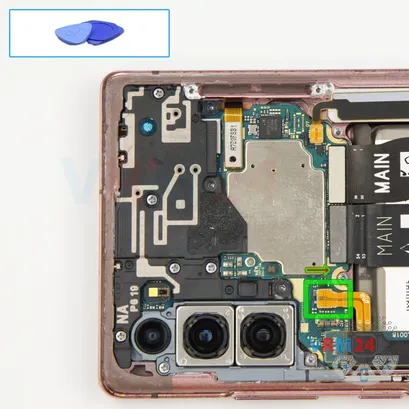
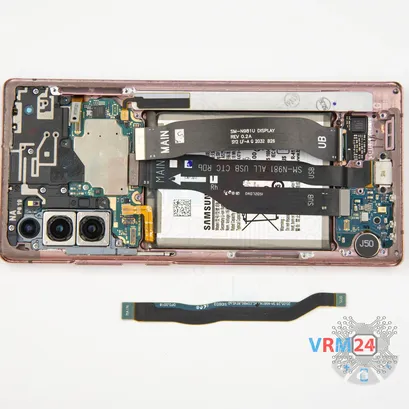
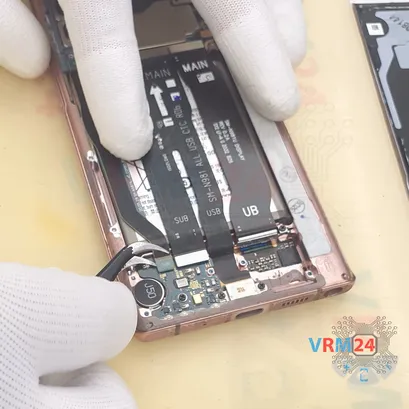
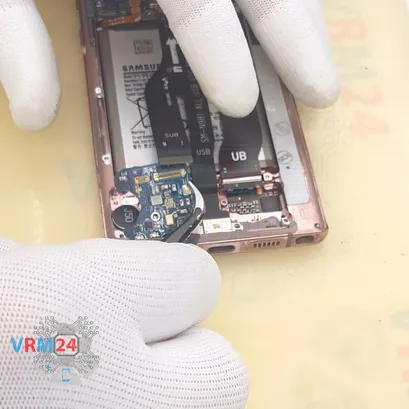
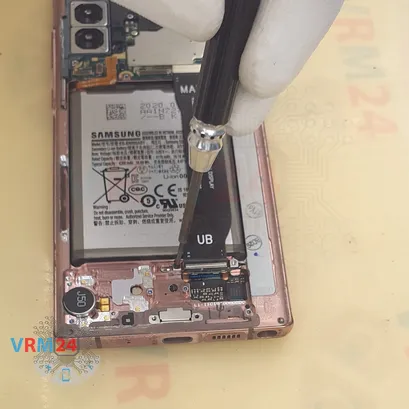
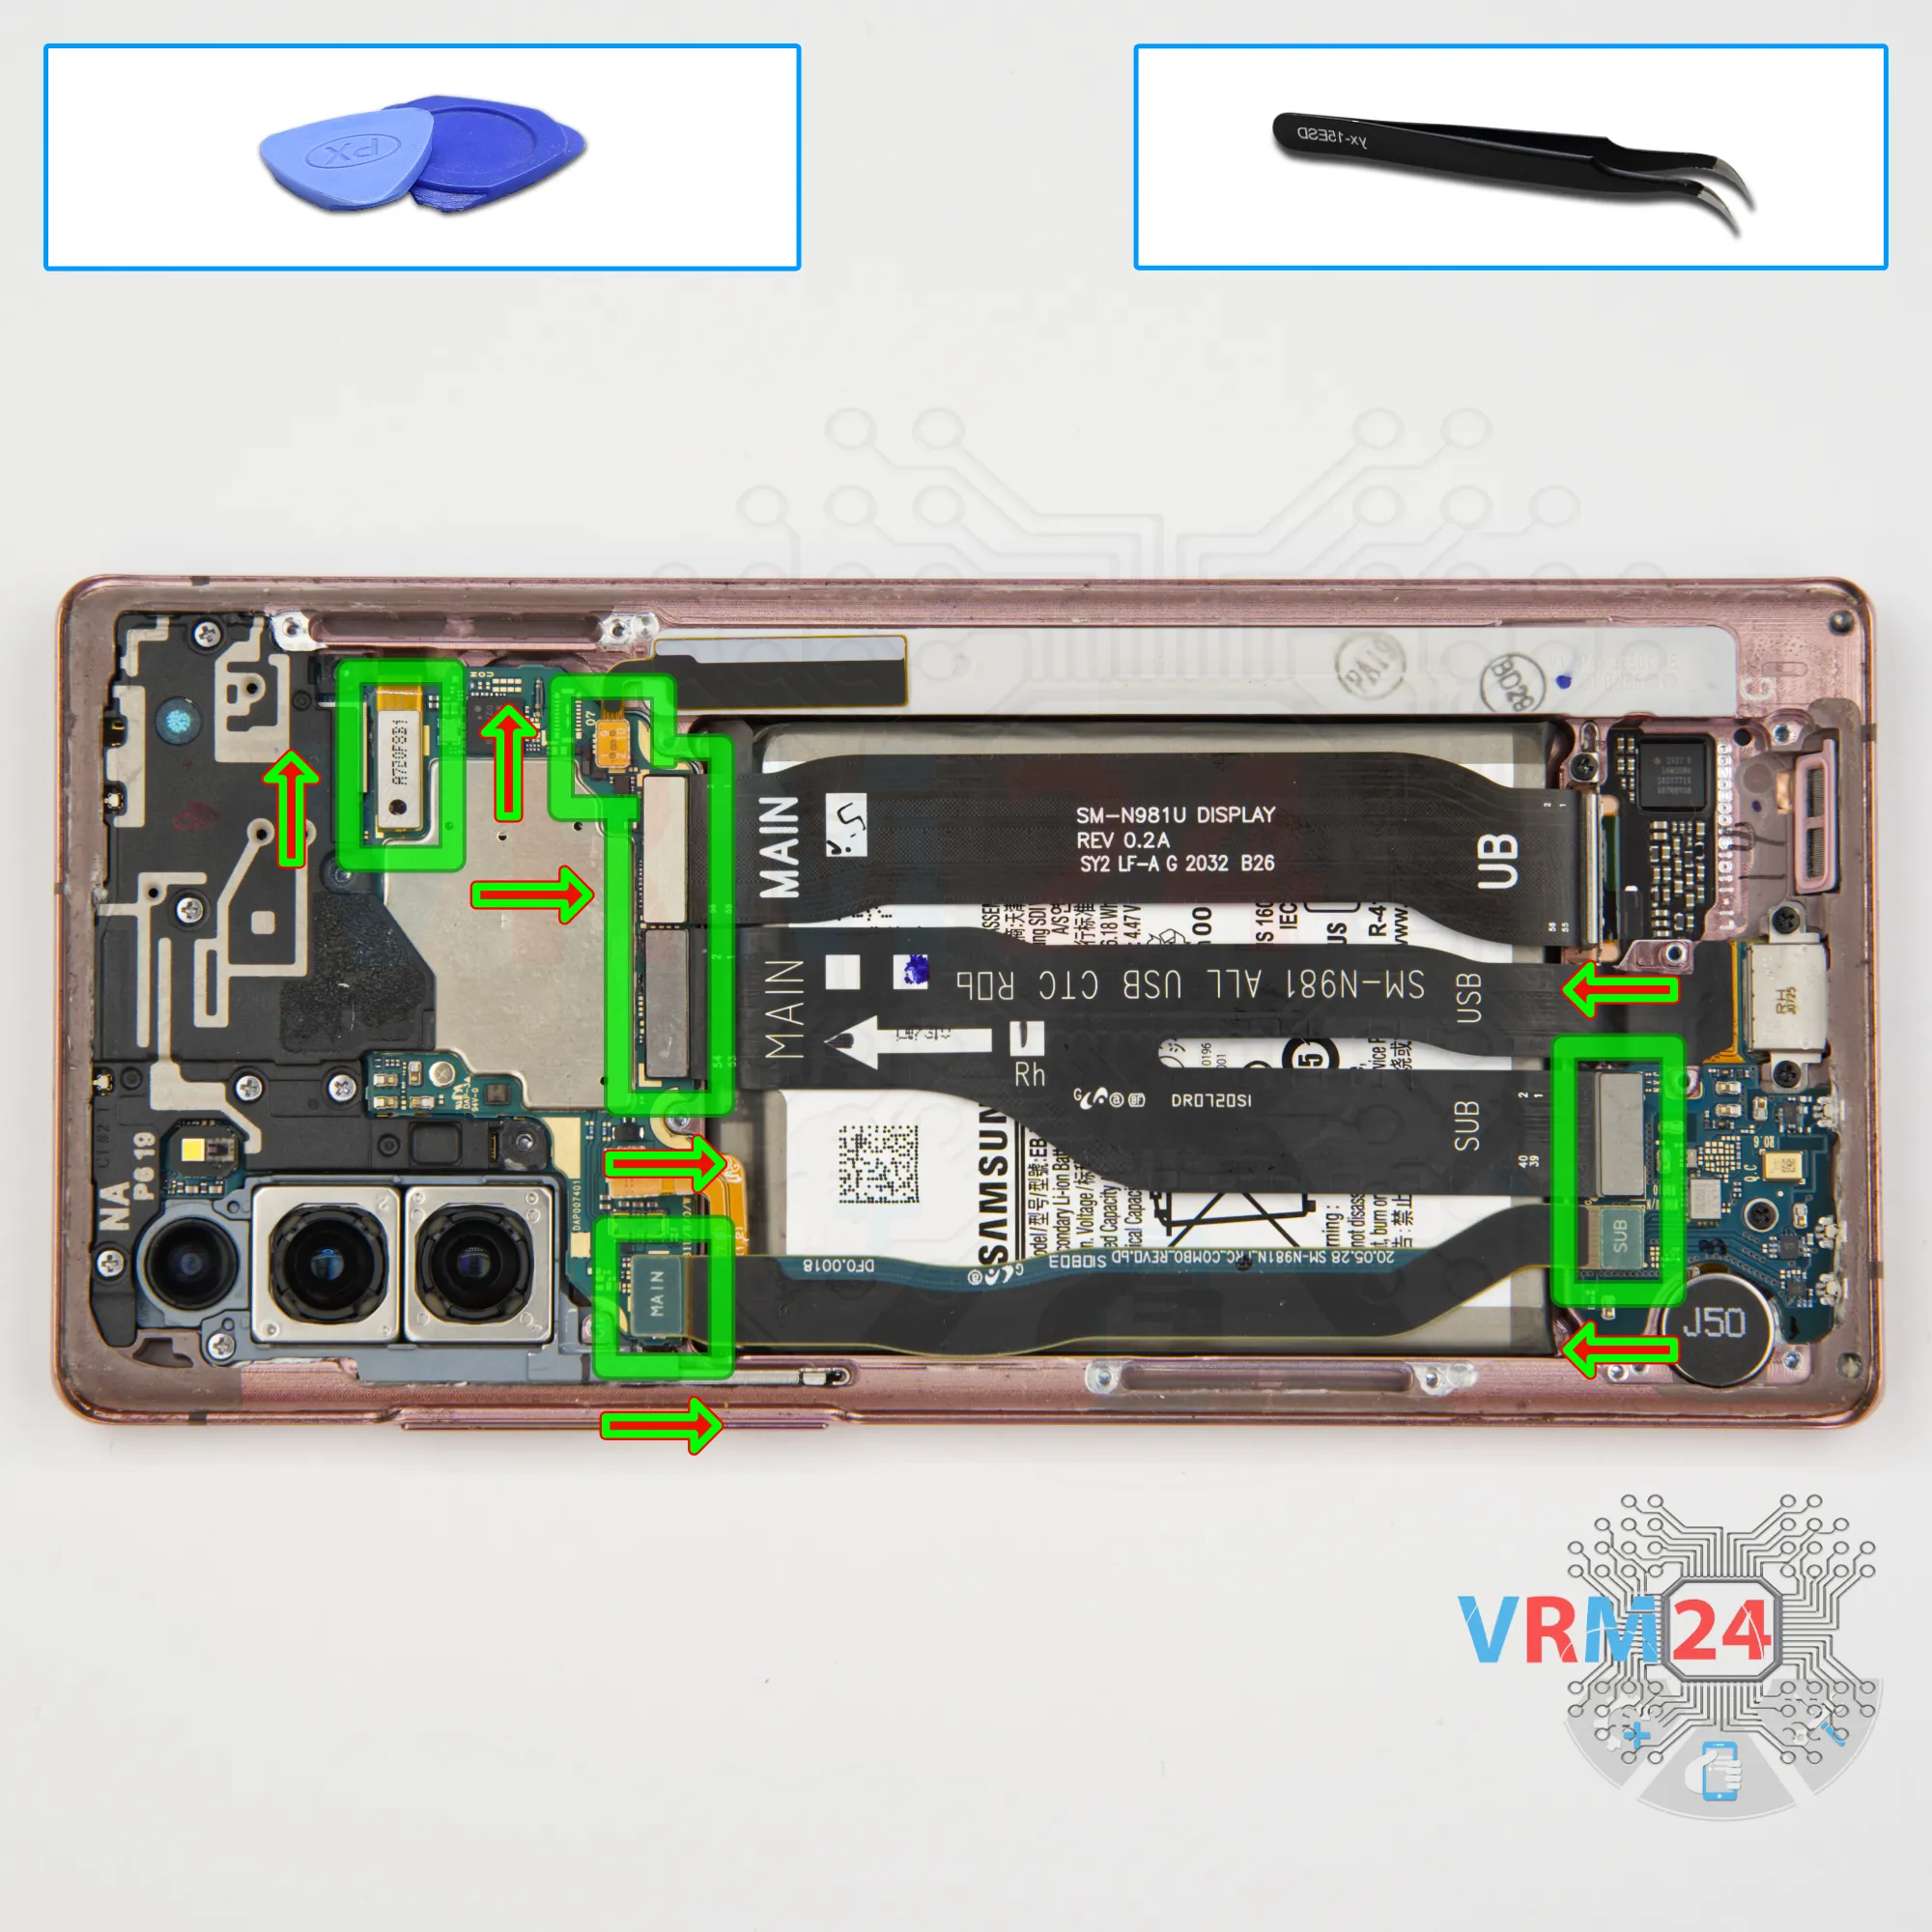
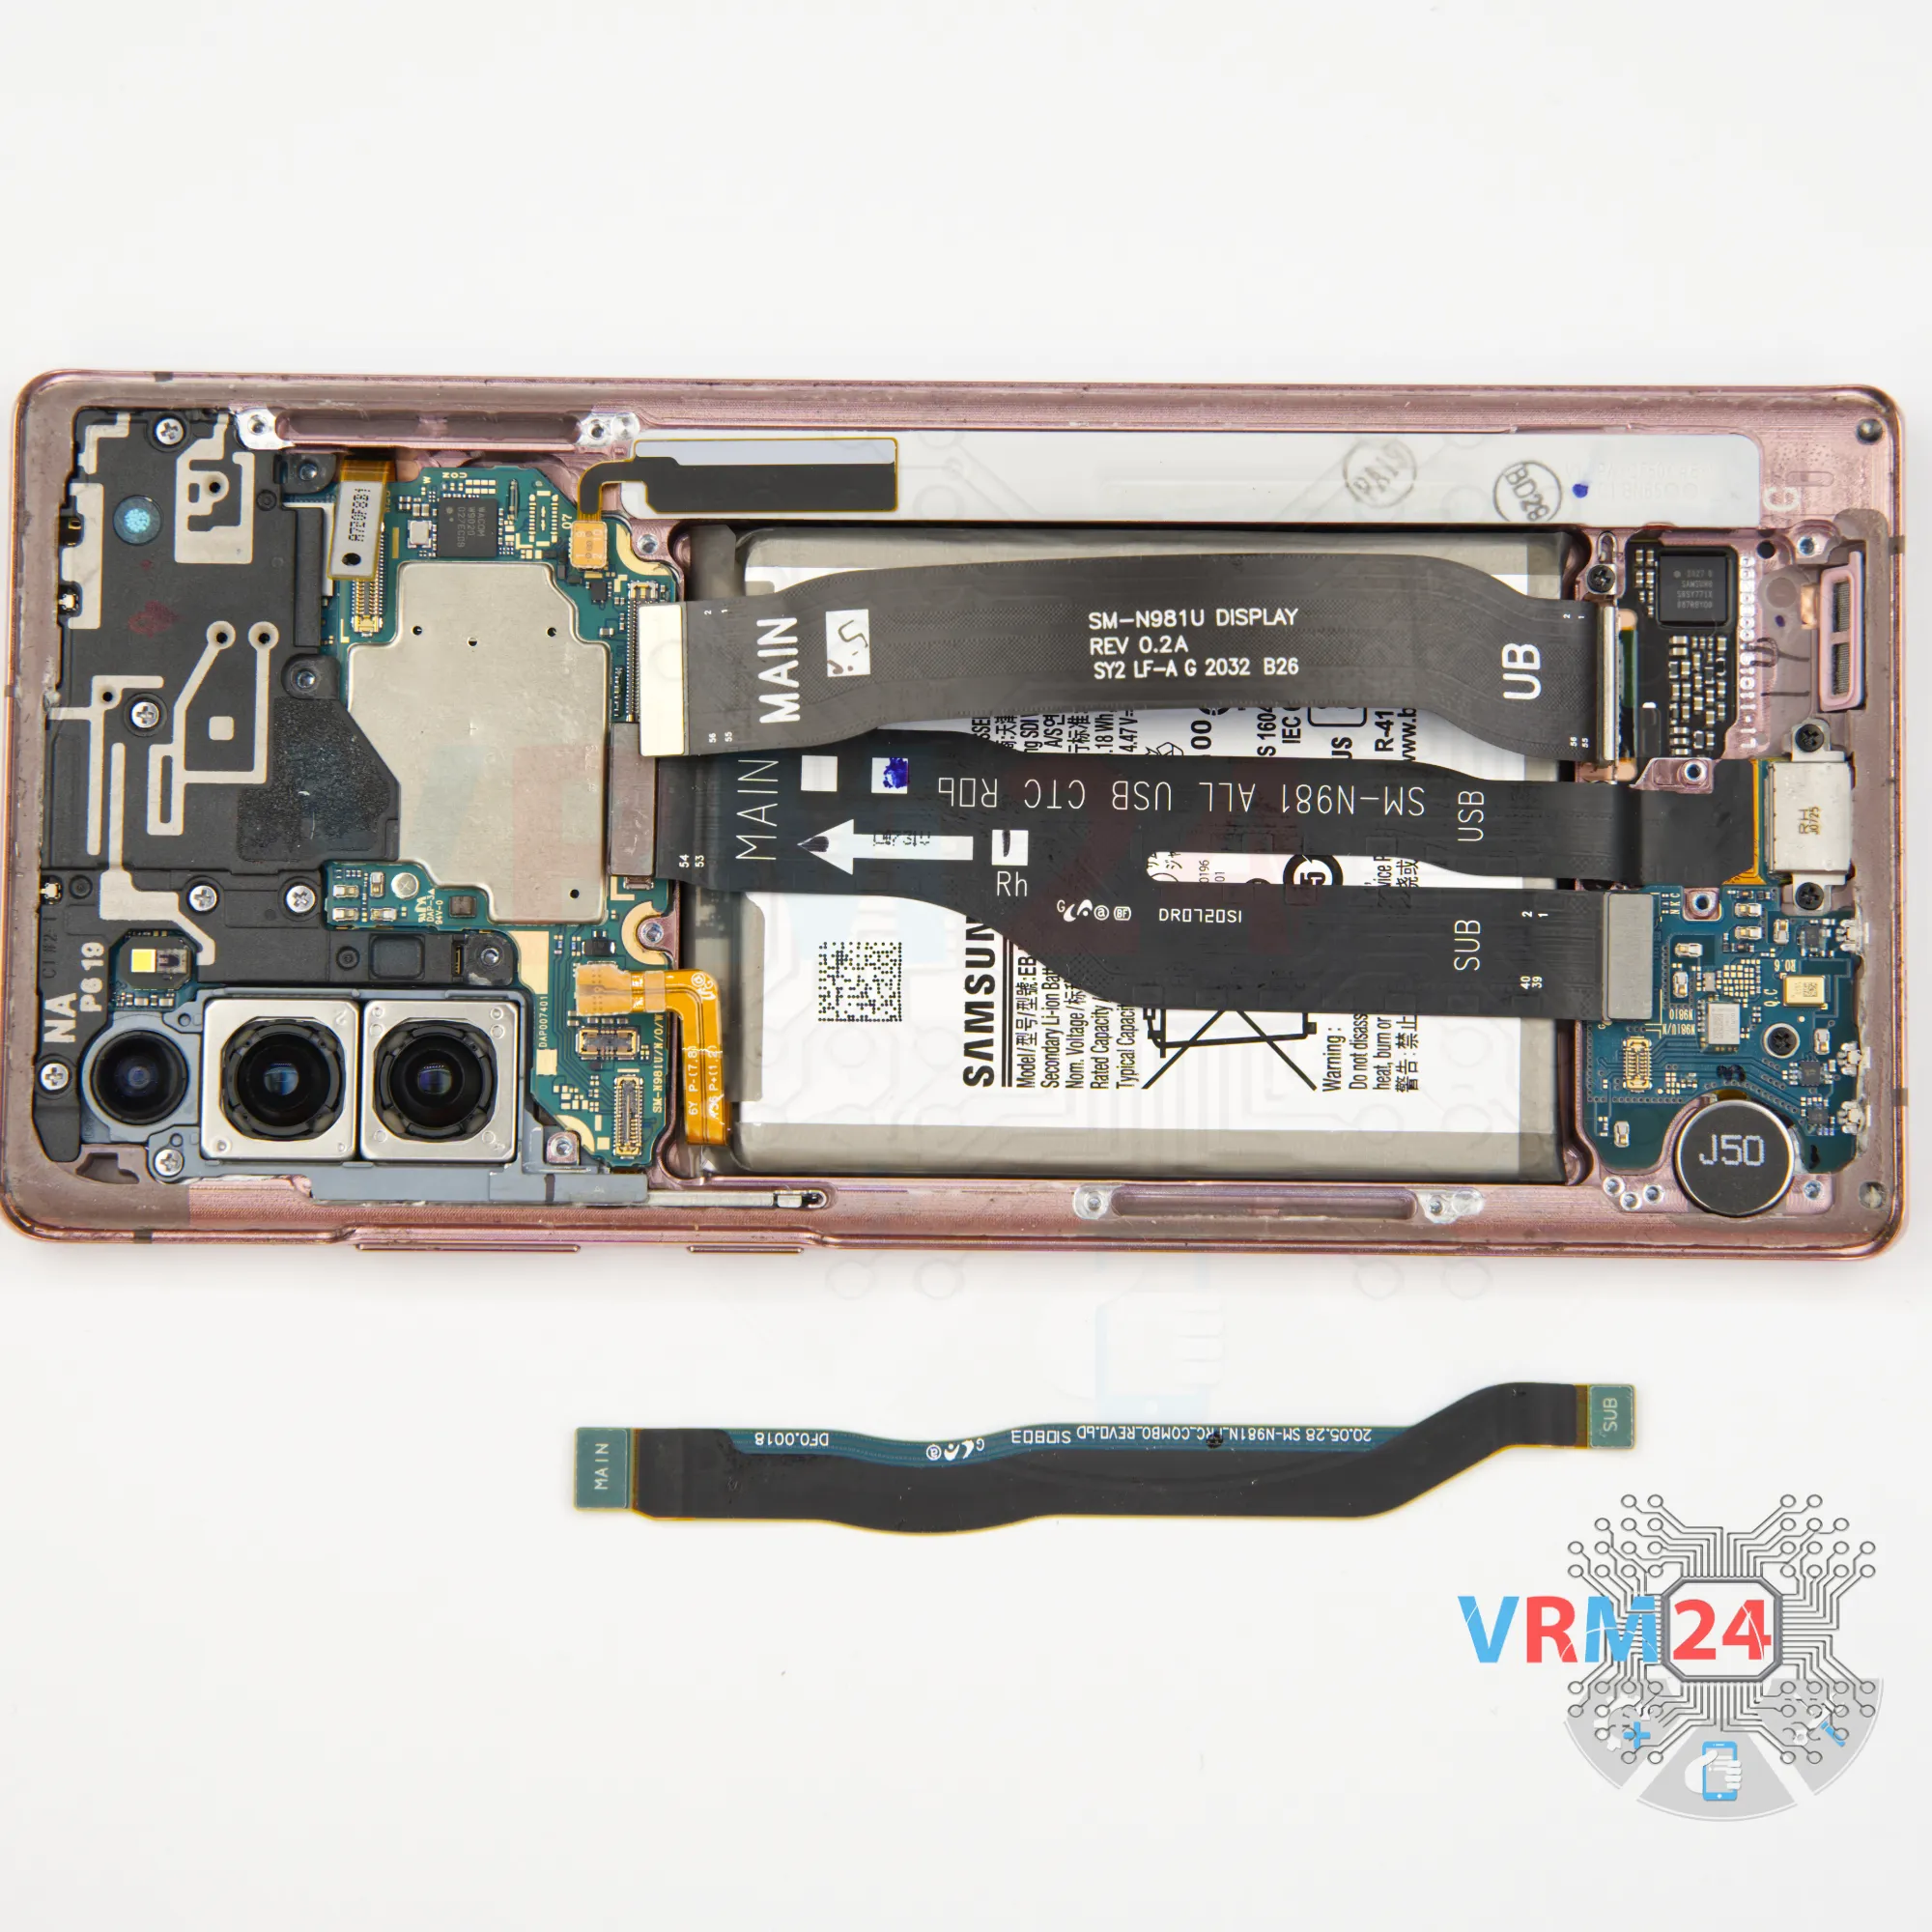
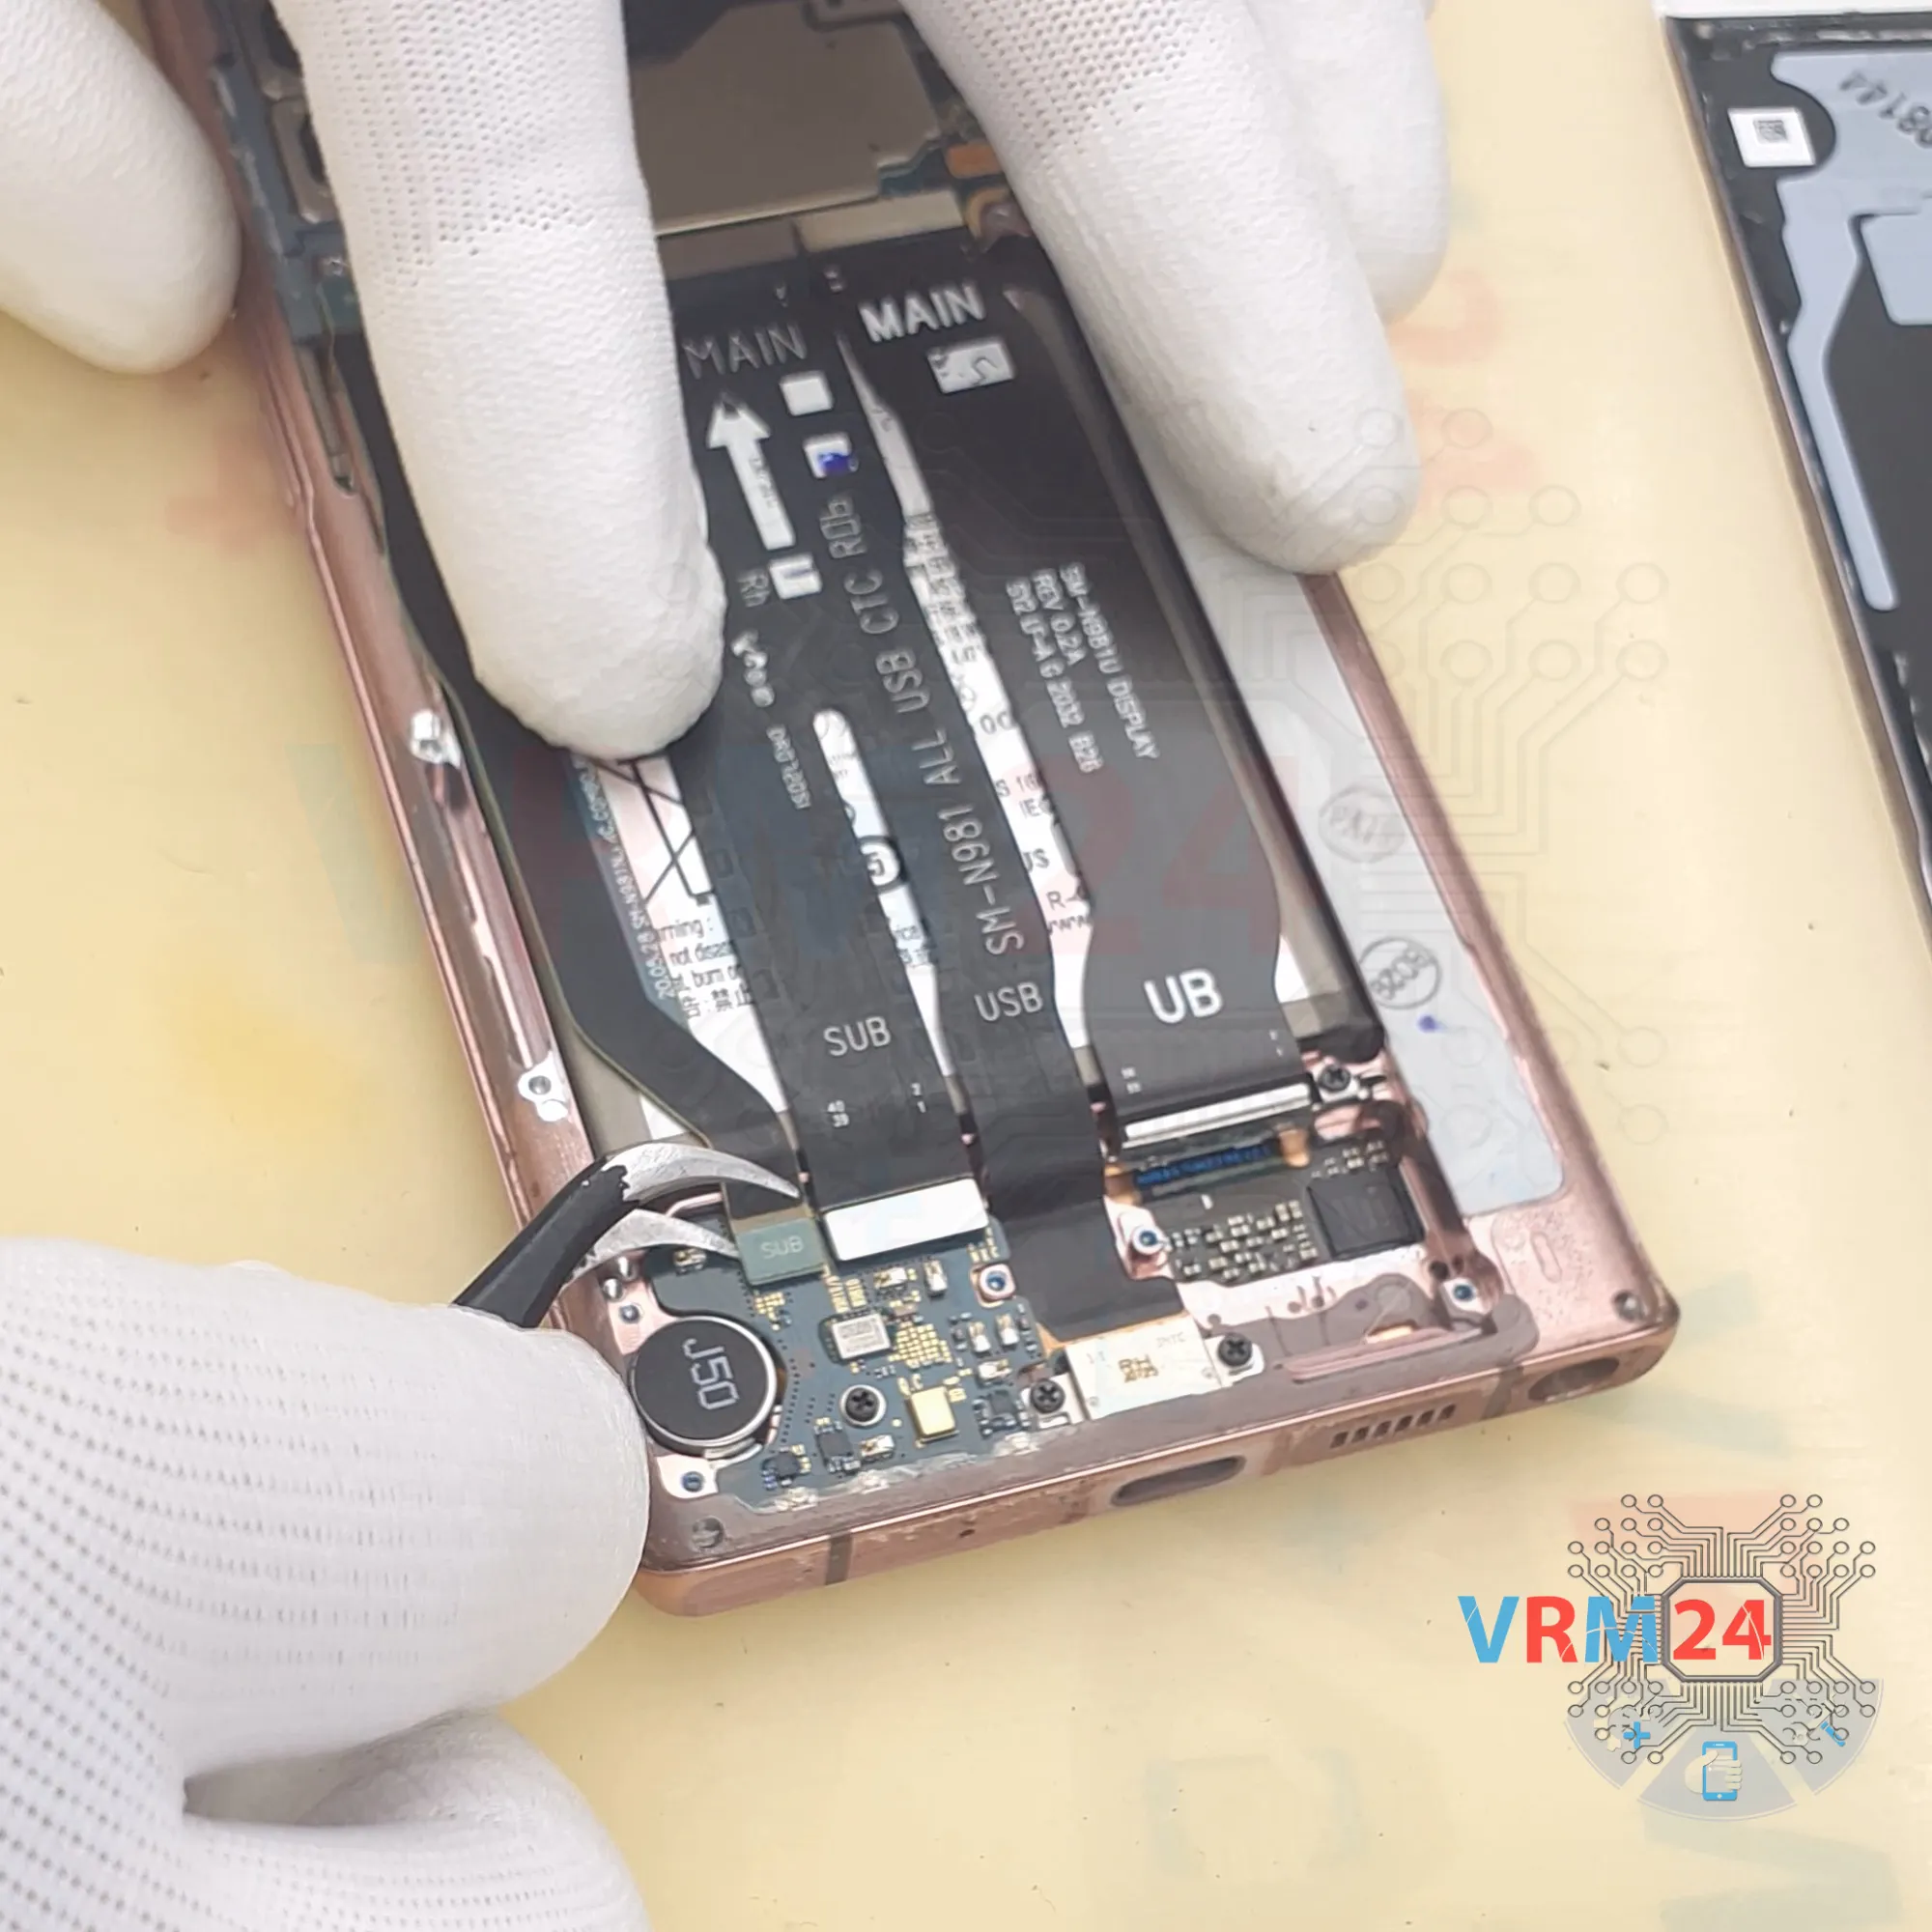
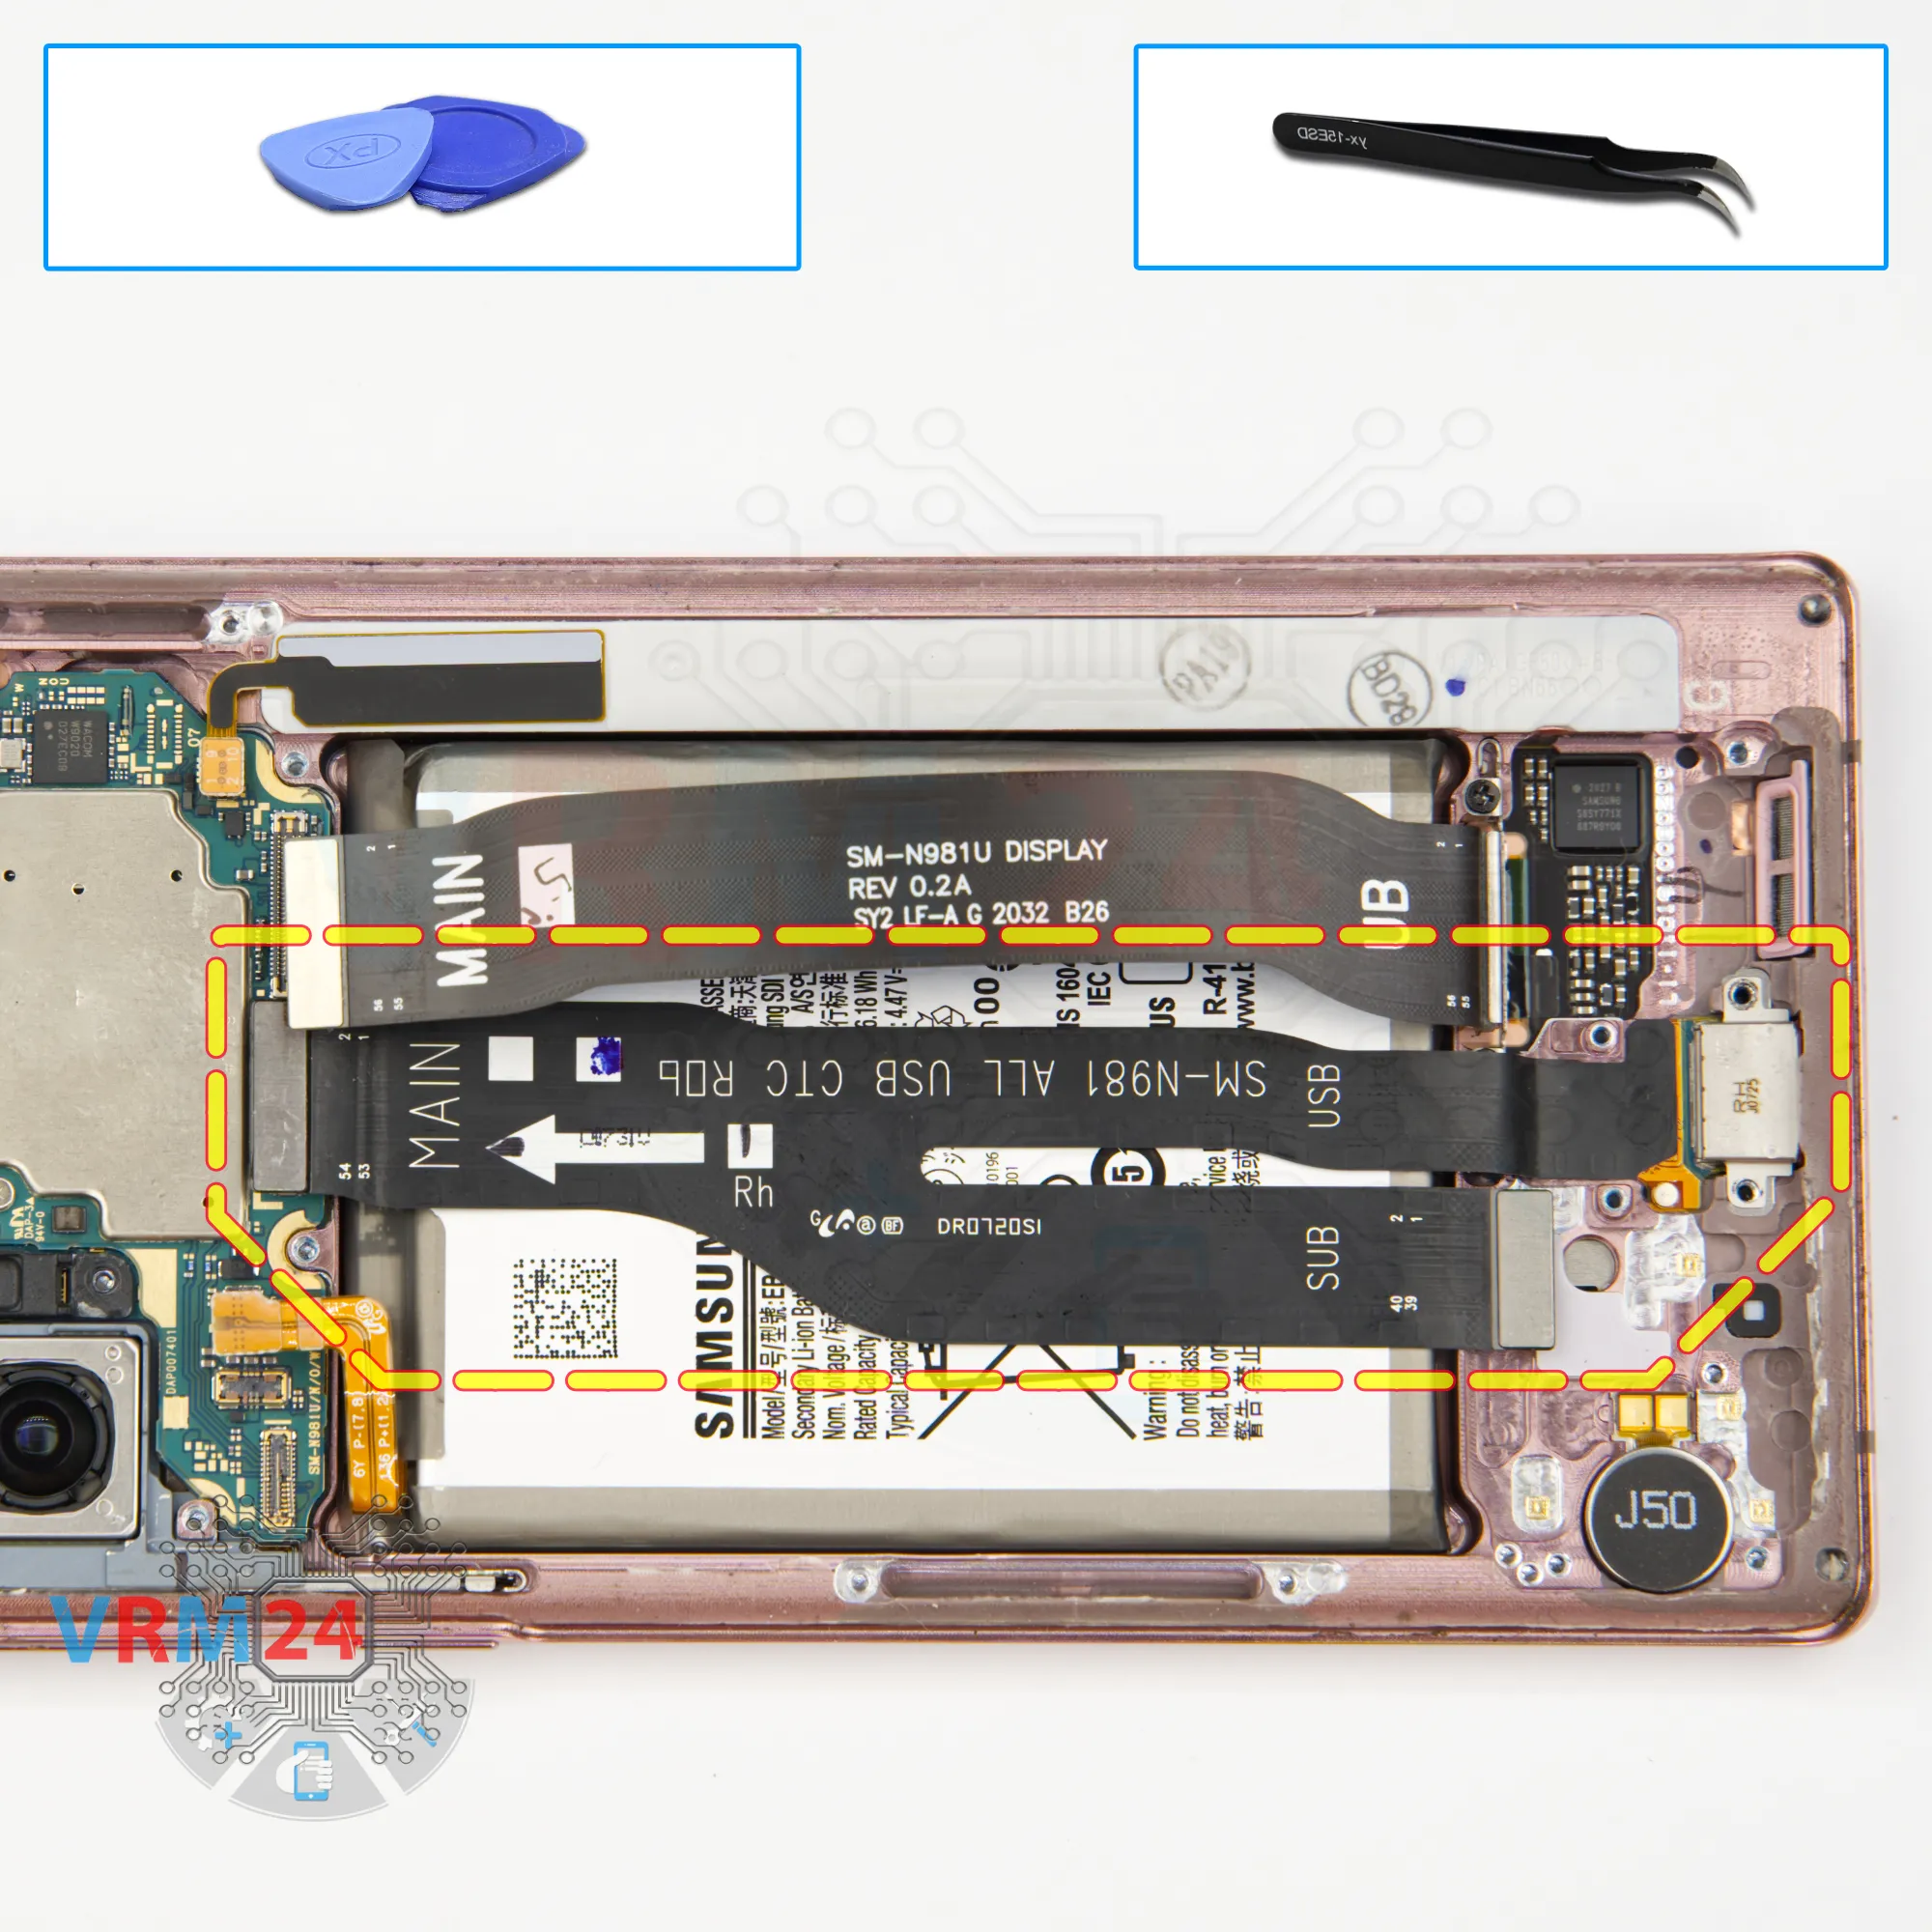
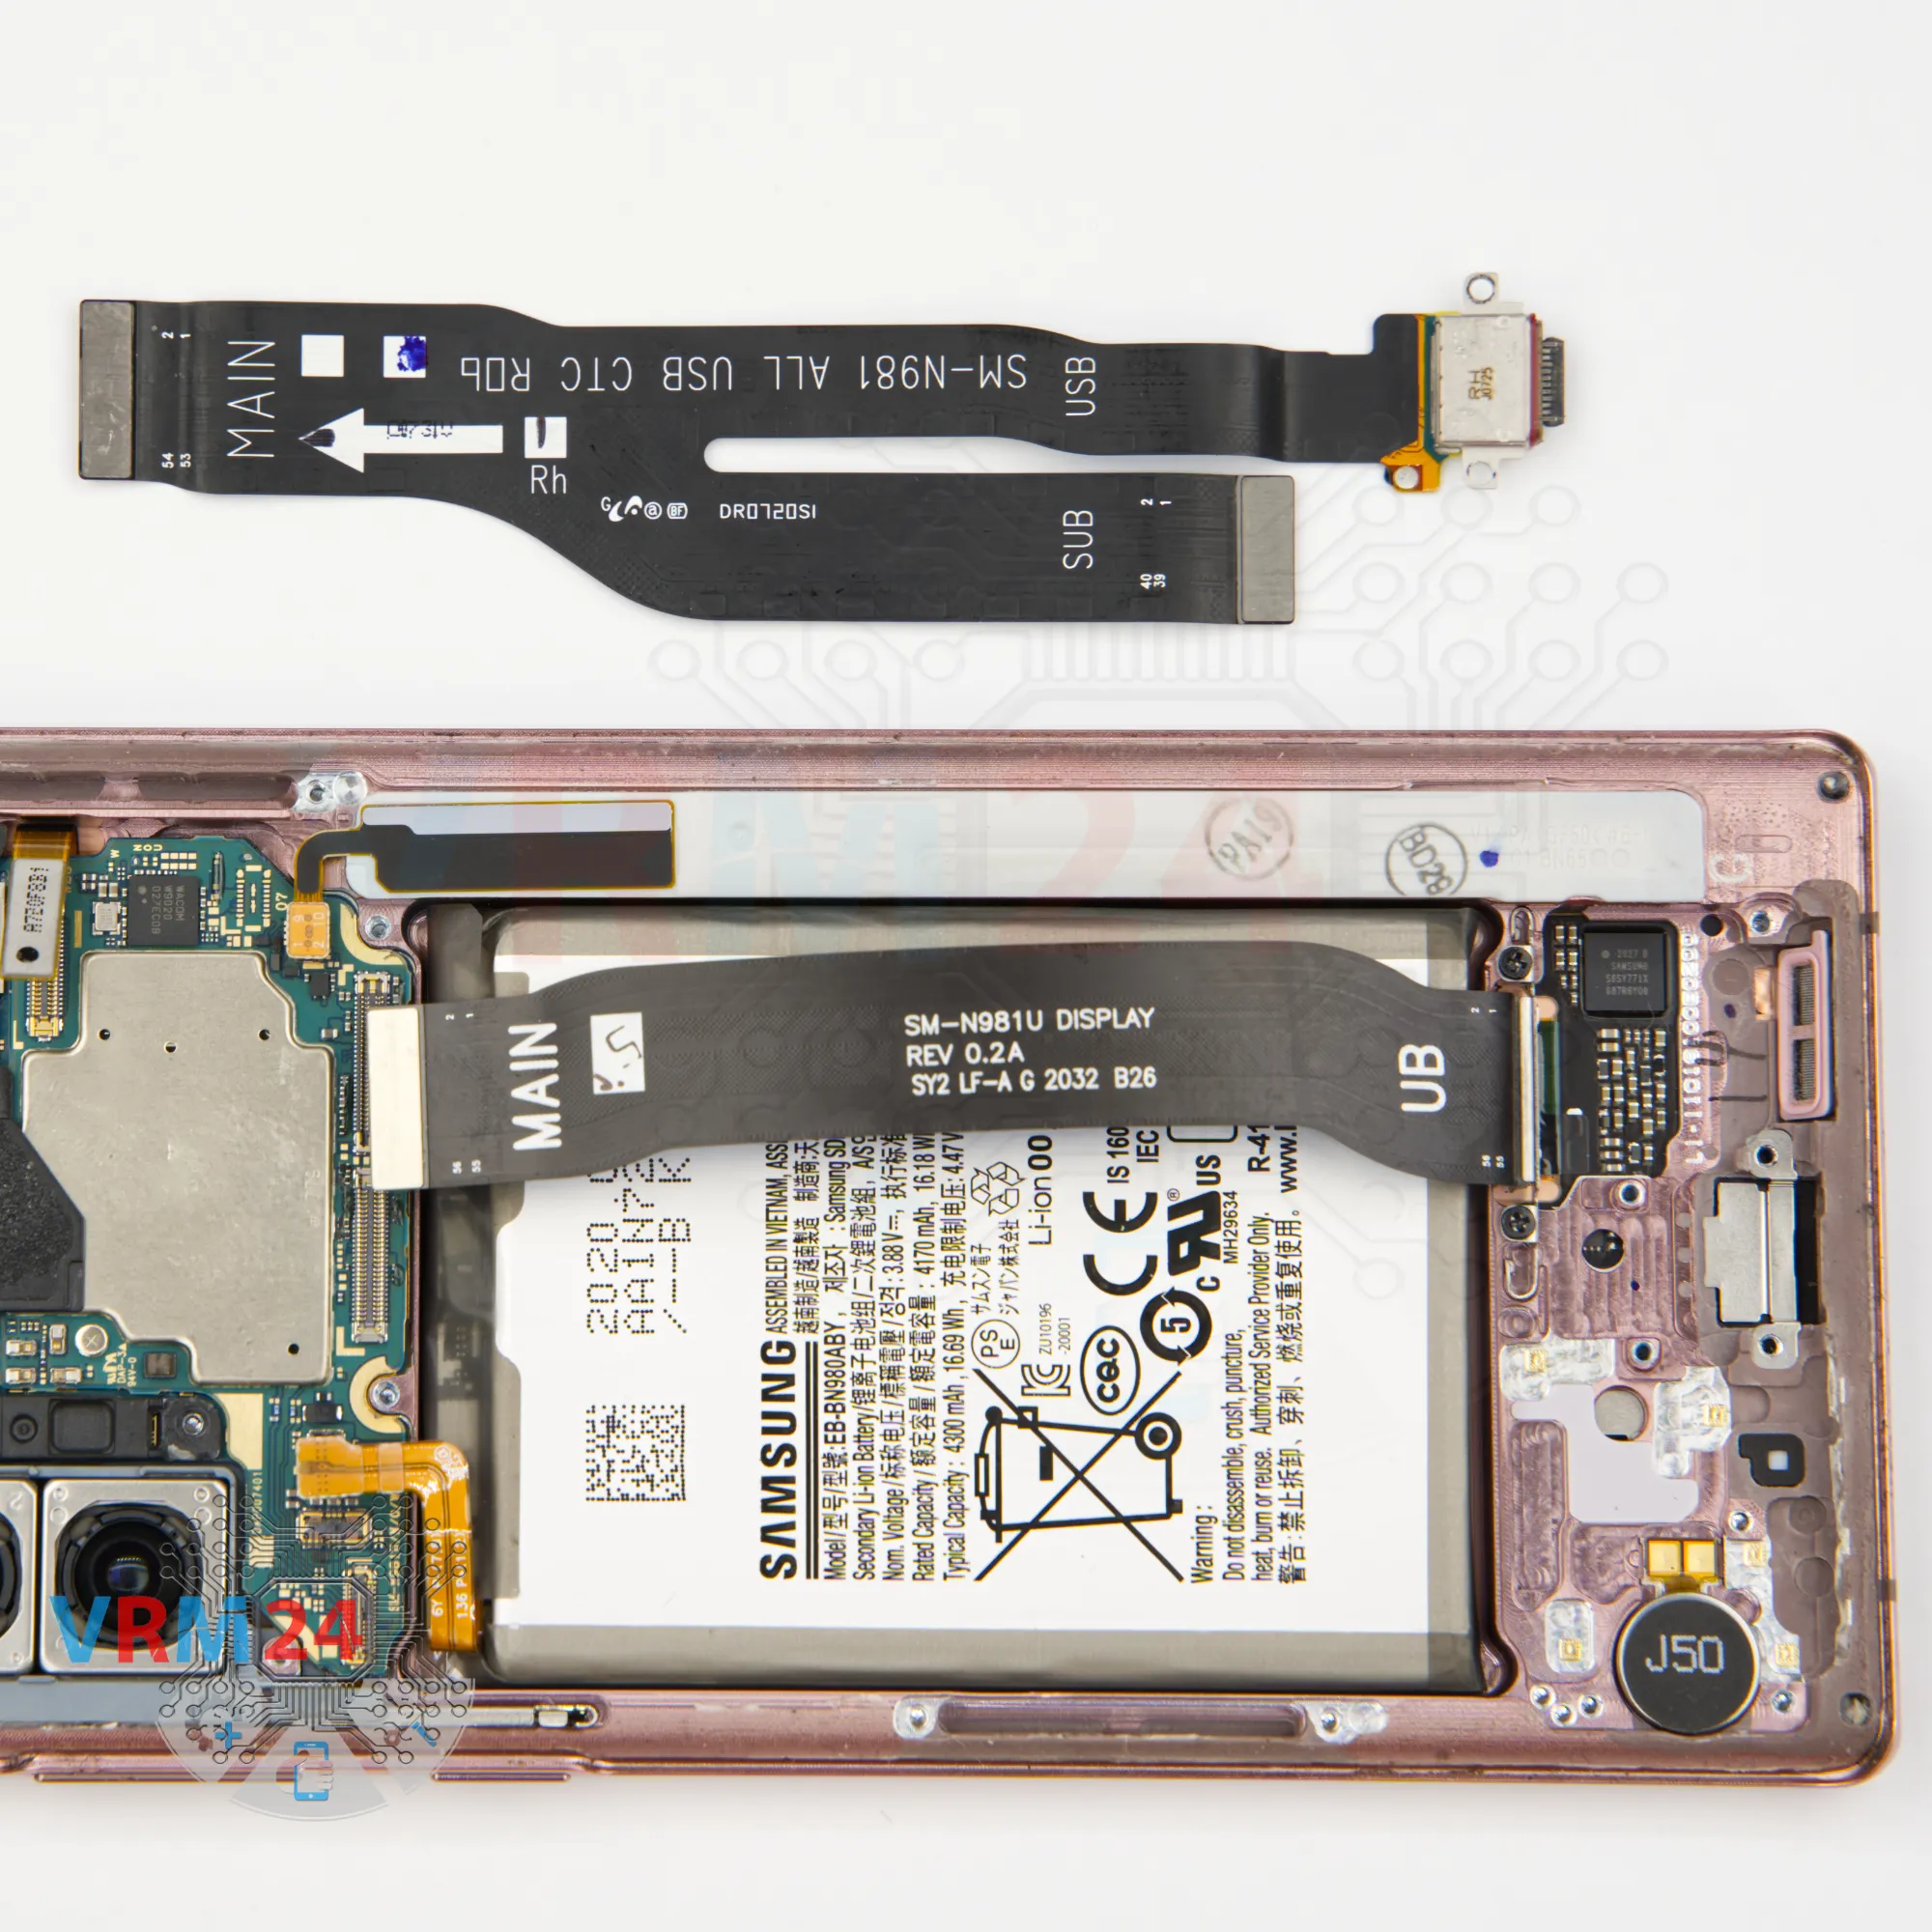
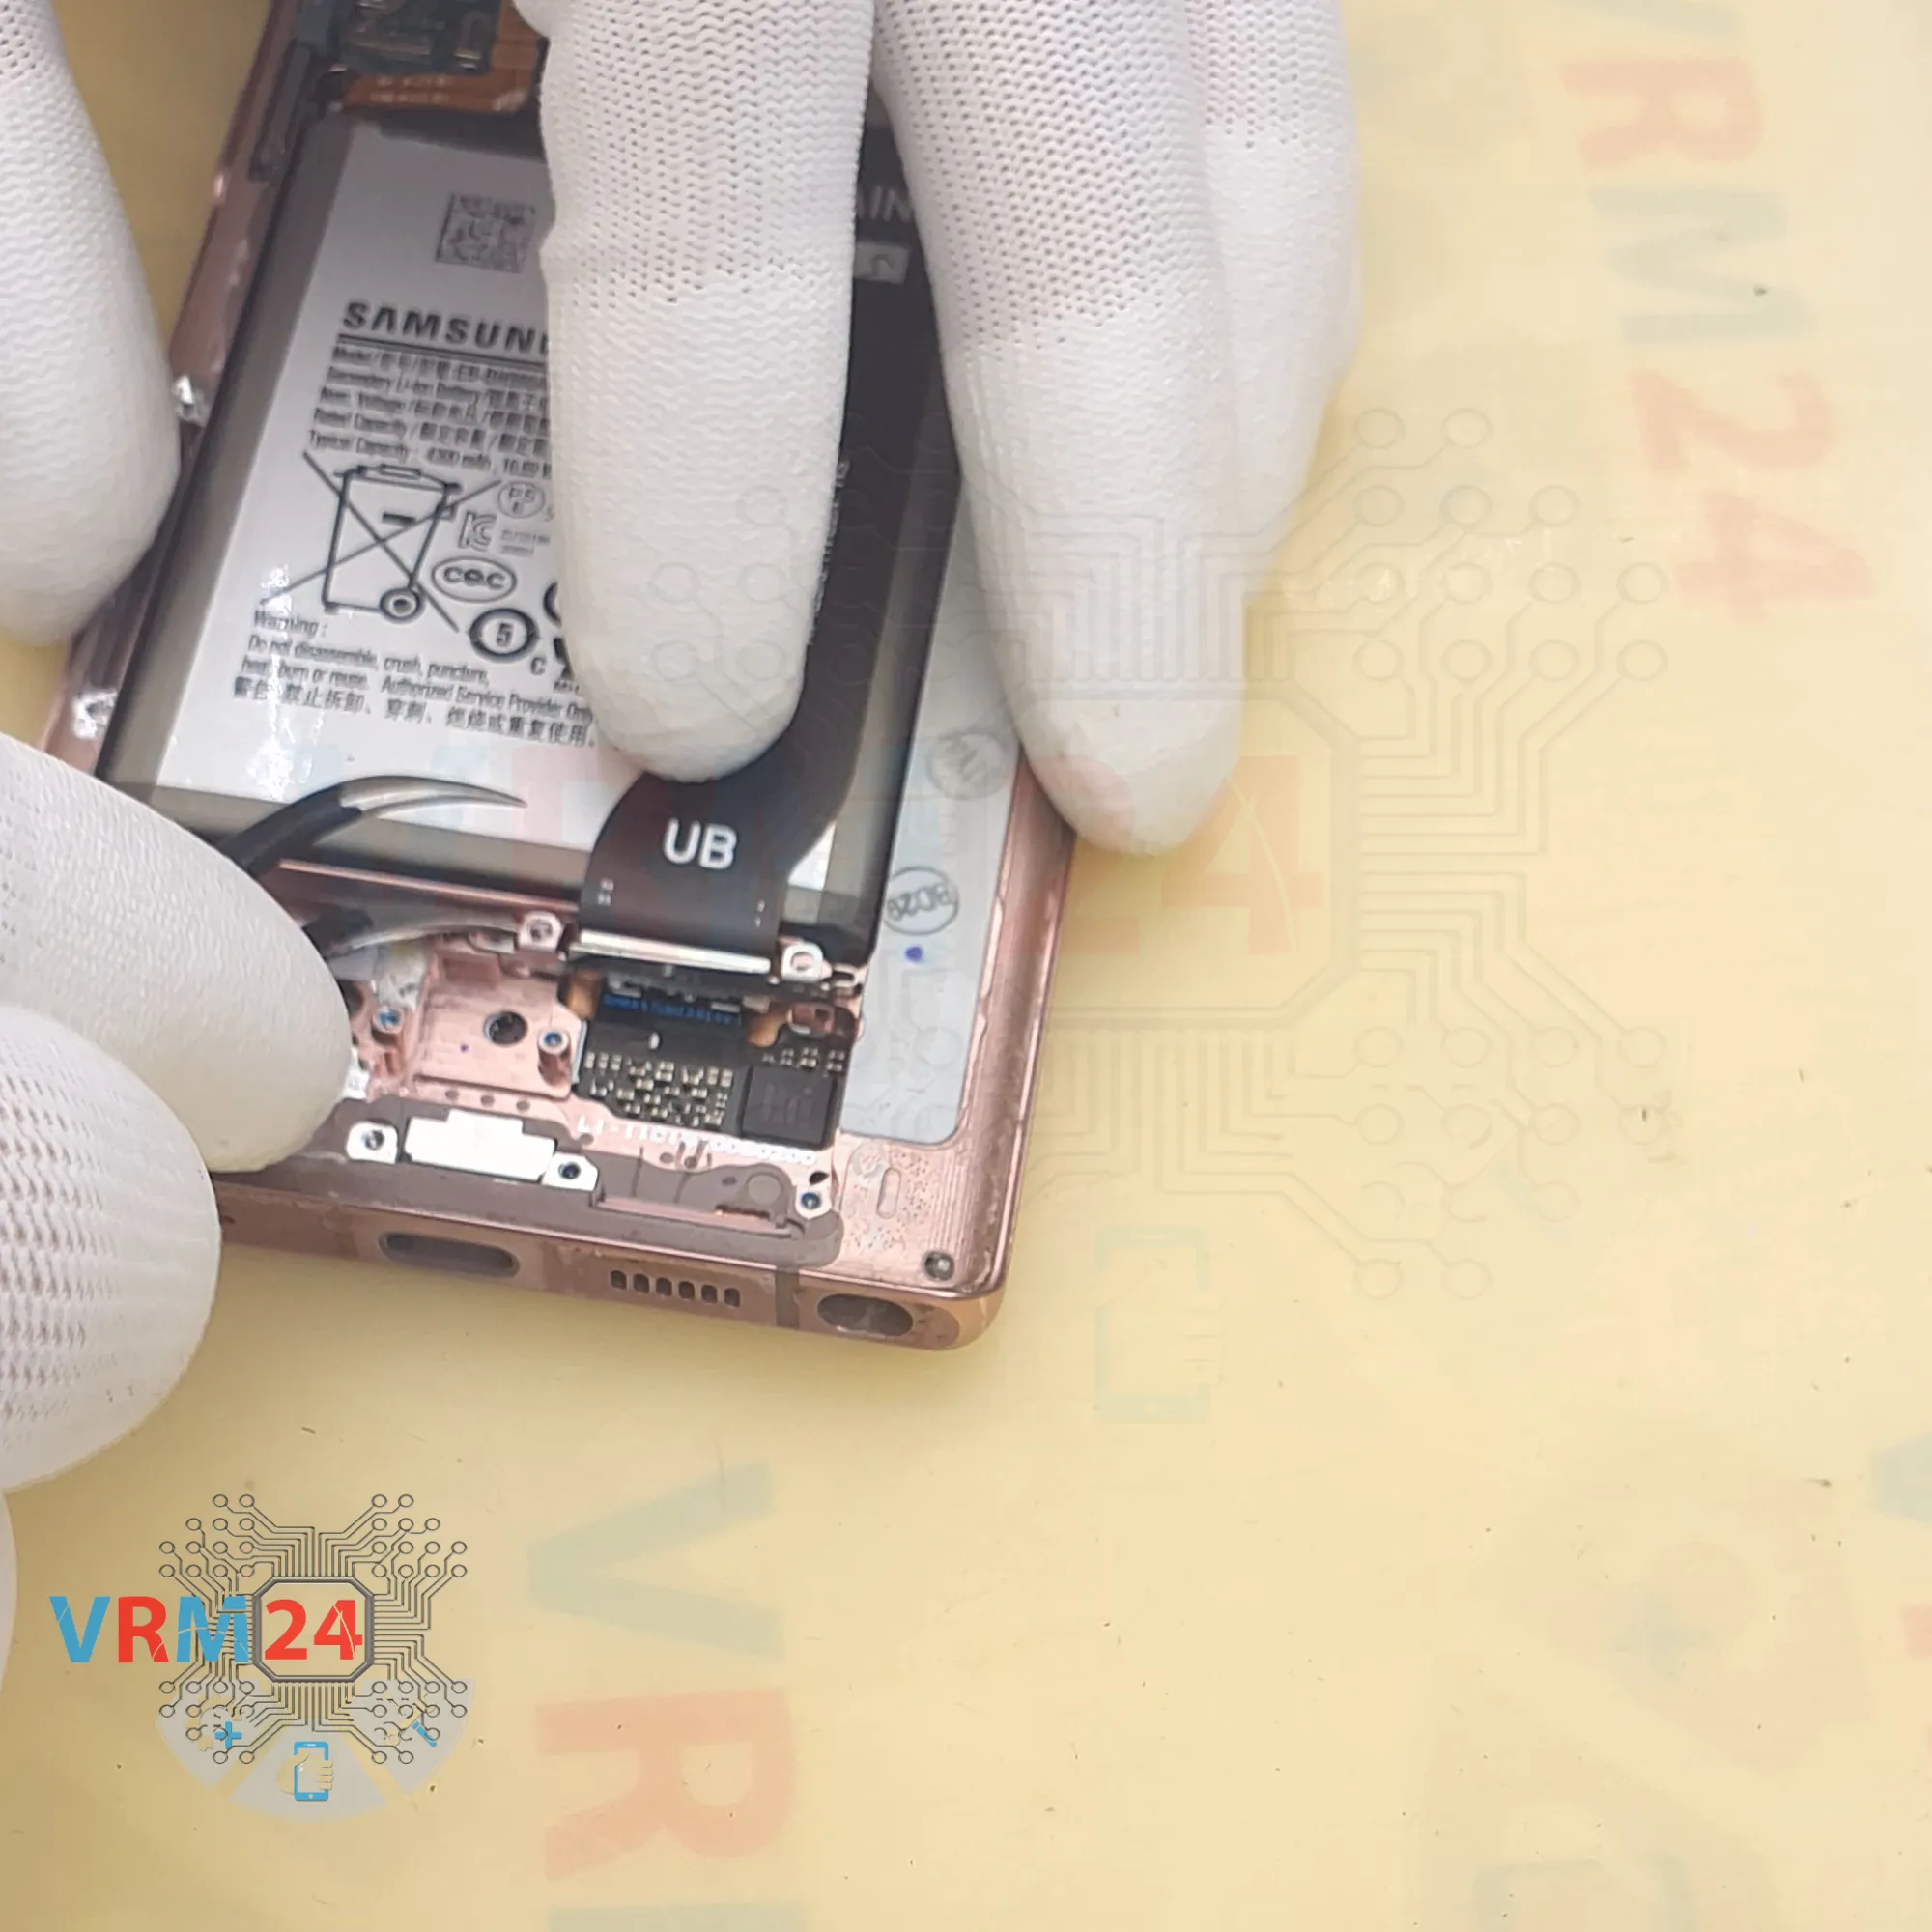
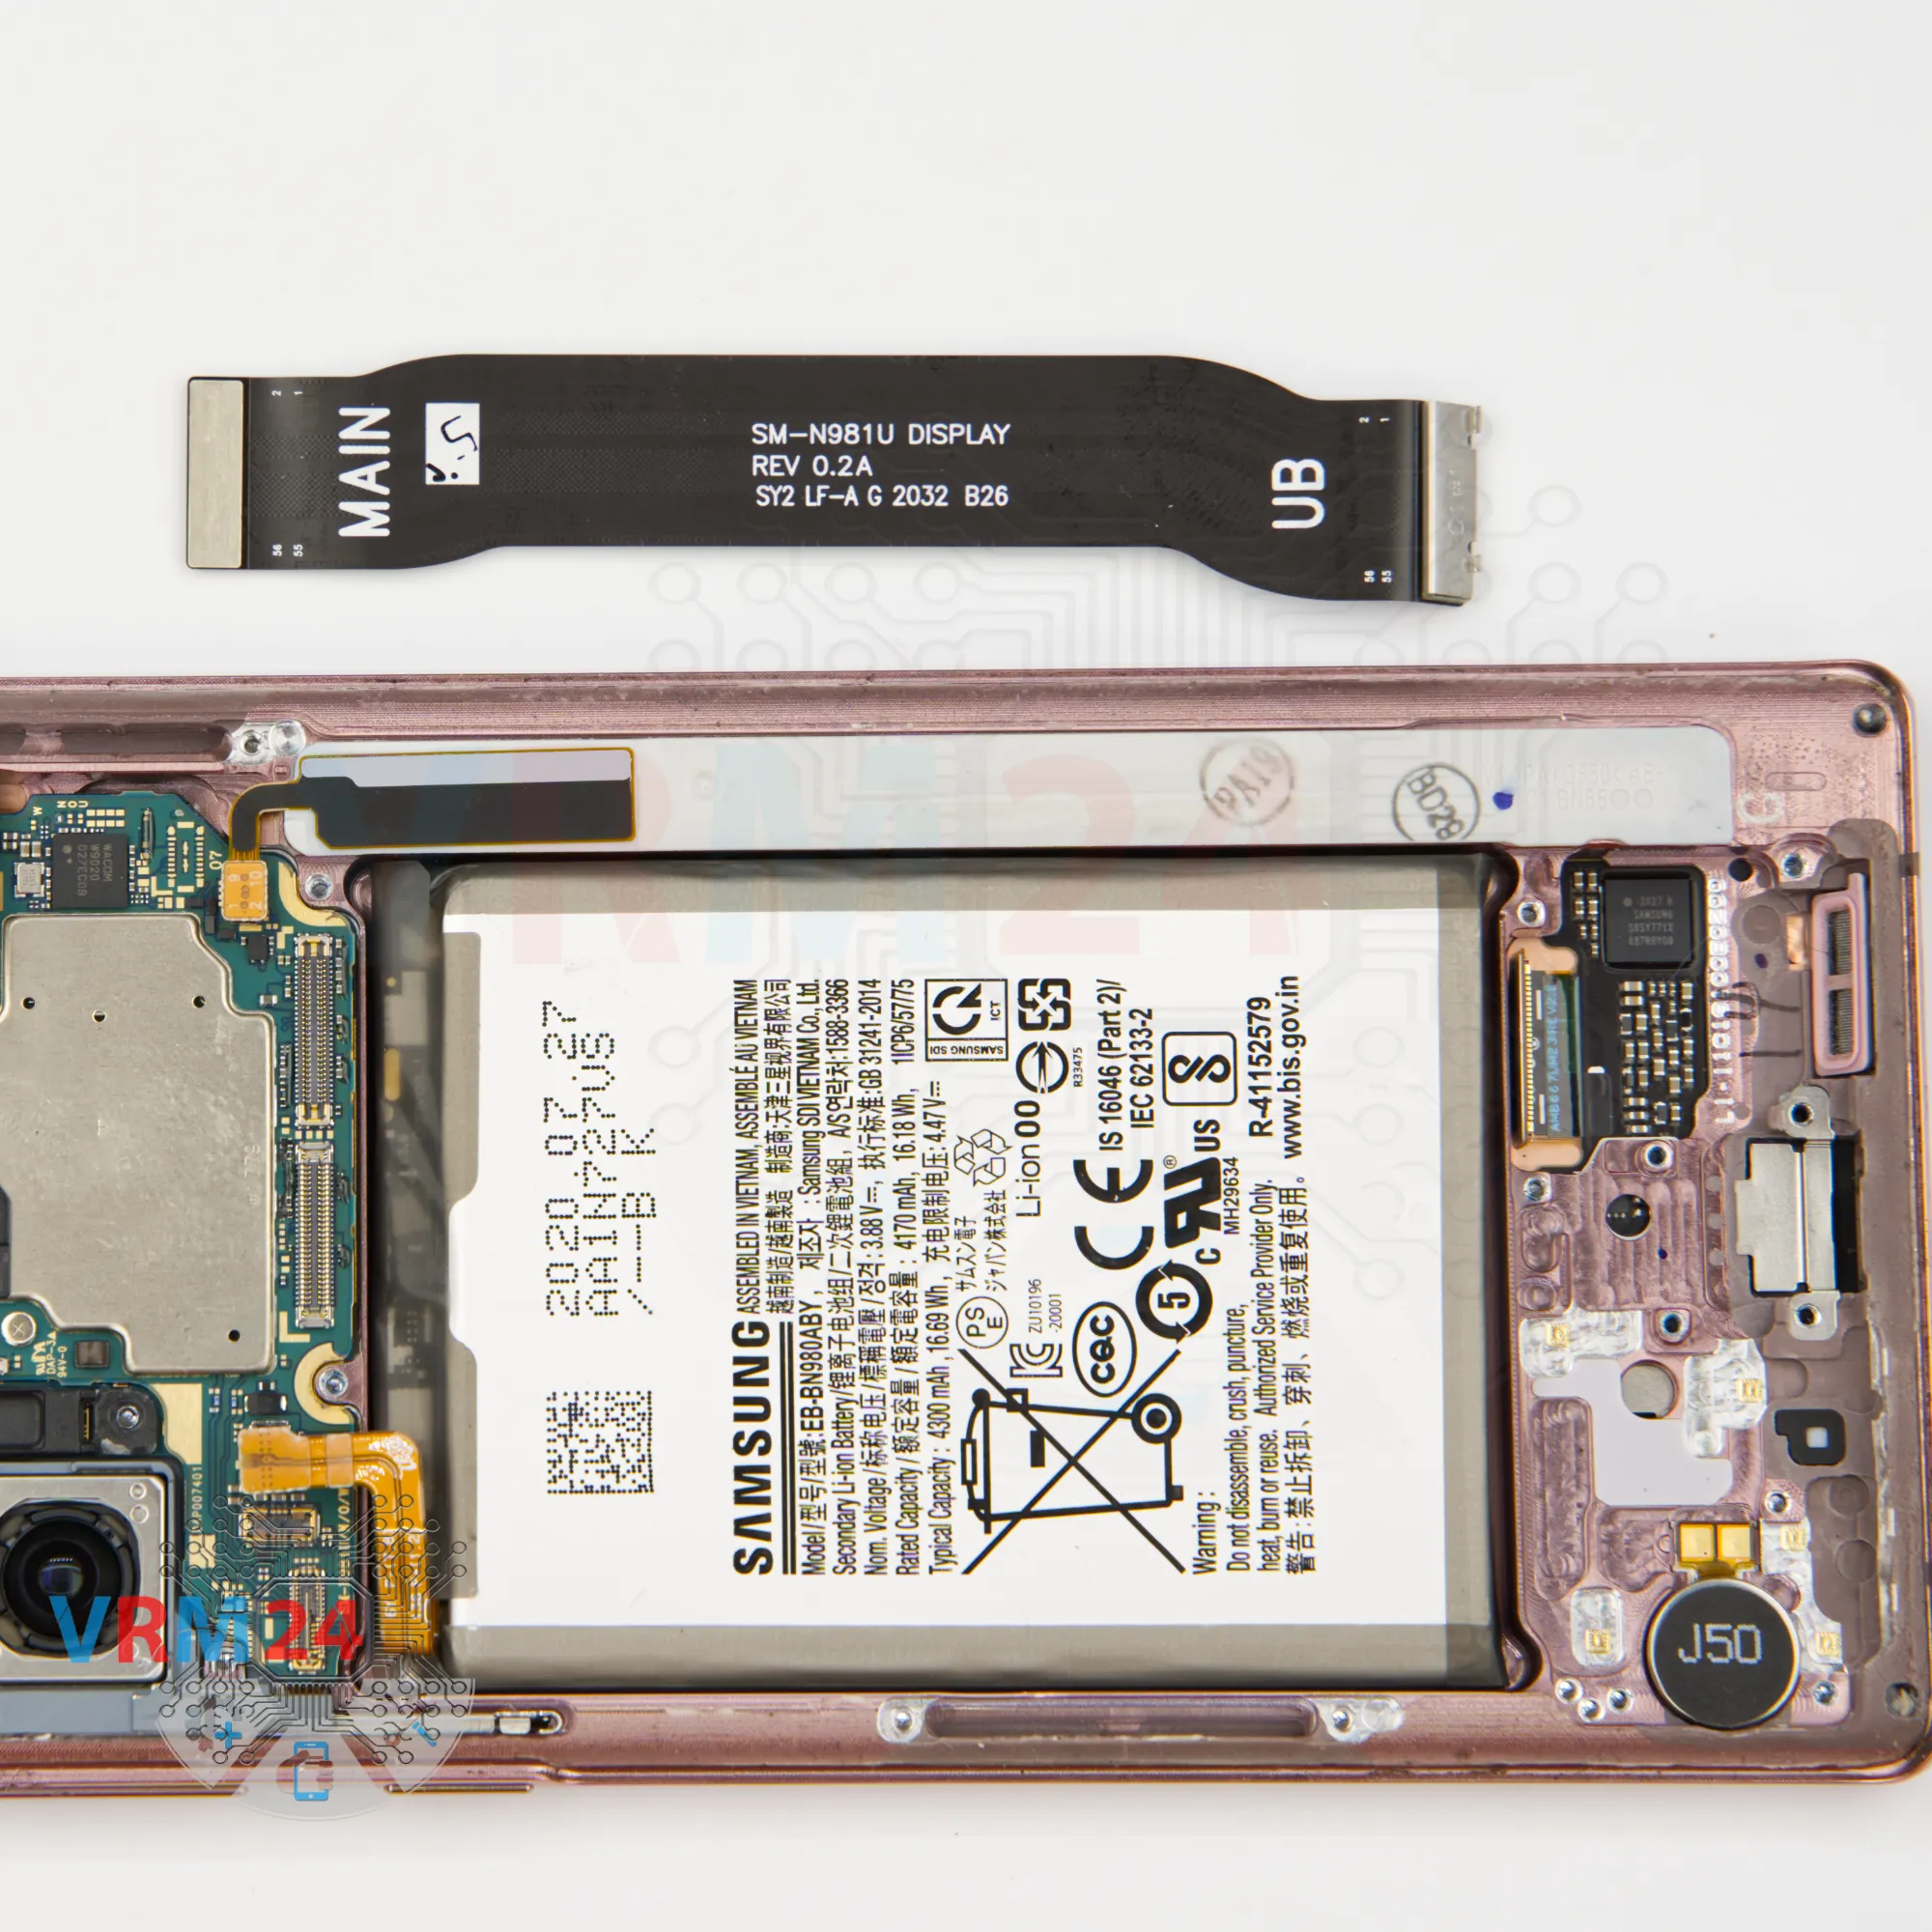
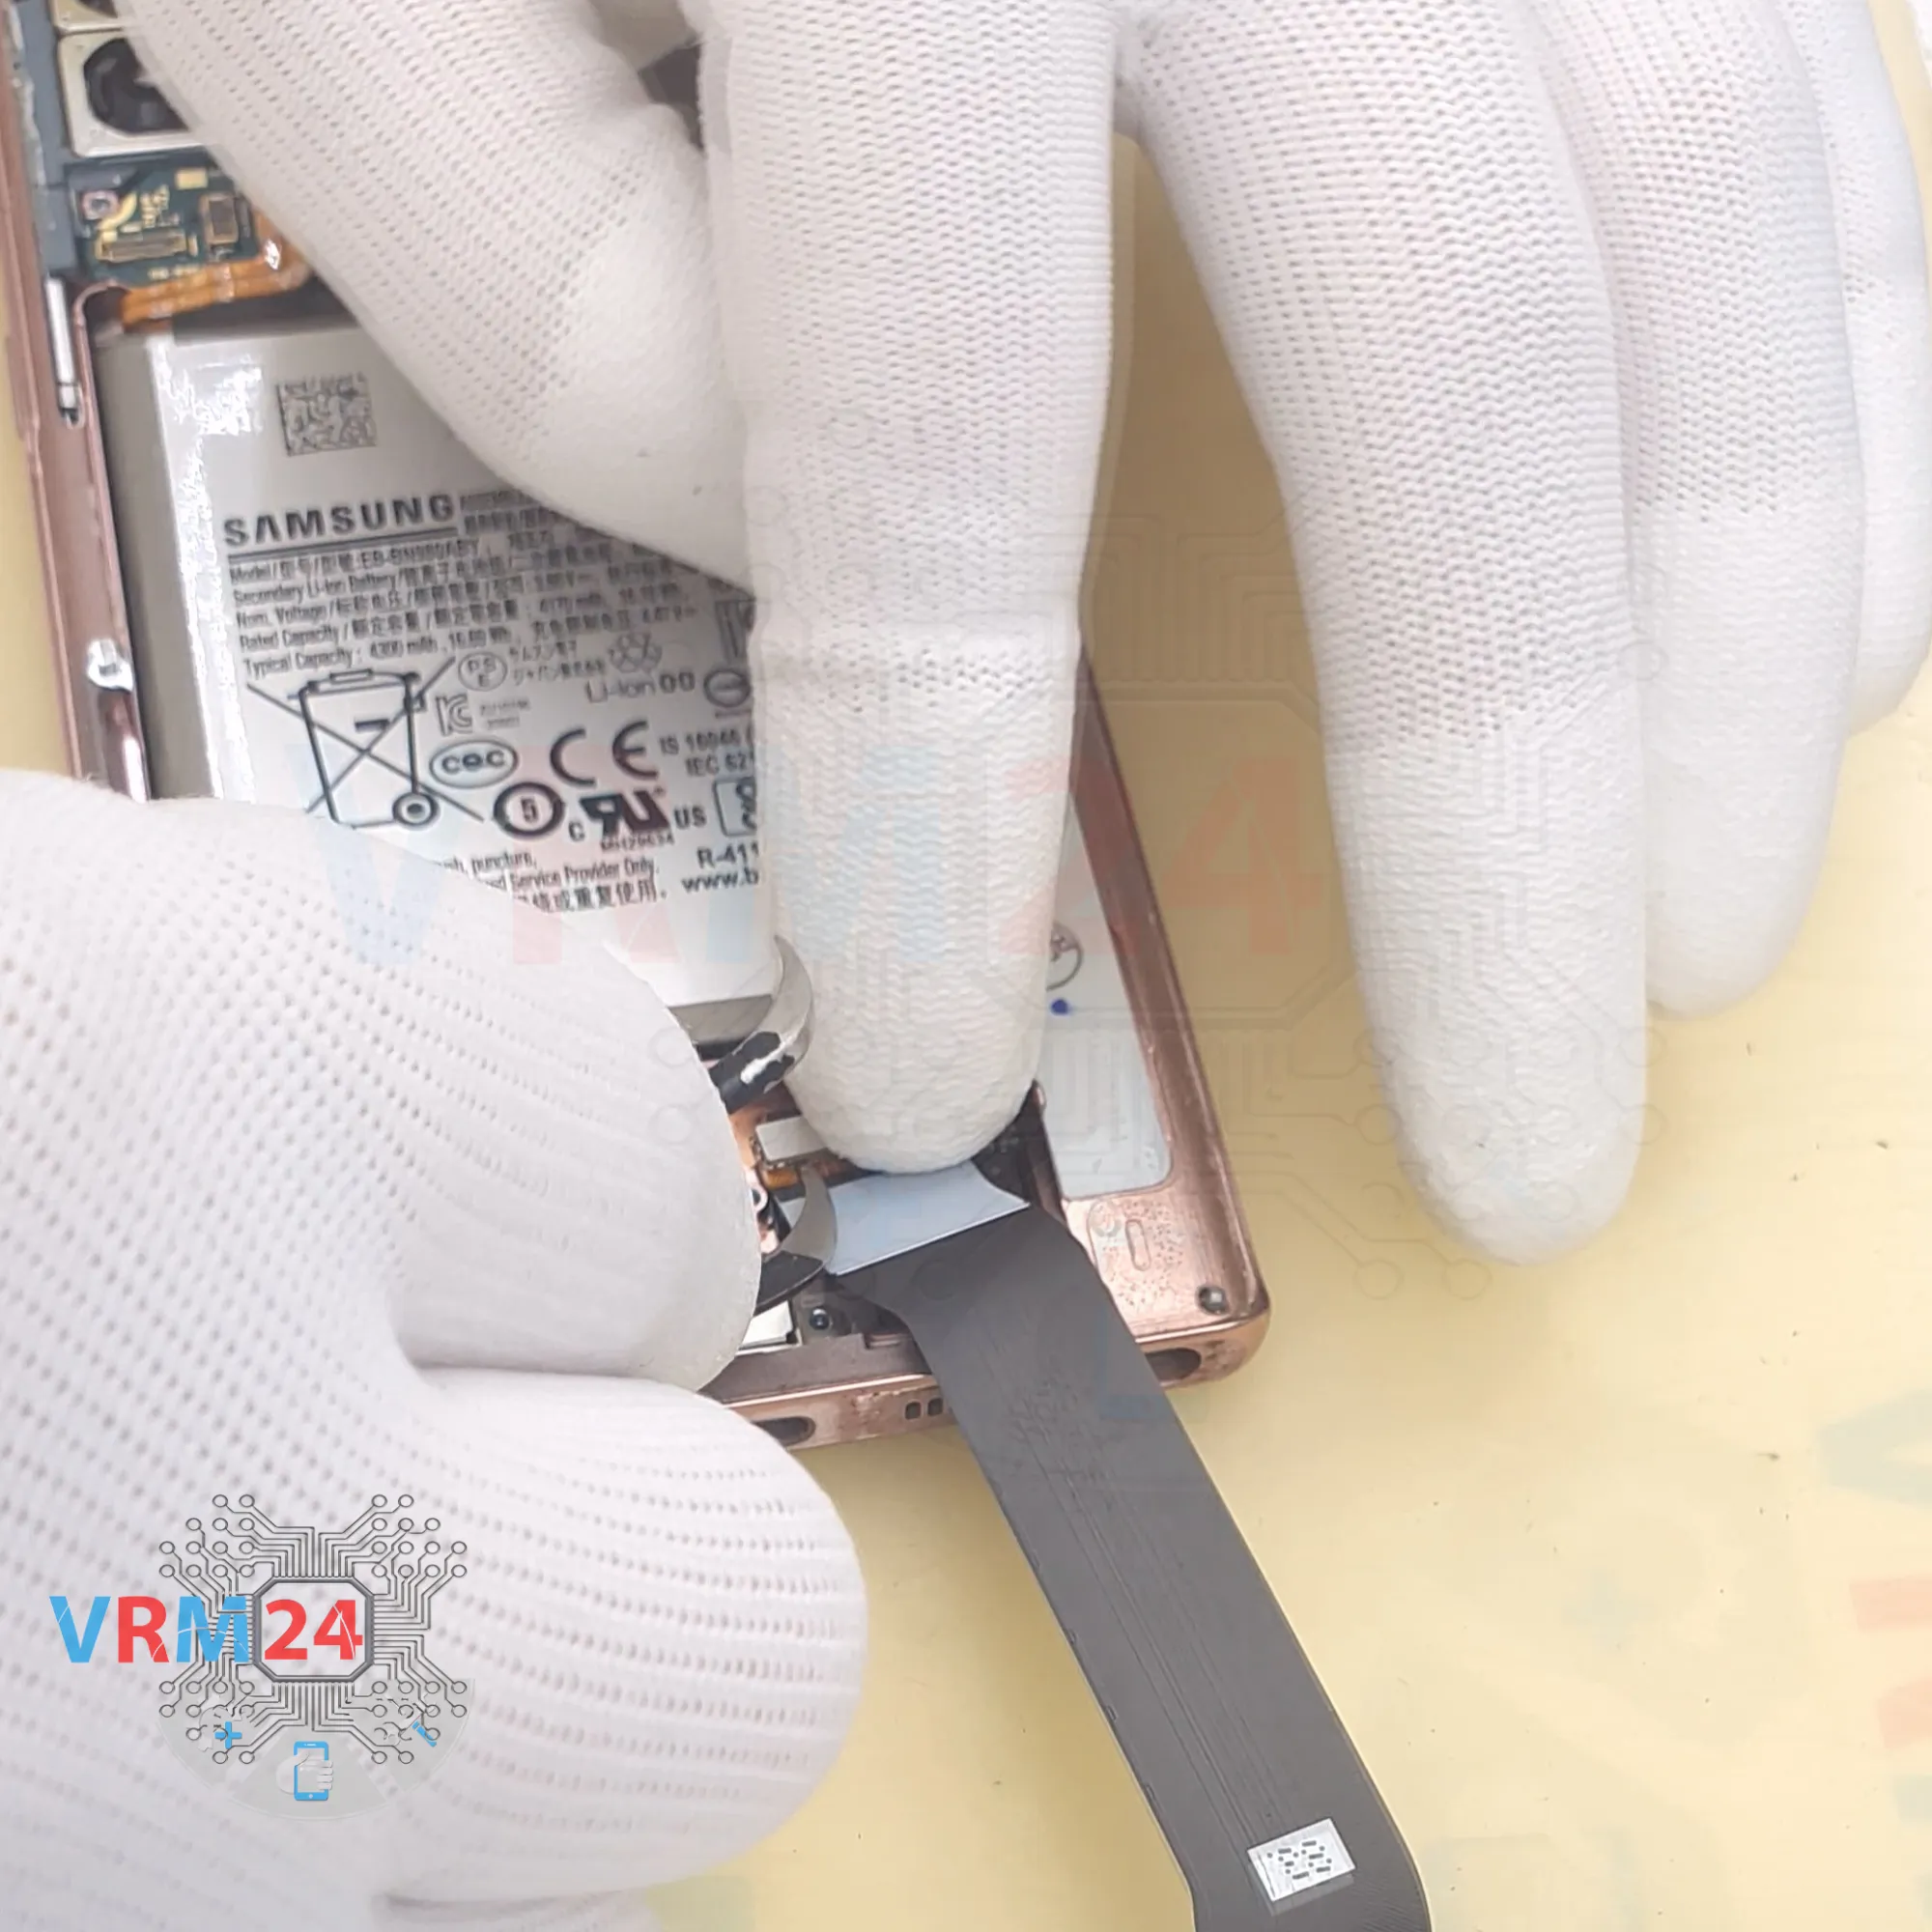
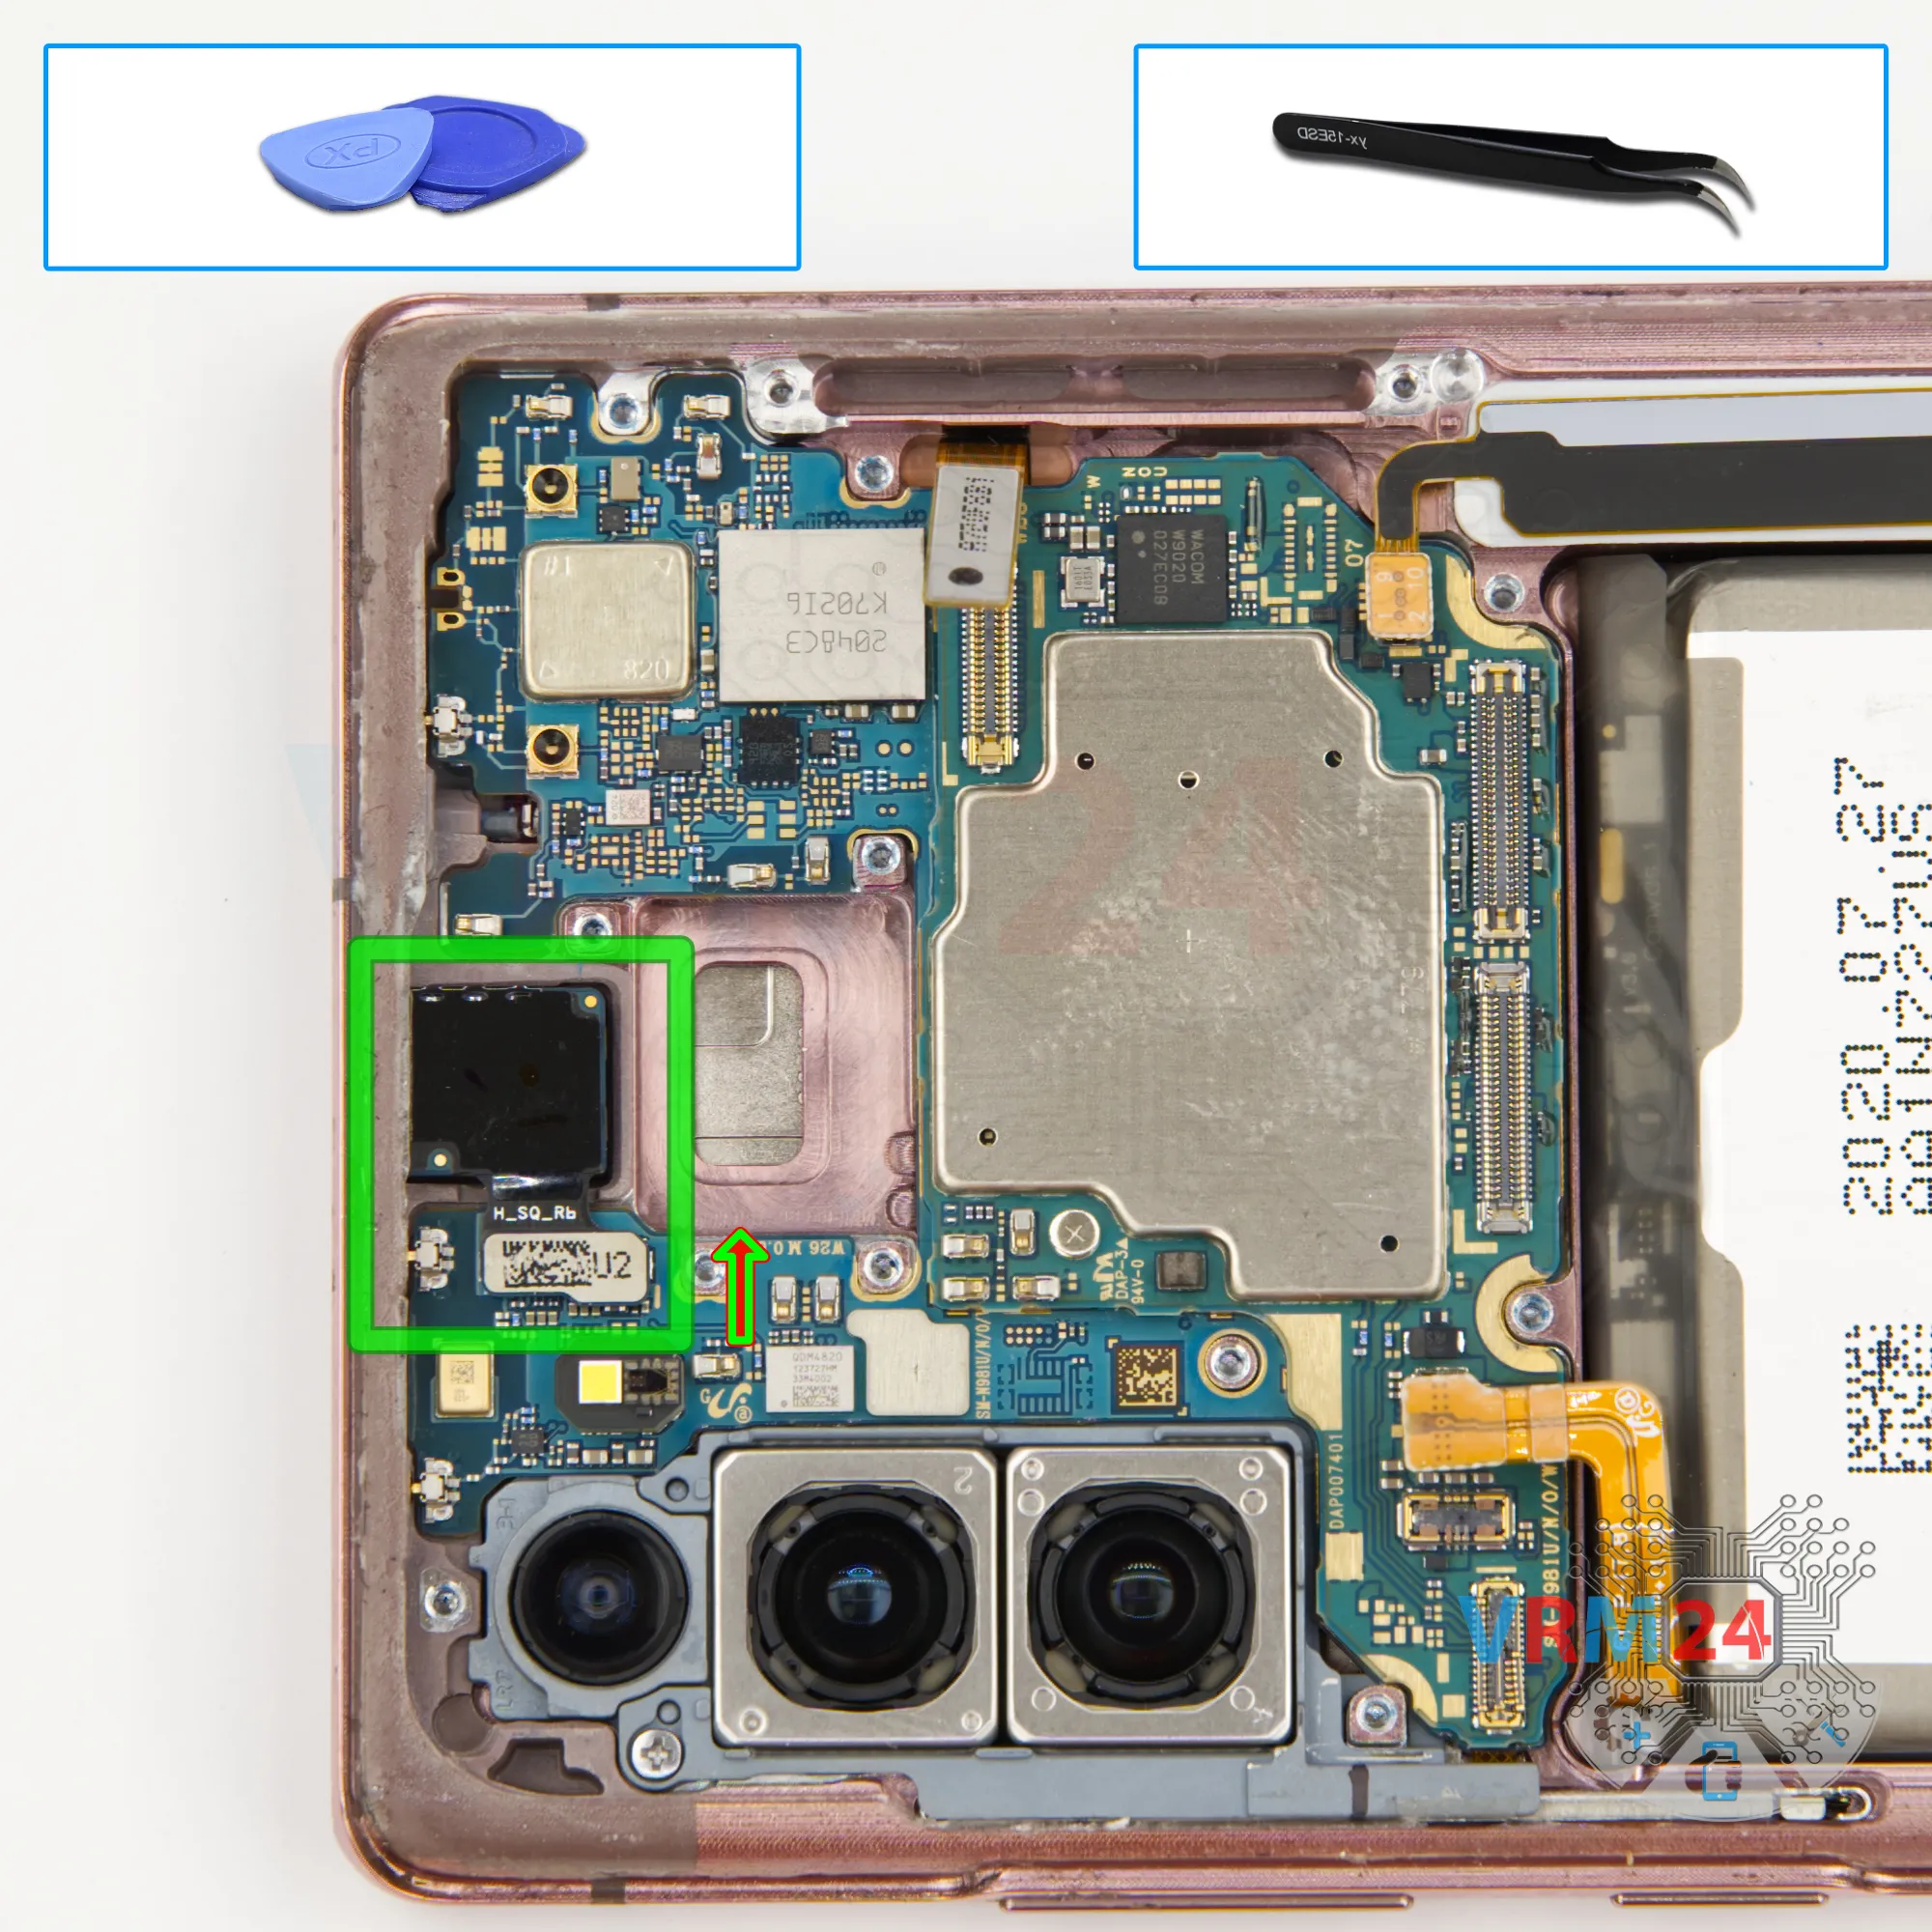
After that, we can disconnect the connectors on the sub-board and motherboard and remove the inter-board cable.
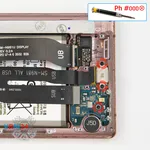
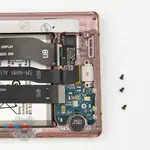
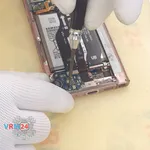
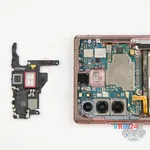
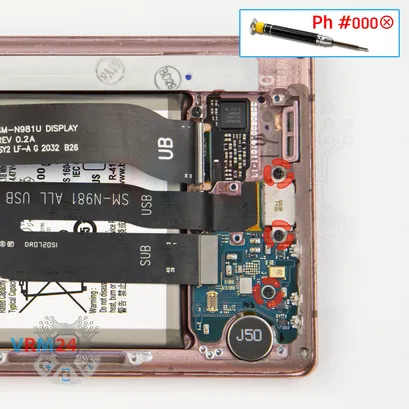
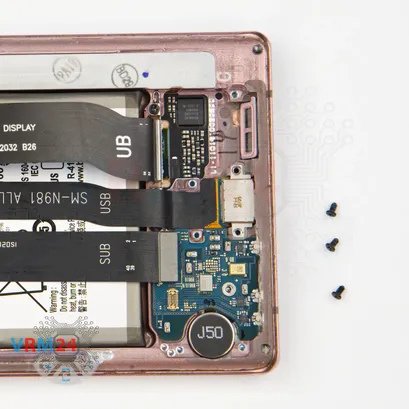
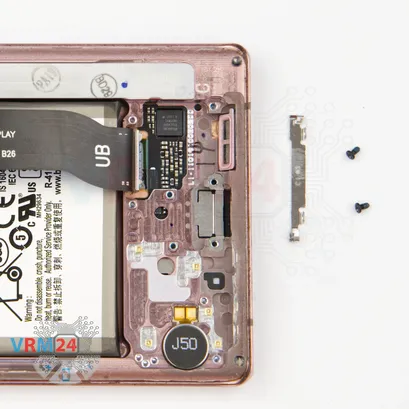
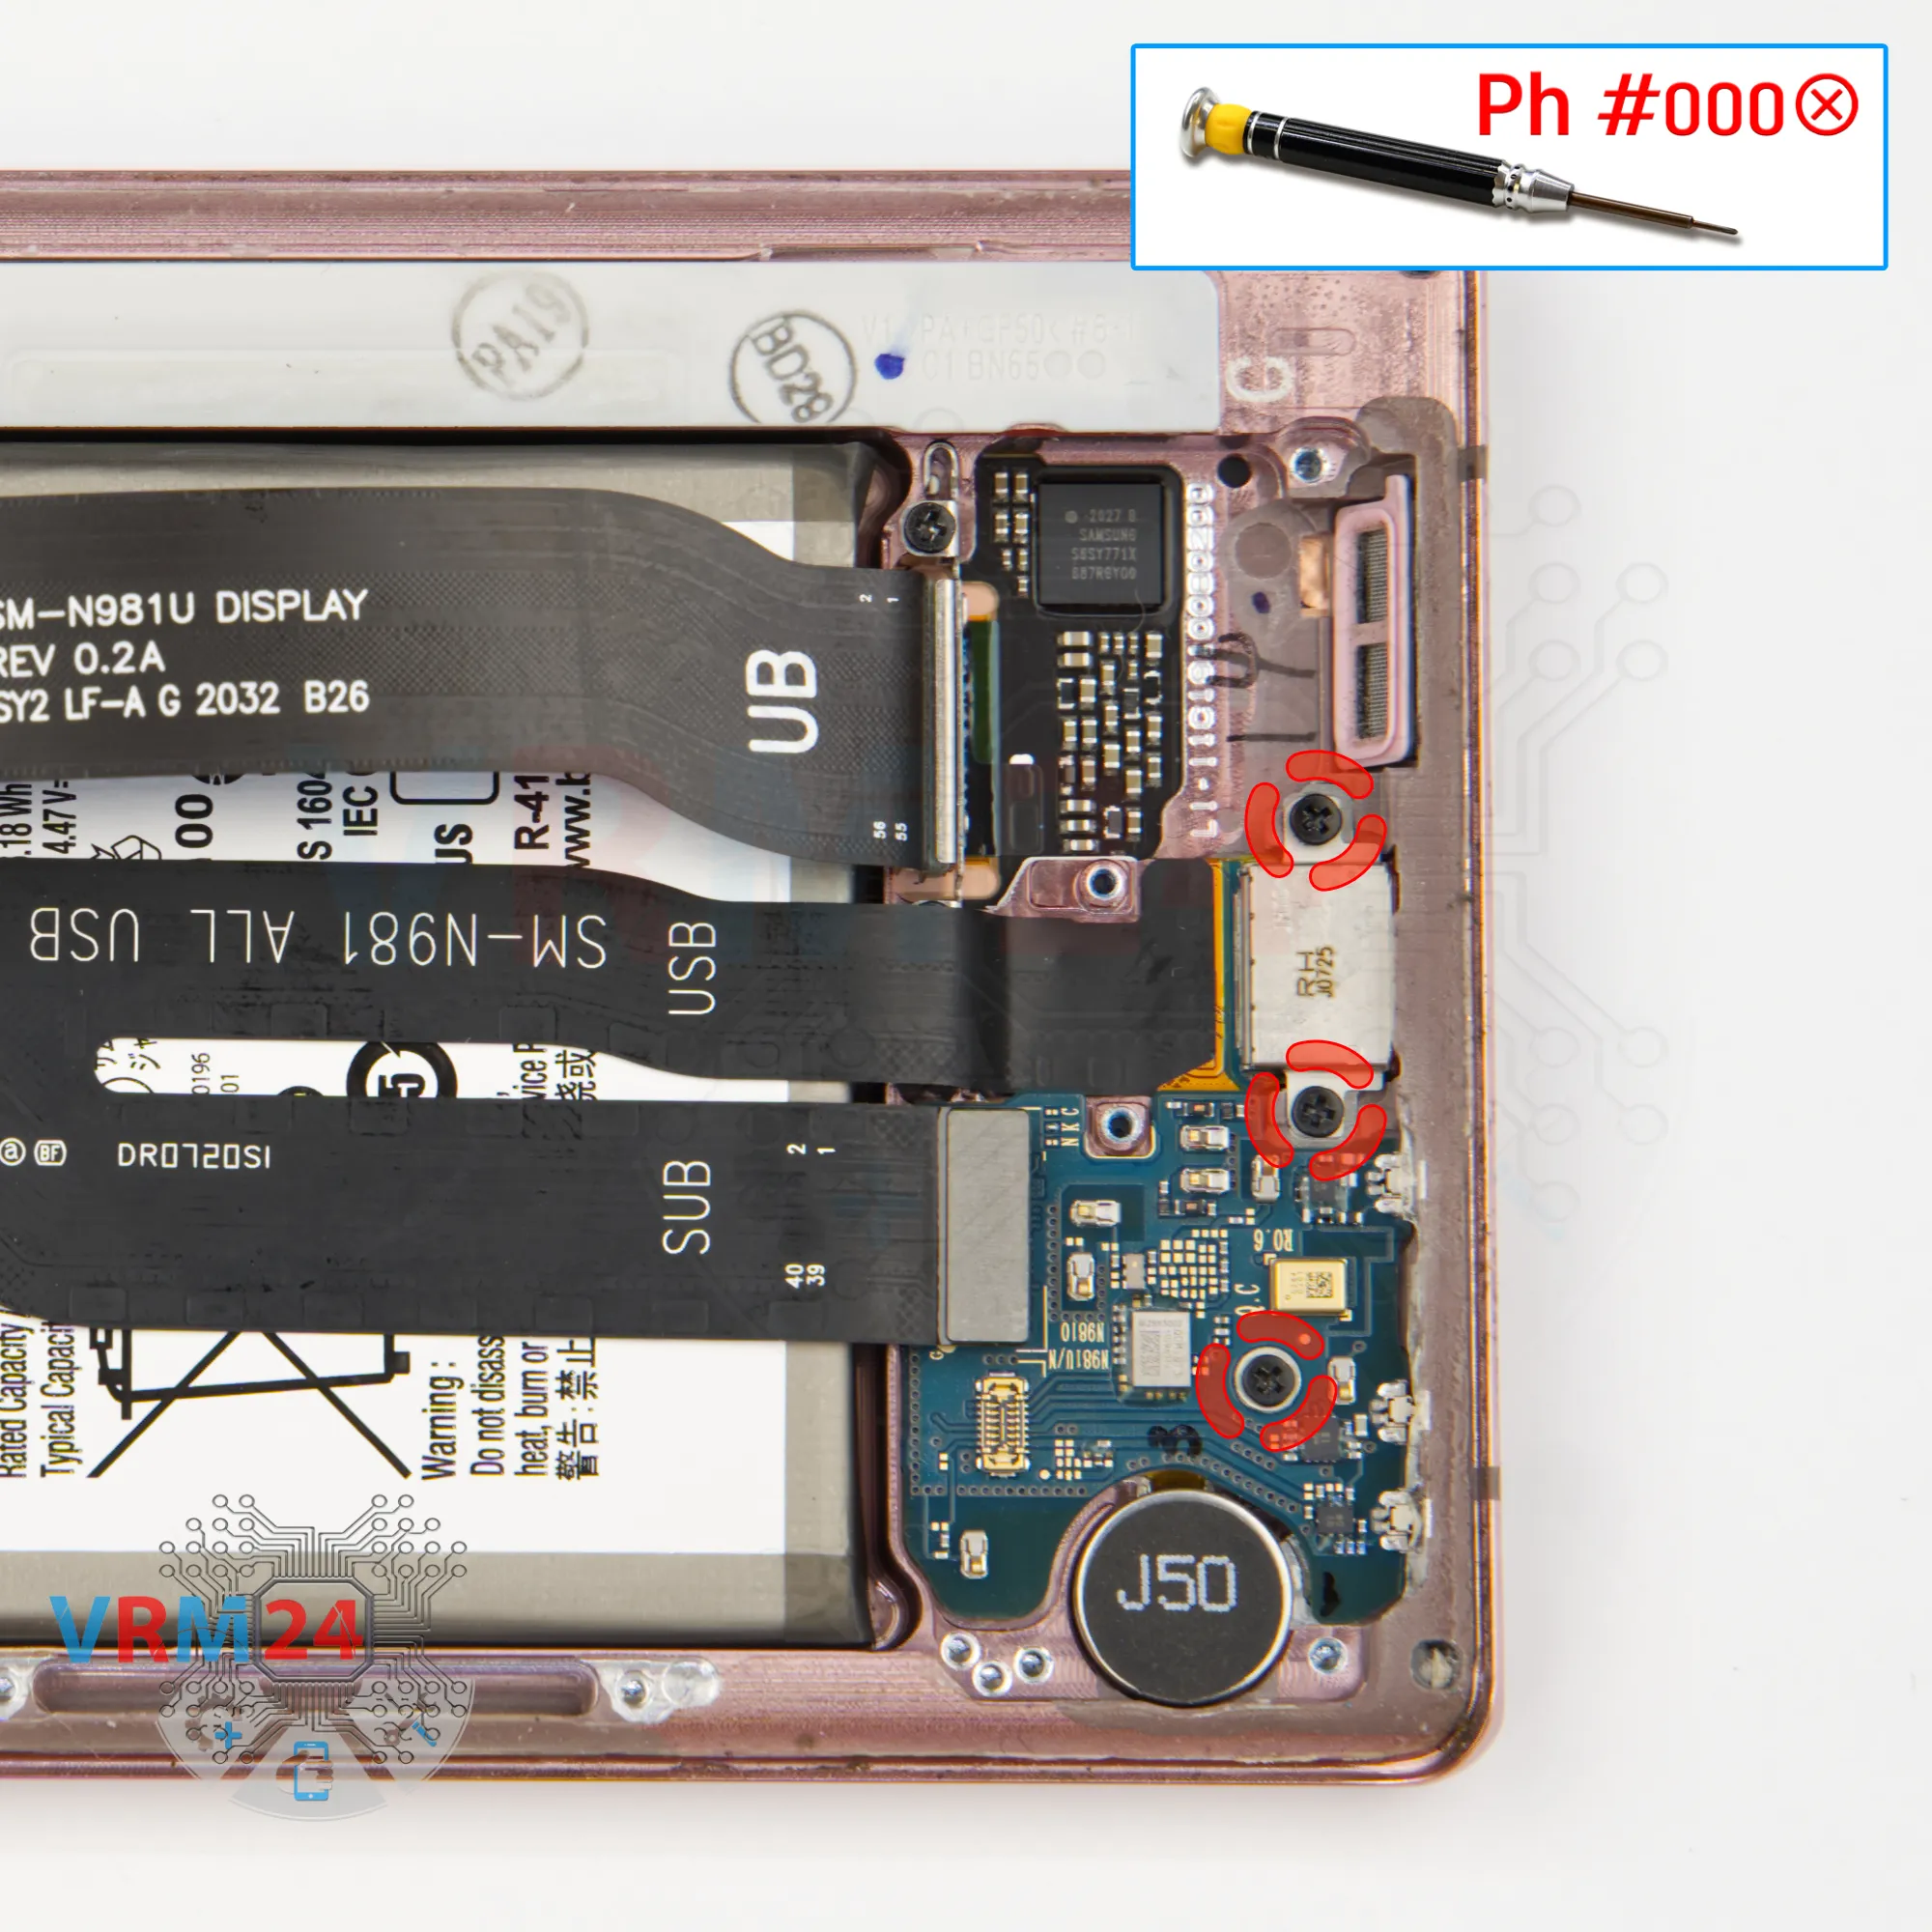
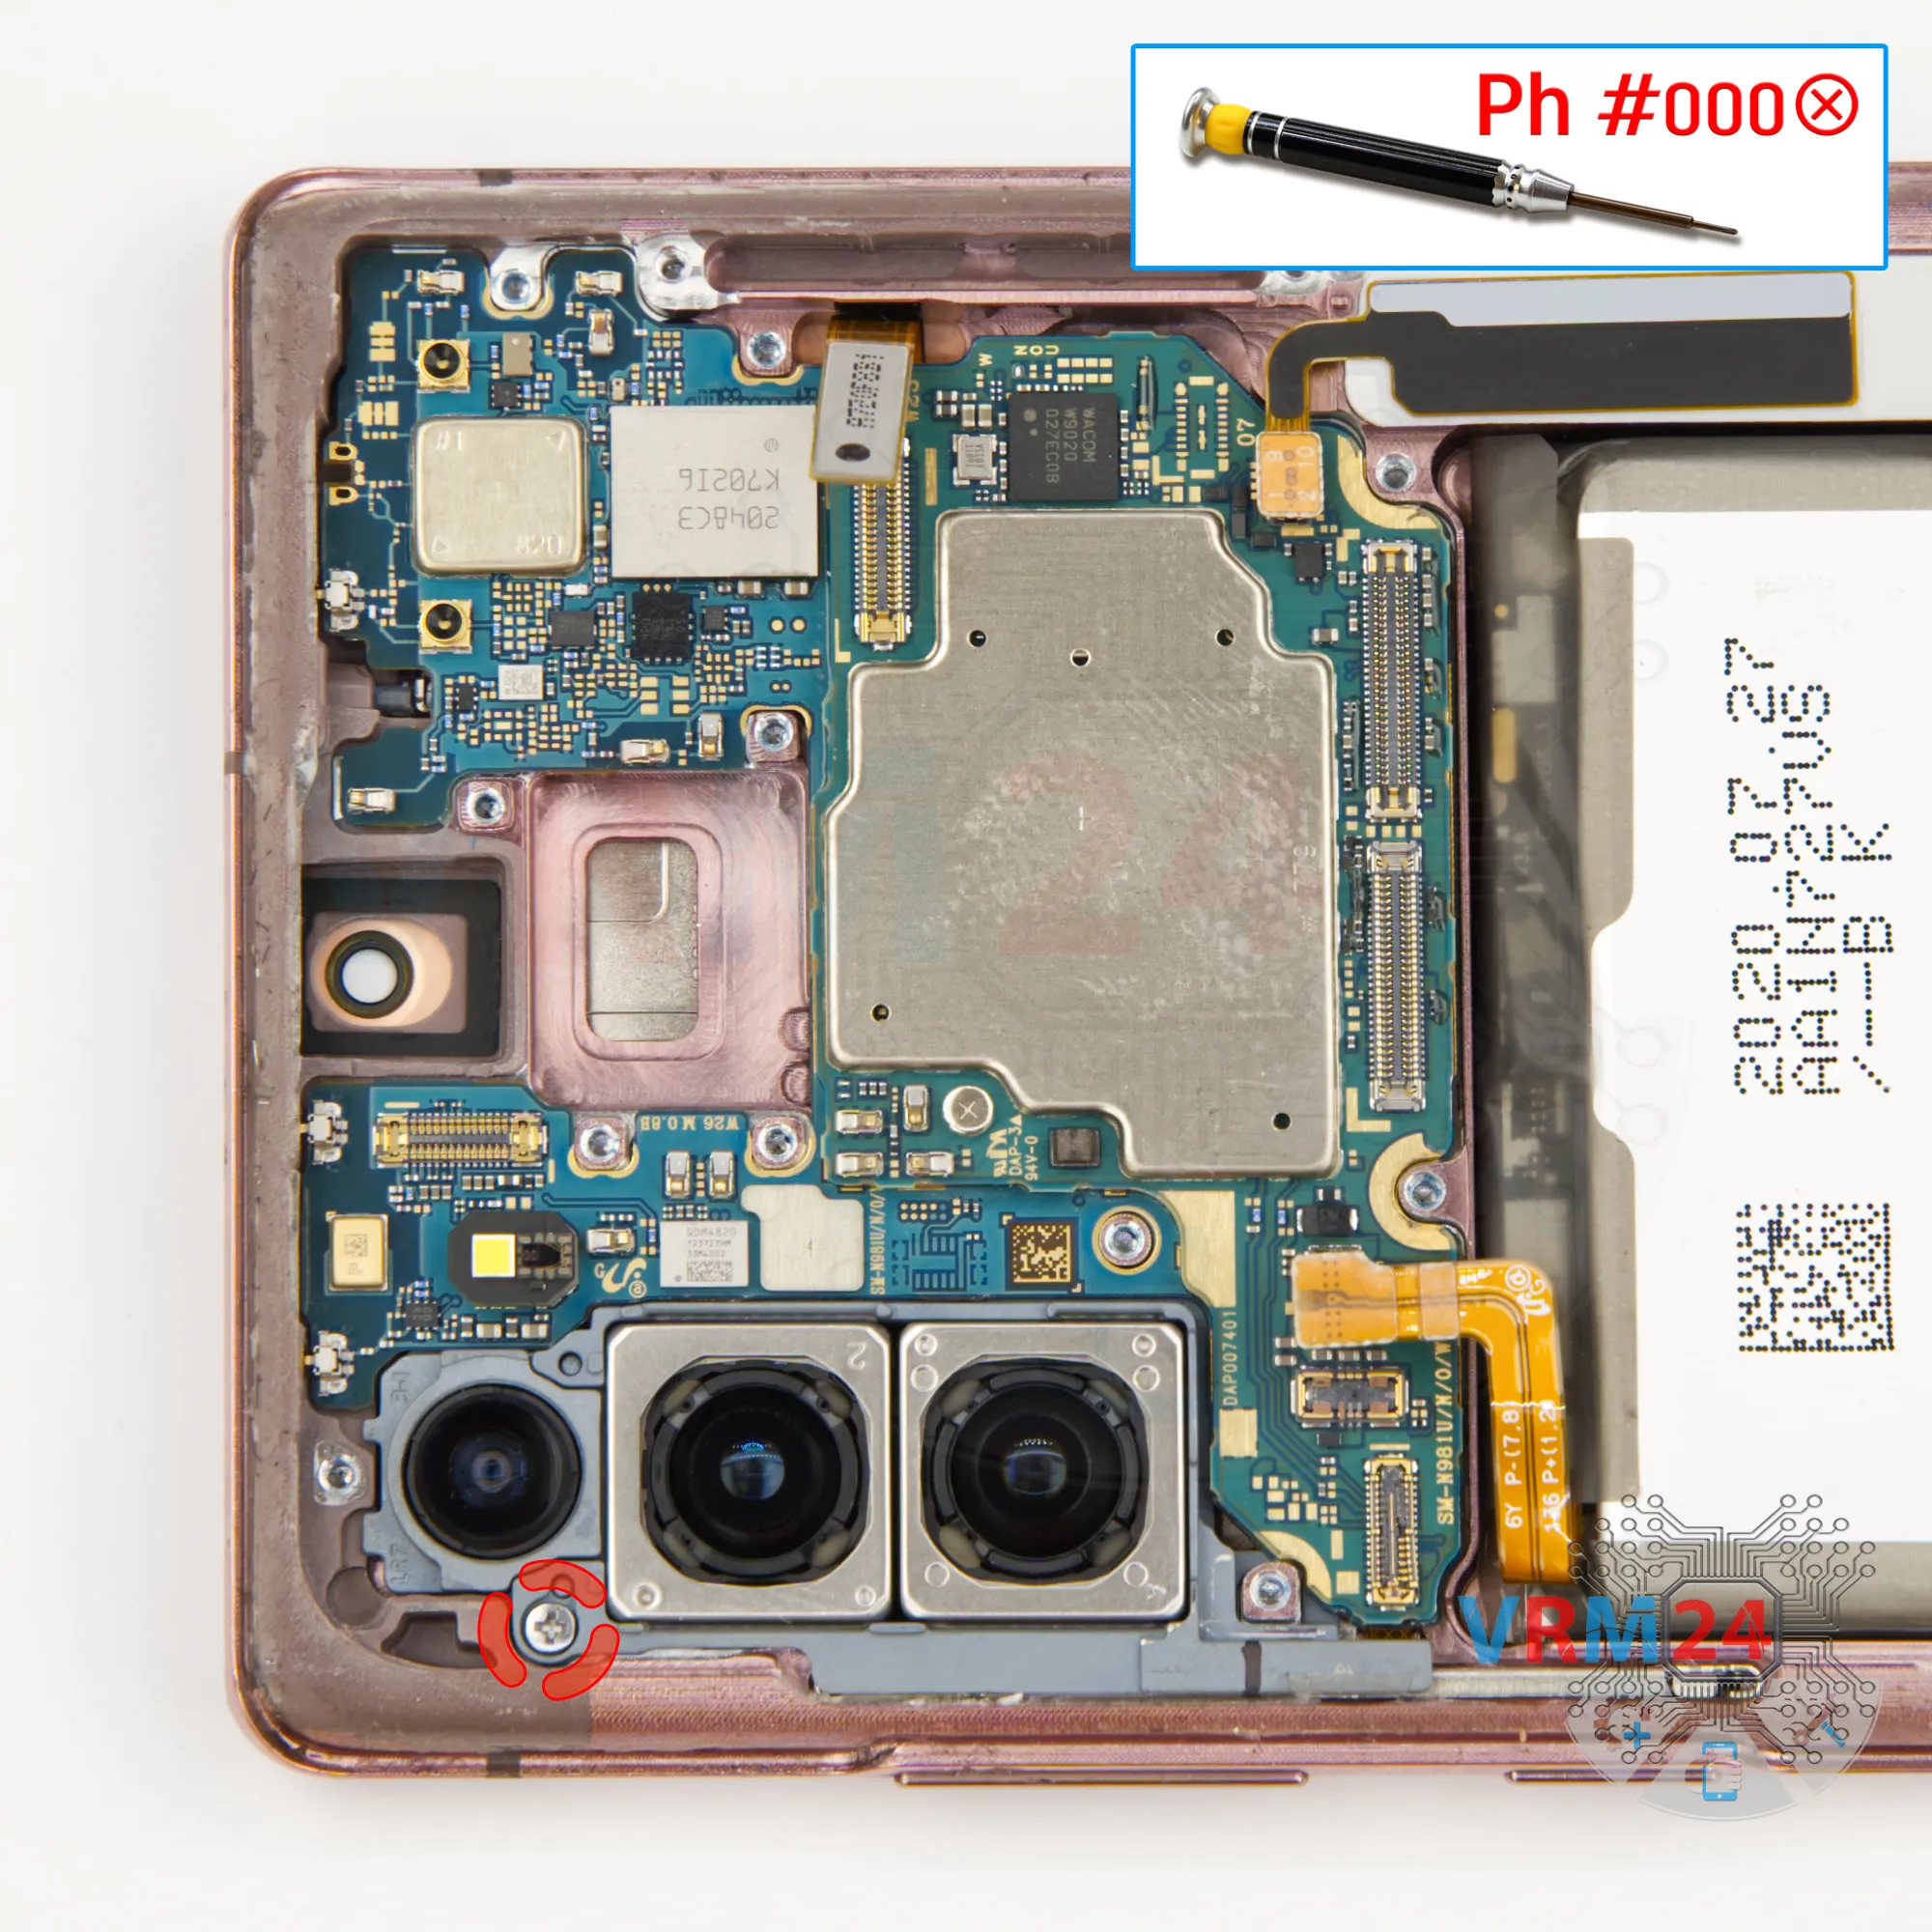
After that, we need to unscrew the three screws that hold the charging port and hold the sub-board. For this we also use a 1.5mm Phillips screwdriver.
It's best to place the screws separately from the previous ones, as they are different.
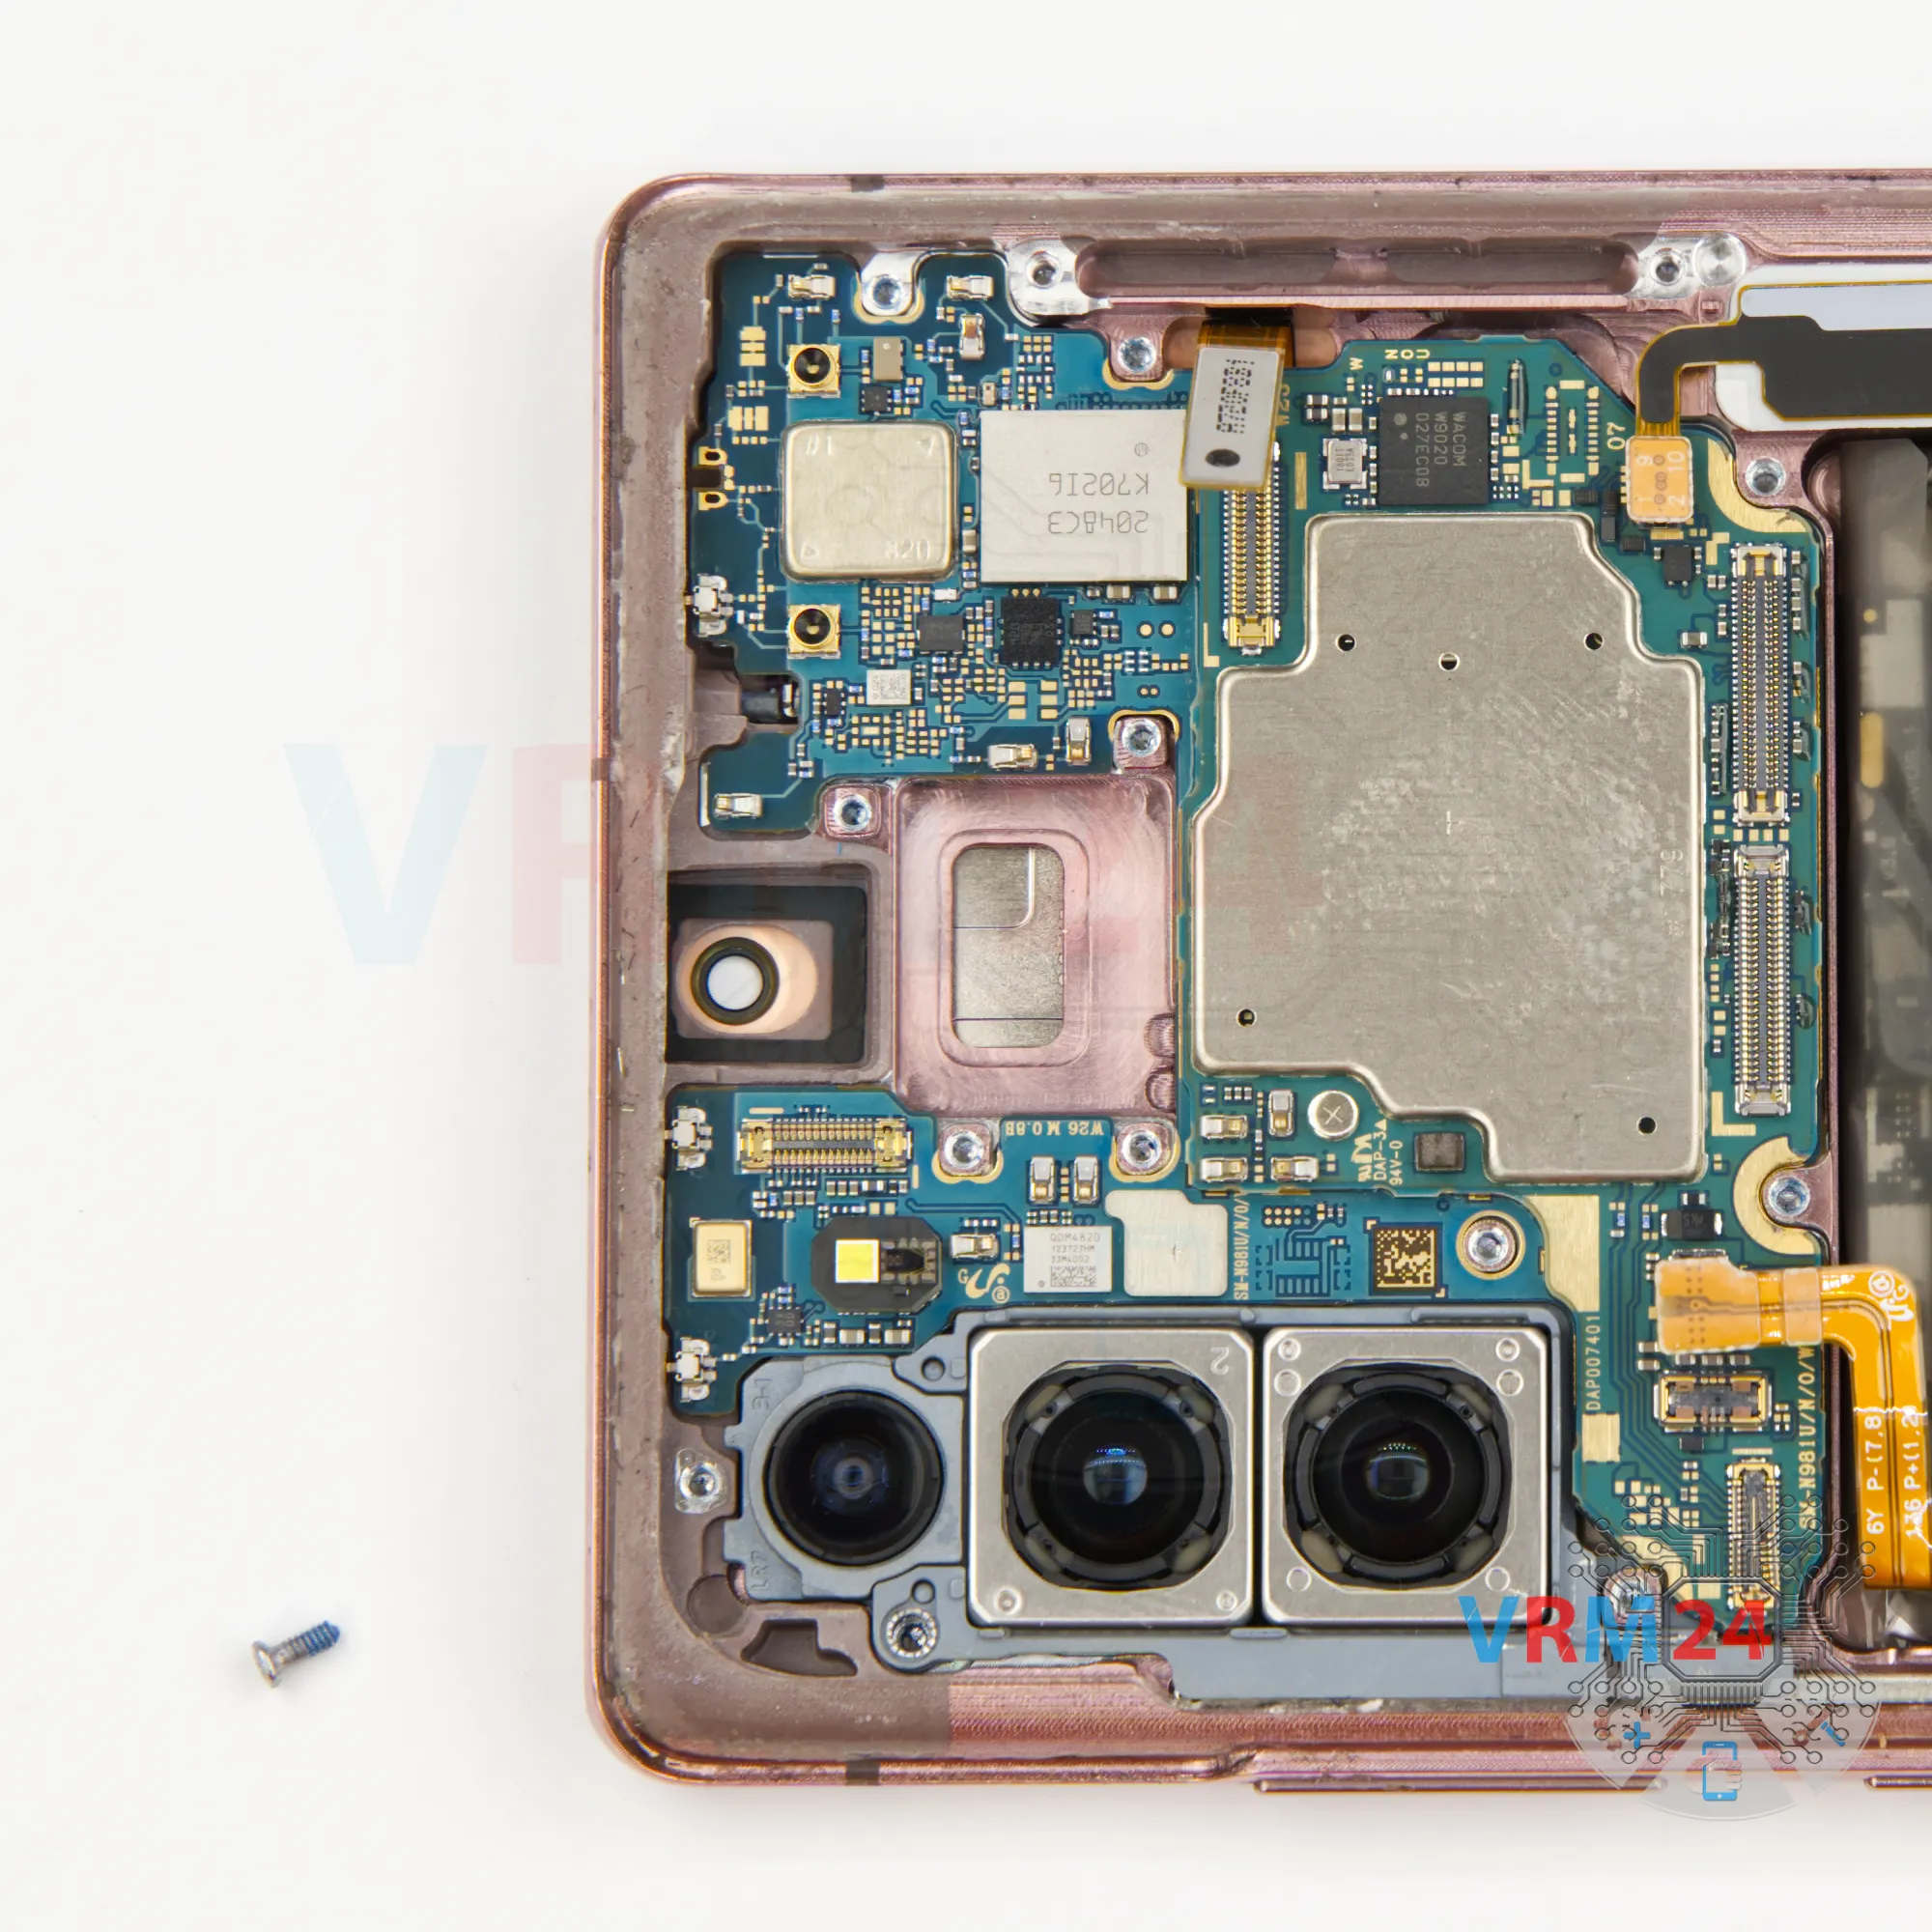
Carefully remove the screws, place on a special surface. The screws are black, small, obviously different from the previous ones.
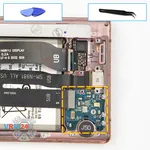
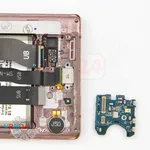

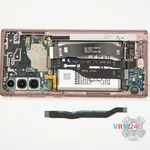
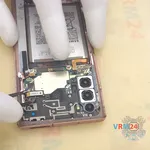
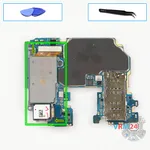
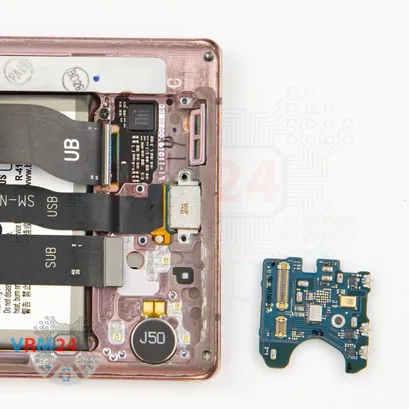
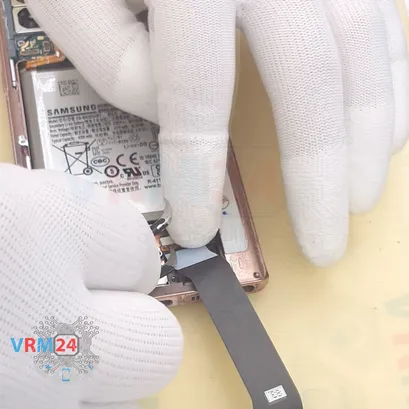
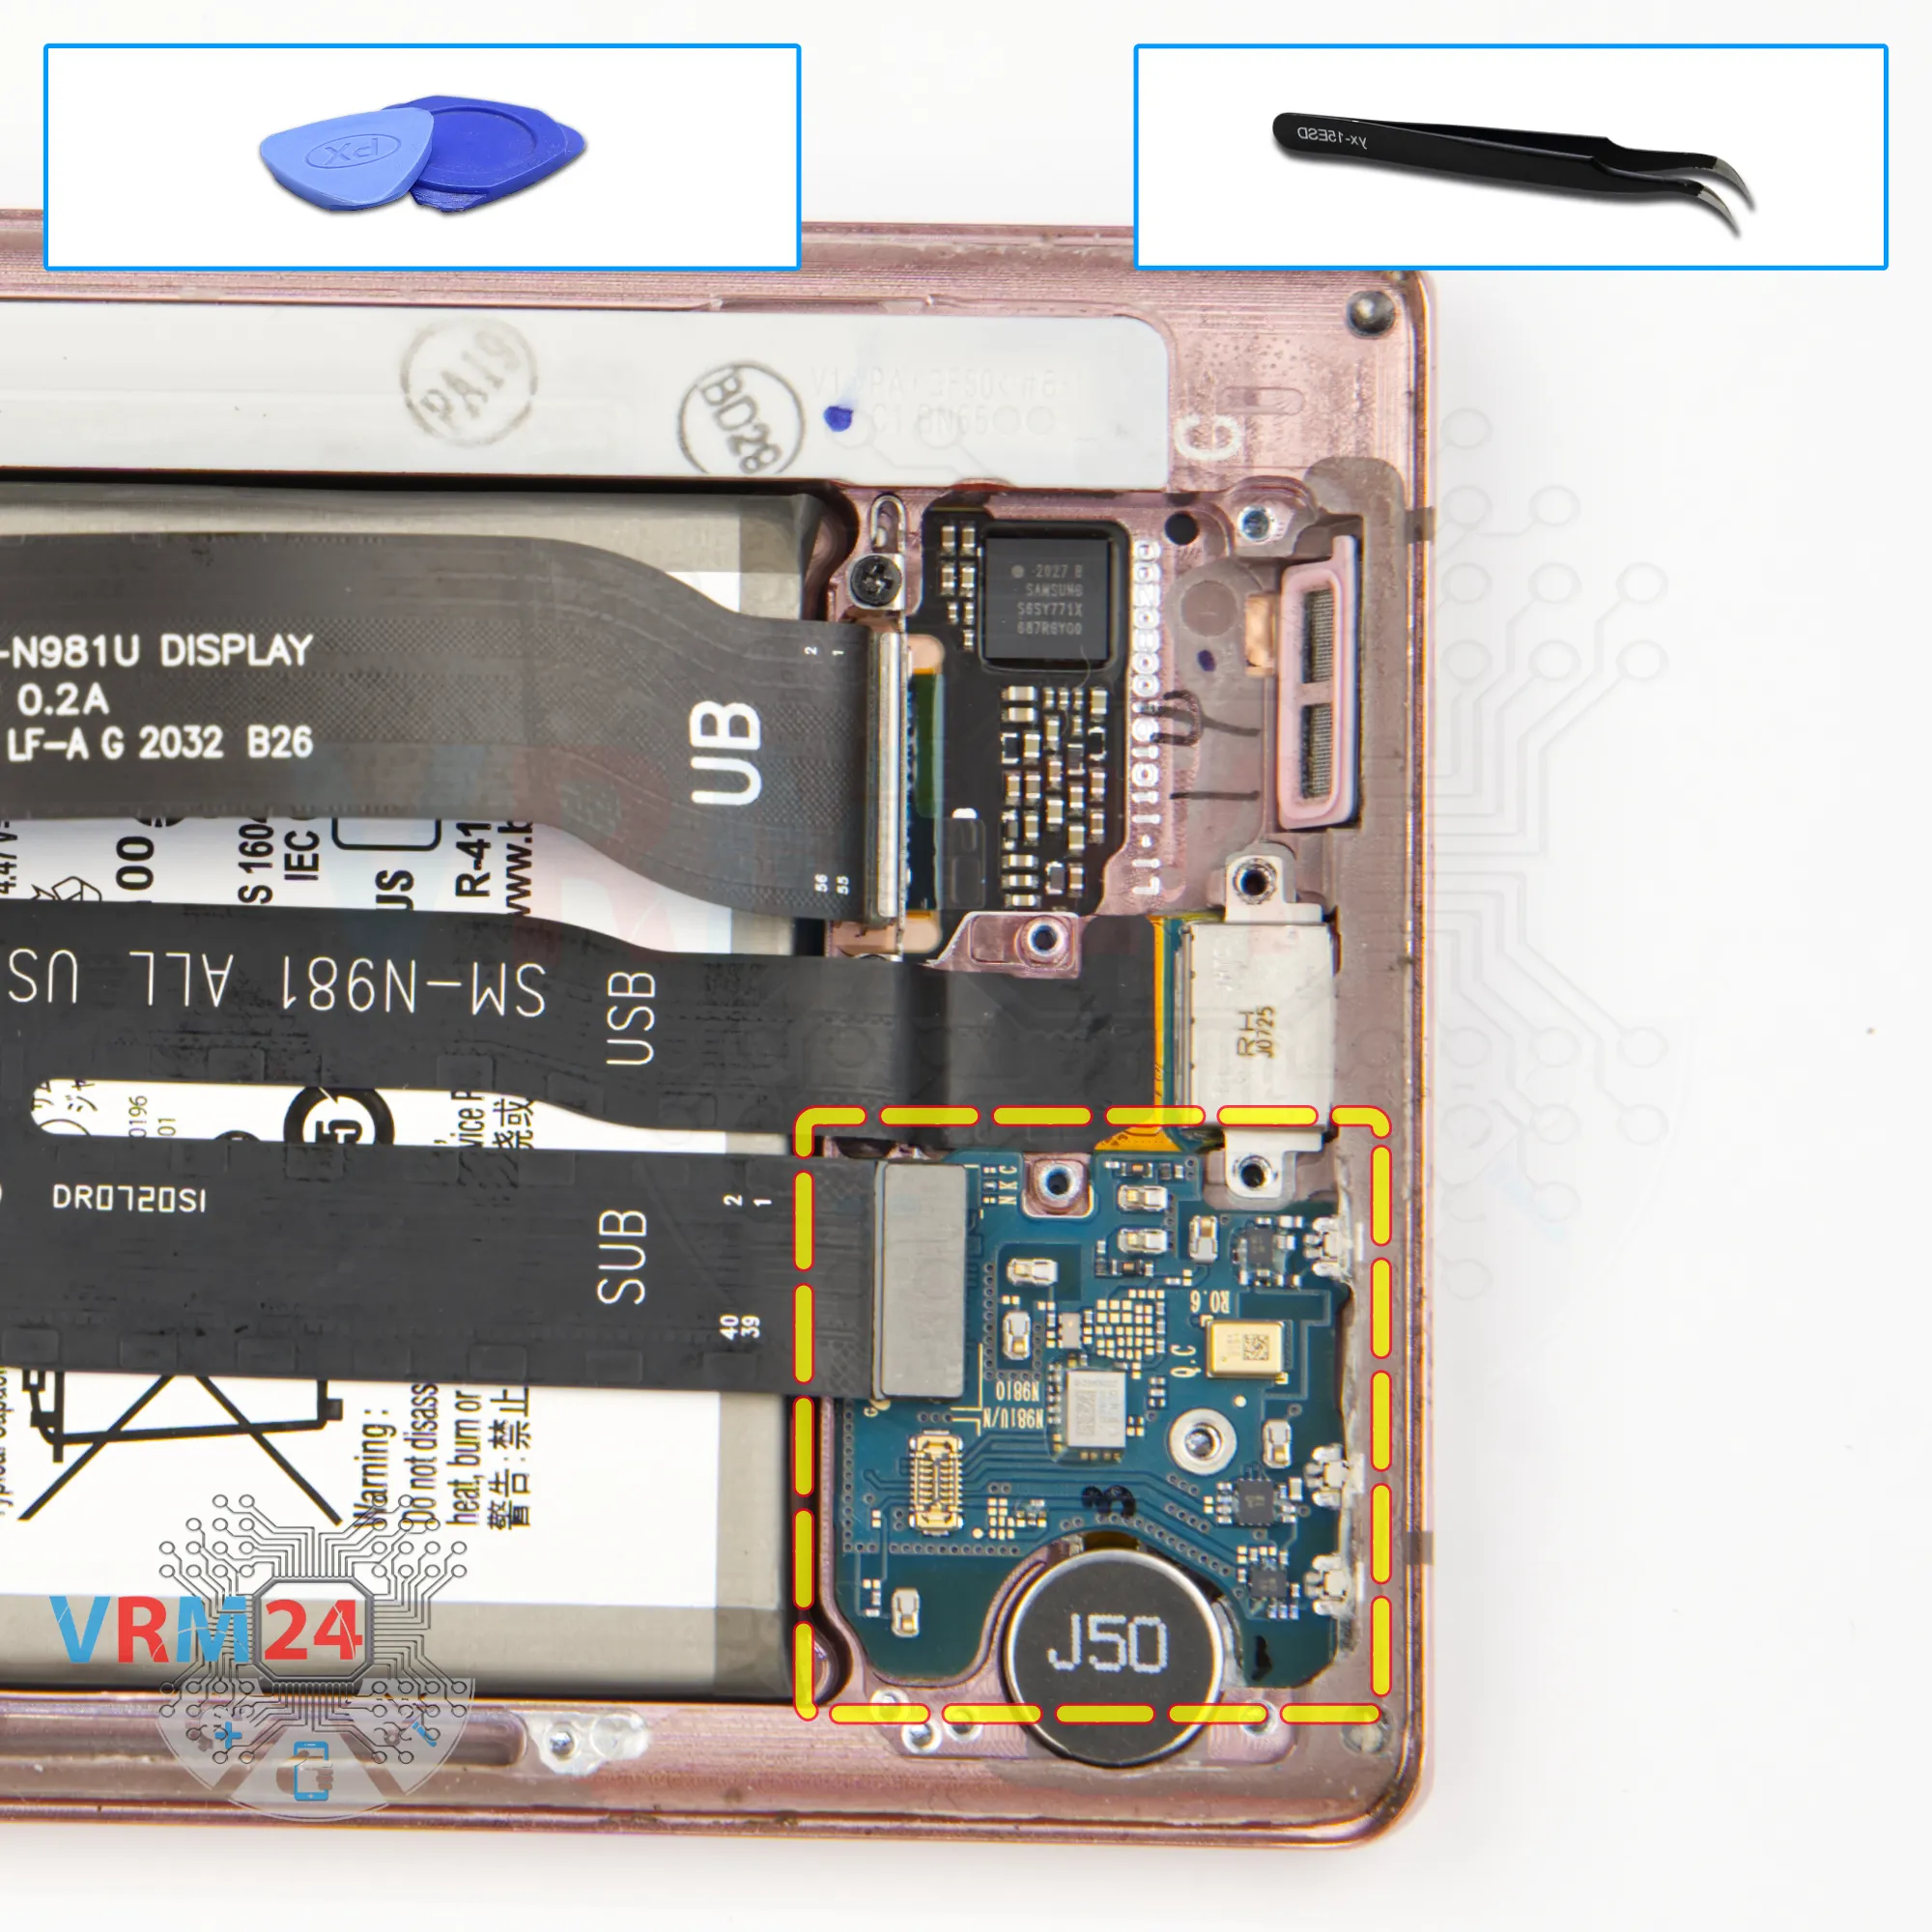
We can detach the sub-board. We find the right place where we hook, lift, remove the sub-board with the microphone and other elements.

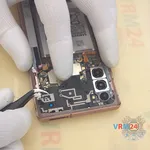
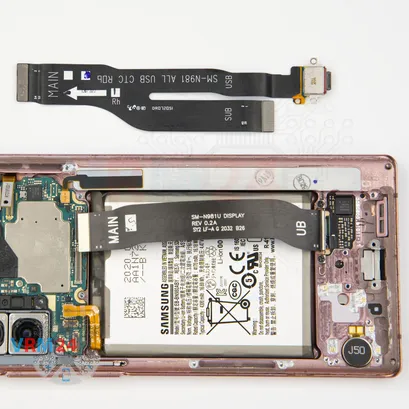
After that we can carefully remove the inter-board cable with the charging port.
Carefully hook it by the bottom, and it is extremely important not to damage the cable.
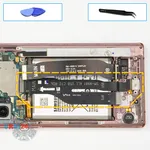
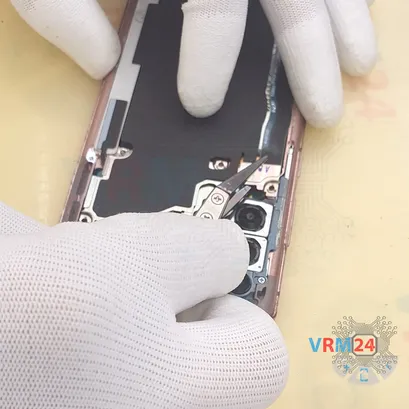
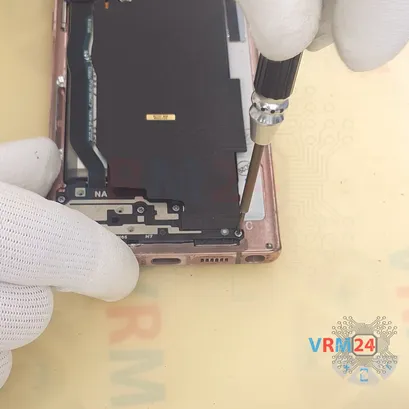
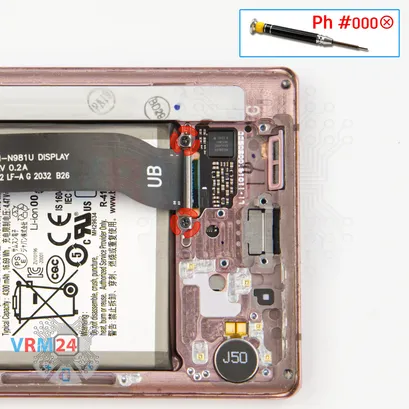
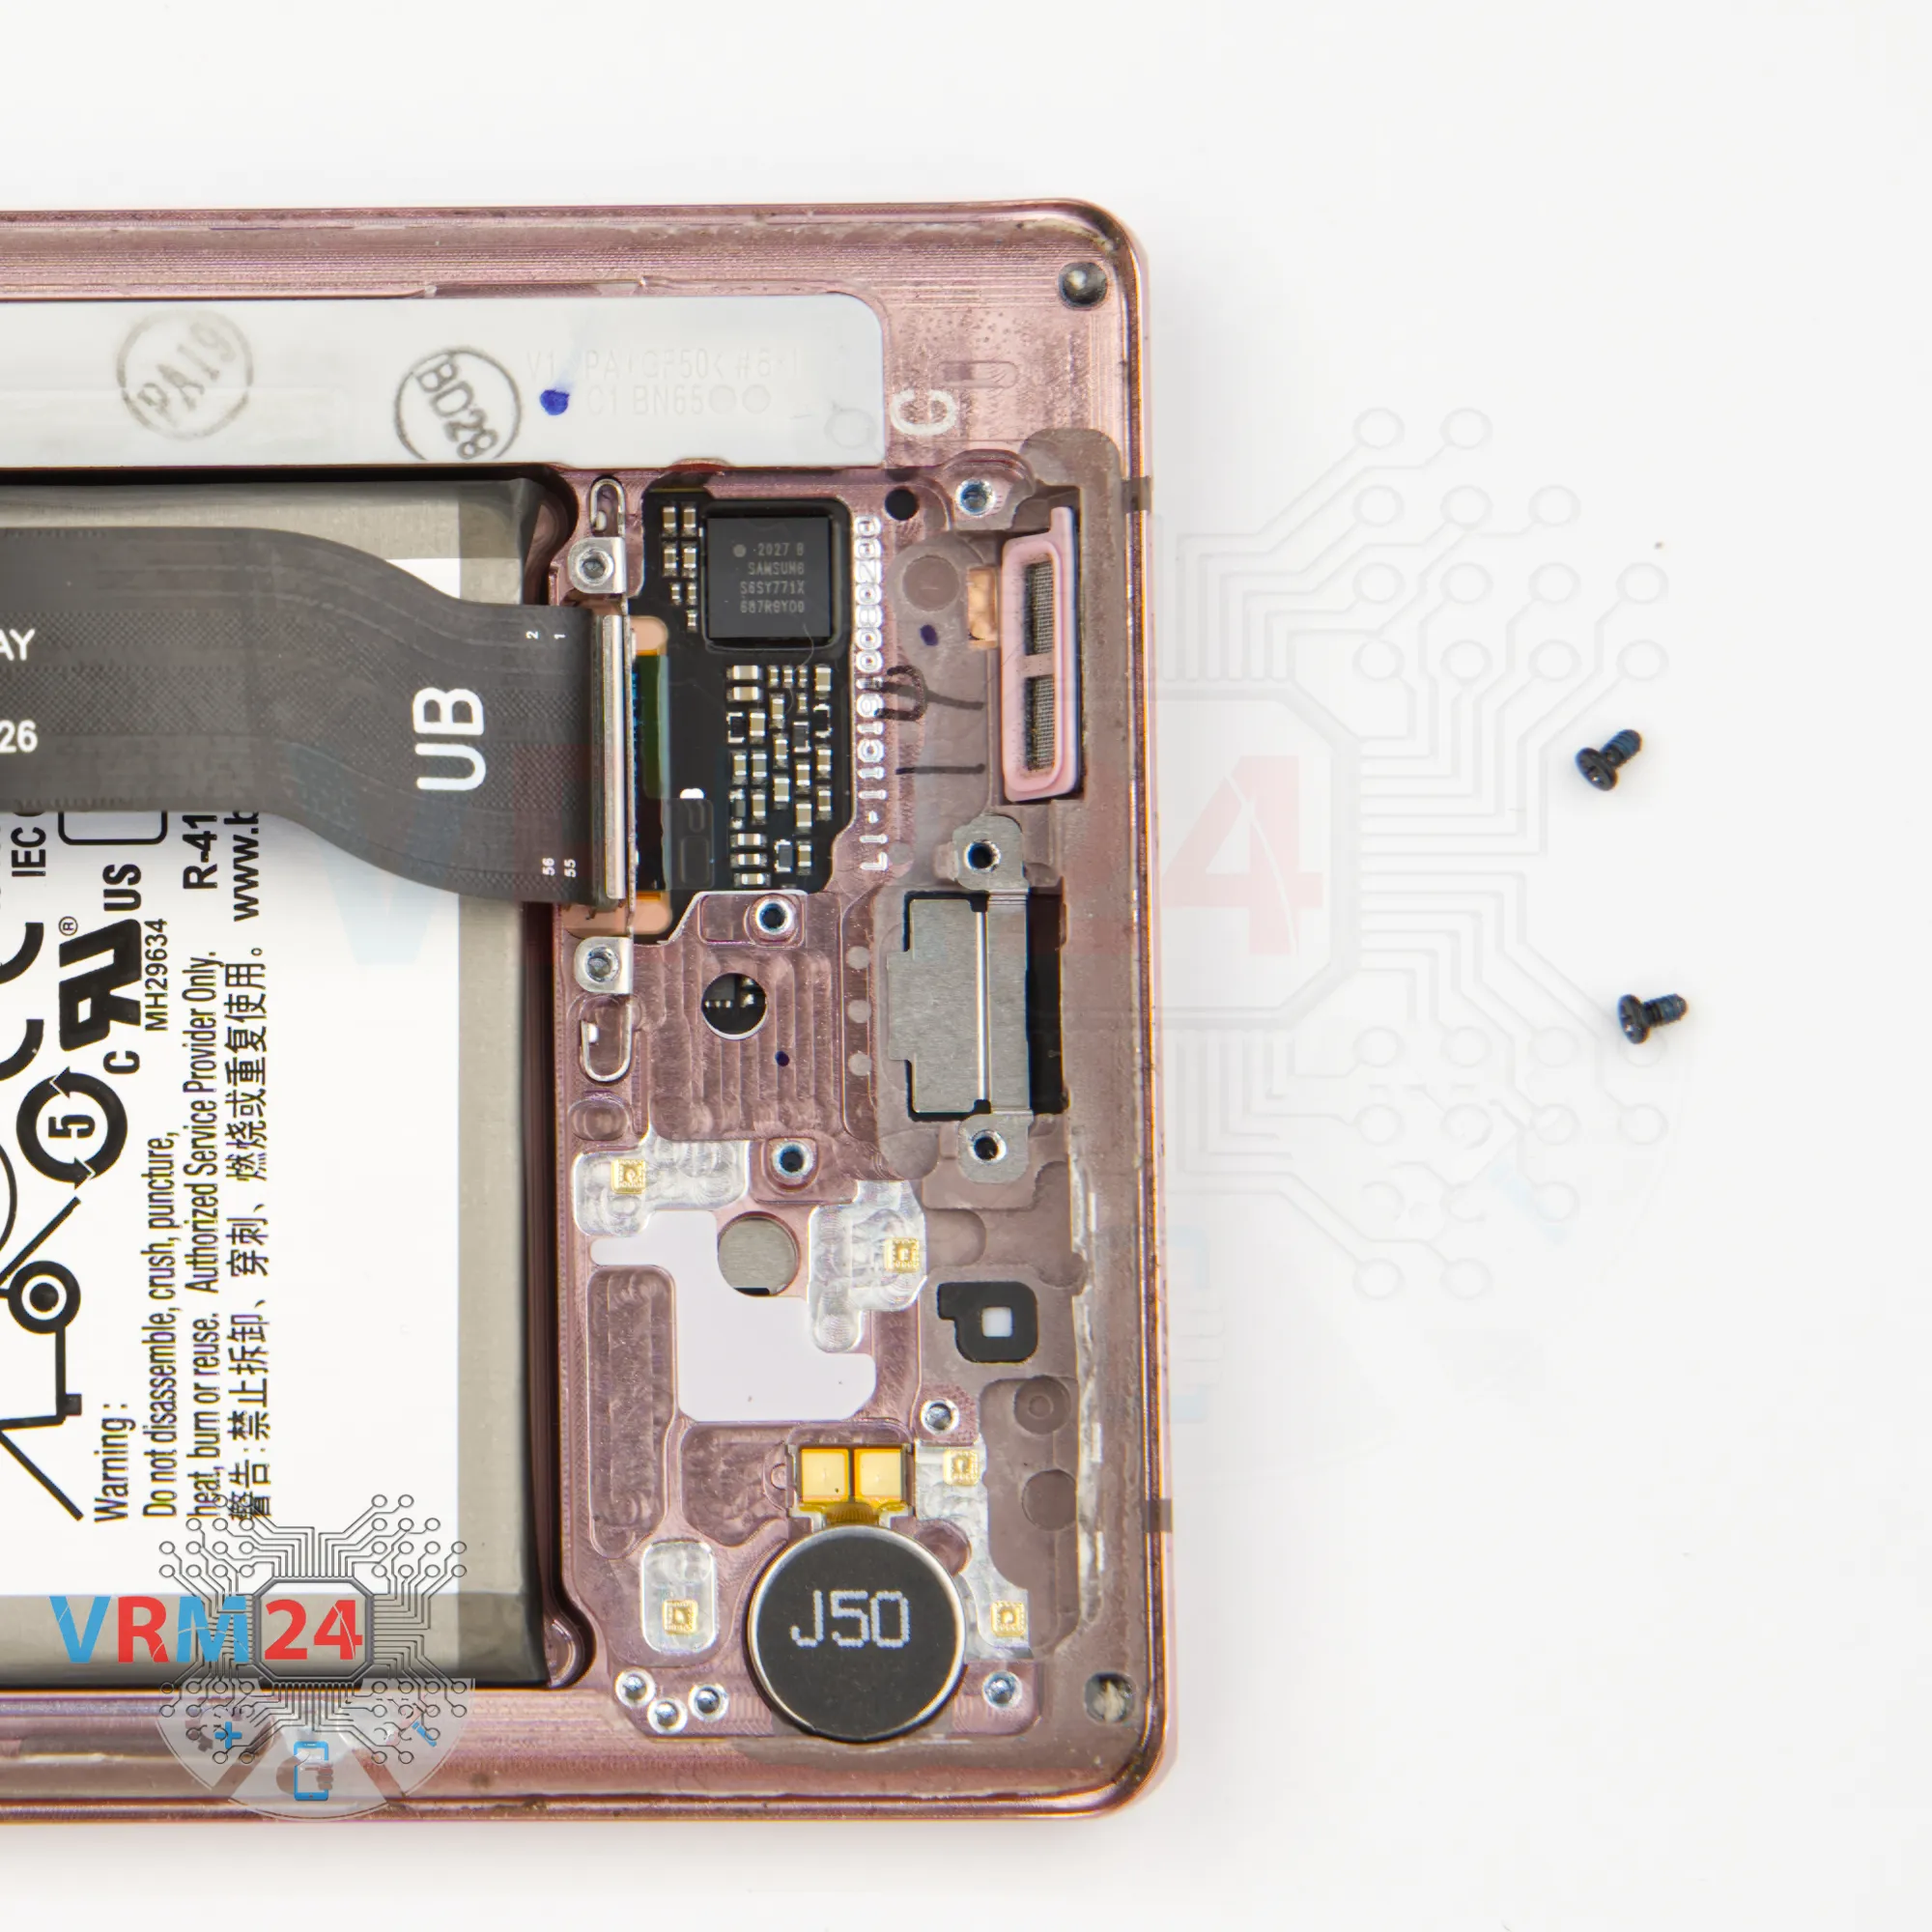
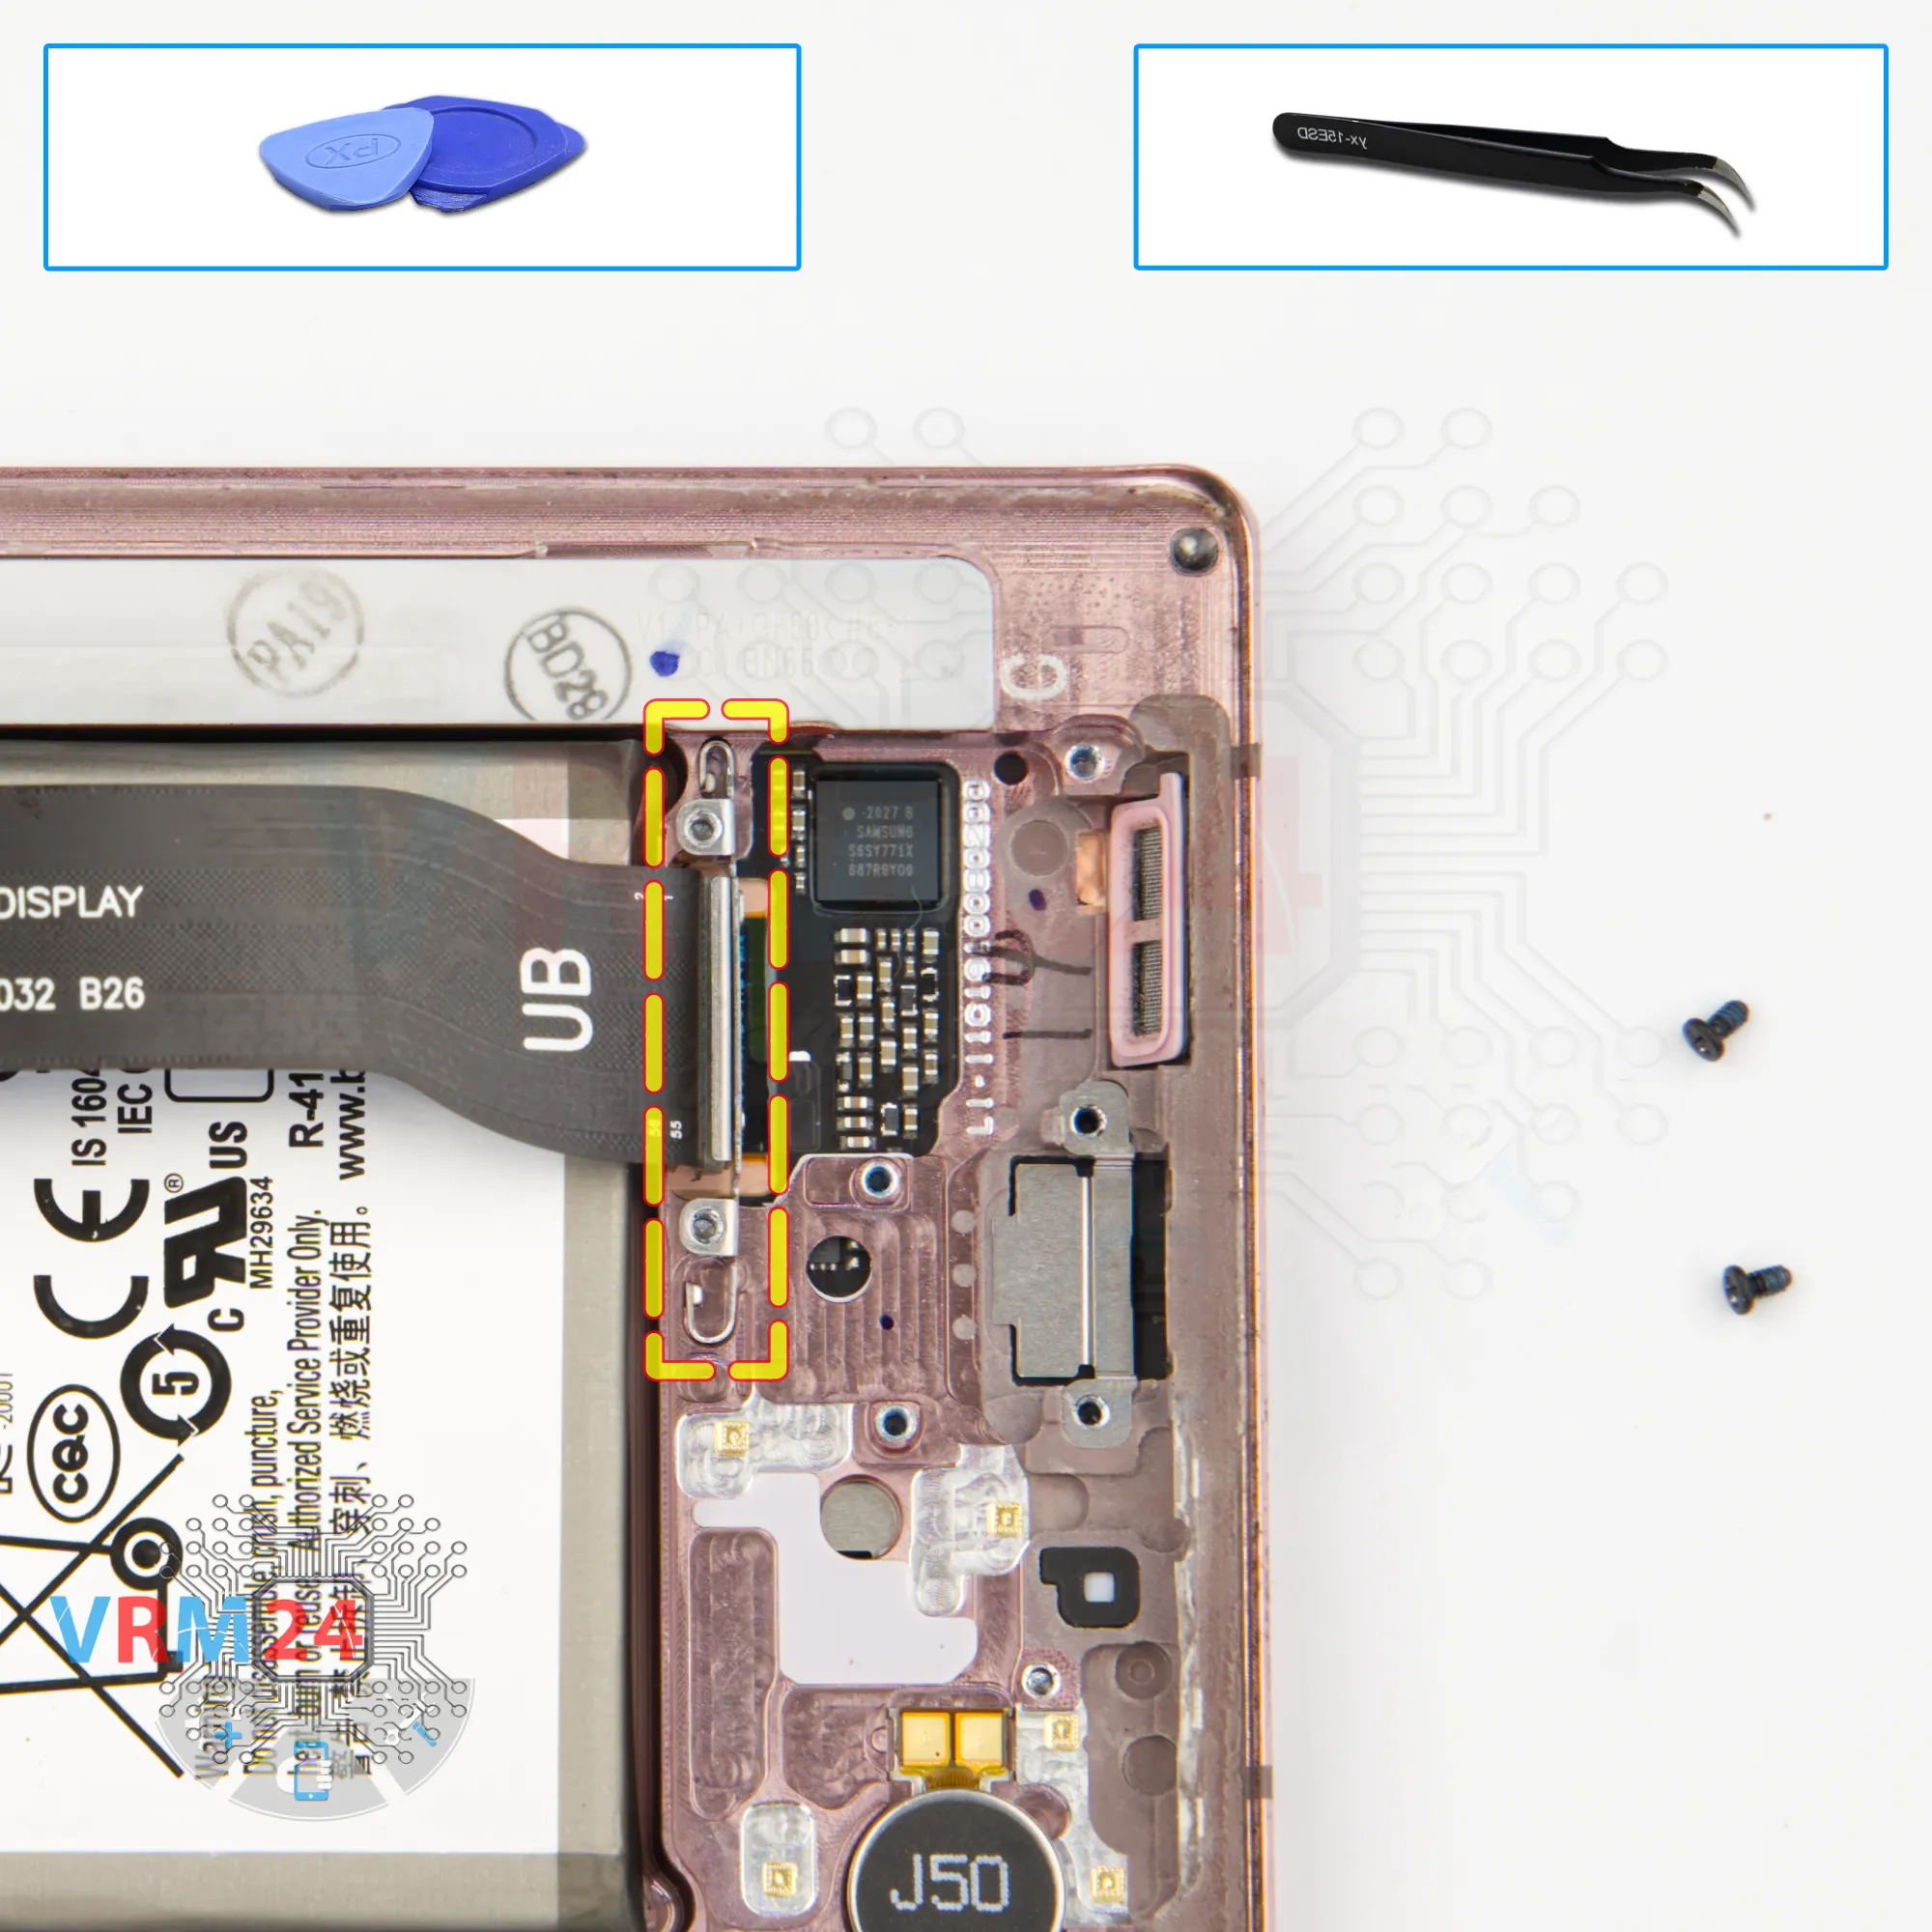
And we need to unscrew the two screws that hold the connector of the cable to the display. The screwdriver is the same Phillips 1.5 mm (Phillips #000).


Then we need to turn the display cable over, disconnect the connector on the inside and we can remove the display cable.


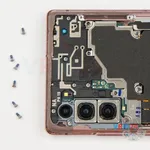
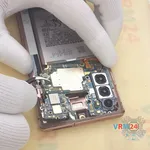
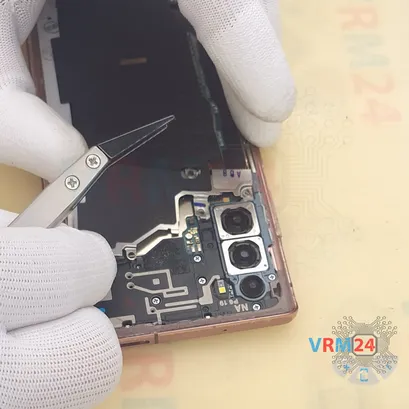
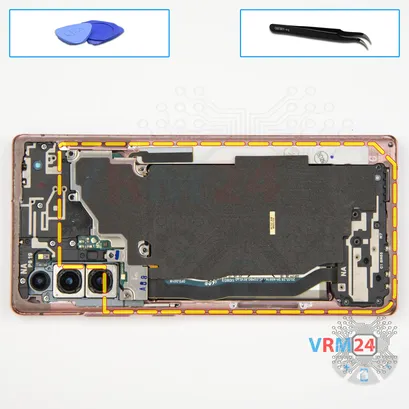
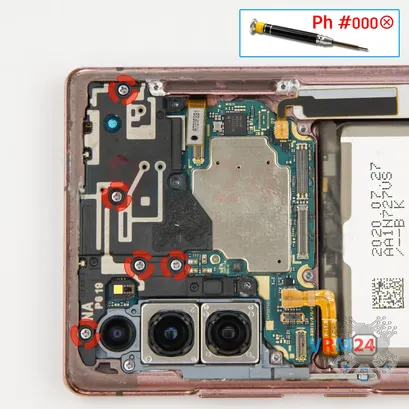
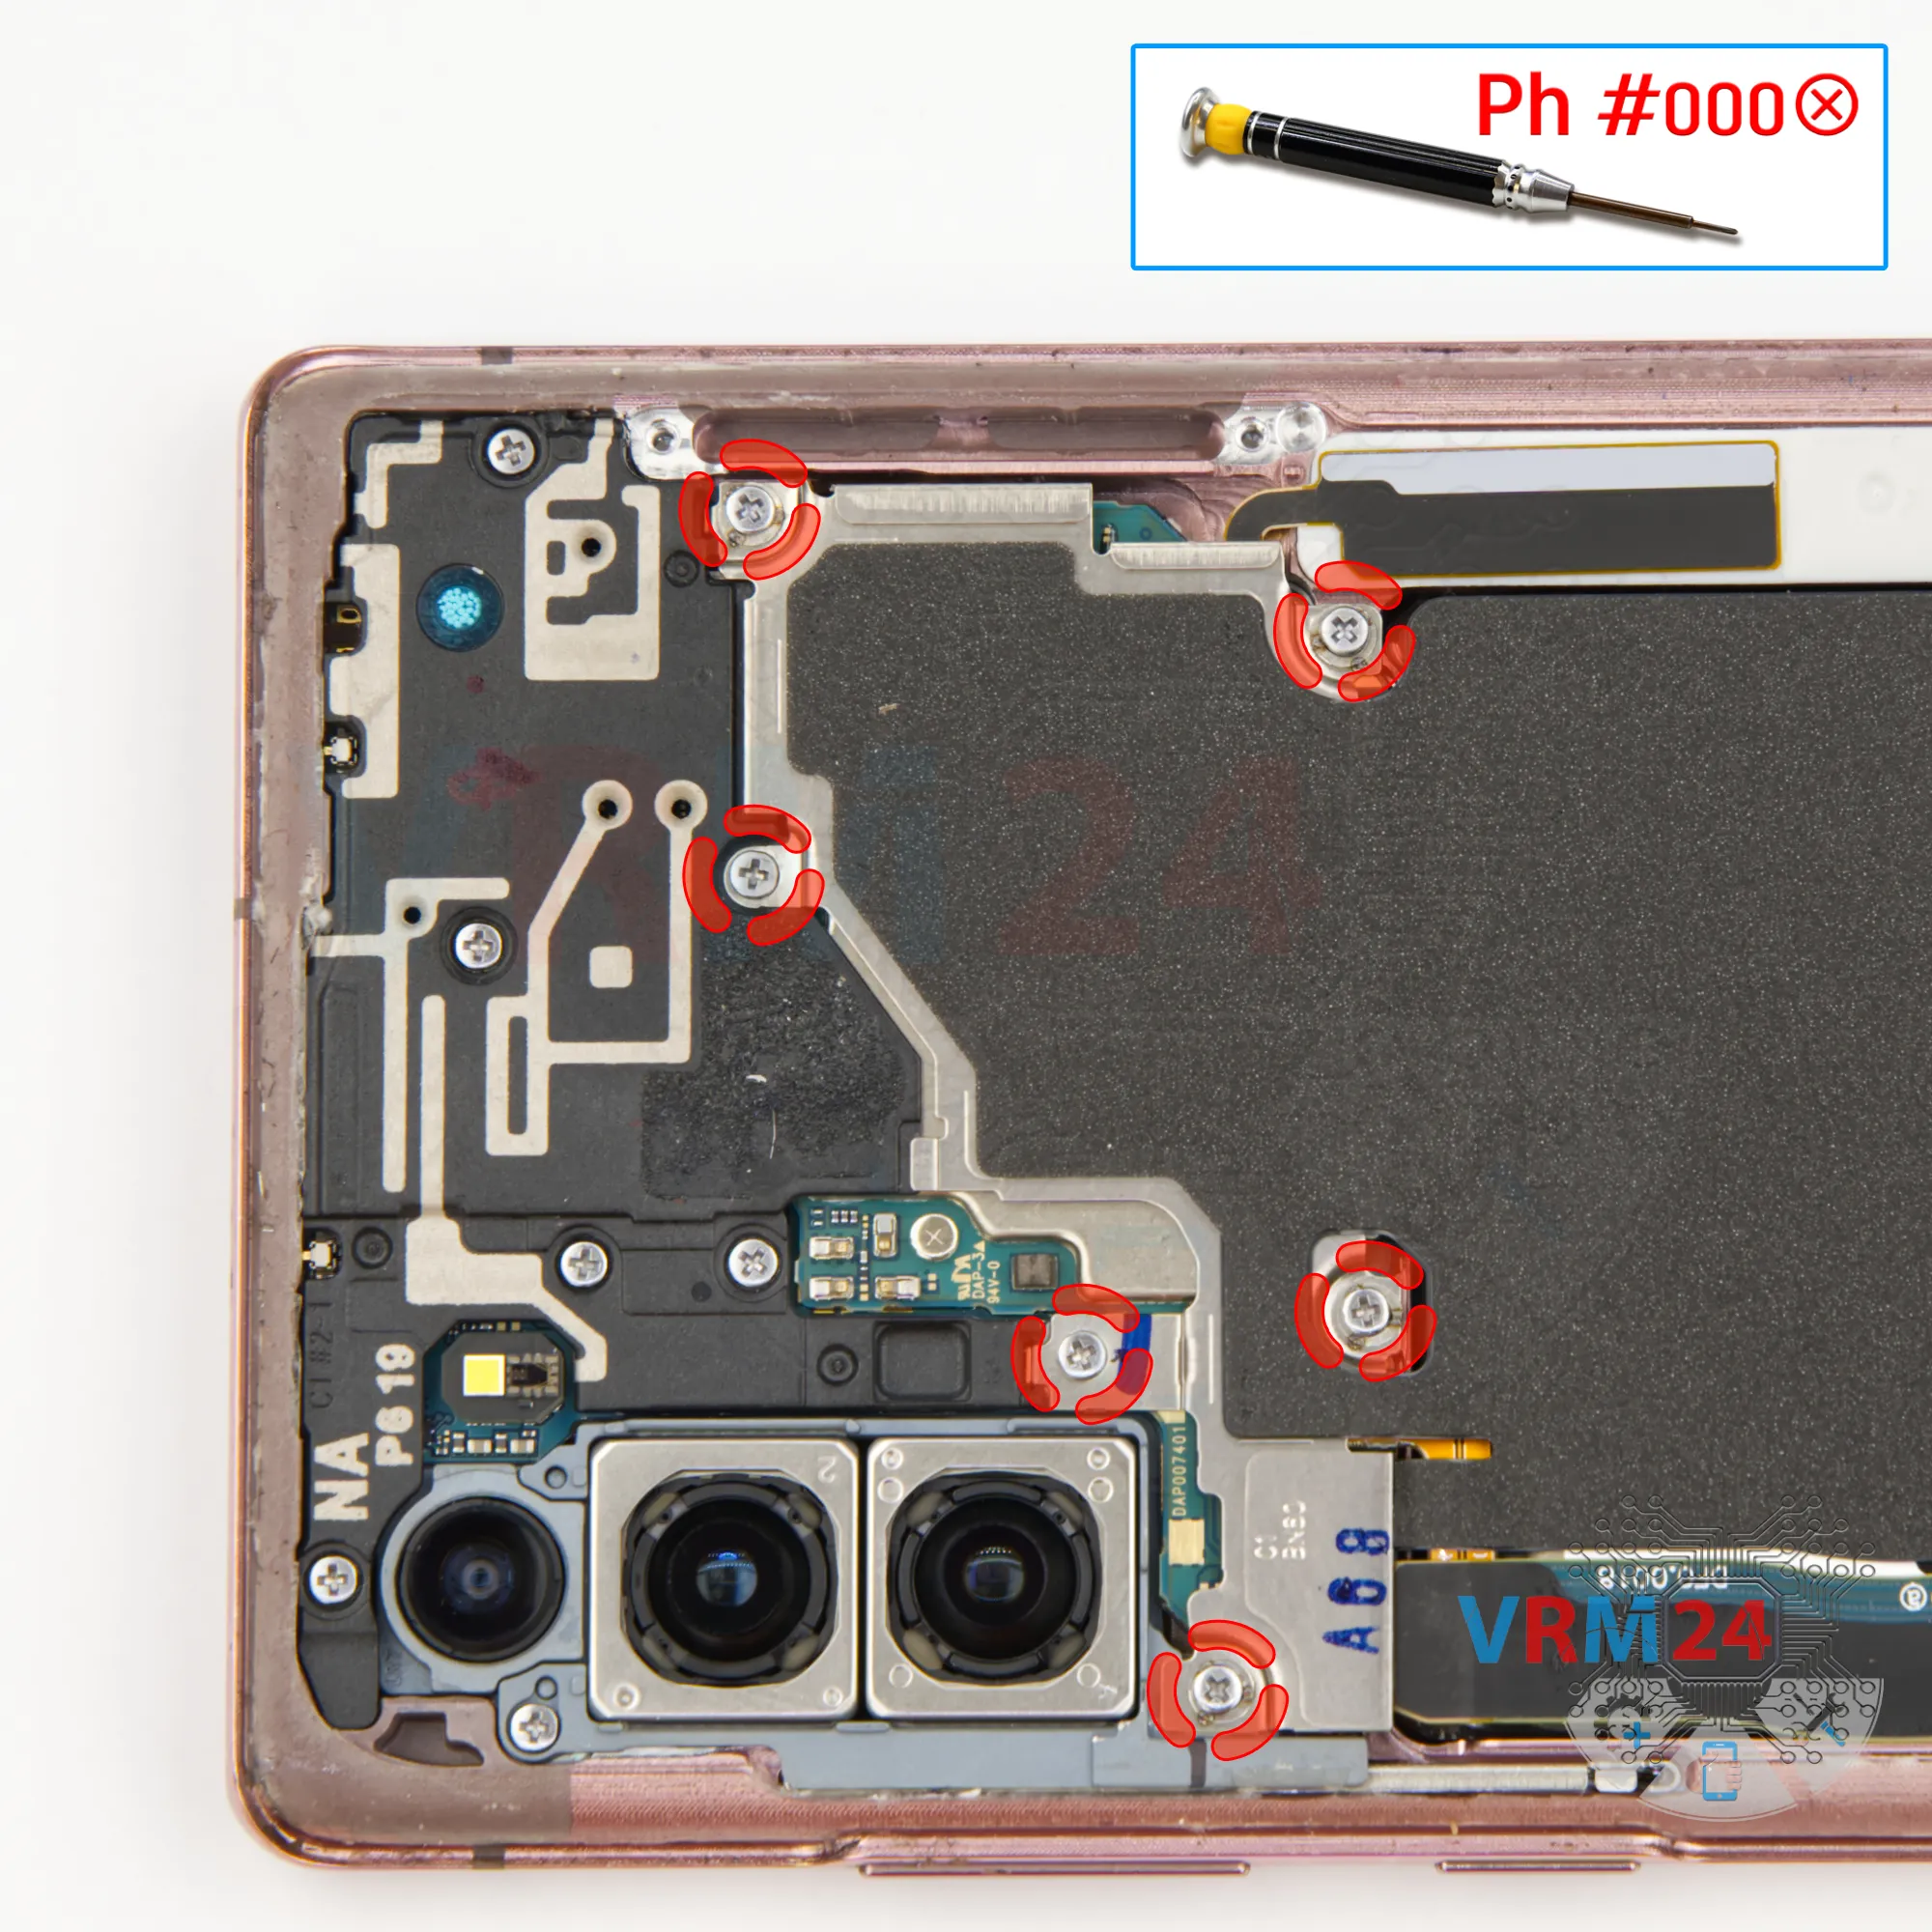
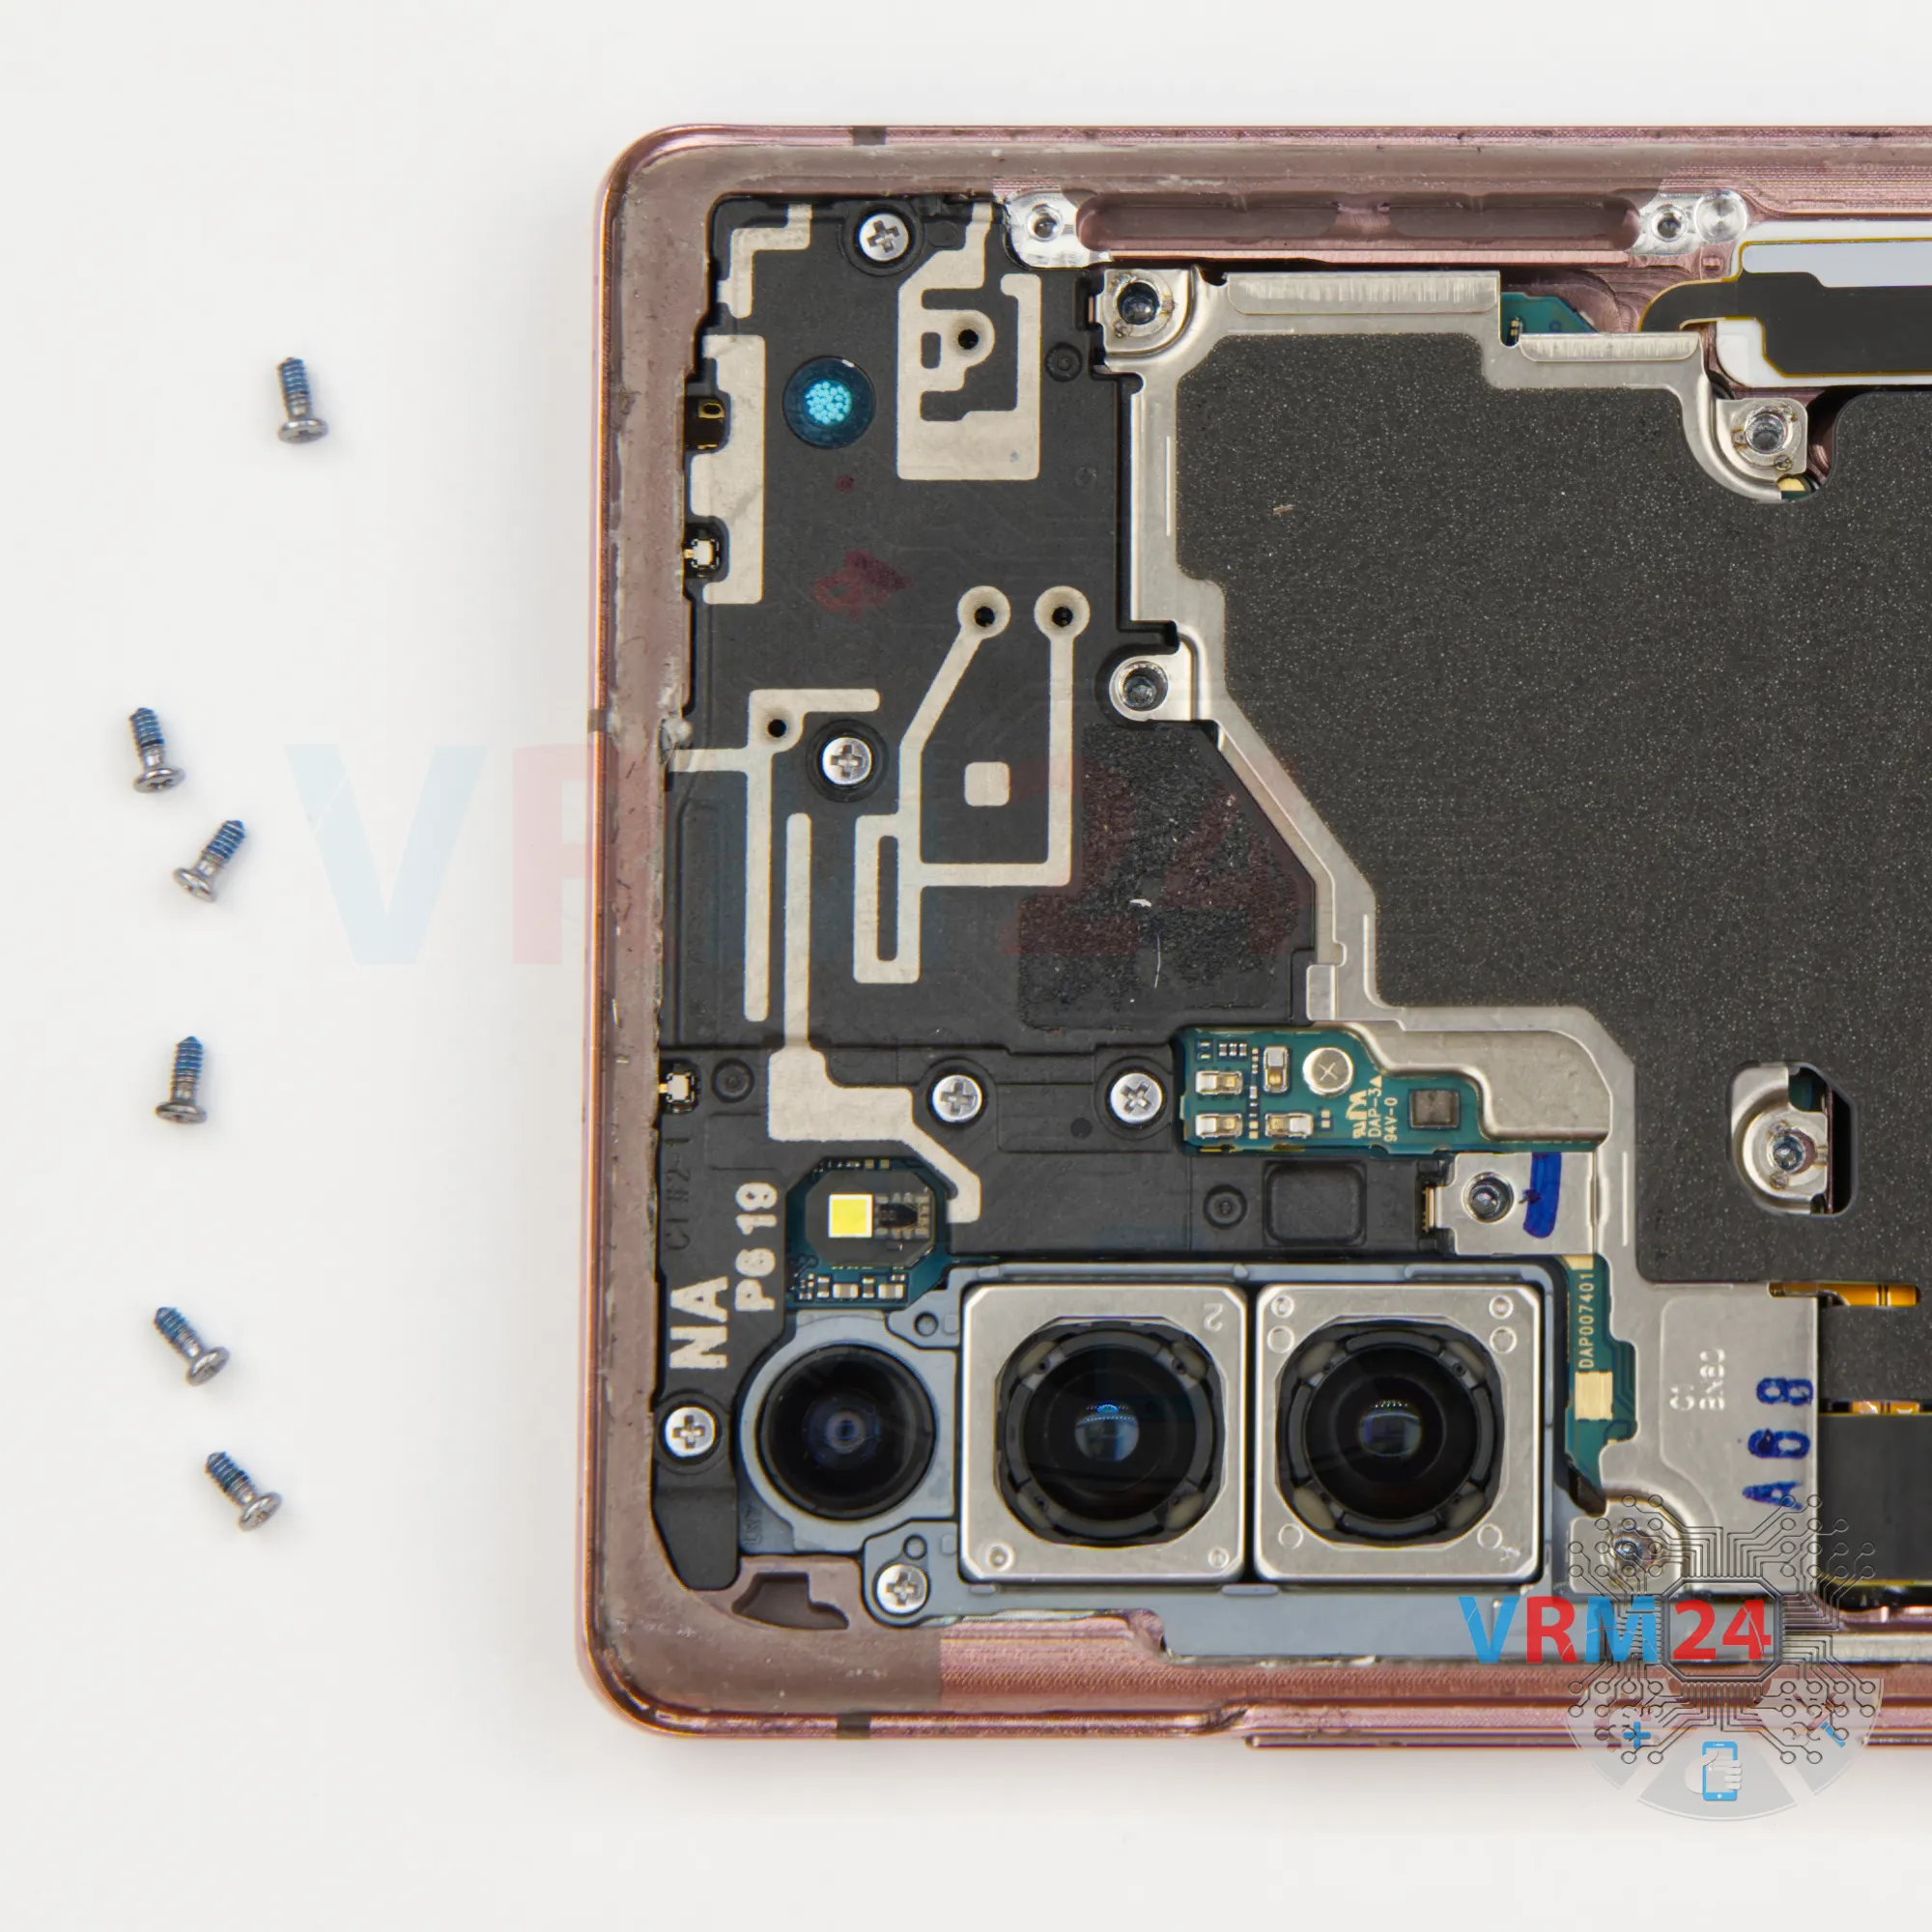
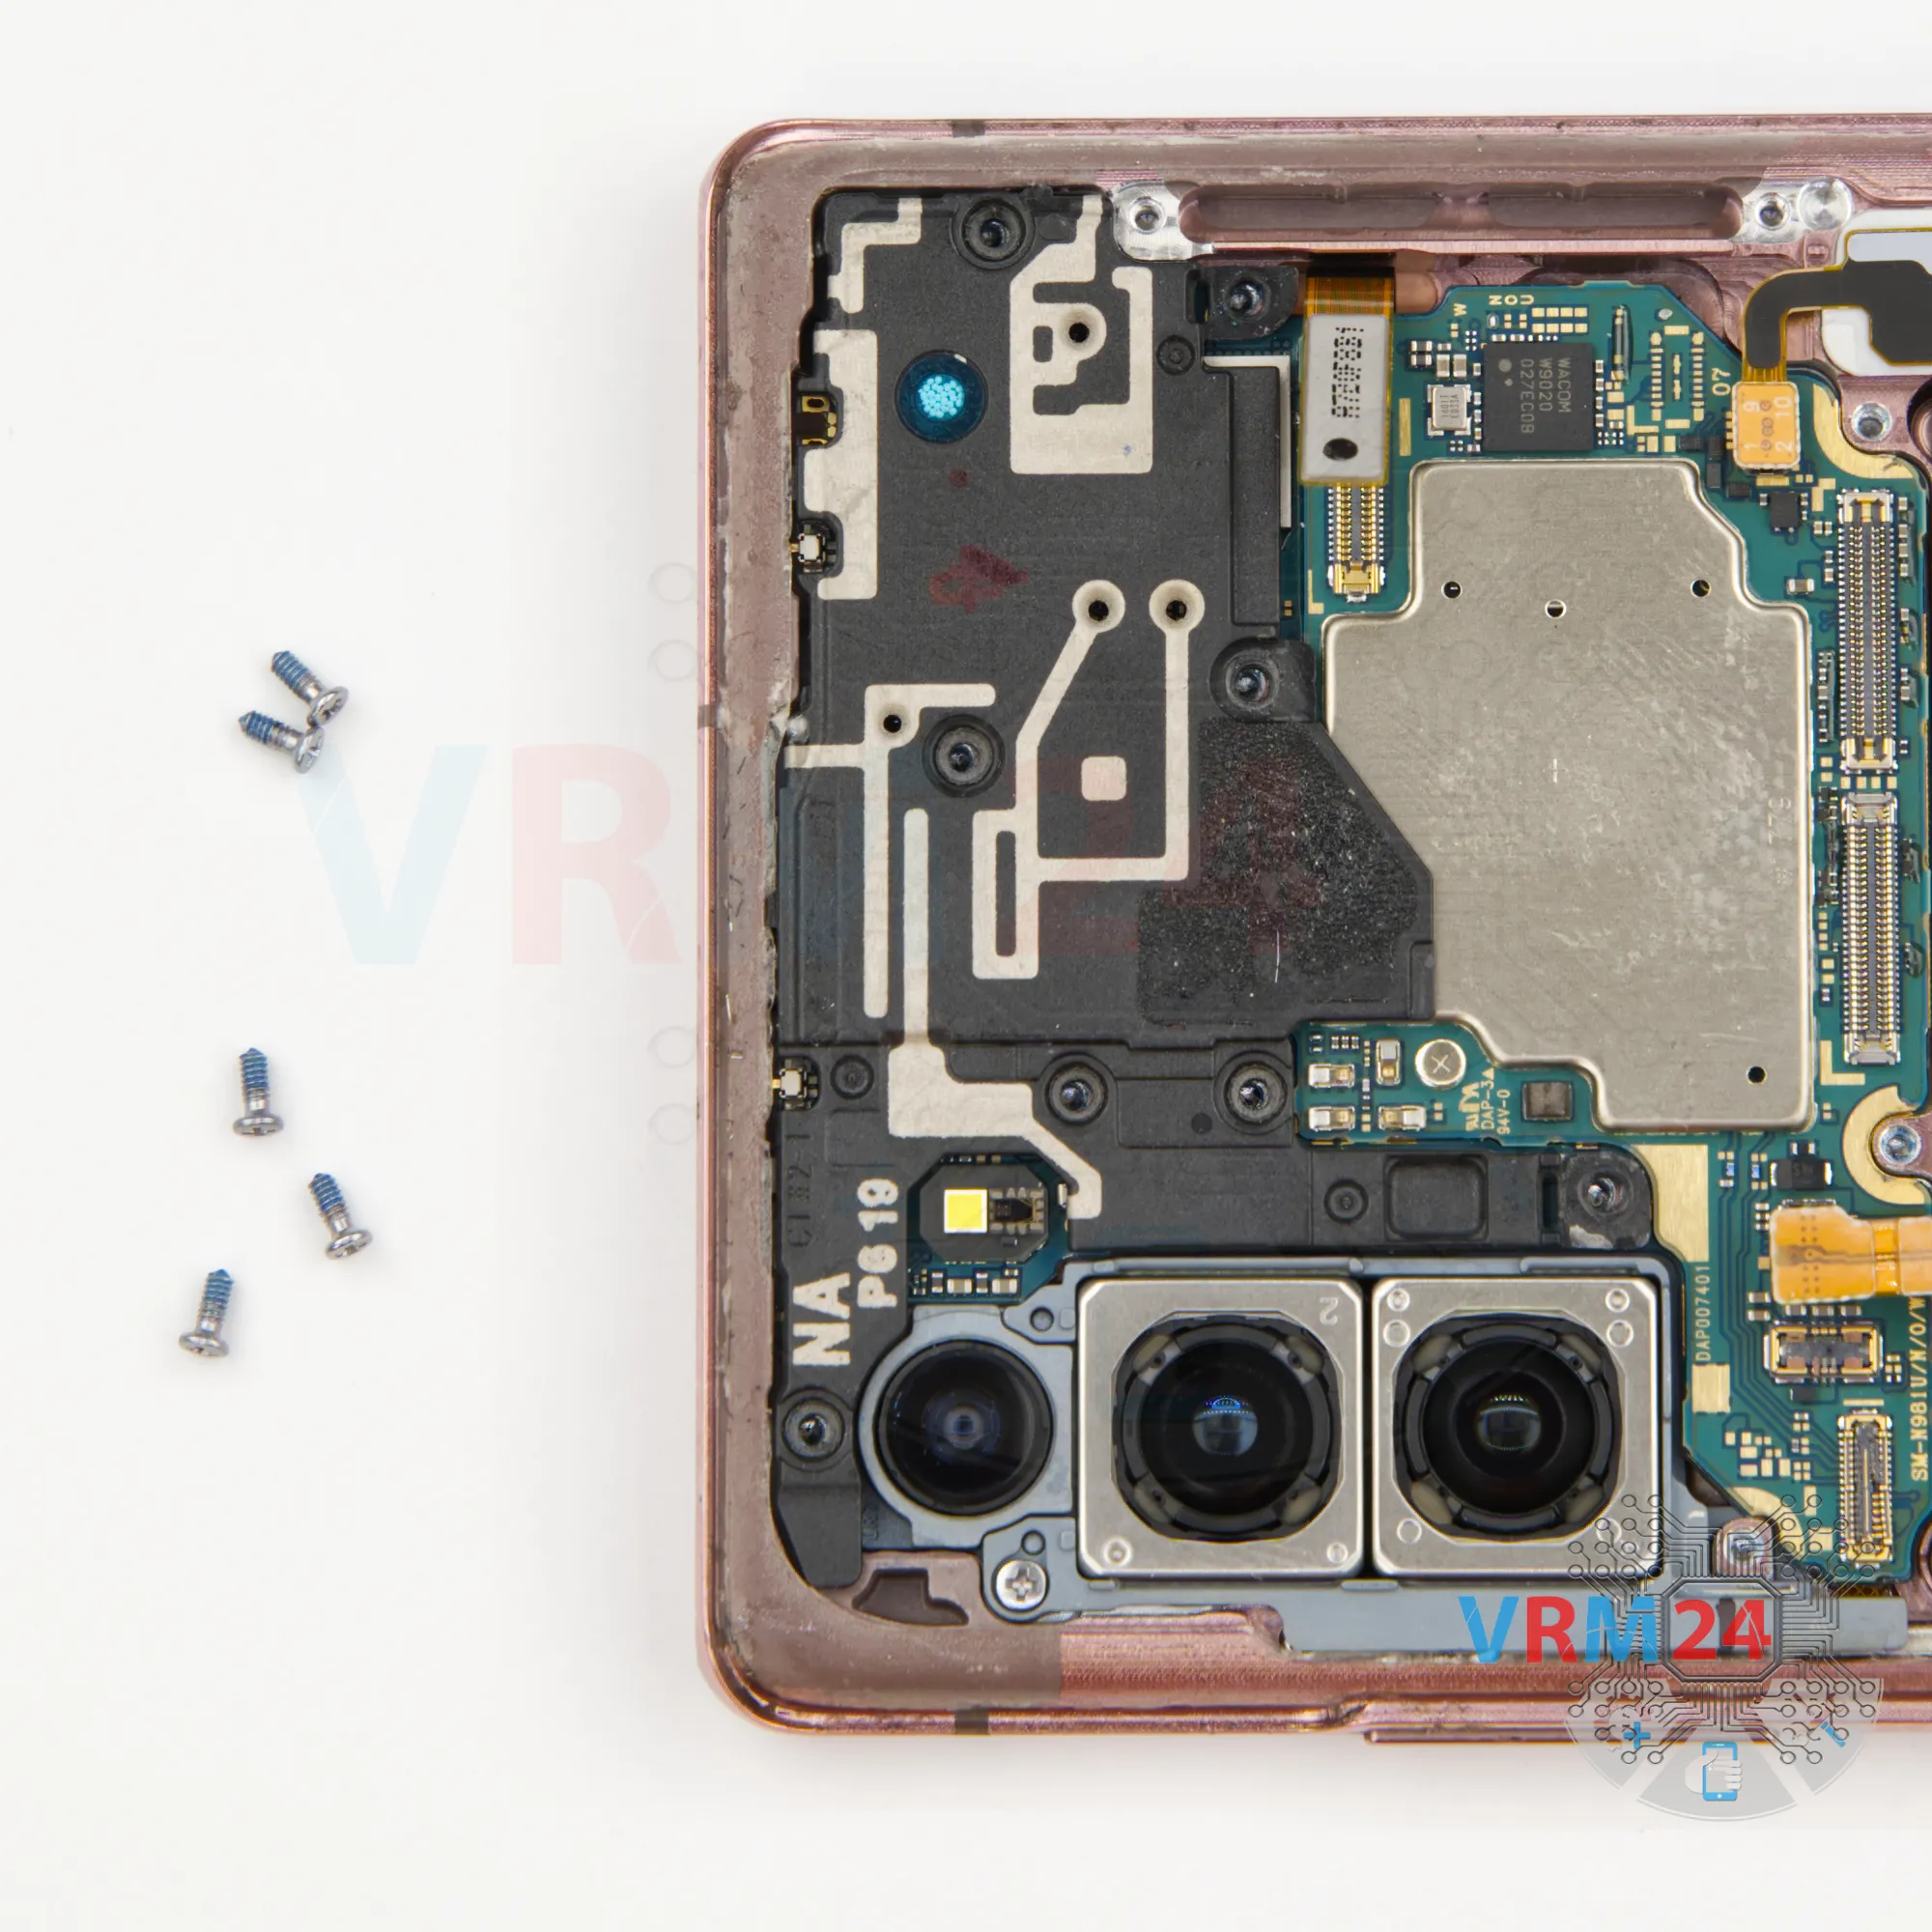
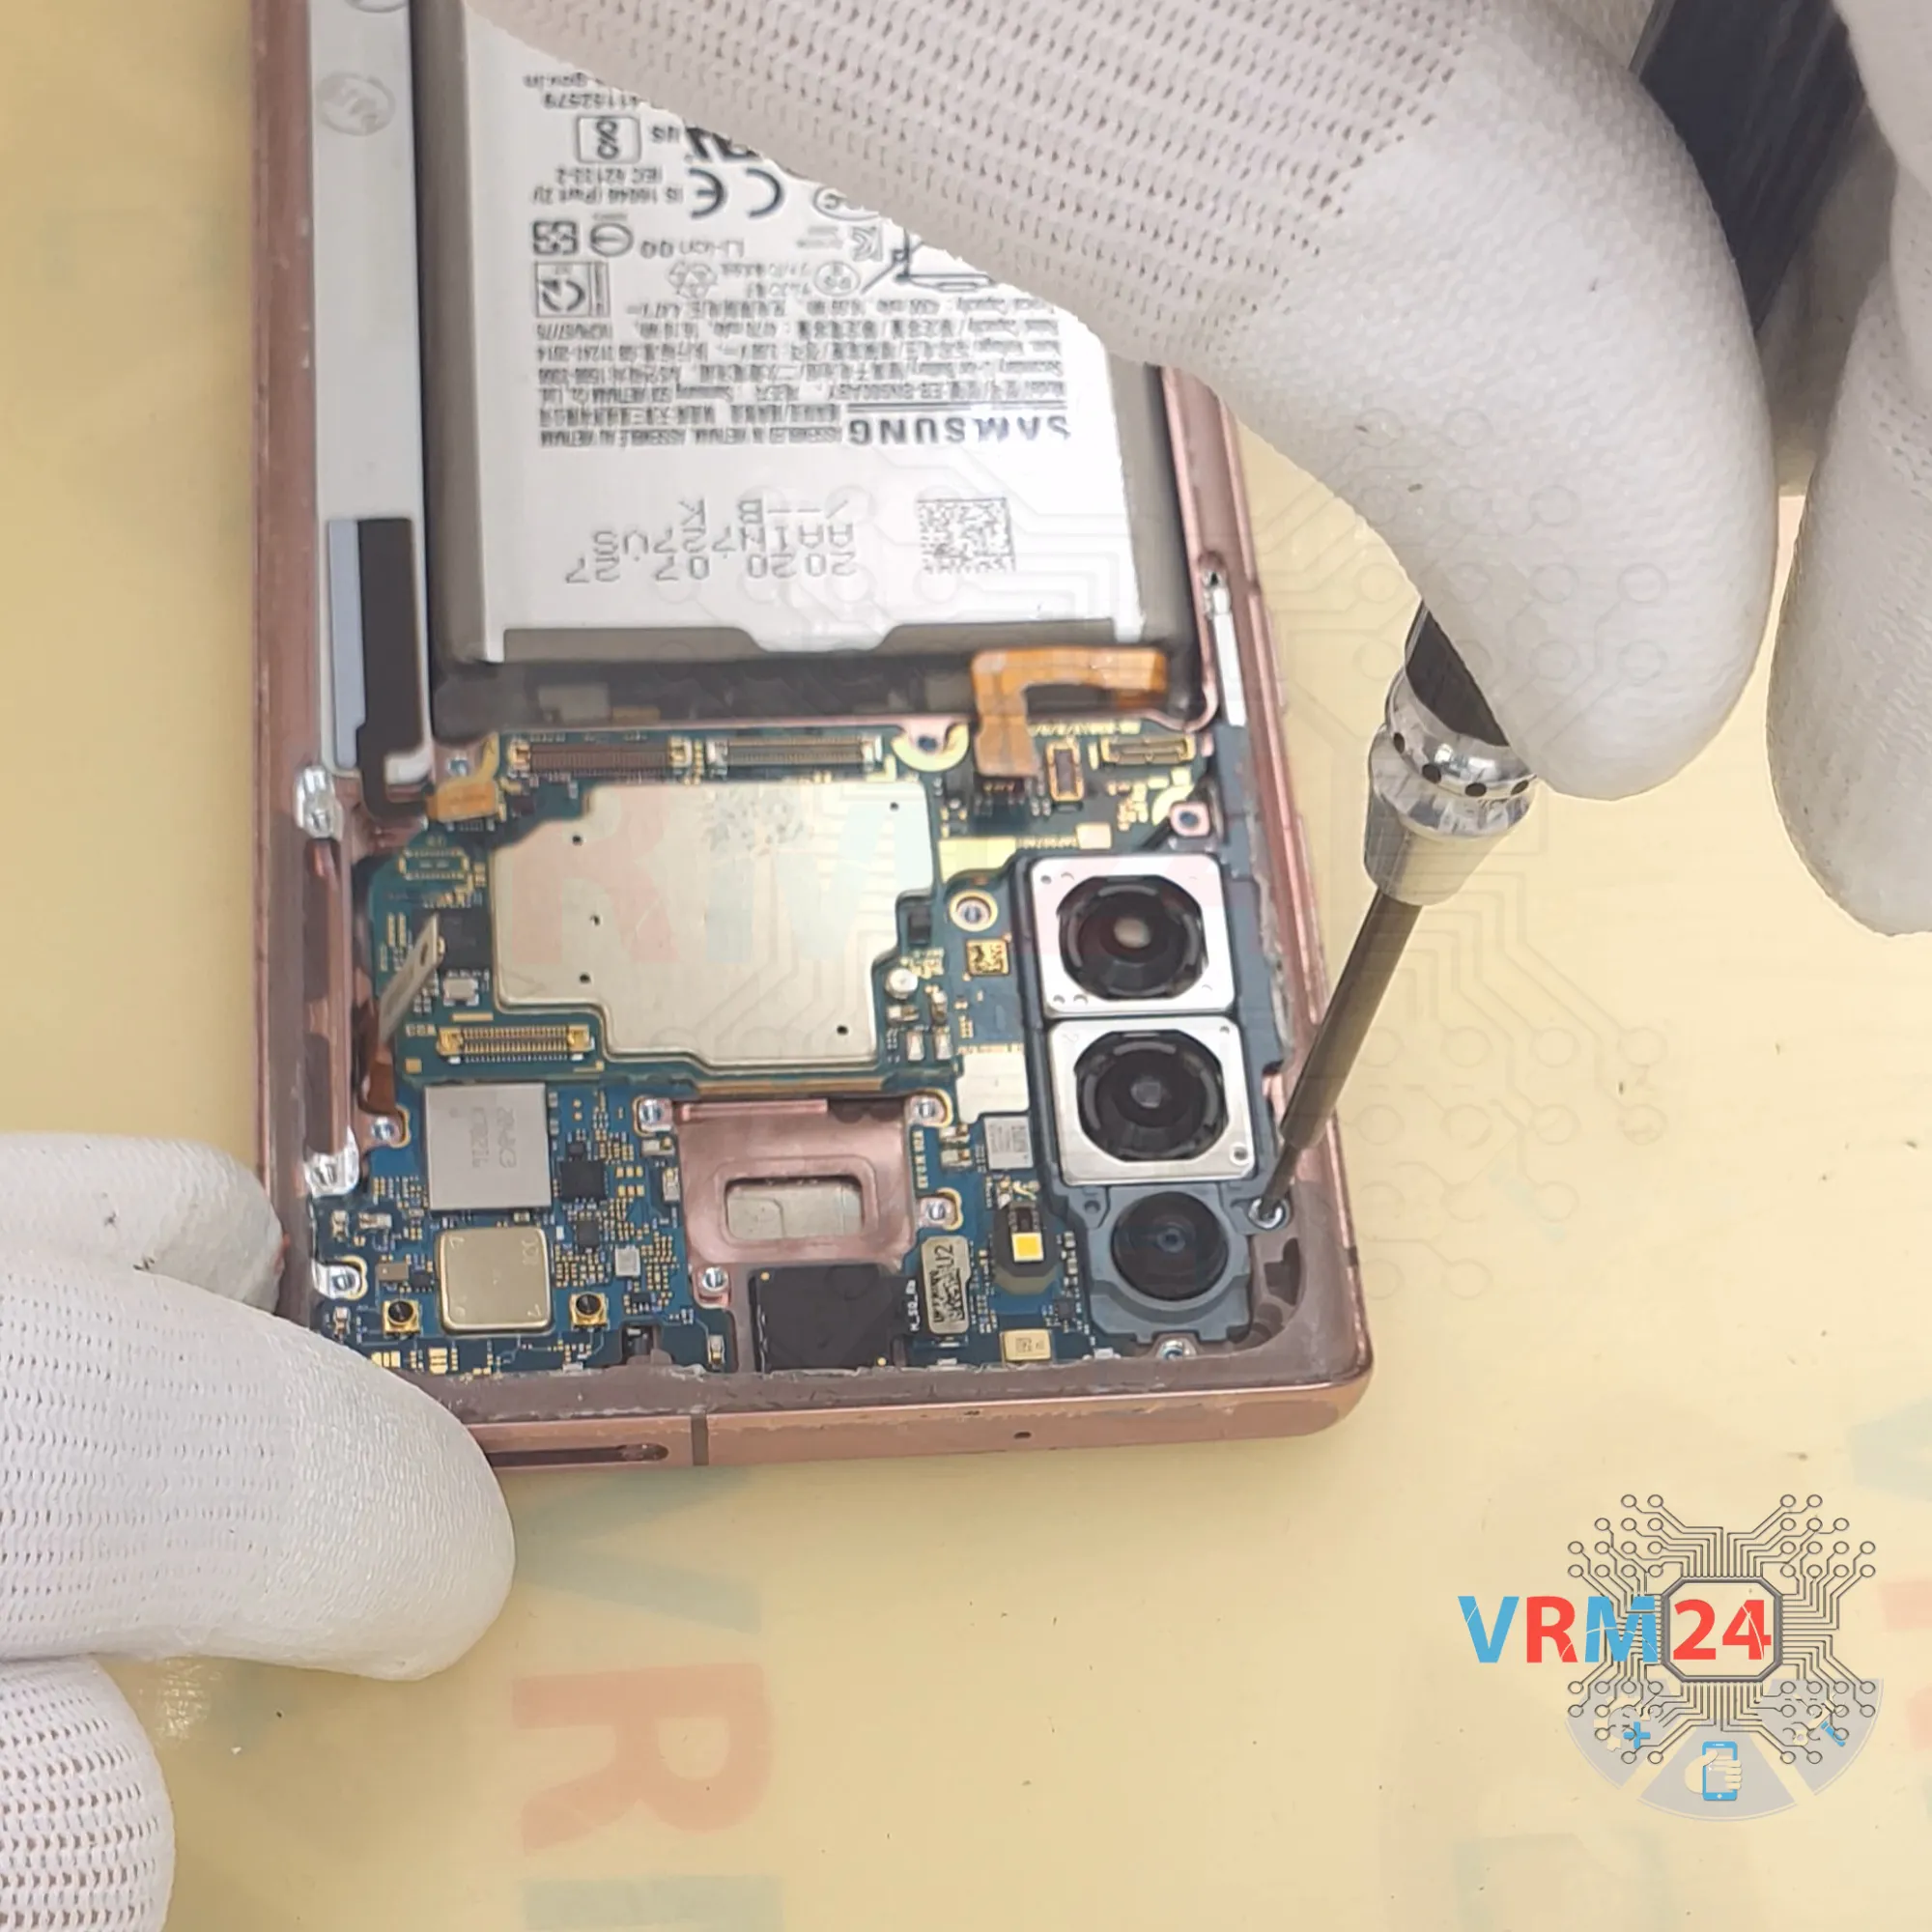
We also need to unscrew the screws at the top that we haven't unscrewed yet, that hold the cameras, that hold the motherboard.
Carefully unscrew them, remove them to a special surface.
If we have screws that don't come out well, we can additionally use a magnetizer - if we have screws that get stuck, we can use tweezers.
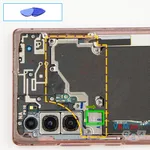
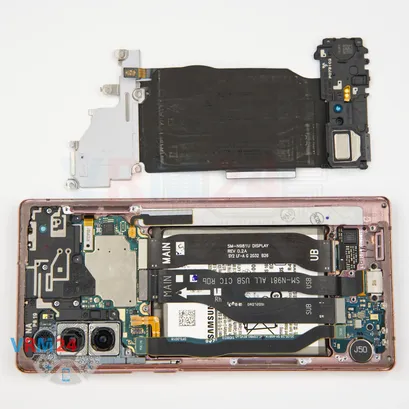
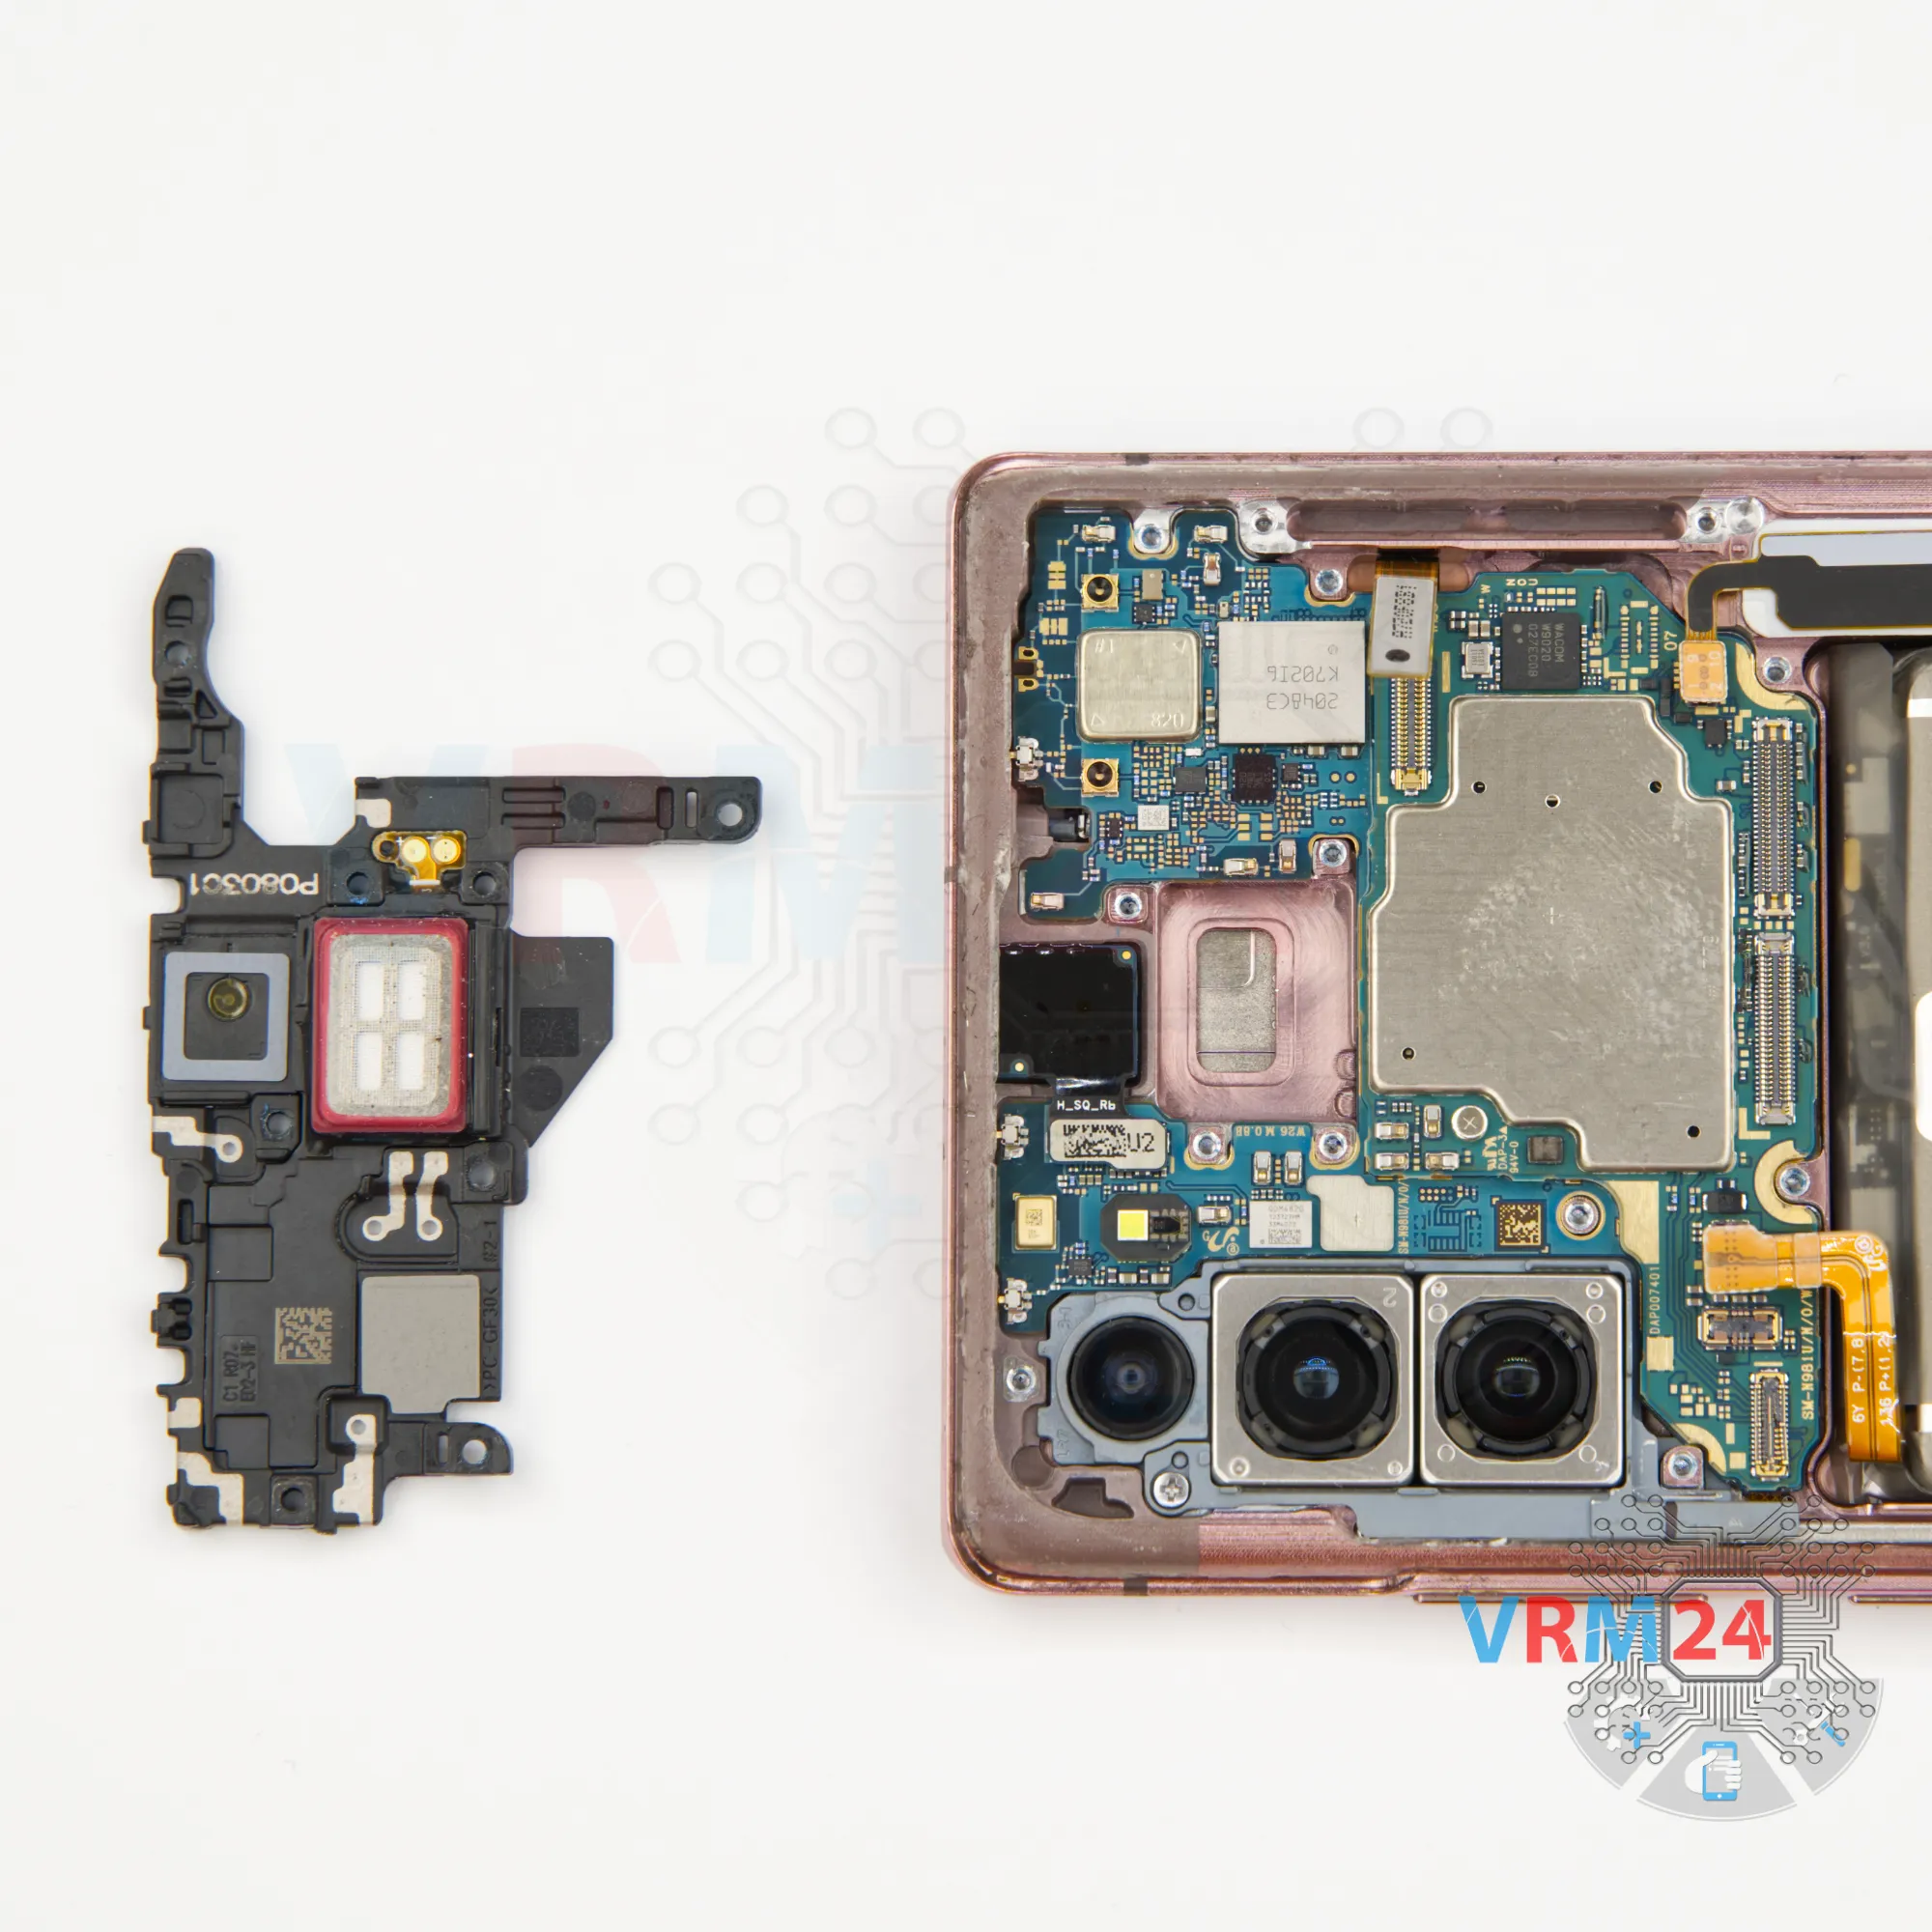
After that we detach the cover with the earpiece speaker and antennas.
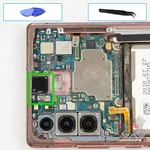
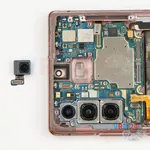
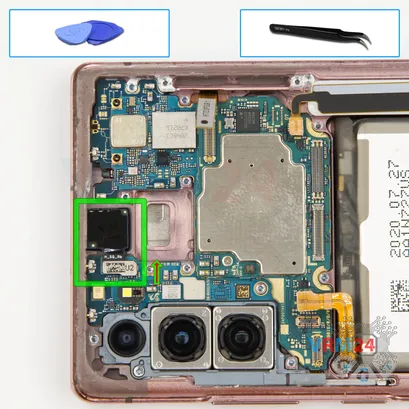
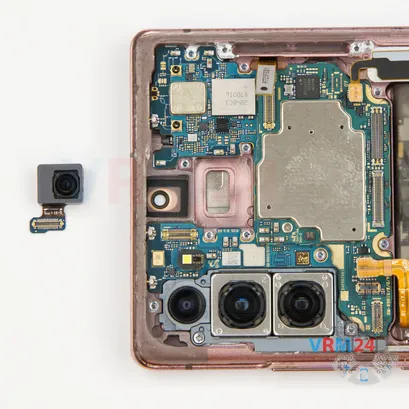
We can disconnect the front camera, we find the right place where we carefully hook, lift and remove the front camera.
Usually - the front camera is very firmly glued.
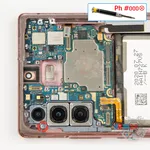

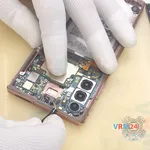
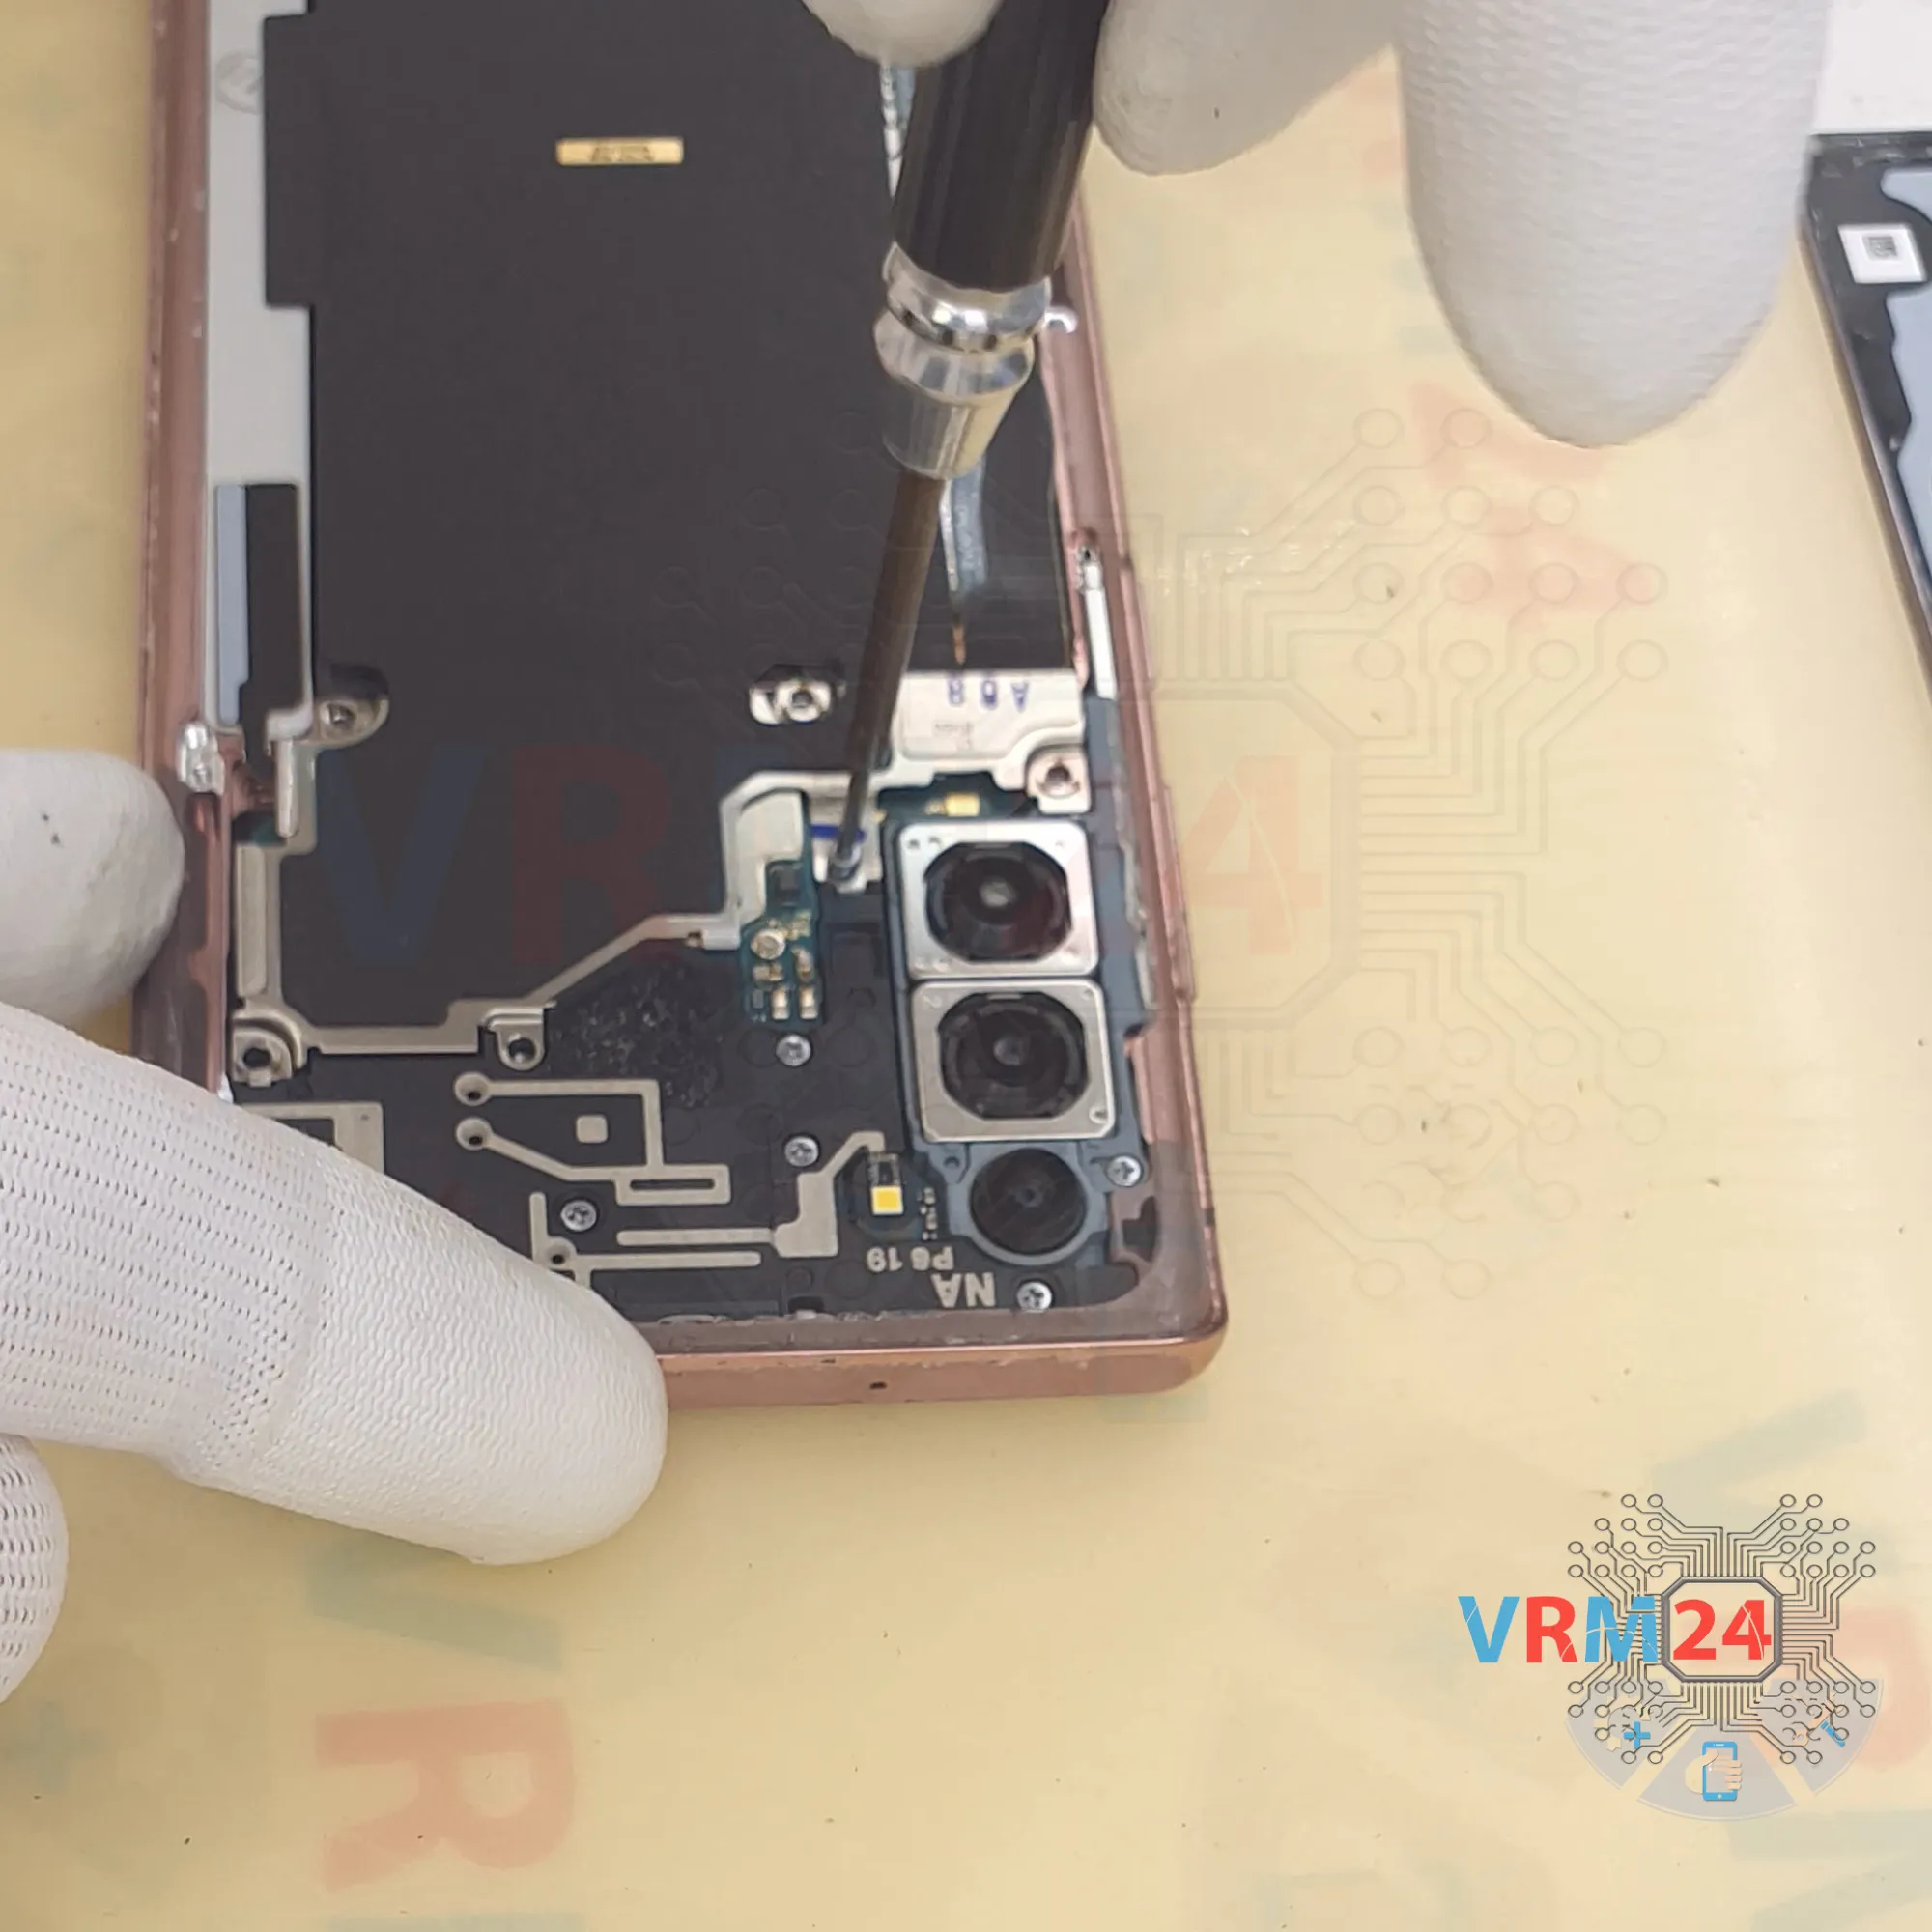
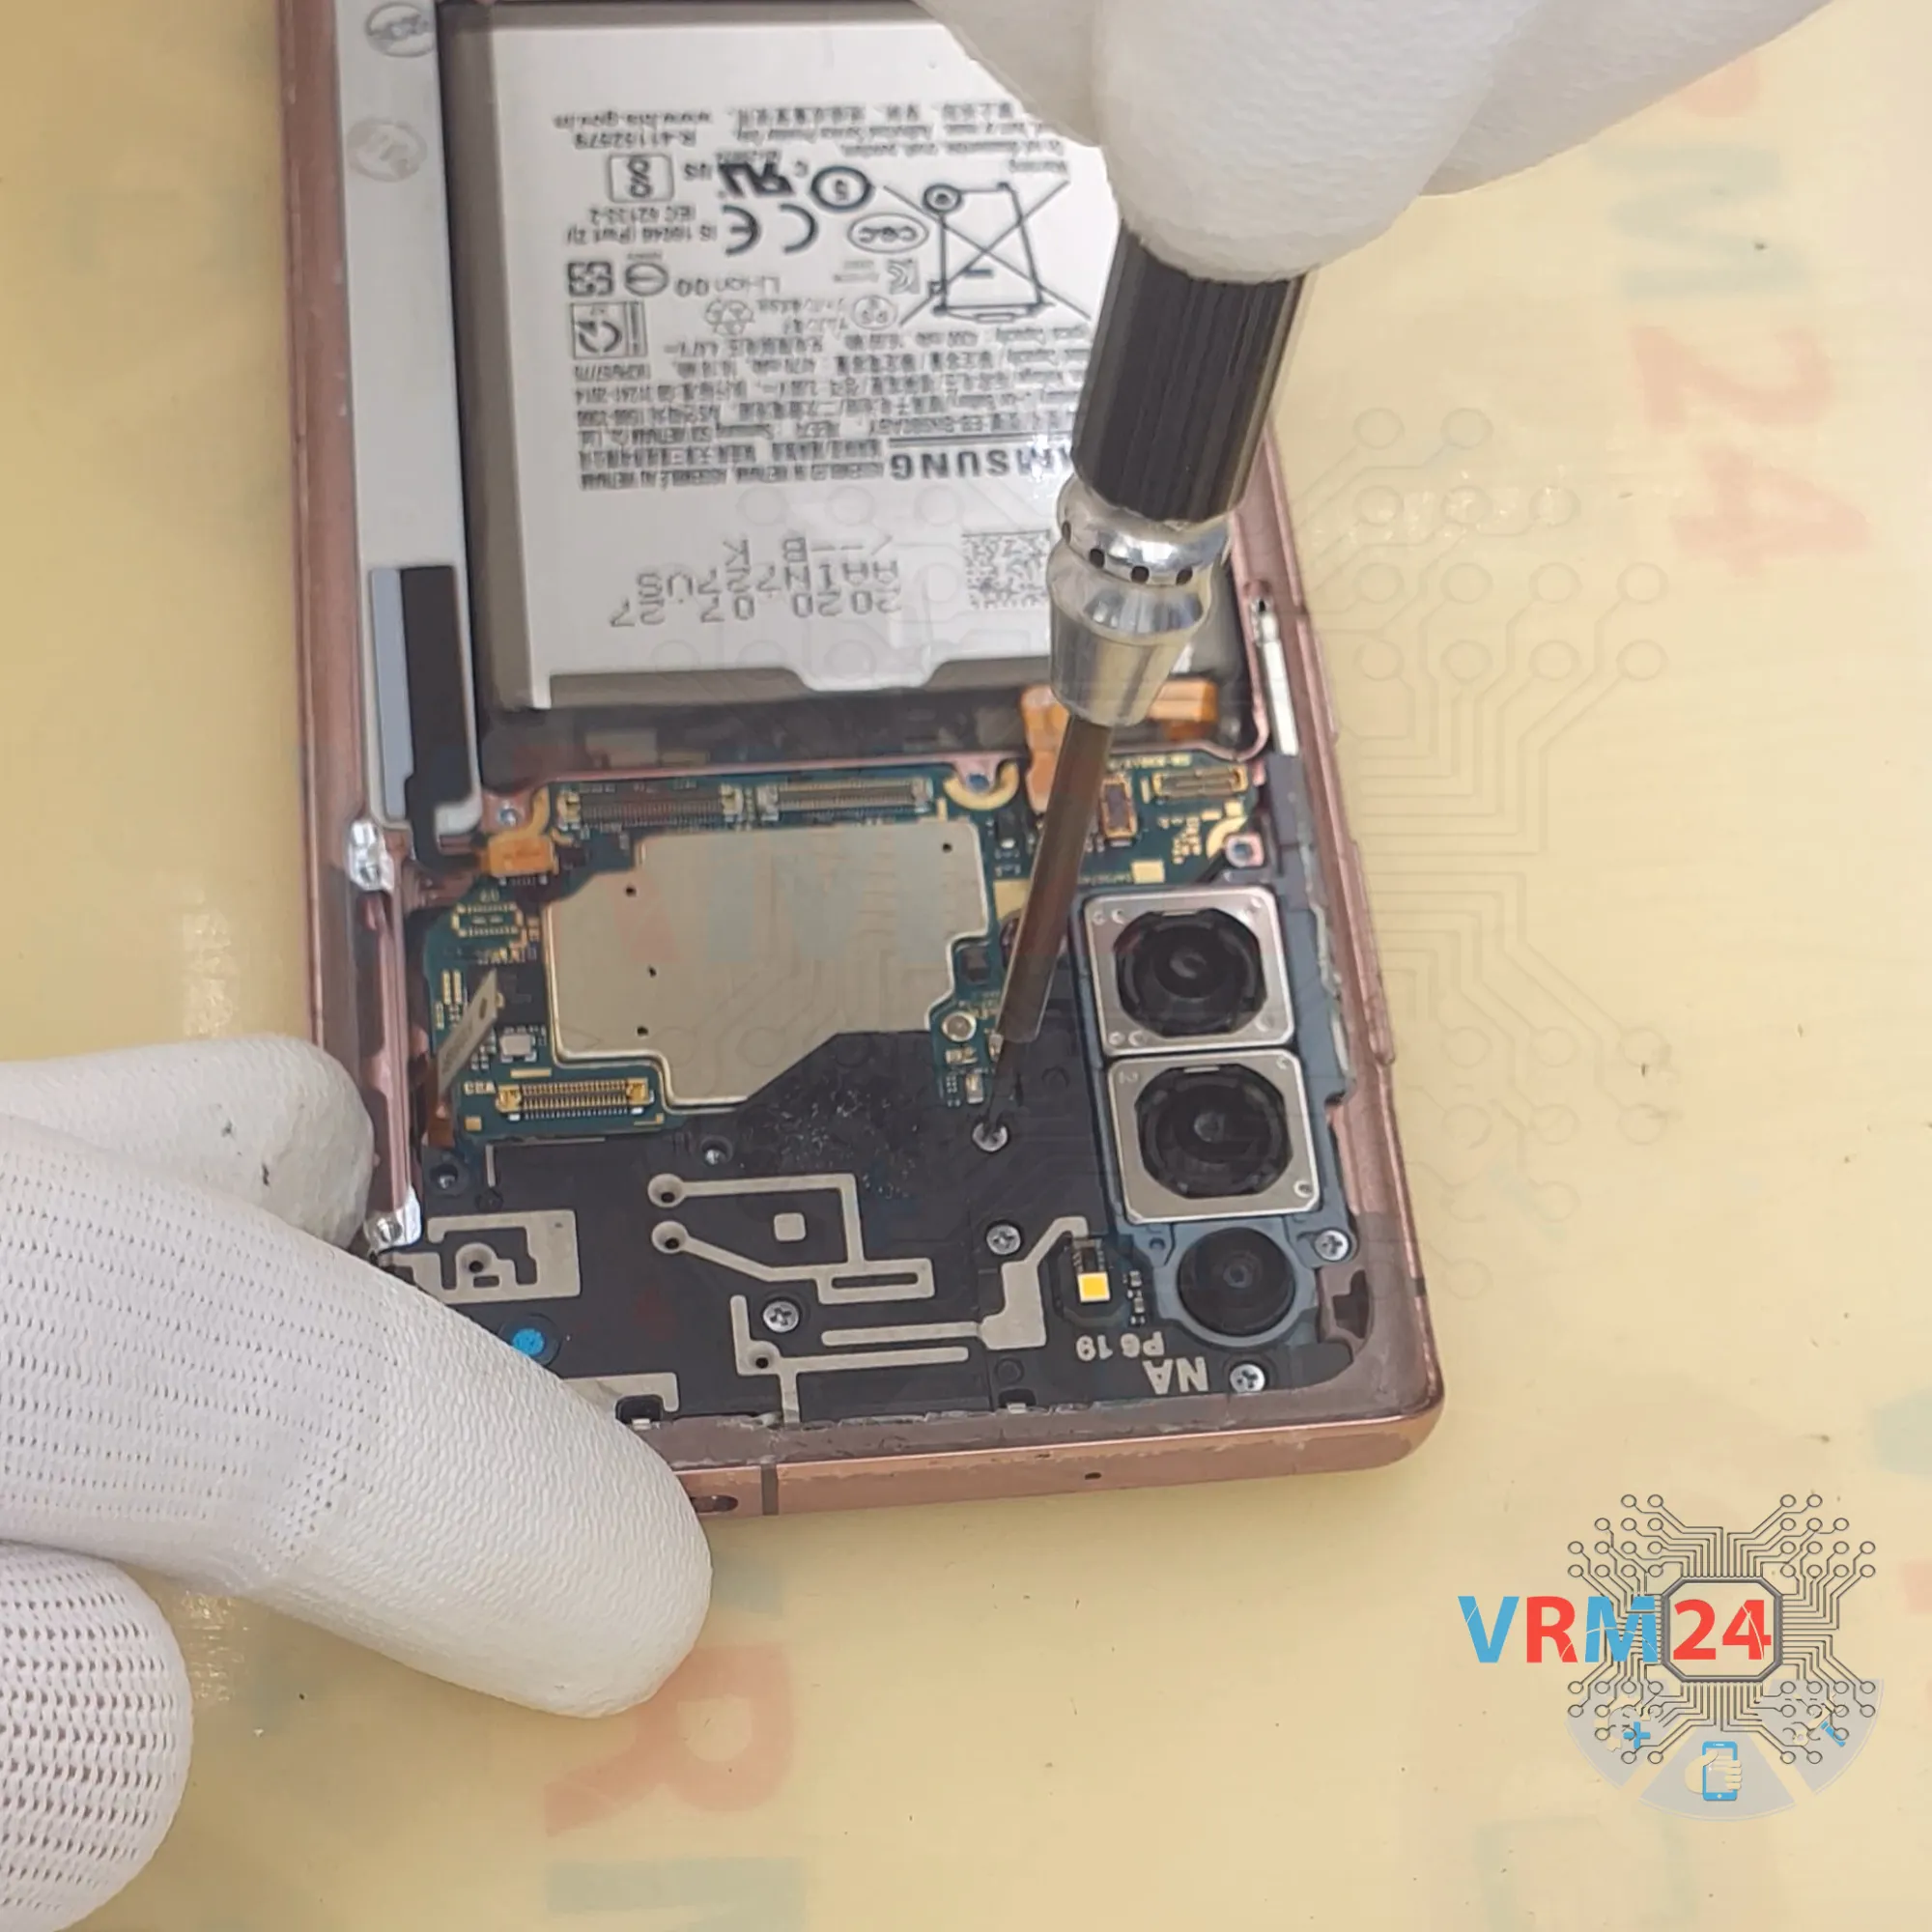
And we can unscrew another screw that secures the cameras.
Carefully unscrew the screw, we put it aside separately from the previous ones just in case.

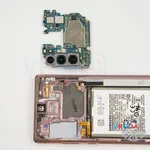
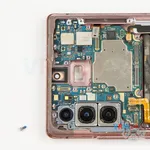
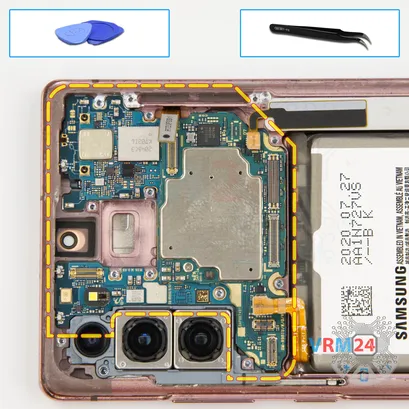
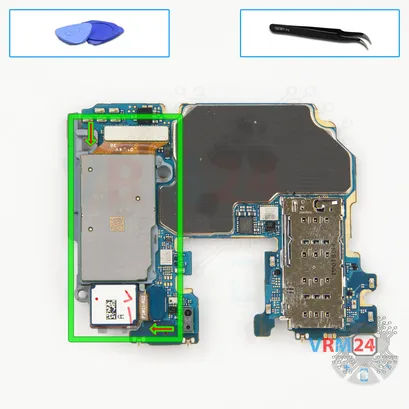
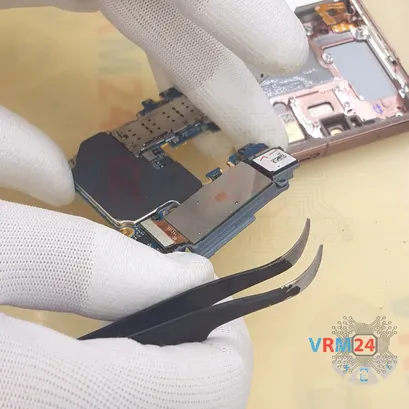
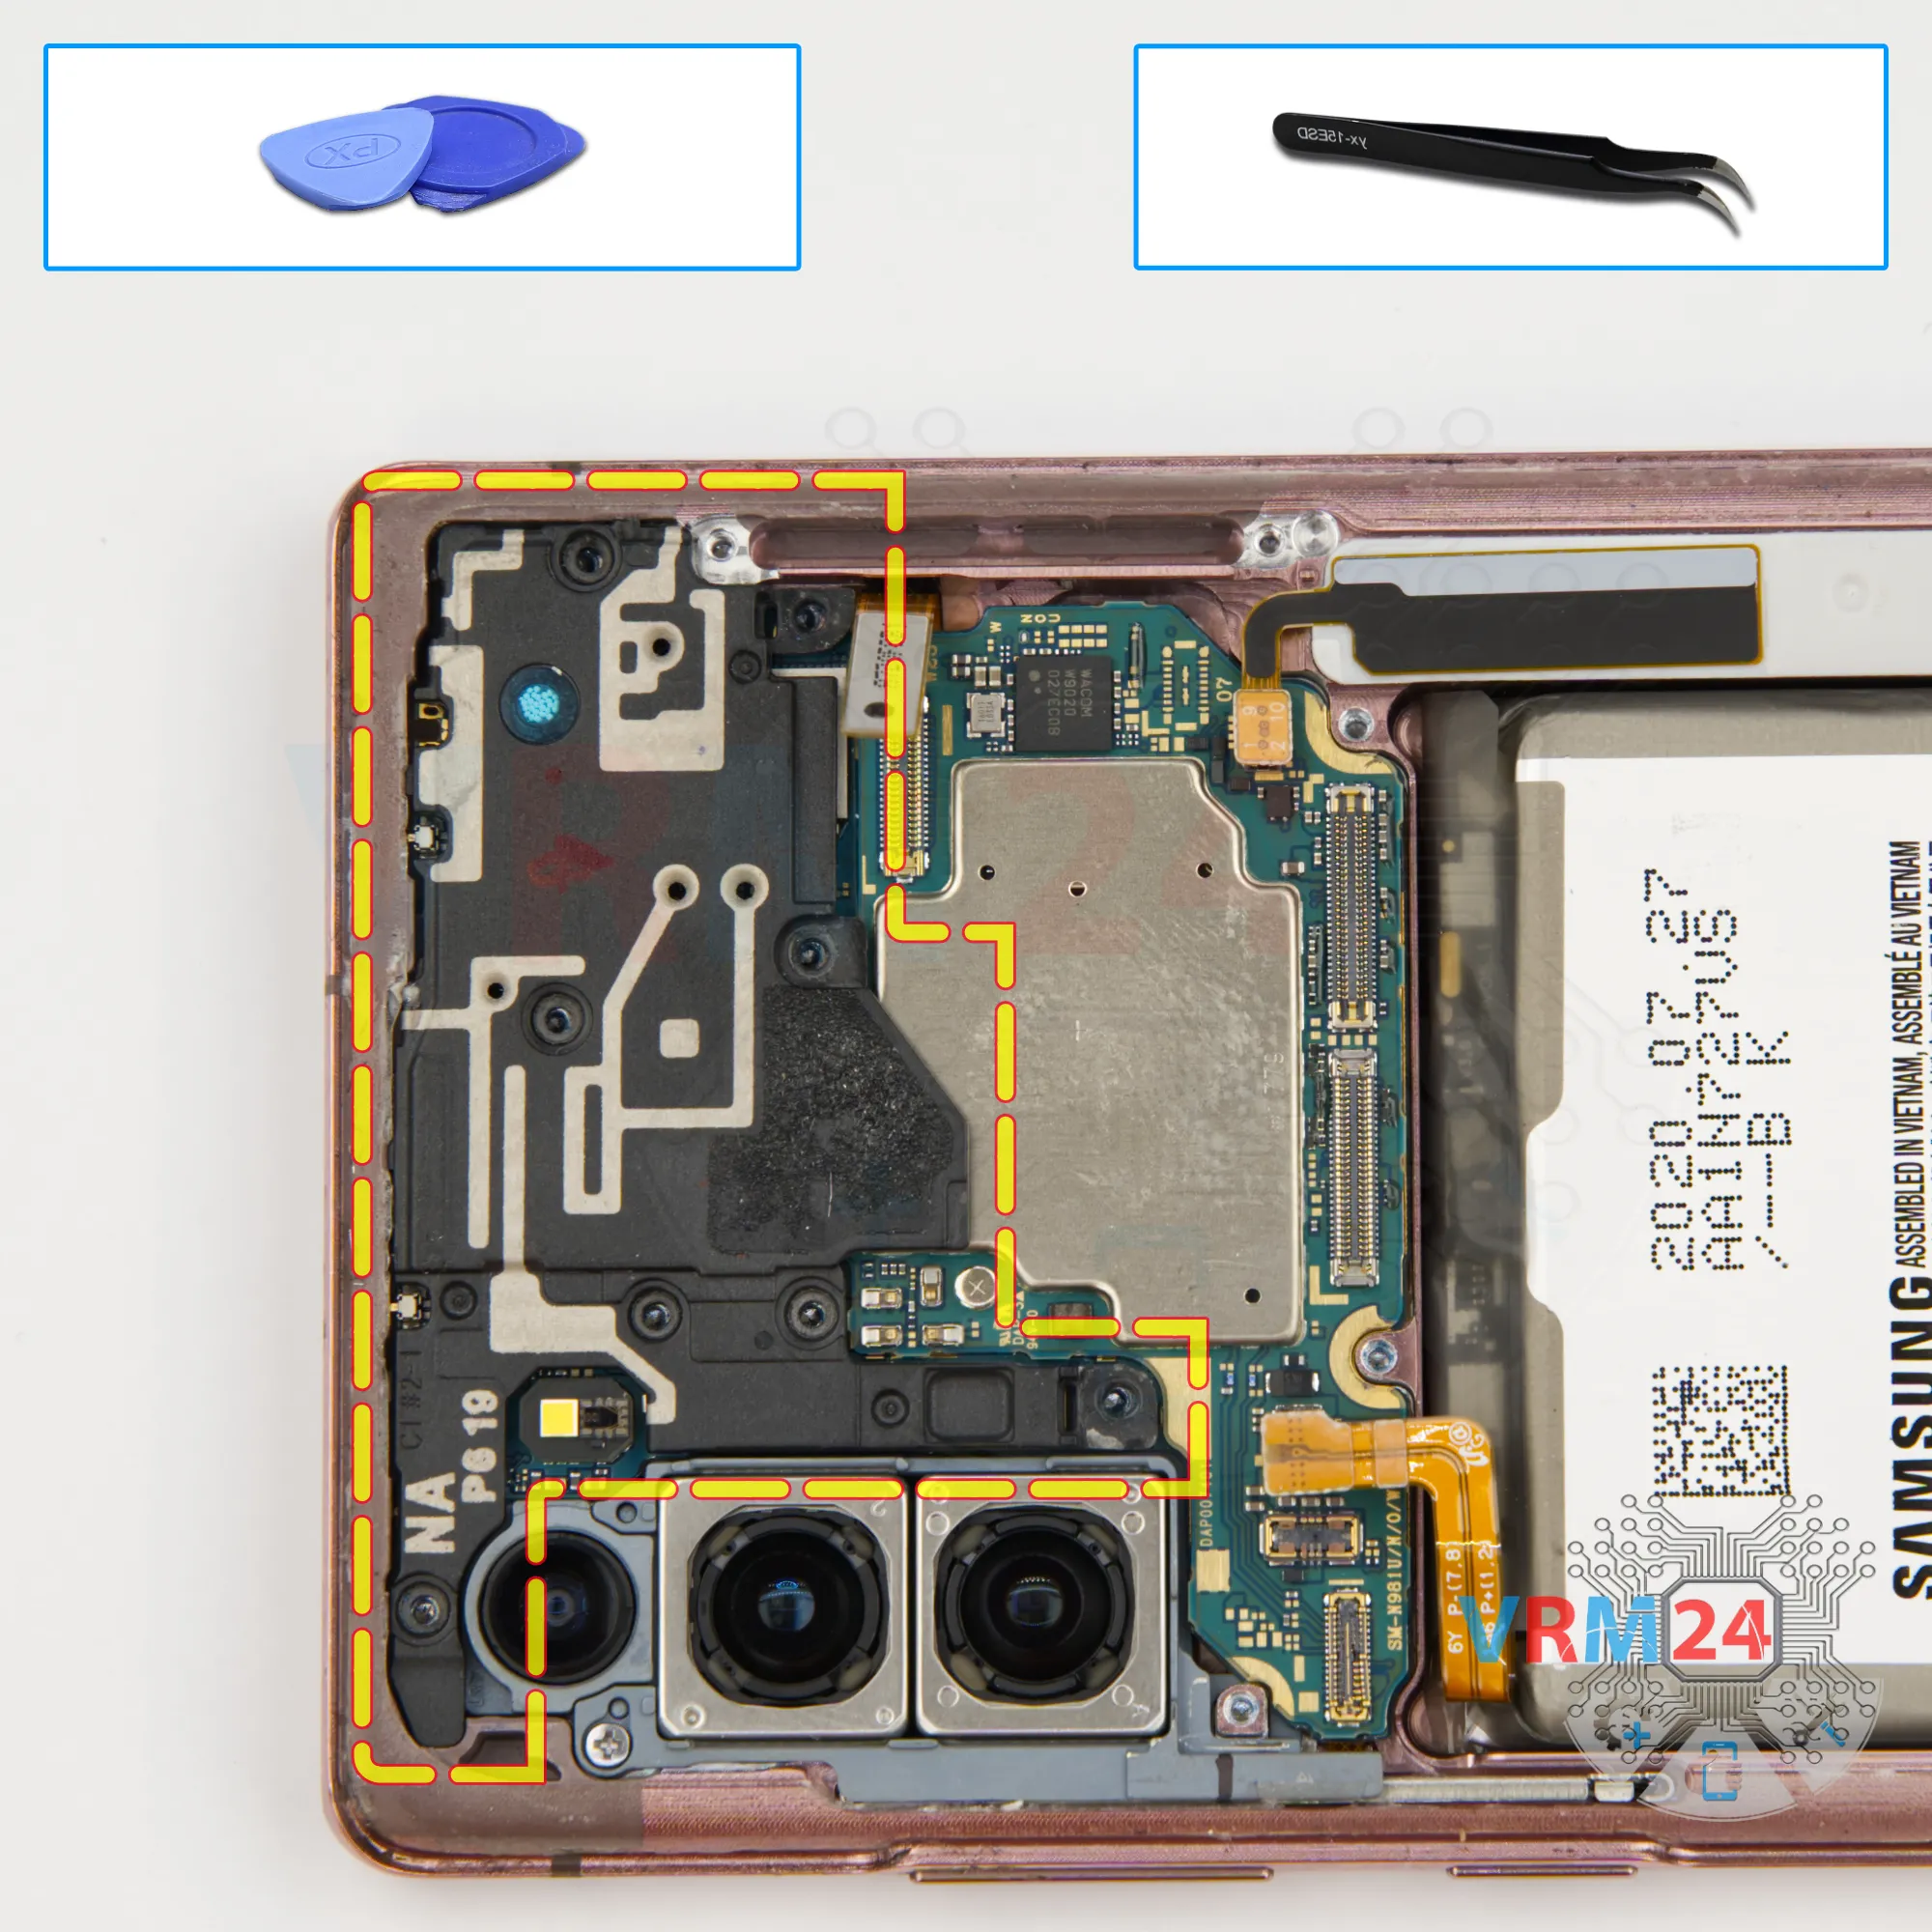
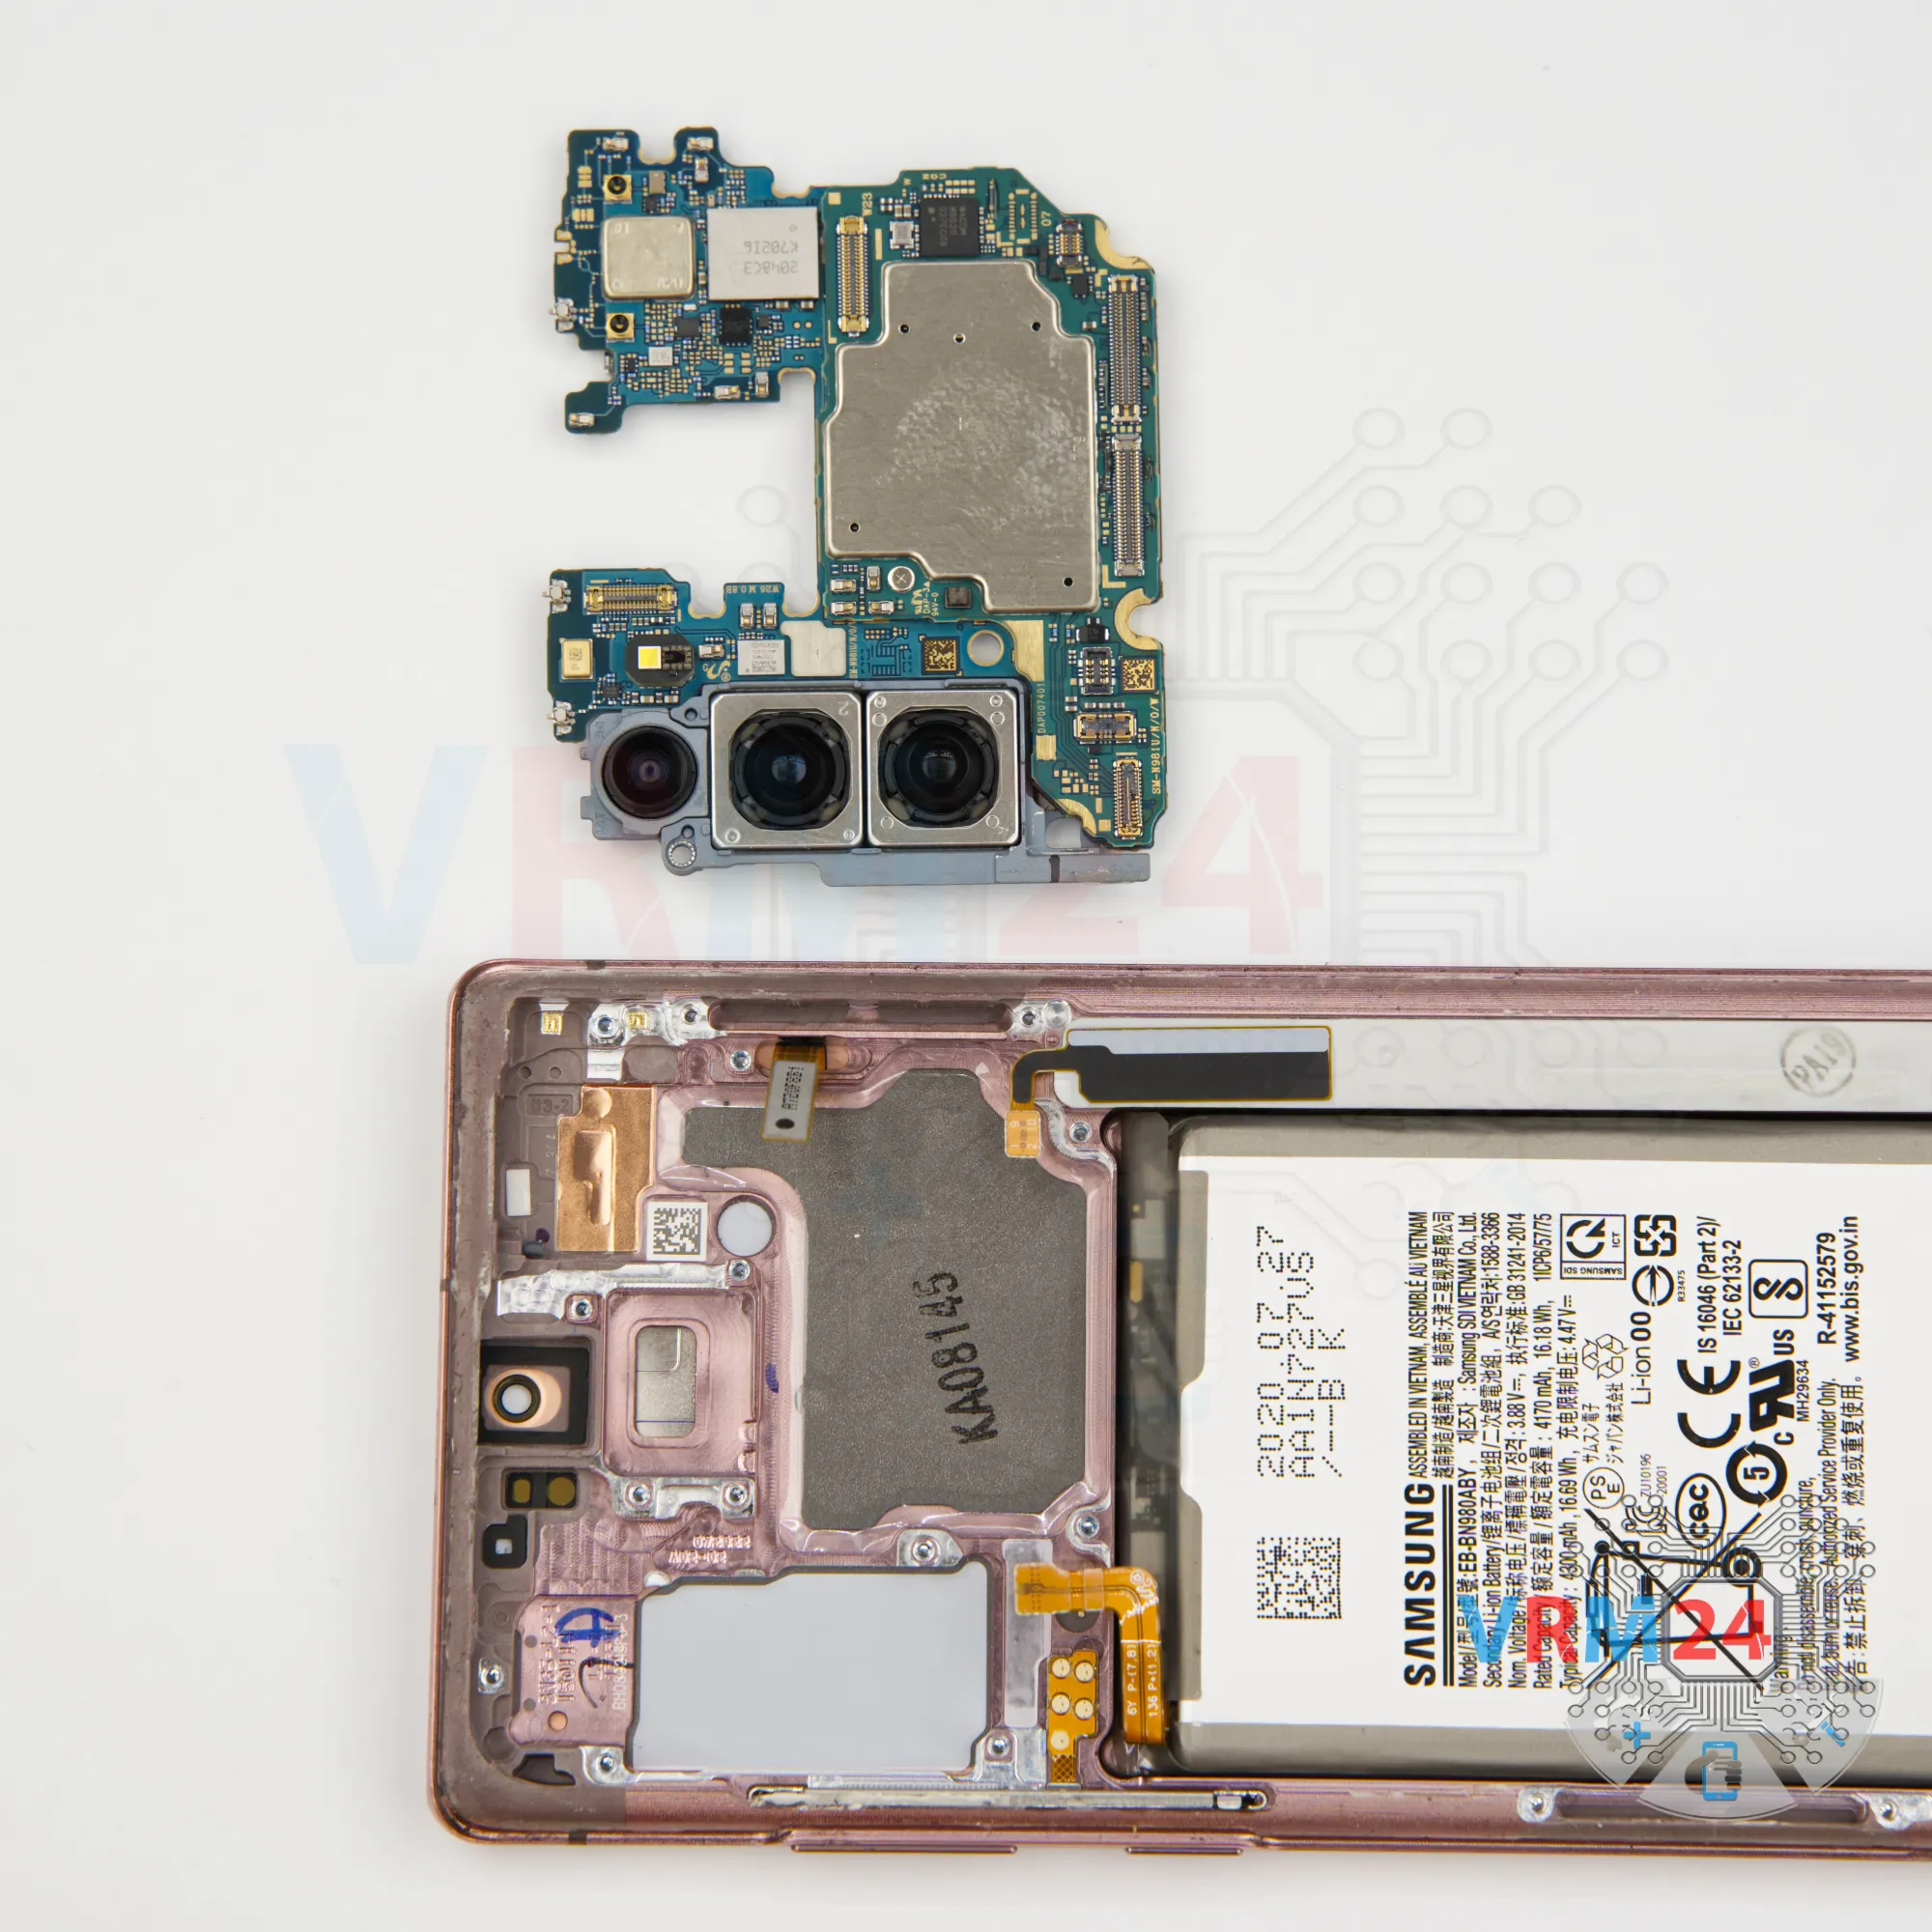
And finally, we move on to detaching the motherboard.
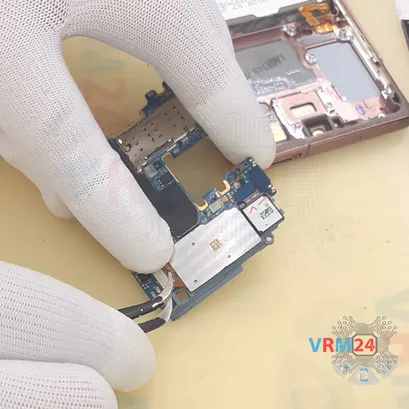
As always, we find the right place where we can gently pry, lift and remove the motherboard.
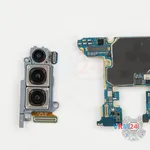


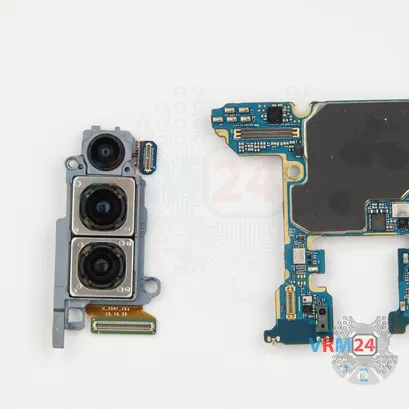
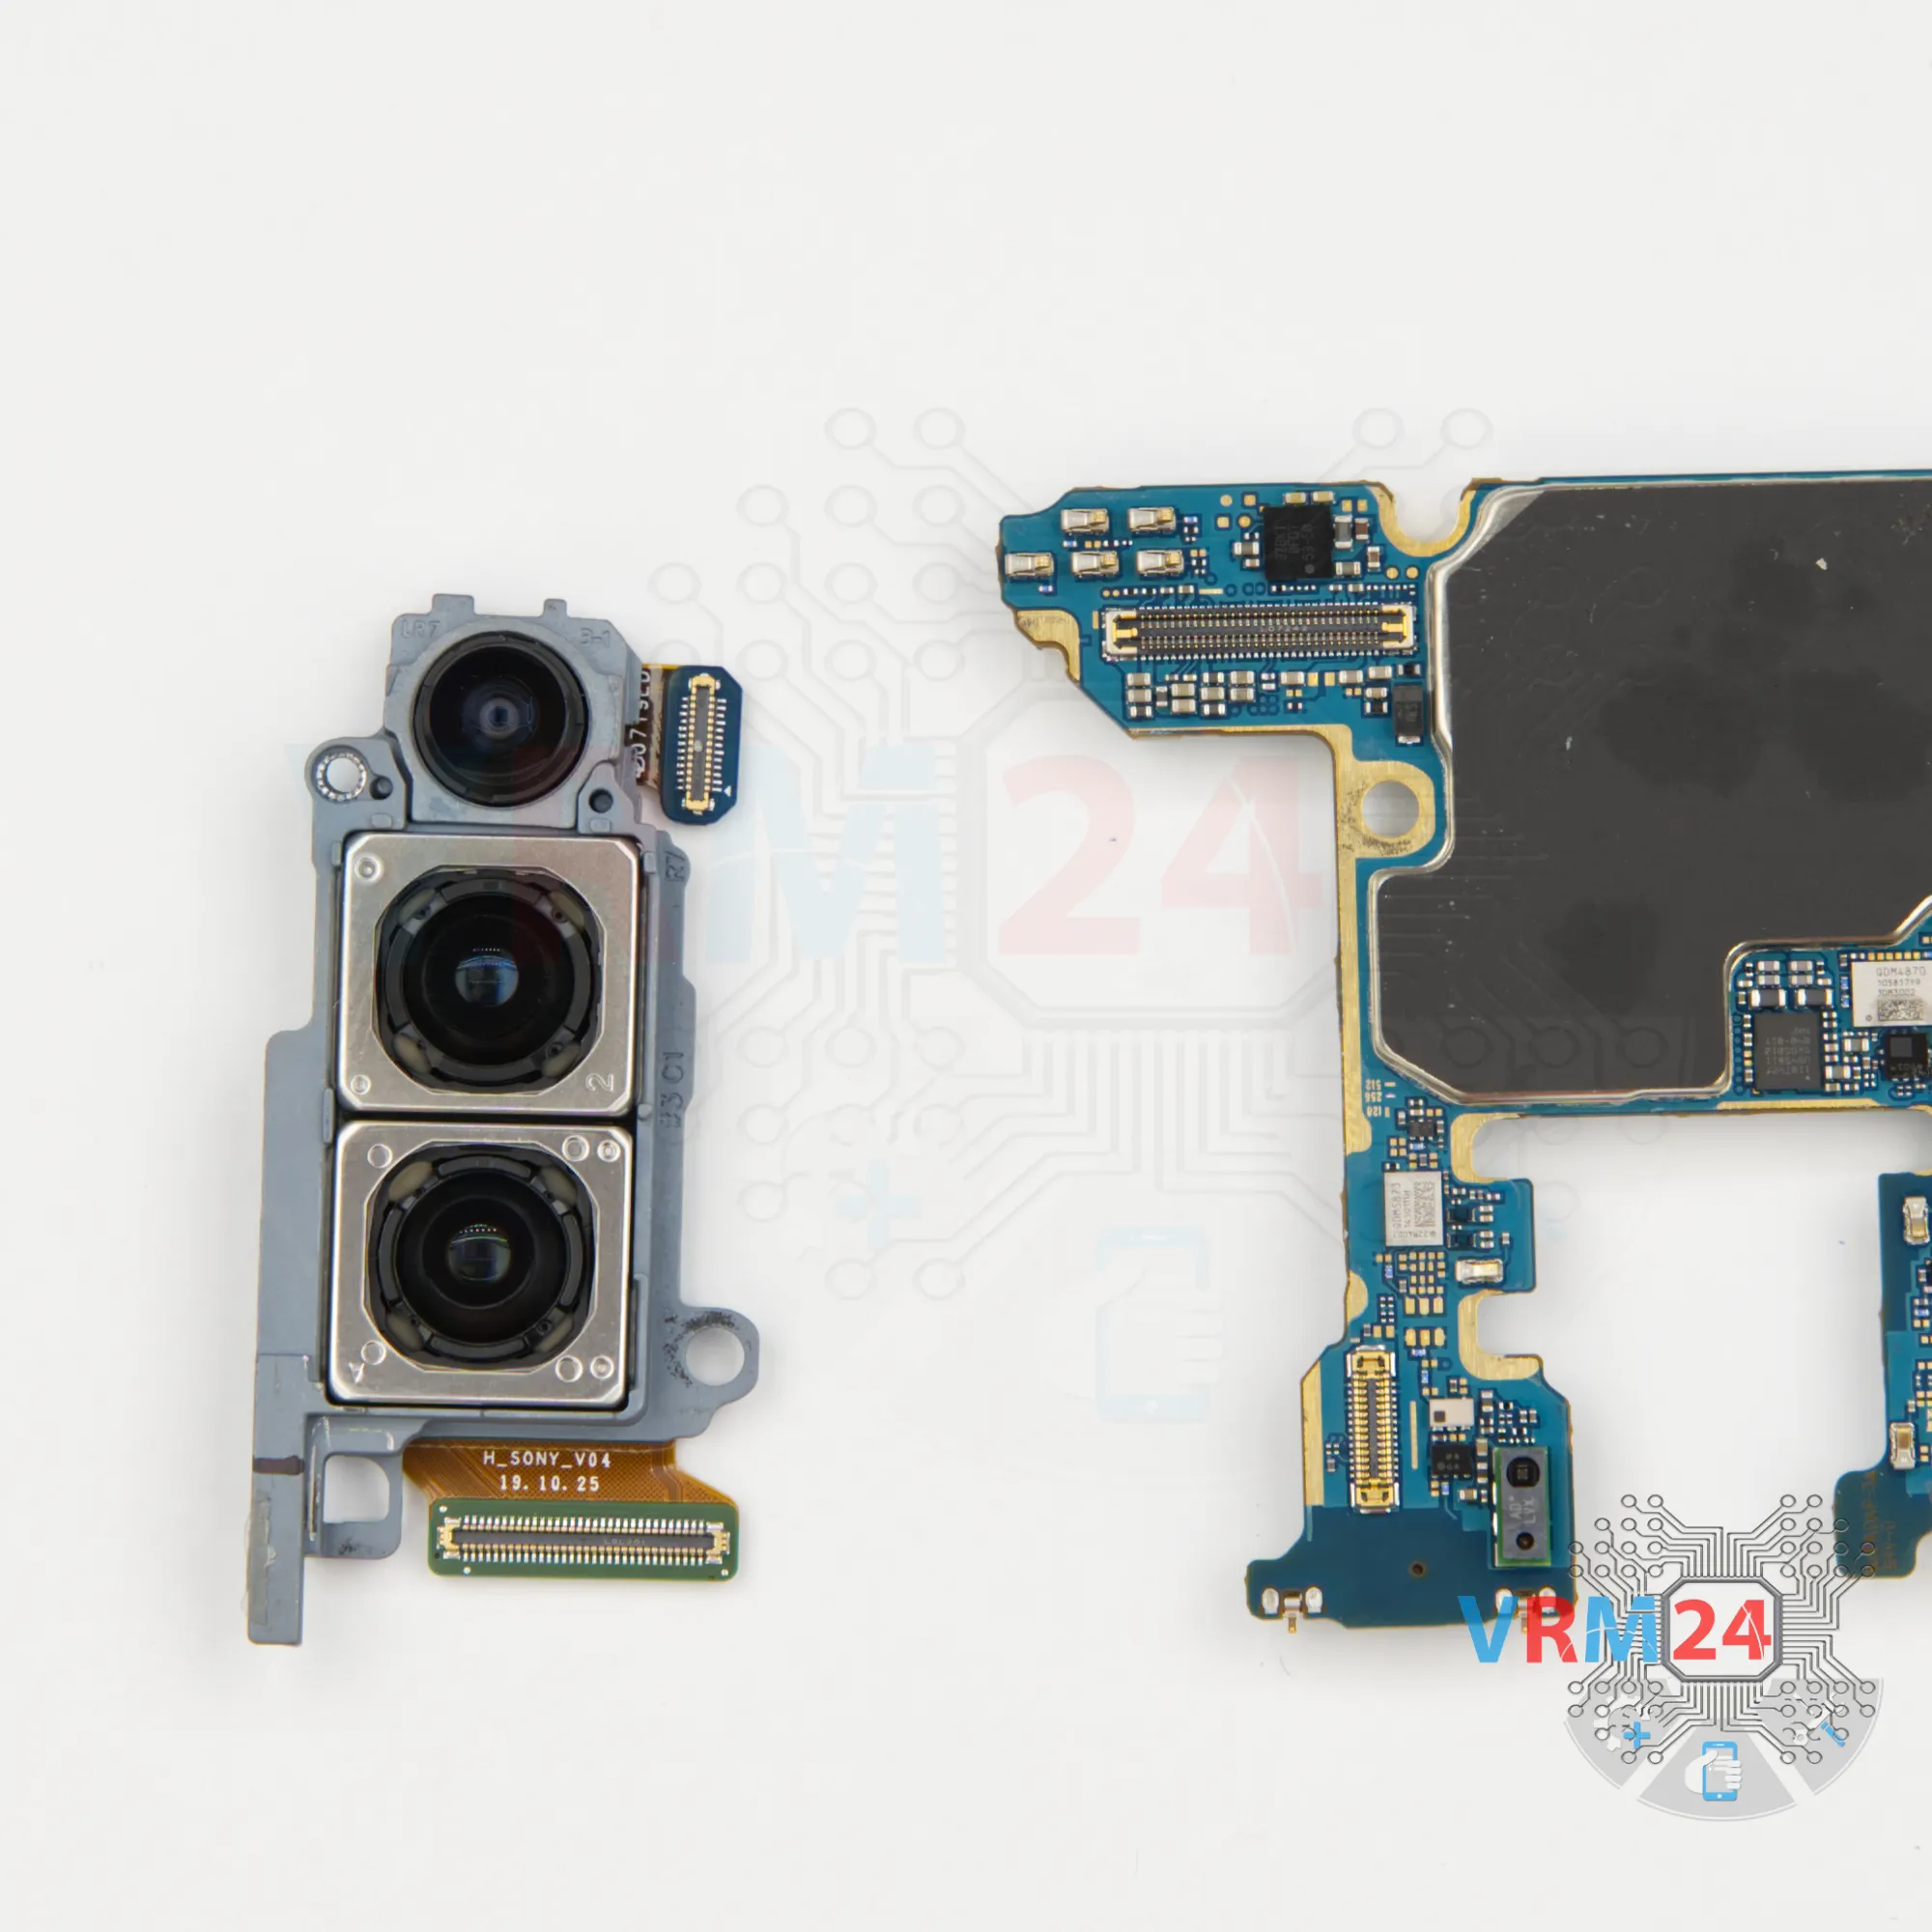
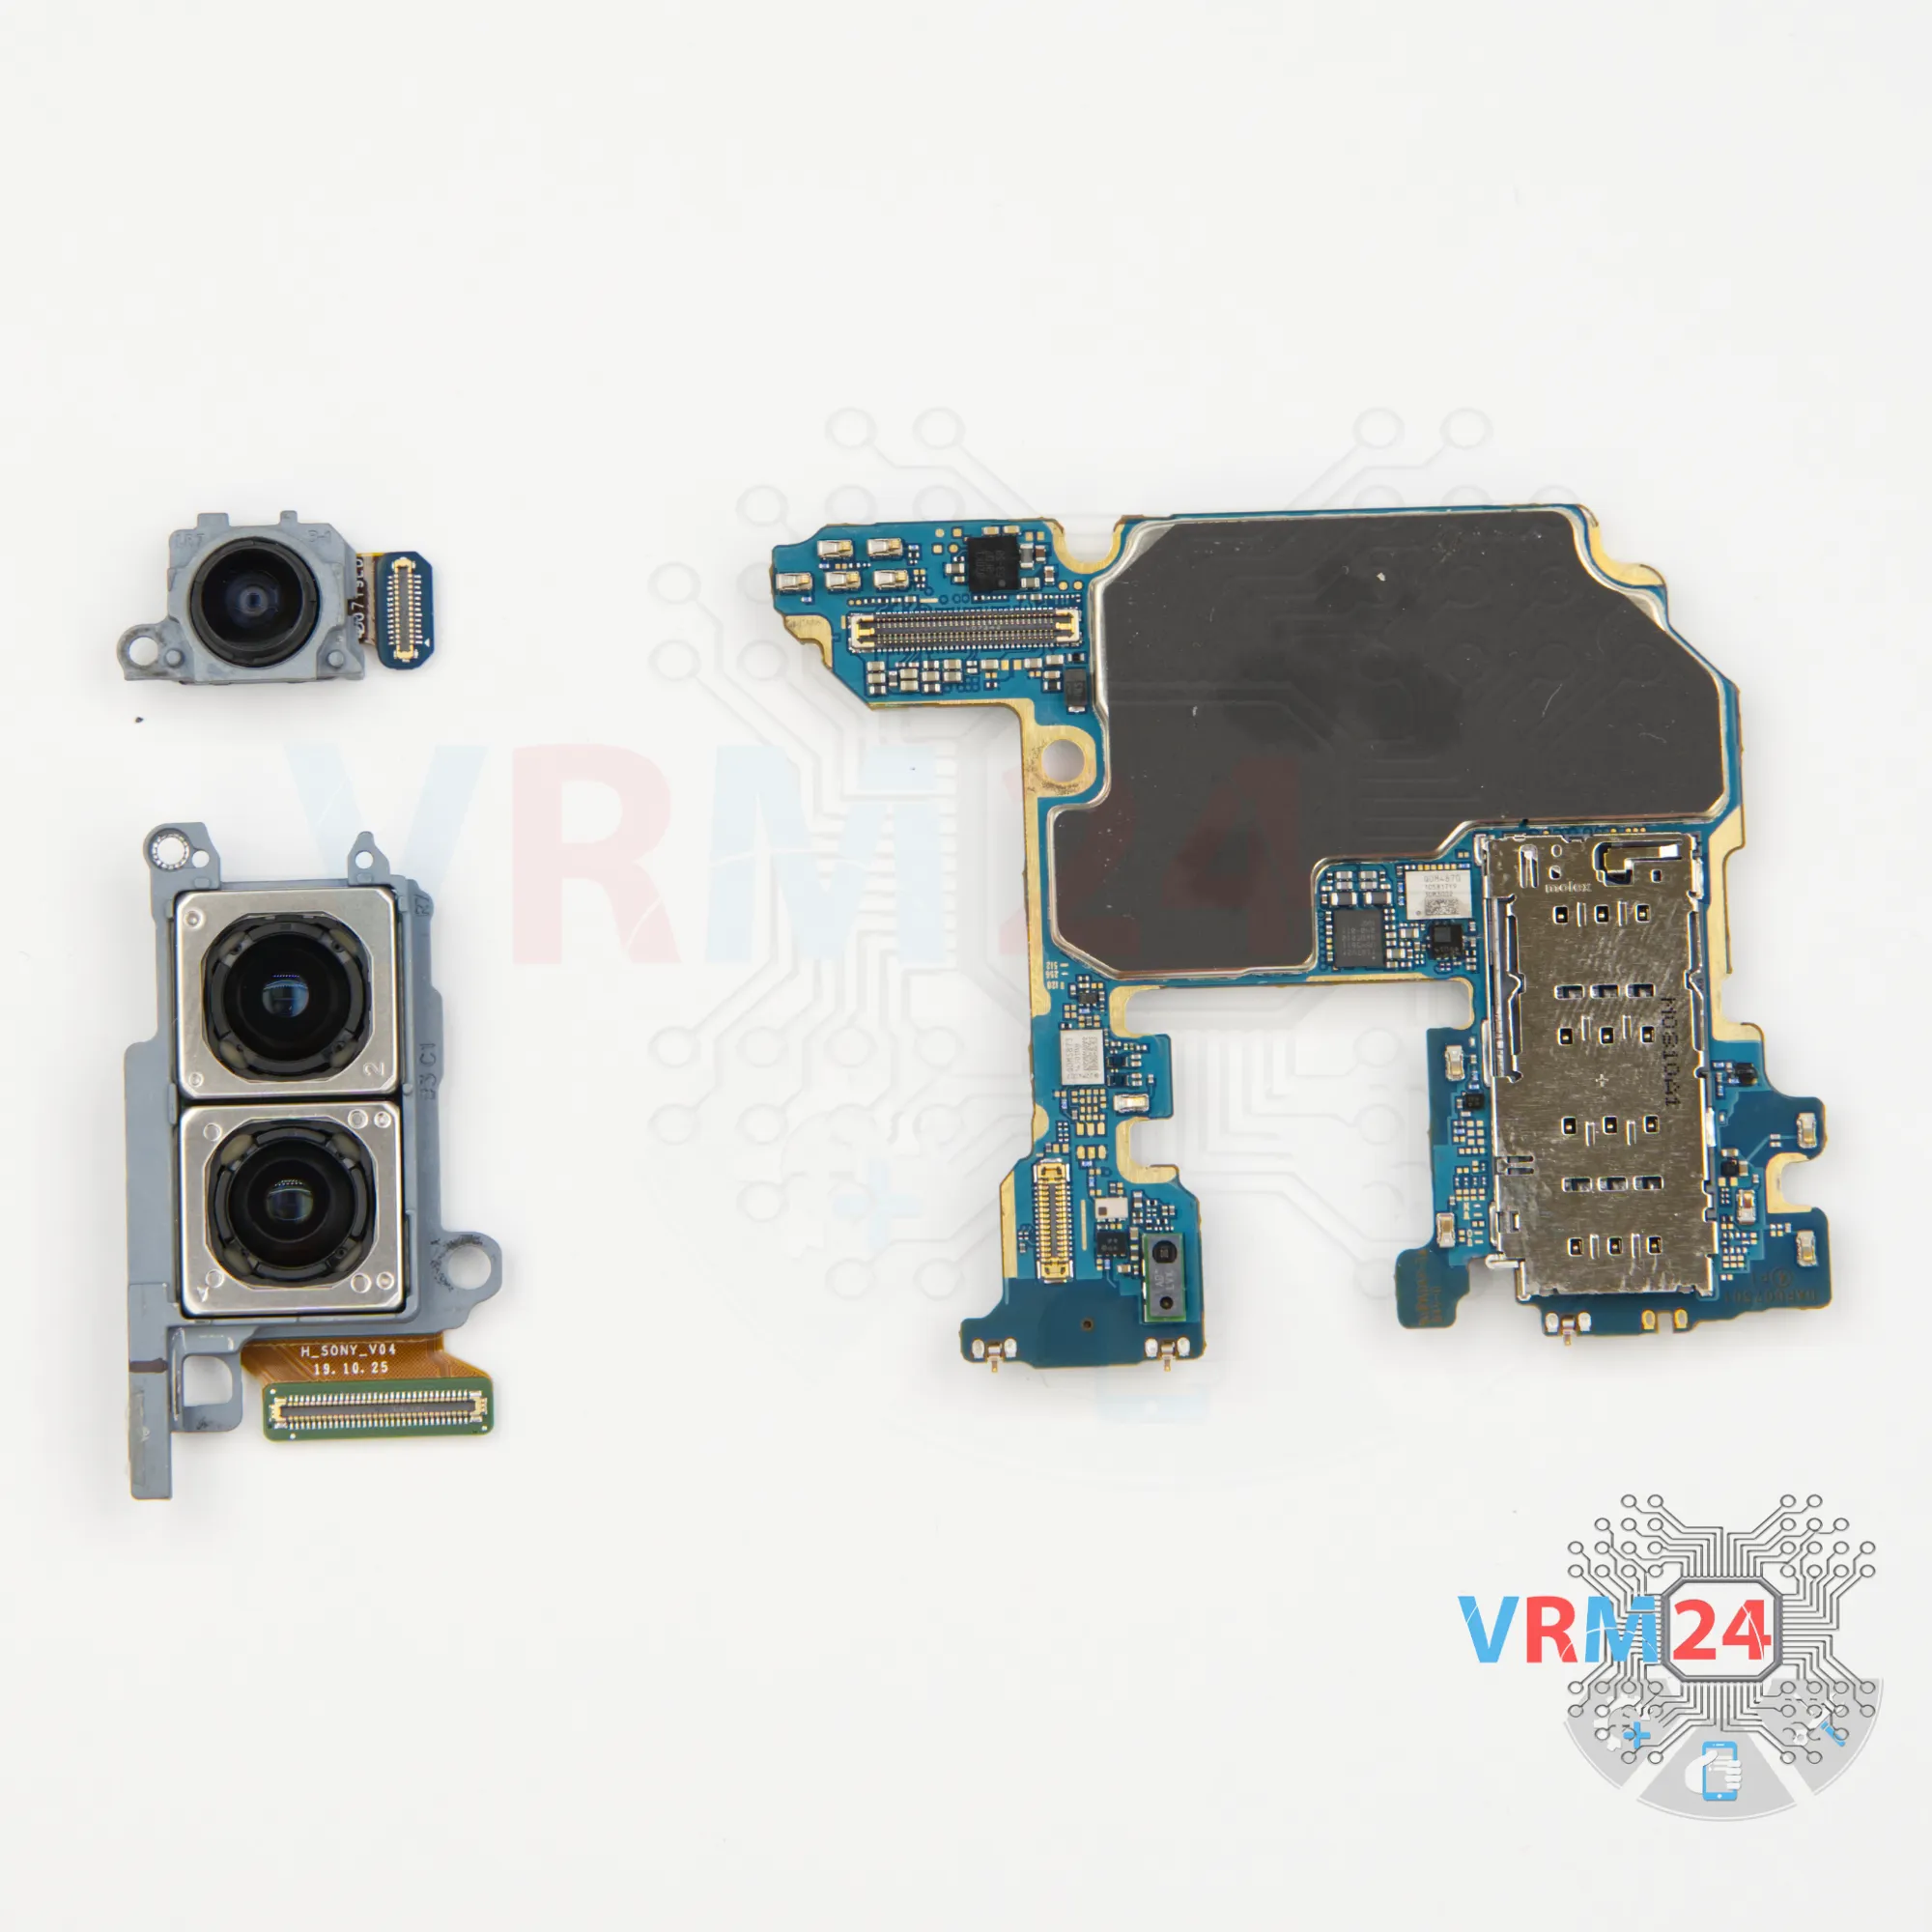
And we need to turn the motherboard over and detach the cameras. Carefully hold the cameras so that the cameras don't accidentally fly out and we don't damage the lenses.
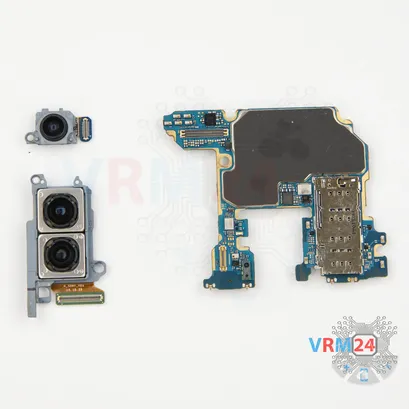
Disconnect the connectors and remove the camera assembly.
If you have a question, ask us, and we will try to answer in as much detail as possible. If this article was helpful for you, please rate it.


