
⚠️️ Before disassembling, do not forget to turn your phone off.
Teardown difficulty:
Moderate
Moderate
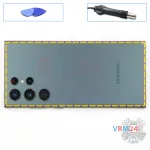
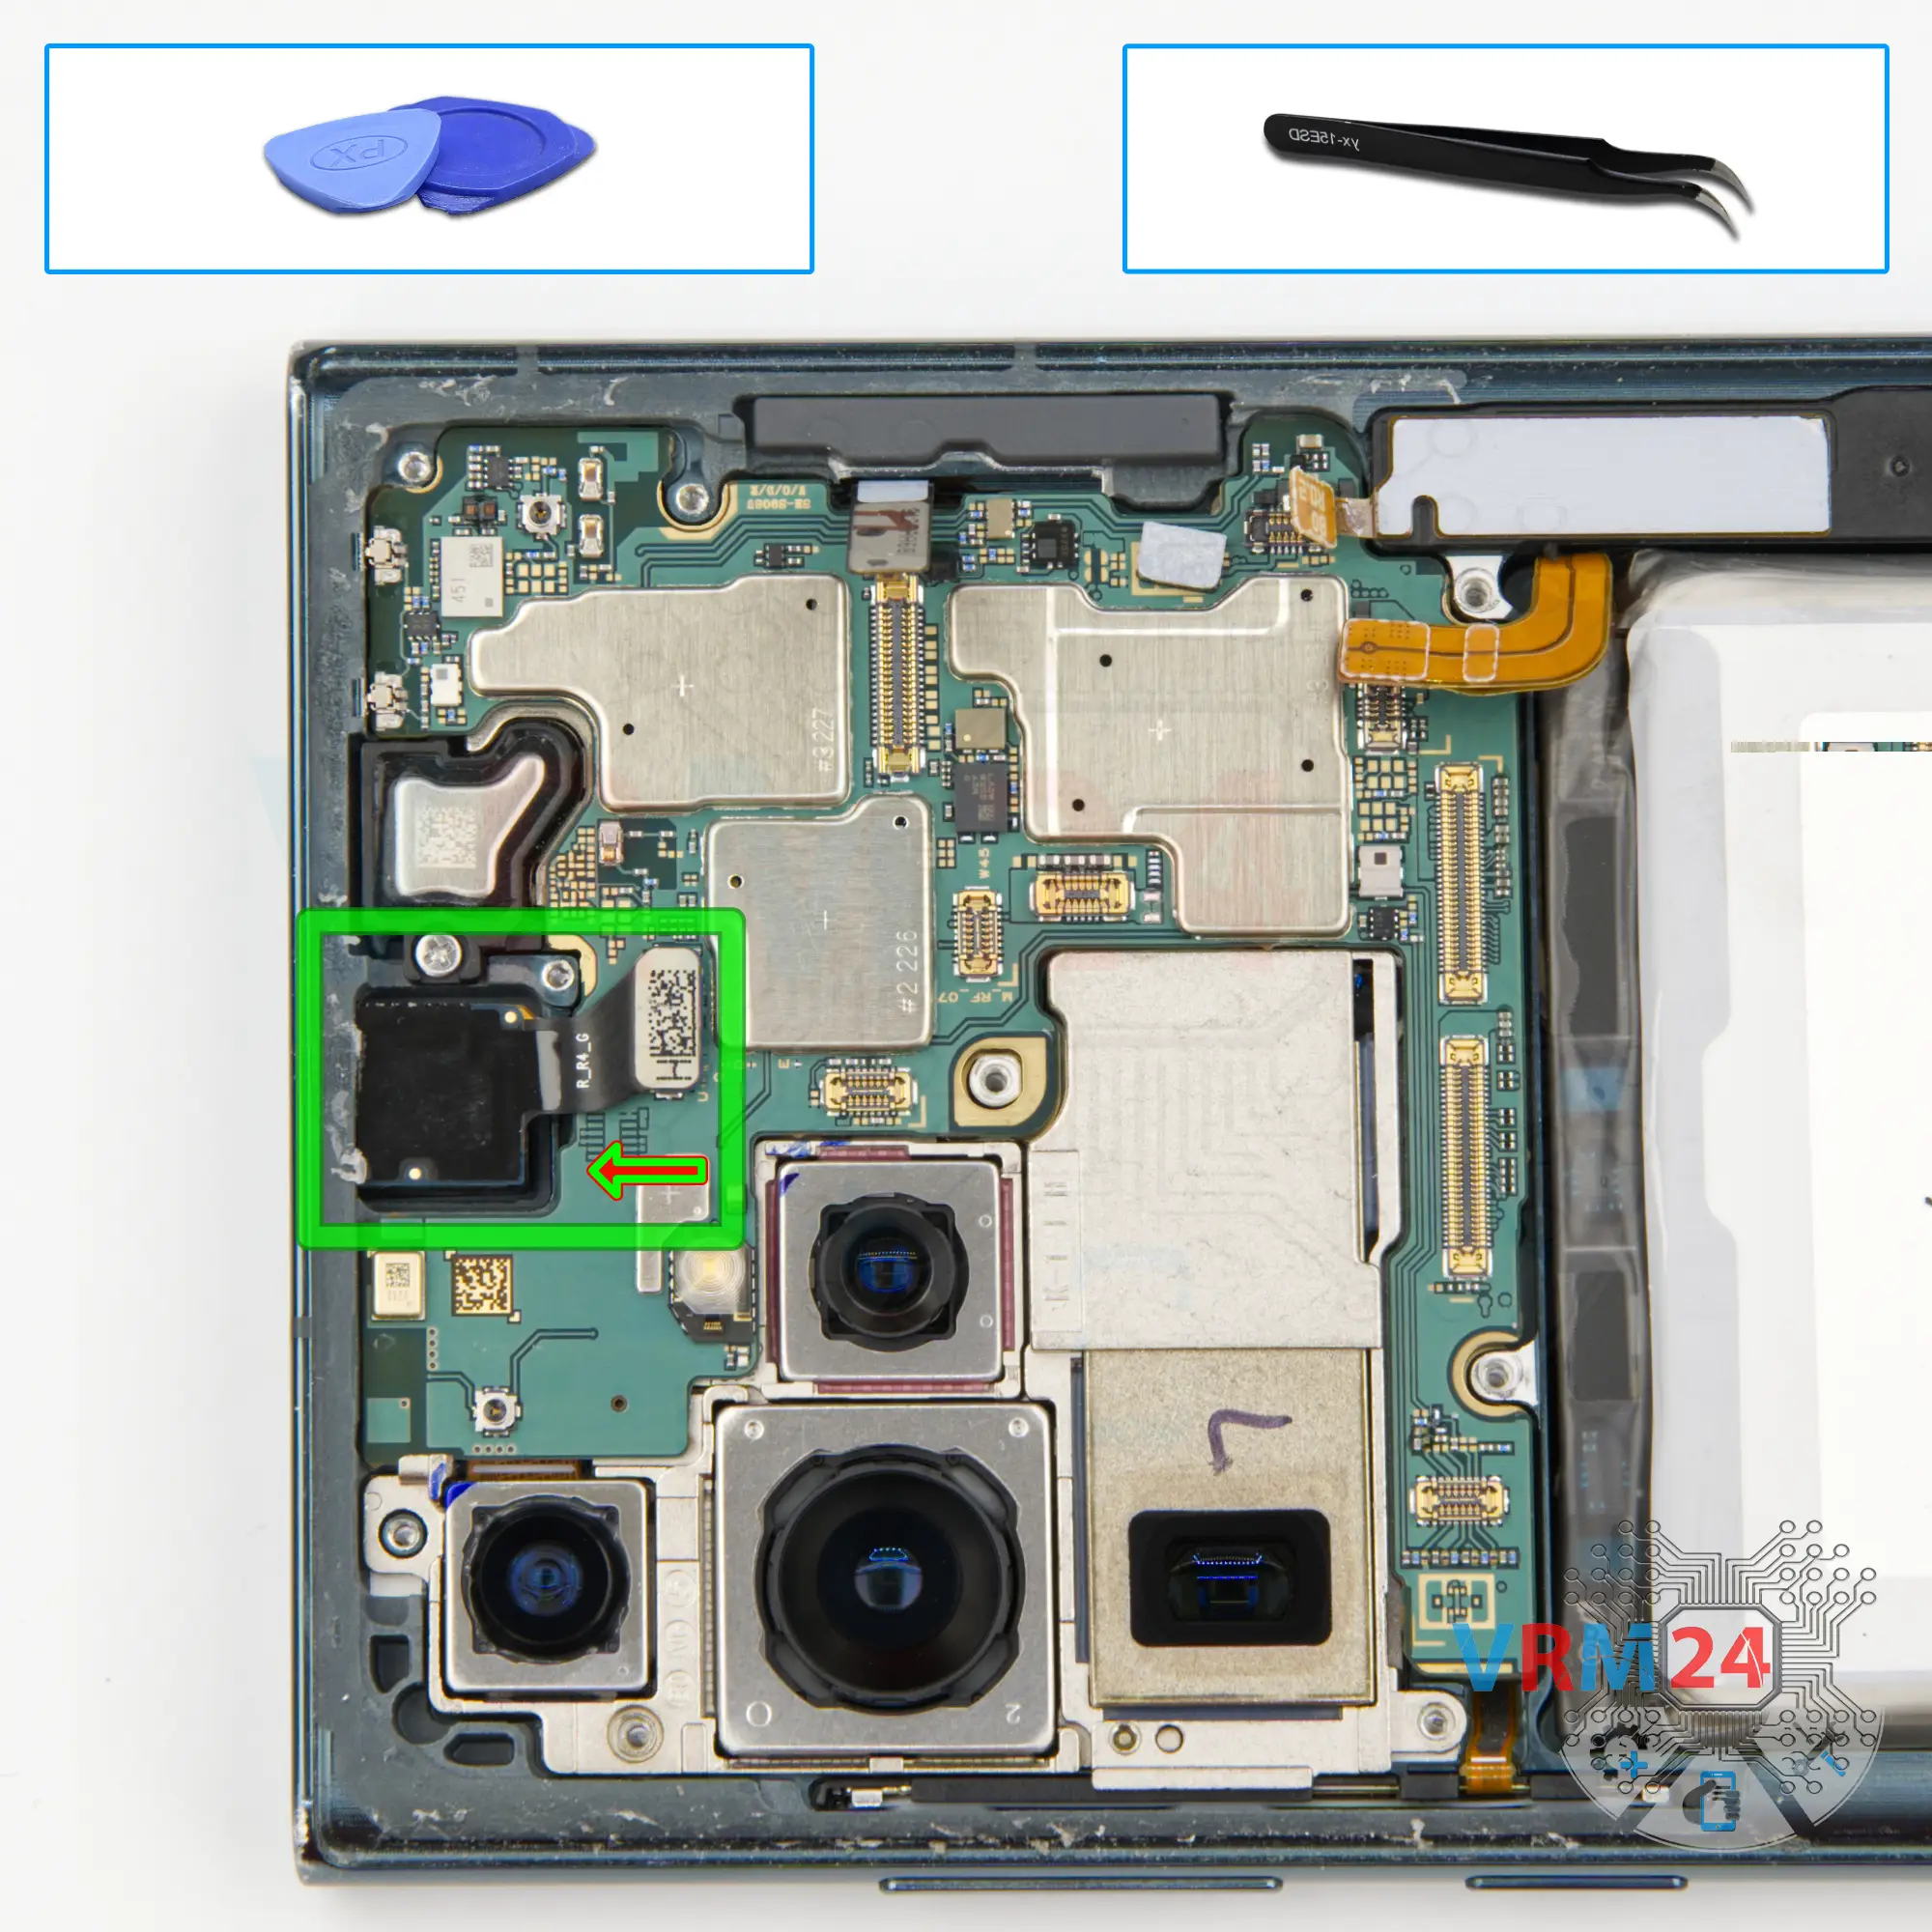
Recommended tools


Disassembly/Repair of the mobile device Samsung Galaxy S22 Ultra SM-S908 (Samsung Galaxy S22 Ultra SM-S908B, SM-S908B/DS ; SM-S908U; SM-S908U1; SM-S908W; SM-S908N; SM-S9080; SM-S908E) with each step description and the required set of tools.


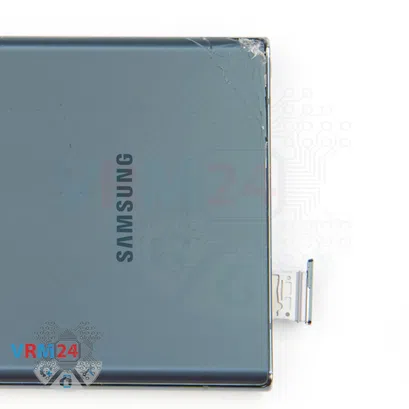


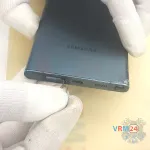
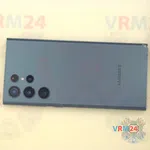
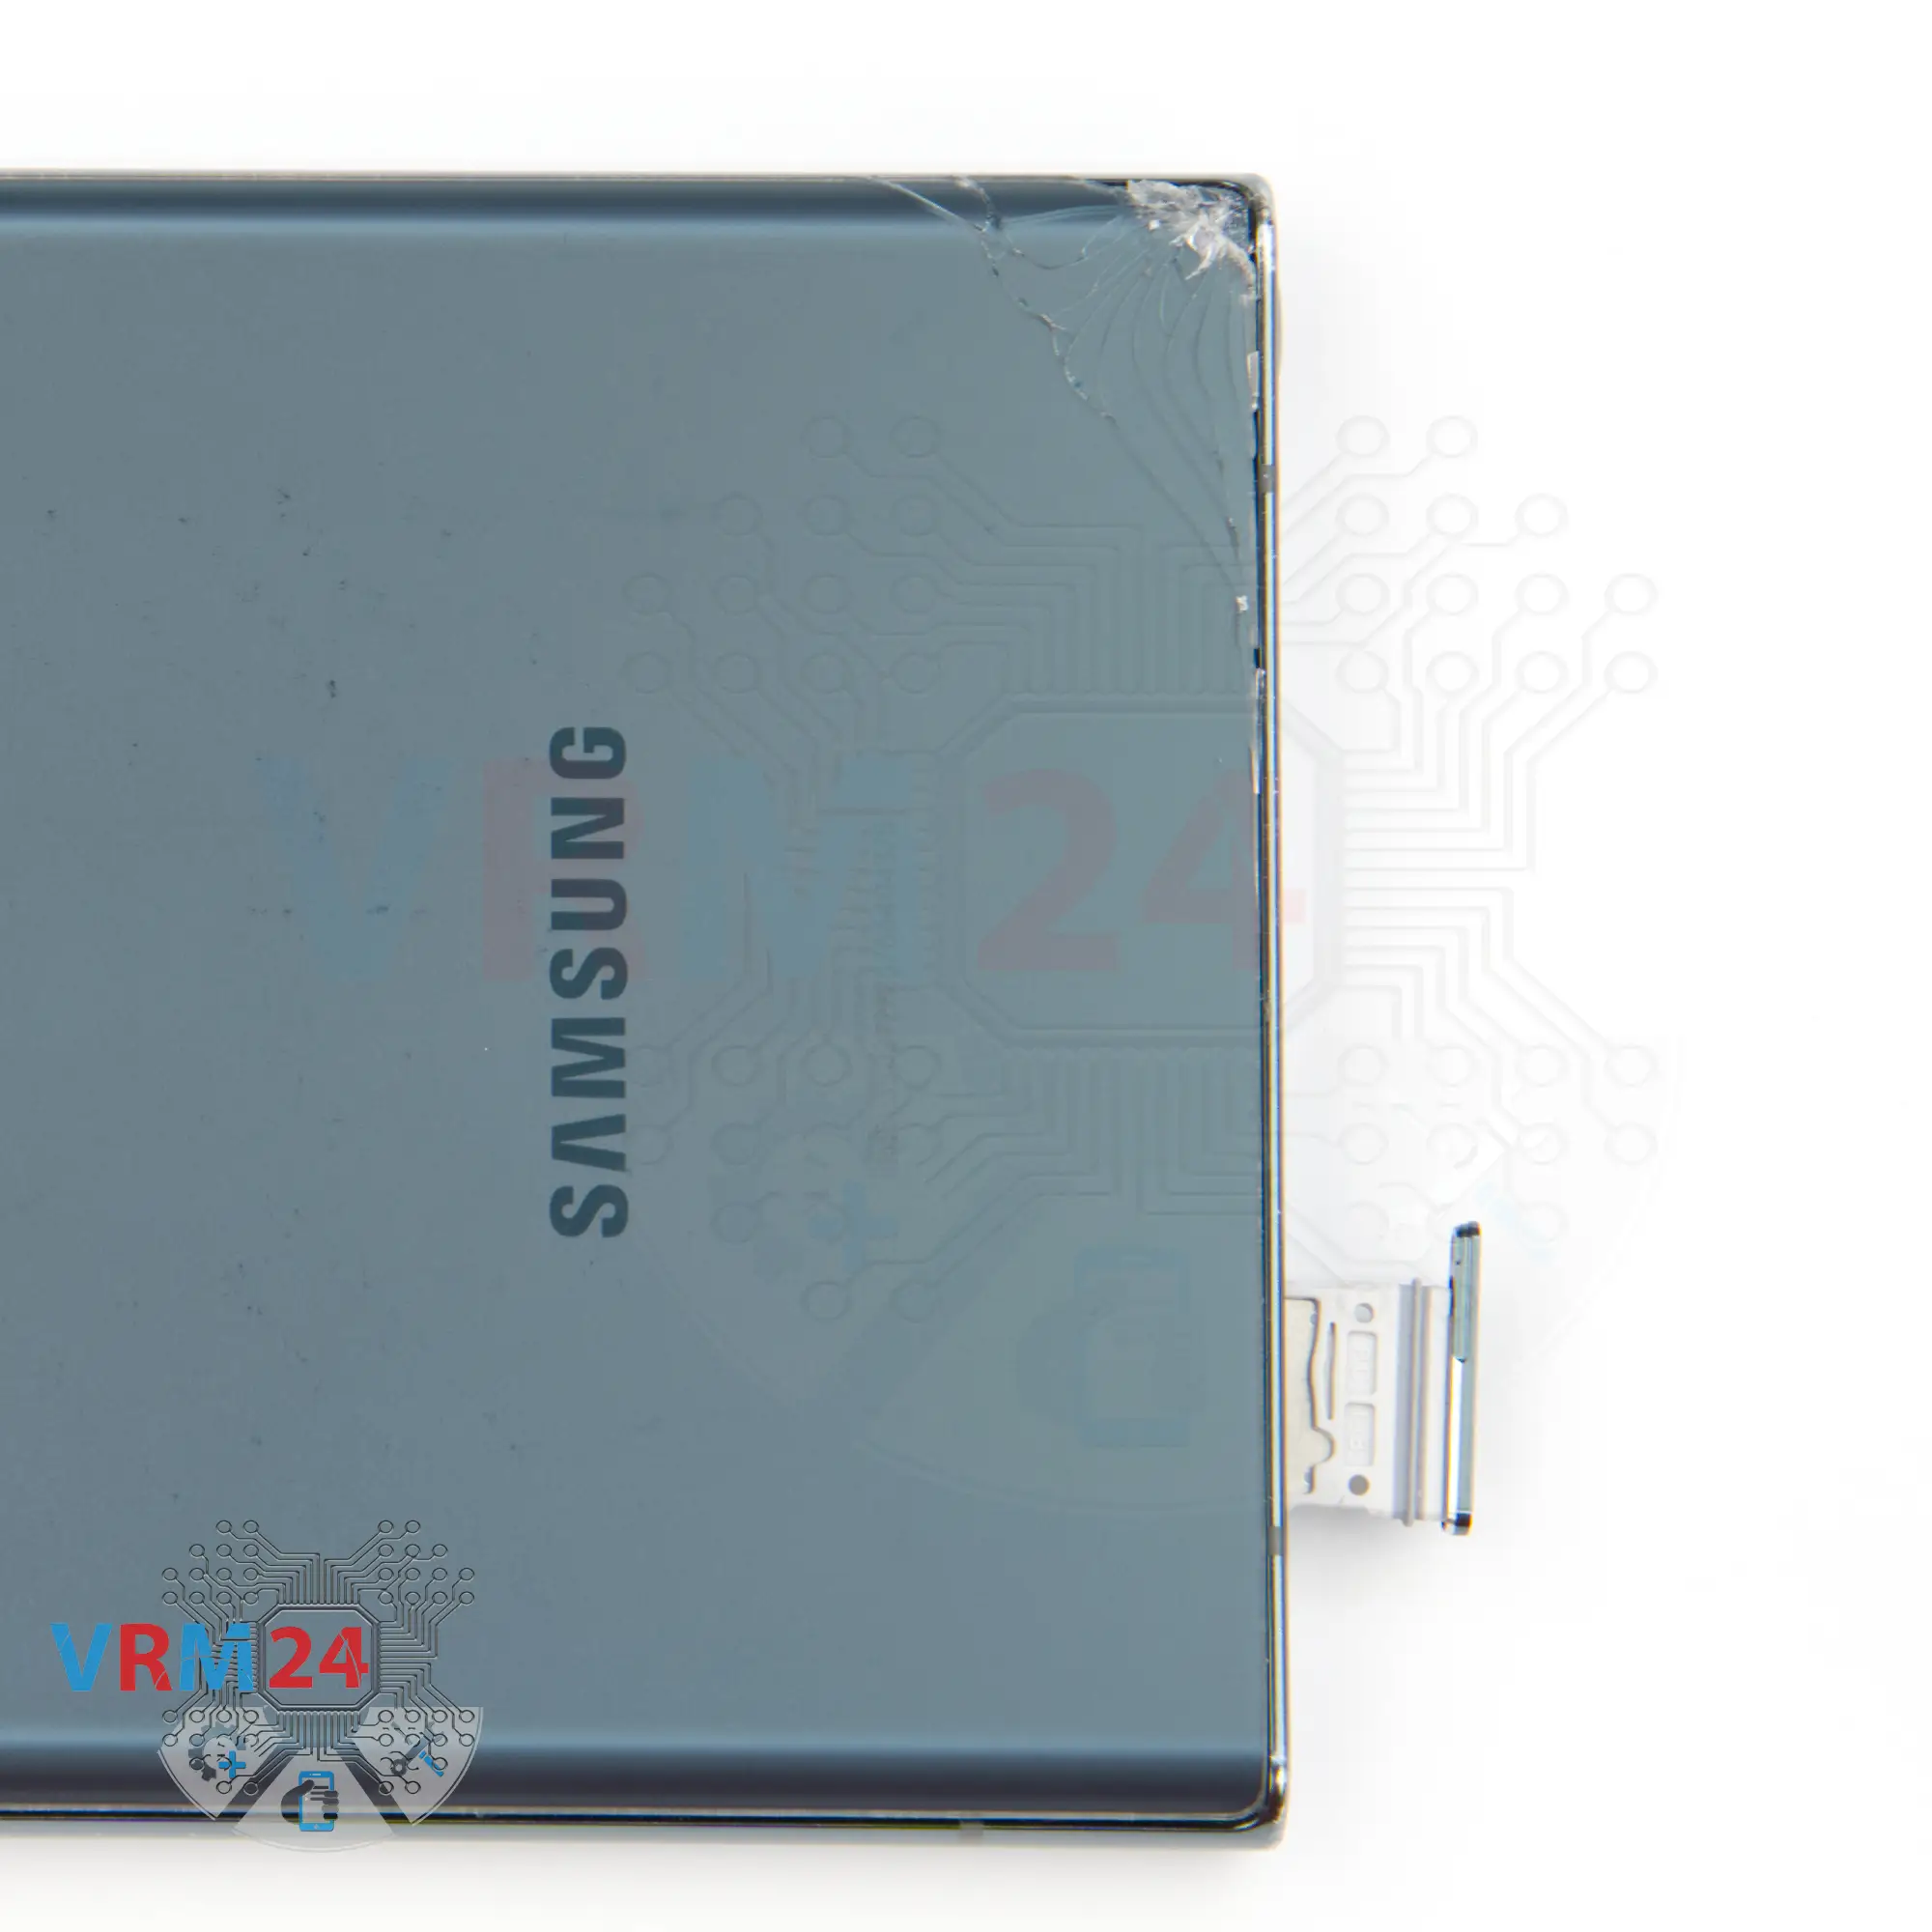
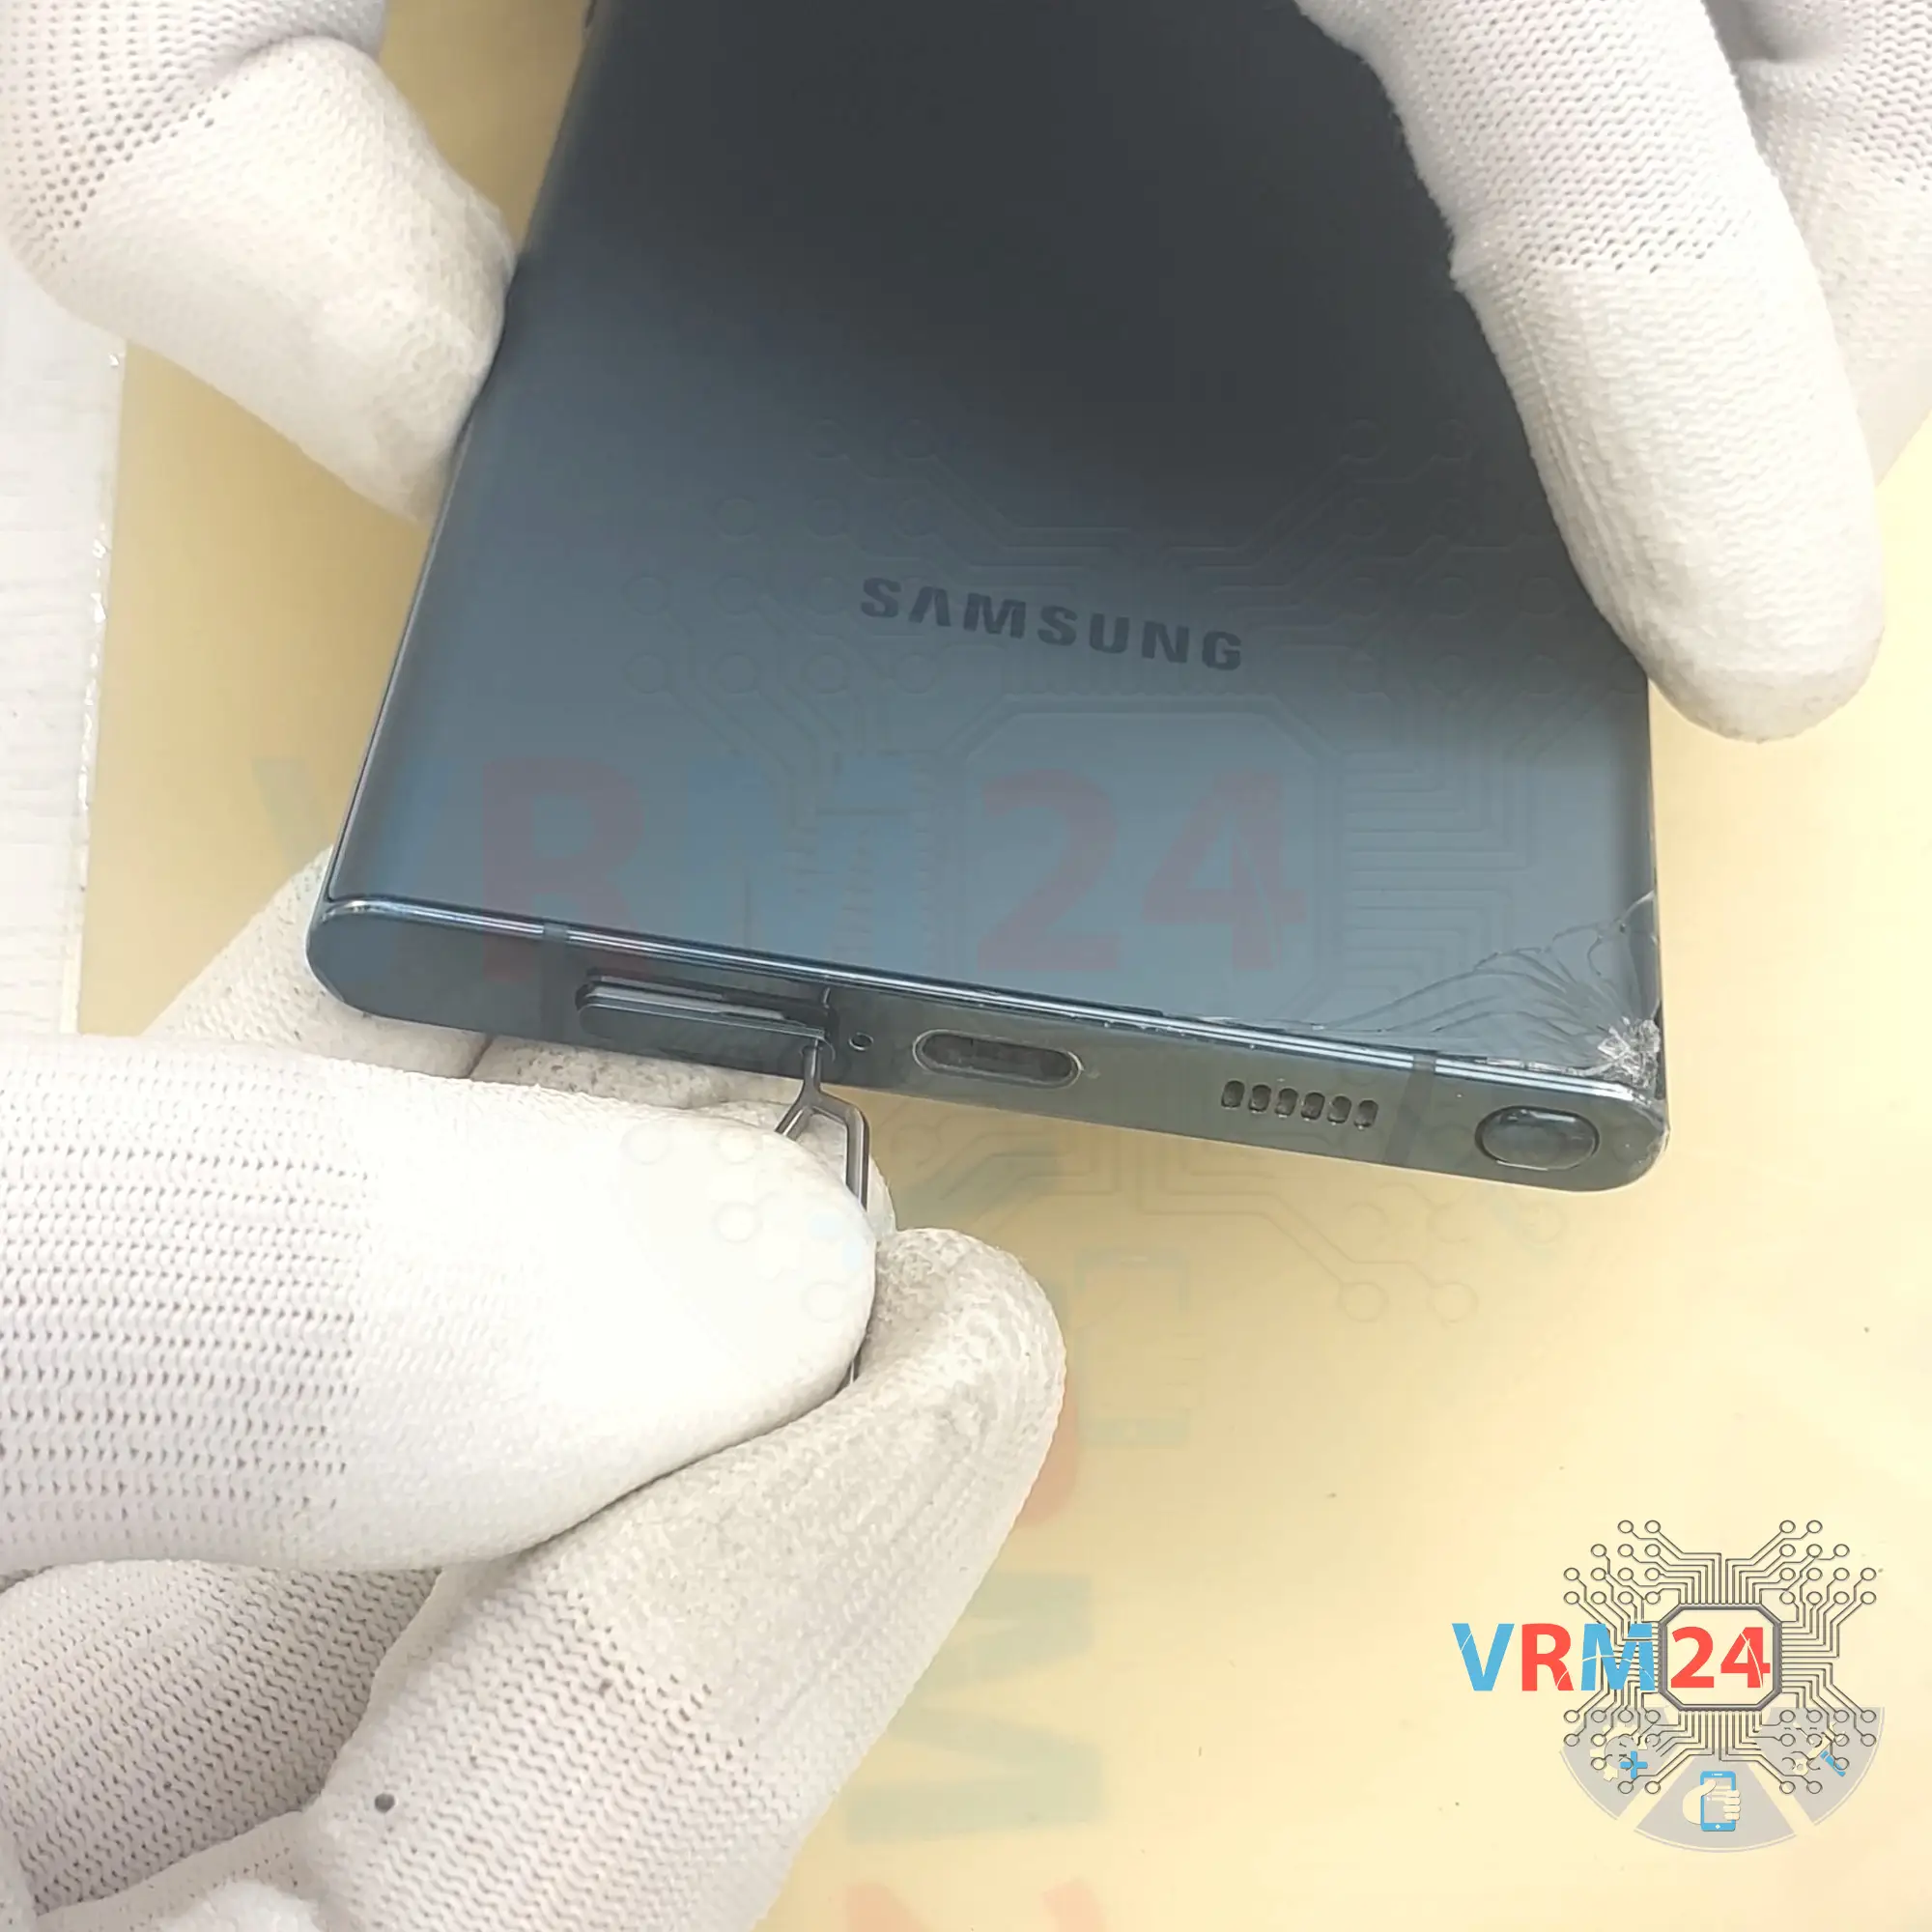
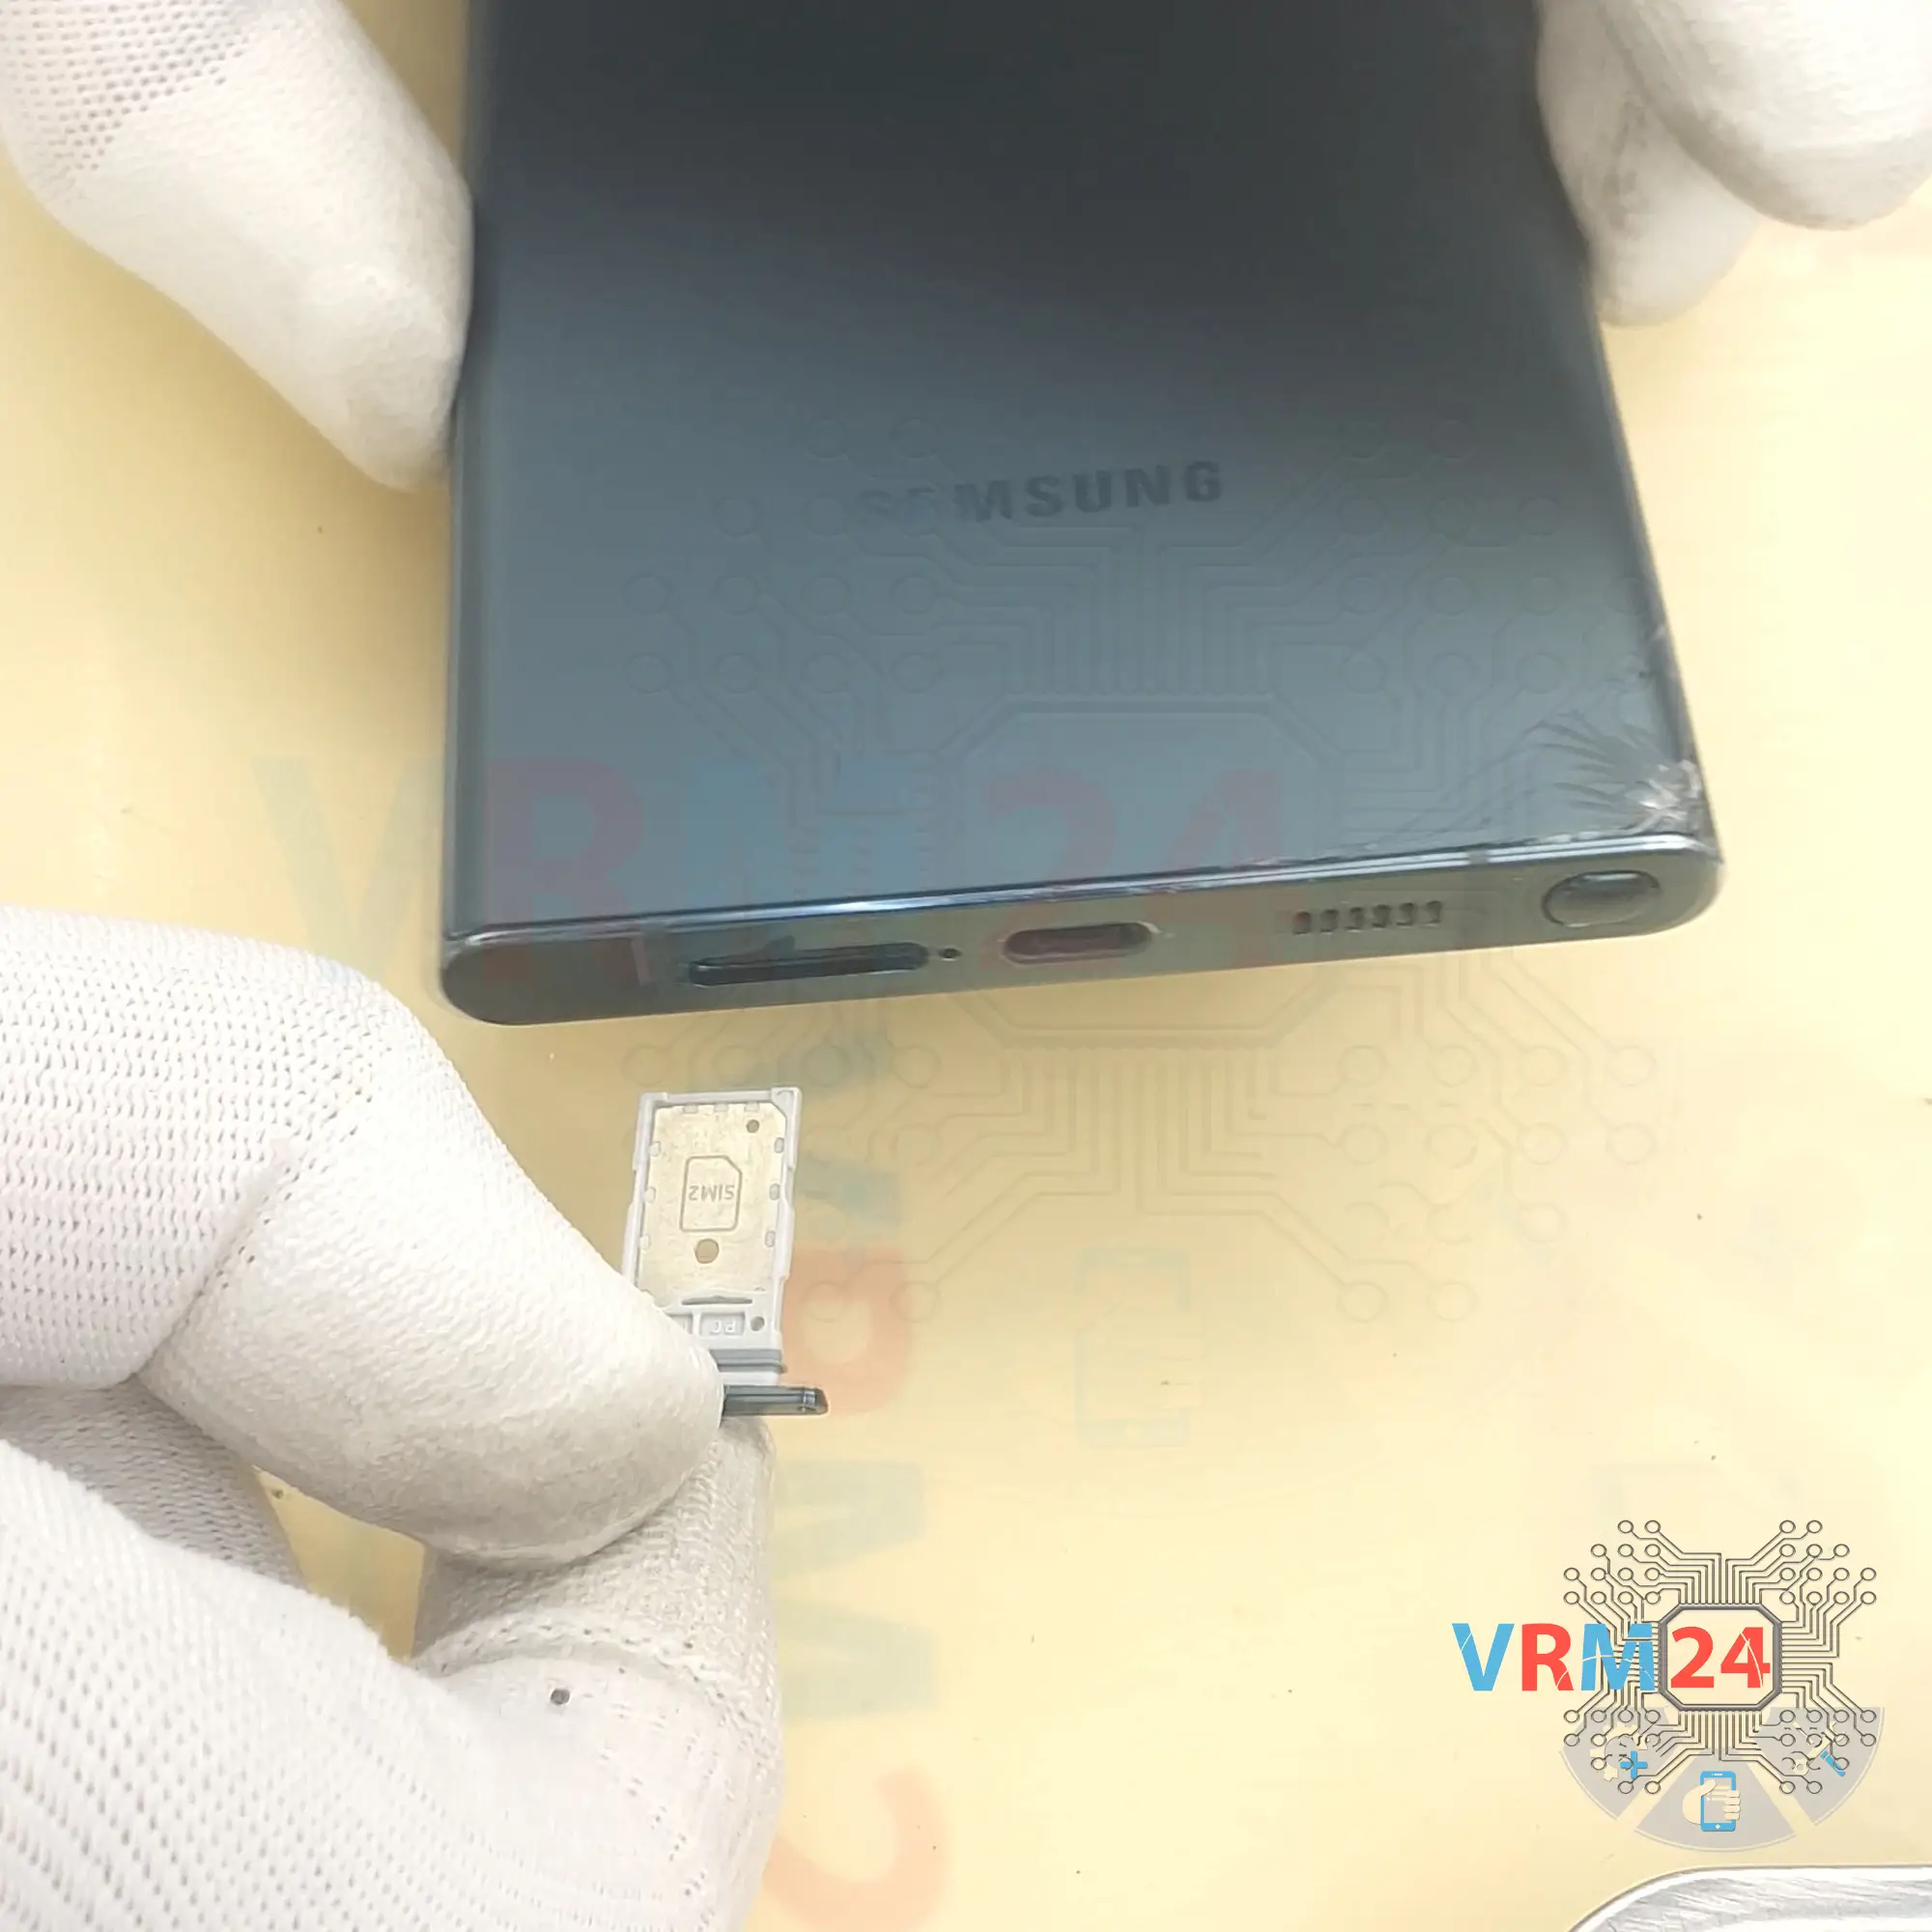
Step 2. Remove the tray
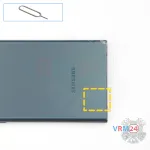
First of all, we need to remove the card tray for this we take a special tool, insert it into the hole and push out the card tray.
Btw it is located at the bottom.
⚠️️ Since the microphone hole is located next to the cards tray, we need to explain how safe it is. The hole in the middle frame we have an l-shaped, at the end of the hole is a gasket with membrane that is located perpendicular to the hole on the sub-board and pressed to it. The body of the microphone is located on the other side of the sub-board. There is only one conclusion to be drawn - it is almost impossible to damage a microphone with a tool in this way.
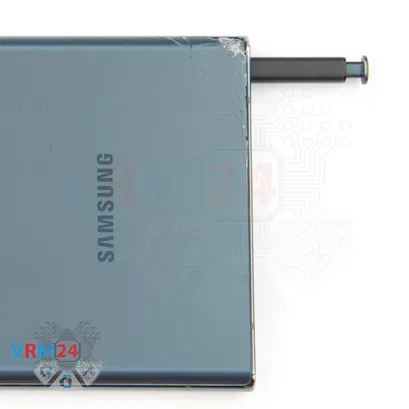
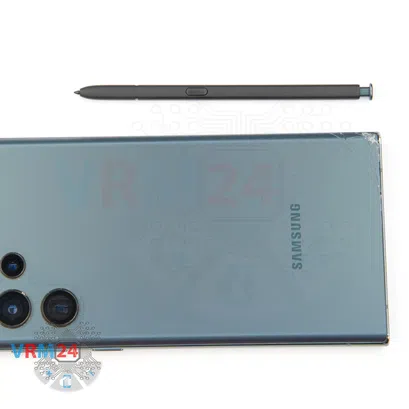
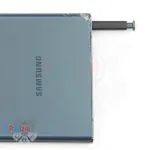

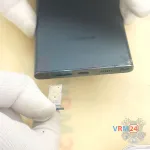
Step 3. Remove the stylus pen
Press the S (pen) stylus at the bottom of the phone. It will pop out a little and we can carefully pull it out.
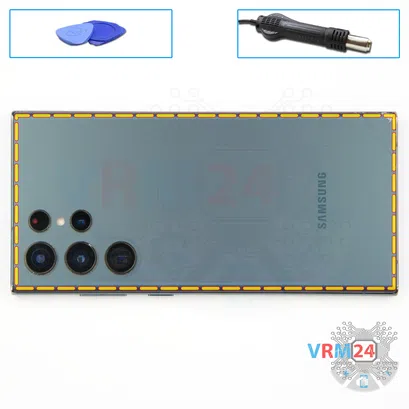
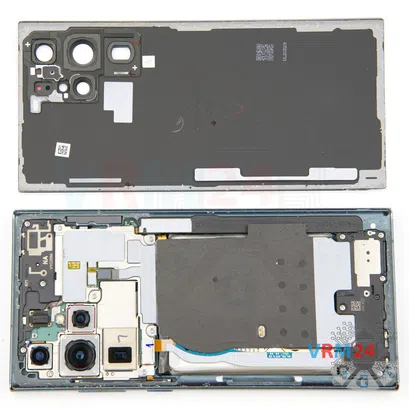

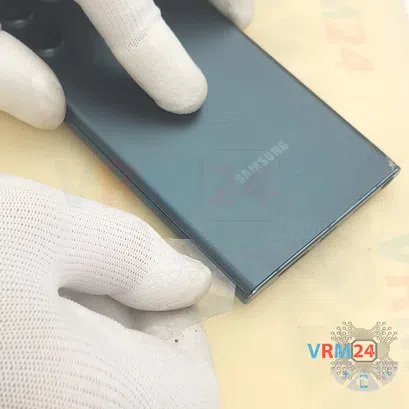

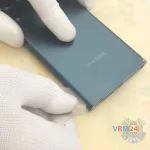
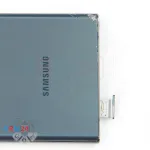
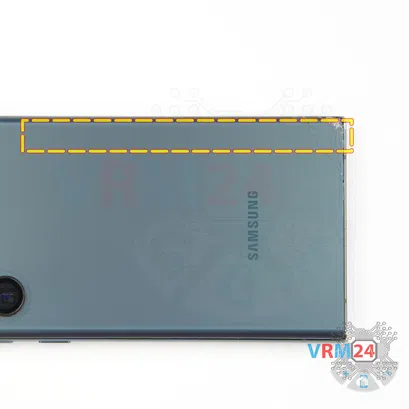
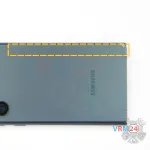
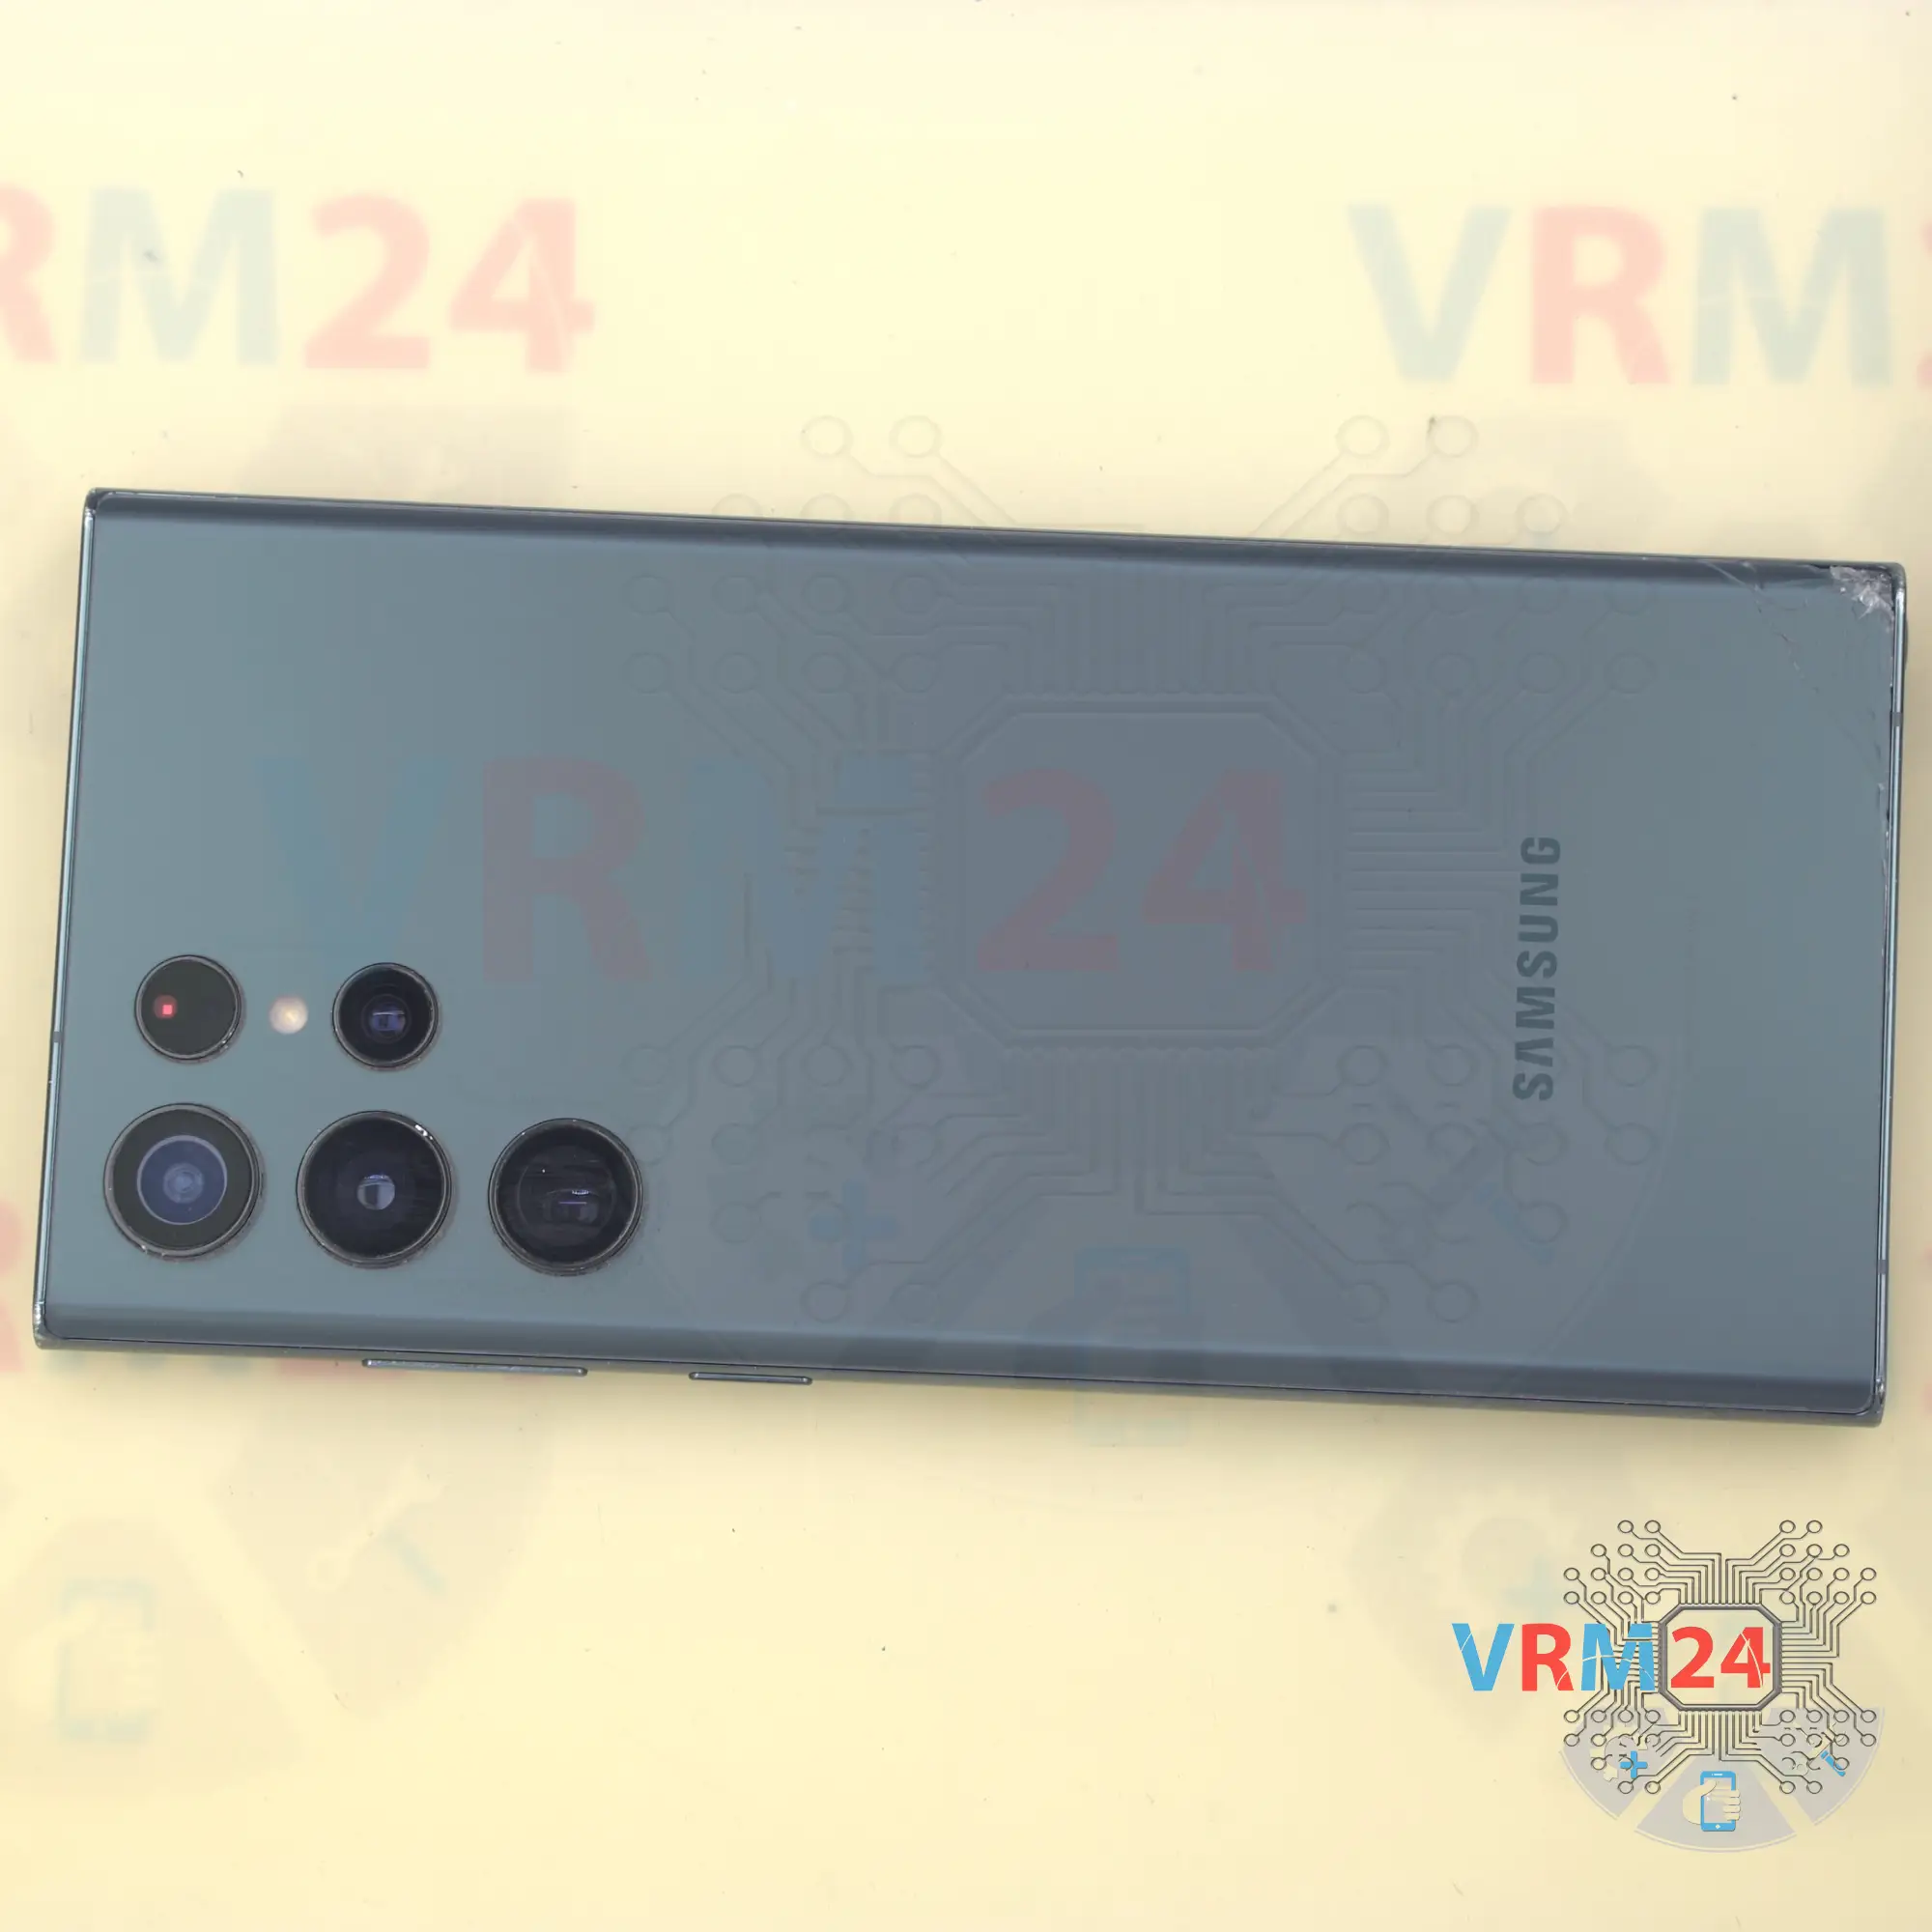
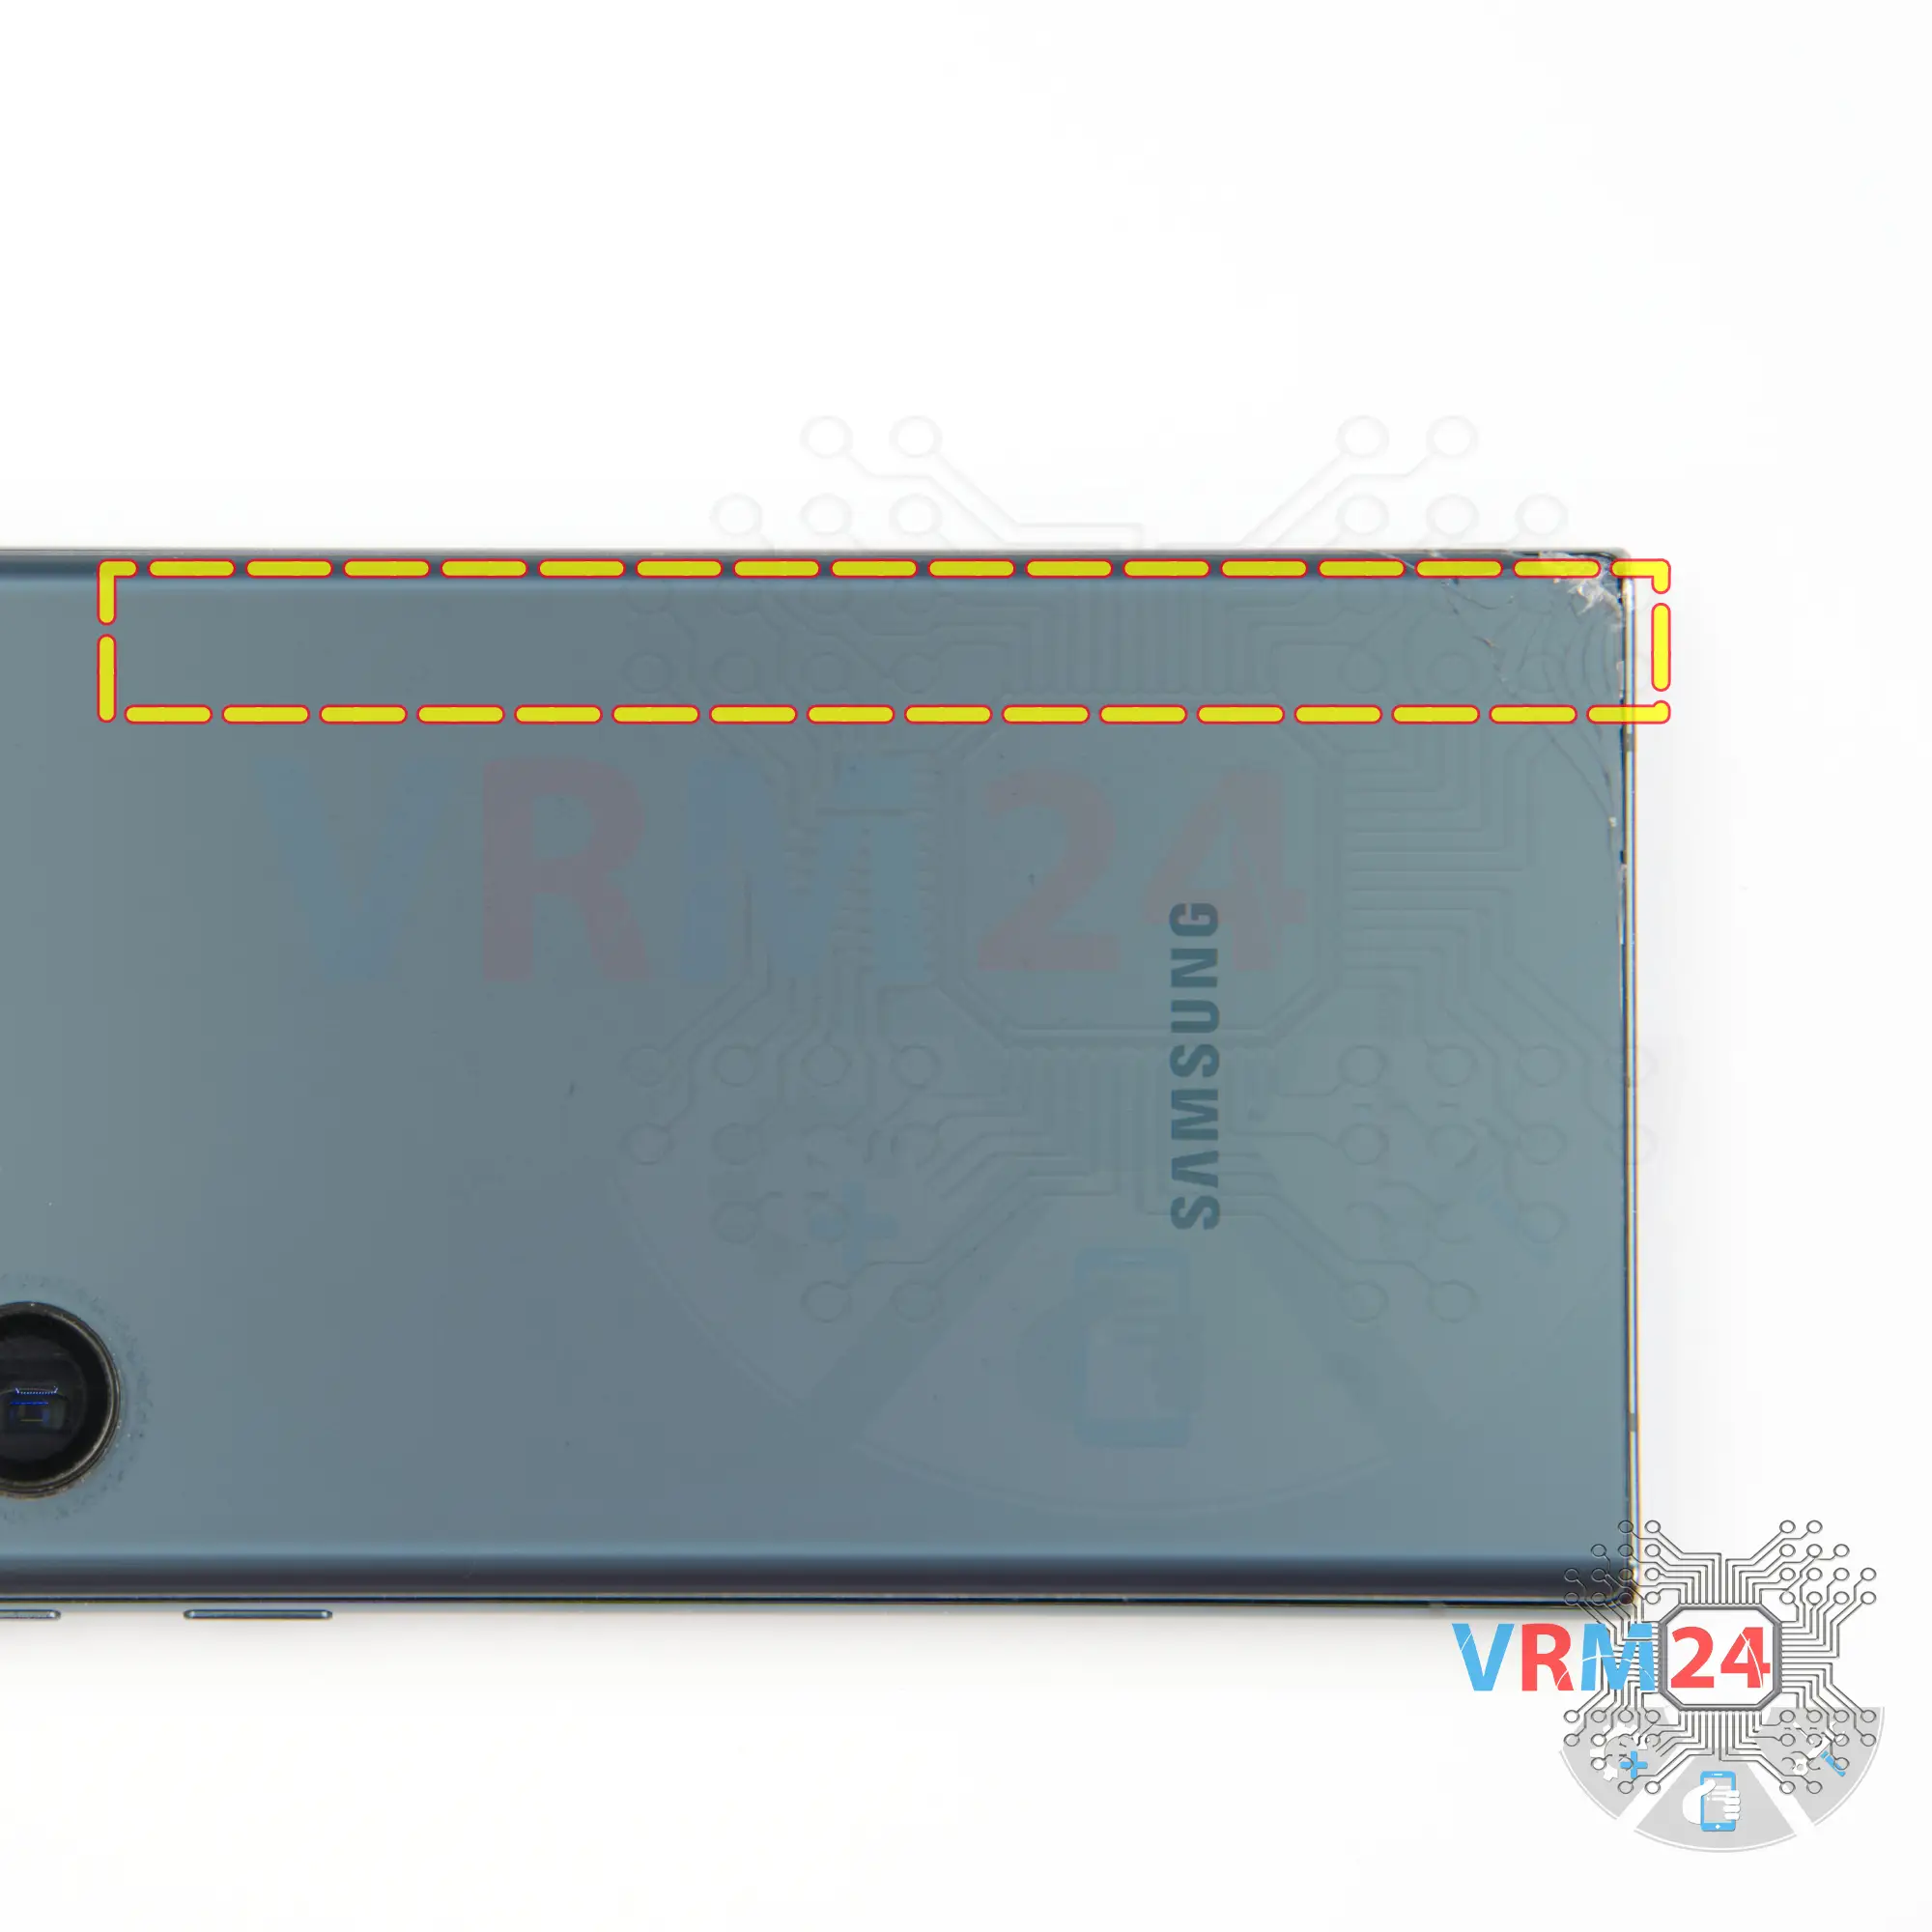
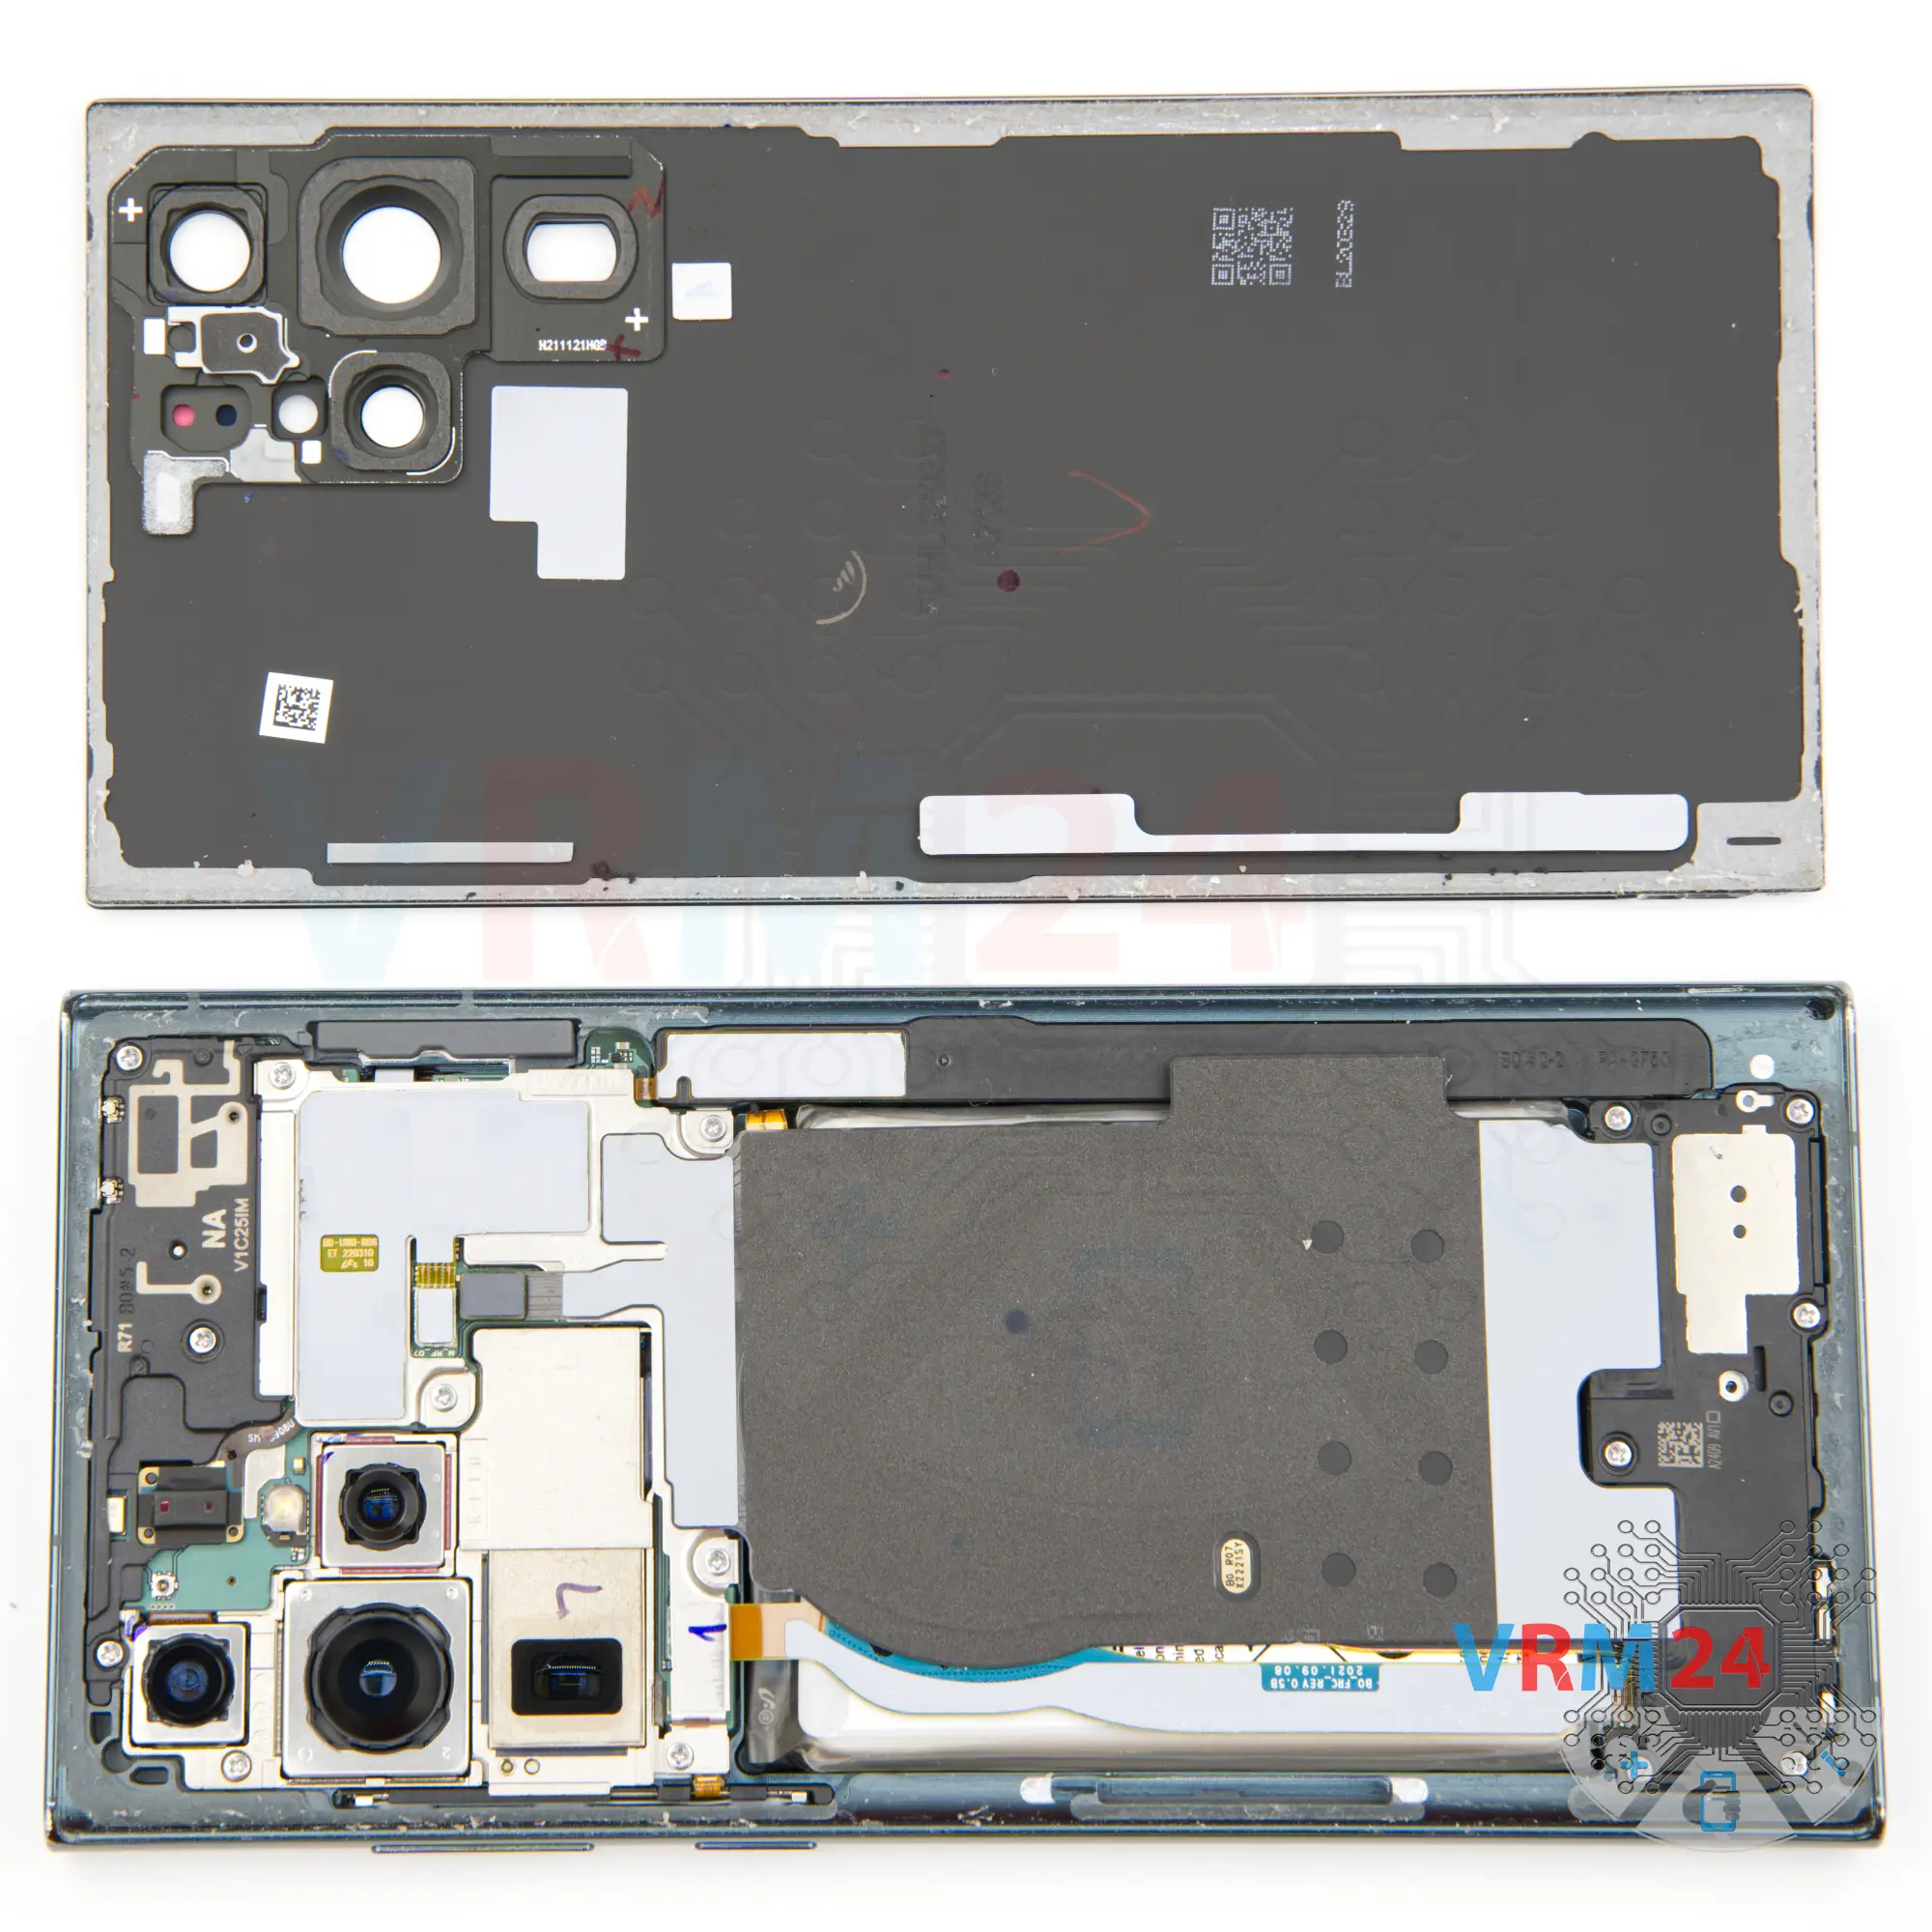
Step 4. Open the back cover
We need to heat the surface of the back cover to a temperature of about 65° C or 160° F.
To remove the back cover, we will use a plastic film, such as the protective film from the new display or a plastic film from a stationery store. Insert it into the gap between the middle cover and the back cover and run it along the back cover to detach it.
⚠️️ We always need to be careful around the side buttons, because there may be cables in this area and they could be damaged.
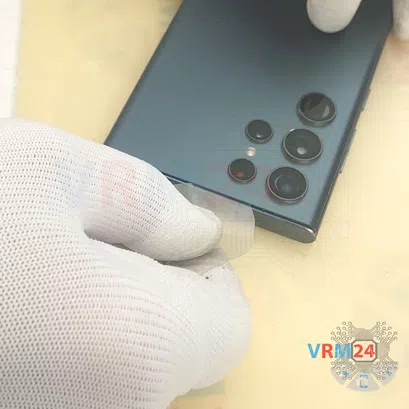
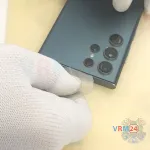
⚠️️ We also need to be careful in the area of the cameras, so as not to touch or damage the lenses.
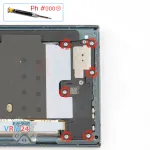
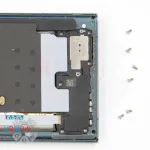
Step 5. Unscrew the screws
After that we need to unscrew the five screws at the top, we use a 1.5mm Phillips screwdriver or #000. This will allow us to get to the battery connector that we need to disconnect.
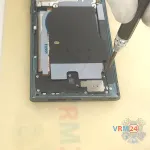
Step 6. Disconnect the connectors
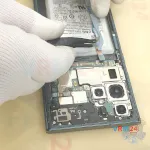
With a non-metal tool we need to disconnect the wireless charging and NFC connectors and lift this part hiding the motherboard.

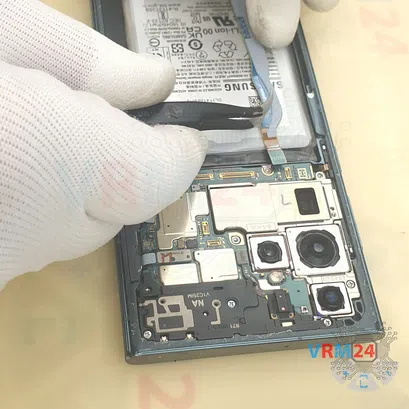
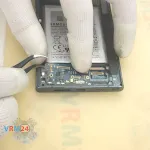
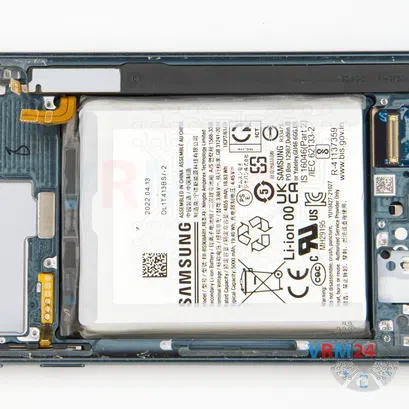
Step 7. Disconnect the battery connector
Bend the wireless charging aside and use a non-metal tool to hook the edge of the connector and disconnect the battery connector.


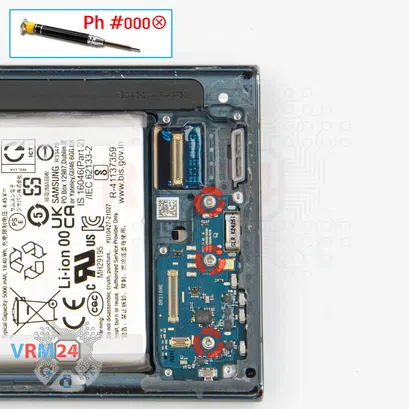
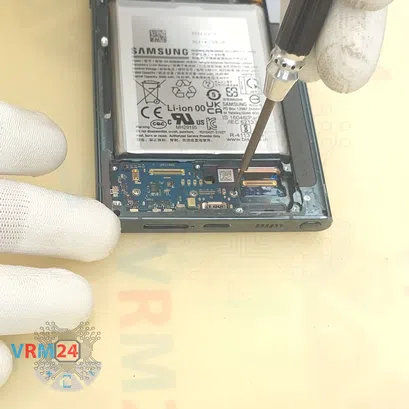
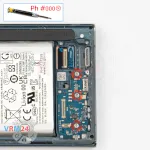
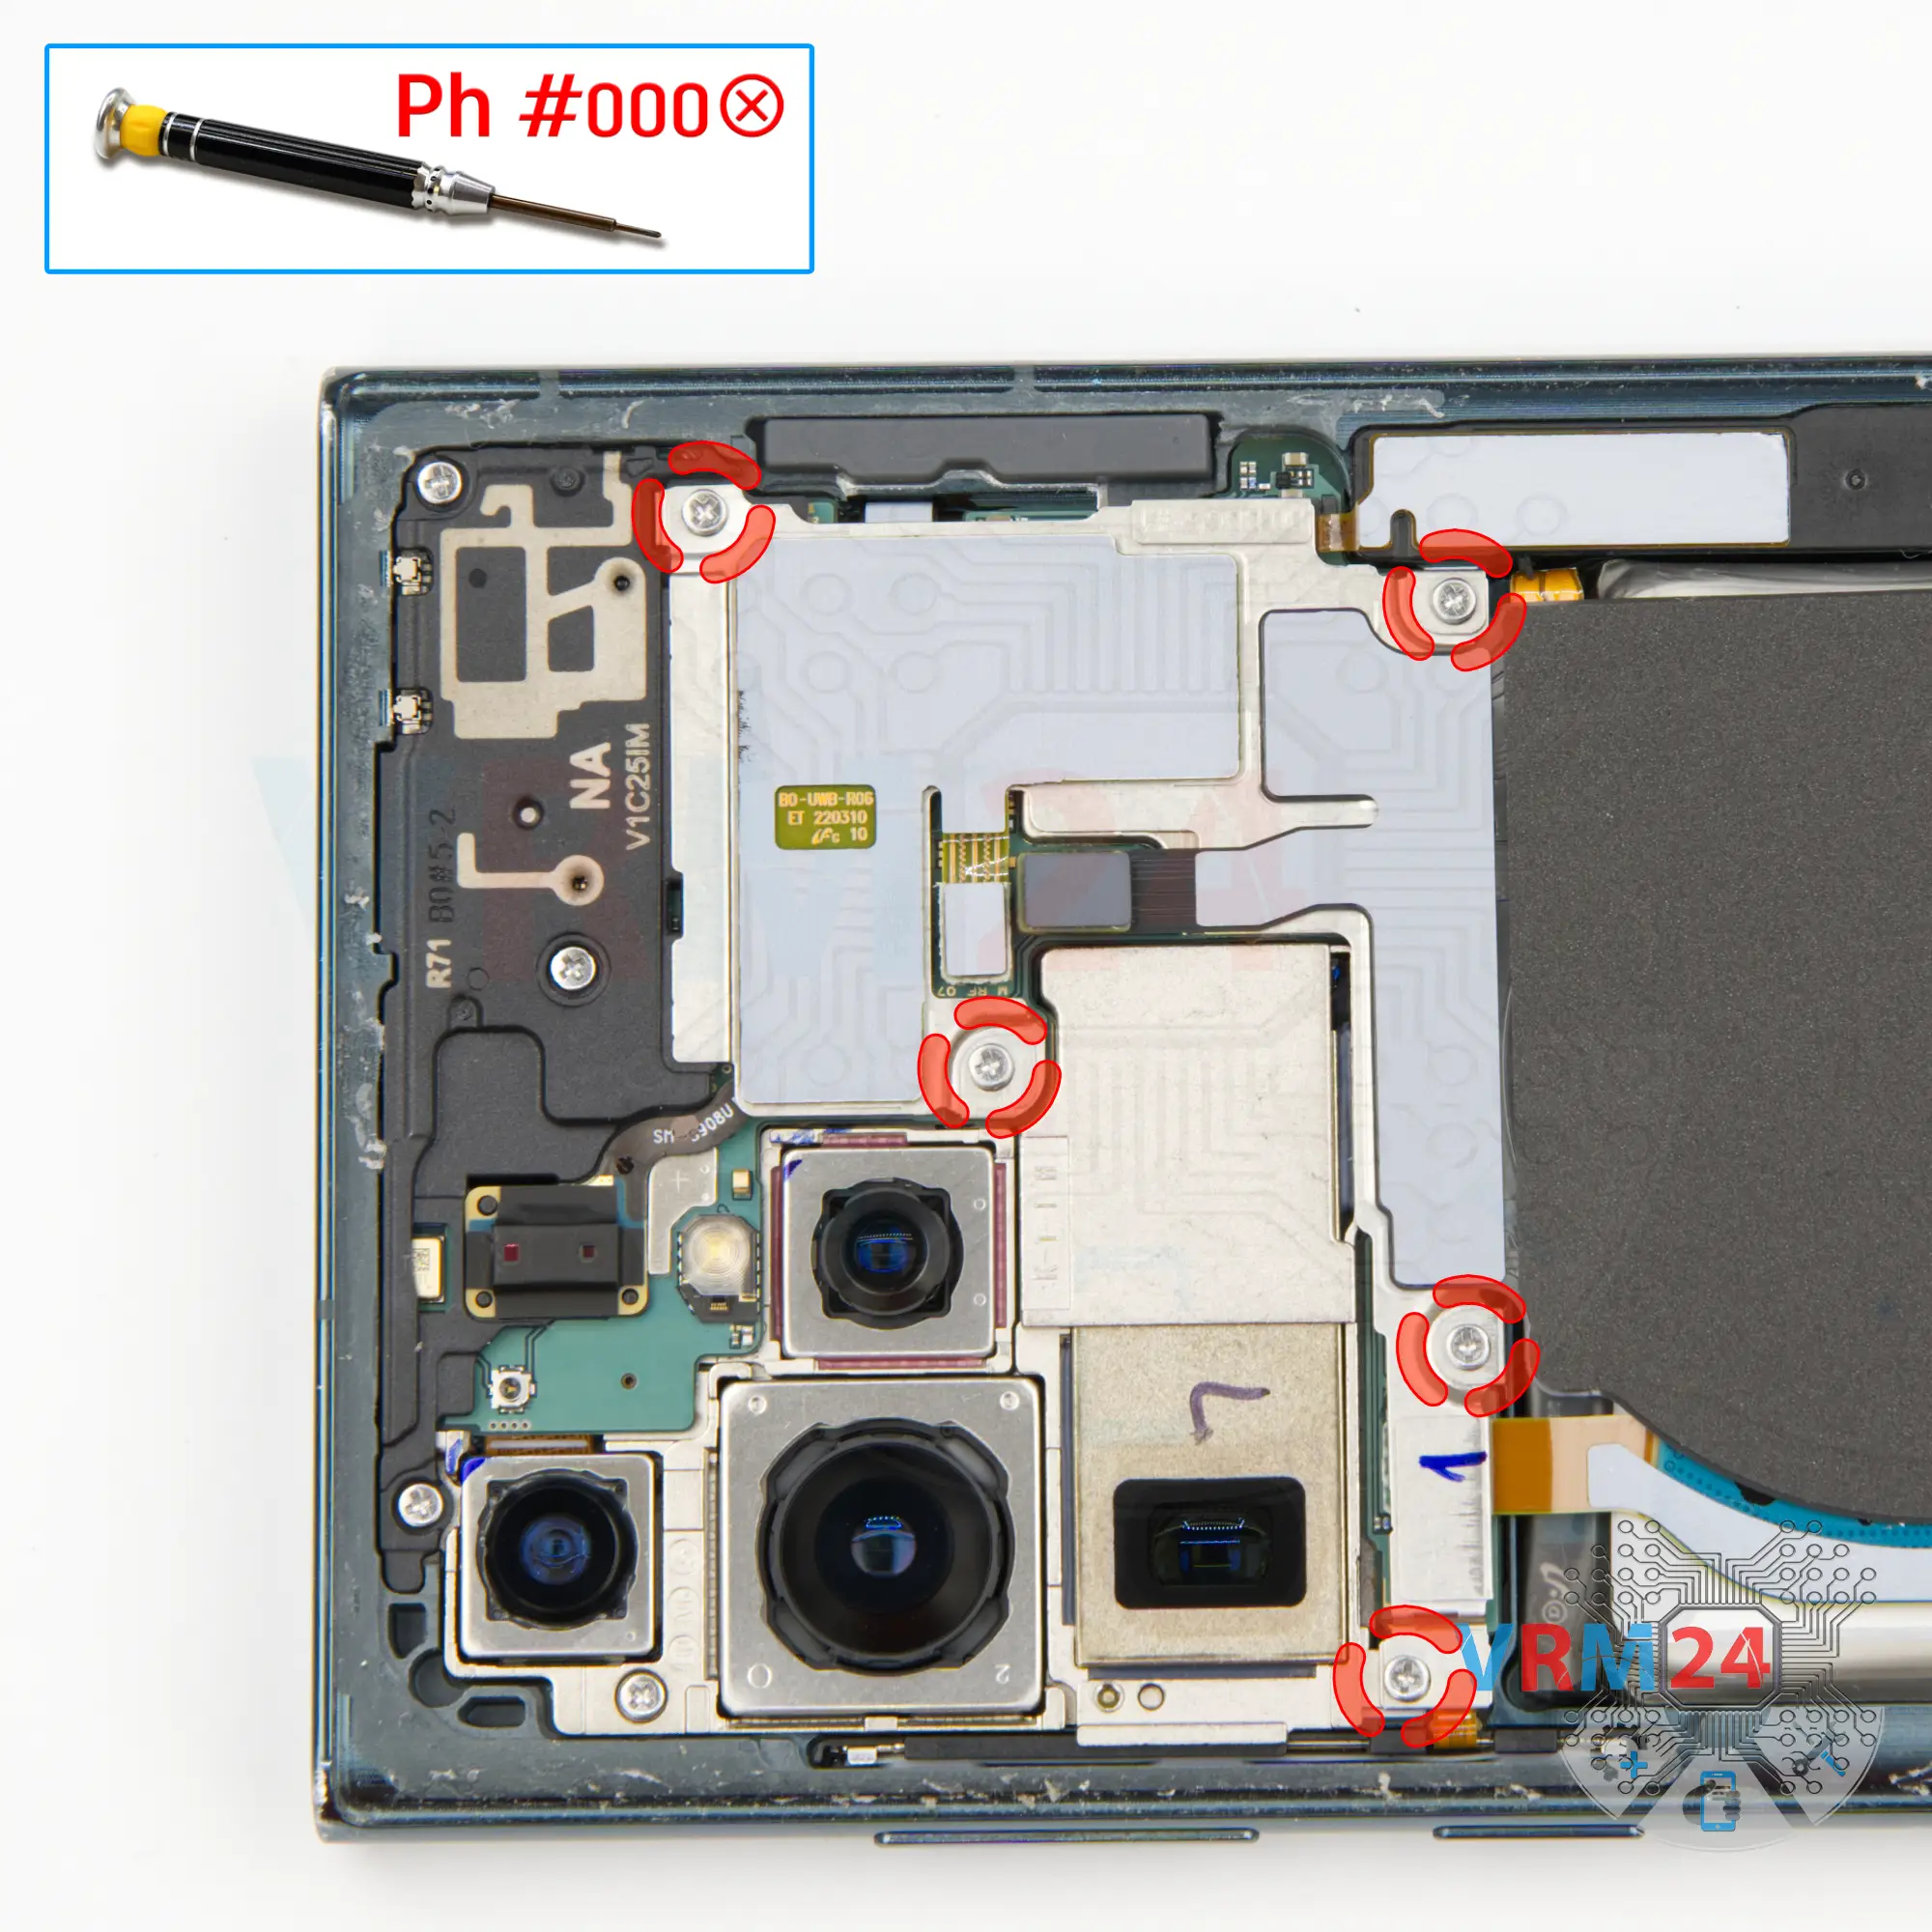
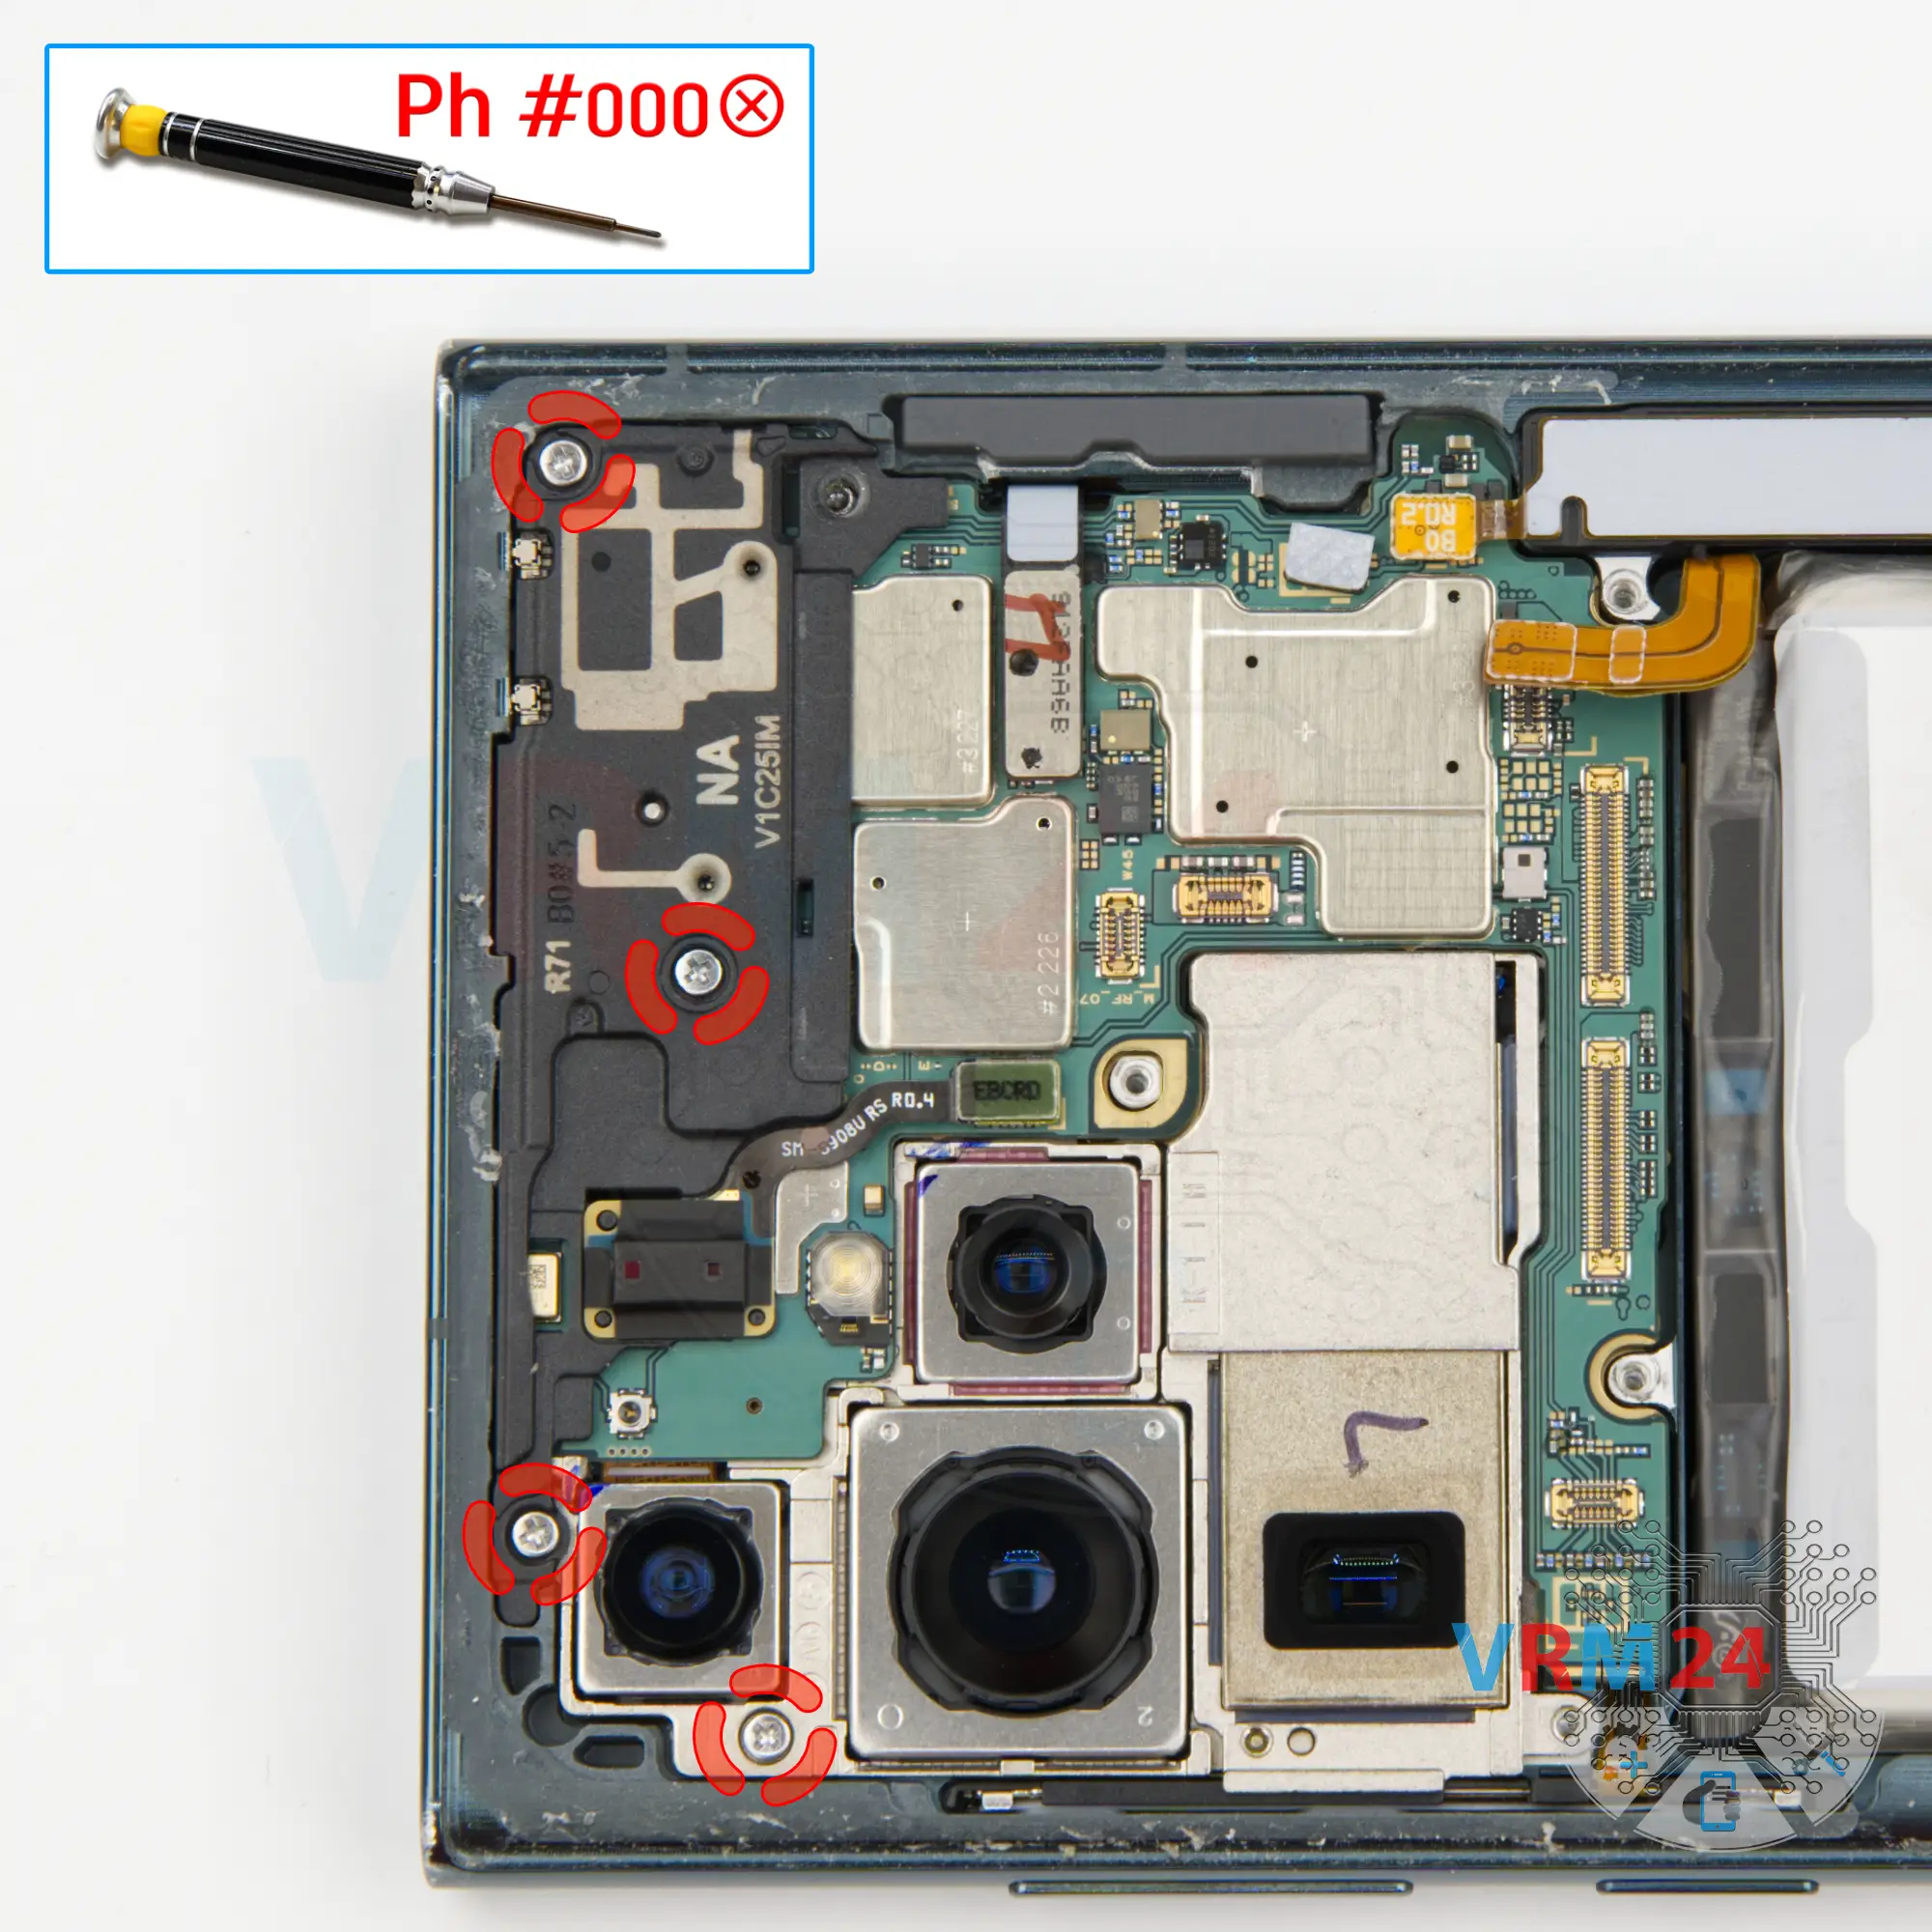
Step 8. Unscrew the screws
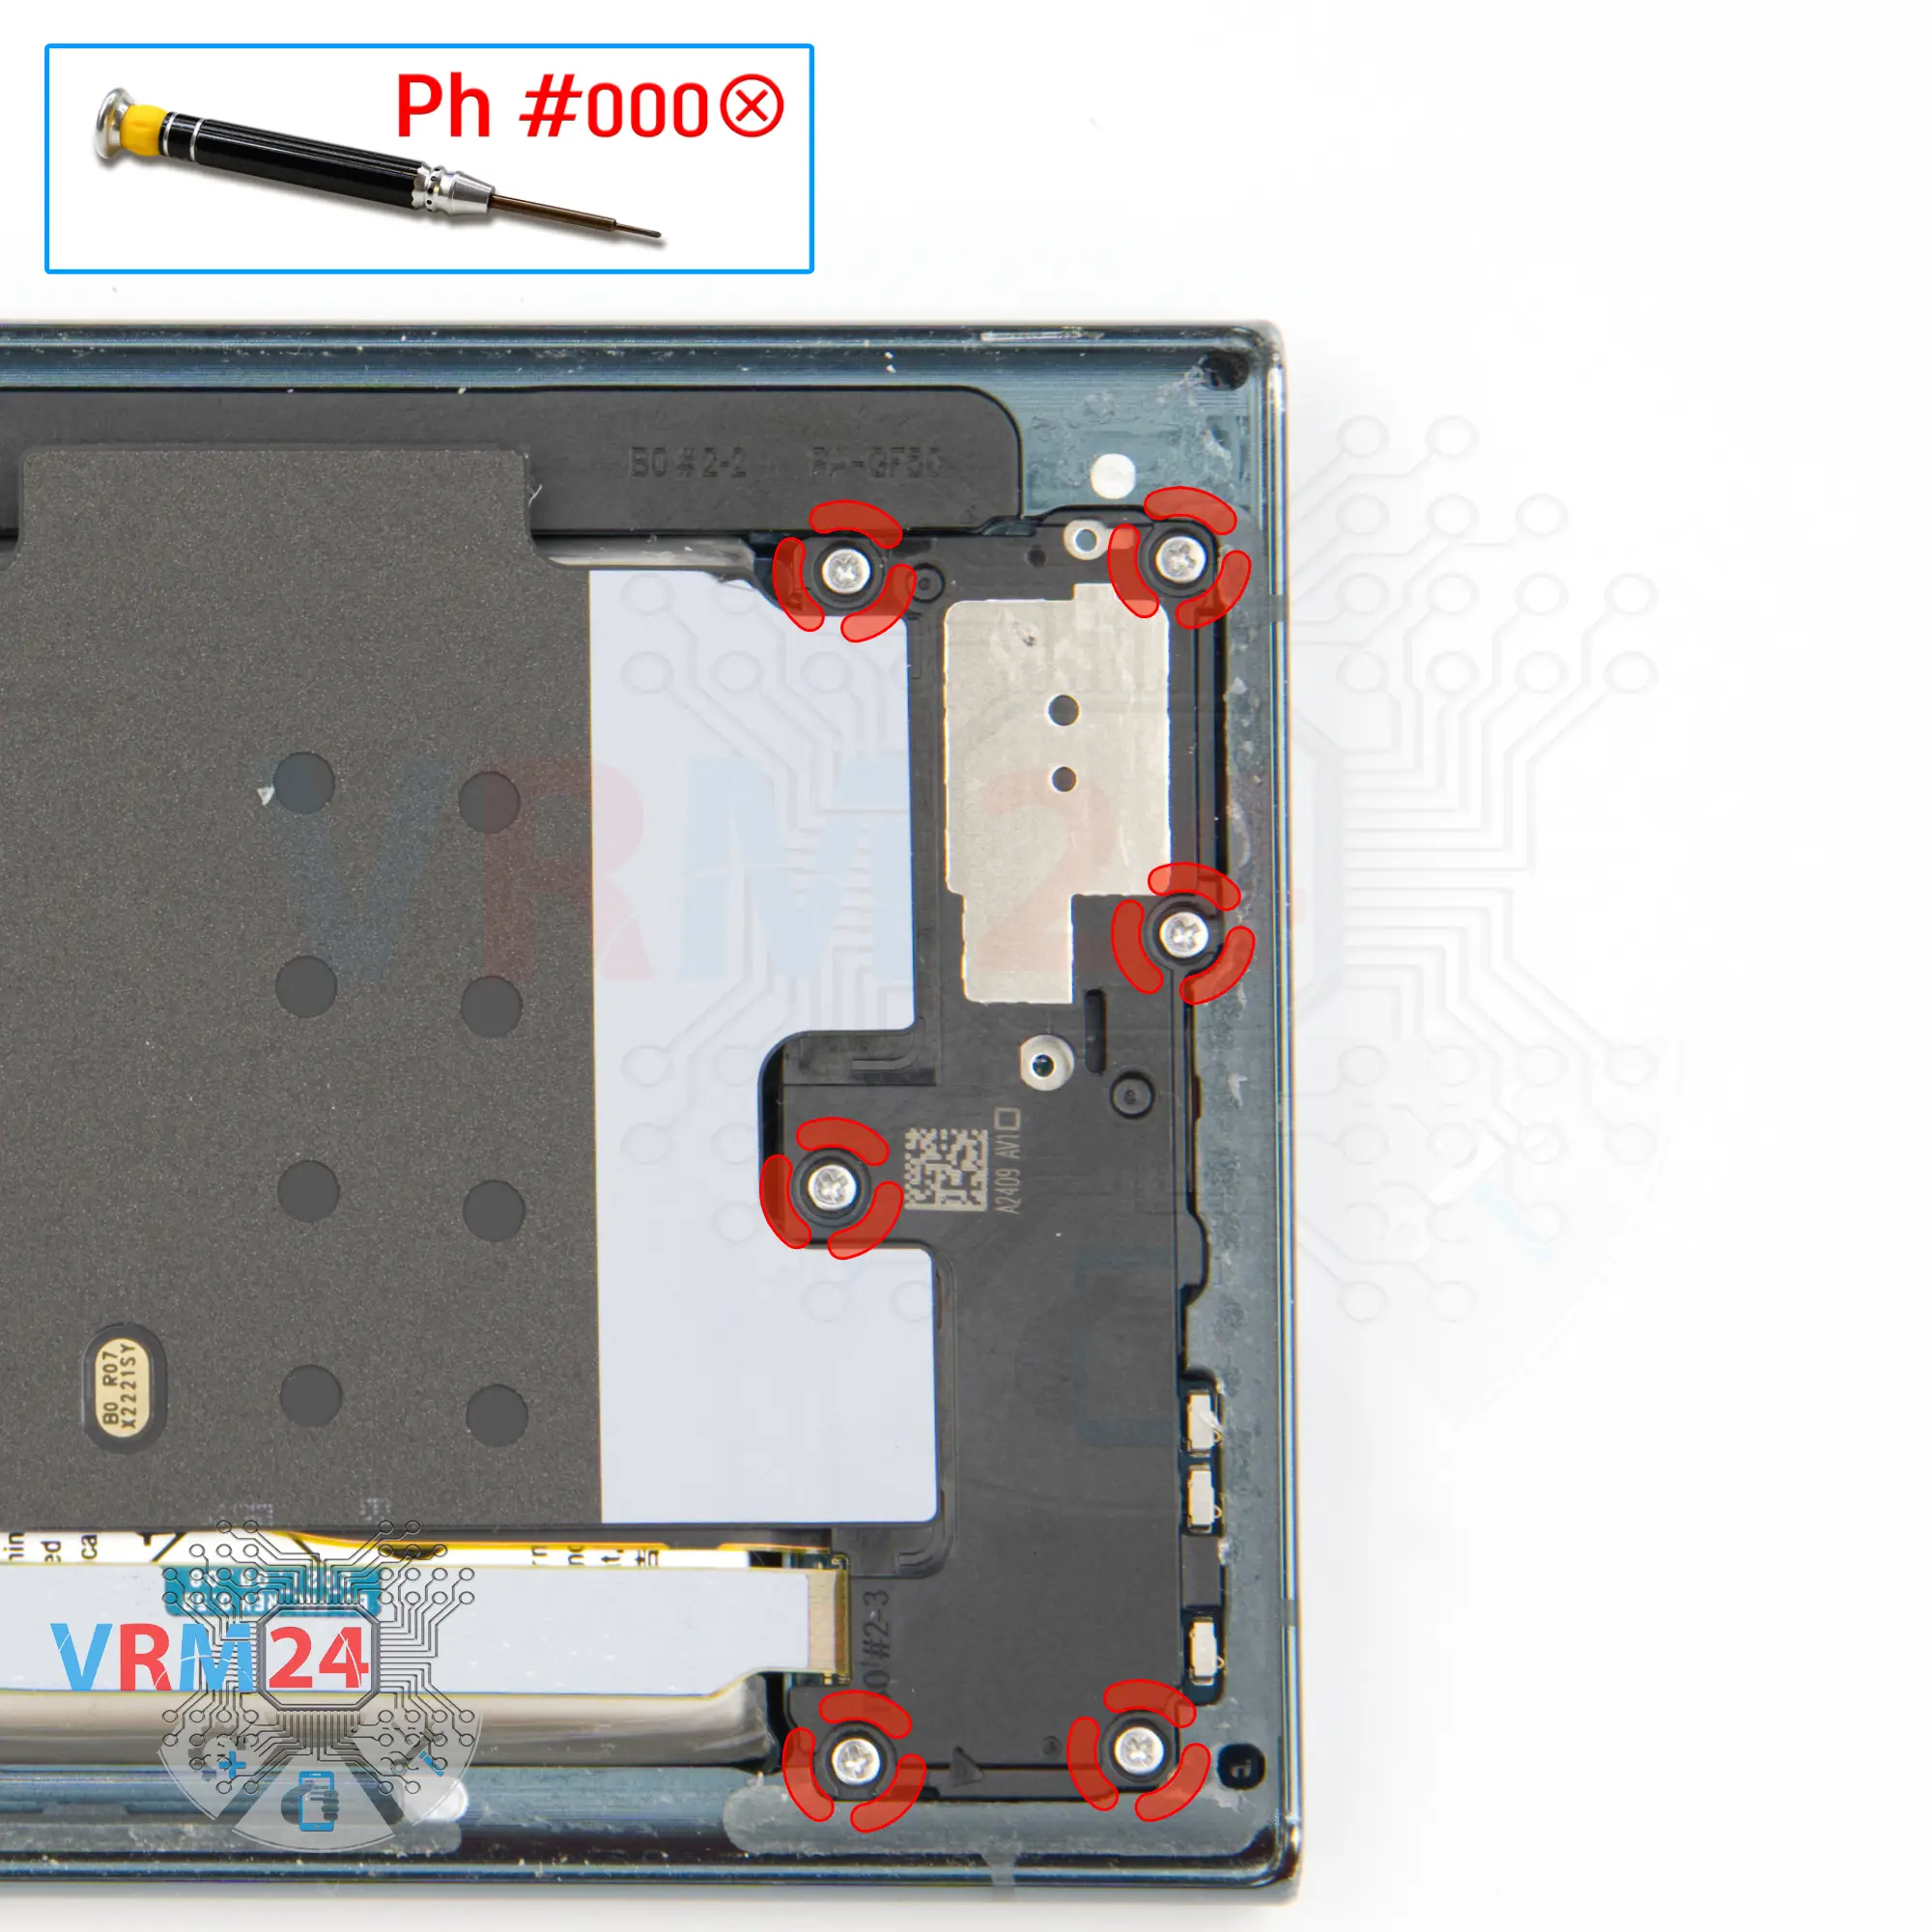
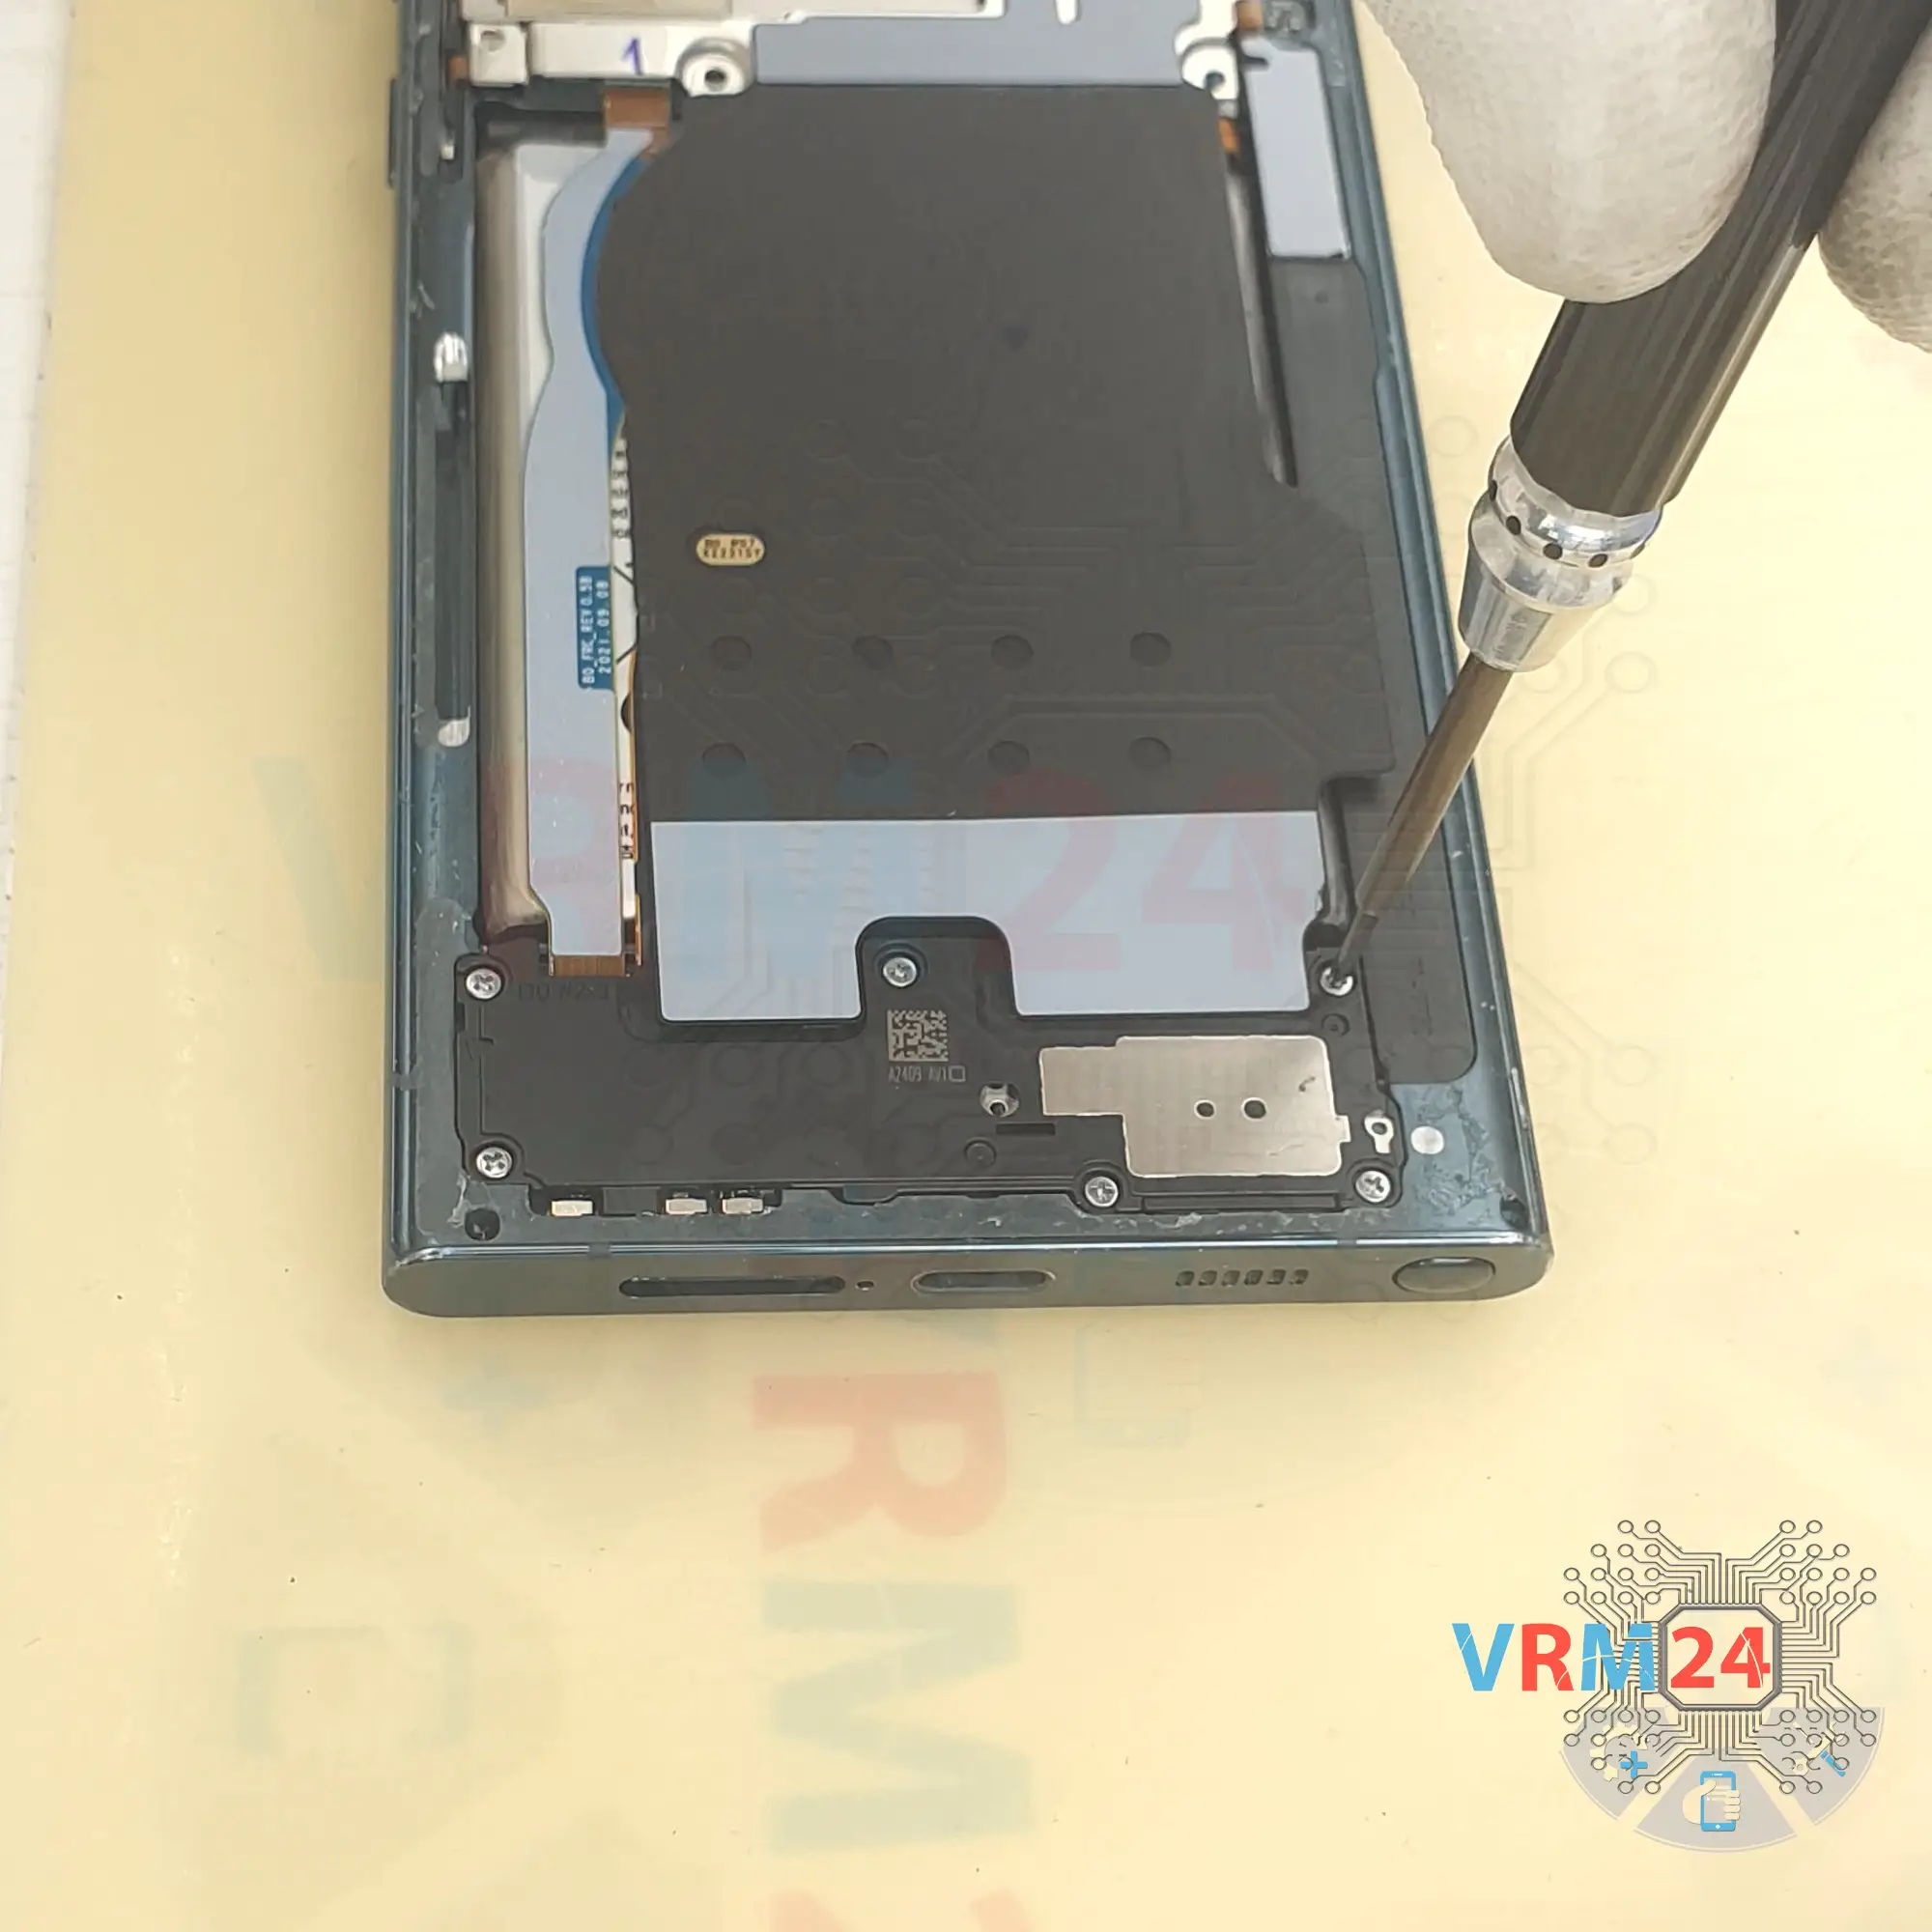
We move on to unscrewing the screws at the bottom. The screwdriver is the same 1.5mm Phillips.
The screws seem to be all the same, but we still recommend placing them on a special surface in an easy to remember order for reassembly.


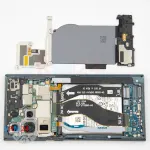
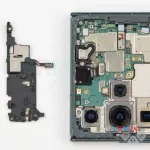
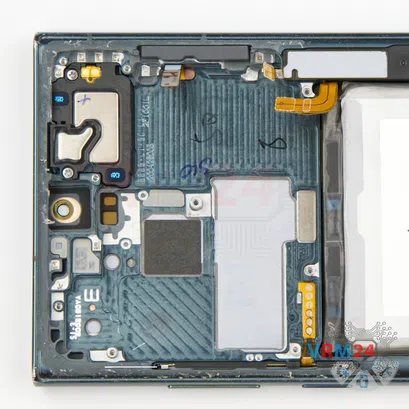
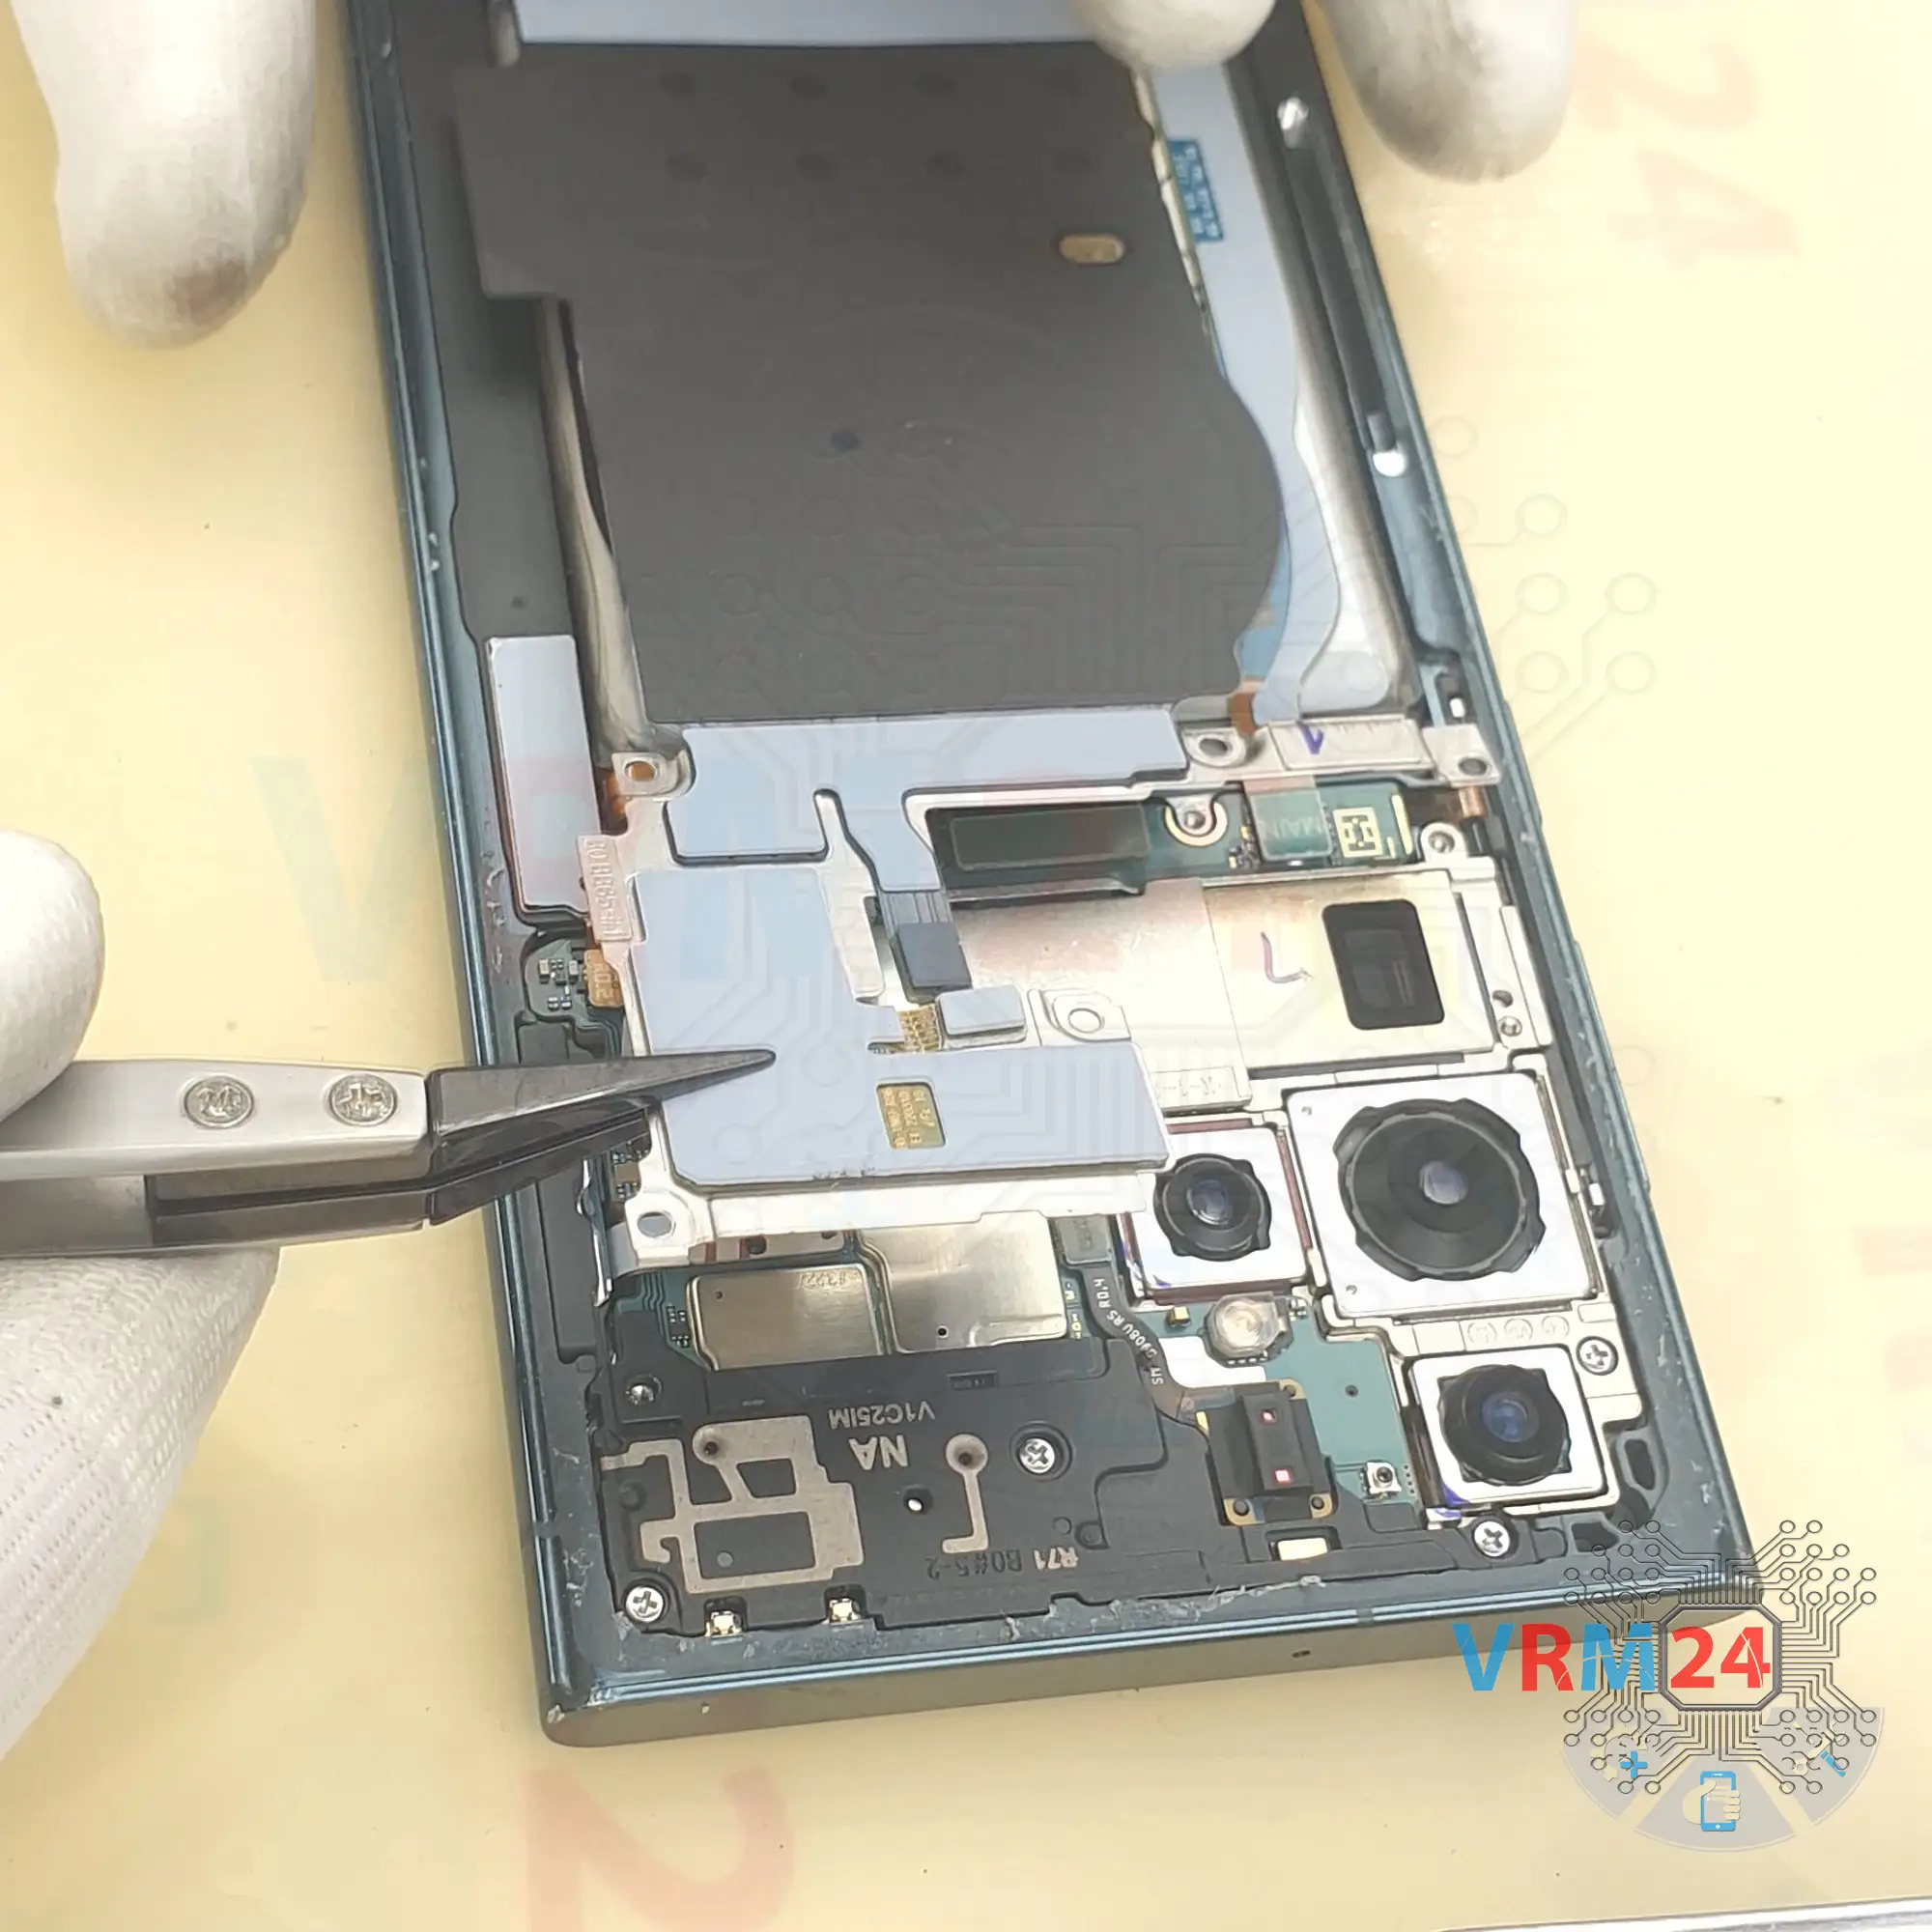
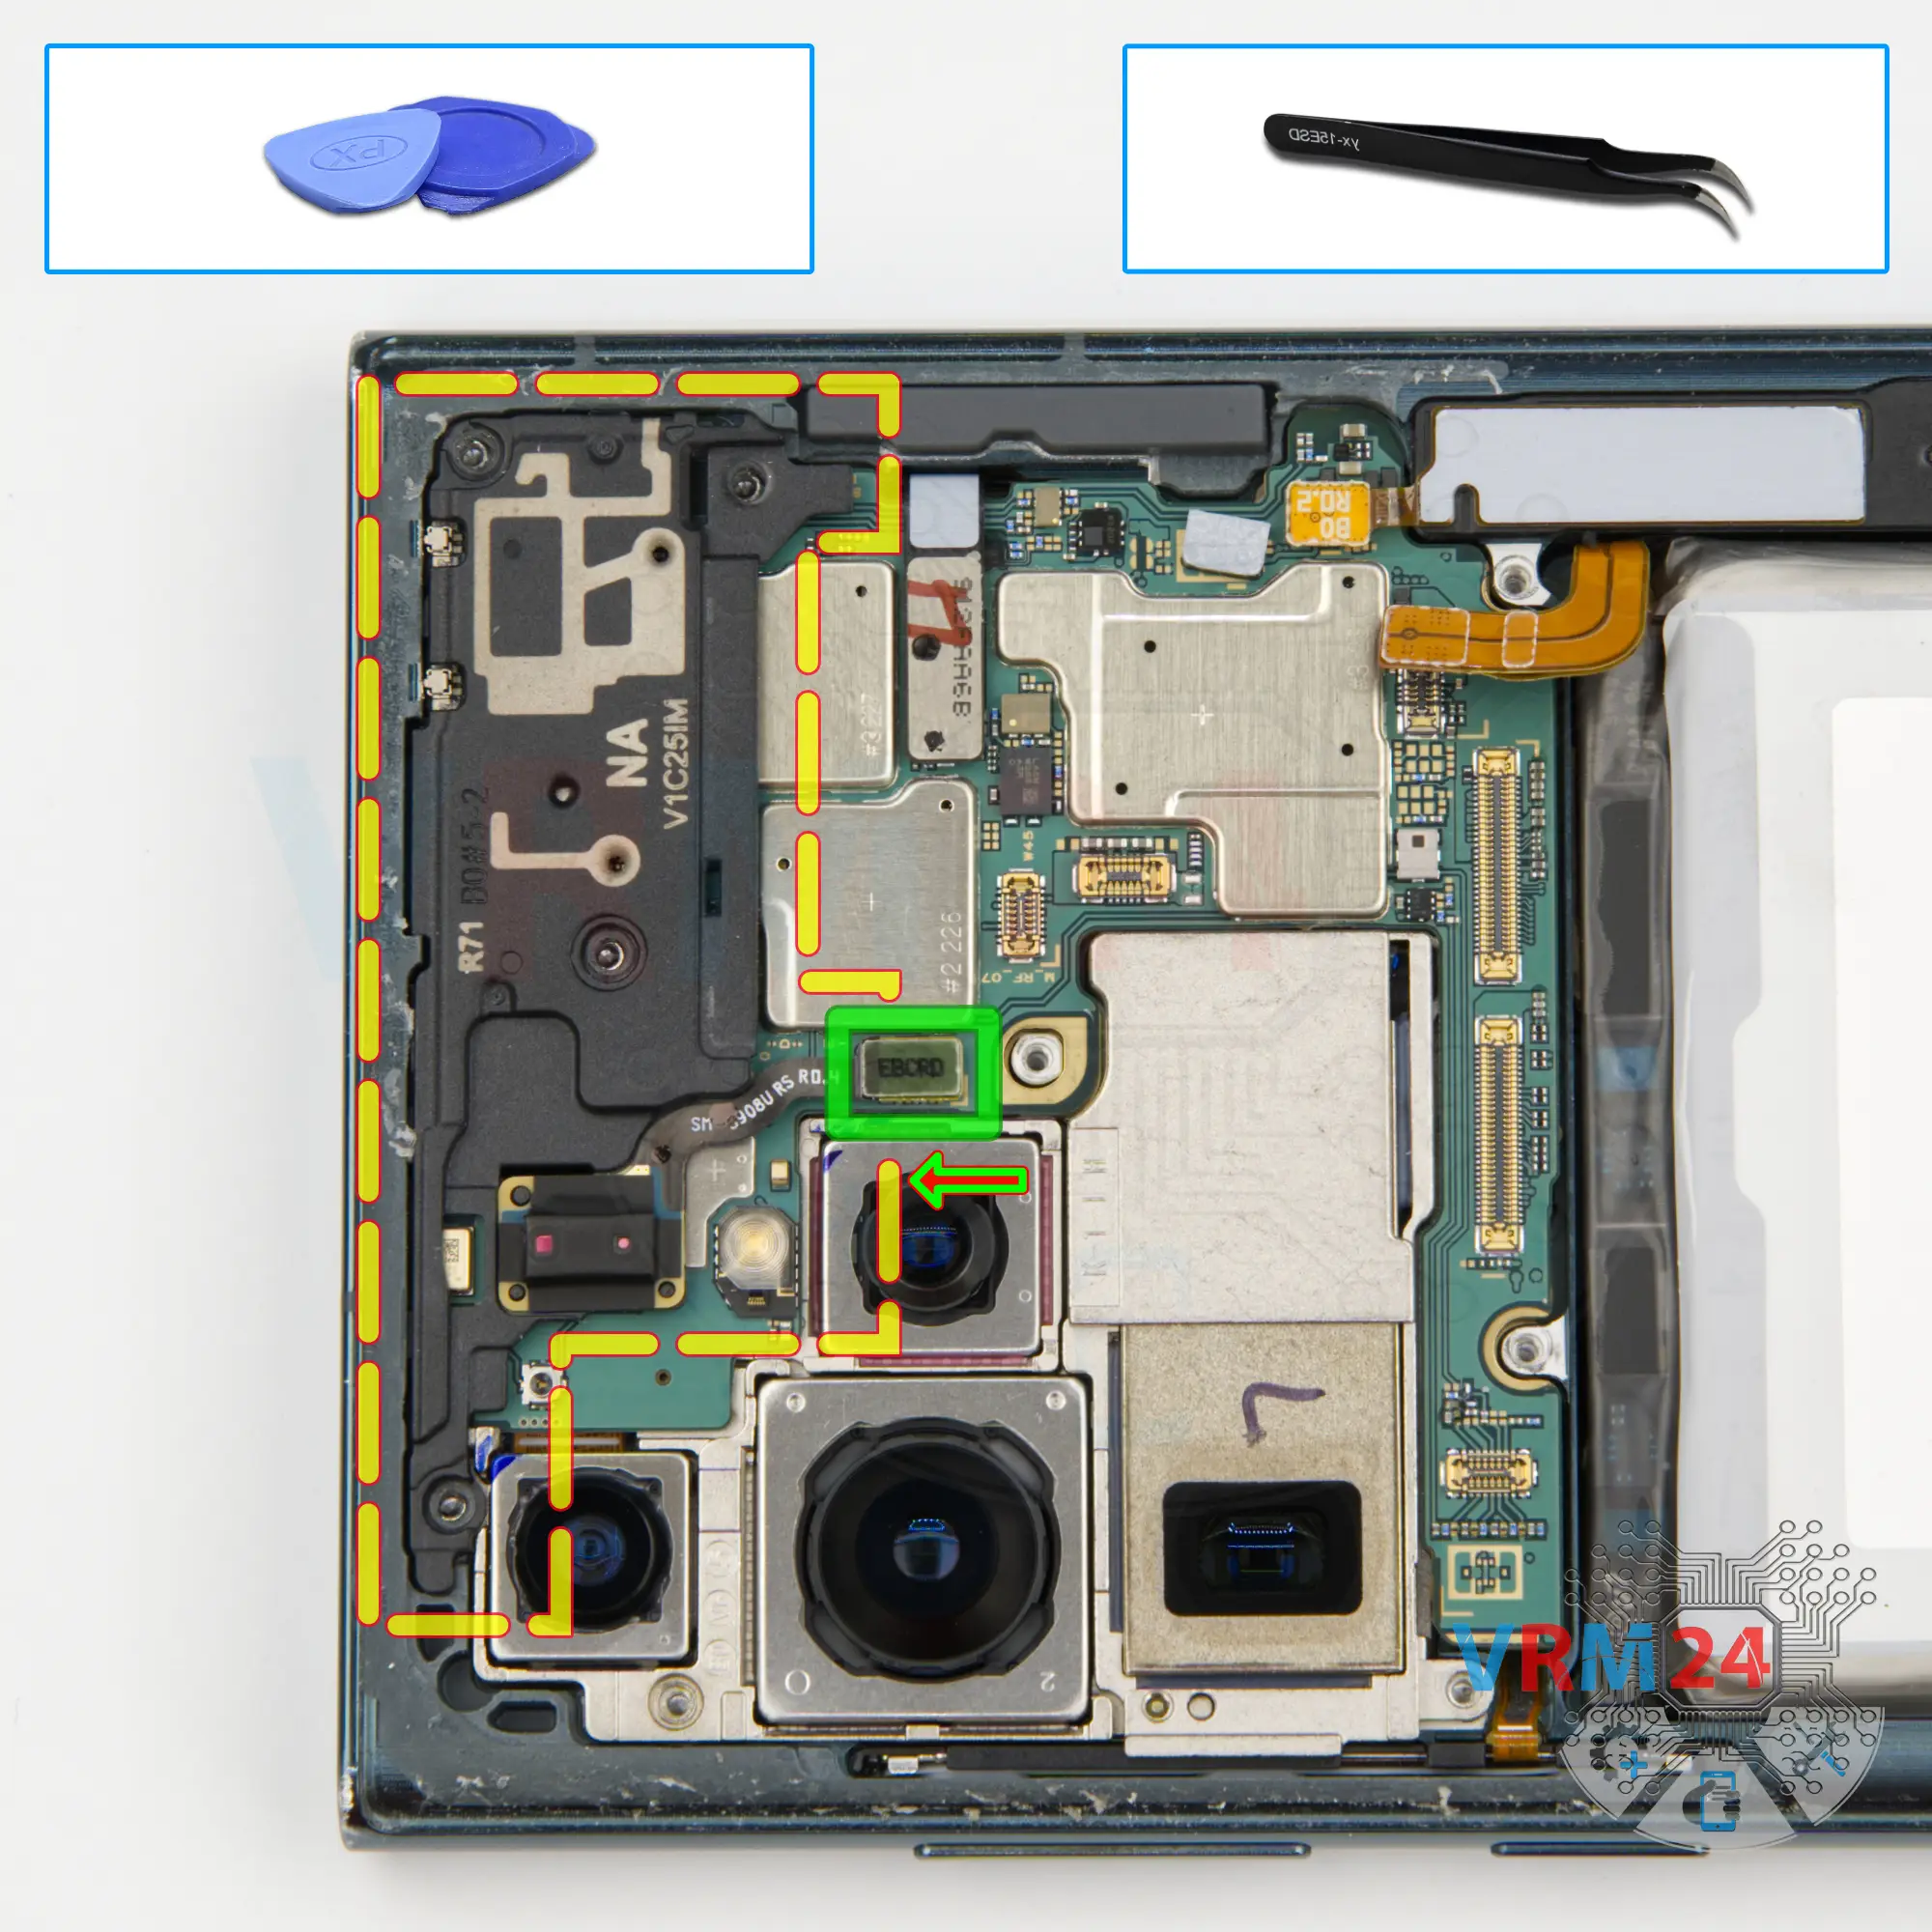
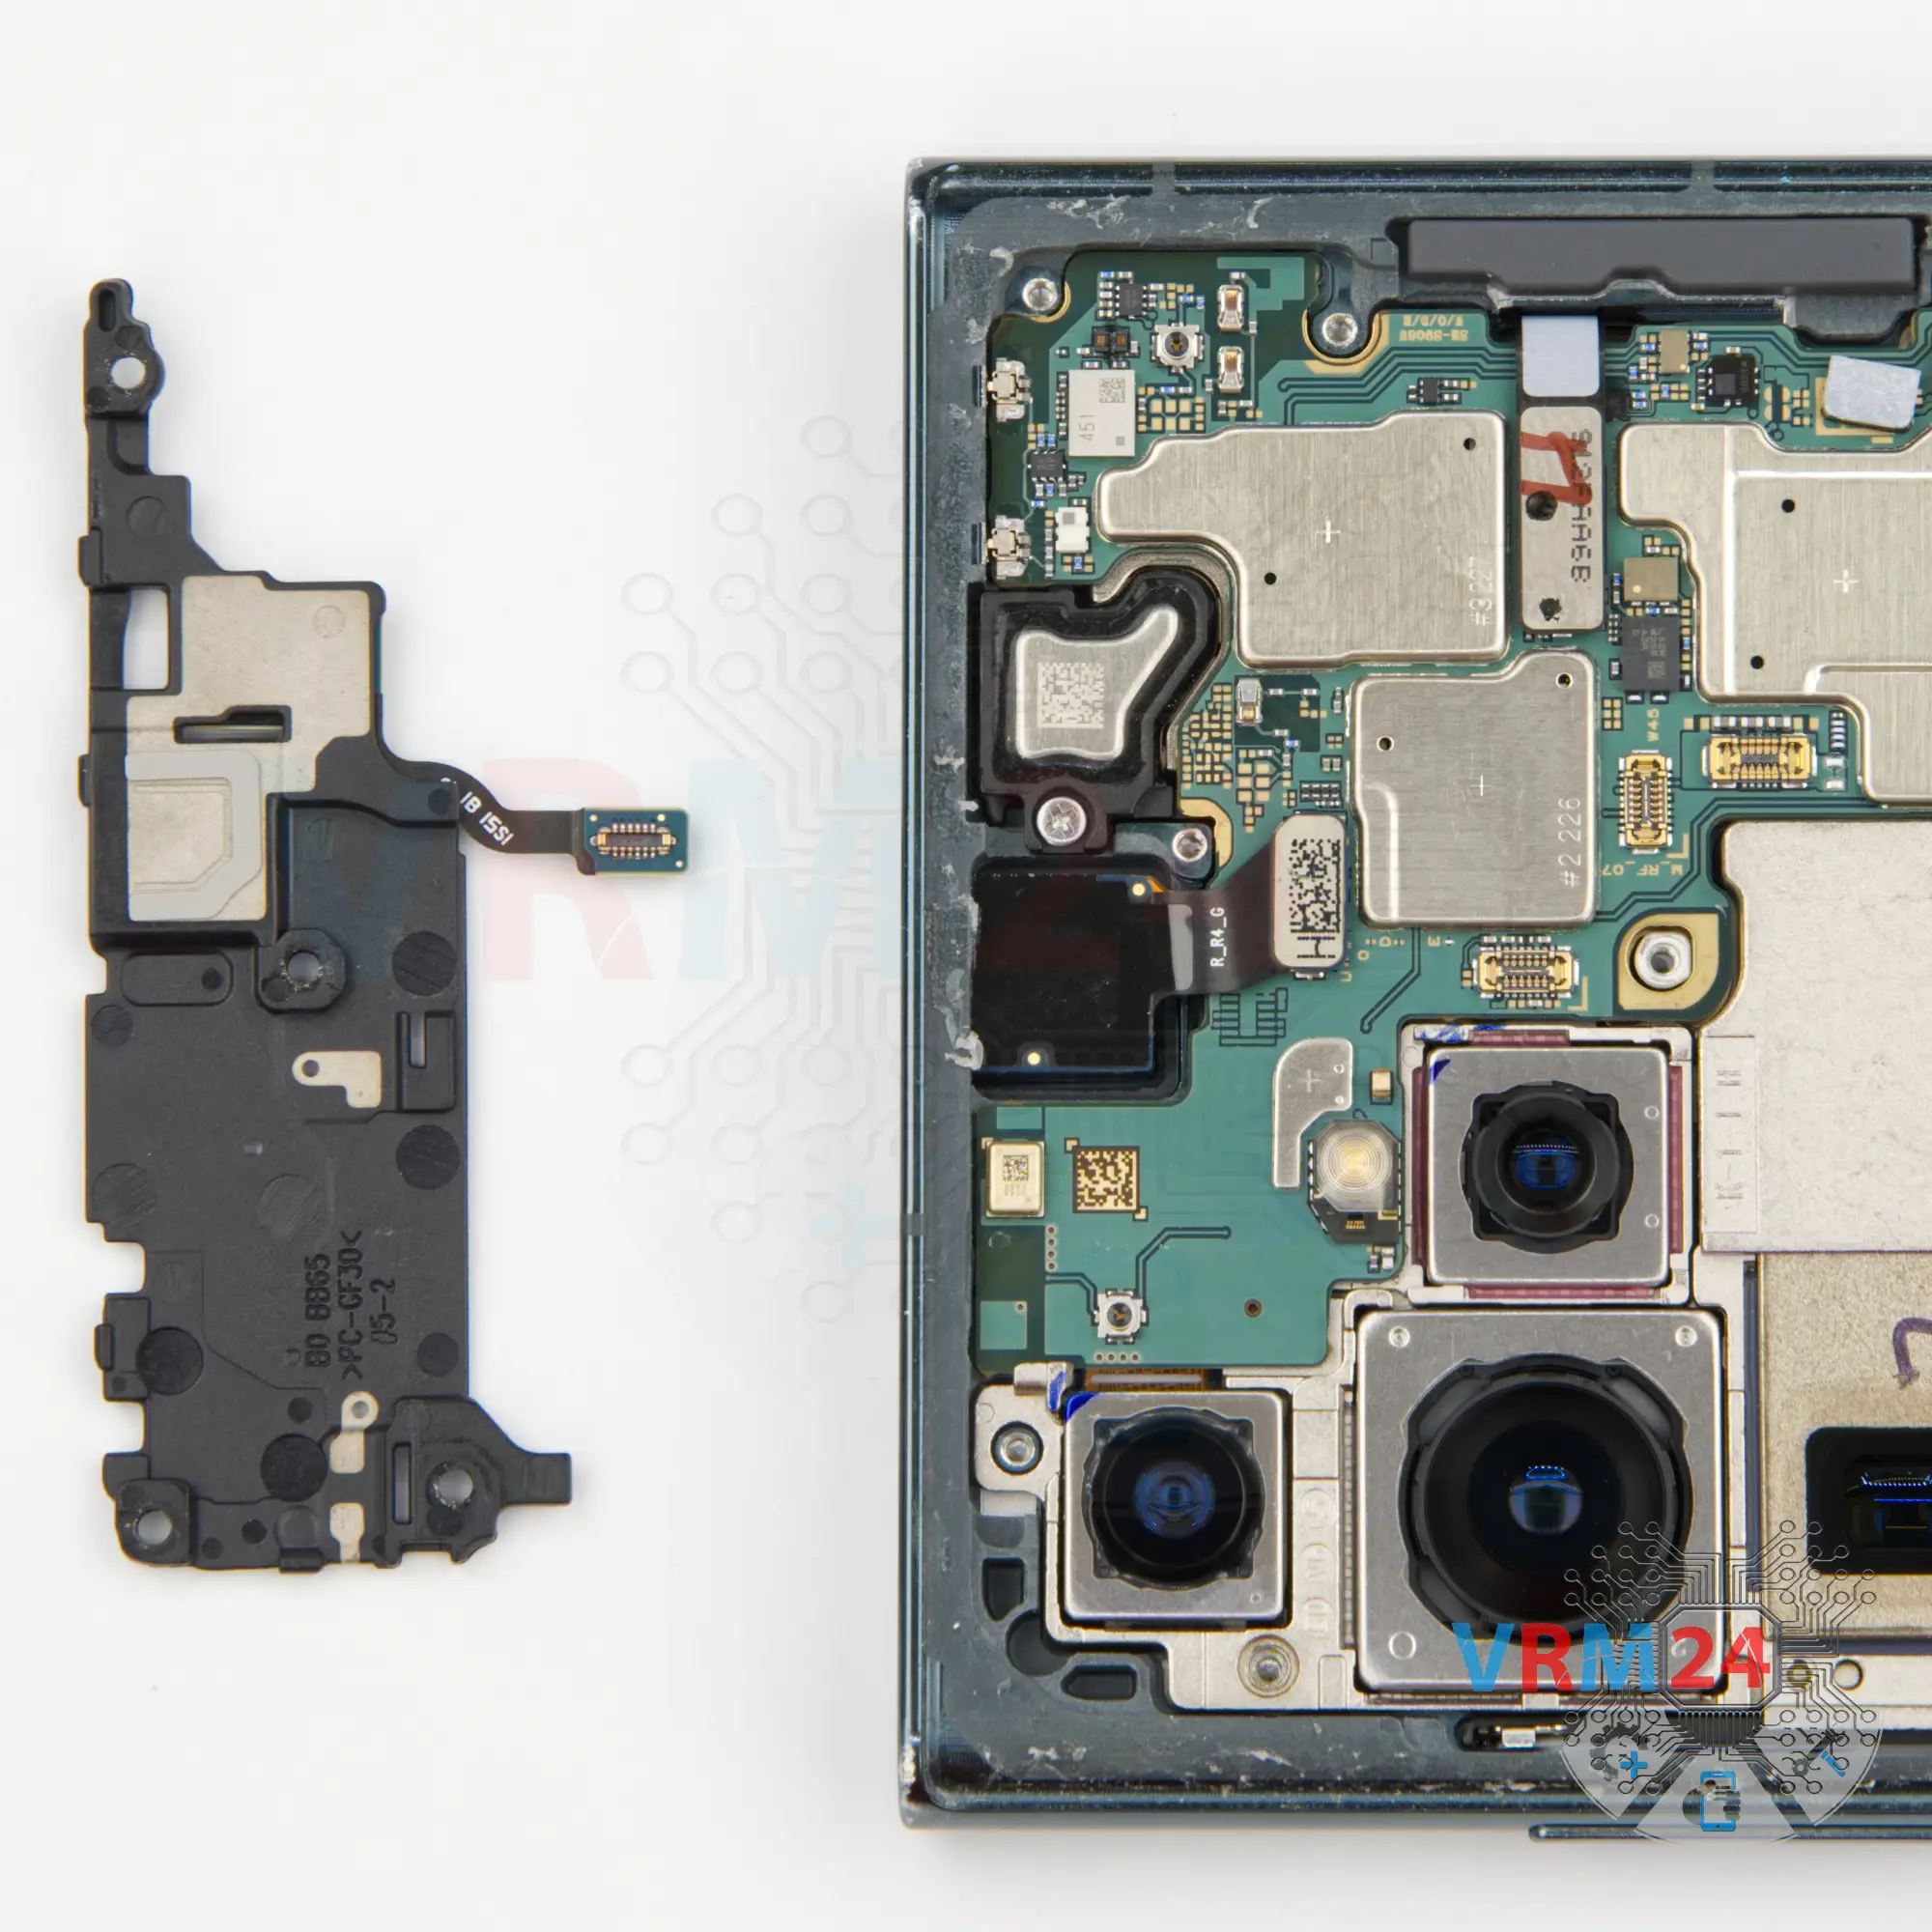
Step 9. Remove the loudspeaker
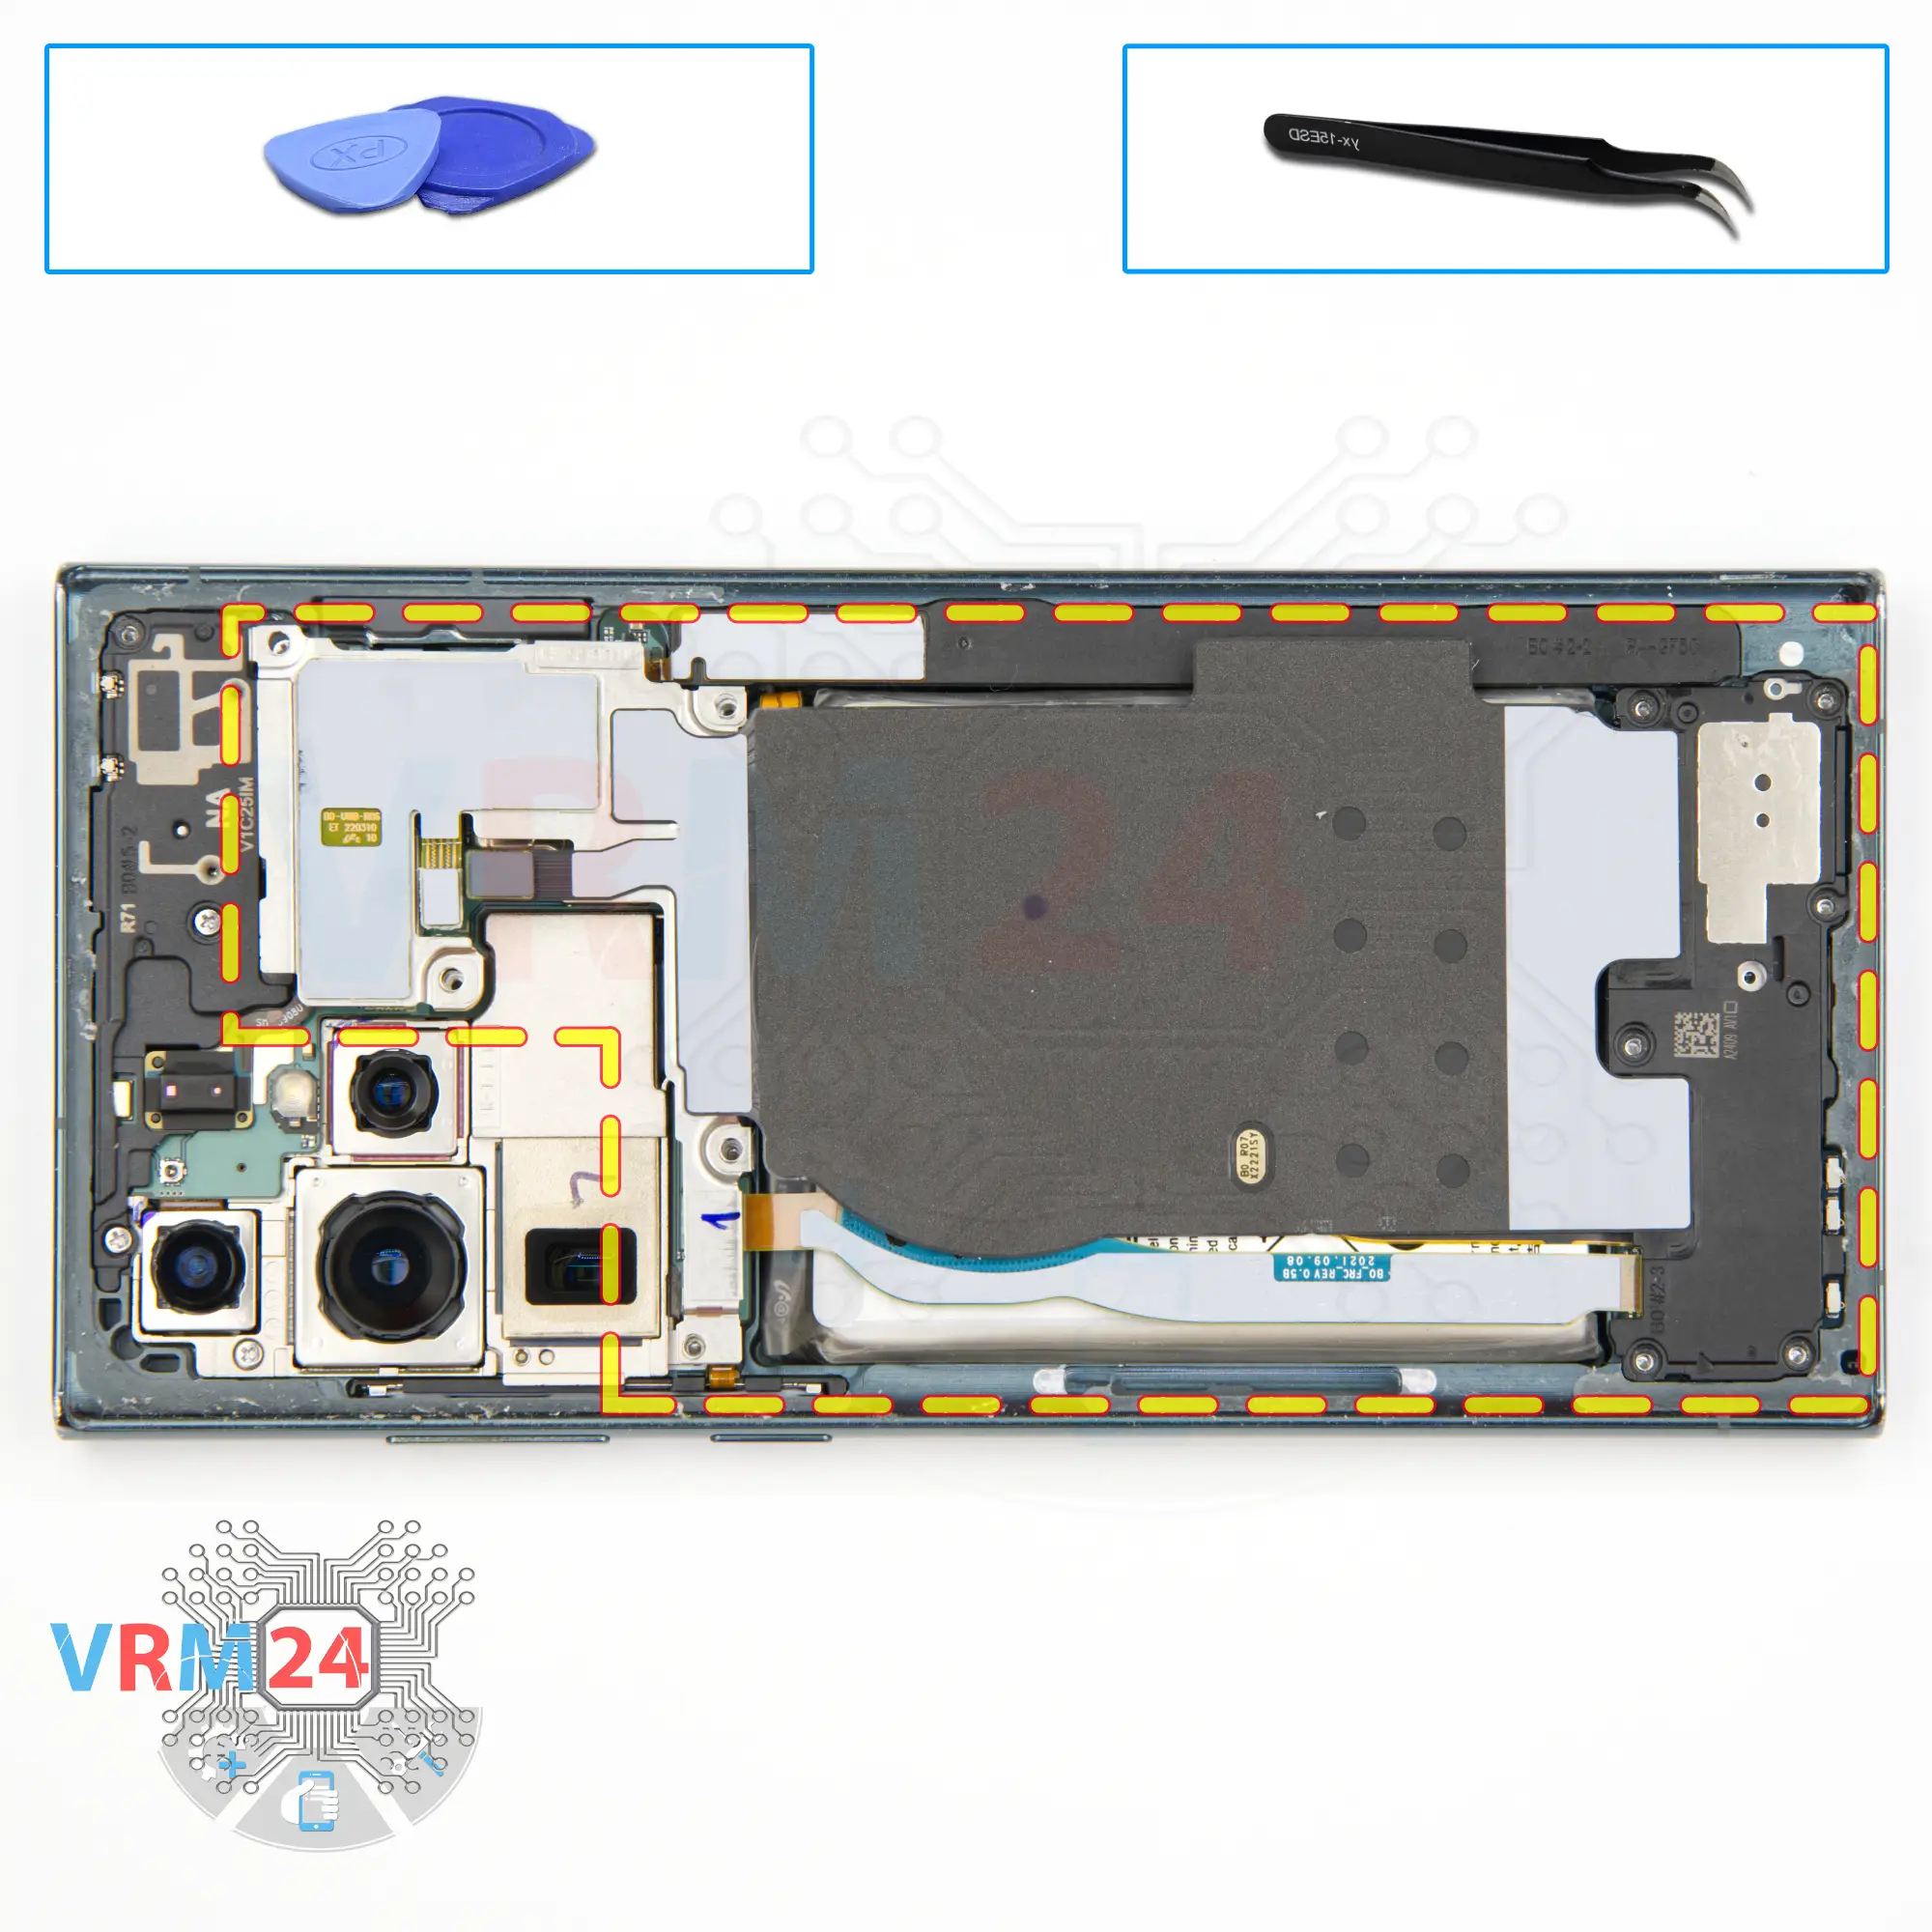
We can detach the cover with the speaker.
We find the right and convenient place to hook the cover and lift it off.
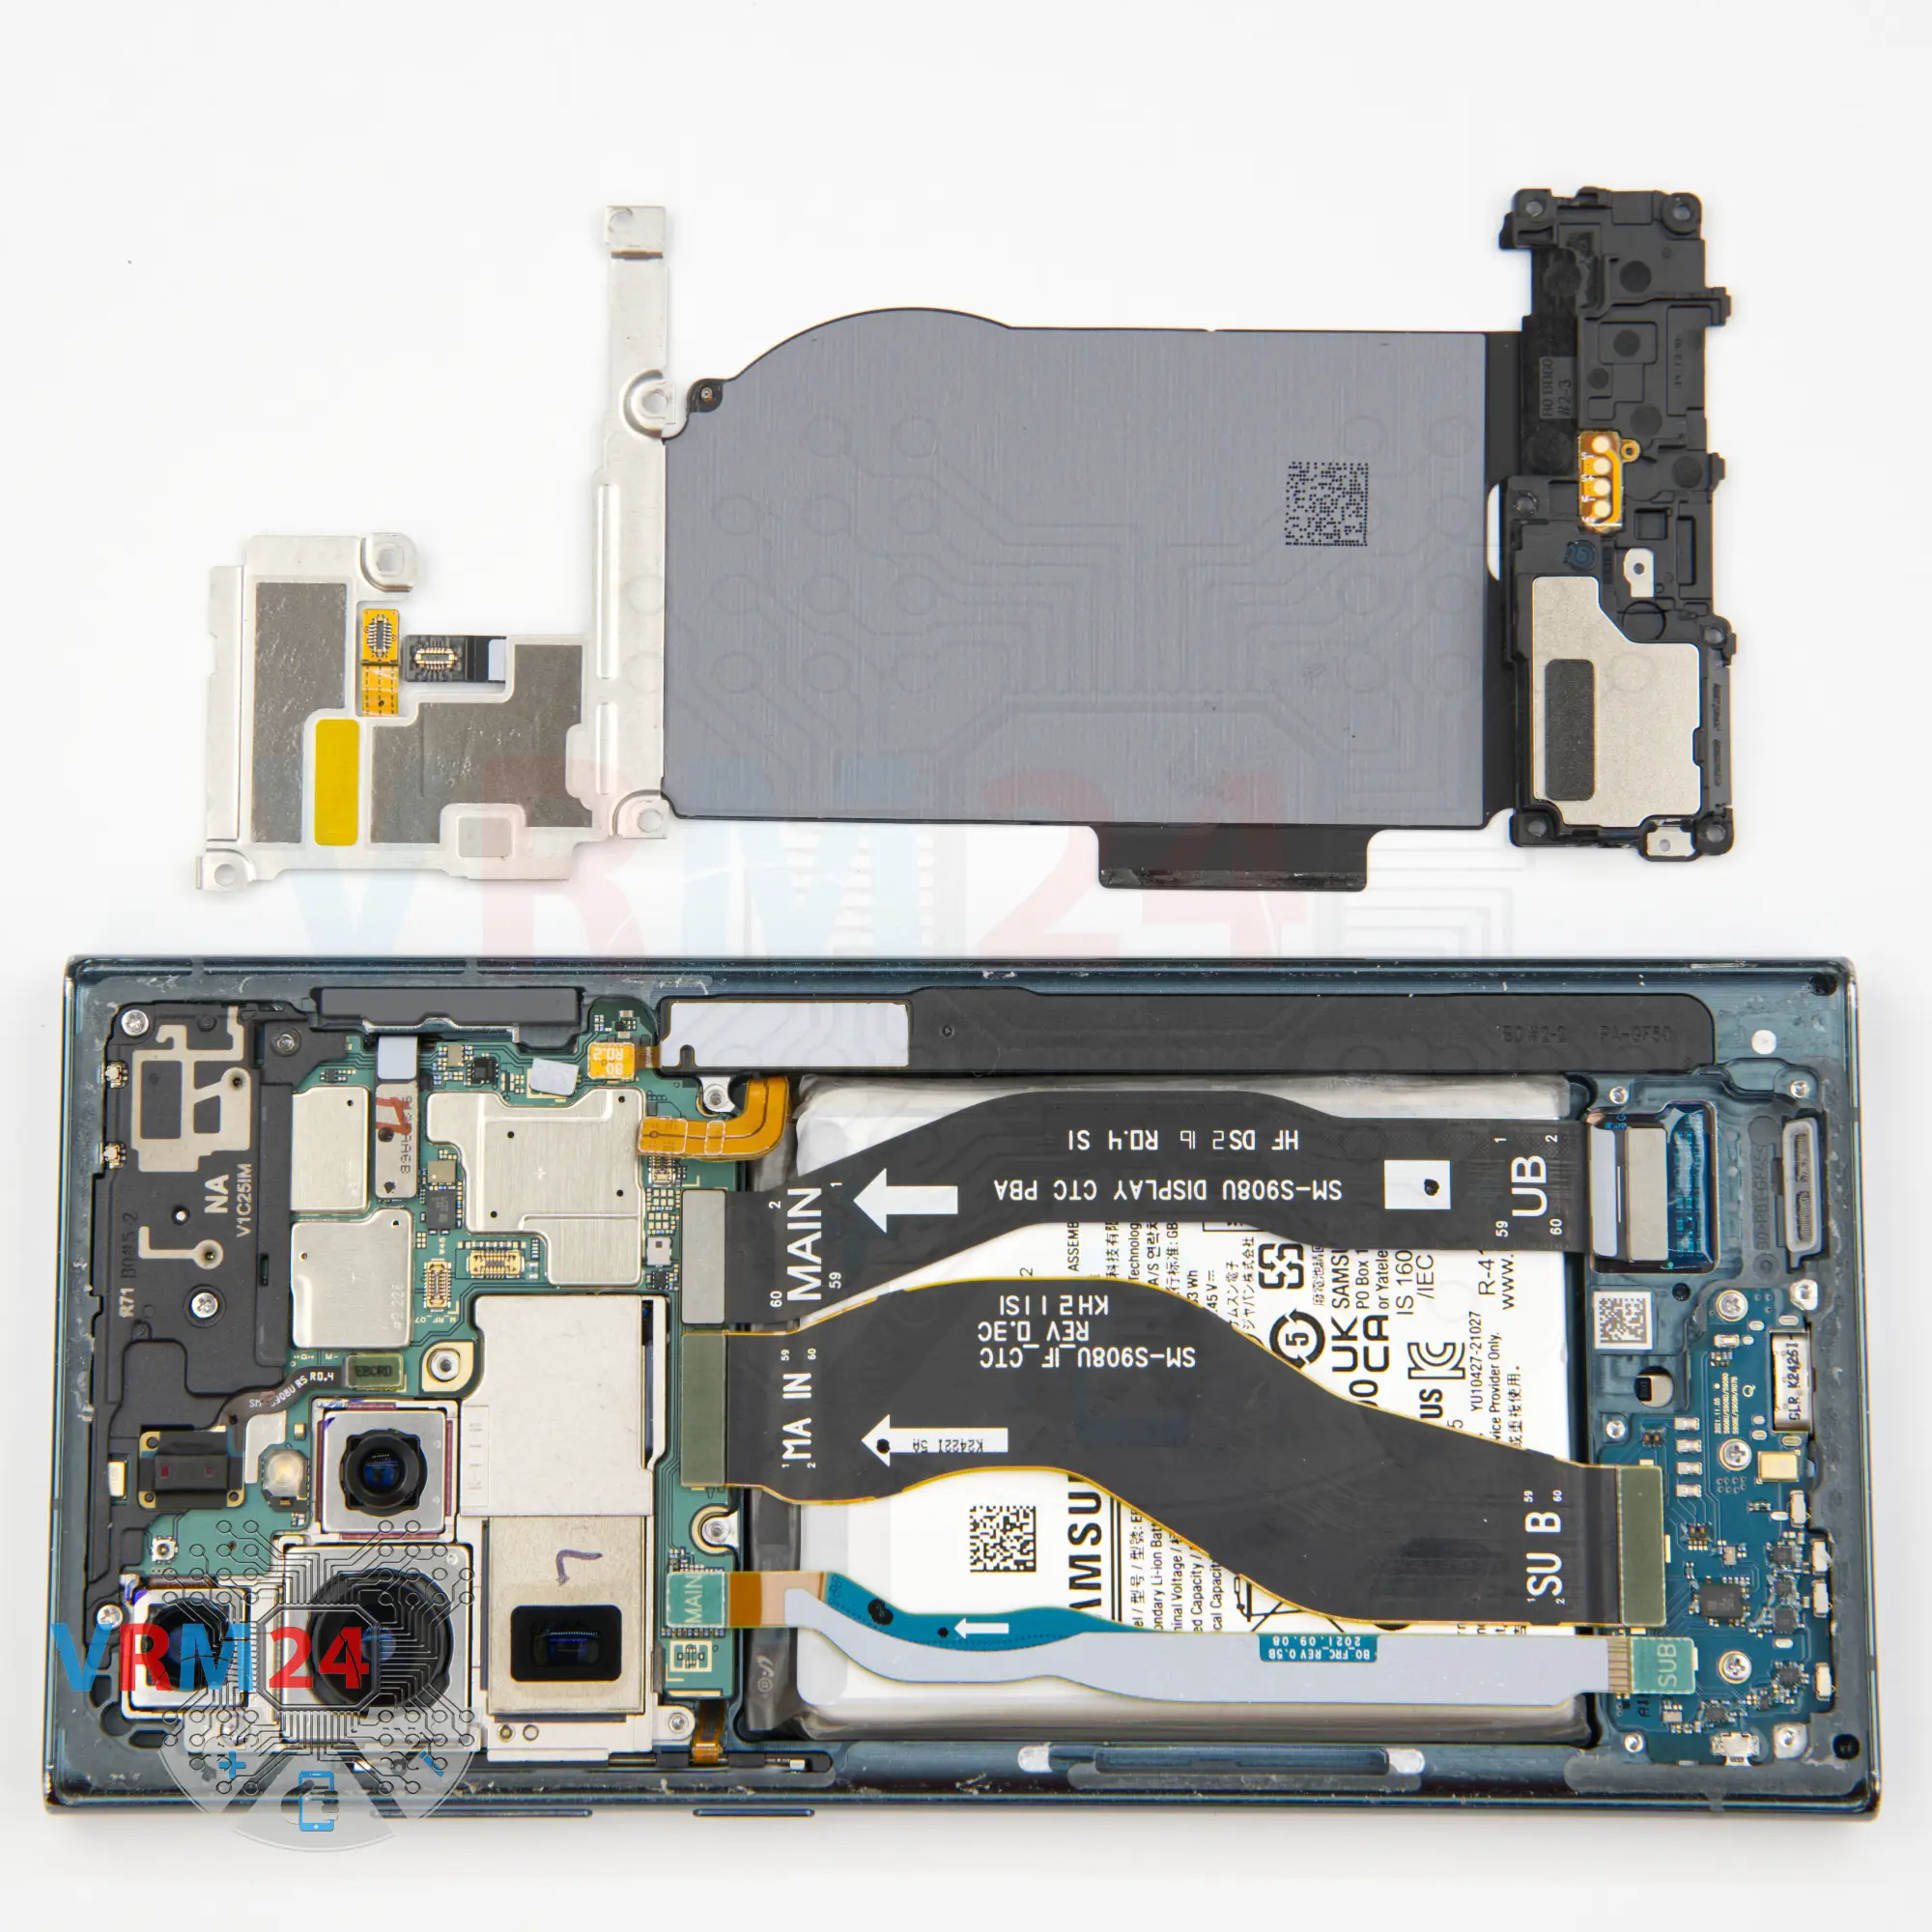
And we can remove the whole assembly.
As we can see here, we have NFC, wireless charging and loudspeaker.
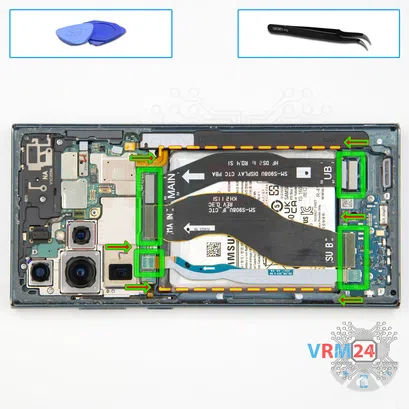

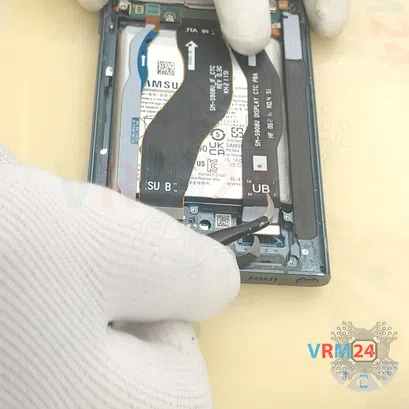

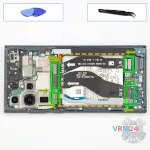
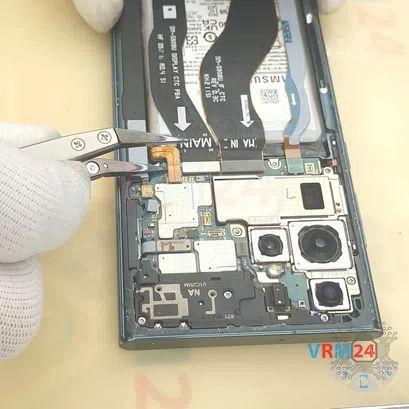
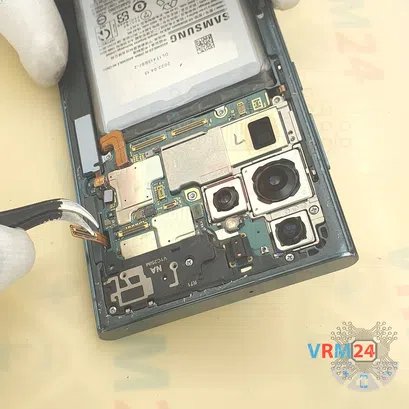
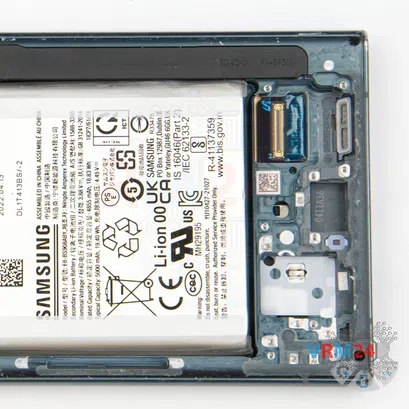
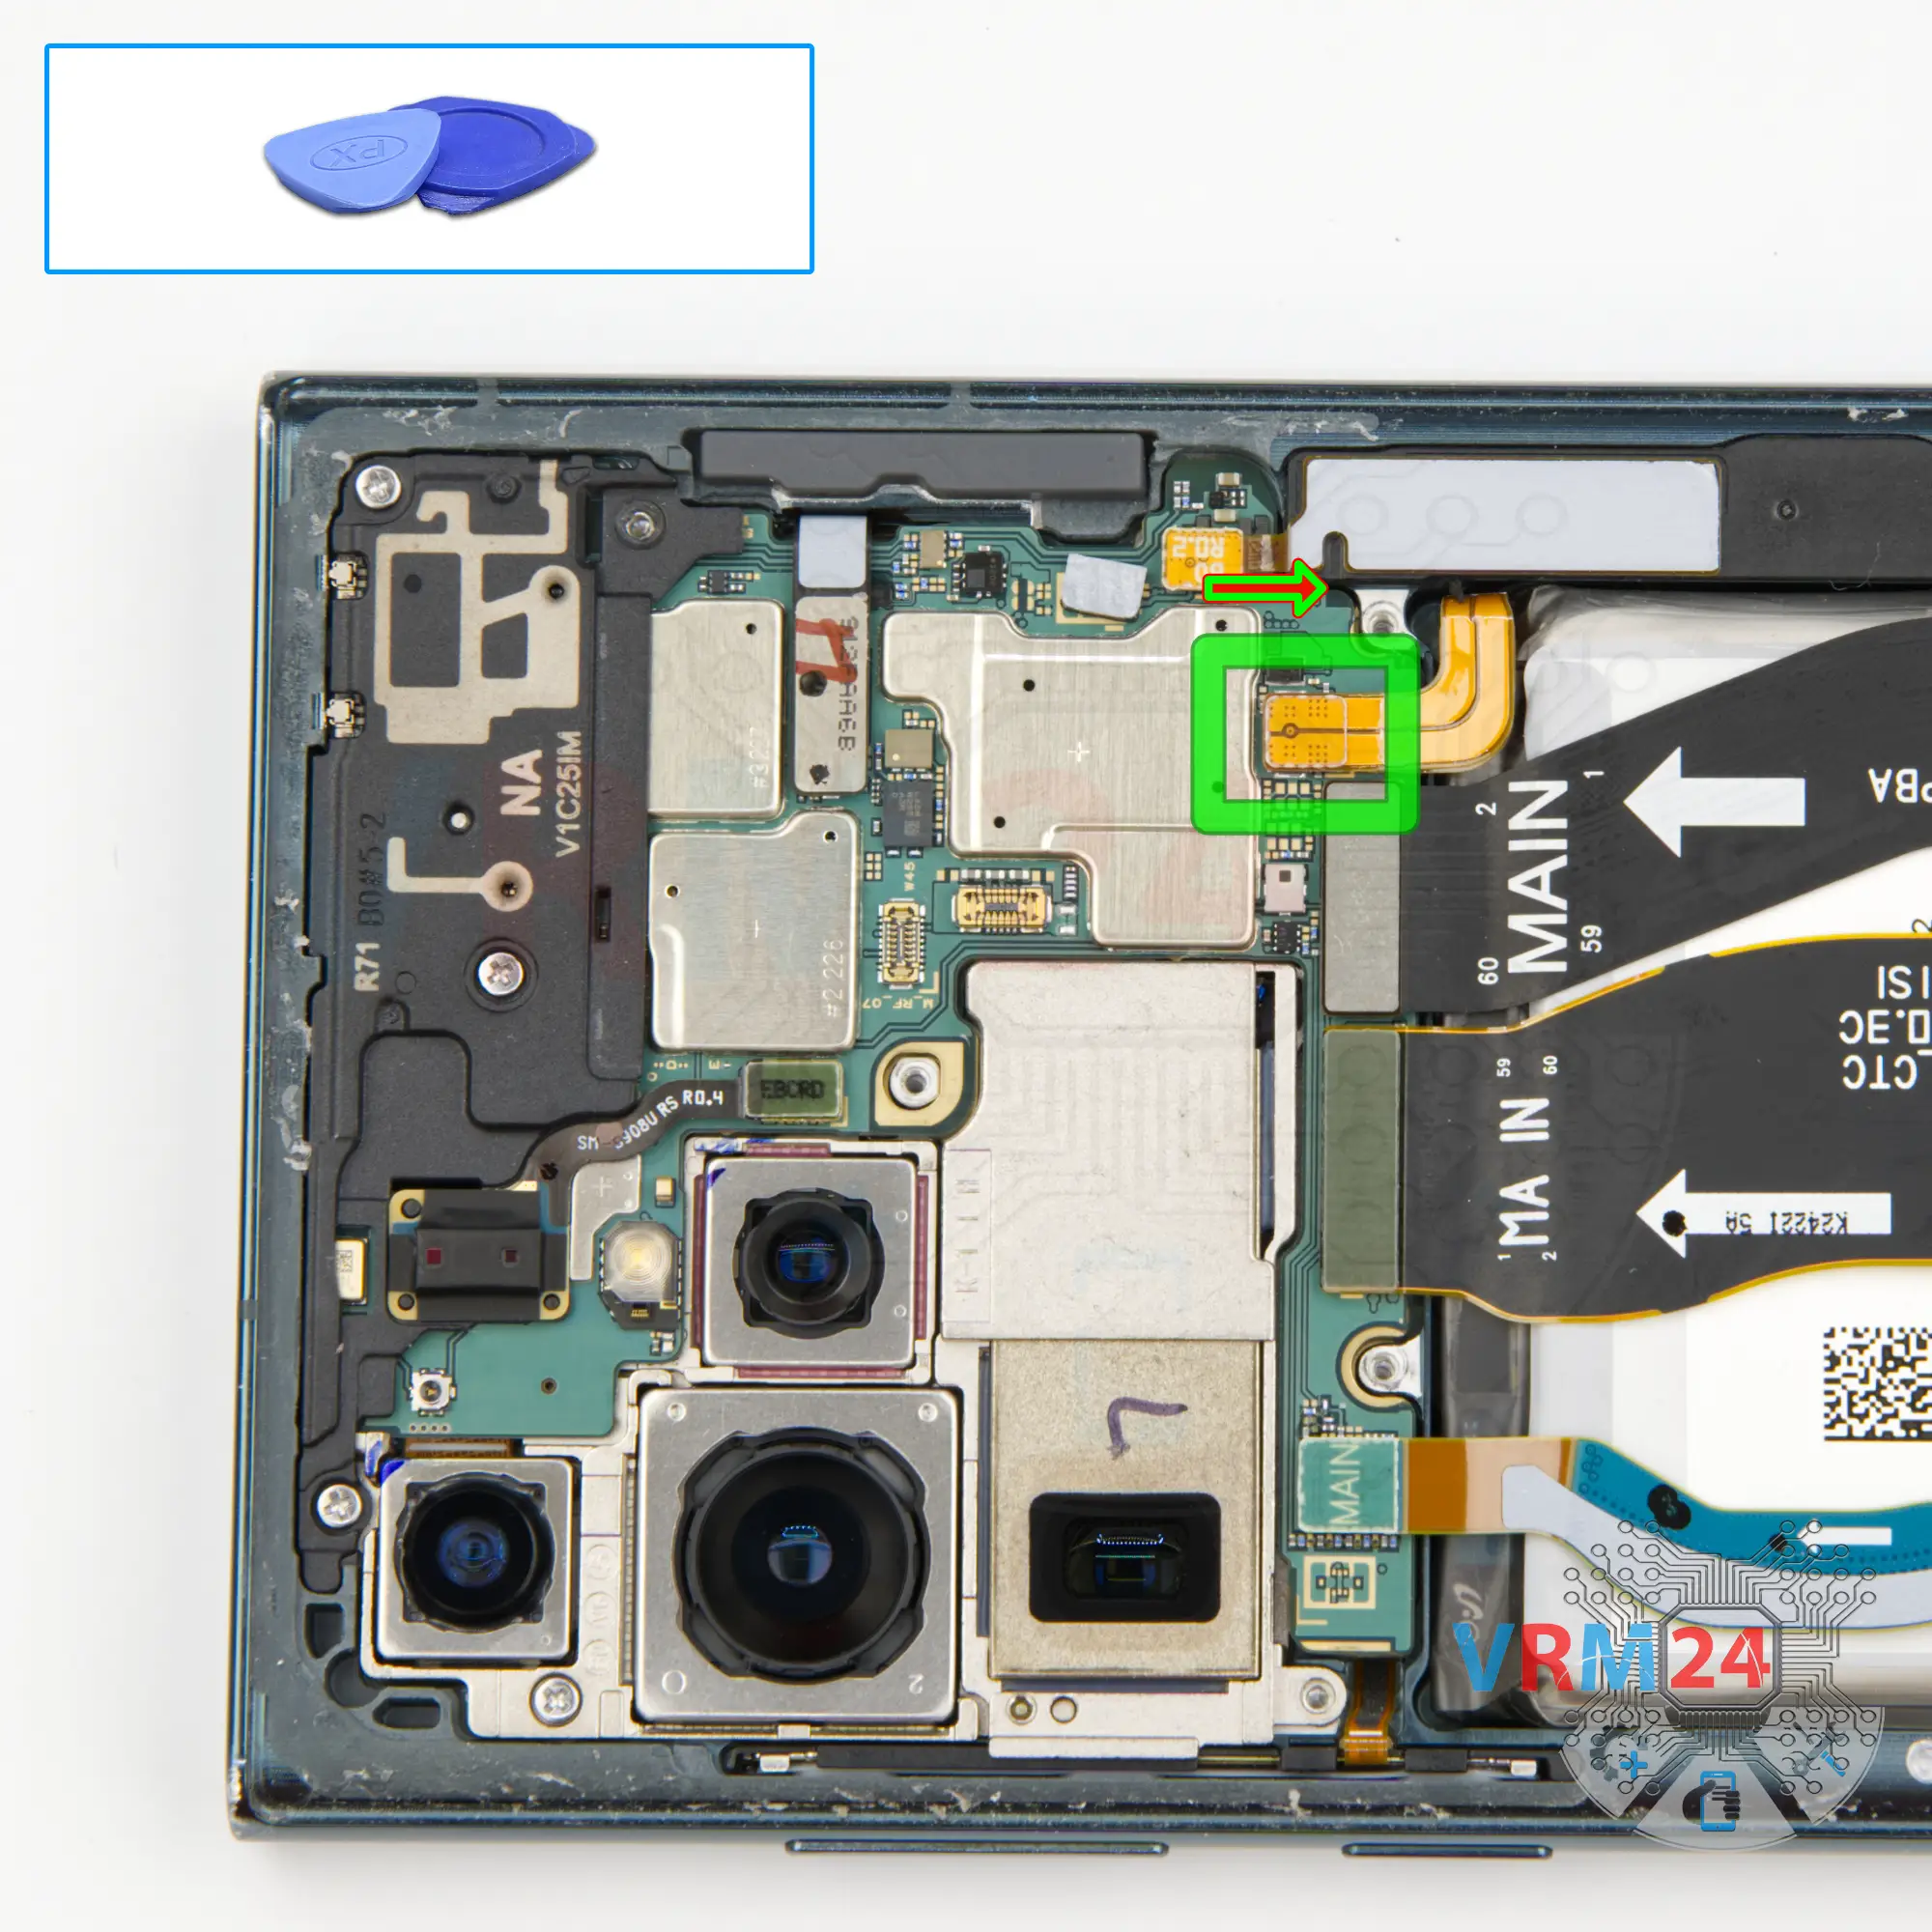
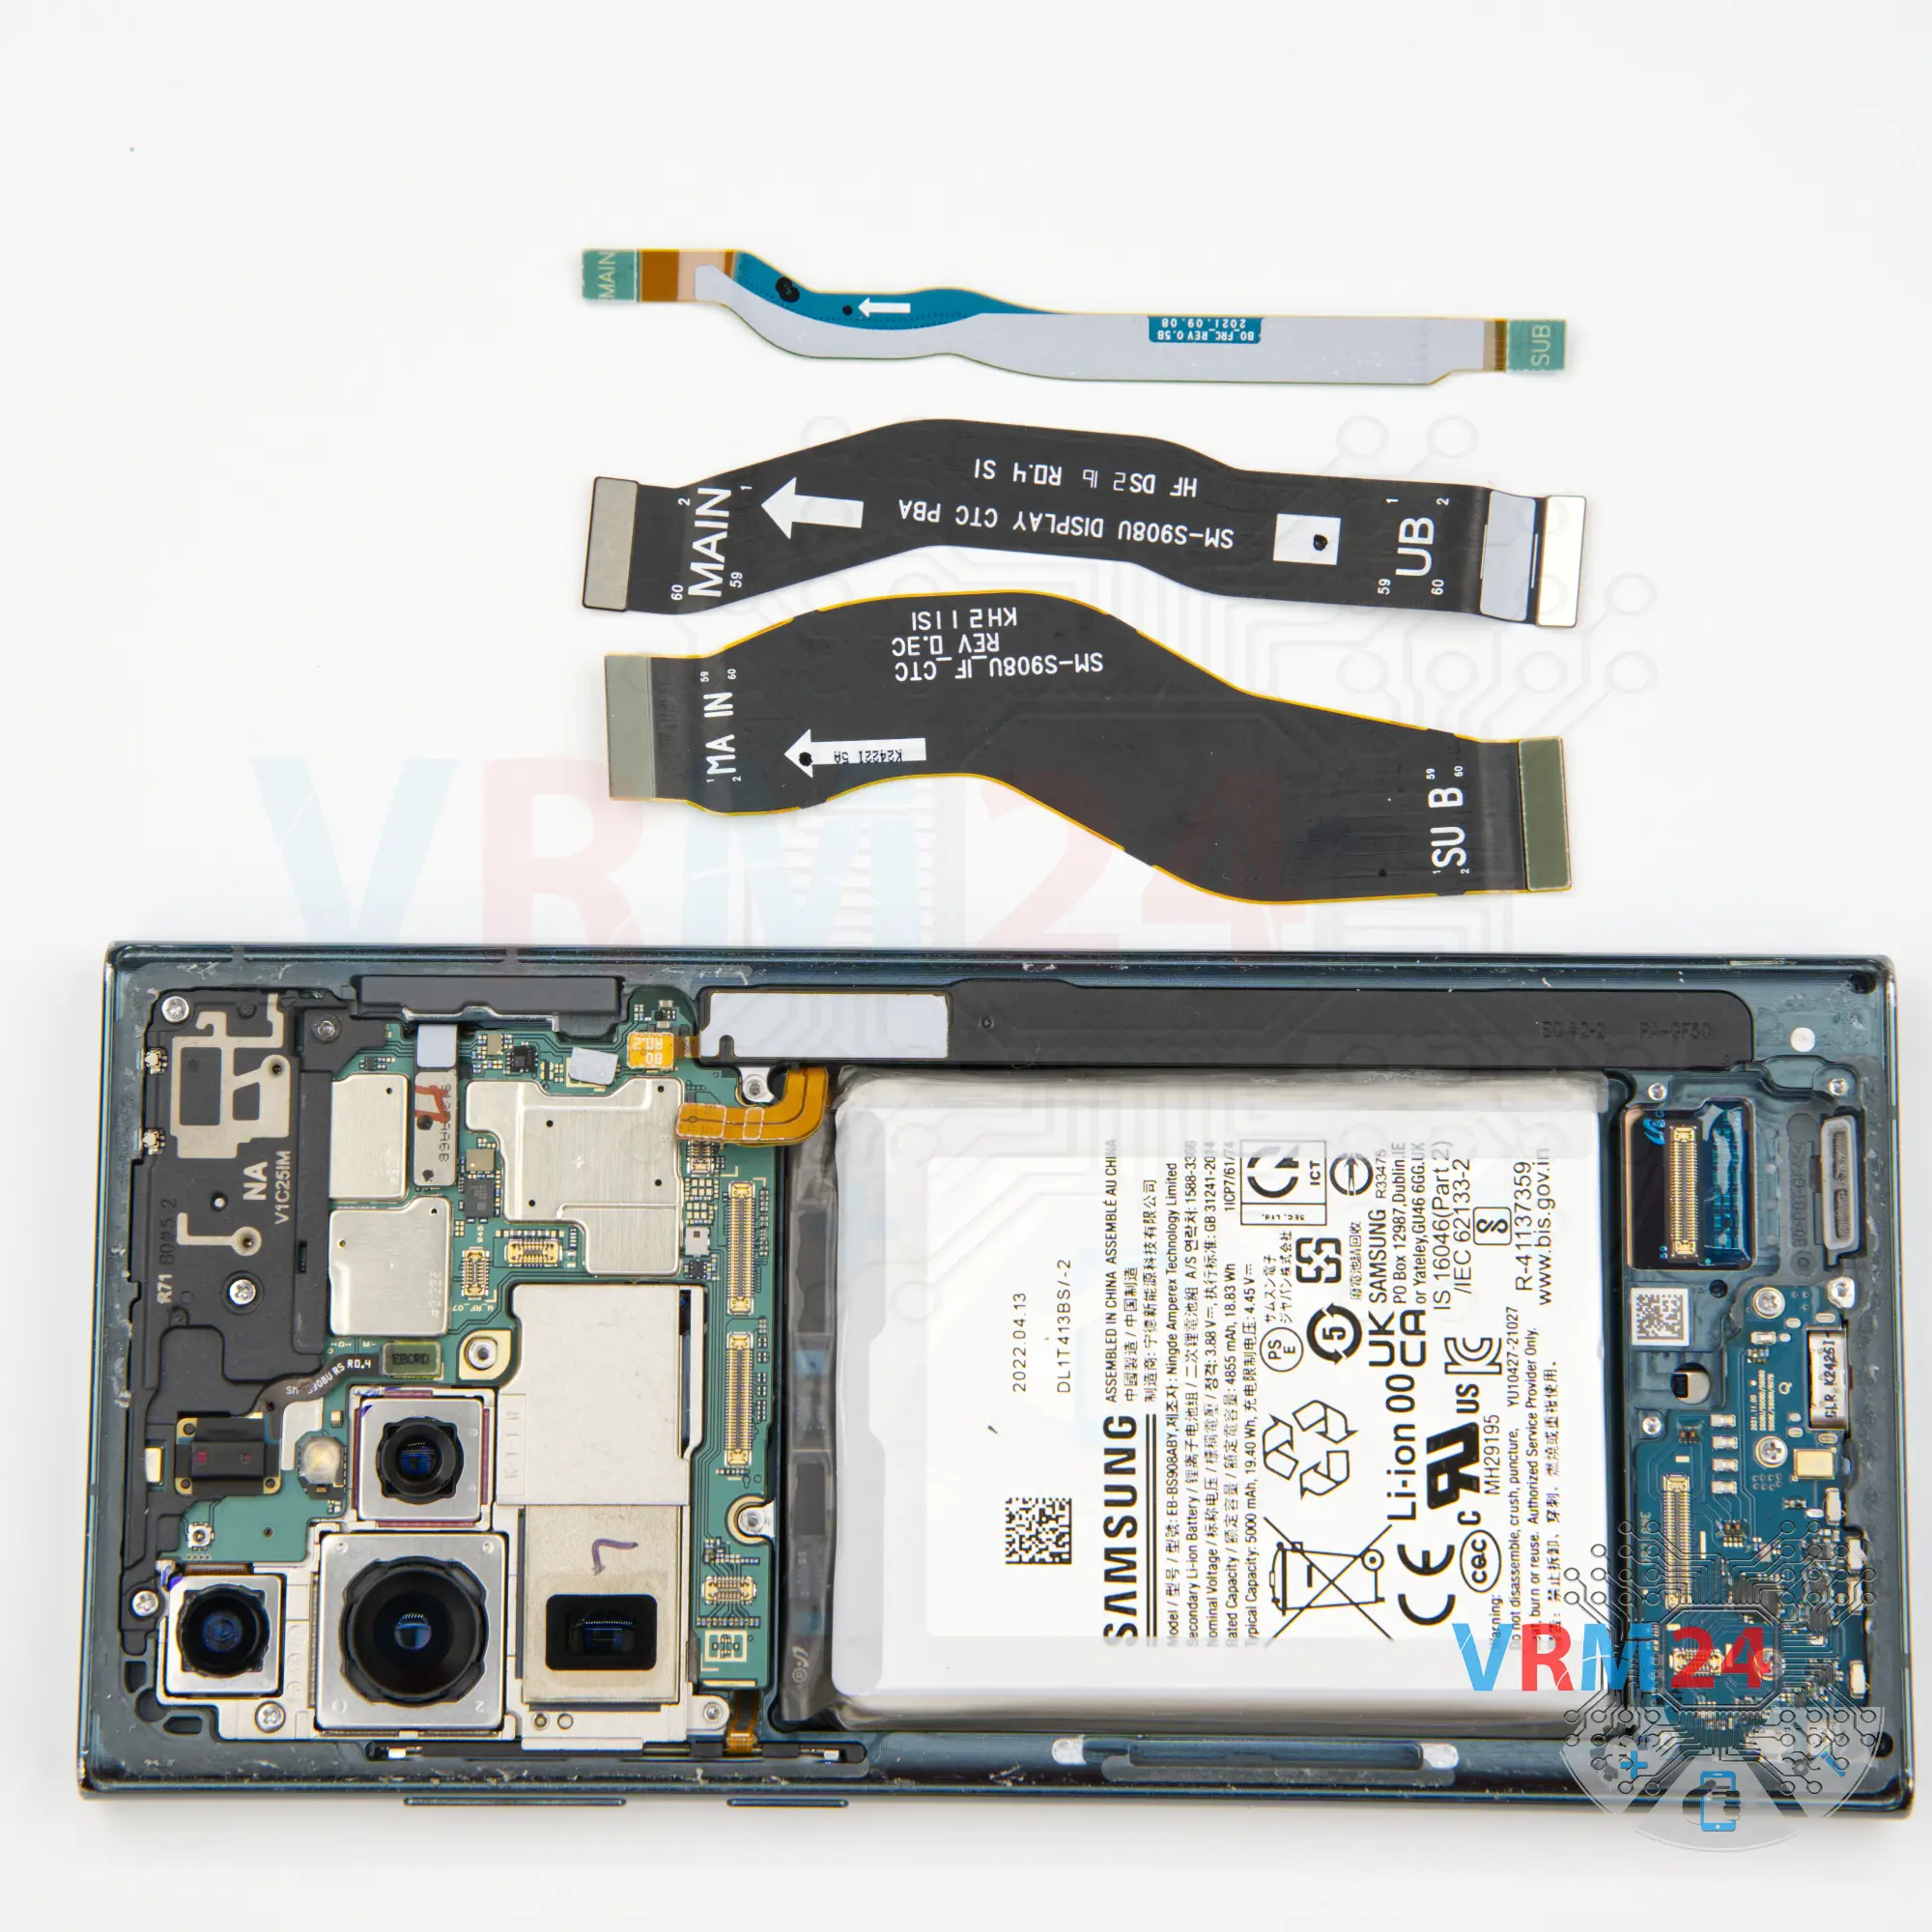
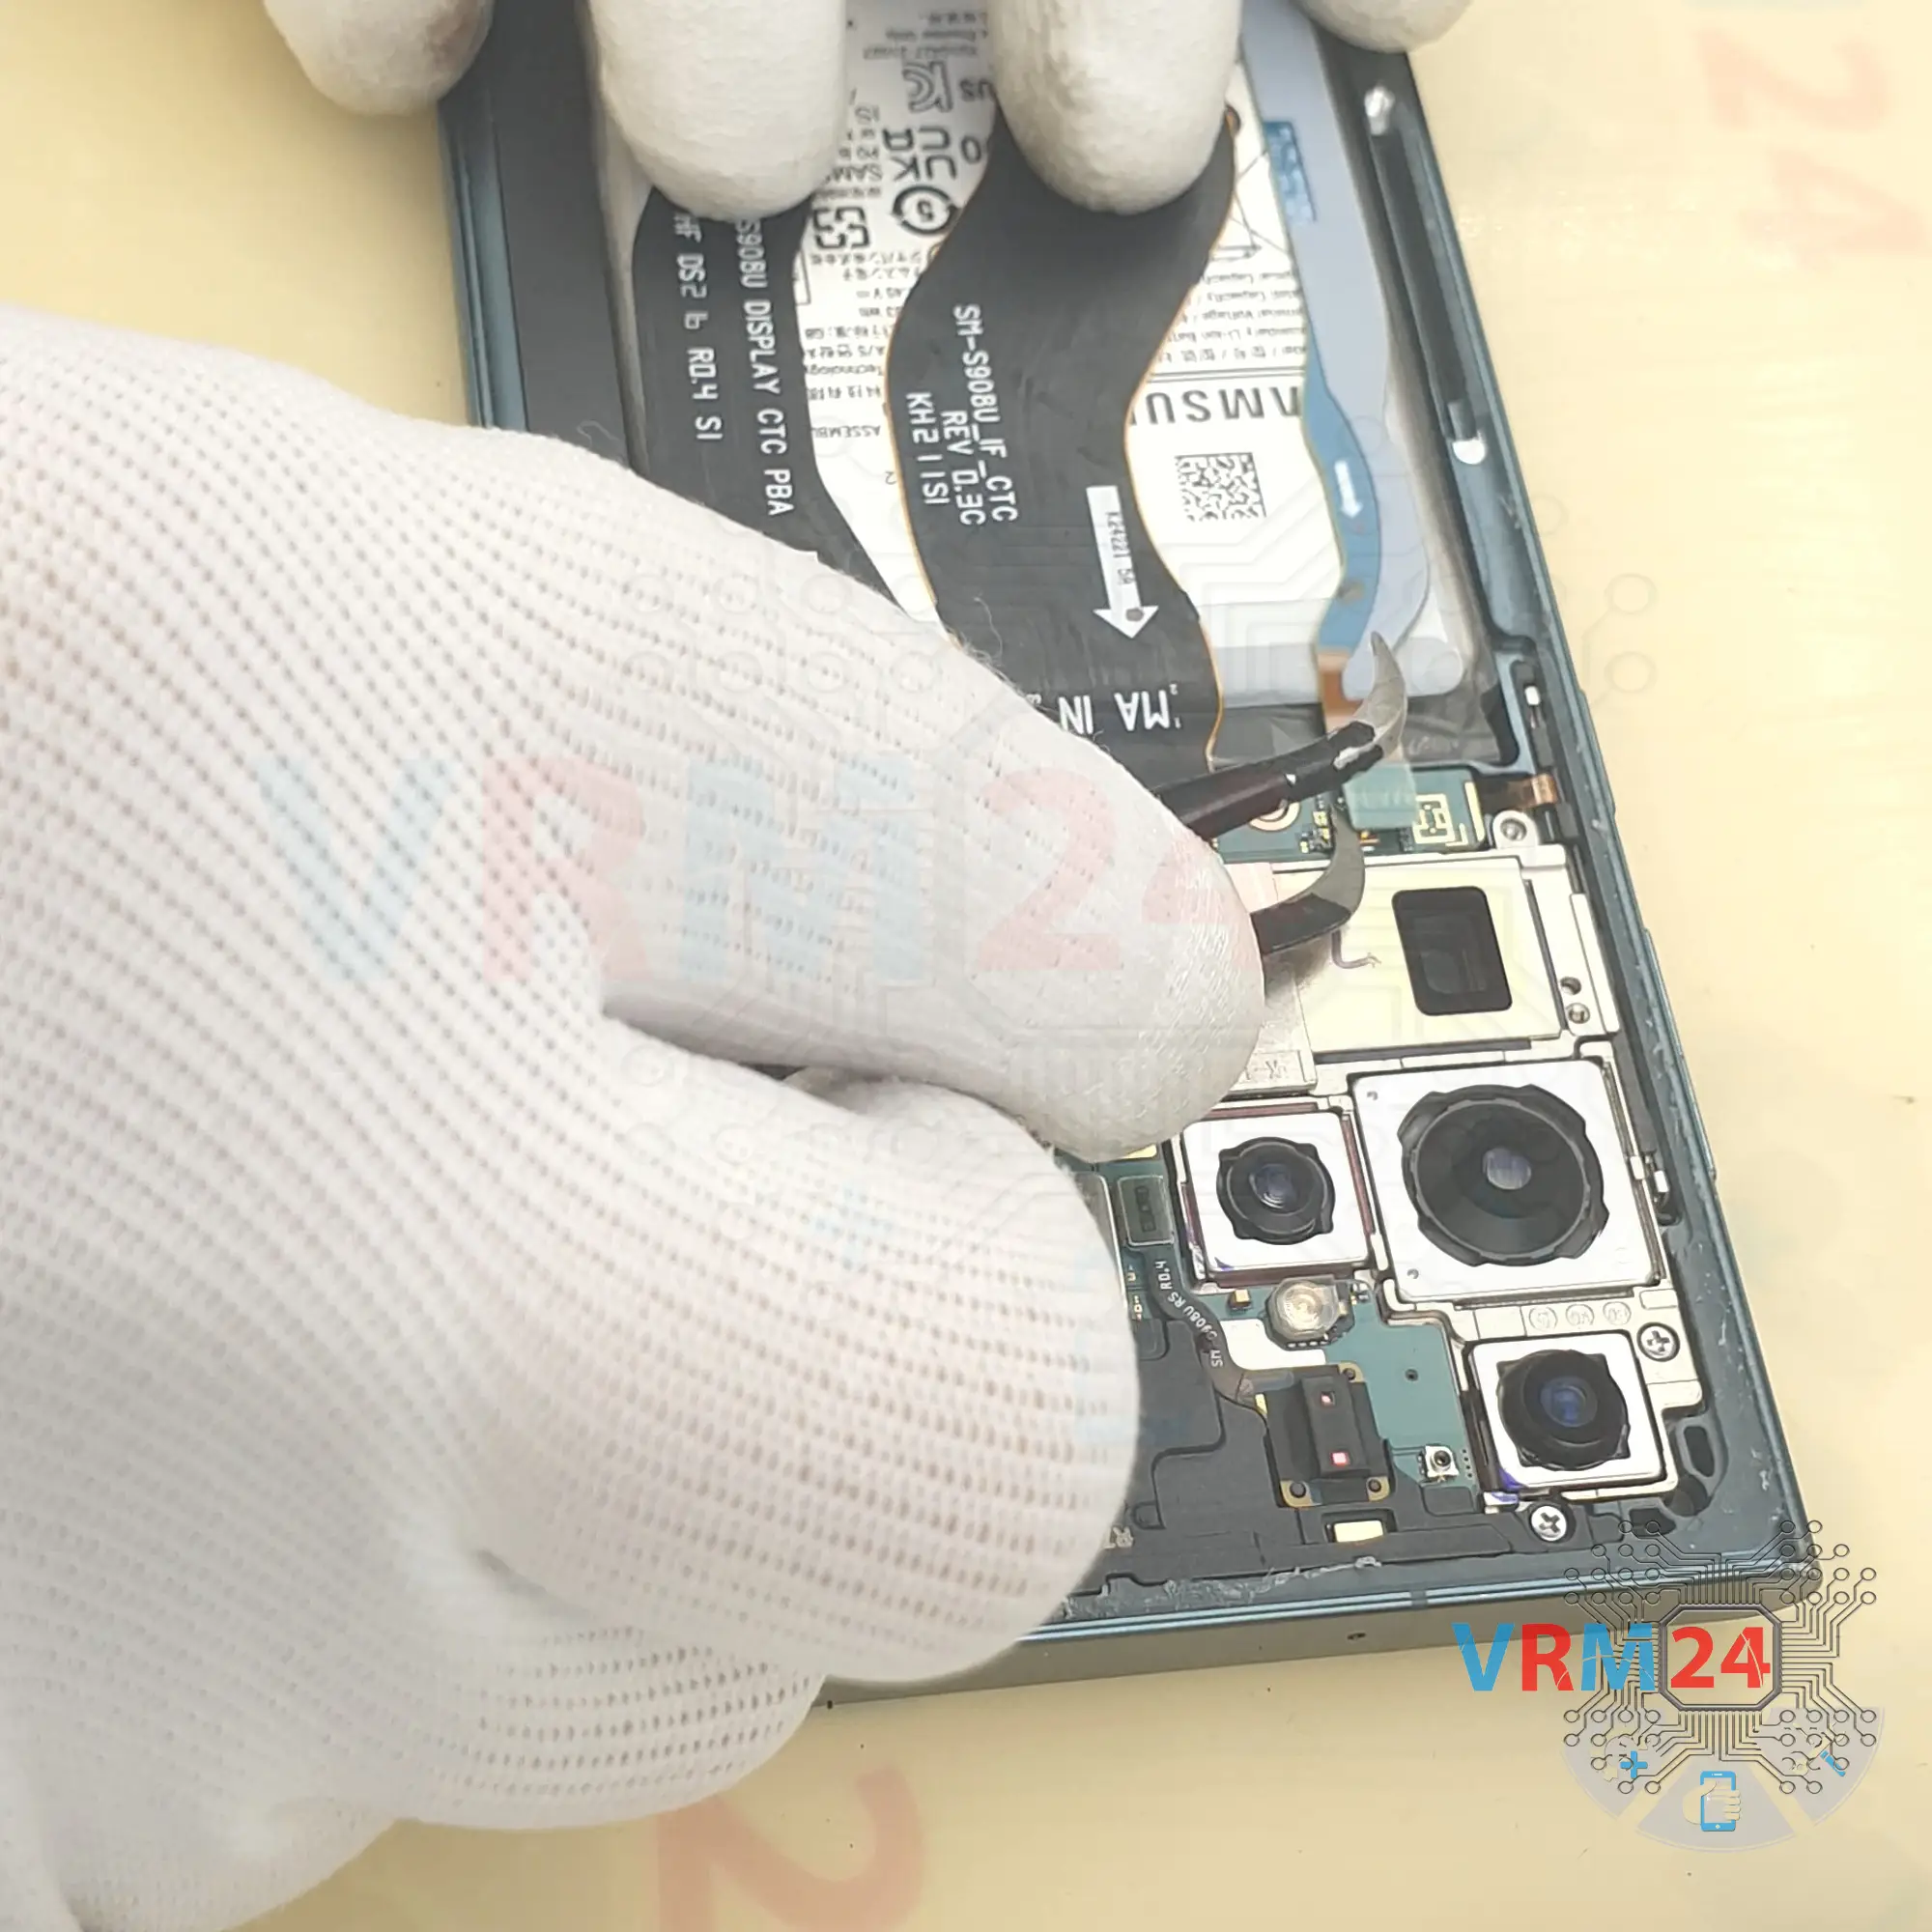
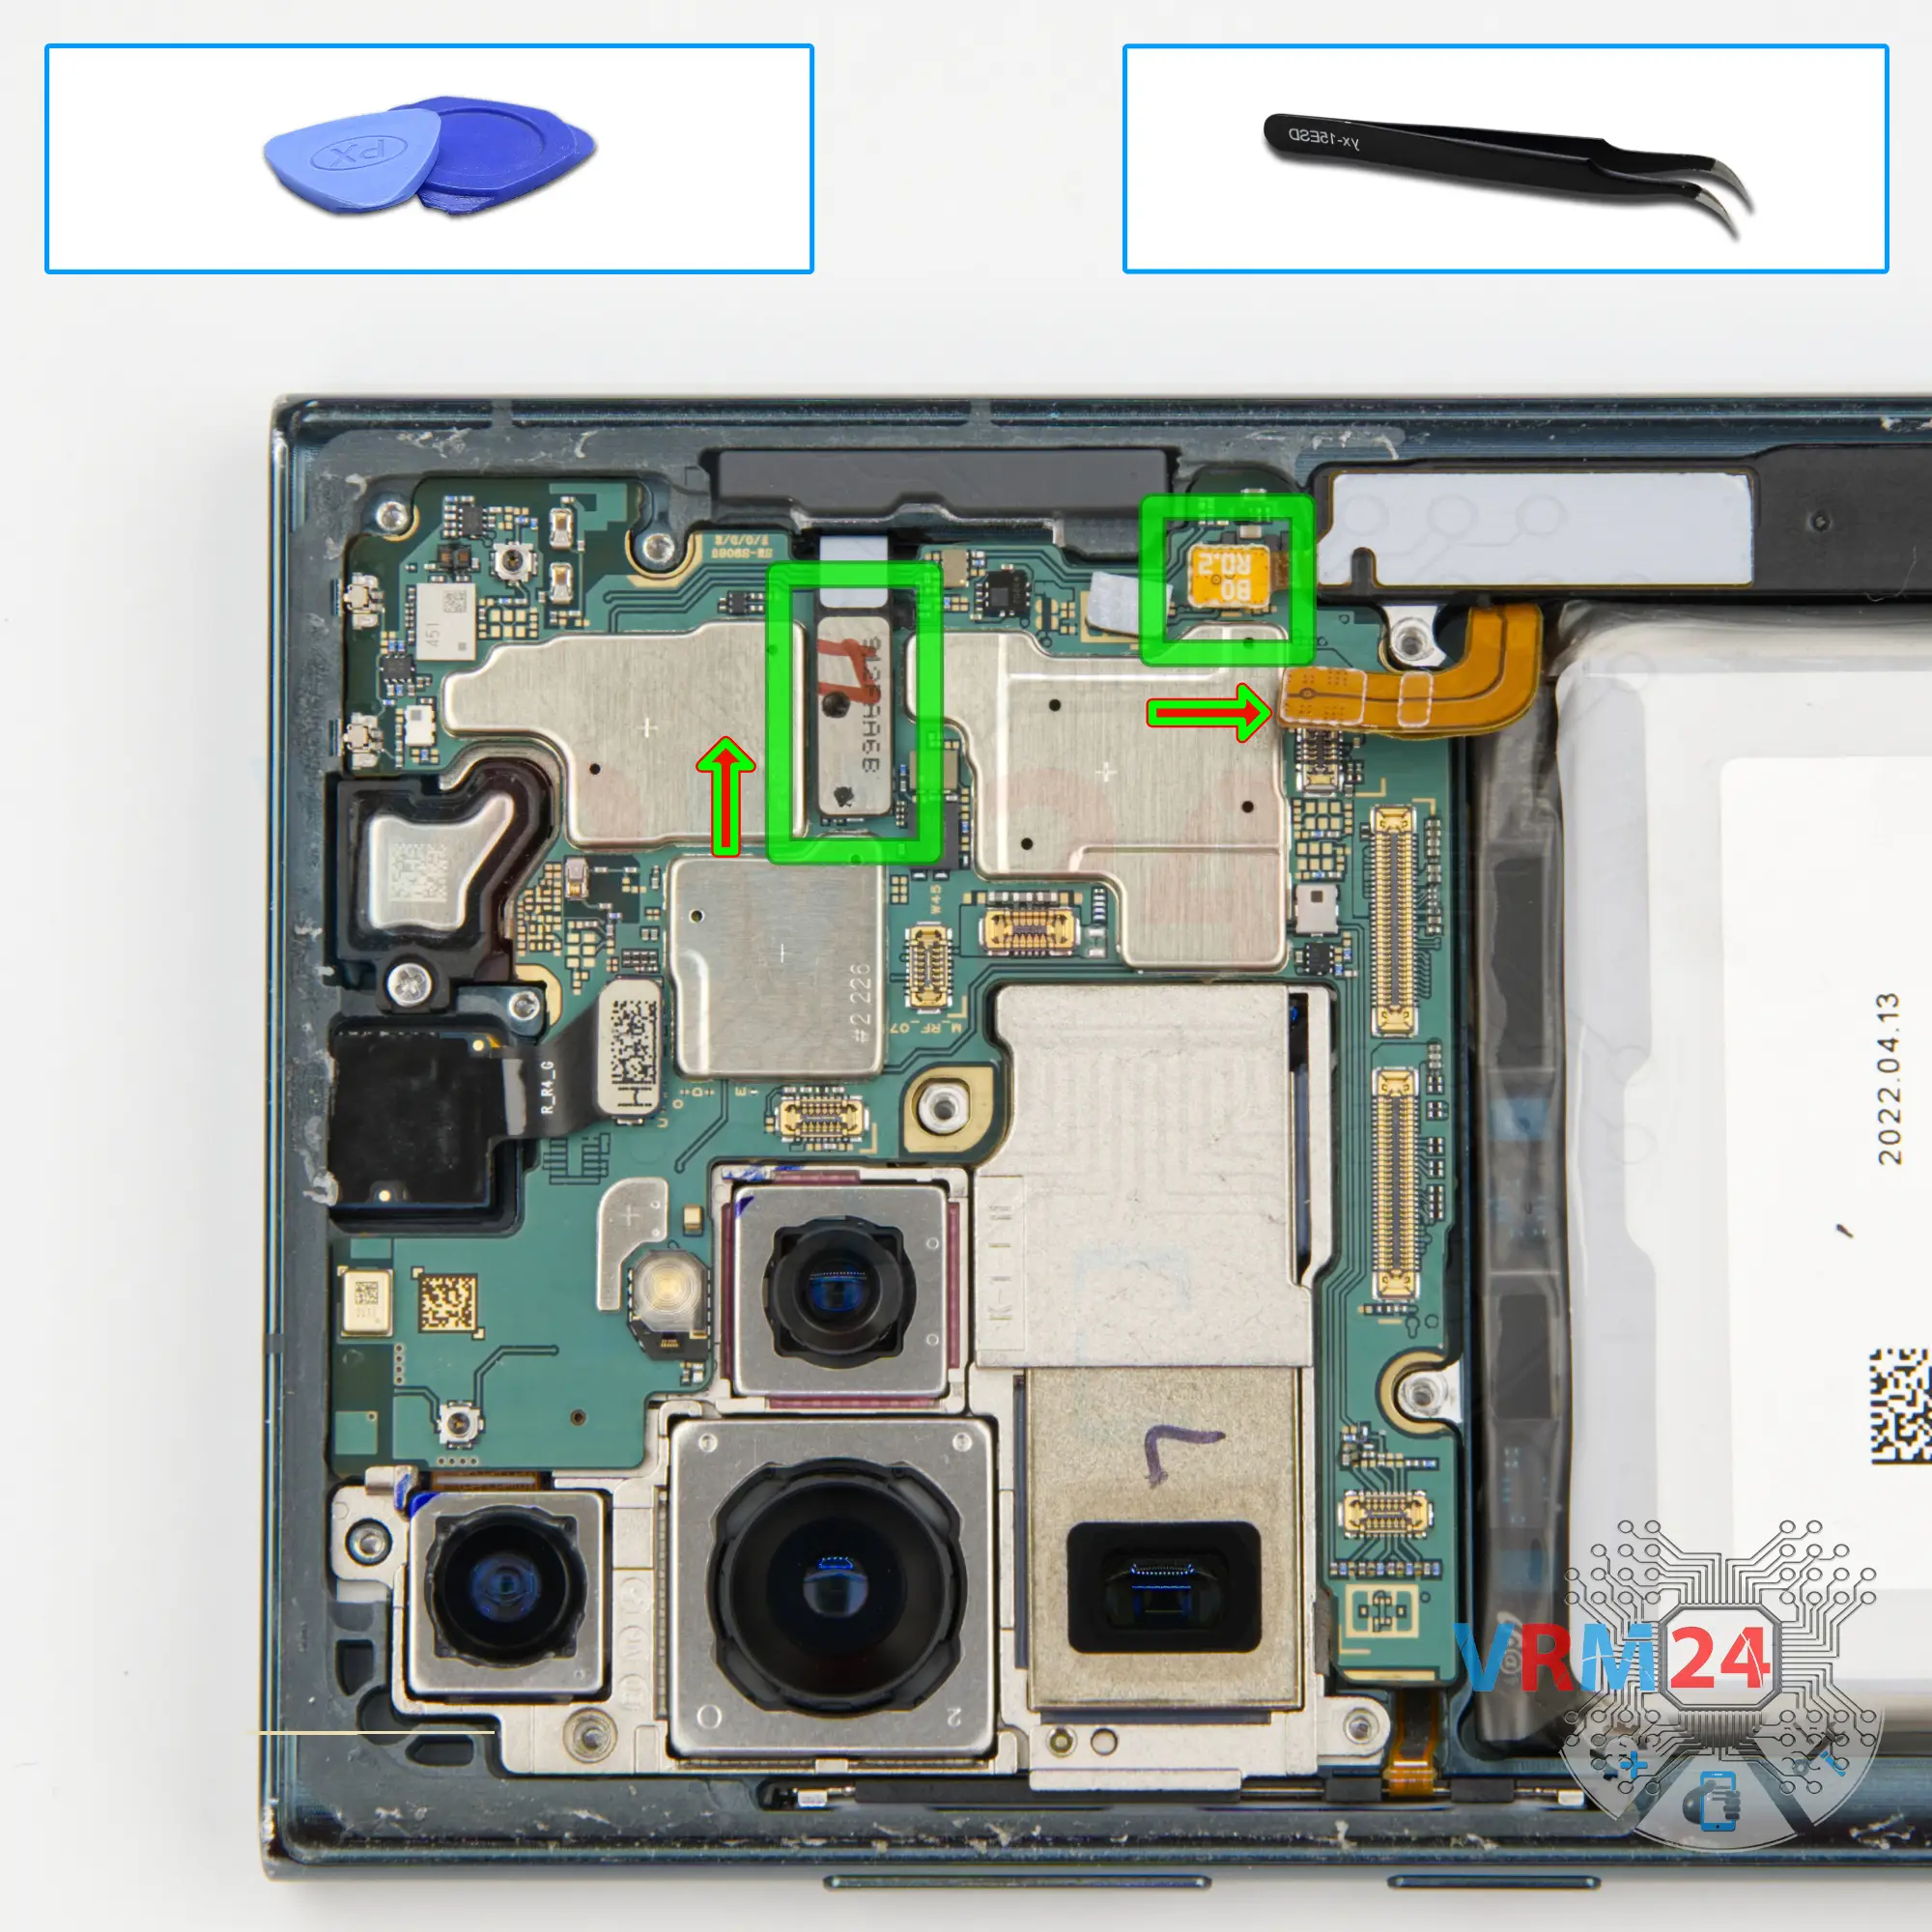
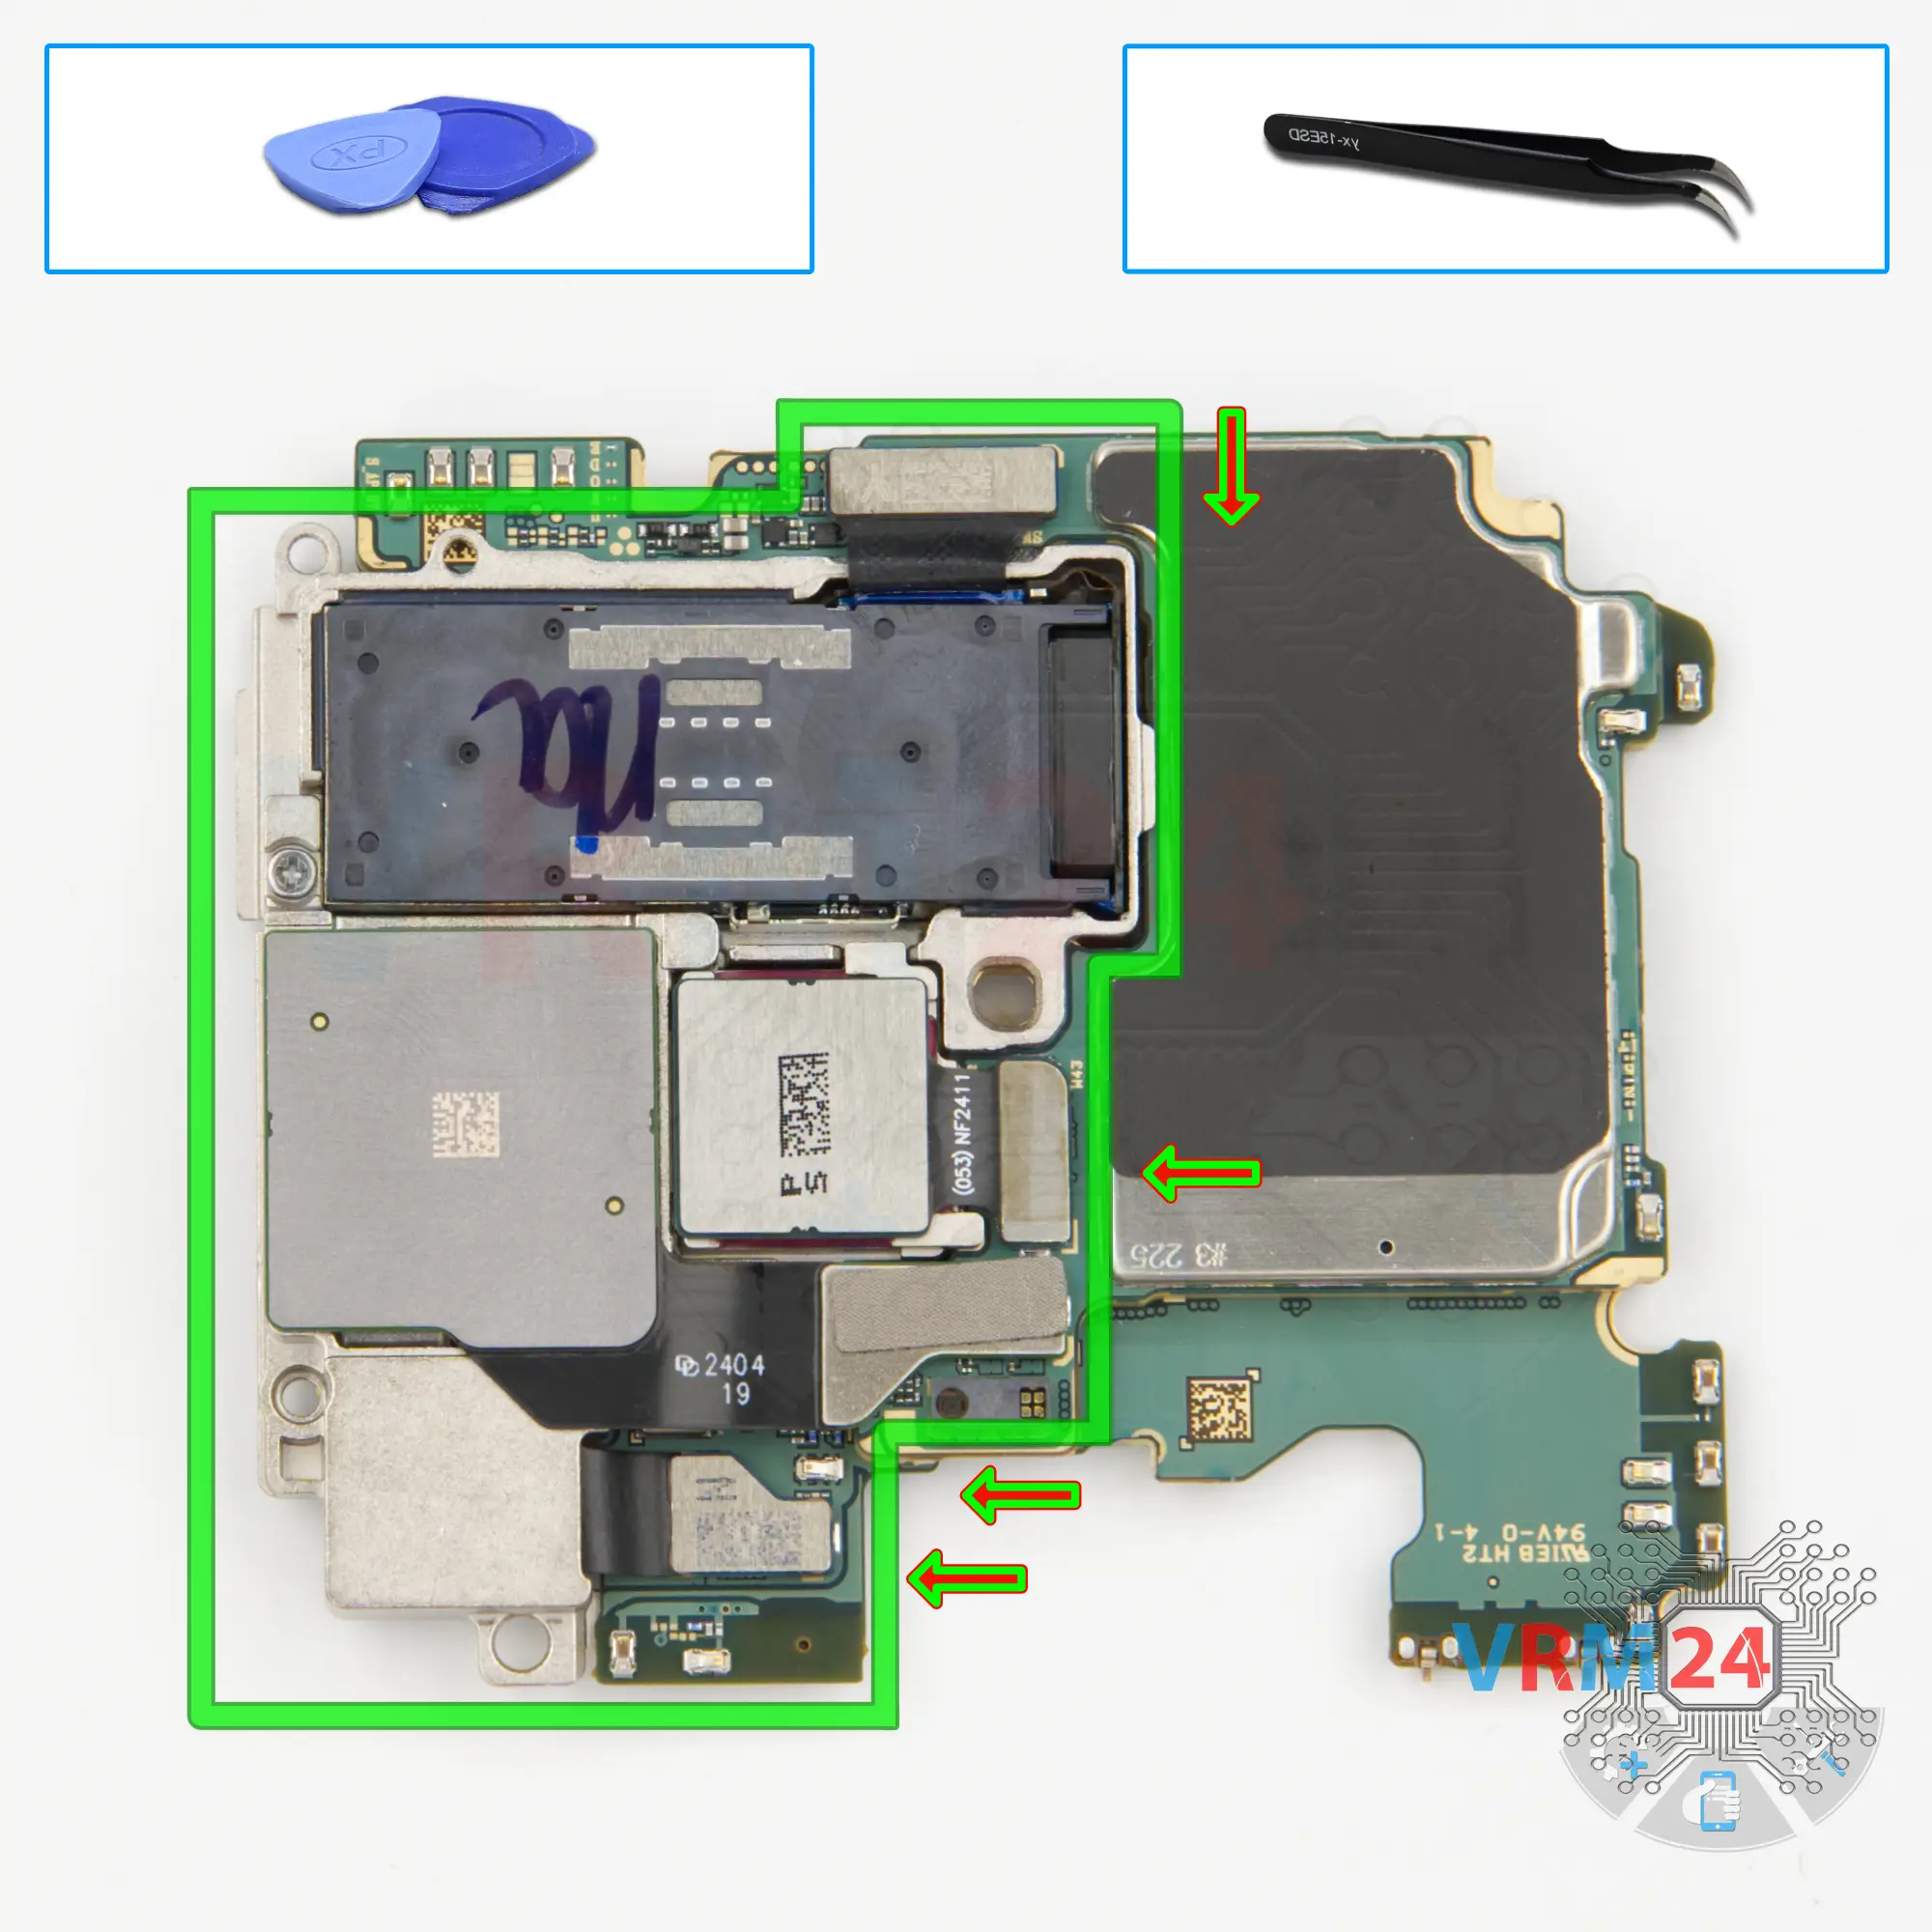
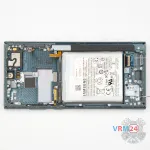
Step 10. Remove the interconnect cables
Carefully, preferably from the edge, disconnect the connectors and remove the inter-board cables connecting the mainboard to the display and daughterboard (also known as the sub-board).
⚠️️ Be careful when removing the cables from the connectors, the cables are pretty thin, and it is easy enough to break them or damage the contact tracks inside.
ℹ️️ For reassembly, on the cables it is written what should be their position in relation to the motherboard and sub-board.


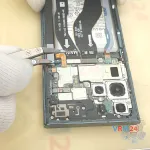
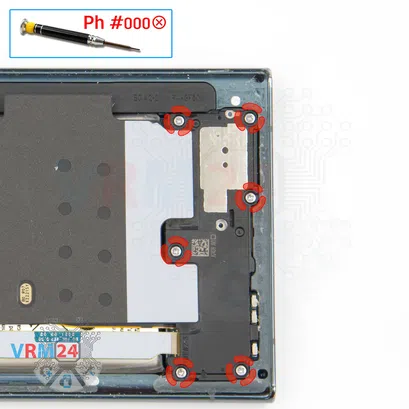
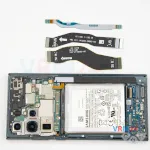
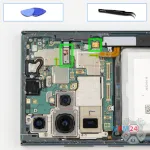
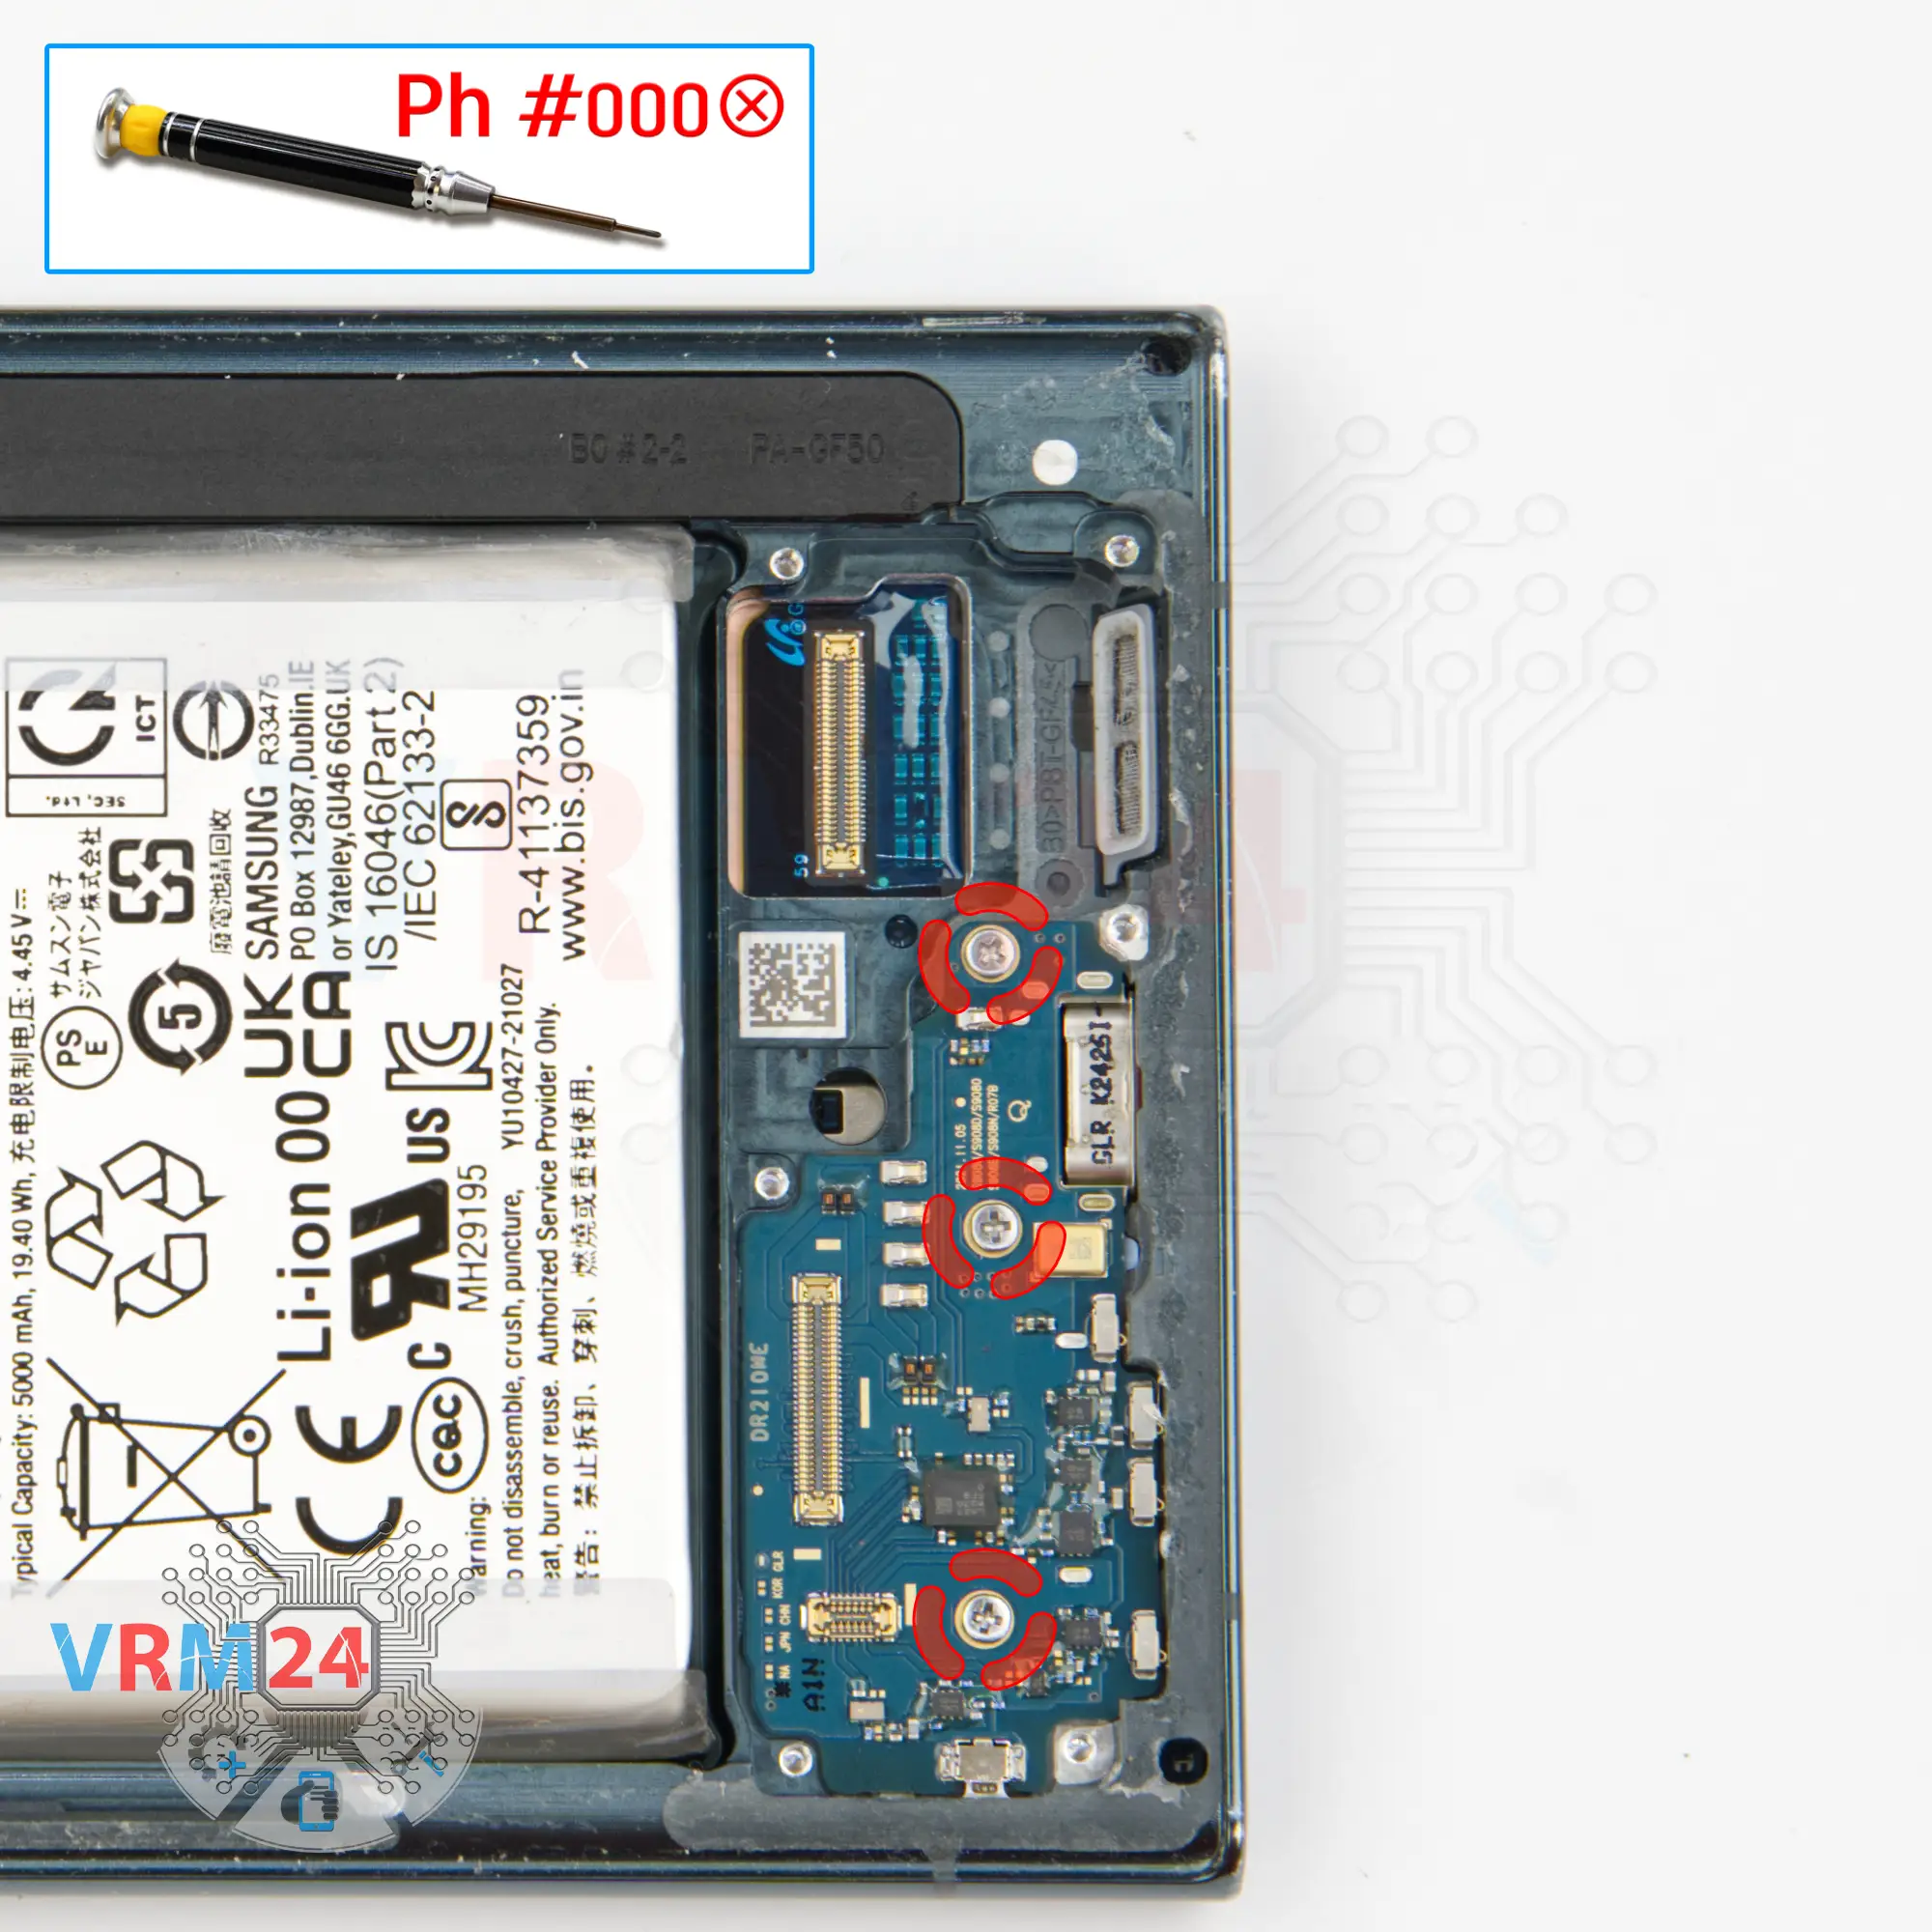
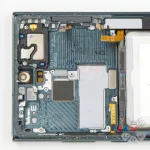
Step 11. Unscrew the screws
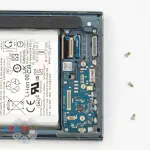
We need to unscrew three screws securing the sub-board. The screwdriver is the same 1.5mm #000 Phillips.
⚠️️ Screws from different parts are better to be located separately, they can be visually similar, but different, such as being non-magnetic, for example, and so on.
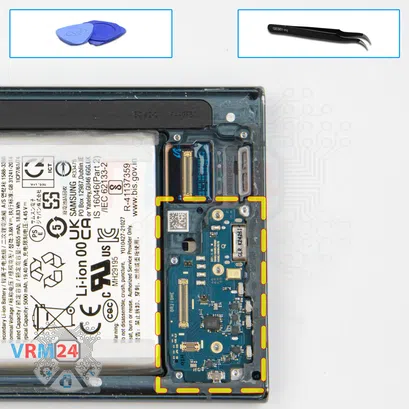

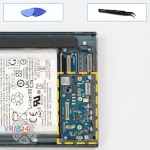
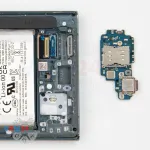
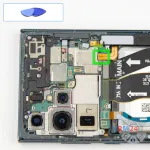
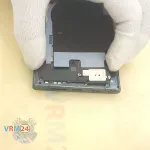
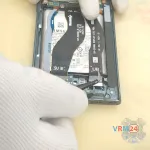
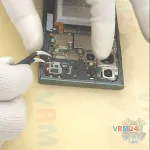
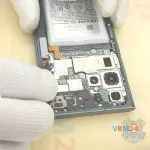
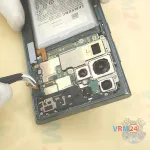
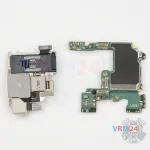
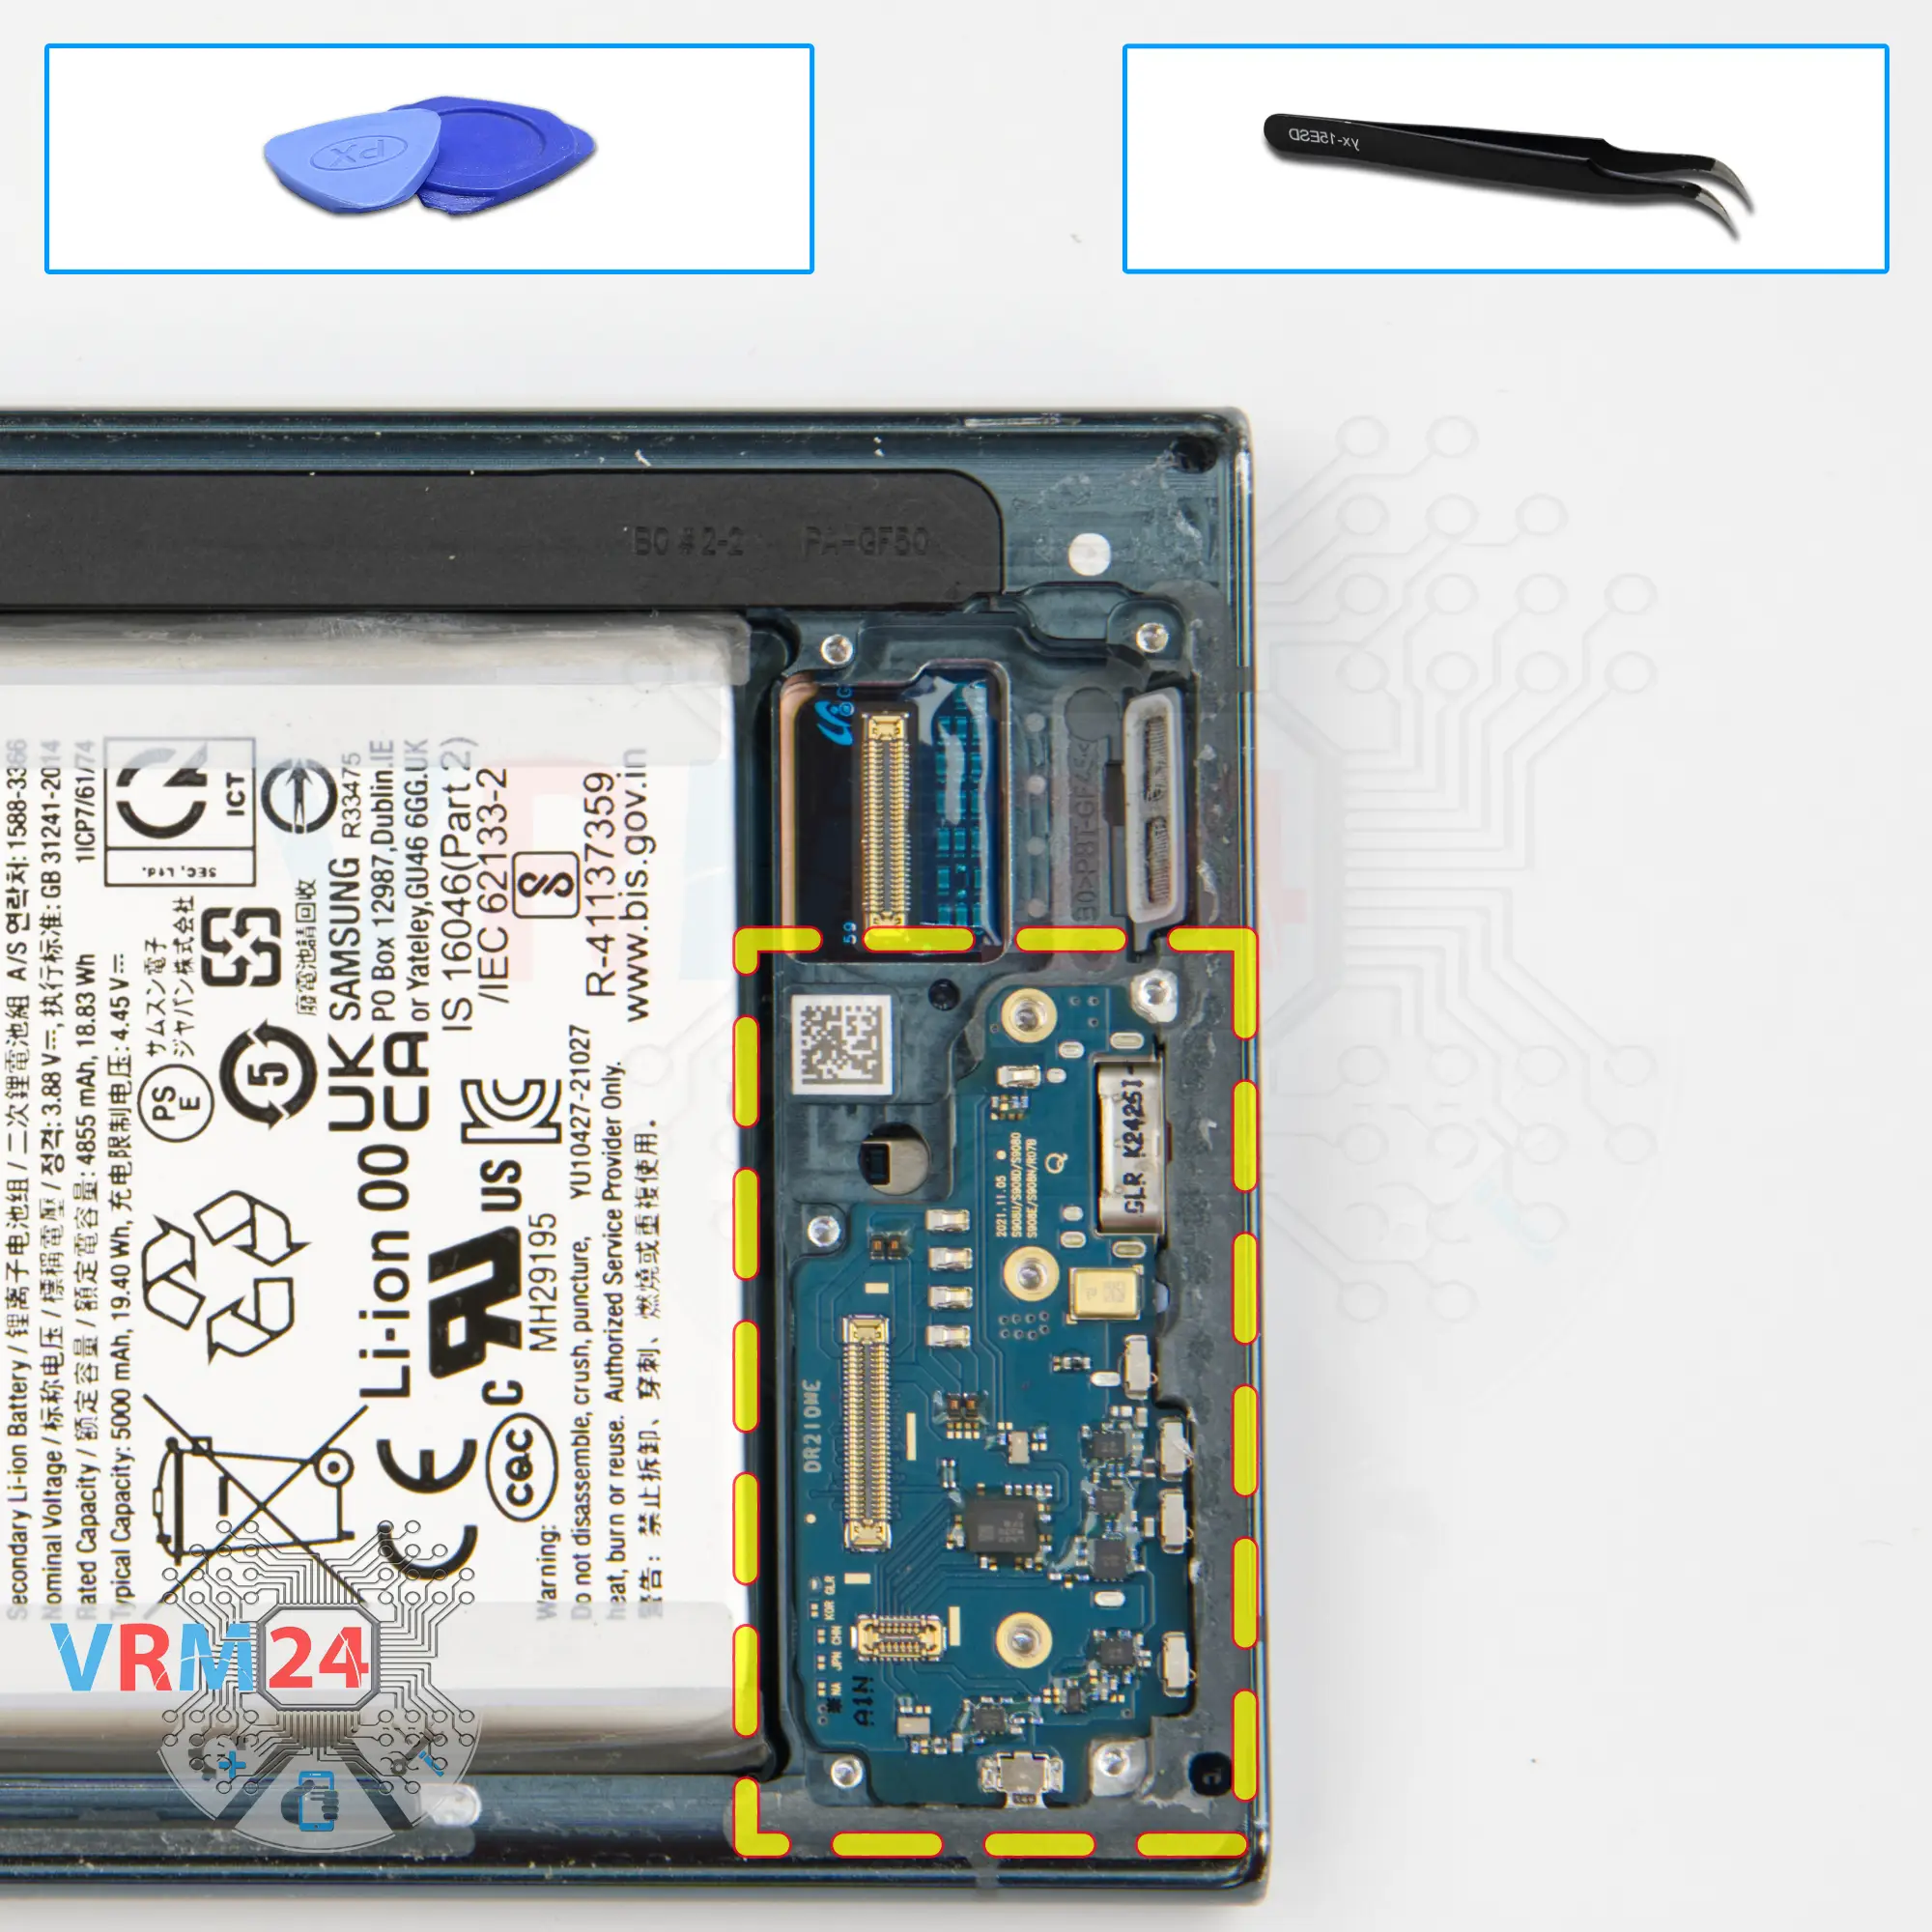
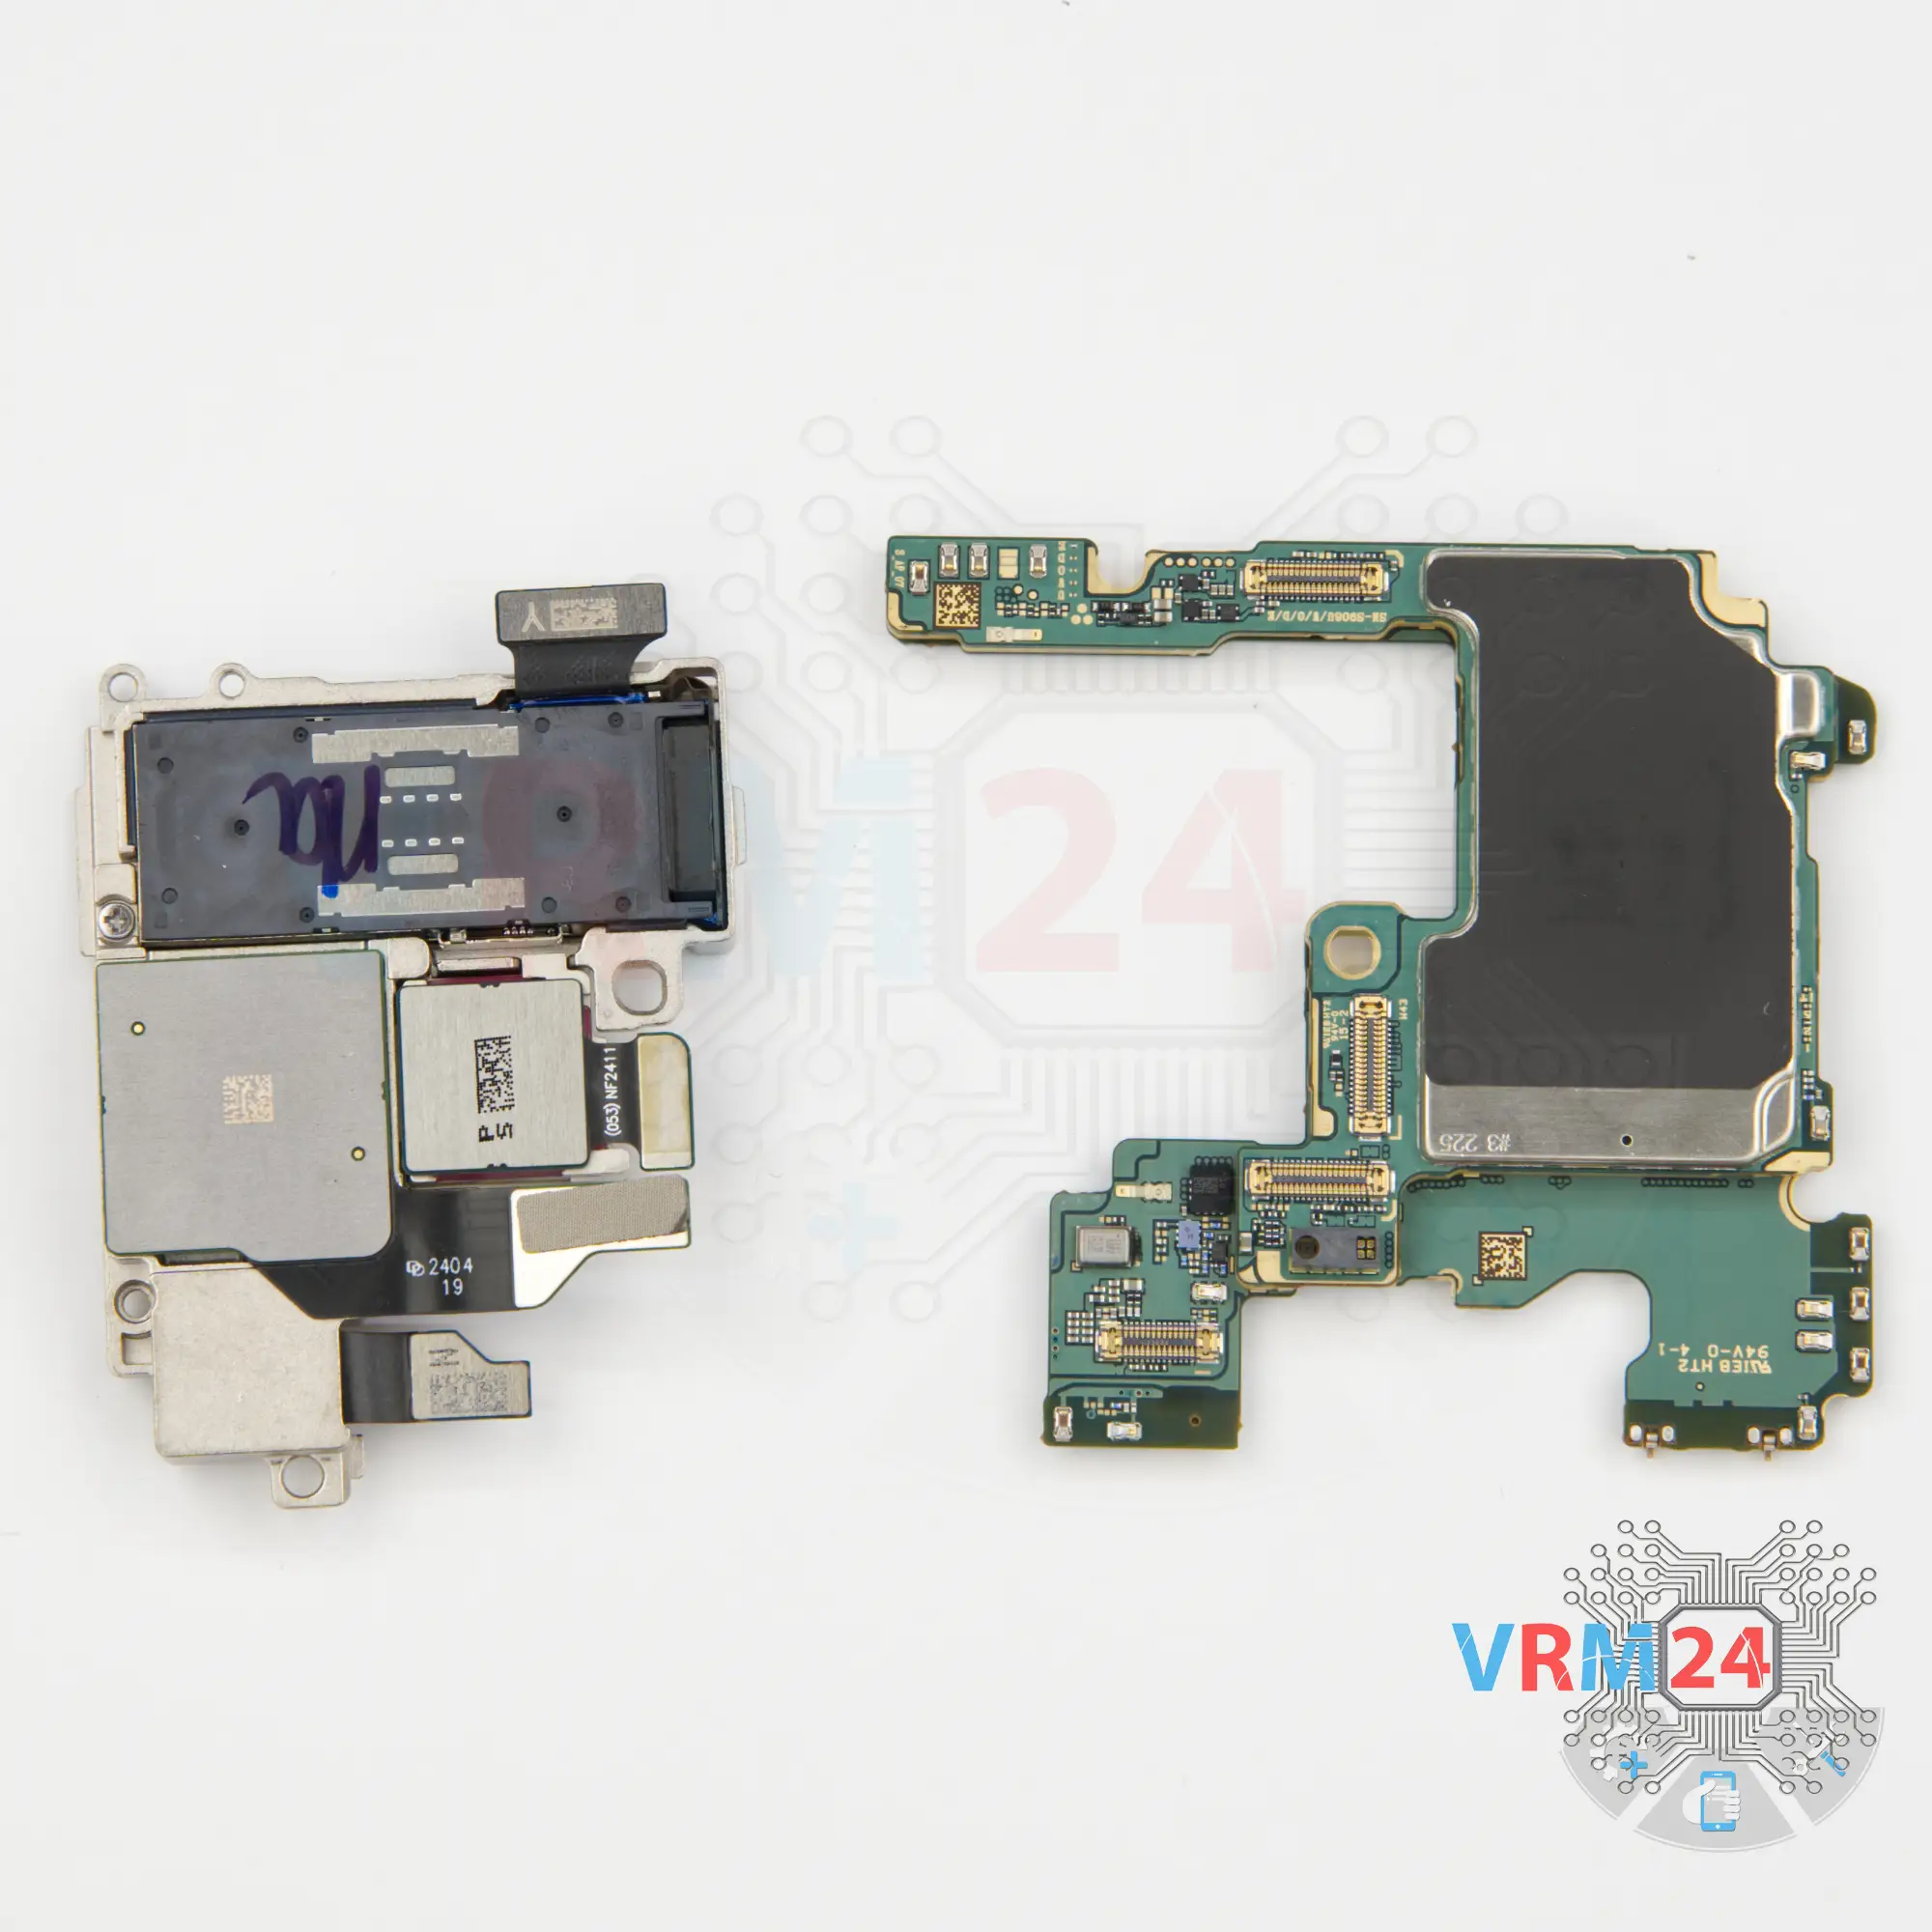
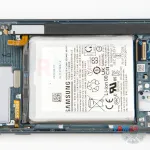
Step 12. Remove the sub-board
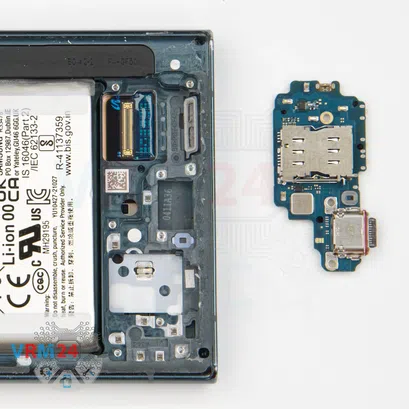
We can detach the sub-board, carefully hook the edge in the right place and pull it out. Btw the sub-board is slightly recessed.
On the sub-board we have a microphone, a charging port, and a card holder on the back side.

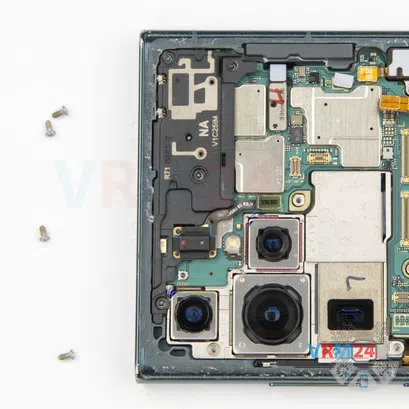

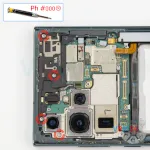
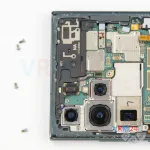
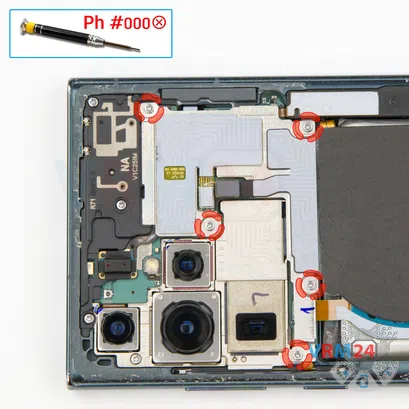
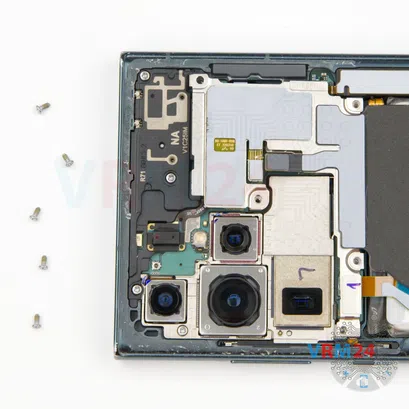
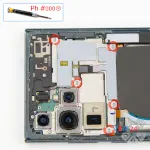
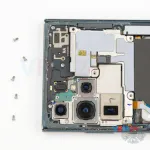
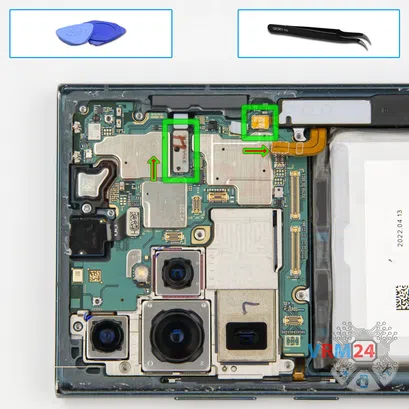
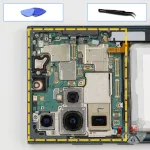
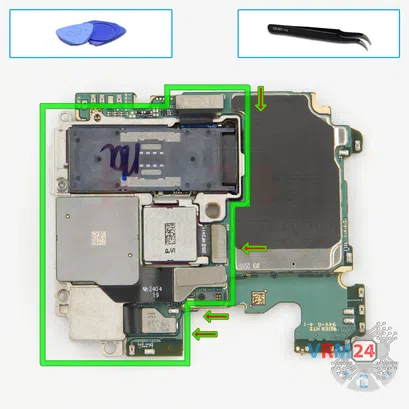
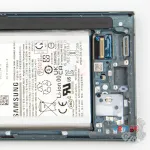
Step 13. Unscrew the screws
And we unscrew the remaining screws securing the motherboard, the assembly of the cameras and the cover with antenna transmission lines.
The screwdriver is the same 1.5 mm Phillips.


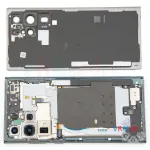
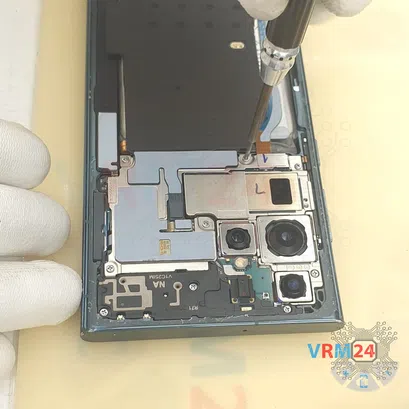
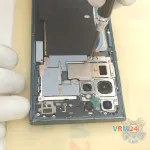
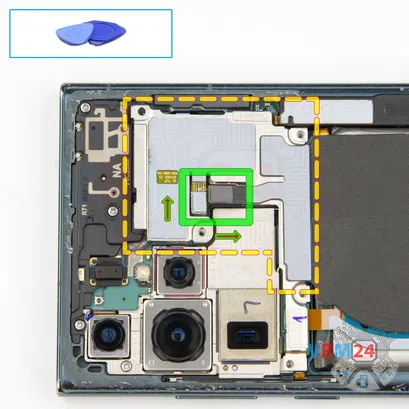
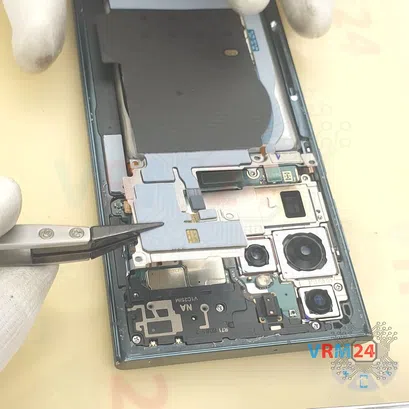
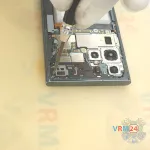
Step 14. Open the cover
After that we can disconnect the connector and detach the cover with antenna transmission lines. Hook at the edge and detach it. We have sensors on the cover.
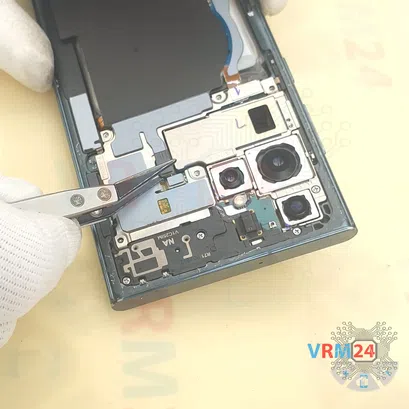
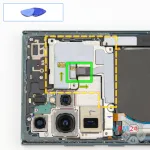
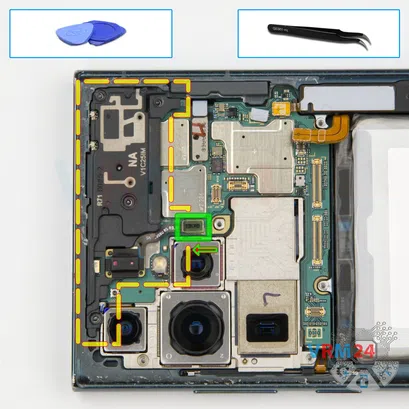
Step 15. Disconnect the connectors
Then we disconnect the S (stylus) pen connector, the connector to the speaker and bend the cables away.

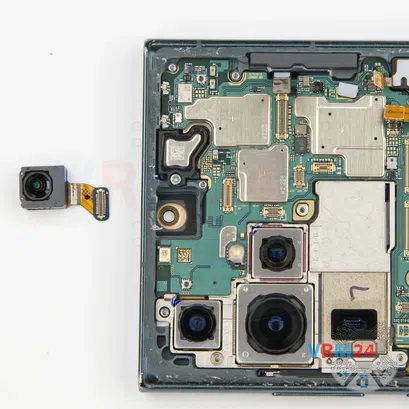

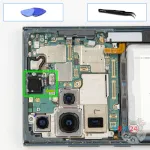
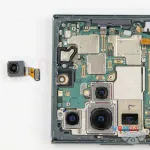

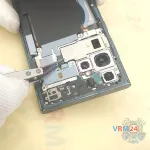
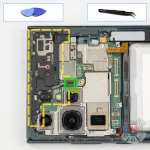
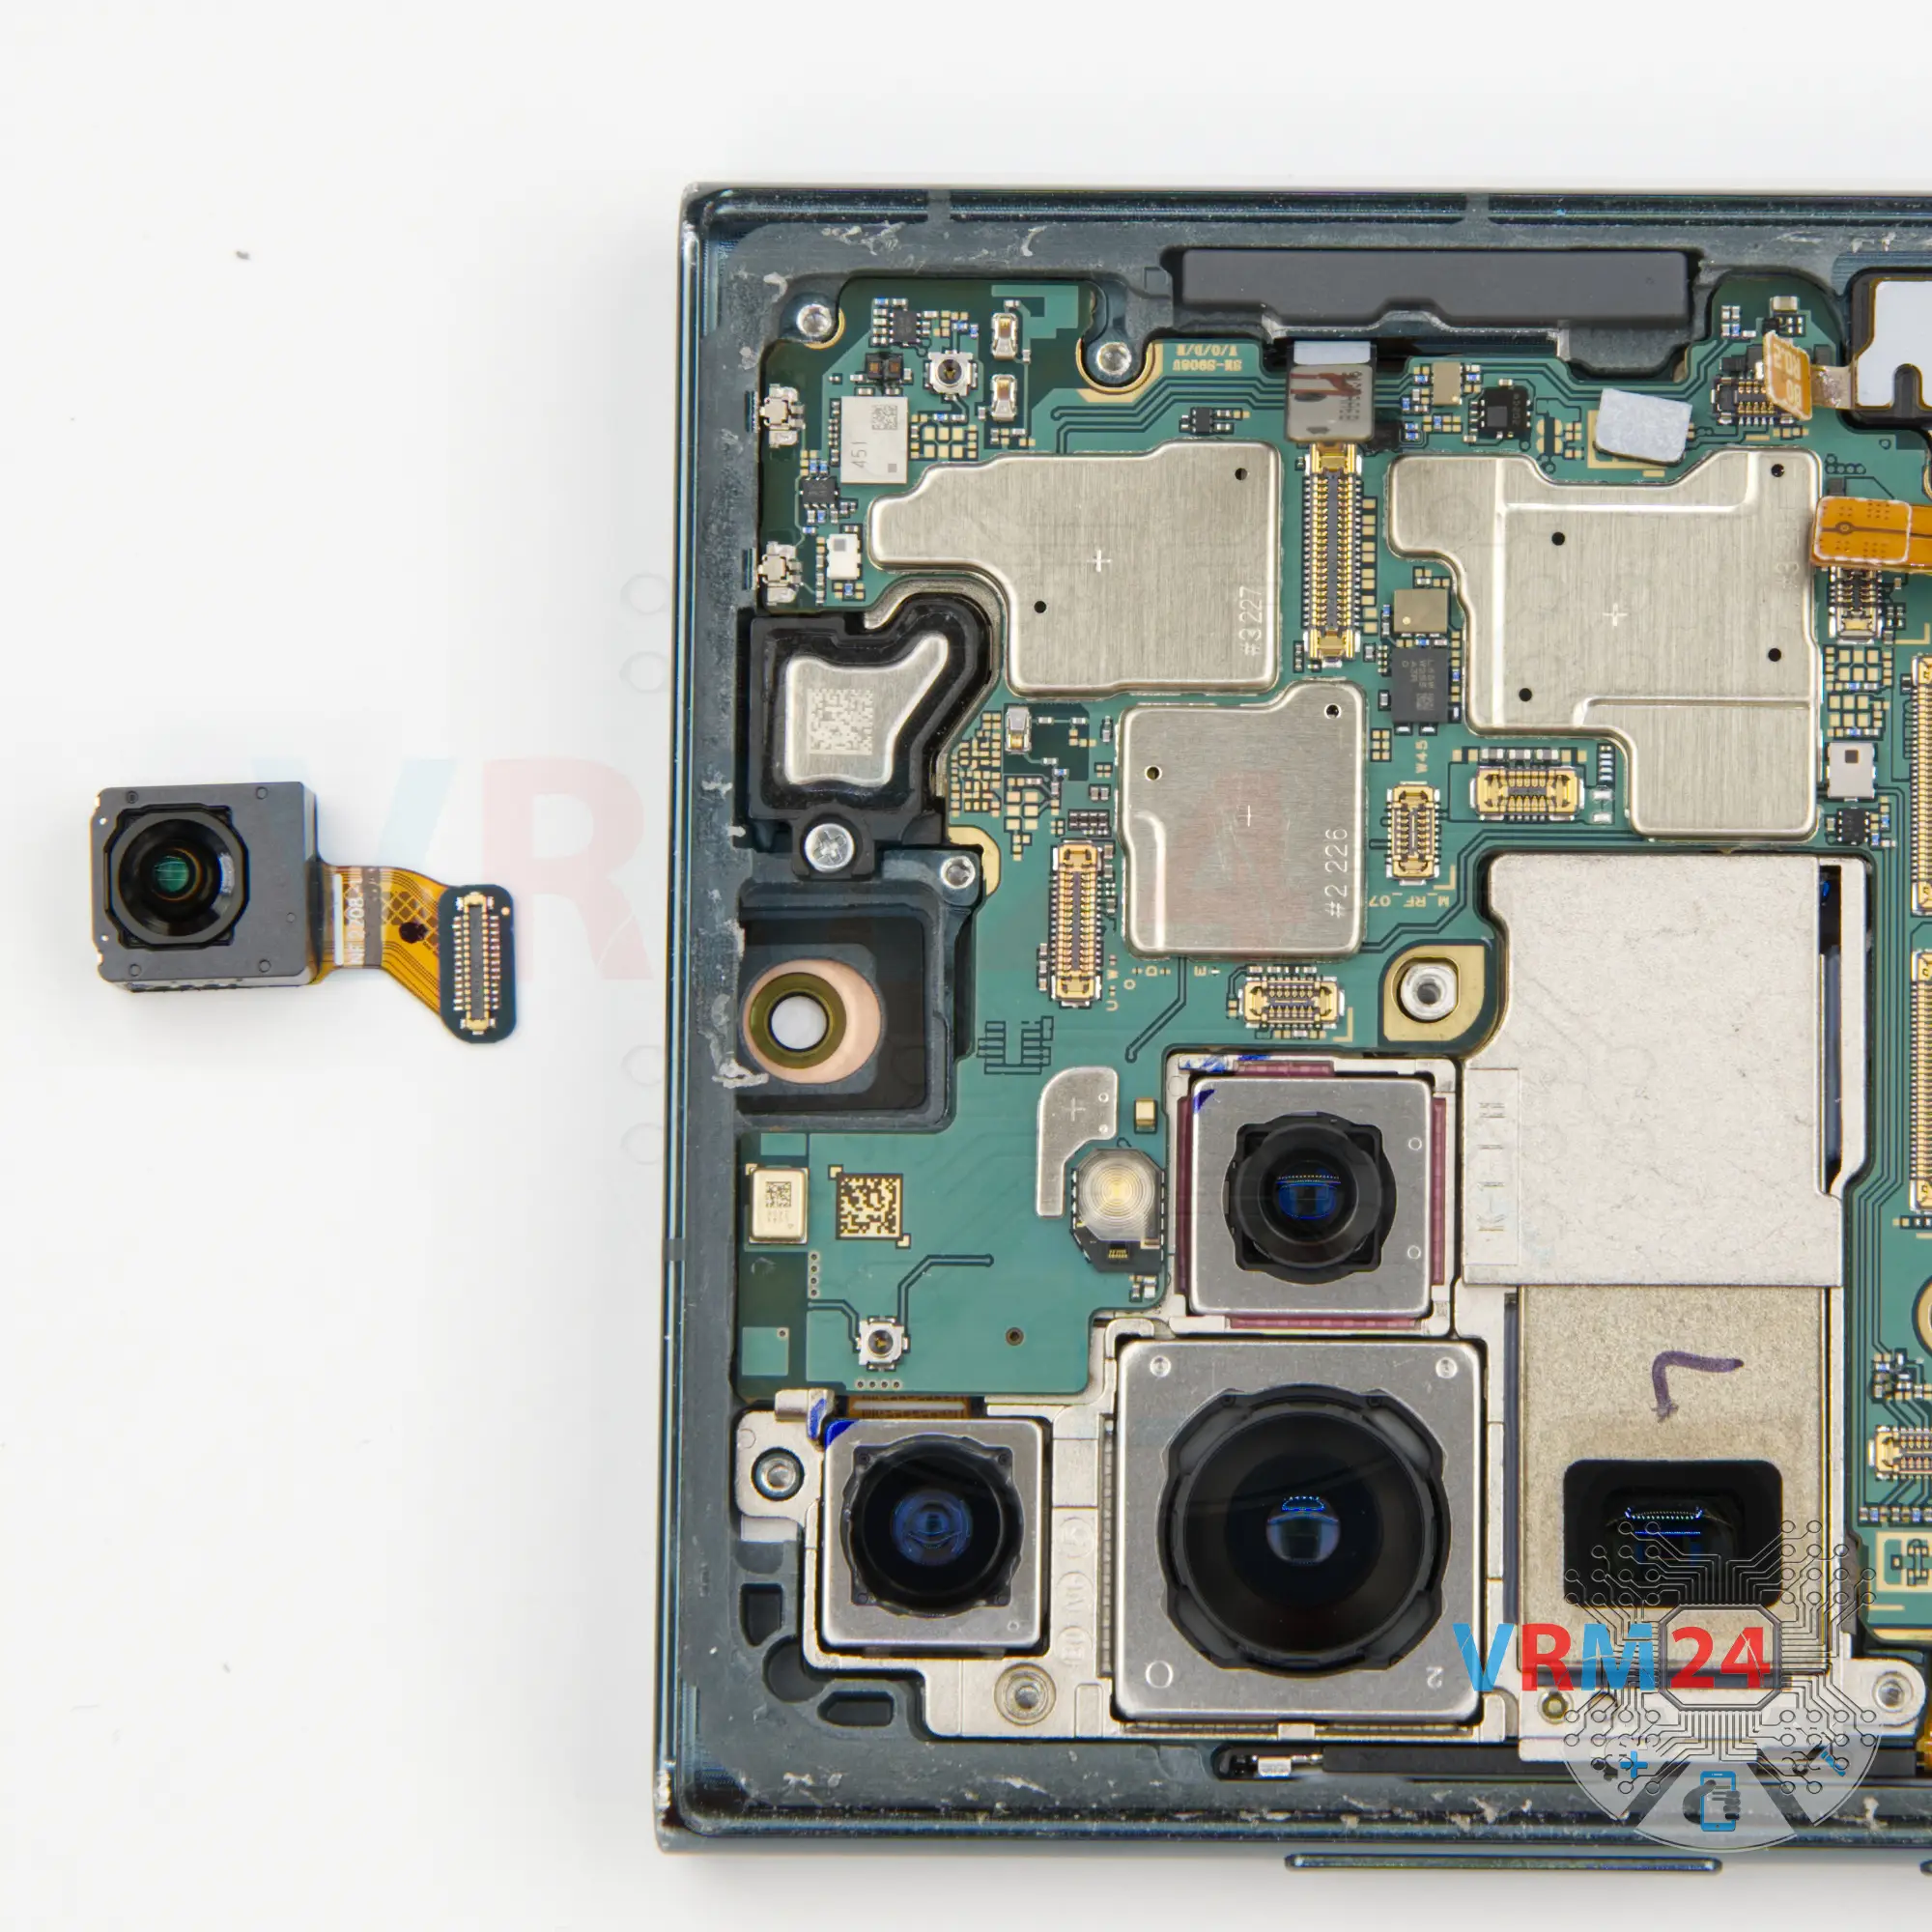
Step 16. Remove the front camera
Then we can remove the front camera.
⚠️️ In our case, the camera was easily detached, but you may have it firmly glued.
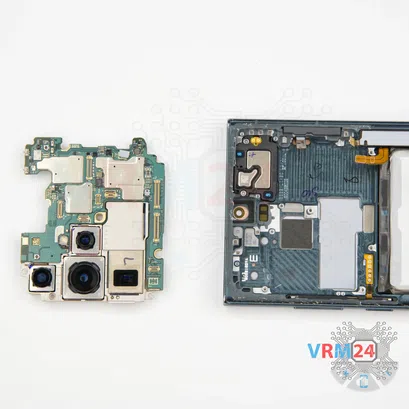
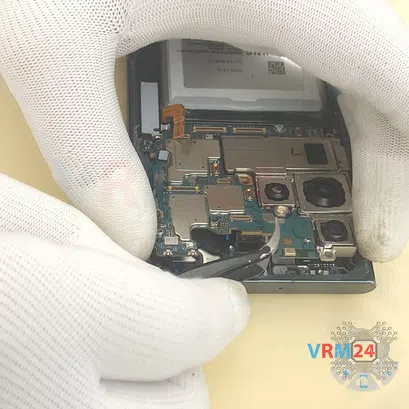
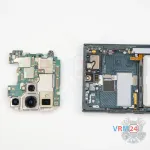

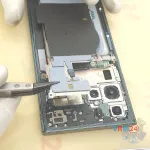
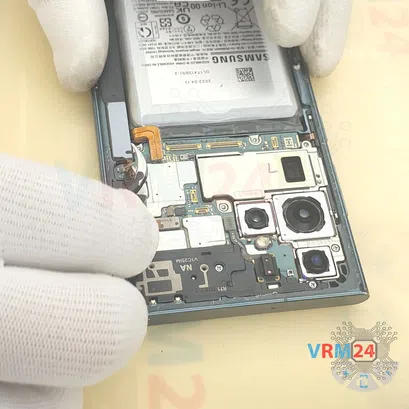
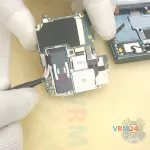
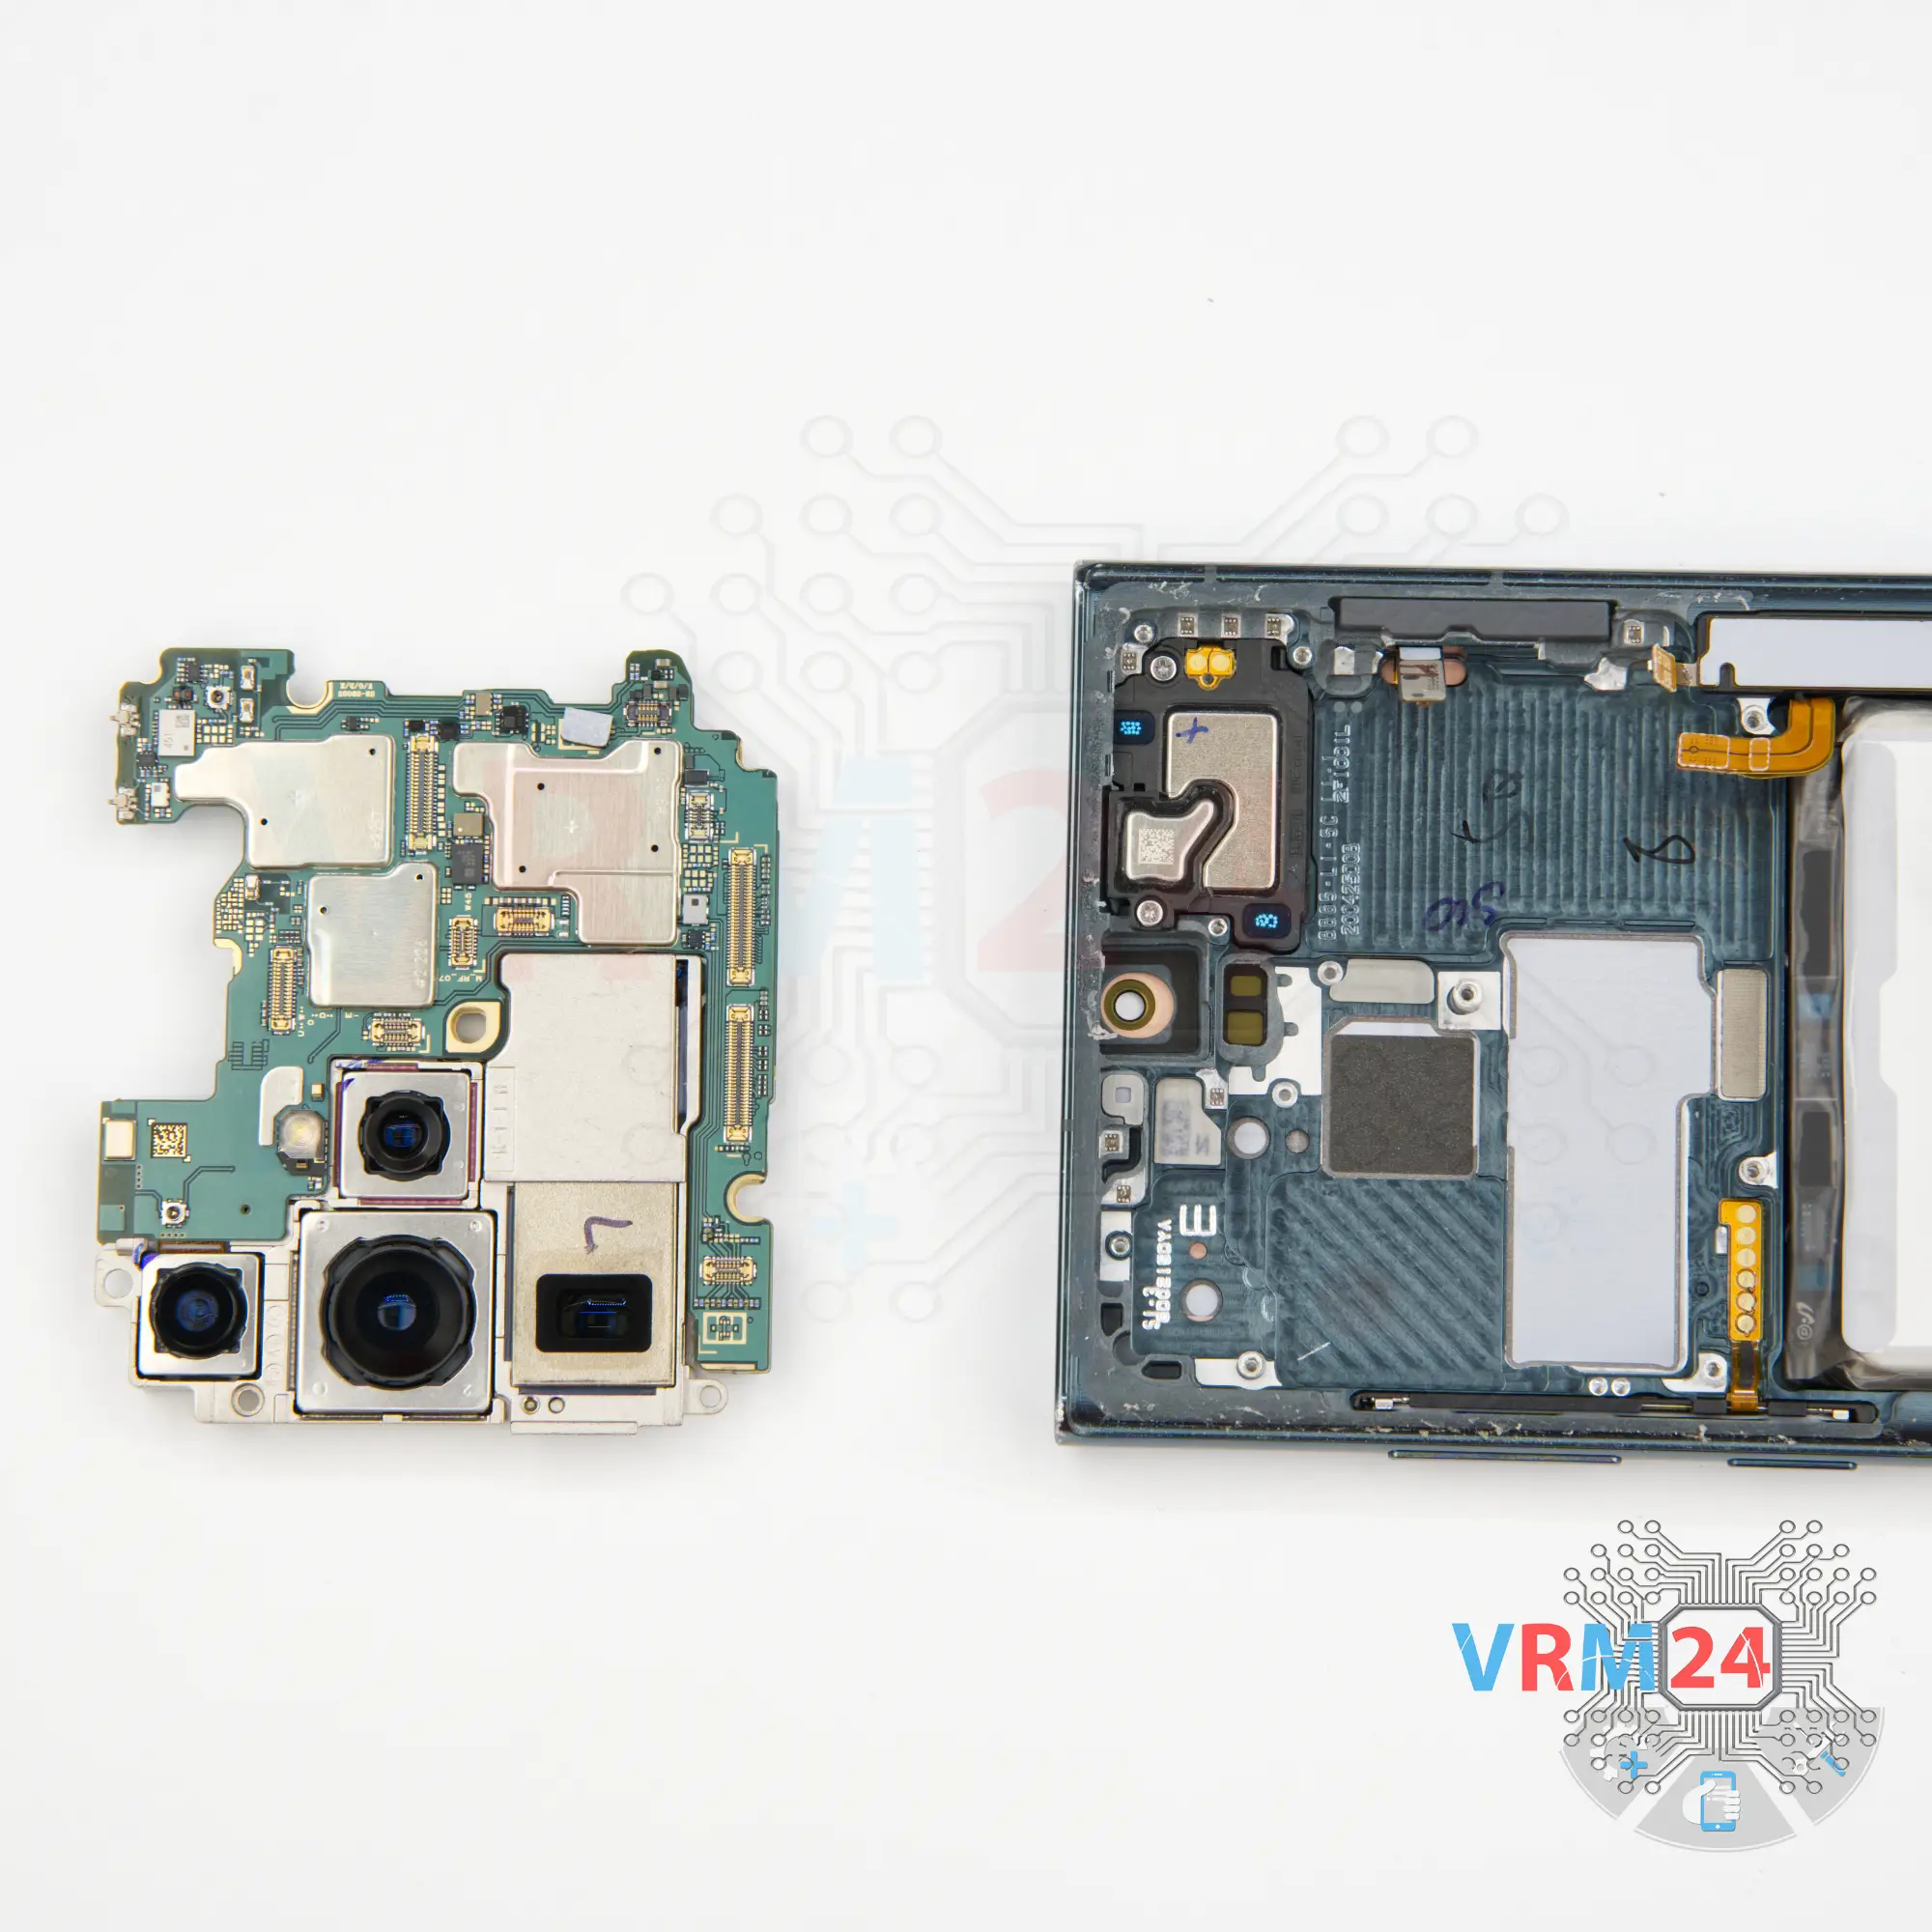
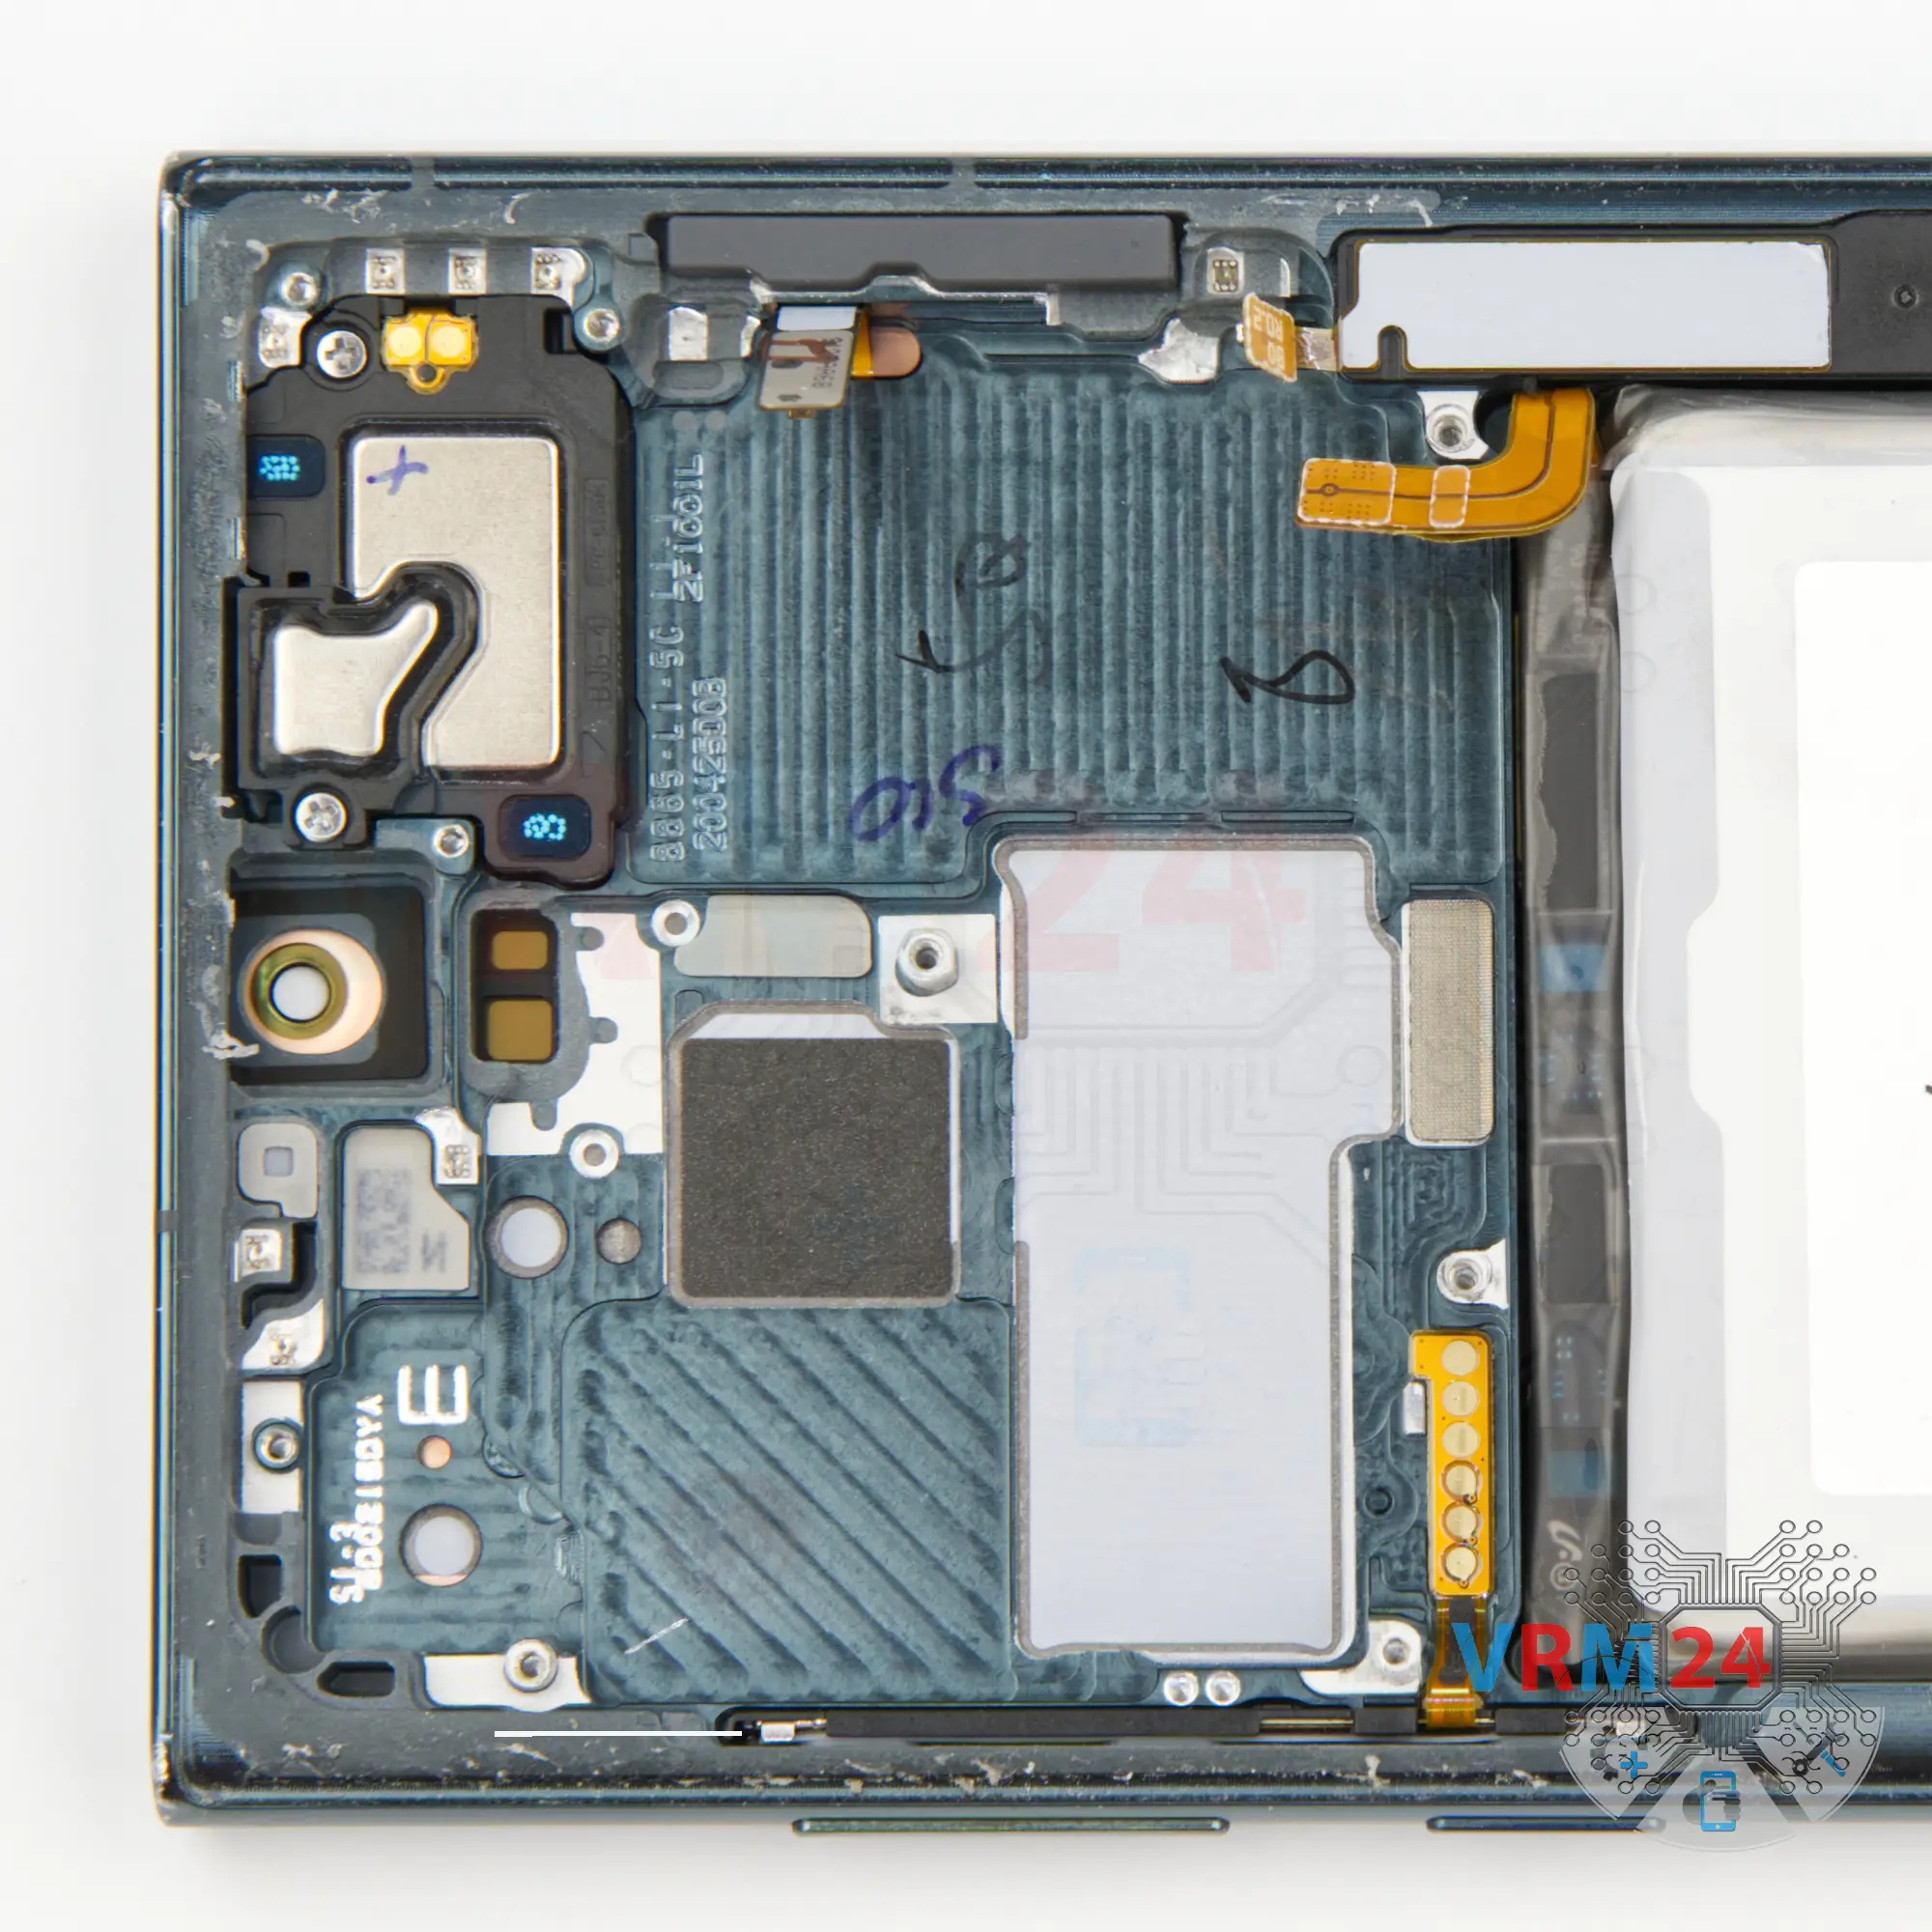
Step 17. Remove the motherboard
And we can detach the motherboard. Find the right and convenient place to hook the motherboard. And take the circuit board out and turn it over.
⚠️️ Do not bend the circuit board when removing it or push tools under it. Unbeknownst to yourself, you can damage components or cables from the inside.


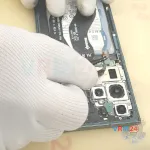
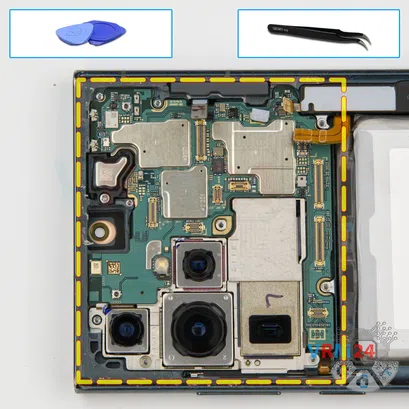
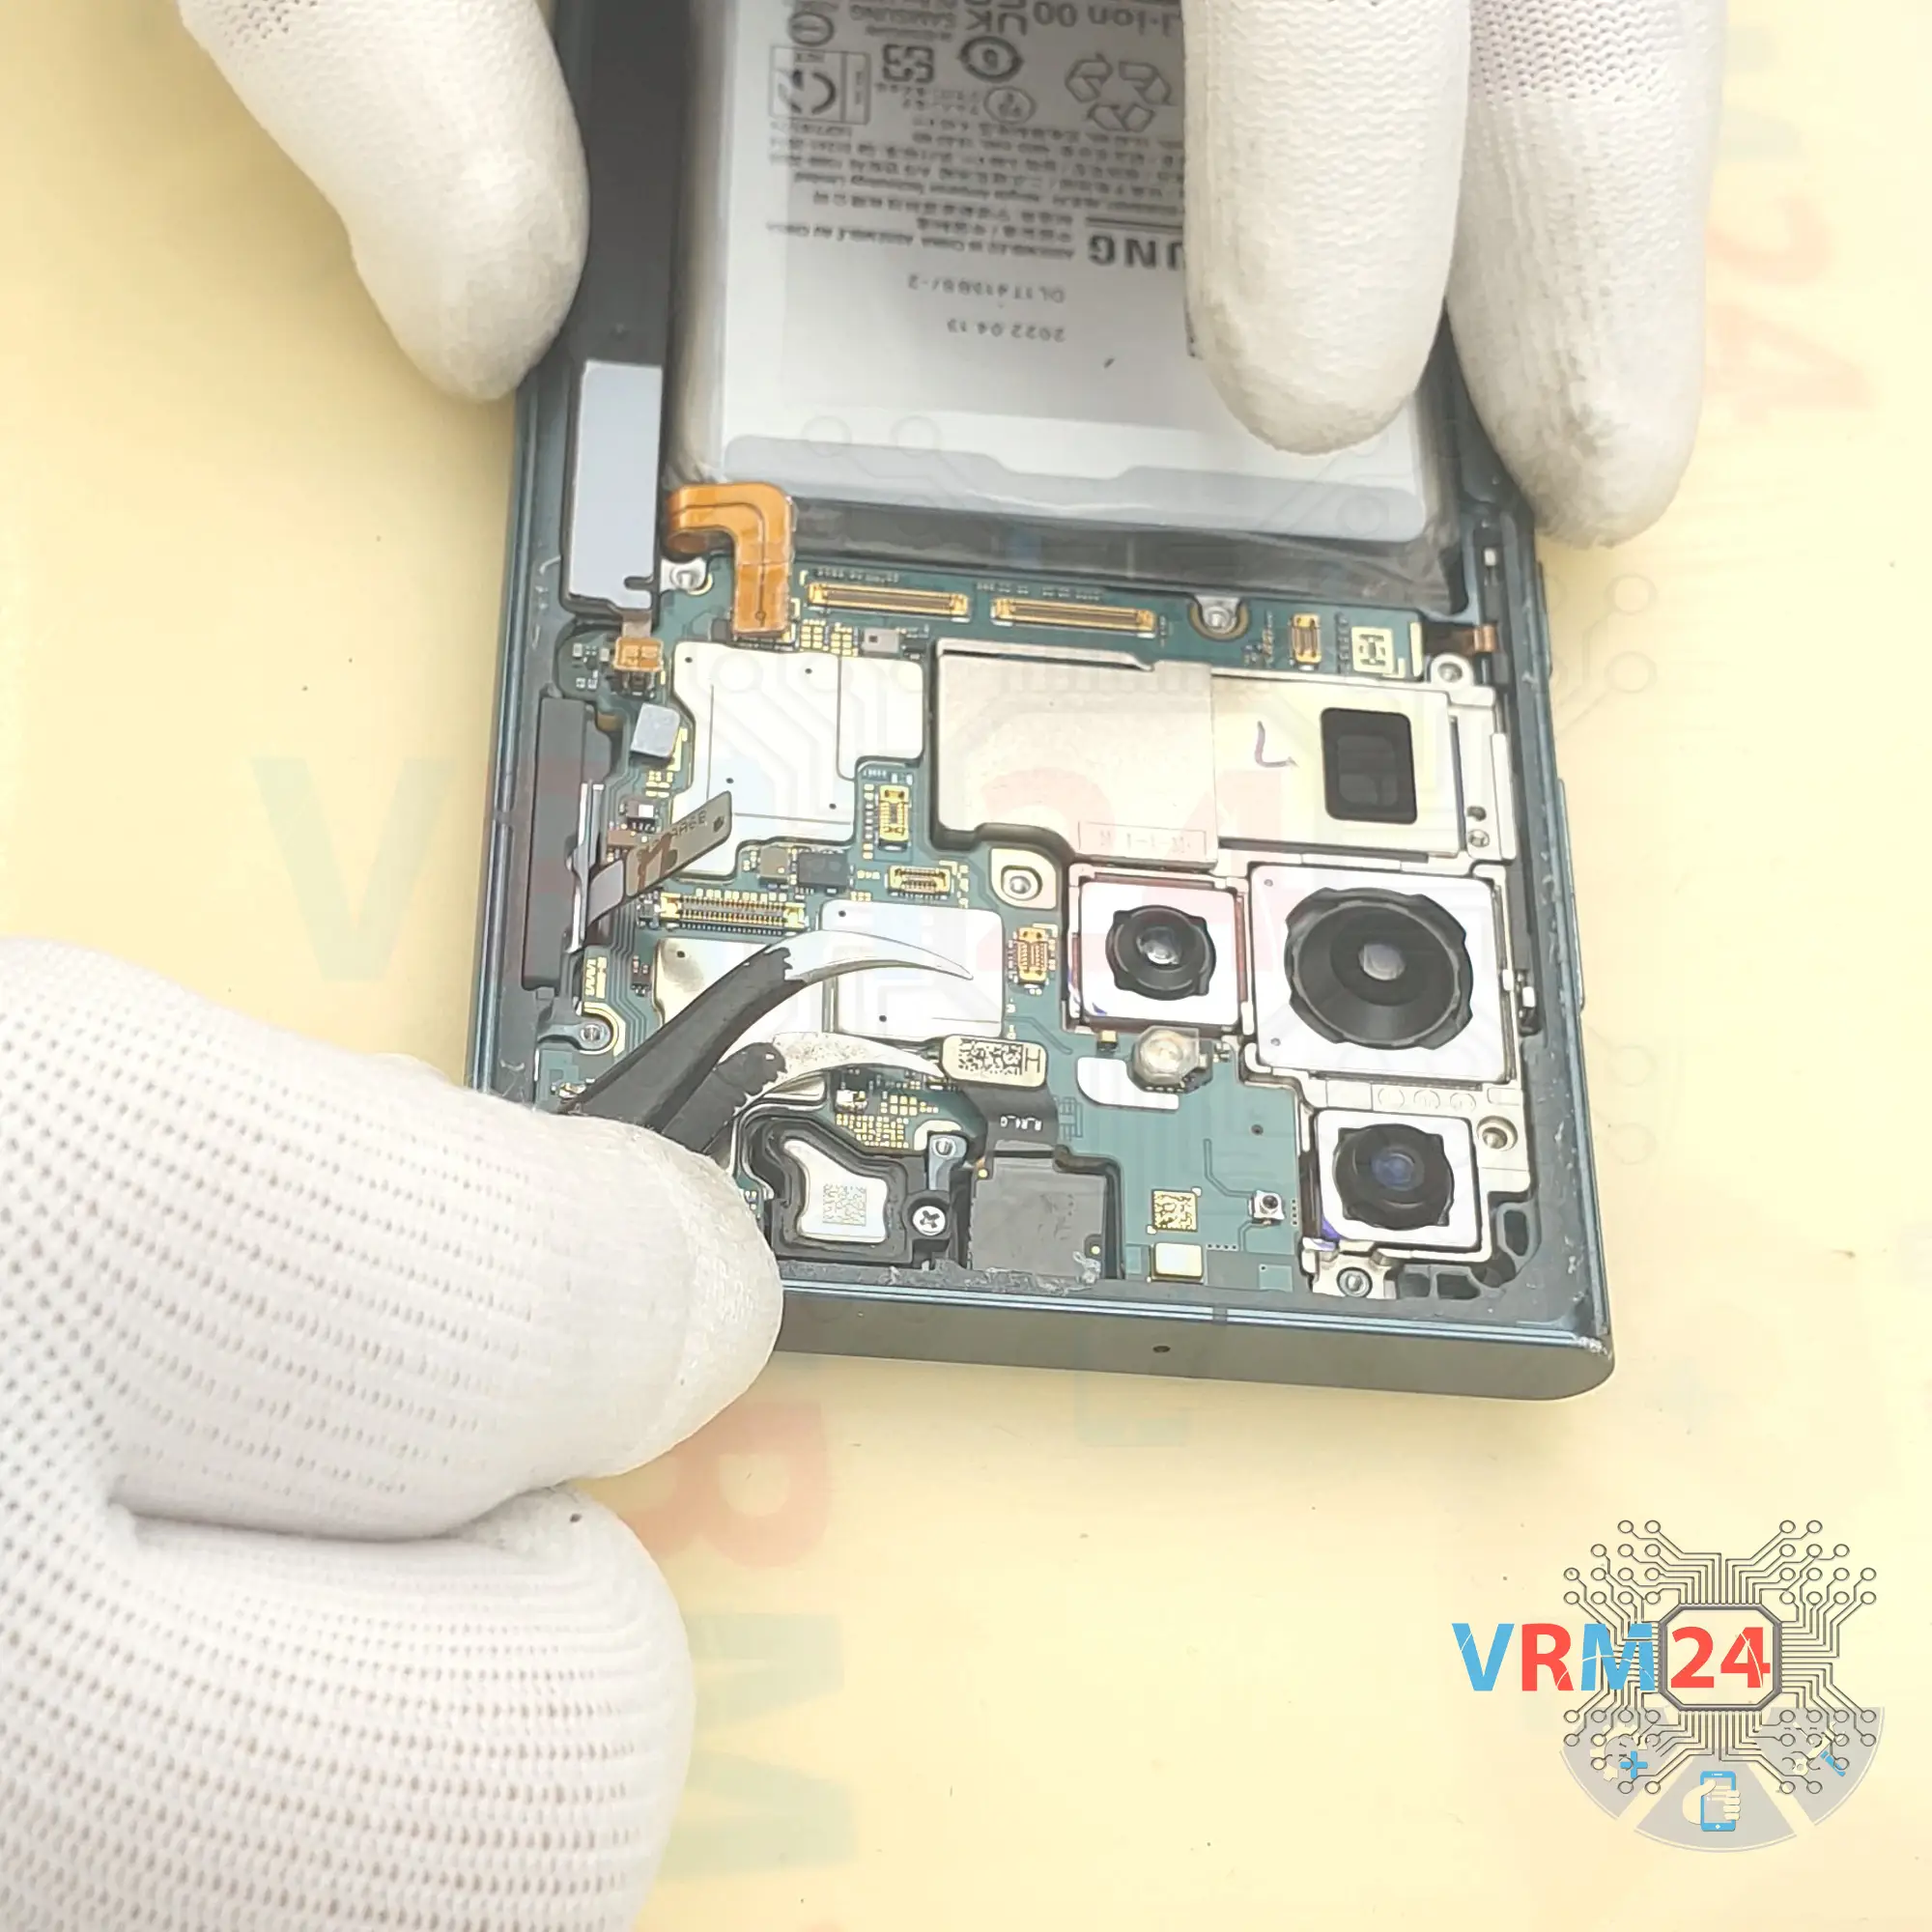
Step 18. Remove the cameras
Now we need to detach the assembly of the rear cameras. We look at the places where it's attached.
It's best not to press the cameras against the table to avoid damaging the lenses. Also, the cameras are connected to each other, this point should be taken into account and be careful.
We disconnect the connectors and take out the assembly of the cameras.
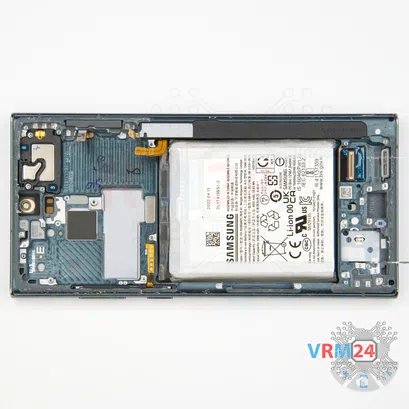
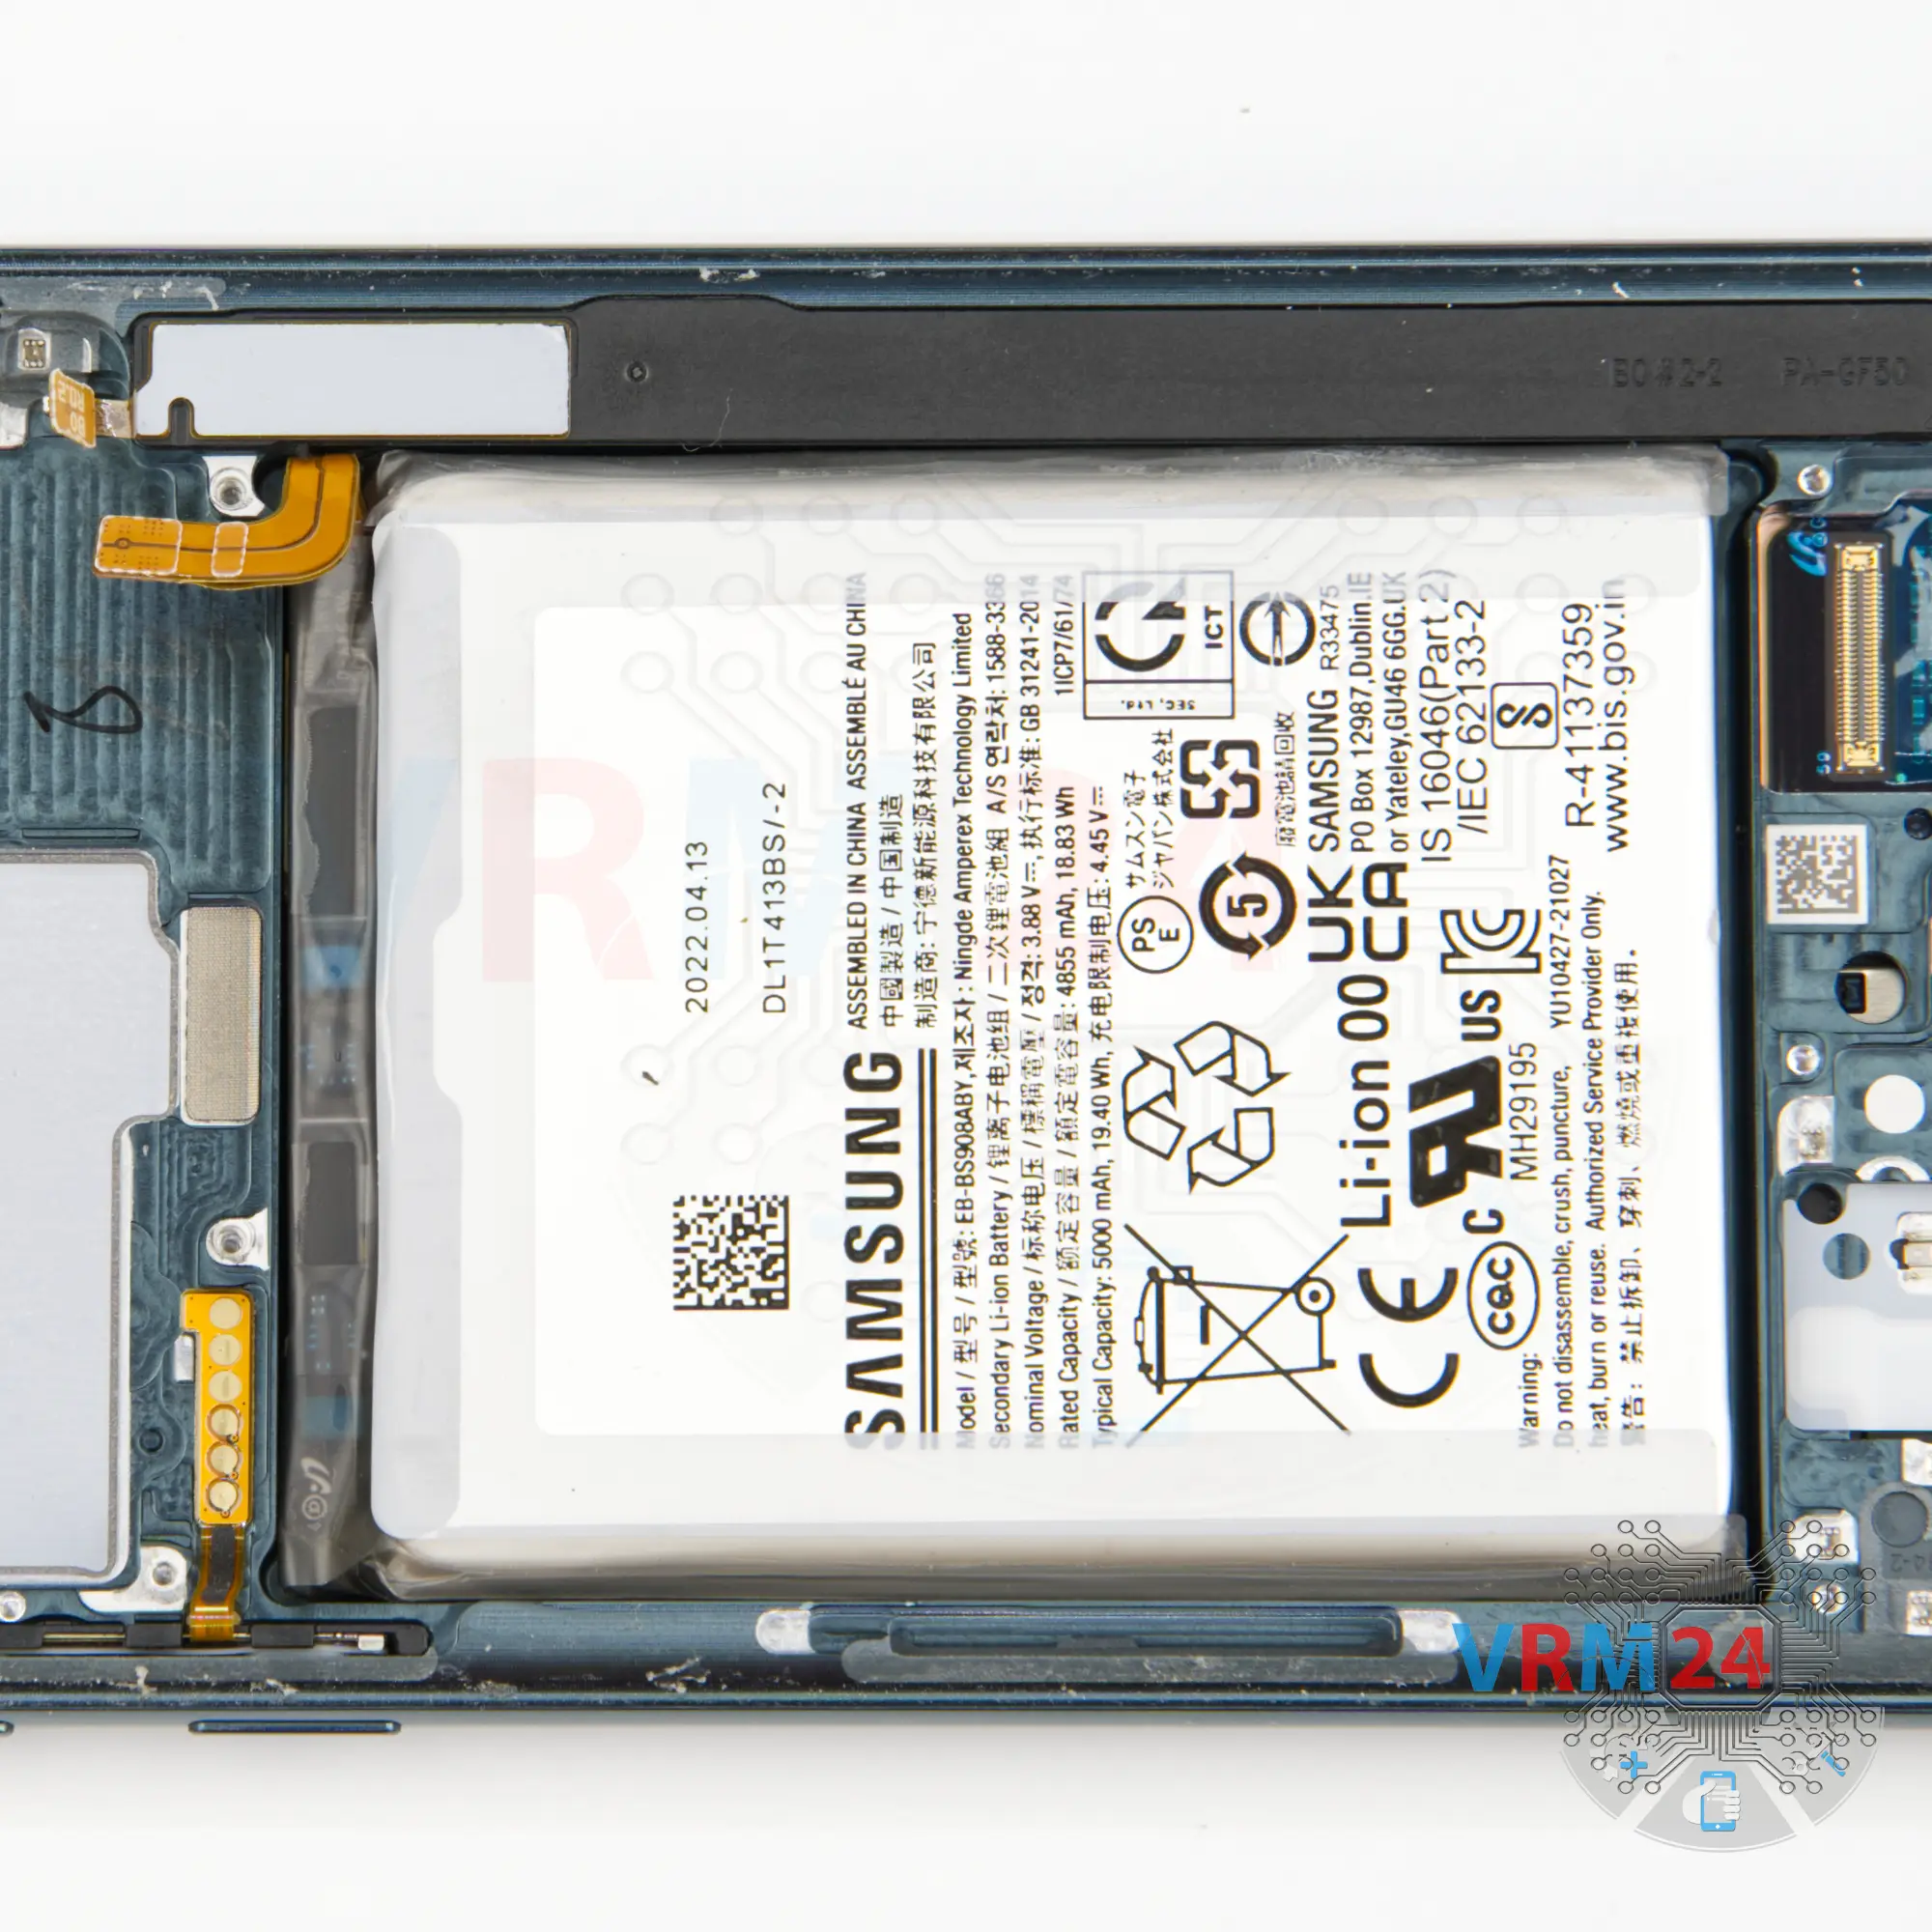
Step 19. In the display frame remained
ℹ️️ In the display frame remained: the earpiece speaker, battery, S pen, and side buttons.
Detailed disassembly instructions of Samsung Galaxy S22 Ultra SM-S908 in the video, made by our mobile repair & service center:
If you have a question, ask us, and we will try to answer in as much detail as possible. If this article was helpful for you, please rate it.

Disassembling\Repair has medium complexity and takes about minutes in time.
Our manual is suitable for all models Samsung Galaxy S22 Ultra SM-S908 — Samsung Galaxy S22 Ultra SM-S908B, SM-S908B/DS ; SM-S908U; SM-S908U1; SM-S908W; SM-S908N; SM-S9080; SM-S908E released for markets in different countries.
Back to the list