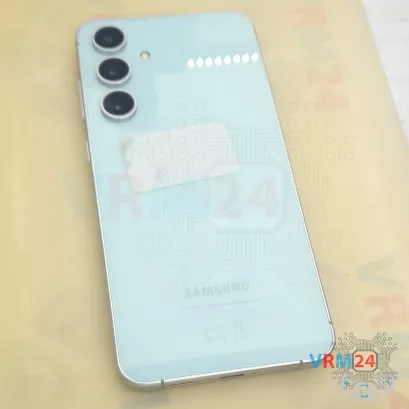
⚠️️ Before disassembling, do not forget to turn your phone off.
Moderate
Recommended tools


Disassembly/Repair of the mobile device Samsung Galaxy S24 FE SM-S721 (Samsung Galaxy S24 FE SM-S721B, SM-S721B/DS, SM-S721U1, SM-S721U, SM-S721W, SM-S7210, SM-S721N) with each step description and the required set of tools.

Vadim Popoff
Author / content specialist
Author / Content specialist with 10+ years of experience
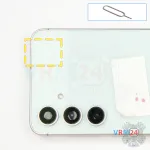
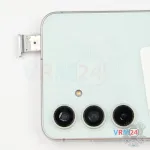
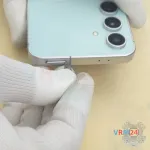
Step 2. Remove the tray
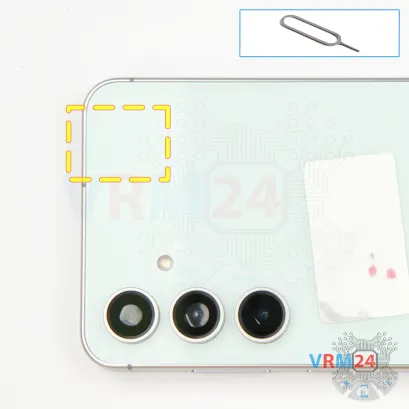
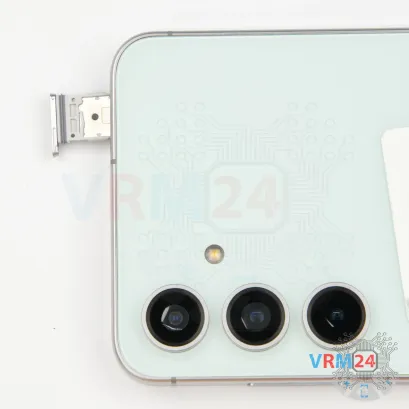
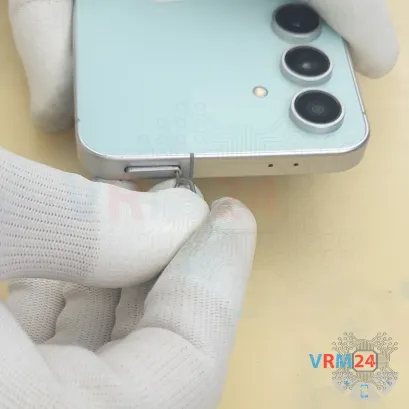
First, we need to remove the SIM card tray.
To do this, we use a special SIM eject tool. Insert it into the small hole and gently push out the card tray.
Take note that the tray is located at the top of the phone.
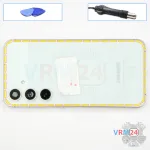
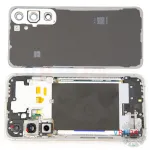
Step 3. Open the back cover
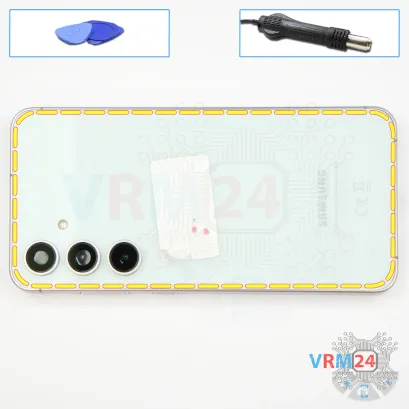
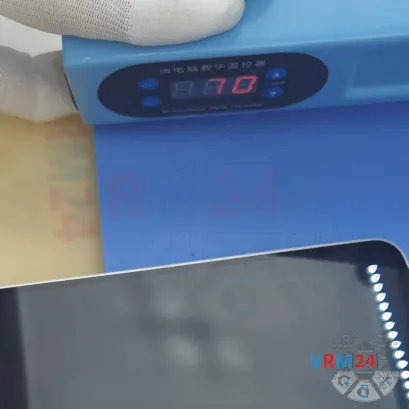
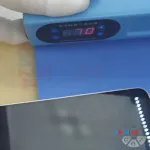
Next, we need to heat the back cover to a temperature of approximately 70 degrees Celsius, or 160 degrees Fahrenheit.
We’re using a heating pad for this, but you can also use a hairdryer.
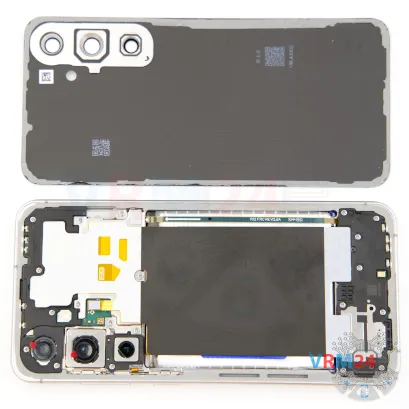
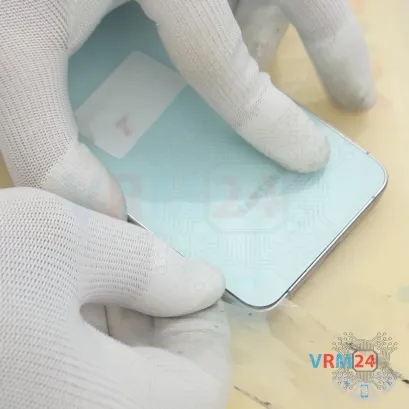
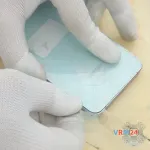
After heating it for about 5 to 10 minutes, we can start separating and lifting the back cover. To do this, we use a thin plastic film—this could be something like film from a stationery store or the protective film from a new display.
Carefully insert the film into the gap between the back cover and the mid-frame, then slide it along the edge to cut through the adhesive.
As always, be especially careful around the camera area to avoid touching the lenses.
It’s also important not to insert the film too deeply, as there may be cables underneath that could get damaged.
Step 4. Protecting camera lenses
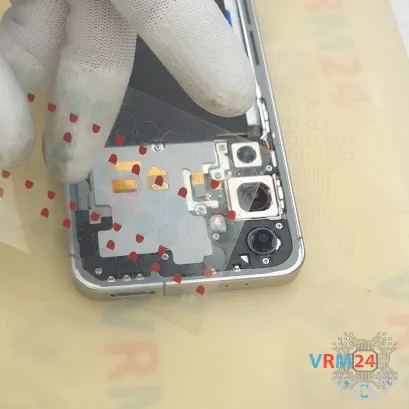
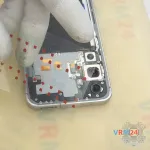
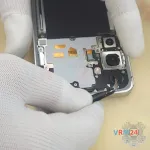
It’s also a good idea to cover the camera lenses for protection.
Note that we’re applying a special protective film to the rim around the lens, not directly on the lens itself.
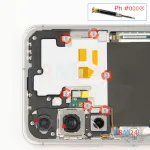
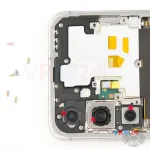
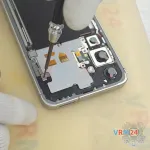
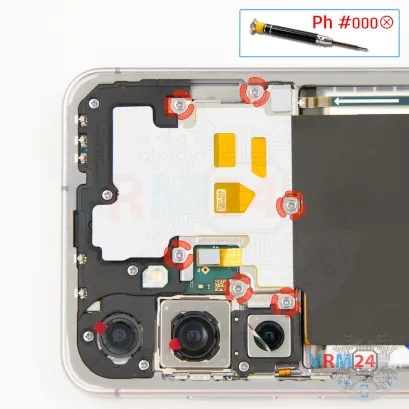
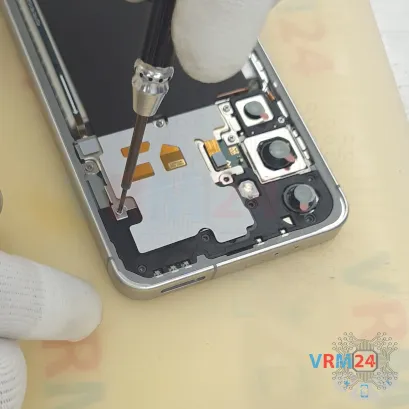
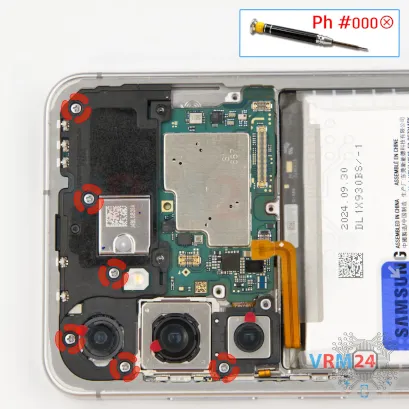
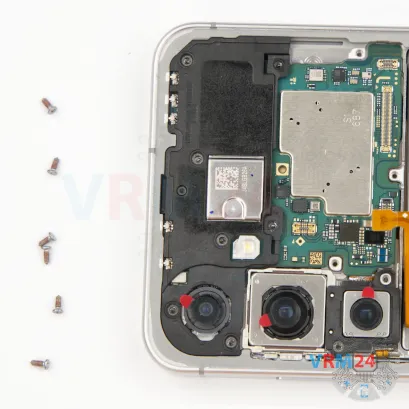
Step 5. Unscrew the screws
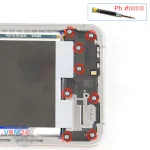
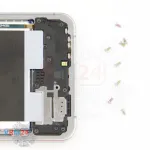
After this, we move on to removing the screws at the top. We’ll use a 1.5 mm Phillips screwdriver, or a Philips #000.
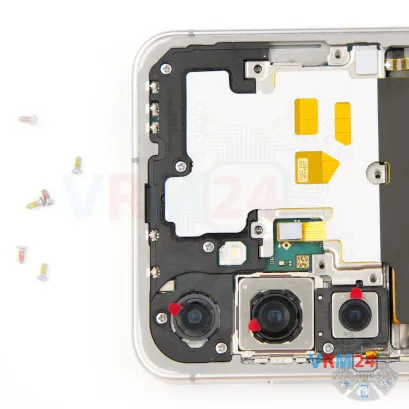
It’s best to organize the screws on a dedicated surface and keep them in the order you removed them, since screws often don’t fit properly in the wrong holes.
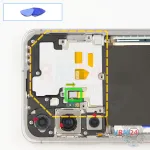
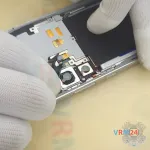
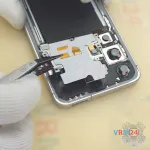
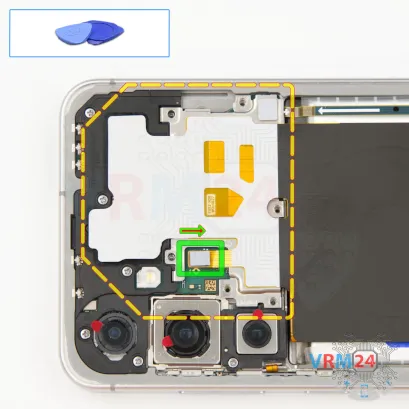
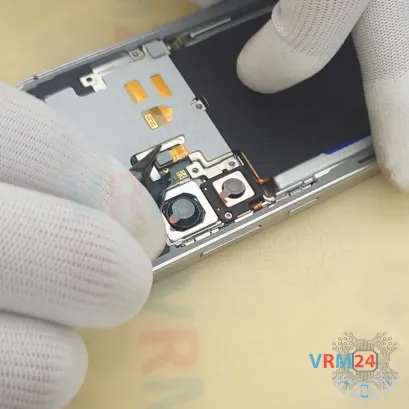
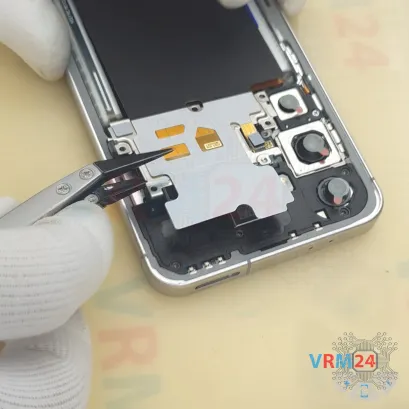
Step 6. Open the cover
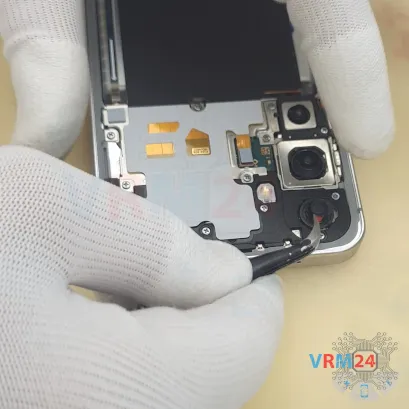
Once the screws are out, we can disconnect the connector for the NFC and the wireless charging module.
Next, we carefully lift this section with non-metallic tool.
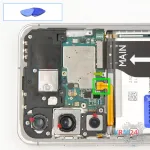
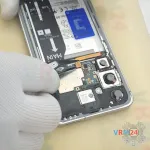
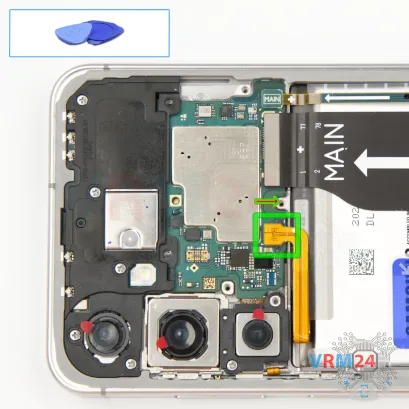
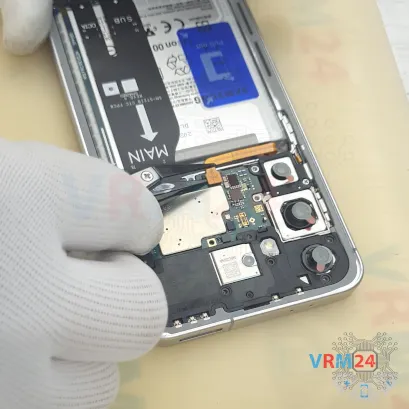
Step 7. Disconnect the battery connector
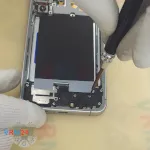
And we use a non-metal tool to disconnect the battery connector.
ℹ️️ The Samsung Galaxy S24 FE SM-S721 model has a battery EB-BS721ABY with a capacity of 4700 mAh (also known as a rechargeable battery).
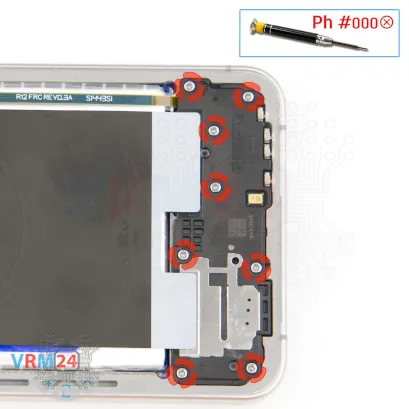
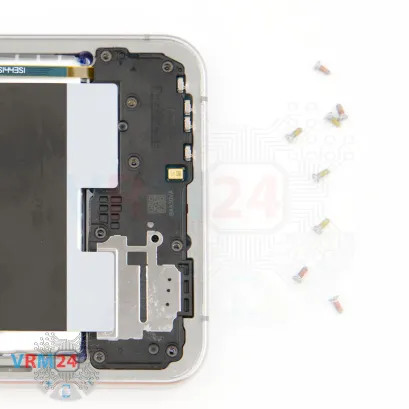
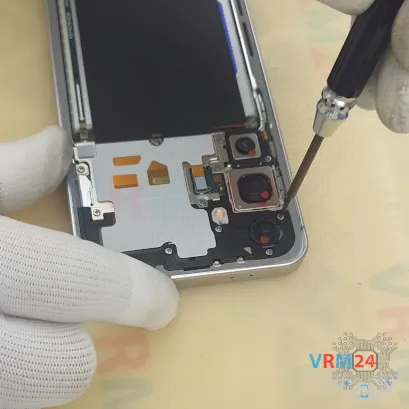
Step 8. Unscrew the screws
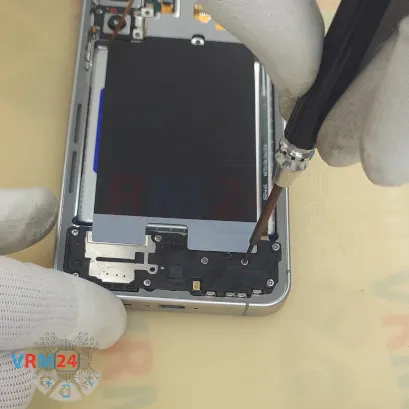
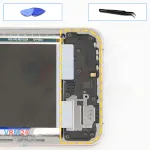
So now we move on to the bottom screws, again using the same 1.5 mm Phillips screwdriver or Philips #000.
It's a good idea to keep the bottom screws separate from the top ones.
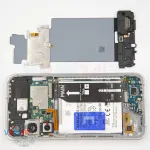
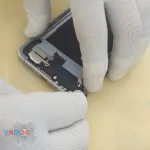
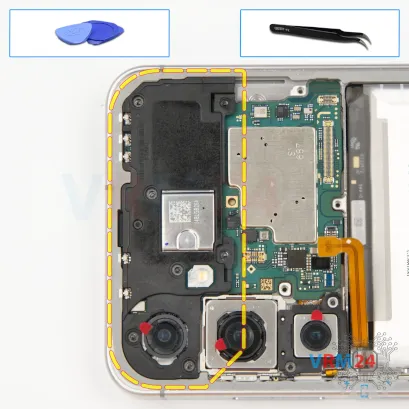
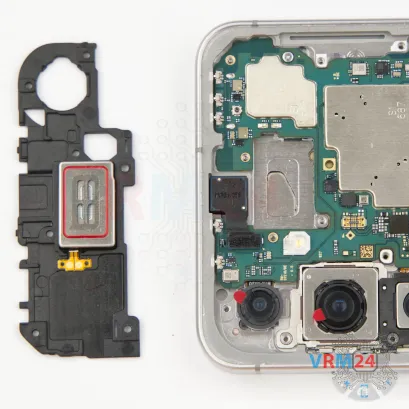
Step 9. Remove the loudspeaker
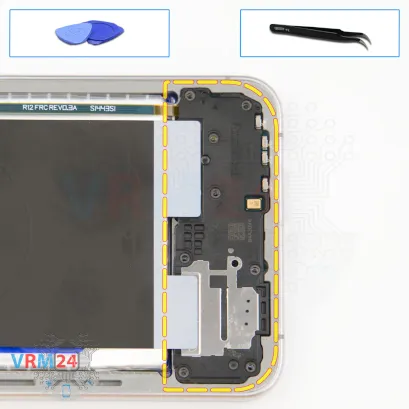
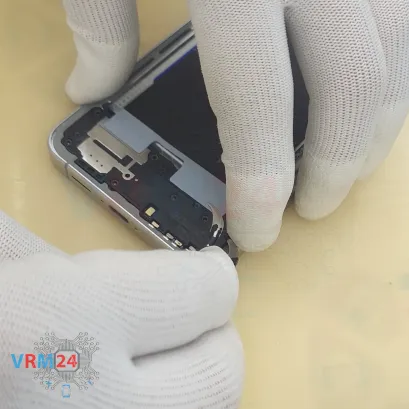
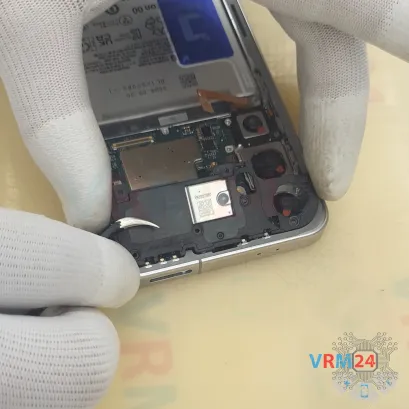
Once those screws are removed, we can start lifting the bottom cover.
Carefully pry it up from the correct spot and gently lift it.
If the cover doesn’t come off in a certain area, take your time and don’t force it—make sure nothing is stuck and avoid damaging any components.
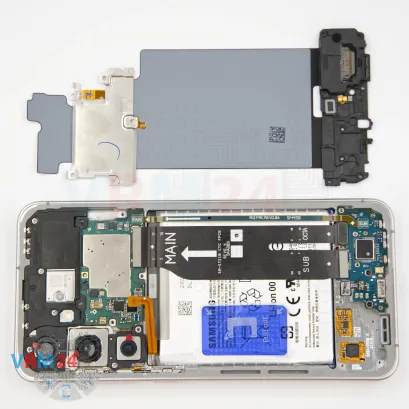
After that, remove the NFC, wireless charging module, and the bottom speaker module.
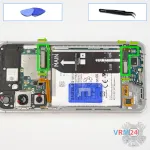
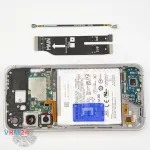
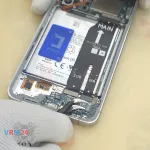
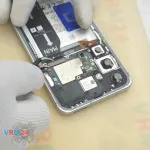
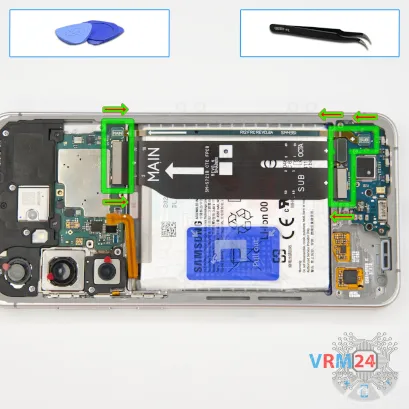
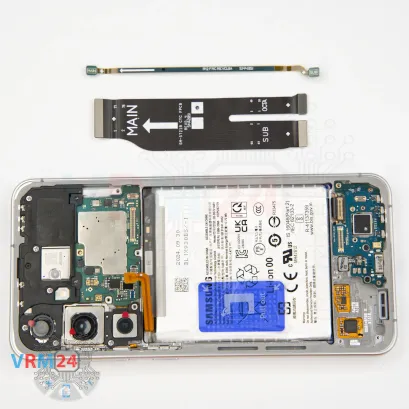
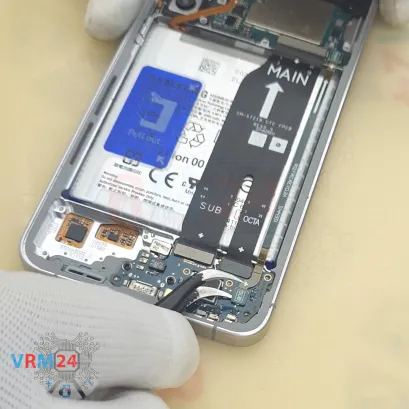
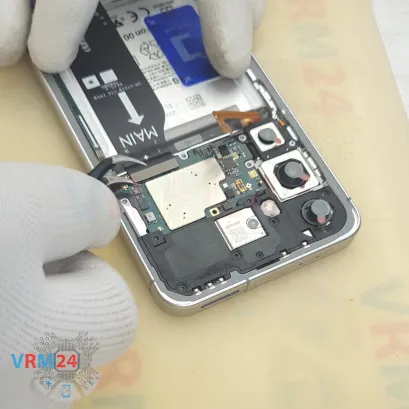
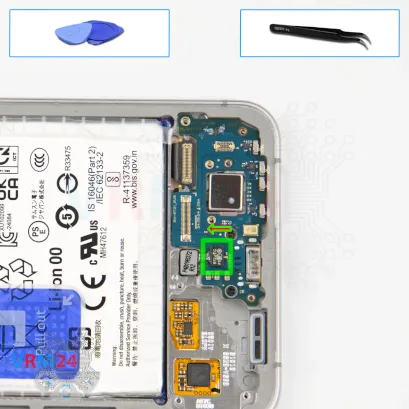
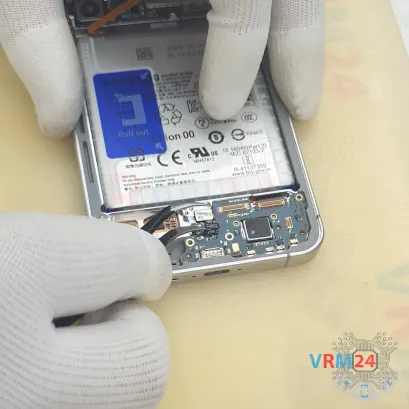
Step 10. Remove the interconnect cables
Now we disconnect the connectors on the sub-board, then the connectors on the main board, and remove the antenna cable and the interconnect flex cable.
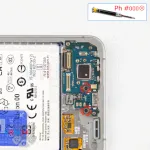
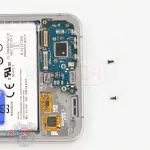
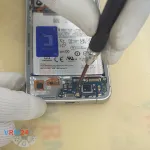
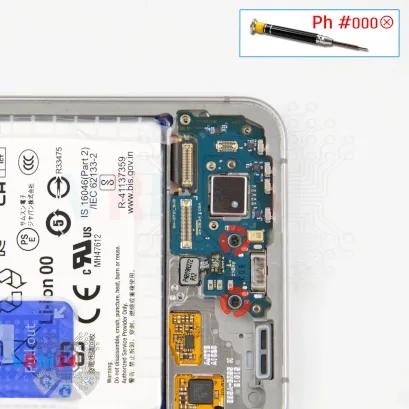
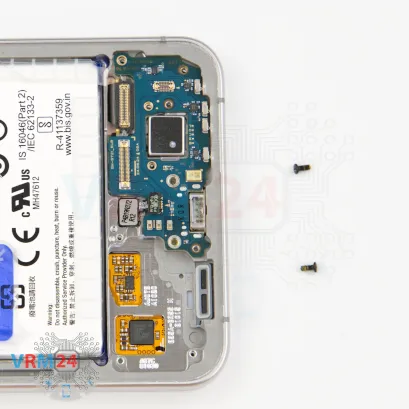
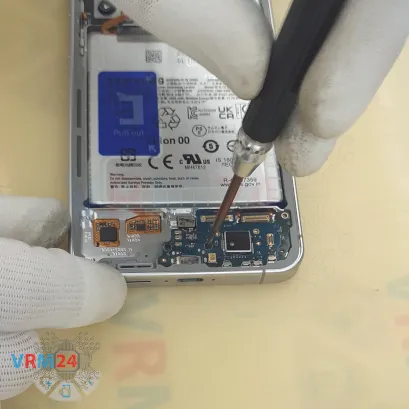
Step 12. Unscrew the screws
Next, we unscrew the two screws securing the sub-board.
So we again use the 1.5 mm Phillips screwdriver or Philips #000.
These screws are different from the others, so keep them separate.
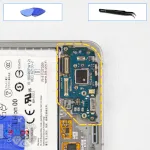
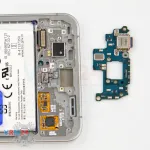
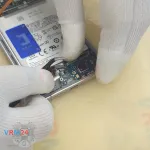
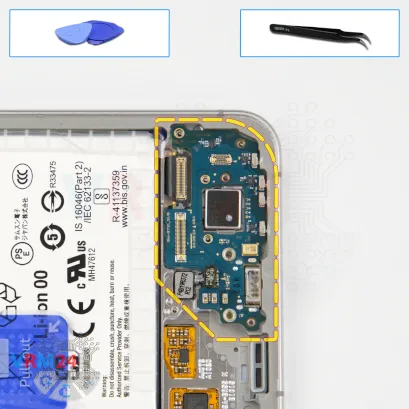
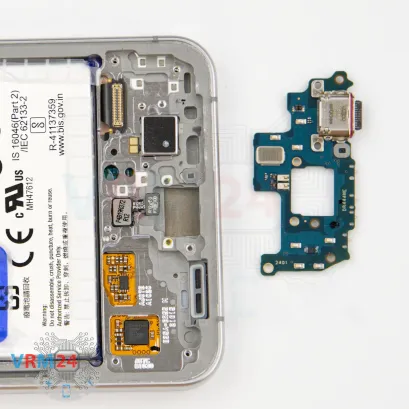
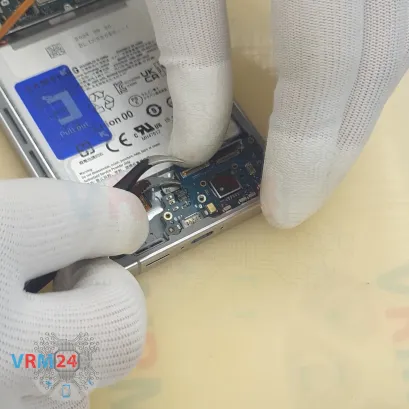
Step 13. Remove the sub-board
And we remove the sub-board. The sub-board sits slightly recessed, so be very careful here.
Gently lift and remove the sub-board. The charging port, microphone, and other components are located on the sub-board.
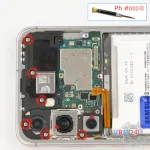
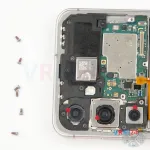
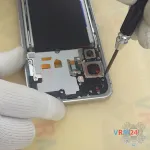
Step 14. Unscrew the screws
Now we move on to the other top screws, again using the same 1.5 mm Phillips screwdriver or Philips #000.
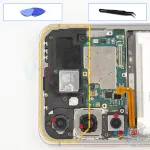
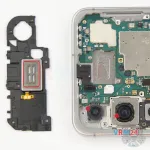
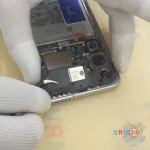
Step 15. Remove the earpiece speaker
We can try to lift the cover at the top. As always, we need to locate the clips holding it in place.
Don’t rush this step and don’t use force—work carefully to avoid breaking anything. Try gently lifting the cover from different spots until it starts to come loose.
Once the cover is off, set it aside. There’s a speaker attached to the cover, so be careful with it.
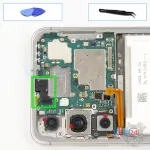
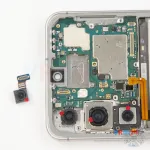
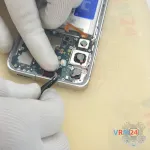
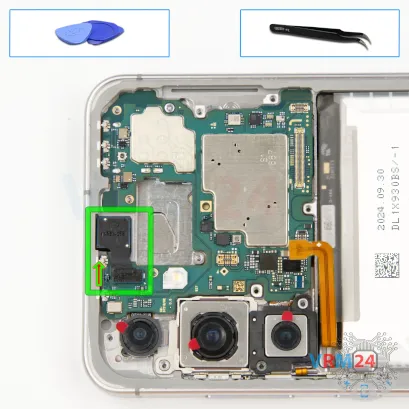
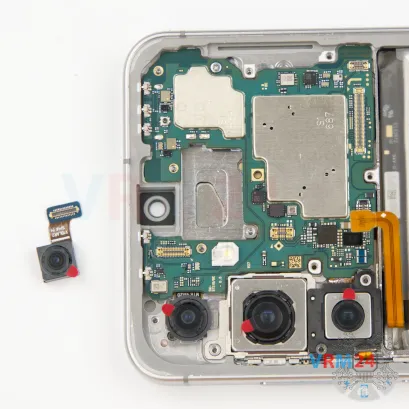
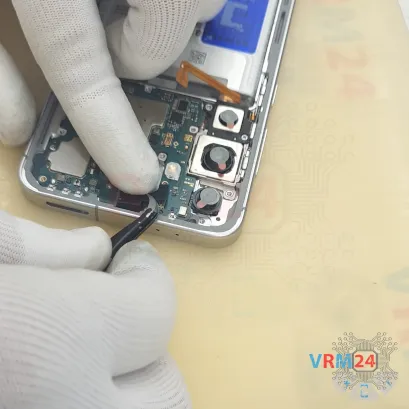
Step 16. Remove the front camera
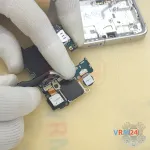
Now we can disconnect the front-facing camera.
Carefully detach it, and of course, it’s best to cover the lens to keep dust from getting in.
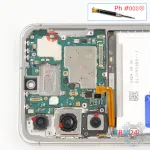
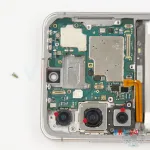
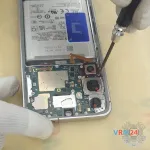
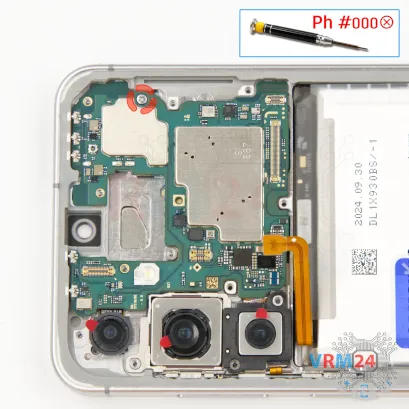
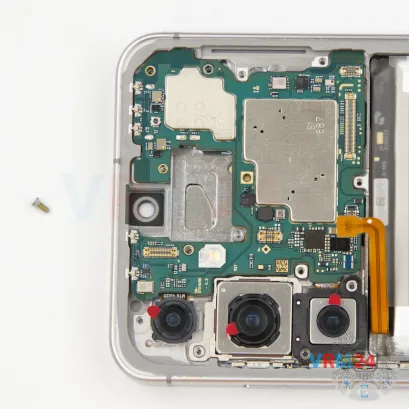
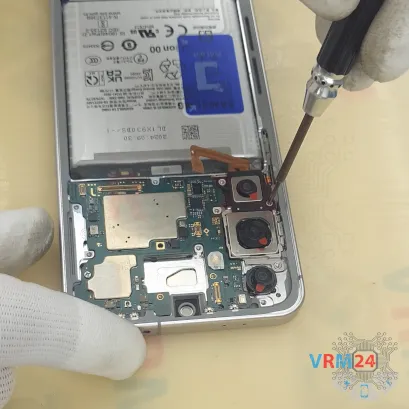
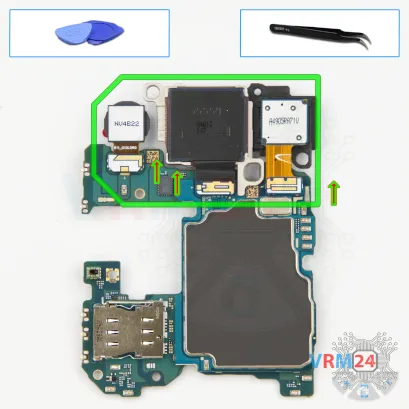
Step 17. Unscrew one screw
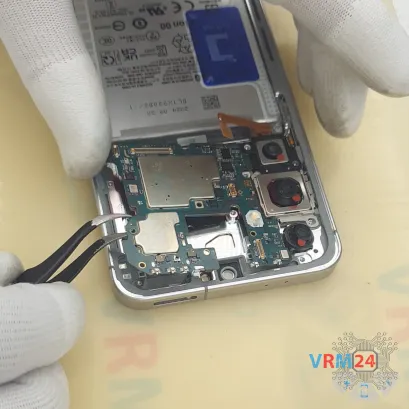
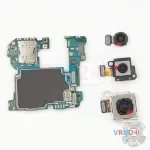
Next, unscrew the screw that holds the cameras and the one that holds the mainboard in place.
Again, we’re using the 1.5 mm Phillips screwdriver.
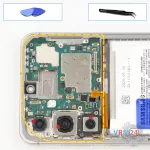
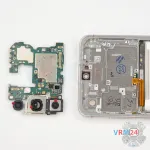
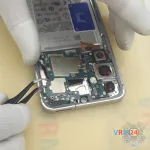
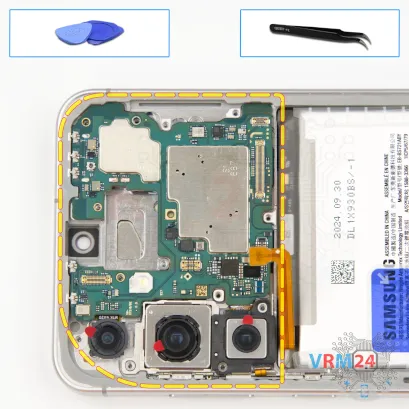
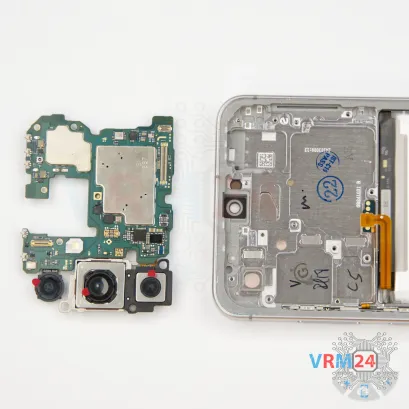
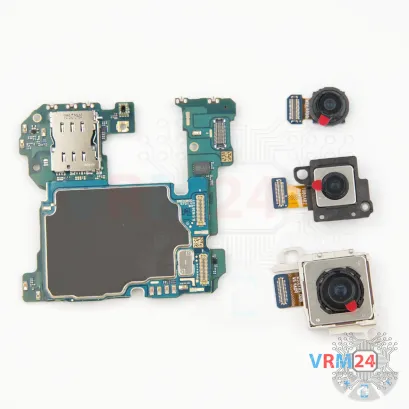
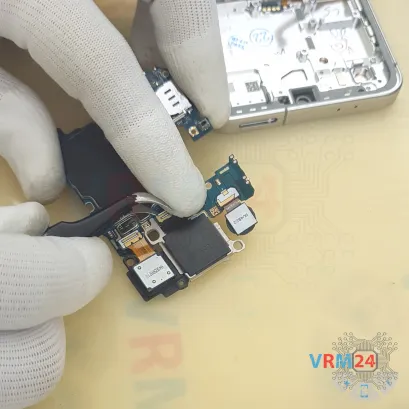
Step 18. Remove the motherboard
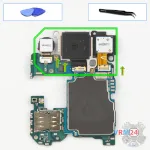
Now we can lift the motherboard from the correct spot. Carefully pry it up, lift it, and remove it.
⚠️️ Do not bend the circuit board when removing it or push tools under it. Unbeknownst to yourself, you can damage components or cables from the inside.
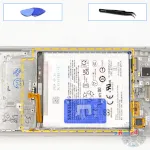
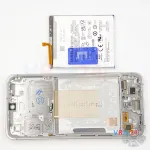
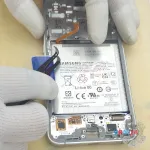
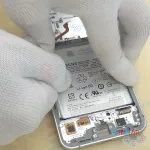
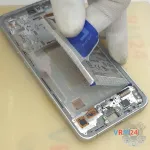
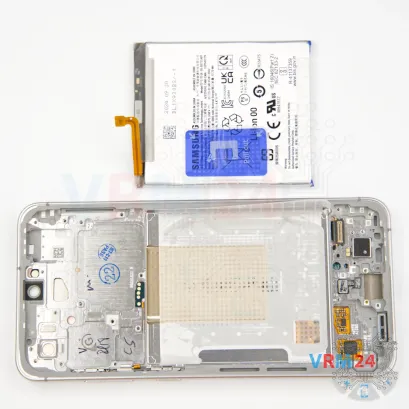
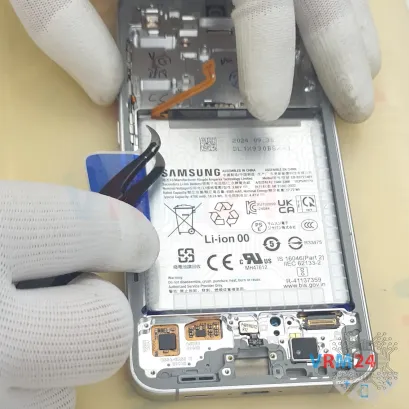
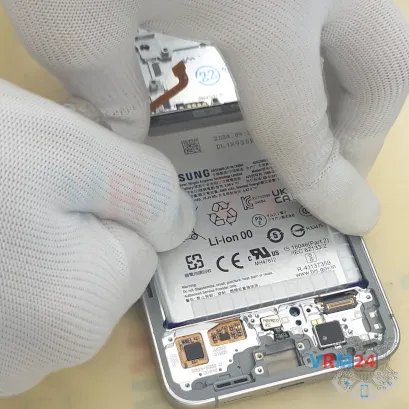
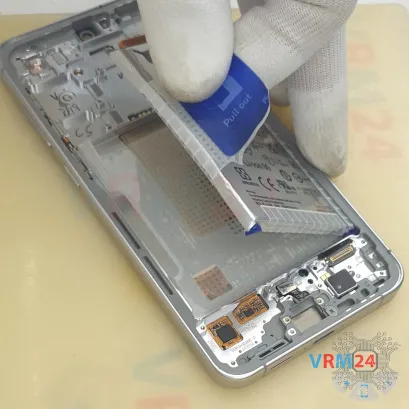
Step 20. Remove the battery
Finally, we move on to removing the battery.
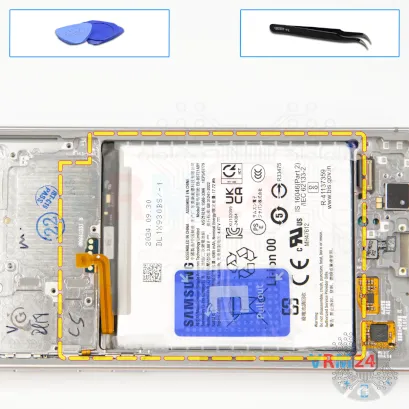
Like many Samsung models from that time, it has a blue pull tab in the center and two transparent tabs on the sides that need to be detached first. Then, we pull the blue tab upward.
As usual, we try pulling on the blue tab, but the battery doesn’t come out. It looks like part of it has fused to the frame, possibly due to high heat.
So first, we need to find the spot where it’s stuck, carefully separate it, and then slowly pull the battery out.
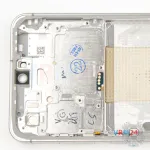
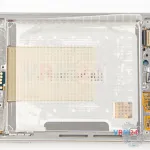
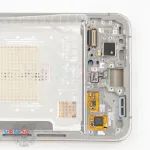
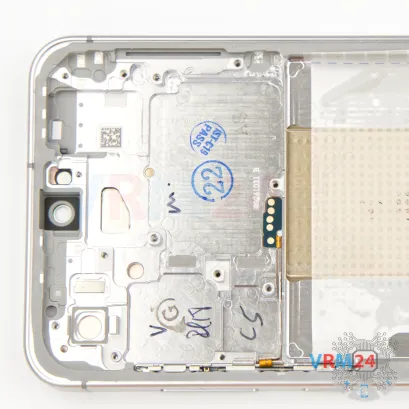
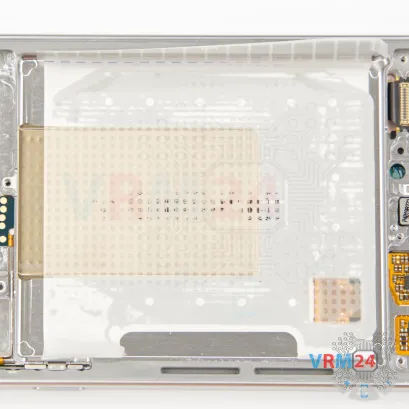
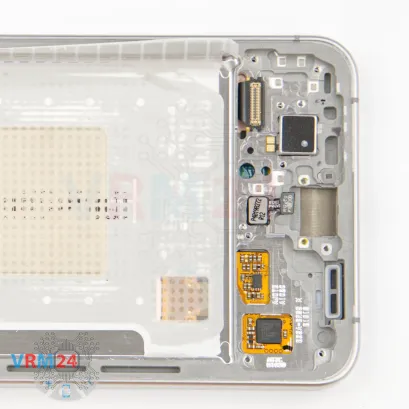
Step 21. In the display frame remained
ℹ️️ In the display frame remained: the fingerprint sensor, and vibration motor.
Detailed disassembly instructions of Samsung Galaxy S24 FE SM-S721 in the video, made by our mobile repair & service center:
If you have a question, ask us, and we will try to answer in as much detail as possible. If this article was helpful for you, please rate it.

Evgenii Kuzmin
Senior maintenance service and repair engineer
Back to the list

