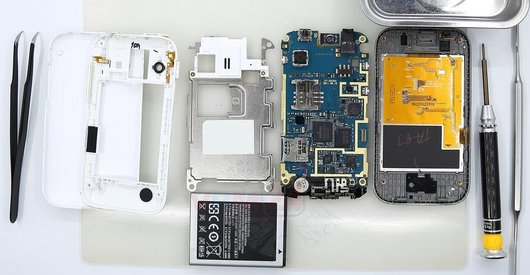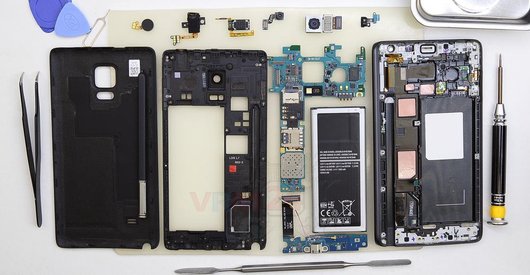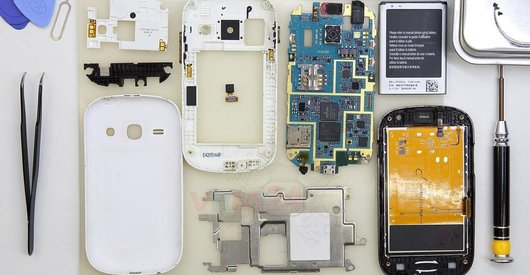





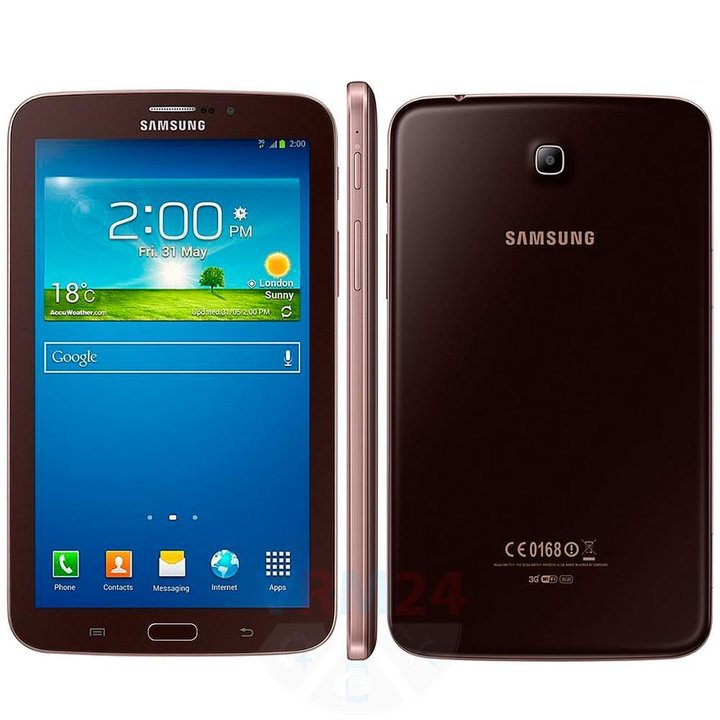
Recommended tools
Screwdriver Phillips #000

Opening tool / Spudger

Tweezers

Disassembly/Repair of the mobile device Samsung Galaxy Tab 3 7.0'' SM-T211 (Samsung Galaxy Tab 3 7.0 P3210, Samsung T210) with each step description and the required set of tools.
11305
Views
4
Likes
—
Share
3
Questions

Step 1.
Open the back cover
Open the back cover.
Step 2.
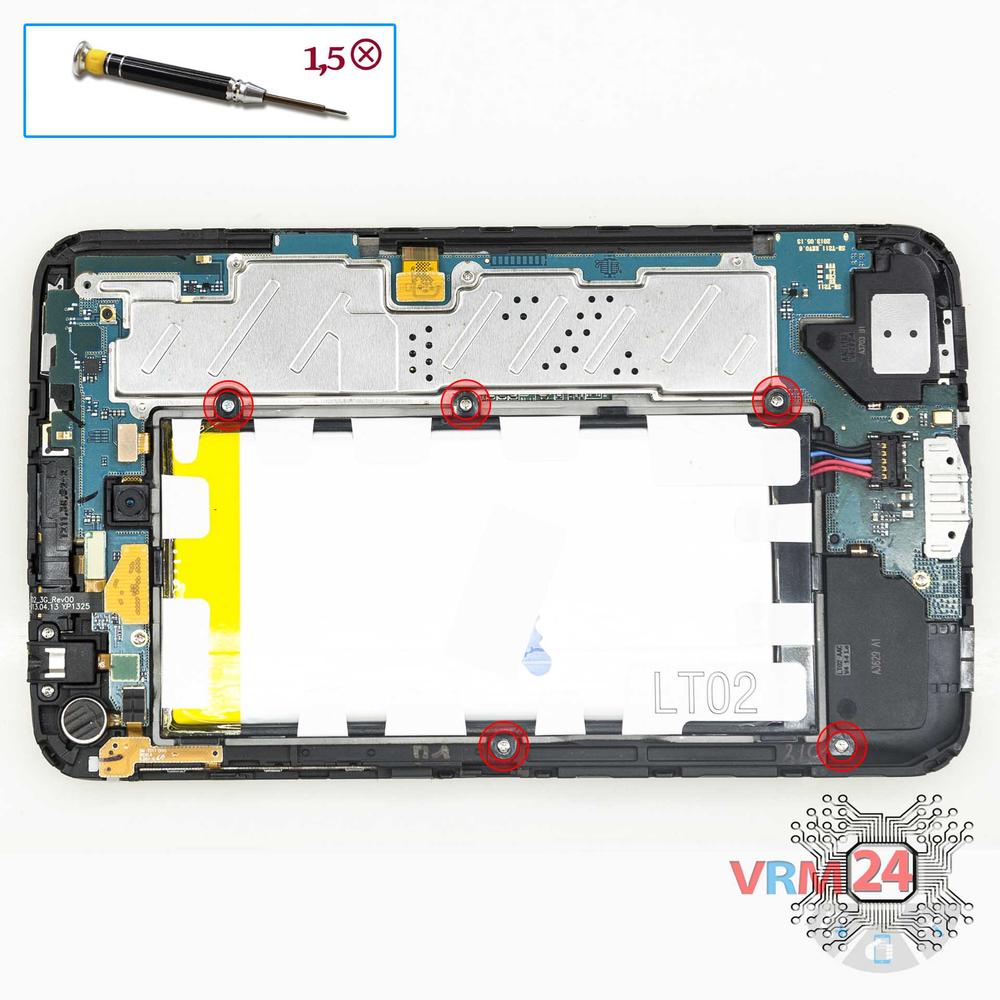
Unscrew the screws
Using a screwdriver (Phillips 1.5 mm PH000), unscrew 5 bolts securing the battery.
Step 3.
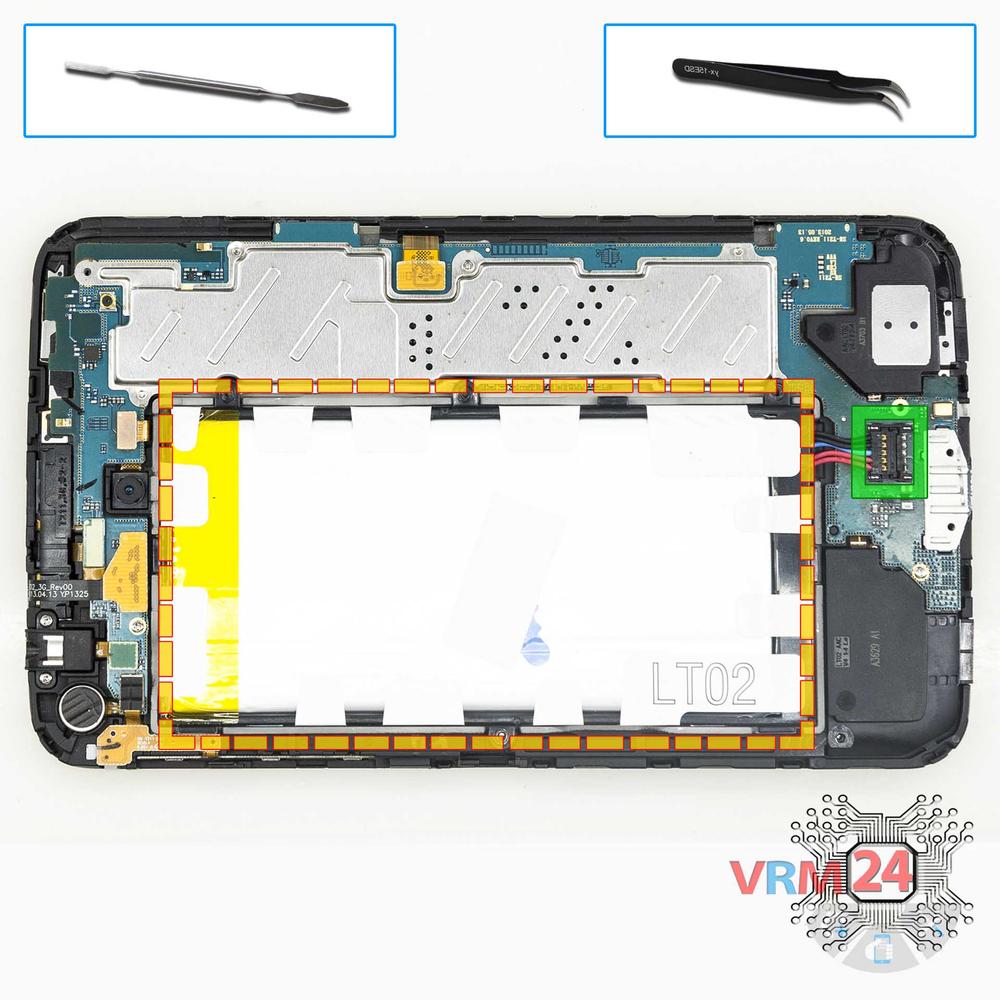
Remove the battery
Disconnect the connector on PCB and remove the battery.
Step 4.
Disconnect the connectors
Disconnect connectors on the PCB.
Step 5.
Unscrew the screws
Using a screwdriver (Phillips 1.5 mm PH000), unscrew 2 bolts securing the headphone jack/socket.
Step 6.
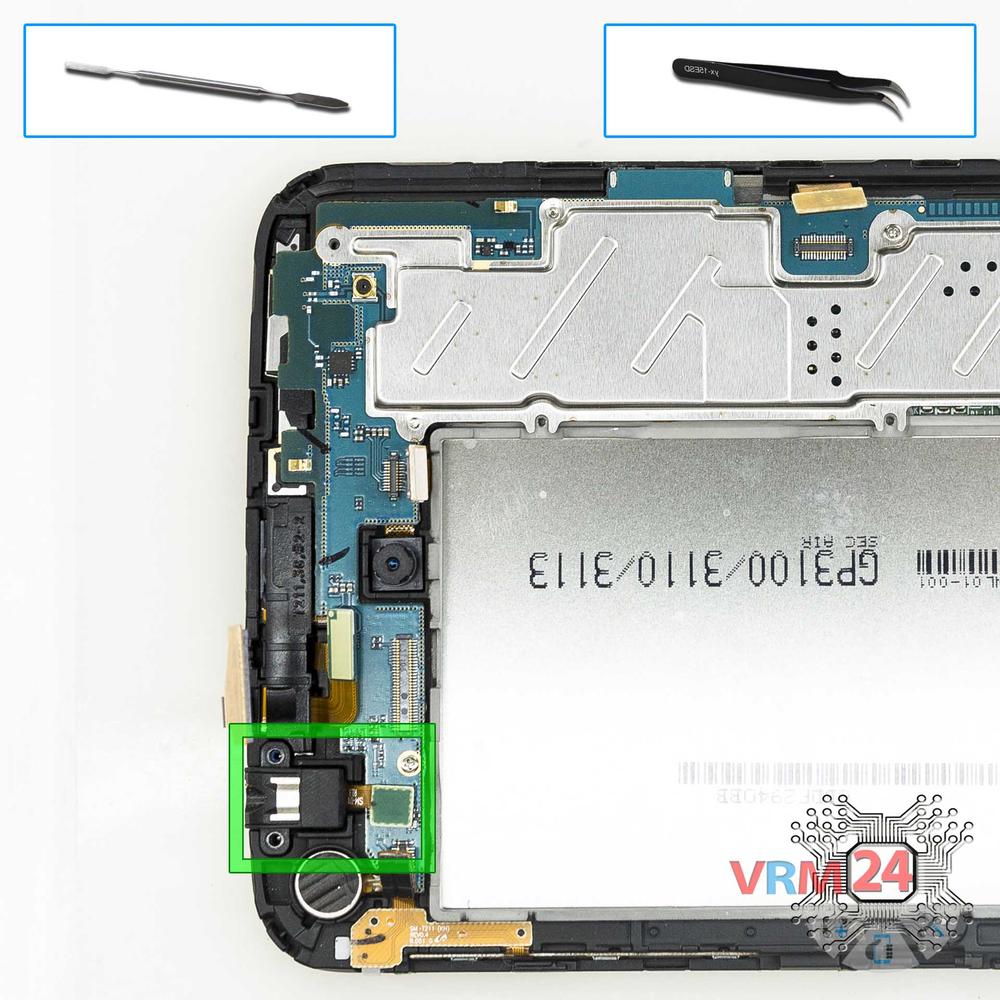
Remove the headphone port
Pry up the connector and remove the headphone jack/socket.
Step 7.
Unscrew the screws
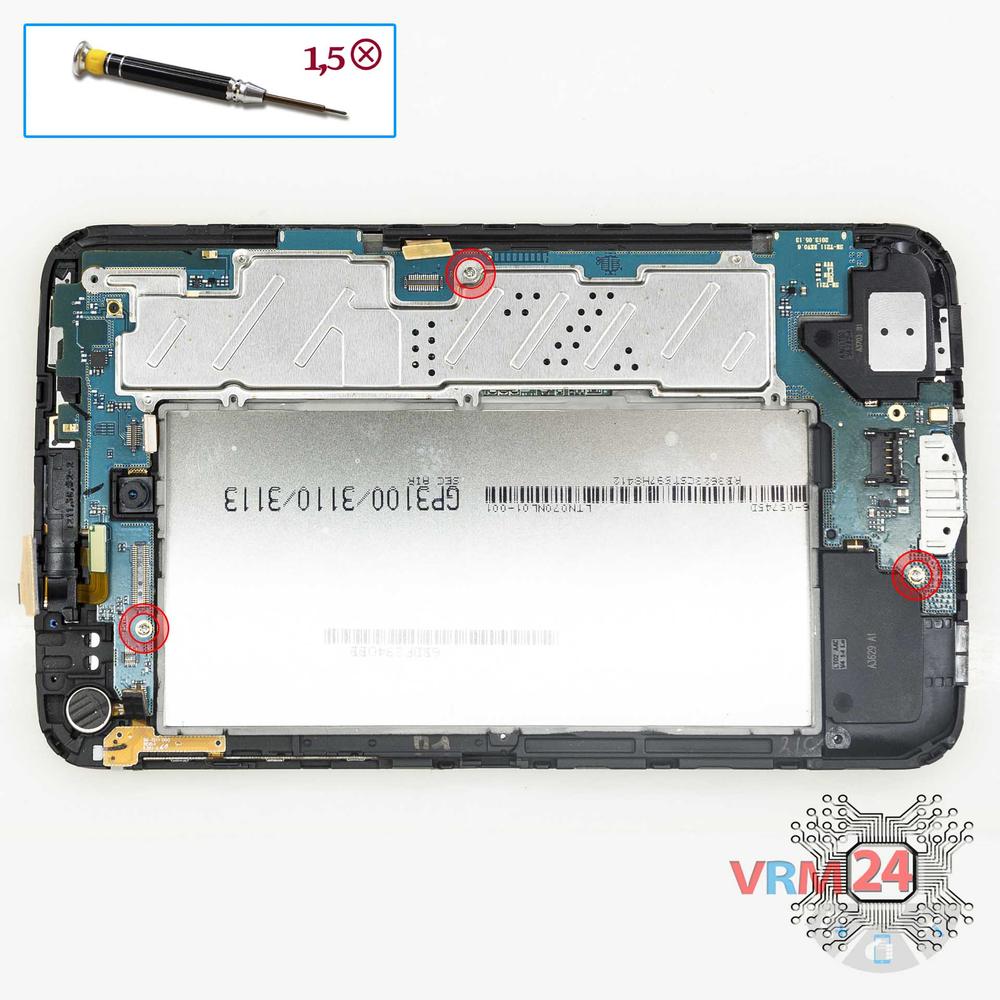
Using a screwdriver (Phillips 1.5 mm PH000), unscrew 3 bolts in the PCB.
Step 8.
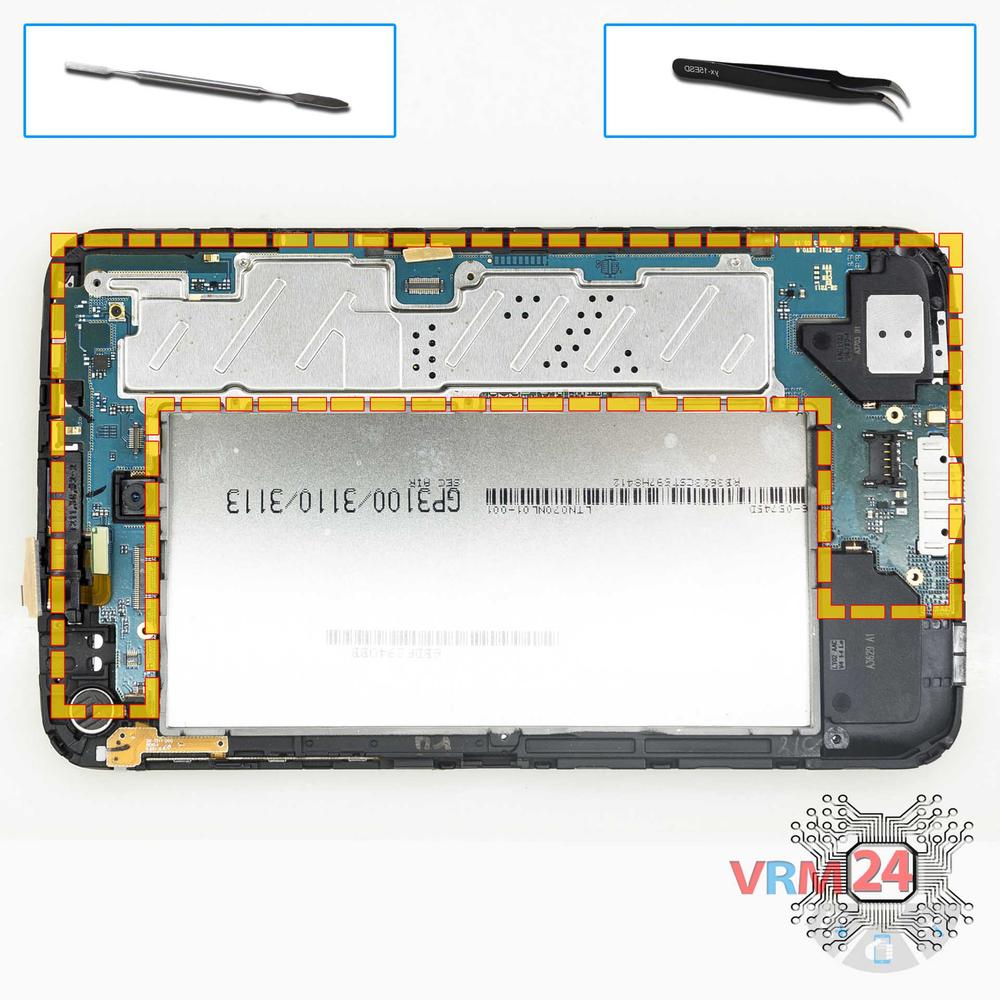
Remove the motherboard
Remove the PCB.
Step 9.
Open the cover
Remove the cover with antennas.
Step 10.
Remove the rear camera
Pry and remove the main camera.
Step 11.
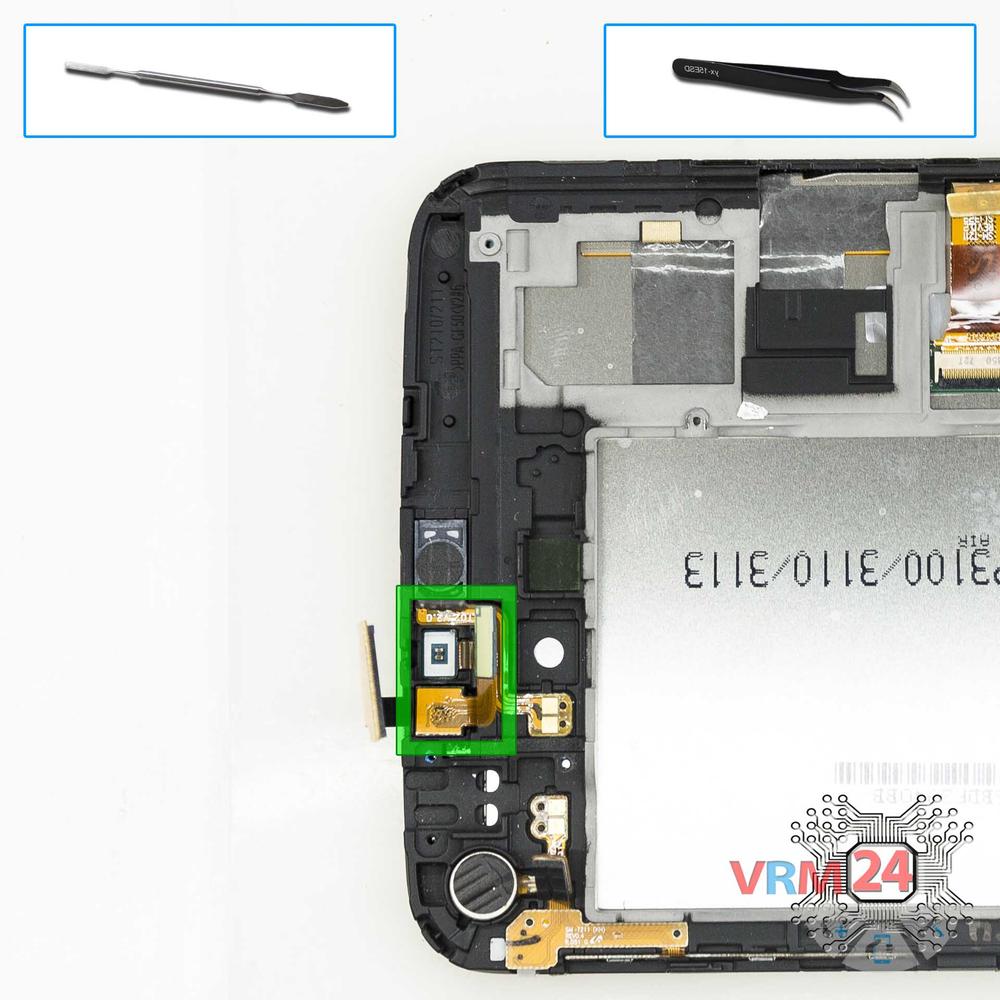
Remove the front camera
Remove the cable with front (selfie) camera and proximity sensor.
Step 12.
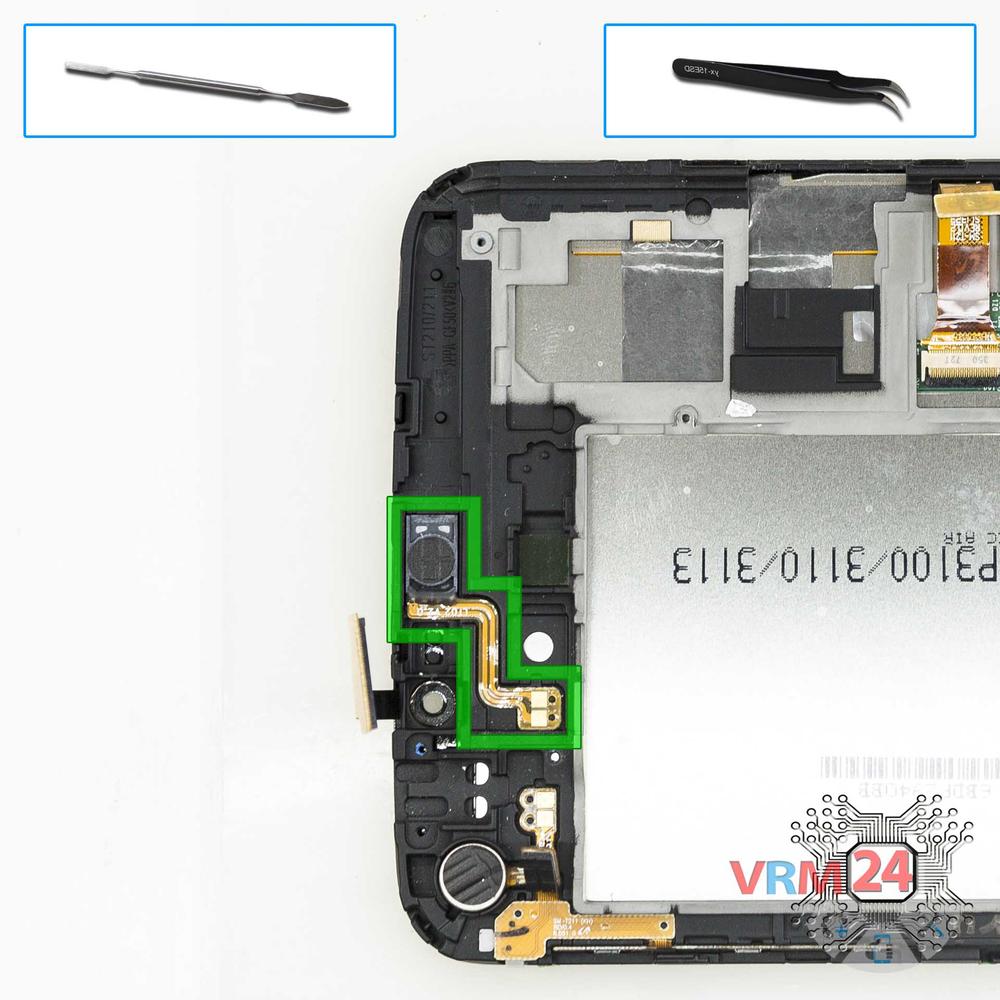
Remove the earpiece speaker
Pry and remove the earpiece (speaker).
Step 13.
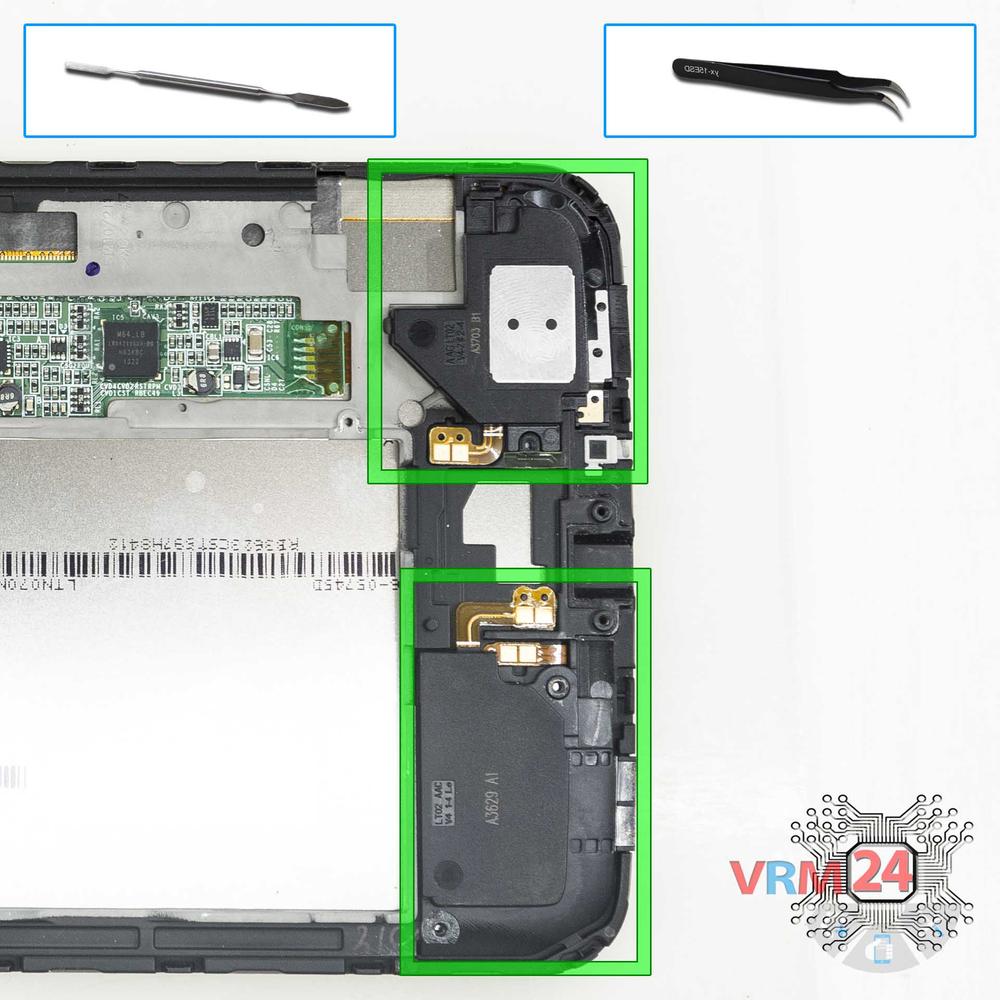
Remove the loudspeaker
Pry and remove two the buzzer (speaker) assemblies.
Step 14.
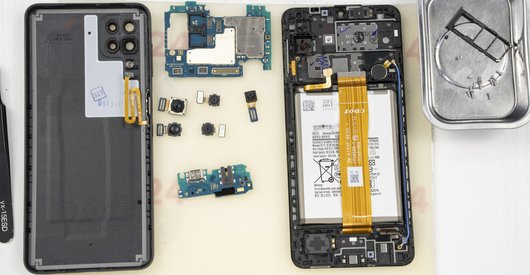
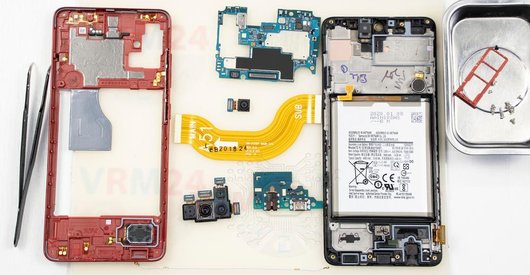
In the display frame remained
Parts are in the frame of the display module.

If you have a question, ask us, and we will try to answer in as much detail as possible. If this article was helpful for you, please rate it.

11305
Views
4
Likes
—
Share
3
Questions
Related Instructions
Related Reviews
Related Blog
Popular Questions
A
Samsung Galaxy J5 (2016) SM-J510
is this all aluminium back frame? like A5 (2016)
Aruna Jayarathne5
S
Samsung Galaxy A3 (2016) SM-A310
hi , i replace my battery with a new one , but my phone does not turn on and the battery does not charge , is it just a probleme with my new battery ?
Seymour Duncan15
A
Samsung Galaxy Watch SM-R800
Does it have wireless charging
Aaditya Singh2
J
Samsung Galaxy Tab A 10.1'' (2016) SM-T585
I want to take out my harddrive and put in a bigger one. Where is it located on the board?
Jamie Jackson11
Samsung Galaxy Tab S2 9.7'' SM-T819
What is the heat gun's safe temperature/wind speed when trying to open the tablet from its LCD side? is it possible to change the micro USB socket…
sinaTop instructions
Check our
Top Samsung instructions most liked by readers
New instructions
Check our
New Samsung brand instructions on vrm24.com