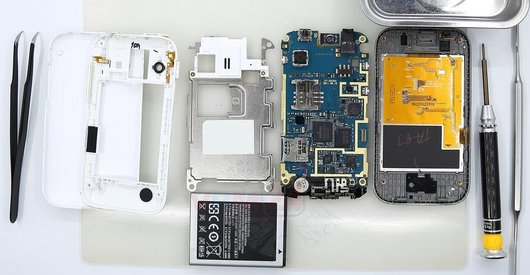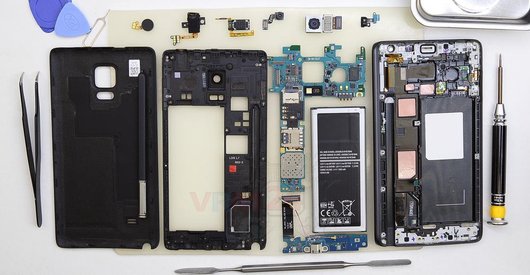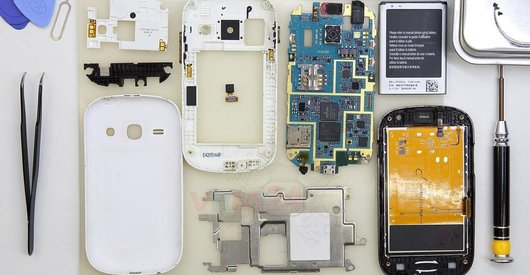






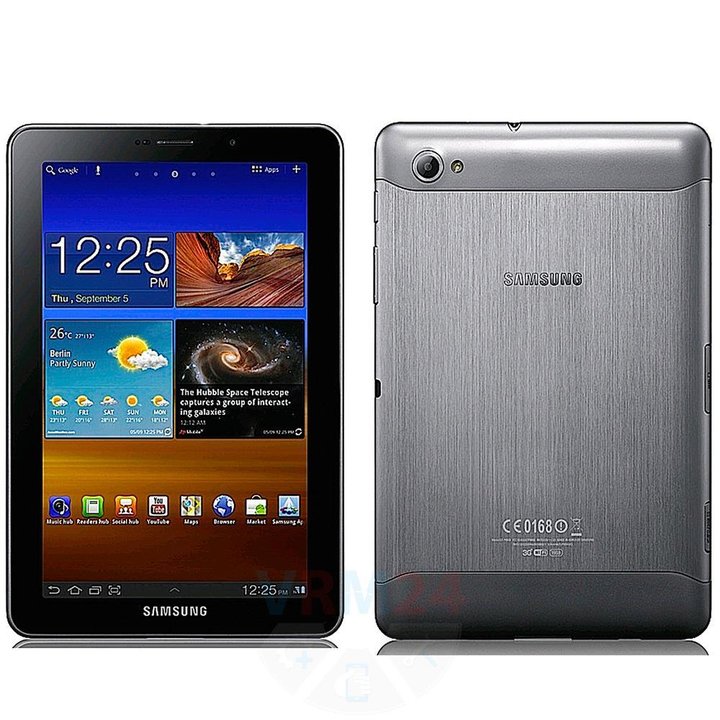
Recommended tools
Screwdriver Phillips #000

Opening tool / Spudger

Tweezers

Disassembly/Repair of the mobile device Samsung Galaxy Tab 7.7'' GT-P6800 with each step description and the required set of tools.
8179
Views
4
Likes
—
Share
3
Questions

Step 1.
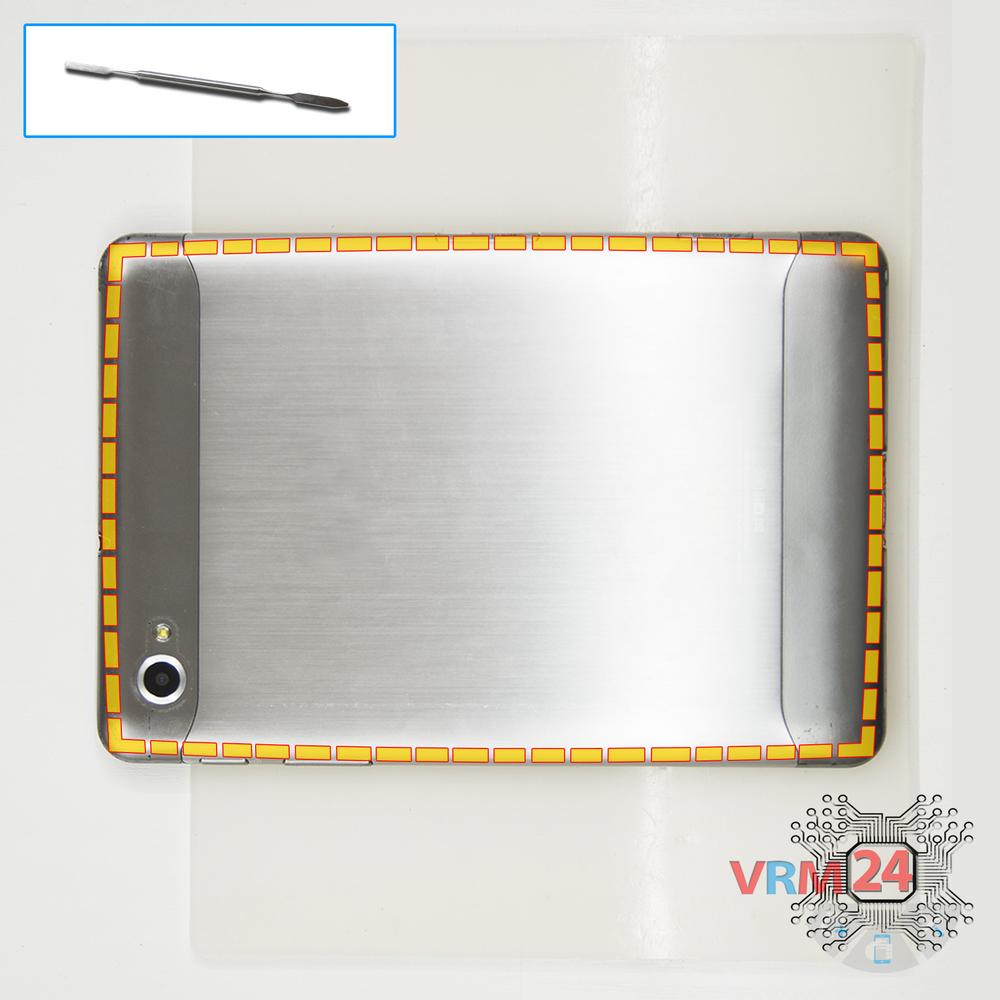
Open the back cover
Open the back cover.
Step 2.
Unscrew the screws
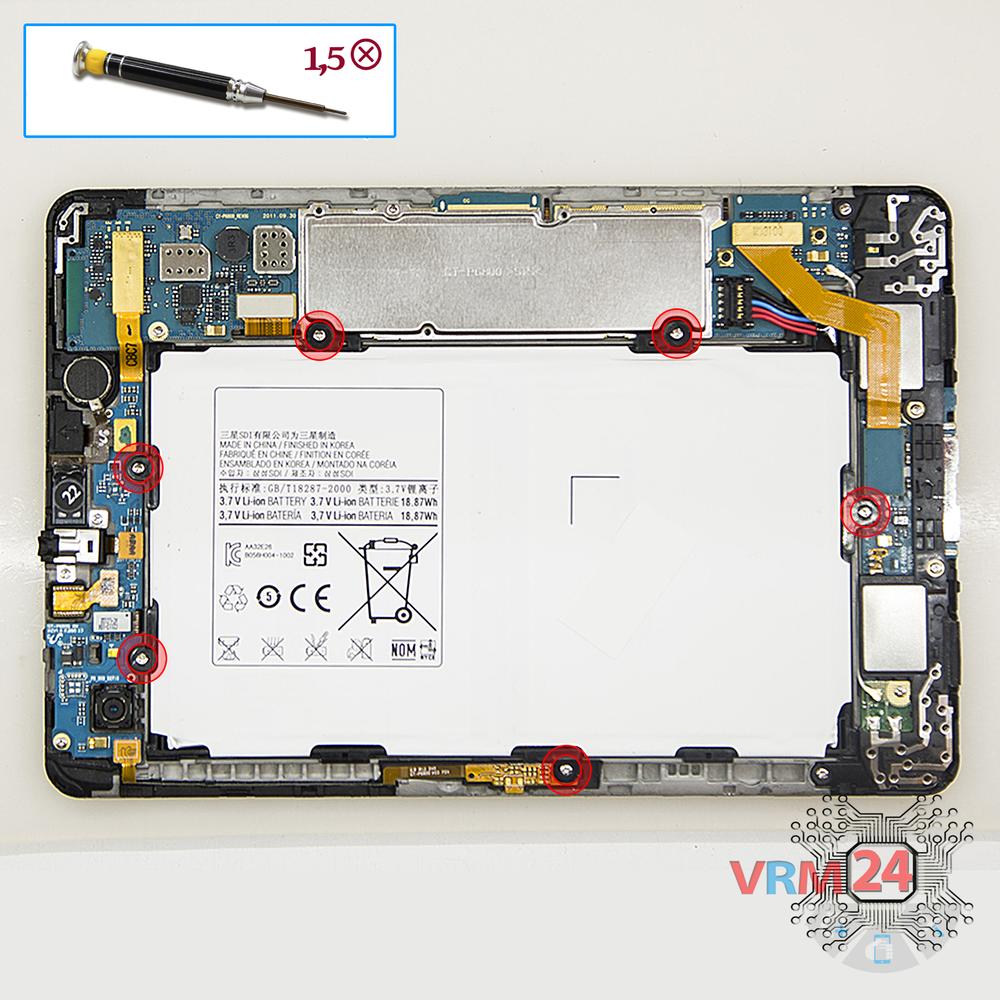
Using a screwdriver (hex T2), unscrew 6 bolts securing the battery.
Step 3.
Disconnect the battery connector
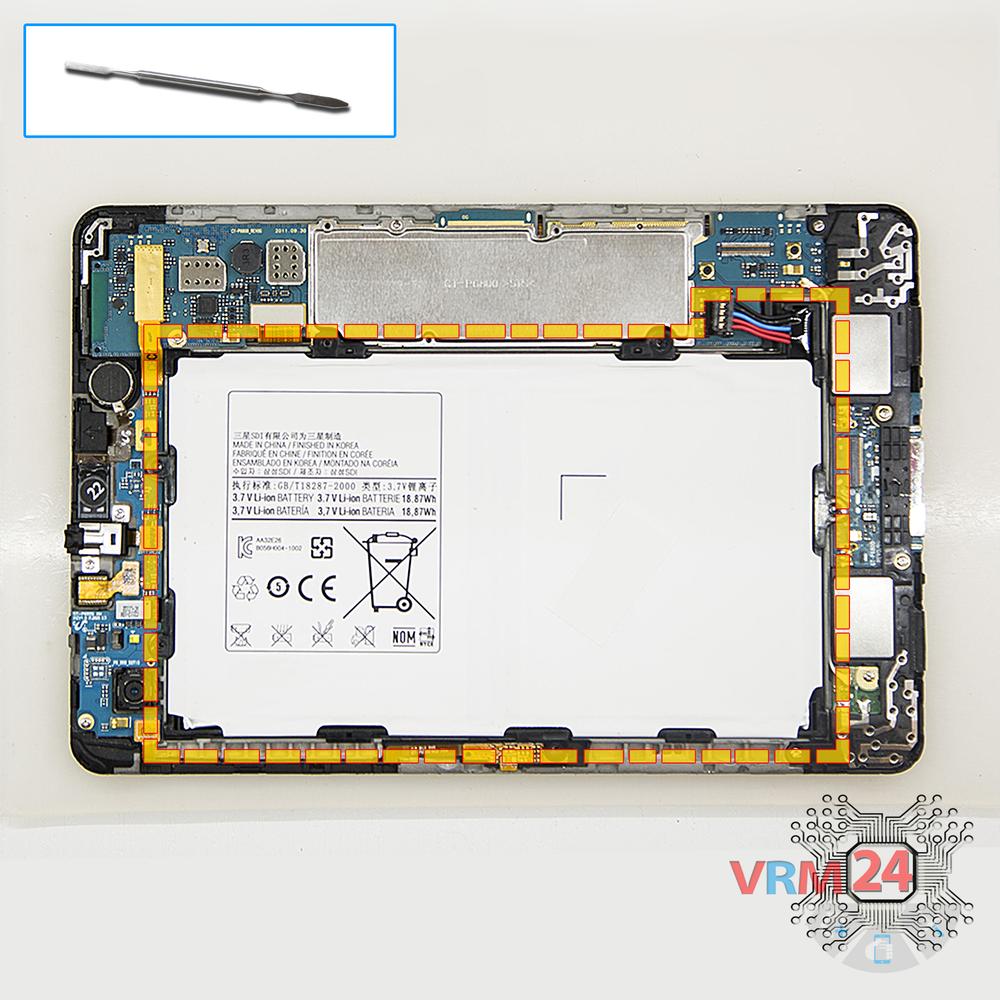
Disconnect connectors and remove the inter-board cable. Besides, pry up the battery connector.
⚠ Warning!
We strongly recommend disconnecting the connector to avoid a possible short circuit during disassembly.
Step 4.
Remove the battery
Lift and remove the battery.
Step 5.
Remove the bracket
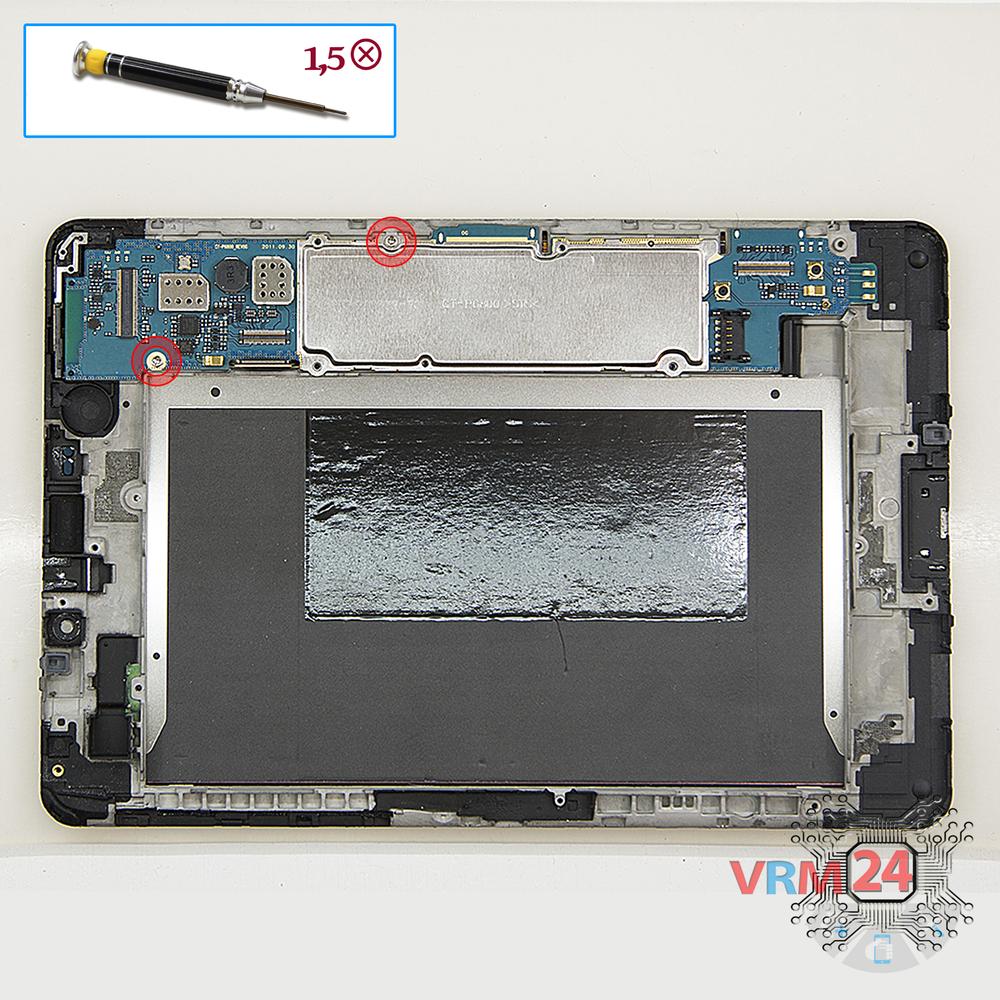
Using a screwdriver (Phillips 1.5 mm PH000), unscrew 2 bolts and remove the bracket holding the headphone jack/socket.
Step 6.
Disconnect the connectors
Disconnect connectors on the small PCB.
Step 7.
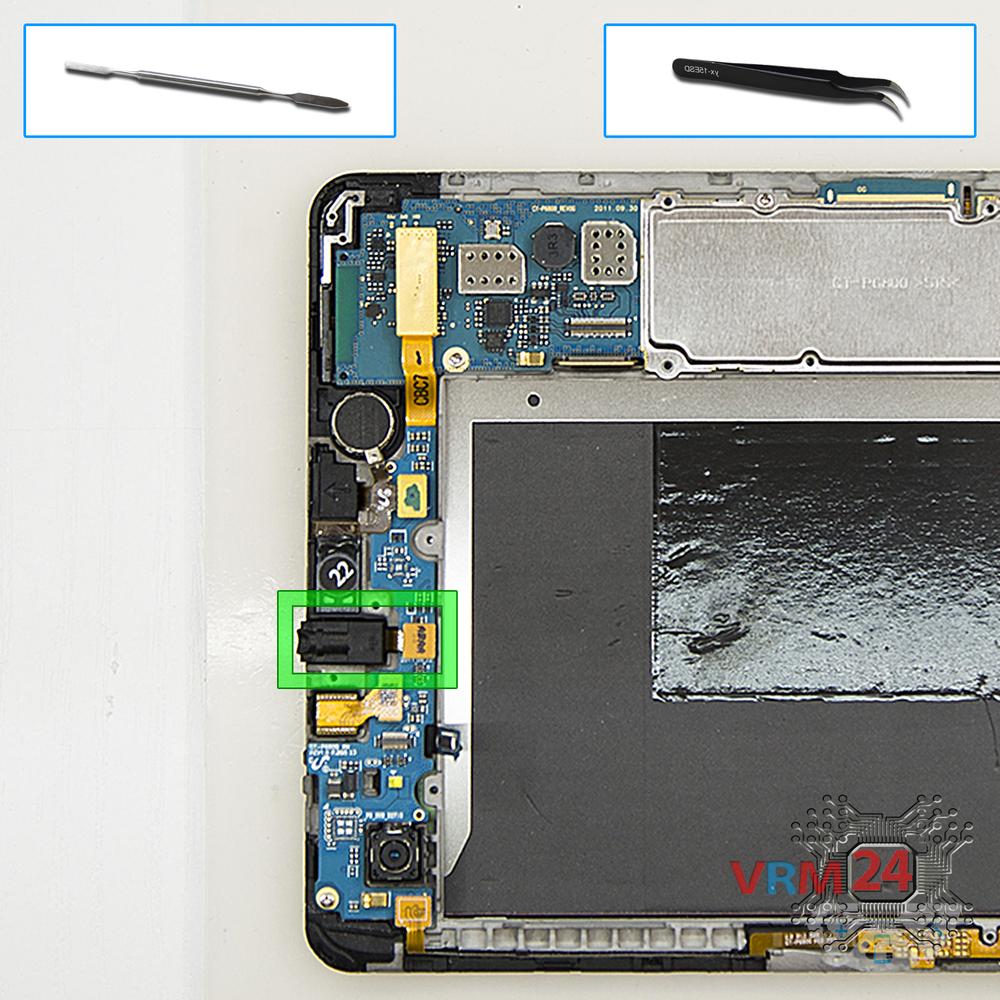
Remove the headphone port
Remove the headphone jack/socket.
Step 8.
Open the cover
Remove the cover.
Step 9.
Remove the vibration motor
Remove the cable with vibration motor, speaker and fingerprint sensor.
Step 10.
Remove the front camera
Disconnect the connector on PCB, and remove the front (selfie) camera.
Step 11.
Remove the buttons
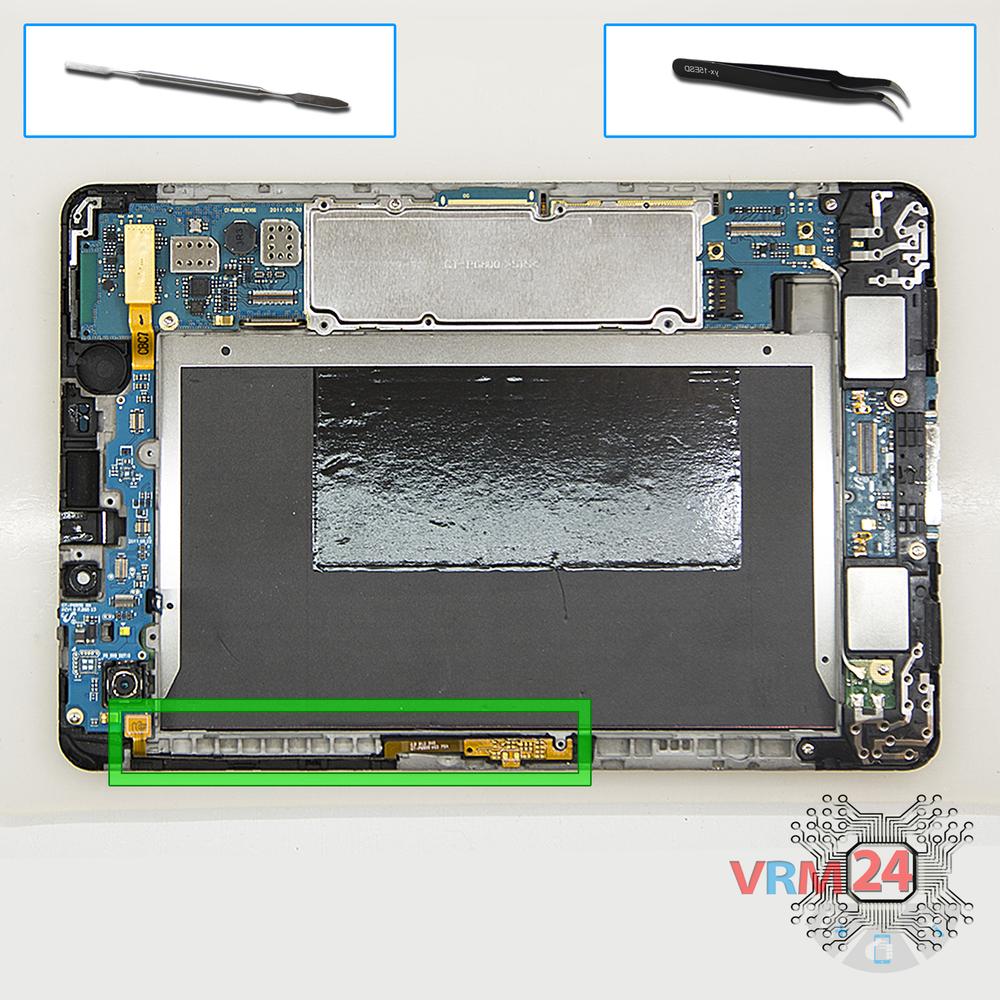
Disconnect connectors on the PCB and remove the flex cable with power & volume buttons and microphone.
Step 12.
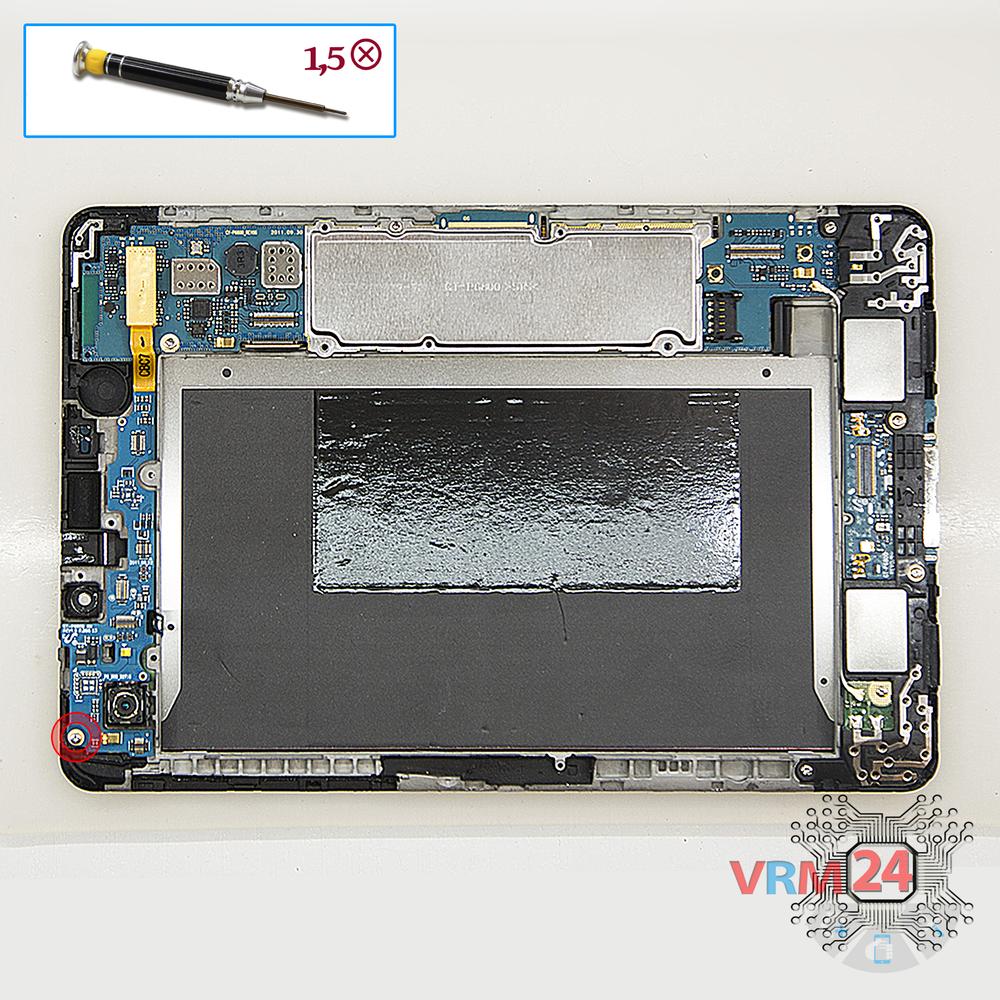
Unscrew one screw
Using a screwdriver (Phillips 1.5 mm PH000), unscrew 1 bolt in the side PCB.
Step 13.
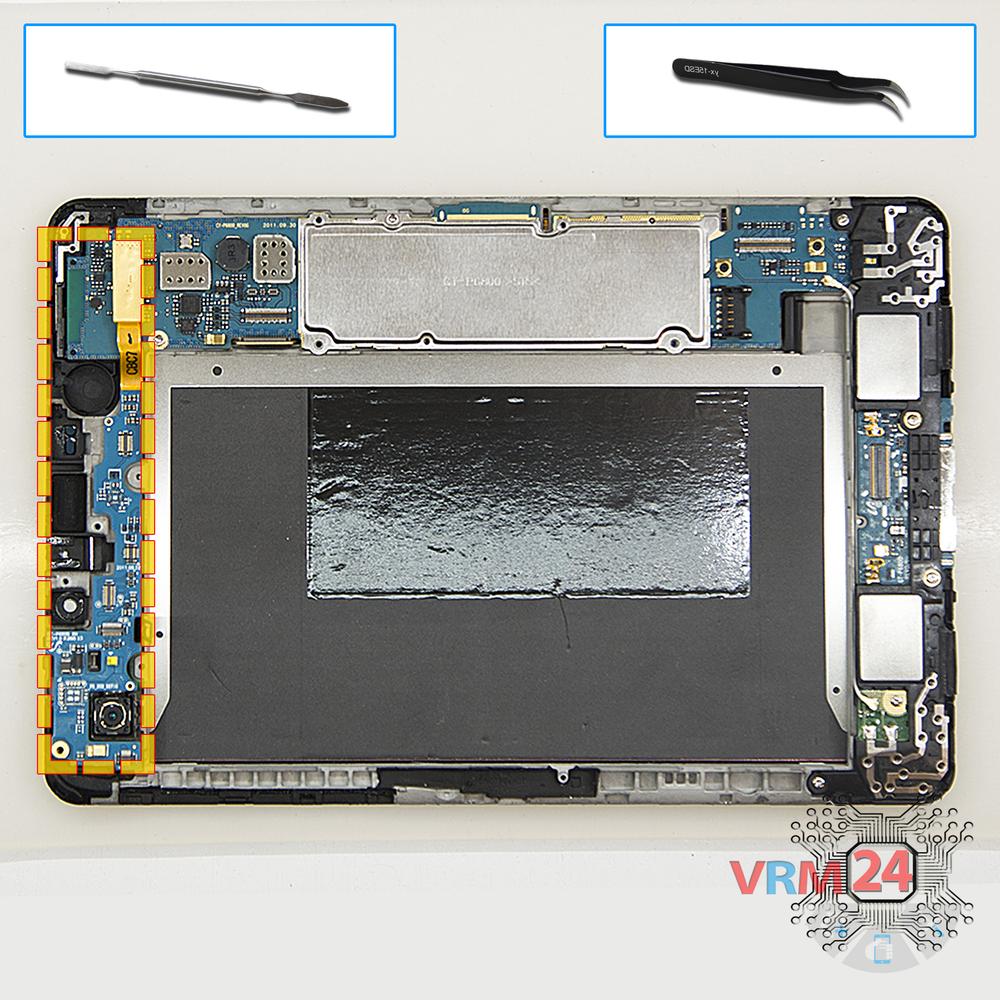
Remove the sub-board
Remove the side PCB.
Step 14.
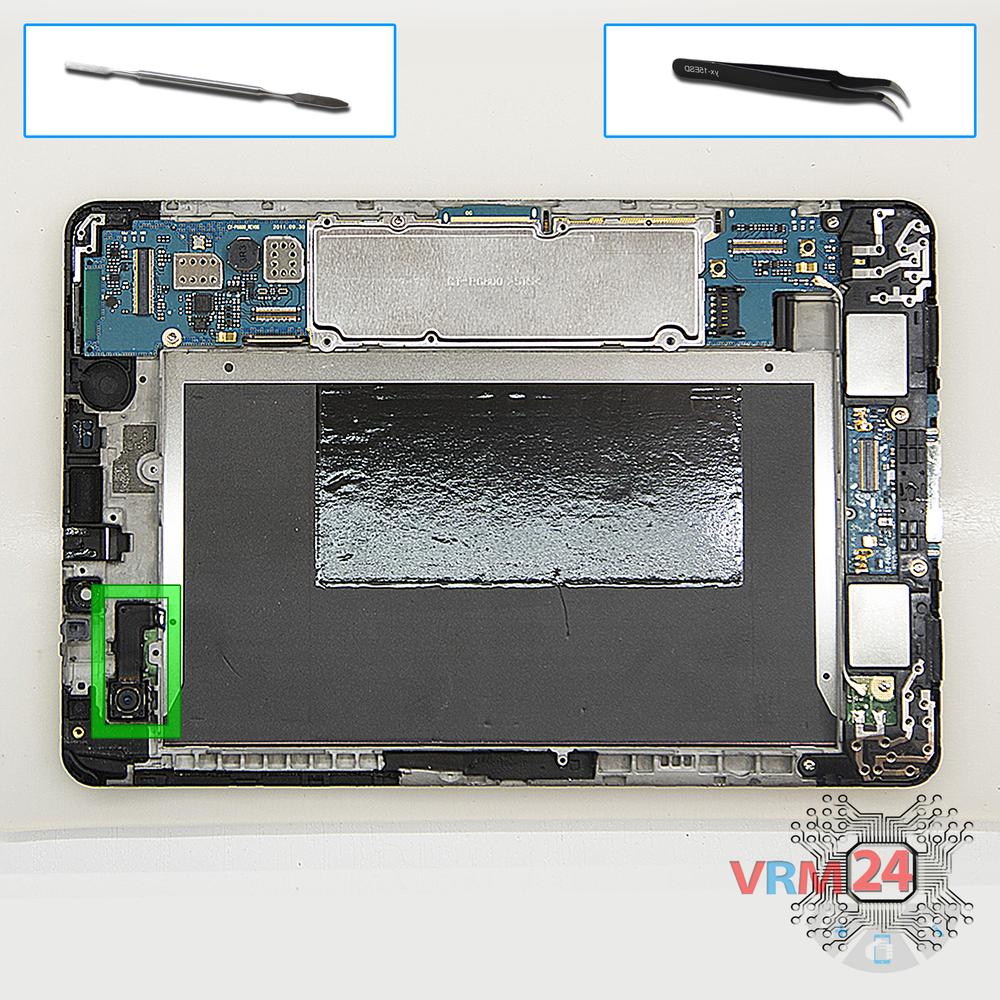
Remove the rear camera
Pry and remove the main camera.
Step 15.
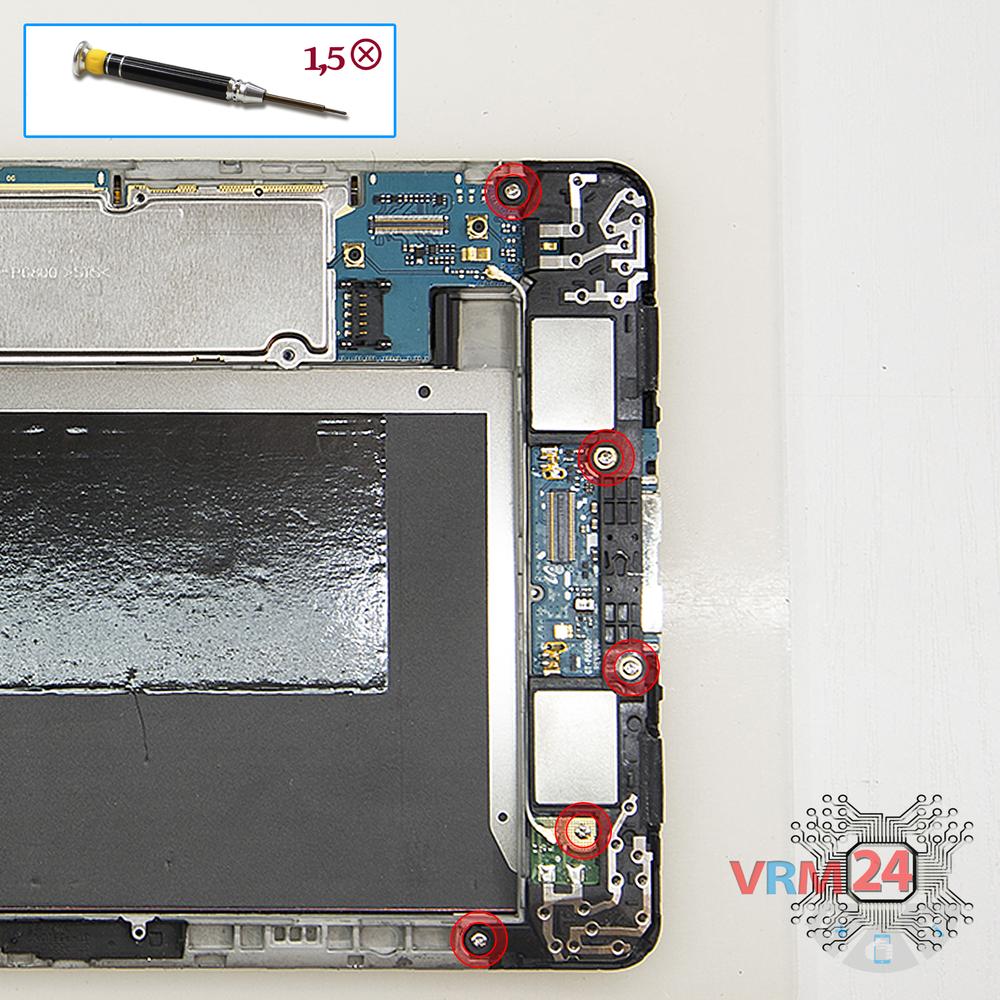
Unscrew the screws
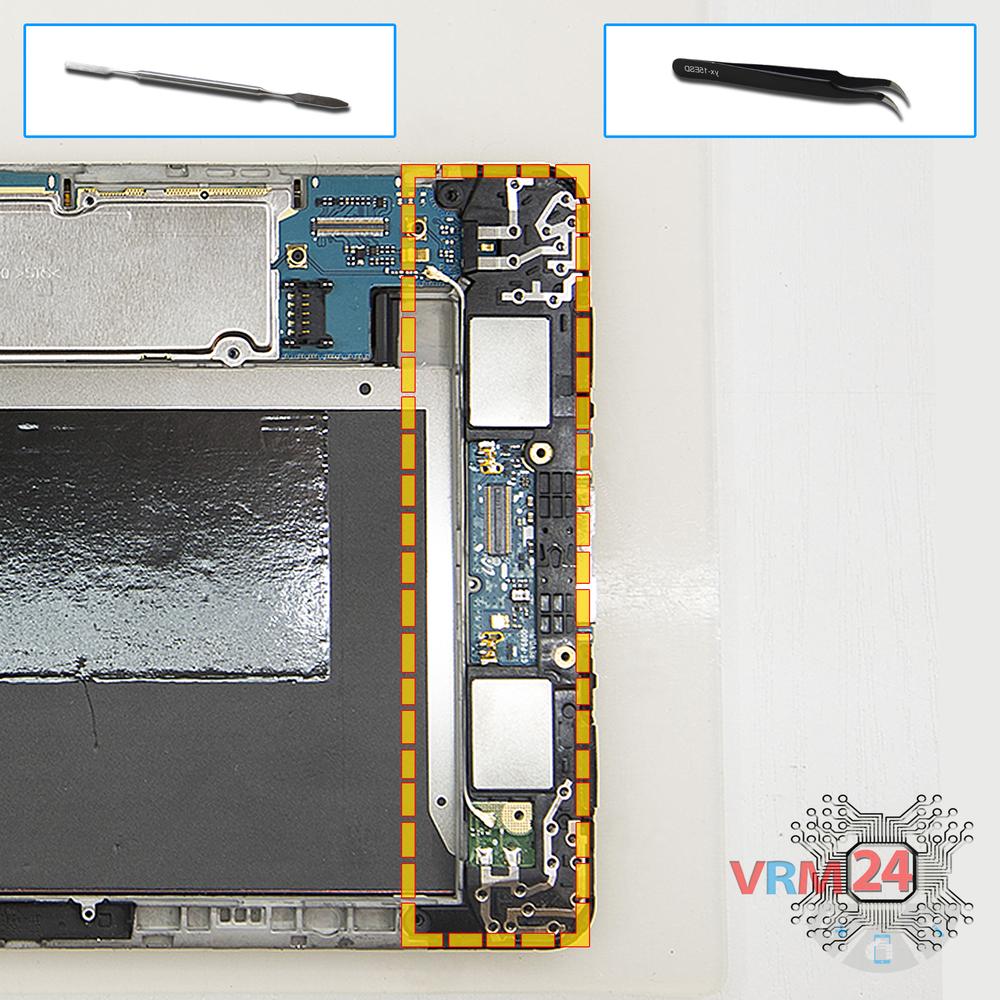
Using a screwdriver (Phillips 1.5 mm PH000), unscrew 5 bolts in the side PCB with two speakers.
Step 16.
Remove the sub-board
Remove the side PCB with two speakers.
Step 17.
Unscrew the screws
Using a screwdriver (Phillips 1.5 mm PH000), unscrew 2 bolts in the PCB.
Step 18.
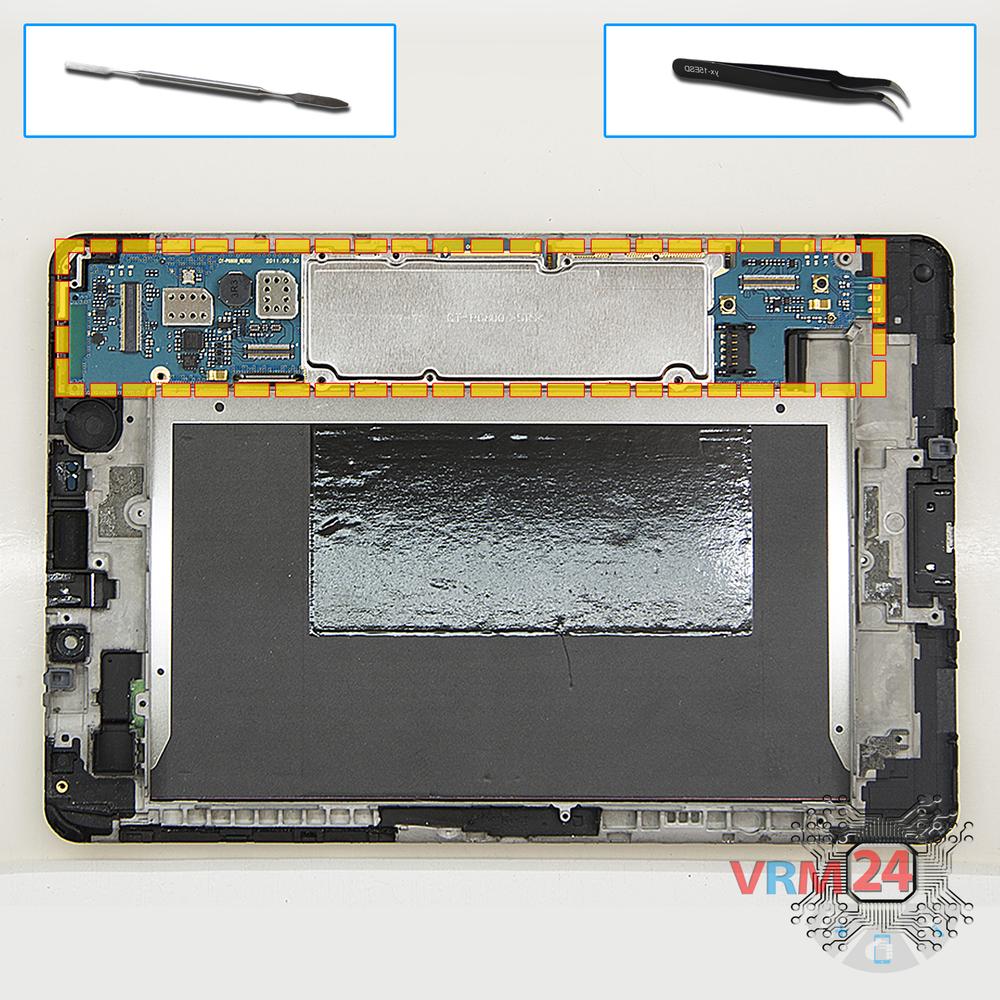
Remove the motherboard
Remove the PCB.
Step 19.
In the display frame remained
Parts are in the frame of the display module.

If you have a question, ask us, and we will try to answer in as much detail as possible. If this article was helpful for you, please rate it.

8179
Views
4
Likes
—
Share
3
Questions
Related Instructions
Related Reviews
Related Blog

Popular Questions
В
Samsung Galaxy A10 SM-A105
Hi! What can be wrong with this model if it restart phone when it whant? And that facke restart don't go to android logo, go to only Samsung logo and…
Володимир Олександрович5
T
Samsung Galaxy J3 (2016) SM-J320
Why do you need to heat up the phone?
TerseHickory19
Samsung Galaxy S20 Ultra SM-G988
How to unlock the screen lock
feagaiga
O
Samsung Galaxy A7 (2016) SM-A710
can you explain how many settings for wind air and heat from the blower? Thank You..
ongmilo coin18
Samsung Gear S3 Frontier SM-R760
1.) Is there a way to make an adjustment to the floor height standard to reflect standard American floor heights of 8 feet tall so that the recordin…
greggTop instructions
Check our
Top Samsung instructions most liked by readers
New instructions
Check our
New Samsung brand instructions on vrm24.com