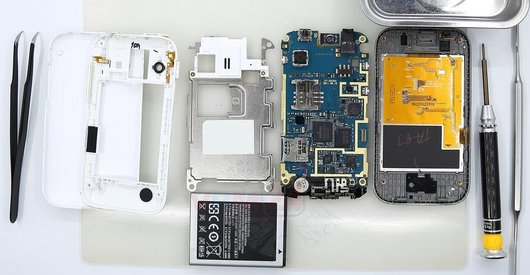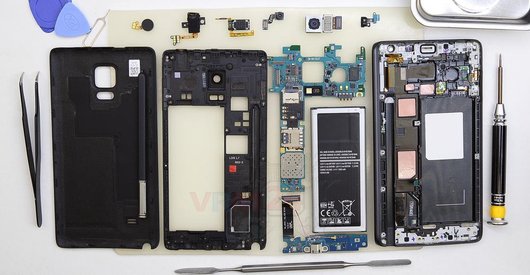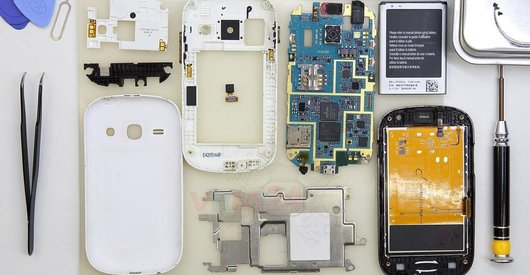




Recommended tools
Screwdriver Phillips #000

Opening tool / Spudger

Tweezers

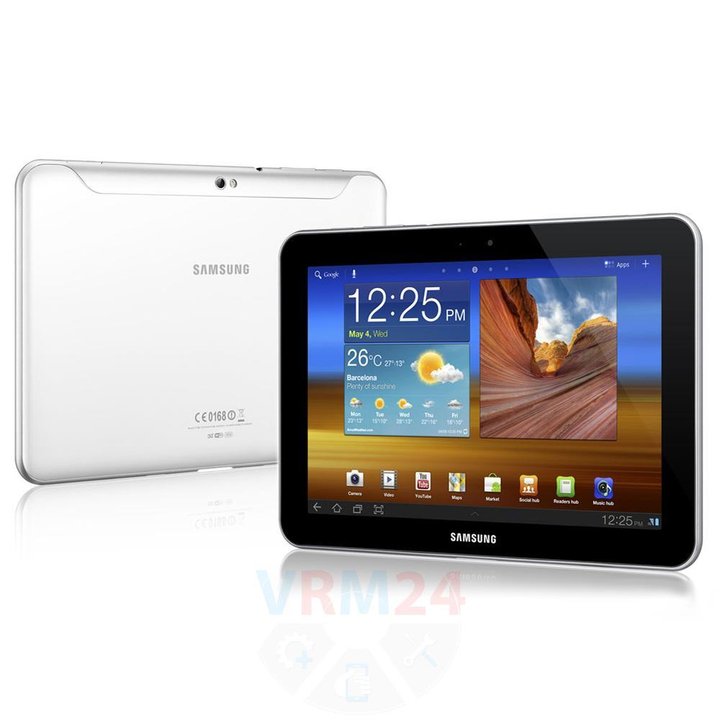
Disassembly/Repair of the mobile device Samsung Galaxy Tab 8.9'' GT-P7300 with each step description and the required set of tools.
7647
Views
1
Likes
—
Share
5
Questions

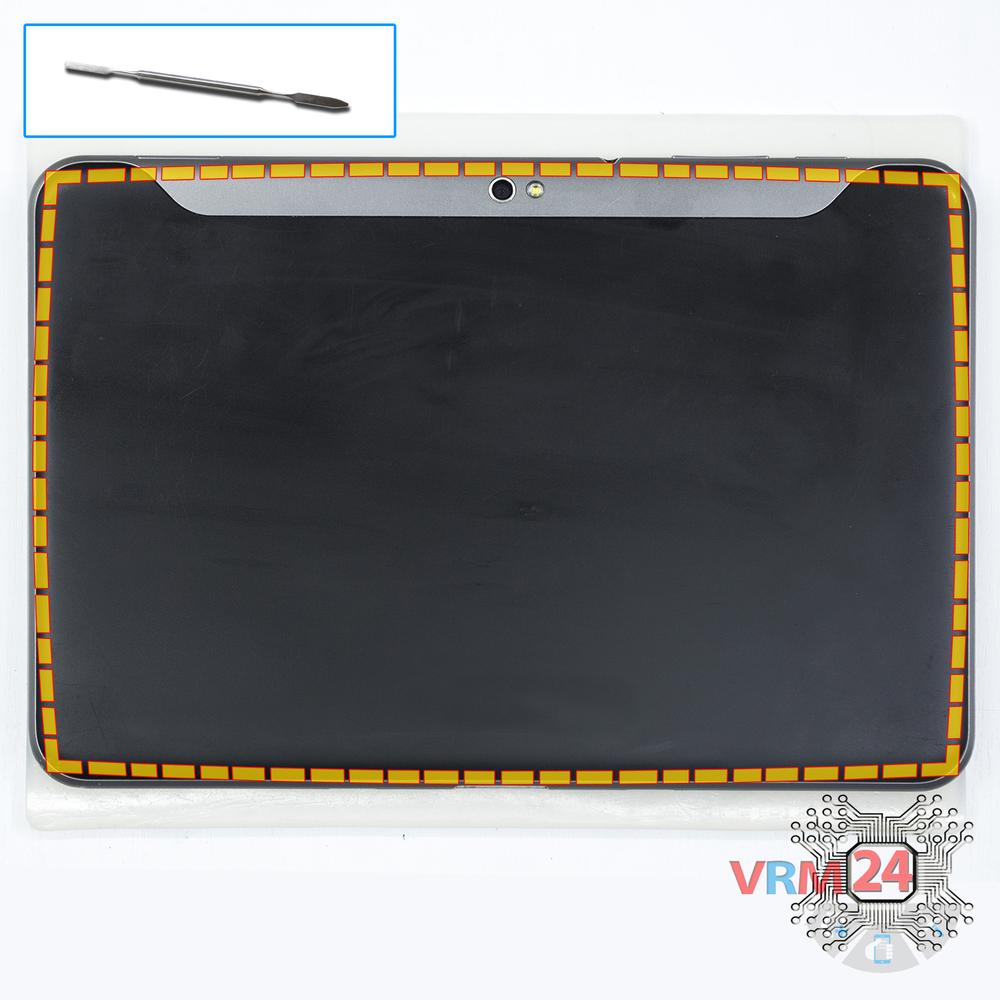
Step 1.
Open the back cover
Open the back cover.
Step 2.
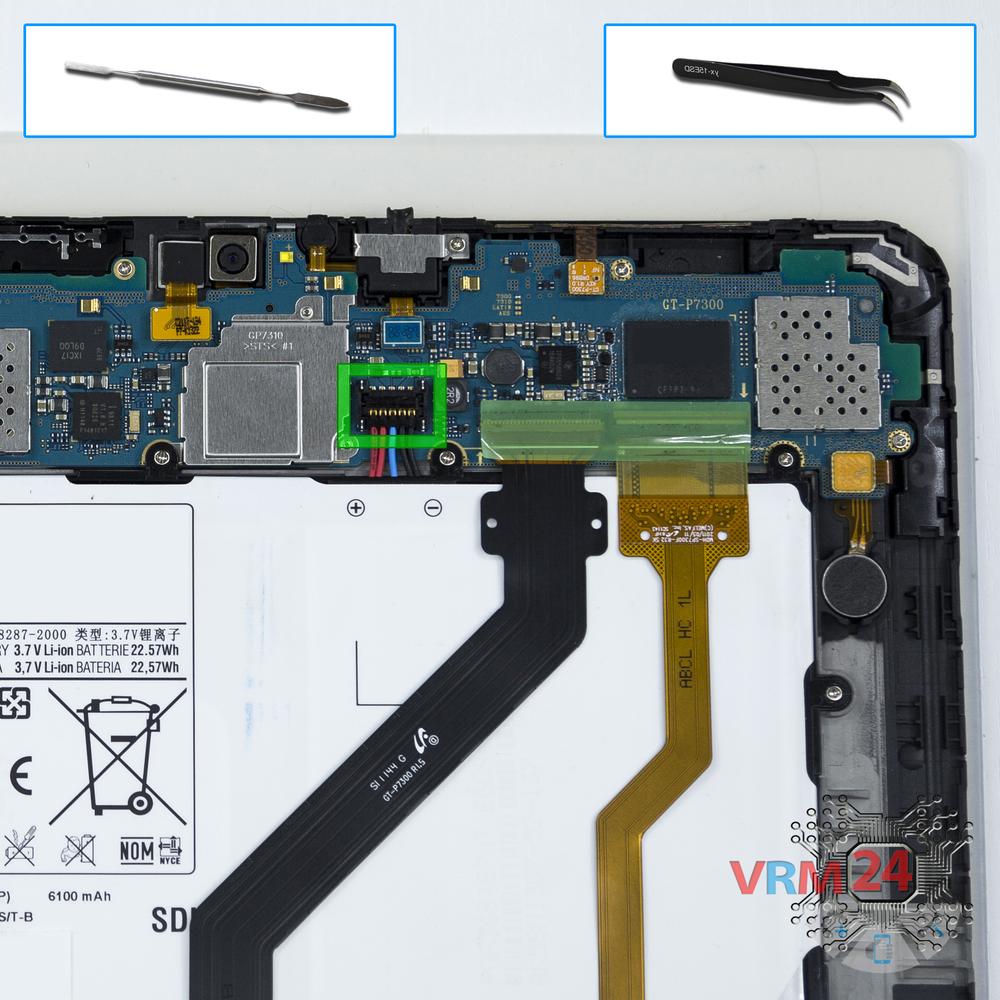
Disconnect the battery connector
Disconnect the battery connector.
⚠ Warning!
We strongly recommend disconnecting the connector to avoid a possible short circuit during disassembly.
Step 3.
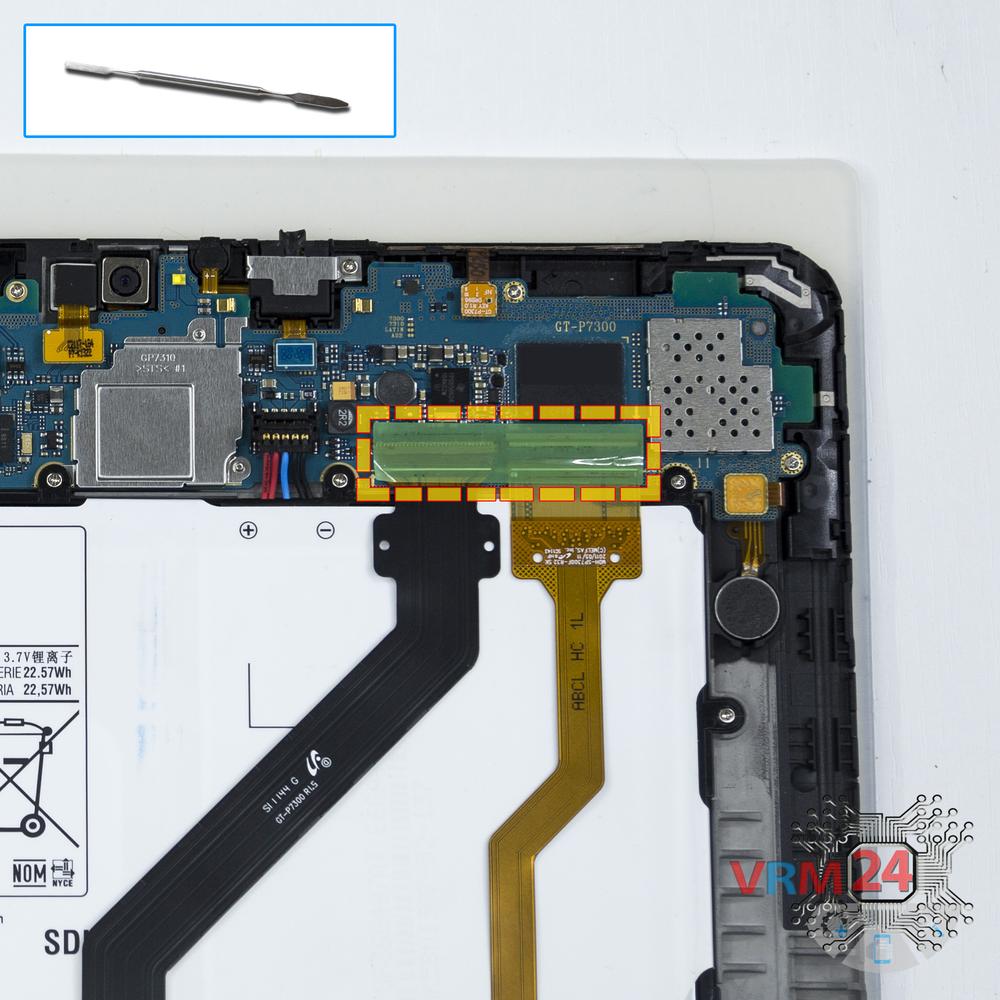
Disconnect the connector
Peel back the protective layer and disconnect connectors.
Step 4.
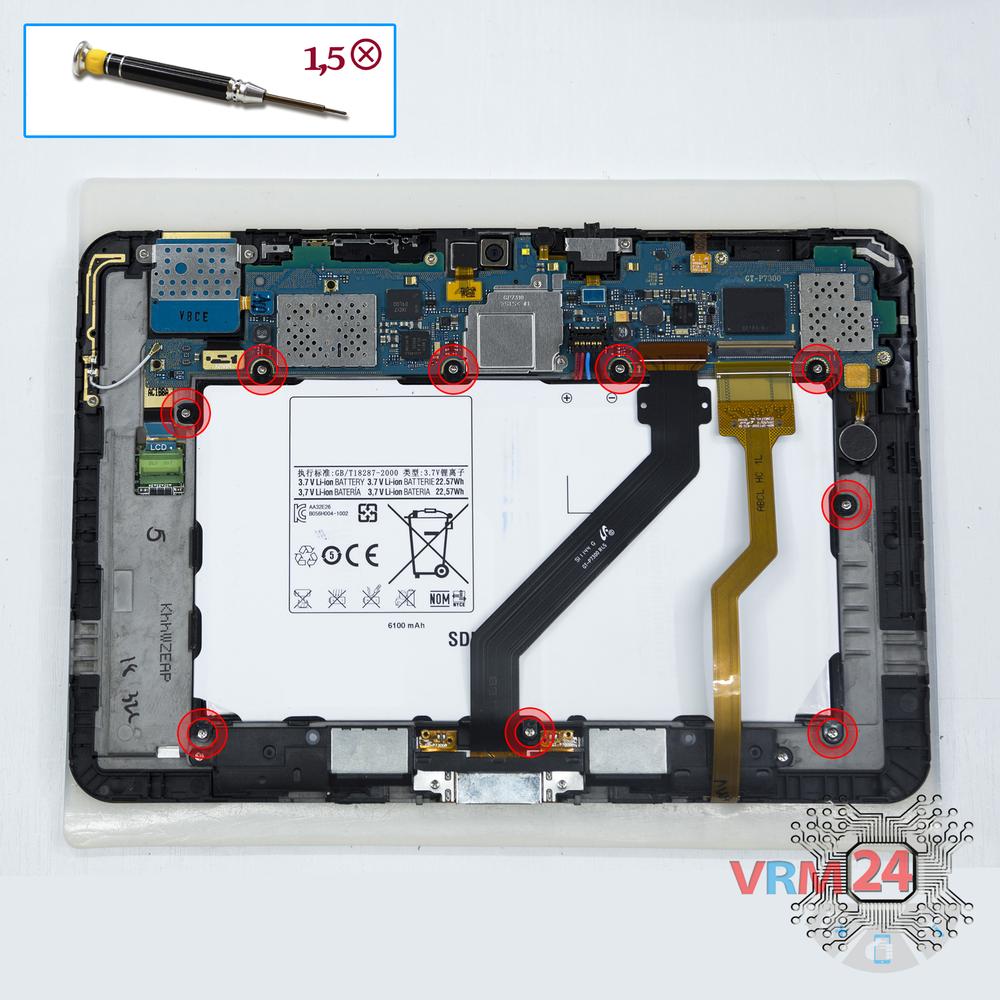
Unscrew the screws
Using a screwdriver (Phillips 1.5 mm PH000), unscrew 9 bolts in the frame of the phone.
Step 5.
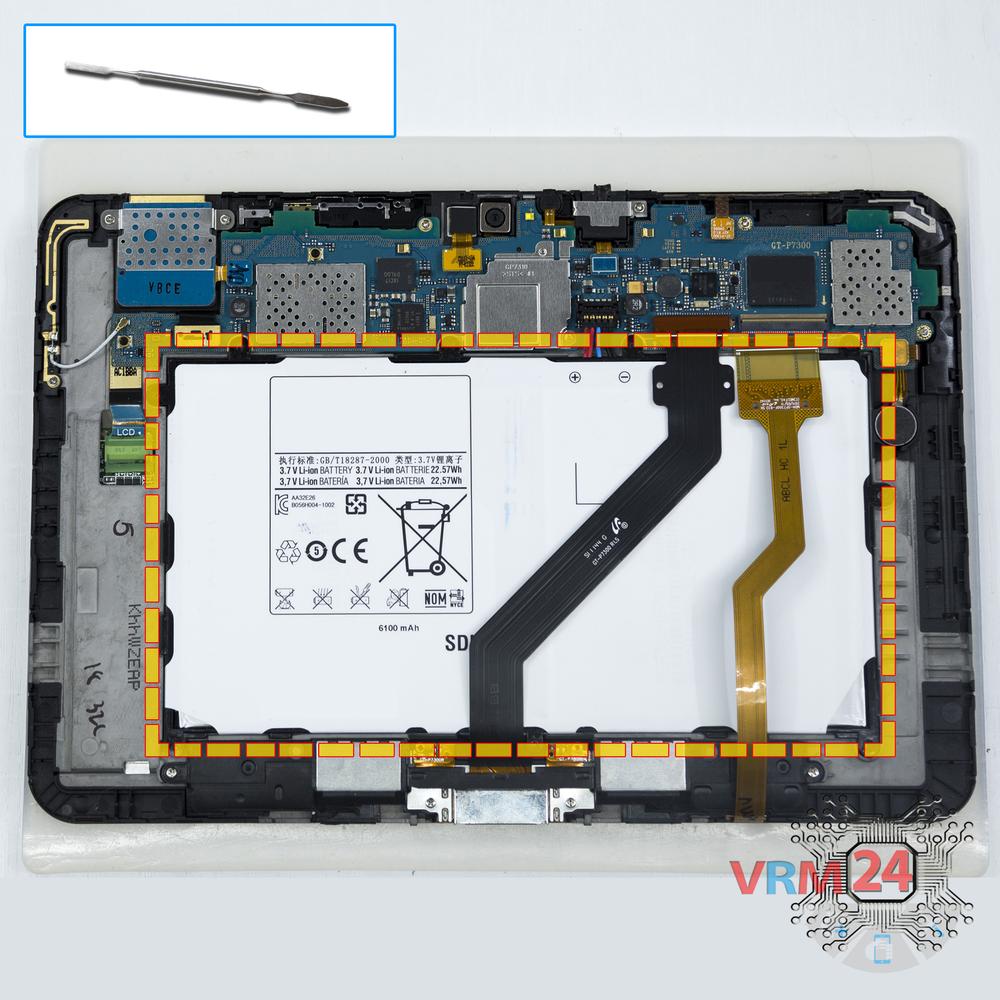
Remove the battery
Lift and remove the battery.
Step 6.
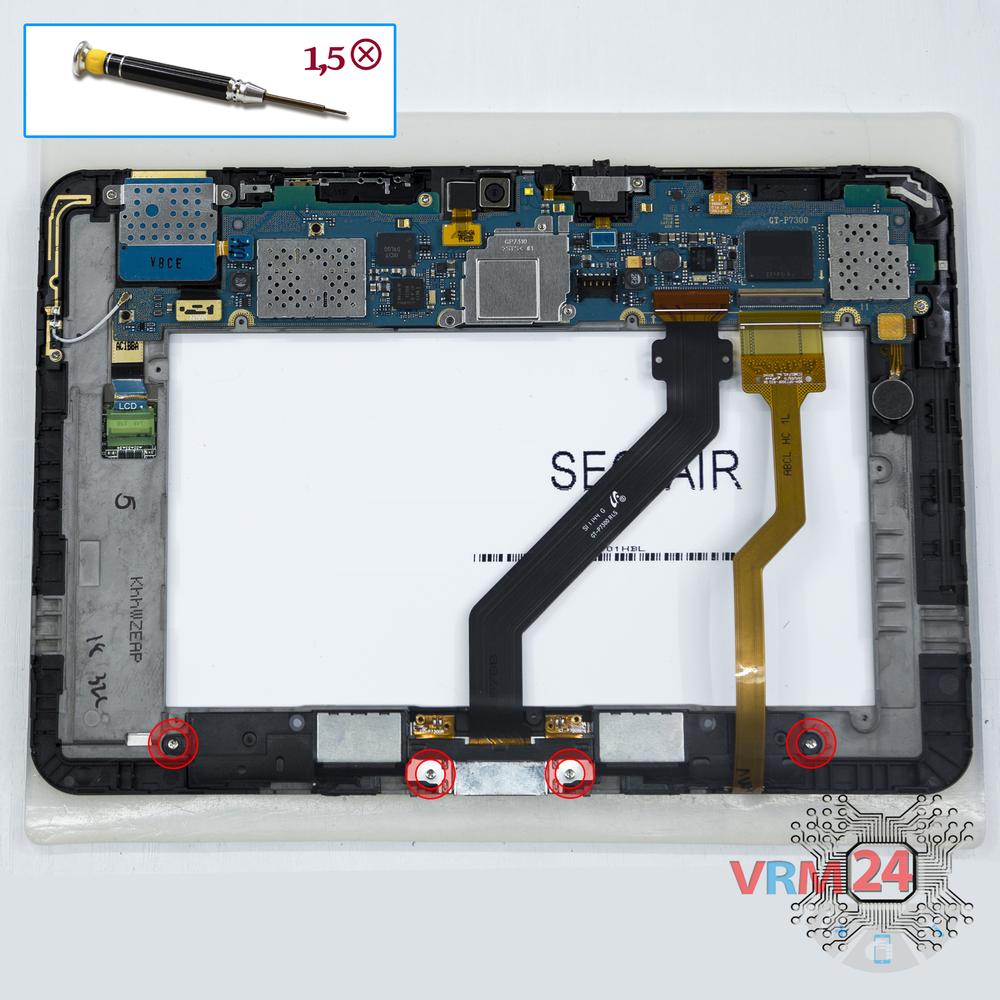
Unscrew the screws
Using a screwdriver (Phillips 1.5 mm PH000), unscrew 4 bolts securing the buzzer (speaker) assembly and charging port.
Step 7.
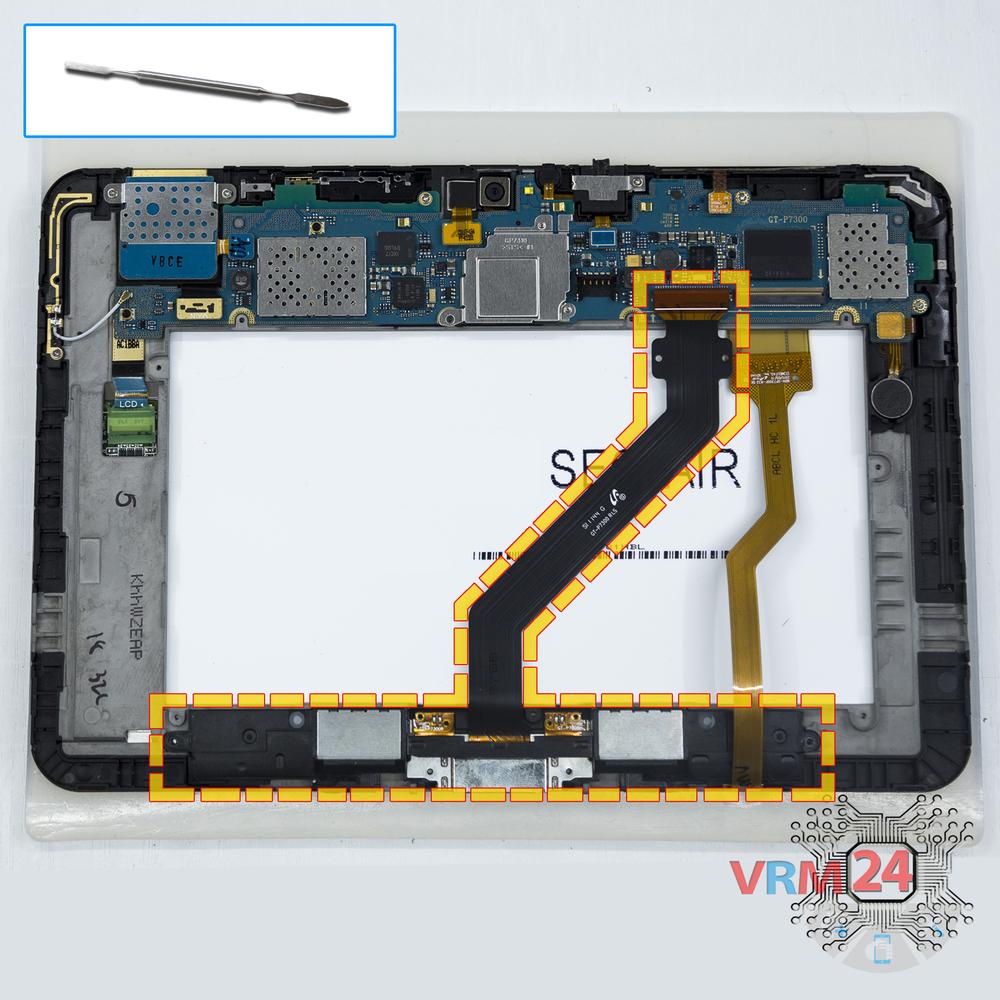
Remove the charging port
Remove the assembly with speakers, charging port, and inter-board cable.
Step 8.
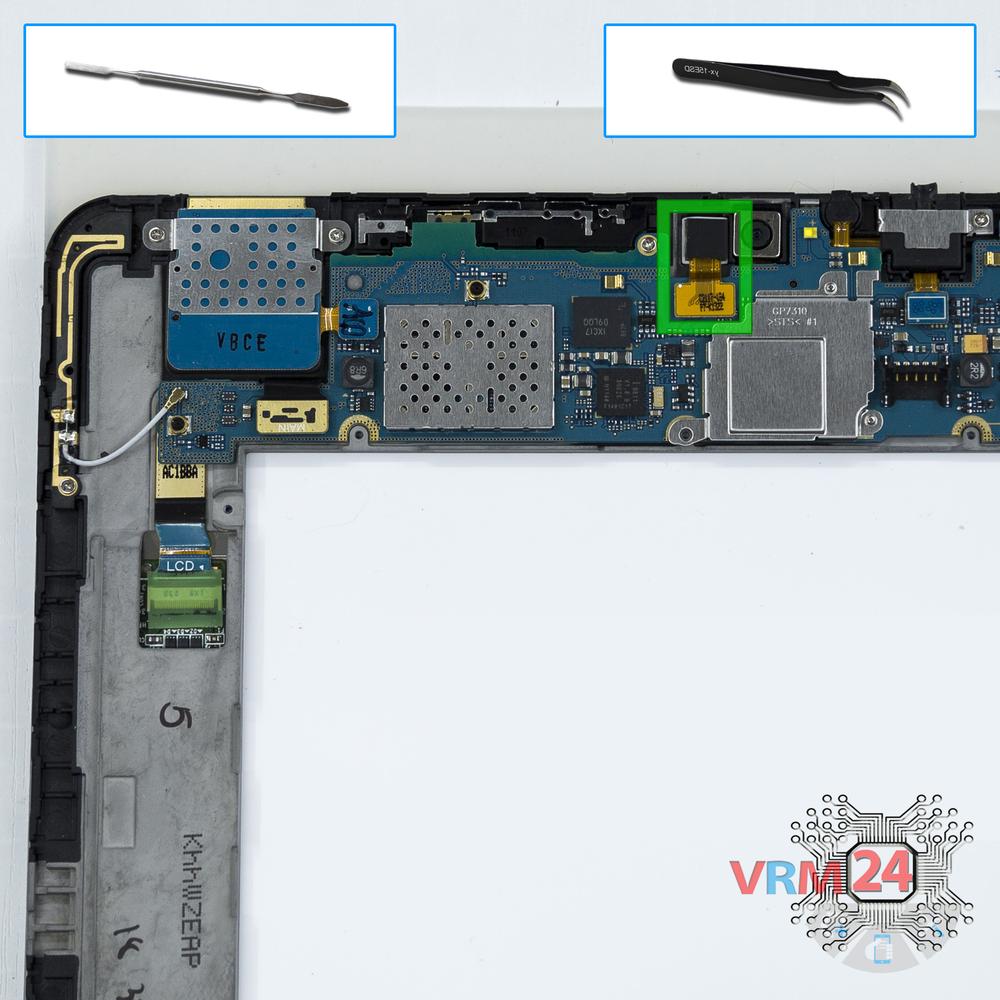
Remove the front camera
Disconnect the connector on PCB, and remove the front (selfie) camera.
Step 9.
Unscrew one screw
Using a screwdriver (Phillips 1.5 mm PH000), unscrew 1 bolt securing the cover with antennas.
Step 10.
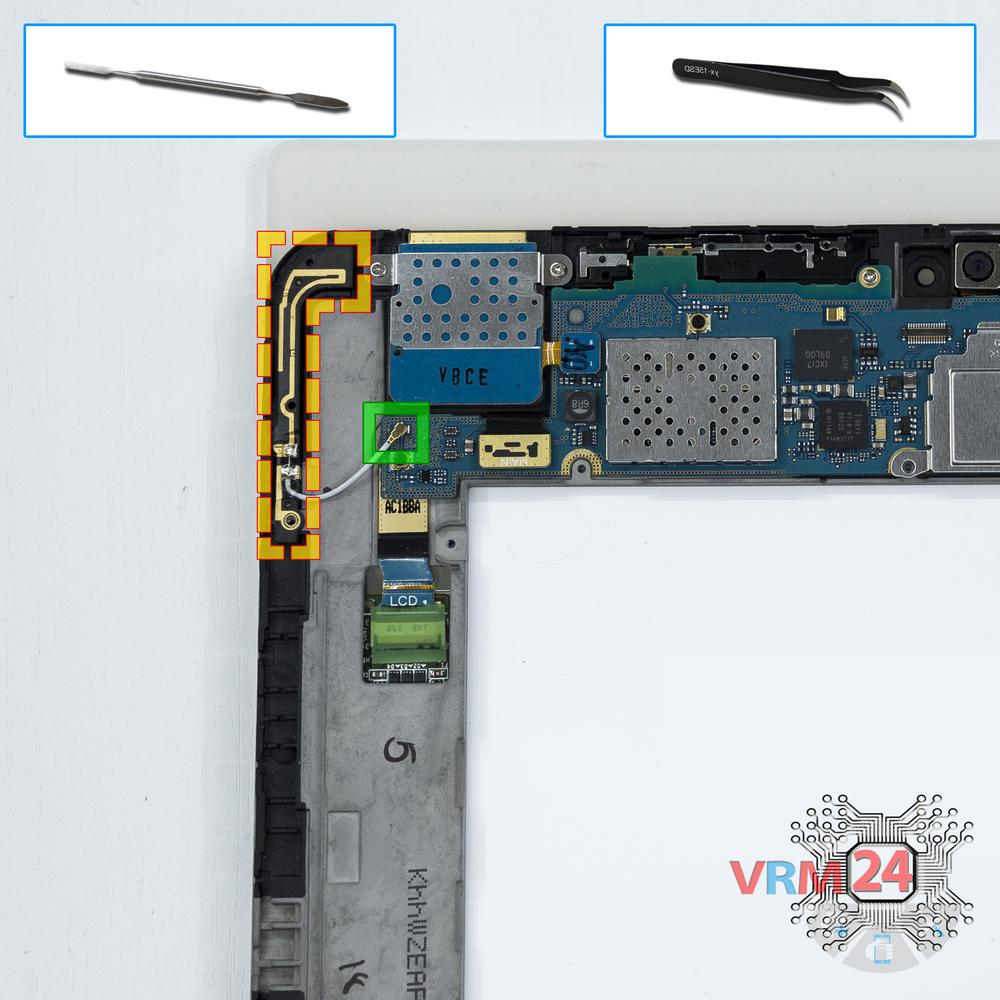
Remove the antenna
Disconnect the coaxial cable connector and remove the cover with antennas.
Step 11.
Unscrew the screws
Using a screwdriver (Phillips 1.5 mm PH000), unscrew the 2 bolts securing the SIM holder.
Step 12.
Remove the card holder
Disconnect the connector on PCB and remove the SIM holder.
Step 13.
Disconnect the connectors
Disconnect connectors on the PCB.
Step 14.
Remove the buttons
Disconnect the connector on PCB and remove the power & volume buttons flex cable.
Step 15.
Unscrew the screws
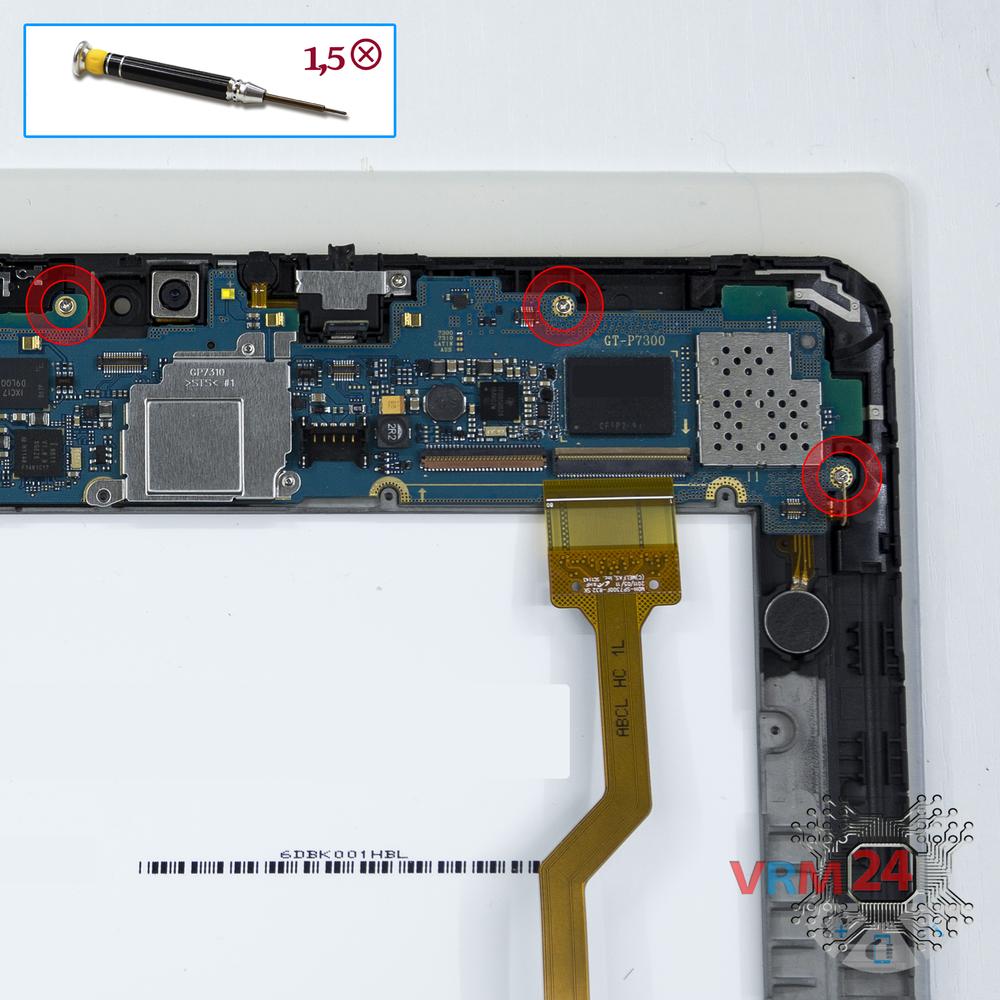
Using a screwdriver (Phillips 1.5 mm PH000), unscrew 3 bolts in the PCB.
Step 16.
Remove the motherboard
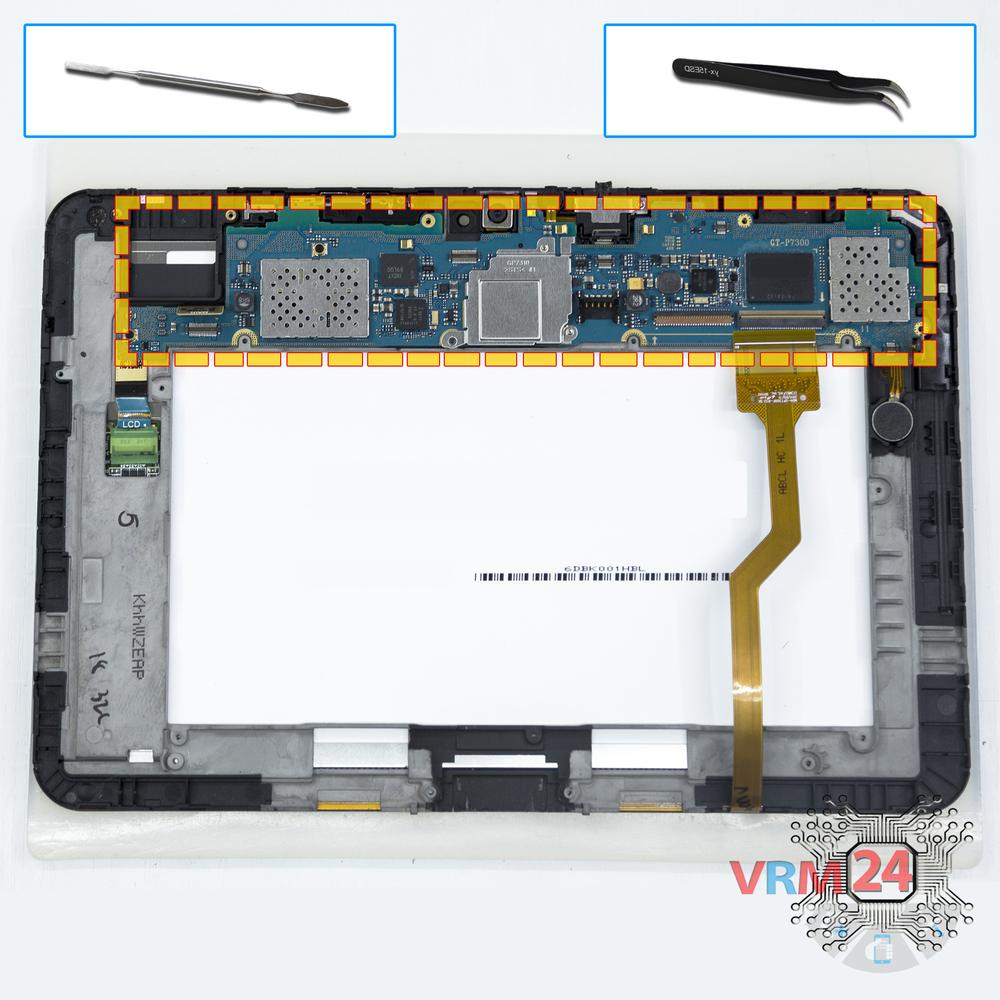
Remove the PCB.
Step 17.
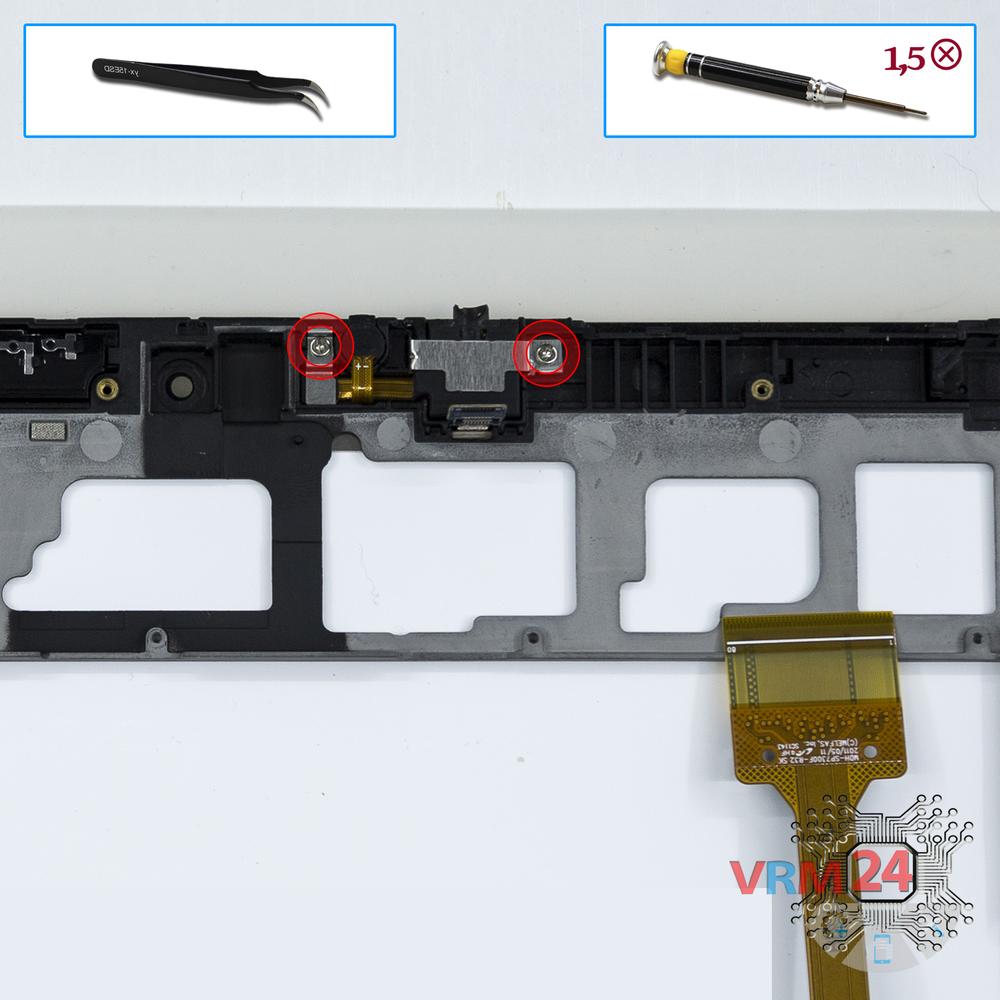
Remove the bracket
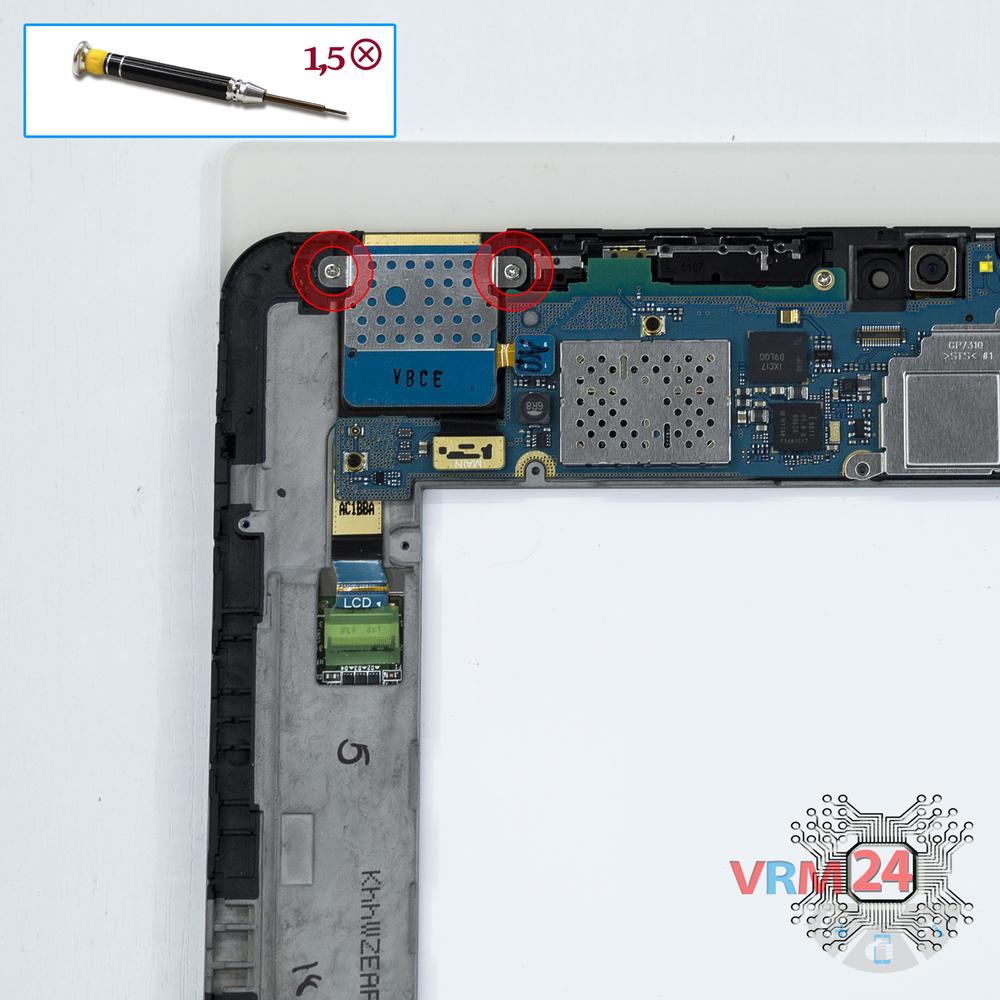
Using a screwdriver (Phillips 1.5 mm PH000), unscrew 2 bolts and remove the brackets.
Step 18.
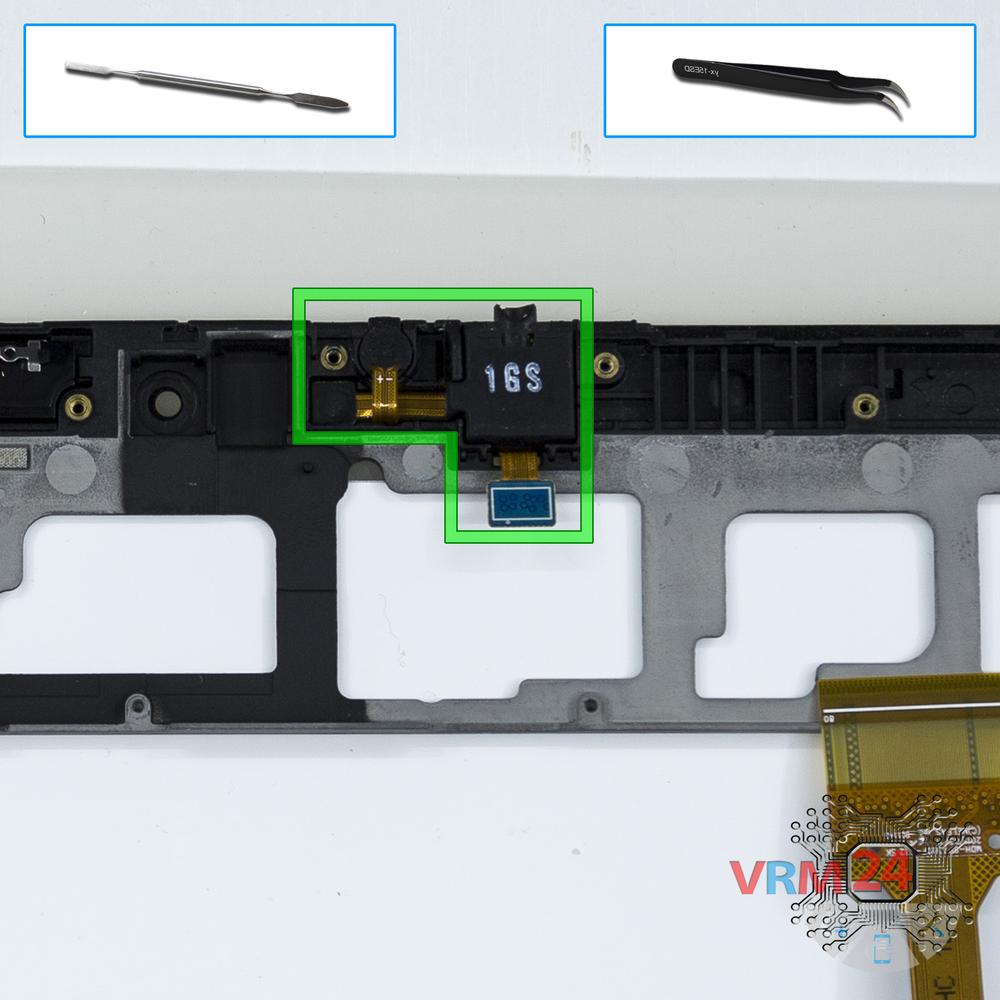
Remove the headphone port
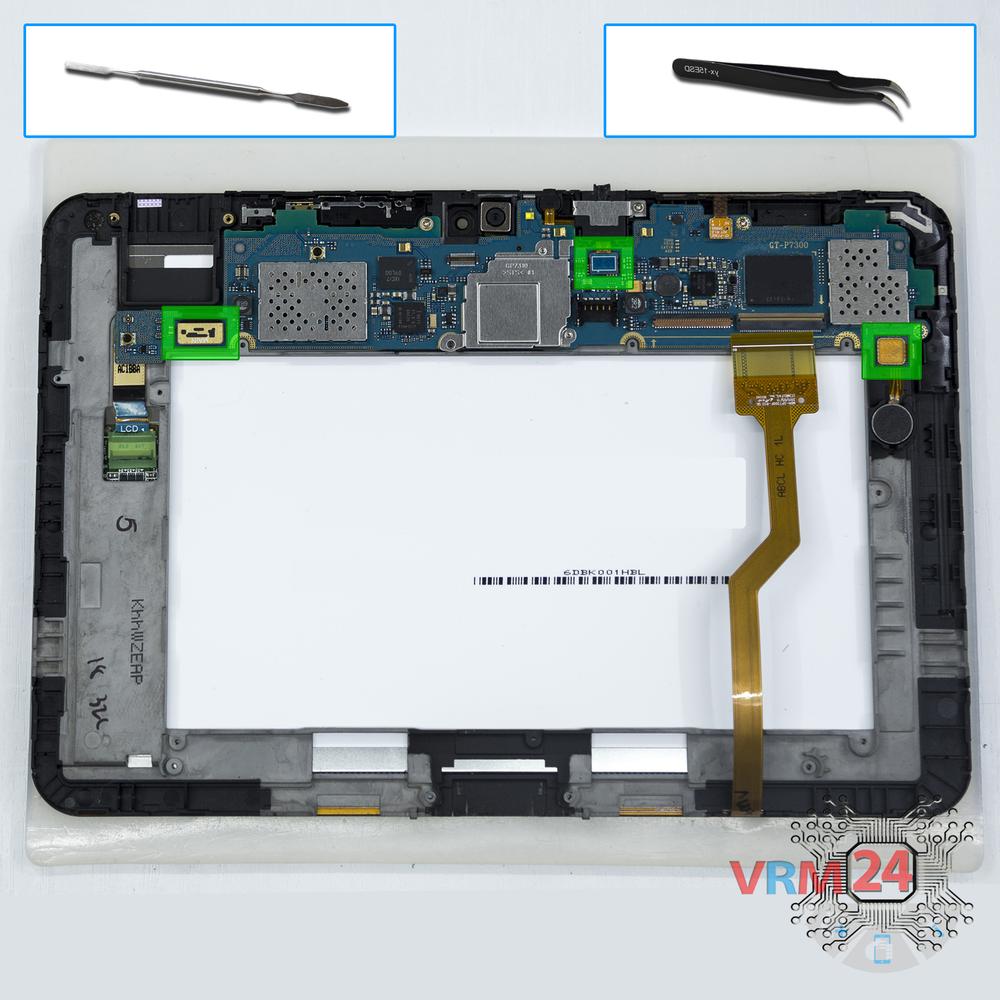
Pry and remove the cable with headphone jack/socket, microphone and proximity sensor.
Step 19.
In the display frame remained
Parts are in the frame of the display module.

If you have a question, ask us, and we will try to answer in as much detail as possible. If this article was helpful for you, please rate it.

7647
Views
1
Likes
—
Share
5
Questions
Related Instructions
Related Reviews
Related Blog

Popular Questions

Samsung Galaxy A9 (2018) SM-A920
Как заклеить заданию крышку
kajratbajgaliev093
A
Samsung Galaxy J5 (2016) SM-J510
which one u recommend to buy A5 (2016) / J5(2016) / HTC One A9?
Aruna Jayarathne19
Samsung Galaxy Watch Active 2 SM-R820
I have a galaxy active 2 and one day while In was wiping the watch, the screen became unresponsive to touches. It seems to have random touches now. t…
team
J
Samsung Galaxy A7 (2017) SM-A720
sera de carga inalámbrica ya que me fallo el centro de carga
Jesus Armando Davila Monsivais8
P
Samsung Galaxy Tab 3 8.0'' SM-T311
Esa es la T310...
Paula Hernández1Top instructions
Check our
Top Samsung instructions most liked by readers
New instructions
Check our
New Samsung brand instructions on vrm24.com