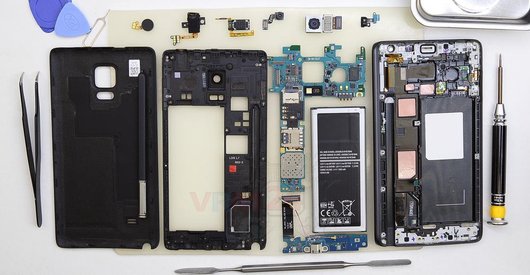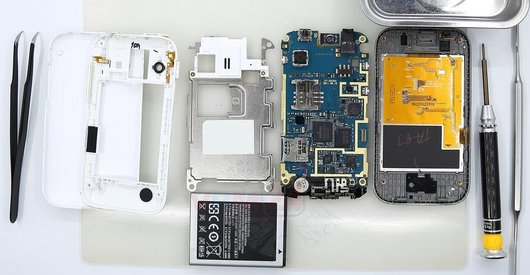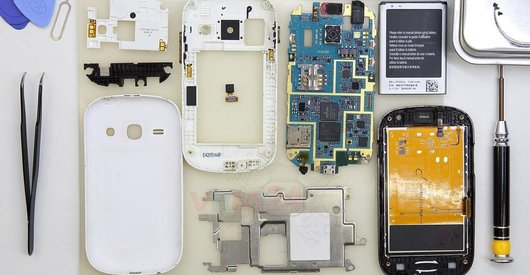







Recommended tools
Screwdriver Phillips #000

Tweezers

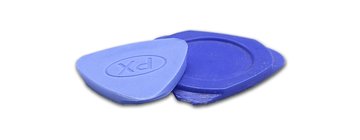
Non-metallic tool
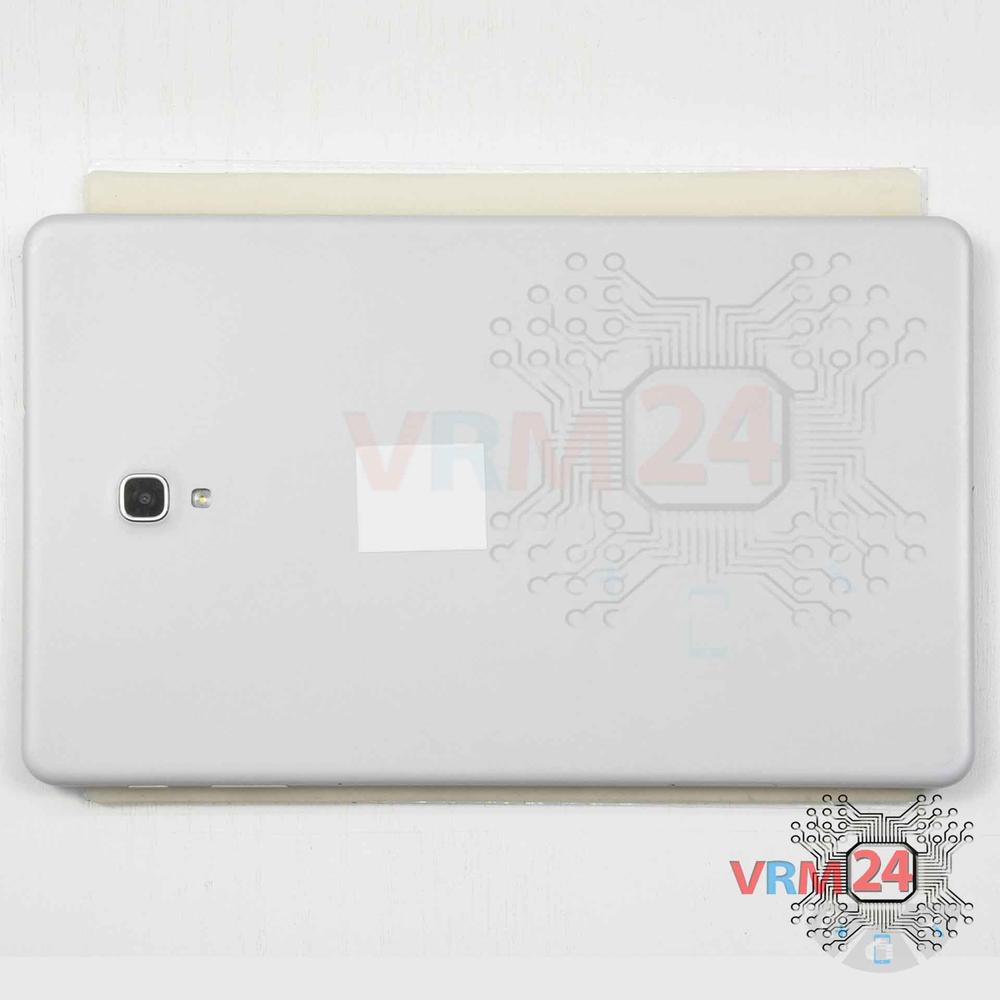
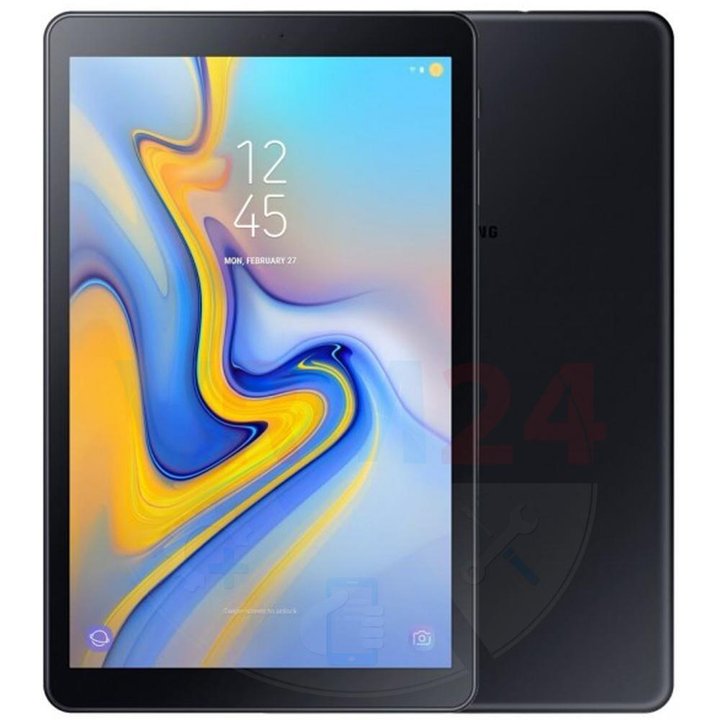
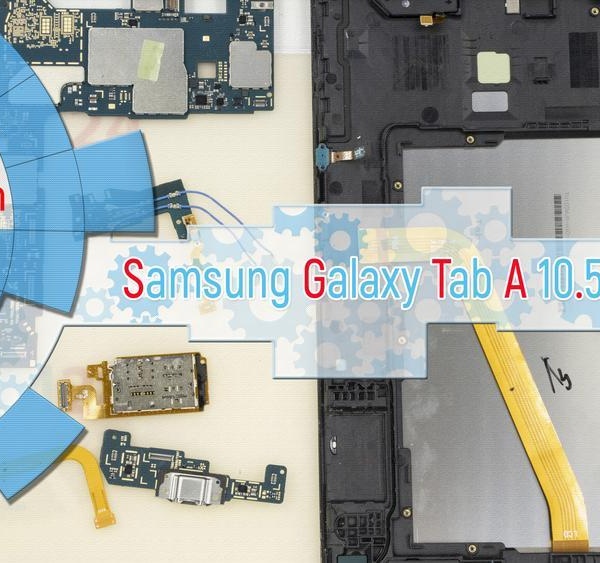
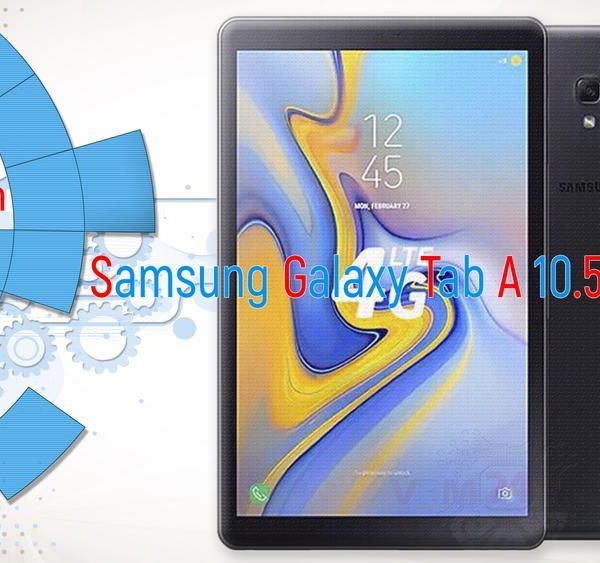
Disassembly/Repair of the mobile device Samsung Galaxy Tab A 10.5'' SM-T590 with each step description and the required set of tools.
8665
Views
0
Likes
—
Share
3
Questions

Step 1.
Before disassembling!
⚠ Before disassembling, do not forget to turn your phone off.
Step 2.
Remove the tray
Use the Key tool (aka Needle) or Paperclip. Push the tip all the way into the hole until the tray ejects, and then pull the tray of SIM and Memory card (Micro SD) out.
ℹ️ Remember the location for the SIM and Memory card (Micro SD) trays so that nothing is confused when reassembling.
⚠ Pay attention! The tool must be inserted into a hole on the edge of the phone's housing. Do not press too hard. It may break the tray eject mechanism.
Step 3.
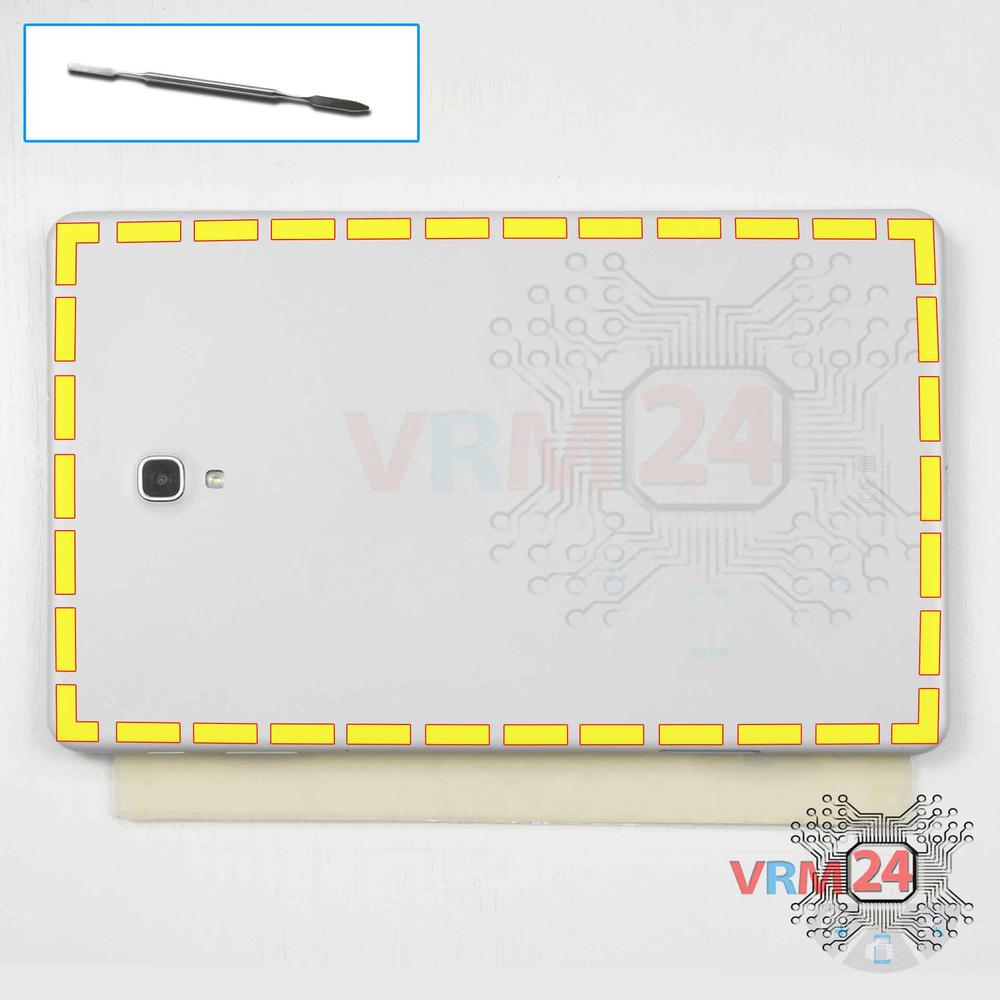
Open the back cover
Using a spudger or a plastic pick, carefully, around the edge, detach the back cover clips, and remove it.
Do not insert the tool deeply or bend it. Otherwise, the housing may be tampered with or damaged.
⚠ Be careful when opening the cover from the volume and power buttons side. Thin cable and fragile buttons are straightforward to damage.
⚠ Look in advance in the picture for the cables’ location for inter-board, touchscreen, display, buttons (if any) under the cover to not damage them accidentally.
Step 4.
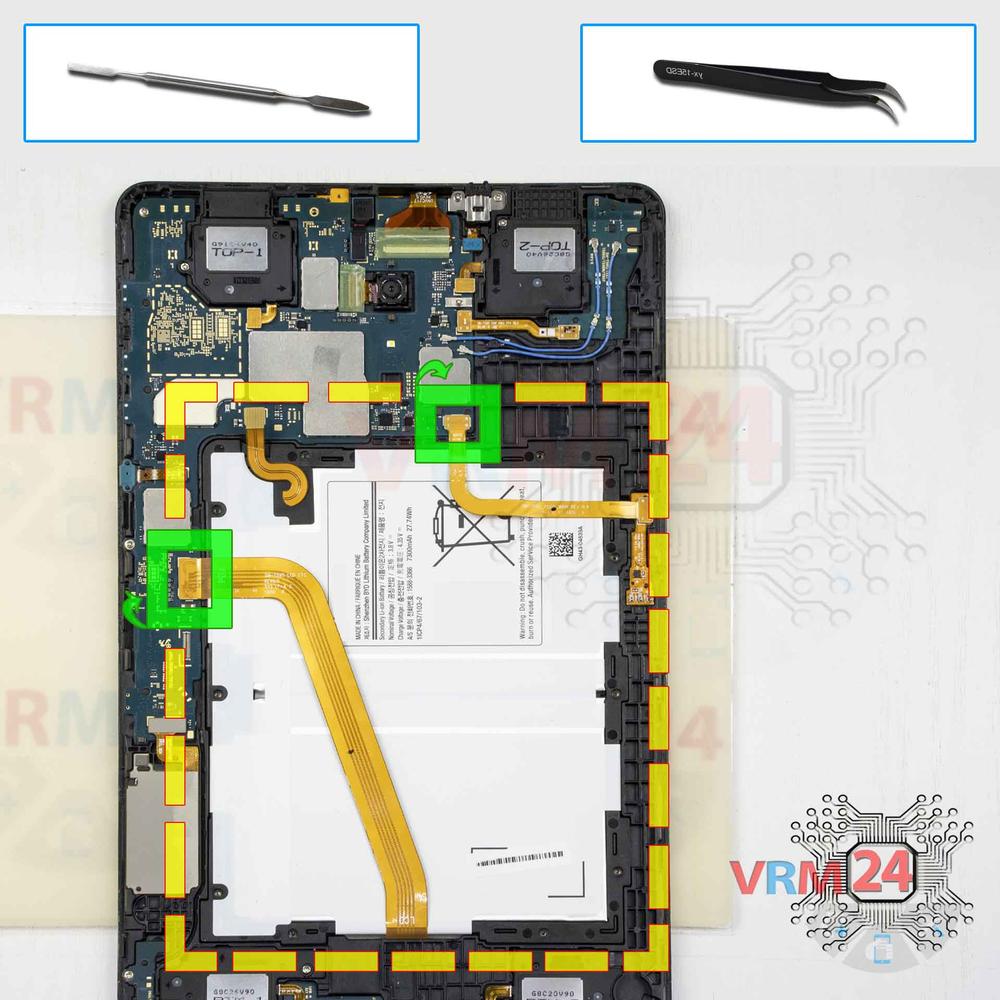
Disconnect the battery connector
Disconnect the battery connector as soon as possible.
ℹ️ The Samsung Galaxy Tab A 10.5'' SM-T590 model has a battery EB-BT595ABA with 7300 mAh capacity (aka rechargeable battery).
⚠ It is highly recommended to disconnect the connector to avoid possible short circuits during disassembly.
Also, try not to use a metal tool to disconnect the rechargeable battery connector or do it carefully.
Step 5.
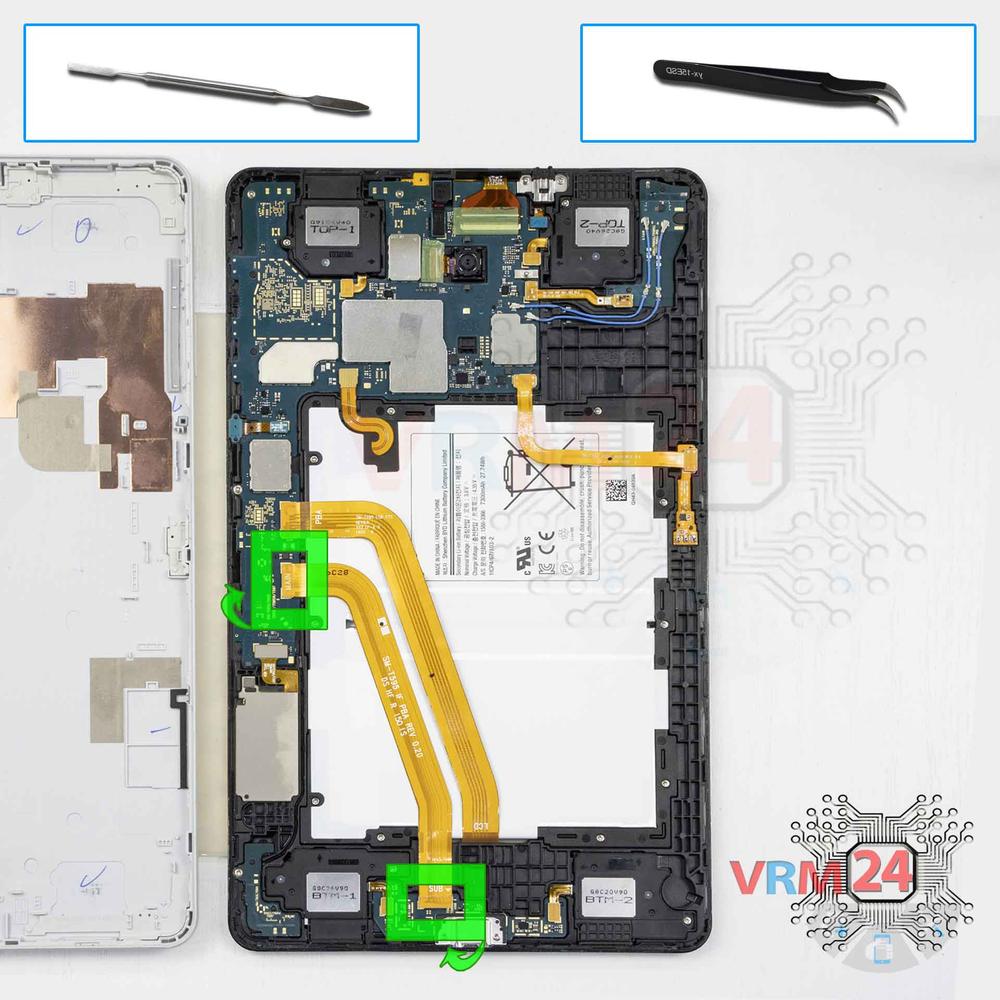
Remove the interconnect cable
Carefully, preferably from the edge, disconnect the connectors and remove the inter-board cable connecting the mainboard to the daughterboard (also known as the sub-board).
⚠ Be careful when removing the cables from the connectors, the cables are pretty thin, and it is easy enough to break them or damage the contact tracks inside.
ℹ️ An arrow on the FFC cable (flexible flat cable) indicates its correct position.
Step 6.
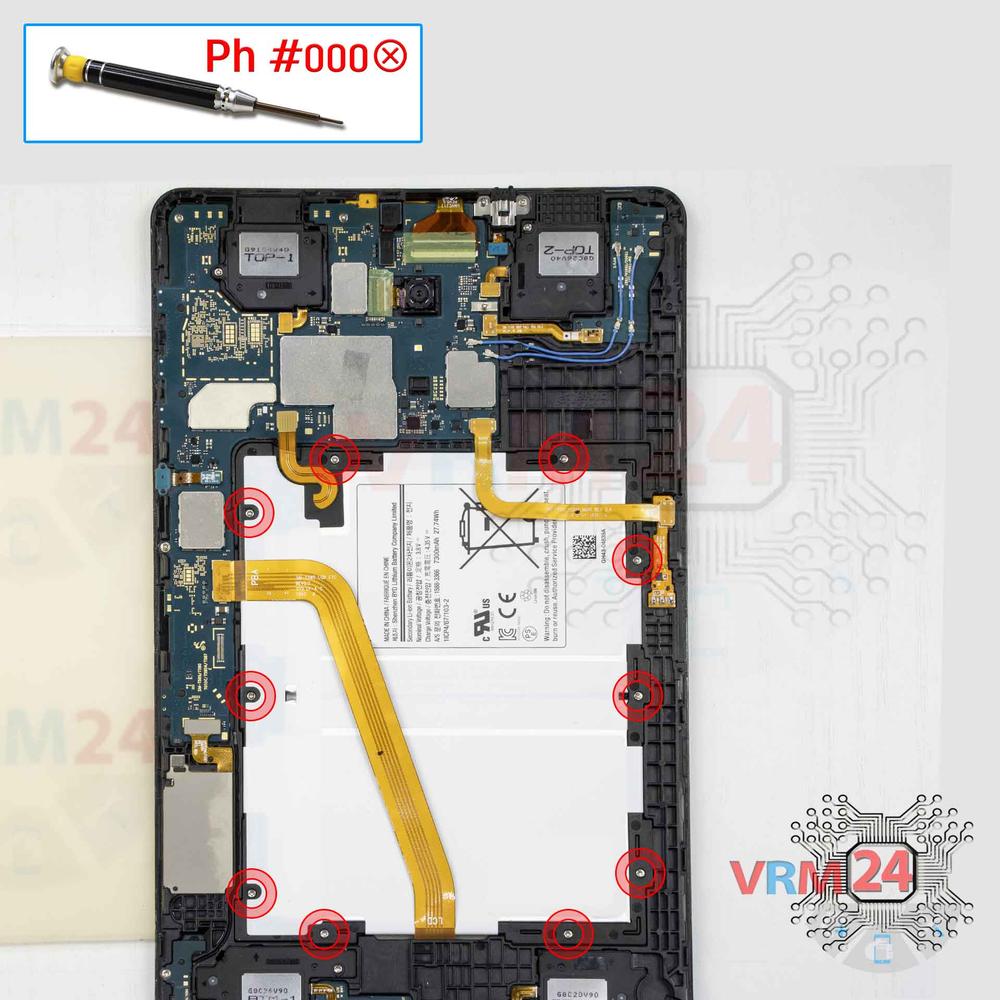
Unscrew the screws
Using a screwdriver (Phillips 1.5 mm PH000), unscrew the ten screws securing the battery.
Step 7.
Remove the battery
Disconnect the connectors, bend the cables to release the battery, and carefully remove the battery.
Step 8.
Unscrew the screws
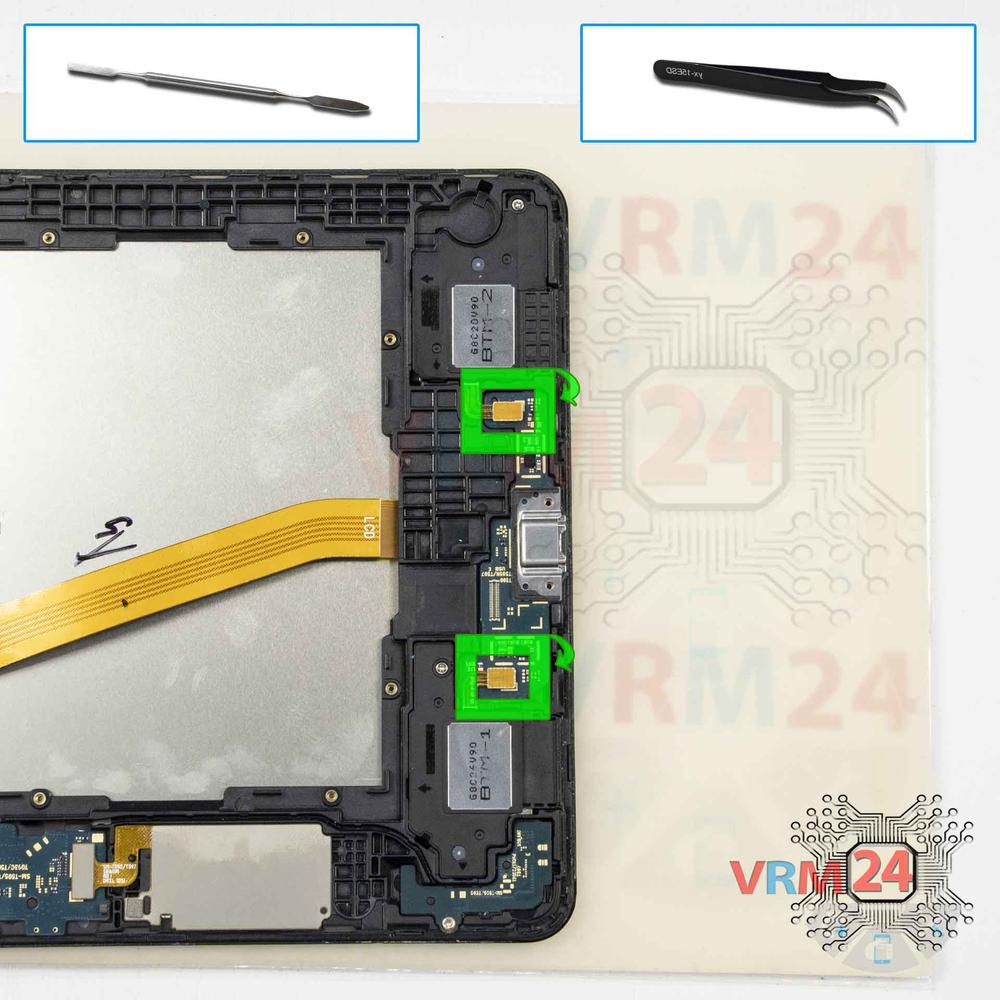
Using a screwdriver (Phillips 1.5 mm PH000), unscrew two screws securing the charging port.
Step 9.
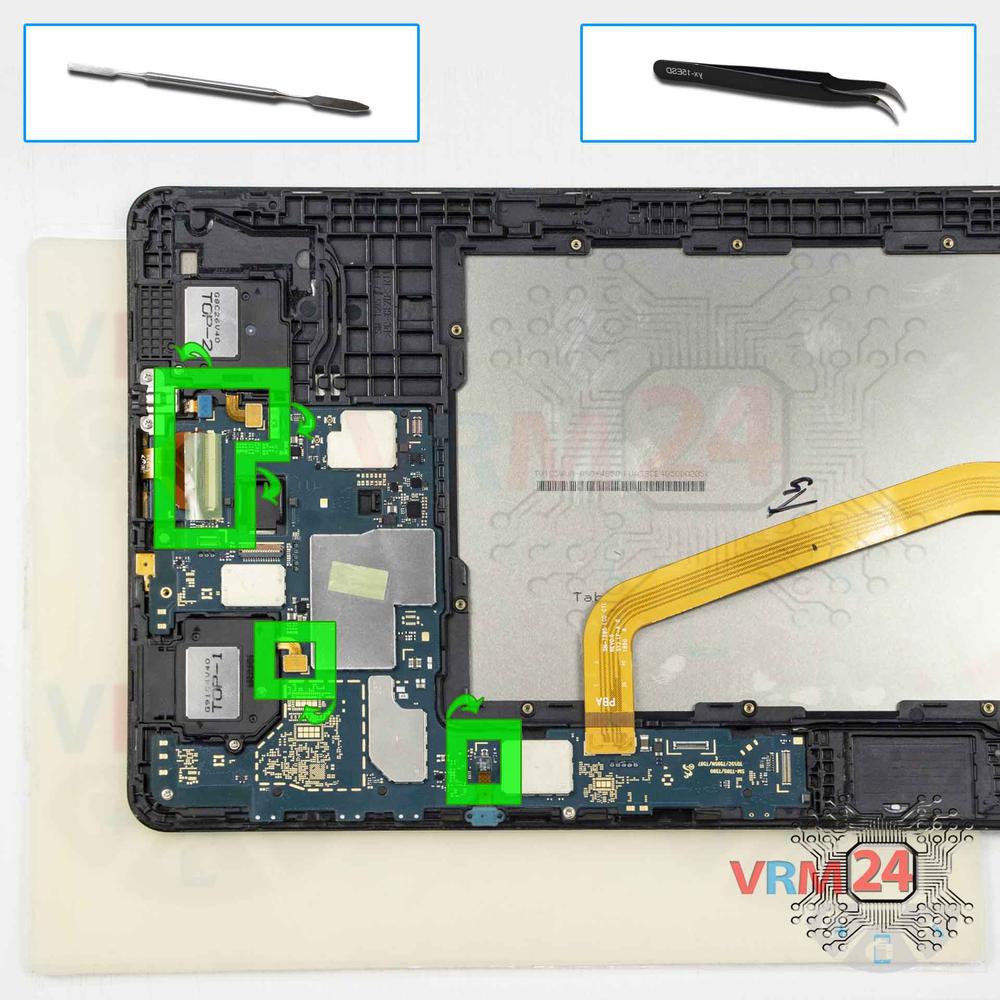
Disconnect the connectors
Disconnect the connectors of the two loudspeakers.
Step 10.
Remove the sub-board
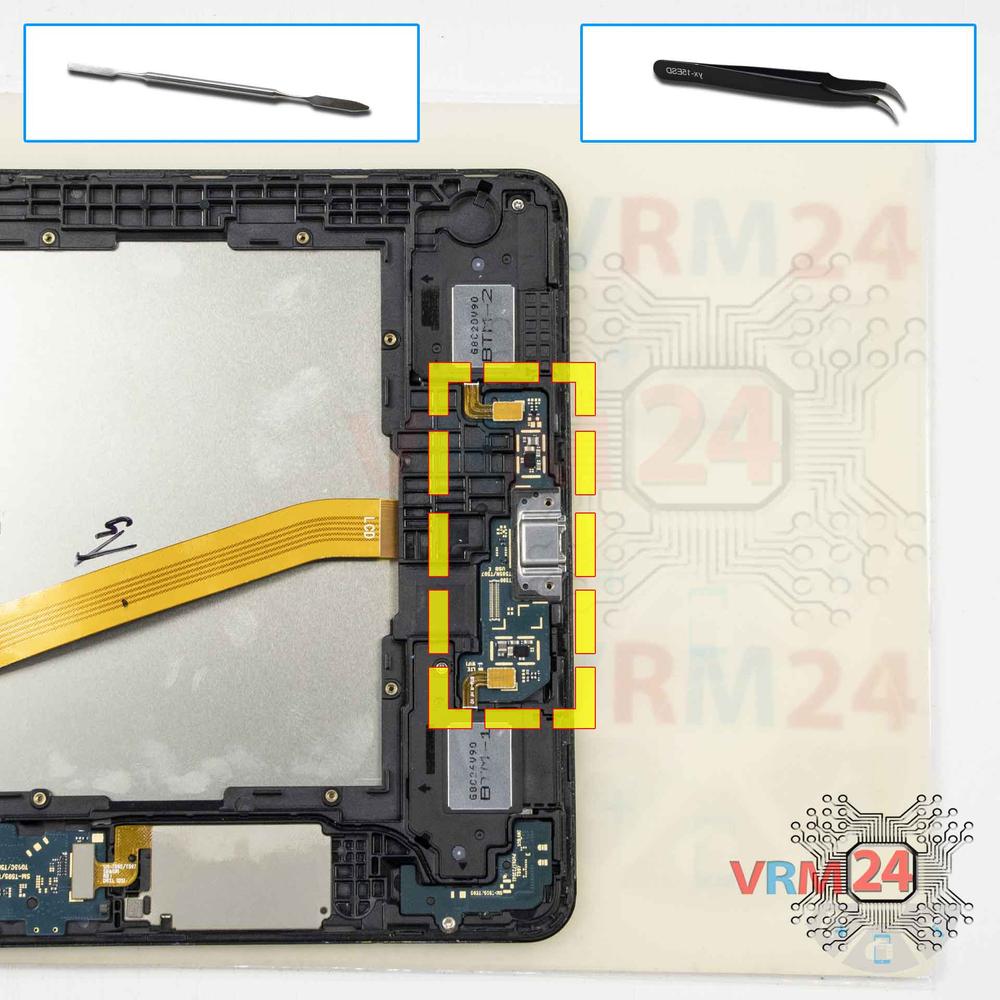
Remove the sub-board. It is glued to the frame with metalized tape, so to facilitate the process, the board can be heated a bit.
ℹ️ The board contains a charging port (Micro USB) and an antenna unit.
⚠ It is not necessary to insert the tool under the board when removing the sub-board. Internal components could be damaged.
Step 11.
Remove the card holder
Disconnect the connectors and remove the small board with the card holders.
Step 12.
Remove the cable
Carefully remove the cable with connectors for a docking station.
Step 13.
Disconnect the connectors
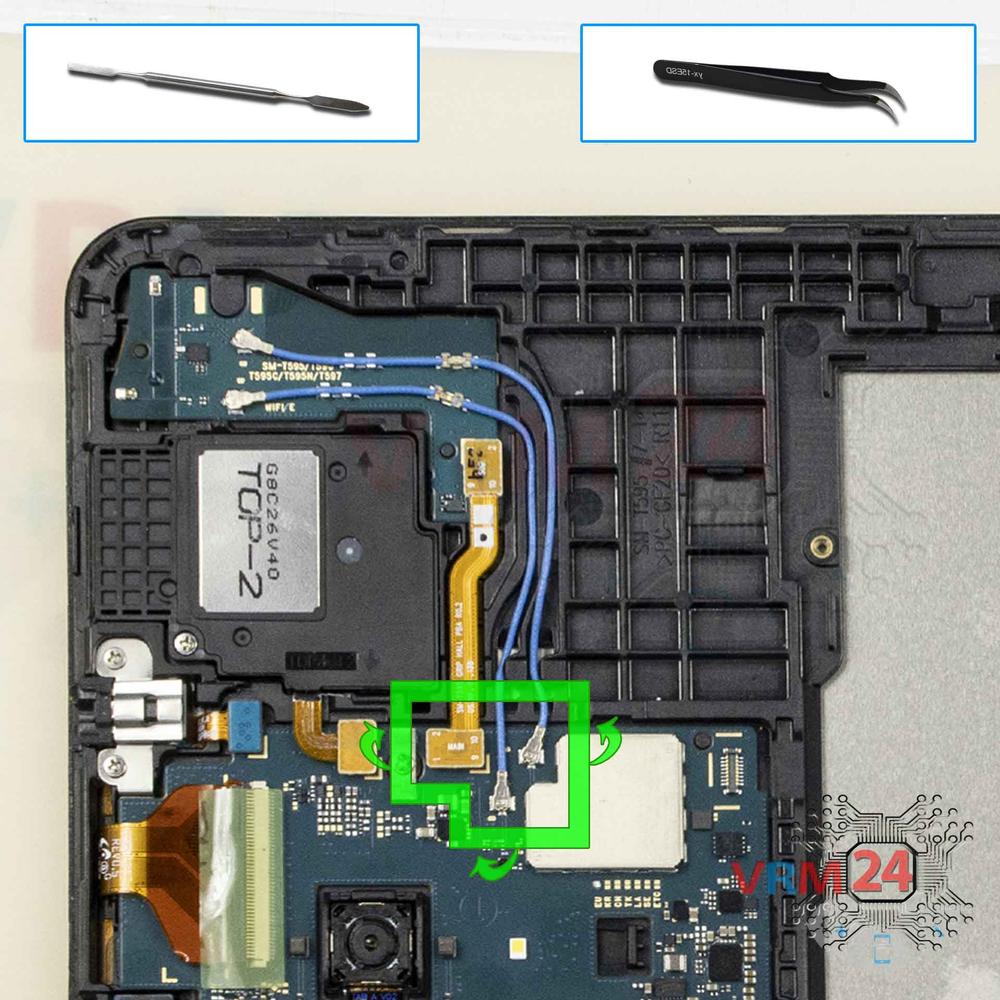
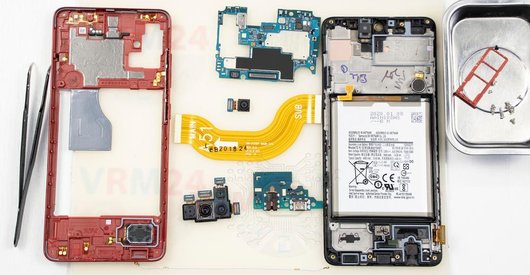
Disconnect the connectors of coaxial cables and an inter-board cable.
Step 14.
Remove the small board
Remove the small boards with an inter-board cable and coaxial cables.
Step 15.
Remove the cameras
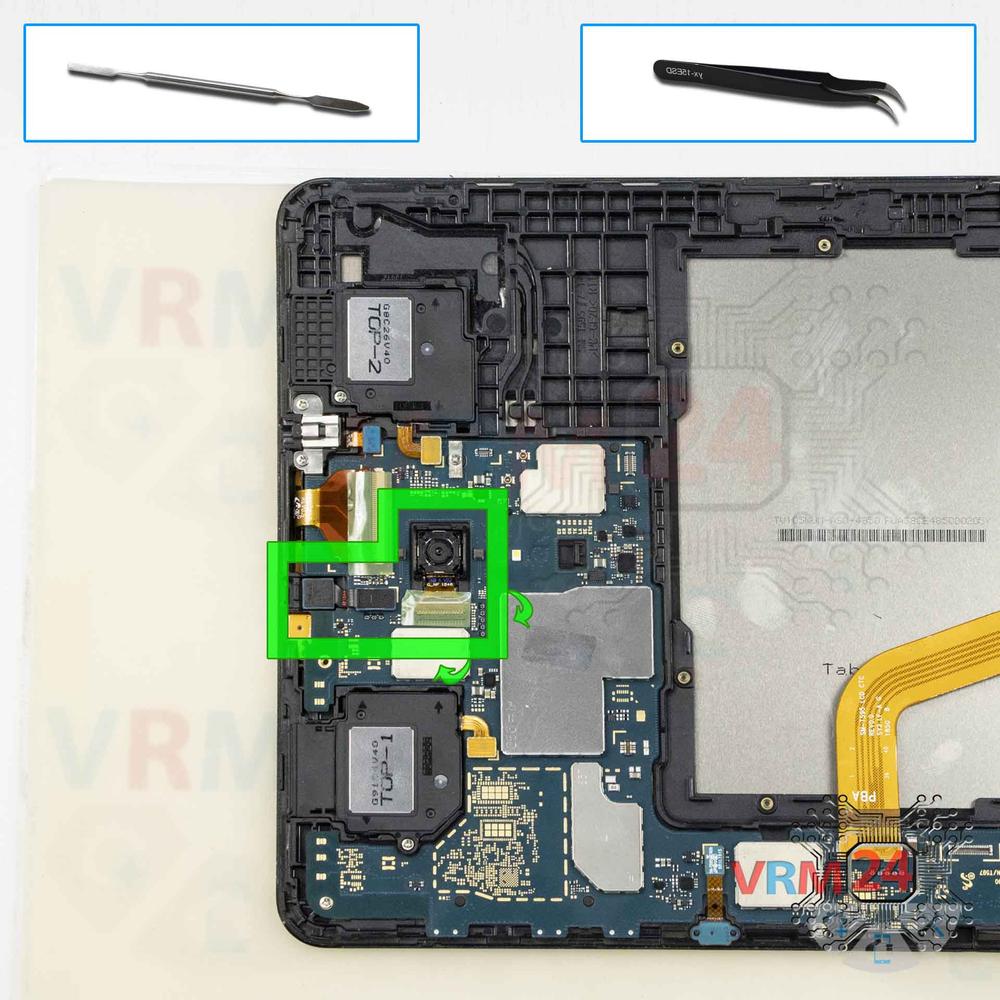
Disconnect the connectors and remove the front (selfie) and rear cameras.
Step 16.
Disconnect the connectors
Disconnect the connectors of touchscreen cable, loudspeakers, headphone jack socket, microphone.
Step 17.
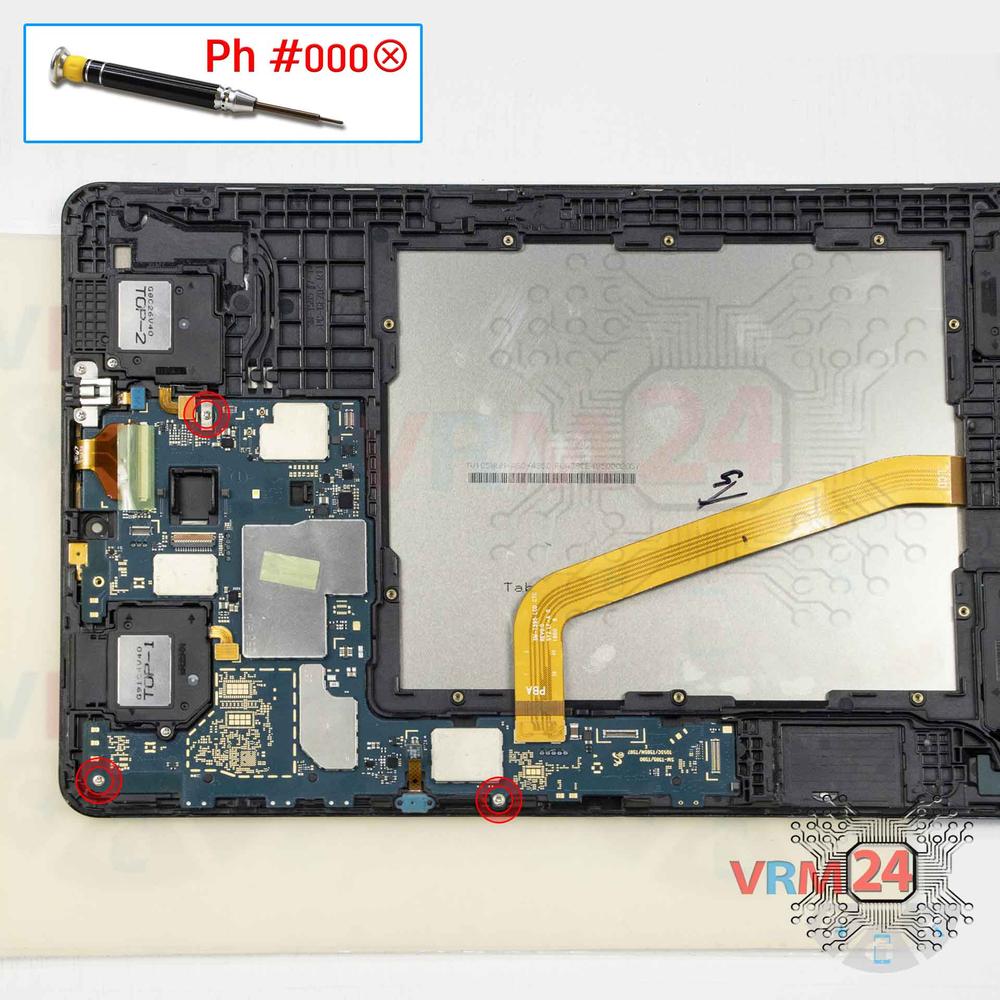
Unscrew the screws
Using a screwdriver (Phillips 1.5 mm PH000), unscrew the three screws.
Step 18.
Remove the motherboard
Carefully remove the printed circuit board. There is no need to use a lever or try to reach the board by force. Make sure that nothing is getting in the way or holding the board.
⚠ Do not bend the circuit board when removing it or push tools under it. Unbeknownst to yourself, you can damage components or cables from the inside.

If you have a question, ask us, and we will try to answer in as much detail as possible. If this article was helpful for you, please rate it.

8665
Views
0
Likes
—
Share
3
Questions
Related Instructions
Related Reviews
Related Blog
Popular Questions
C
Samsung Galaxy A7 (2017) SM-A720
Should I wear gloves or even none?
Christian Espina15
S
Samsung Galaxy A5 (2016) SM-A510
Hello. How can I integrate the backside again? Do I need some glue or does it fit without?
Sophia Korn6
R
Samsung Galaxy J1 (2016) SM-J120
What happend if the back button function looses the black thing you put is it still working even you dont put it?
Ras TV8
Samsung Galaxy A73 SM-A736
hello i have a bluetooth problem on my phone it disconnects randomly and i opened the phone and unplugged the coax cable and replug it and its still …
saud
L
Samsung Galaxy Tab A 10.1'' (2016) SM-T585
Very blurred and out of focus, so it was impossible to see where you slotted your tool to remove the back cover.
Lee Blakemore11Top instructions
Check our
Top Samsung instructions most liked by readers
New instructions
Check our
New Samsung brand instructions on vrm24.com