


⚠️️ Before disassembling, do not forget to turn your phone off.
Teardown difficulty:
Easy
Easy
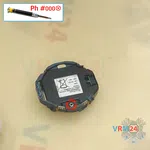
Recommended tools


Disassembly/Repair of the mobile device Samsung Galaxy Watch SM-R810 with each step description and the required set of tools.

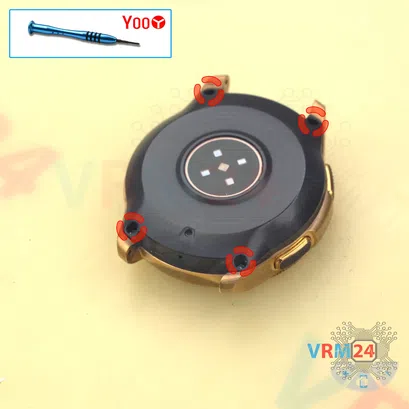
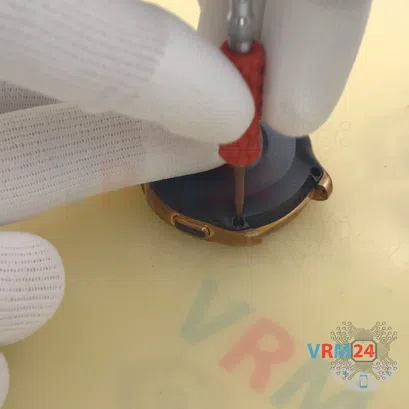


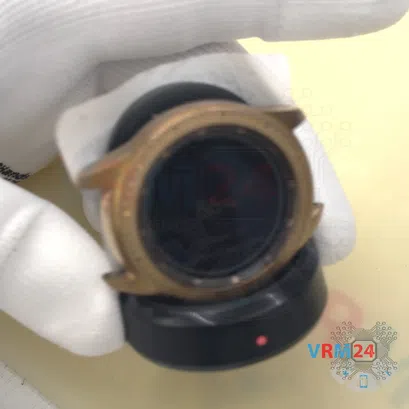
Step 2. Unscrew the screws
We need to unscrew the screws that hold the back cover in place. To do this we use a Tri wing 1.5mm screwdriver or Y00. We need to unscrew four screws.
The screws can get stuck in the back cover, so we can additionally use tweezers to take them out.
Carefully unscrew the screws and place them on a table or special prepared surface.

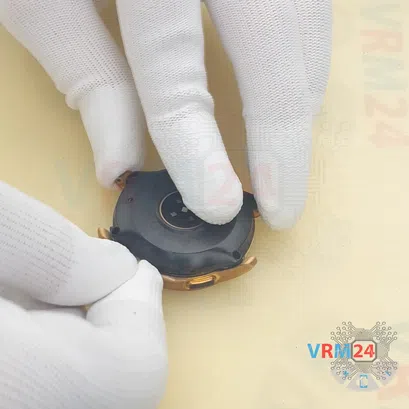
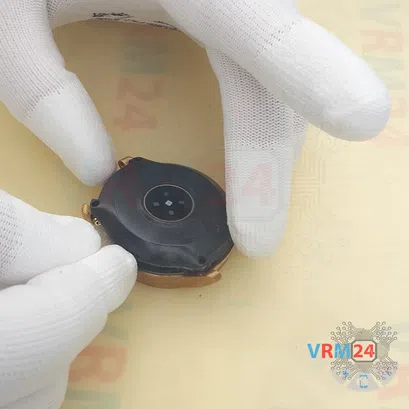


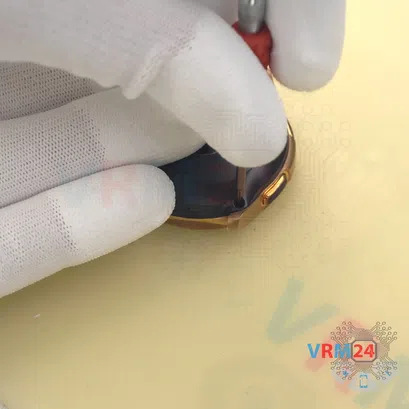
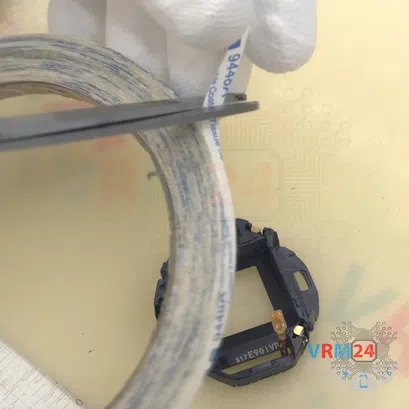
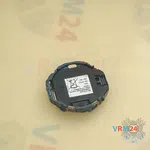
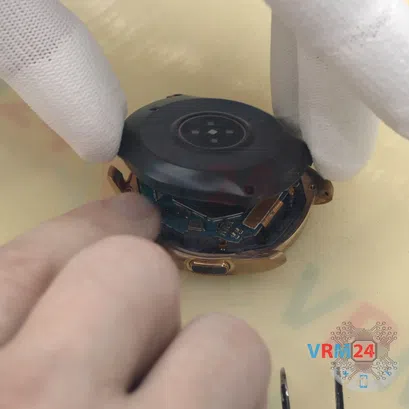
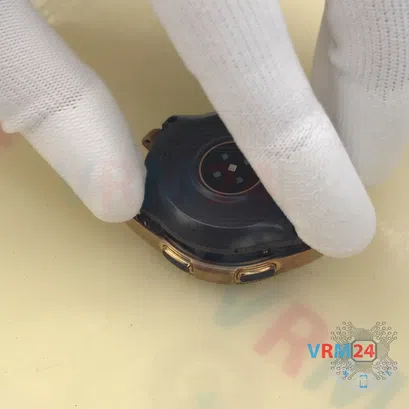
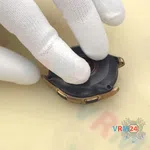
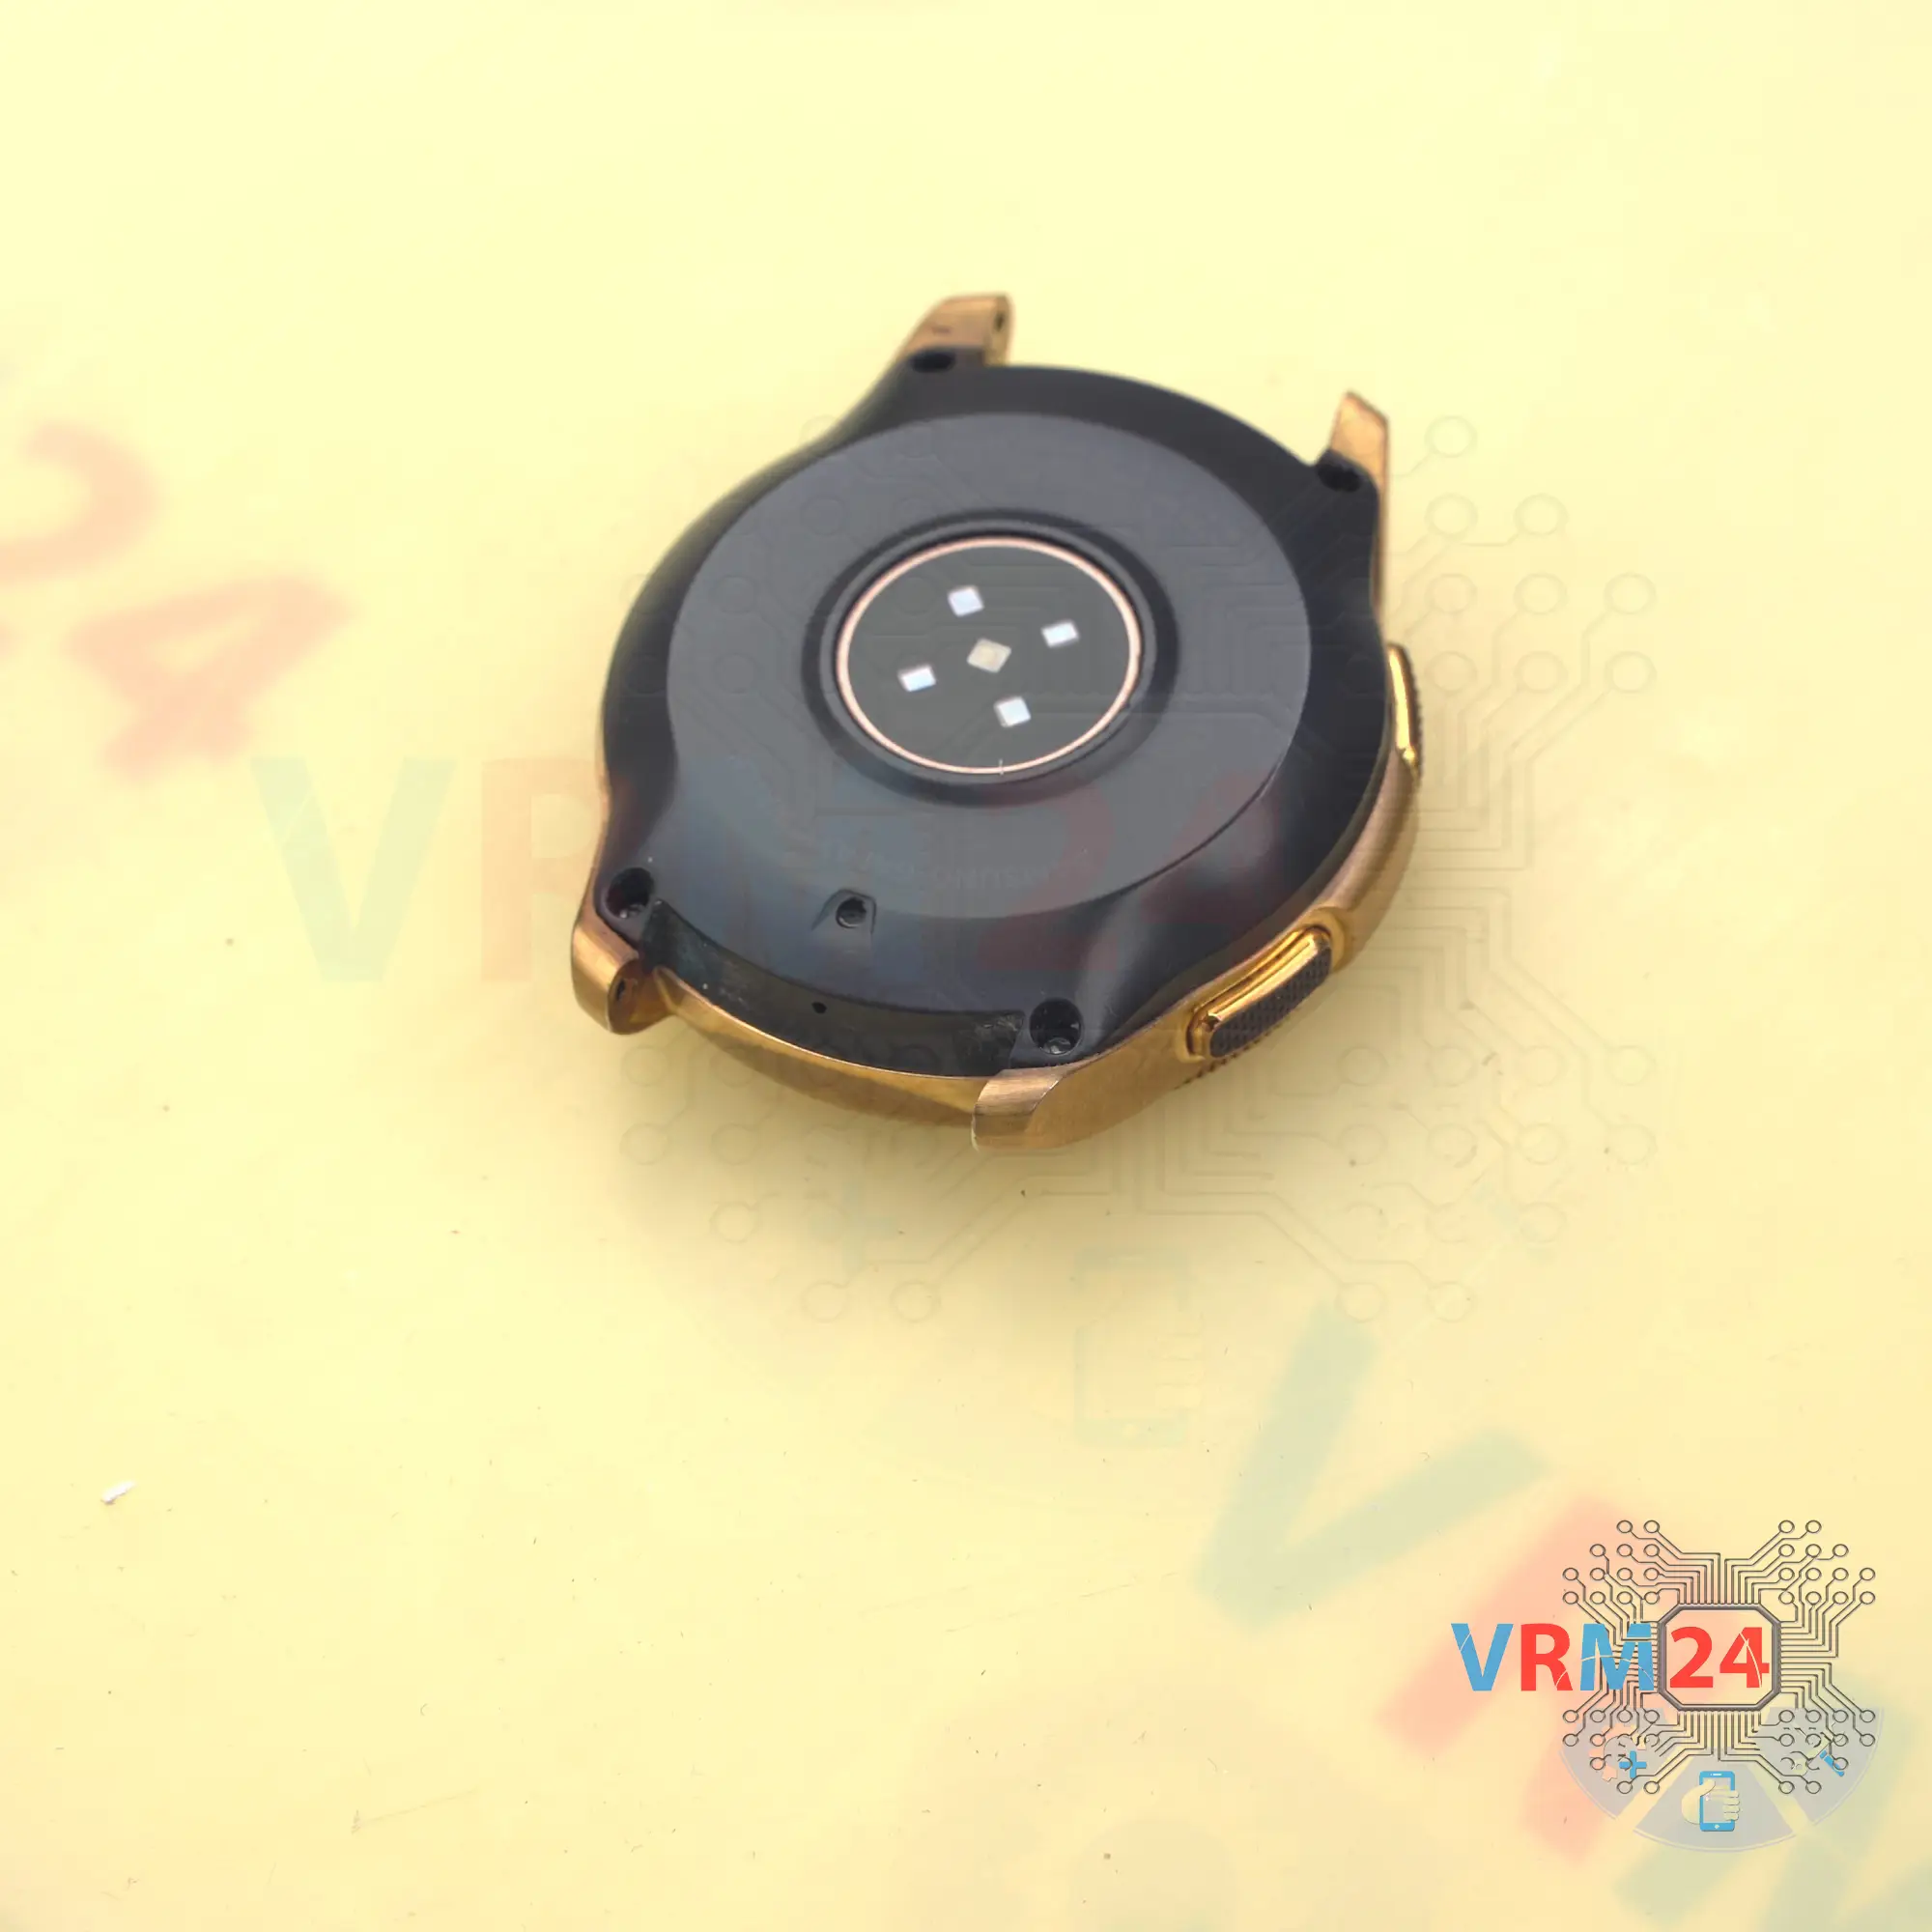
Step 3. Open the back cover
We move on to open the back cover. For this we use a plastic film. The back cover is not glued, and it's not attached to the front case much. So, we just need to run the film into the hole between the cover and the front case and go along the edges.

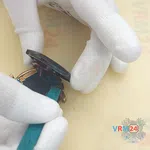
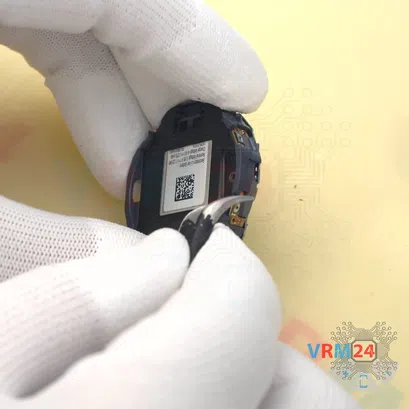
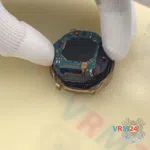
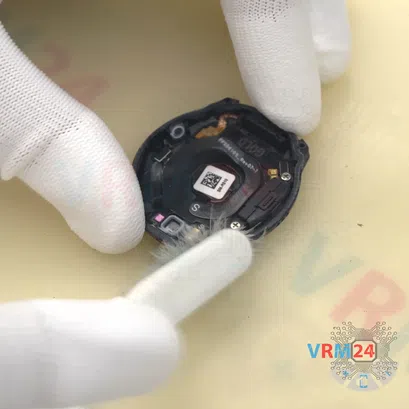
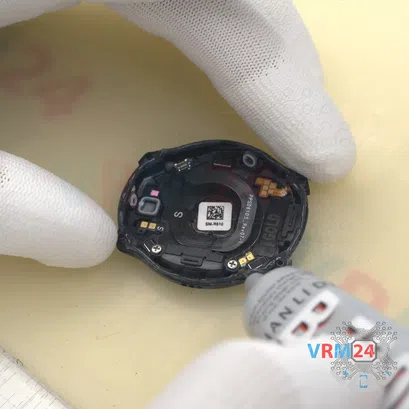
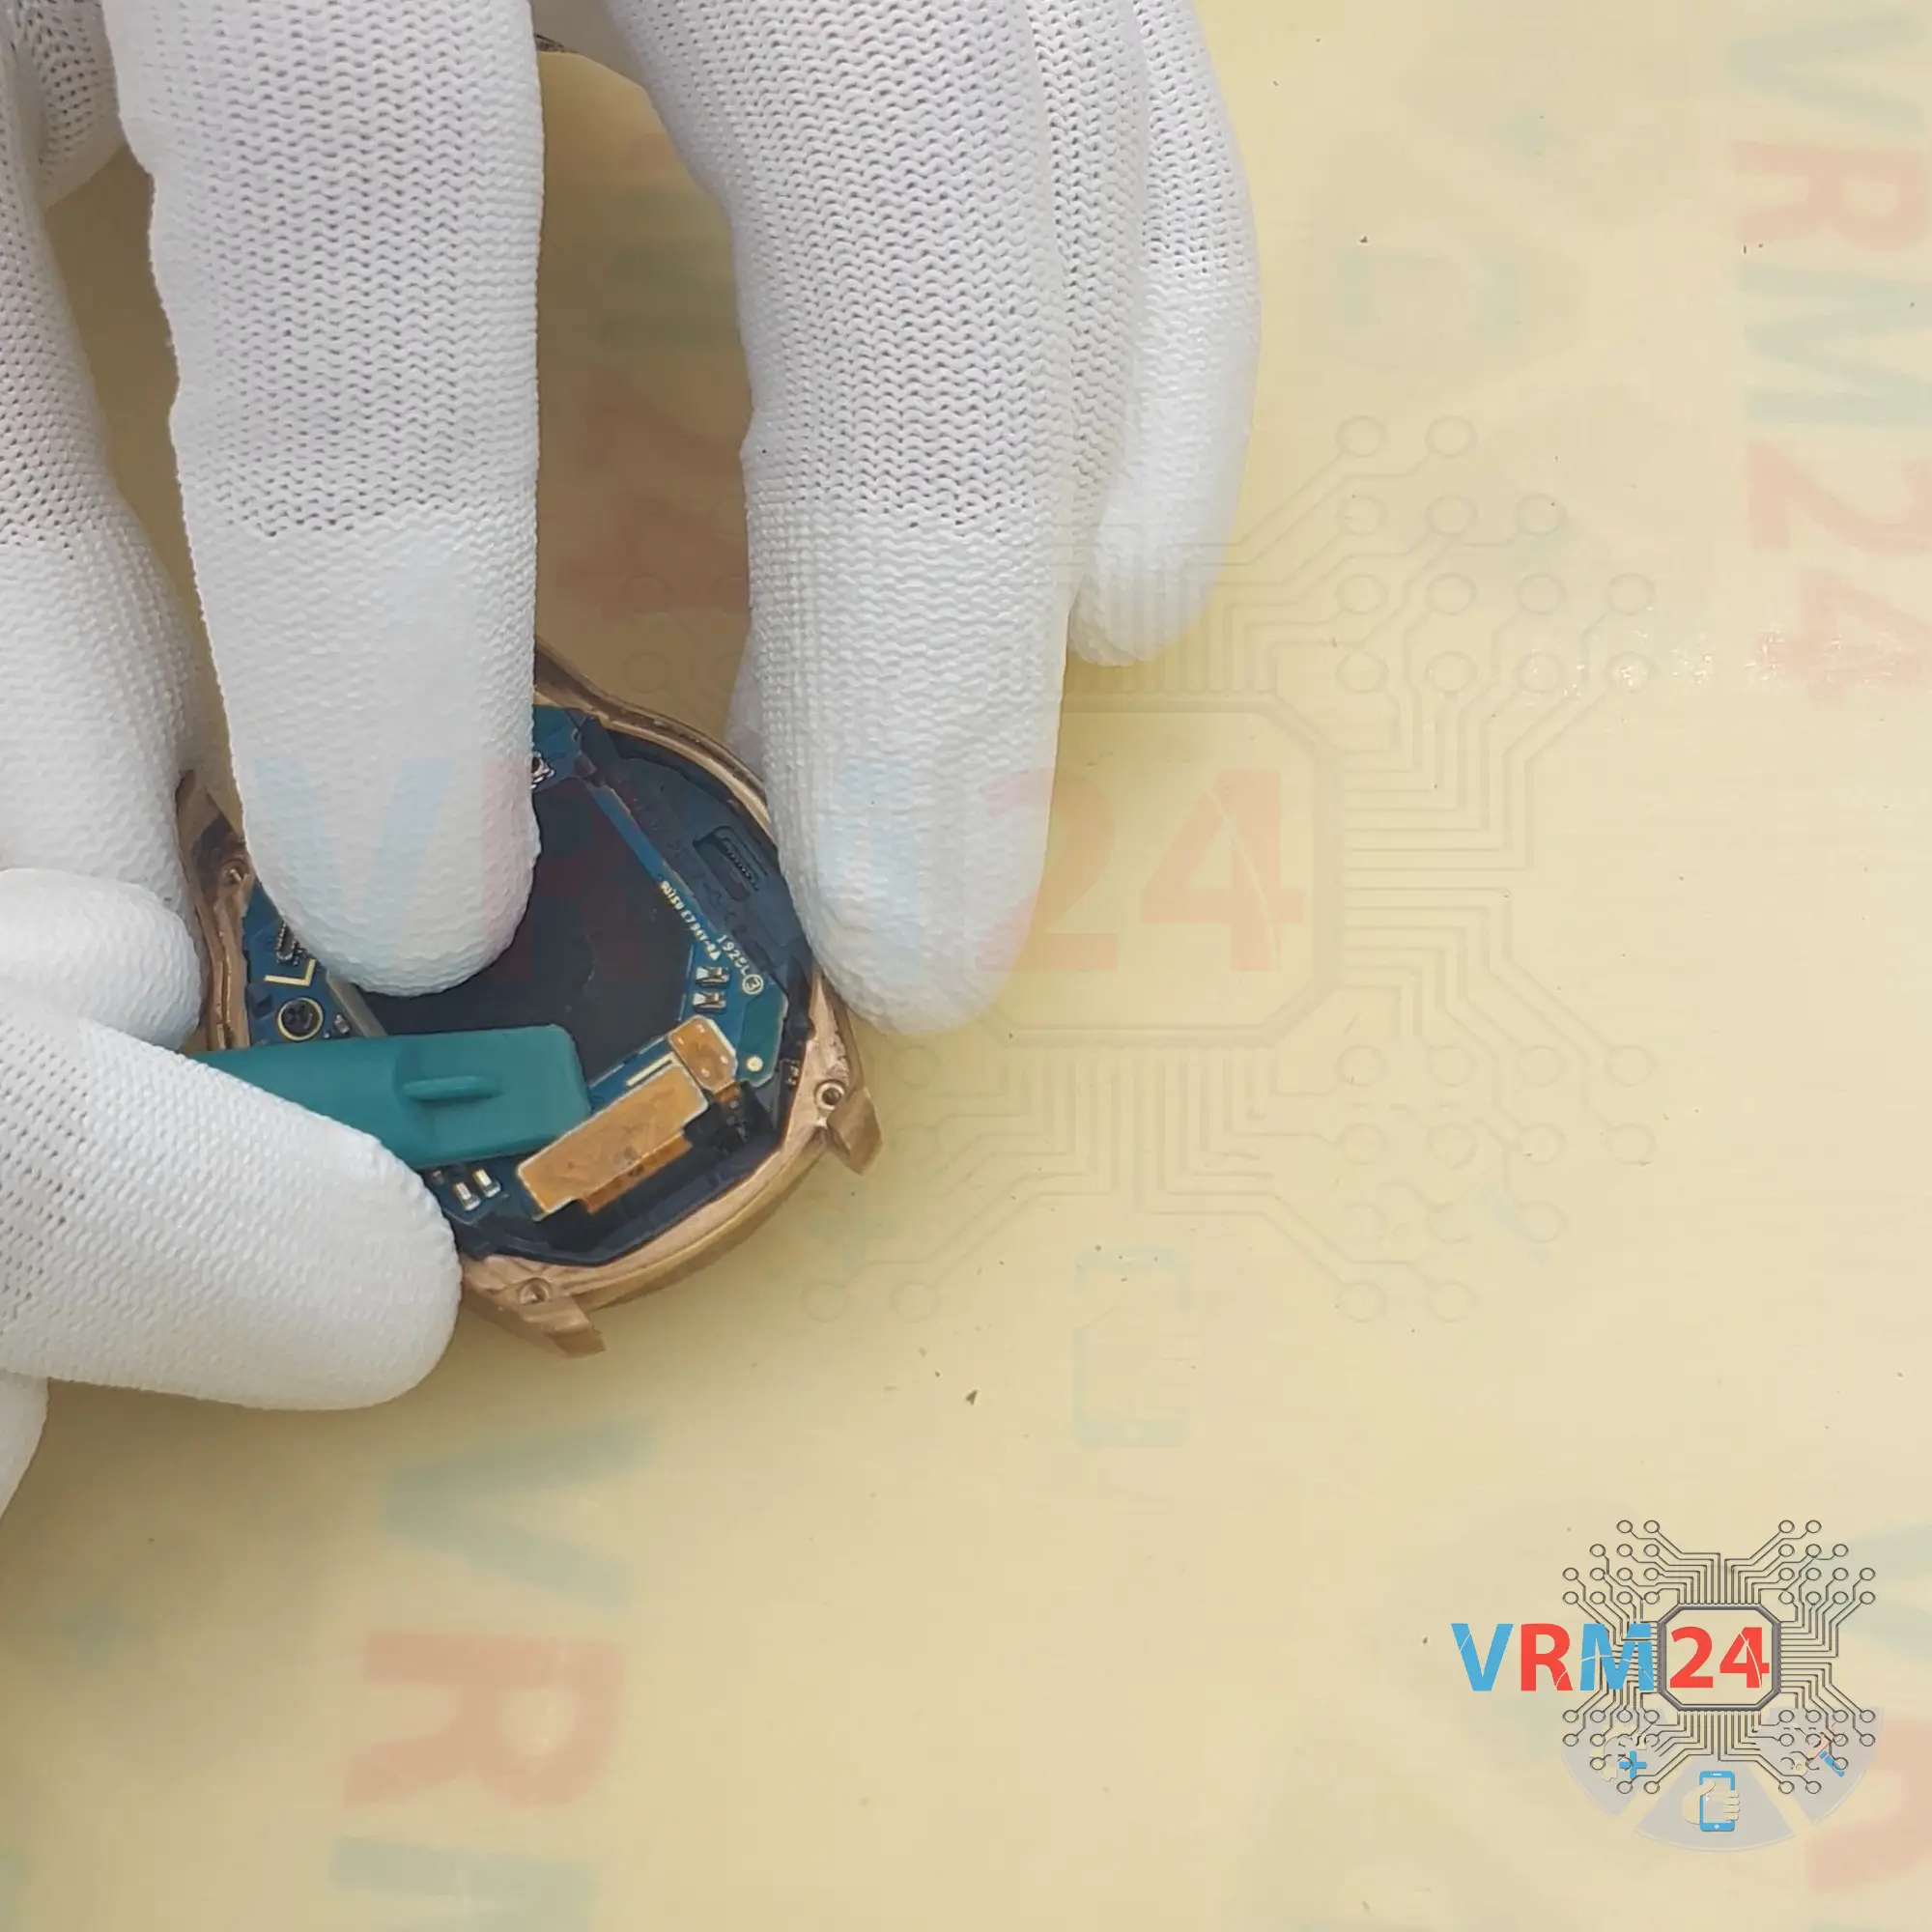
Step 4. Disconnect the connector
Now we can lift the cover and disconnect the connector of the heart rate sensor cable on the motherboard.
Lift the cover carefully and disconnect the connector.
It is best to use a non-metallic tool.


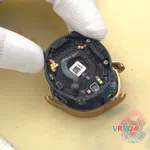
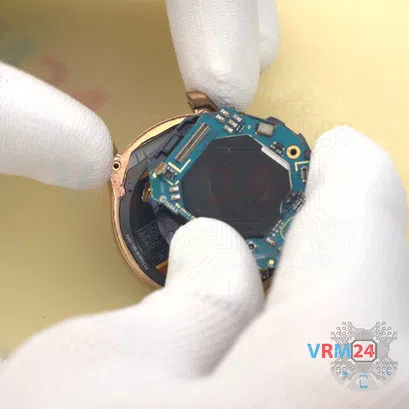
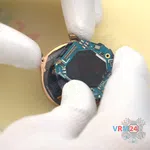
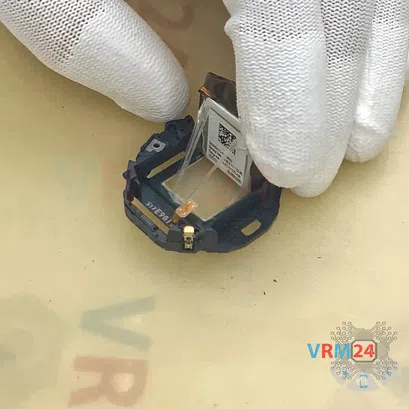
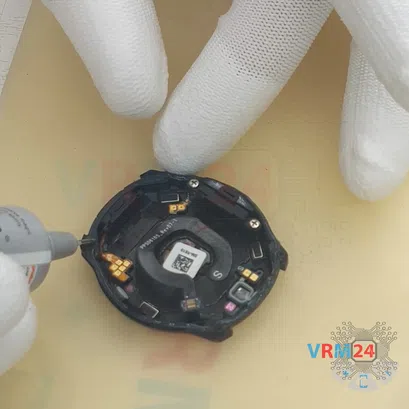
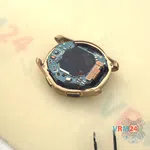
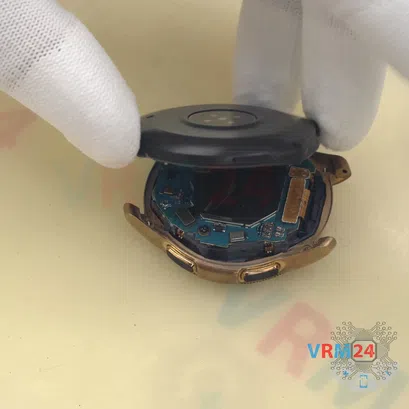
Step 5. Disconnect the connectors
Disconnect the display module cable connector, flex cable connector to the gravity sensor.
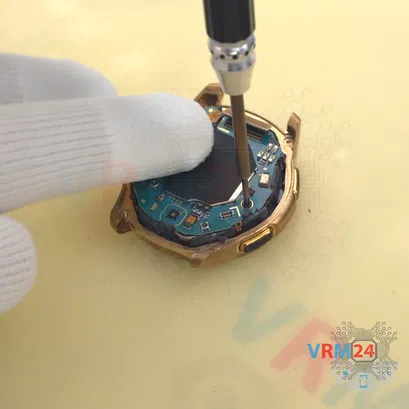

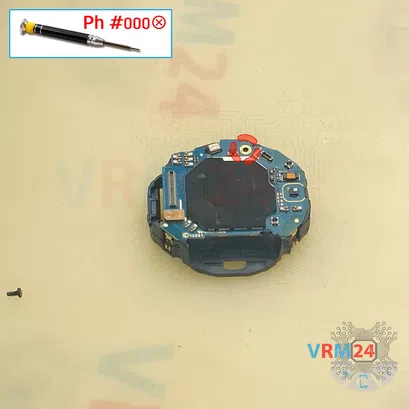
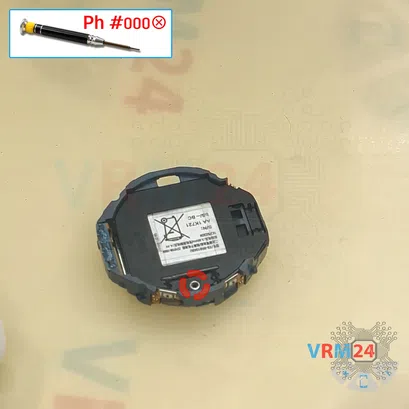
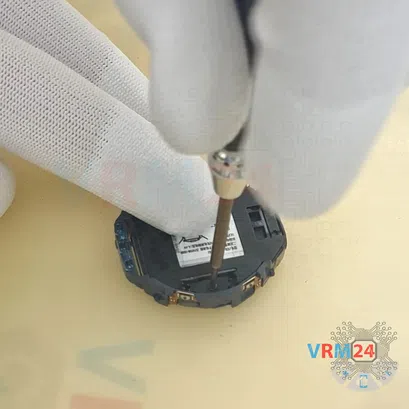
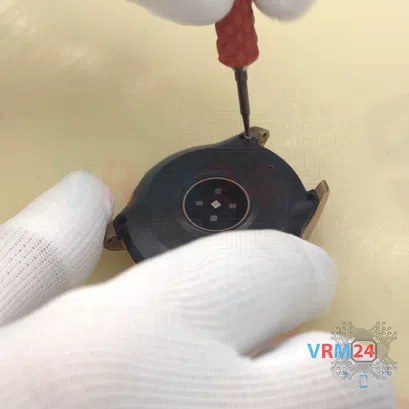
Step 6. Unscrew one screw
We can also unscrew one screw securing the motherboard, for this we use a Philips 1.5 mm or #000 screwdriver.
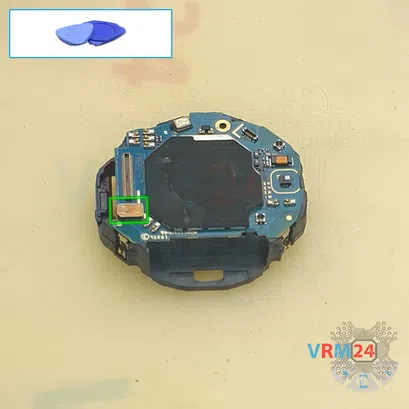


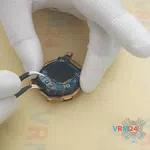
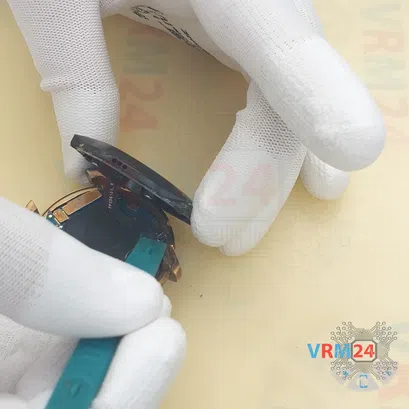
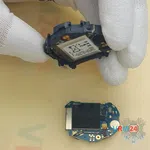
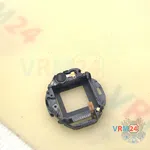
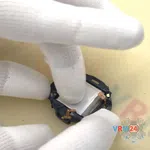
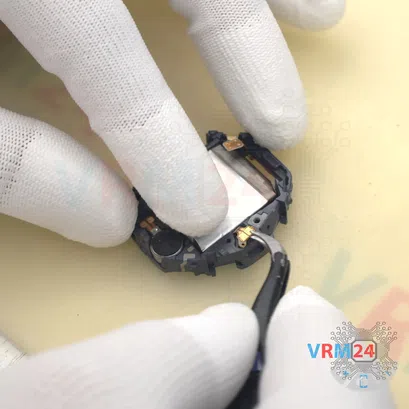
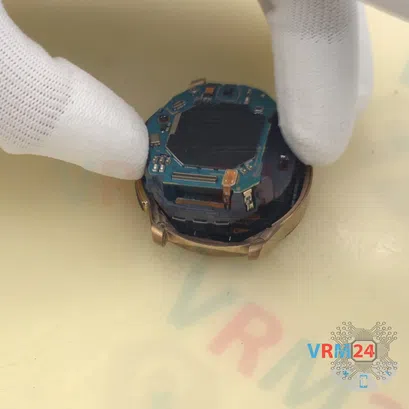
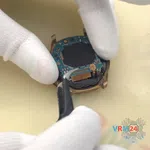
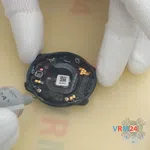
Step 7. Remove the bracket
Using tweezers, gently pry the bracket to remove it. Pay attention to the connectors which go through the hole in the bracket, we must be careful not to damage them. Carefully remove the bracket with the battery and the motherboard.

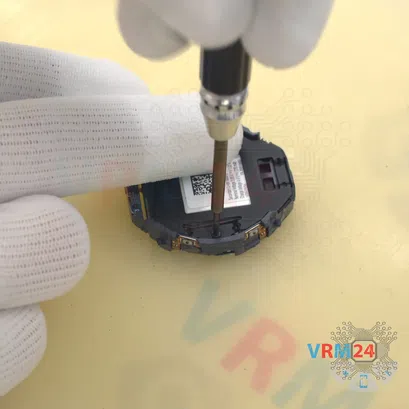


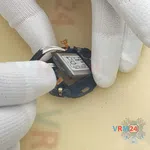
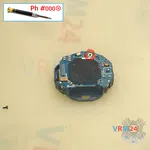
Step 8. Unscrew one screw
We have one more screw on the back side, we use a Philips 1.5 mm or #000 screwdriver.


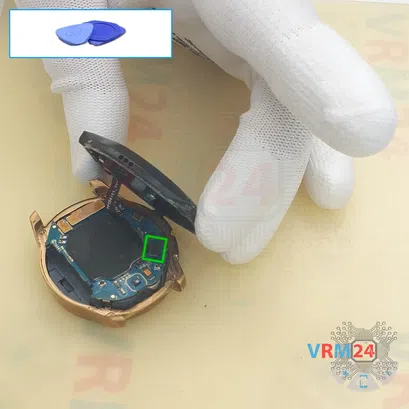
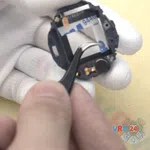
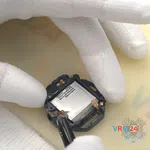
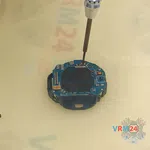
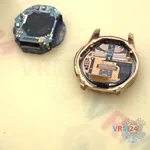
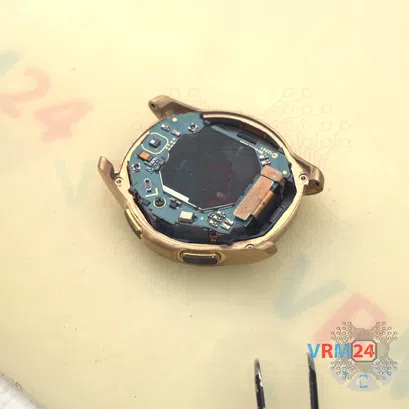
Step 9. Remove the motherboard
We need to detach the side buttons, which are fixed on small plastic pins.
⚠️️And the motherboard may have fallen out on its own.
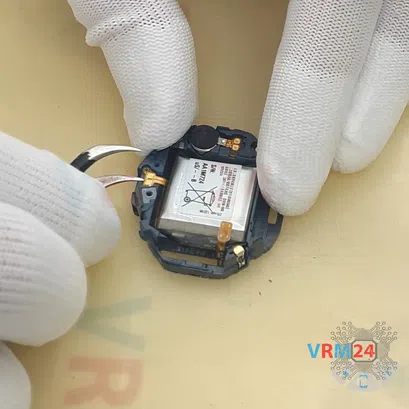
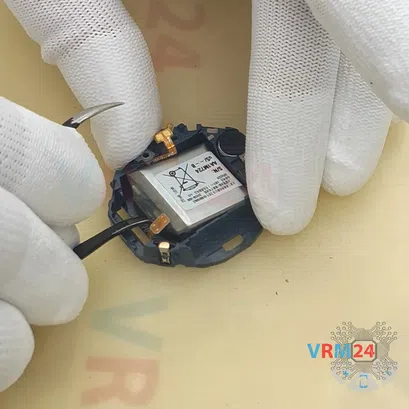


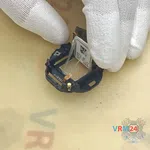
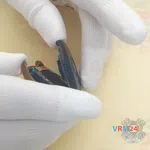
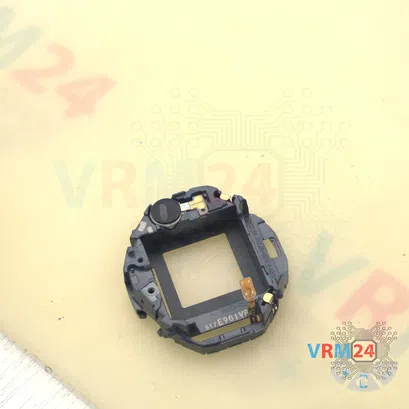
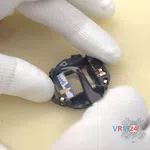
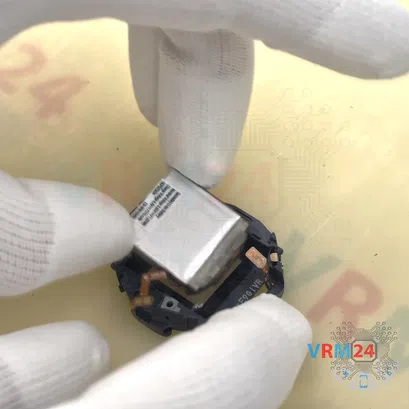
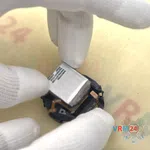
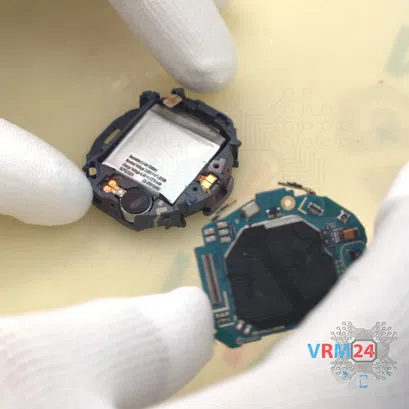
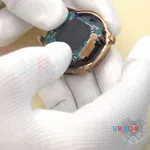
Step 10. Remove the battery
Now we need to detach the contact pad of the battery, it has a small hole (like a needle eye) that holds the small plastic pin.
And we move on to detaching the battery. Gently pry it up and lift it off. The battery isn't glued much, but it's all the way around the edge of the battery.

Step 11. Attach the adhesive tape
So, we peel off the old tape, carefully go along, clean the surface, because we will need to glue new tape in this area.
To do this, we use scissors and 3M double-sided adhesive tape. We cut small pieces, measure, cut off the excess.


Step 12. Attach the adhesive tape
And we move on to glue the new tape to the bed to attach the battery. We glue small pieces on the bracket.
Also, peel off the protective layer on the remaining strips of tape.
⚠️️ To be honest this work takes a lot of time, it is quite painstaking and requires patience and attentiveness.


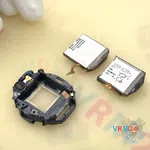
Step 13. Insert the battery
After that we need to make sure that the new battery looks the same as the original battery. Anything can happen.
Now we look at the batteries and the location of the cables. Carefully insert the battery into the seat of the bracket.


Step 14. Insert the battery
We look at the positioning of the cable and as we can see the non-original battery cable is made a little differently so we need to place it in such a way that it takes the right shape and not to damage it.
Also, the hole in the battery contact pad is a little smaller than in the original battery, and we can't get it on the pin that holds the pad in place. So, we need to widen the hole, and we did that with the tweezers tip.
⚠️️ The main thing here is not to be in a hurry, this job requires a lot of attention and care, because we must not damage the pad or the cable.


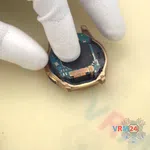
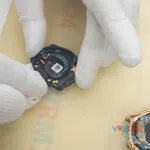
Step 15. Attach the motherboard
We can attach the motherboard to the bracket.
⚠️️ Remember that the battery has spring contacts and once we have attached the motherboard. It is powered by the battery, current flows through it and I hope you understand…, short circuits - may happen. So, you have to be careful.
Also, we attach the side buttons and pin them to small plastic tips.
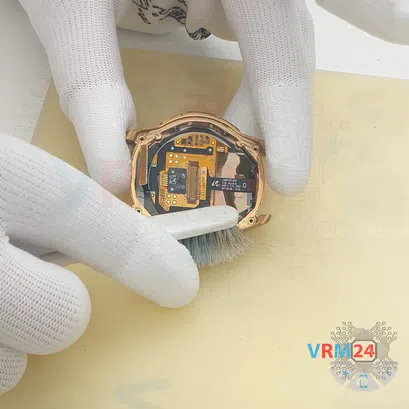

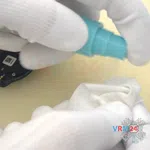
Step 16. Clean the surface
Using an old toothbrush we clean the surface of the front case edge from the dust particles.


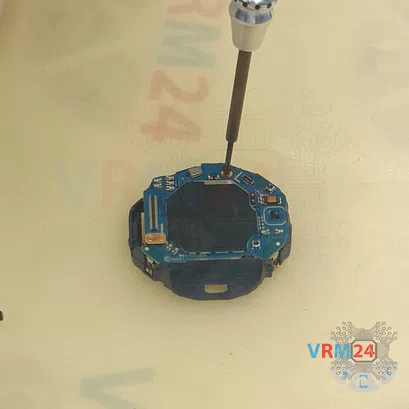
Step 18. Screw in one screw
We screw in one screw that holds the battery and motherboard to the bracket. We use Philips 1.5mm or #000 screwdriver.

Step 19. Screw in one screw
We screw in another one screw that holds the battery and motherboard to the bracket. We also use Philips 1.5mm or #000 screwdriver.


Step 20. Attach the assembly
Now we need to insert the bracket into the front case, slip the display cable through the hole in the bracket.
Carefully slide the frame into the seat and check.


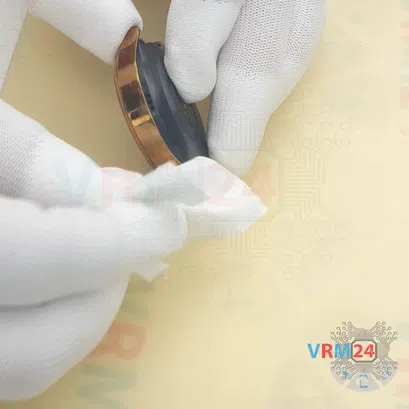
Step 22. Clean the surface
After that we clean the surface of the back cover edge. We use an ordinary toothbrush. We scrape away any dust, dirt, old glue and sealant if they were there.
We also use isopropyl alcohol to remove any dust residue on the edge. We spray isopropyl alcohol on a rag and wipe the edges. It's best, of course, to get the dust and dirt out wherever you can reach it.


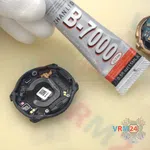


Step 23. Apply sealant
Now we will apply B7000 sealant to the edge of the back cover to protect the device from dust or liquid getting inside the watch.
We didn't have the back cover glued on, but we try to always use sealant for these devices. It is highly not recommended to use regular or quick drying glues for plastic or metal, because after such gluing it will be extremely difficult to detach the back cover again.
Carefully apply the sealant and make sure that it does not penetrate anywhere other than the edge of the back cover.

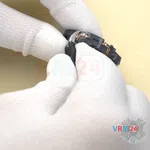
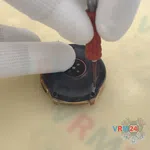
Step 24. Connect the connector
So, we have applied the sealant and we need to attach the back cover to the front case. But first, we have to connect the heart rate sensor connector to the motherboard.
⚠️️ Don't forget the sealant is on the edges of the back cover.


Step 26. Screw in screws
Move on to screwing in the screws holding the back cover. We use the Tri wing 1.5 mm or Y00 screwdriver.


Step 27. Double-check
After that, we clean off any remaining sealant if it has come through the cover. And we can check the watch to make sure that we have assembled everything correctly, that the battery works.
Detailed disassembly instructions of Samsung Galaxy Watch SM-R810 in the video, made by our mobile repair & service center:
If you have a question, ask us, and we will try to answer in as much detail as possible. If this article was helpful for you, please rate it.

Disassembling\Repair has easy complexity and takes about minutes in time.
Our manual is suitable for all models Samsung Galaxy Watch SM-R810 released for markets in different countries.
Back to the list