


Recommended tools
Screwdriver Torx T6

Opening tool / Spudger

Tweezers

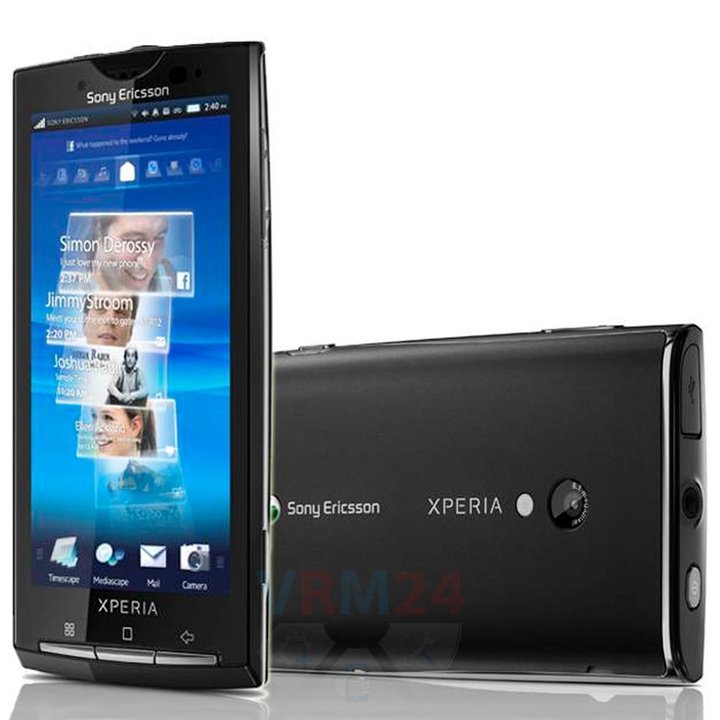
Disassembly/Repair of the mobile device Sony Ericsson Xperia X10 (Sony Ericsson Xperia X10 Es209ra) with each step description and the required set of tools.
6153
Views
2
Likes
—
Share
3
Questions

Step 1.
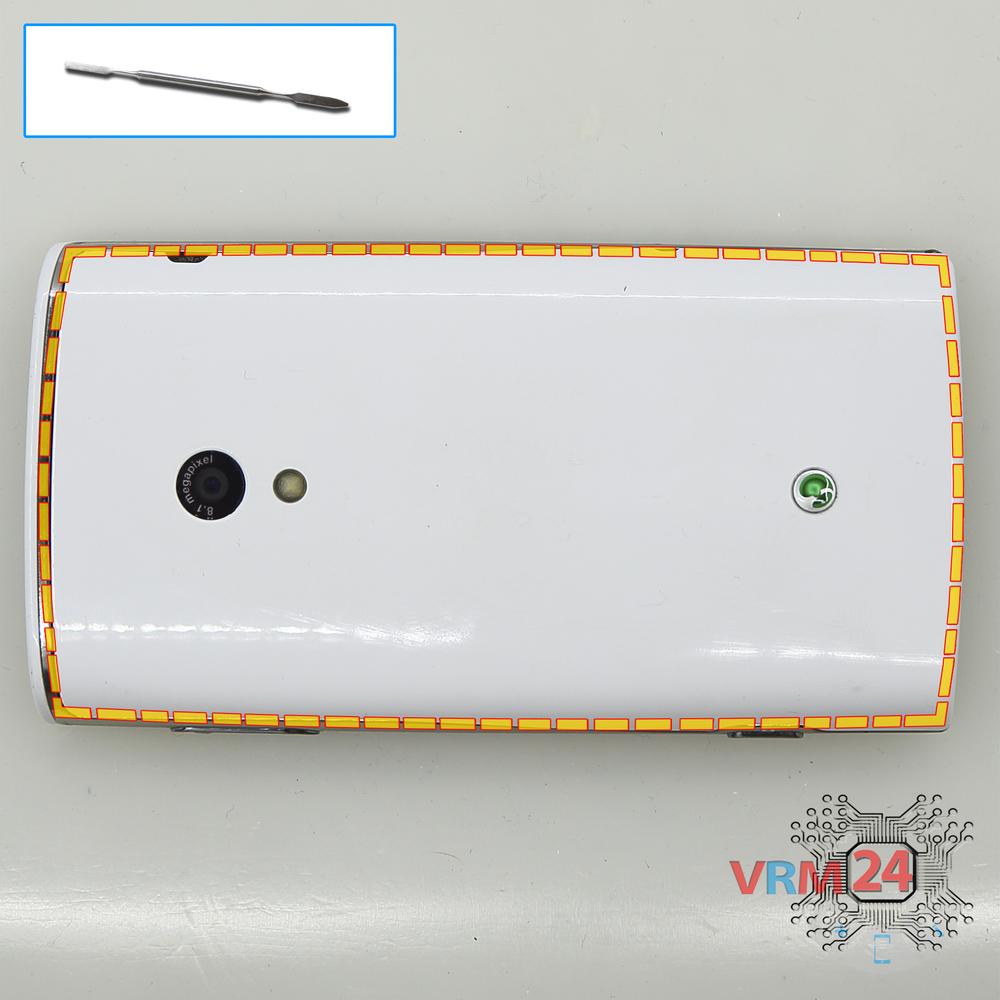
Open the back cover
Open the back cover.
Step 2.
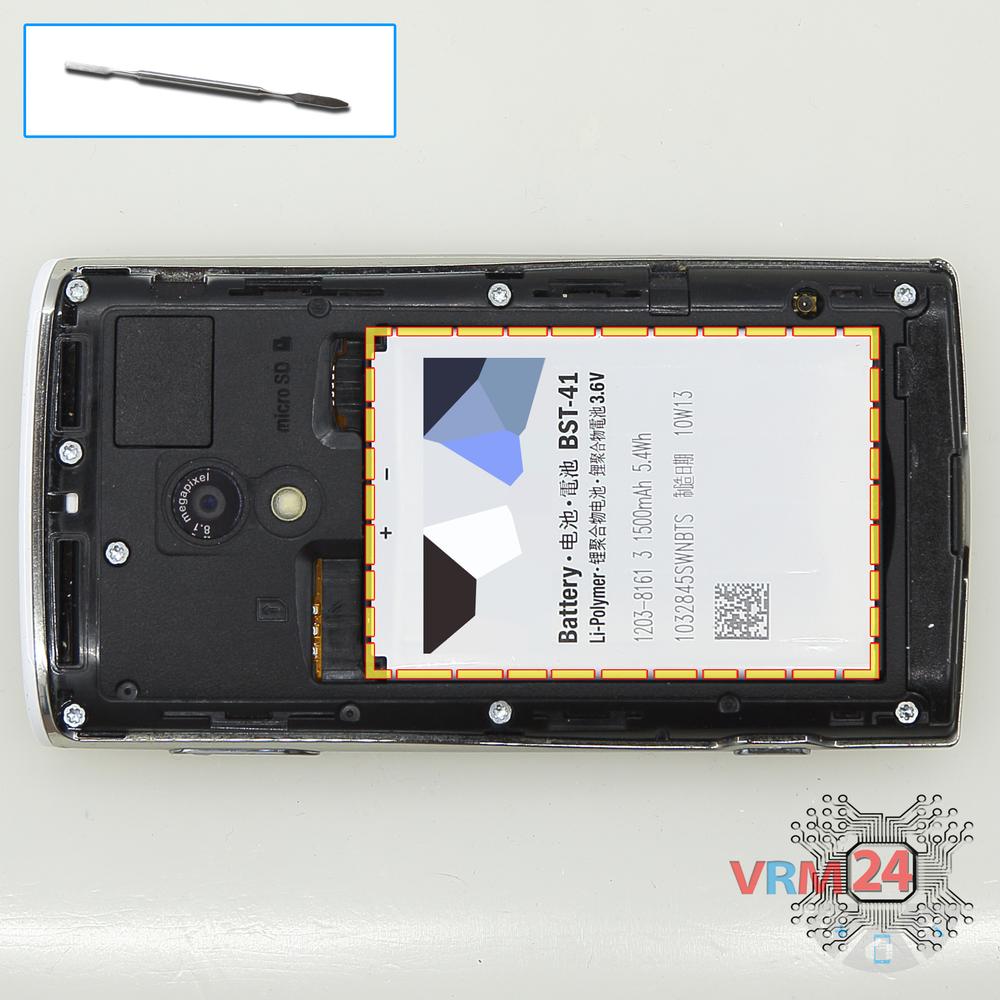
Remove the battery
Lift and remove the battery.
Step 3.
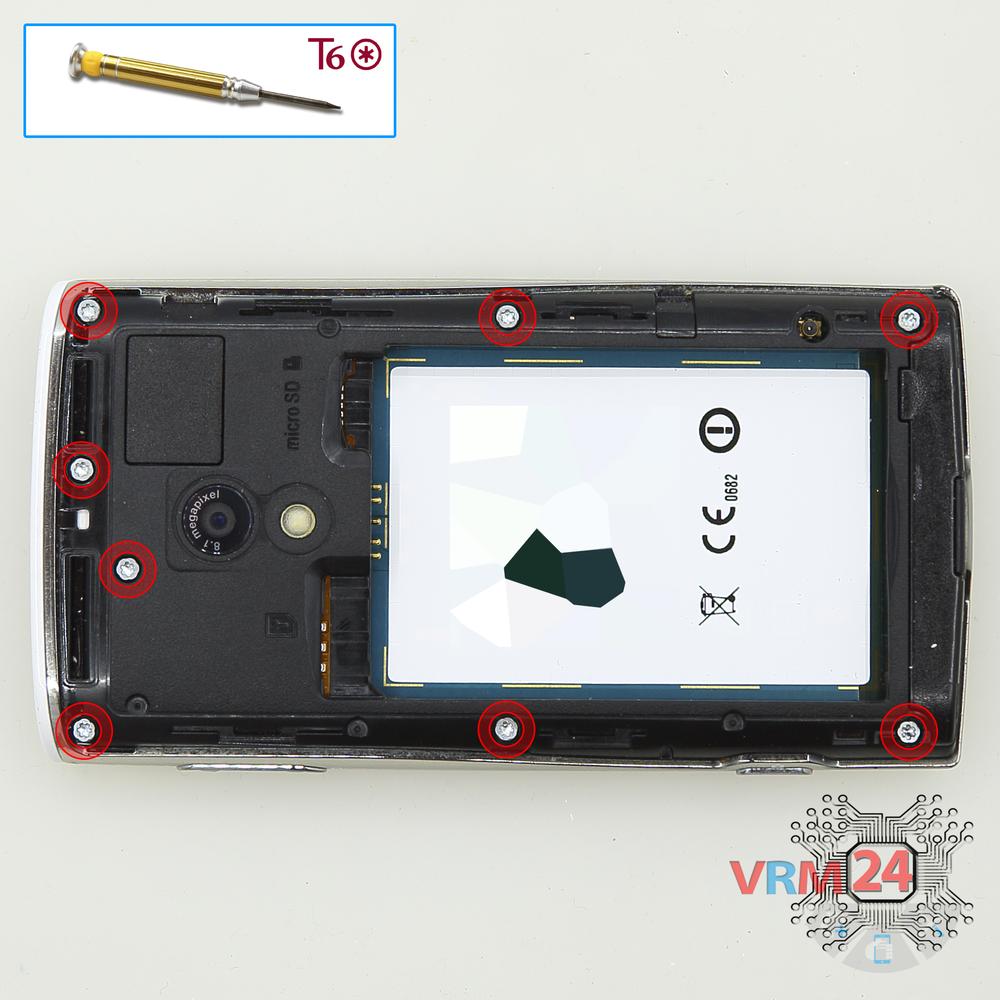
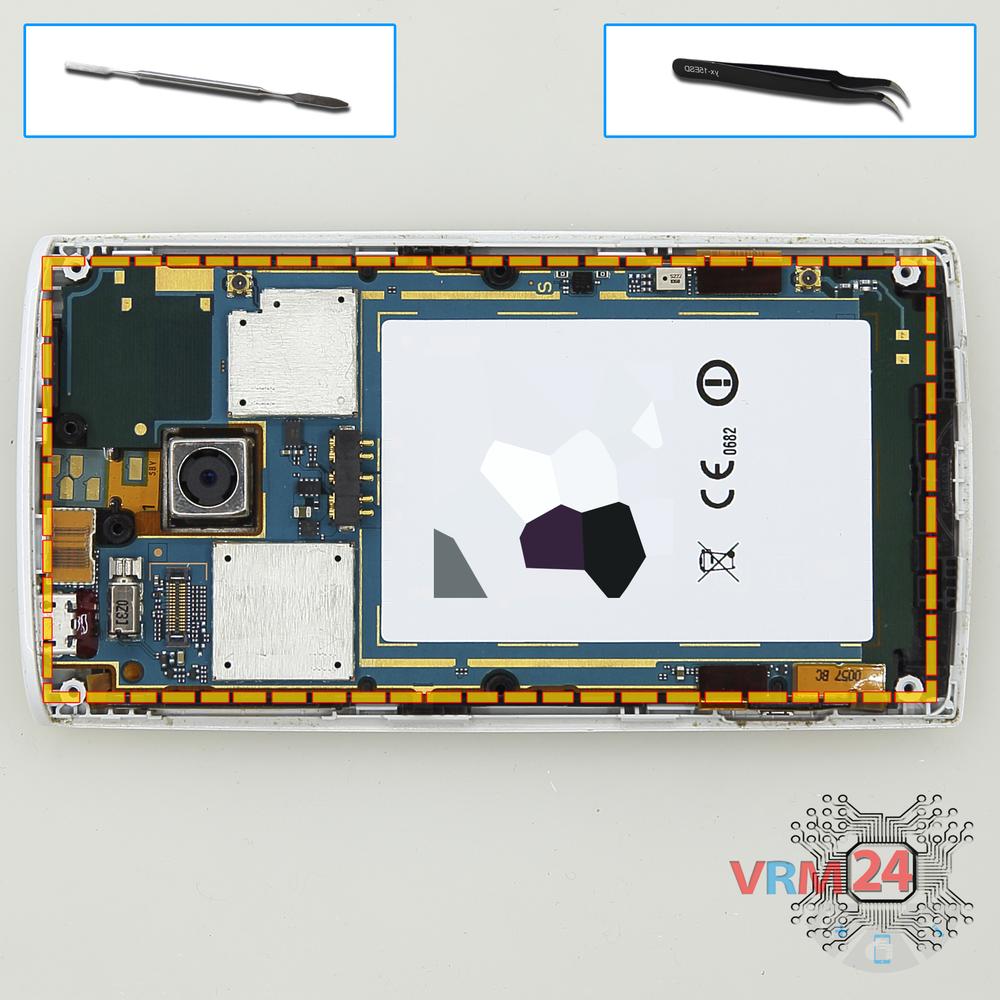
Unscrew the screws
Using a screwdriver (hex T6), unscrew 8 bolts in the frame of the phone.
Step 4.
Open the mid-frame
Pry and remove the middle frame and keys of the volume and power buttons.
Step 5.
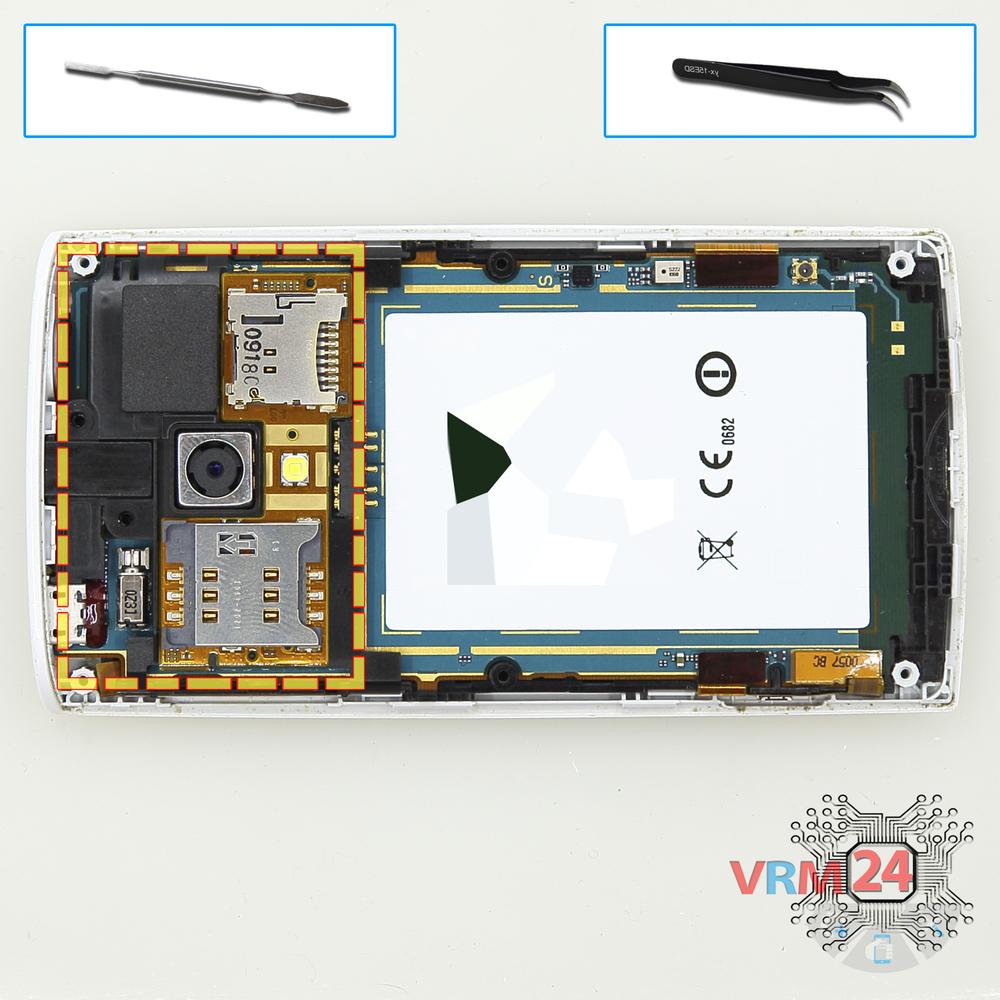
Remove the sub-board
Turm over the board with Sim & MMC card holders on one side and the buzzer (speaker) on another one. Disconnect the connector and remove the board.
Step 6.
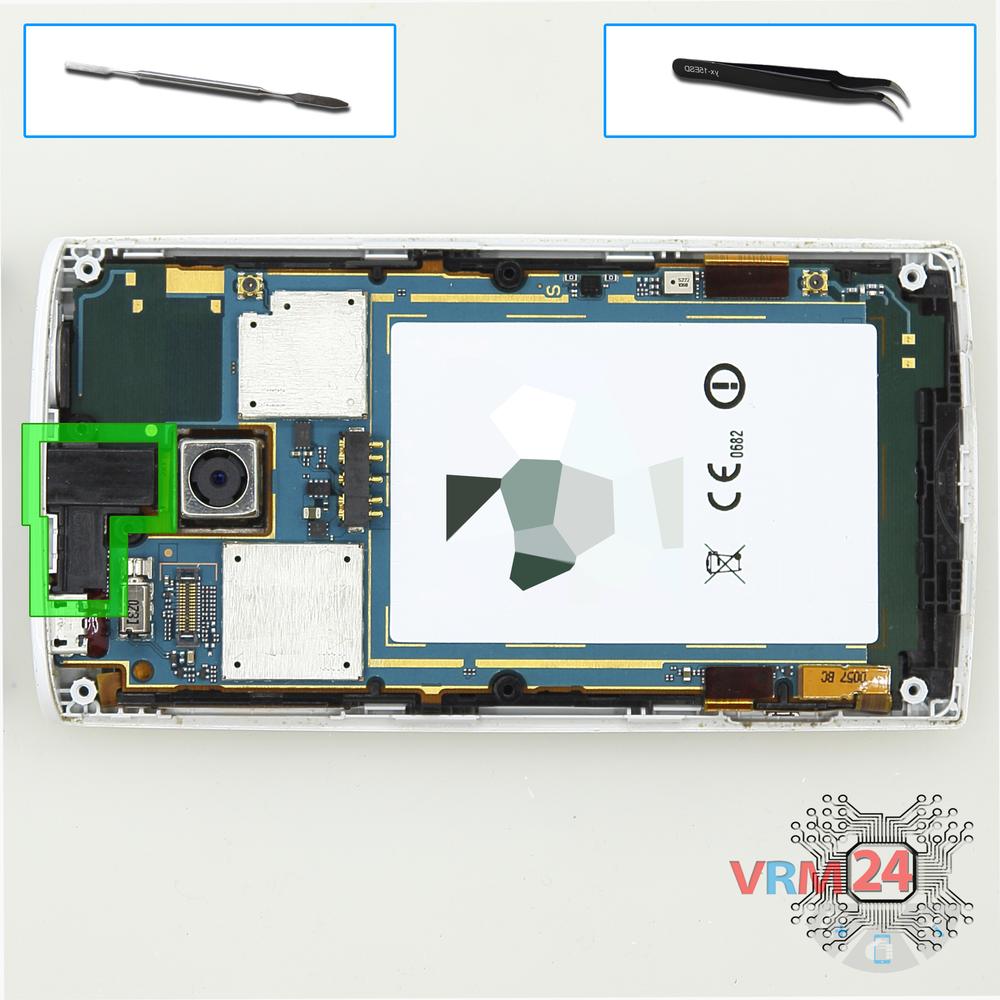
Remove the headphone port
Pry and remove the headphone jack/socket.
Step 7.
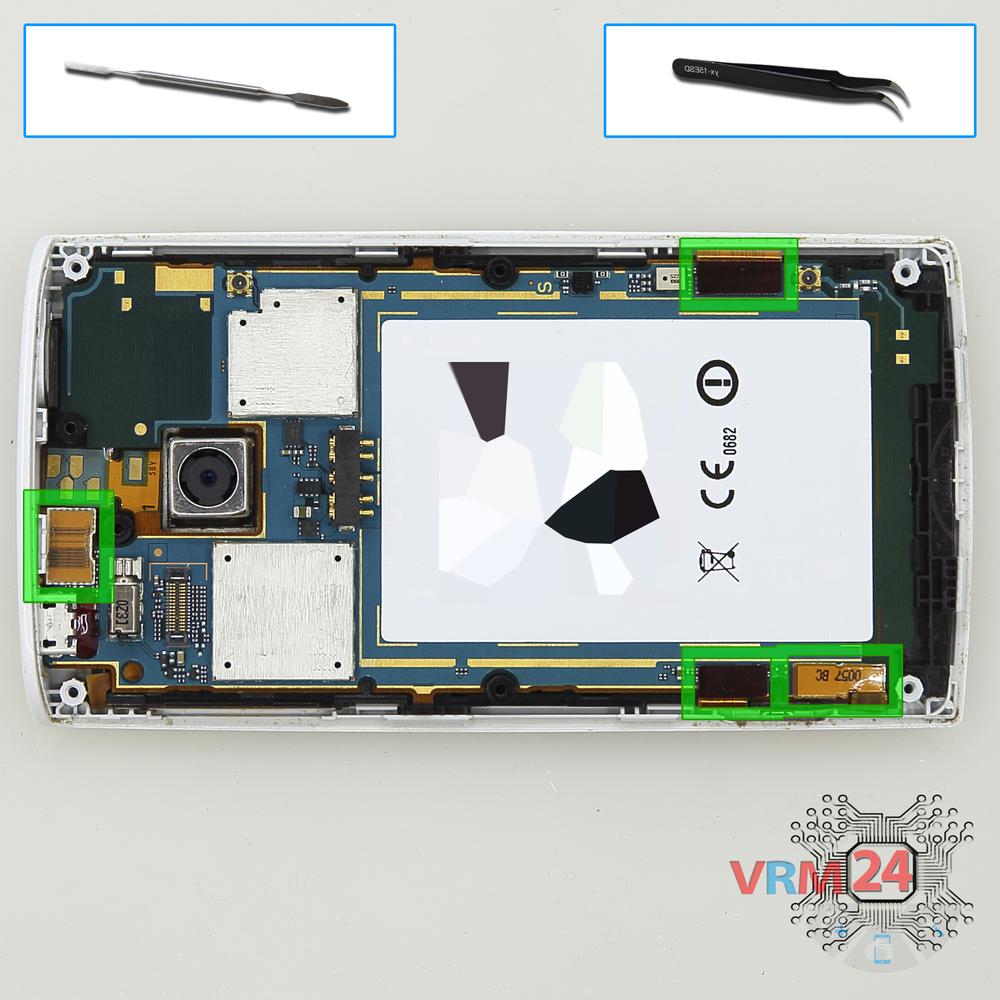
Disconnect the connectors
Disconnect connectors on the PCB.
Step 8.
Remove the motherboard
Remove the PCB.
Step 9.
Remove the small board
Remove the buttons board.
Step 10.
Open the display module
Separate the display from the frame with a touchscreen.
Step 11.
In the display frame remained
The frame with a touchscreen.

If you have a question, ask us, and we will try to answer in as much detail as possible. If this article was helpful for you, please rate it.

6153
Views
2
Likes
—
Share
3
Questions
Related Instructions
Related Reviews
Related Blog
Popular Questions
H
Samsung Galaxy S6 Edge Plus SM-G928
Hello! Can you please tell whether you found any difference on the insides of demo unit vs the real apart from the modem antenna etc ,i mean do they …
HOLLYWOOD elCLASSICO12
LG V50 ThinQ
Recently, my phone died, then when i charged it back on, there were no service, settings said rsdio off, and the hardware menu that has an radio powe…
tanim
E
Asus ZenFone 4 Max ZC520KL
Is the headphone jack a separate module that i can easyly replace, or i need to dosolder it, or replace the full motherboard?
Enry Frafranci17
M
Xiaomi Mi Note 2
The signal Flex cable, know where to buy?
Michael Penhor13
V
Samsung Galaxy A5 (2016) SM-A510
Is there Serial Number under the cover? I bricked my phone, and lsot the packaging, for recovery i need the Serial Number.
Viesturs13Top instructions
Check our
Top Sony Ericsson instructions most liked by readers
New instructions
Check our
New Sony Ericsson brand instructions on vrm24.com