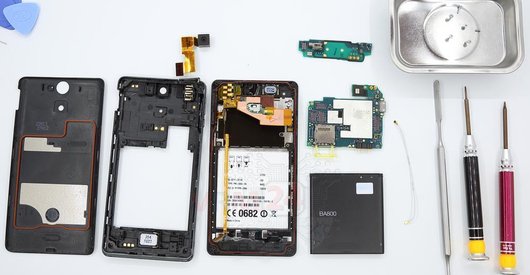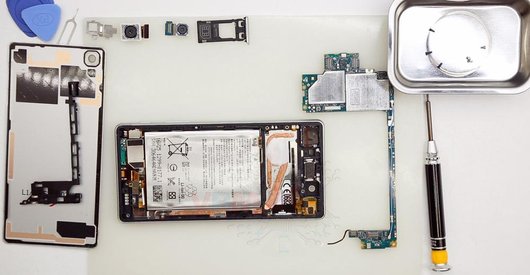








Recommended tools
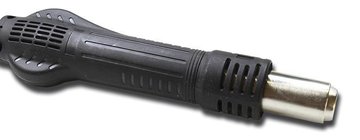
Heat gun
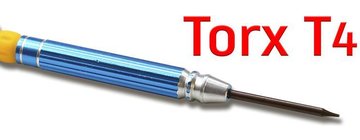
Screwdriver Torx T4
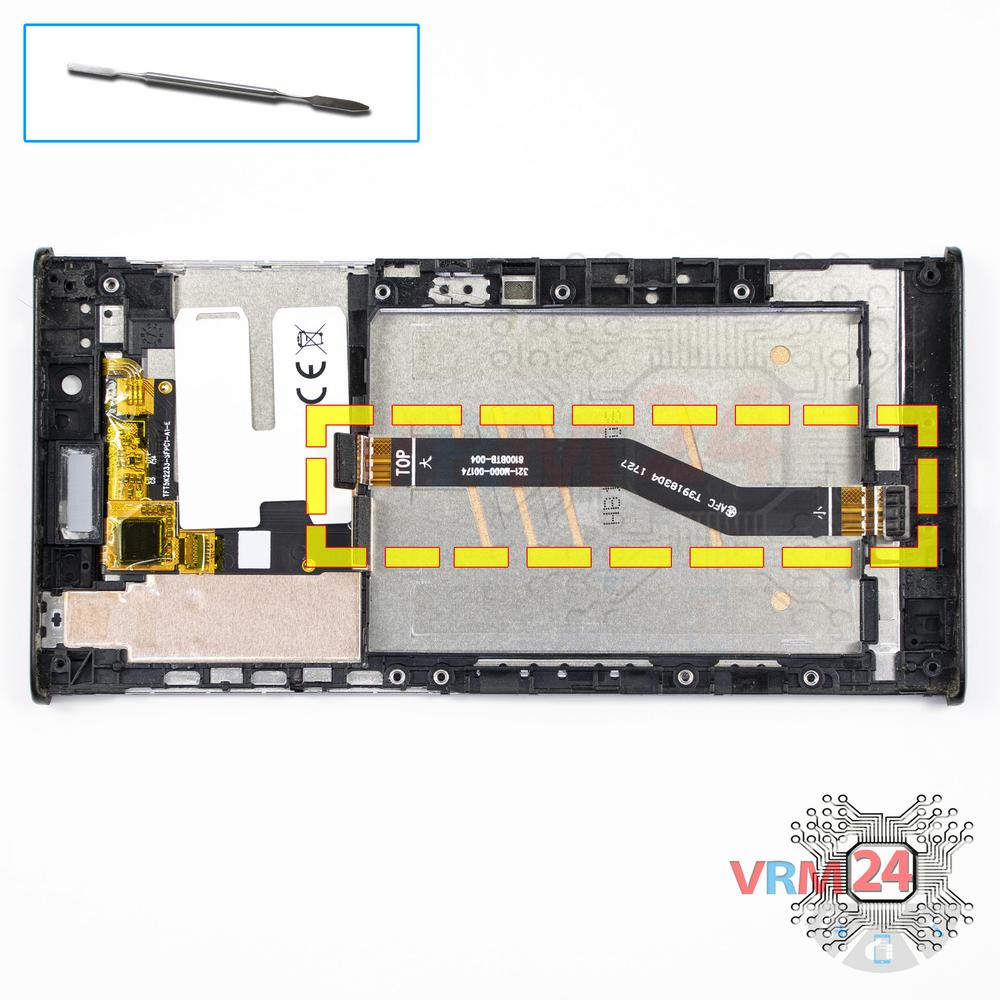
Opening tool / Spudger

Tweezers

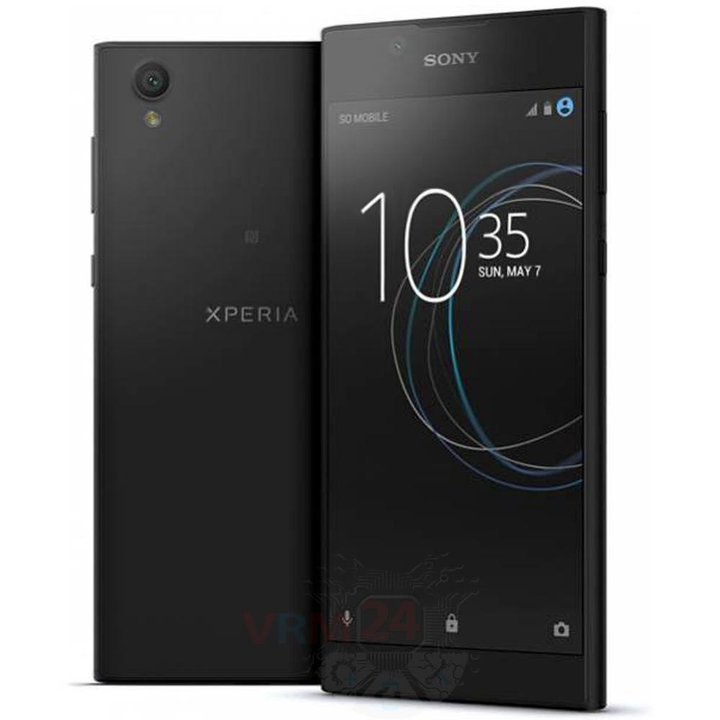
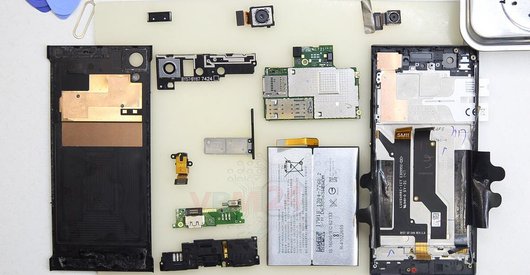
Disassembly/Repair of the mobile device Sony Xperia L1 (Sony Xperia L1 G3311, G3312 (ЕМЕА); G3313 (USA)) with each step description and the required set of tools.
11784
Views
4
Likes
—
Share
3
Questions

Step 1.
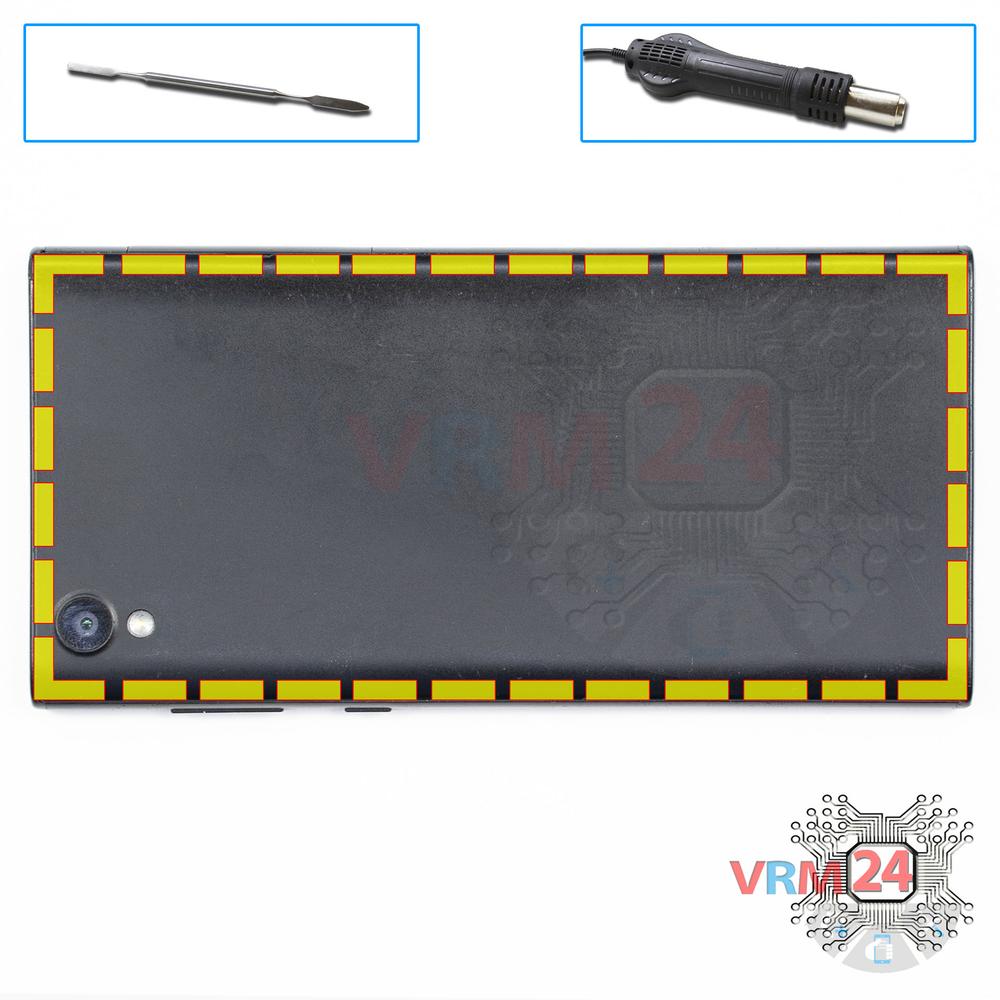
Open the back cover
Open the back cover.
⚠ Warning!
For careful separation, we recommend using a heat gun. At the same time, it is necessary to heat carefully in order, not to damage the surface of the device.
Step 2.
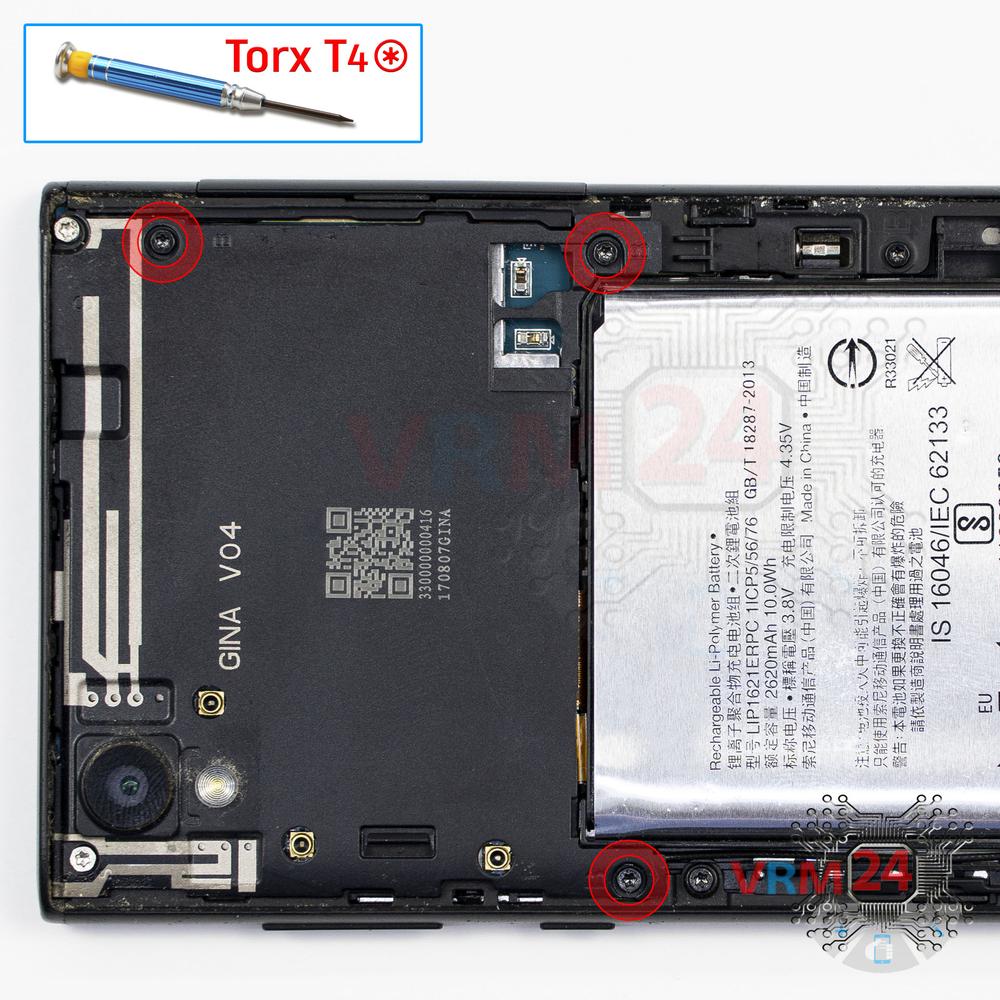
Unscrew the screws
Using a screwdriver (Torx T4), unscrew 3 screws.
Step 3.
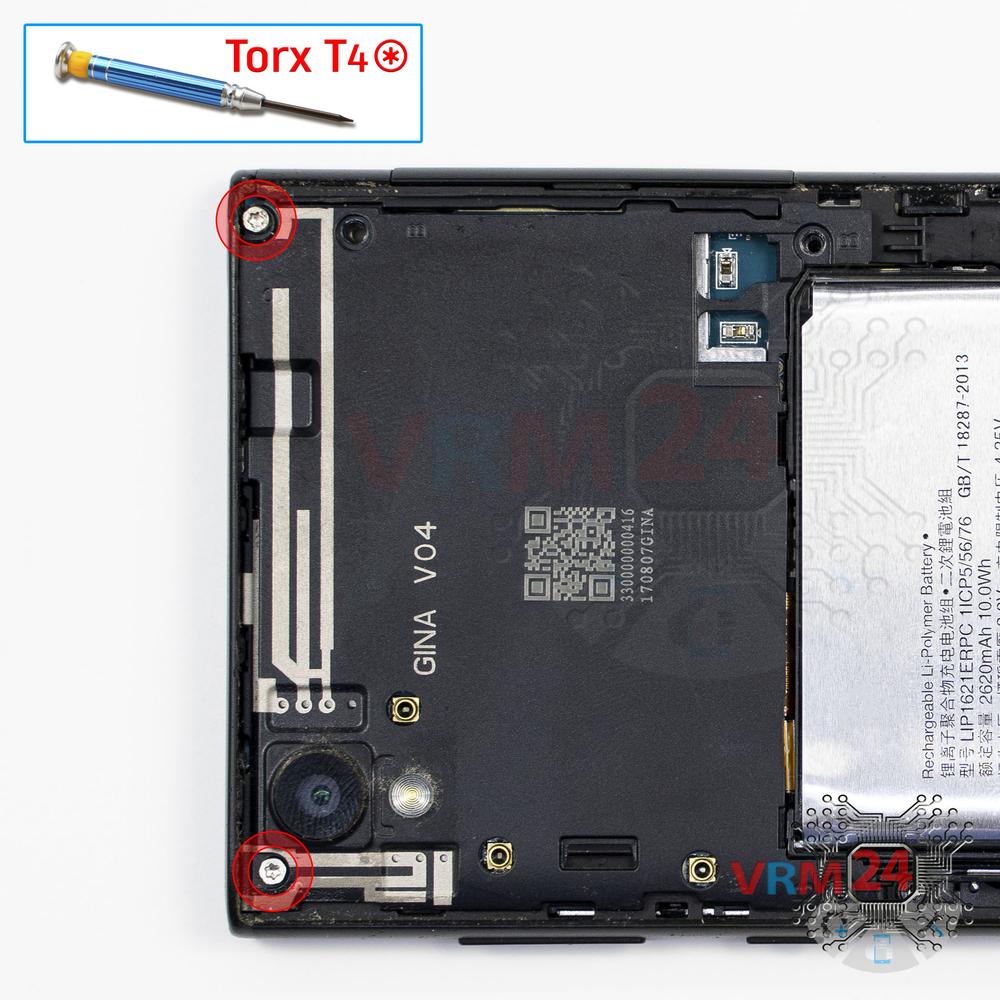
Unscrew the screws
Using a screwdriver (Torx T4), unscrew 2 thin screws.
Step 4.
Open the cover
Open the cover.
Step 5.
Disconnect the battery connector
Disconnect the battery connector. The battery model of Sony Xperia L1 is LIP1621ERPC.
⚠ Warning!
We strongly recommend disconnecting the connector to avoid a possible short circuit during disassembly.
Step 6.
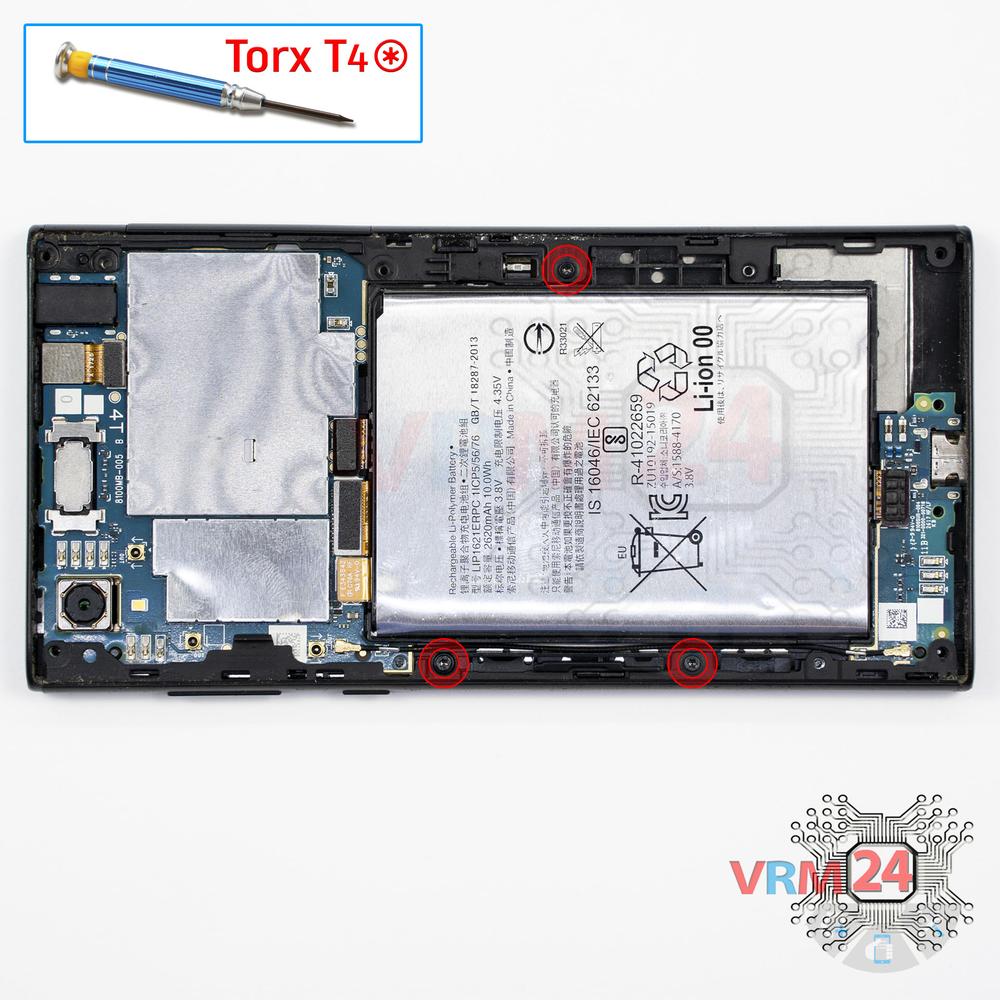
Unscrew the screws
Using a screwdriver (Torx T4), unscrew 2 screws.
Step 7.
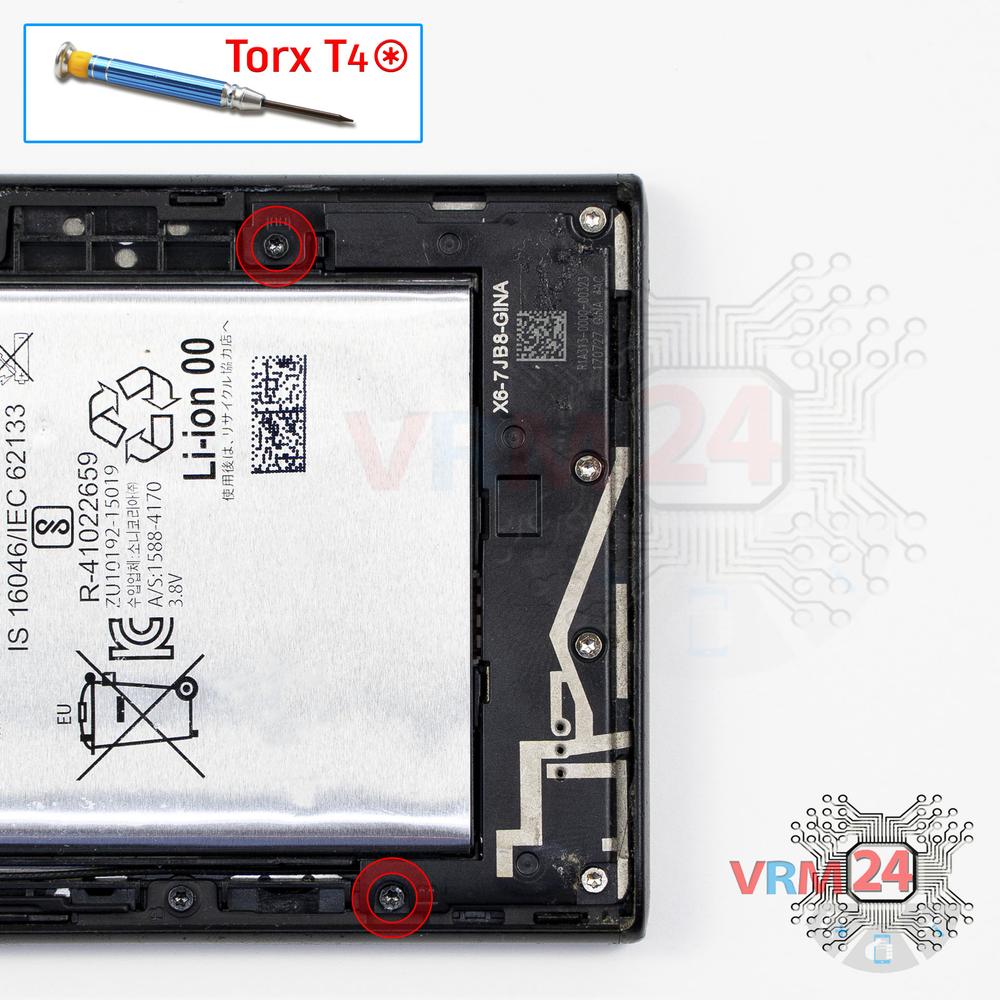
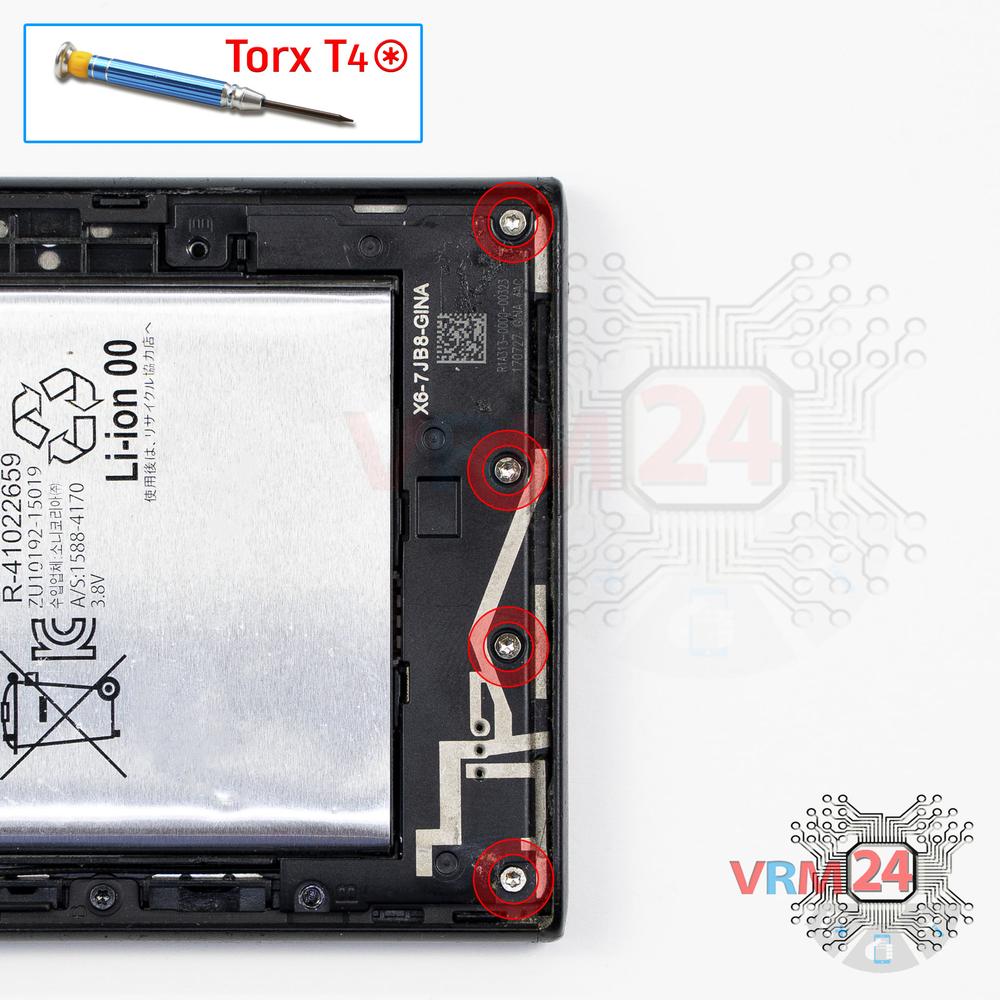
Unscrew the screws
Using a screwdriver (Torx T4), unscrew 4 thin screws.
Step 8.
Remove the loudspeaker
Pry and remove the buzzer (loudspeaker) assembly.
Step 9.
Unscrew the screws
Using a screwdriver (Torx T4), unscrew 3 screws.
Step 10.
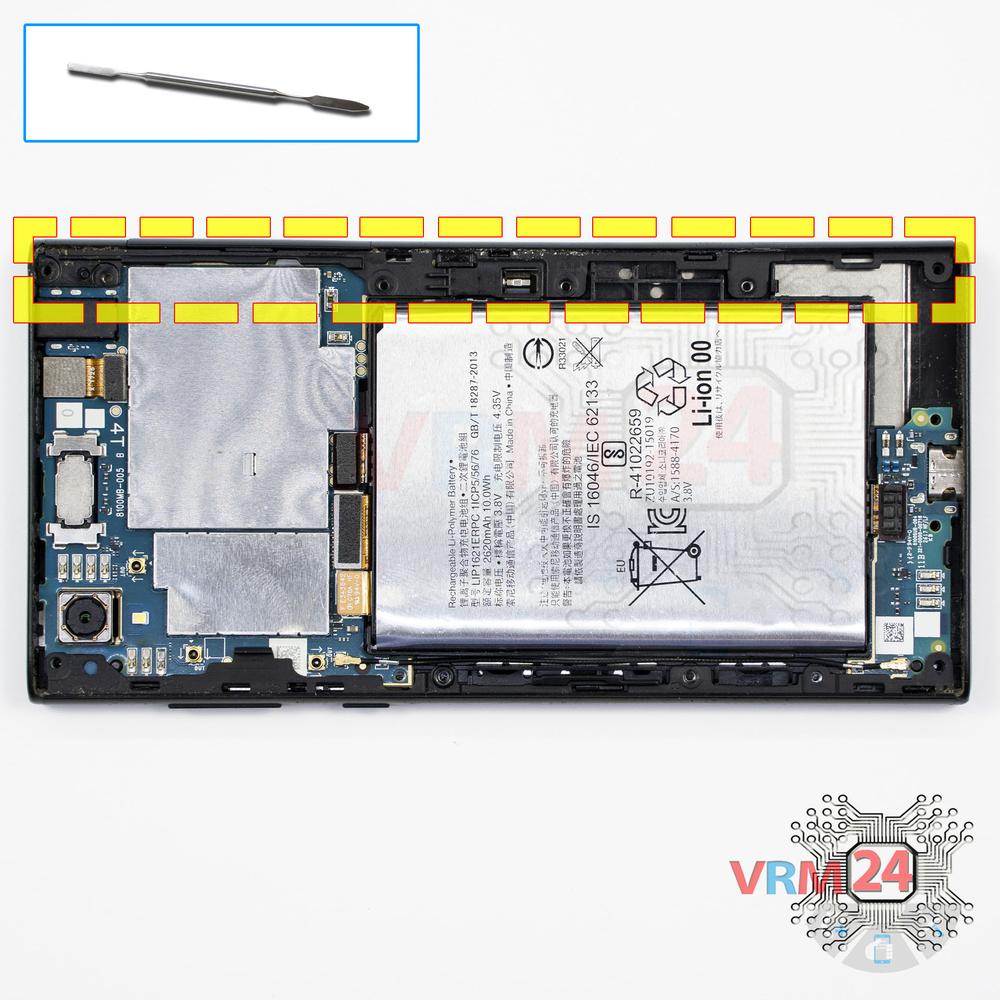
Open the cover
Remove the side cover.
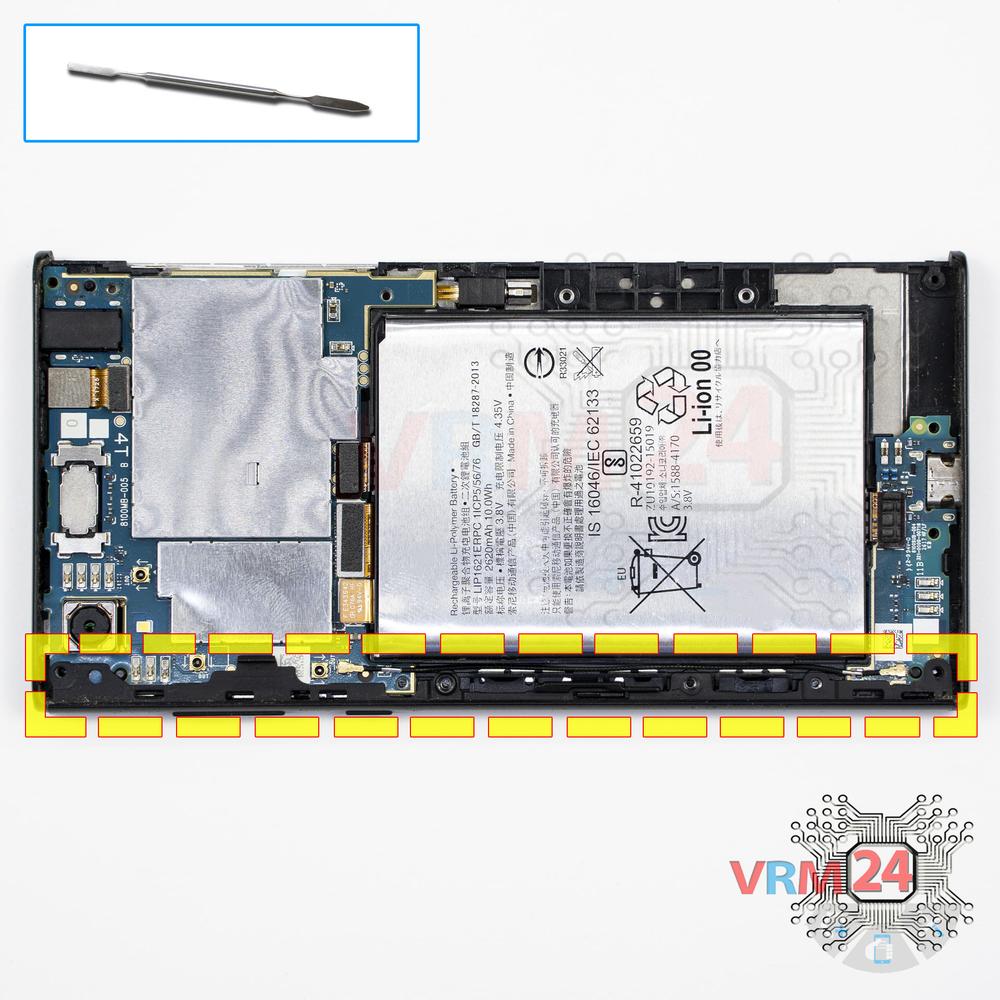
Step 11.
Open the cover
Remove the side cover.
Step 12.
Remove the coaxial cable
Disconnect connectors and remove the coaxial cable.
Step 13.
Disconnect the connectors
Disconnect connectors on the daughterboard.
Step 14.
Remove the sub-board
Remove the daughterboard, also known as sub-board.
Step 15.
Remove the battery
Remove the battery.
Step 16.
Remove the front camera
Disconnect the connector on PCB, and remove the front (selfie) camera.
Step 17.
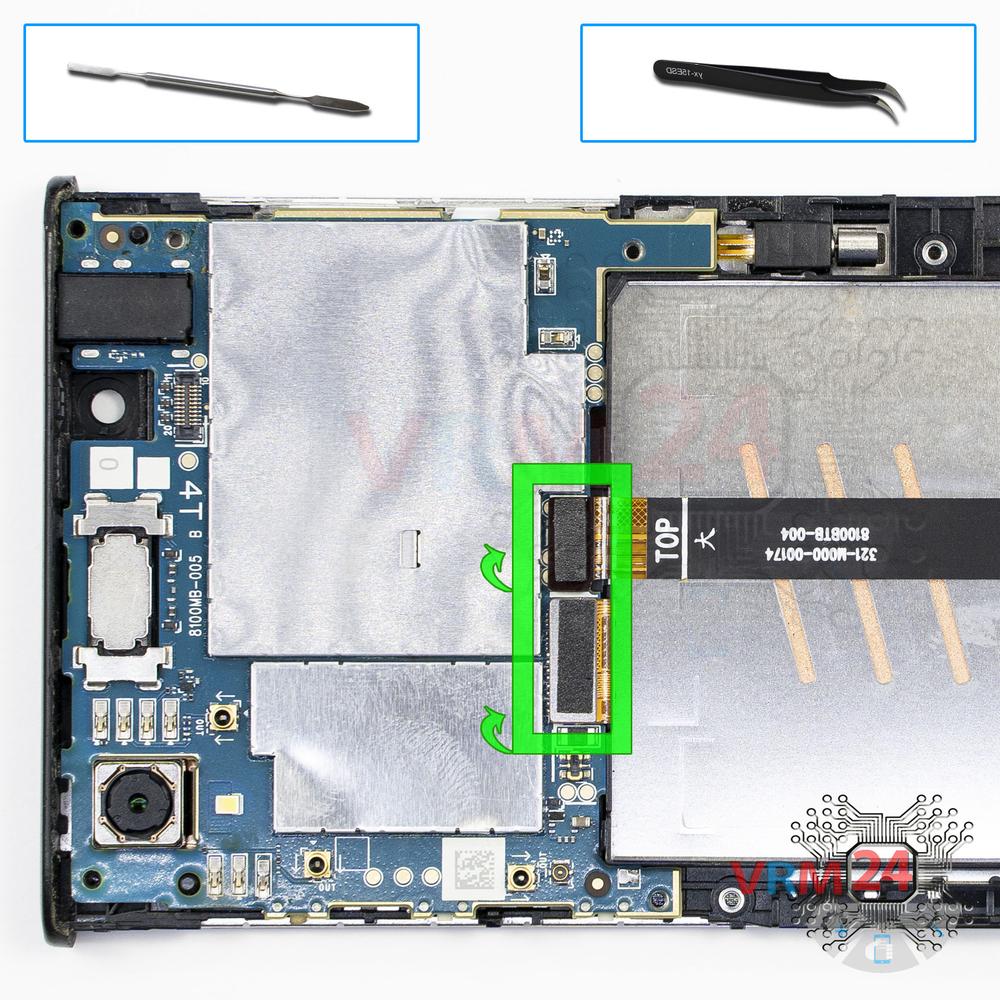
Disconnect the connectors
Disconnect connectors on the PCB.
Step 18.
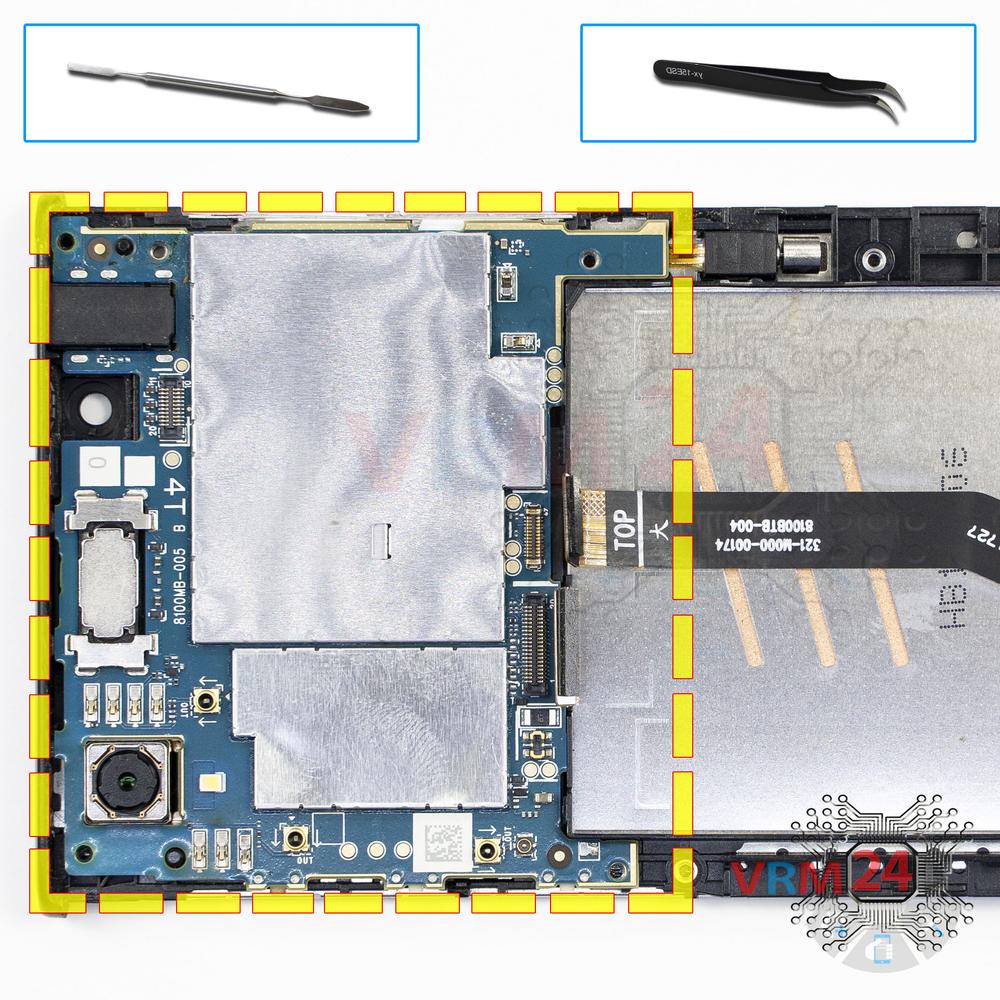
Remove the motherboard
Remove the PCB.
Step 19.
Remove the vibration motor
Remove the vibration motor.
Step 20.
Remove the earpiece speaker
Remove the earpiece speaker.
Step 21.
Remove the interconnect cable
Peel back the inter-board cable.
Step 22.
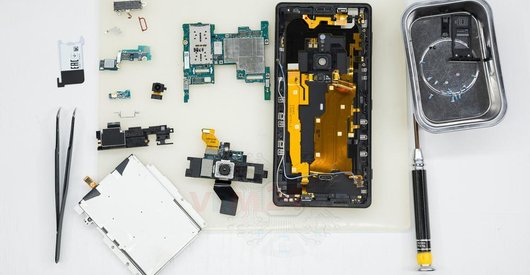
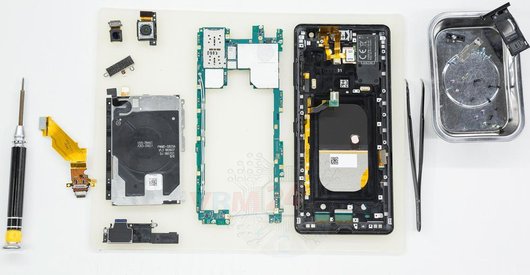
In the display frame remained
Parts are in the frame of the display module.

If you have a question, ask us, and we will try to answer in as much detail as possible. If this article was helpful for you, please rate it.

11784
Views
4
Likes
—
Share
3
Questions
Related Instructions
Related Reviews
Related Blog
Popular Questions
A
Sony Xperia M2
Does anyone know if I can fix the charging pin of an M2 Aqua myself? I've already sent it to be repaired, but after a while it loosens, that is, it b…
Alejandro Ramirez16
B
Sony Xperia E5
how to root Sony Xperia e5 f3311
Bakary Darboe15
天
Sony Xperia Z3 Tablet Compact
can you show how to replace battery?
天涯浪子4
Sony Xperia XA2 Plus
How I can buy the charging Port of of Sony Xperia xa2 plus H4413?
pizzeria
A
Sony Xperia Z3 Plus
Friend, a question: do the parts from the big Z3 fit the Z3+?
Andres Lopez12Top instructions
Check our
Top Sony instructions most liked by readers
New instructions
Check our
New Sony brand instructions on vrm24.com