⚠️️ Before disassembling, do not forget to turn your phone off.
Moderate
Recommended tools


Disassembly/Repair of the mobile device Xiaomi 13T Pro (Xiaomi 13T Pro 23078PND5G) with each step description and the required set of tools.

Vadim Popoff
Content manager / author / content specialist
Content specialist with over 10 years of experience in the technology industry.
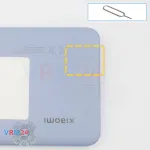
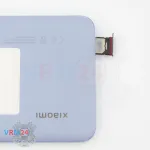
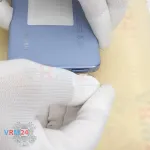
Step 2. Remove the tray
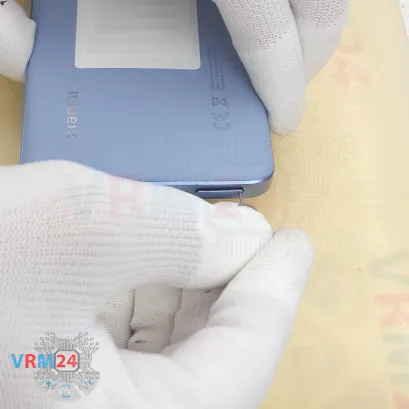
First, we need to remove the SIM card tray.
For that, we’ll use the special tool, insert it into the small hole, gently push out the tray, and set it aside.
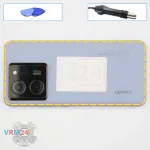
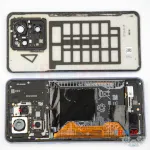
Step 3. Open the back cover
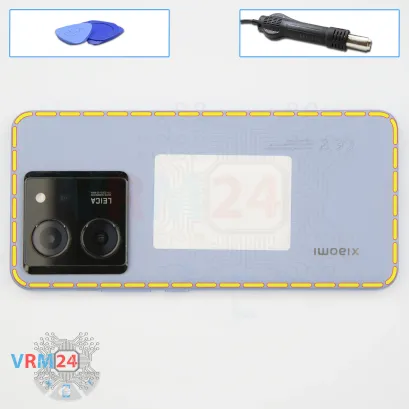
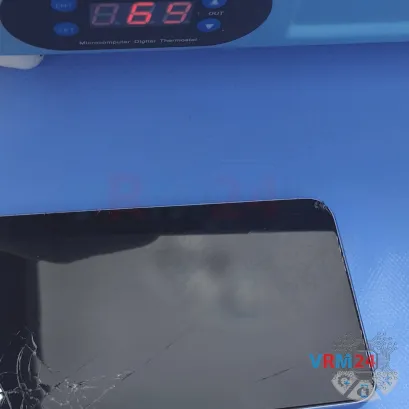
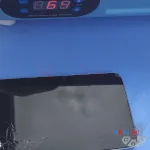
Next, we need to heat up the back cover to about 70°C or 160°F. We’re using a heating pad, but you can also use a hair dryer if that’s what you have.
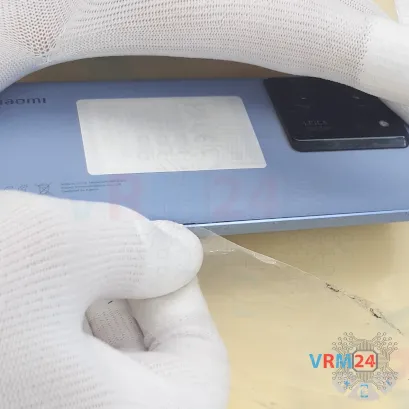
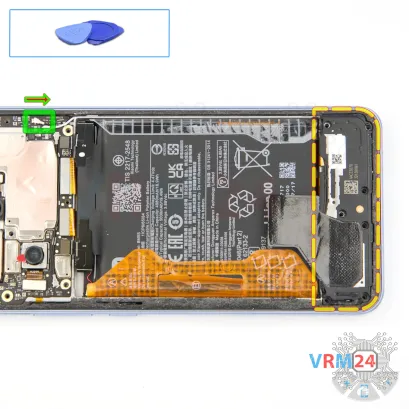
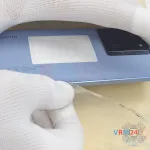
And after heating it for about from 7 to 10 minutes, we can start separating the back cover. To do this, we’ll use a thin plastic film — something like a plastic sheet from a stationery store or even the protective film that comes with a new display will work.
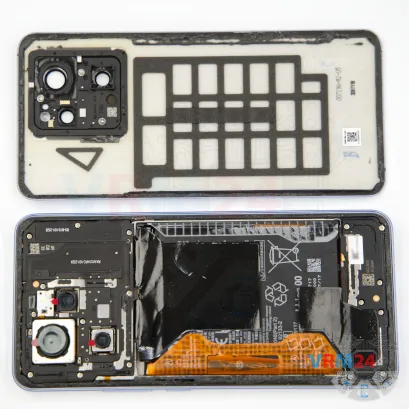
Carefully insert the film into the gap between the back cover and the middle frame, and gently slide it along the edge to cut through the adhesive layer.
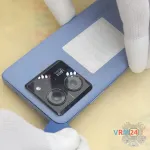
As always, be extra careful around the side buttons, since there might be flex cables nearby. And, of course, take care around the camera area so you don’t accidentally scratch or damage the lenses.
If the cover starts to stick back down, we can use an additional plastic tool to keep that section lifted while we continue working our way around.
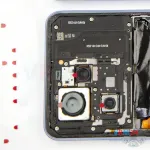
BTW, the back cover is also glued around the camera housing, so we’ll need to carefully separate that part as well and slowly lift it up.
Step 4. Protecting camera lenses
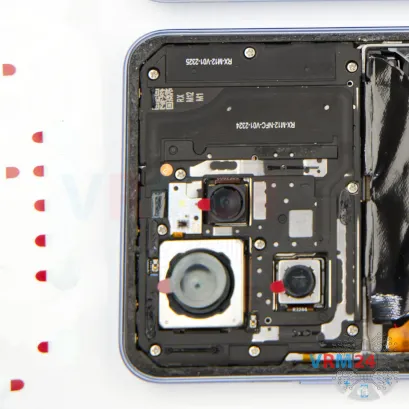
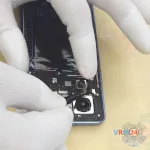
Next, we’ll cover the camera lenses to protect them.
For this, we’ll use a special protective film, but make sure to stick it around the lenses (rim), not directly on the glass.
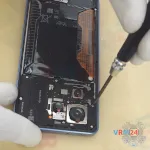
Step 5. Unscrew the screws
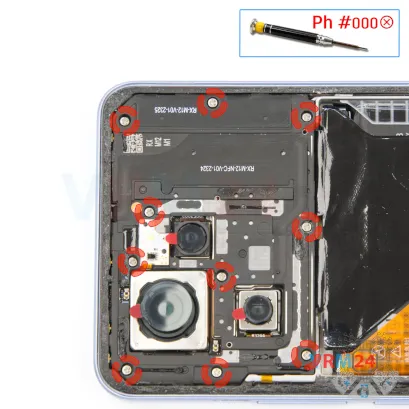
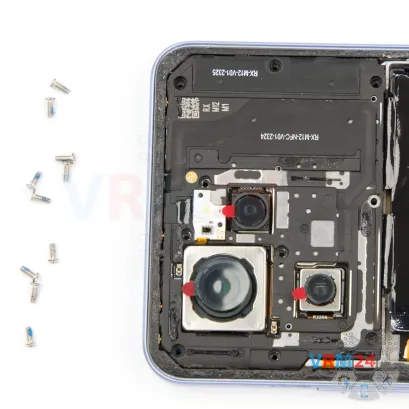
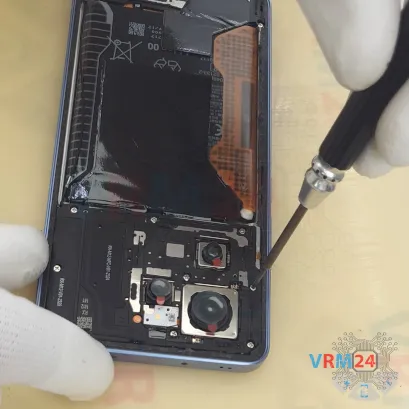
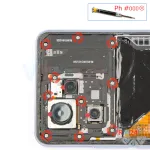
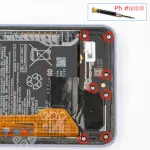
Now let’s move on to removing the screws at the top.
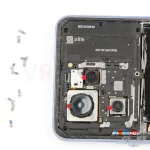
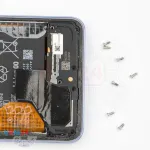
The screws appear to be all the same. To remove them, we’ll use a 1.5 mm Phillips screwdriver (PH #000).
It’s a good idea to place the screws on a magnetic mat or organized surface in the same order you remove them — sometimes screws don’t fit perfectly in the wrong holes.
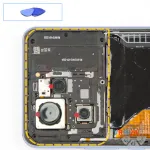
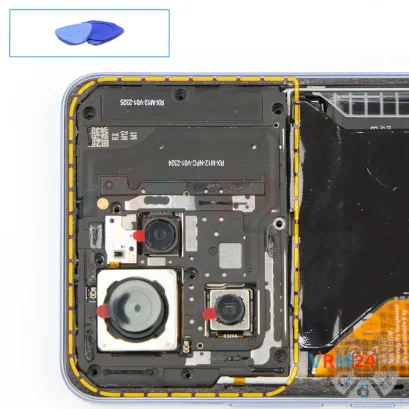
Step 6. Open the cover
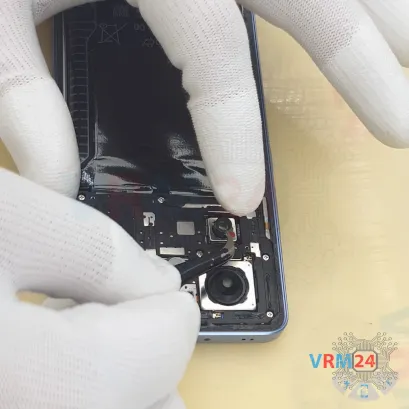
After that, we’ll remove the top cover. Use a non-metallic tool here, so you don’t short anything on the motherboard.
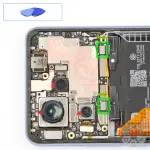
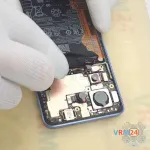
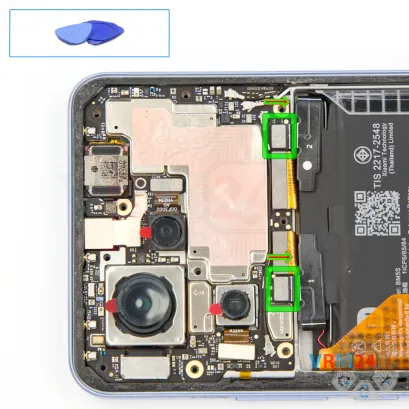
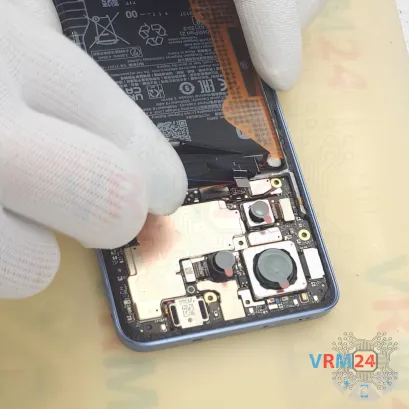
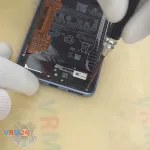
Step 7. Disconnect the battery connector
Disconnect the two battery connectors as soon as you can. Use a non-metallic or plastic tool to avoid any damage.
ℹ️️ The Xiaomi 13T Pro 23078PND5G model has a battery BM5S with a capacity of 5000 mAh (also known as a rechargeable battery).
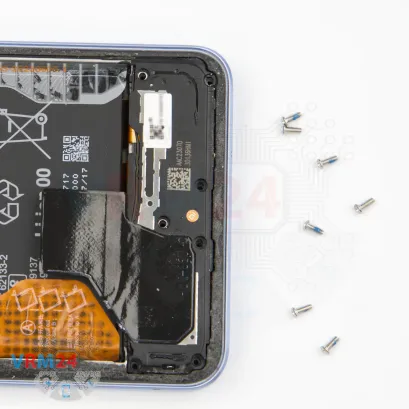
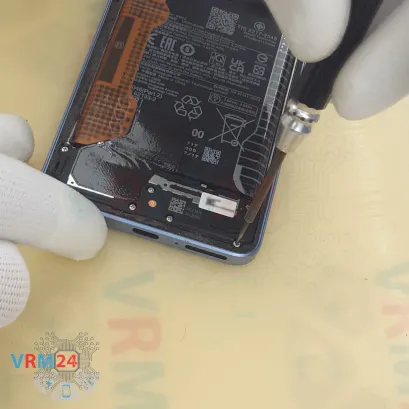
Step 8. Unscrew the screws
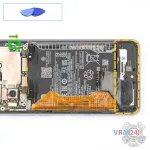
Now, let’s move on to the bottom part of the phone.
We’ll remove the screws here as well, using the same 1.5 mm Phillips screwdriver.
It’s best to keep these screws separate from the ones at the top, just in case.
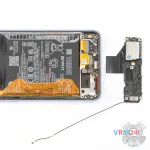

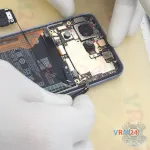
Step 9. Remove the loudspeaker
Once the screws are out, we can detach the bottom cover.
Find a good spot to lift it slightly, then turn it over.
This bottom cover includes the speaker and a small board with a coaxial cable attached.
So, we’ll need to disconnect the coaxial cable from the mainboard before removing the cover completely.
Now we can take off the speaker assembly along with the small antenna board.
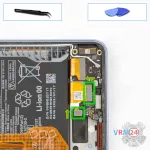
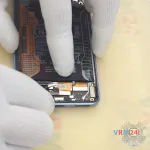
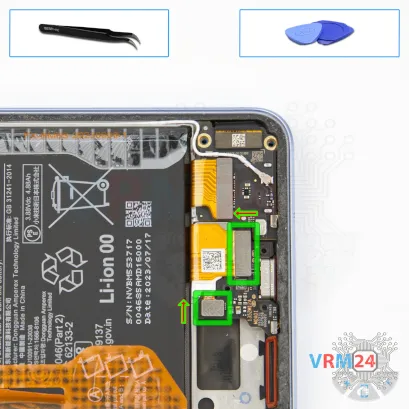
Step 10. Disconnect the connectors
Next, let’s start disconnecting the cables.
We disconnect the inter-board flex cable connector, then the fingerprint sensor connector.

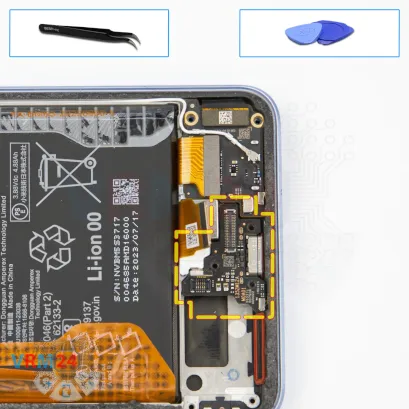
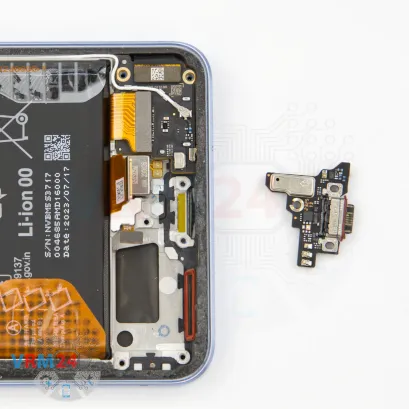
Step 11. Remove the sub-board
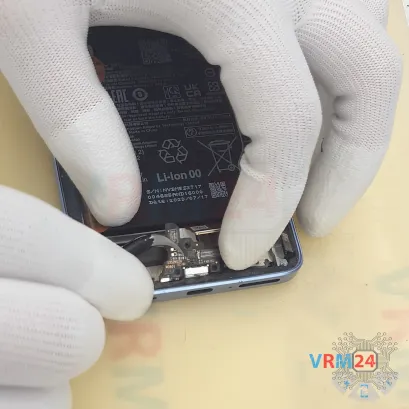
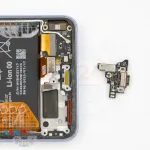
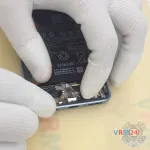
Next, we can remove the board with the charging port.
It’s slightly recessed into the display frame, so lift it carefully.
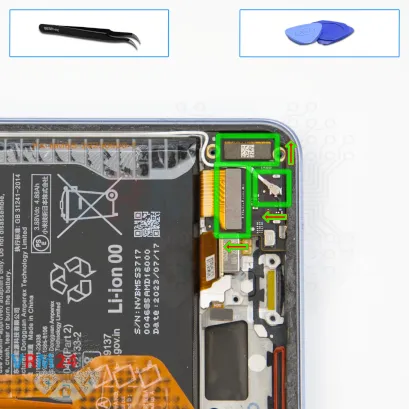
Step 12. Disconnect the connectors
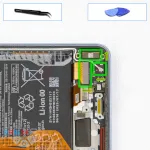
We disconnect the second inter-board flex cable connector, and coaxial connector, carefully freeing the cable from its clips along the small board.
Then we disconnect the display flex cable.
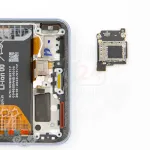
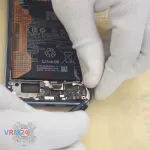
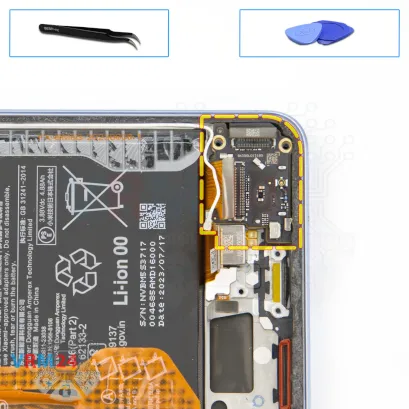
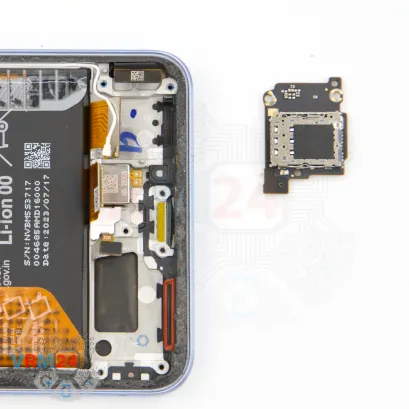
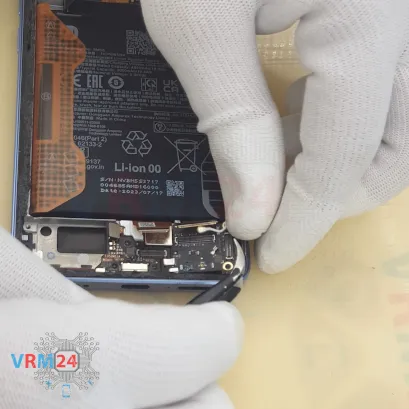
Step 13. Remove the sub-board
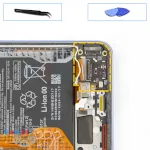
Next we can remove the board that contains the microphone and the SIM card slot on the opposite side.
Gently lift it by the edge and remove it.

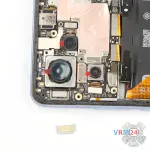
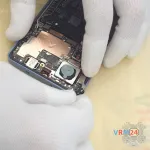
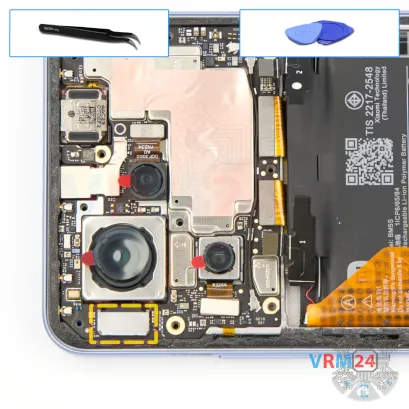
Step 14. Remove the bracket
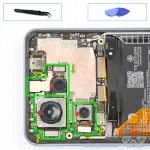
Please note that the main rear camera is secured by a special bracket.
So, let’s remove the bracket holding the main rear camera.
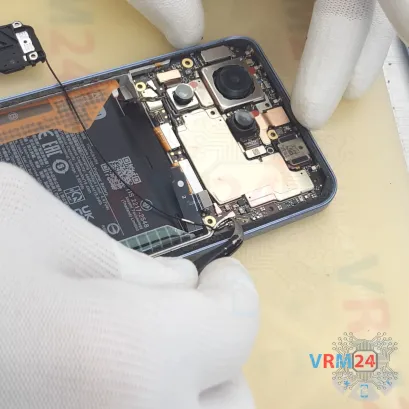
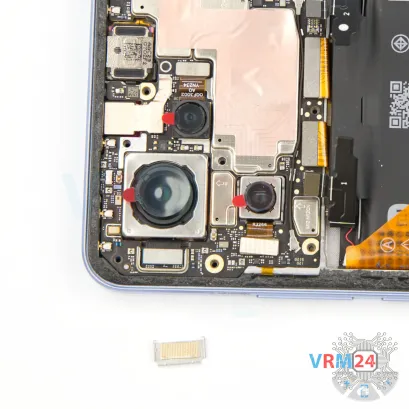
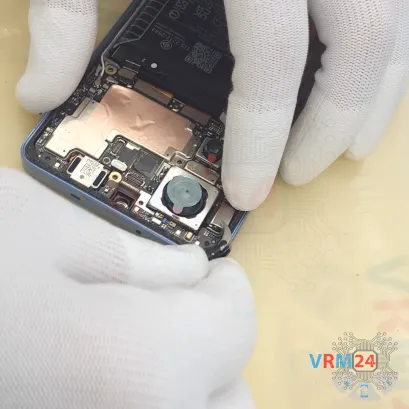
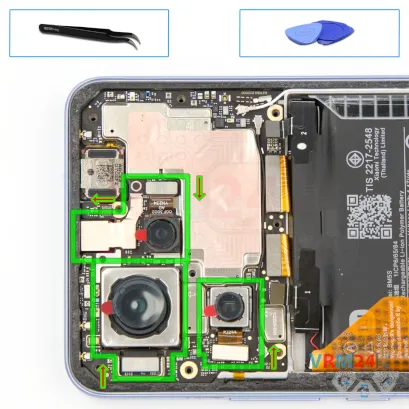
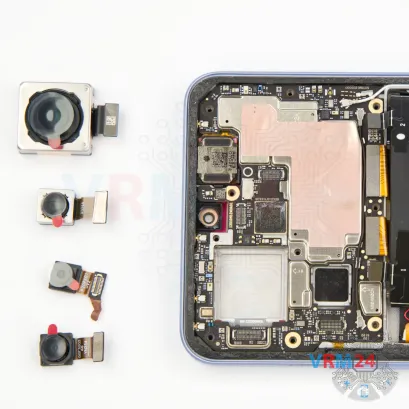
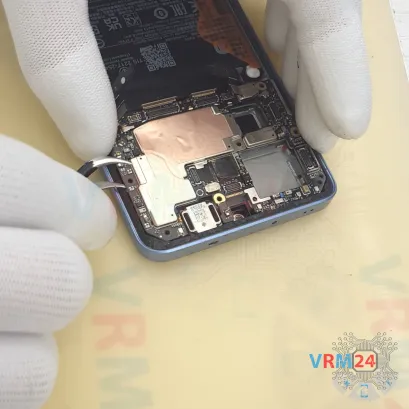
Step 15. Remove the cameras
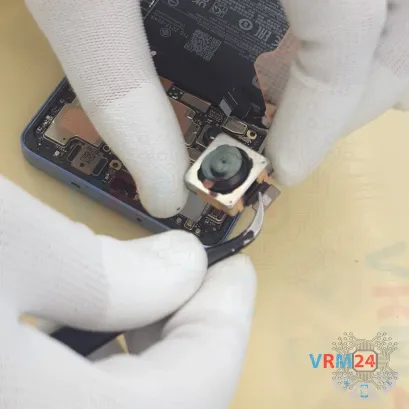
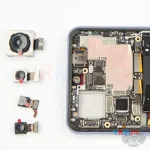
We can start by disconnecting the cameras.
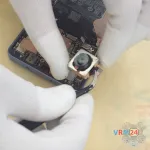
They’re glued to the motherboard, so we’ll carefully unstick them first before removing them. And of course, we take note of the sequence and layout before we start lifting.
Gently lift the cameras by their flex cables and pry them from the base to unstick them.
The front camera is attached to the motherboard shield with a heat-dissipating copper foil. It’s best to keep this copper foil intact, as it helps with heat dissipation during future use.
Disconnect the front camera, and cover its lens with a protective film to keep out dust or debris. Then set it aside.
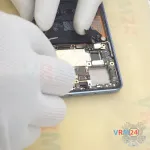
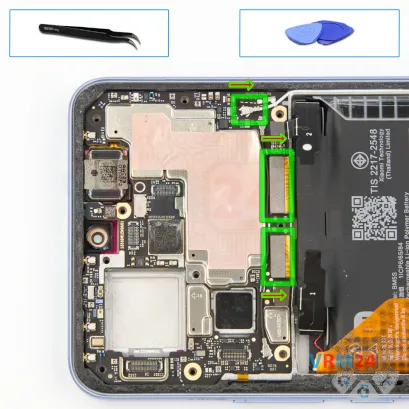
Step 16. Disconnect the connectors
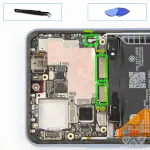
Next, we’ll disconnect the coaxial cable connector, the inter-board flex cable connector, and the charging board flex cable connector.
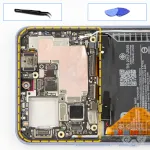
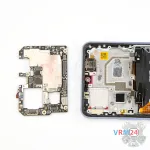
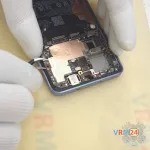
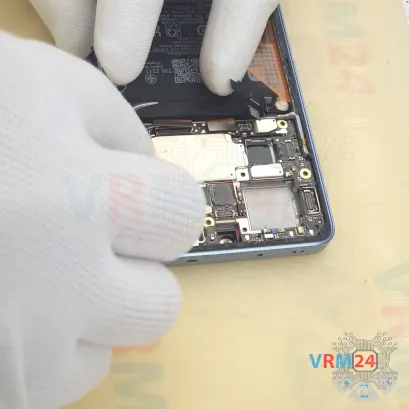
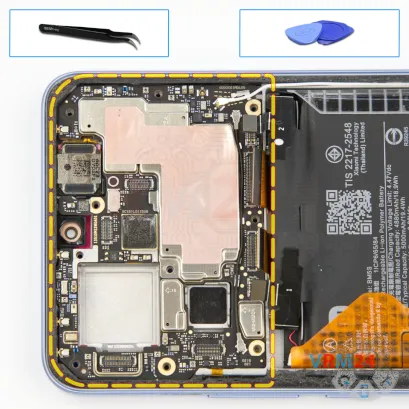
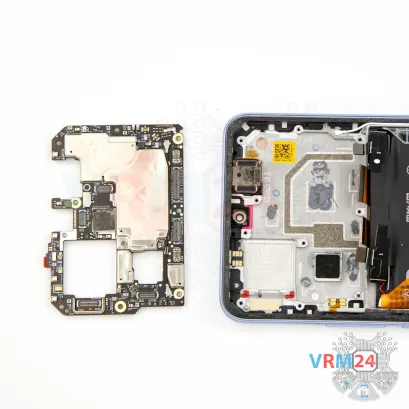
Step 17. Remove the motherboard
Now we can remove the motherboard.
Find the right spot to gently lift it — make sure no connectors or cables are in the way.
Don’t rush or use force, and the board might still be held by thermal paste on the back.
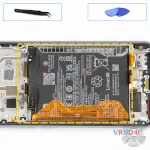
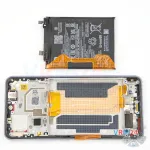
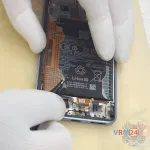
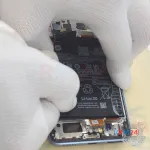

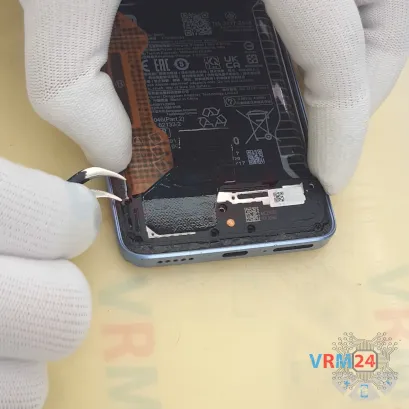
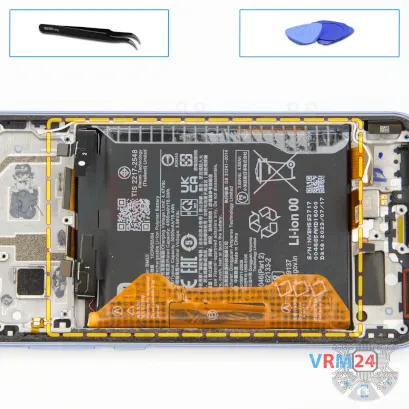
Step 18. Remove the battery
Finally, let’s remove the battery.
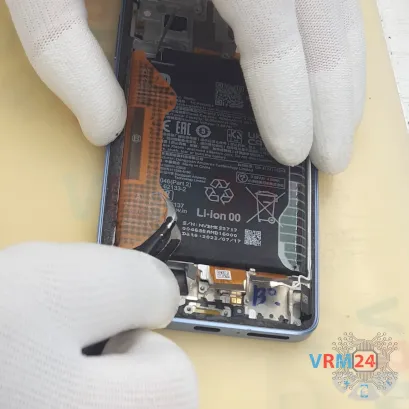
As usual for Xiaomi, there are two brown pull tabs. Carefully lift and fold them outward.
And make sure they don’t tear.
And make sure to read the text on the pull tabs, because on some phones, the tabs on each side work differently — they don’t always pull up the same way.
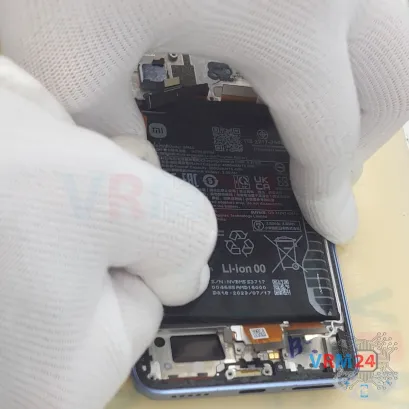
In this case, we need to pull the side tabs upward to release the battery.
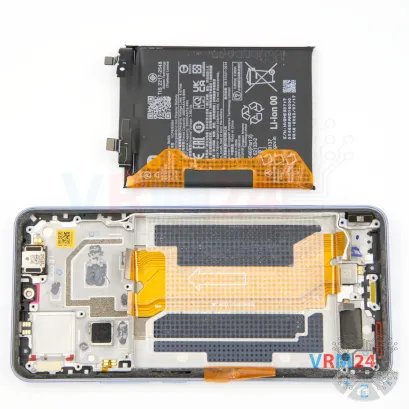
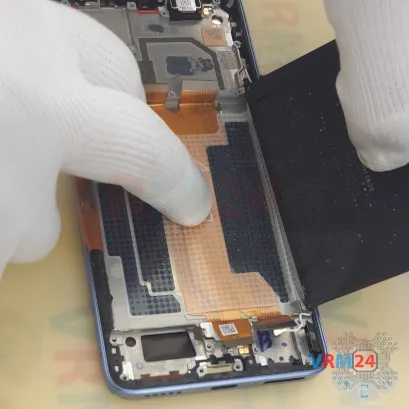
Pull gently, and the battery will come loose.
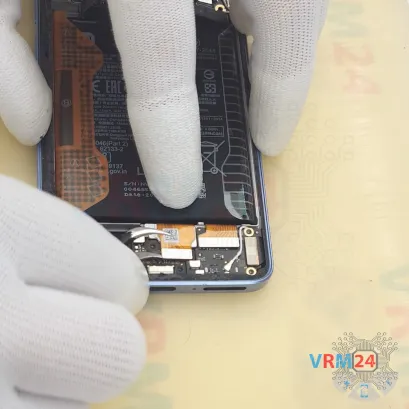
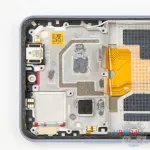
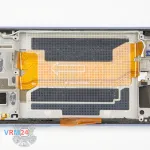
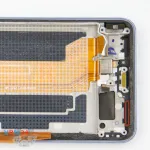
Underneath it, there’s a transparent protective layer covering the inter-board flex cables.
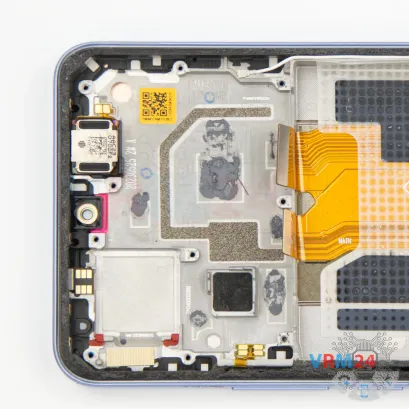
Step 19. In the display frame remained
ℹ️️ In the display frame remained: the earpiece speaker, vibration motor, cables.
Detailed disassembly instructions of Xiaomi 13T Pro in the video, made by our mobile repair & service center:
If you have a question, ask us, and we will try to answer in as much detail as possible. If this article was helpful for you, please rate it.

Evgenii Kuzmin
Senior maintenance service and repair engineer
Back to the list


