

⚠️️ Before disassembling, do not forget to turn your phone off.
Teardown difficulty:
Moderate
Moderate
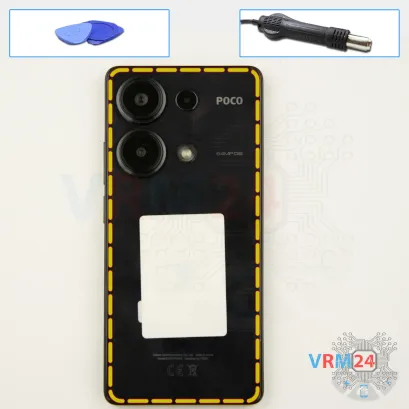
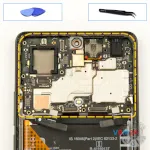
Recommended tools


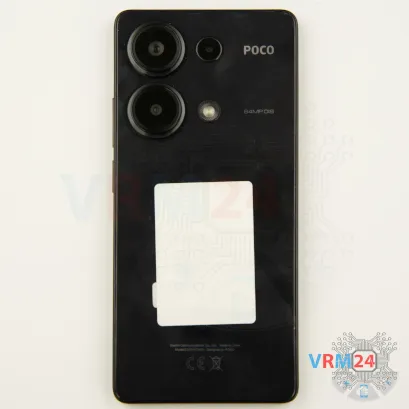
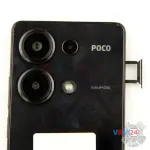
Disassembly/Repair of the mobile device Xiaomi Poco M6 Pro (Xiaomi Poco M6 Pro 2312FPCA6G) with each step description and the required set of tools.

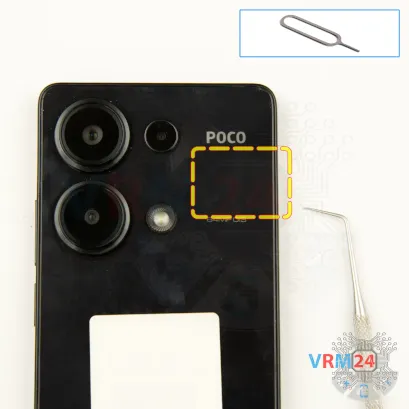
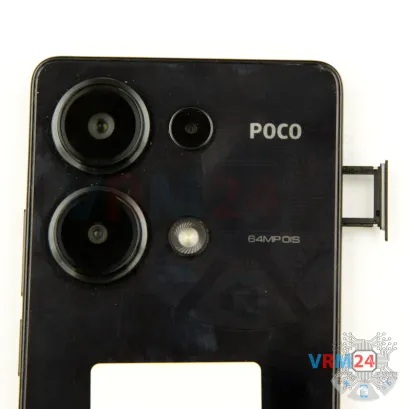
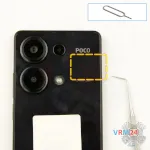
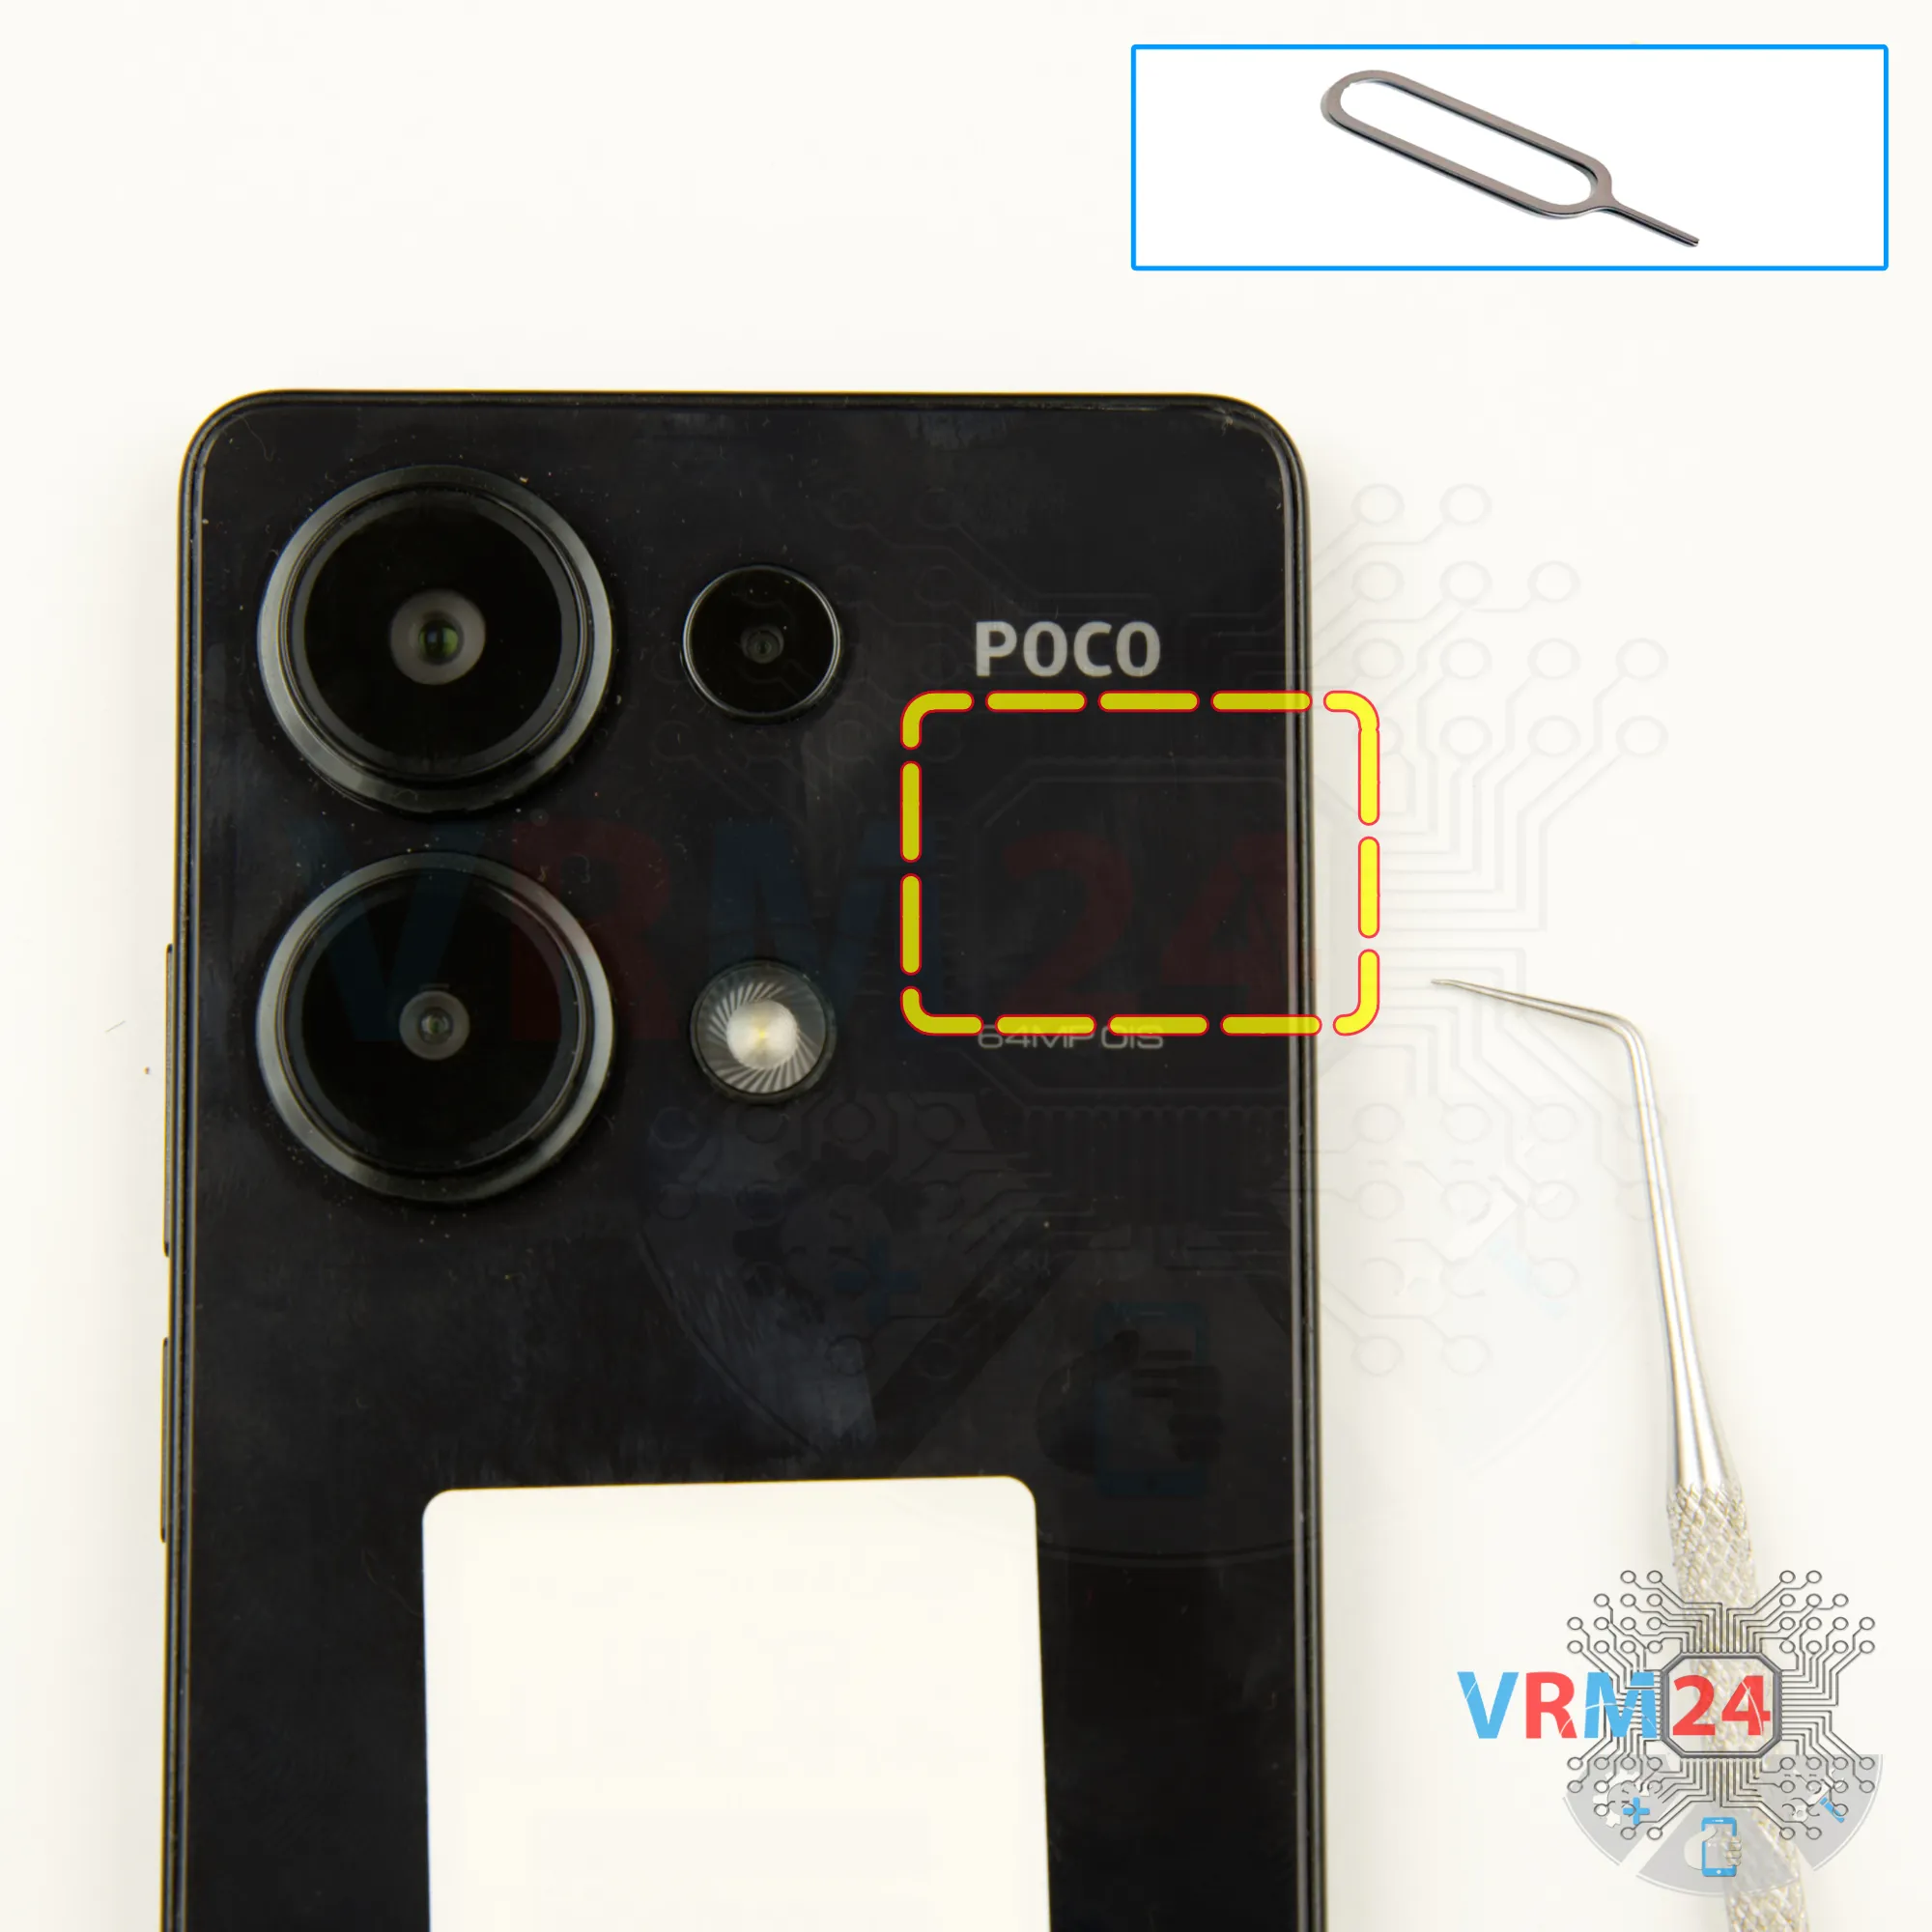
Step 2. Remove the tray
Use the ejection tool (aka Needle) or Paperclip. Push the tip all the way into the hole until the tray ejects, and then pull the tray of SIM card out.
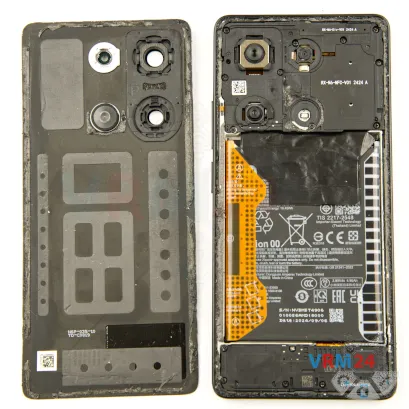


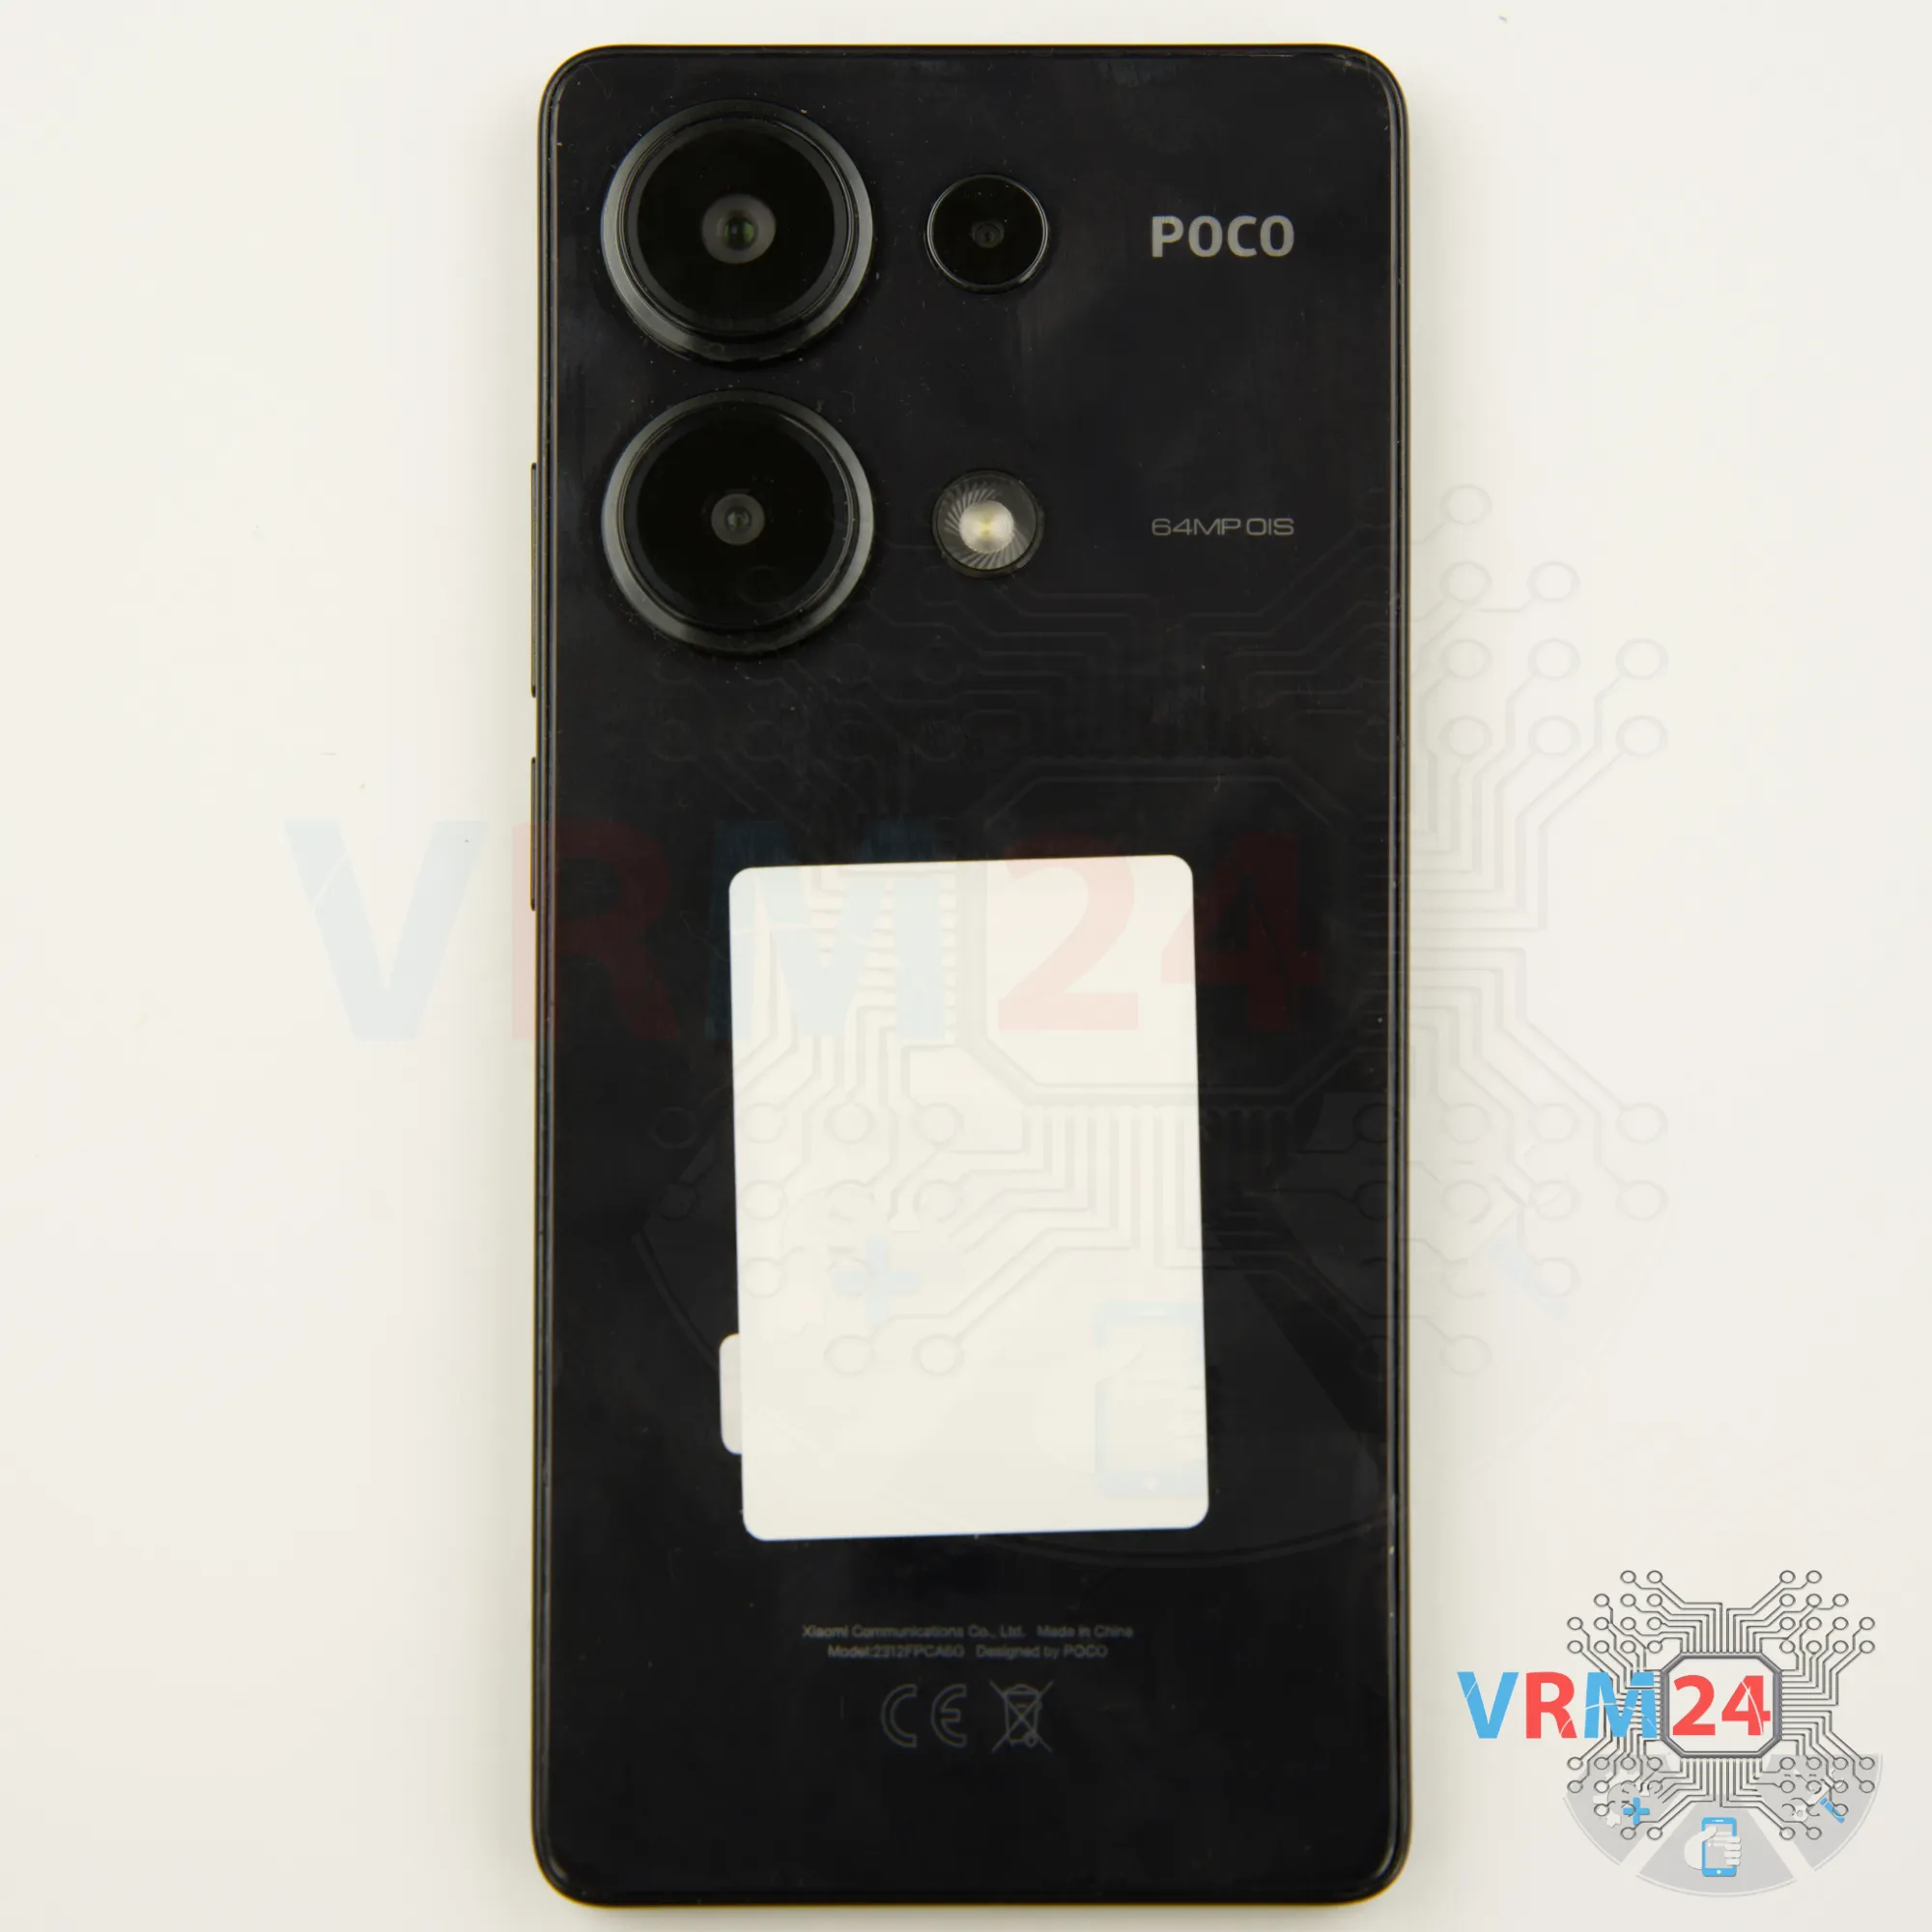
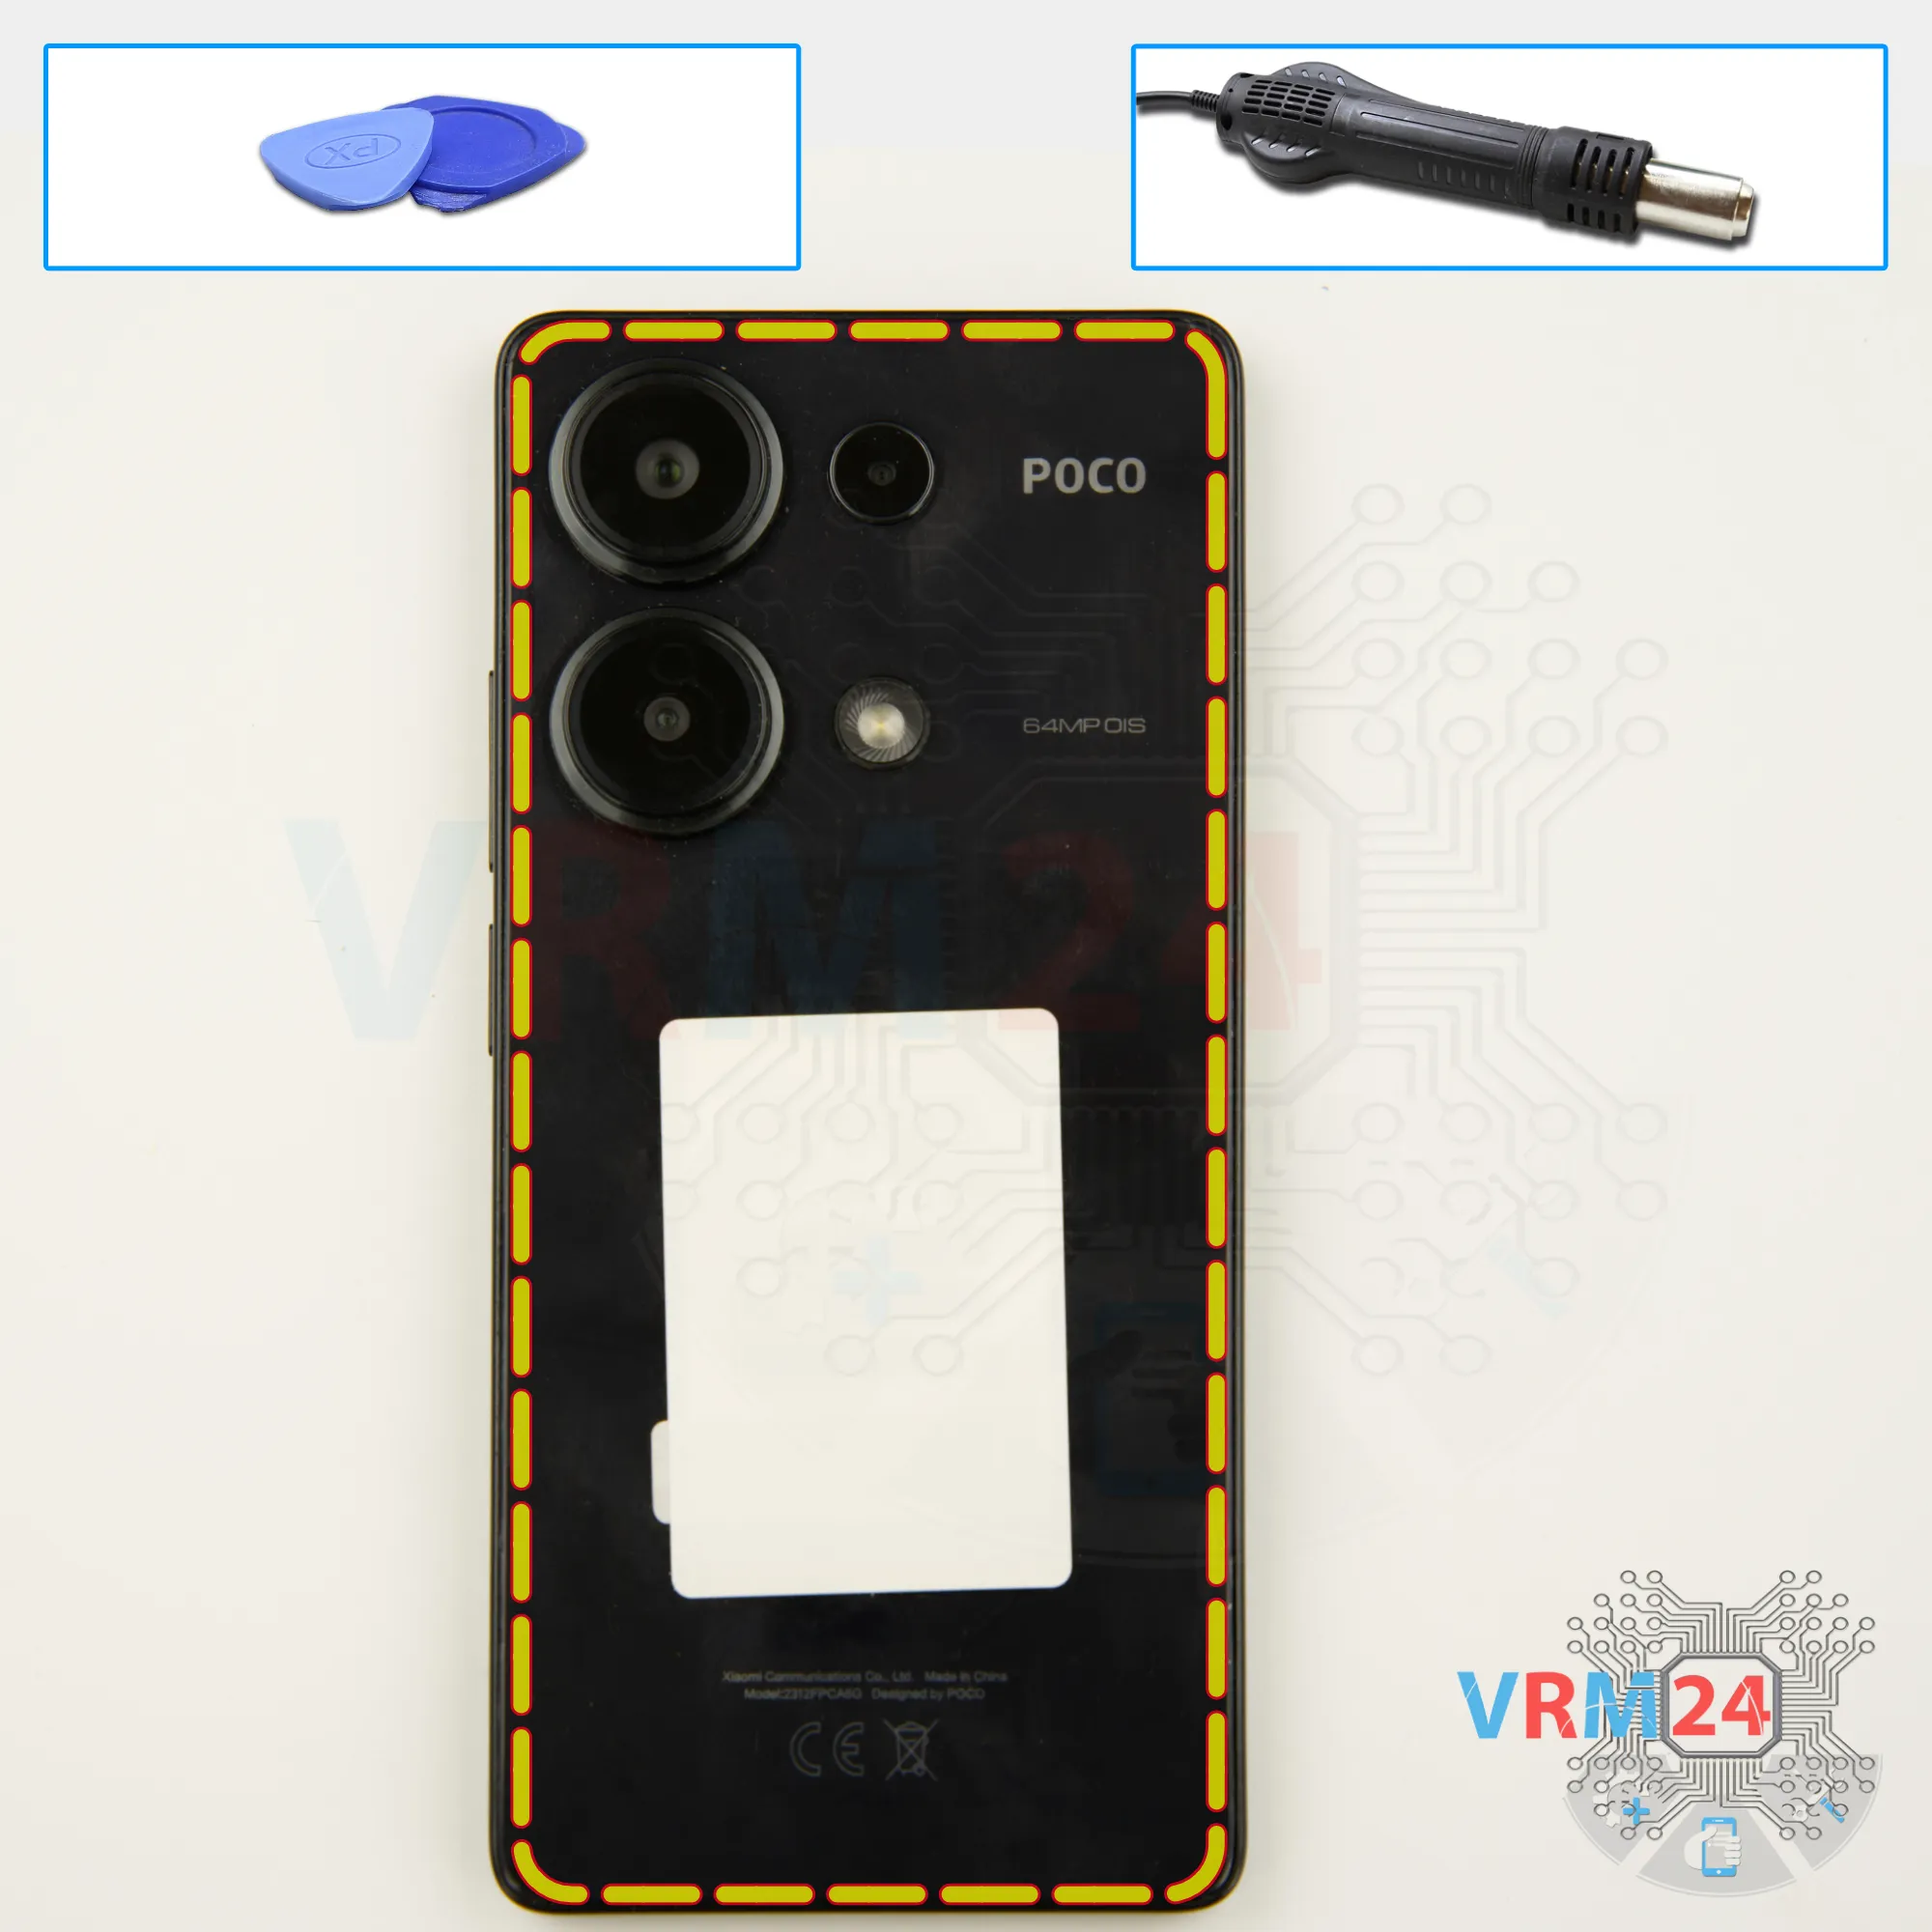
Step 3. Open the back cover
First, we preheated the surface of the back cover to approximately 130 degrees Fahrenheit (50 degrees Celsius). For this, we used a heating pad, but you can also use a hairdryer.
Once heated, take a thin plastic film and insert it into the gap between the back cover and the midframe. Carefully work your way around the edge, slicing through the adhesive layer.
Always be cautious near the side buttons, the fingerprint sensor area, and around the camera to avoid accidental damage.
The film you use can be from a new display protector or even a piece of plastic film from an office supply store.
Gently maneuver the tool around the cameras to release the back cover.
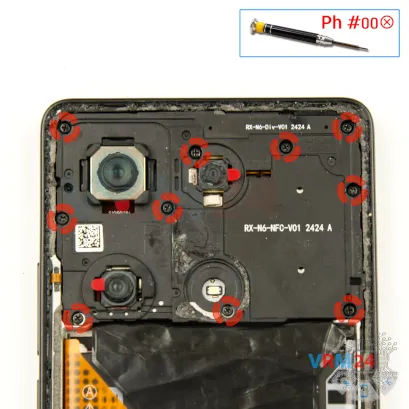
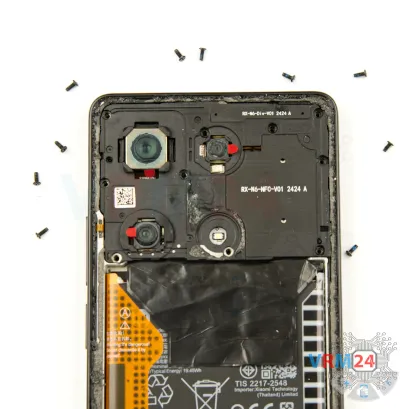
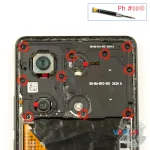
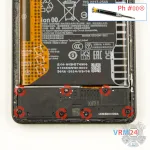
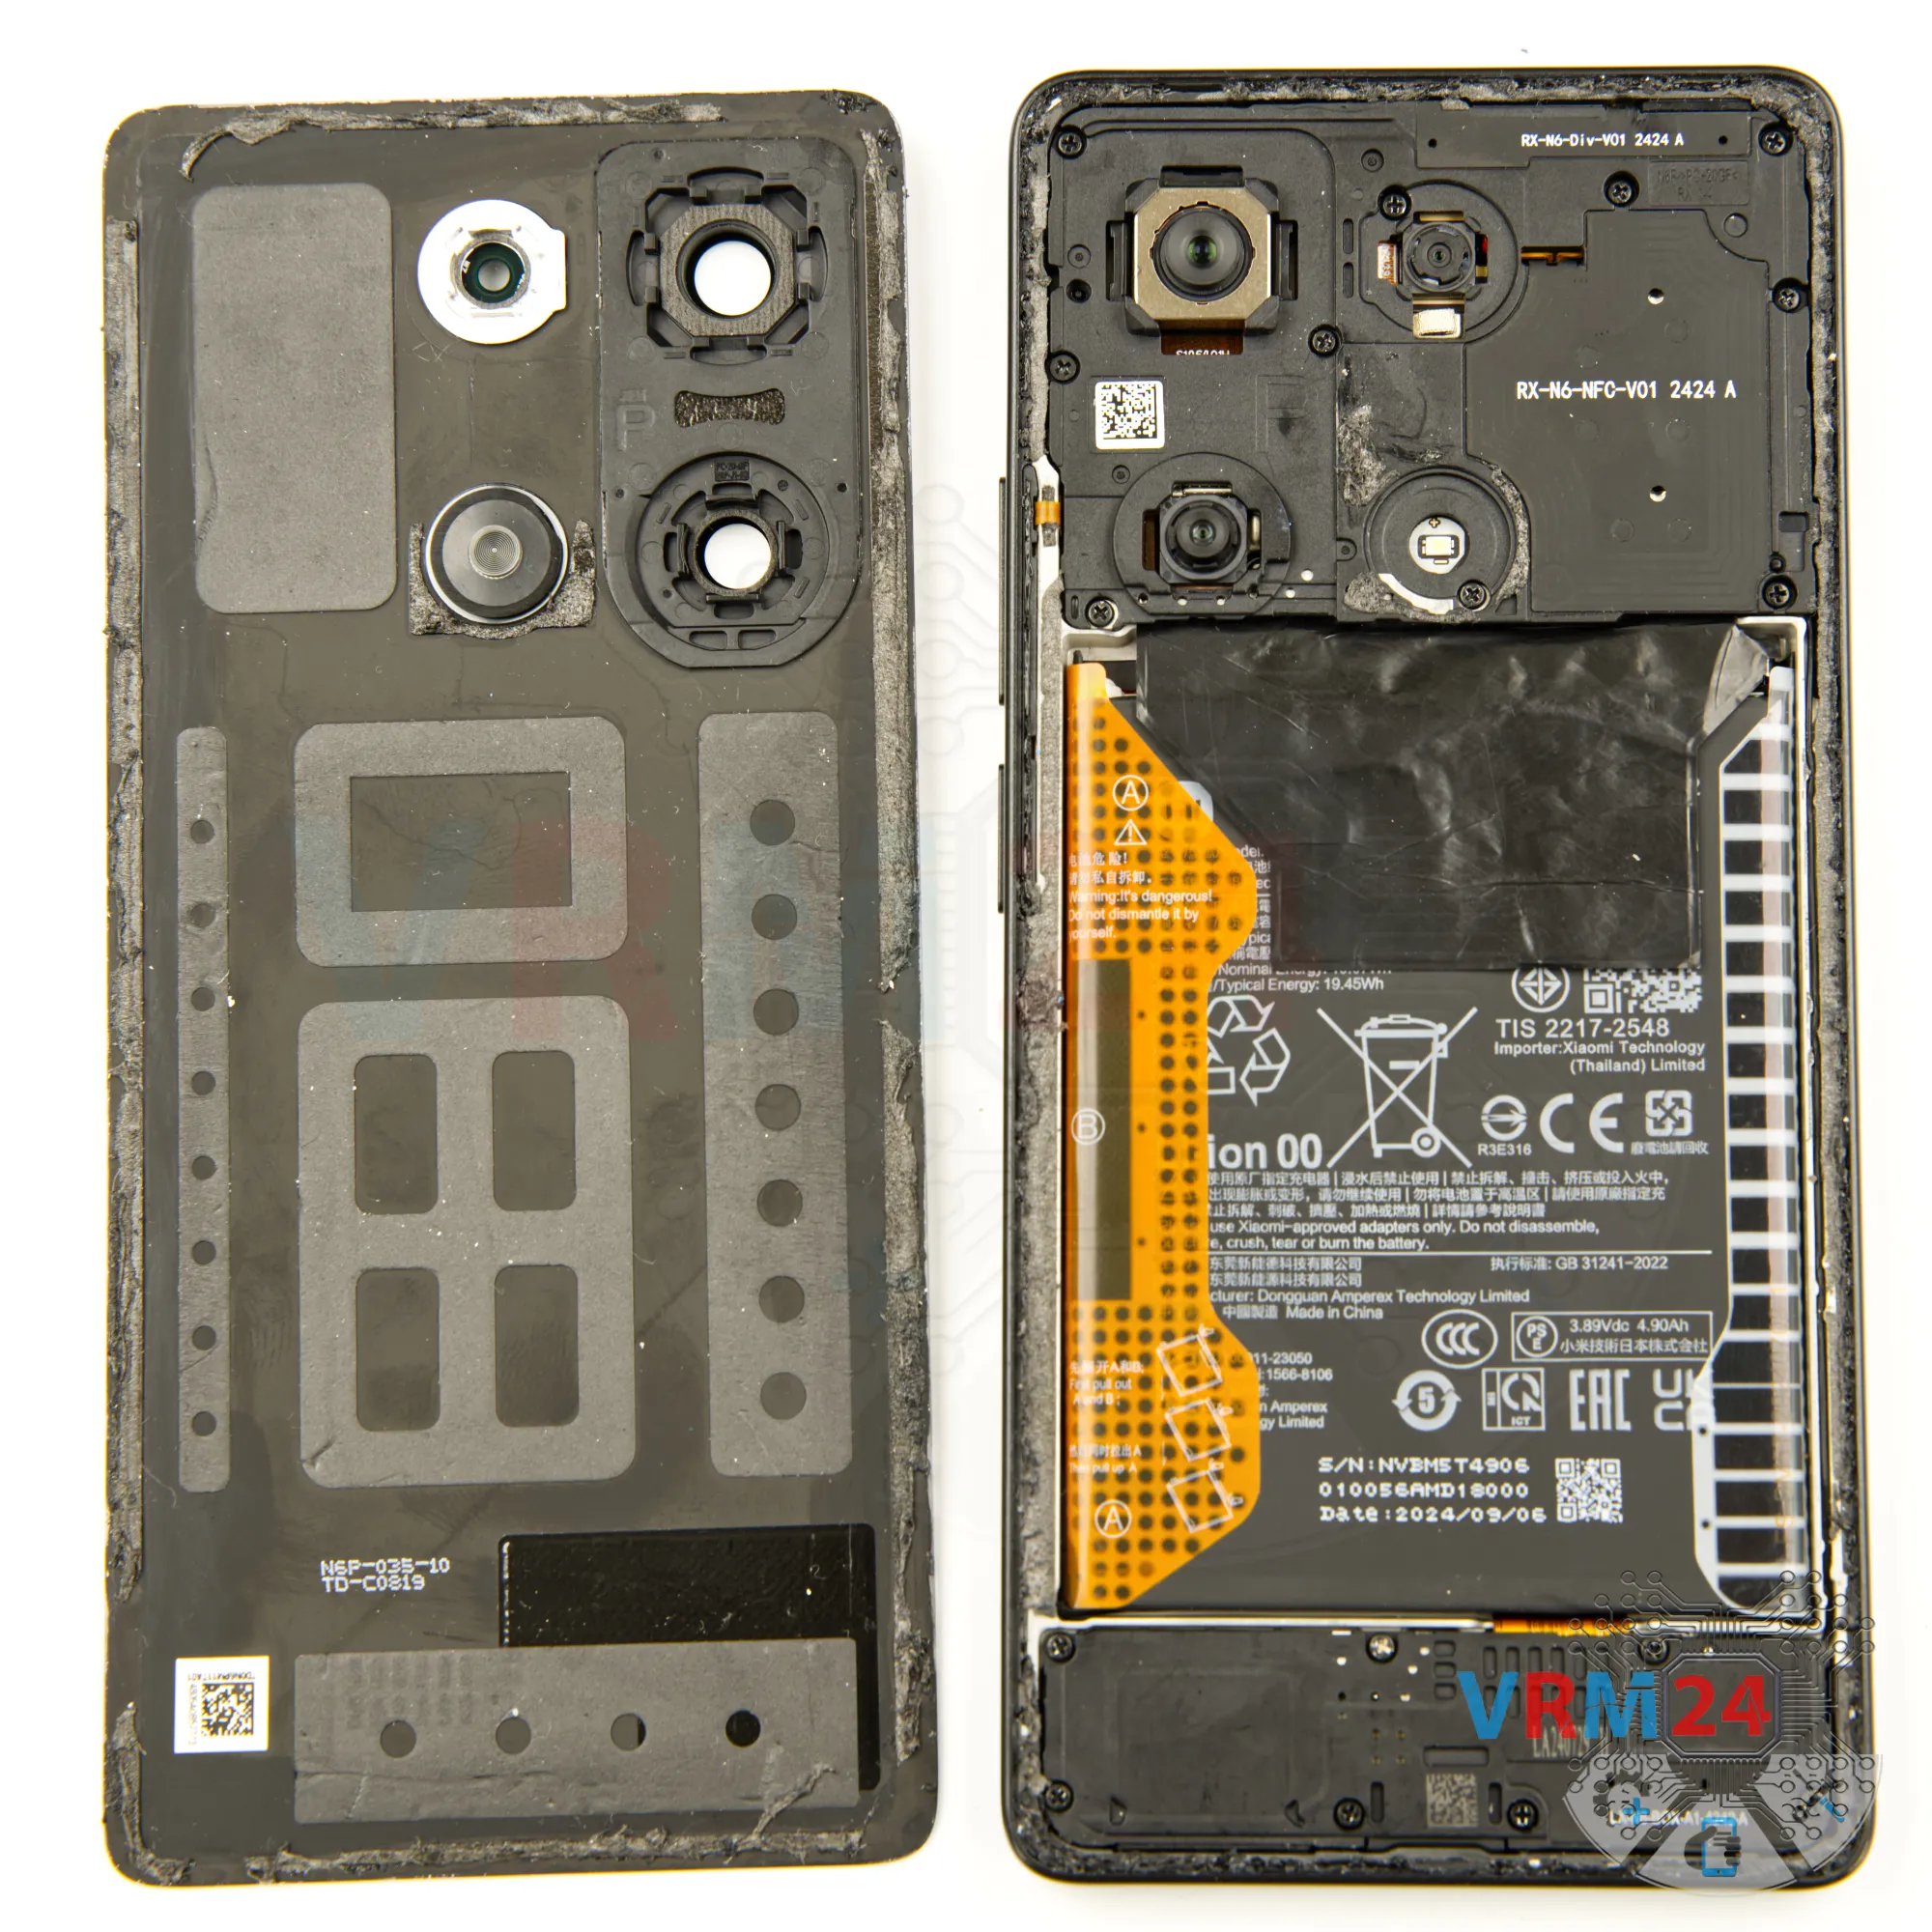
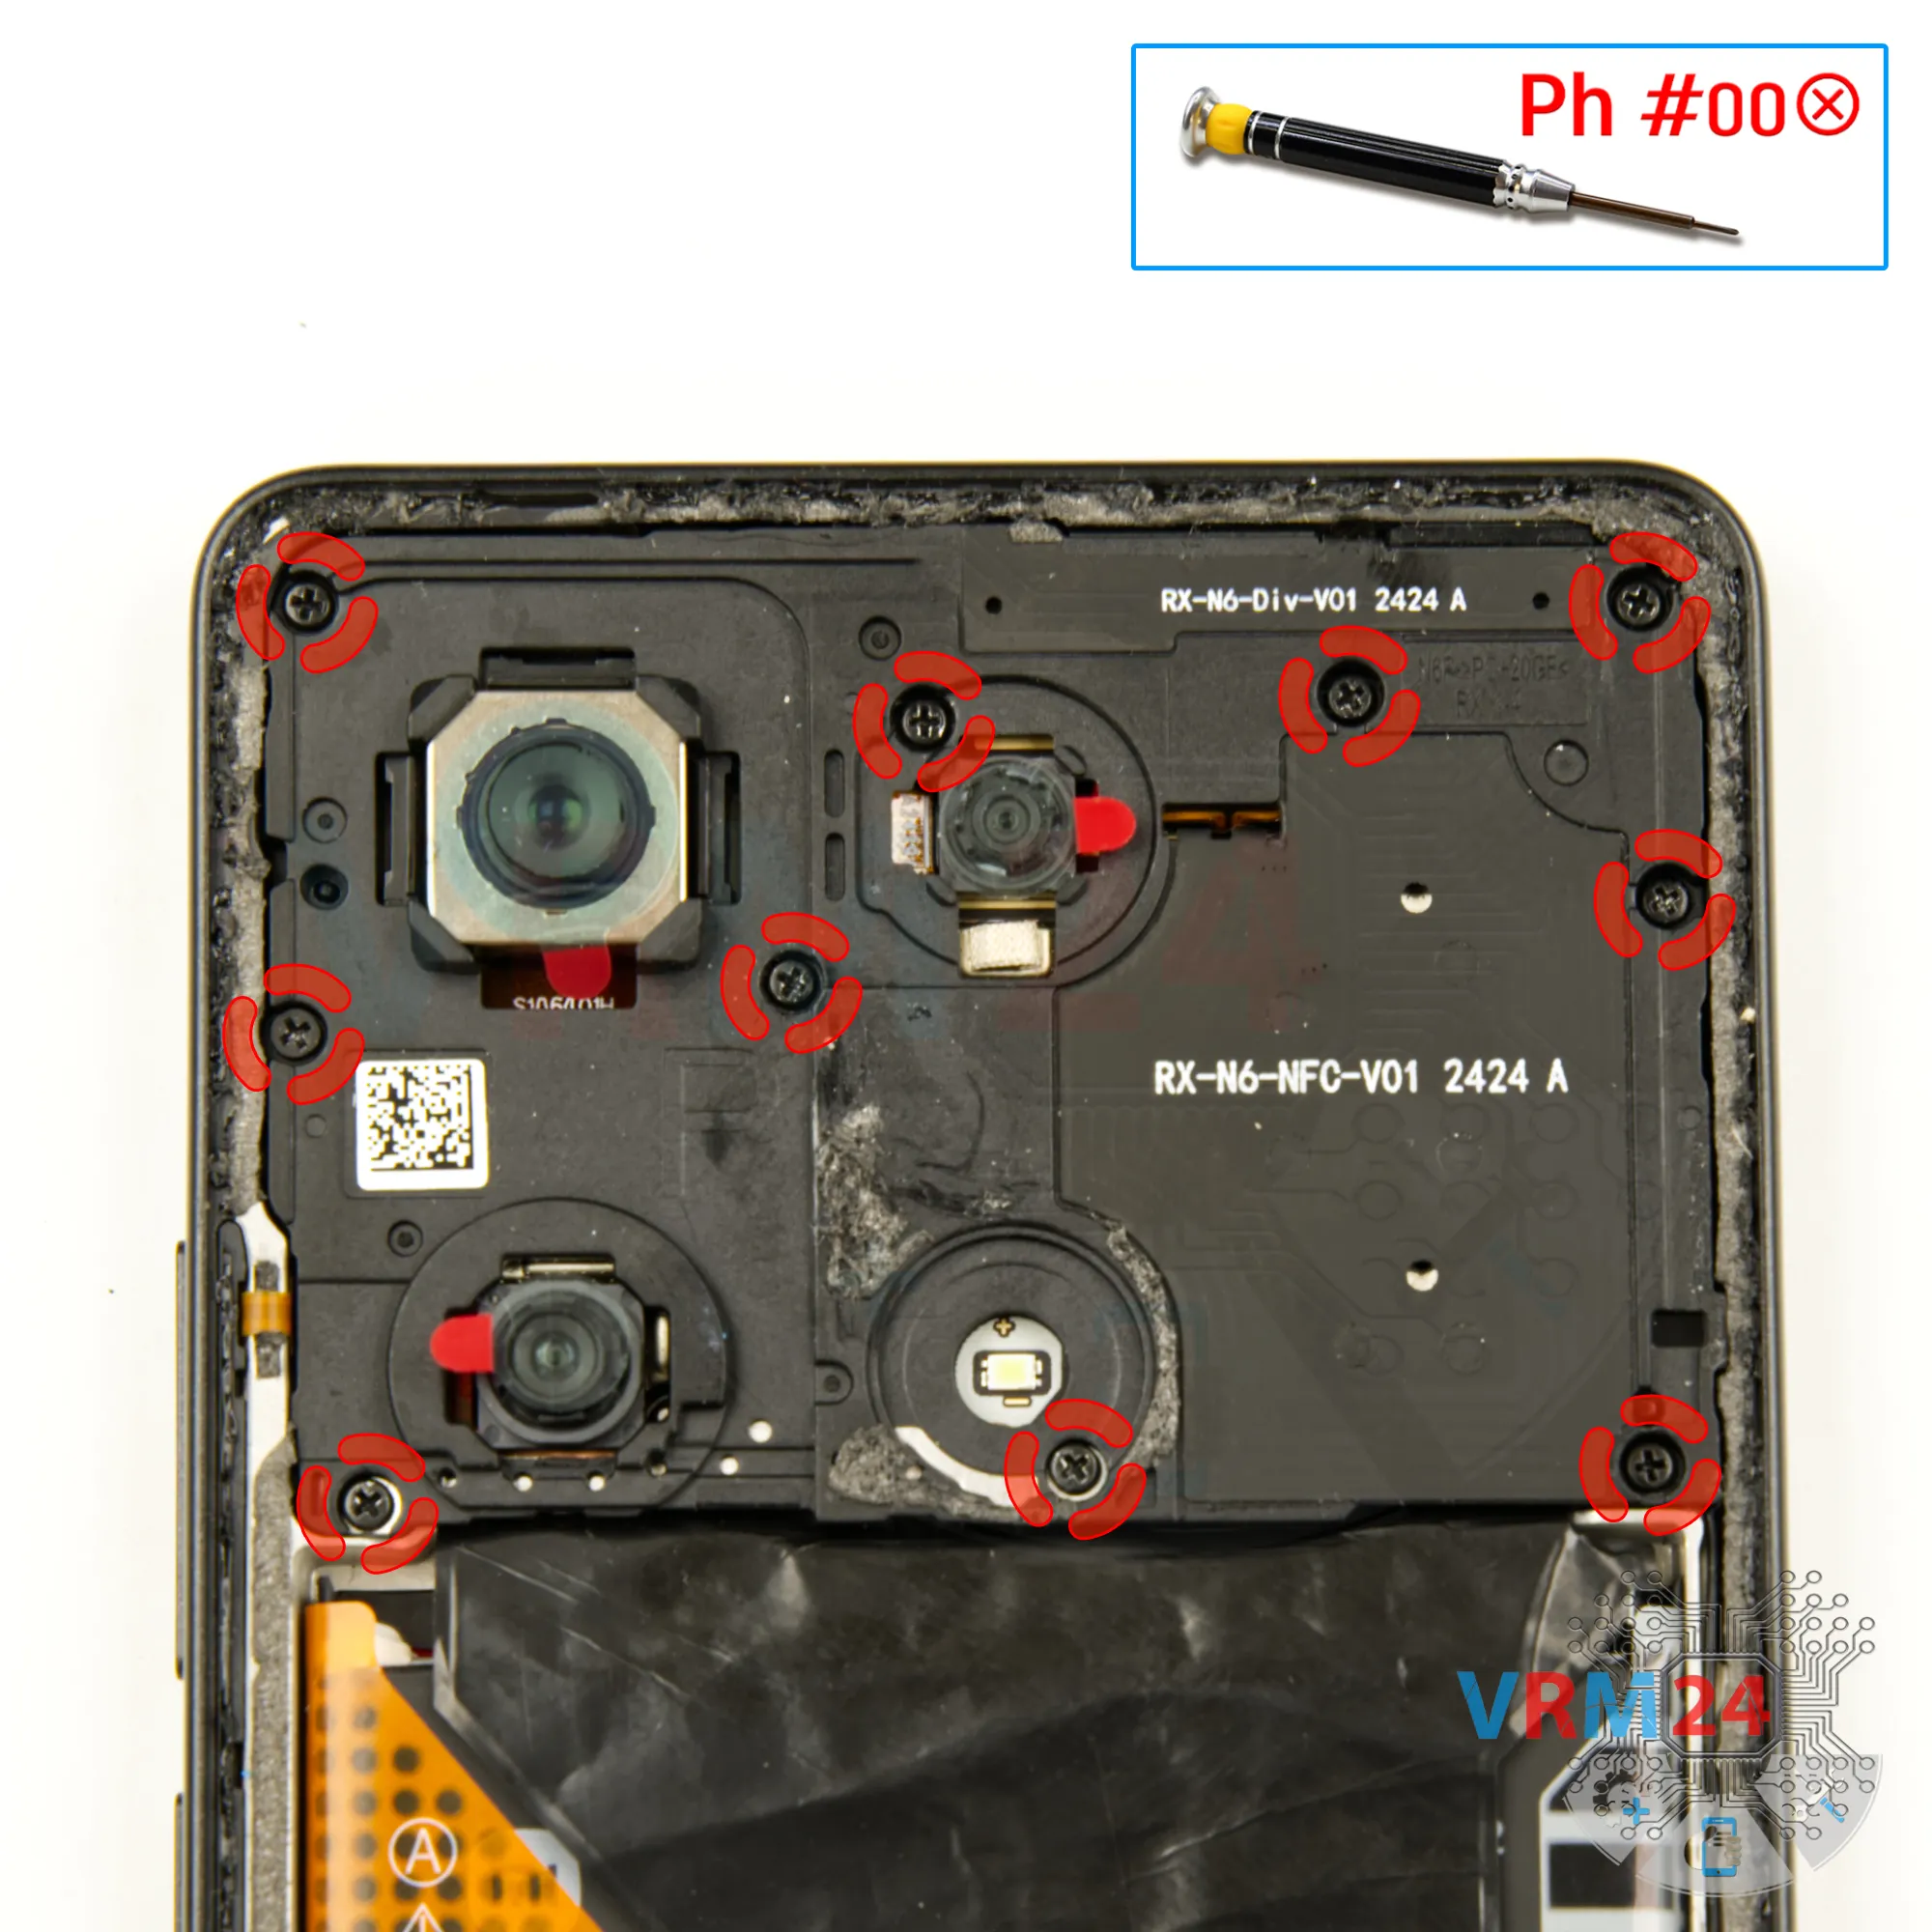
Step 4. Unscrew the screws
Next, we need to unscrew the screws in the top section. For this, use a 1.5 mm Phillips screwdriver (Philips #000).
It's a good idea to place the screws on a dedicated surface in an organized manner to avoid mixing them up during reassembly.
Keep in mind that screws from different parts of the device may not fit well in other holes, so careful organization is key.
Additionally, some models have non-magnetic screws near the cameras, so be sure to note this when working in that area.


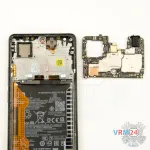
Step 5. Open the cover
We move on to removing the cover of the upper section. For this, we use tweezers with ceramic tips. Gently lift and detach the cover along with the contact pads.


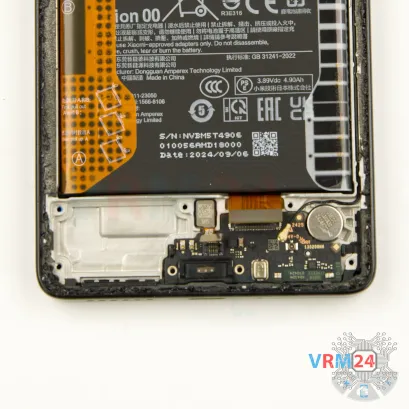
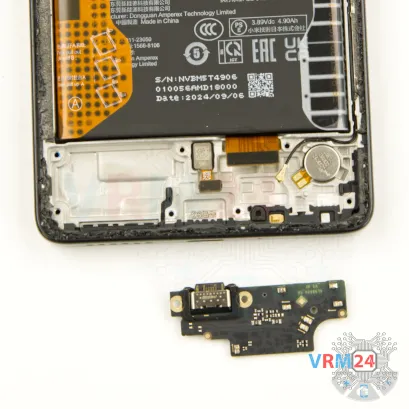
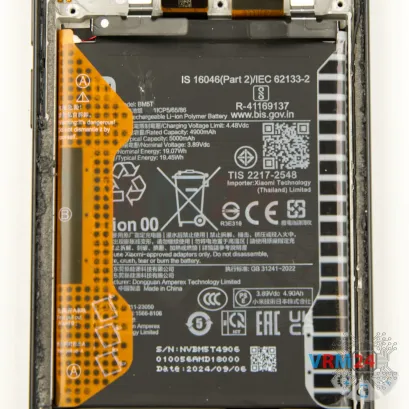
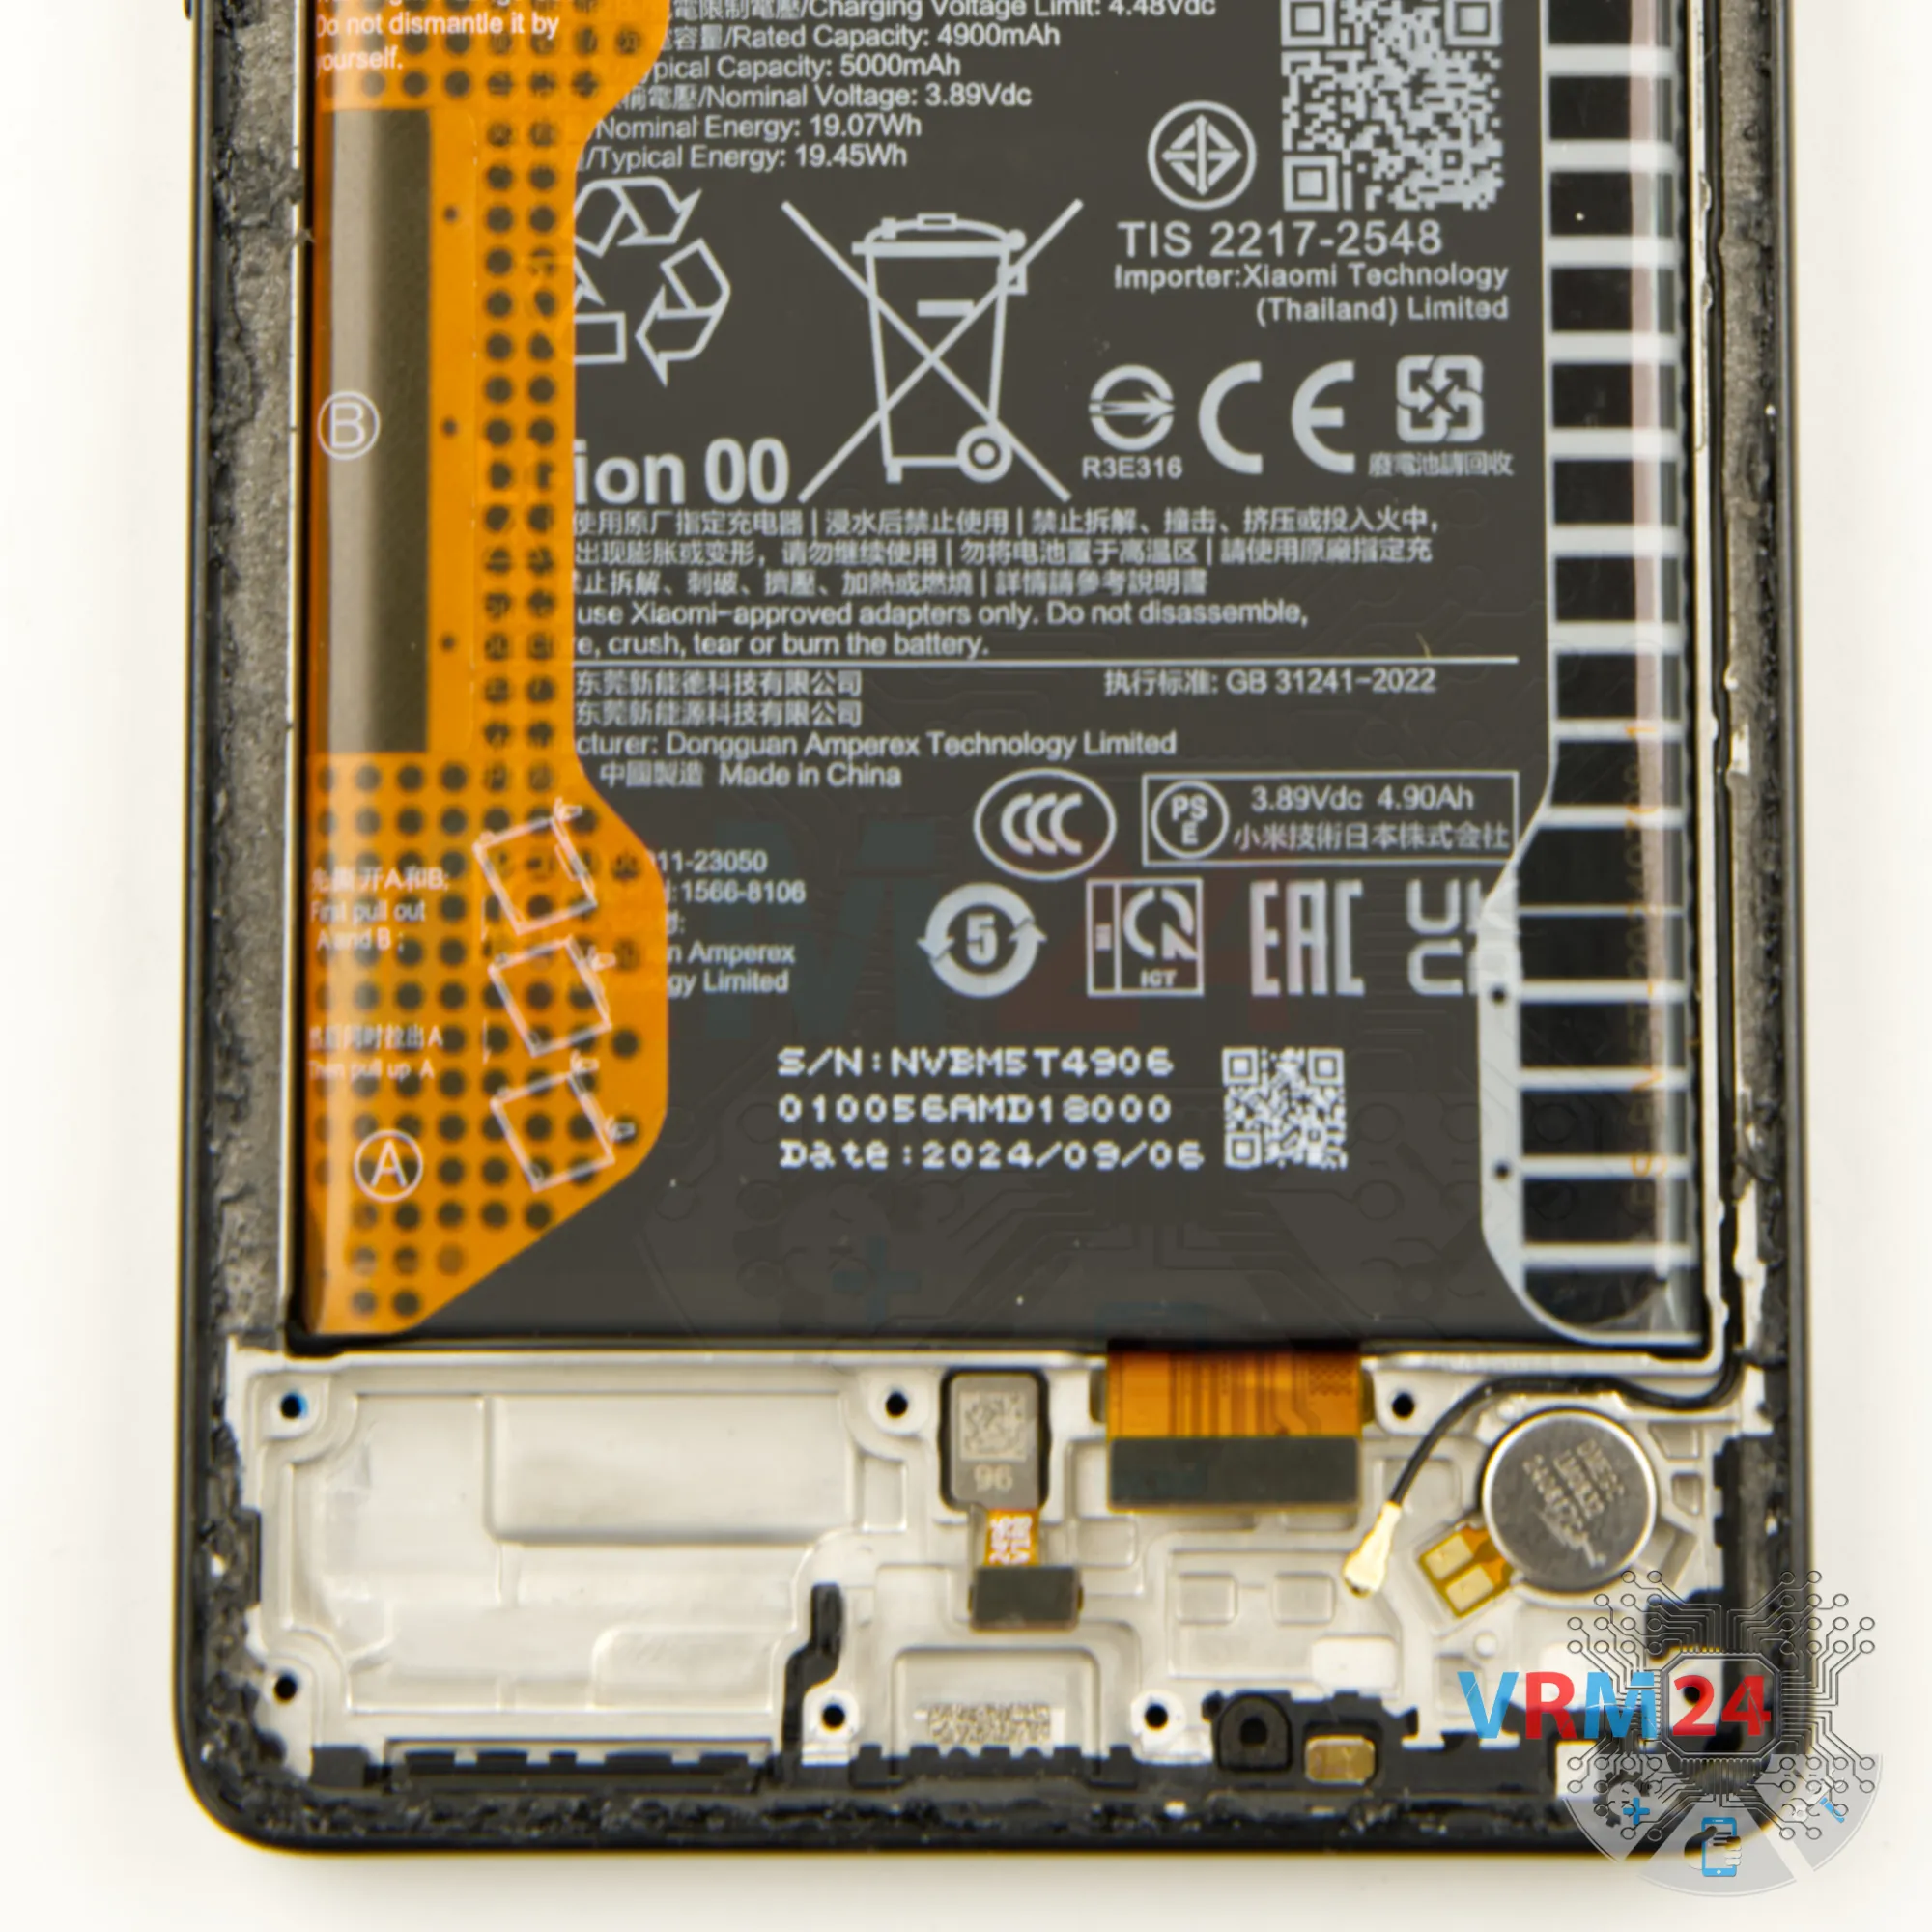
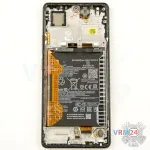
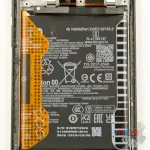
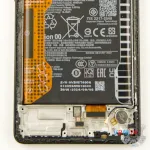
Step 6. Disconnect the battery connector
Disconnect the battery connector as soon as you can. Use a non-metallic or plastic tool to avoid any damage.
ℹ️️ The Xiaomi Poco M6 Pro 2312FPCA6G model has a battery BM5T with a capacity of 5000 mAh (also known as a rechargeable battery).
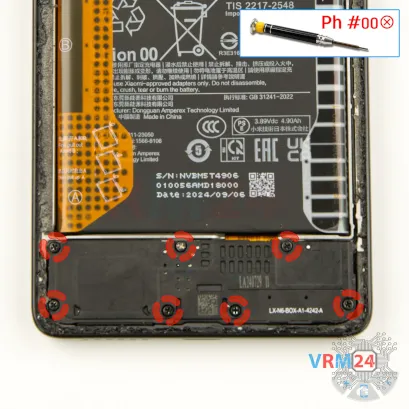

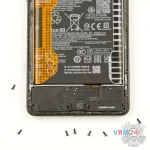
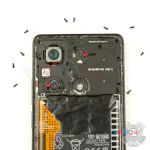
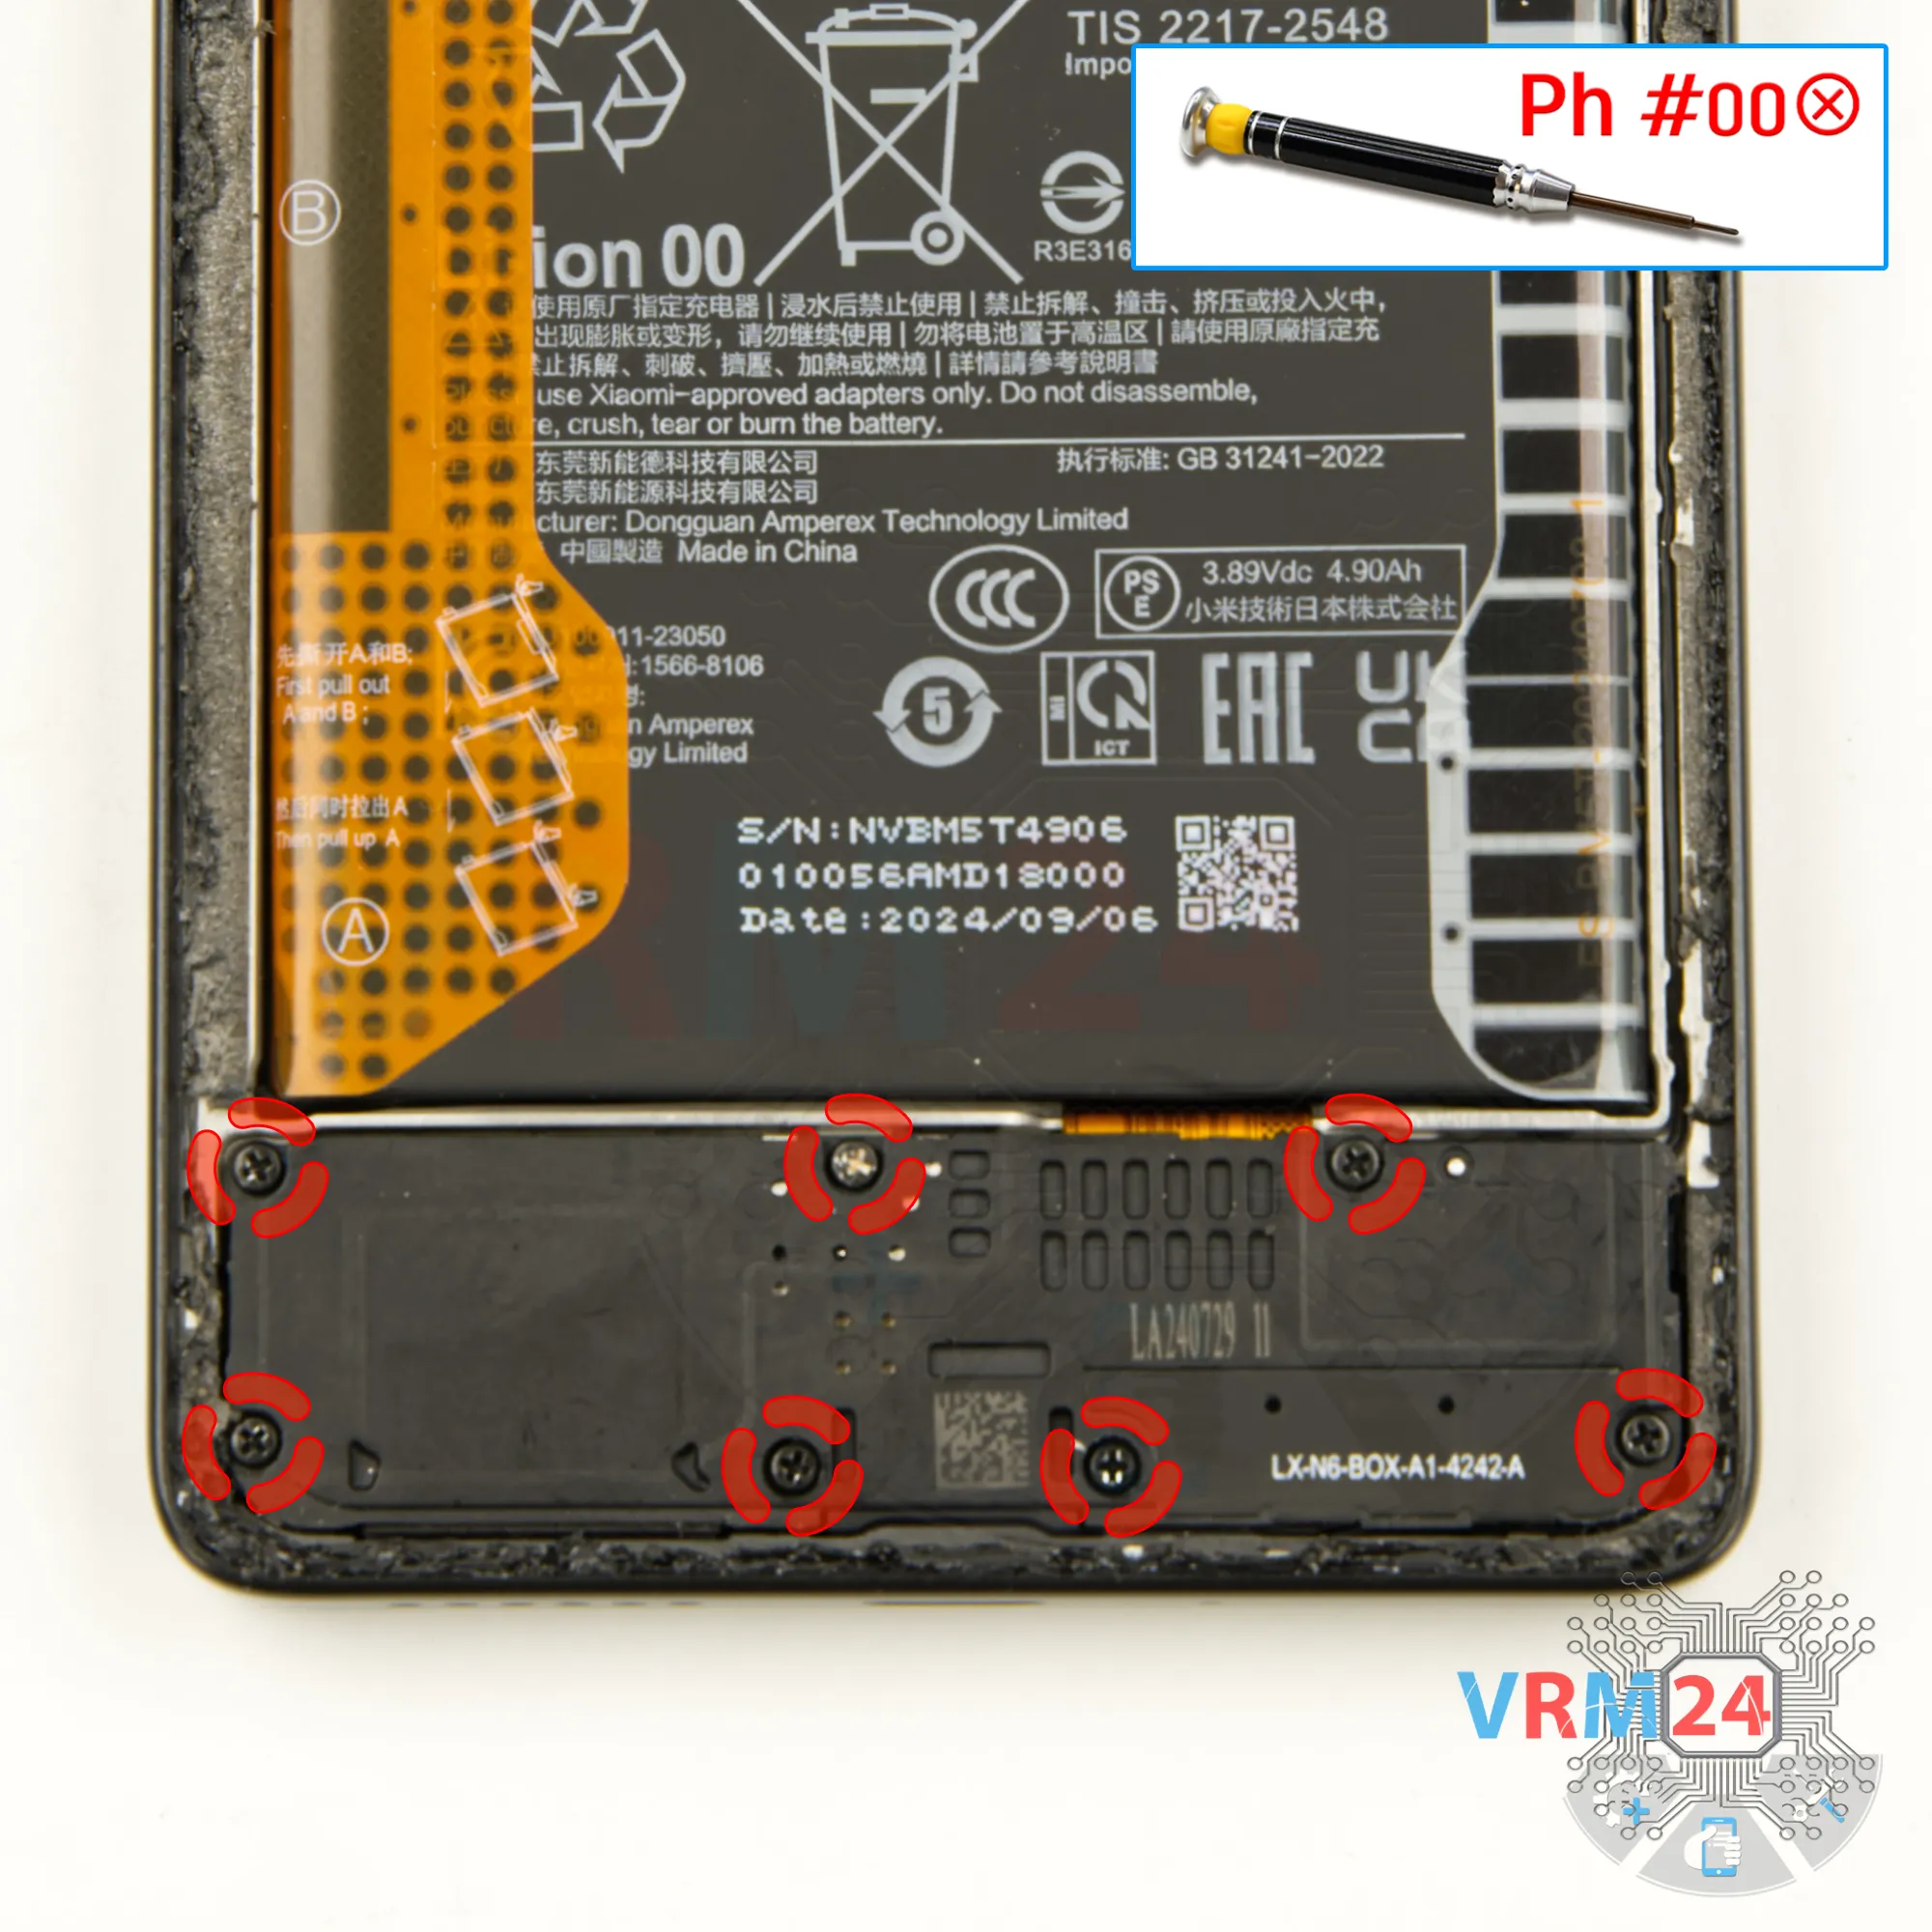
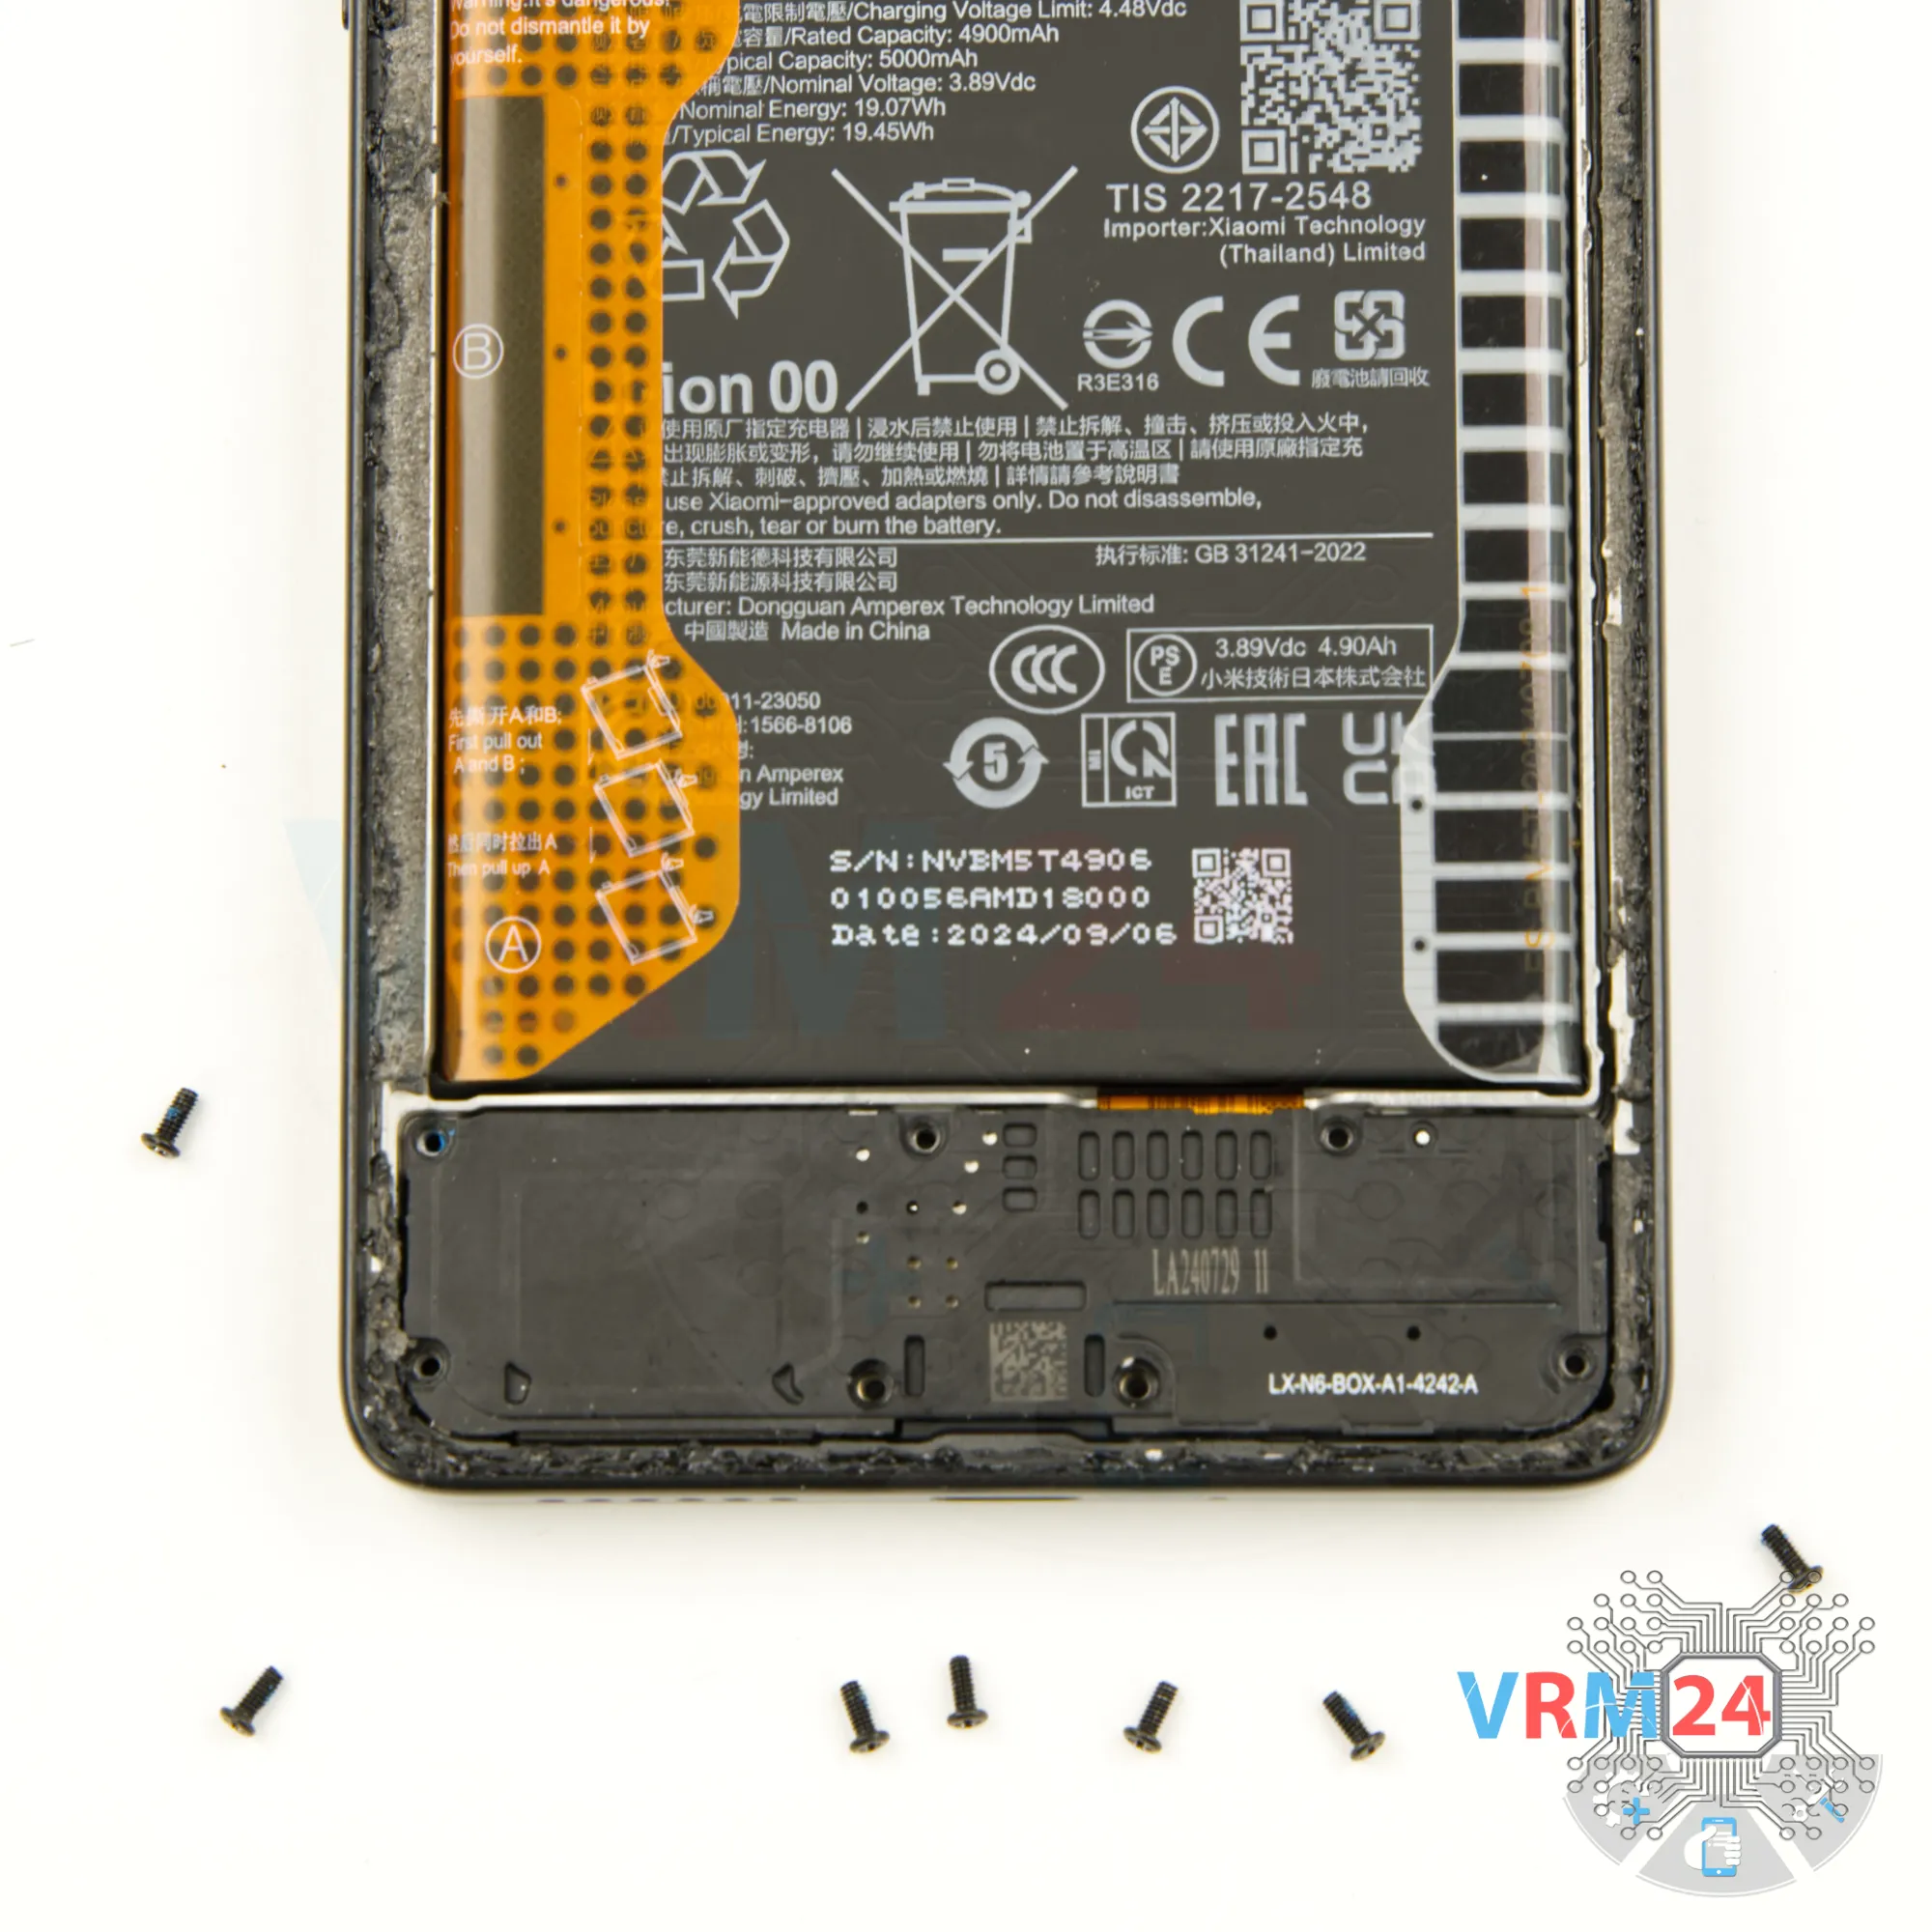
Step 7. Unscrew the screws
We move on to unscrewing the screws in the lower section.
Again, we use a 1.5 mm Phillips screwdriver (Philips #000).
It's best to place these screws on a separate surface, keeping them distinct from the earlier ones to avoid confusion during reassembly.
While this precaution isn't usually necessary for Xiaomi devices, as the screws are generally uniform, it's always better to be safe.
These screws secure the speaker assembly and the sub-board.
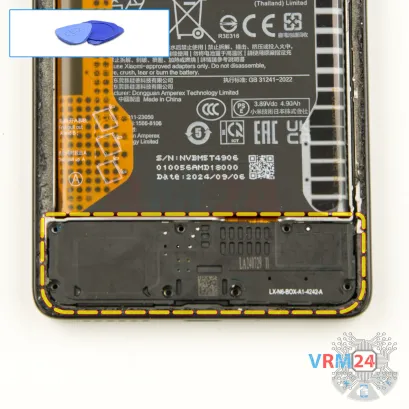

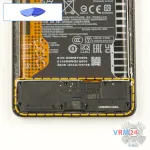
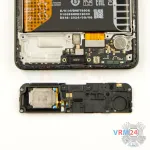
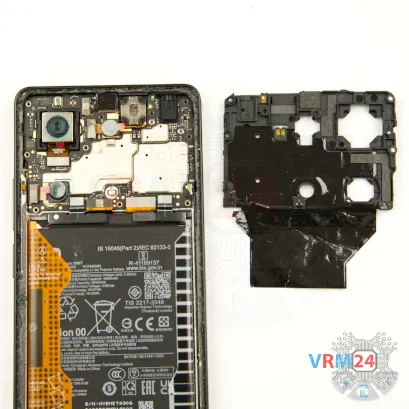
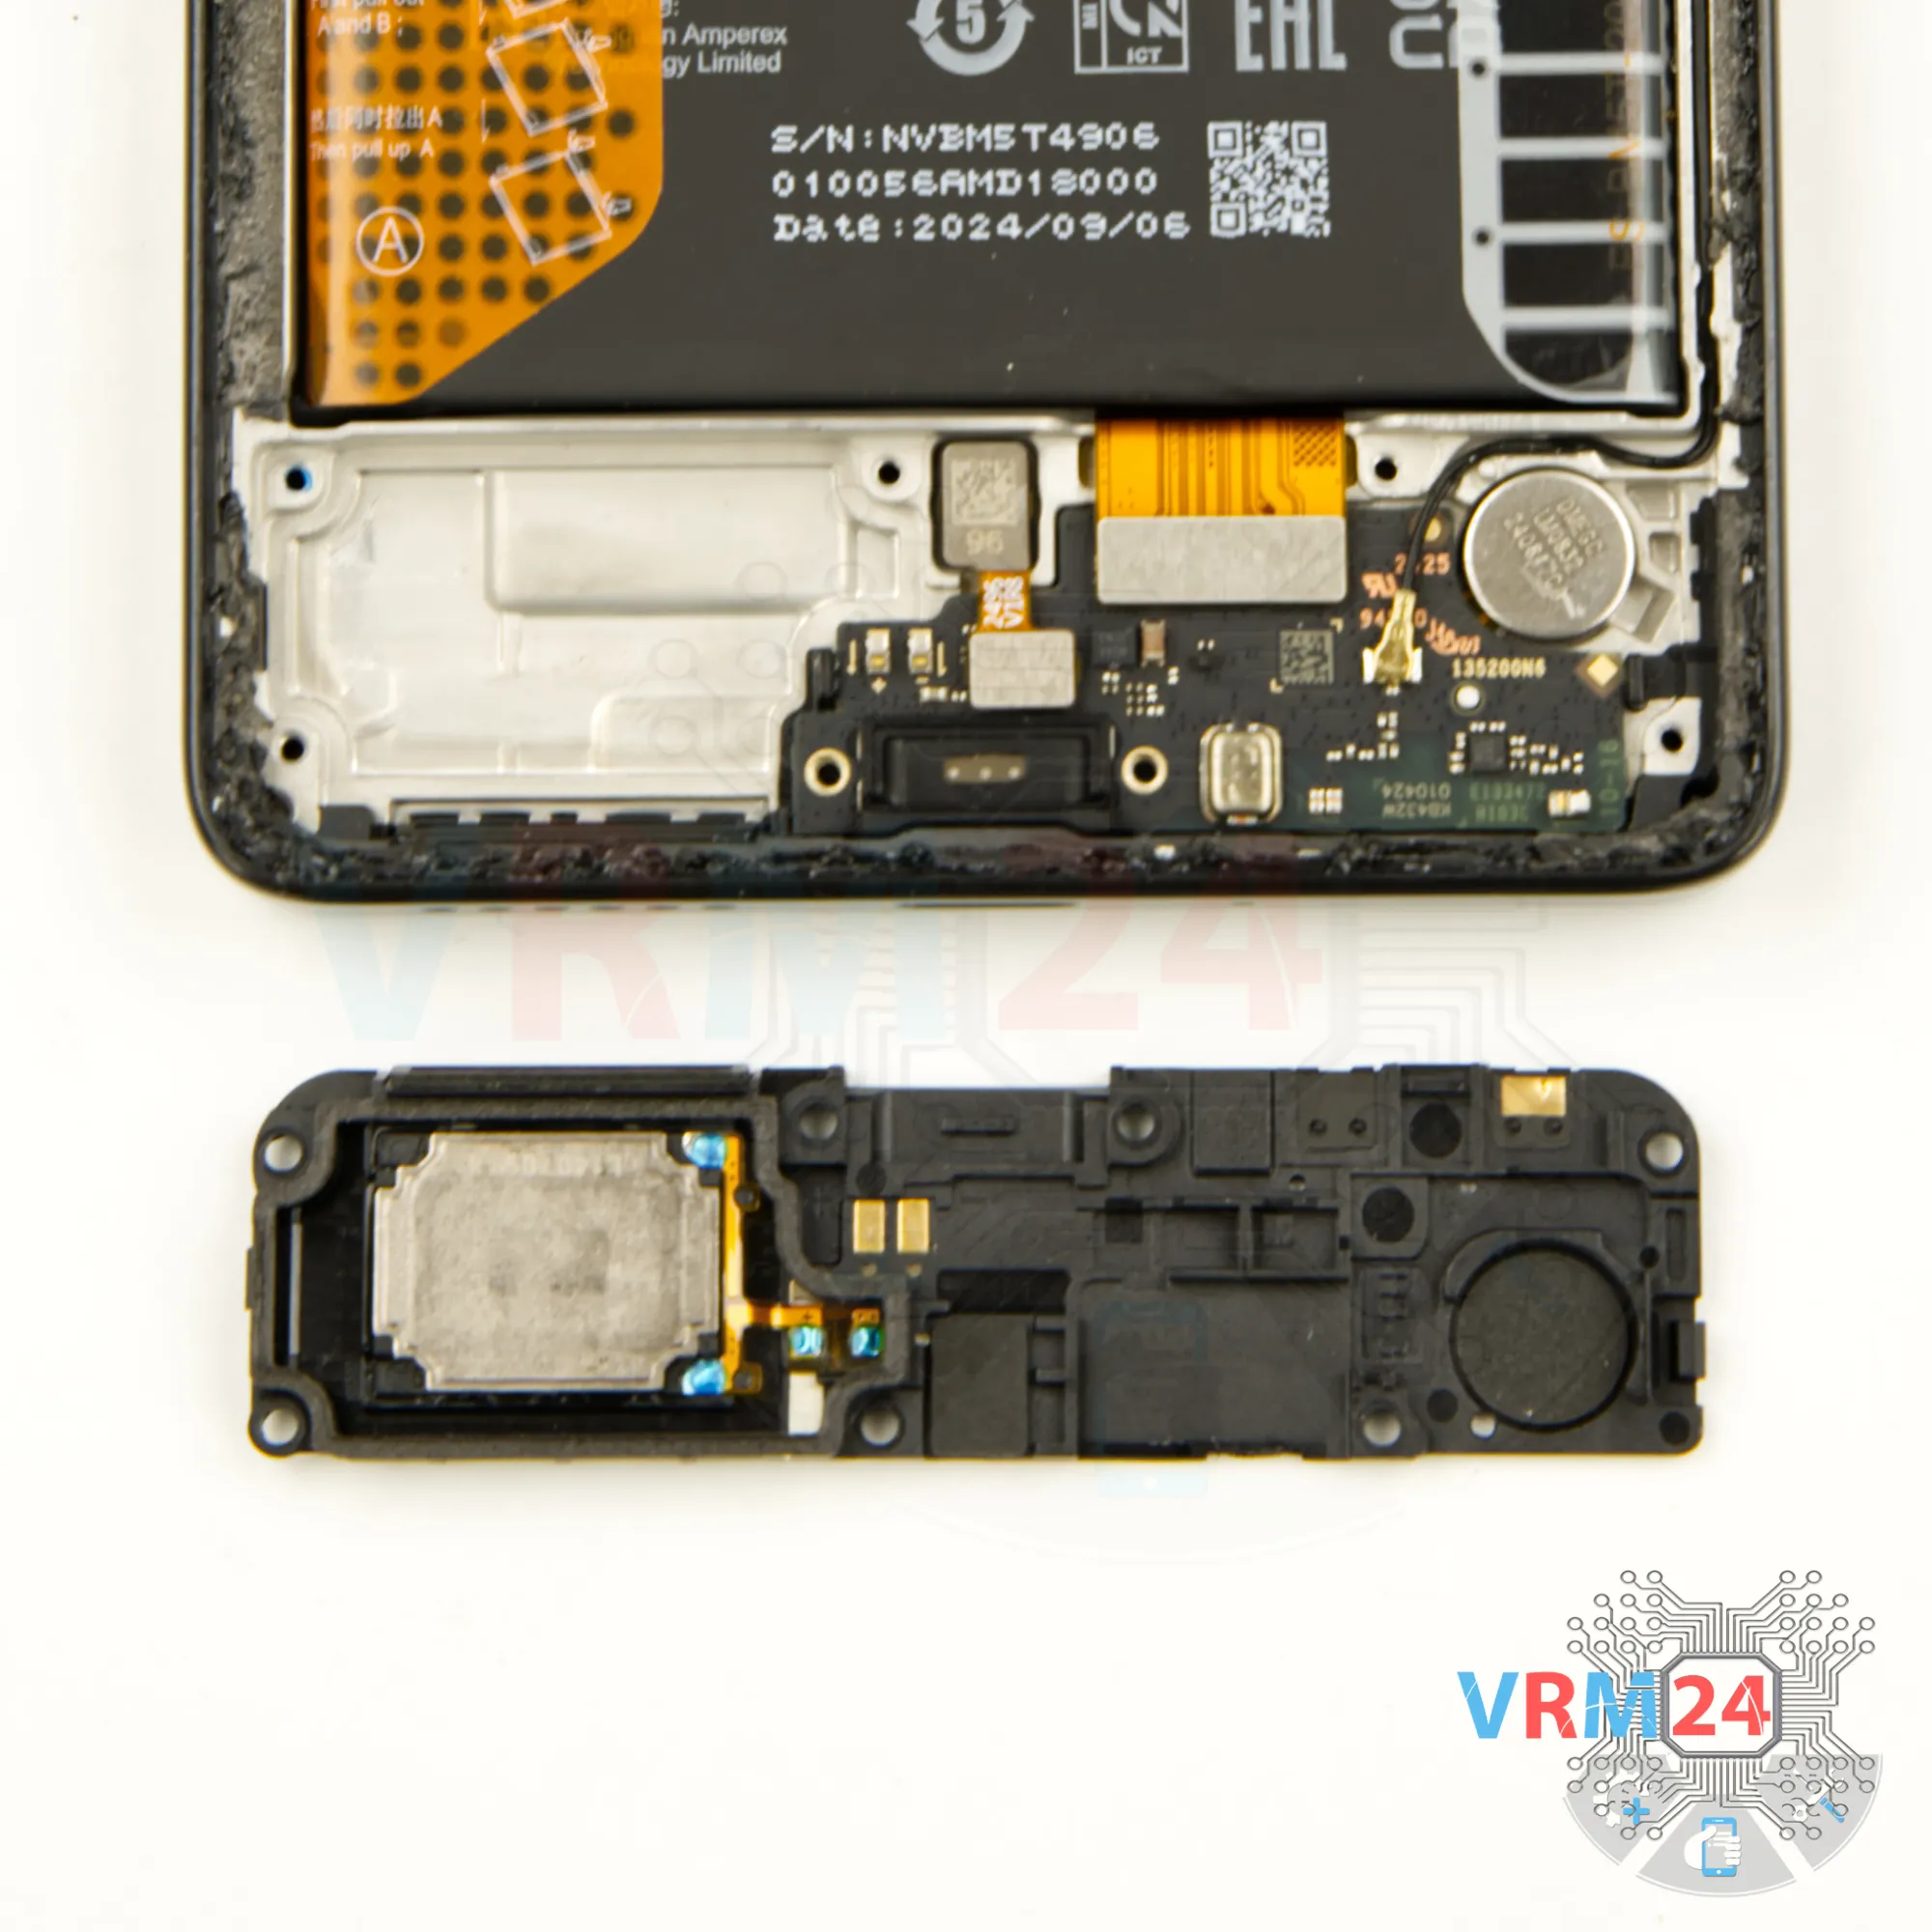
Step 8. Remove the loudspeaker
Next, we can remove the cover with the speaker. Carefully lift it from the correct spot and detach it. The speaker is mounted on the cover.

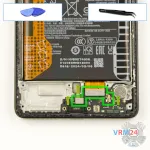
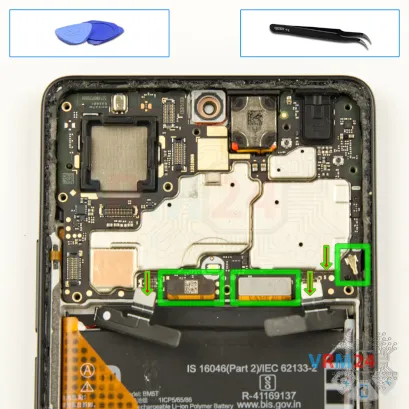
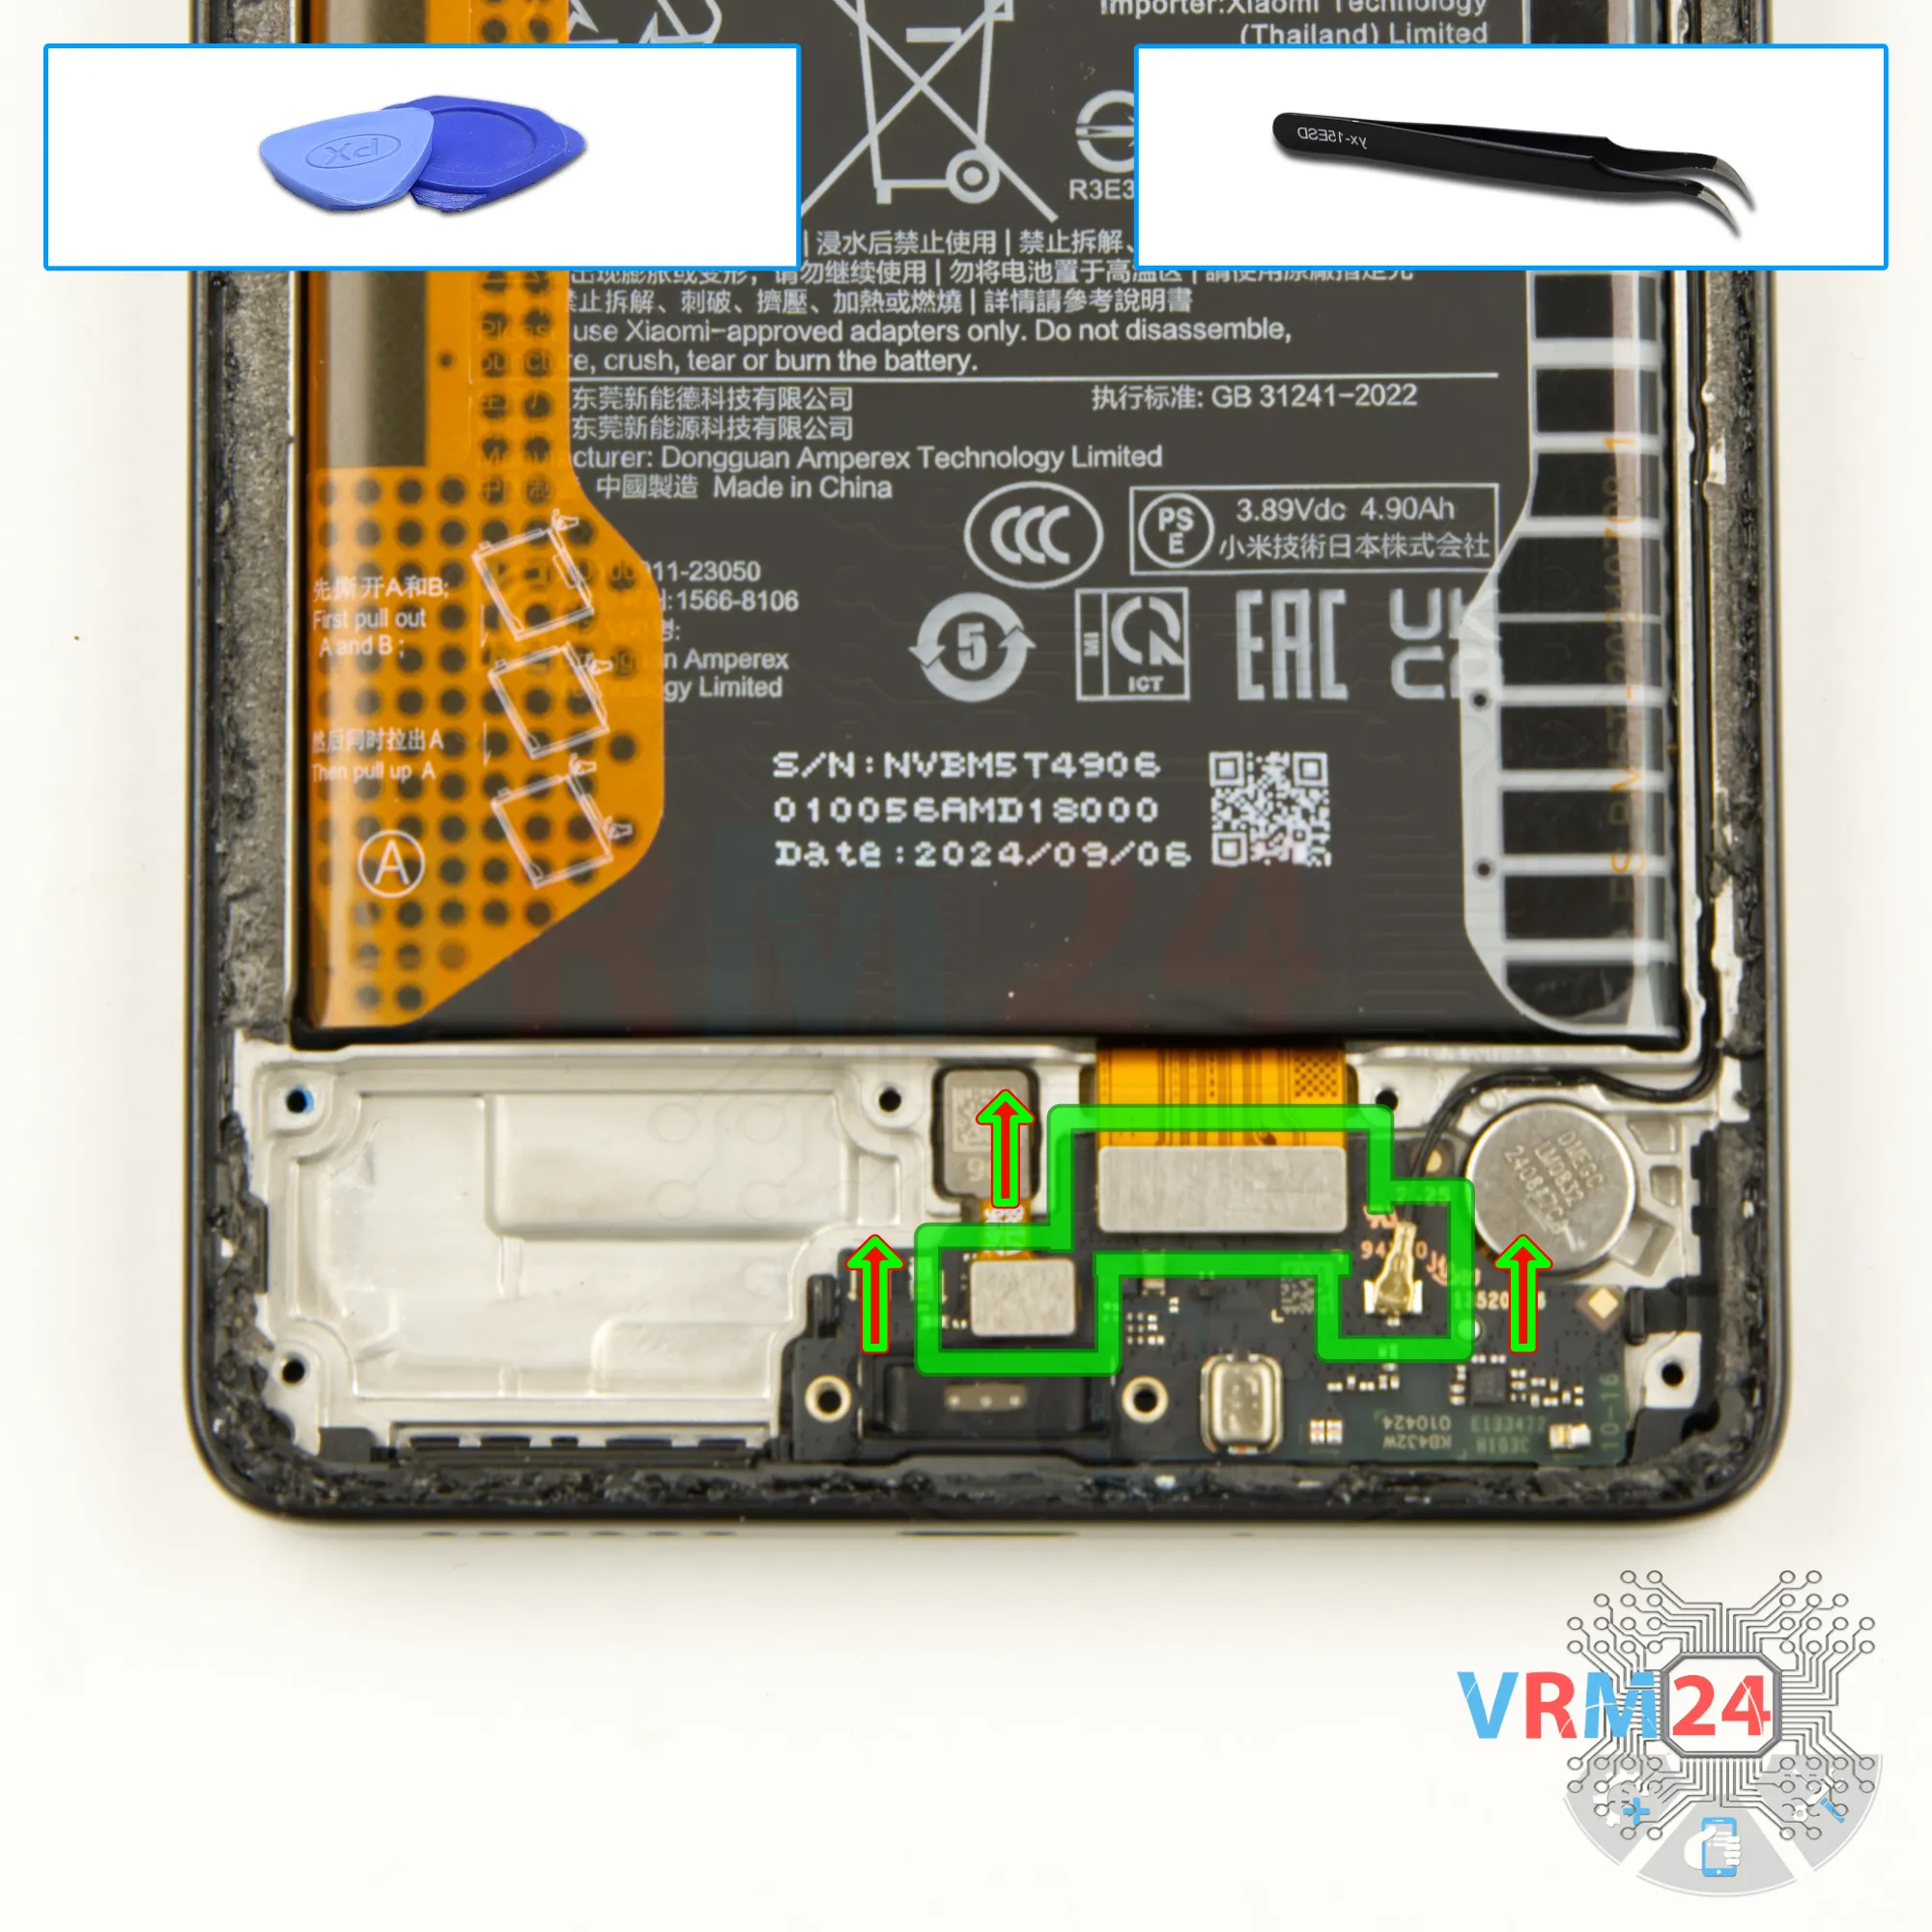
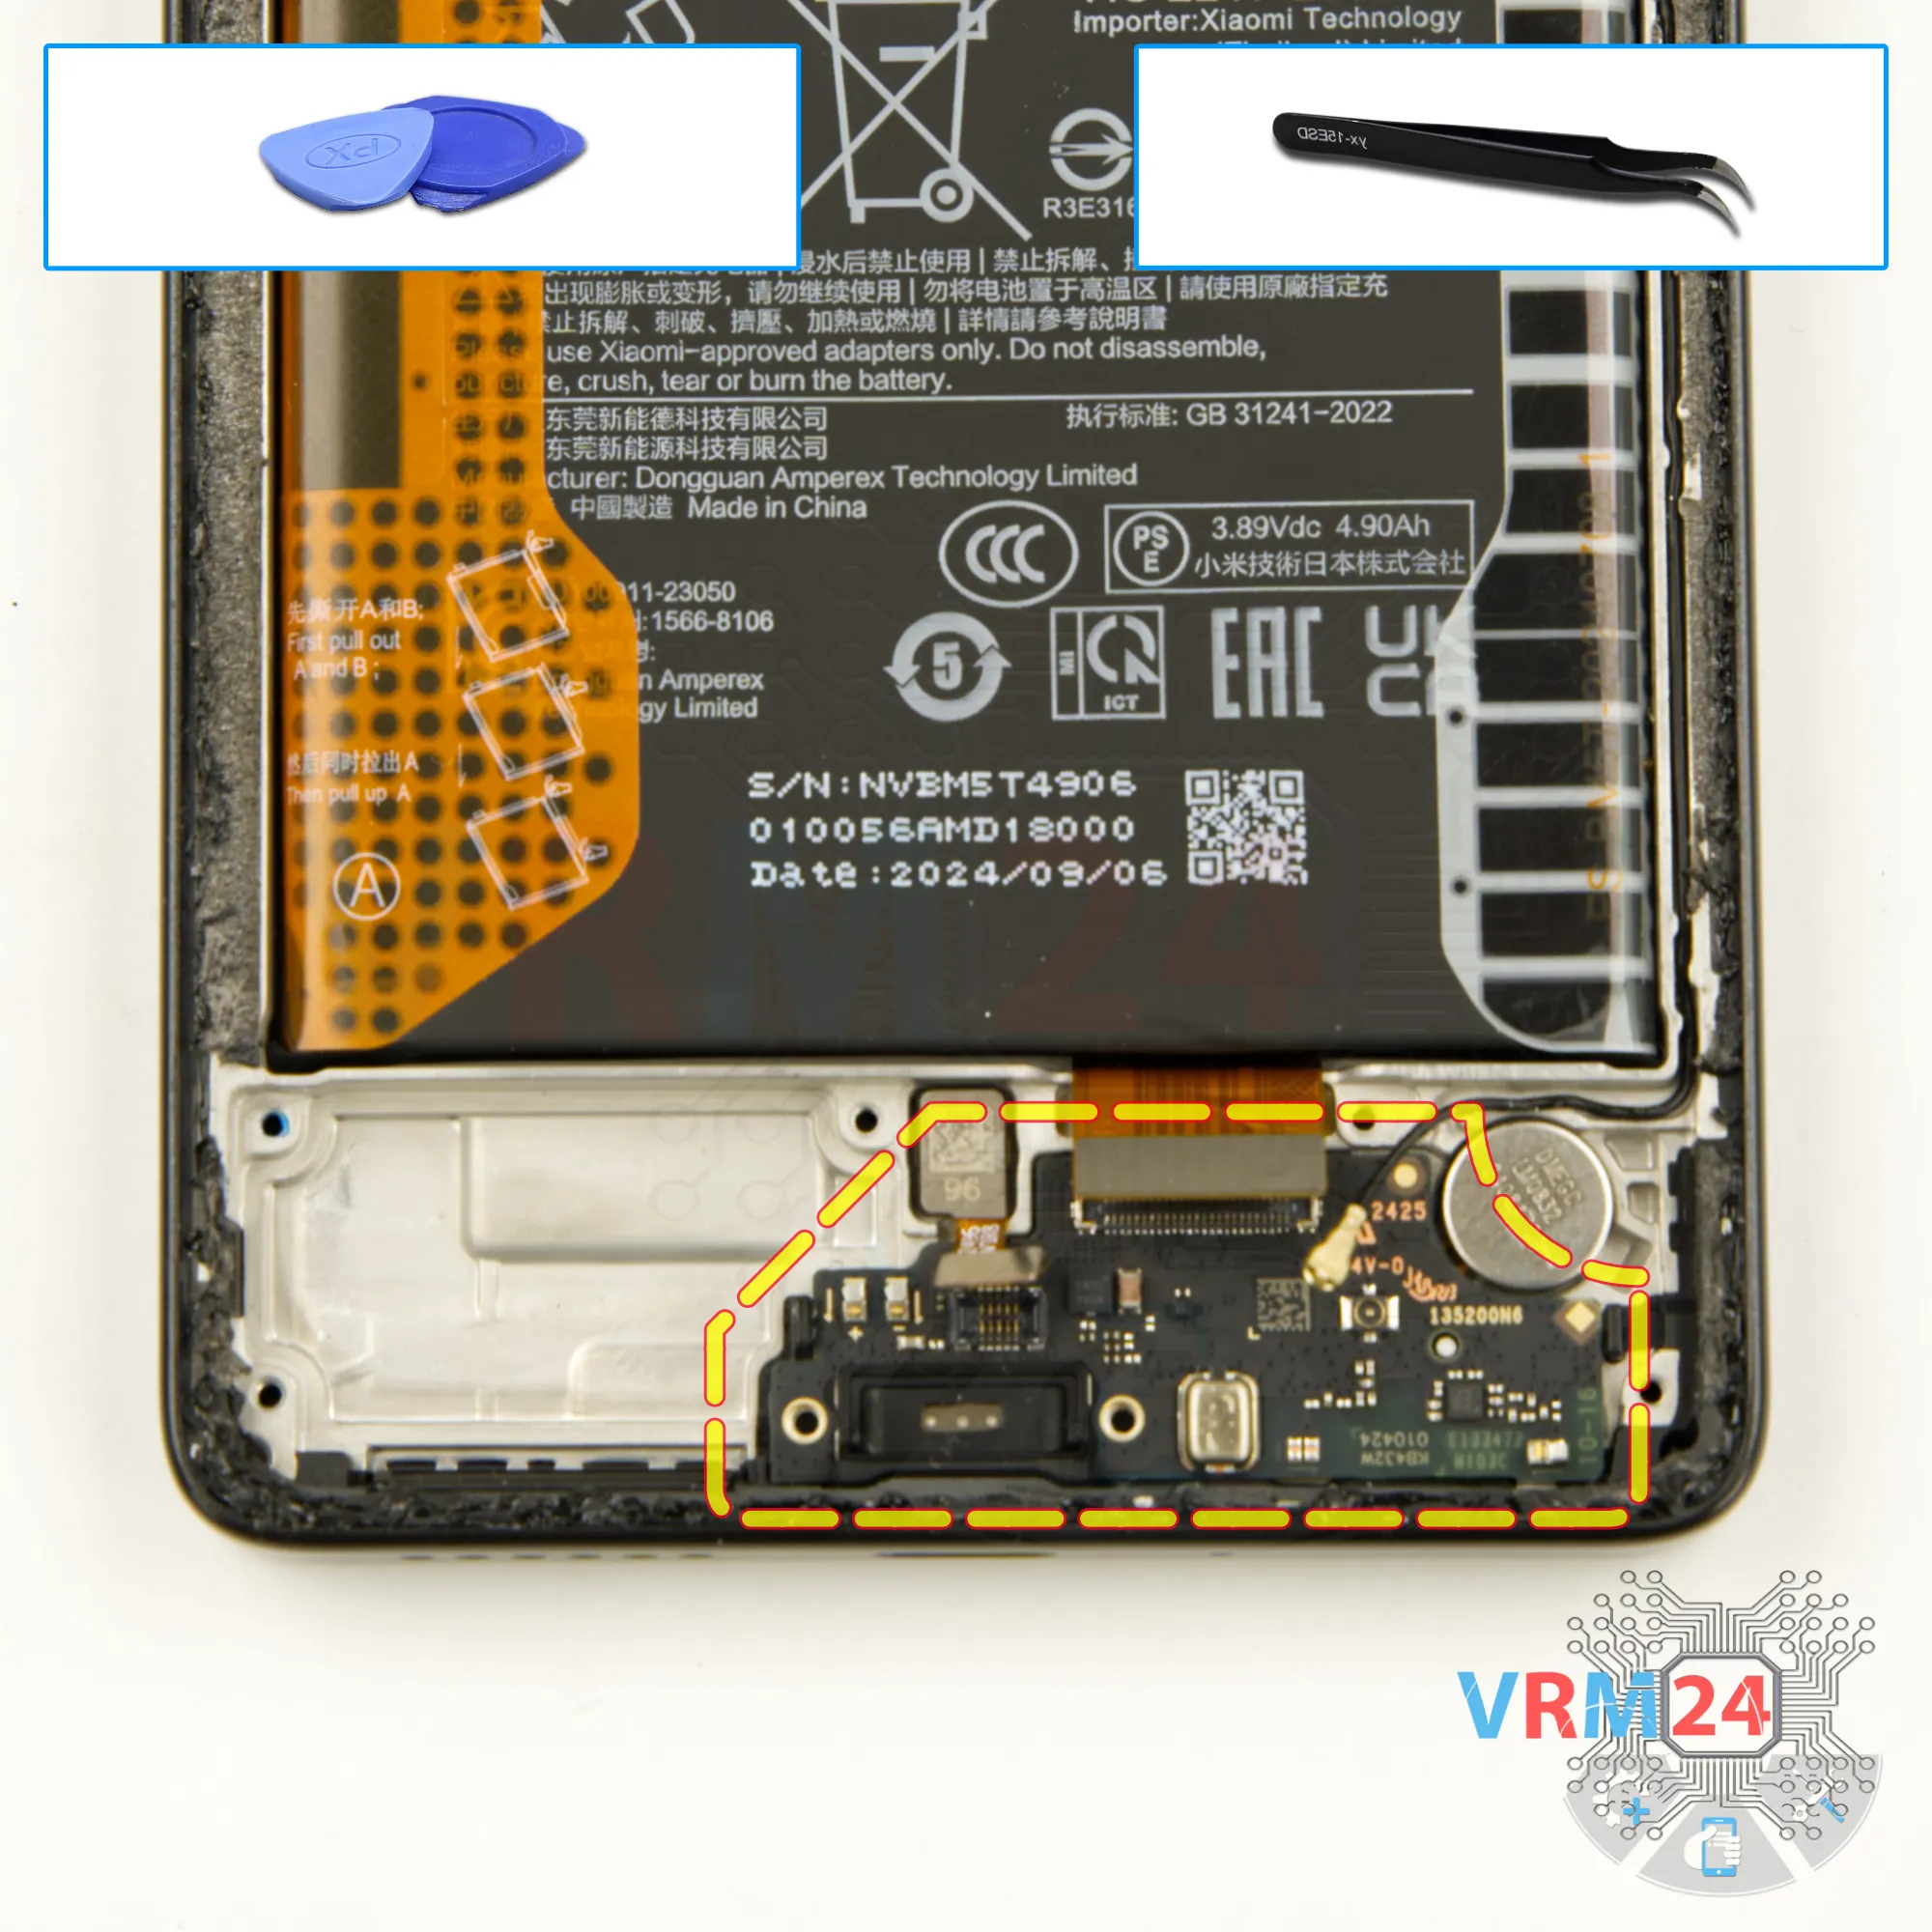
Step 9. Disconnect the connectors
After that, we need to disconnect the connectors: the fingerprint sensor connector, the inter-board ribbon cable connector, and the coaxial antenna cable.

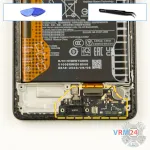

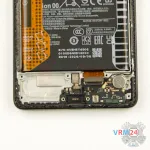
Step 10. Remove the sub-board
We can now detach the sub-board.
Locate the correct spot near the clip, gently lift it, and remove the sub-board. Ensure nothing is obstructing the removal.
Carefully extract it to avoid damaging the ribbon cables.
The sub-board contains the microphone and the charging port.
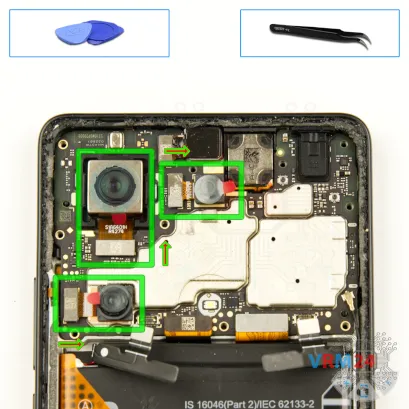

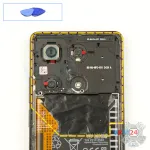
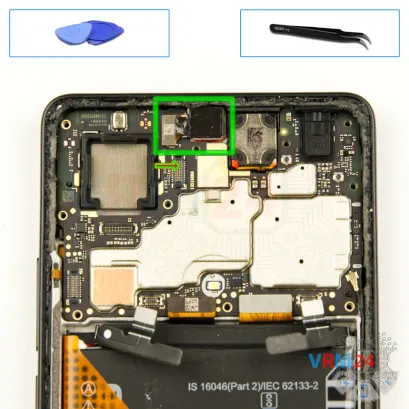
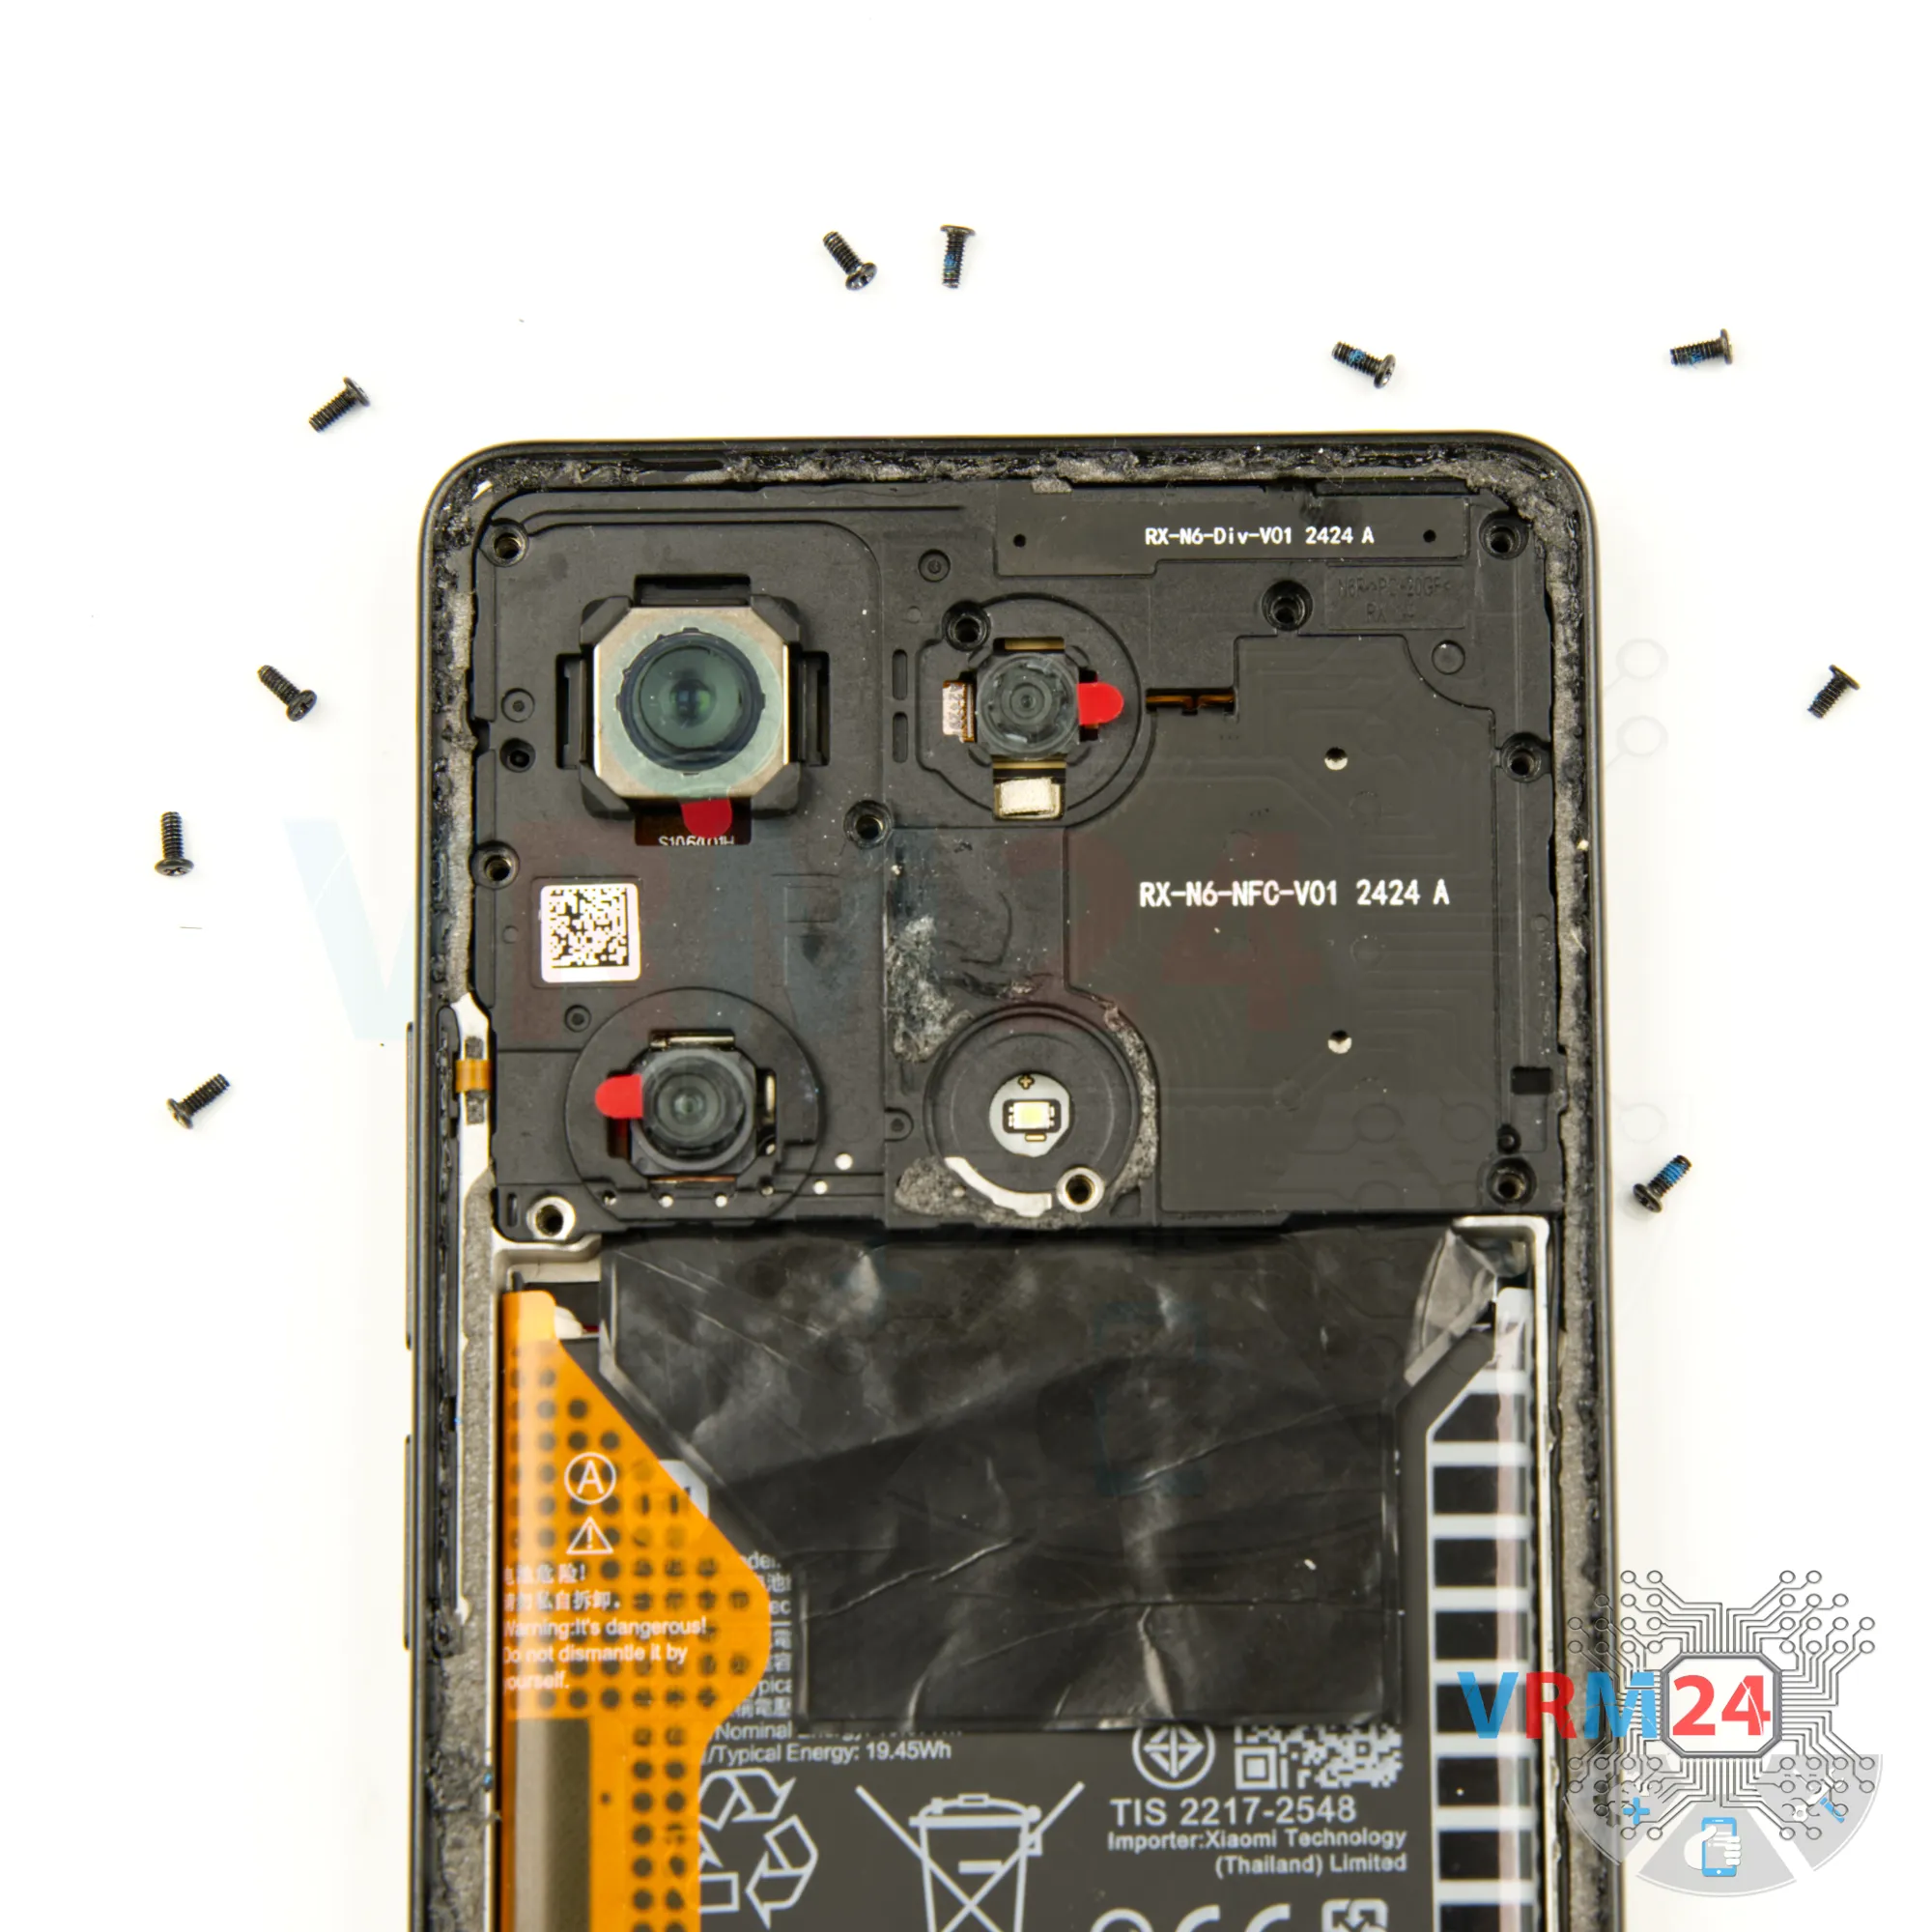
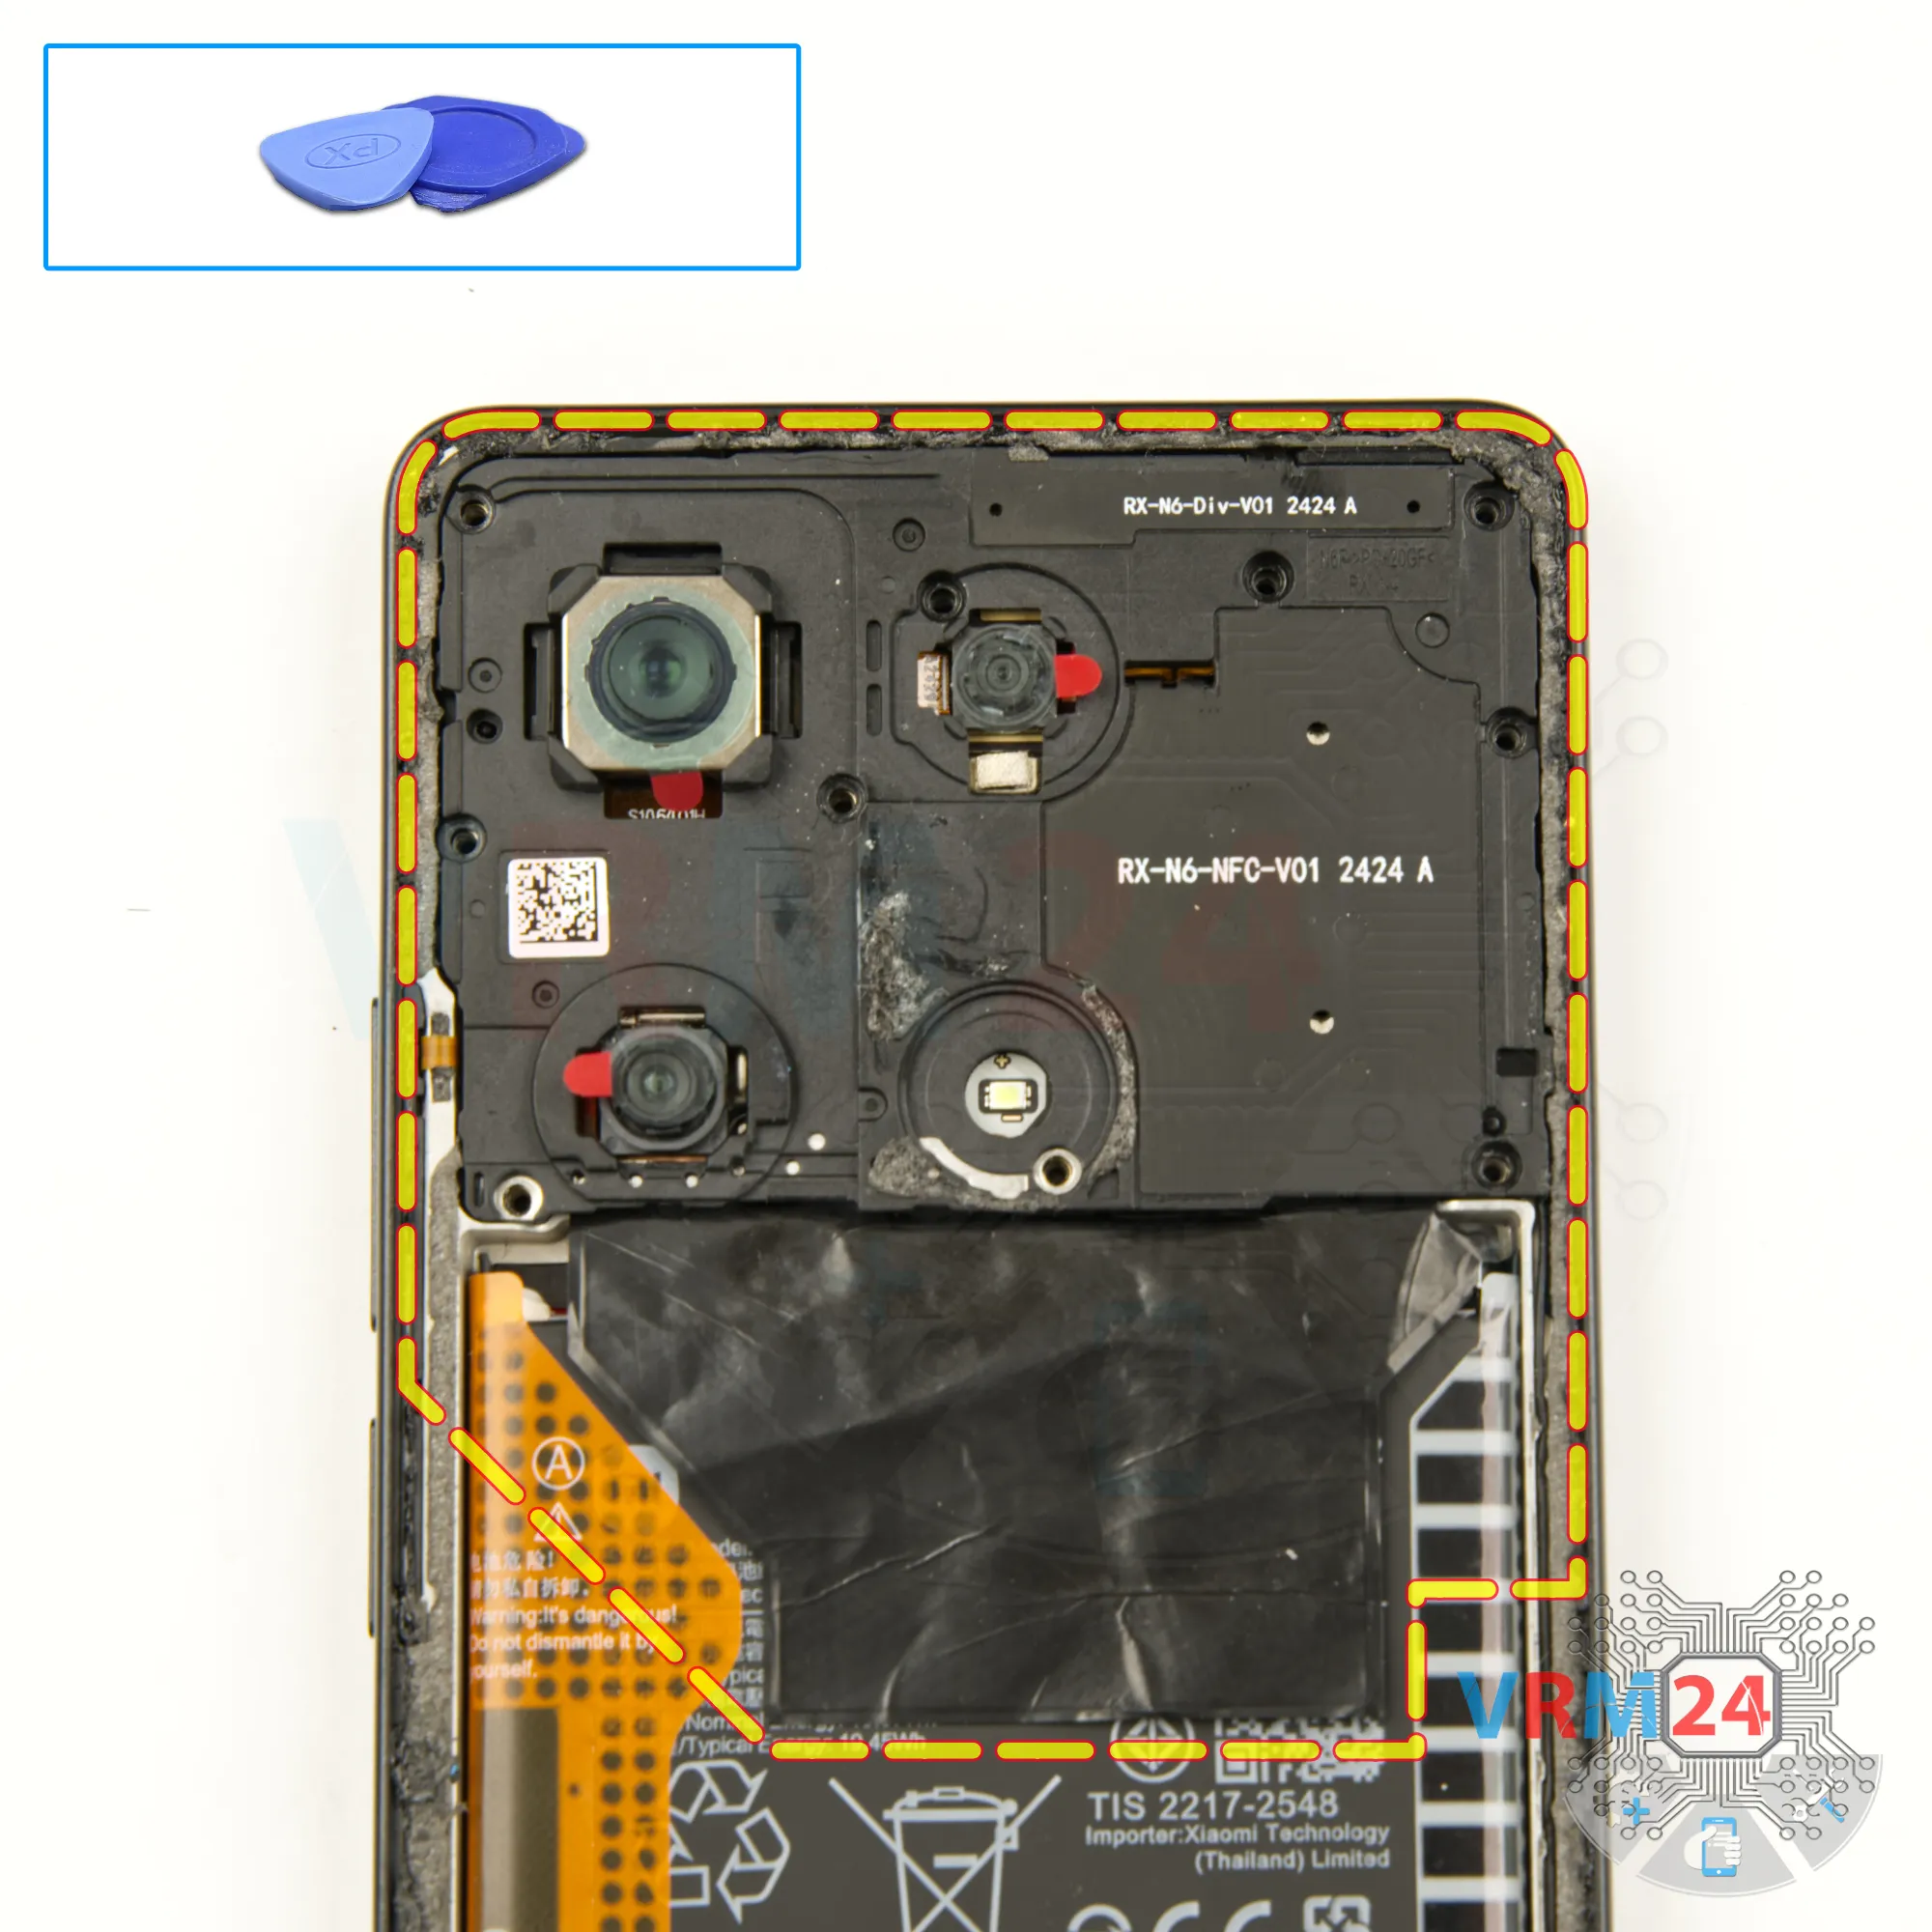
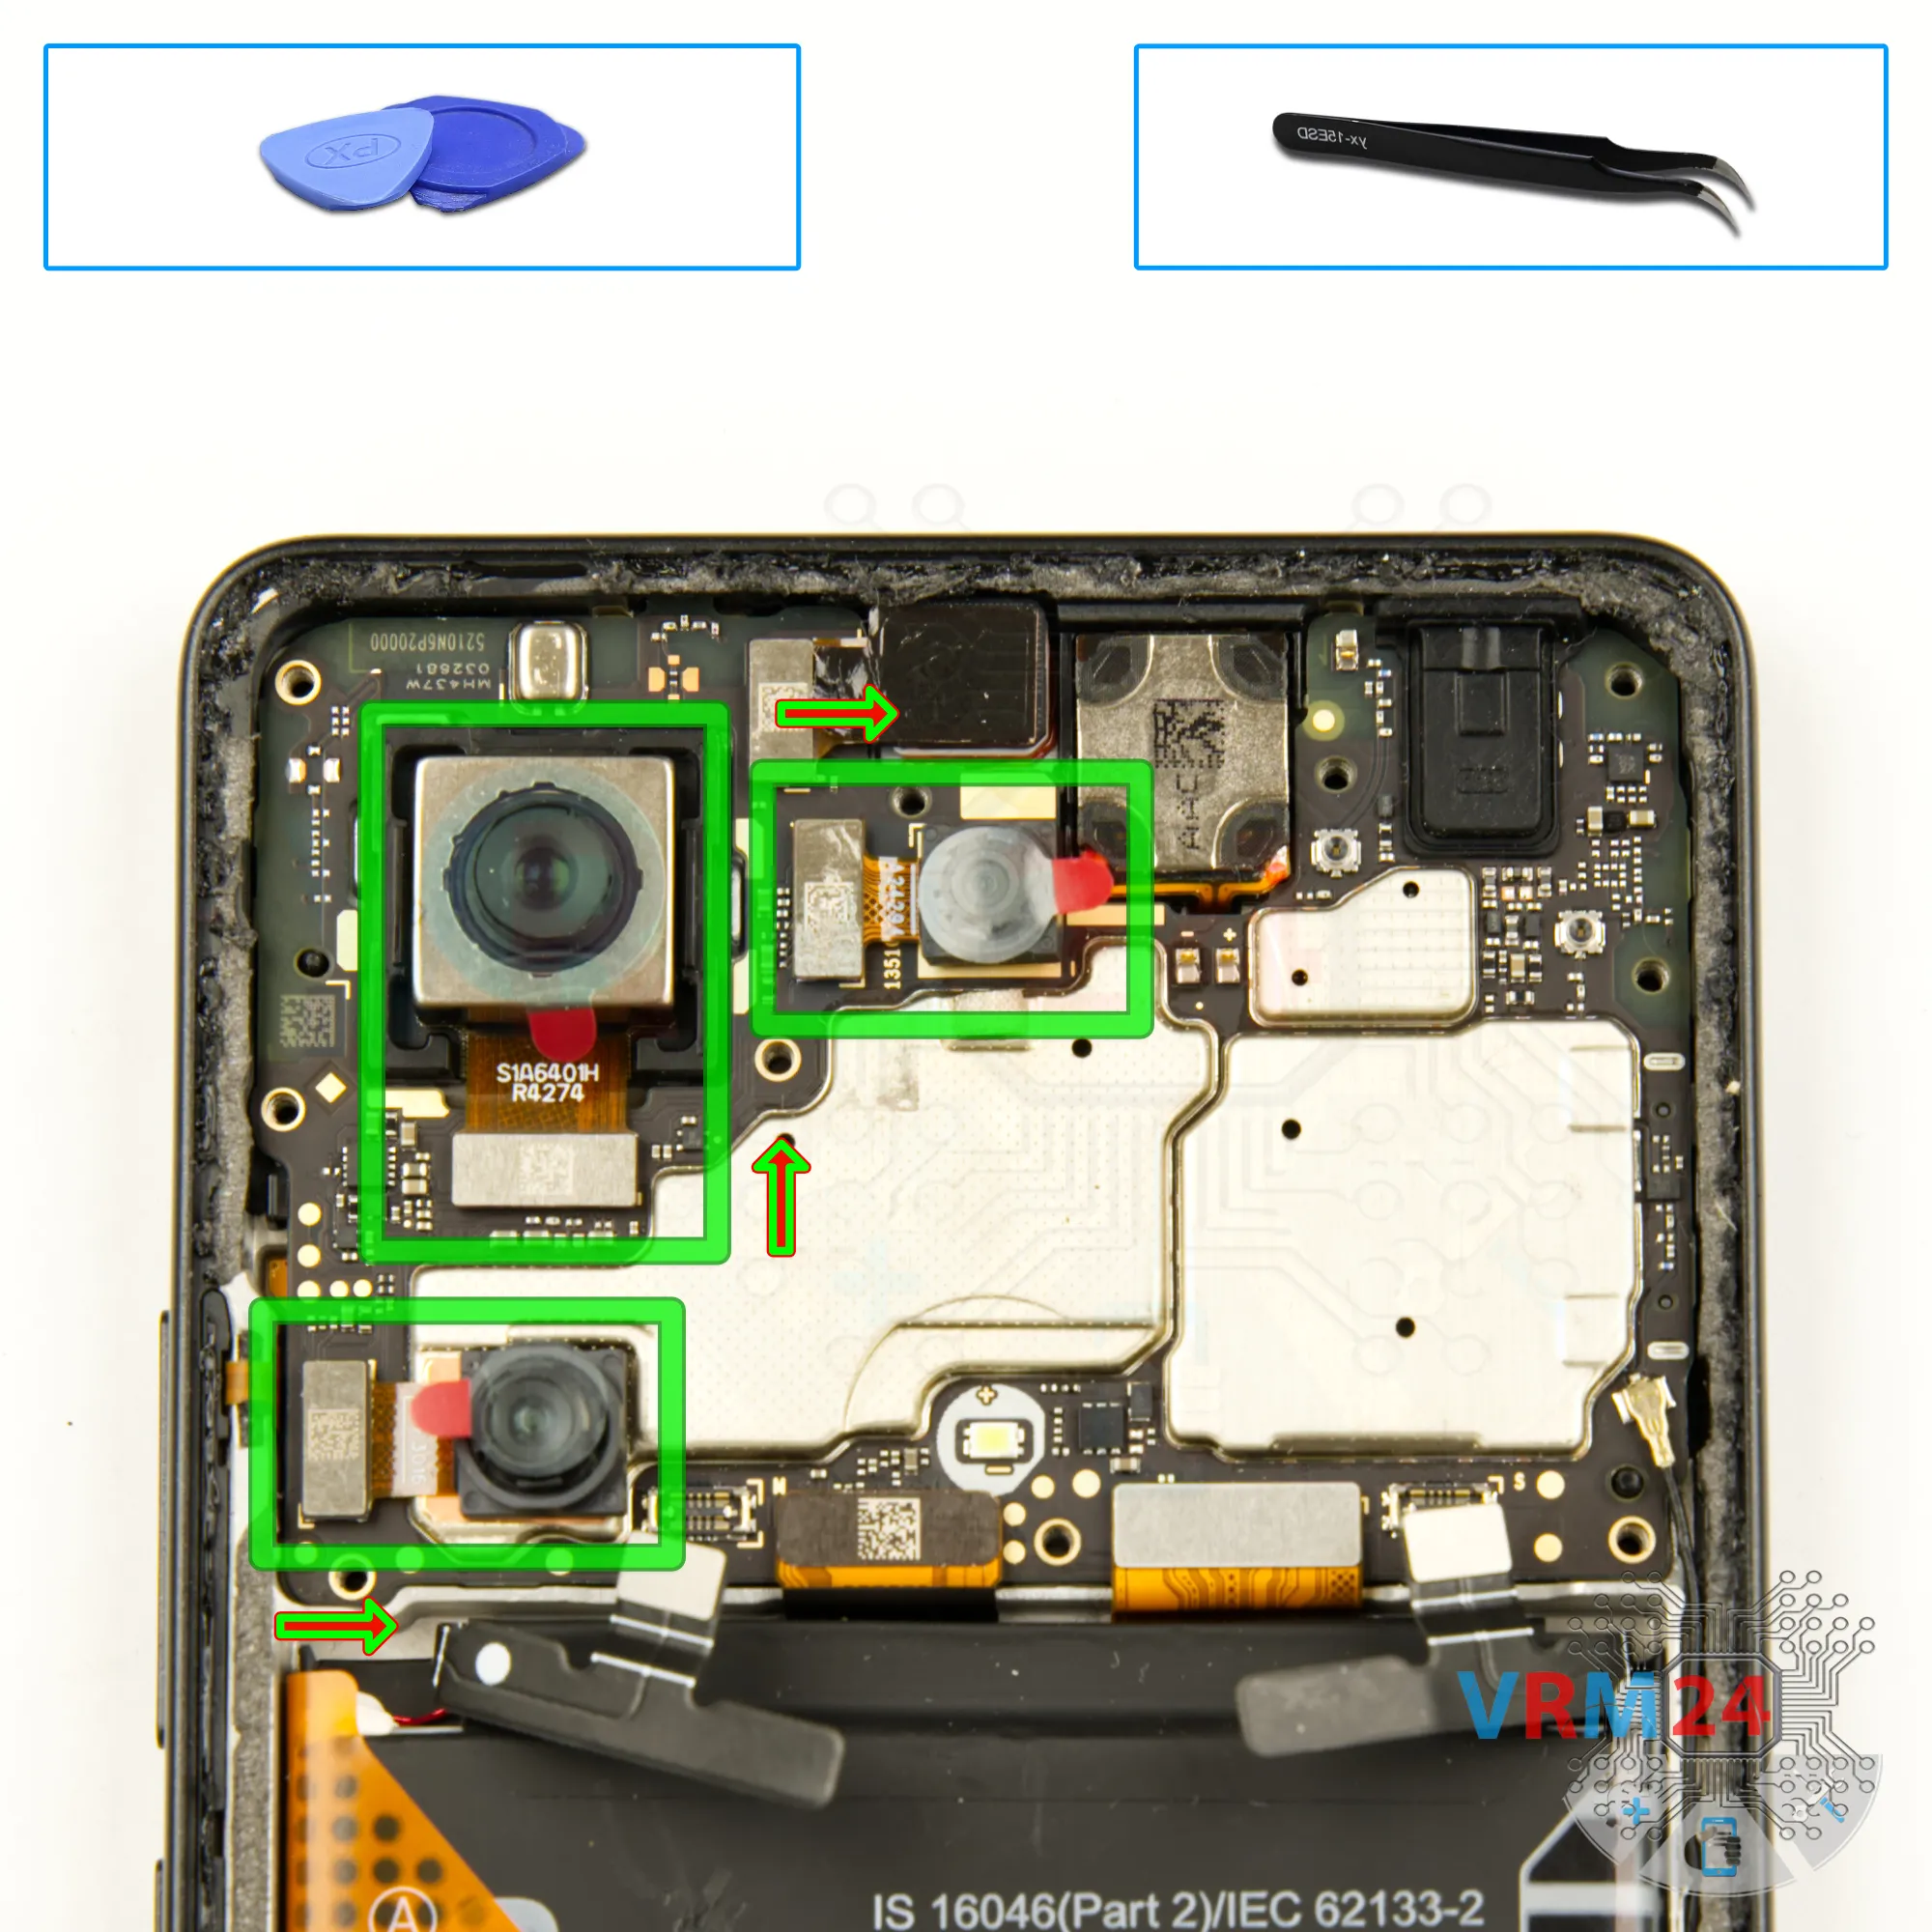
Step 11. Remove the cameras
Afterward, we need to protect the camera lenses.
For this, we use a special film, which can be purchased online from any marketplace. Cover all the lenses carefully to ensure that no dust or debris gets on them.
Once the lenses are protected, we can proceed to remove the cameras.
Carefully disconnect the connectors, lift them, and remove the cameras, setting them aside.

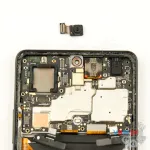
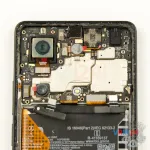
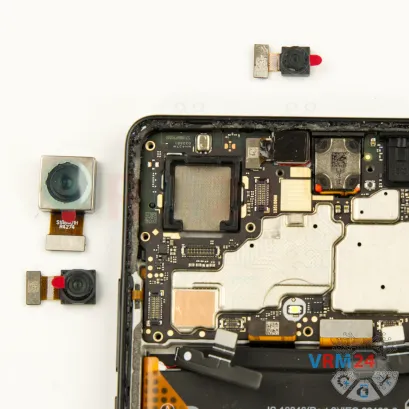
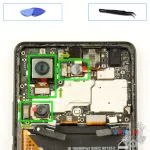
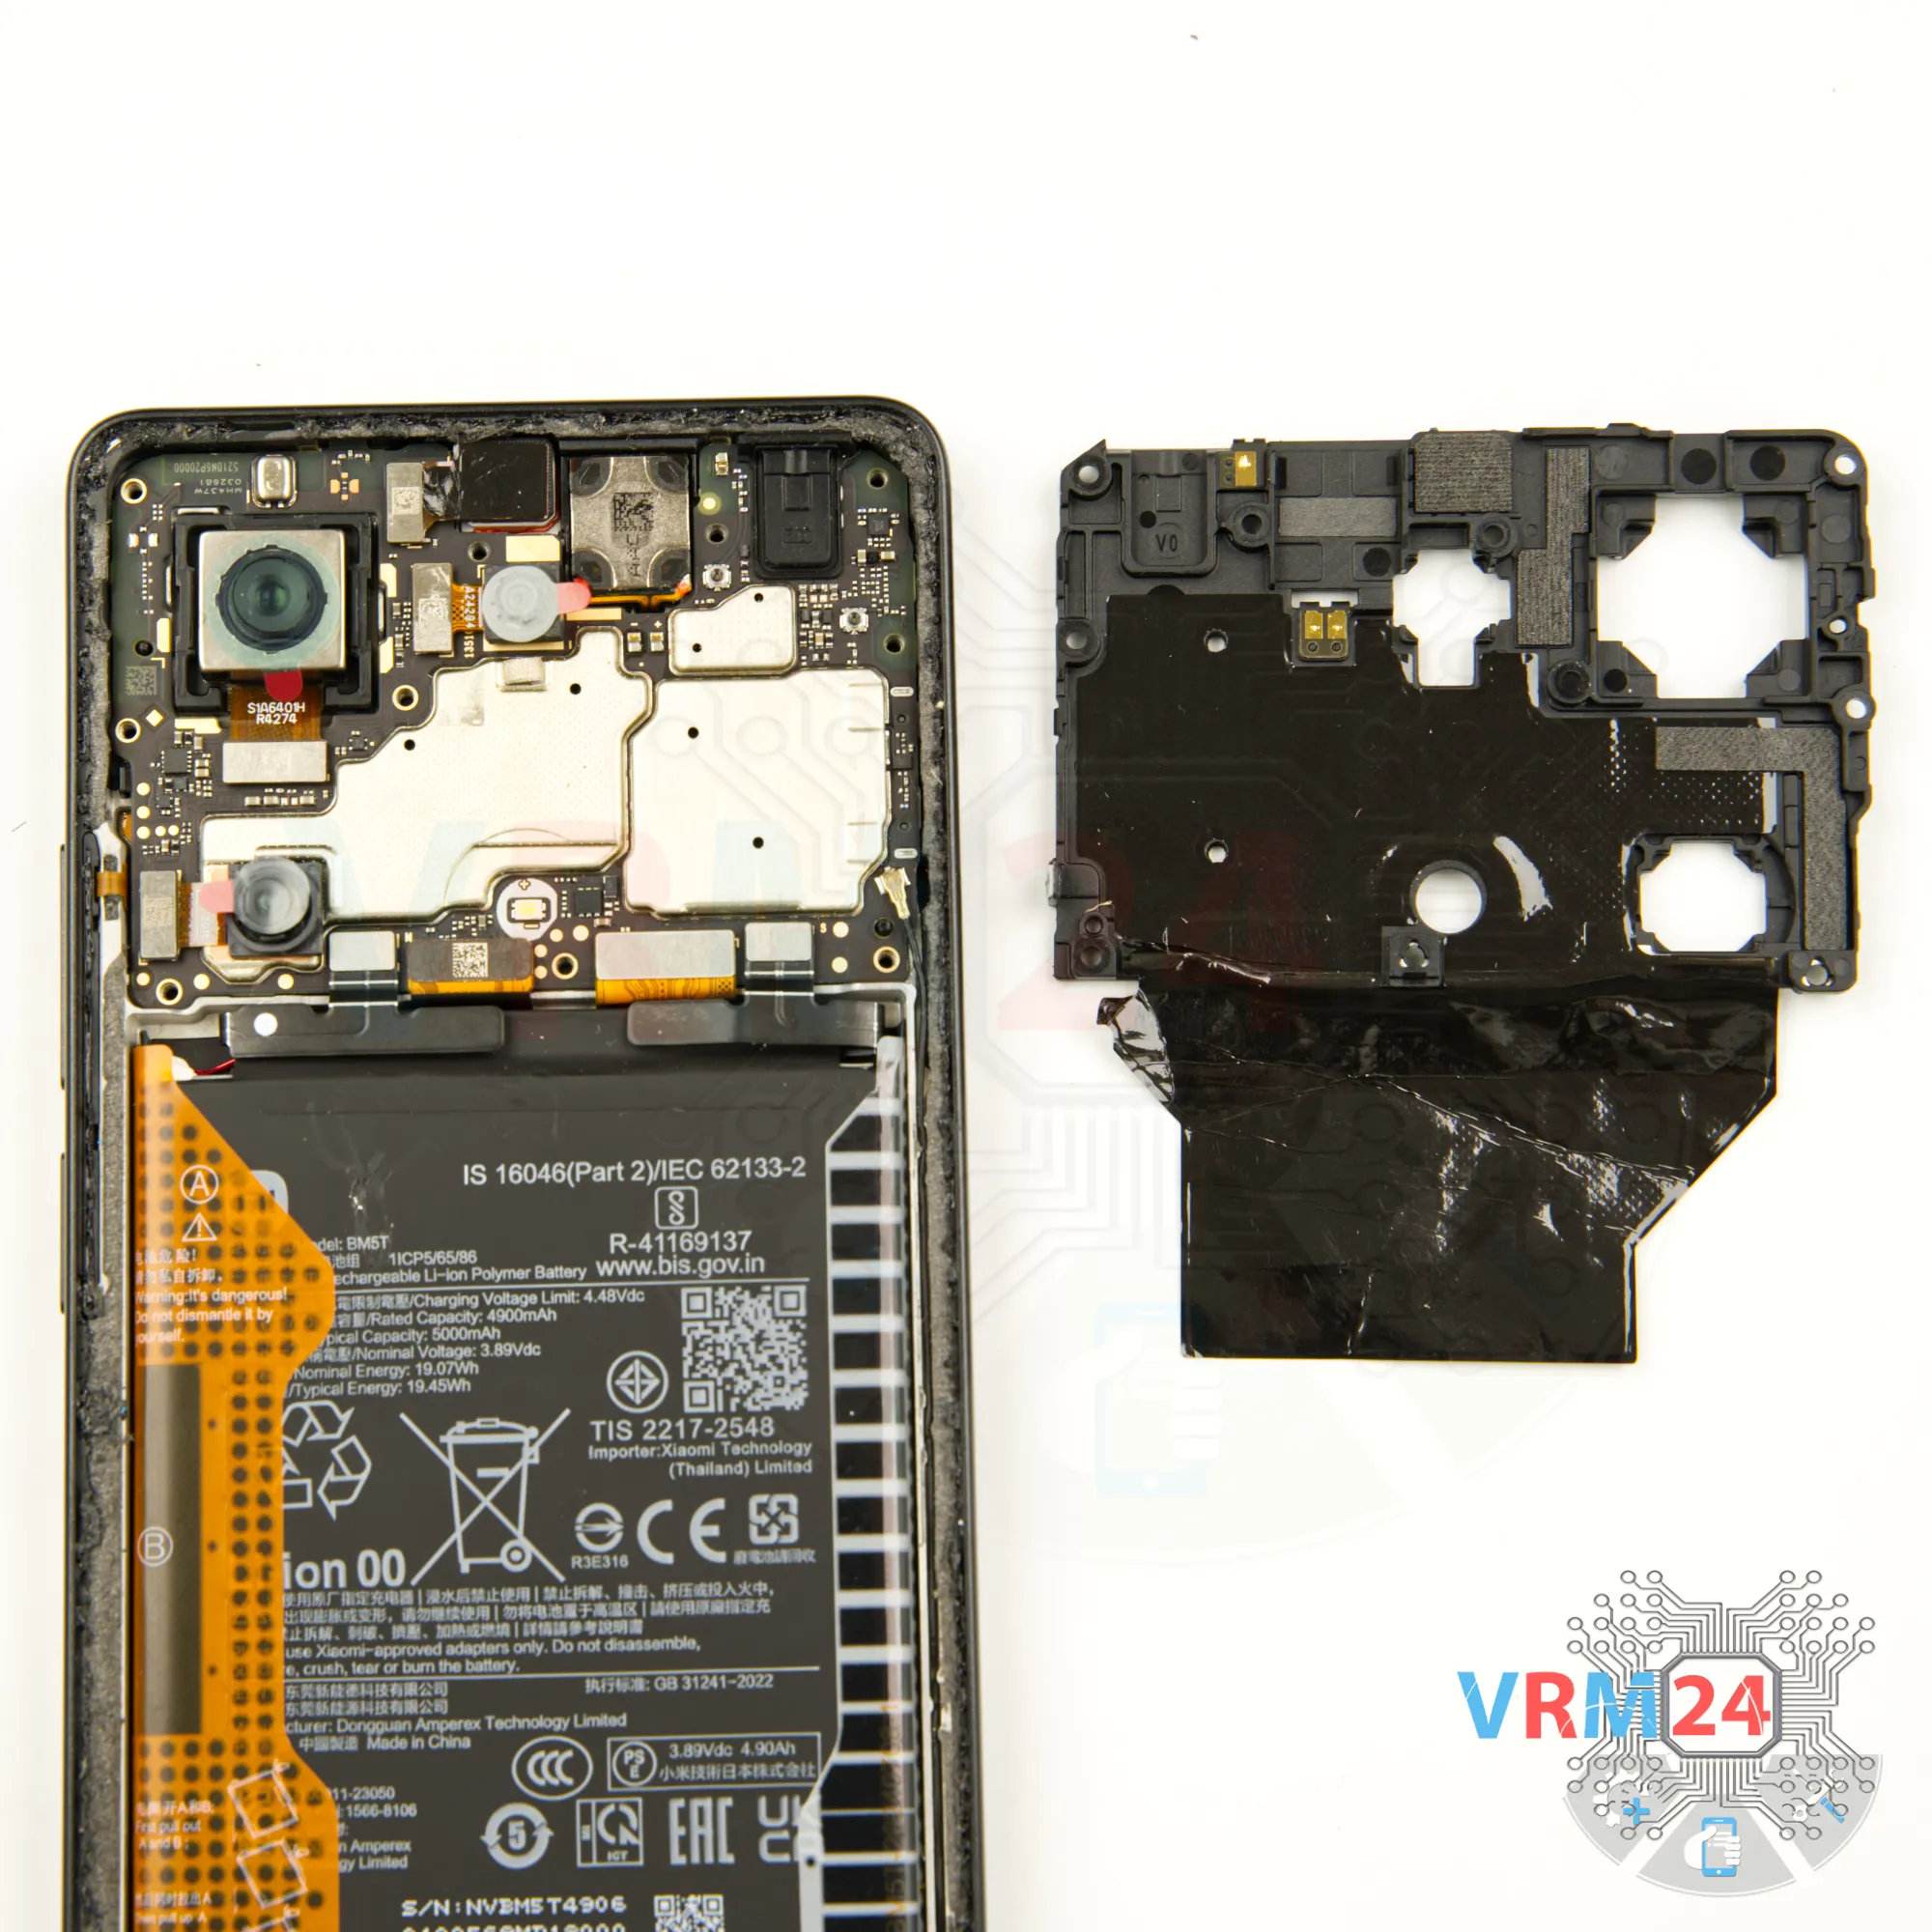
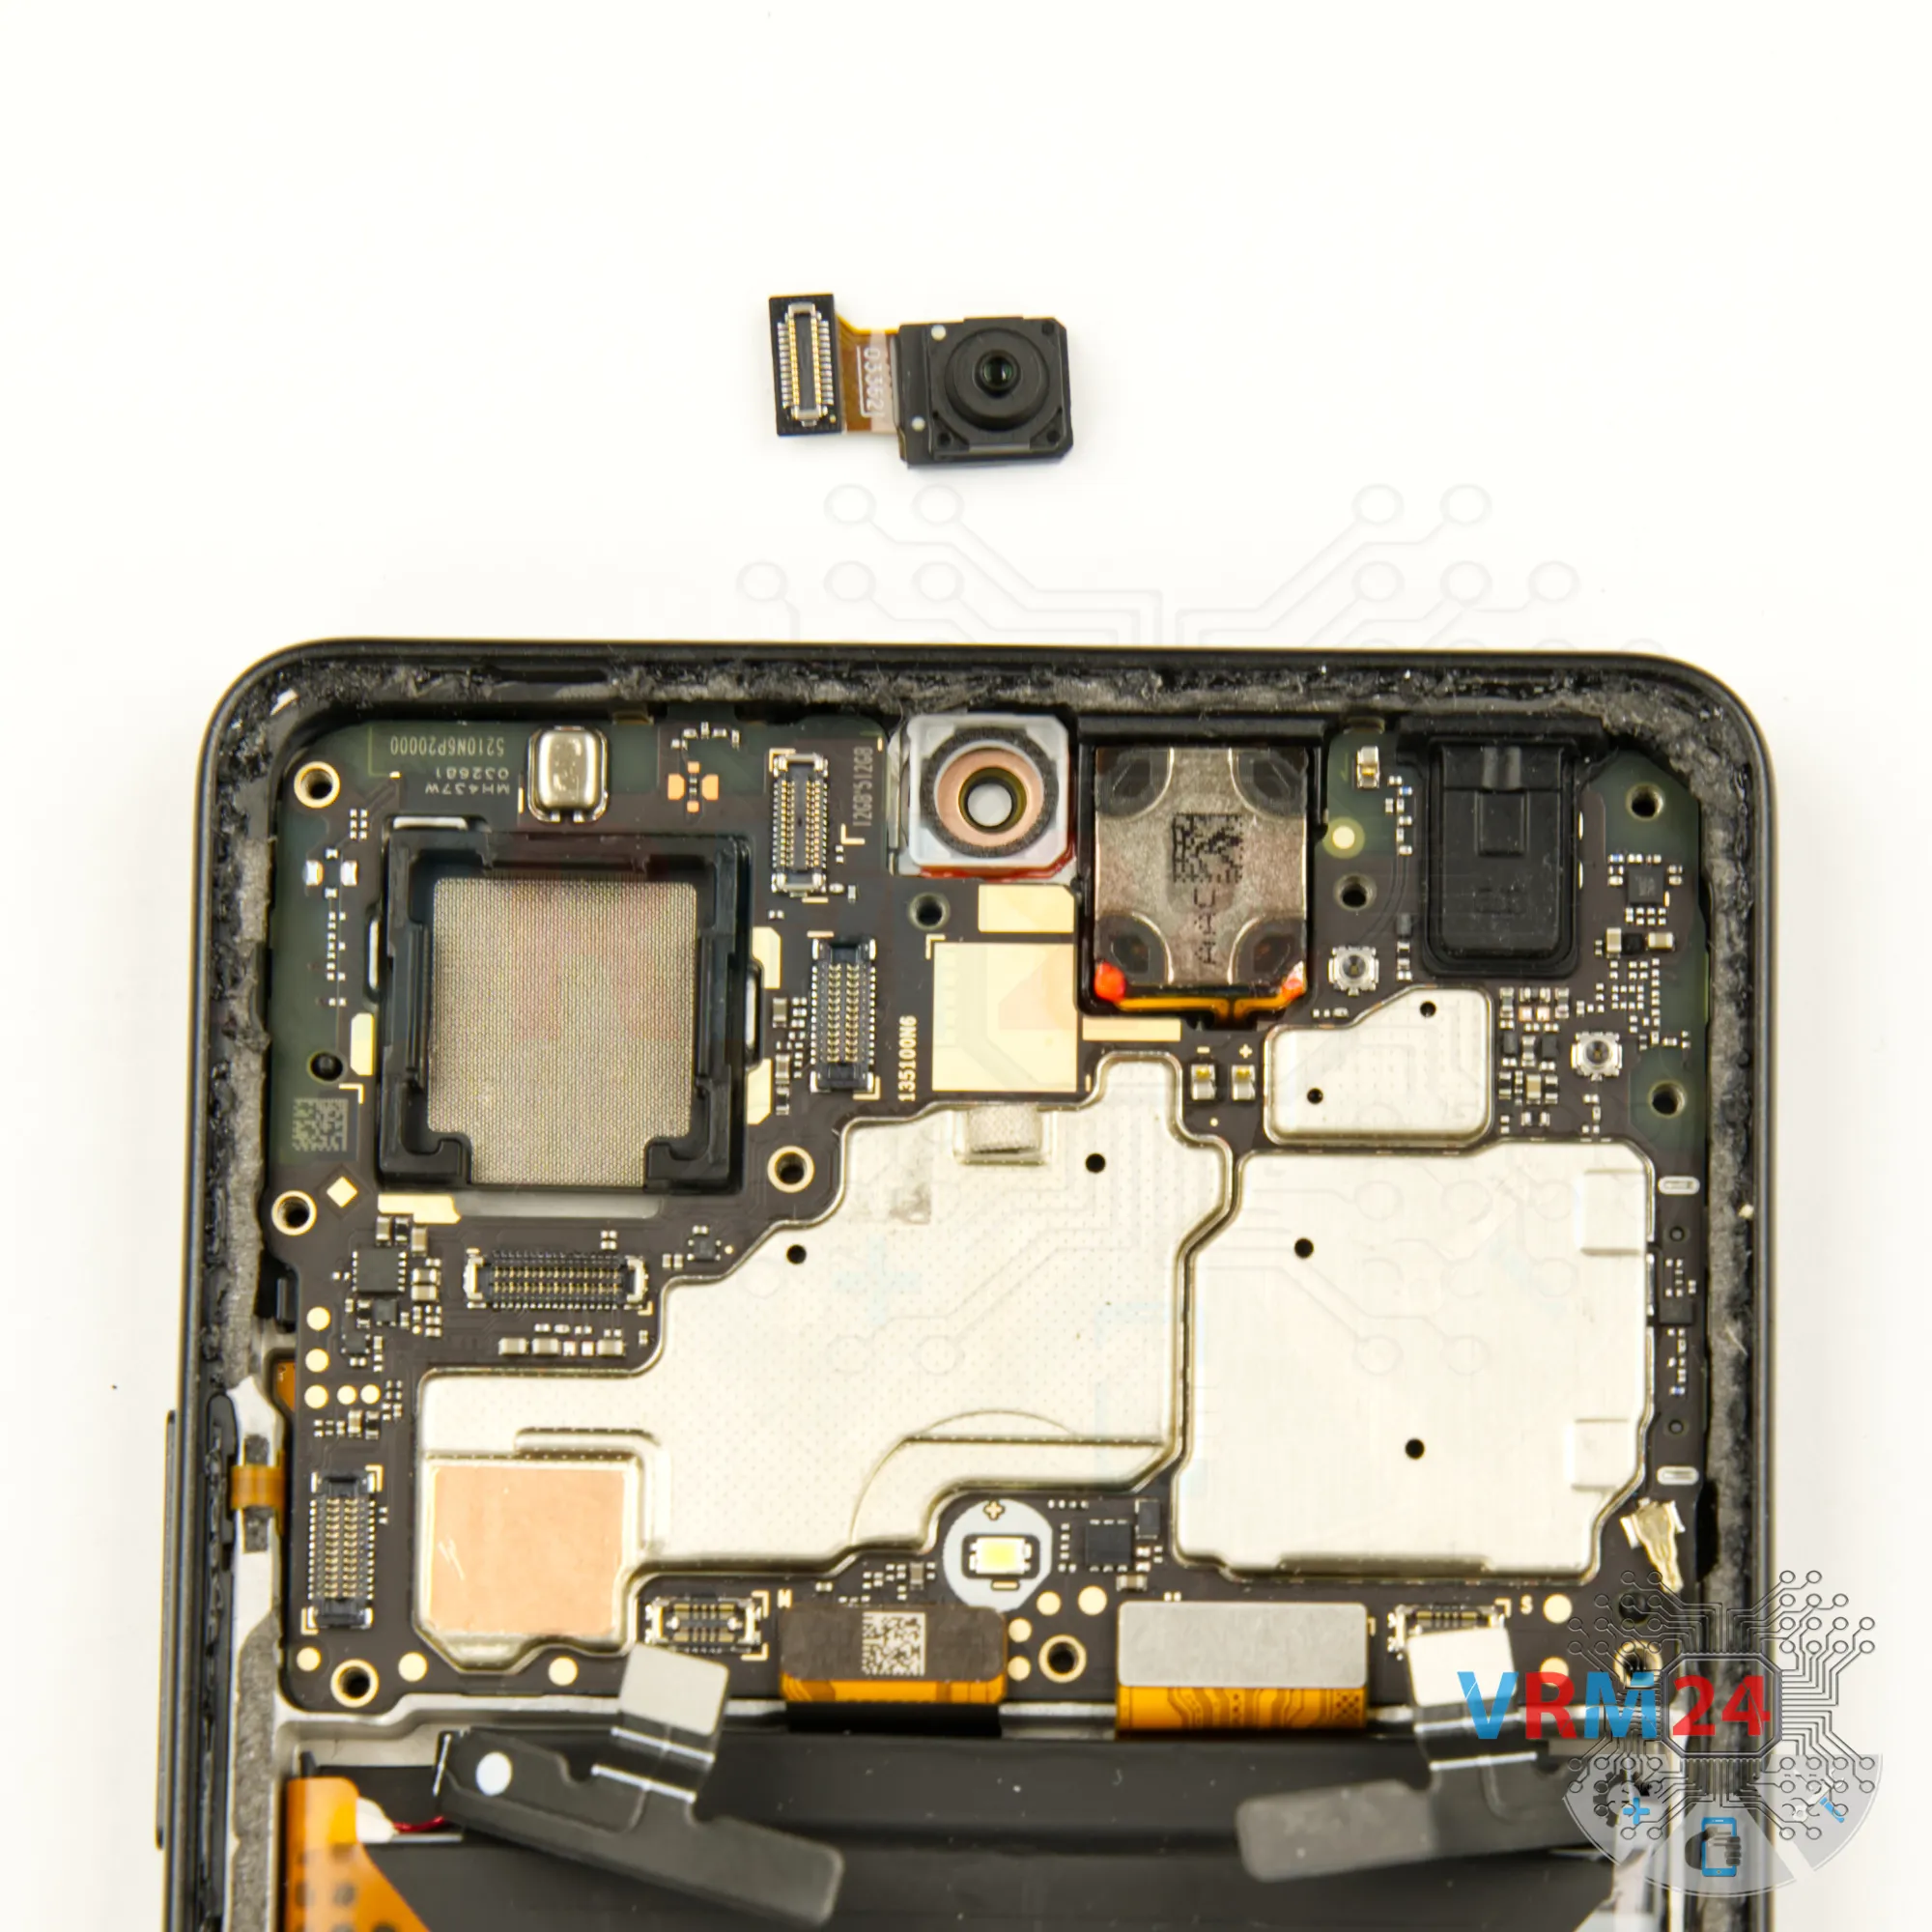
Step 12. Remove the front camera
Now, we can detach front camera.
When detaching the front and rear cameras, please note that they are bonded with copper heat-dissipating foil, so handle them cautiously.

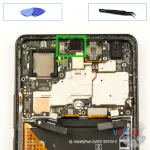
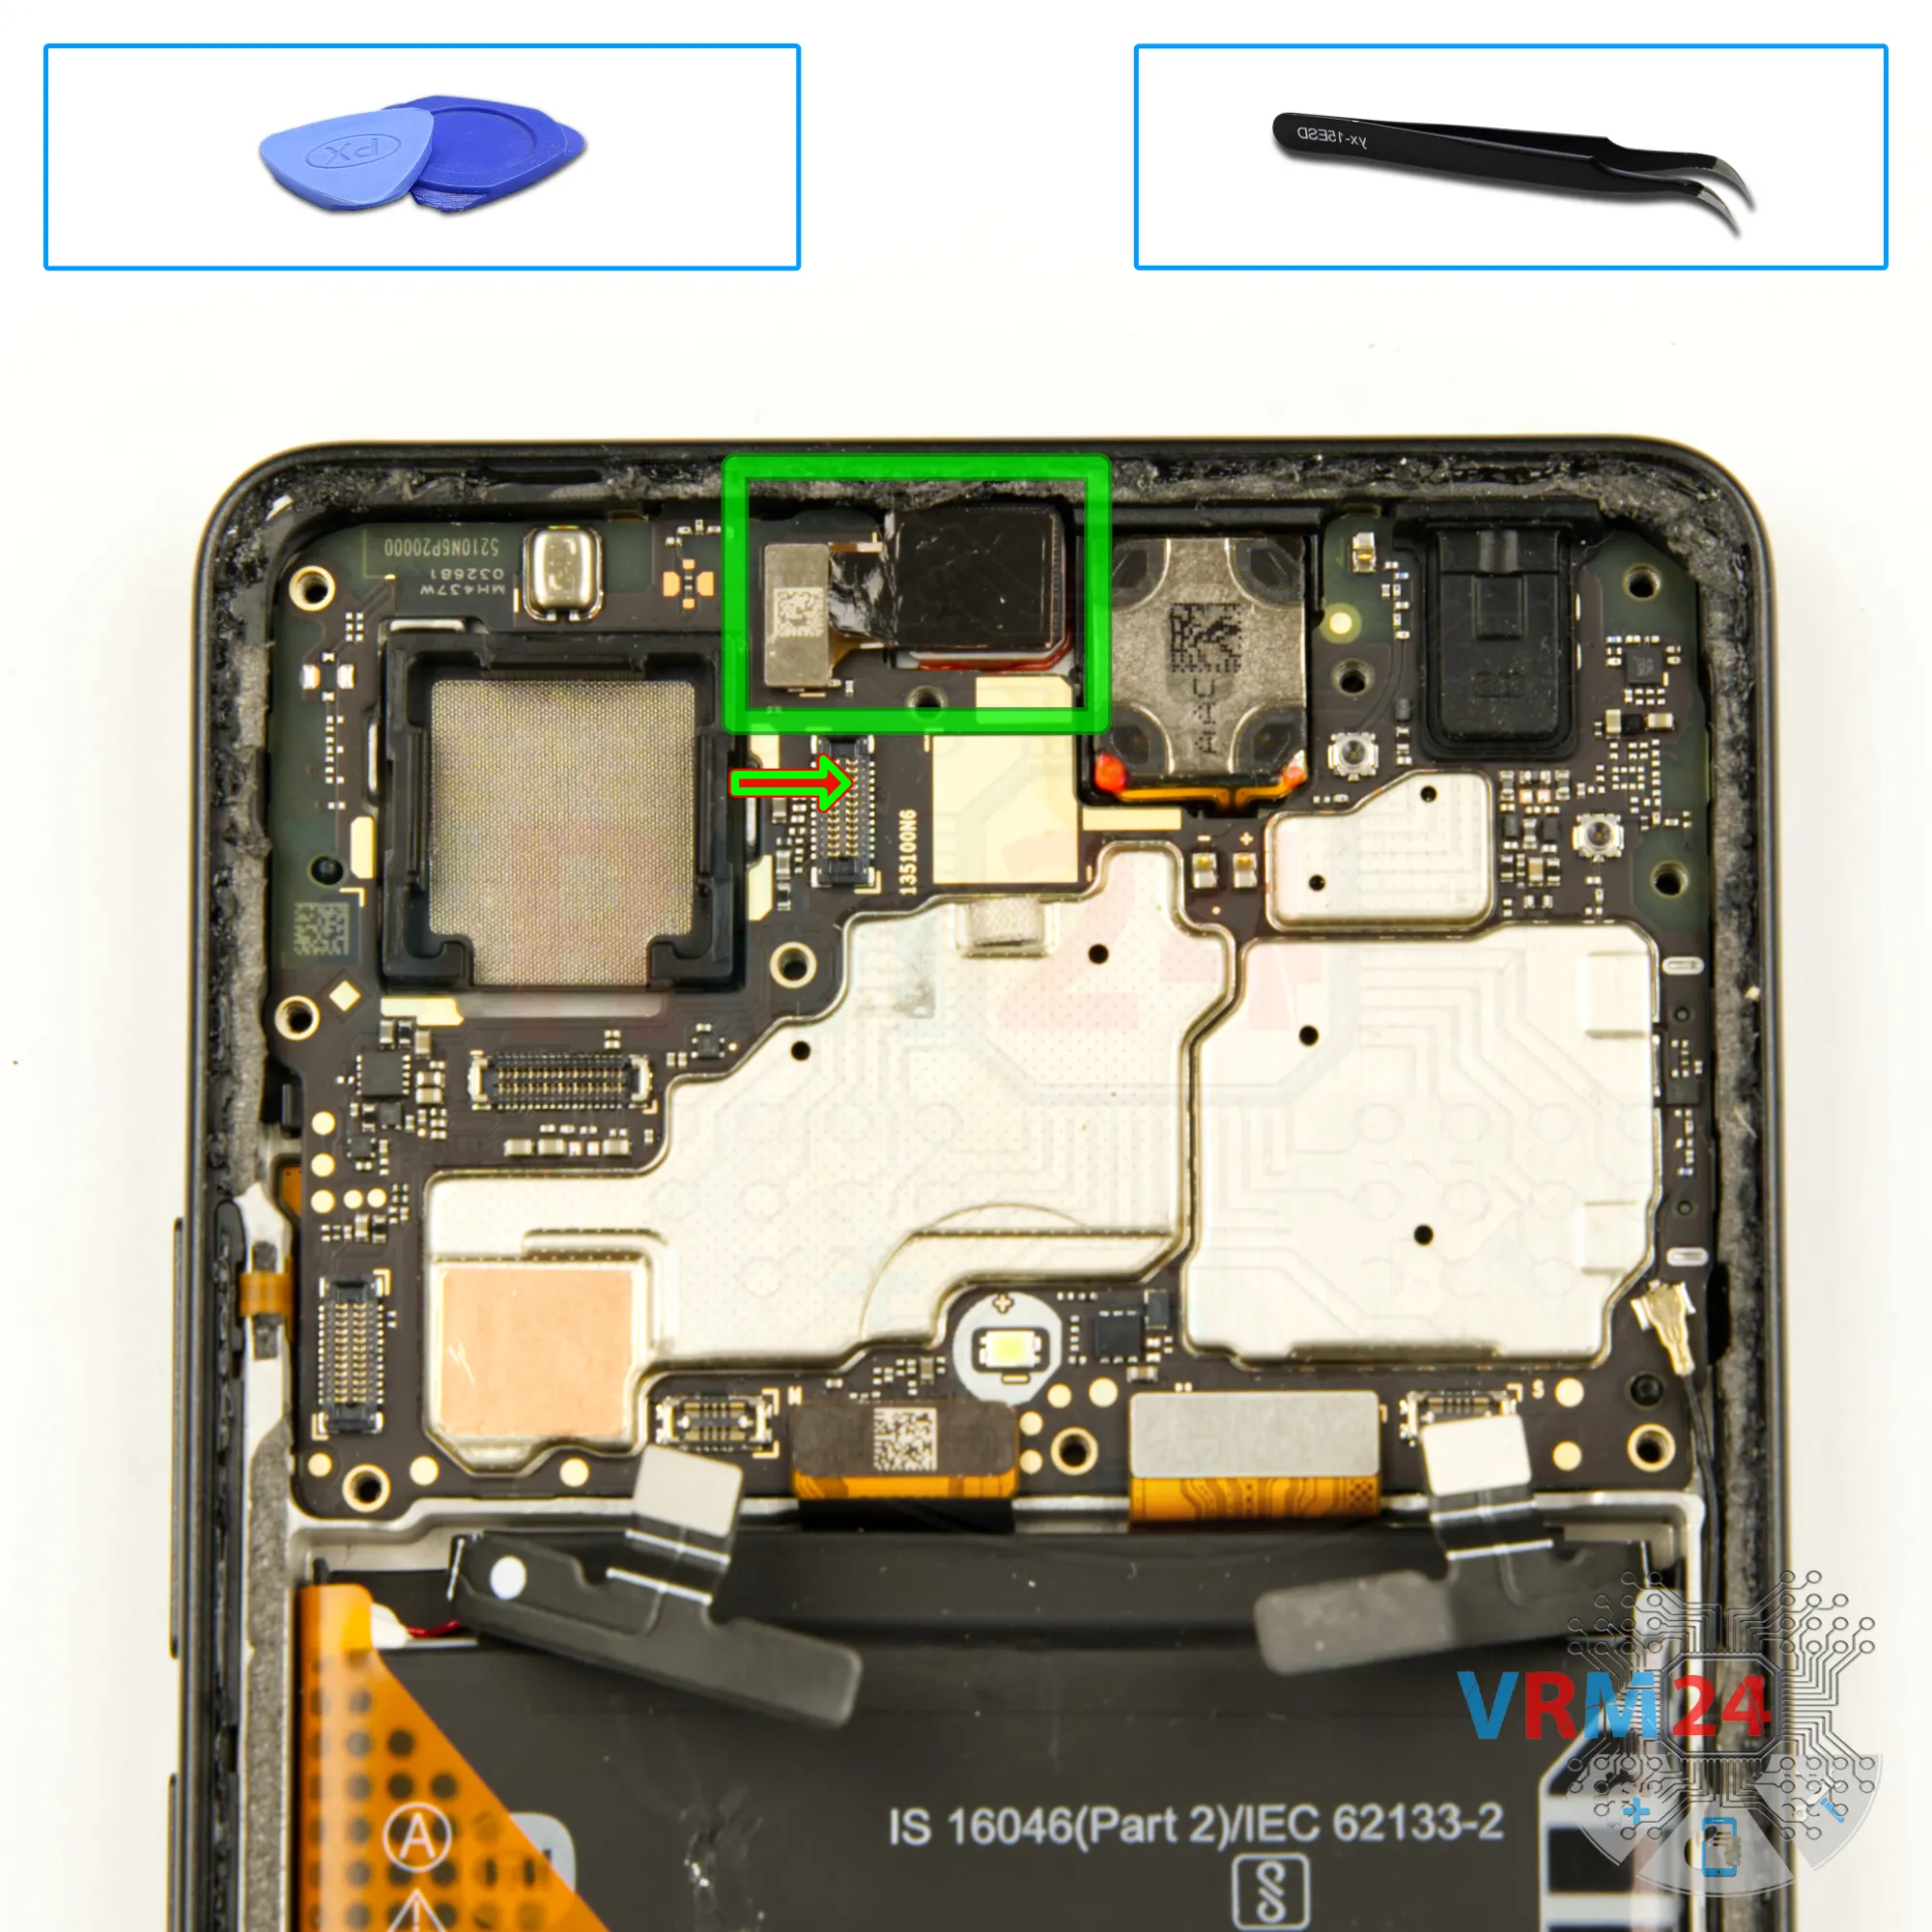
Step 13. Remove the front camera
Then, we disconnect the coaxial antenna cable connector, the inter-board ribbon cable connector, and the display cable connector.

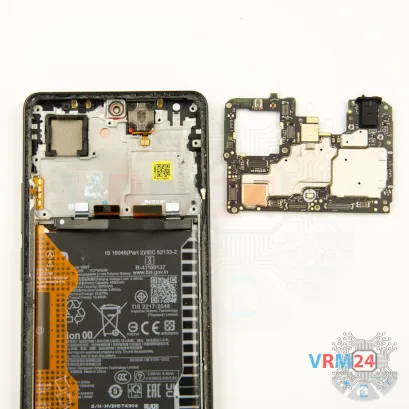
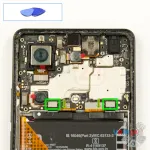
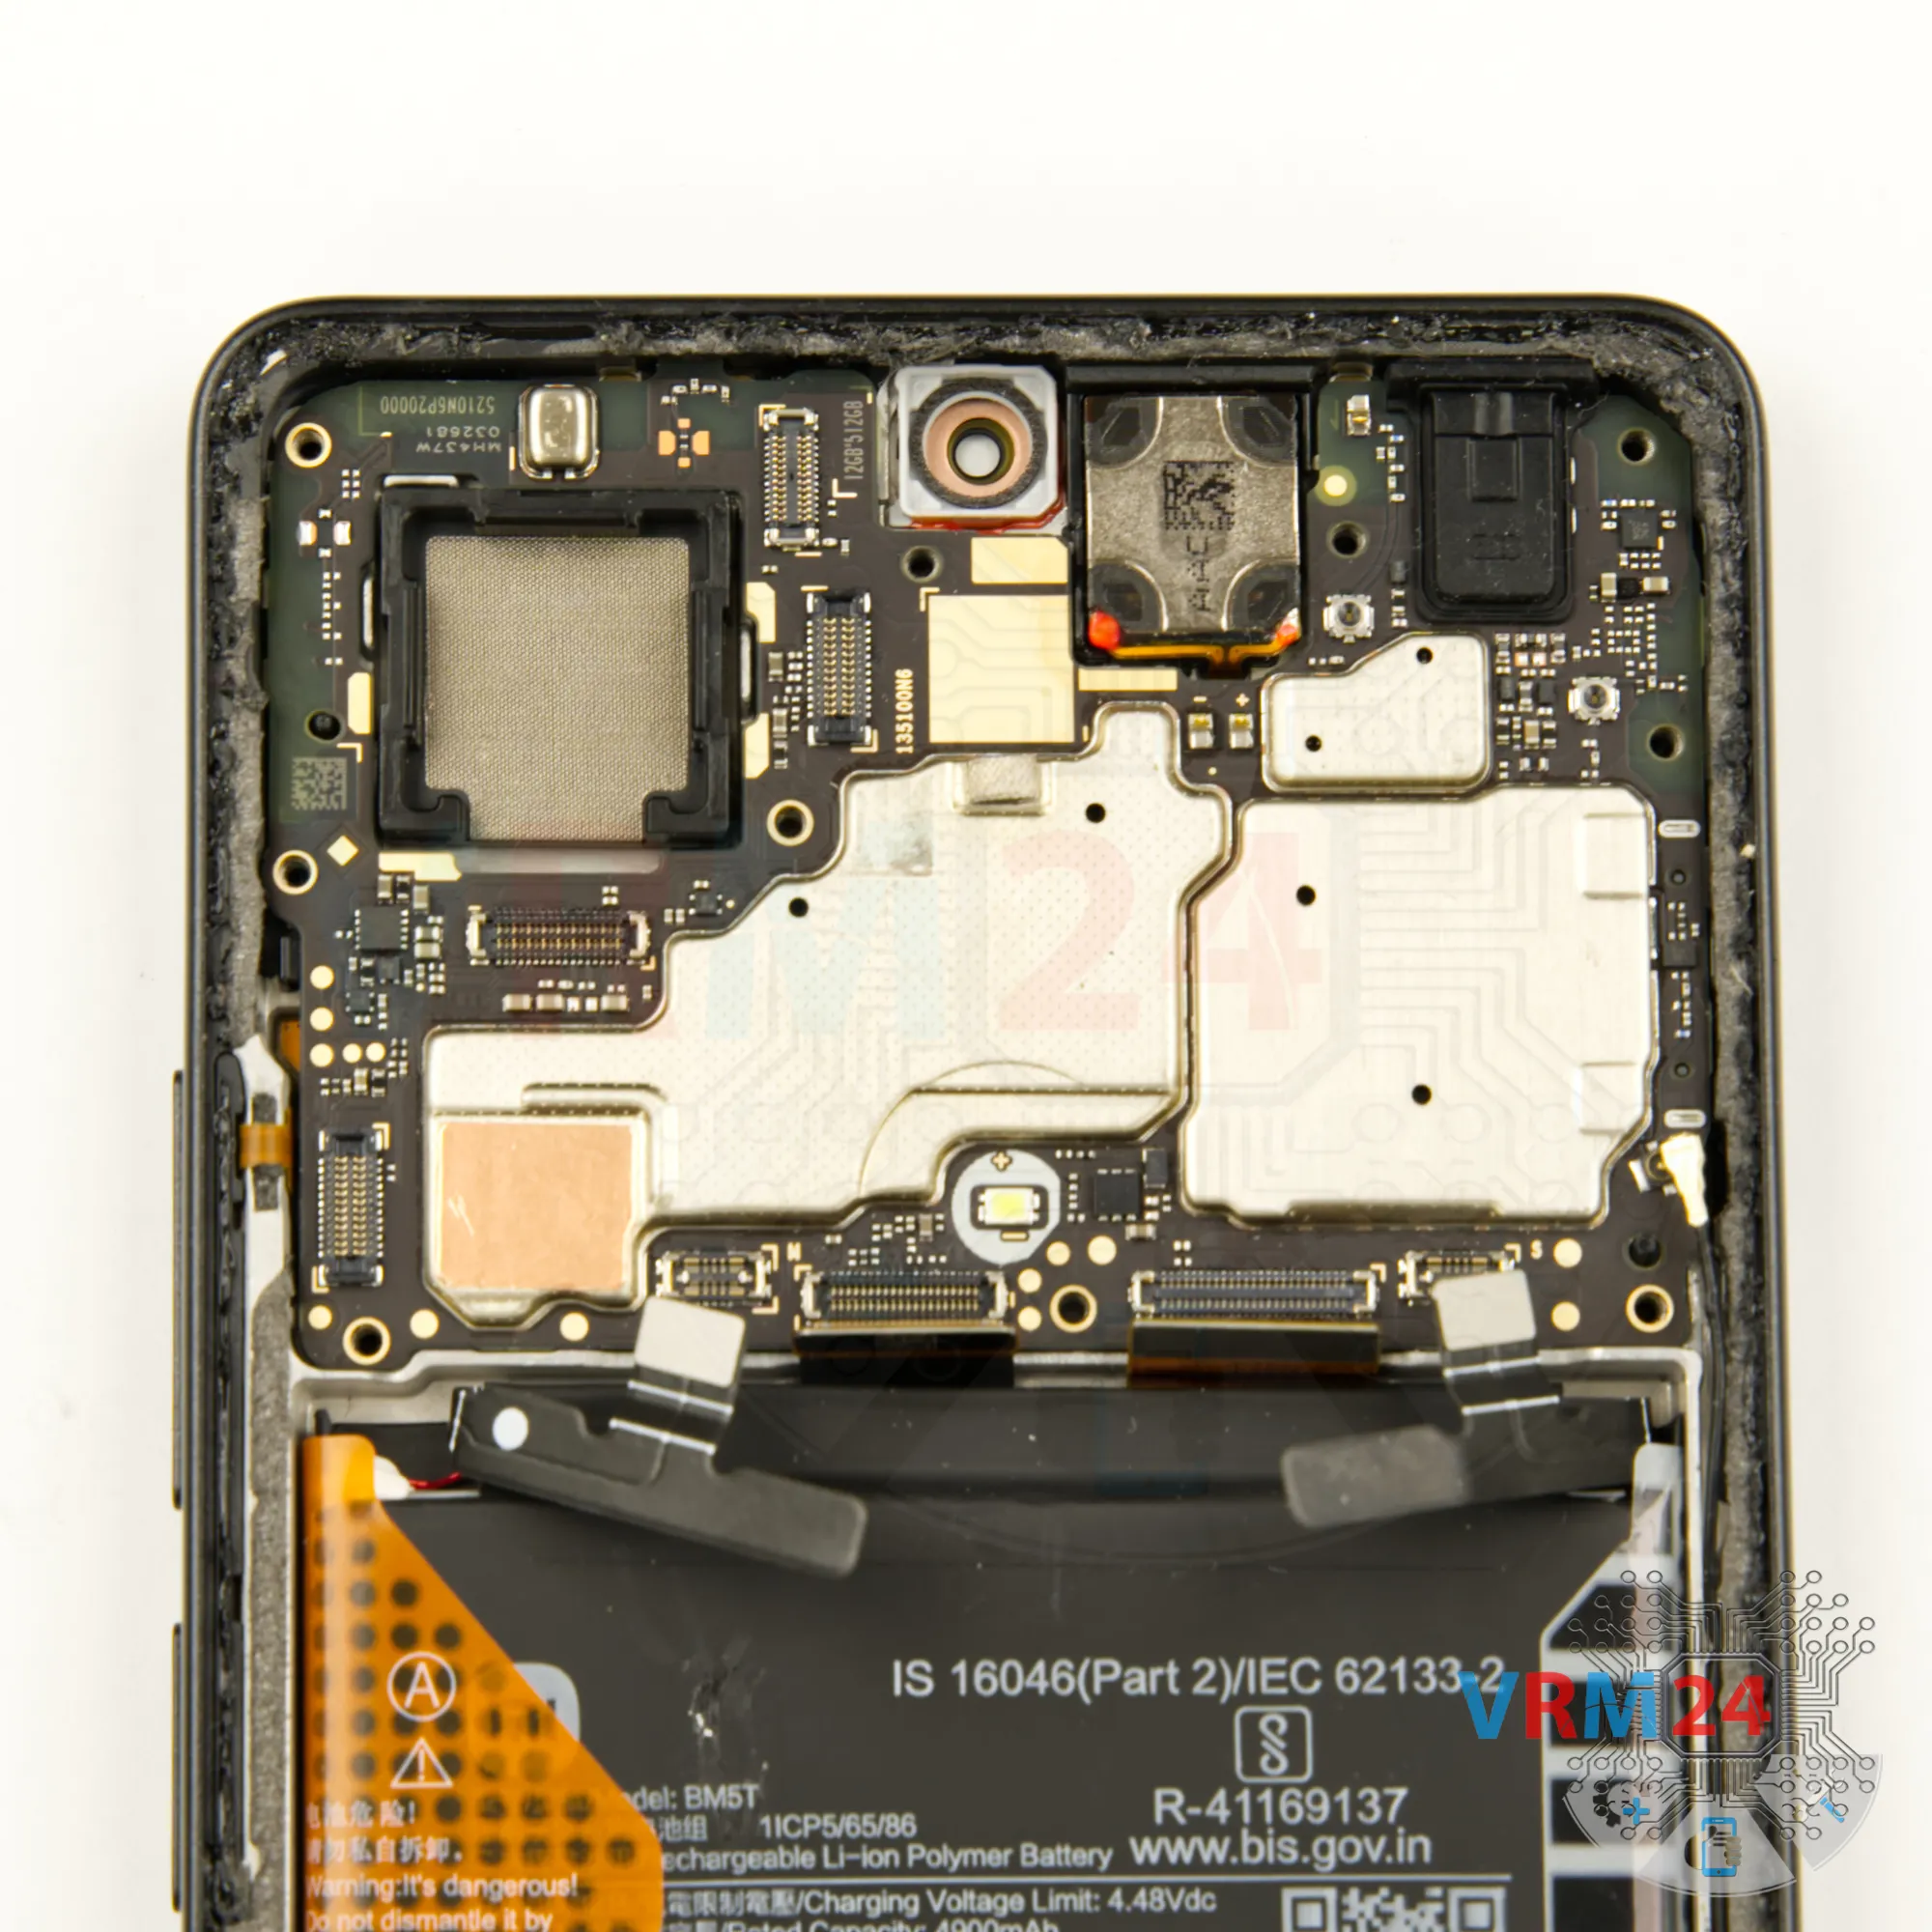
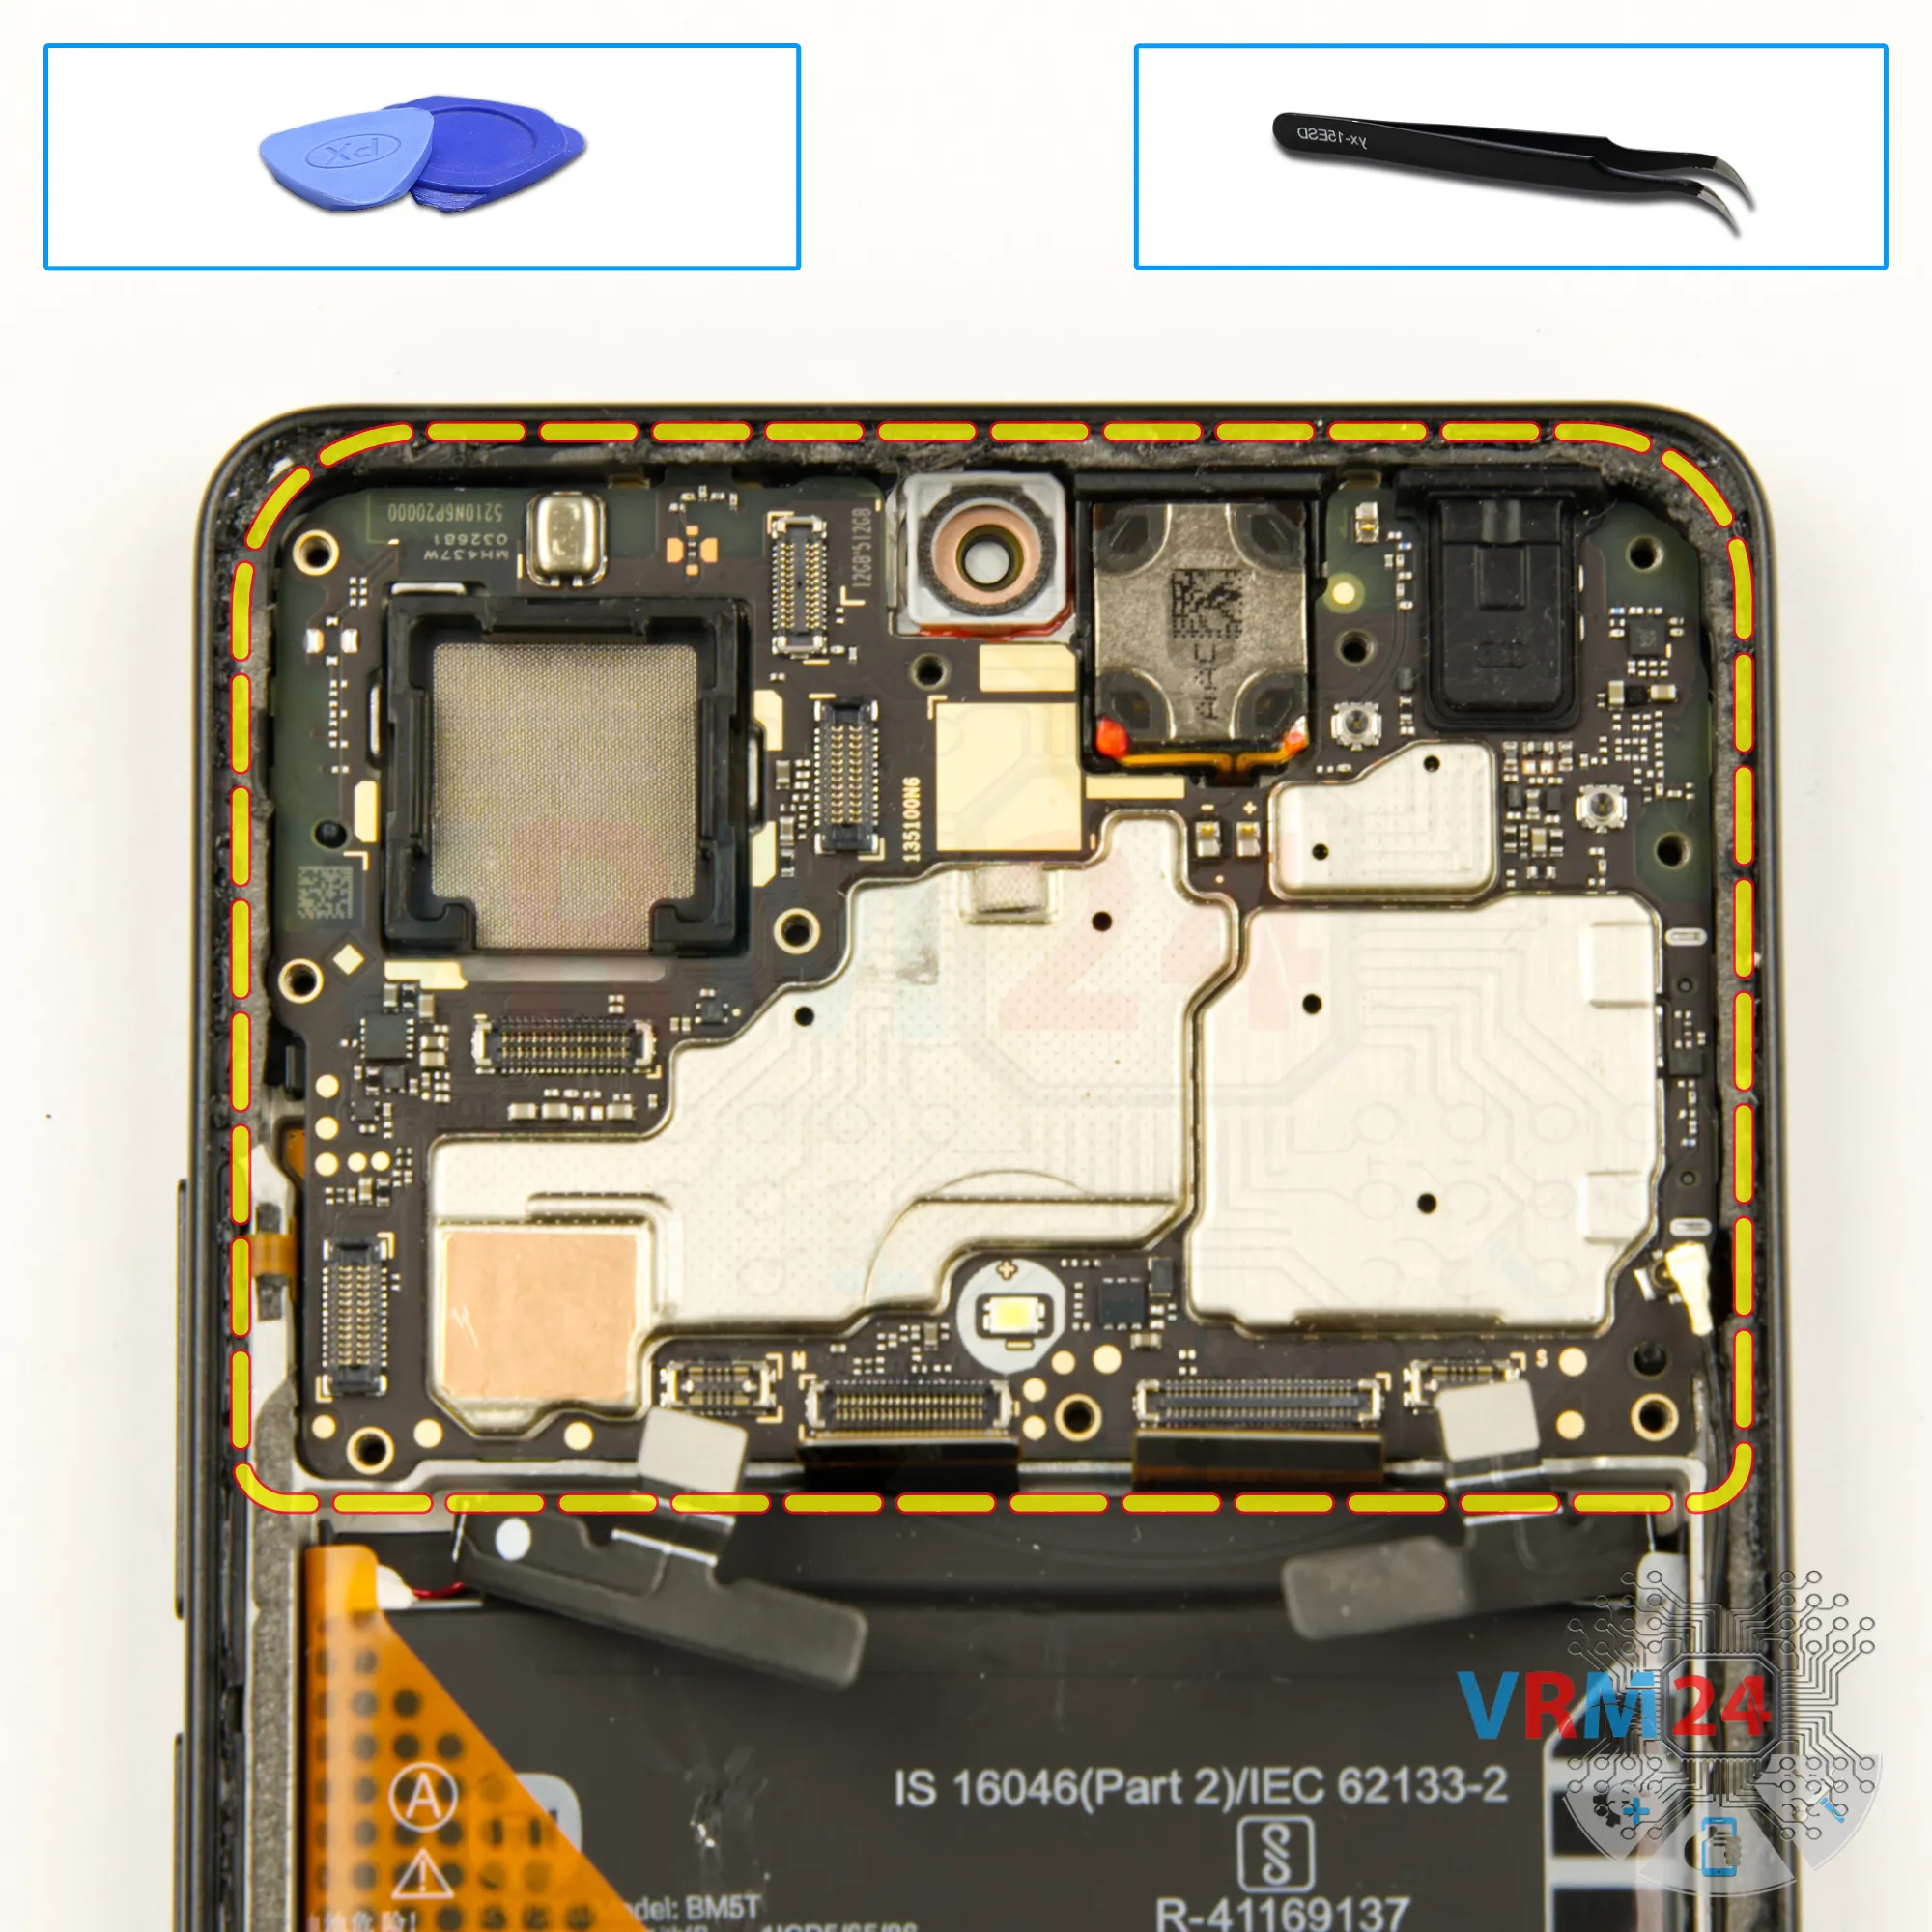
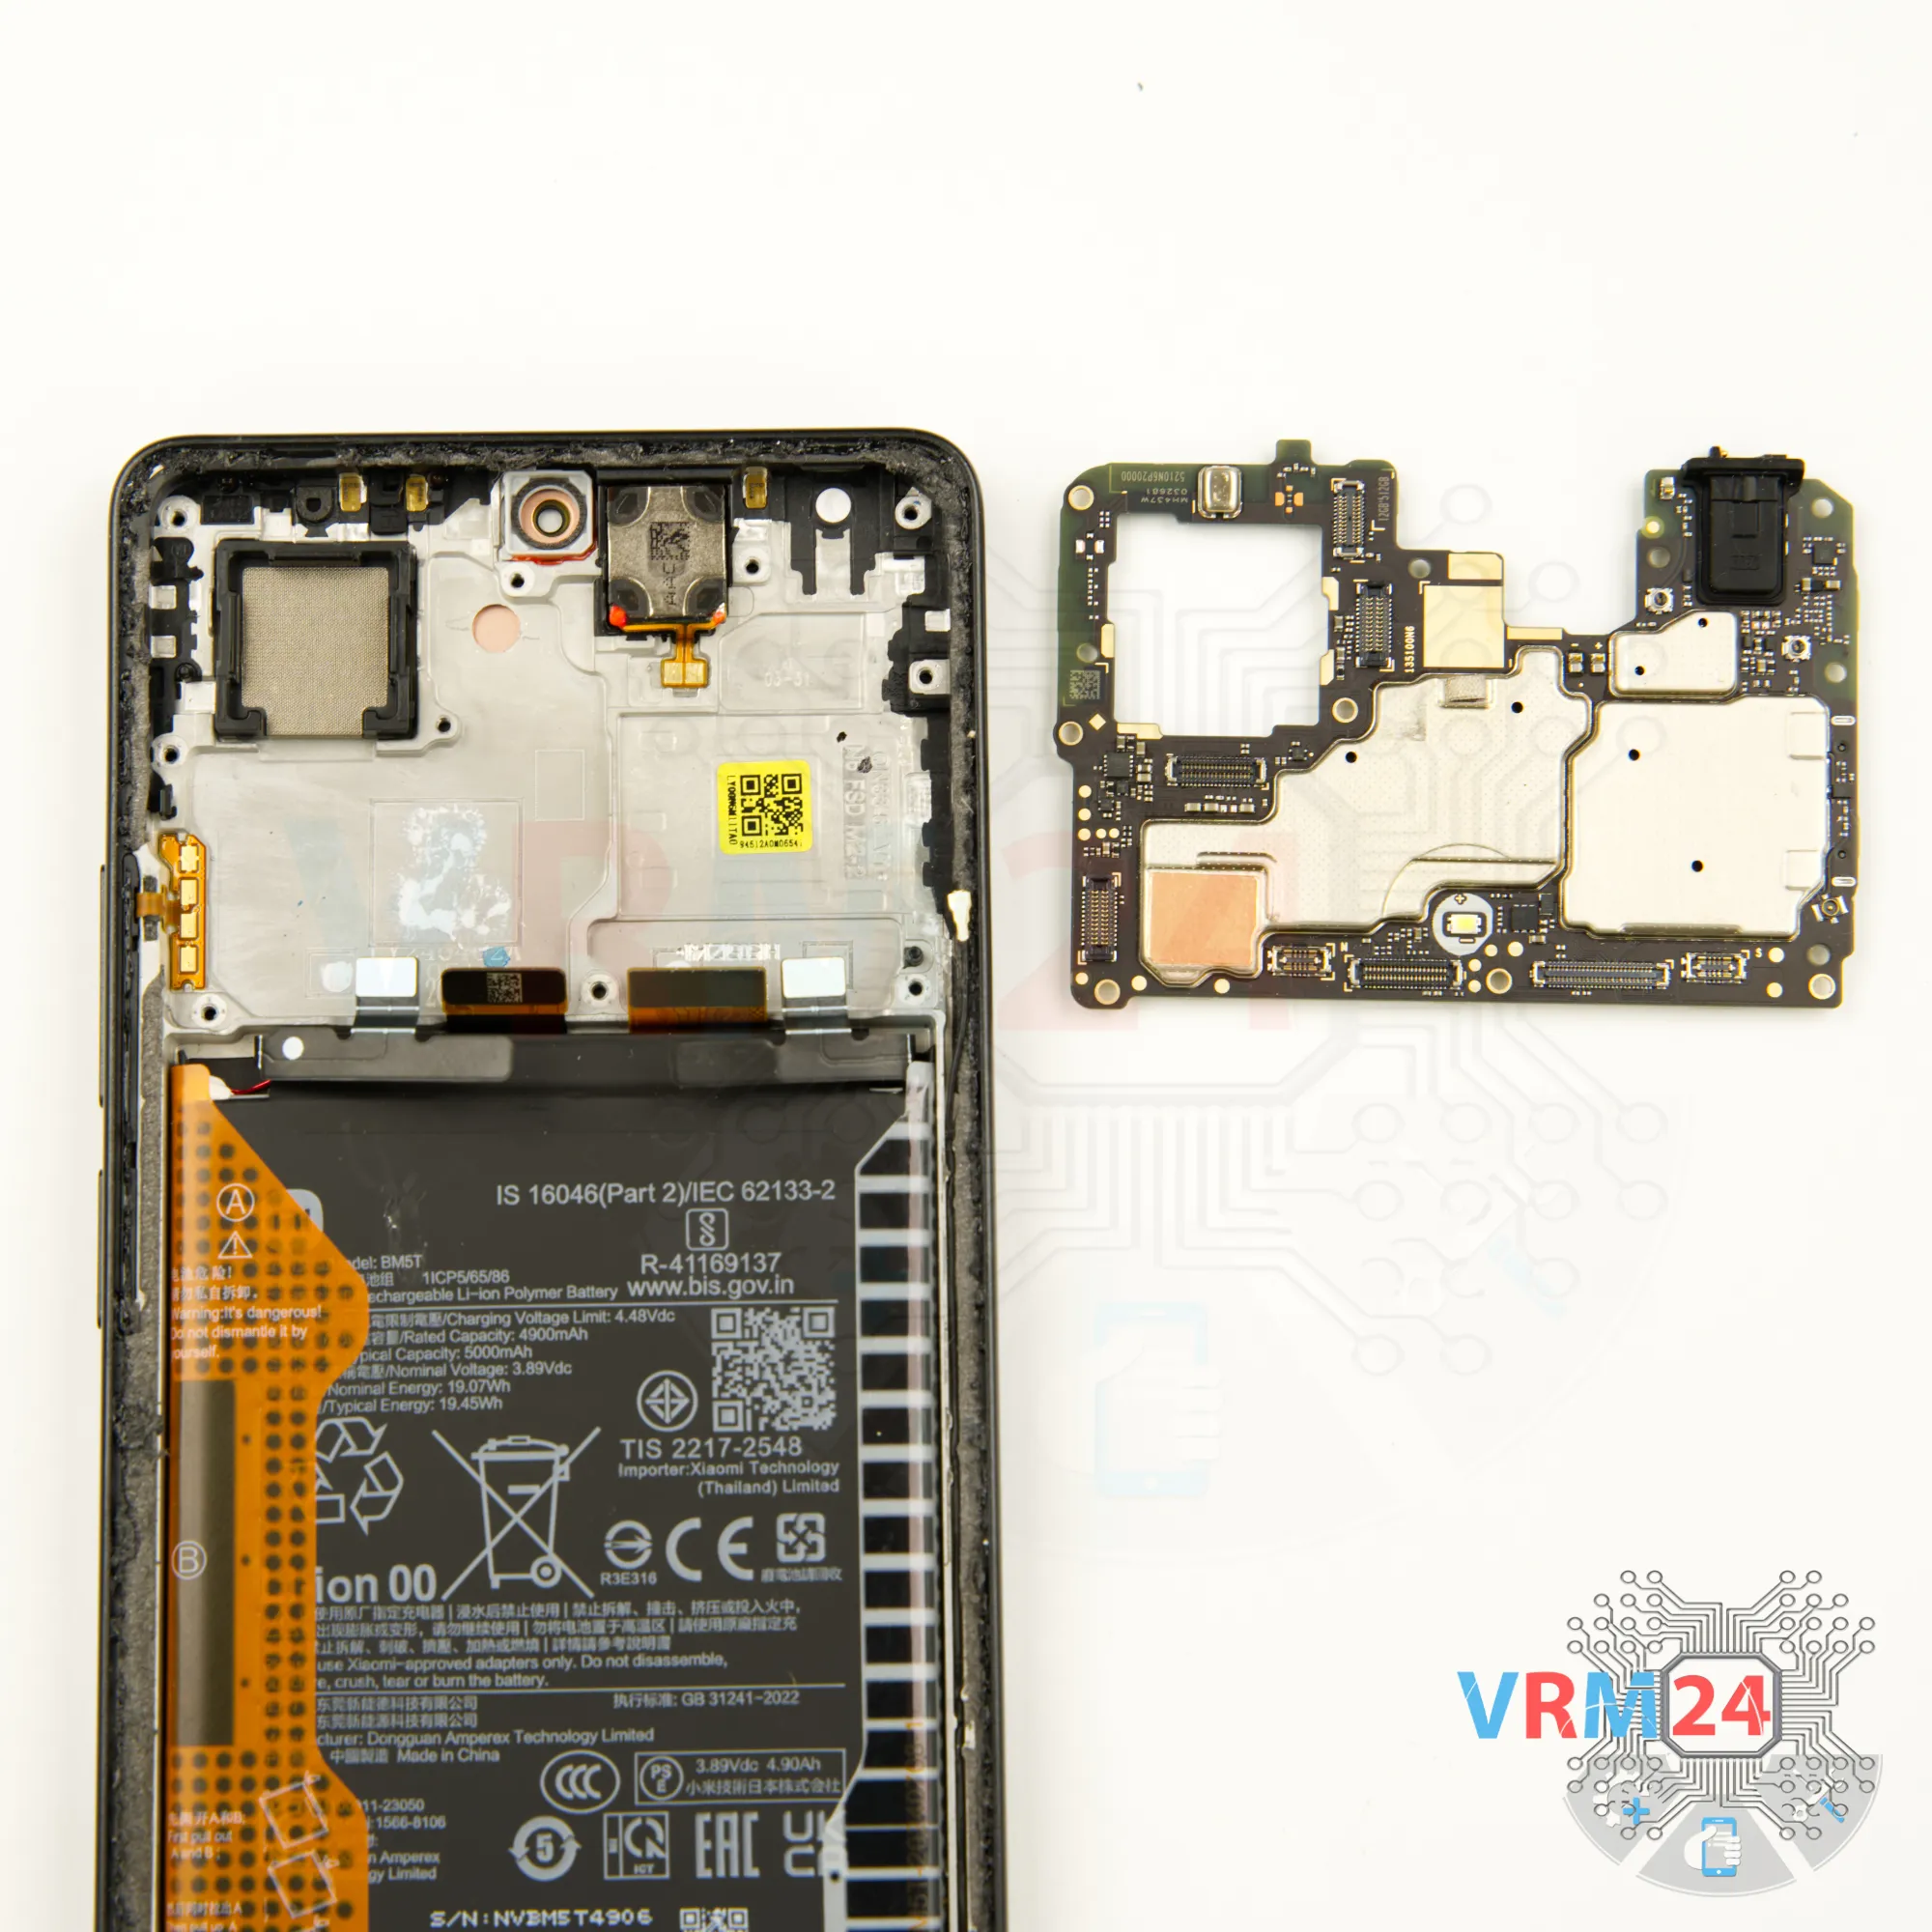
Step 14. Remove the motherboard
Now we can remove the motherboard. As always, locate the correct spot, gently lift it, and extract it, setting it aside.
⚠️️ Do not bend the circuit board when removing it or push tools under it. Unbeknownst to yourself, you can damage components or cables from the inside.


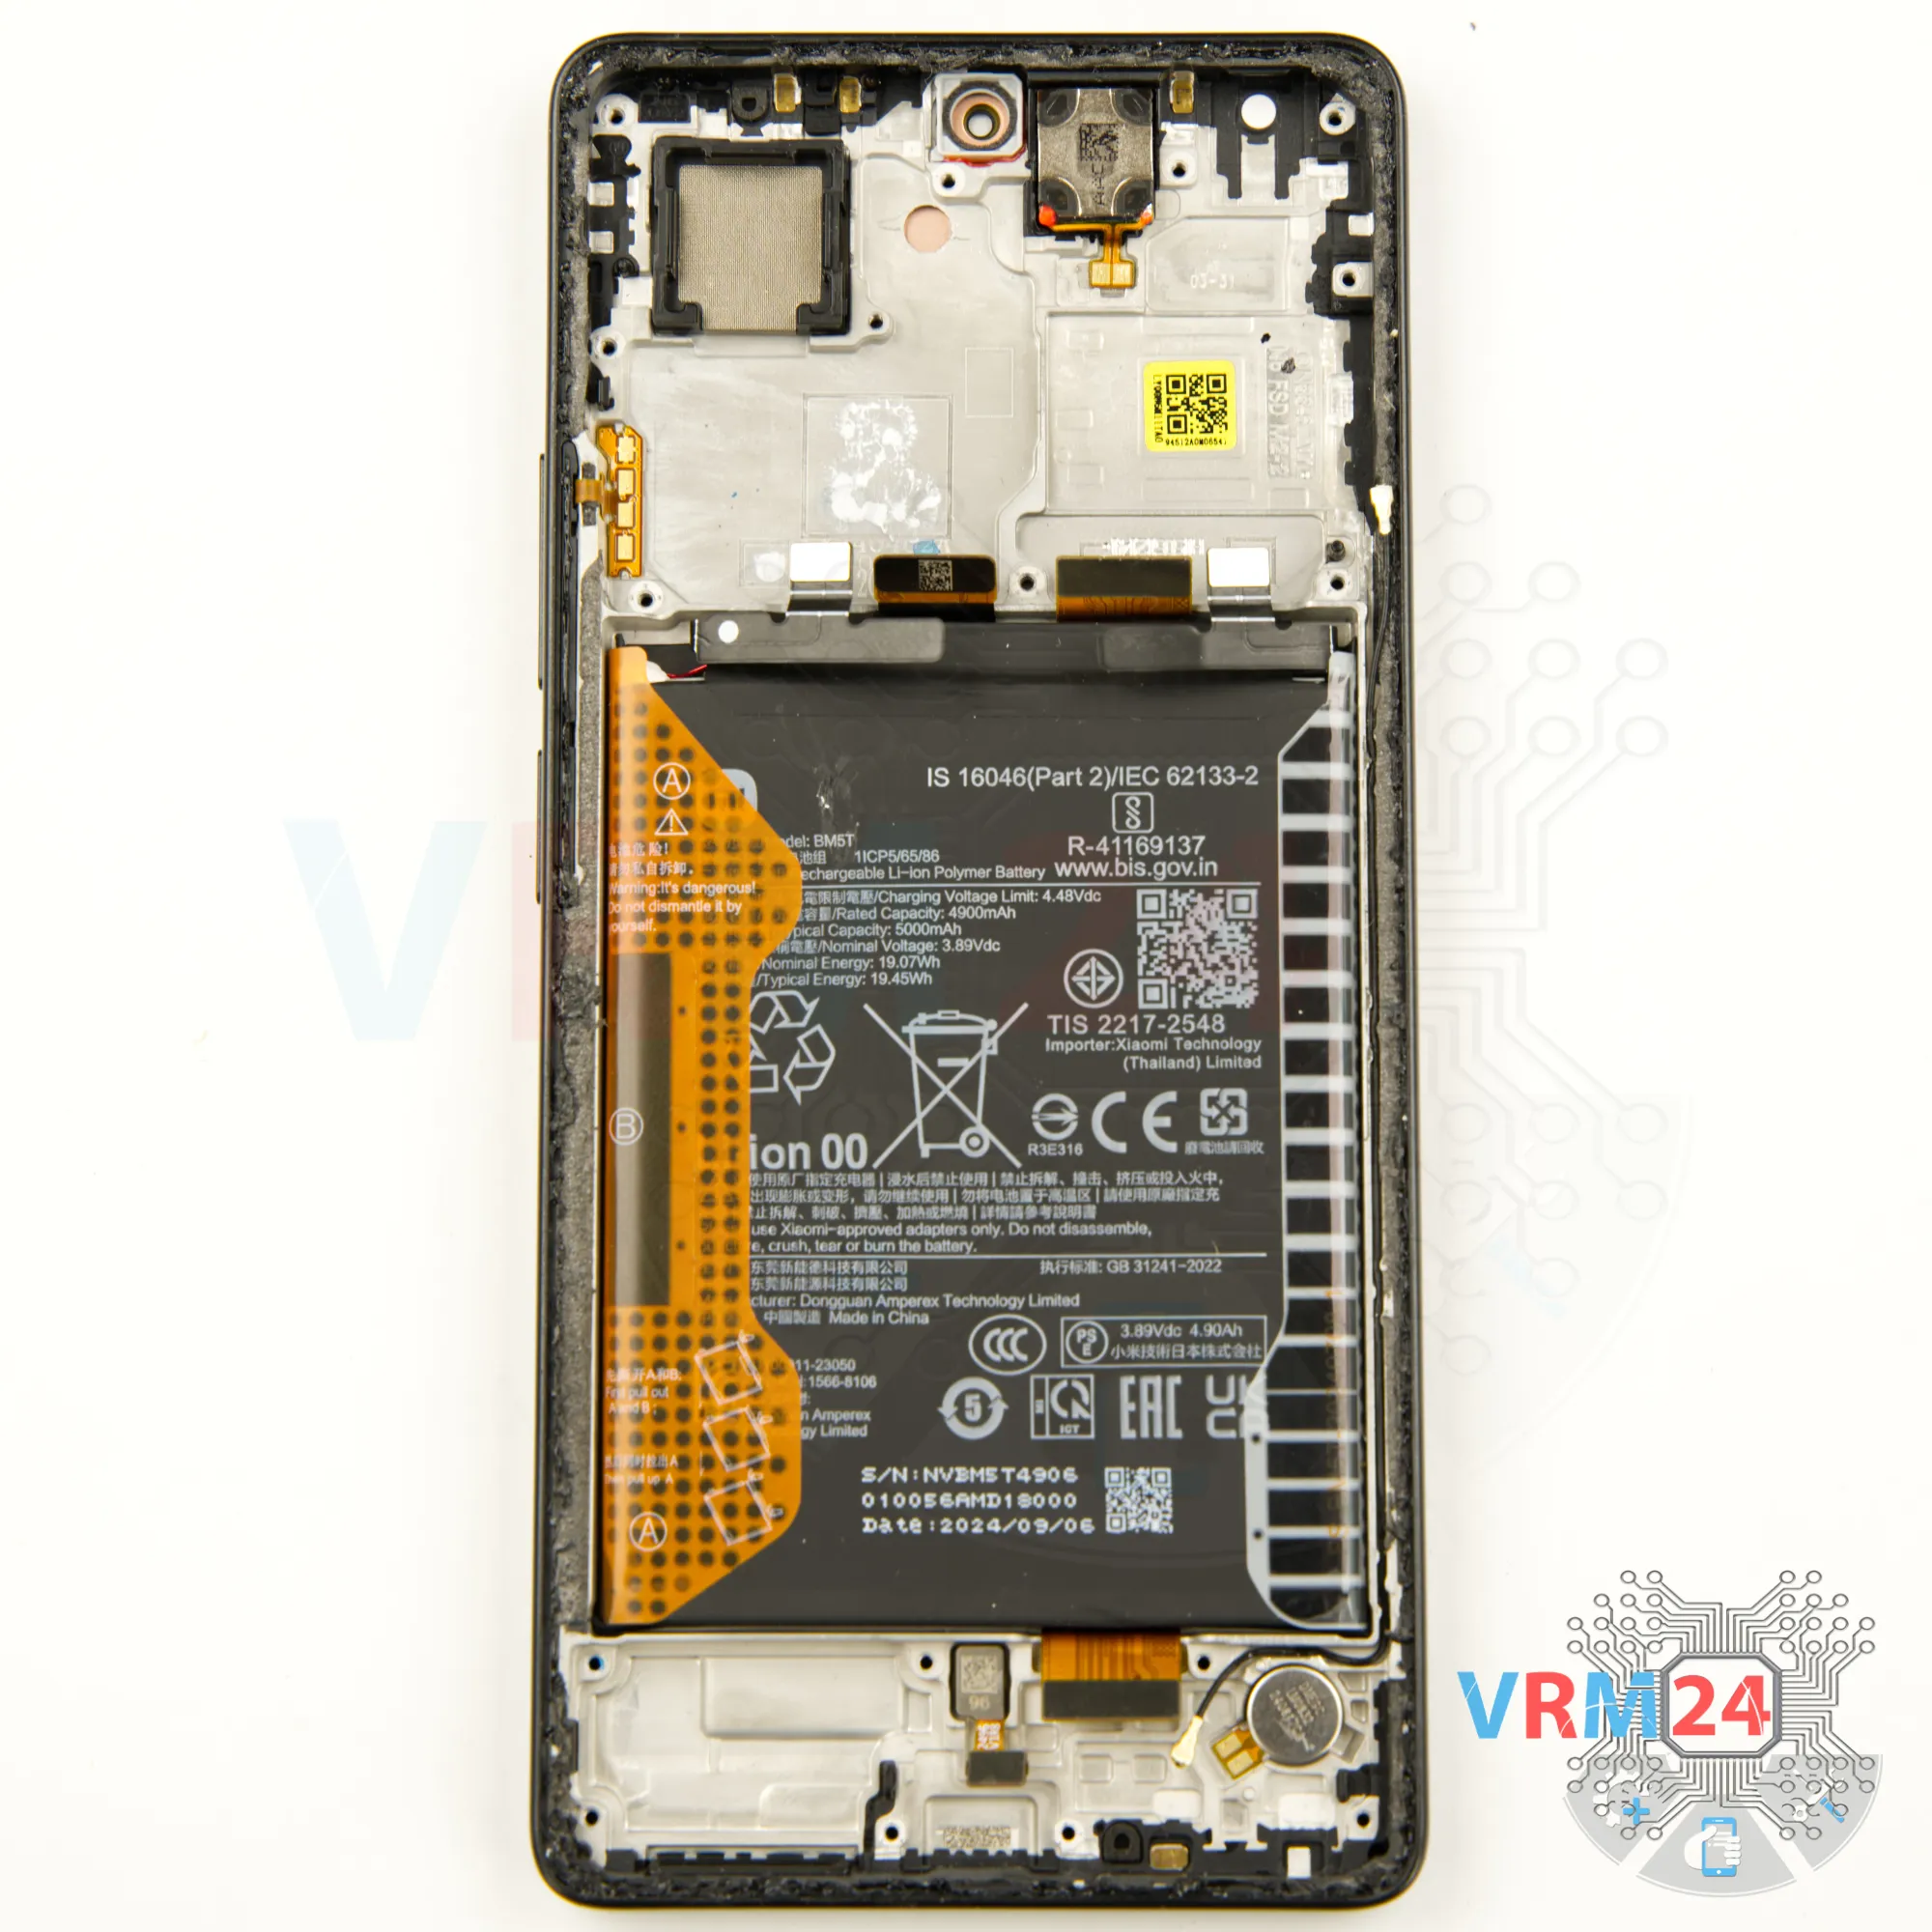
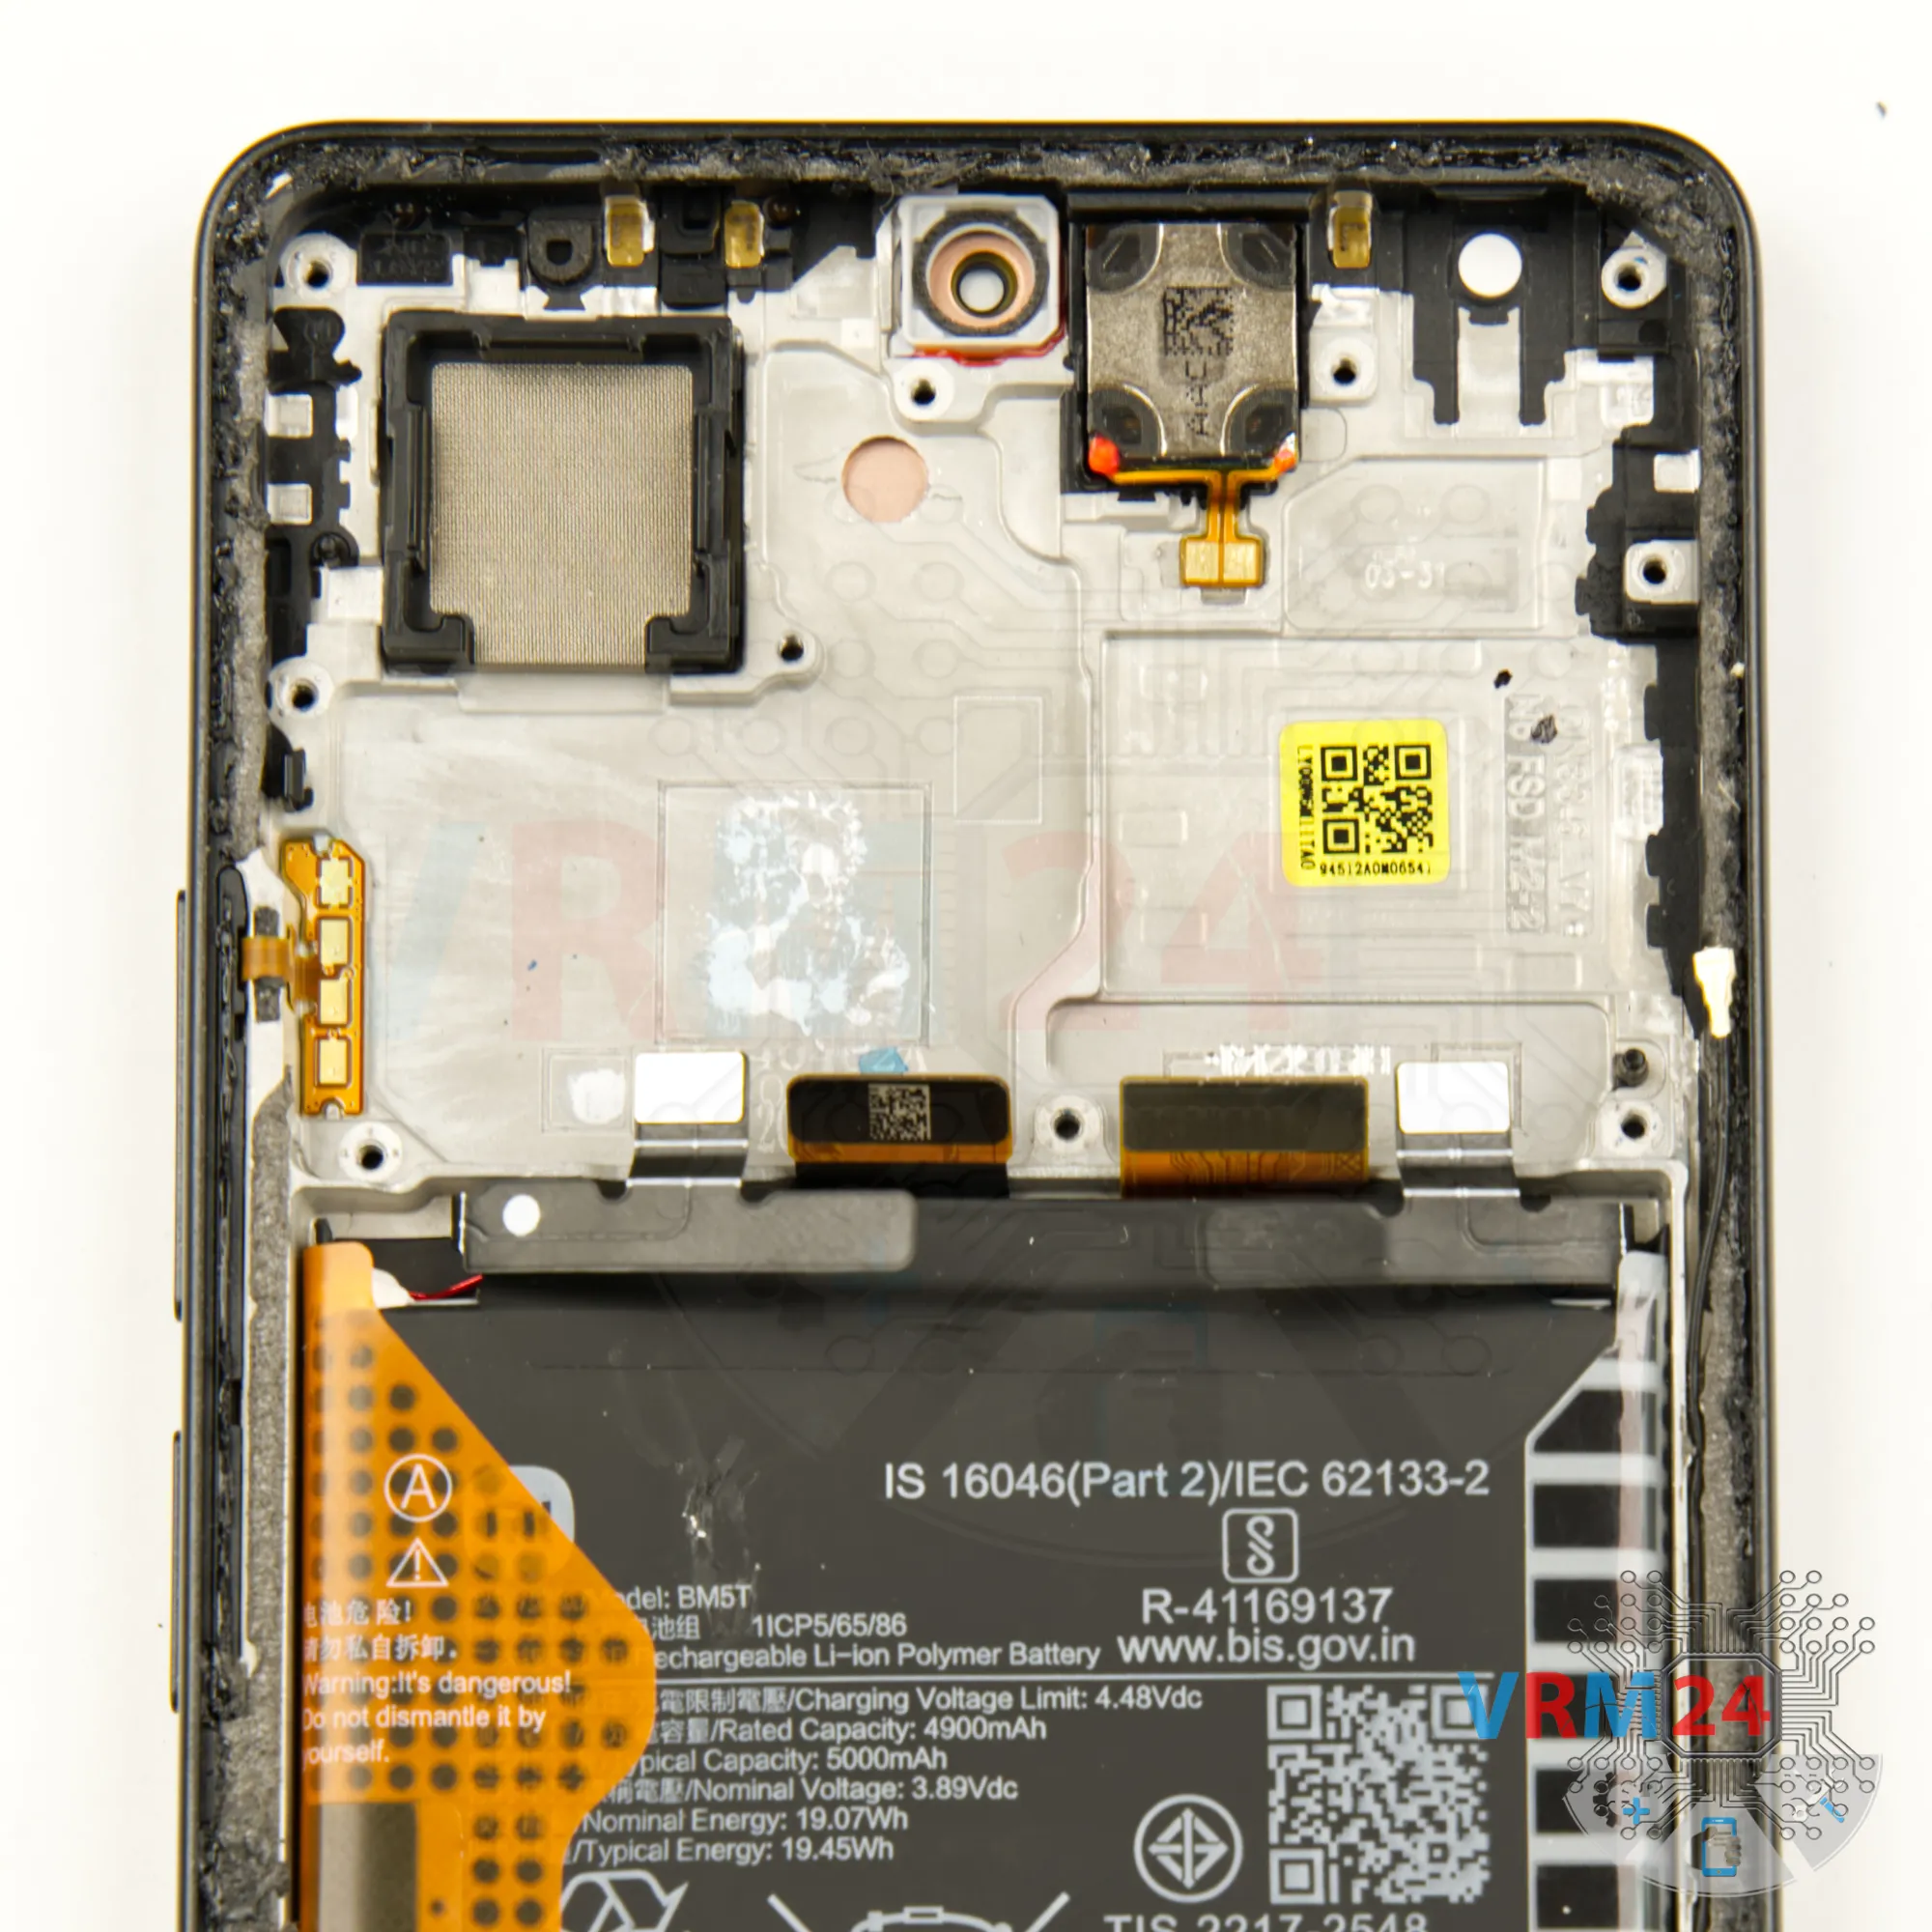
Step 15. In the display frame remained
At this stage, the display frame contains the earpiece speaker, battery, vibration motor, and fingerprint sensor.
Detailed disassembly instructions of Xiaomi Poco M6 Pro in the video, made by our mobile repair & service center:
If you have a question, ask us, and we will try to answer in as much detail as possible. If this article was helpful for you, please rate it.

Disassembling\Repair has medium complexity and takes about minutes in time.
Our manual is suitable for all models Xiaomi Poco M6 Pro — Xiaomi Poco M6 Pro 2312FPCA6G released for markets in different countries.
Back to the list