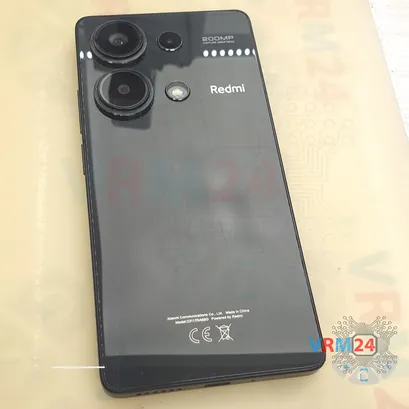
⚠️️ Before disassembling, do not forget to turn your phone off.
Moderate
Recommended tools


Disassembly/Repair of the mobile device Xiaomi Redmi Note 13 Pro 4G (Xiaomi Redmi Note 13 Pro 4G 23117RA68G) with each step description and the required set of tools.

Maxim Sivolap
Tech specialist, author
A longtime technician, the author.

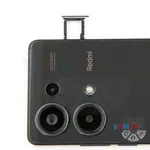
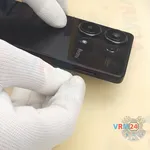
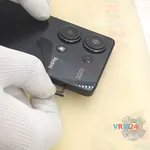
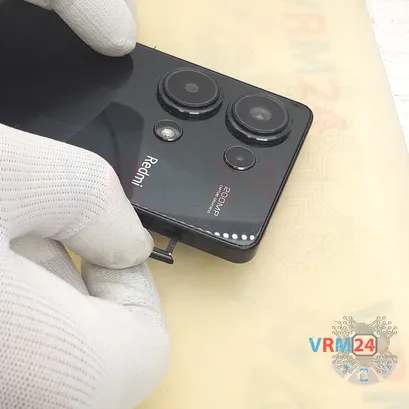
Step 2. Remove the tray
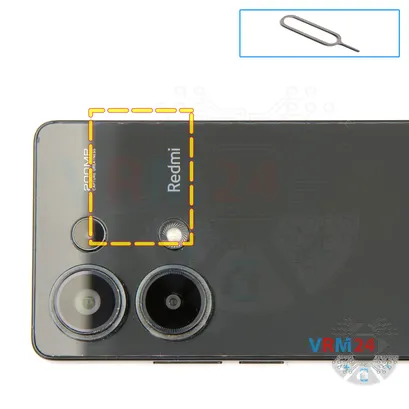
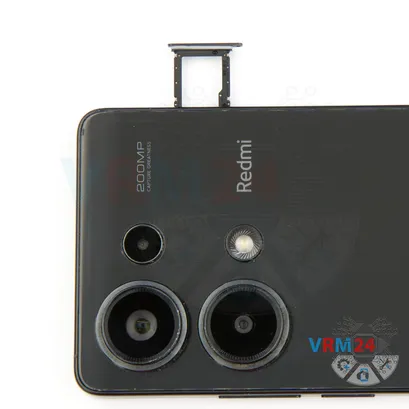
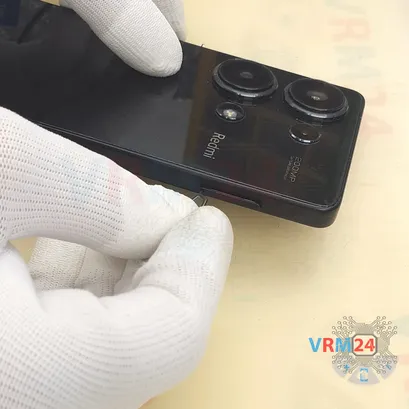
First of all, we need to remove the card tray. To do this, we use a special tool, insert it into the hole and carefully push out the tray for sim cards and memory cards.
If the tray does not come out well, we can additionally use tweezers.
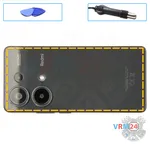
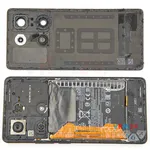
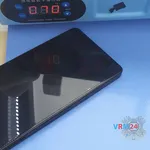
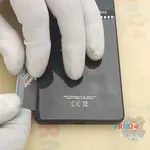
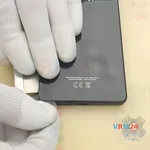
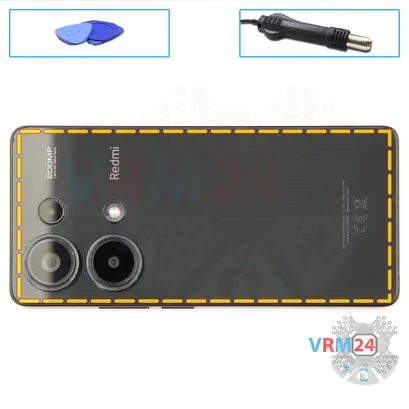
Step 3. Open the back cover
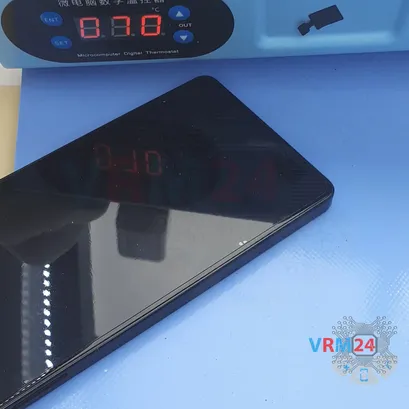
Next, we need to heat the surface of the back cover to approximately 70 degrees Celsius or 160 degrees Fahrenheit. For this we use a heating mat or a hair dryer.
And after 5 to 7 minutes, we can move on to detaching the back cover.
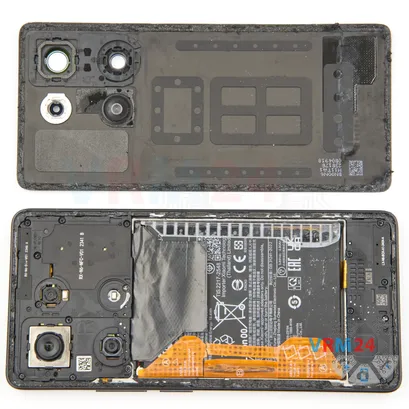
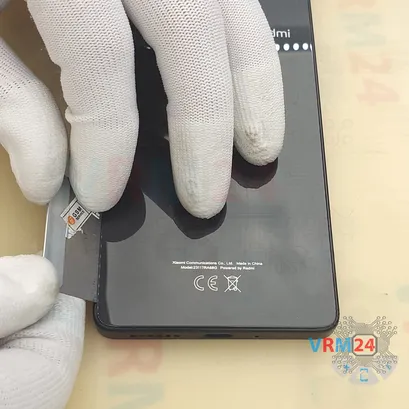
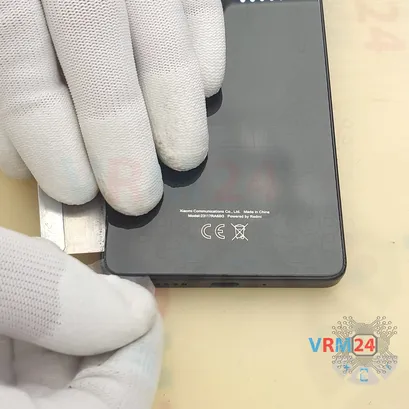
To detach the back cover, first we use a thin metal tool because we have the back cover slightly recessed into the middle cover. So, we use the metal tool to create a small gap, into which we push the thin plastic film and after that we work with the thin plastic film. We carefully go along the edge - cut off the adhesive base.
We always need to be careful in the area of the cameras, so as not to damage the lenses.
Also we should pay attention to the fact that the back cover is additionally glued in the area of the cameras.
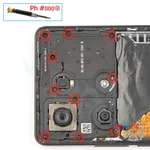
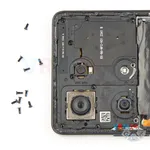
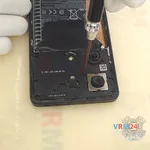
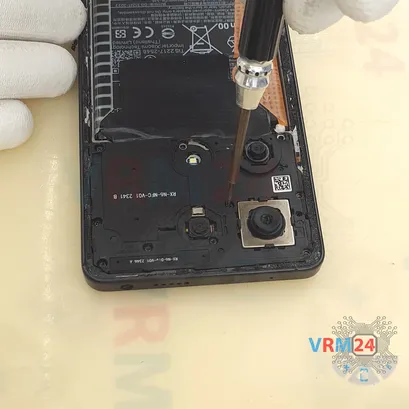
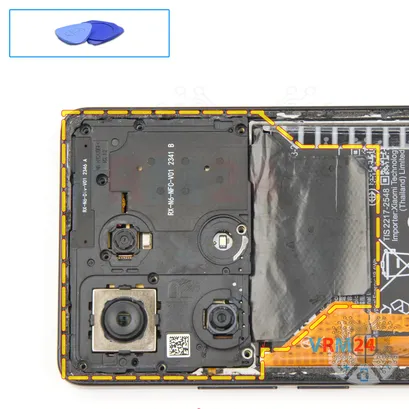
Step 4. Unscrew the screws
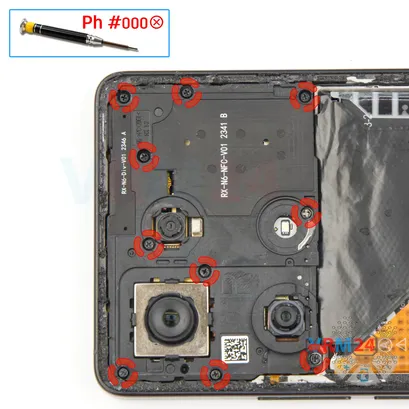
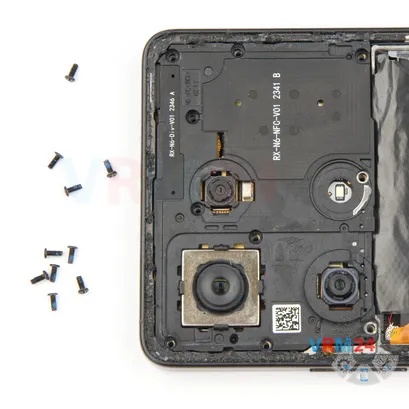
Using a screwdriver Phillips 1.5 mm (PH #000), unscrew the ten screws.
It looks like all the screws are the same, but nevertheless we recommend that they are placed on a special surface in a specific order so that nothing gets mixed up just in case.
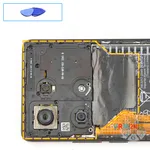
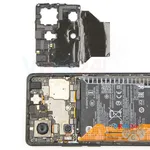
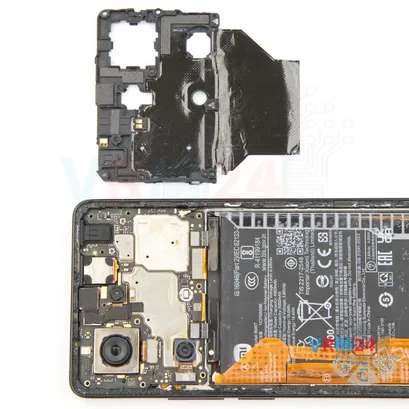
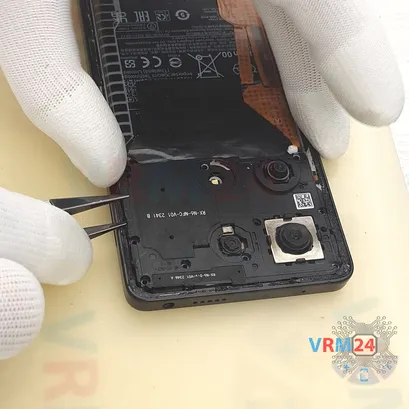
Step 5. Open the cover
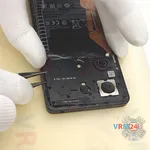
Next, we need to detach the cover at the top. For this we use tweezers with ceramic tips so that we don't short out anything on the motherboard.
As always, we need to find the right place where we gently pry, lift and detach the cover.
Carefully lift the cover, see that nothing is in our way and remove it.
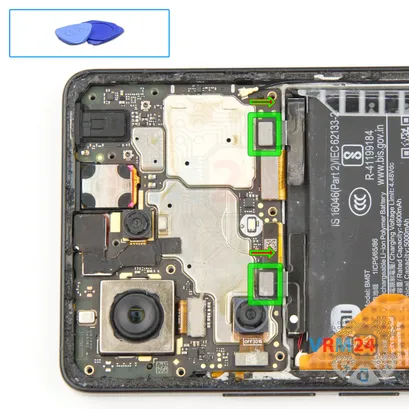
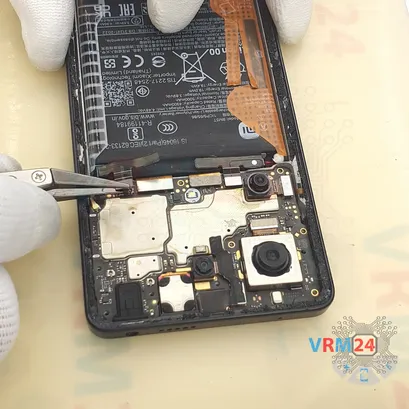
Step 6. Disconnect the battery connector
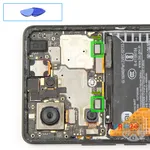
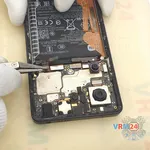
Disconnect the battery connectors as soon as you can. Use a non-metallic or plastic tool to avoid any damage.
ℹ️️ The Xiaomi Redmi Note 13 Pro 4G model has a battery MB5T with a capacity of 5000 mAh (also known as a rechargeable battery).
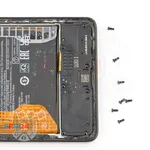
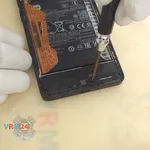
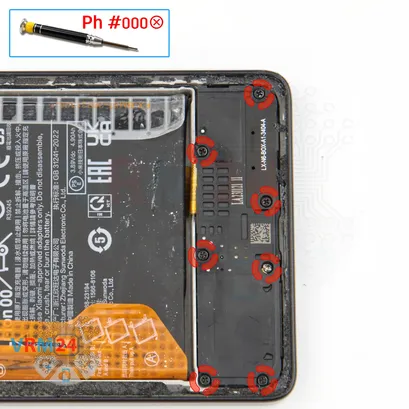
Step 7. Unscrew the screws
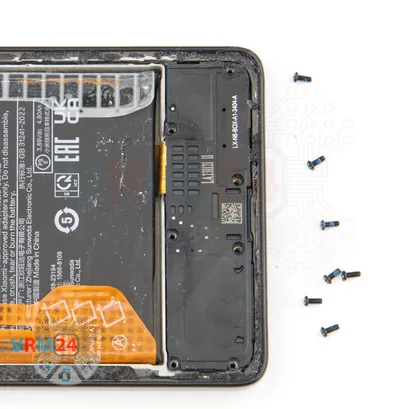
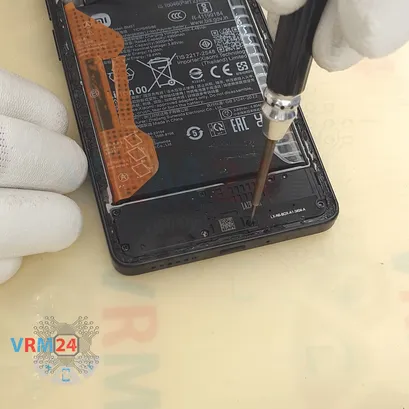
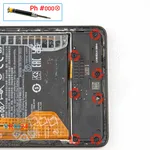
Then we proceed to unscrew the seven screws in the bottom part. For this we also use a one and a half millimeter Phillips screwdriver or Philips #000.
Carefully unscrew the screws and place them on a special surface.
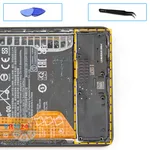
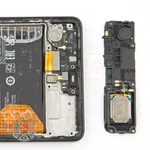
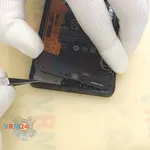
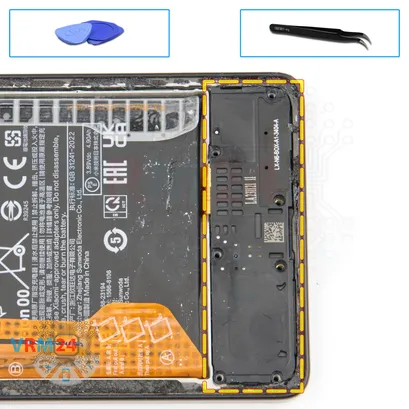
Step 8. Remove the loudspeaker
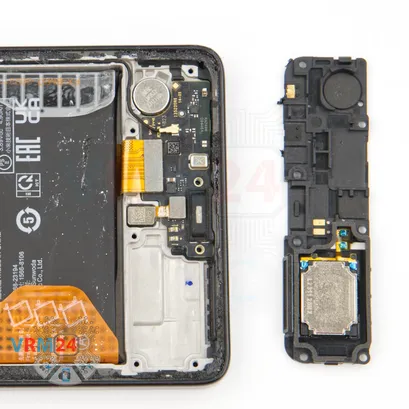
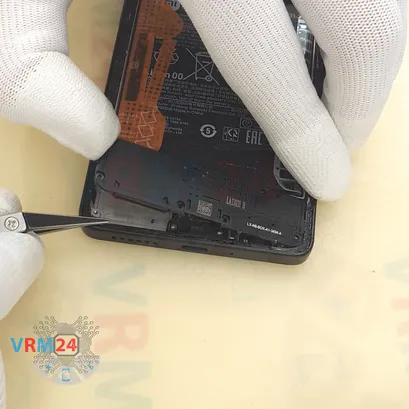
And we move on to detaching the cover with the loudspeaker - the cover that hides the sub-board.
Also carefully pry up the edge, lift and remove the cover with the speaker.
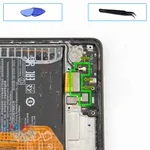
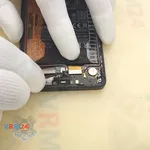
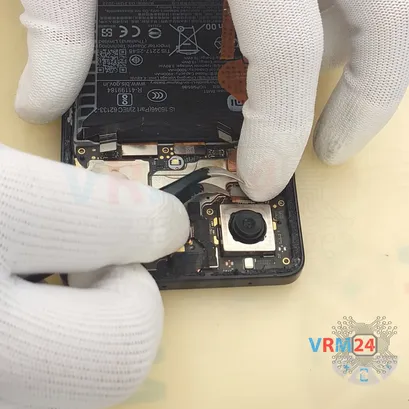
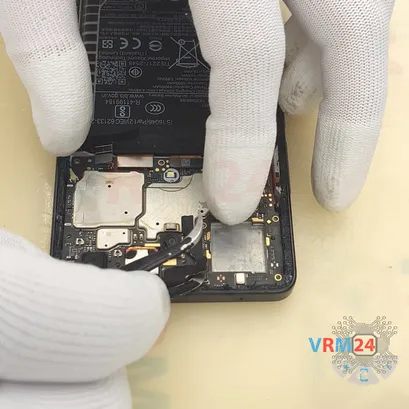
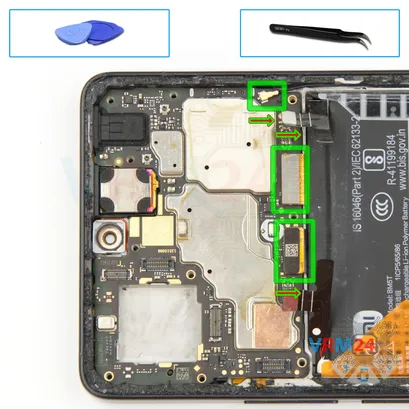
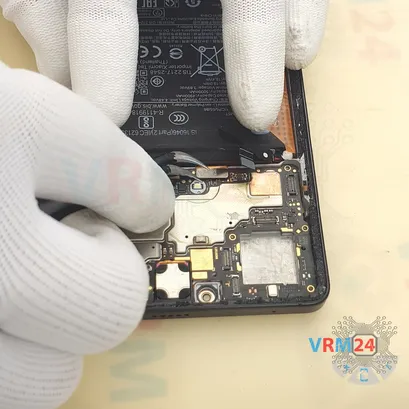
Step 9. Disconnect the connectors
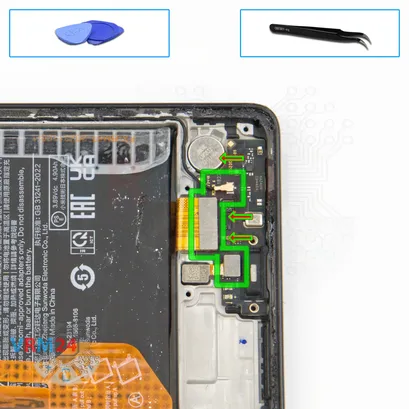
We disconnect the connector for the fingerprint sensor, disconnect the connector for the coaxial cable, disconnect the connector for the inter-board cable.
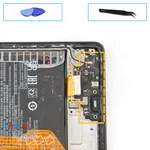
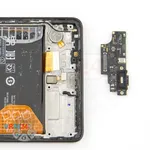
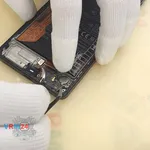
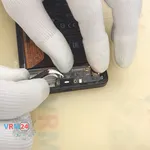
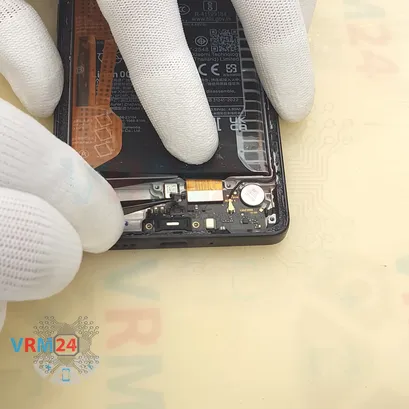
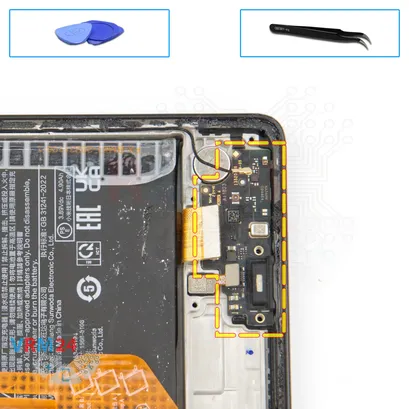
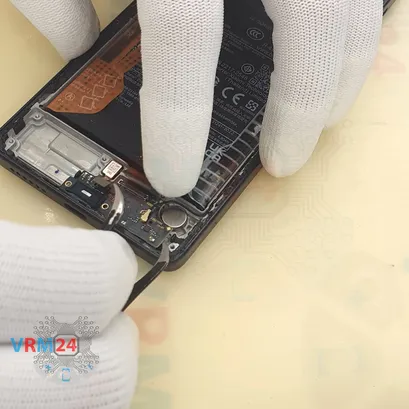
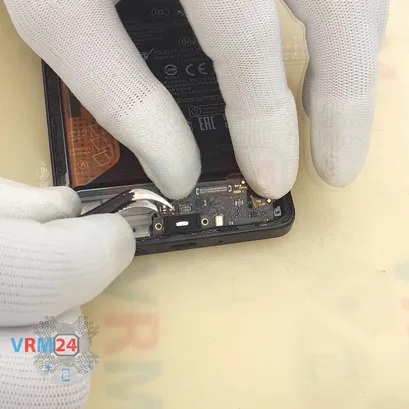
Step 10. Remove the sub-board
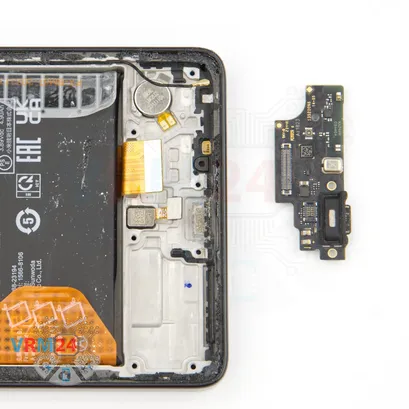
And we can try to detach the sub-board. We need to find the right place where we can hook, lift and remove the sub-board.
We find that right spot. Gently try to lift and remove the sub-board. Btw - the sub-board is slightly recessed.
On the sub-board we have the microphone, charging port and other elements on the back side.
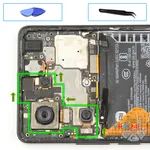
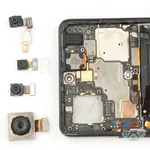
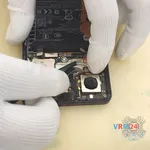
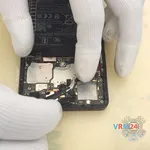
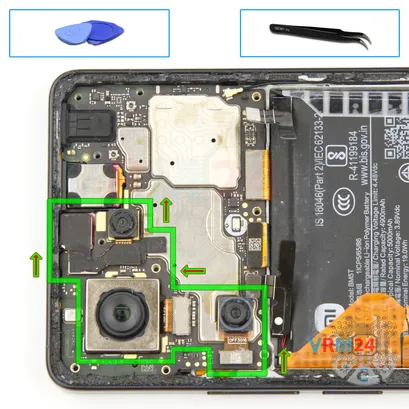
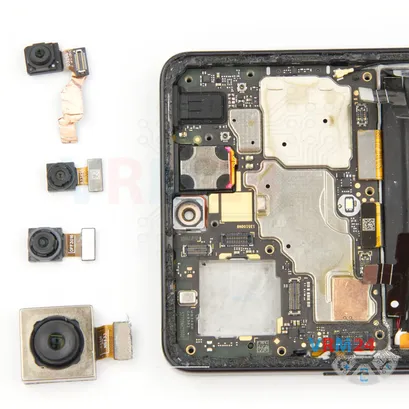
Step 11. Remove the cameras
Well, we move on to detaching the cameras.
⚠️️ Carefully hold the cameras so that they don't accidentally fall out and we don't damage anything.
Please note that the large rear camera may be glued by the base to the display frame.
We can also detach the two front cameras. We carefully detach them and put them aside.
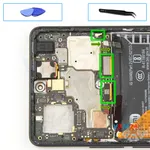
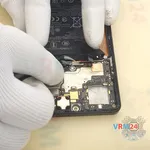
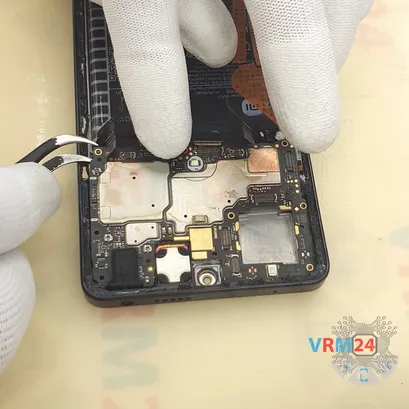
Step 12. Disconnect the connectors
After that, we can disconnect the connectors on the motherboard.
Disconnect the coaxial cable connector, disconnect the inter-board cable connector, disconnect the display cable connector.
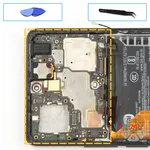
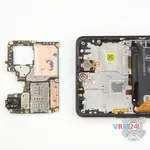
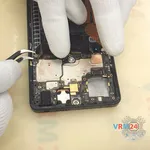
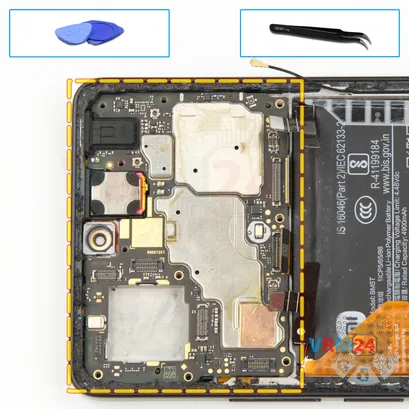
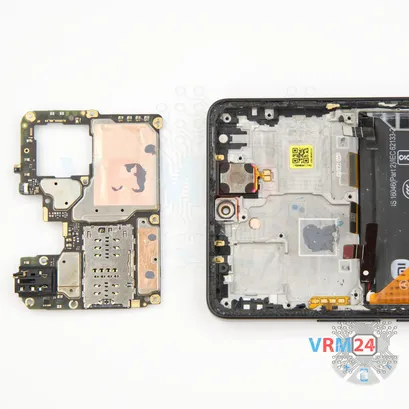
Step 13. Remove the motherboard
Carefully remove the printed circuit board. There is no need to use a lever or try to reach the circuit board by force. Make sure that nothing is getting in the way or holding the circuit board.
The motherboard, also, may be attached with attachments like latches or hooks, be careful.
⚠️️ Do not bend the circuit board when removing it or push tools under it. Unbeknownst to yourself, you can damage components or cables from the inside.
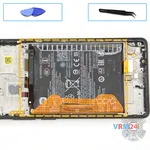
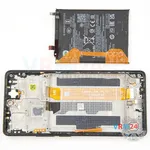
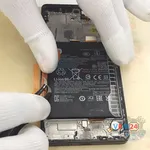
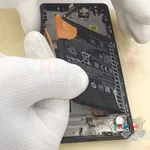
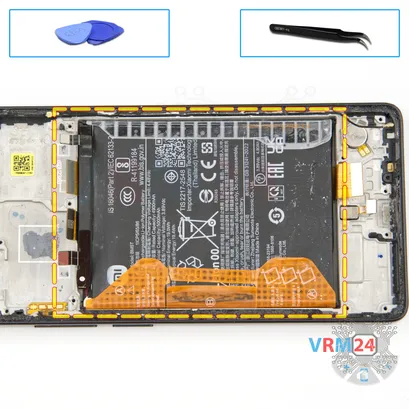
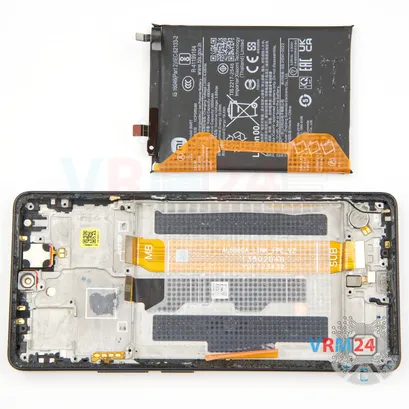
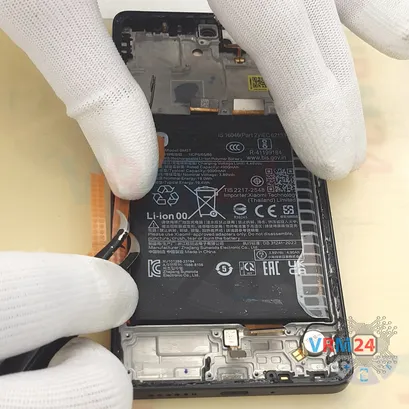
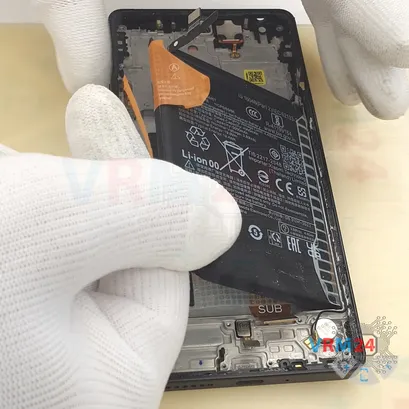
Step 14. Remove the battery
Well, finally, we move on to detaching the battery.
We need to unfold the brown tabs with the letters A and B, read the description, which shows the sequence of actions we have to perform when removing the battery.
So, we need to pull the wide tab, A up, and the tab with the letter B should be turned as much as possible, so that it does not interfere with us.
Under the battery we have a transparent coating, which protects the cables.
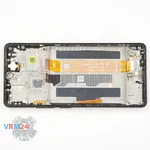
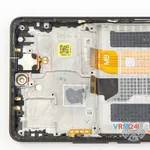
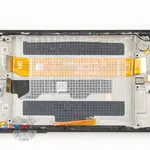
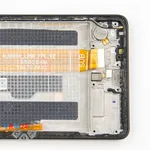
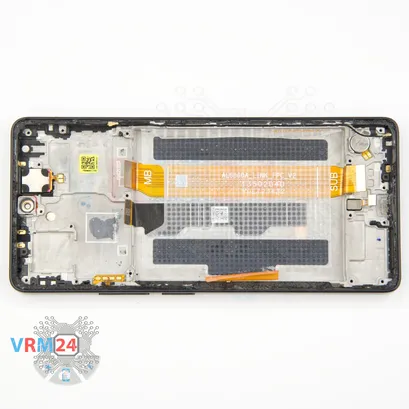
Step 15. In the display frame remained
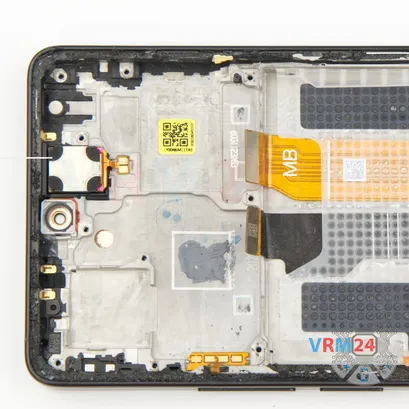
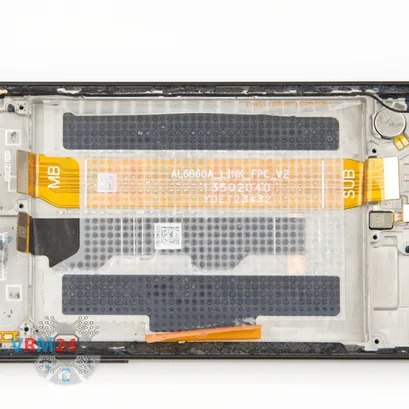
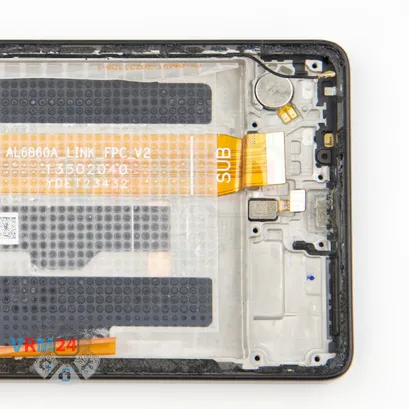
ℹ️️ In the display frame remained: the earpiece speaker, coaxial cable, and vibration motor.
Detailed disassembly instructions of Xiaomi Redmi Note 13 Pro 4G in the video, made by our mobile repair & service center:
If you have a question, ask us, and we will try to answer in as much detail as possible. If this article was helpful for you, please rate it.

Evgenii Kuzmin
Senior maintenance service and repair engineer
Back to the list

