
⚠️️ Before disassembling or repair, do not forget to turn your smartwatch off.
Teardown difficulty:
Moderate
Moderate
Recommended tools


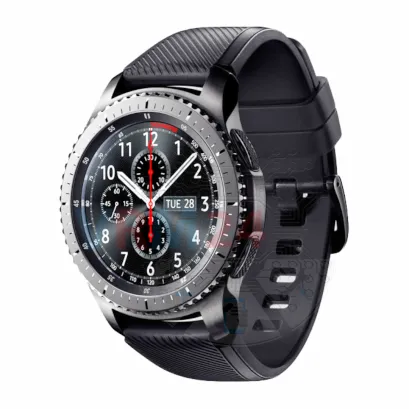
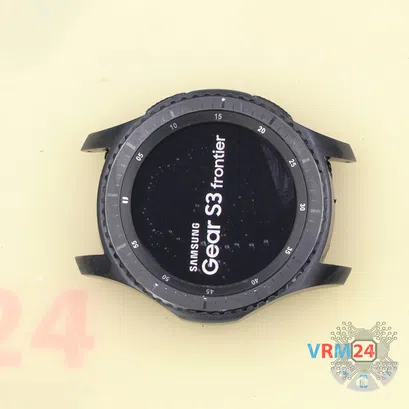
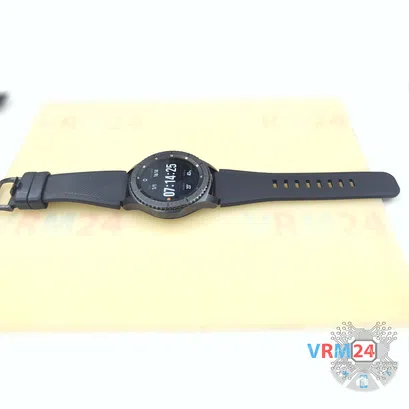
Disassembly/Repair of the mobile device Samsung Gear S3 Frontier SM-R760 (Samsung Gear S3 Frontier SM-R760x, SM-R760n) with each step description and the required set of tools.

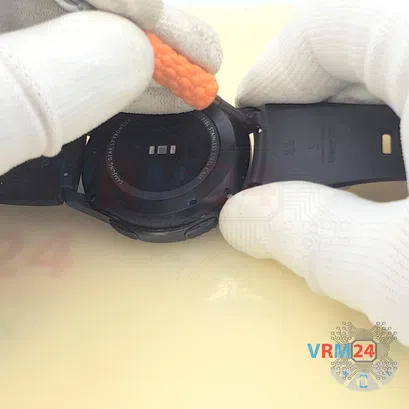


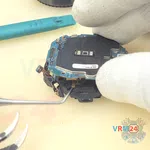
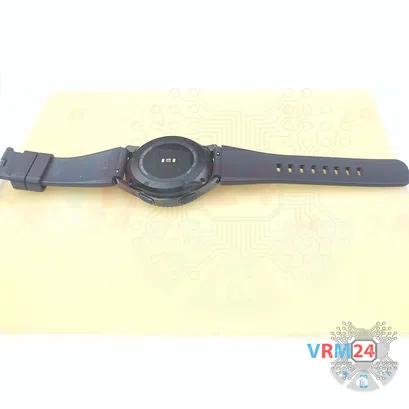
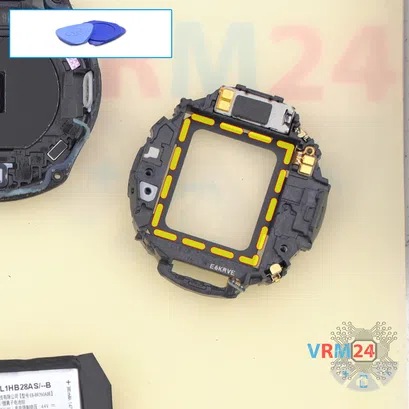
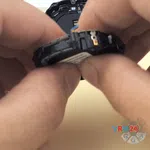
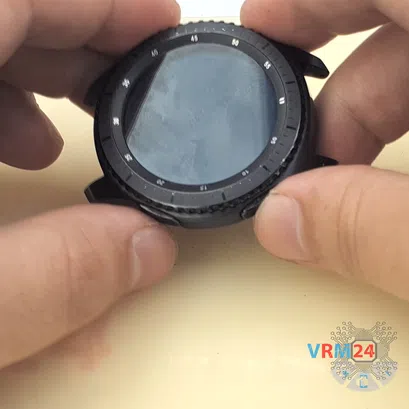
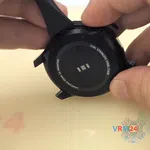
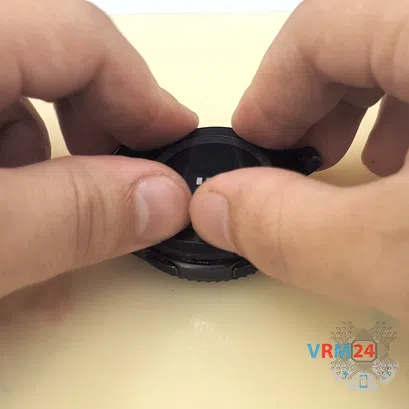
Step 2. Disassembly - Briefly
If you want to see the disassembly in detail. Please check this link - Disassembly Samsung Gear S3 Frontier or watch our video under this instruction.
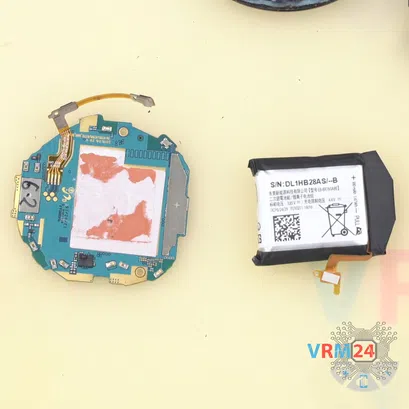


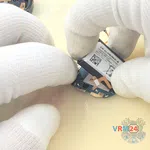
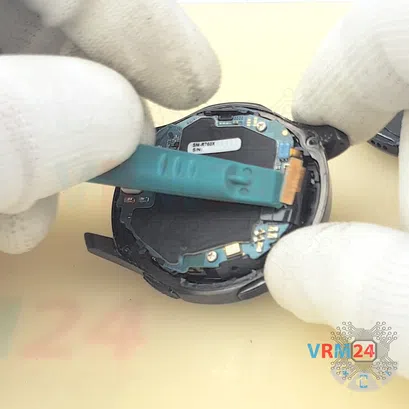
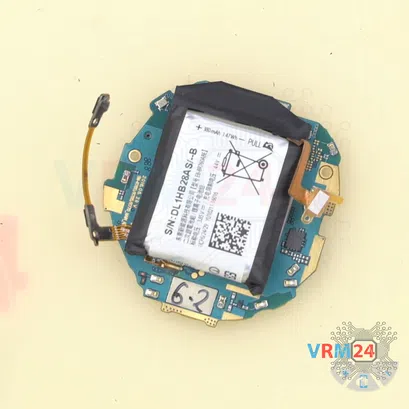
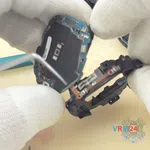
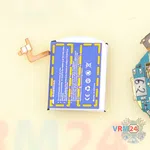
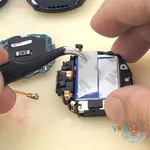
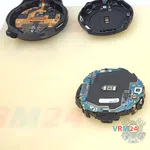
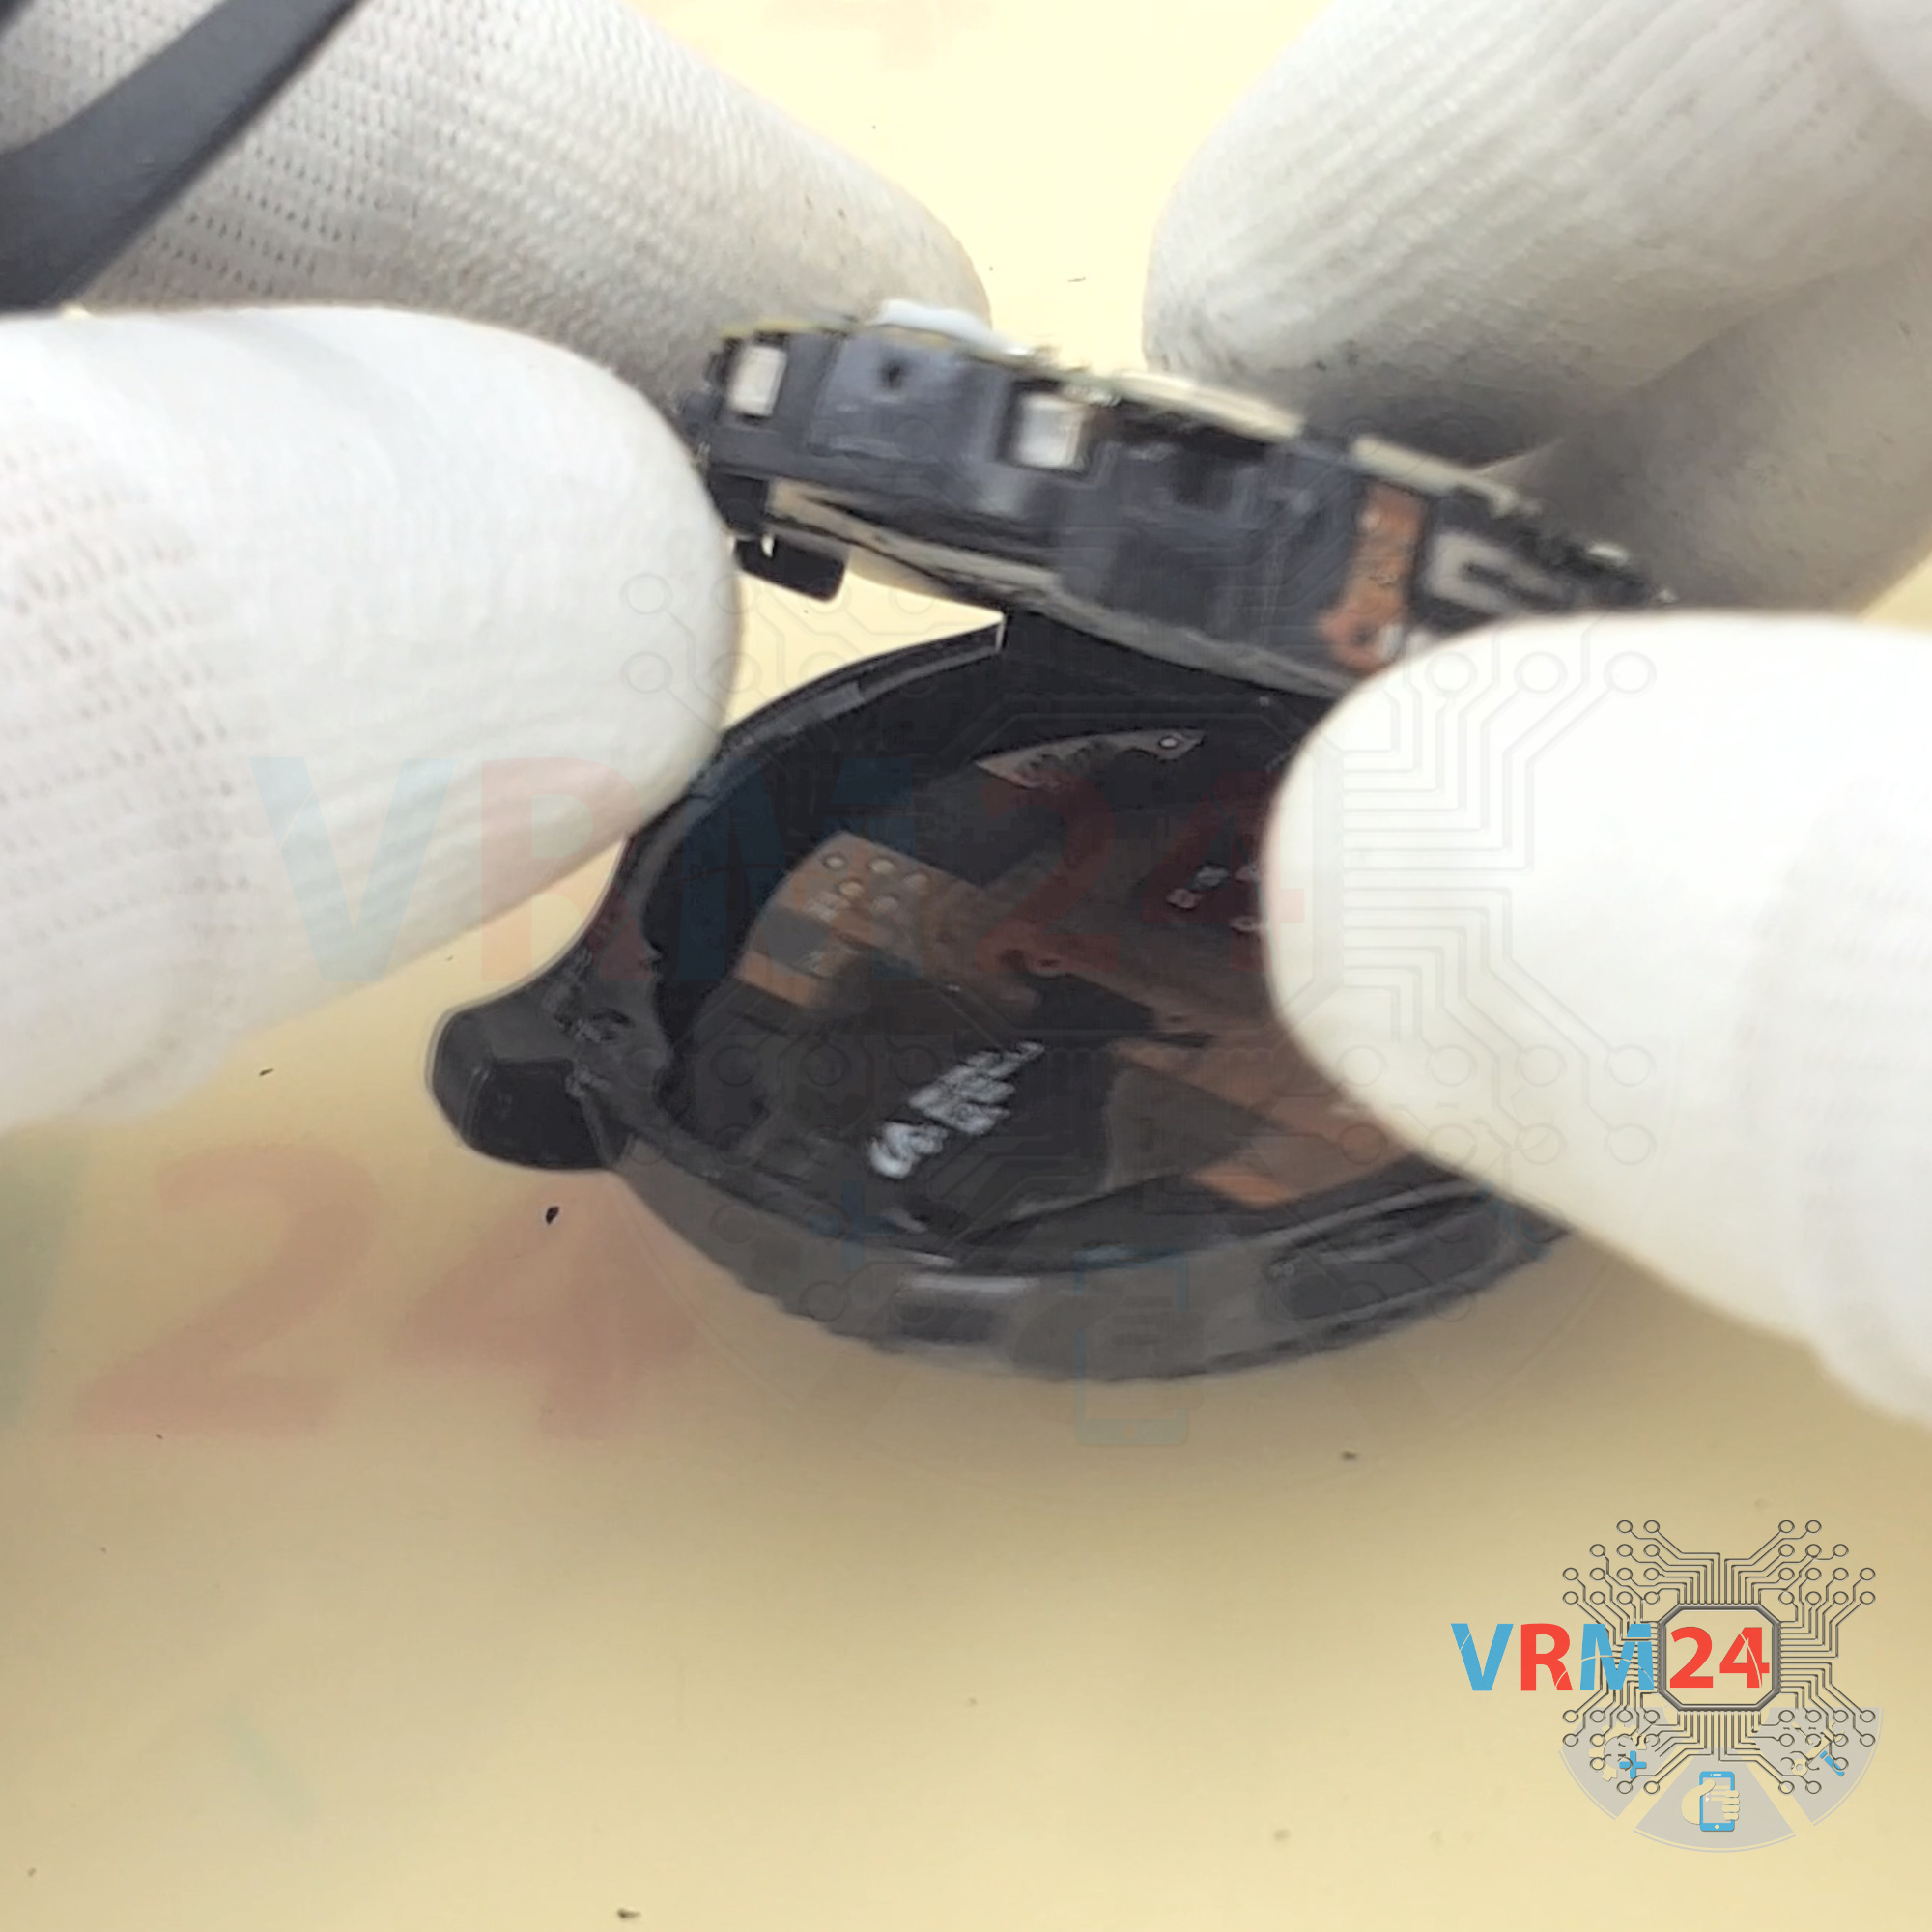
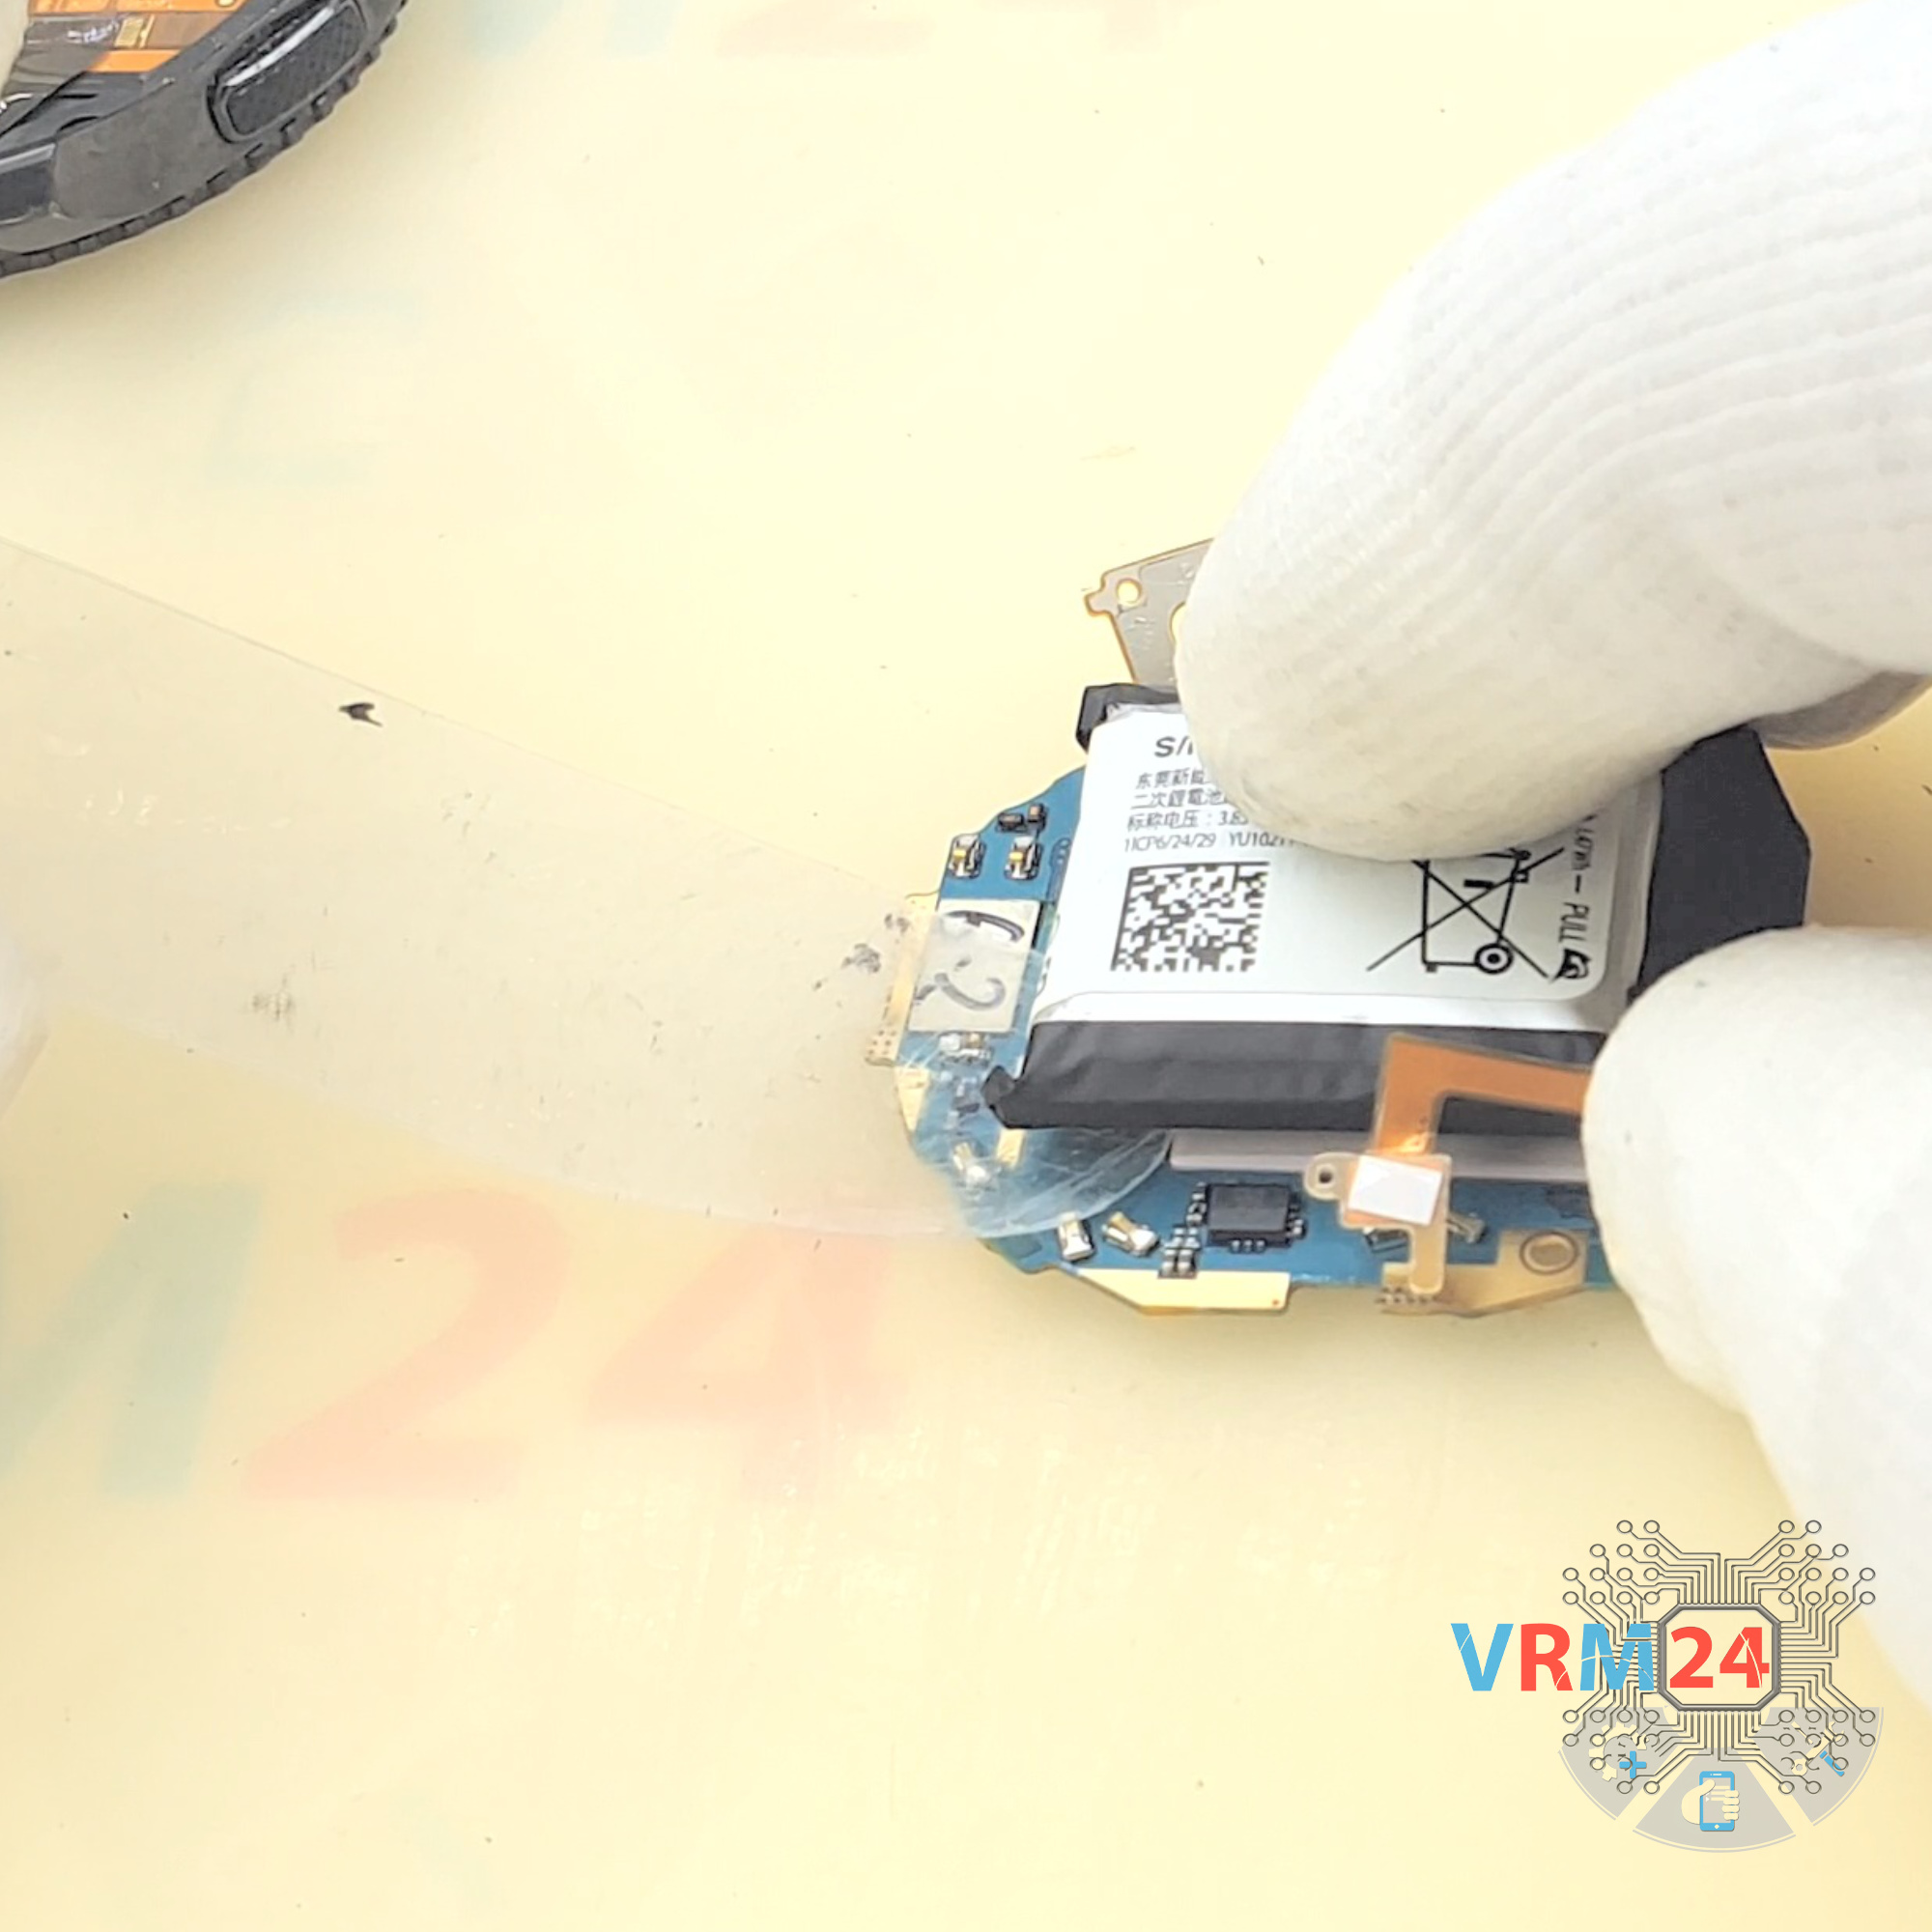
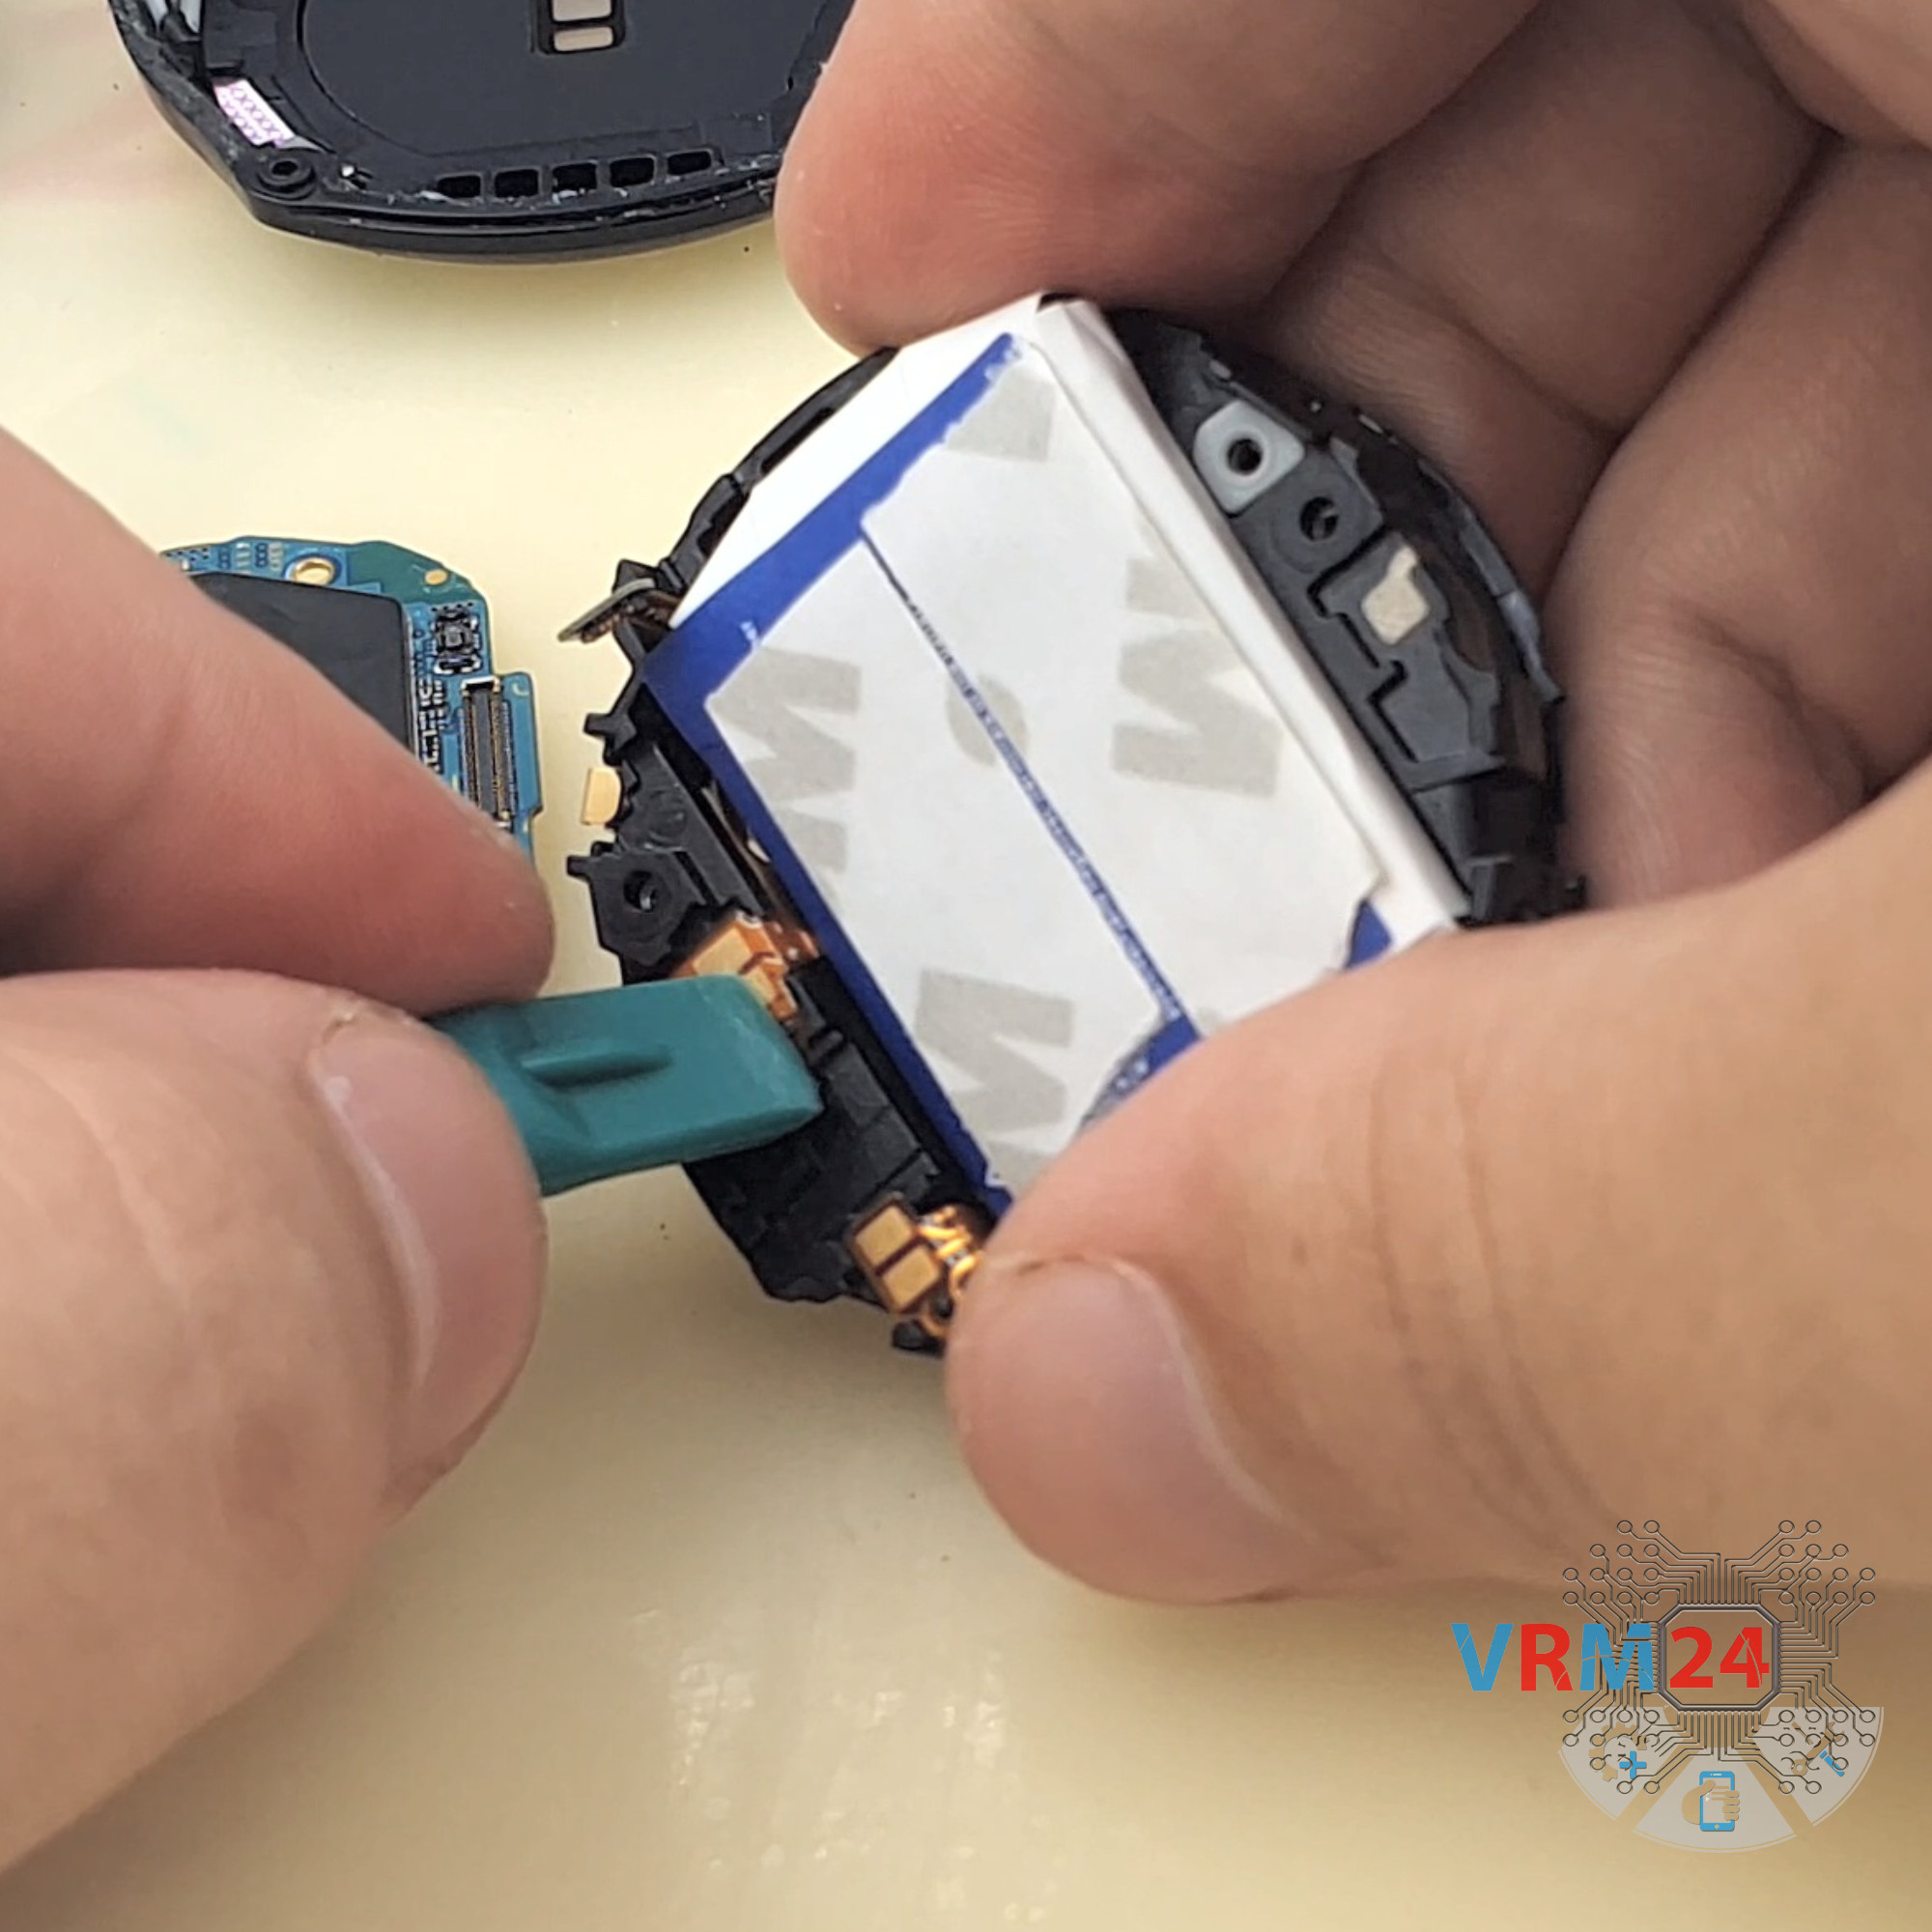
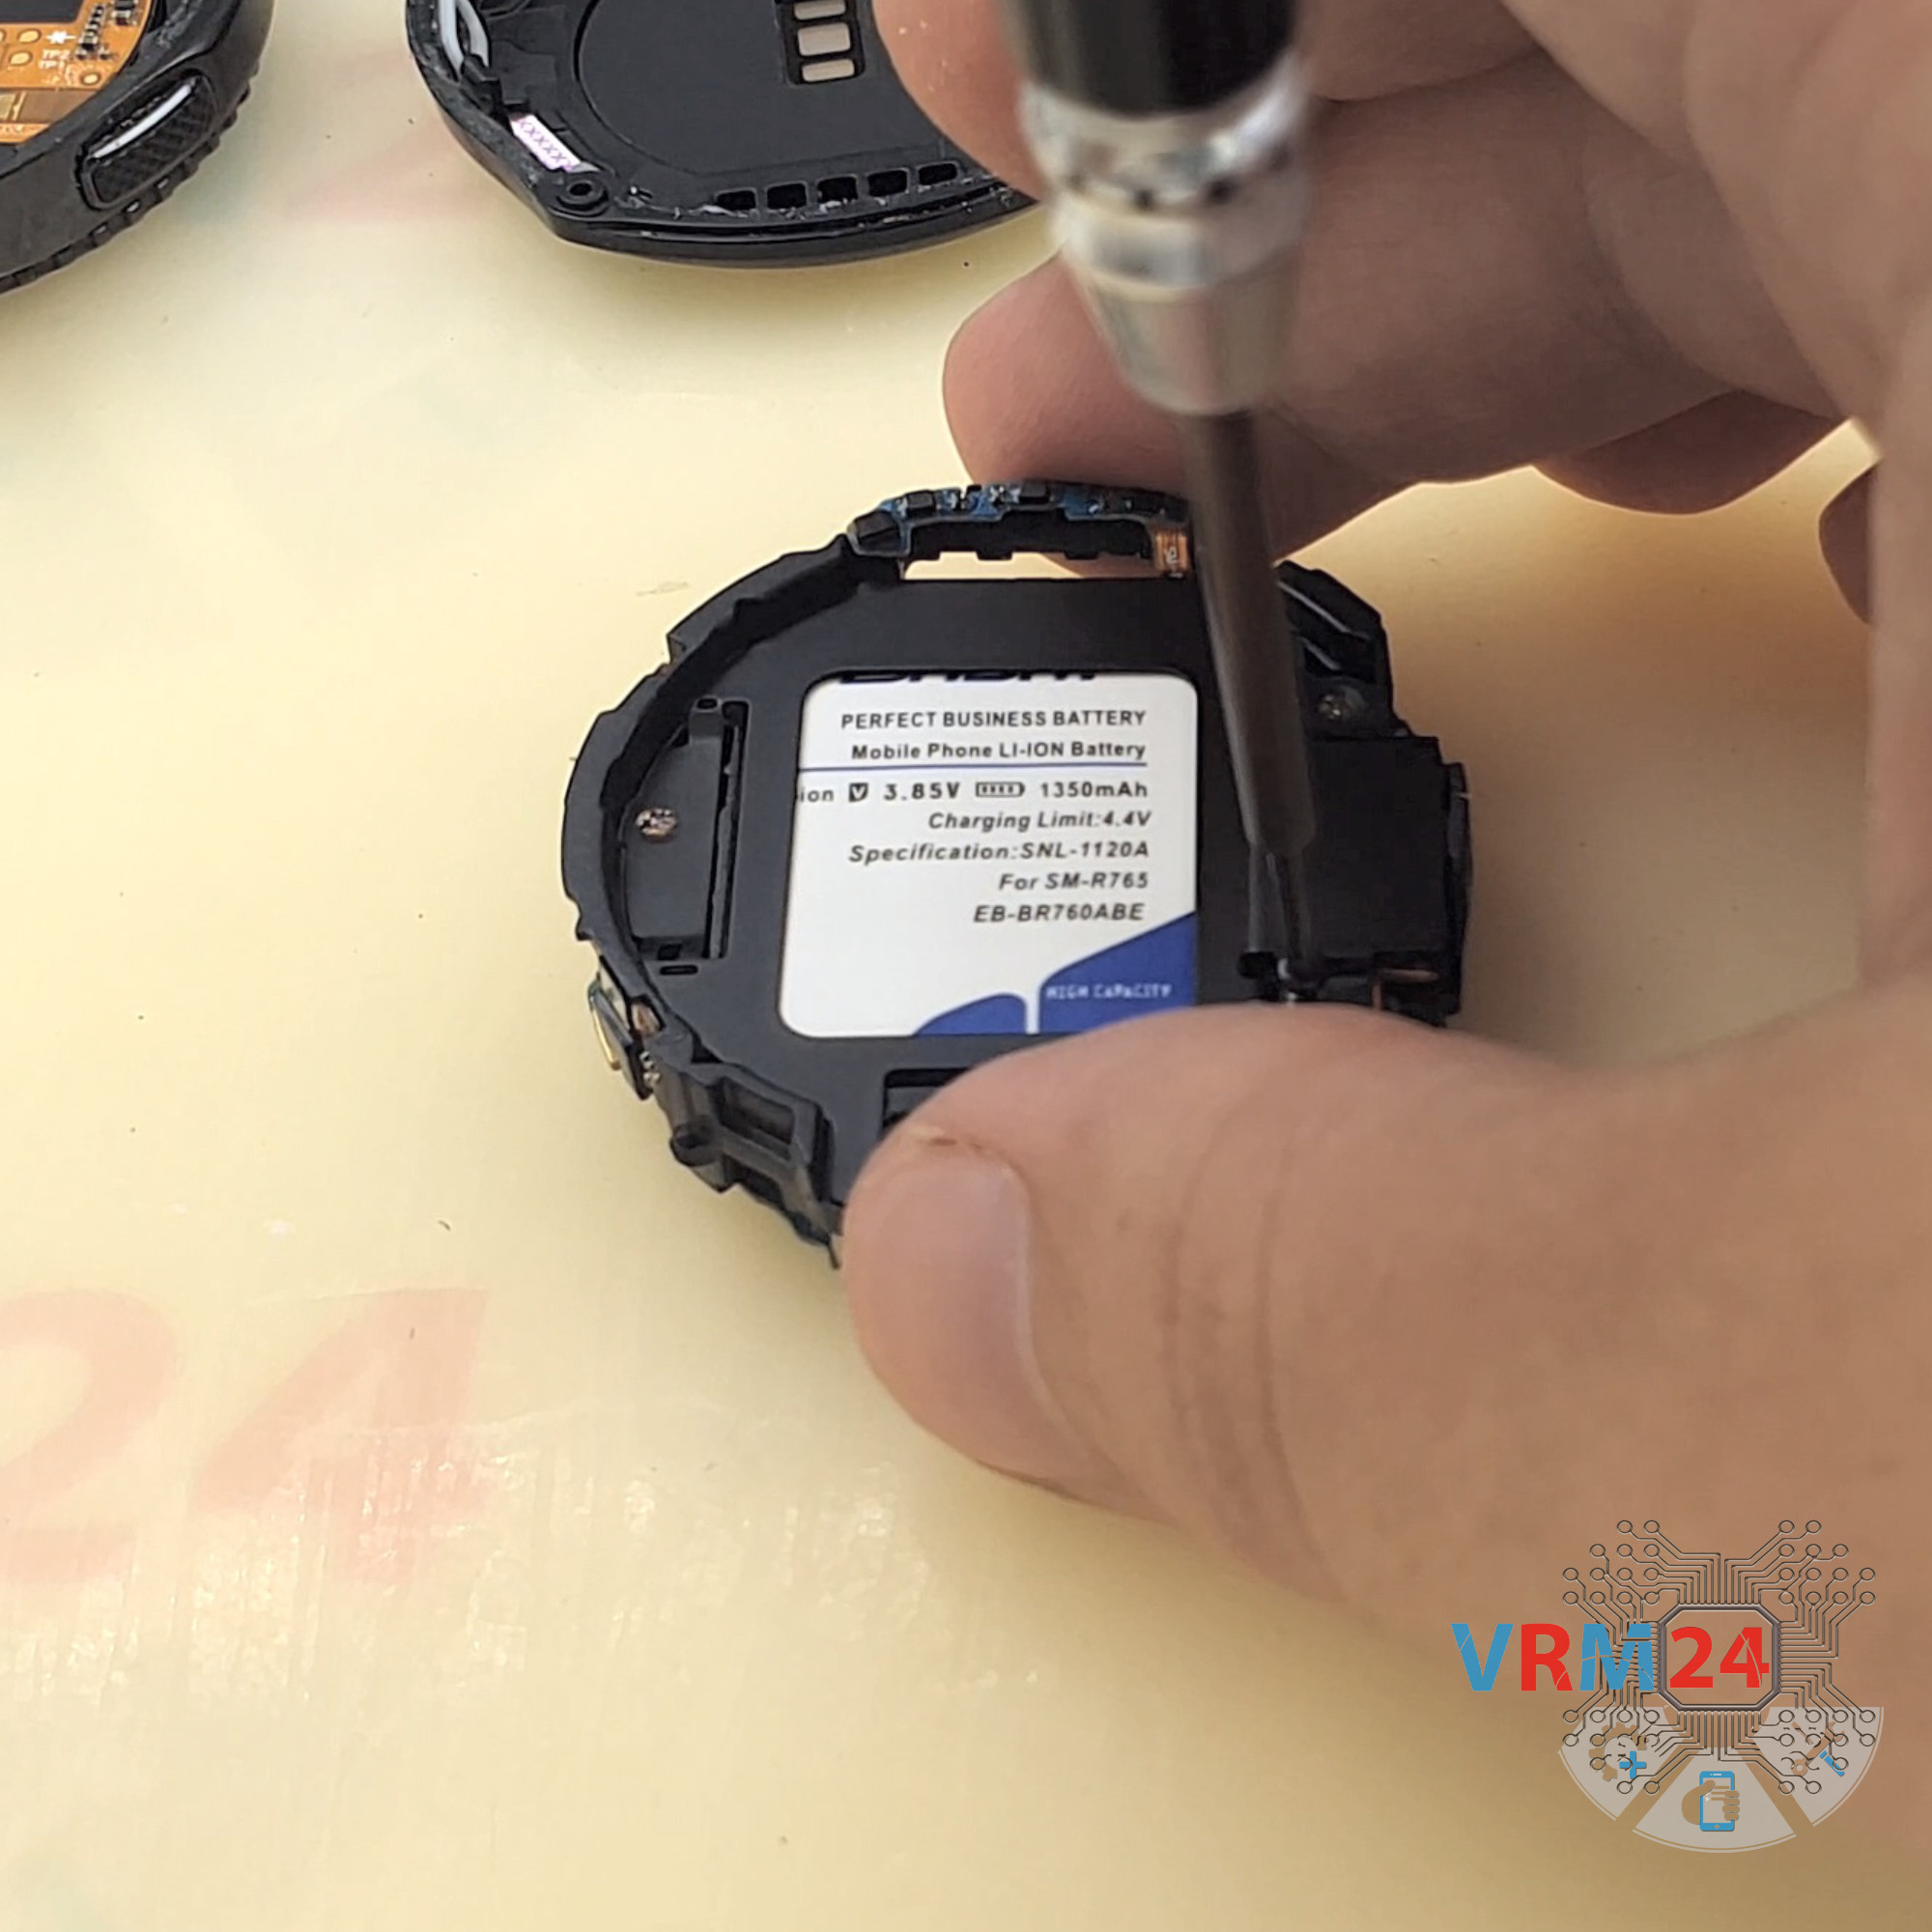
Step 3. Remove the battery
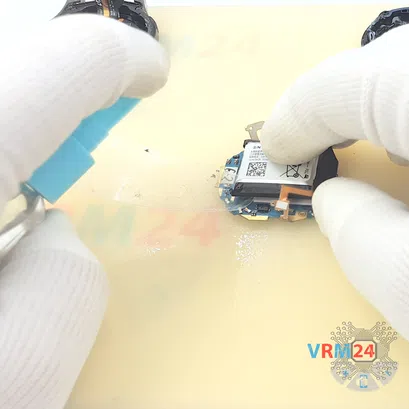
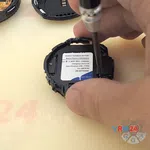
Now we need to detach the battery. In our case, the battery is swollen, it is defective, and it is glued to the motherboard.
We insert a plastic film between the battery and the motherboard, spray isopropyl alcohol so that alcohol can get under the battery and onto the adhesive base. And carefully separate the battery. It is slightly glued, but over the entire surface.
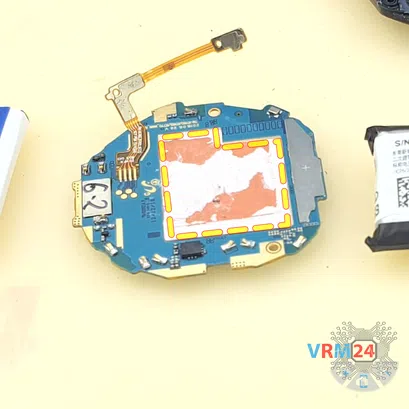
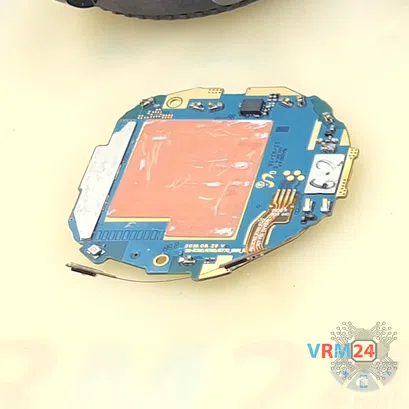


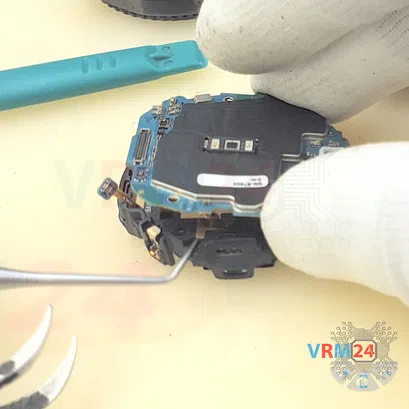
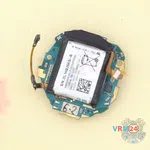
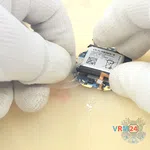
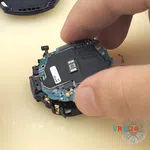
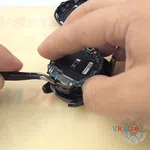
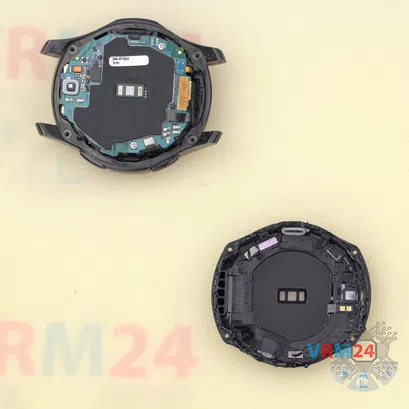
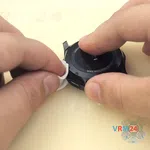
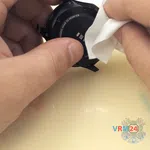
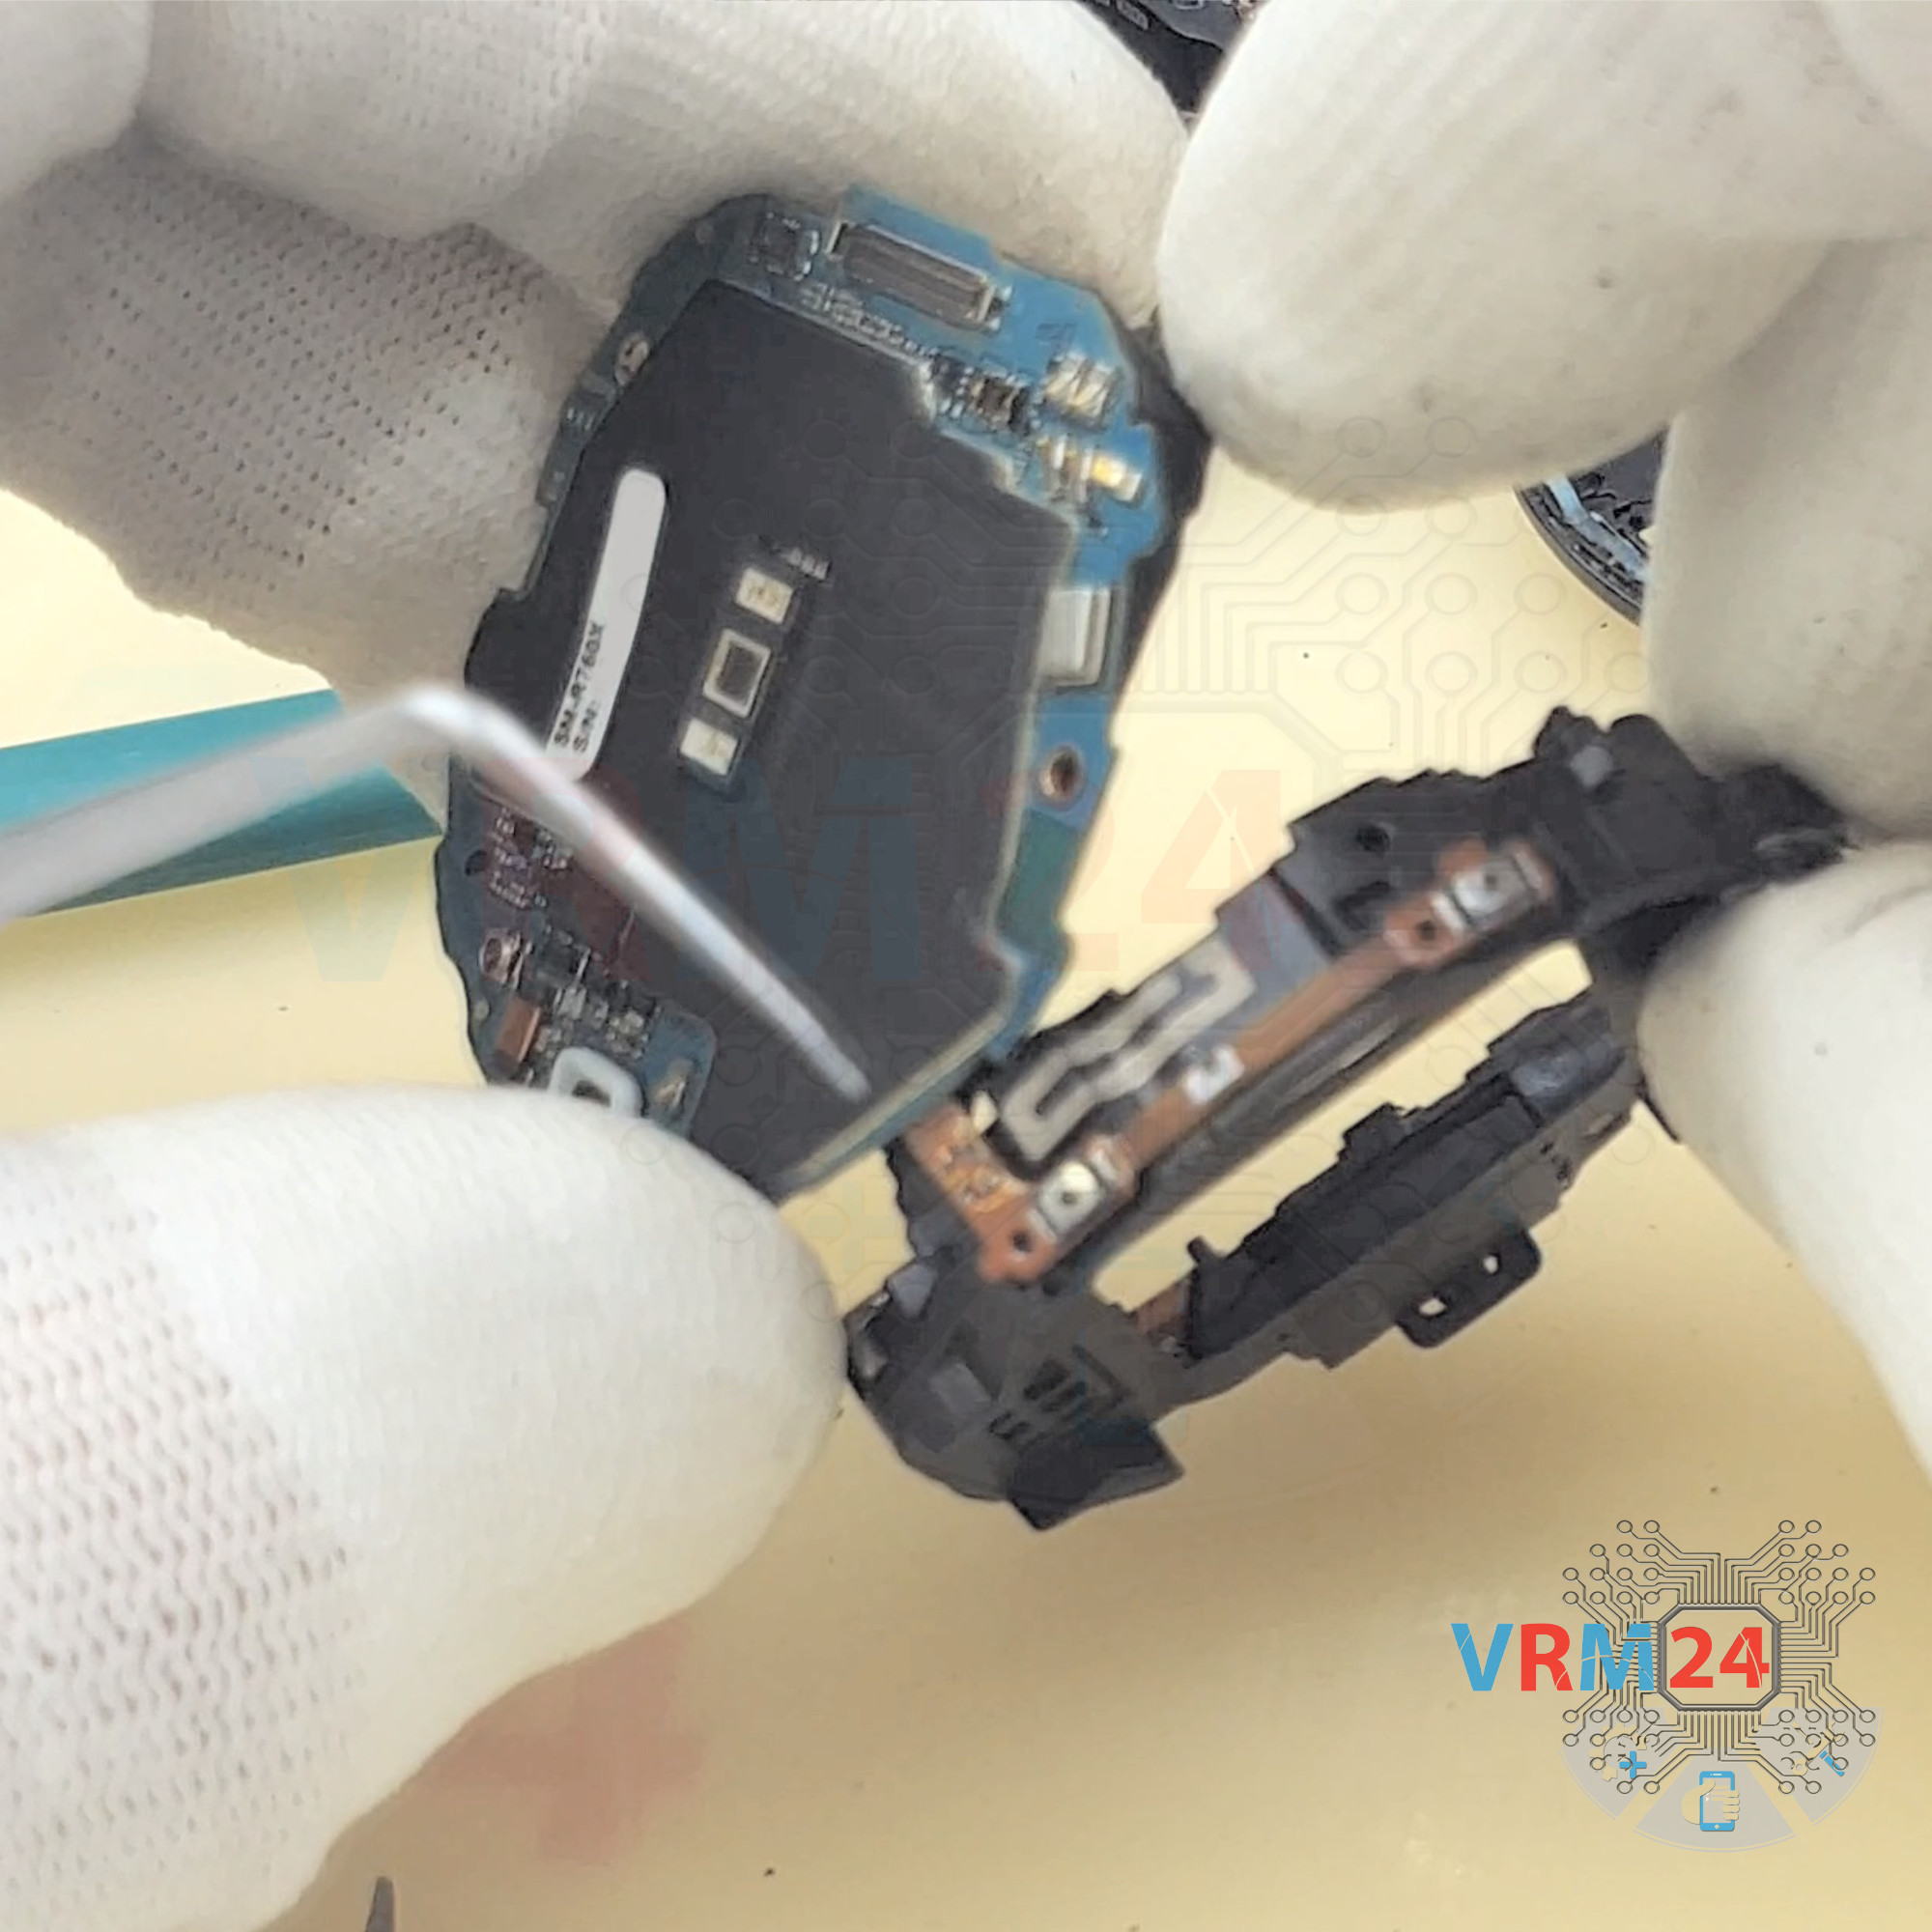
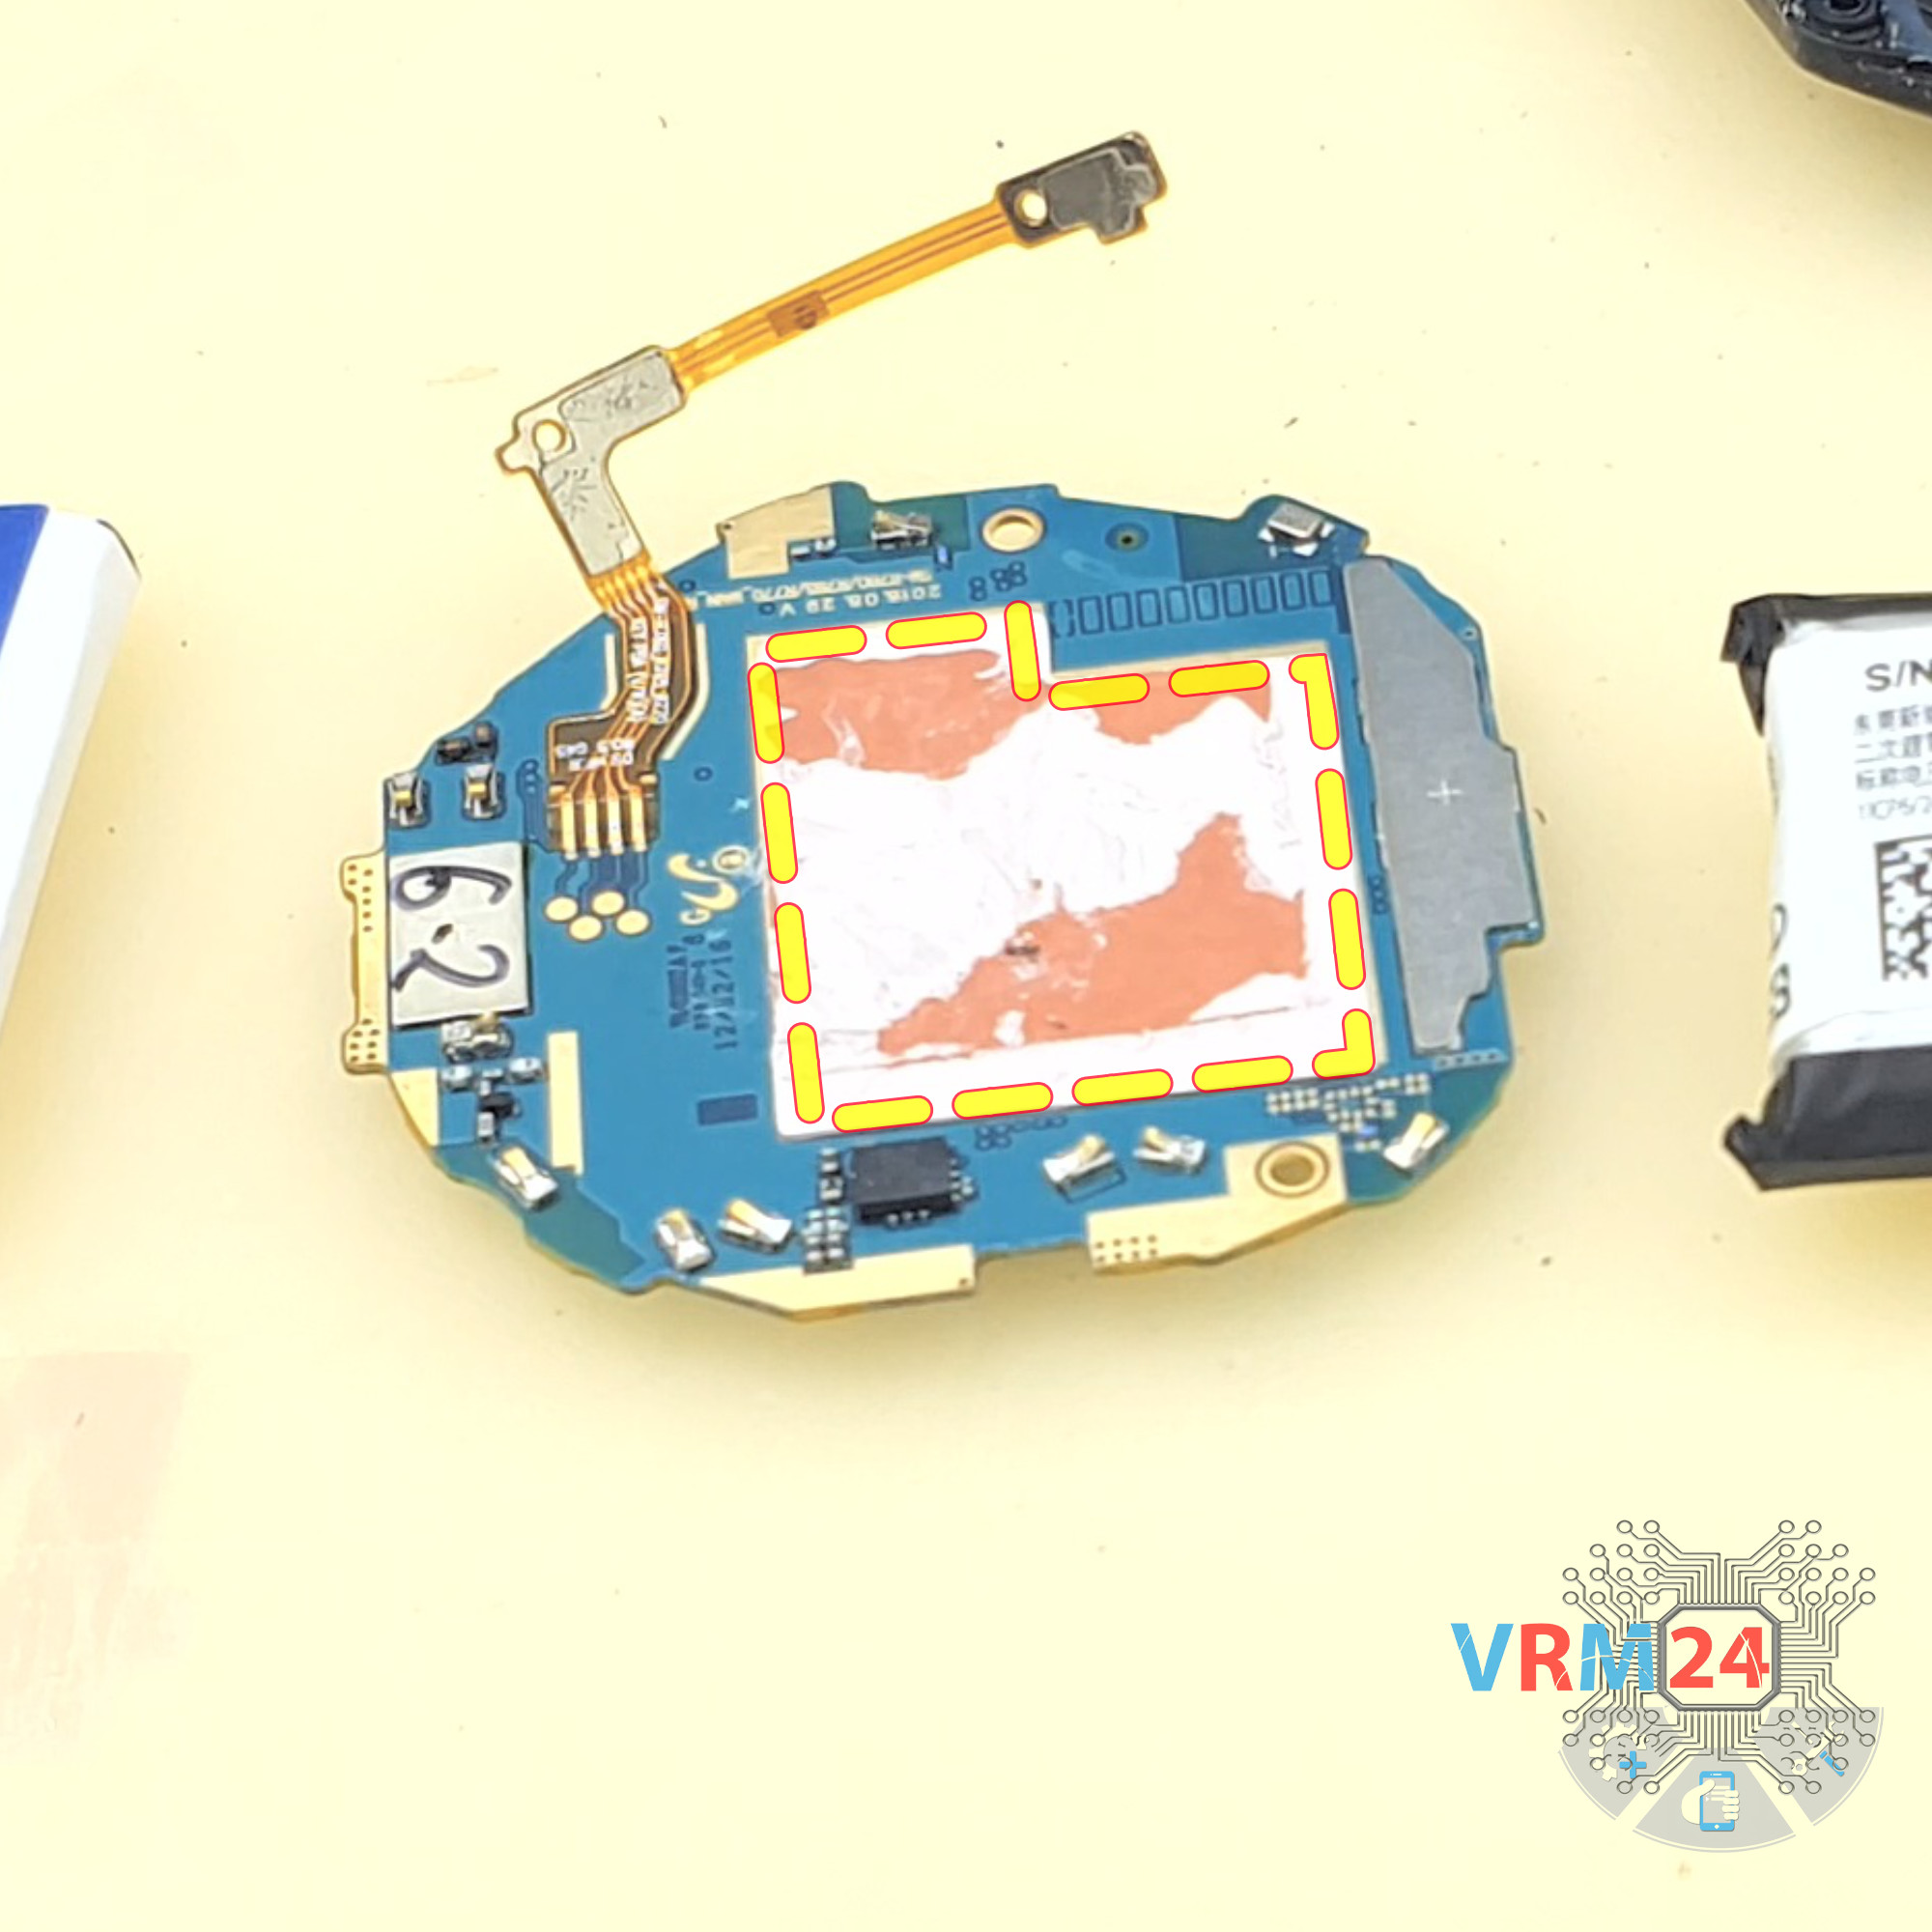
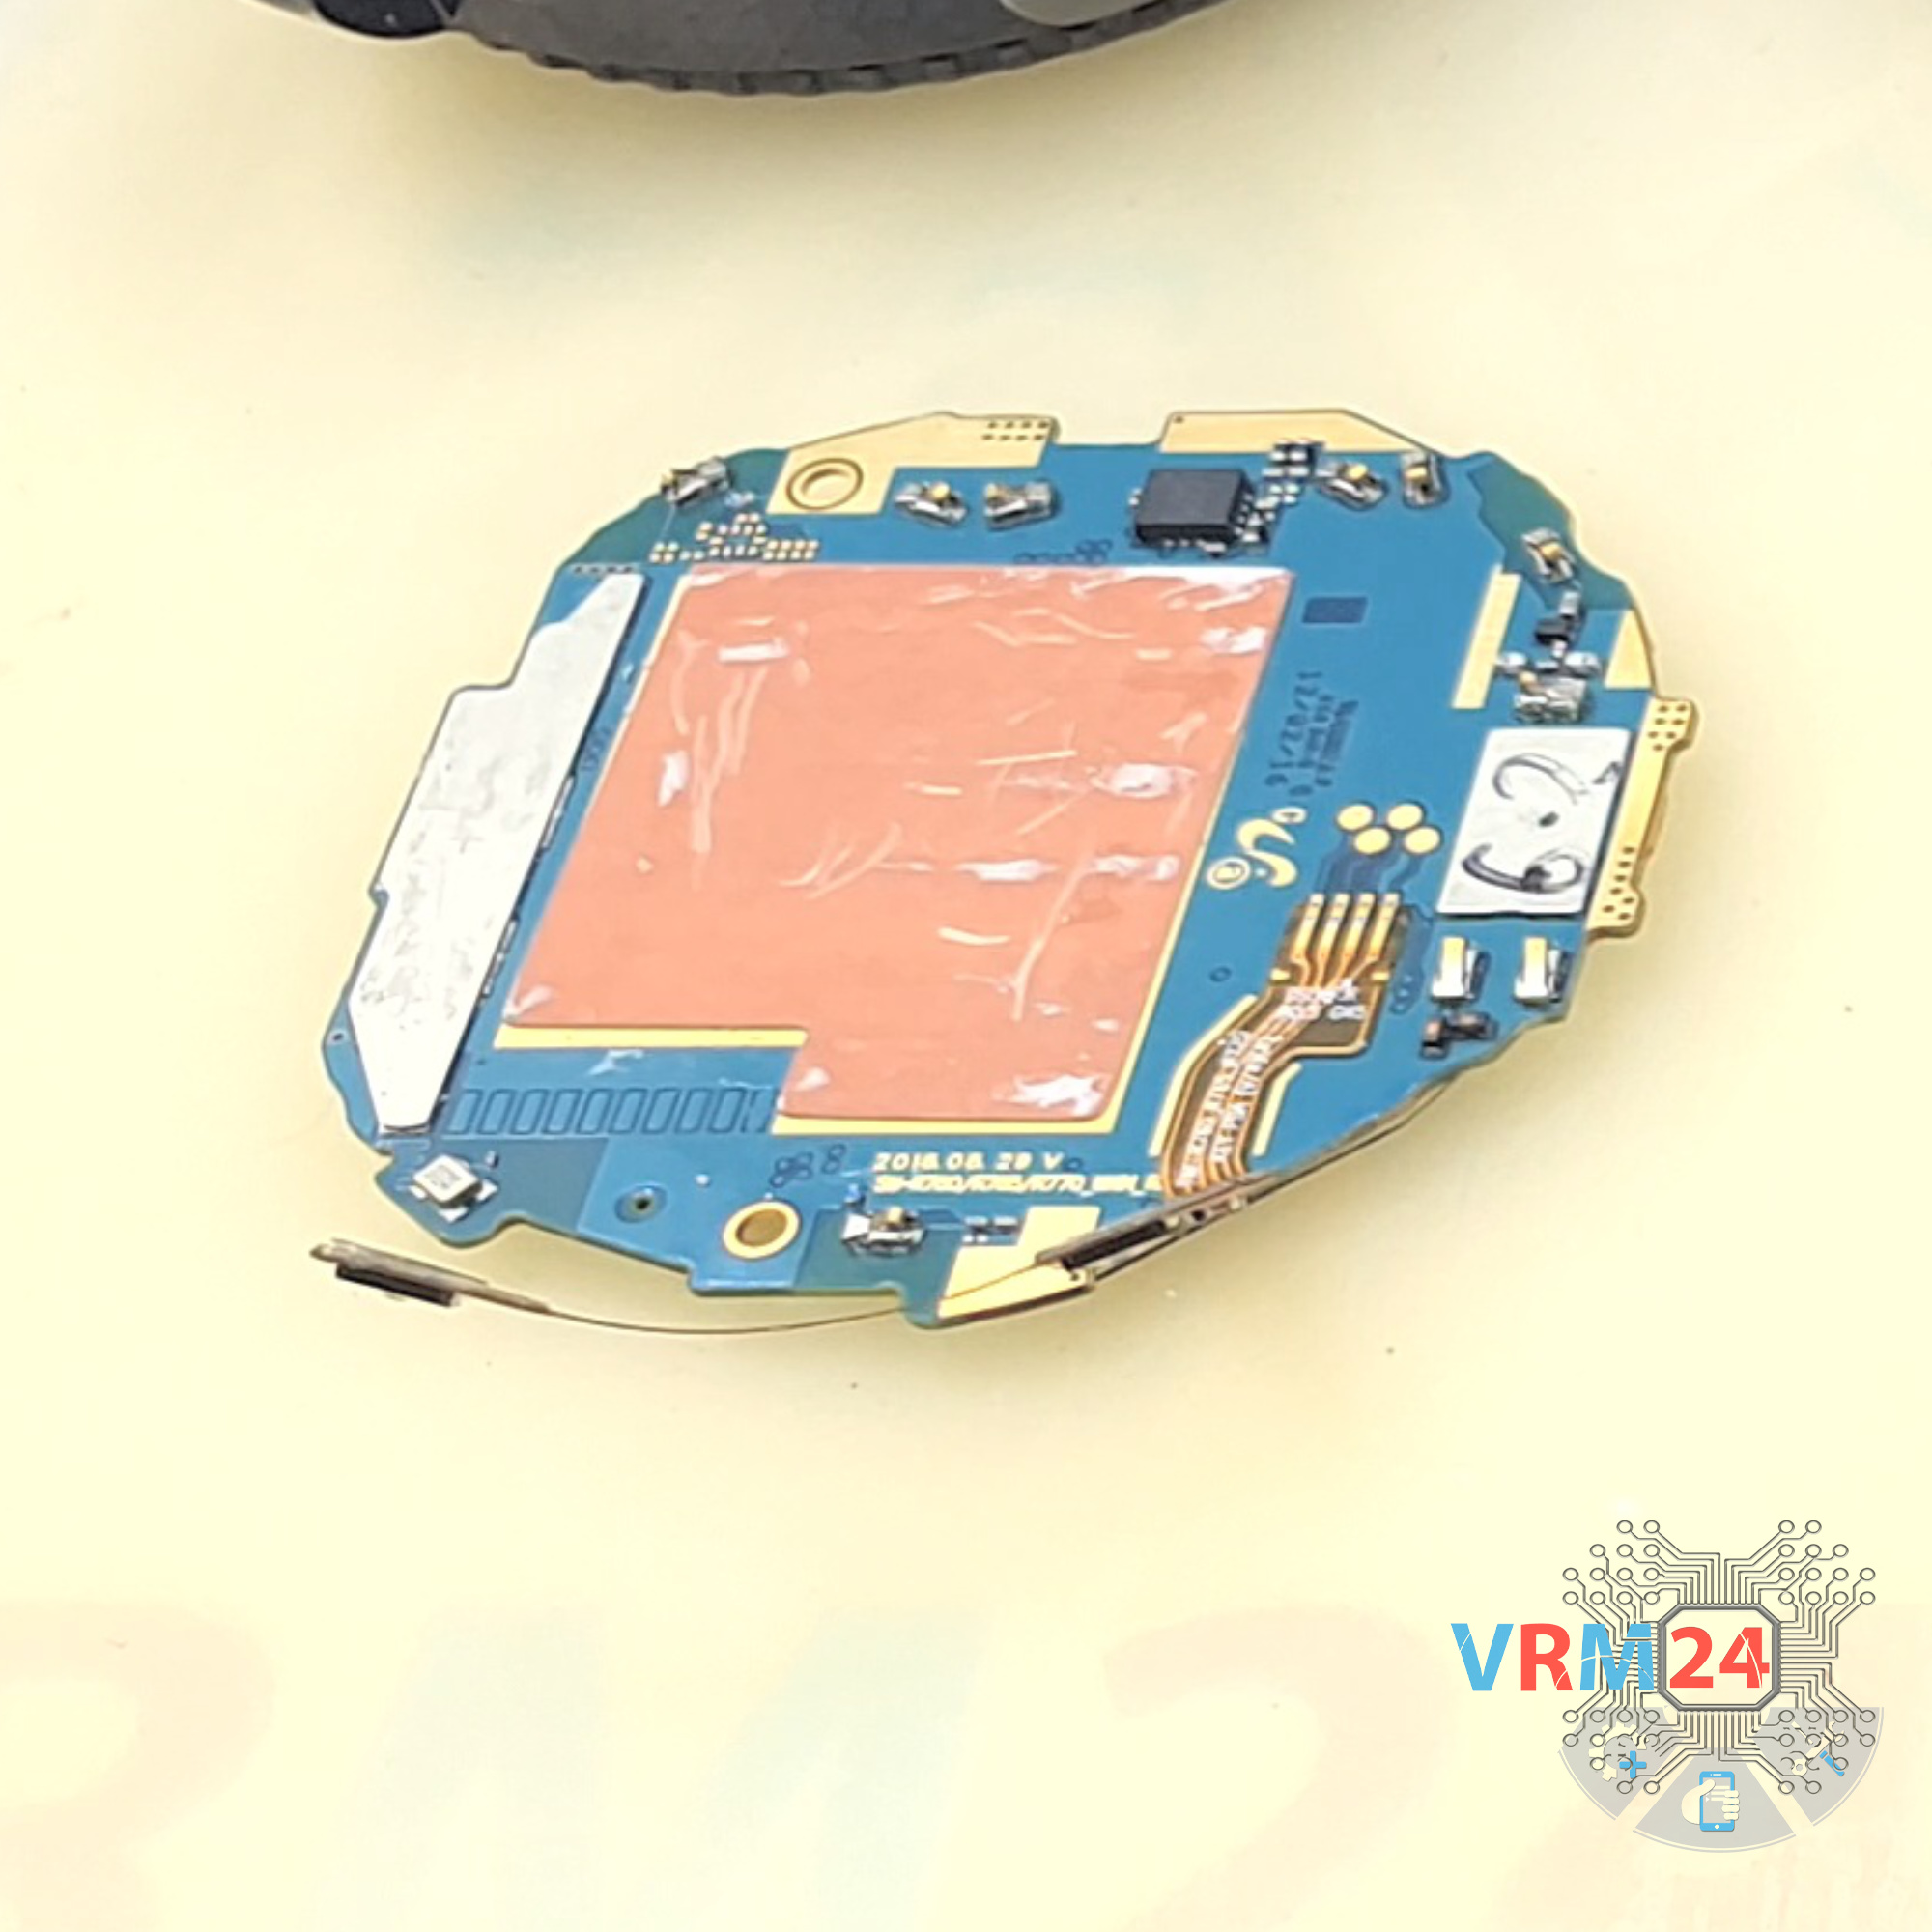
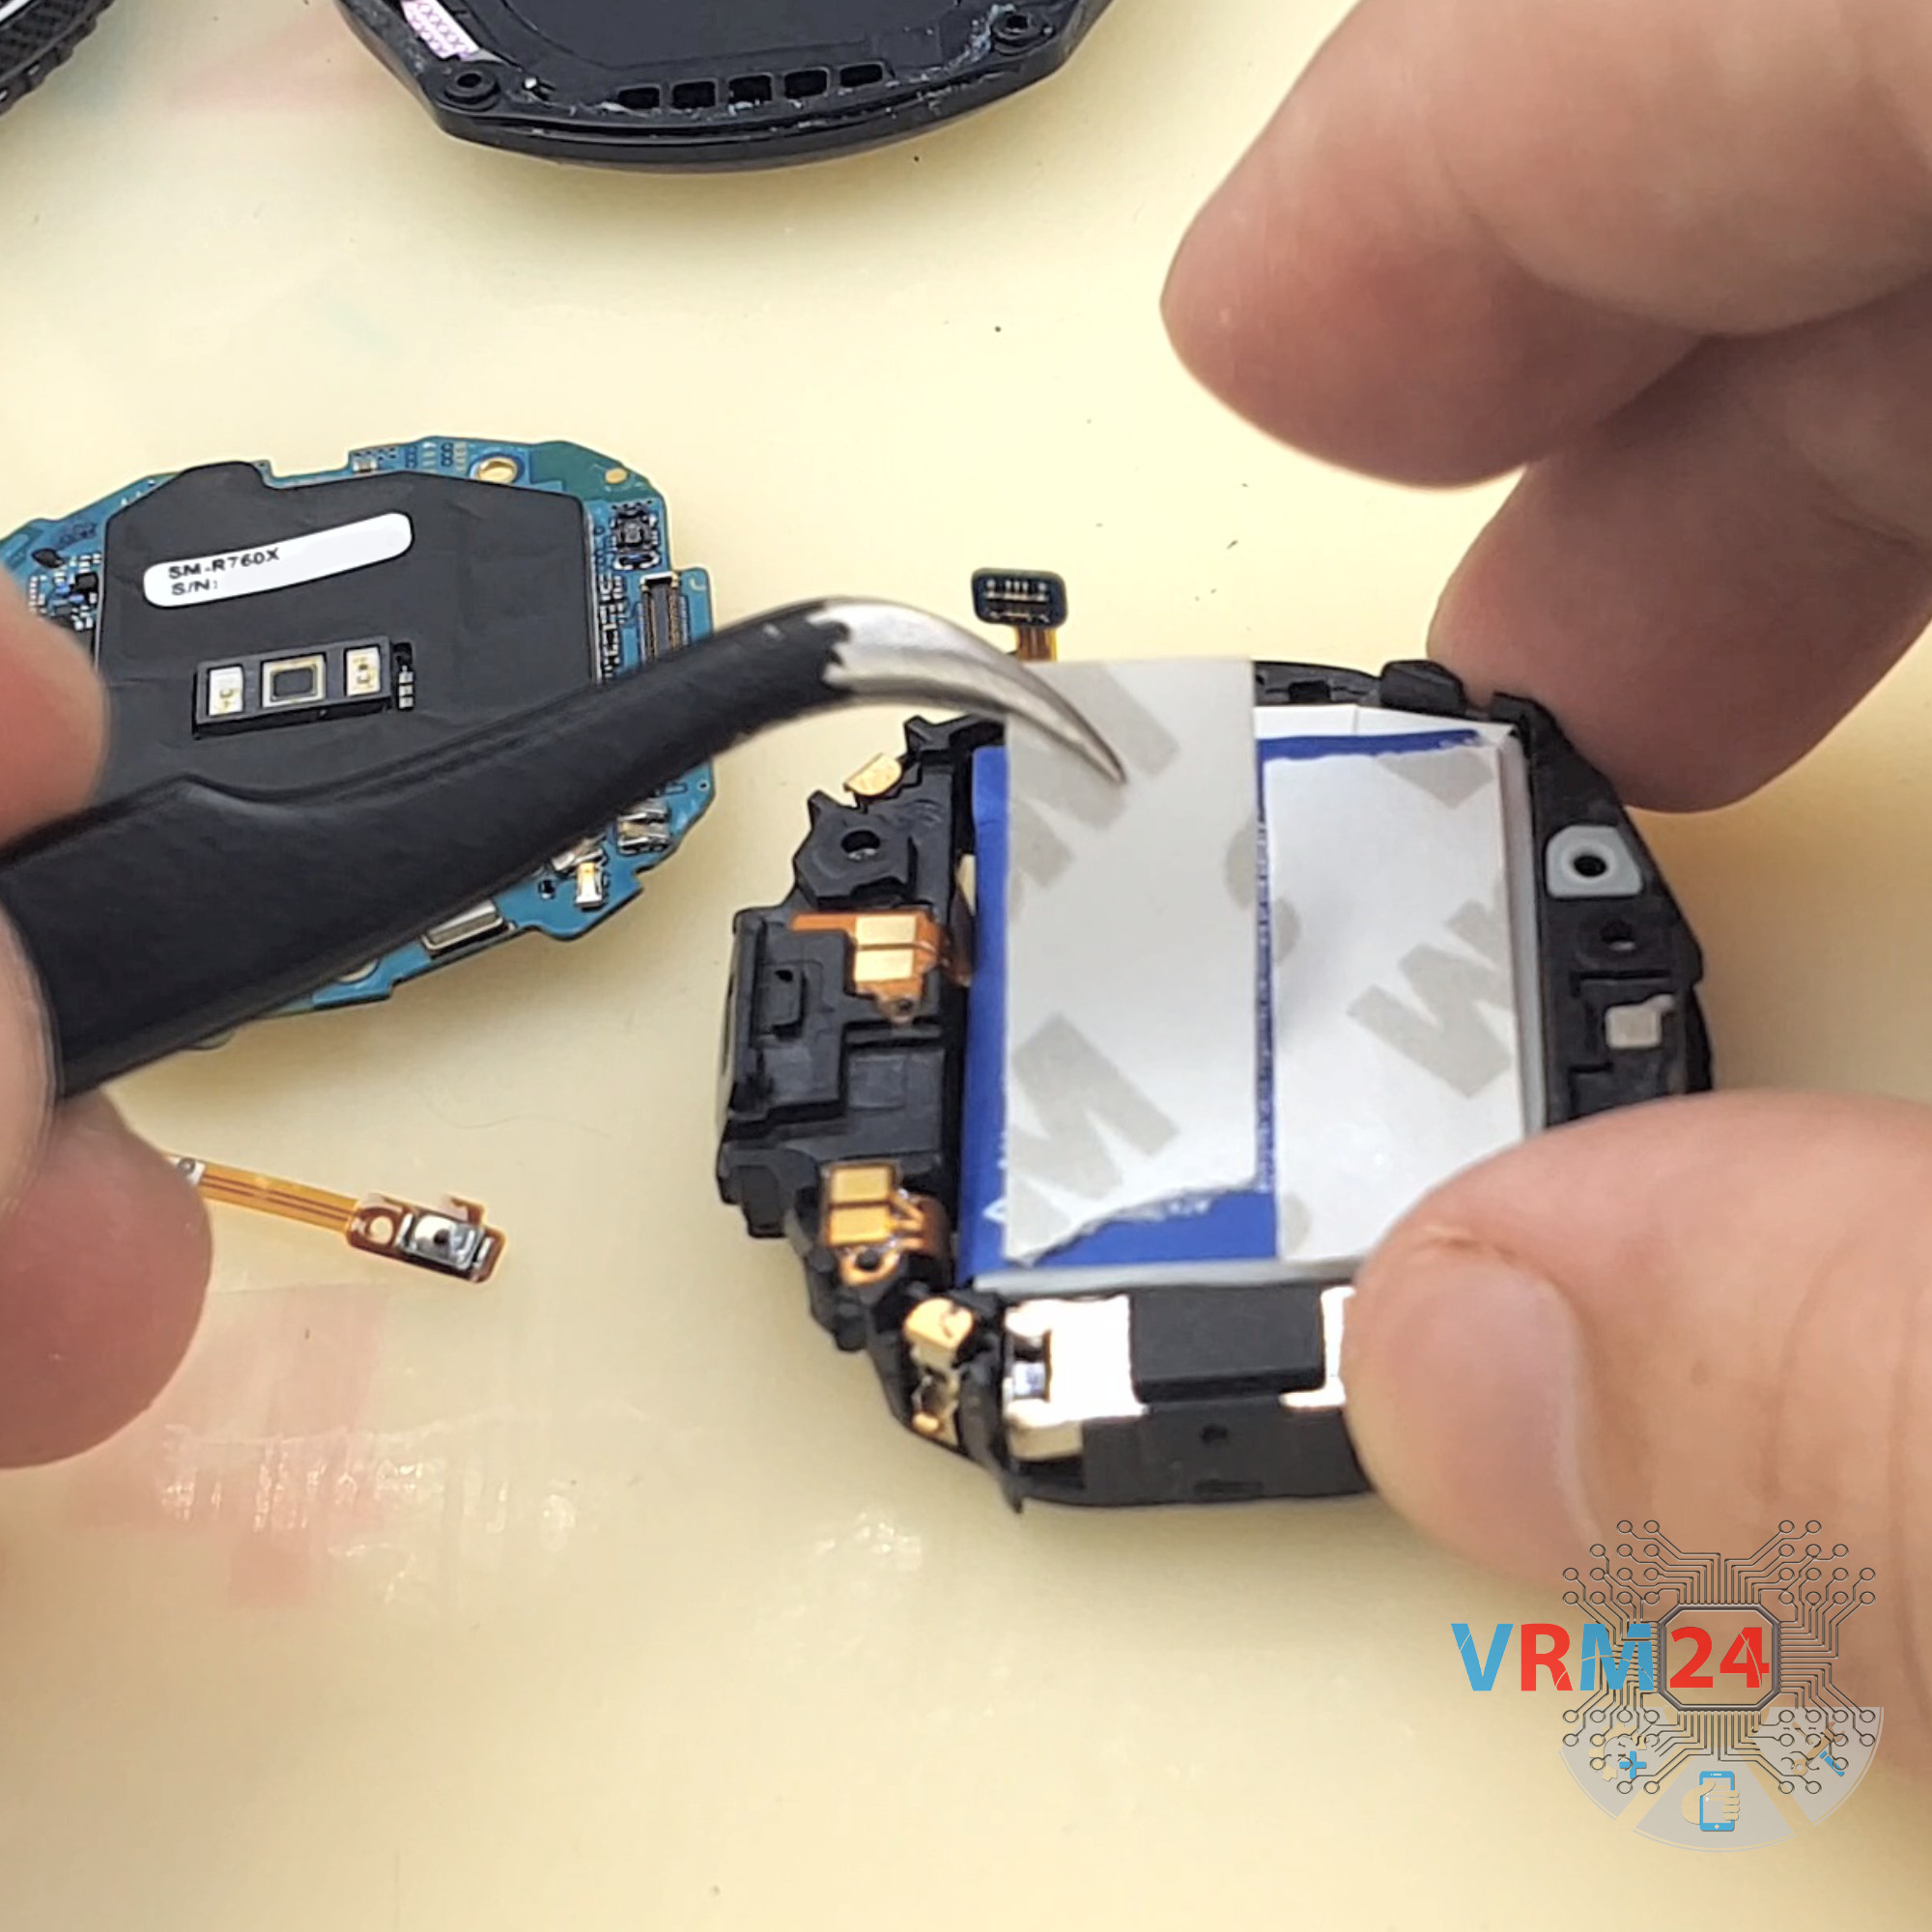
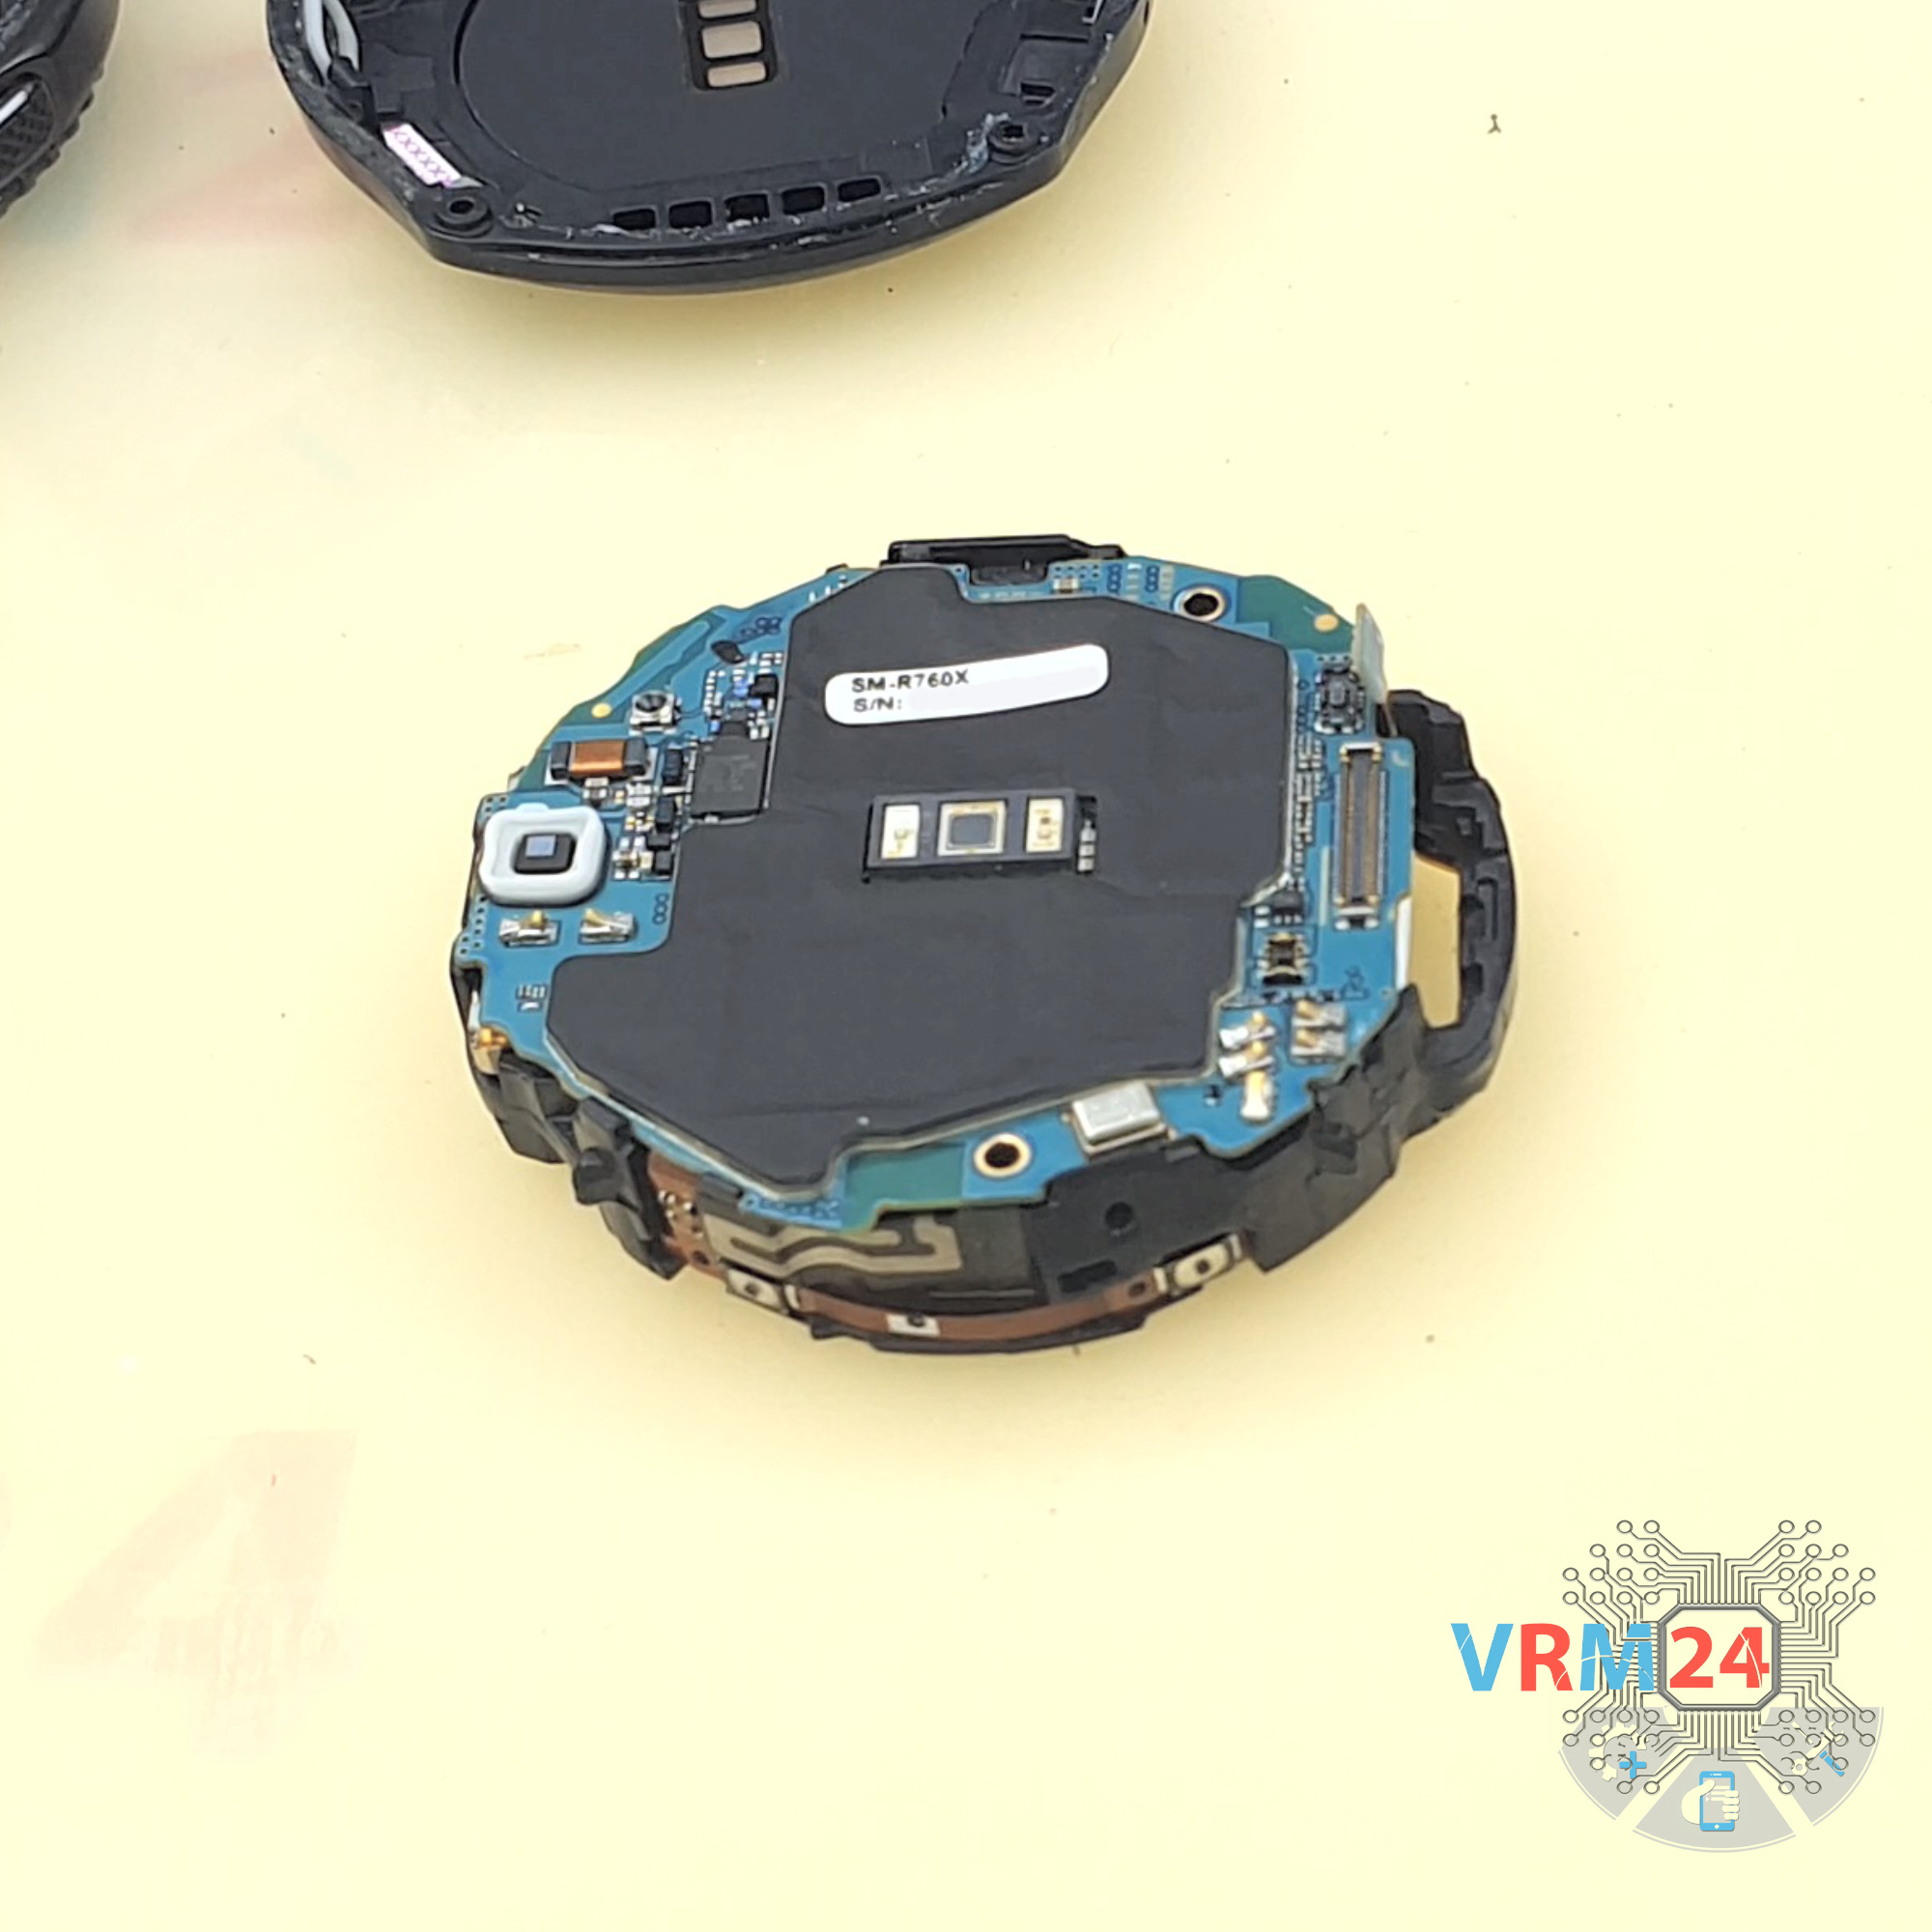
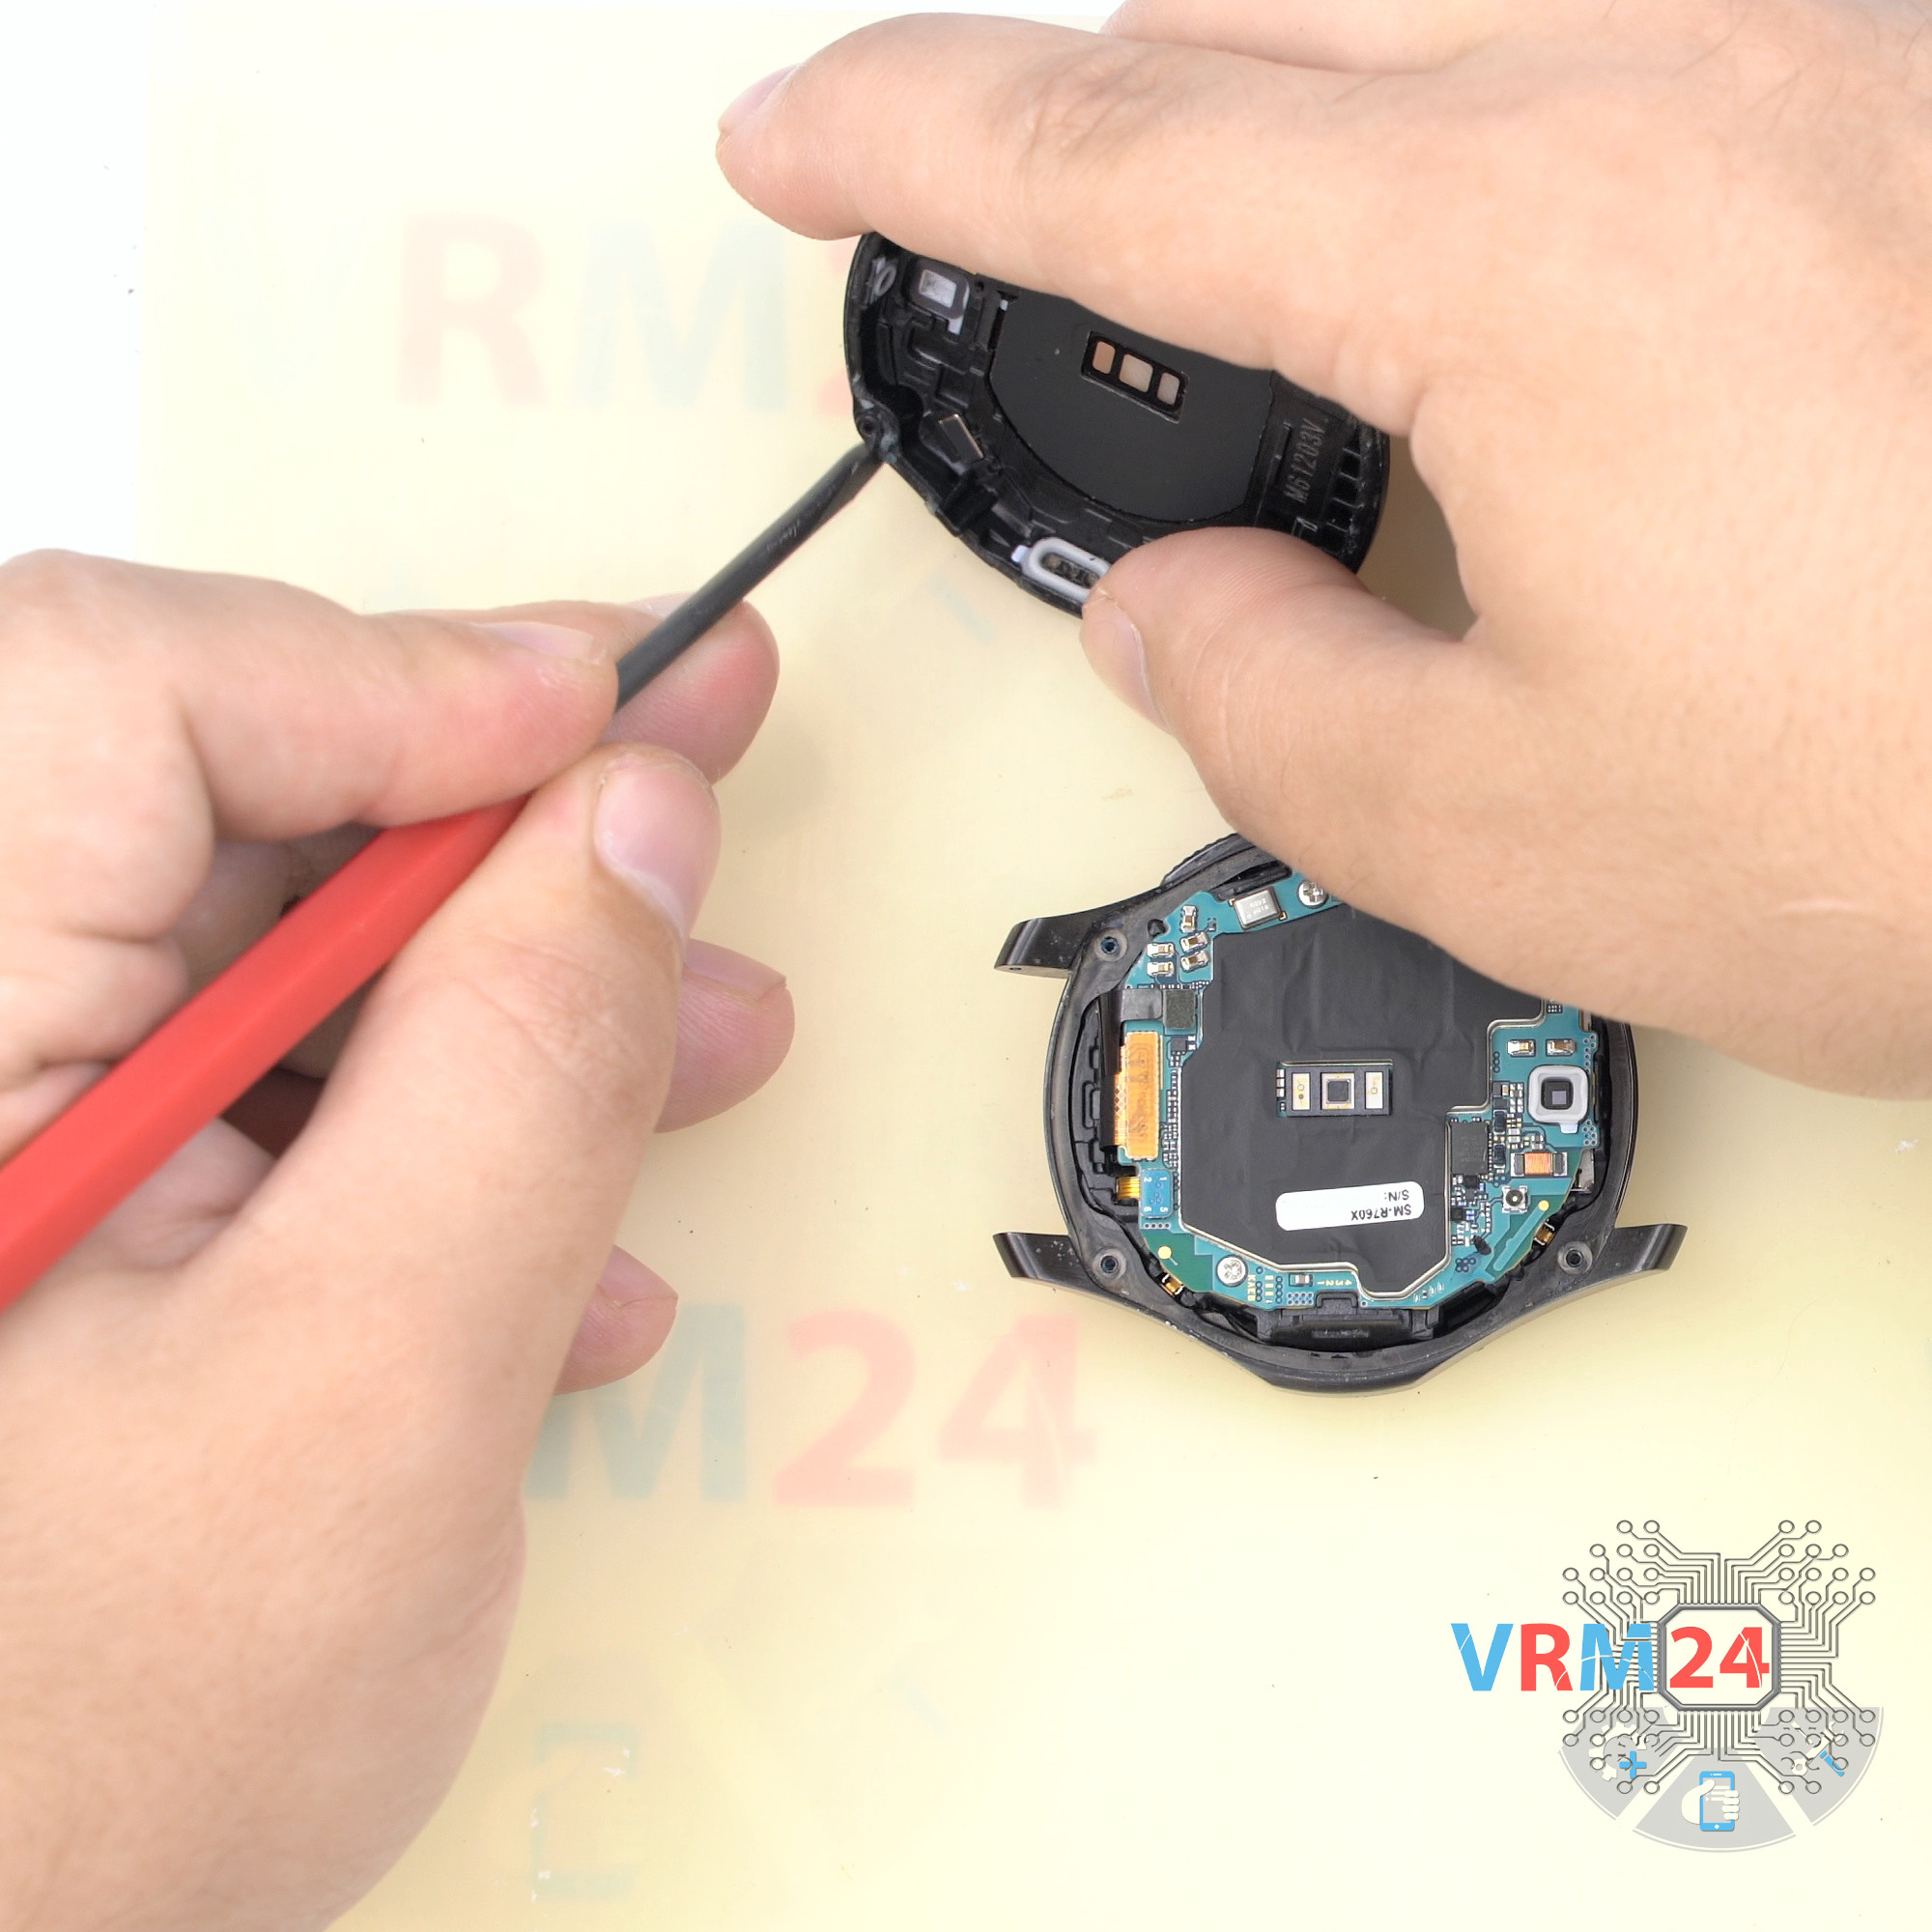
Step 4. Clean the surface
We cleaned the surface of the circuit board. For this we used isopropyl alcohol and a small rag. Now we see a large copper plate of the passive heat sink system on which the battery is glued.
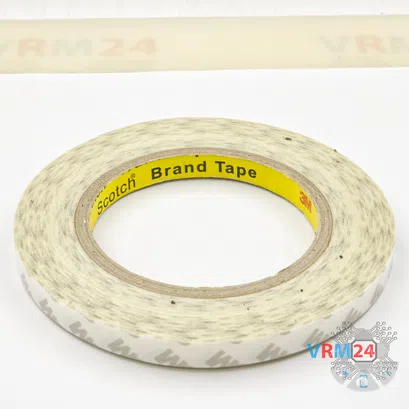


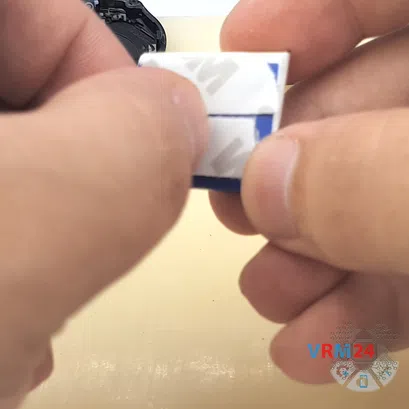


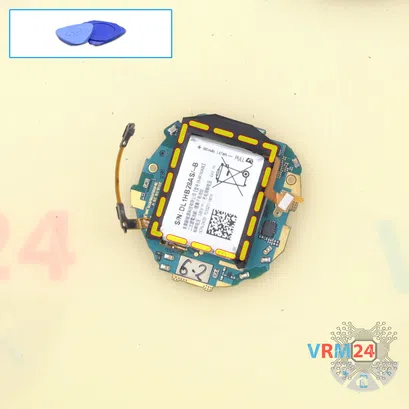
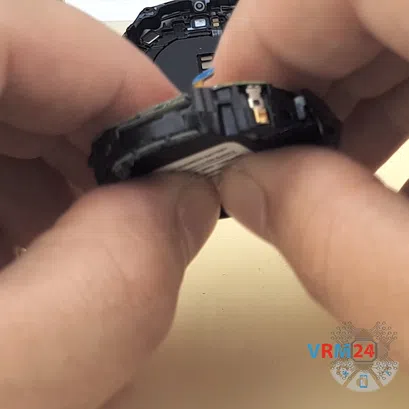
Step 5. Attach the adhesive tape
For gluing, we traditionally use 3M adhesive tape. We attach two pieces of the adhesive to the battery and try on the battery for reassembly.

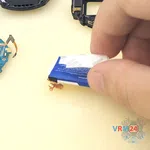
Step 6. Insert the battery
We insert the battery into the Bracket and attach the pad with the contacts.


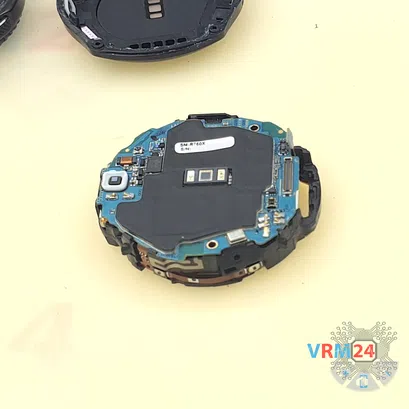

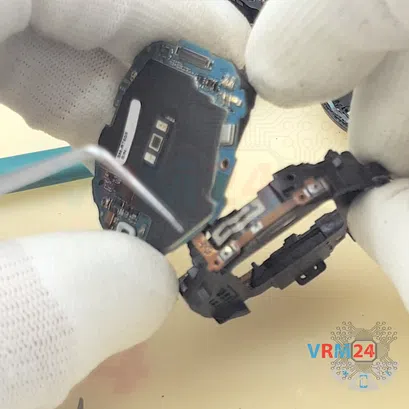
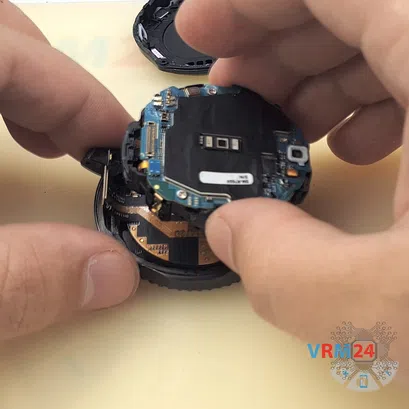
Step 7. Attach the motherboard
We peel off the release liners on the battery and attach the motherboard and the button cable to the Bracket.

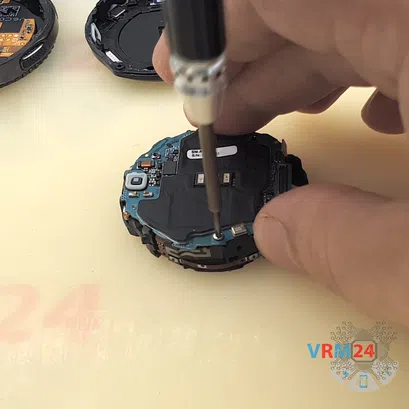
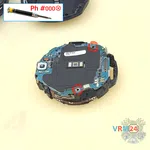

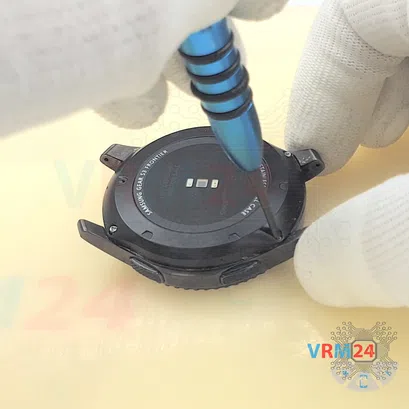
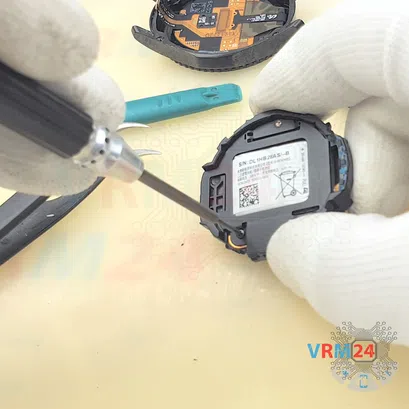
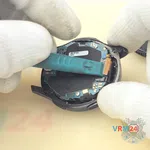
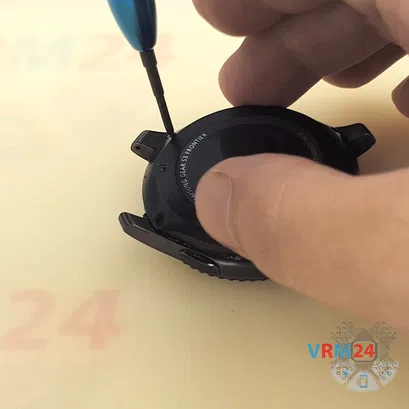
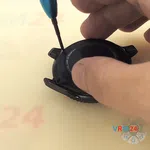
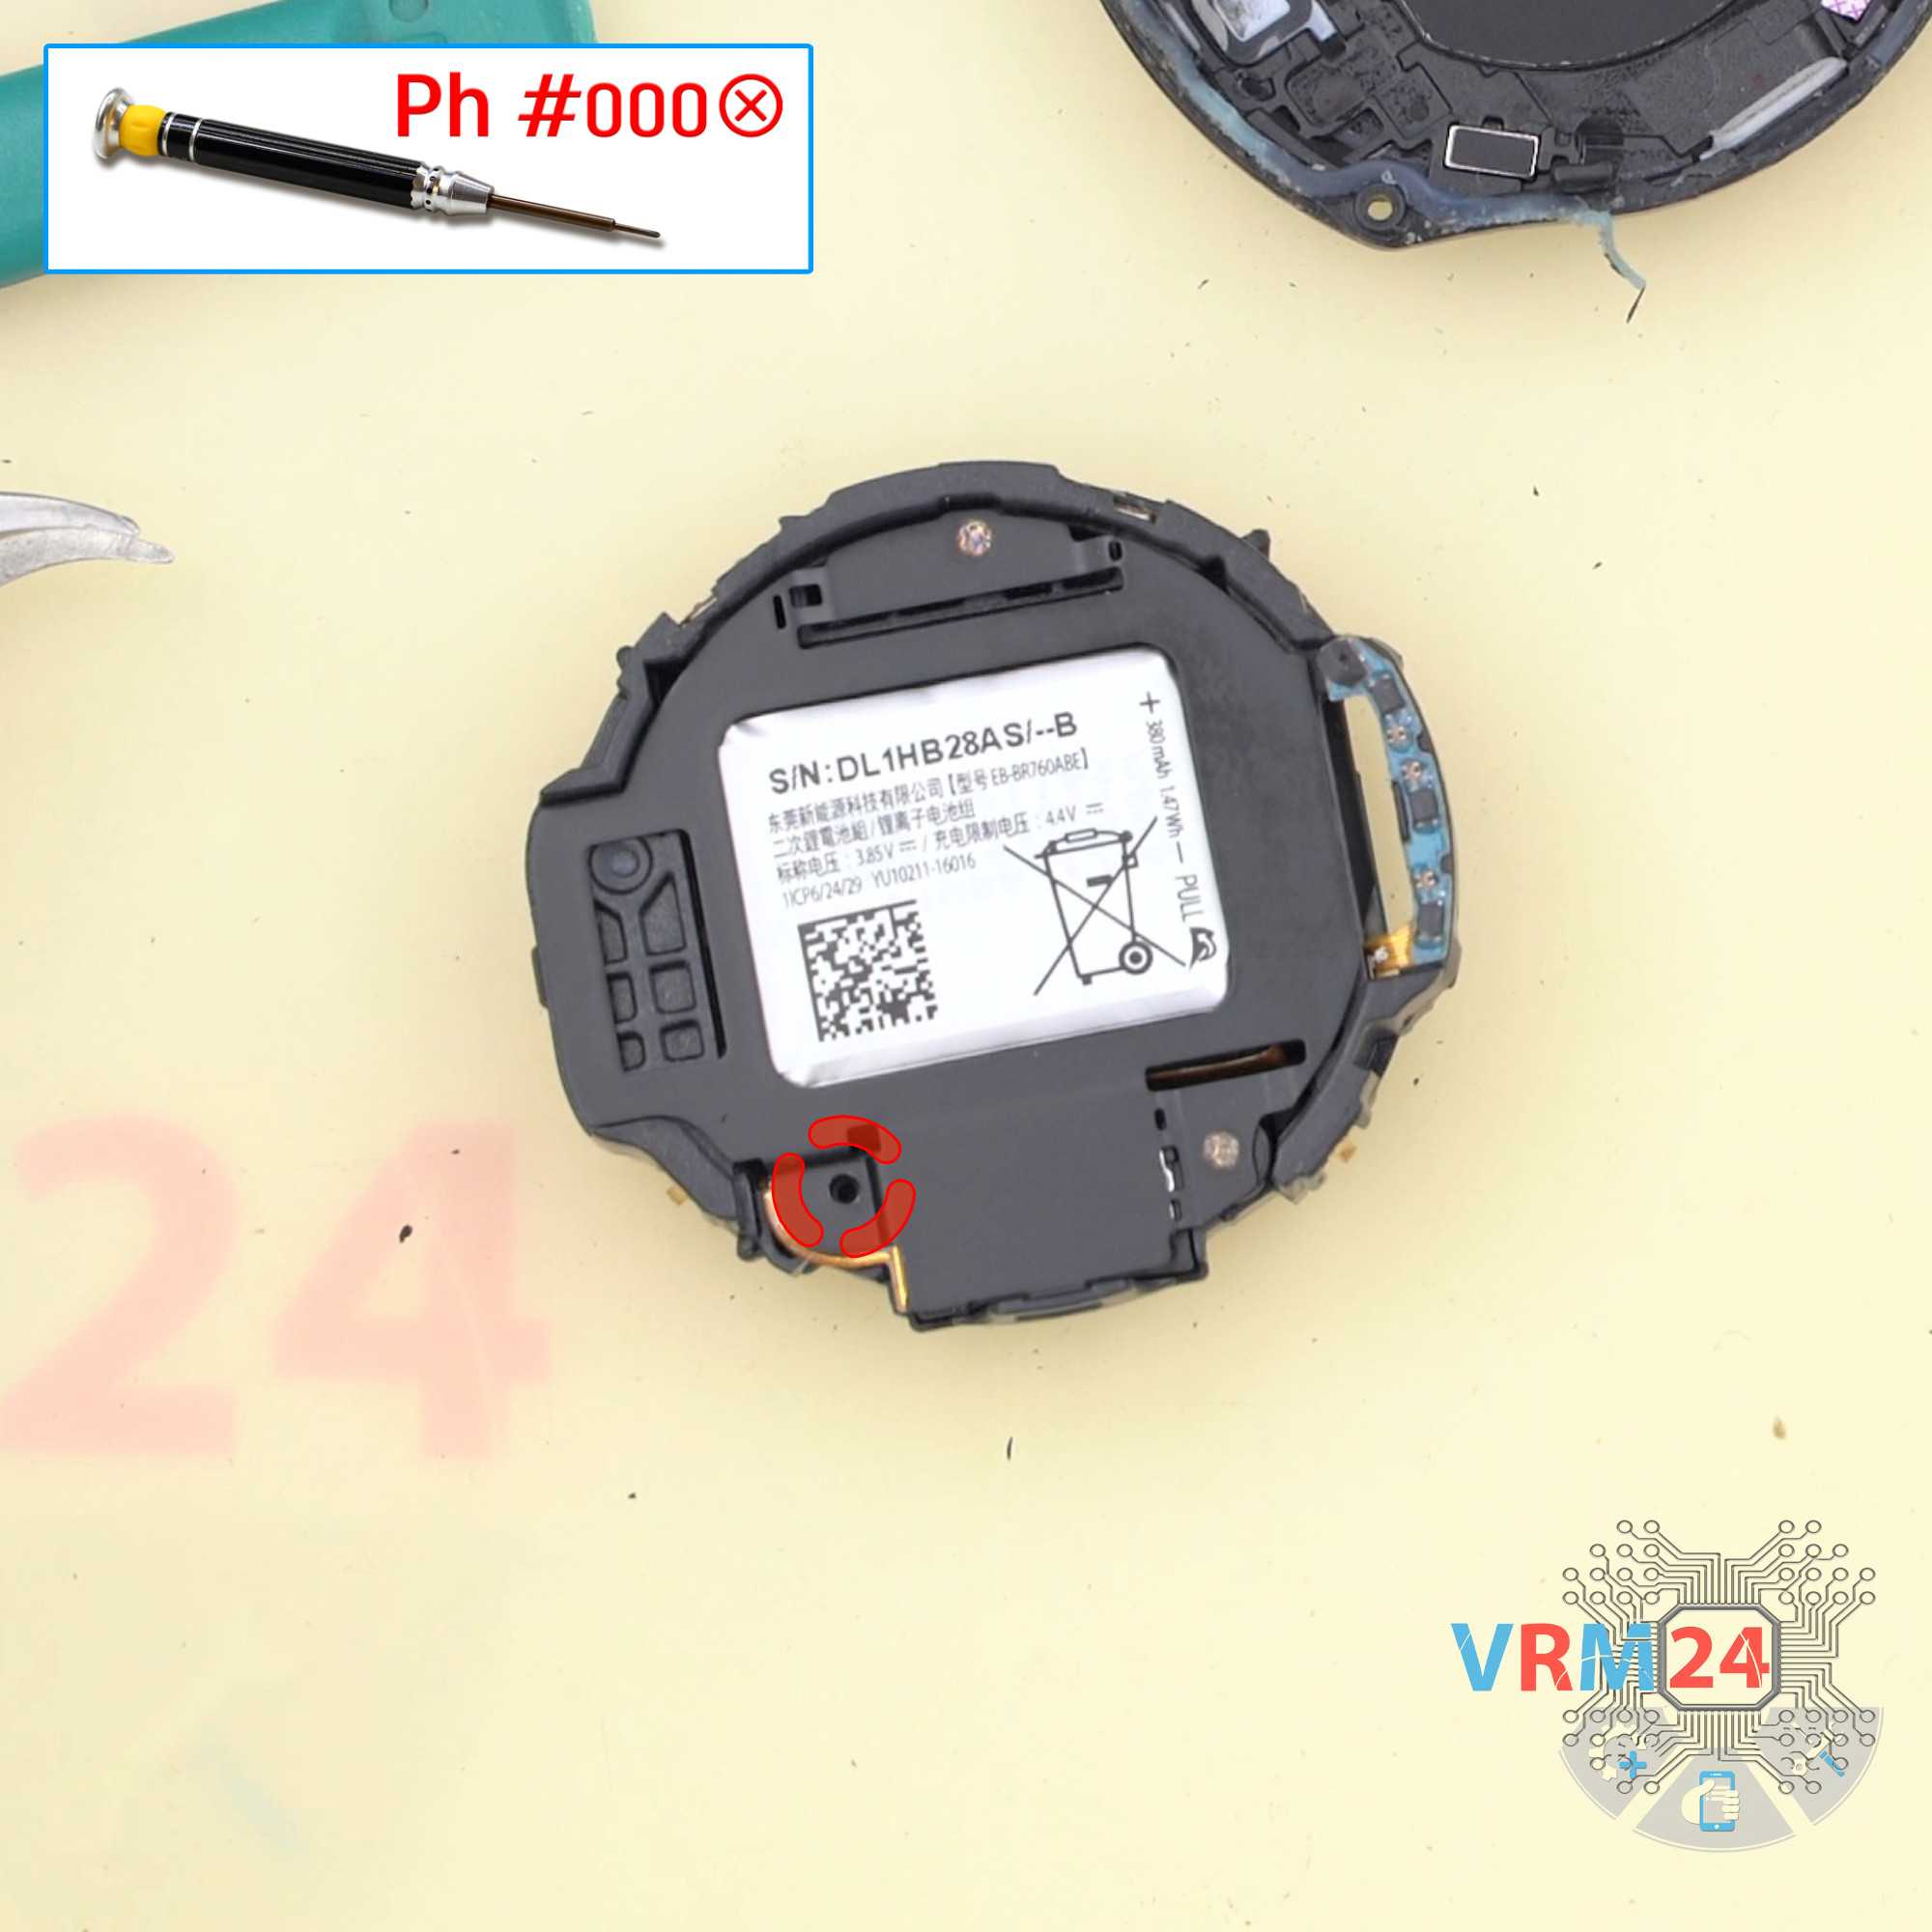
Step 8. Screw in screws
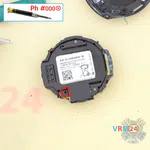
Using a Phillips 1.5 mm screwdriver aka #000, we screw in the two screws that hold the motherboard, battery and Bracket together. Now the motherboard is powered by the battery and we need to be as careful as possible.


Step 9. Screw in one screw
Using a Phillips 1.5 mm screwdriver aka #000, we screw in one screw that press tight the battery contacts (on the motherboard) and battery contact pad together.


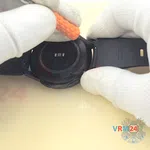
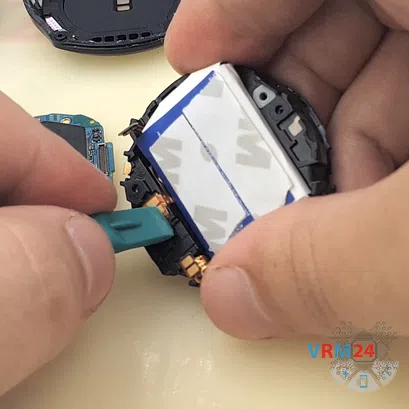
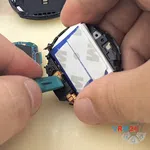
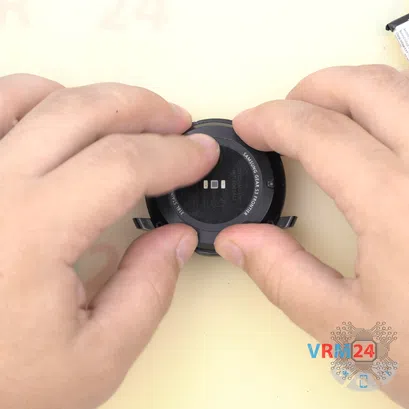
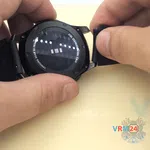
Step 10. Attach the assembly
We push the display, touchscreen sensor cables and cable for small board through the hole in the Bracket. Insert our assembly into the front case with the display module.
Connect all connectors.


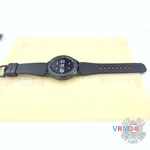
Step 12. Double-check
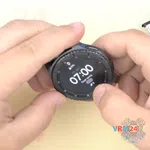
Now we need to check that we have assembled everything correctly and the Gear S3 is working.
We attach the back cover and turn on the smartwatch.
We test the display, touchscreen, bezel and battery.
We can also test a speaker, Bluetooth, or microphone by simply syncing the watch with a smartphone.
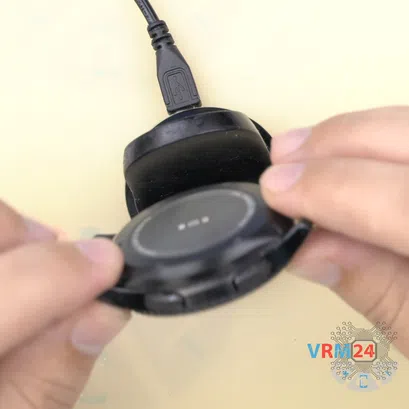
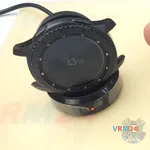
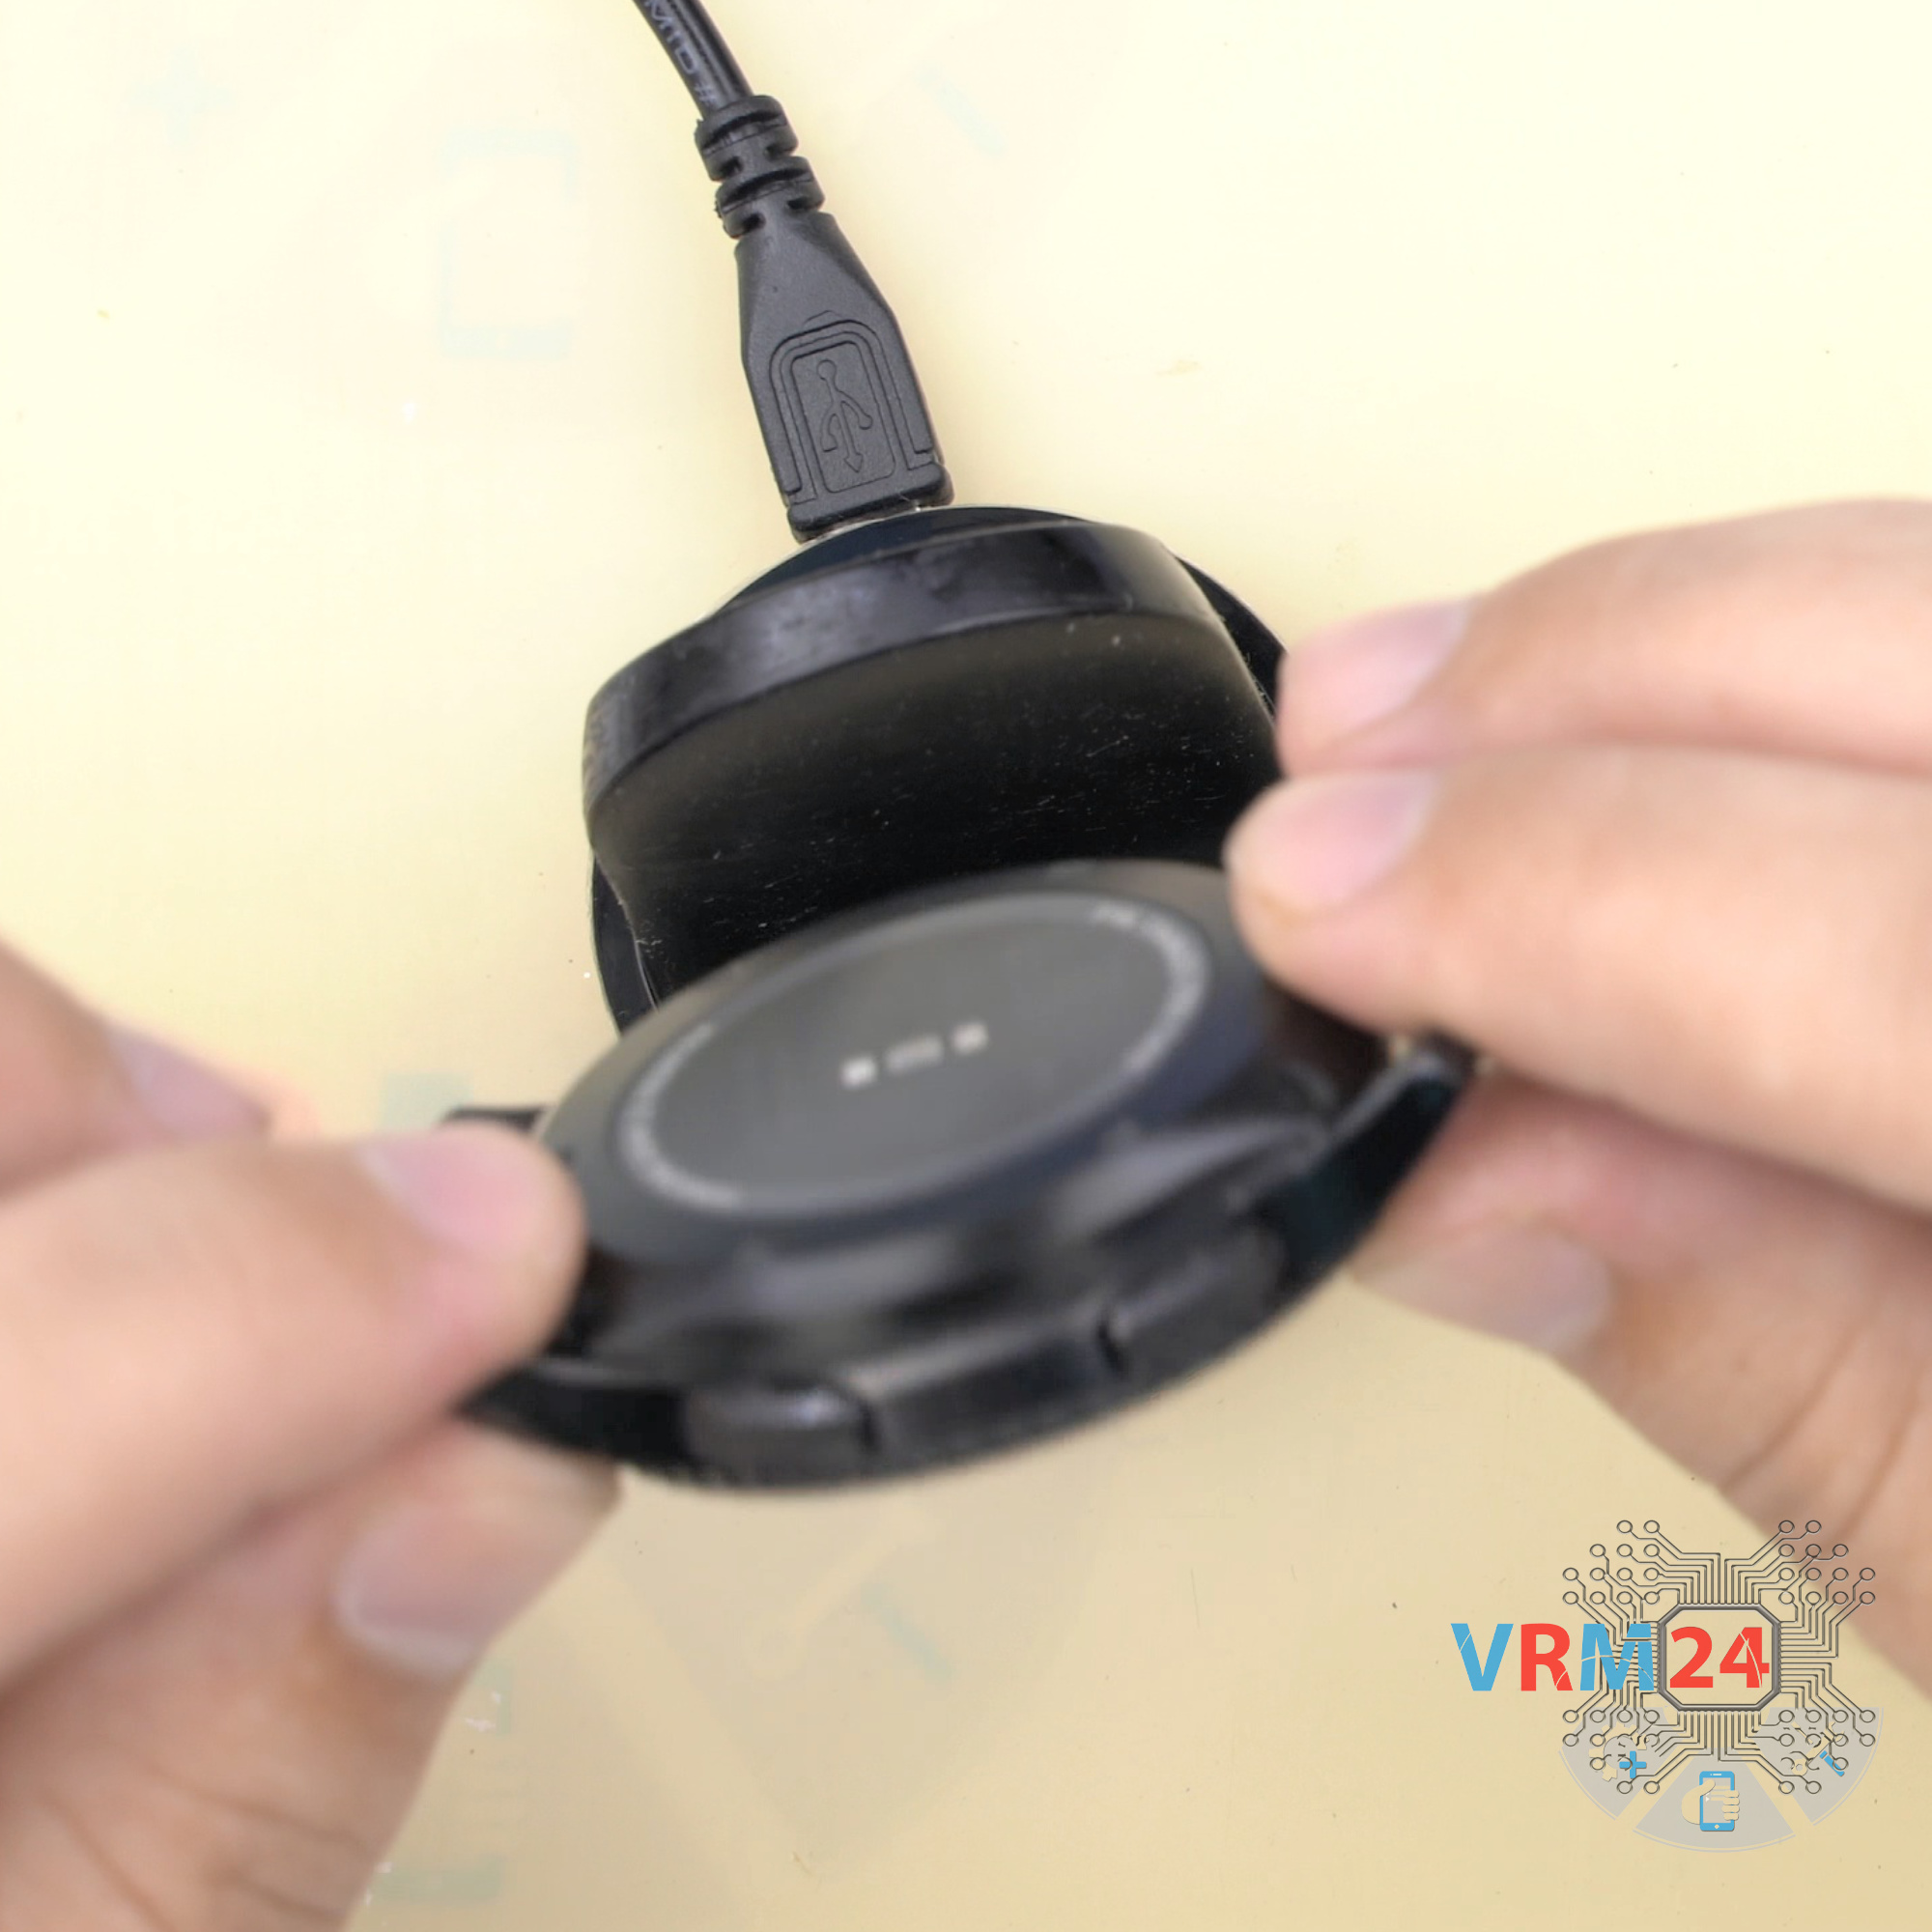
We also check - do the watch is charging or not? We install it on the charger.
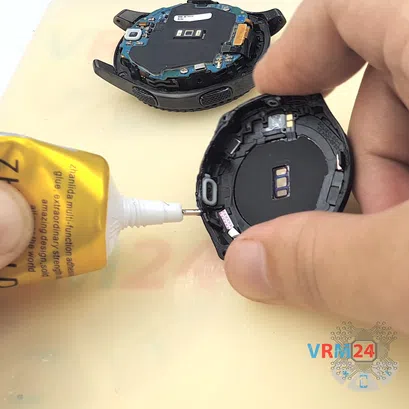

Step 13. Apply sealant
If everything works well, we open the Back cover again and now we need to apply sealant to the edge of the back cover. We use a T7000 sealant.


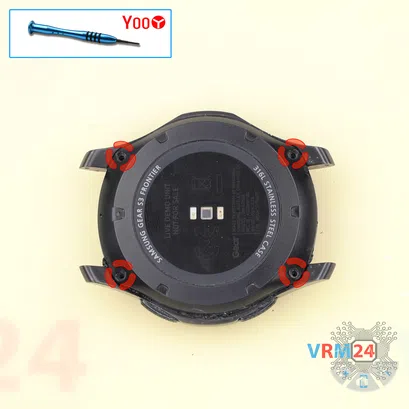

Step 15. Screw in screws
Take a Tri-wing 2.0 mm screwdriver aka Y00. We screw in four screws to fasten the cover.


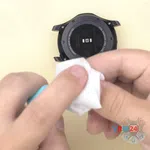
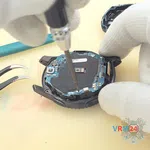
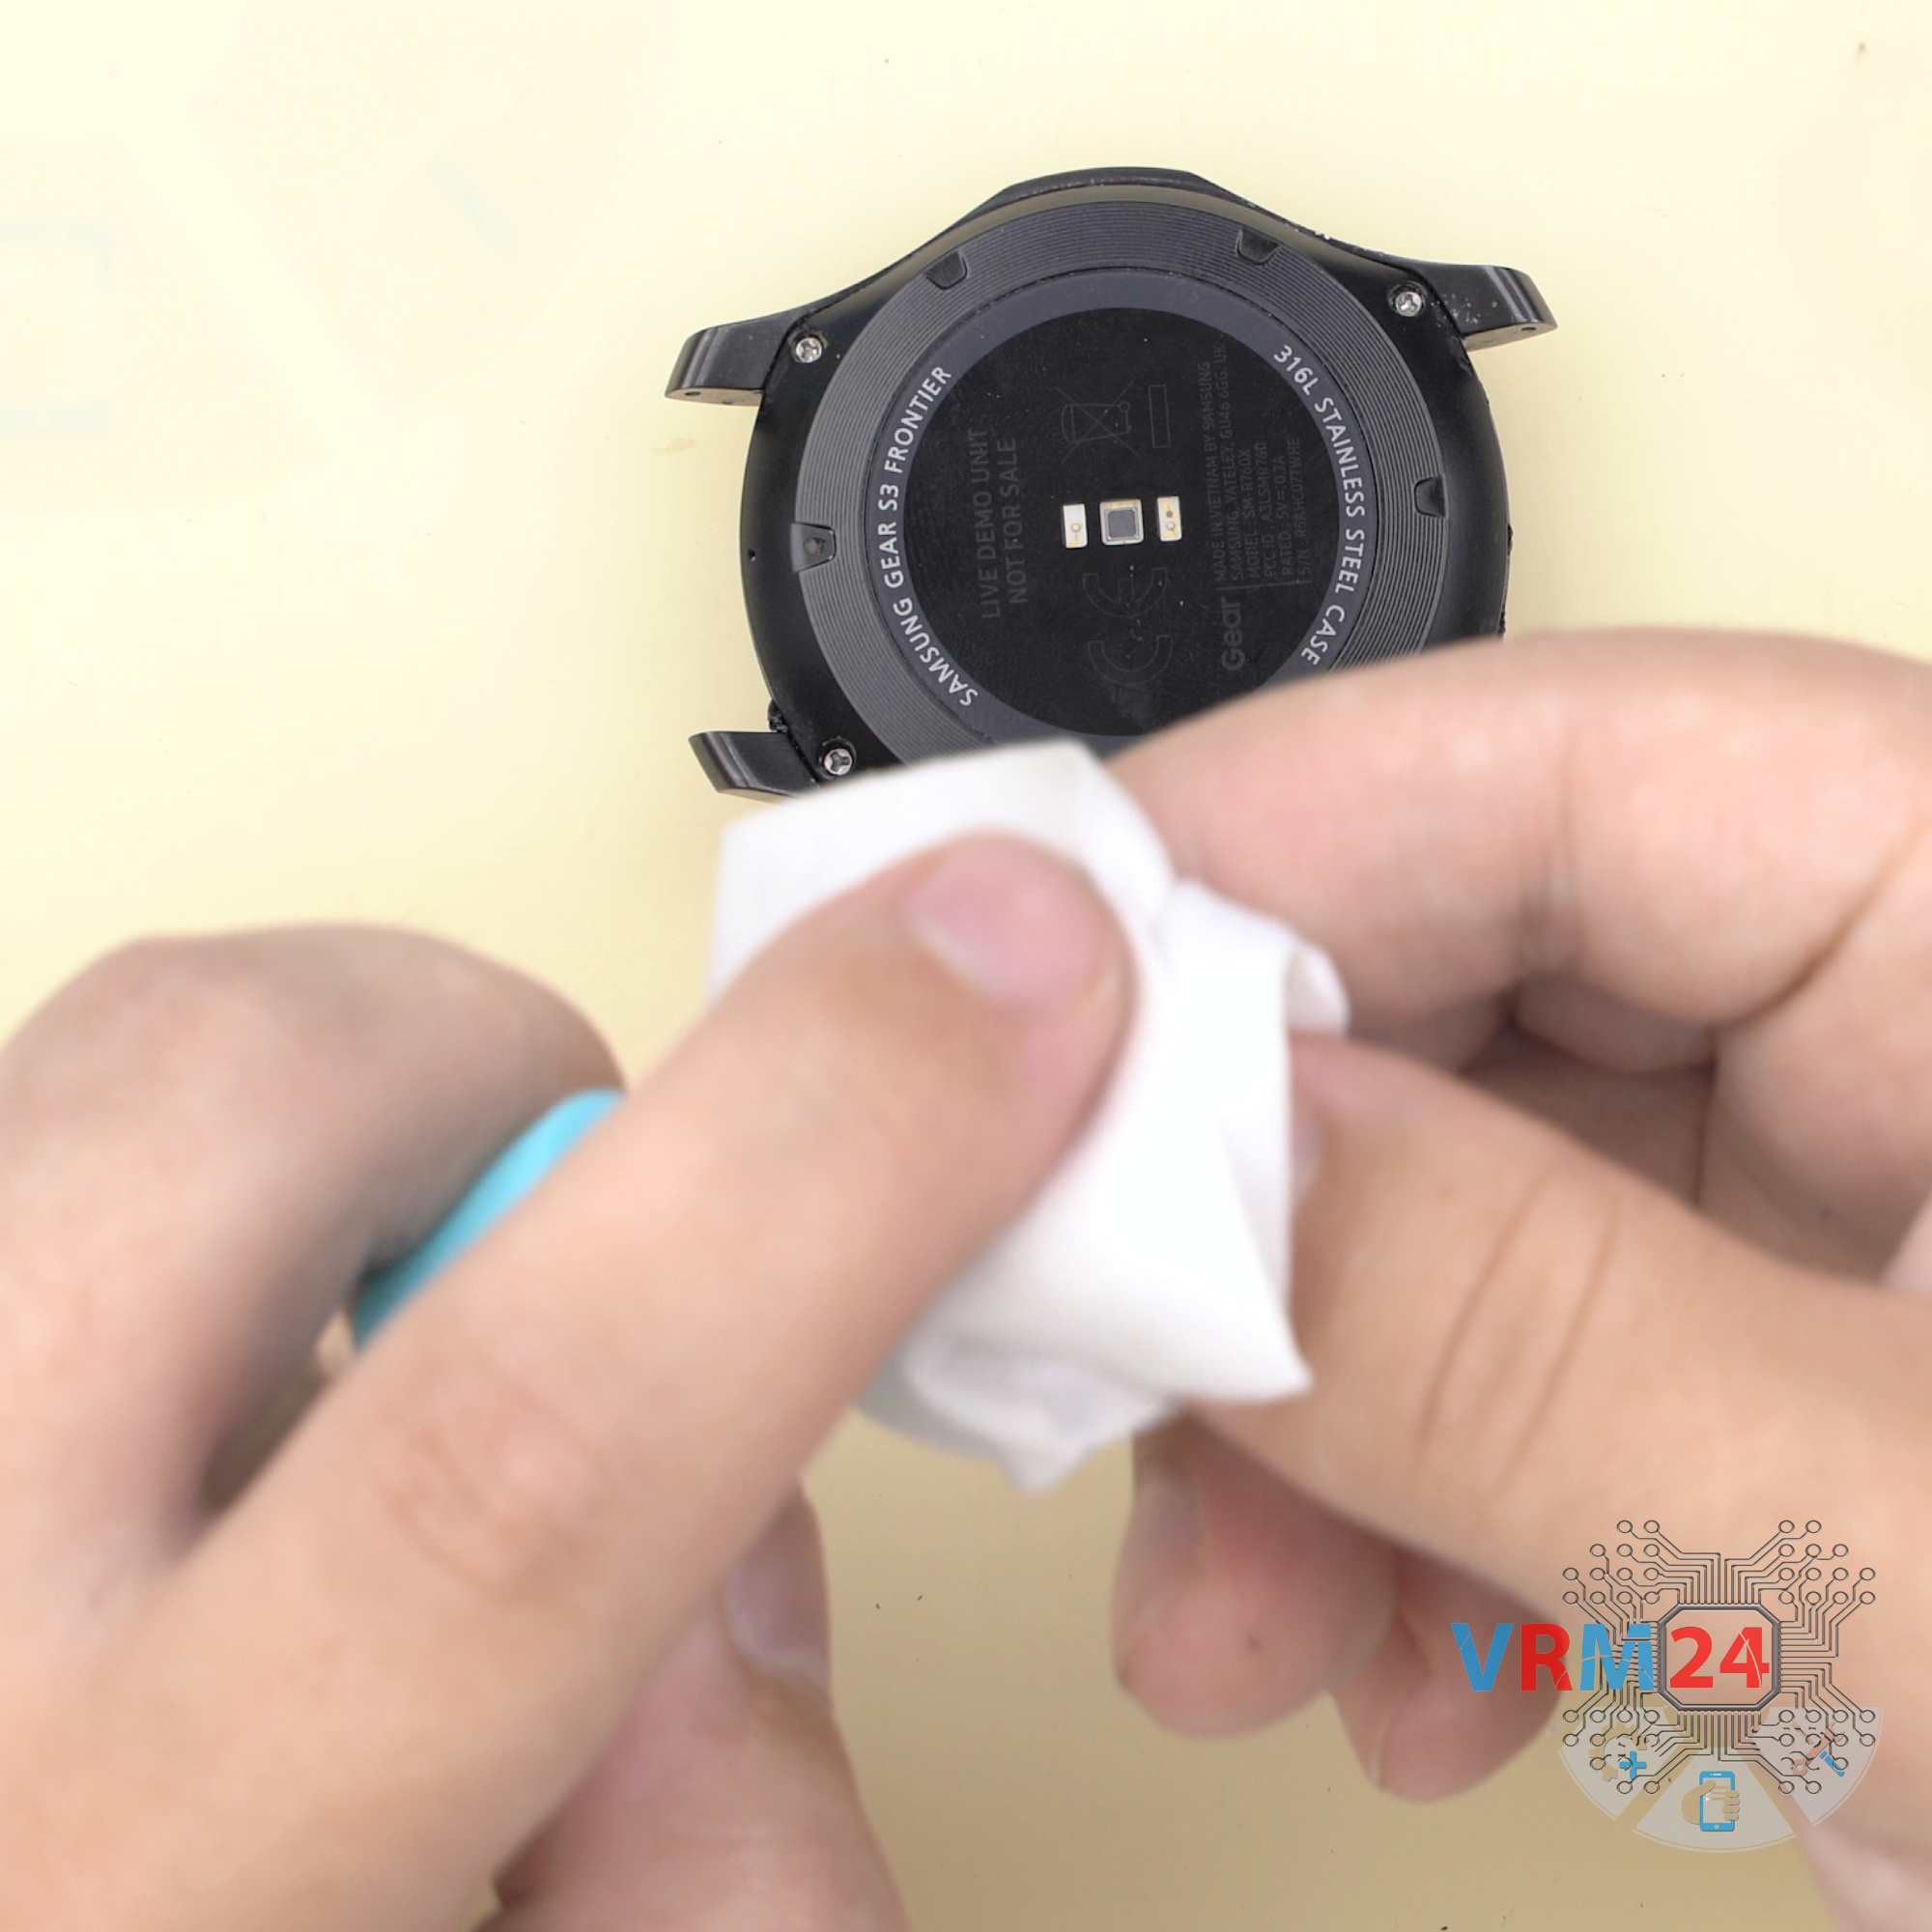
Step 16. Clean the surface
After assembly, moisten a small cloth (or rag) with isopropyl alcohol and remove the remaining sealant.


Detailed disassembly instructions of Samsung Gear S3 Frontier SM-R760 in the video, made by our mobile repair & service center:
If you have a question, ask us, and we will try to answer in as much detail as possible. If this article was helpful for you, please rate it.

Disassembling\Repair has medium complexity and takes about 14 minutes in time.
Our manual is suitable for all models Samsung Gear S3 Frontier SM-R760 — Samsung Gear S3 Frontier SM-R760x, SM-R760n released for markets in different countries.
Back to the list