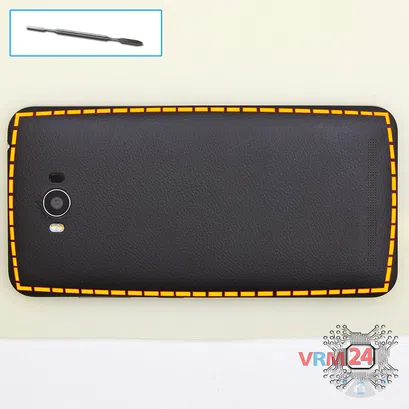
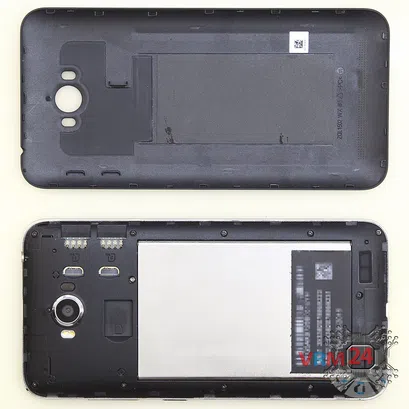

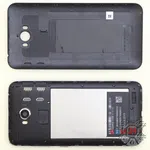
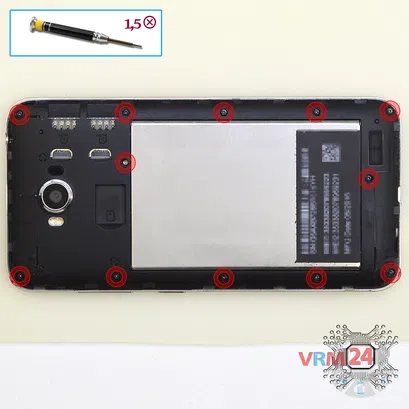
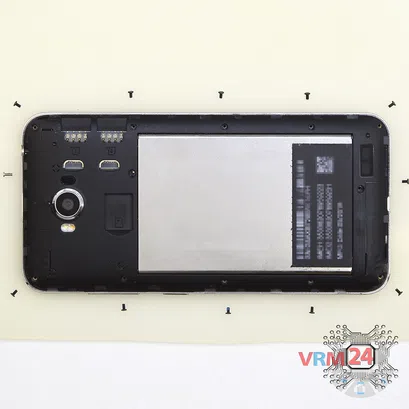
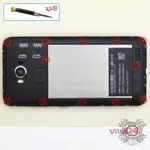
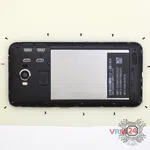
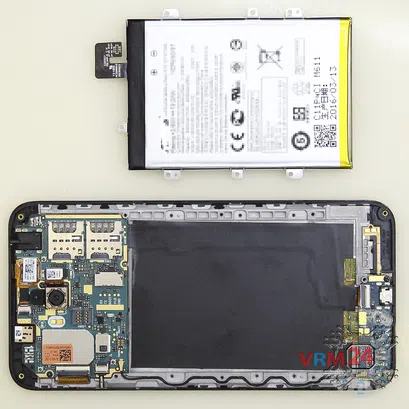
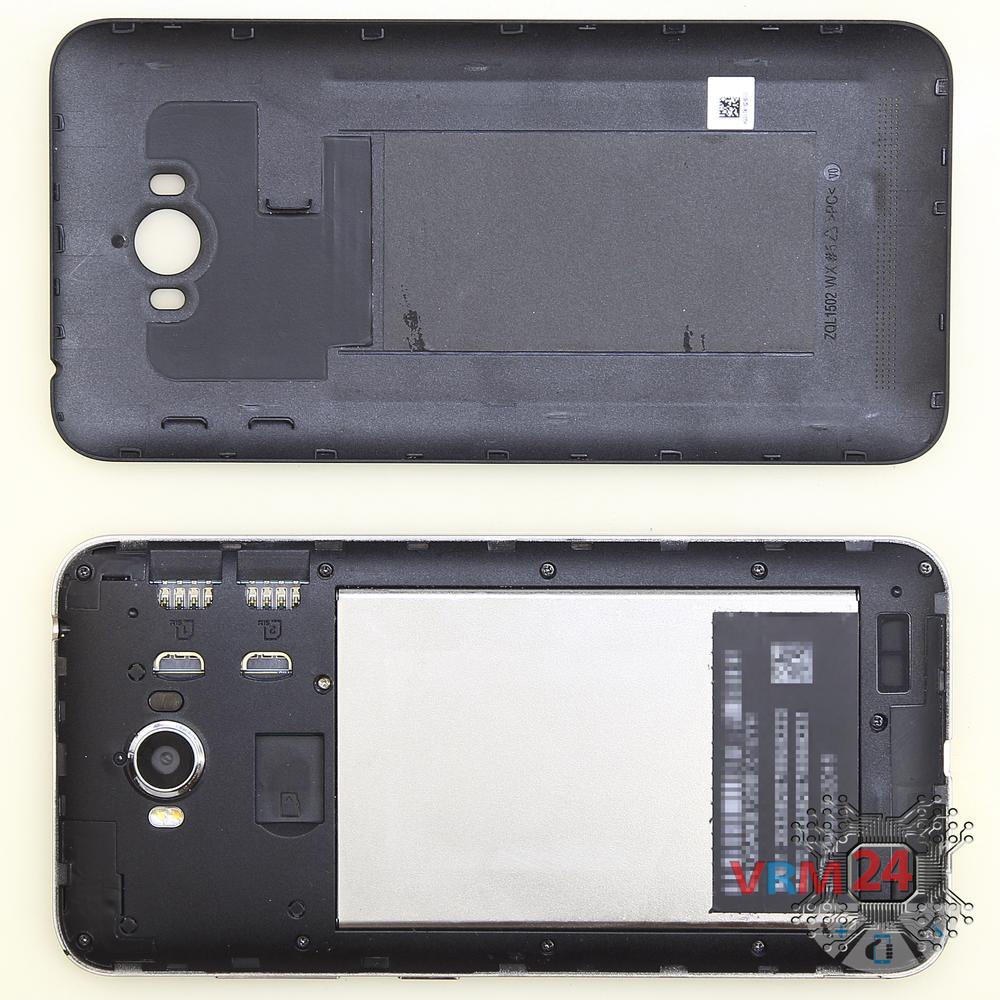
Open the back cover.
Teardown difficulty:
Moderate
Moderate
Duration:
8 min
8 min
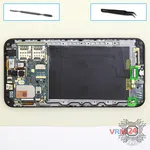
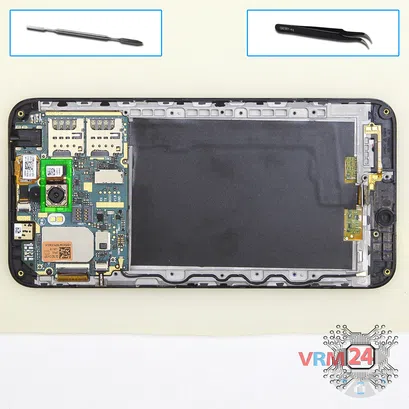
Recommended tools


Disassembly/Repair of the mobile device Asus ZenFone Max ZC550KL with each step description and the required set of tools.


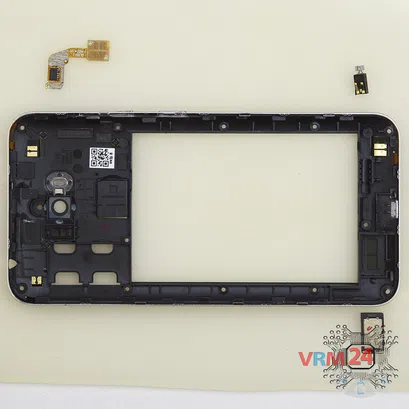
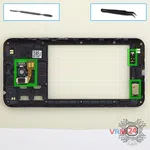
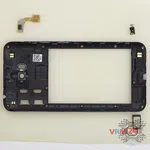
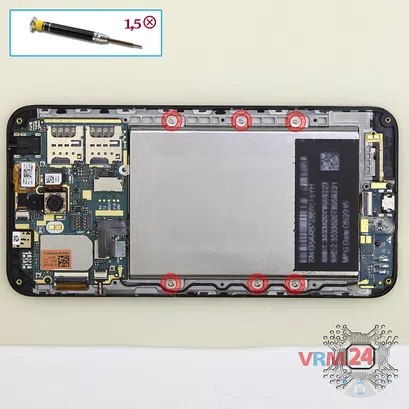
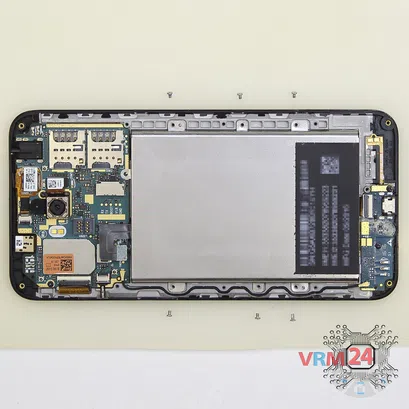
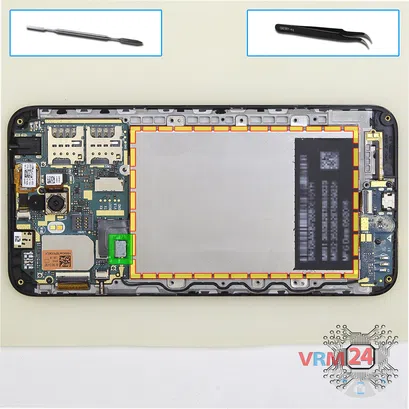
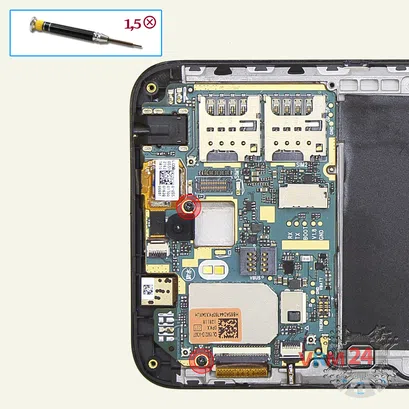
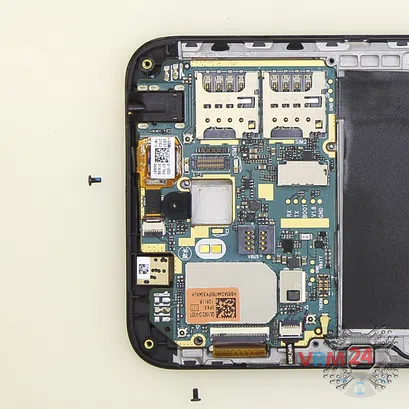
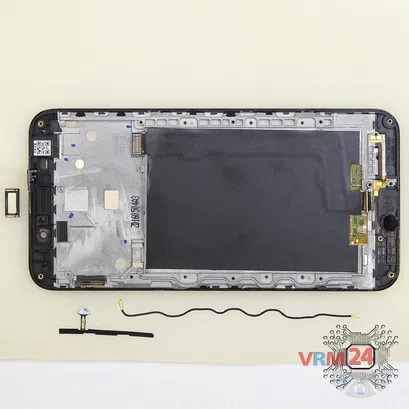
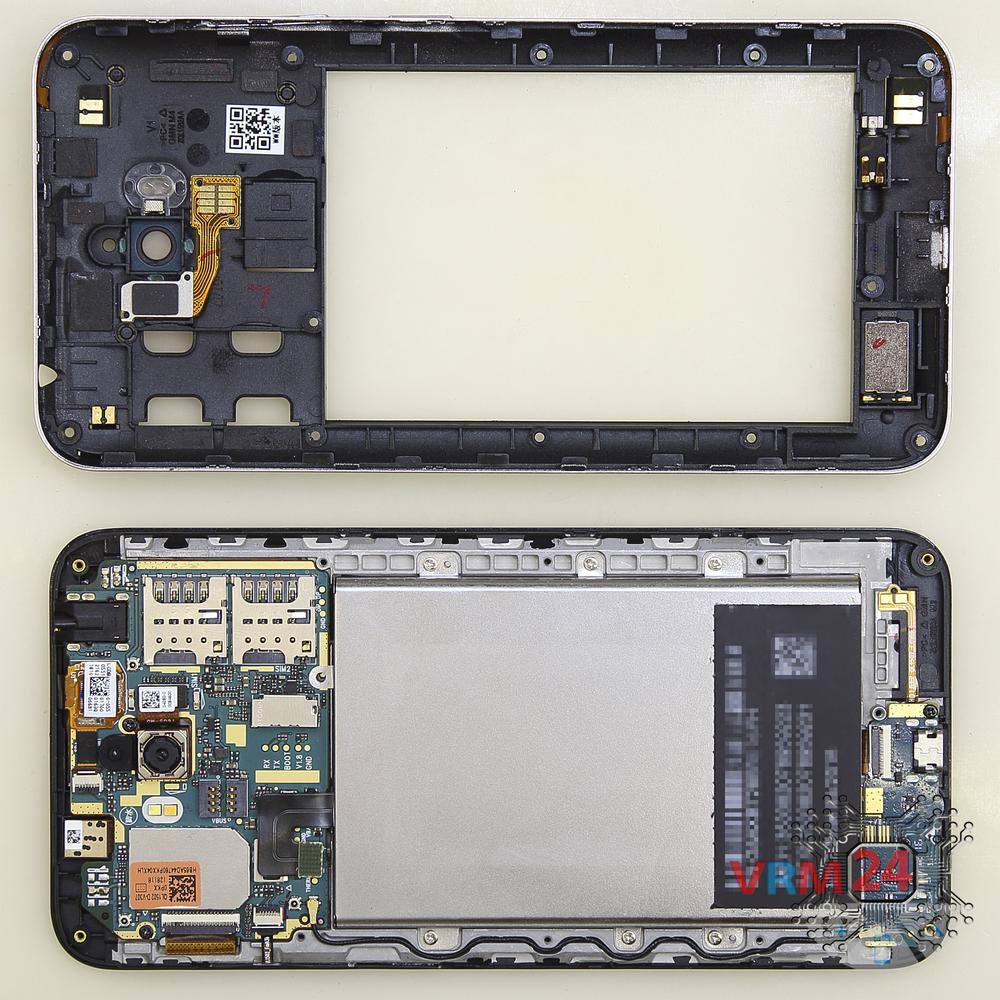
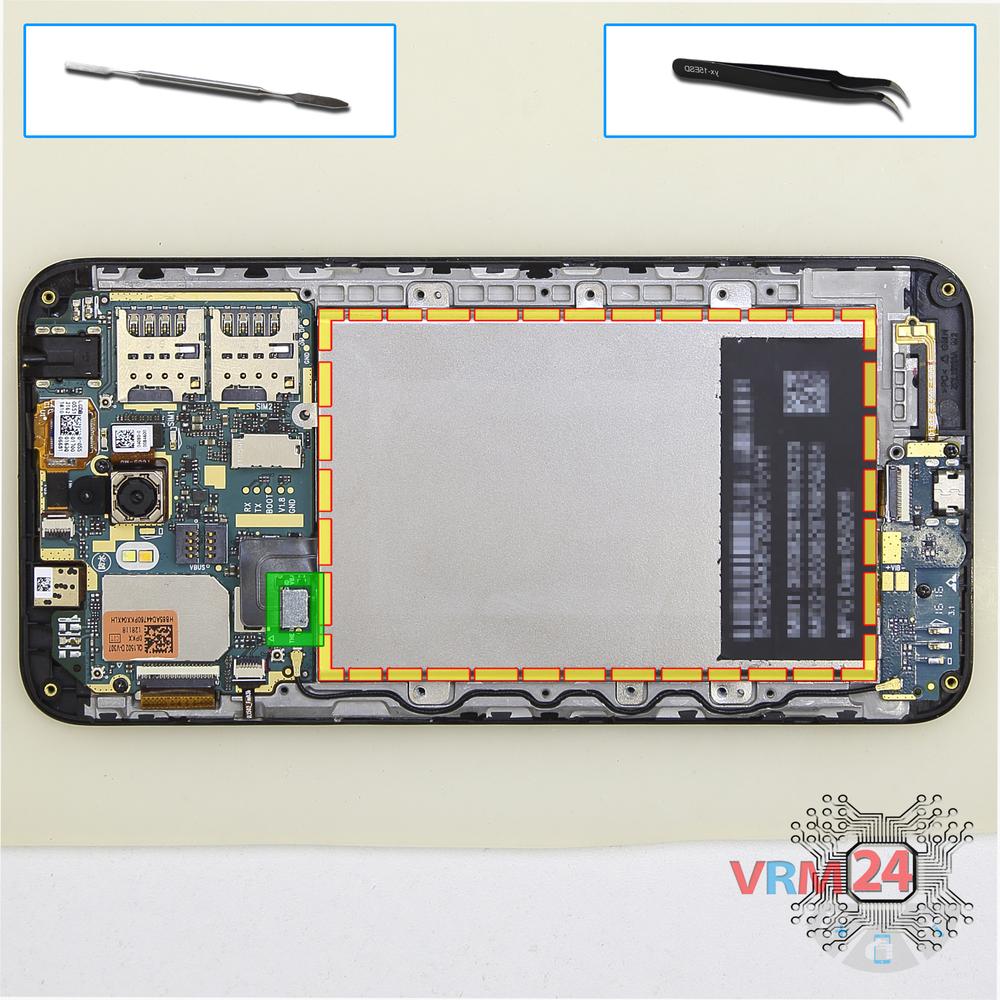
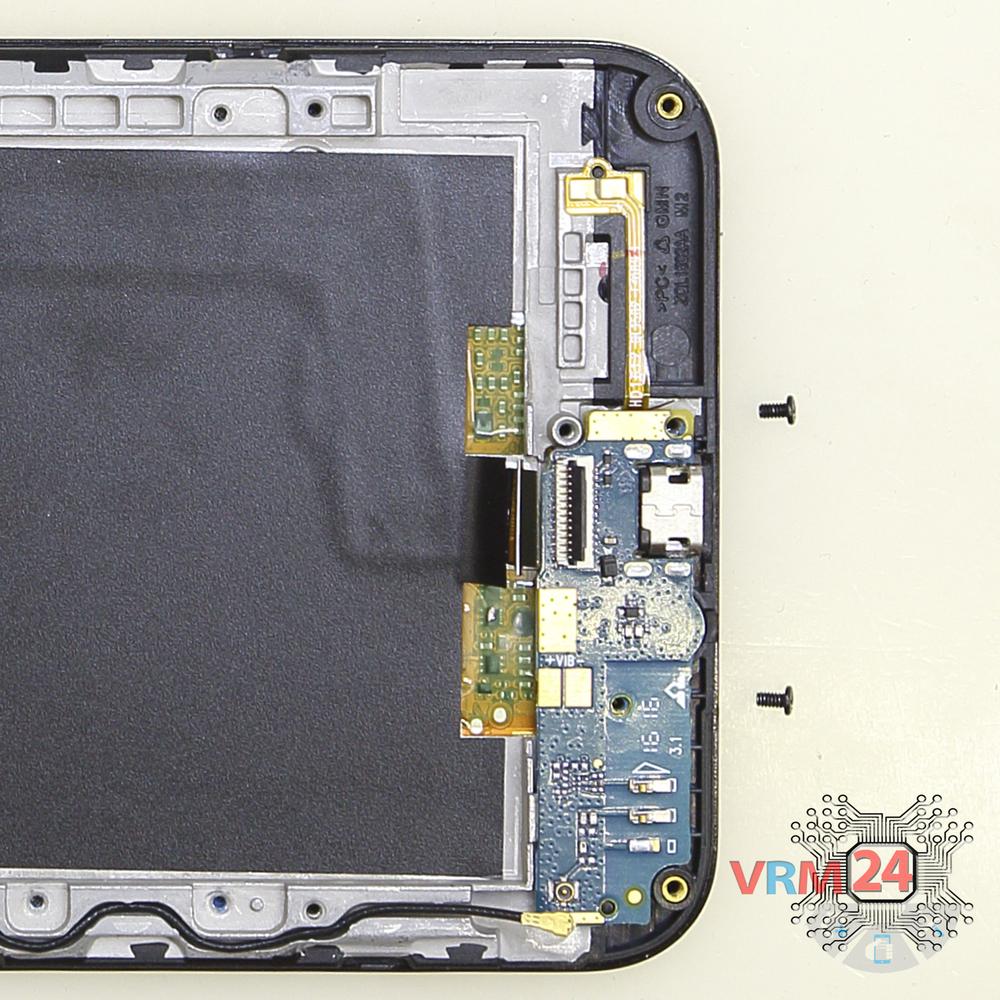
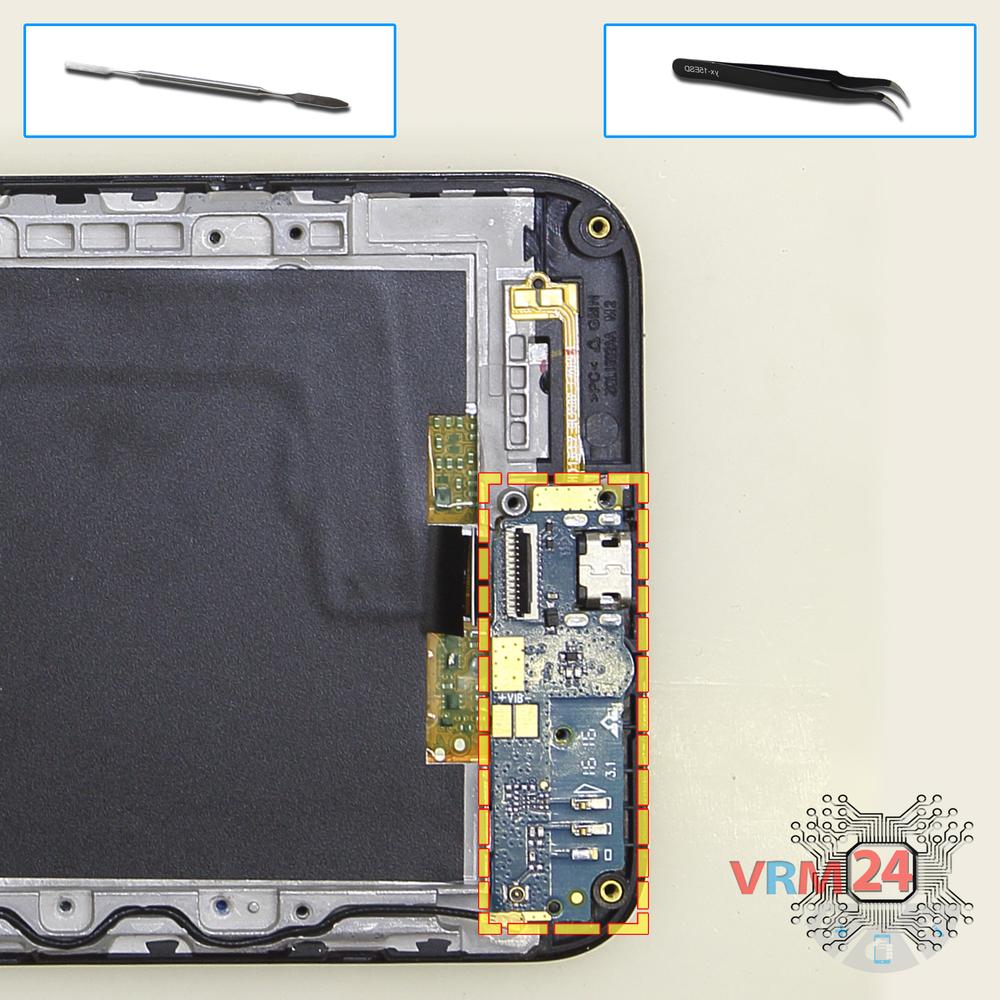
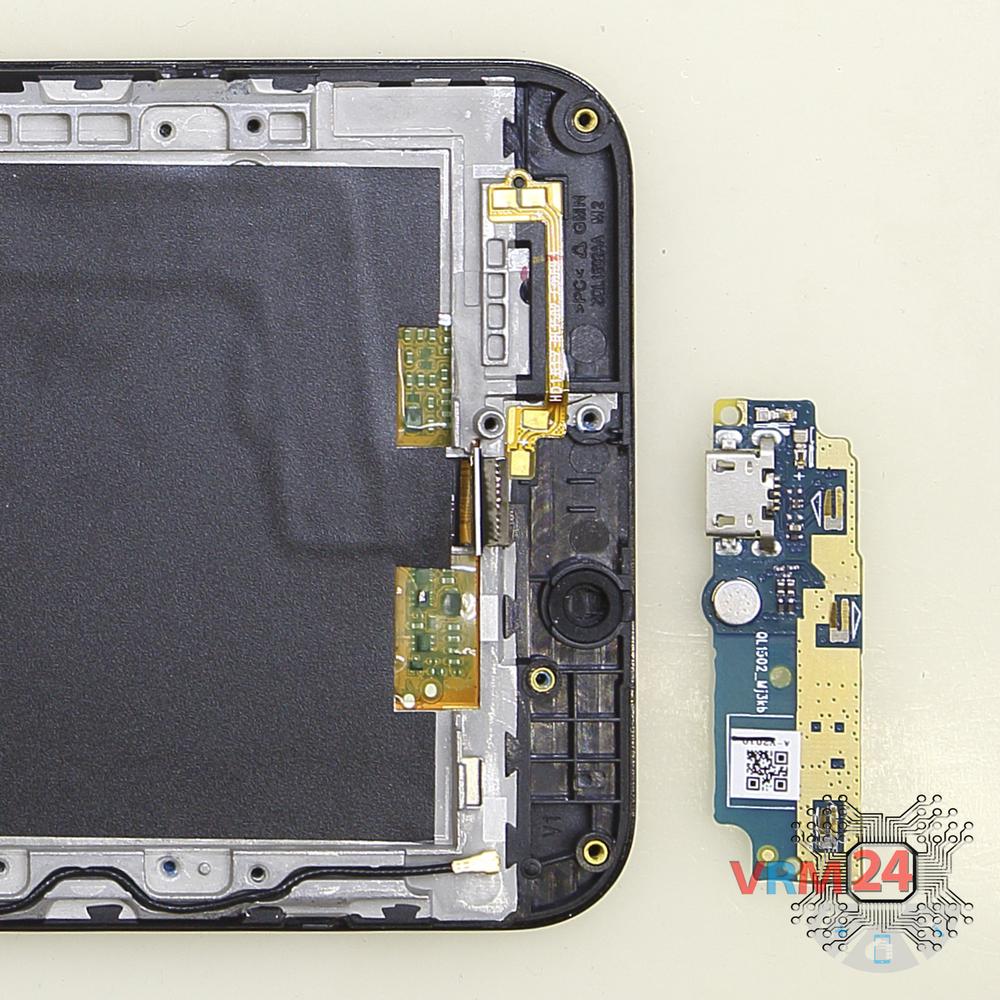
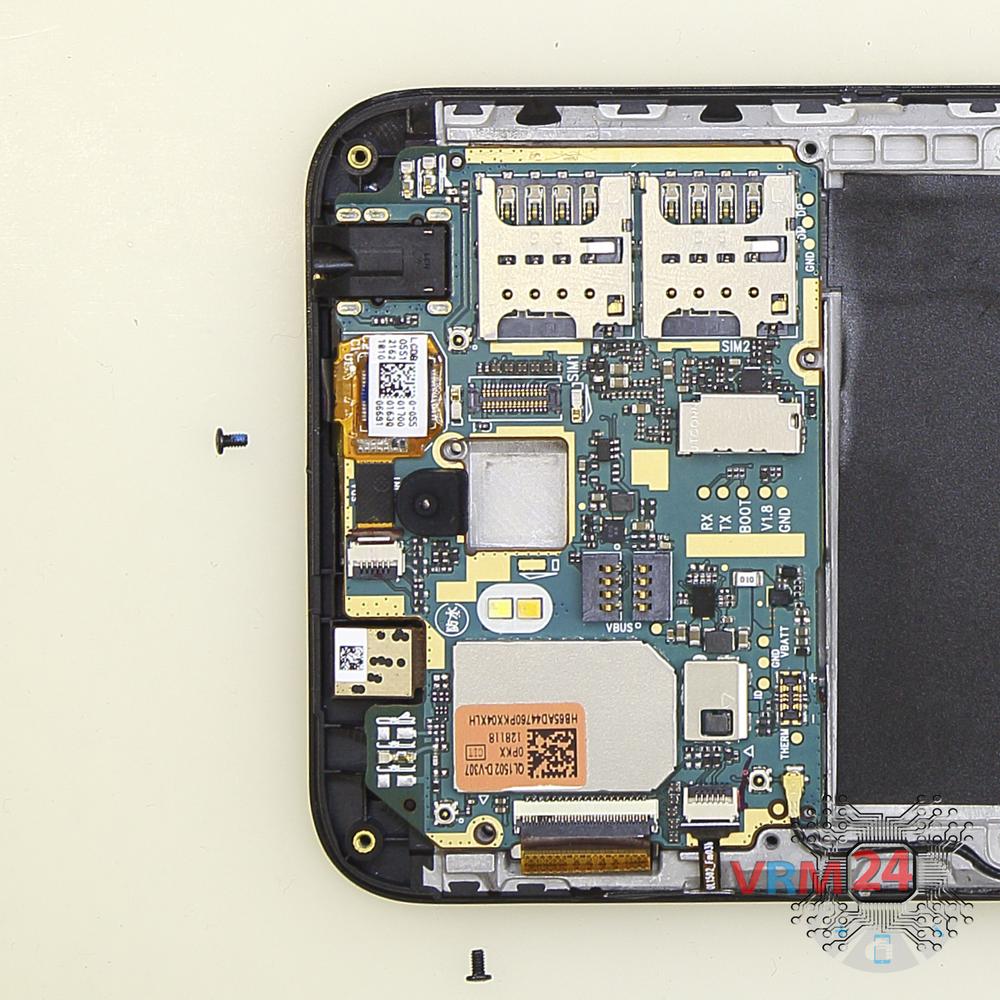
Step 4.
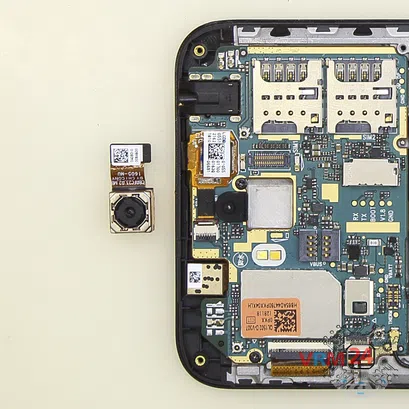
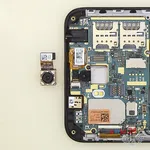
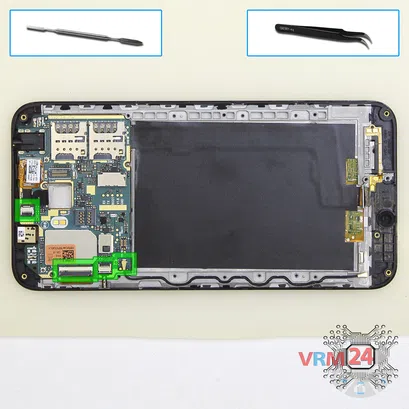
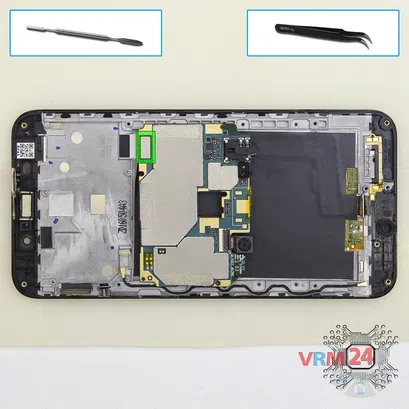
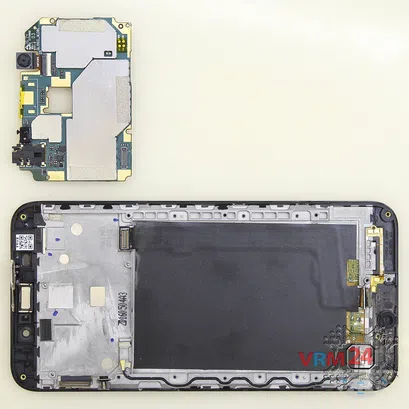
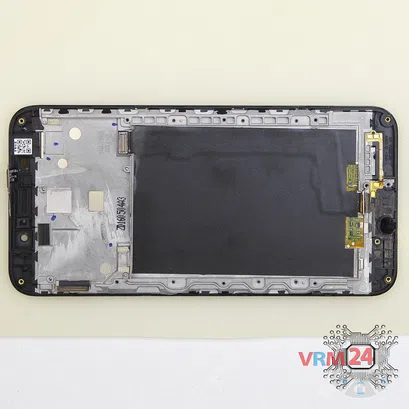
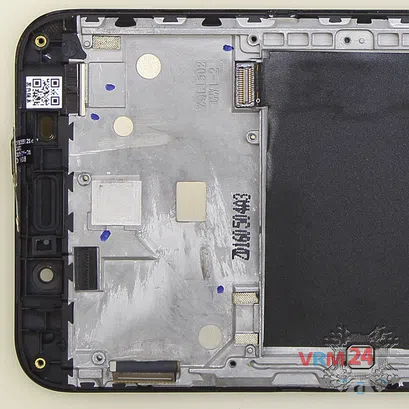
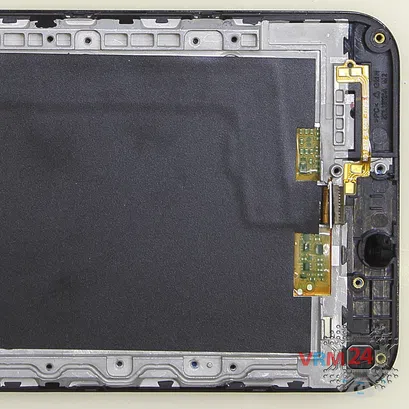
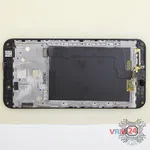
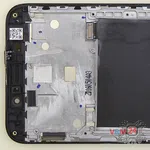
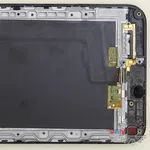
Inside the frame are located: speaker (buzzer), vibrator and FFC with laser auto-focus technology. Pry & remove these parts.
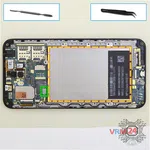

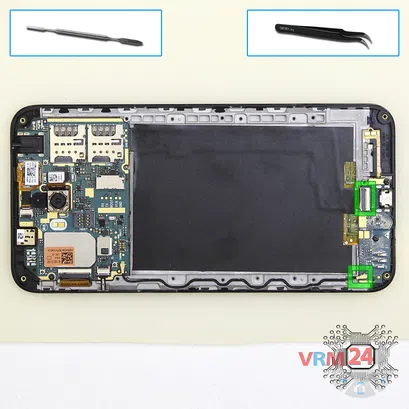
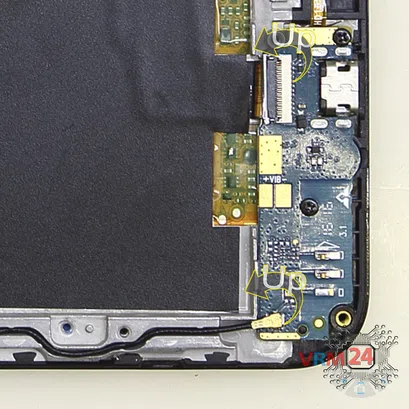

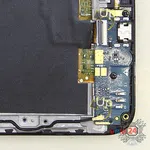
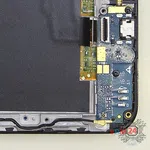
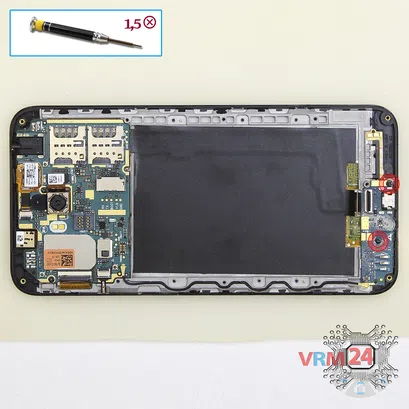
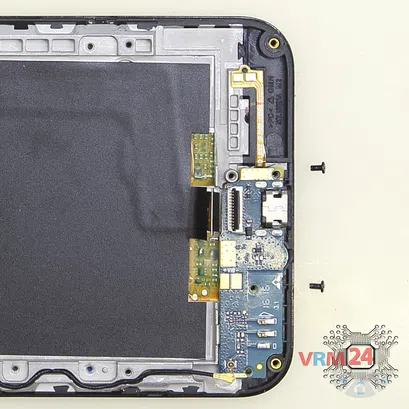

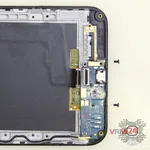


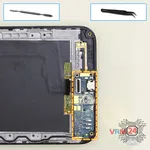


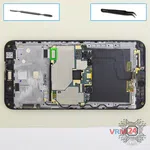
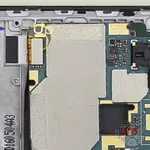
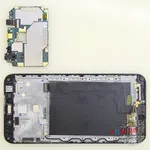

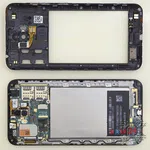
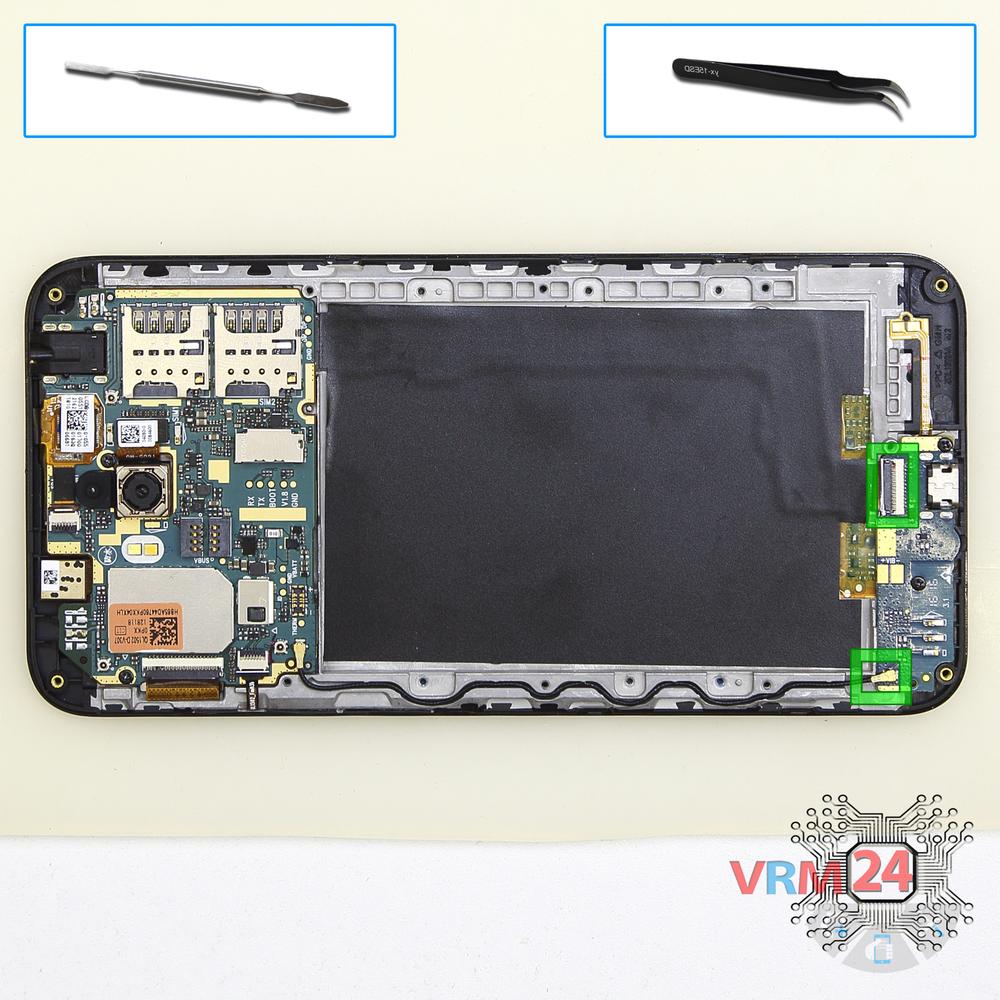
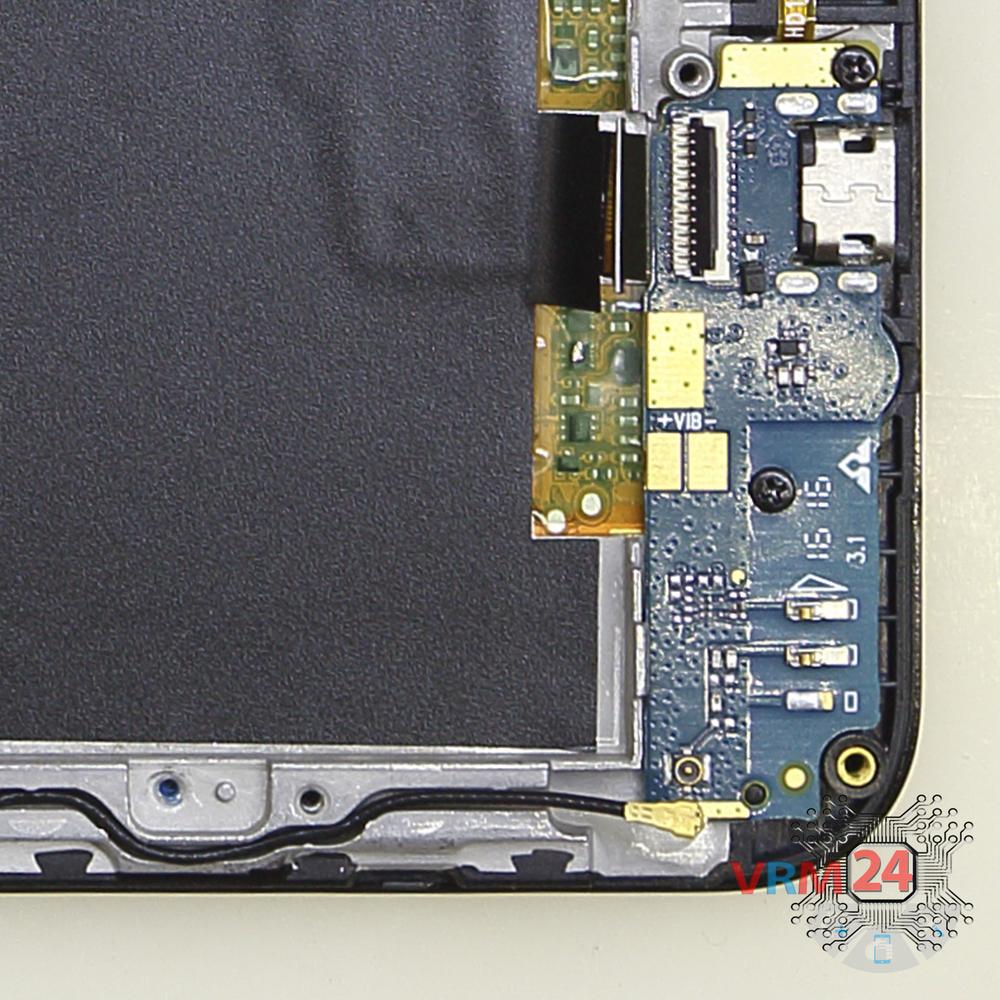
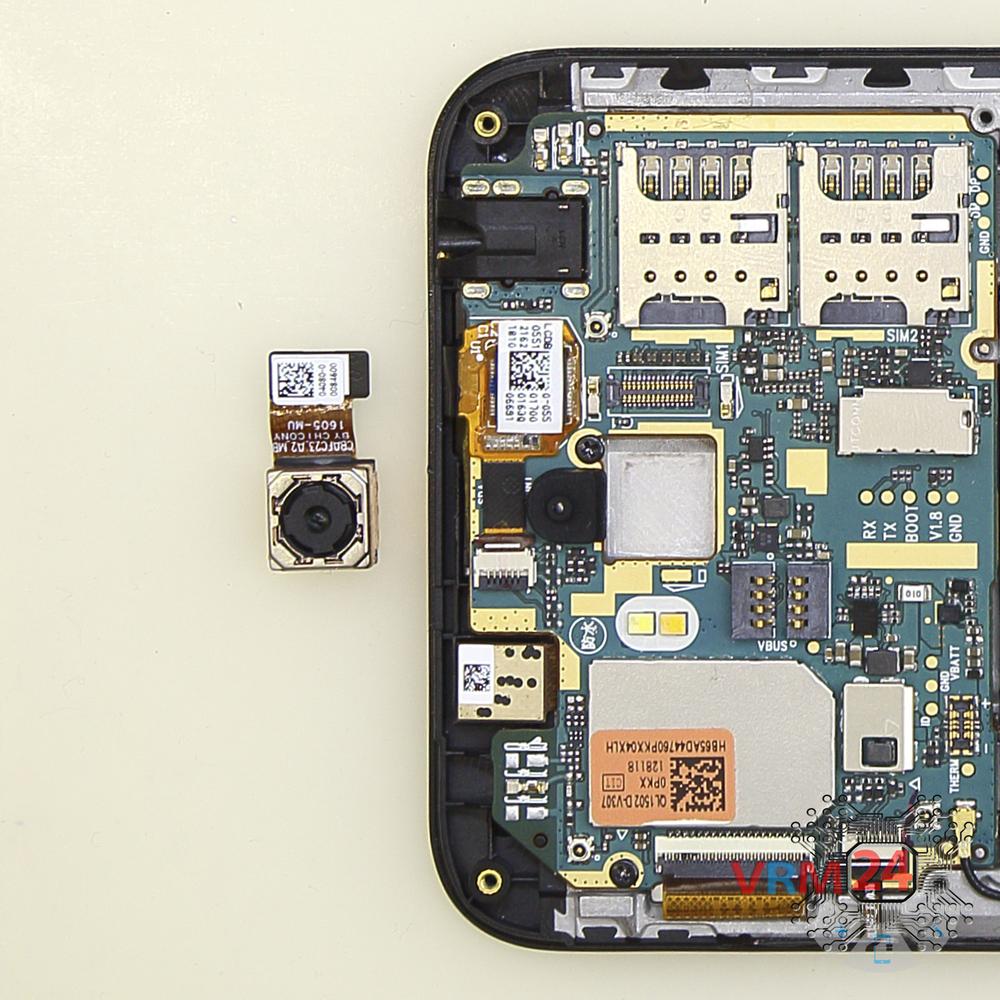
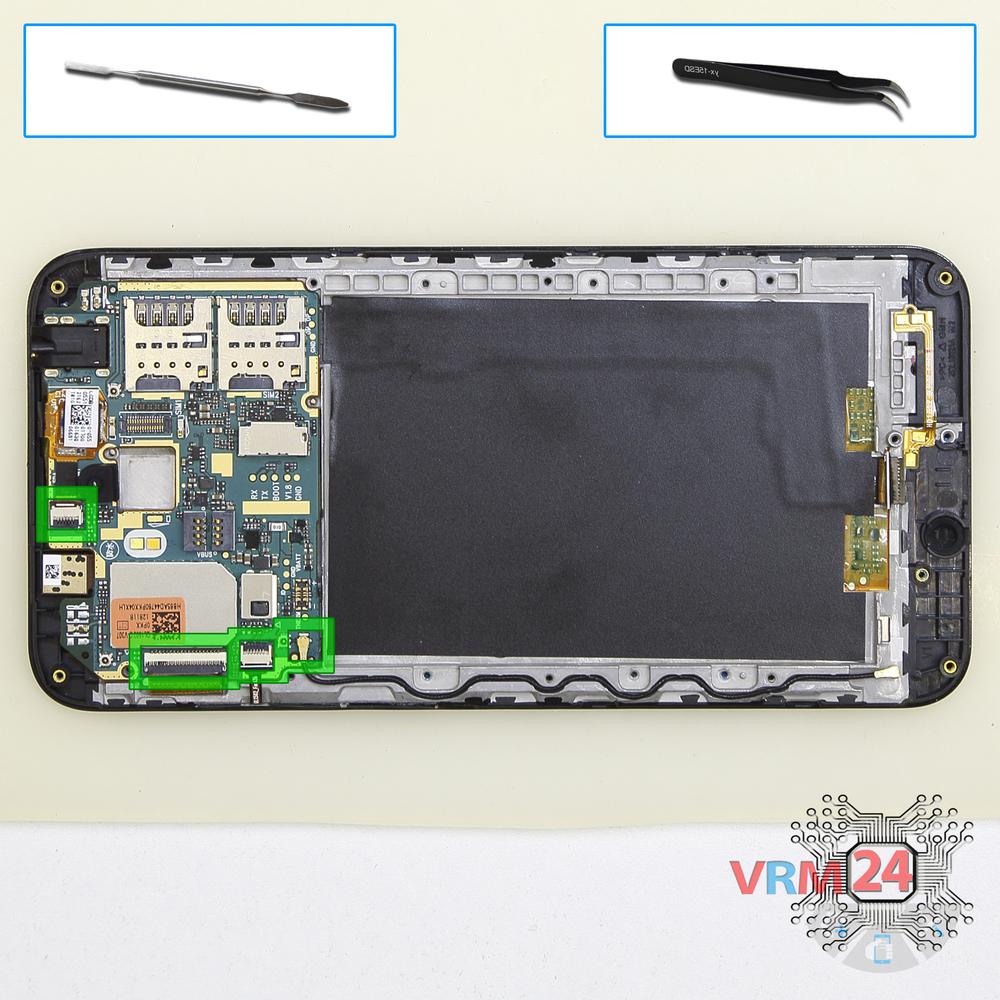
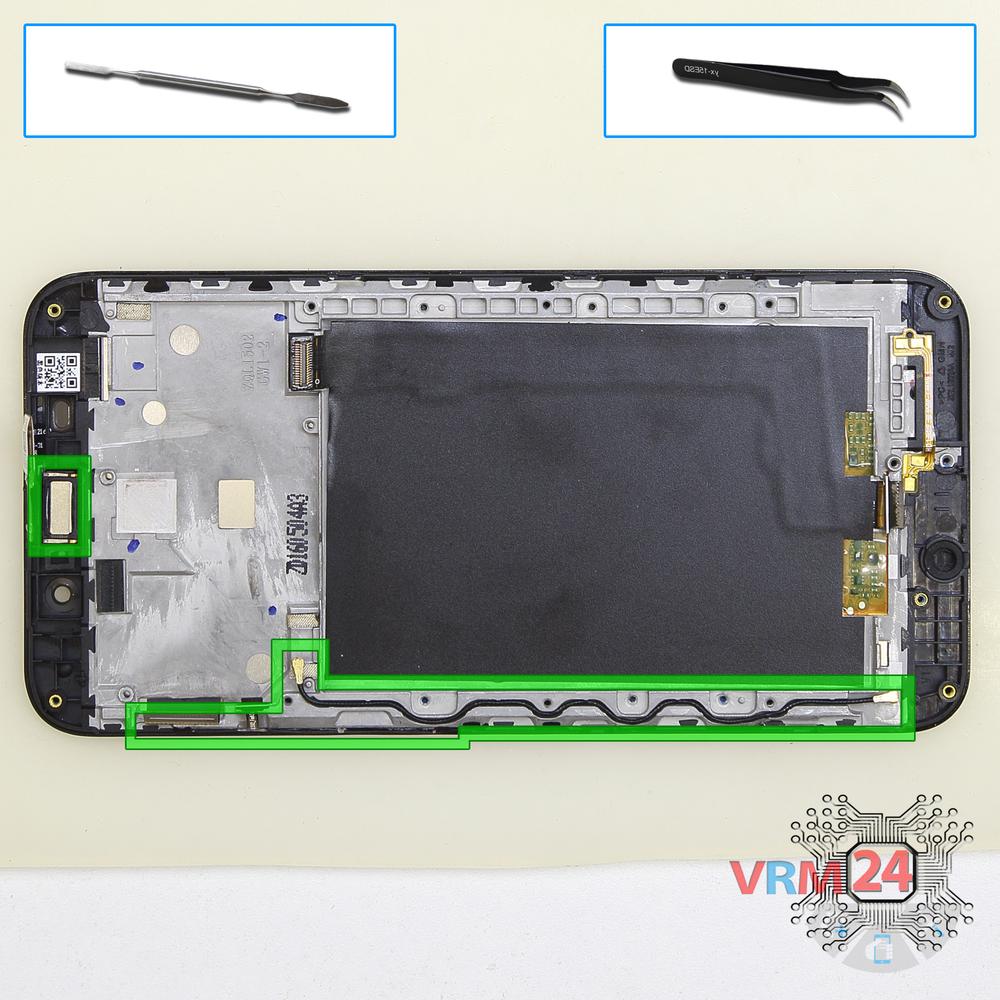
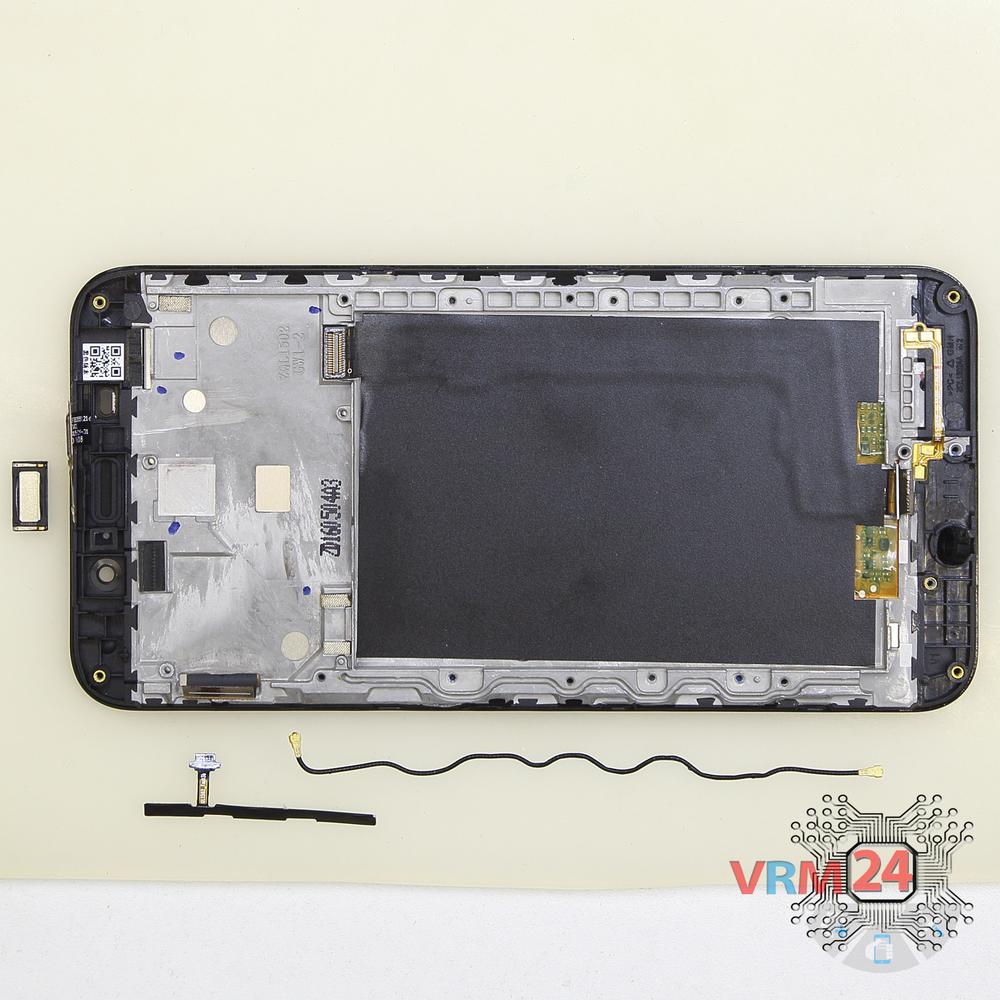
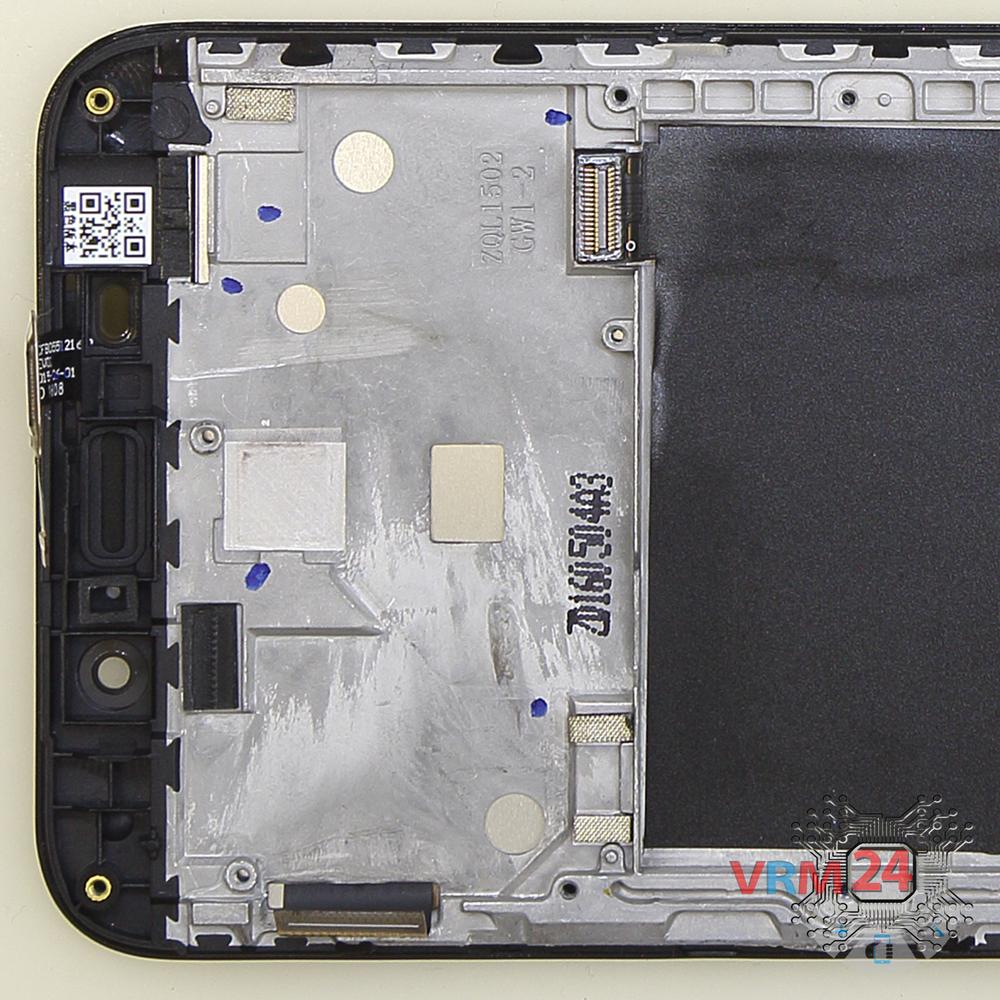
Step 14.
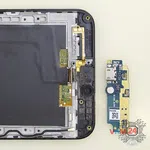
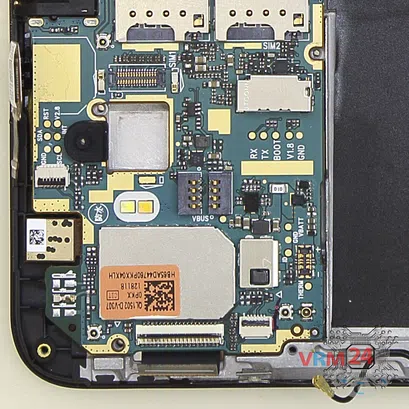
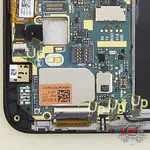
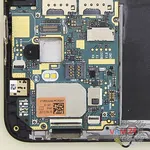
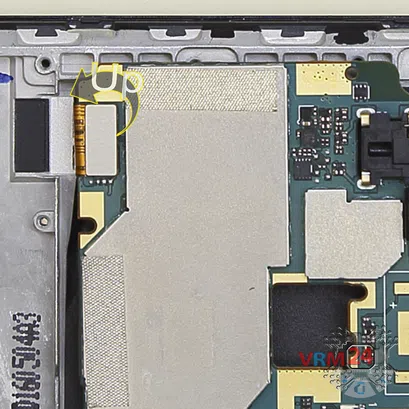
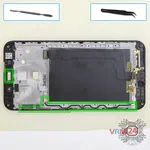
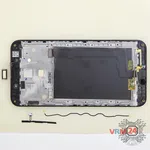
Remove the coaxial cable, the FFC (flexible flat cable) of the volume and power buttons and the ear speaker.
Detailed disassembly instructions of Asus ZenFone Max ZC550KL in the video, made by our mobile repair & service center:
If you have a question, ask us, and we will try to answer in as much detail as possible. If this article was helpful for you, please rate it.

Disassembling\Repair has medium complexity and takes about 8 minutes in time.
Our manual is suitable for all models Asus ZenFone Max ZC550KL released for markets in different countries.
Back to the list