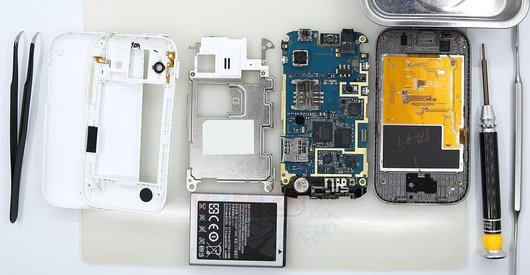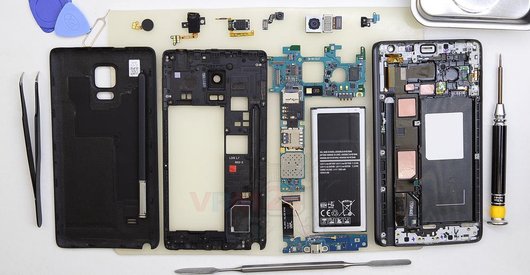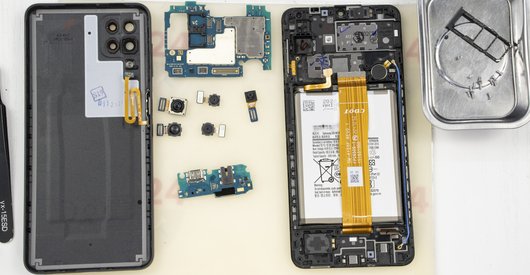
Recommended tools
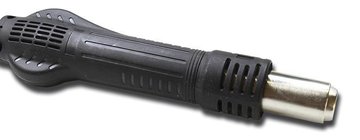
Heat gun
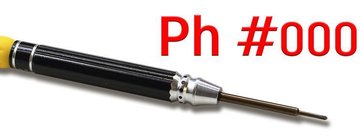
Screwdriver Phillips #000
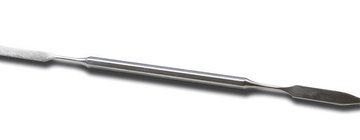
Opening tool / Spudger
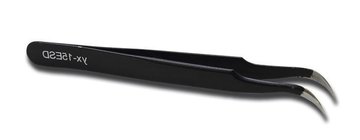
Tweezers
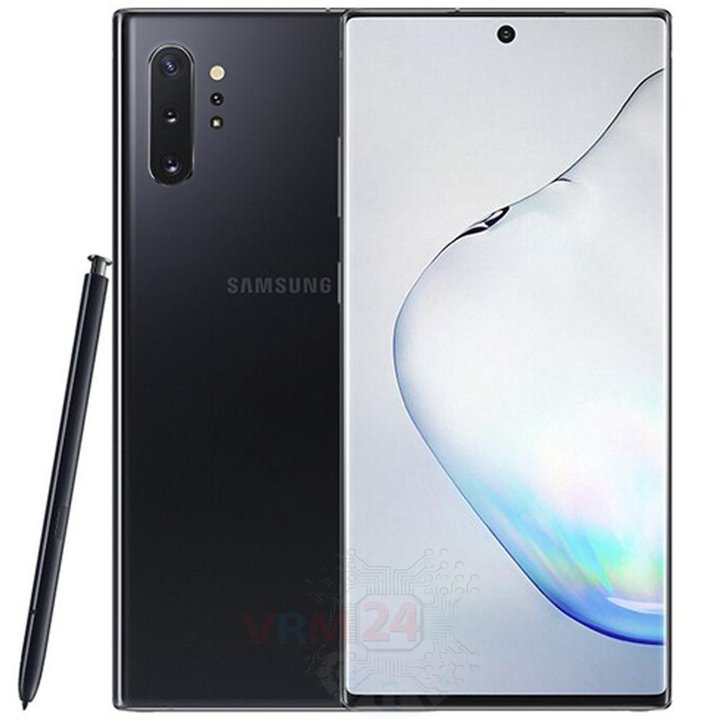
Disassembly/Repair of the mobile device Samsung Galaxy Note 10 Plus SM-N975 (Samsung SM-N975F (Europe); SM-N975F/DS (Global); SM-N975U (USA); SM-N975U1; SM-N975W (Canada); SM-N9750/DS; SM-N975N) with each step description and the required set of tools.
20906
Views
11
Likes
—
Share
8
Questions

Step 1.
Before disassembling!
⚠ Before disassembling, do not forget to turn your phone off.
Step 2.
Remove the tray
Use the Key tool (aka Needle) or Paperclip. Push the tip all the way into the hole until the tray ejects, and then pull the tray out.
⚠ Pay attention! The tool must be inserted into a hole on the edge of the phone's housing. Do not press too hard. It may break the tray eject mechanism.
Step 3.
Open the back cover
We recommend using a special heating device such as a separator machine, heat gun, or heating mat. It will simplify the process. You can use a home hairdryer, but you will have to make a nozzle by hand or have a suitable one in the kit to gently heat and concentrate the heat flow in the right place.
ℹ️ The surface of the back cover must be heated to soften the adhesive underneath. The approximate heating temperature is 50° C / 125° F.
Use a thin plastic film or pick for separation. To facilitate the process, you can use isopropyl alcohol. It is often most difficult to pass the tool between the parts to be divided. Choose the far edge from the FFC cables or buttons.
Do not use a lever or any force for separation that could damage the elements inside.
Do not let the liquid get inside the smartphone.
The process can be seen in our video entirely so as well as in detail, at the end of the instructions.
Step 4.
Unscrew the screws
Using a screwdriver (Phillips 1.5 mm PH000), unscrew the 8 screws.
ℹ️ Be sure to note the location of the screws before disassembling. When assembling the device, screwing the screw in the wrong place may damage the device or its part. To avoid damage, the removed screws and individual pieces (as gaskets or brackets) must be laid out in the appropriate order, or the screws and their holes in the phone must be marked with colored markers.
Step 5.
Open the covers
Remove the cover with an NFC tag and antennas that protect the printed circuit board (PCB). Try to lift the covers by the edges and not push anything between them to not accidentally touch or short-circuit anything on the PCB.
ℹ️ On the upper cover, you can see the metalized coating on the plastic in the form of tracks and contact pads. These are Wi-Fi, Bluetooth, and GPS antennas.
⚠ It is crucial while reassembling, checking the spring contacts on the board, and the contact pads on the cover match and touch. Otherwise, signal loss or signal may be quite weak.
Step 6.
Disconnect the battery connector
Disconnect the battery connector as soon as possible.
ℹ️ The Samsung Galaxy Note 10 Plus SM-N975 model has a battery EB-BN972ABU with 4300 mAh capacity (aka rechargeable battery).
⚠ It is highly recommended to disconnect the connector to avoid possible short circuits during disassembly. Also, try not to use a metal tool to disconnect the rechargeable battery connector or do it carefully.
Step 7.
Unscrew the screws
Using a screwdriver (Phillips 1.5 mm PH000), unscrew 5 screws.
Step 8.
Remove the loudspeaker
Remove the loudspeaker assembly with antennas.
Step 9.
Remove the interconnect cables
Carefully, preferably from the edge, disconnect the connectors and remove the inter-board cables connecting the mainboard to the daughterboard (also known as the sub-board).
⚠ Be careful when removing the cables from the connectors, the cables are pretty thin, and it is easy enough to break them or damage the contact tracks inside.
ℹ️ An arrow on the FFC cable (flexible flat cable) indicates its correct position.
Step 10.
Unscrew the screws
Using a screwdriver (Phillips 1.5 mm PH000), unscrew 3 screws in the daughterboard.
Step 11.
Remove the sub-board
Remove the sub-board. It is glued to the frame with metalized tape, so to facilitate the process, the board can be heated a bit.
ℹ️ The board contains a charging port (Micro USB), microphone, spring contacts for the speaker, and an antenna unit.
⚠ It is not necessary to insert the tool under the board when removing the sub-board. Internal components could be damaged.
Step 12.
Disconnect the connectors
Pry up the connectors of power volume buttons cable, display module cable, touchscreen cable, pen detection sensor.
⚠ Be careful when removing the cables from the connectors, the cables are pretty thin, and it is easy enough to break them or damage the contact tracks inside.
Step 13.
Remove the front camera
Disconnect the connector on the PCB and remove the front (facing) camera.
Step 14.
Remove the motherboard
Carefully remove the printed circuit board. There is no need to use a lever or try to reach the board by force. Make sure that nothing is getting in the way or holding the board.
⚠ Do not bend the circuit board when removing it or push tools under it. Unbeknownst to yourself, you can damage components or cables from the inside.
Step 15.
Remove the cameras
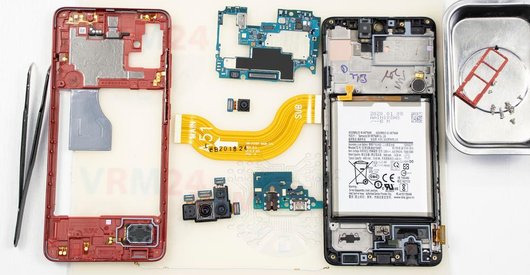
Disconnect the connectors and remove the assembly of four rear cameras.

If you have a question, ask us, and we will try to answer in as much detail as possible. If this article was helpful for you, please rate it.

20906
Views
11
Likes
—
Share
8
Questions
Related Instructions
Related Reviews
Related Blog
Popular Questions

Samsung Galaxy Note 10 Plus SM-N975
I tried to open my note10 plus since the screen turns black after being soaked. Screen now is working but touch sensor is not. Though i can still use…
rave
J
Samsung Galaxy A5 (2016) SM-A510
Where I can find a replacement for the back glass?
Julia CarullaPastor289816
L
Samsung Galaxy Tab S3 9.7'' SM-T820
When I opened my samsung m20 There is no warranty sticker on any screw then I just disassembled it. Will my device comes under warranty ?
Laxman Sirsat15
Samsung Galaxy A9 Pro (2019) SM-G887
Hi. Pls can I get a video for screen replacement for Samsung galaxy a9 pro (2019)
nana
L
Samsung Galaxy A5 (2016) SM-A510
how much does it cost to repair the charging port???myn is having charging problems
LAMECK MUCHIRAHONDO20Top instructions
Check our
Top Samsung instructions most liked by readers
New instructions
Check our
New Samsung brand instructions on vrm24.com