
Recommended tools
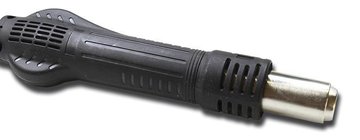
Heat gun
Screwdriver Phillips #000

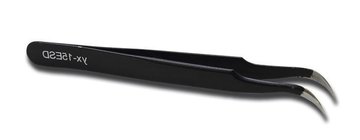
Tweezers
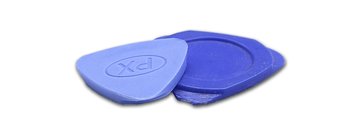
Non-metallic tool
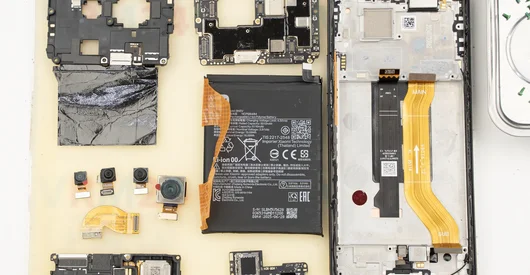
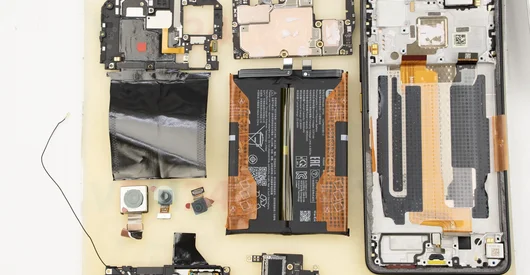
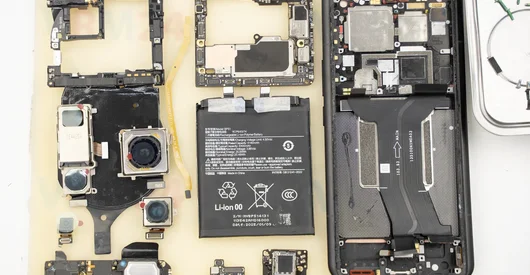
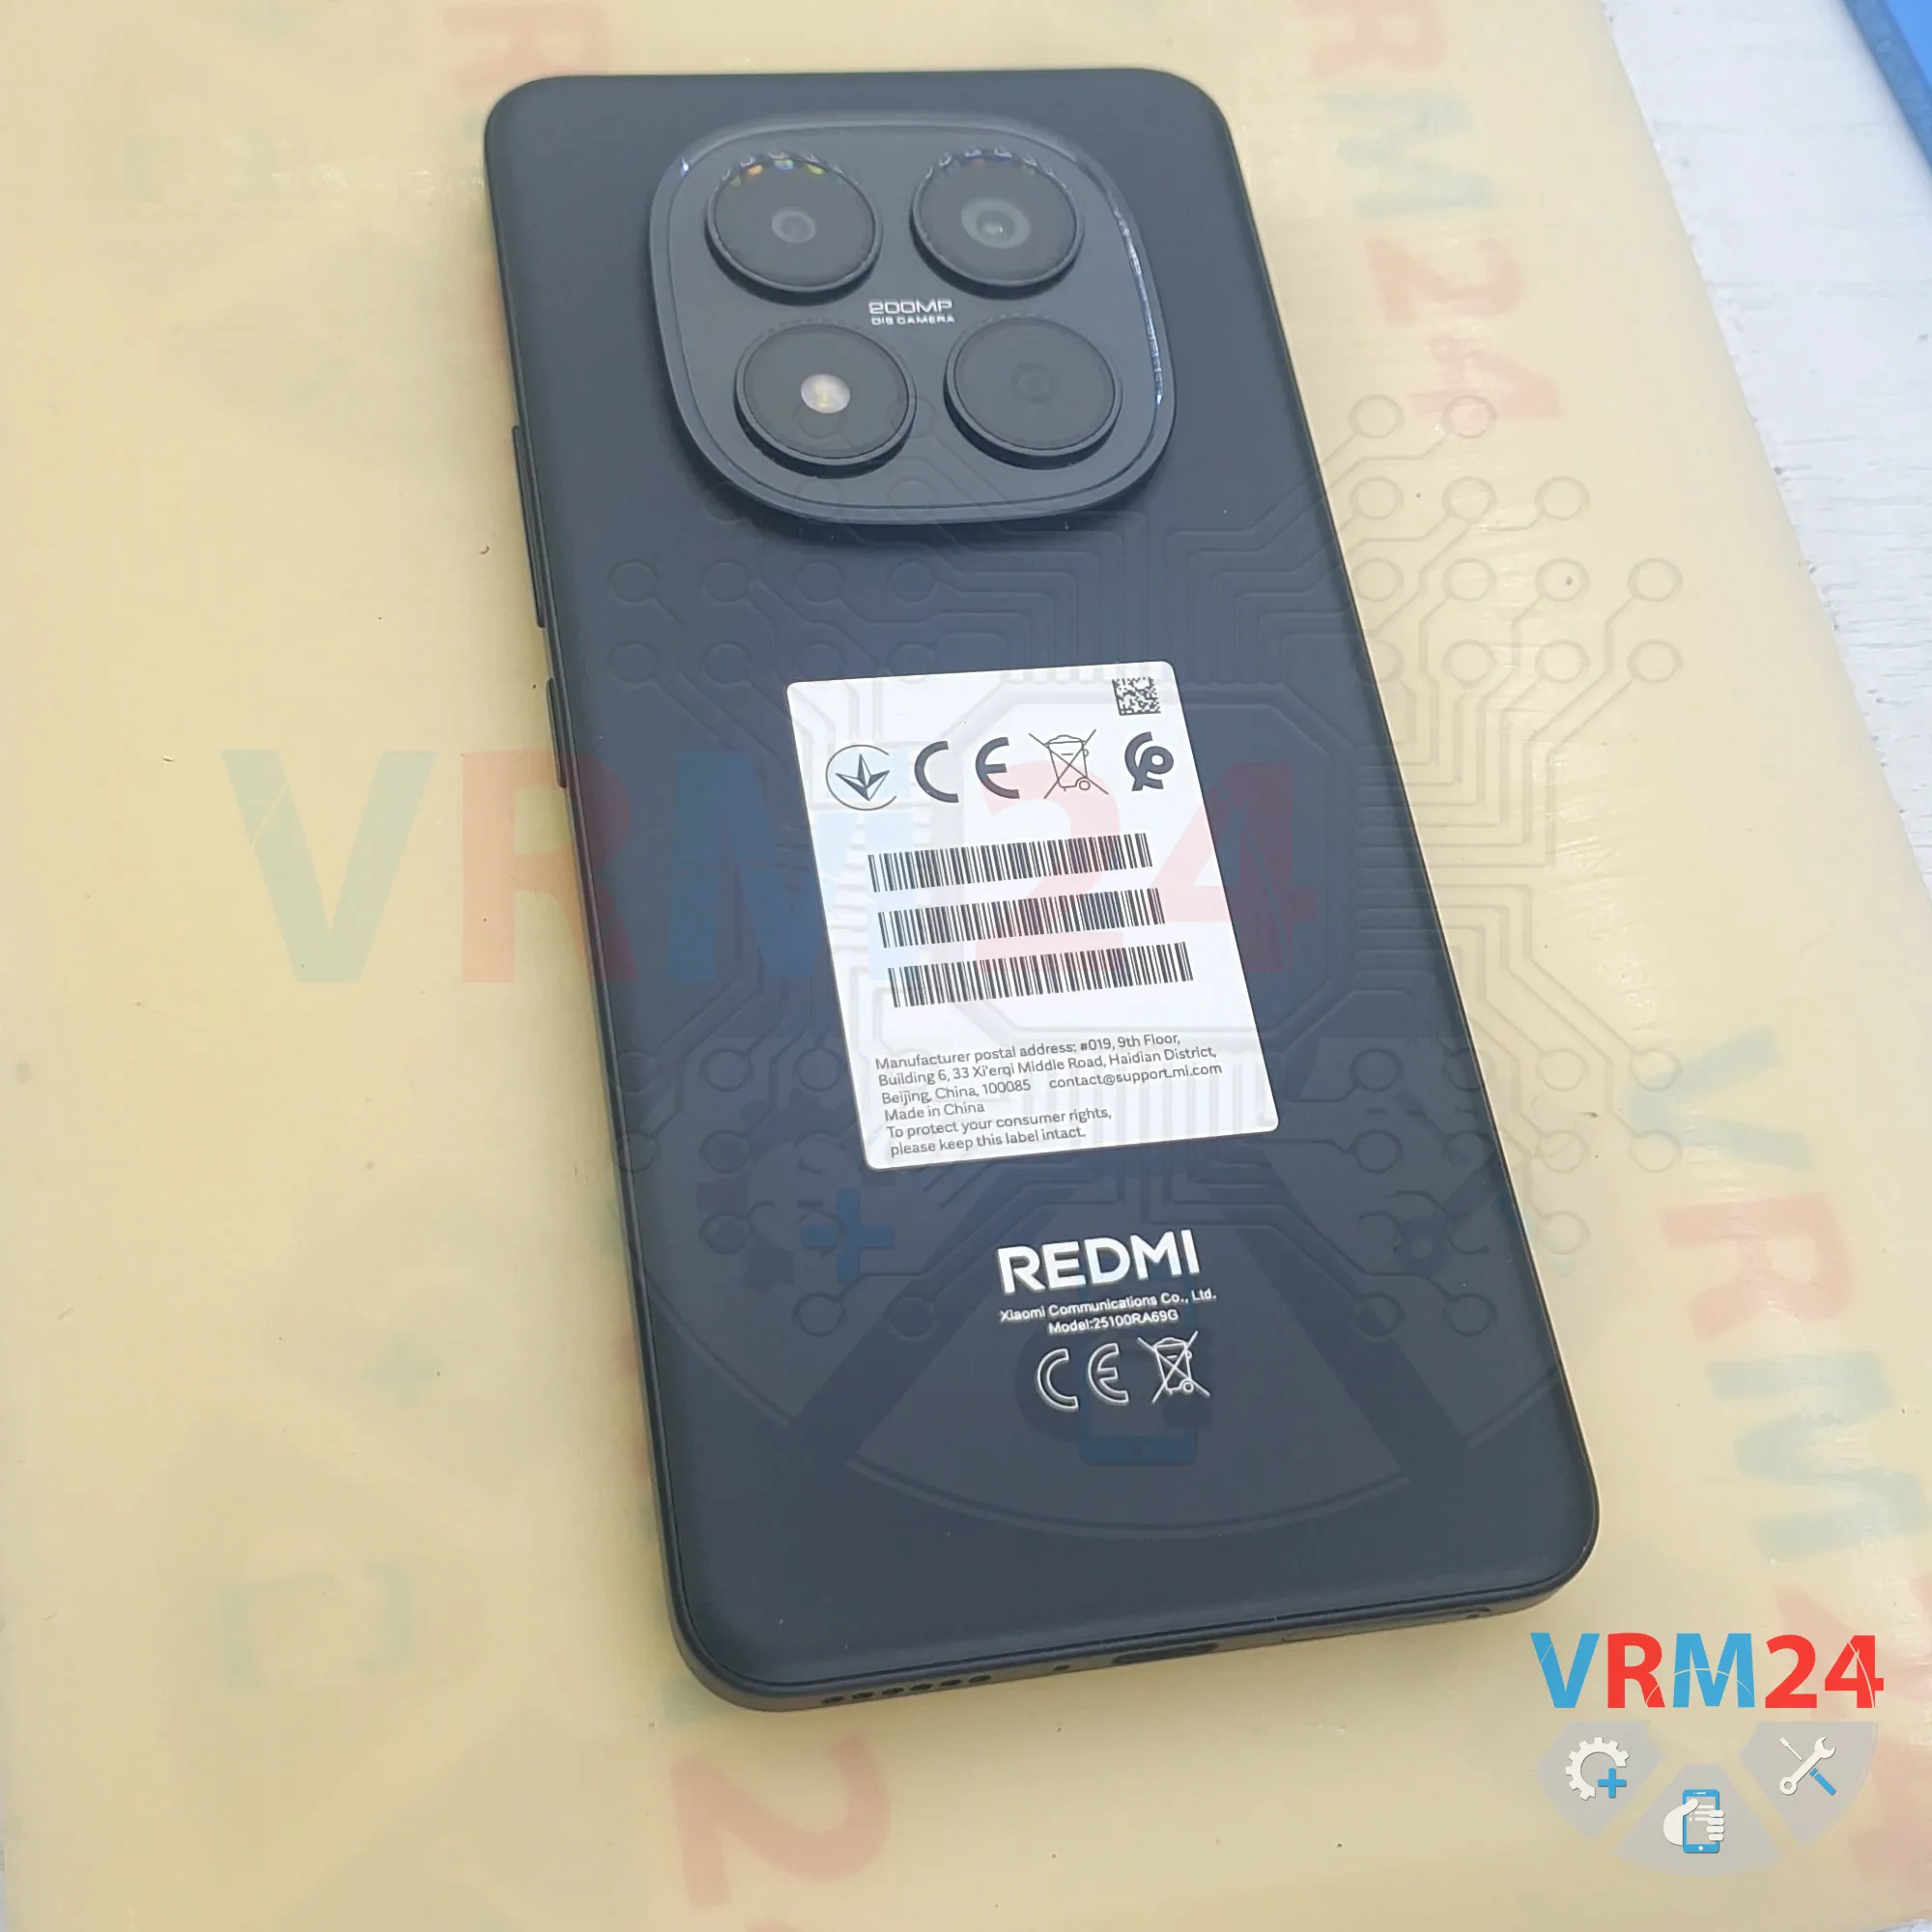
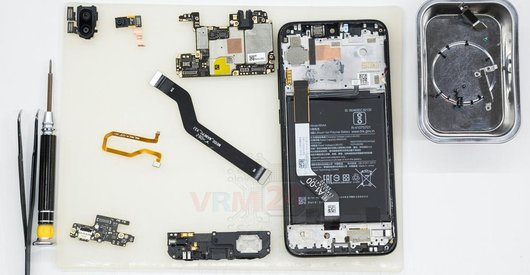
Disassembly/Repair of the mobile device Xiaomi Redmi Note 15 Pro 4G (Xiaomi Redmi Note 15 Pro 4G 25100RA69G) with each step description and the required set of tools.
37
Views
0
Likes
—
Share
0
Questions

Step 1.
Before disassembling!
⚠️ Before disassembling, do not forget to turn your phone off.
Step 2.
Remove the tray
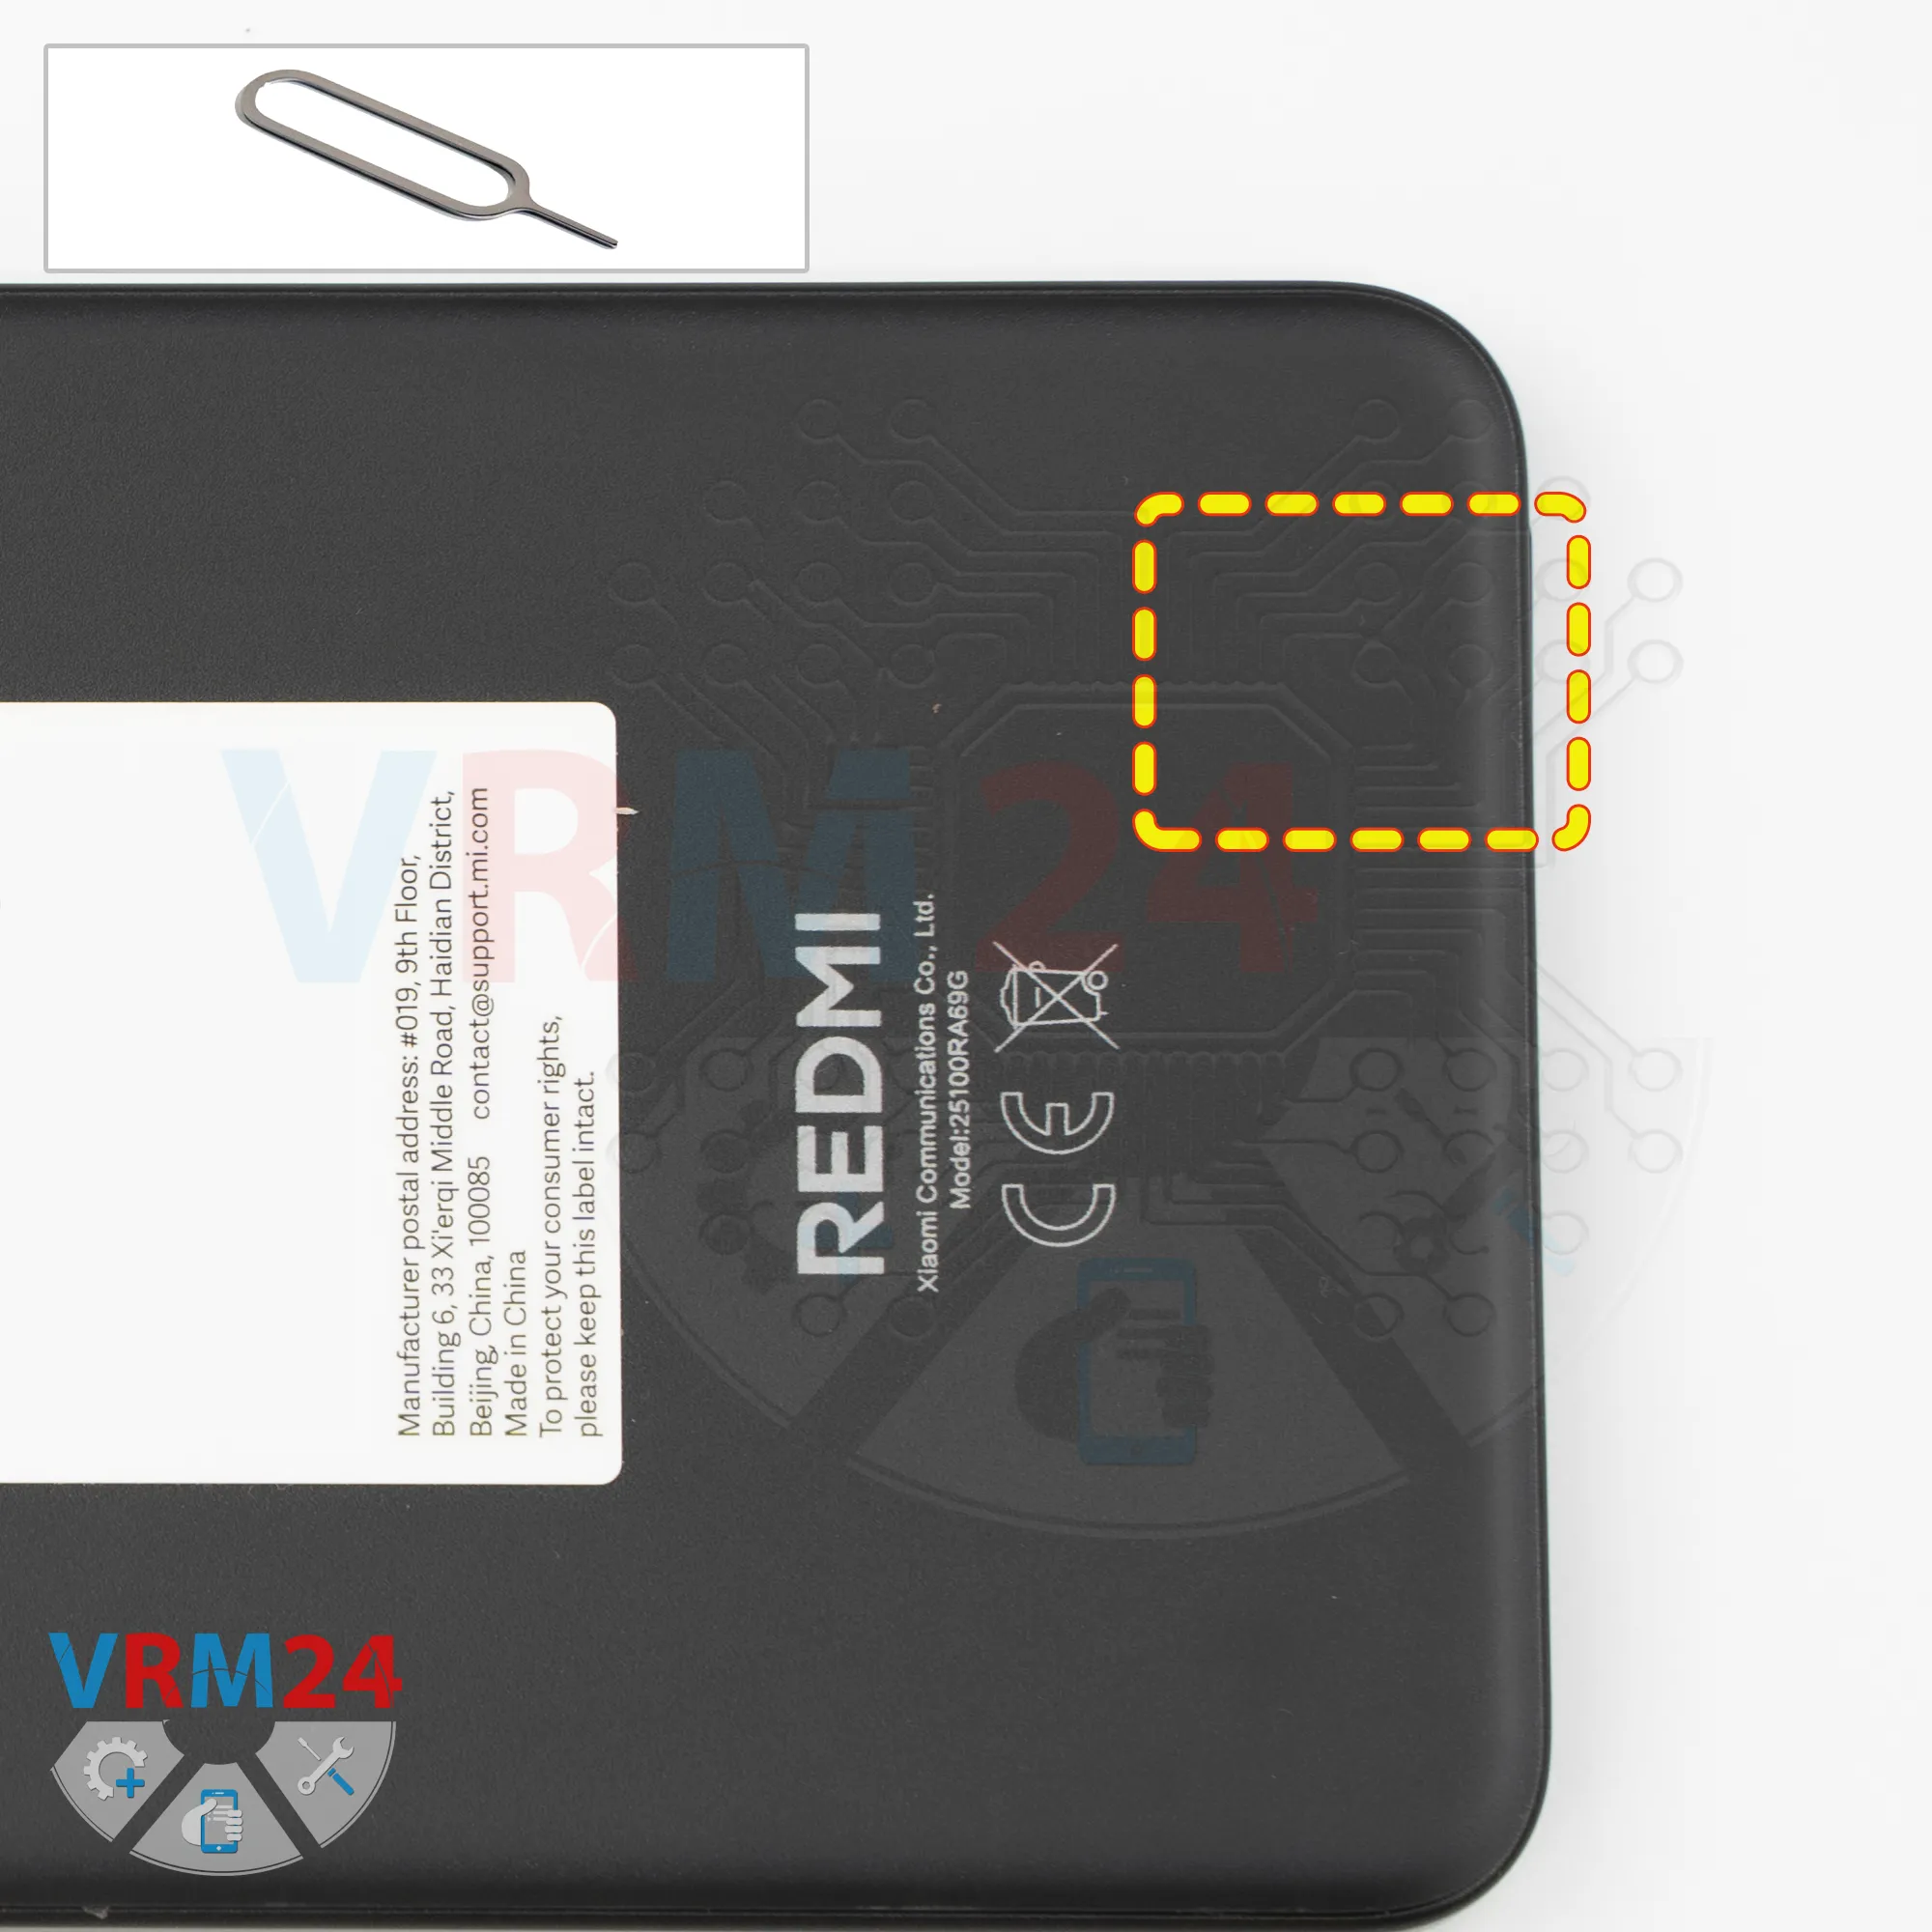
First, we need to remove the SIM card tray.
To do this, we use a SIM eject tool. Insert it into the hole and push the tray out.
Step 3.
Open the back cover
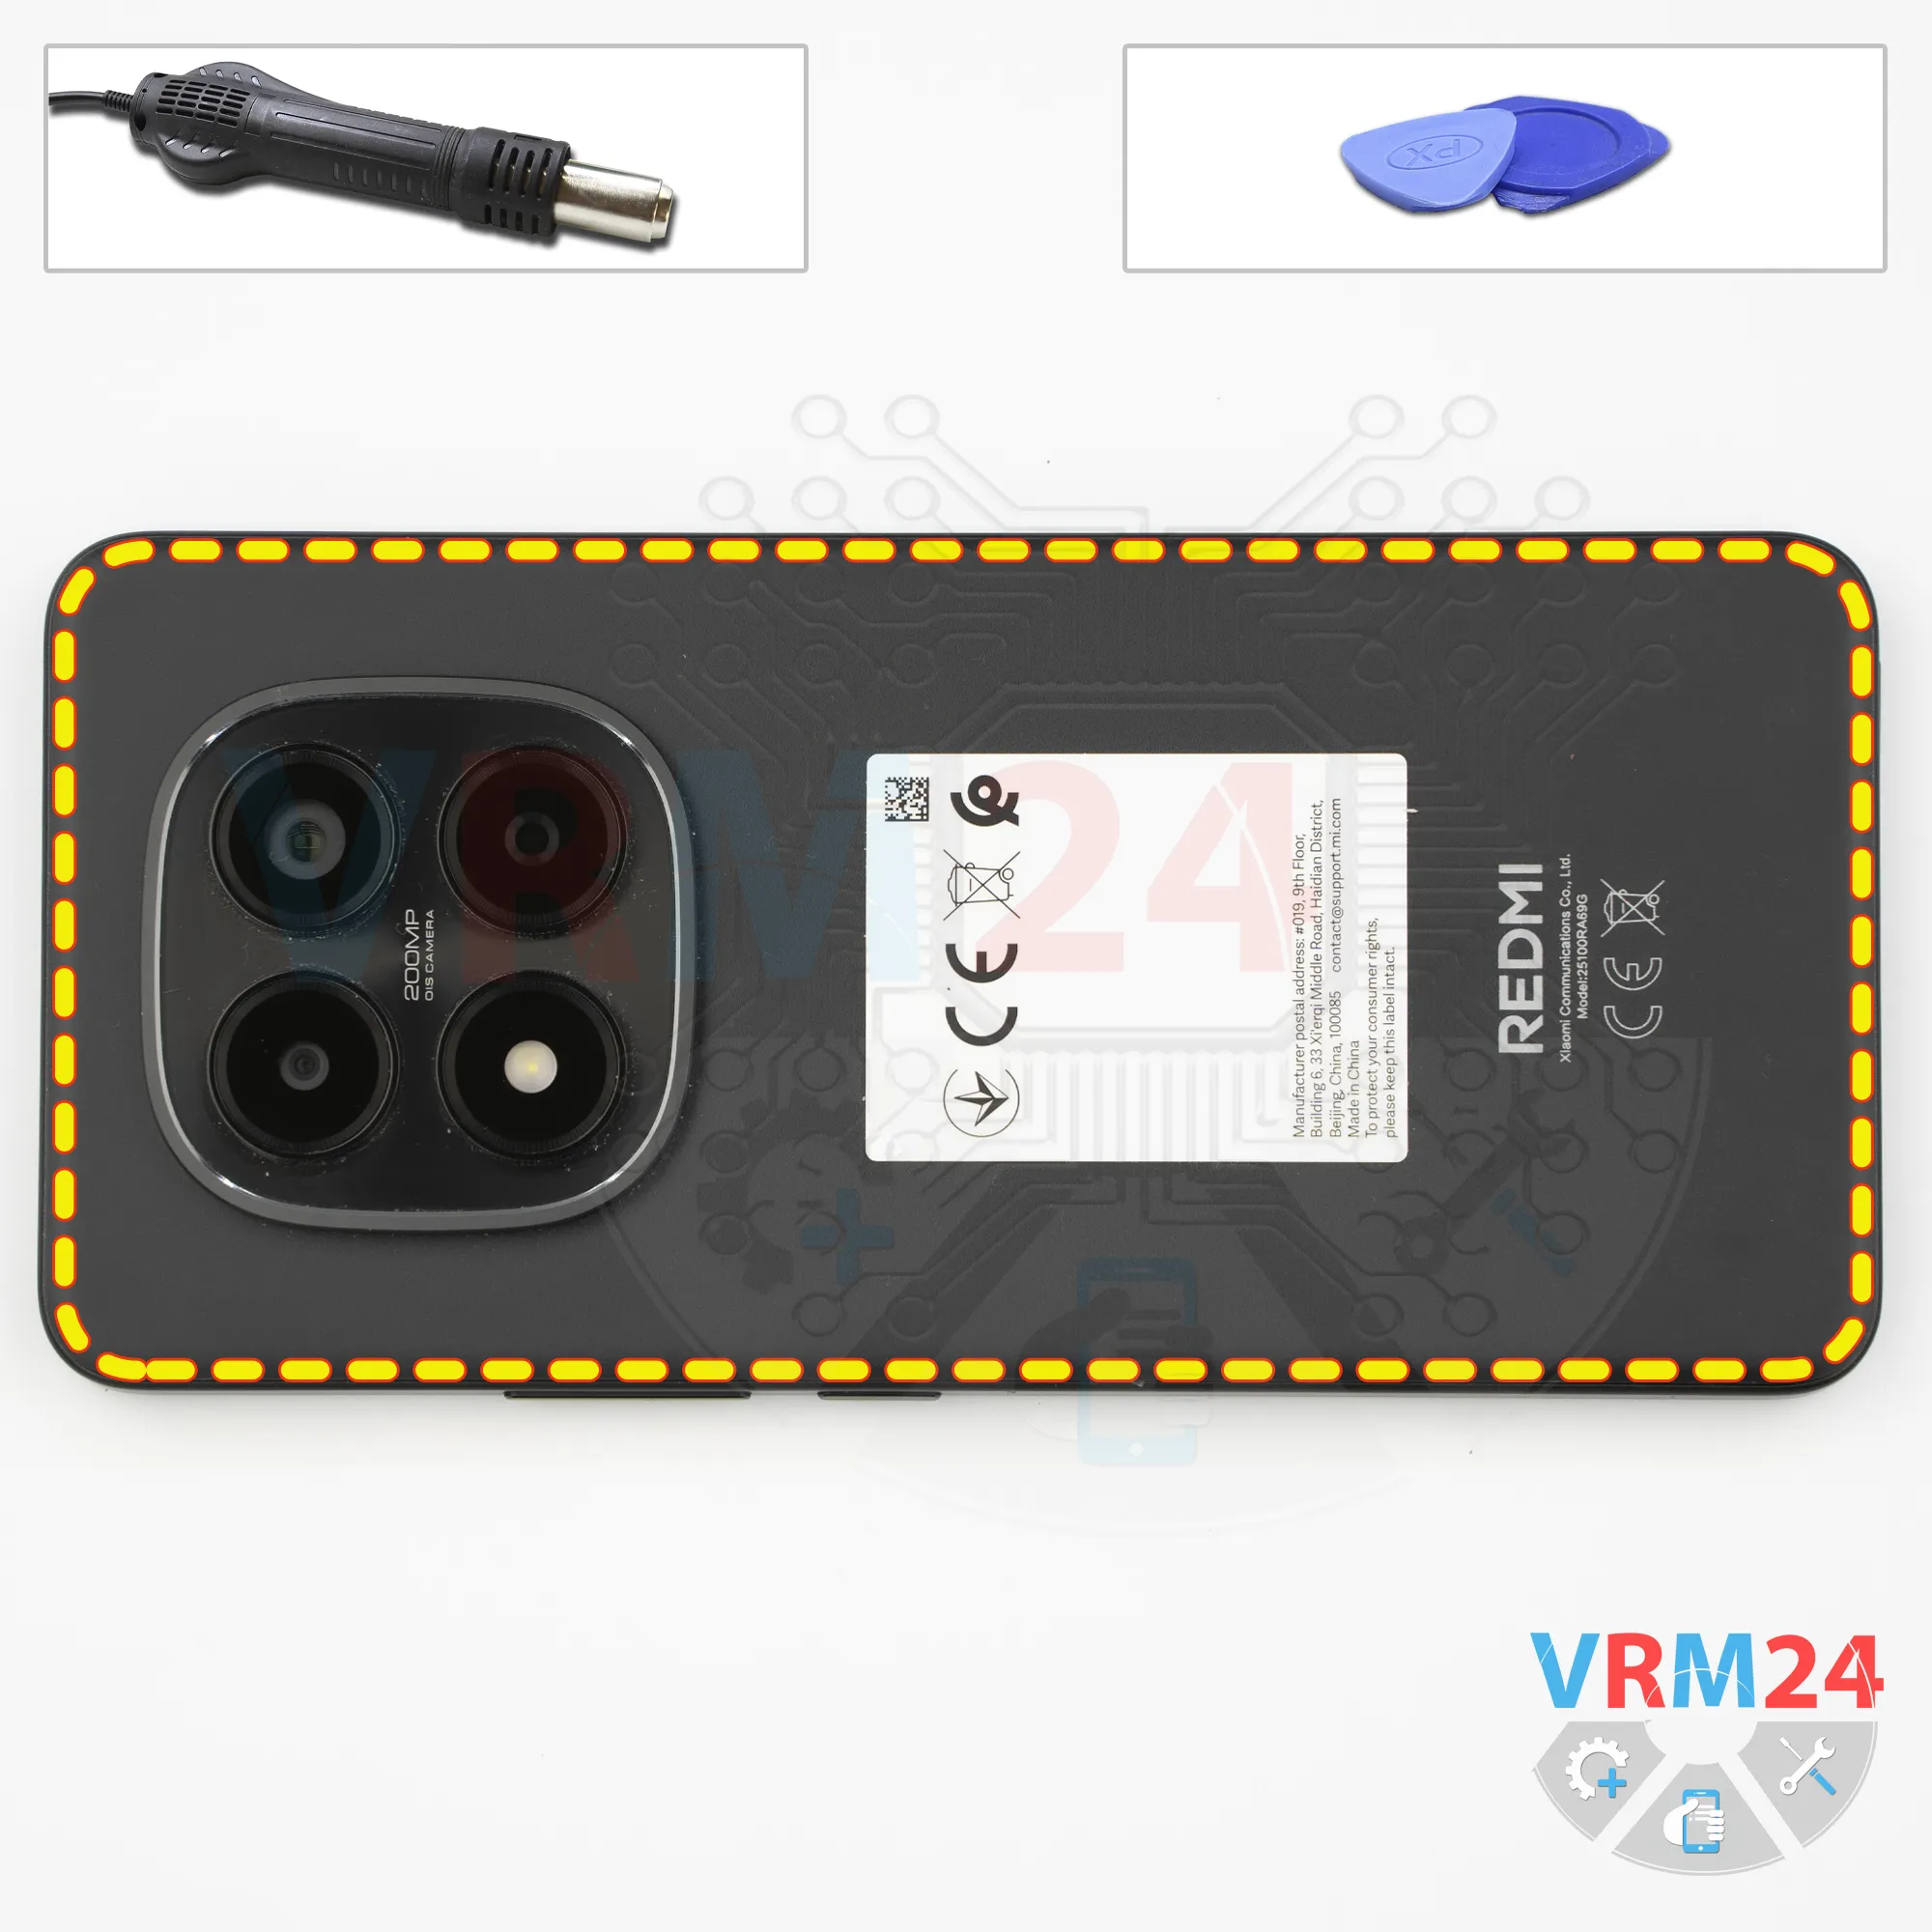
Next, we need to heat the back cover to approximately 70°C or 160°F. We're using a heating mat, but you can also use a heat gun or a hair dryer.
Heat the cover for about 10 minutes.
Please note that the back cover is thicker around the cameras. There's additional adhesive in this area, so it's best to heat this section as well.
Now, we use a thin plastic film. In our case, it's the protective film from an OCA sheet (Optically Clear Adhesive sheet). It's quite strong and has a very sharp edge.
Carefully slide it along the edge of the back cover to cut through the adhesive. As always, be careful around the cameras so you don't accidentally touch or damage the lenses.
And, of course, be careful around the side buttons, since there may be flex cables in that area.
Step 4.
Unscrew the screws
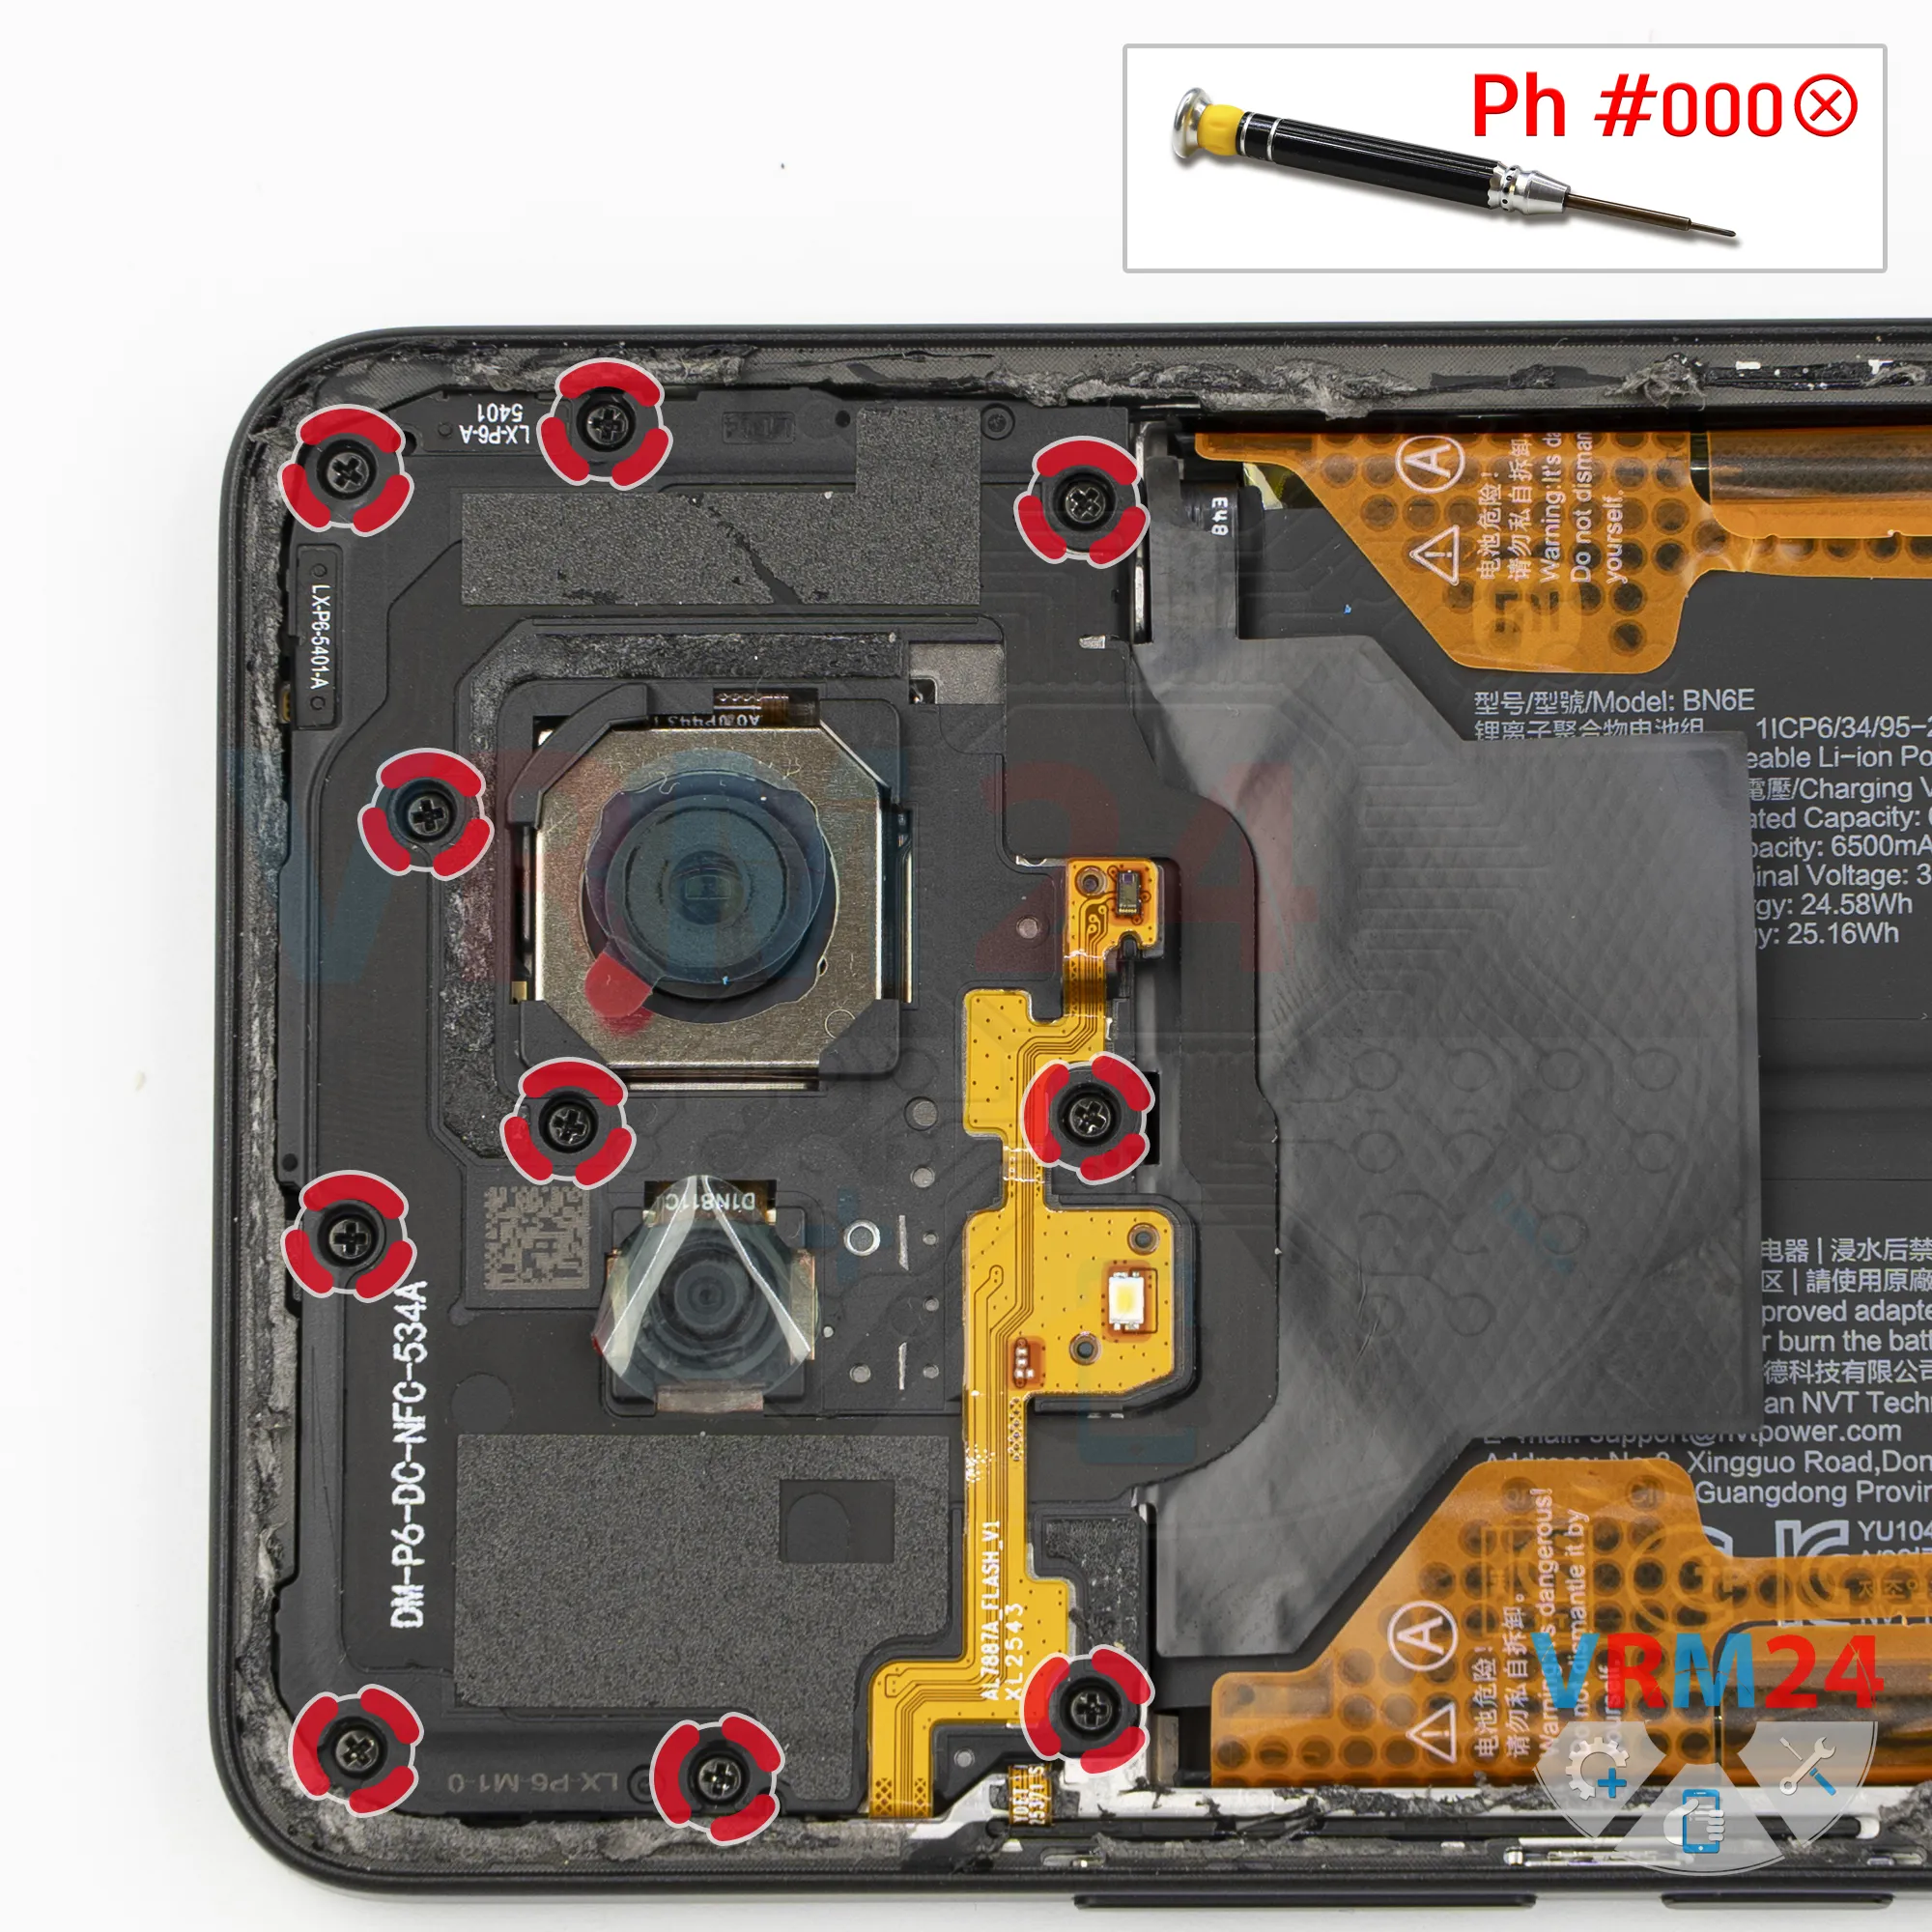
Next, it's best to cover the camera lenses. For this, we use a special protective film. Please note that we apply the film to the rings around the lenses, not directly to the lenses themselves.
After that, we move on to removing the screws in the upper section.
For this, we use a 1.5 mm Phillips screwdriver, or a Phillips #000. Carefully remove the screws.
It's best to lay out the screws in order in a designated area, so we can put each one back into its original hole.
Step 5.
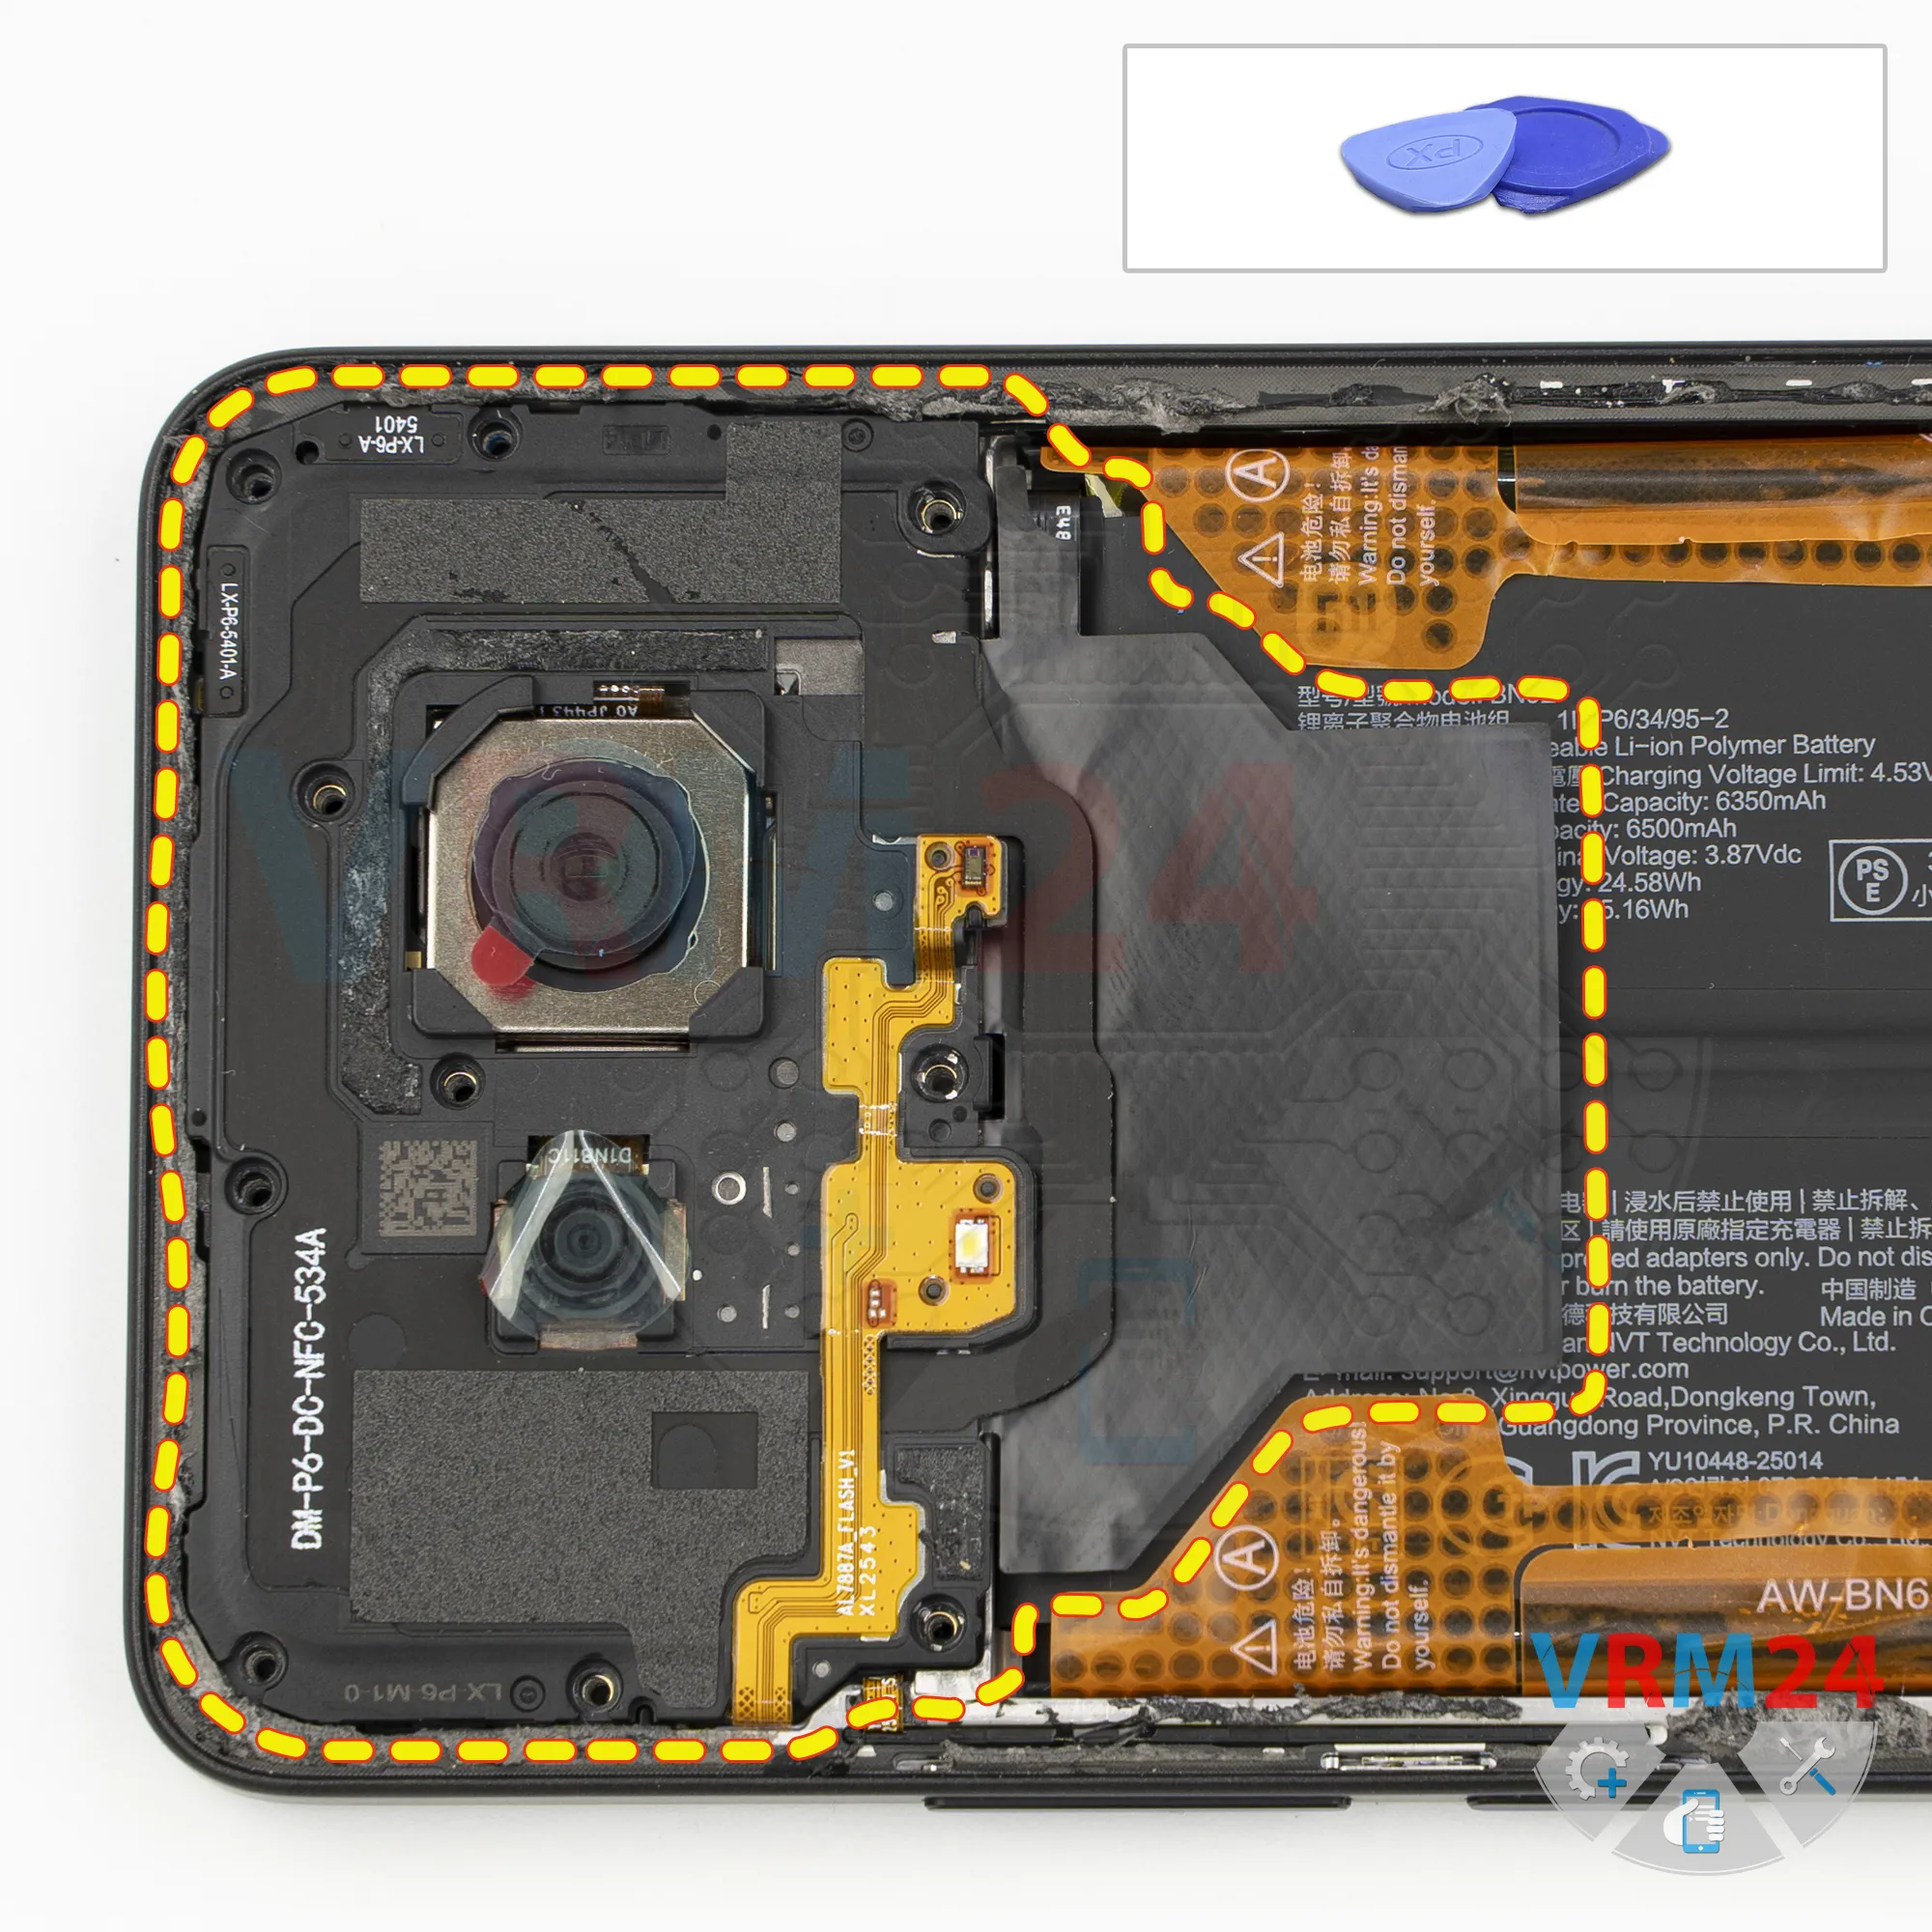
Open the cover
Next, use a non-metallic tool to remove the cover in the upper section.
This cover has contact pads, antenna traces, and the flash.
Step 6.
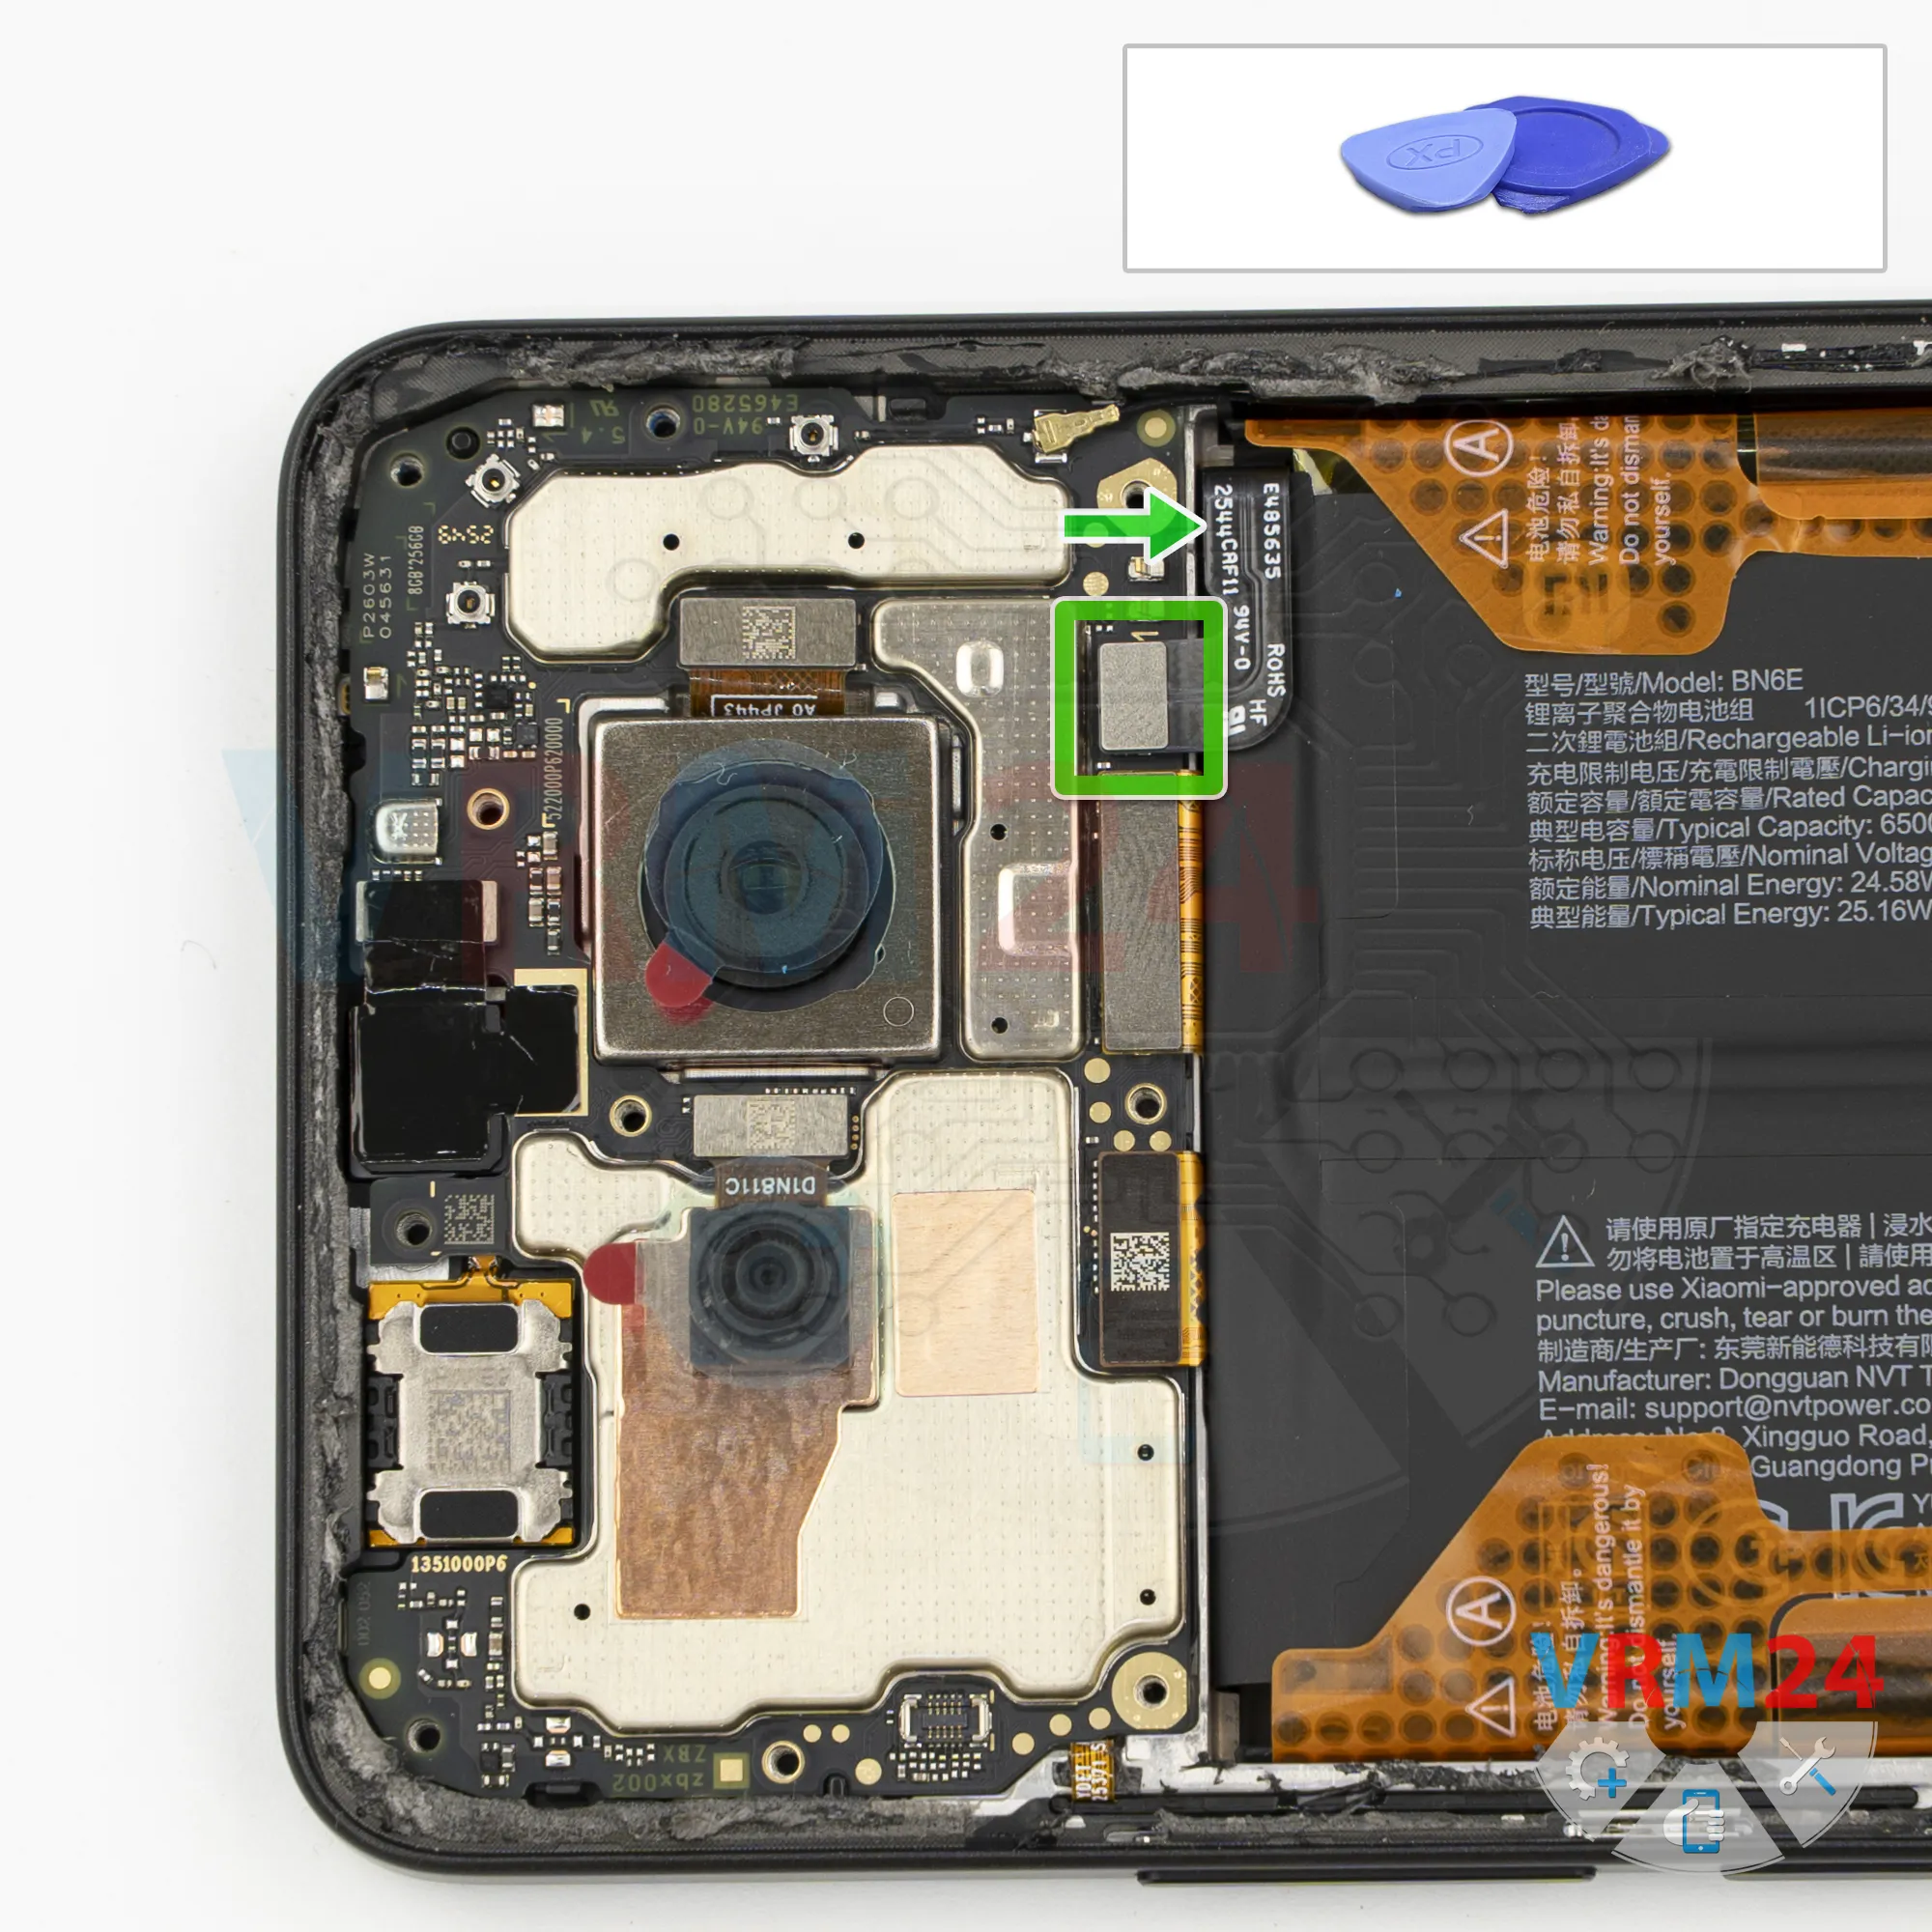
Disconnect the battery connector
Then, using a non-metallic tool again, disconnect the battery connector and move on to the lower section.
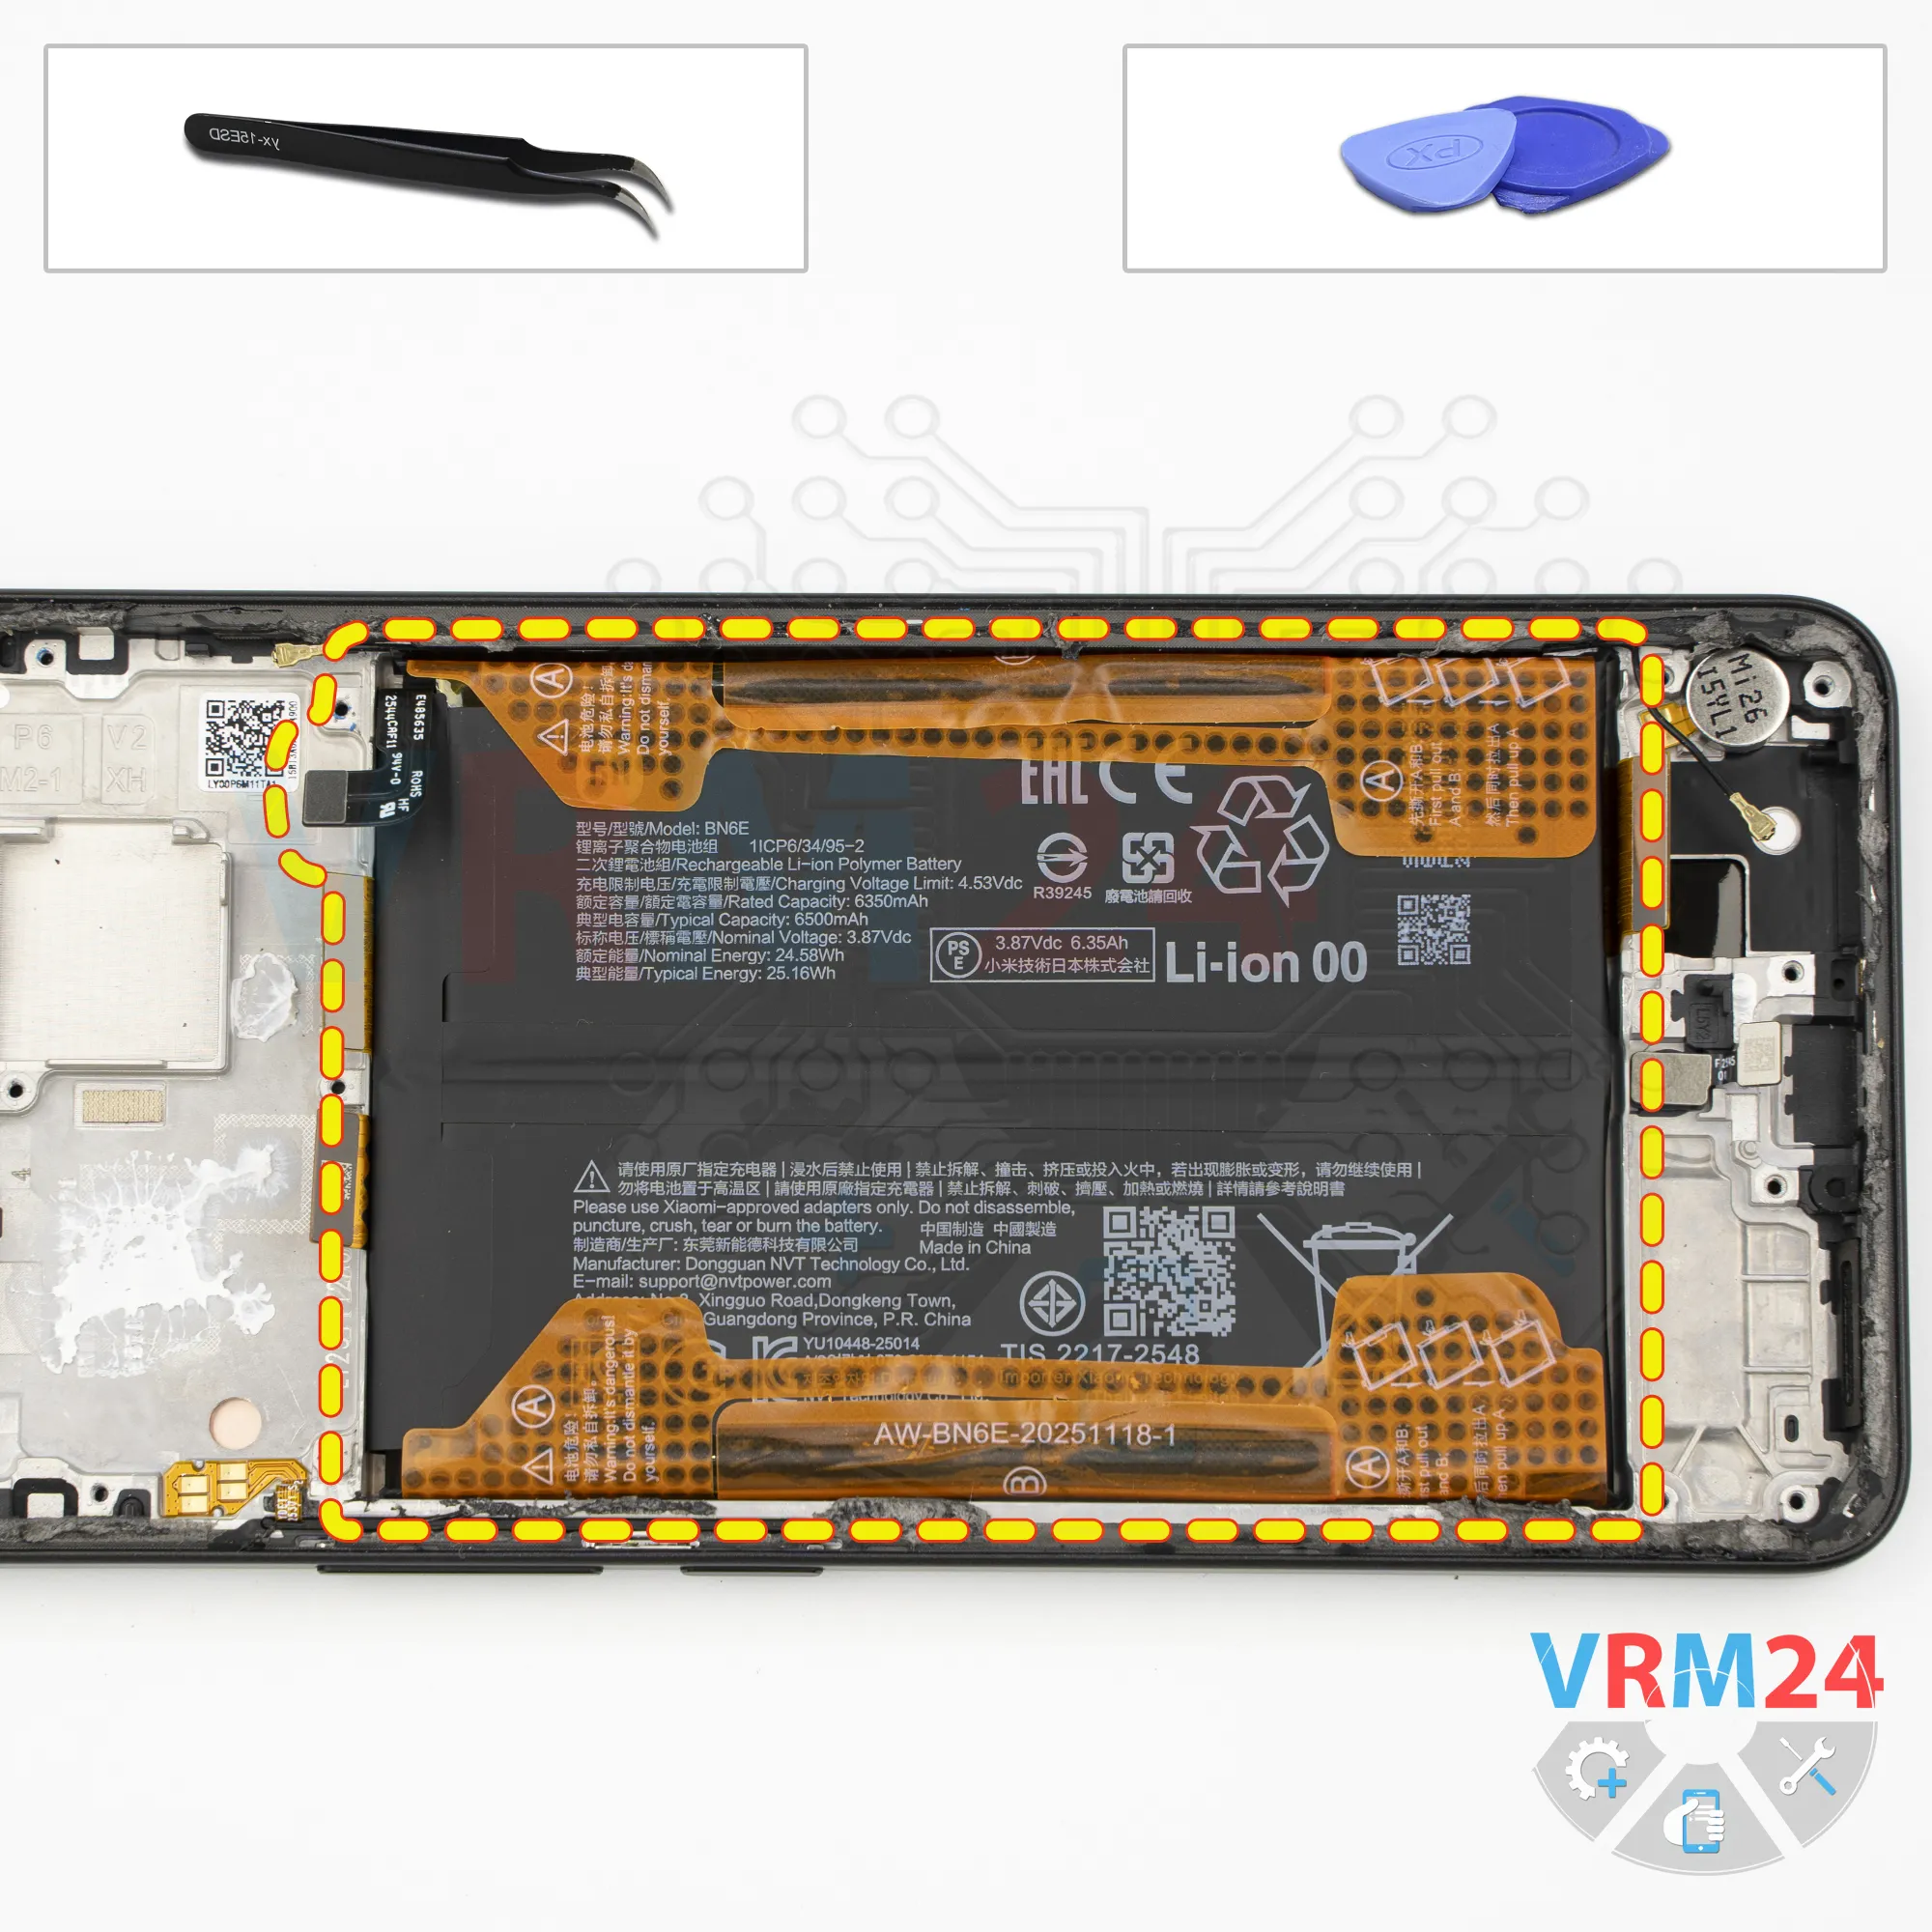
ℹ️ The Xiaomi Redmi Note 15 Pro 4G uses a BN6E rechargeable battery with a capacity of 6500 mAh.
Step 7.
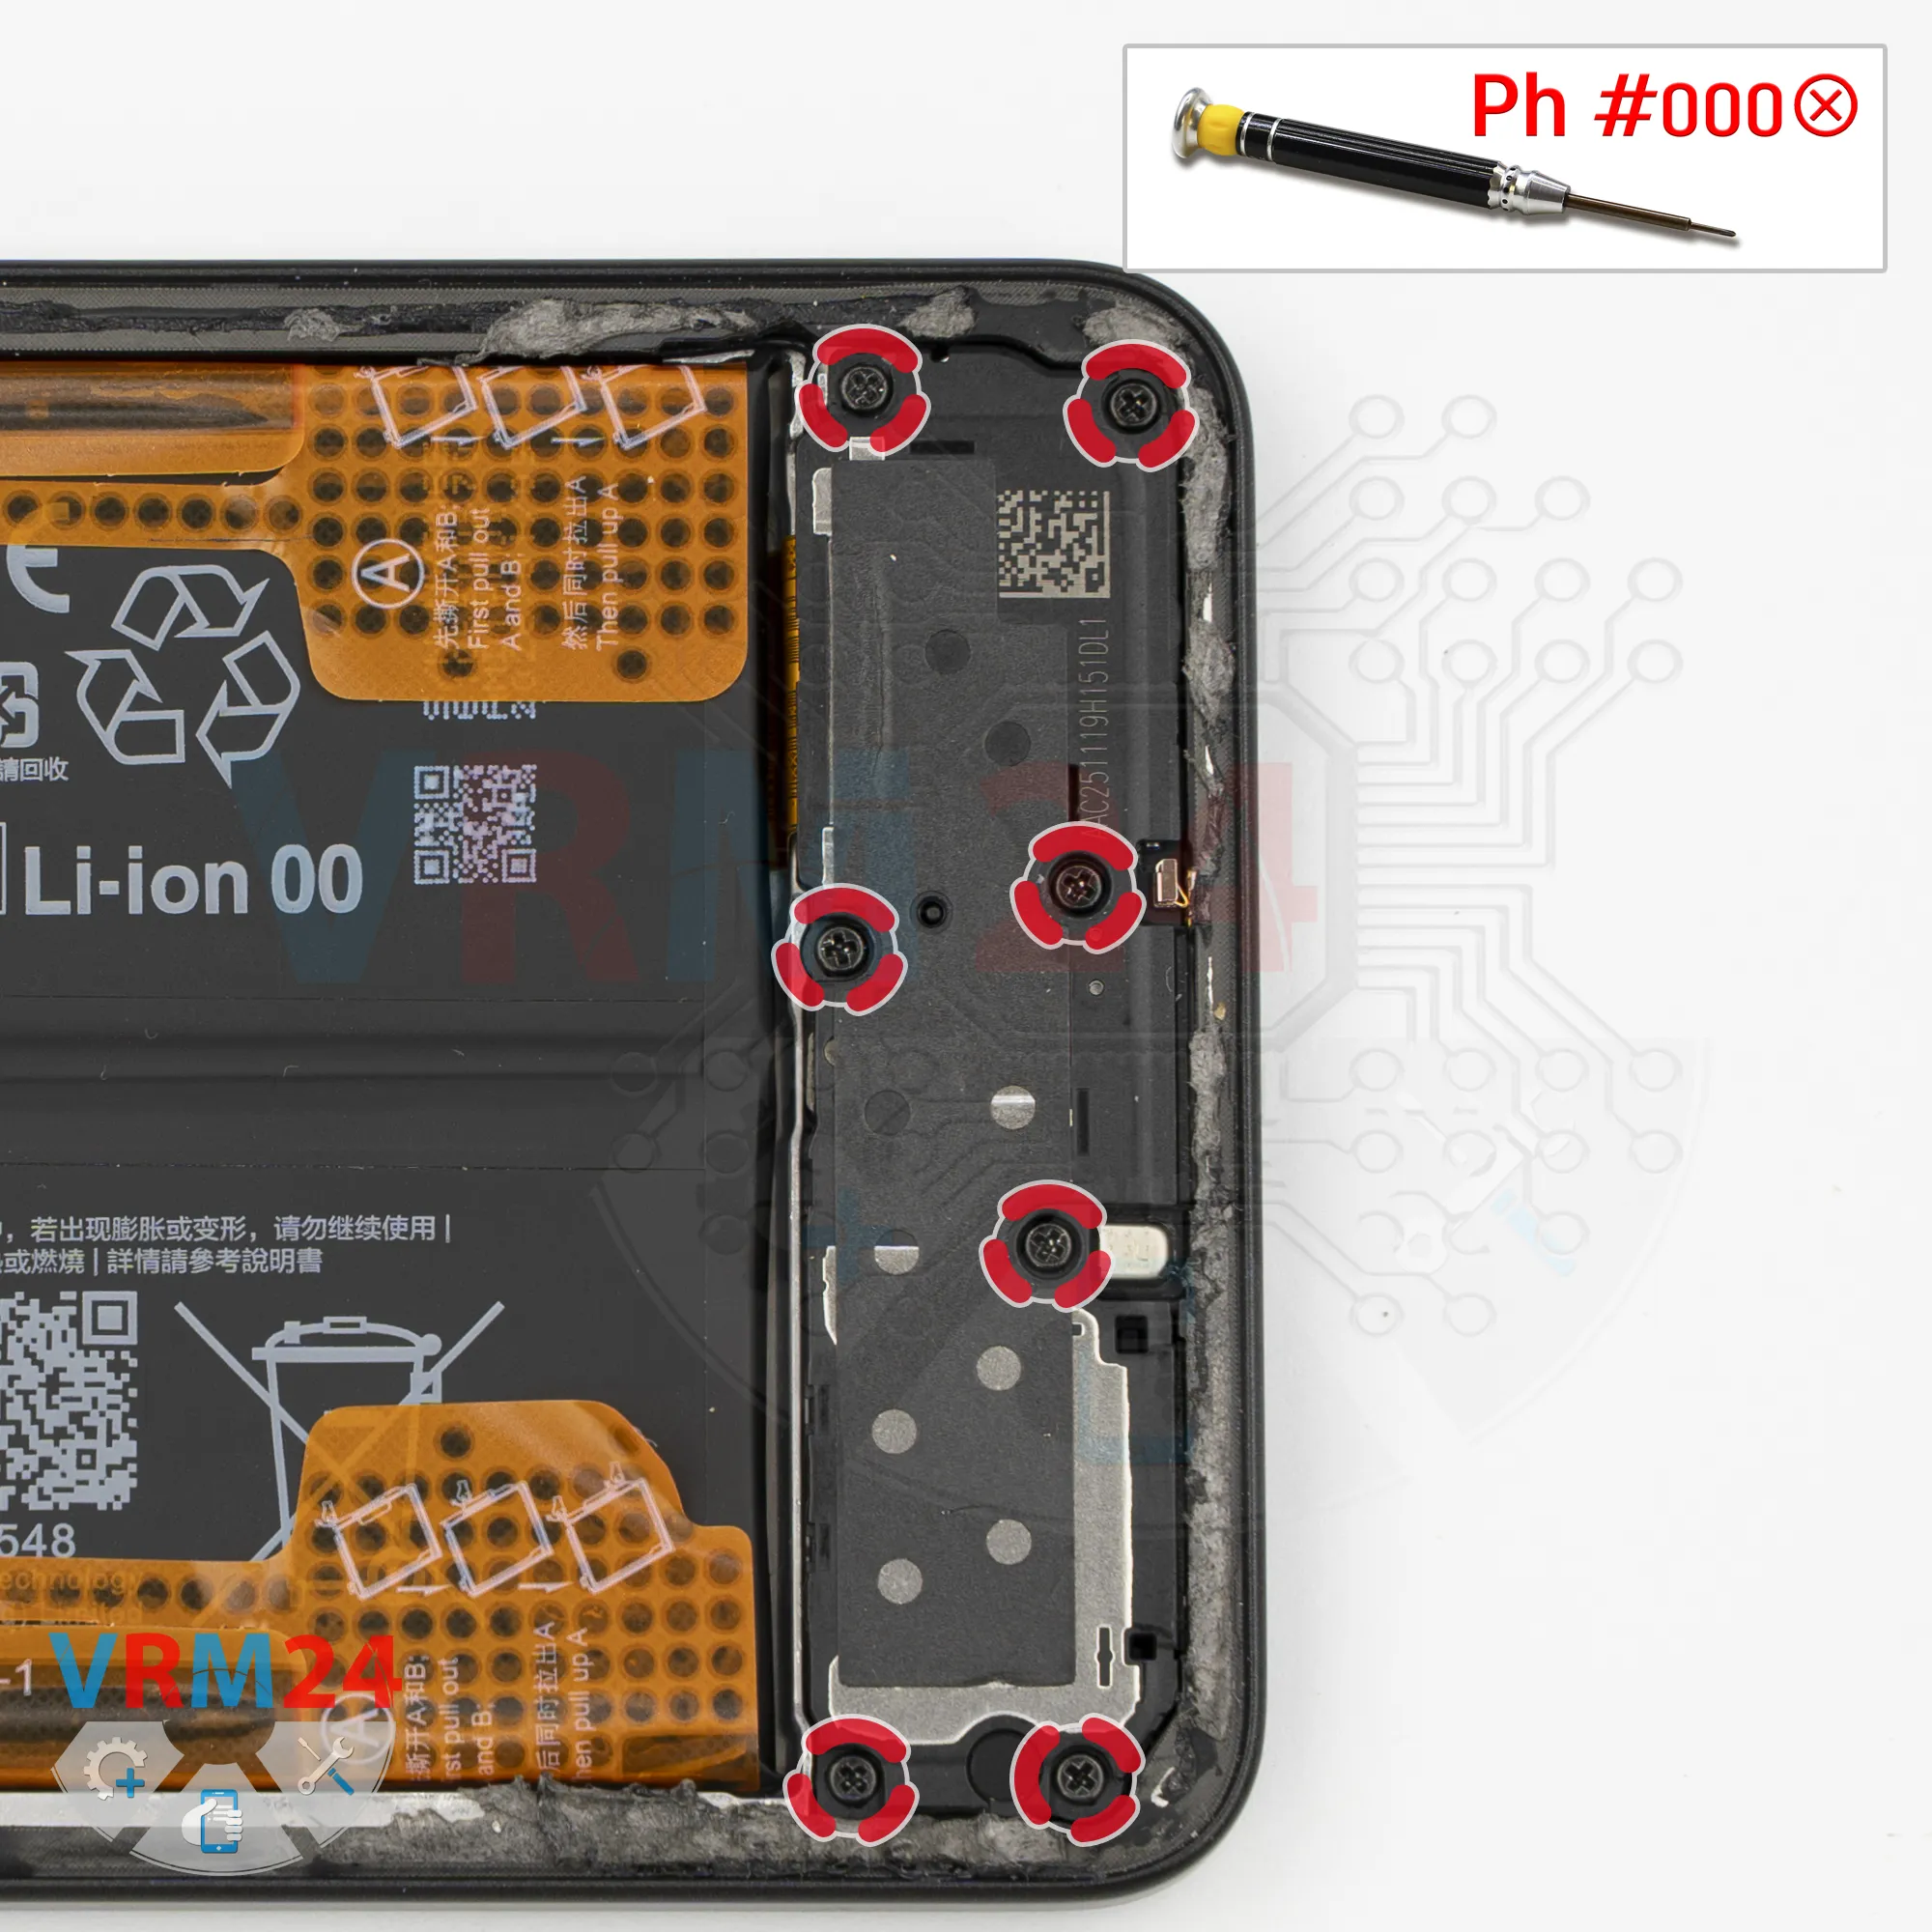
Unscrew the screws
In the lower section, we also remove the screws.
The screws appear to be the same size, but it's better to keep them separate from the ones we removed earlier.
Step 8.
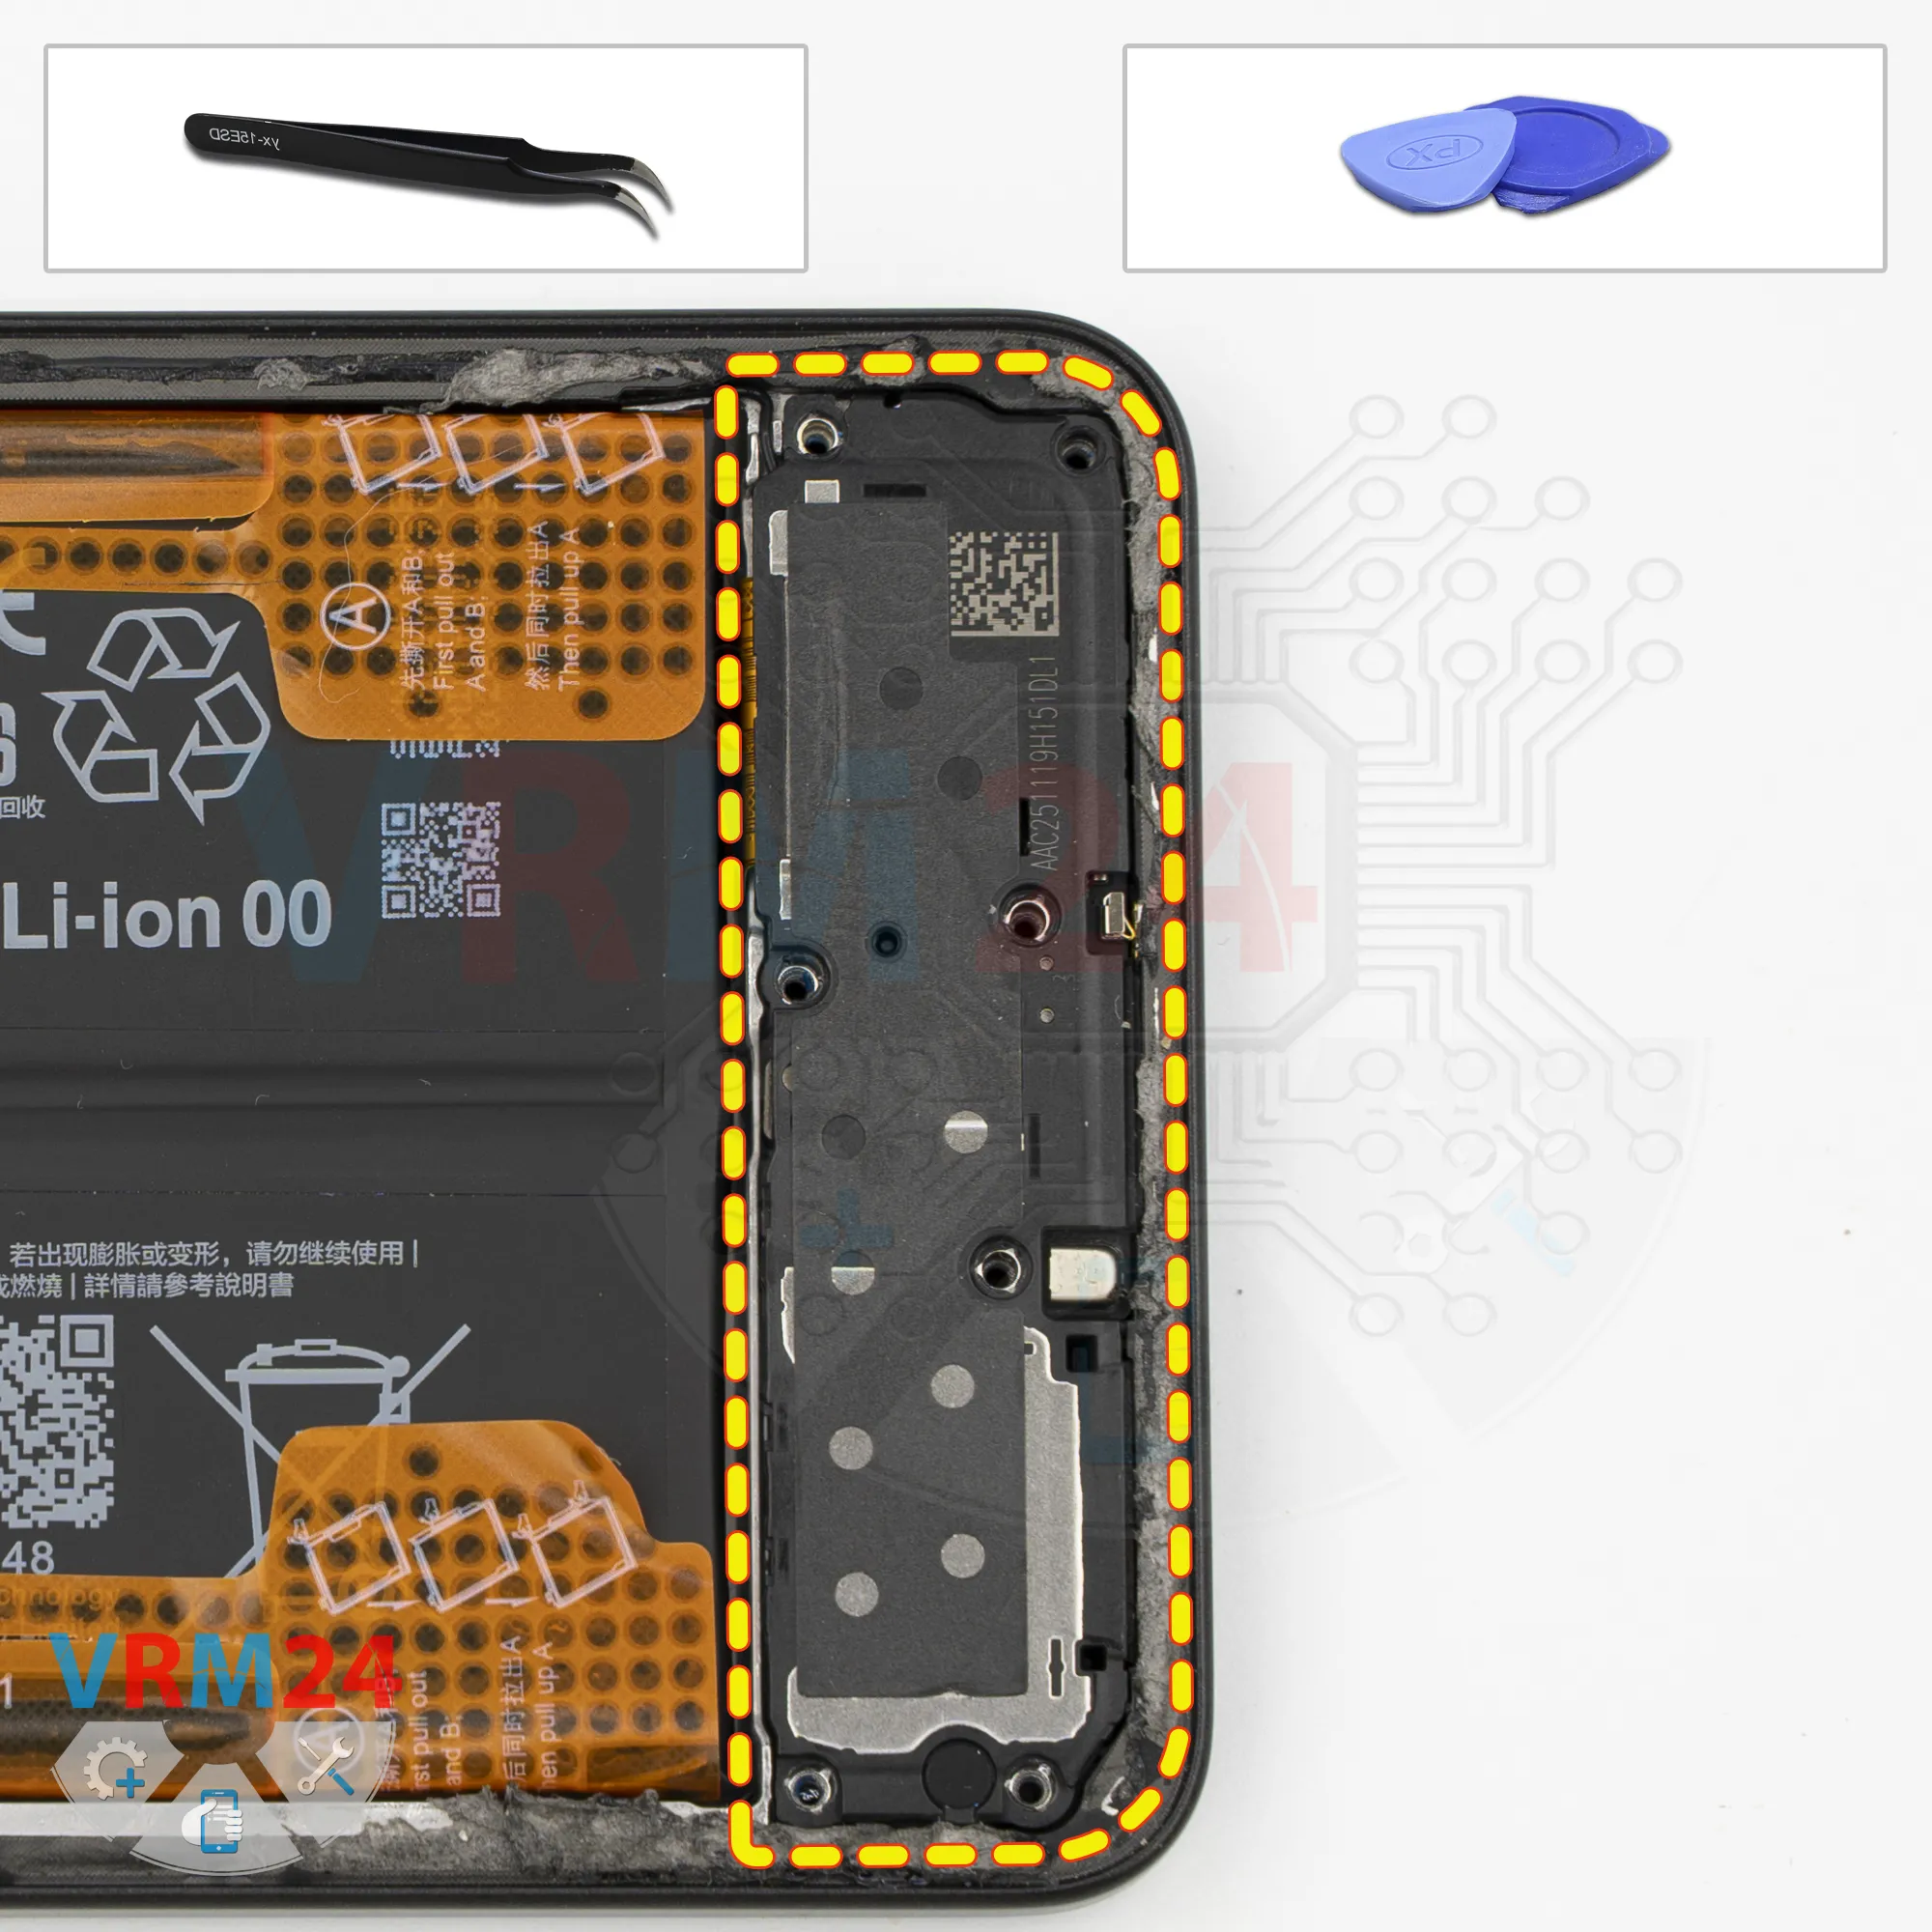
Remove the loudspeaker
Once the screws are out, carefully pry up the cover by the edge, lift it, and remove the cover with the loudspeaker.
Set it aside.
Step 9.
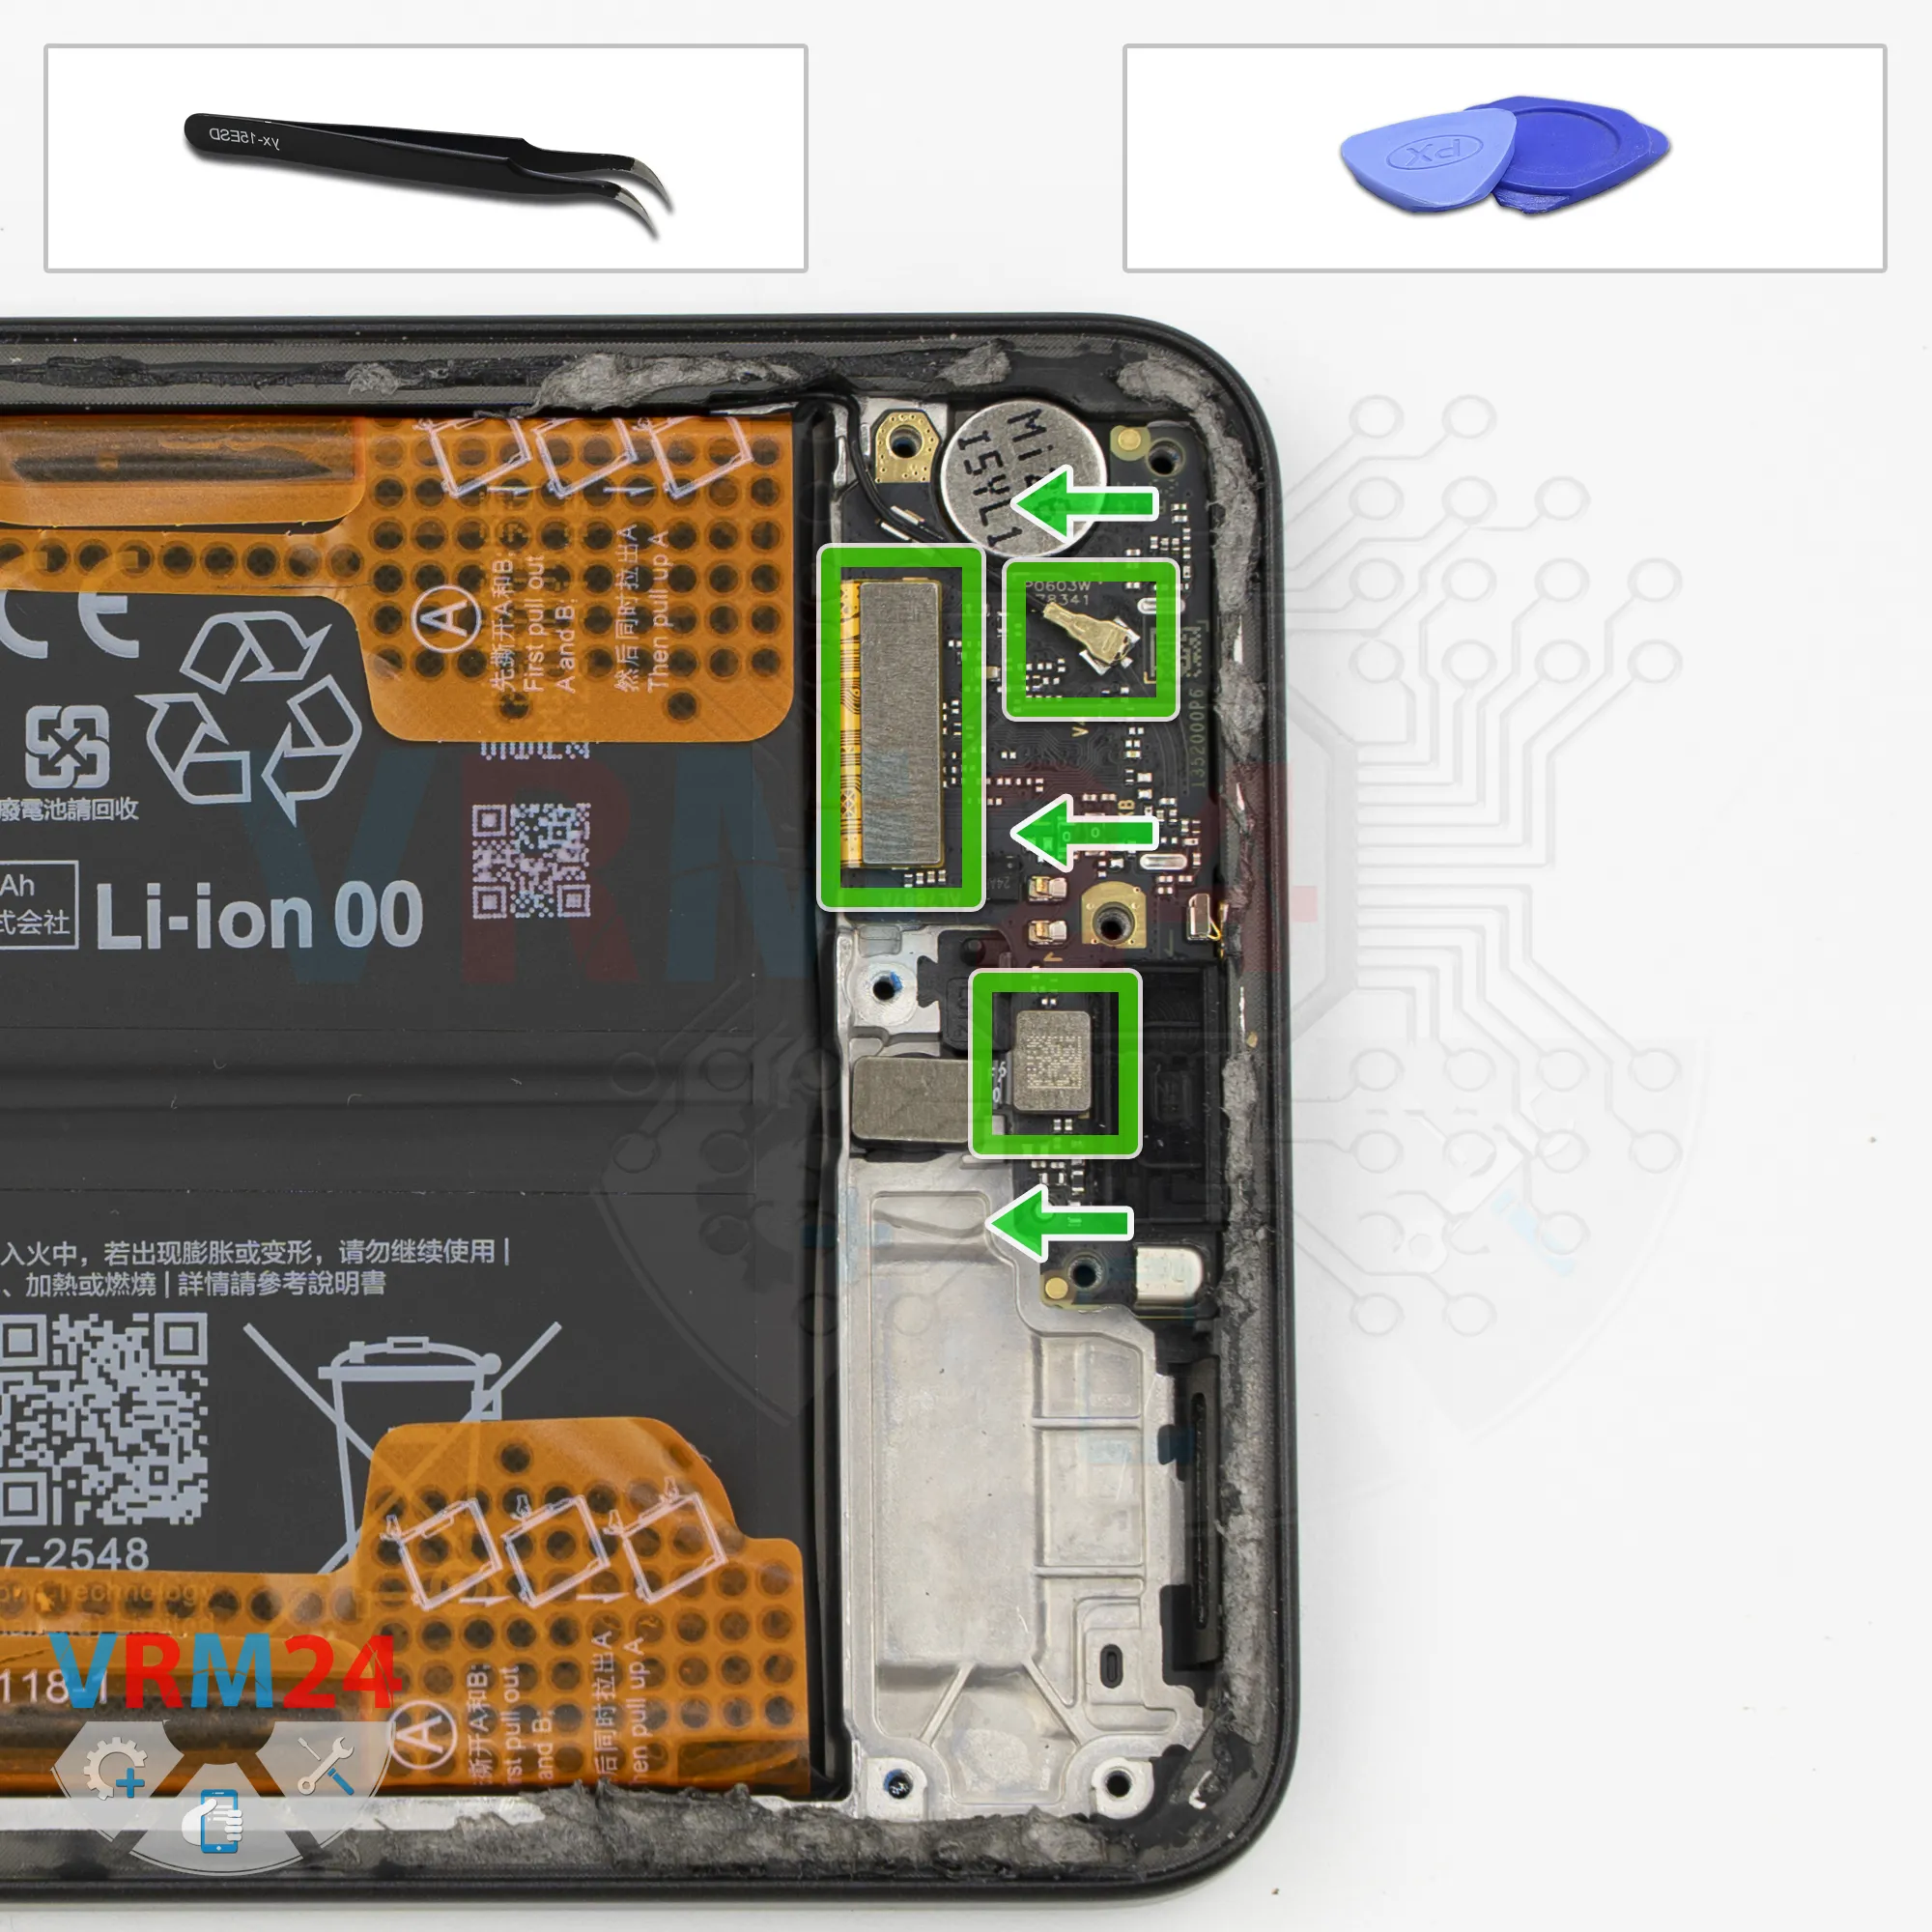
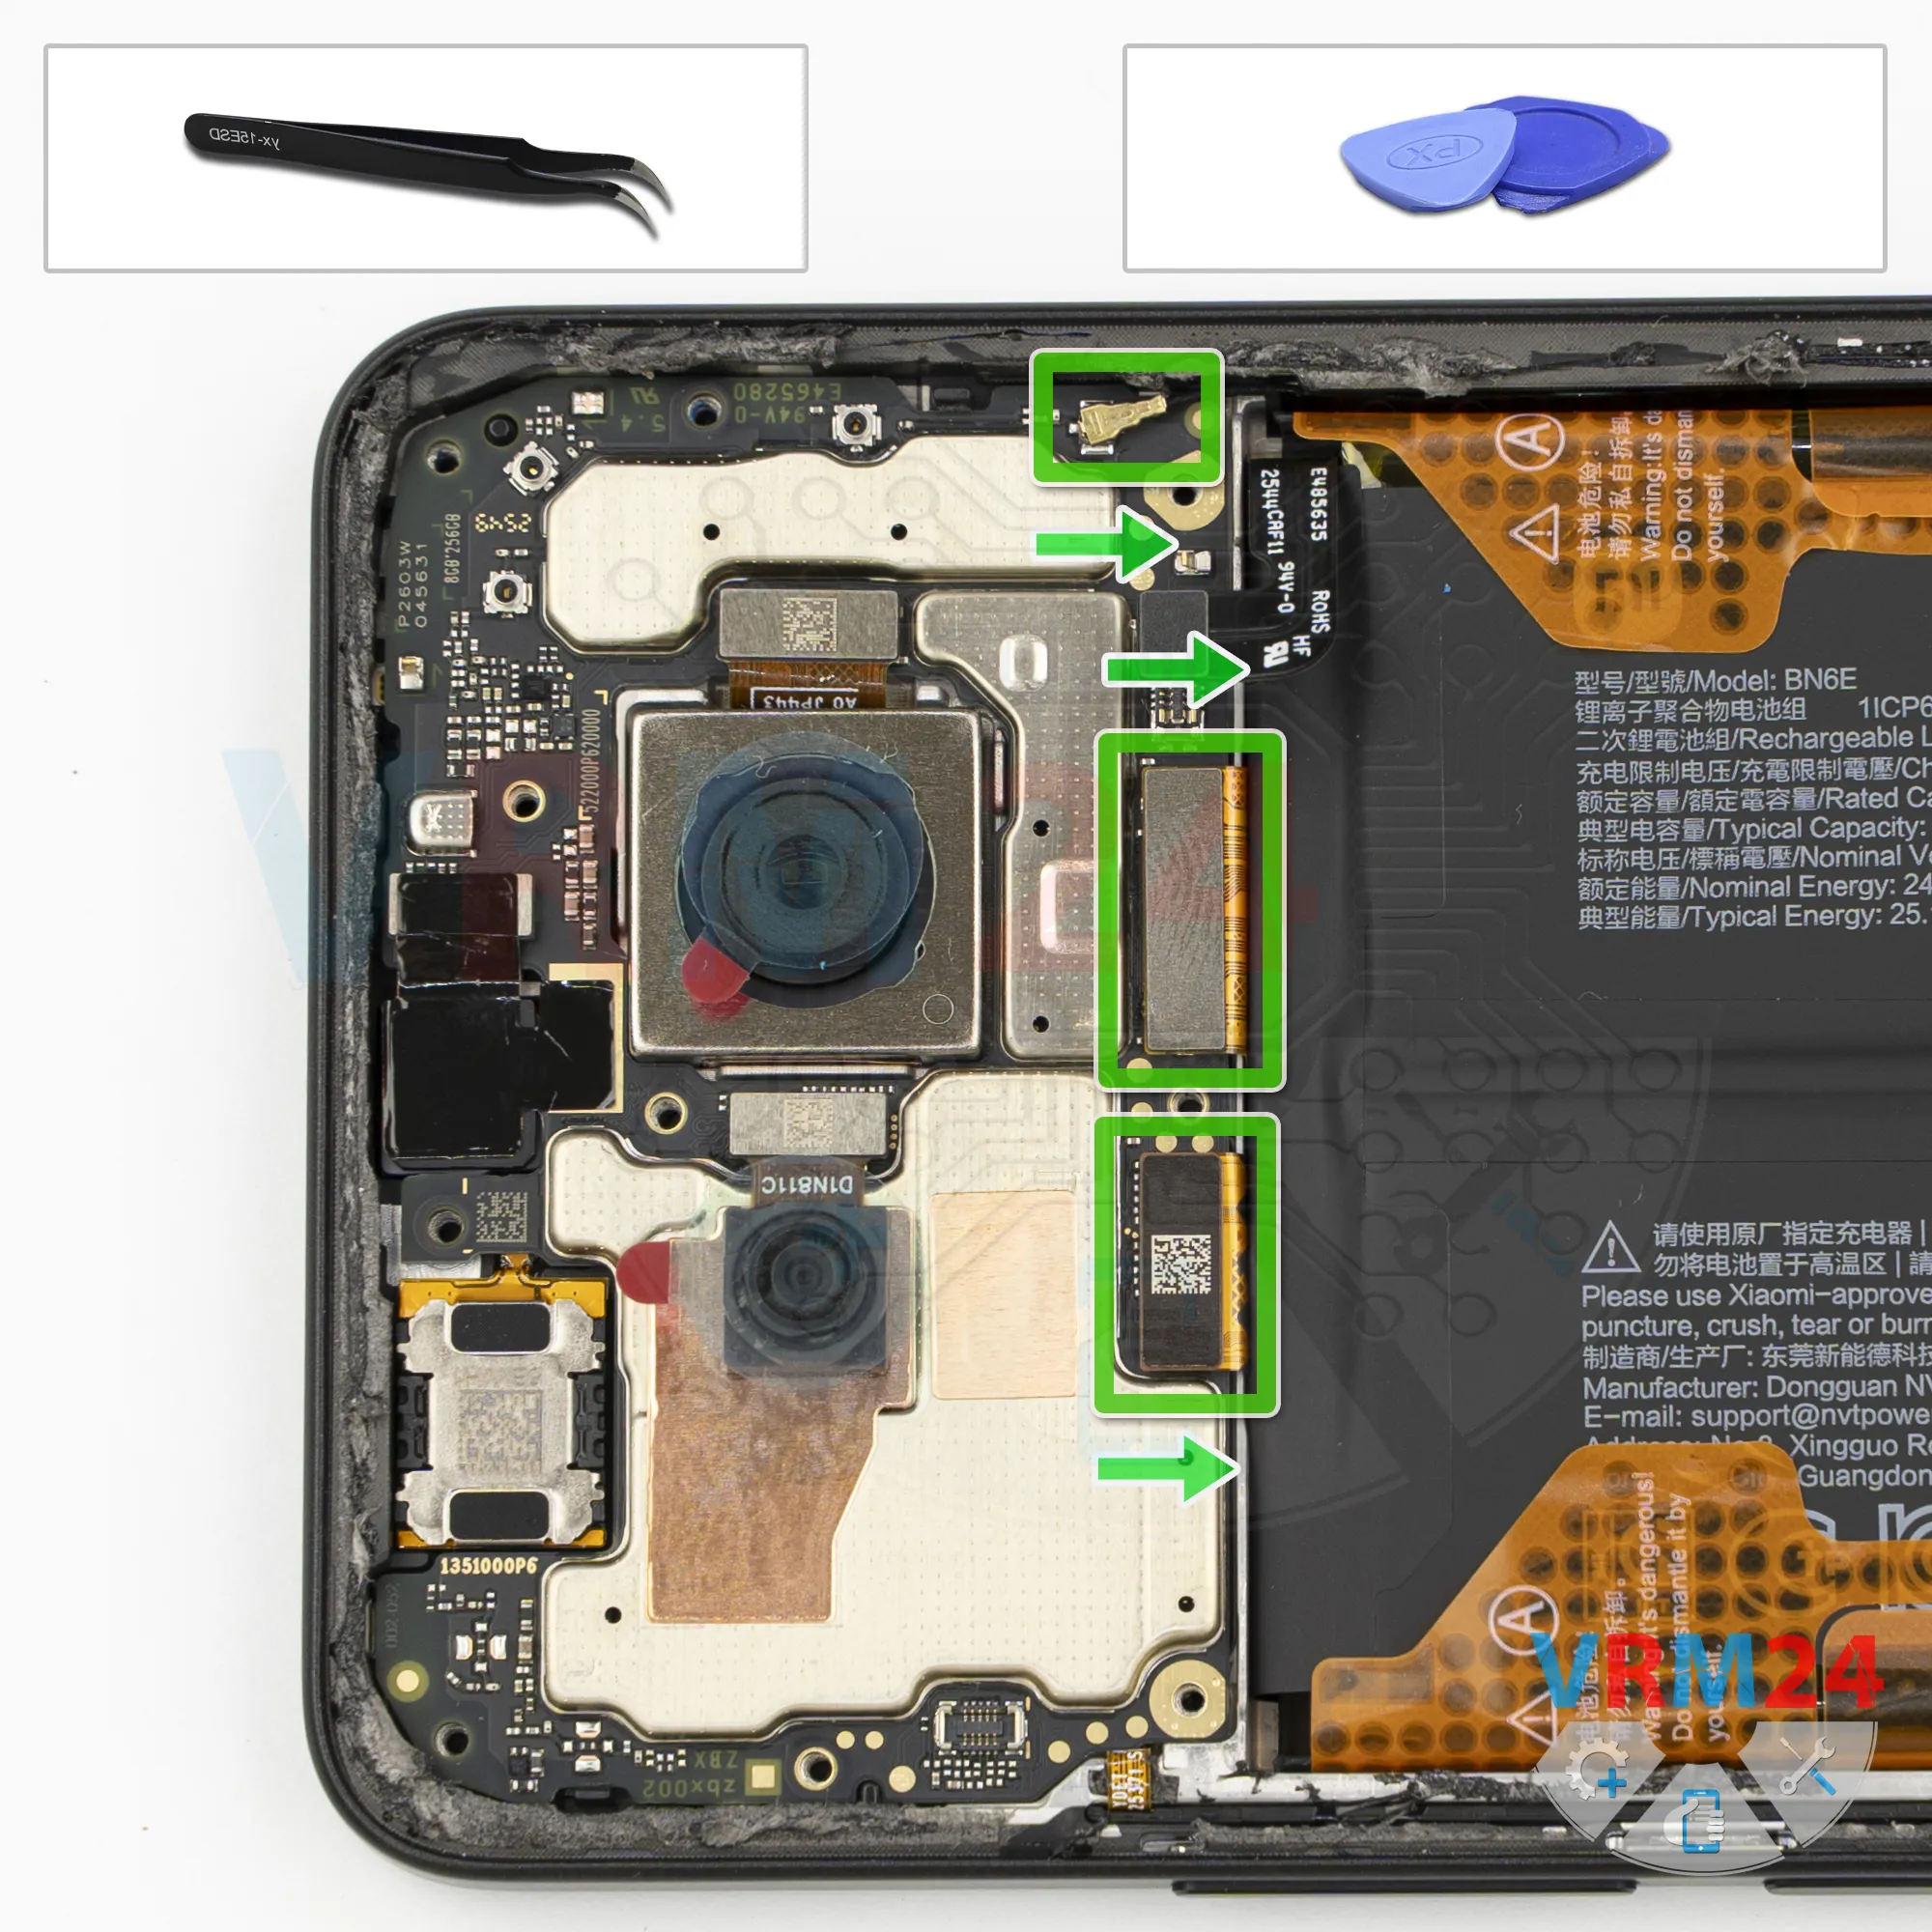
Disconnect the connectors
Now we need to disconnect the connectors.
Disconnect the interconnect flex cable connector, then the coaxial cable connector.
Release the coaxial cable from its clips, and disconnect the fingerprint sensor connector.
Step 10.
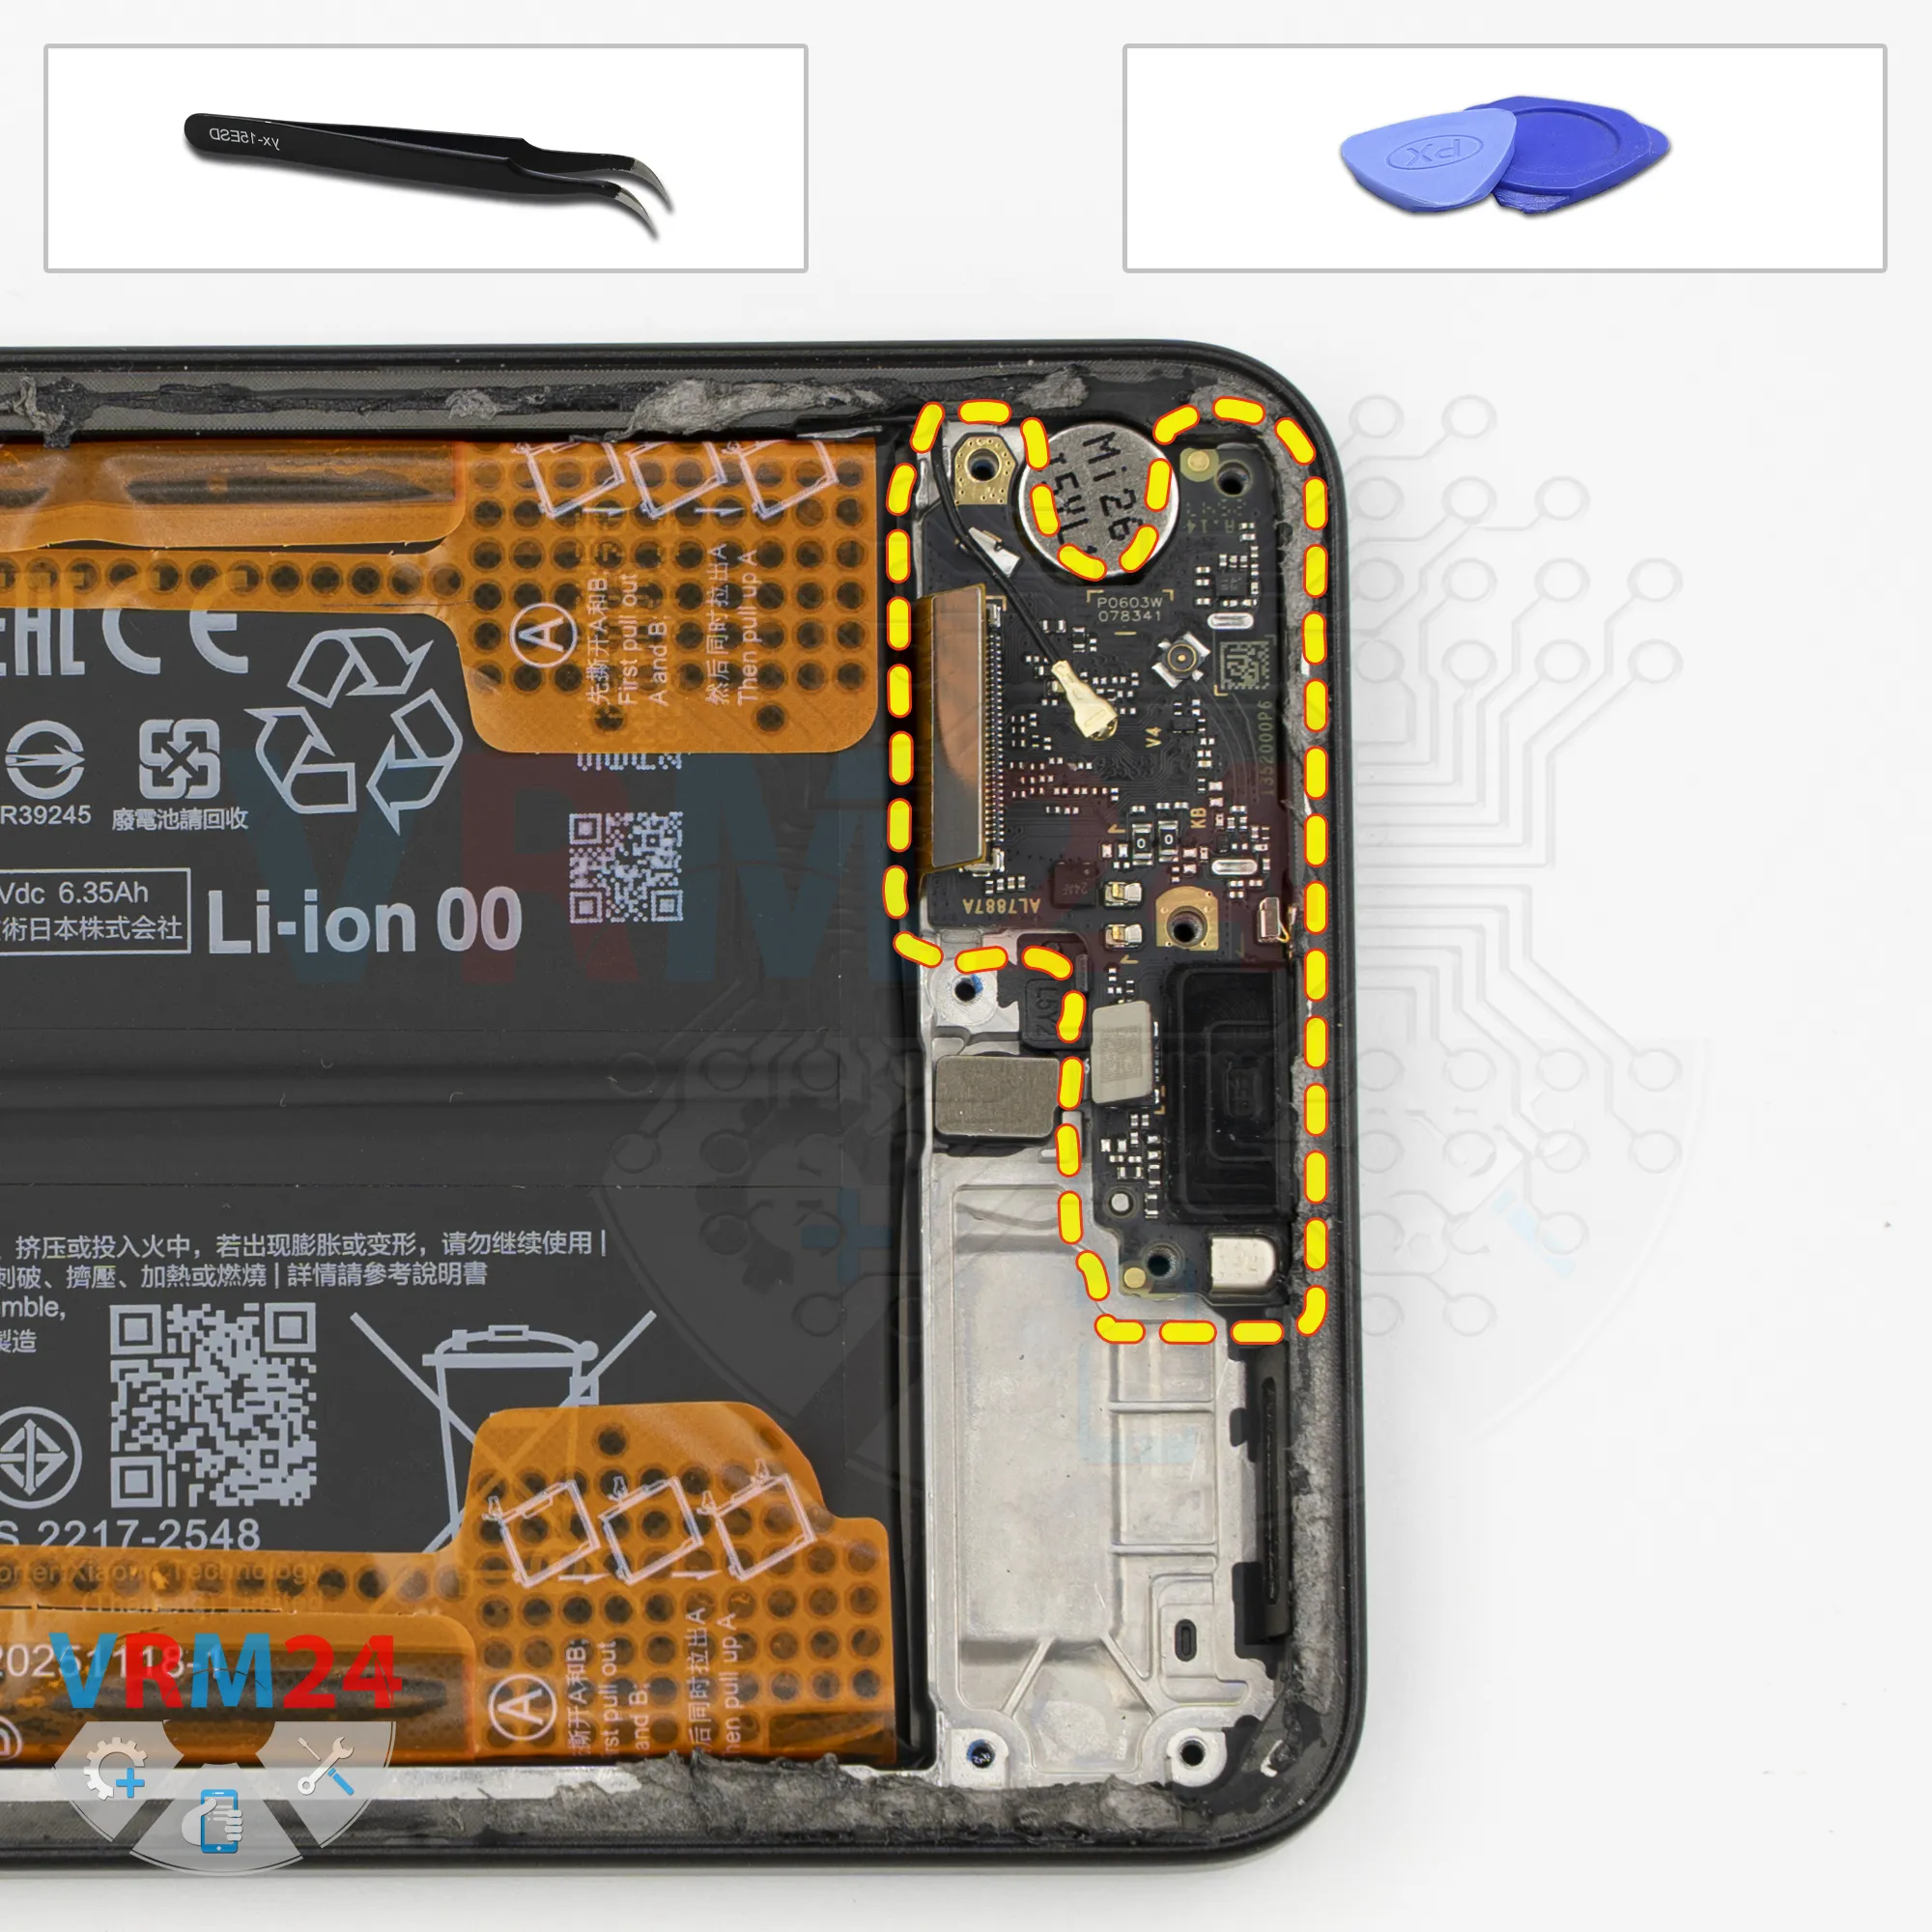
Remove the sub-board
Next, we need to remove the sub-board.
Carefully pry it up at the right spot, gently lift it, and take it out. The sub-board sits slightly recessed in the frame.
On the sub-board, we have the charging port and the microphone near the edge, with the card connector on the back.
The fingerprint sensor and vibration motor remain in the display frame.
Step 11.
Disconnect the connectors
Next, disconnect the interconnect flex cable connector and the display flex cable connector.
Then disconnect the coaxial cable connector and move the cable out of the way.
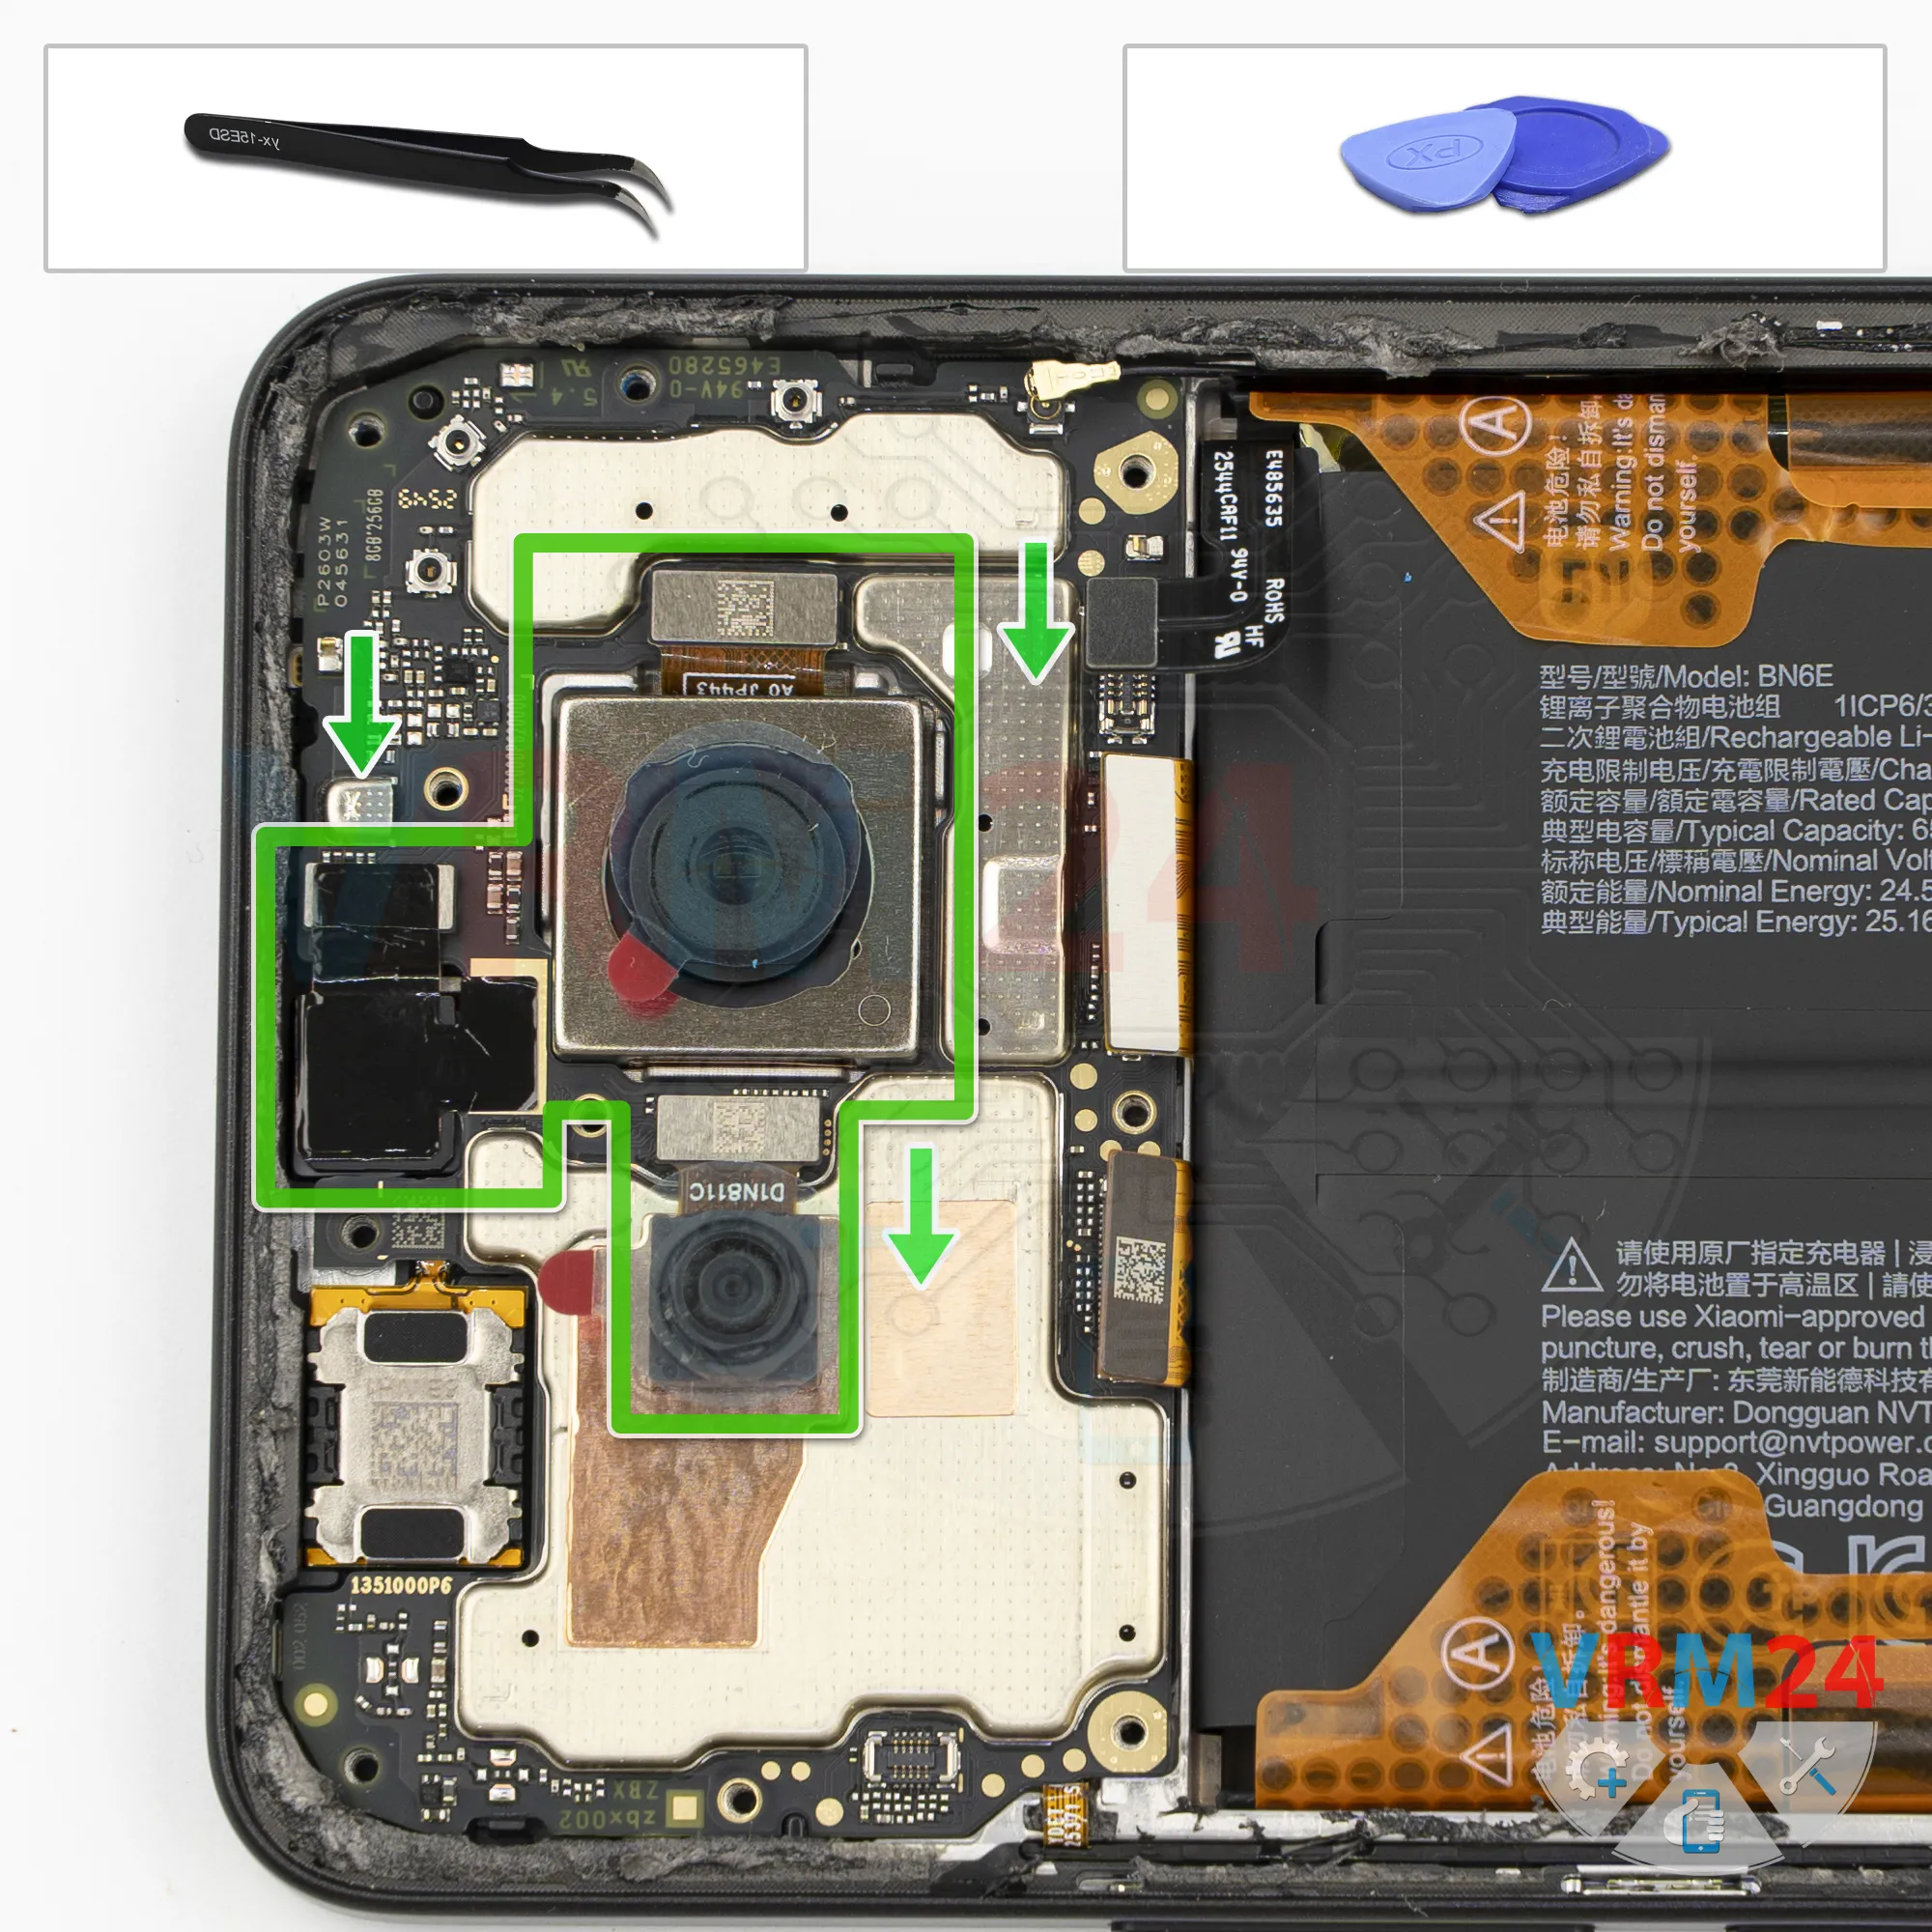
Step 12.
Remove the cameras
Disconnect the cameras from the motherboard and set them aside.
As usual, the front camera is covered with copper foil, which provides grounding for electrostatic discharge protection, electromagnetic interference shielding, and heat dissipation.
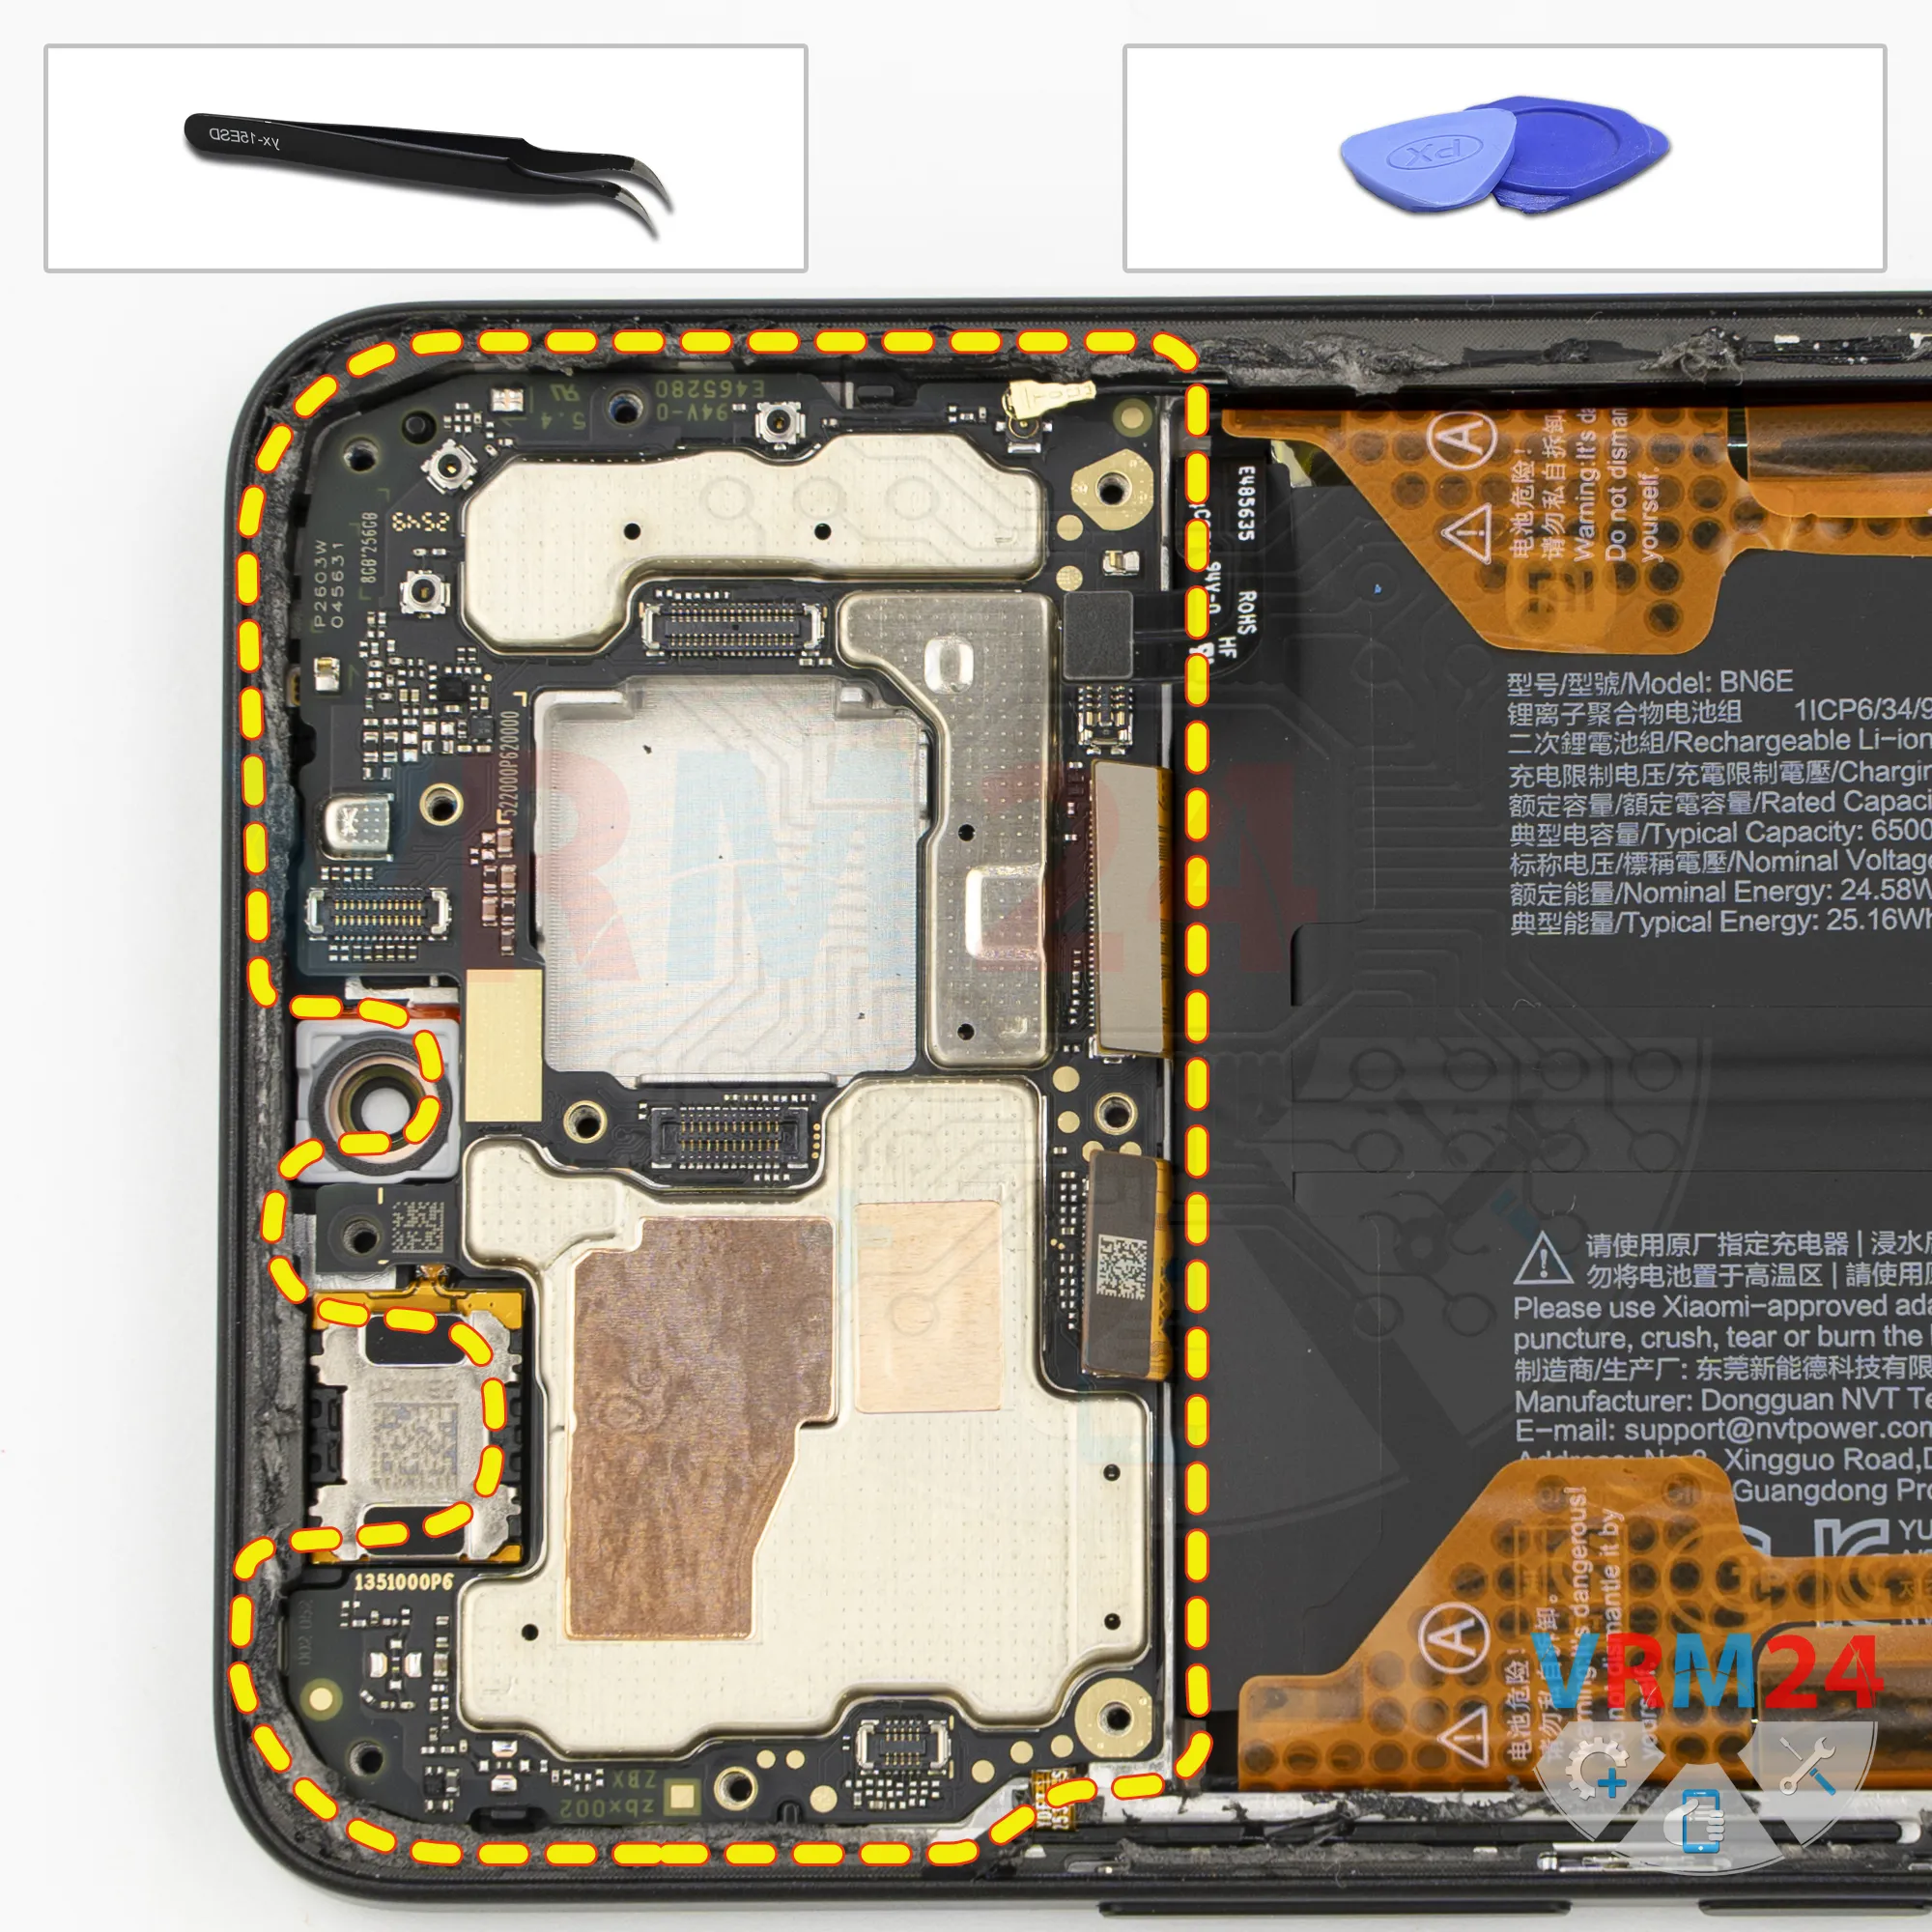
Step 13.
Remove the motherboard
Now we can remove the motherboard.
Carefully pry it up by the edge, lift it, and take it out.
The motherboard may be held in place from underneath by thermal paste.
Step 14.
Remove the battery
Finally, let's remove the battery.
Carefully fold back the pull tabs. We need to fold back all the tabs, then pull upward on the outer tabs.
It's important to fold the middle tab as far out of the way as possible so it doesn't hold the battery in place.
Now, pull on the tabs to release the battery.
Underneath the battery, there's a transparent adhesive protective film that protects the interconnect flex cables.

If you have a question, ask us, and we will try to answer in as much detail as possible. If this article was helpful for you, please rate it.

37
Views
0
Likes
—
Share
0
Questions
Related Instructions
Related Reviews
Related Blog
Top instructions
Check our
Top Xiaomi instructions most liked by readers
New instructions
Check our
New Xiaomi brand instructions on vrm24.com