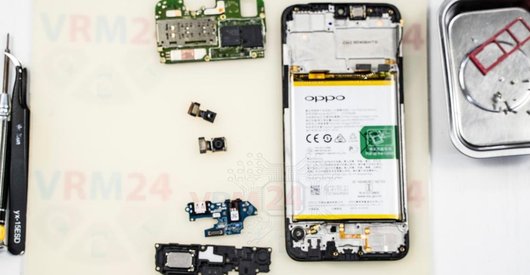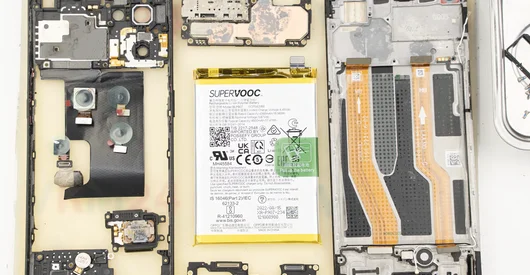
Recommended tools
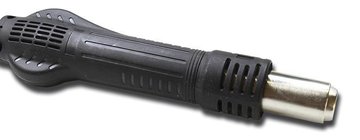
Heat gun
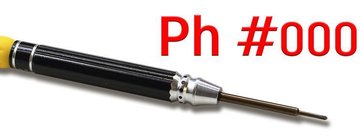
Screwdriver Phillips #000
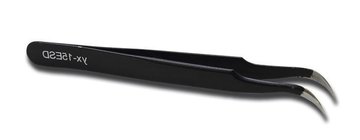
Tweezers
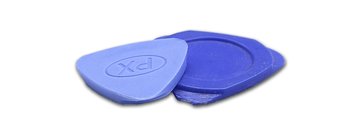
Non-metallic tool
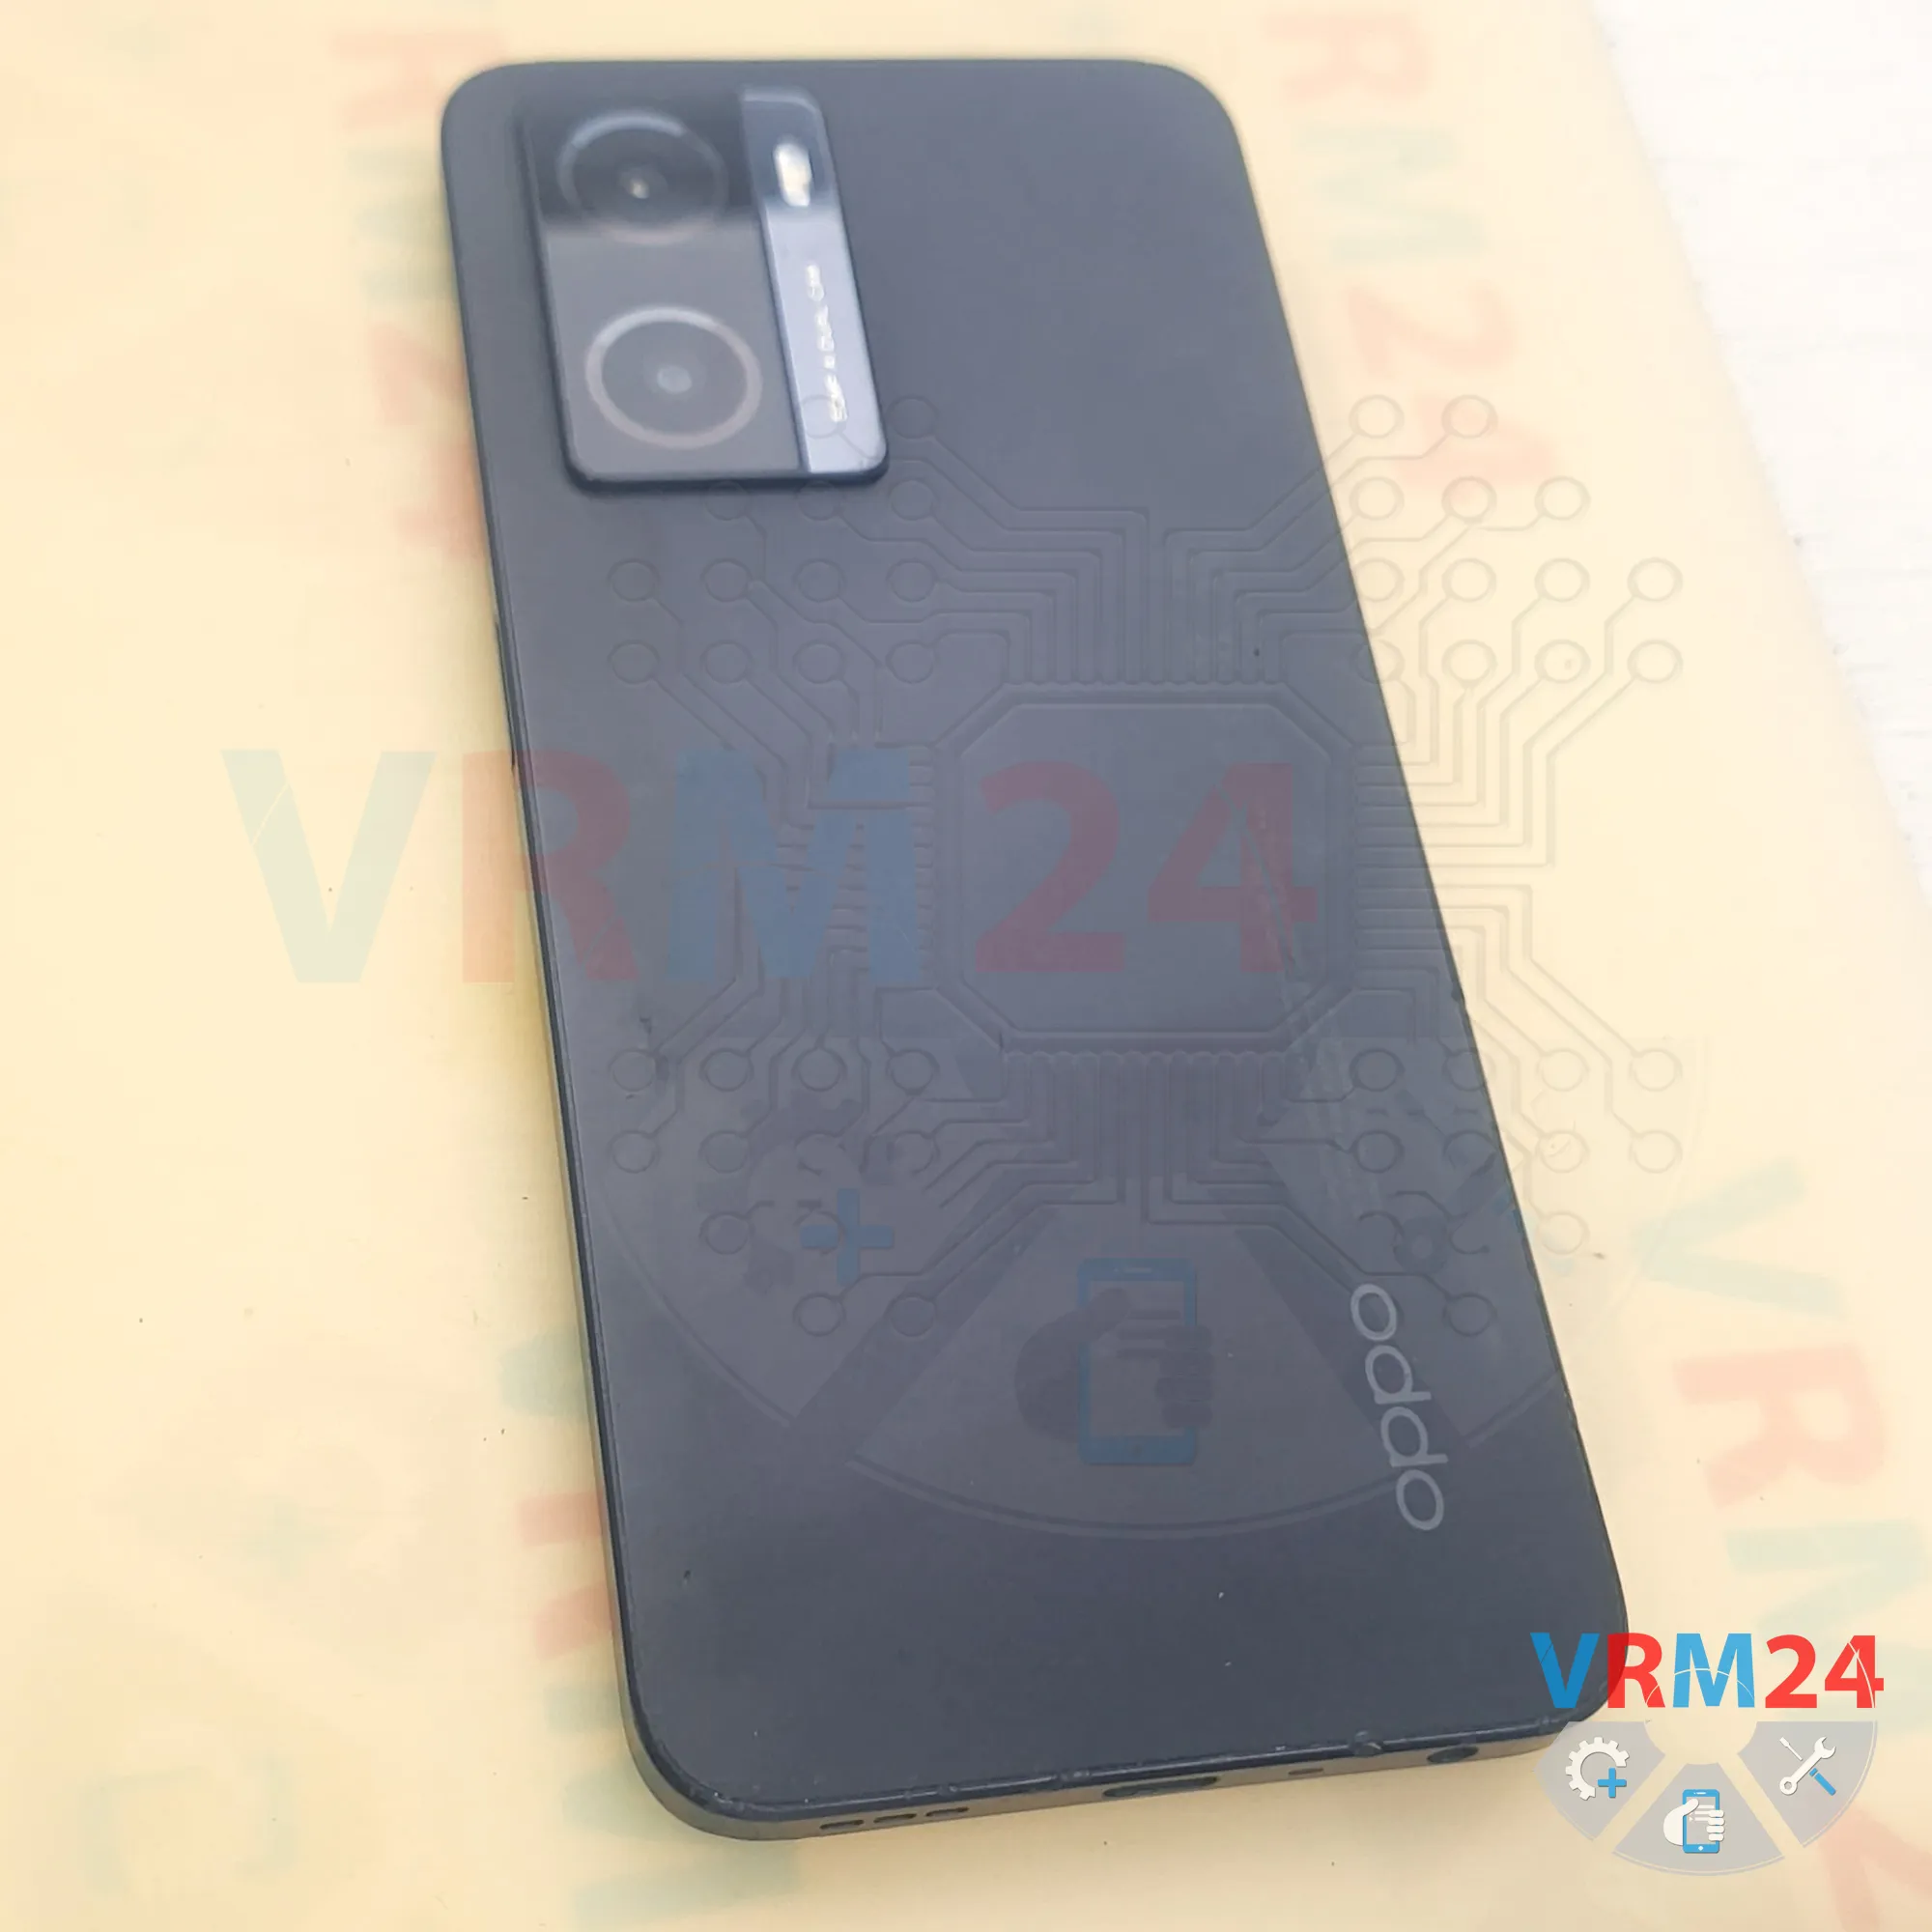
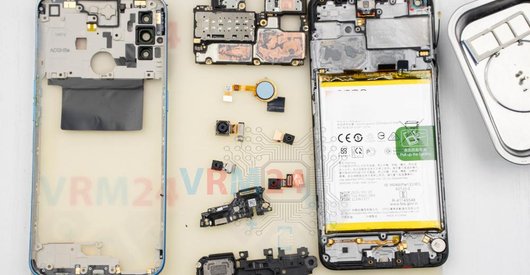
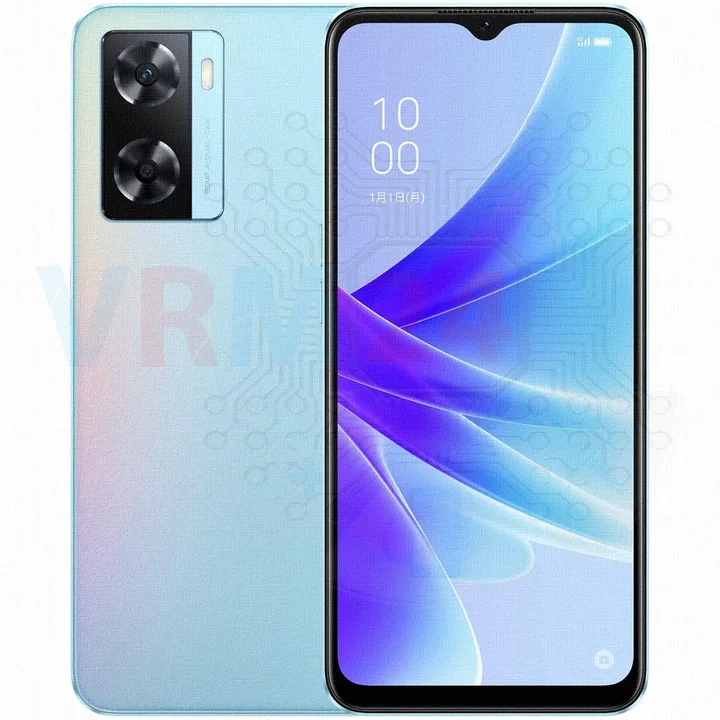
Disassembly/Repair of the mobile device Oppo A77 (OPPO A77 CPH2385) with each step description and the required set of tools.
30
Views
0
Likes
—
Share
0
Questions

Step 1.
Before disassembling!
⚠️ Before disassembling, do not forget to turn your phone off.
Step 2.
Remove the tray
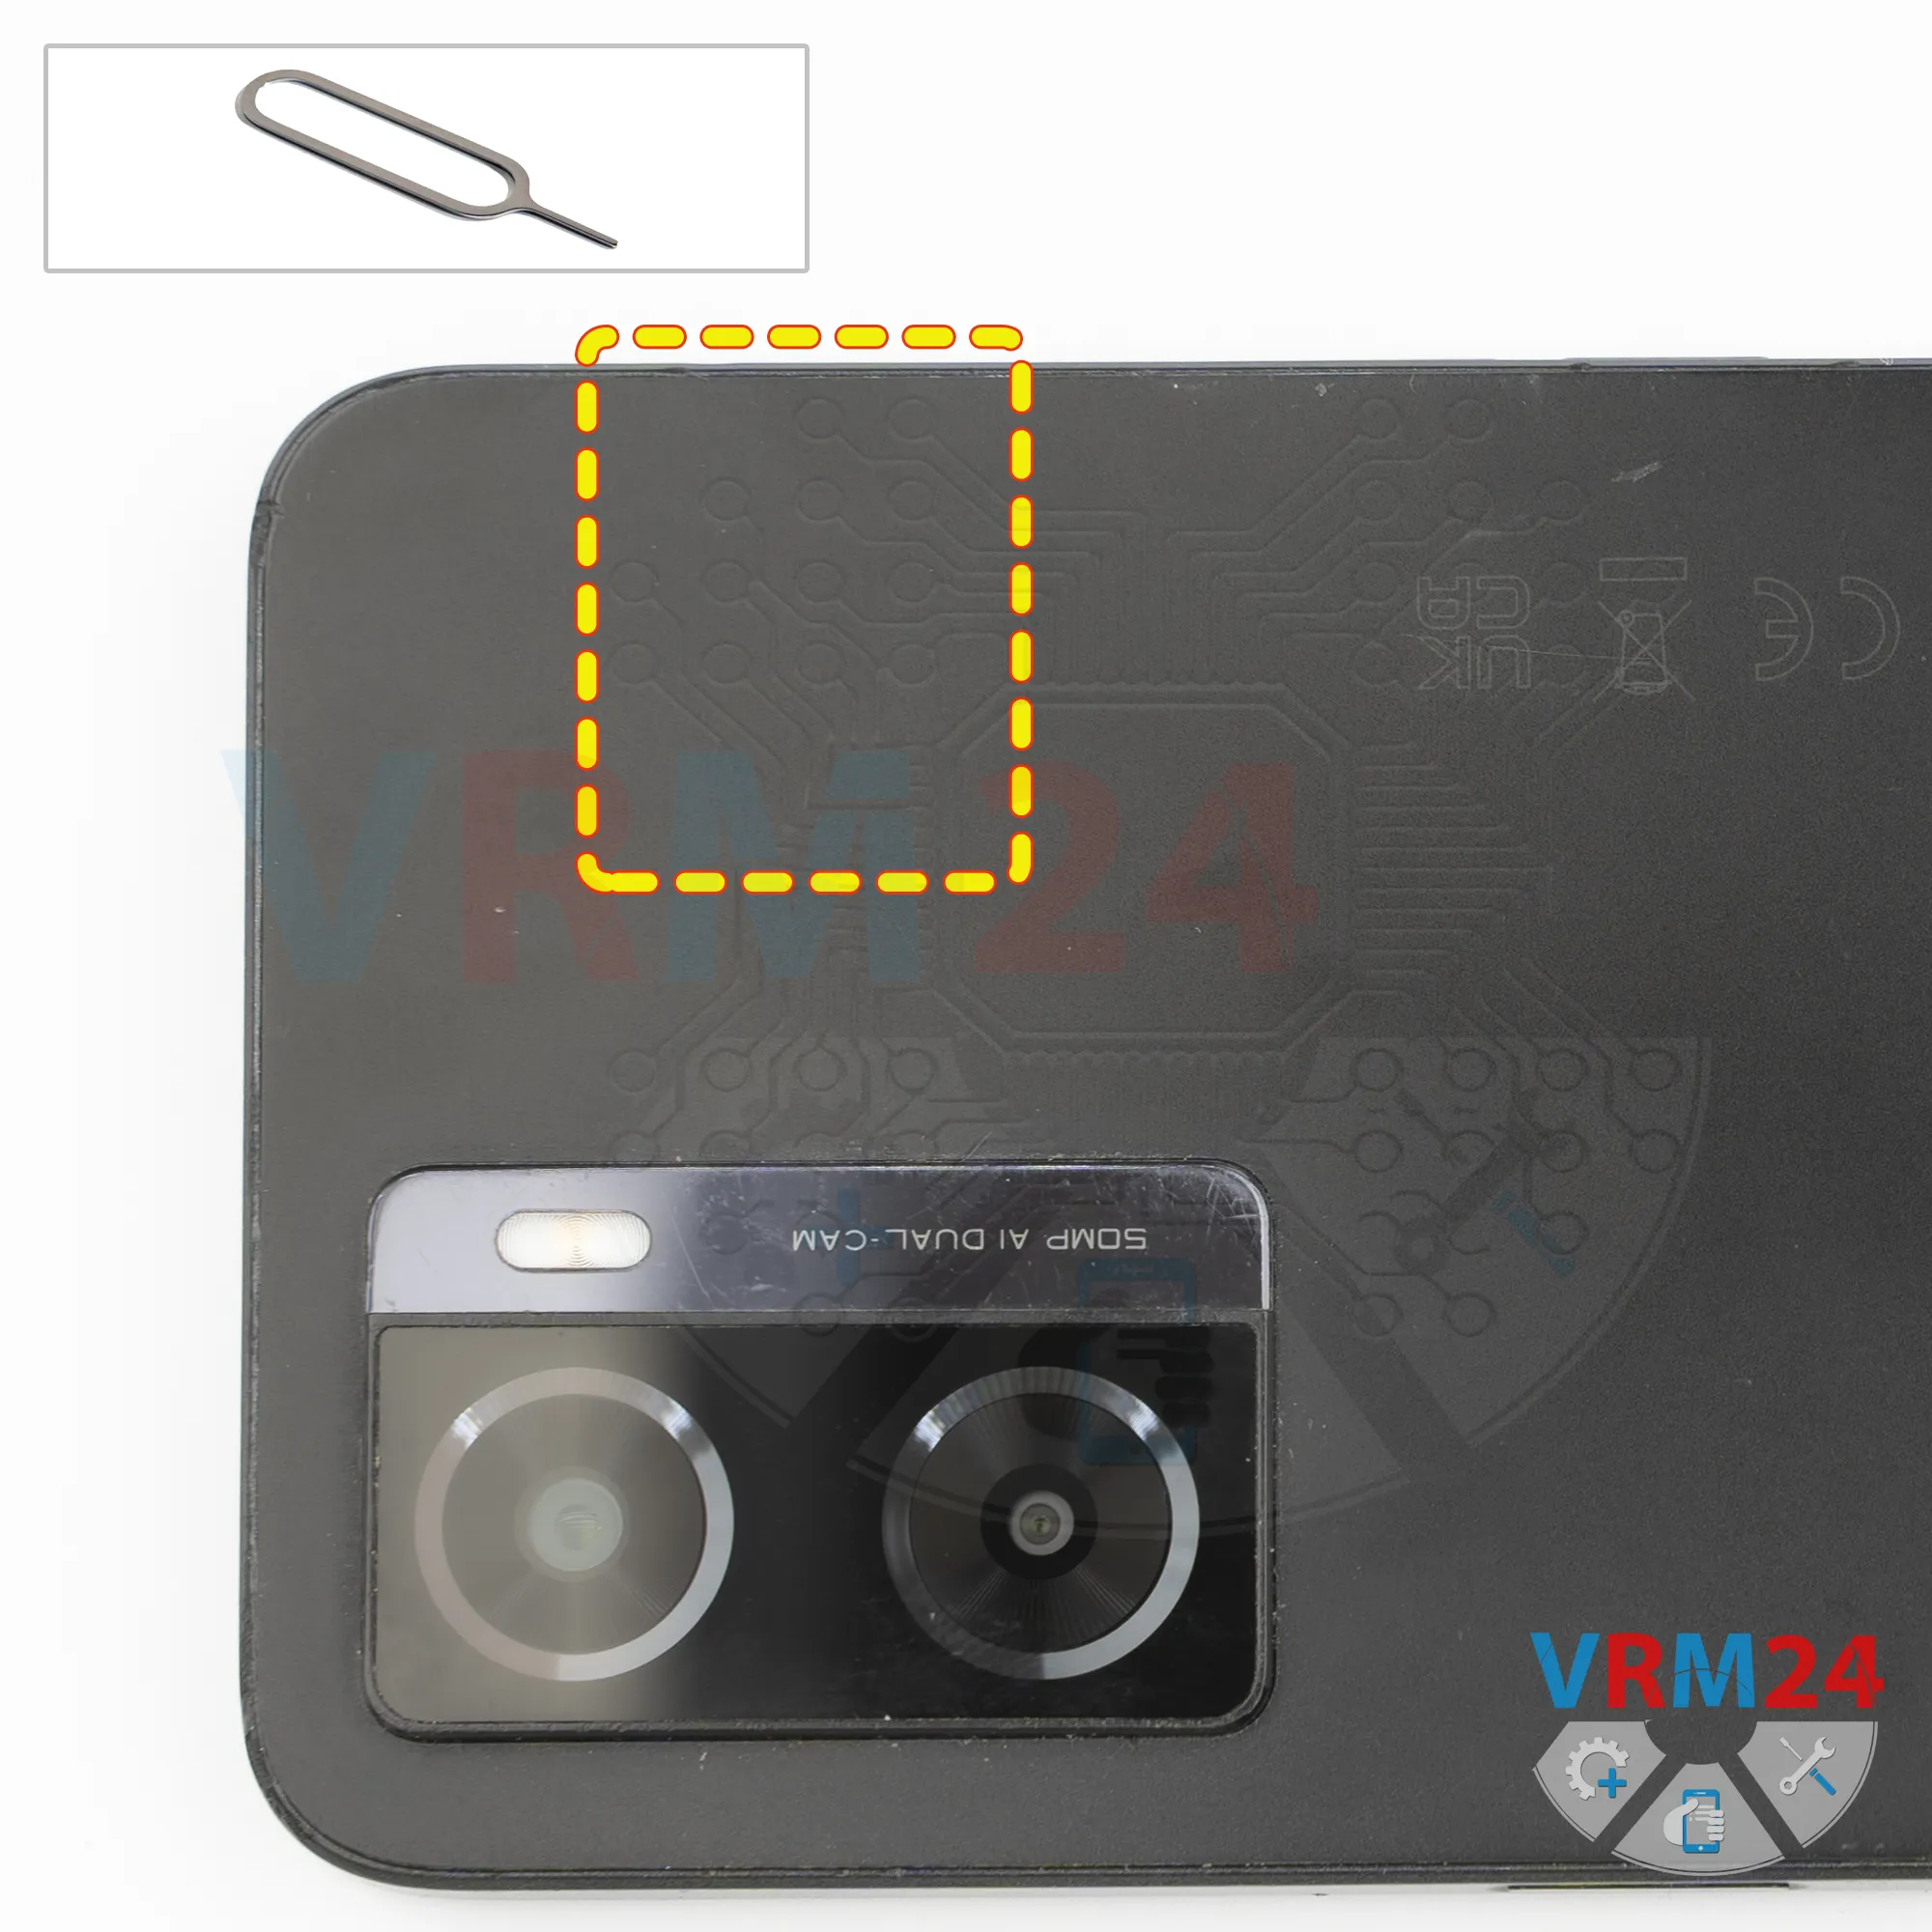
First, we need to remove the SIM card tray. For this, we use a SIM eject tool.
Insert it into the hole and push the tray out. If the tray is difficult to remove, we can also use tweezers to help pull it out.
Step 3.
Open the back cover
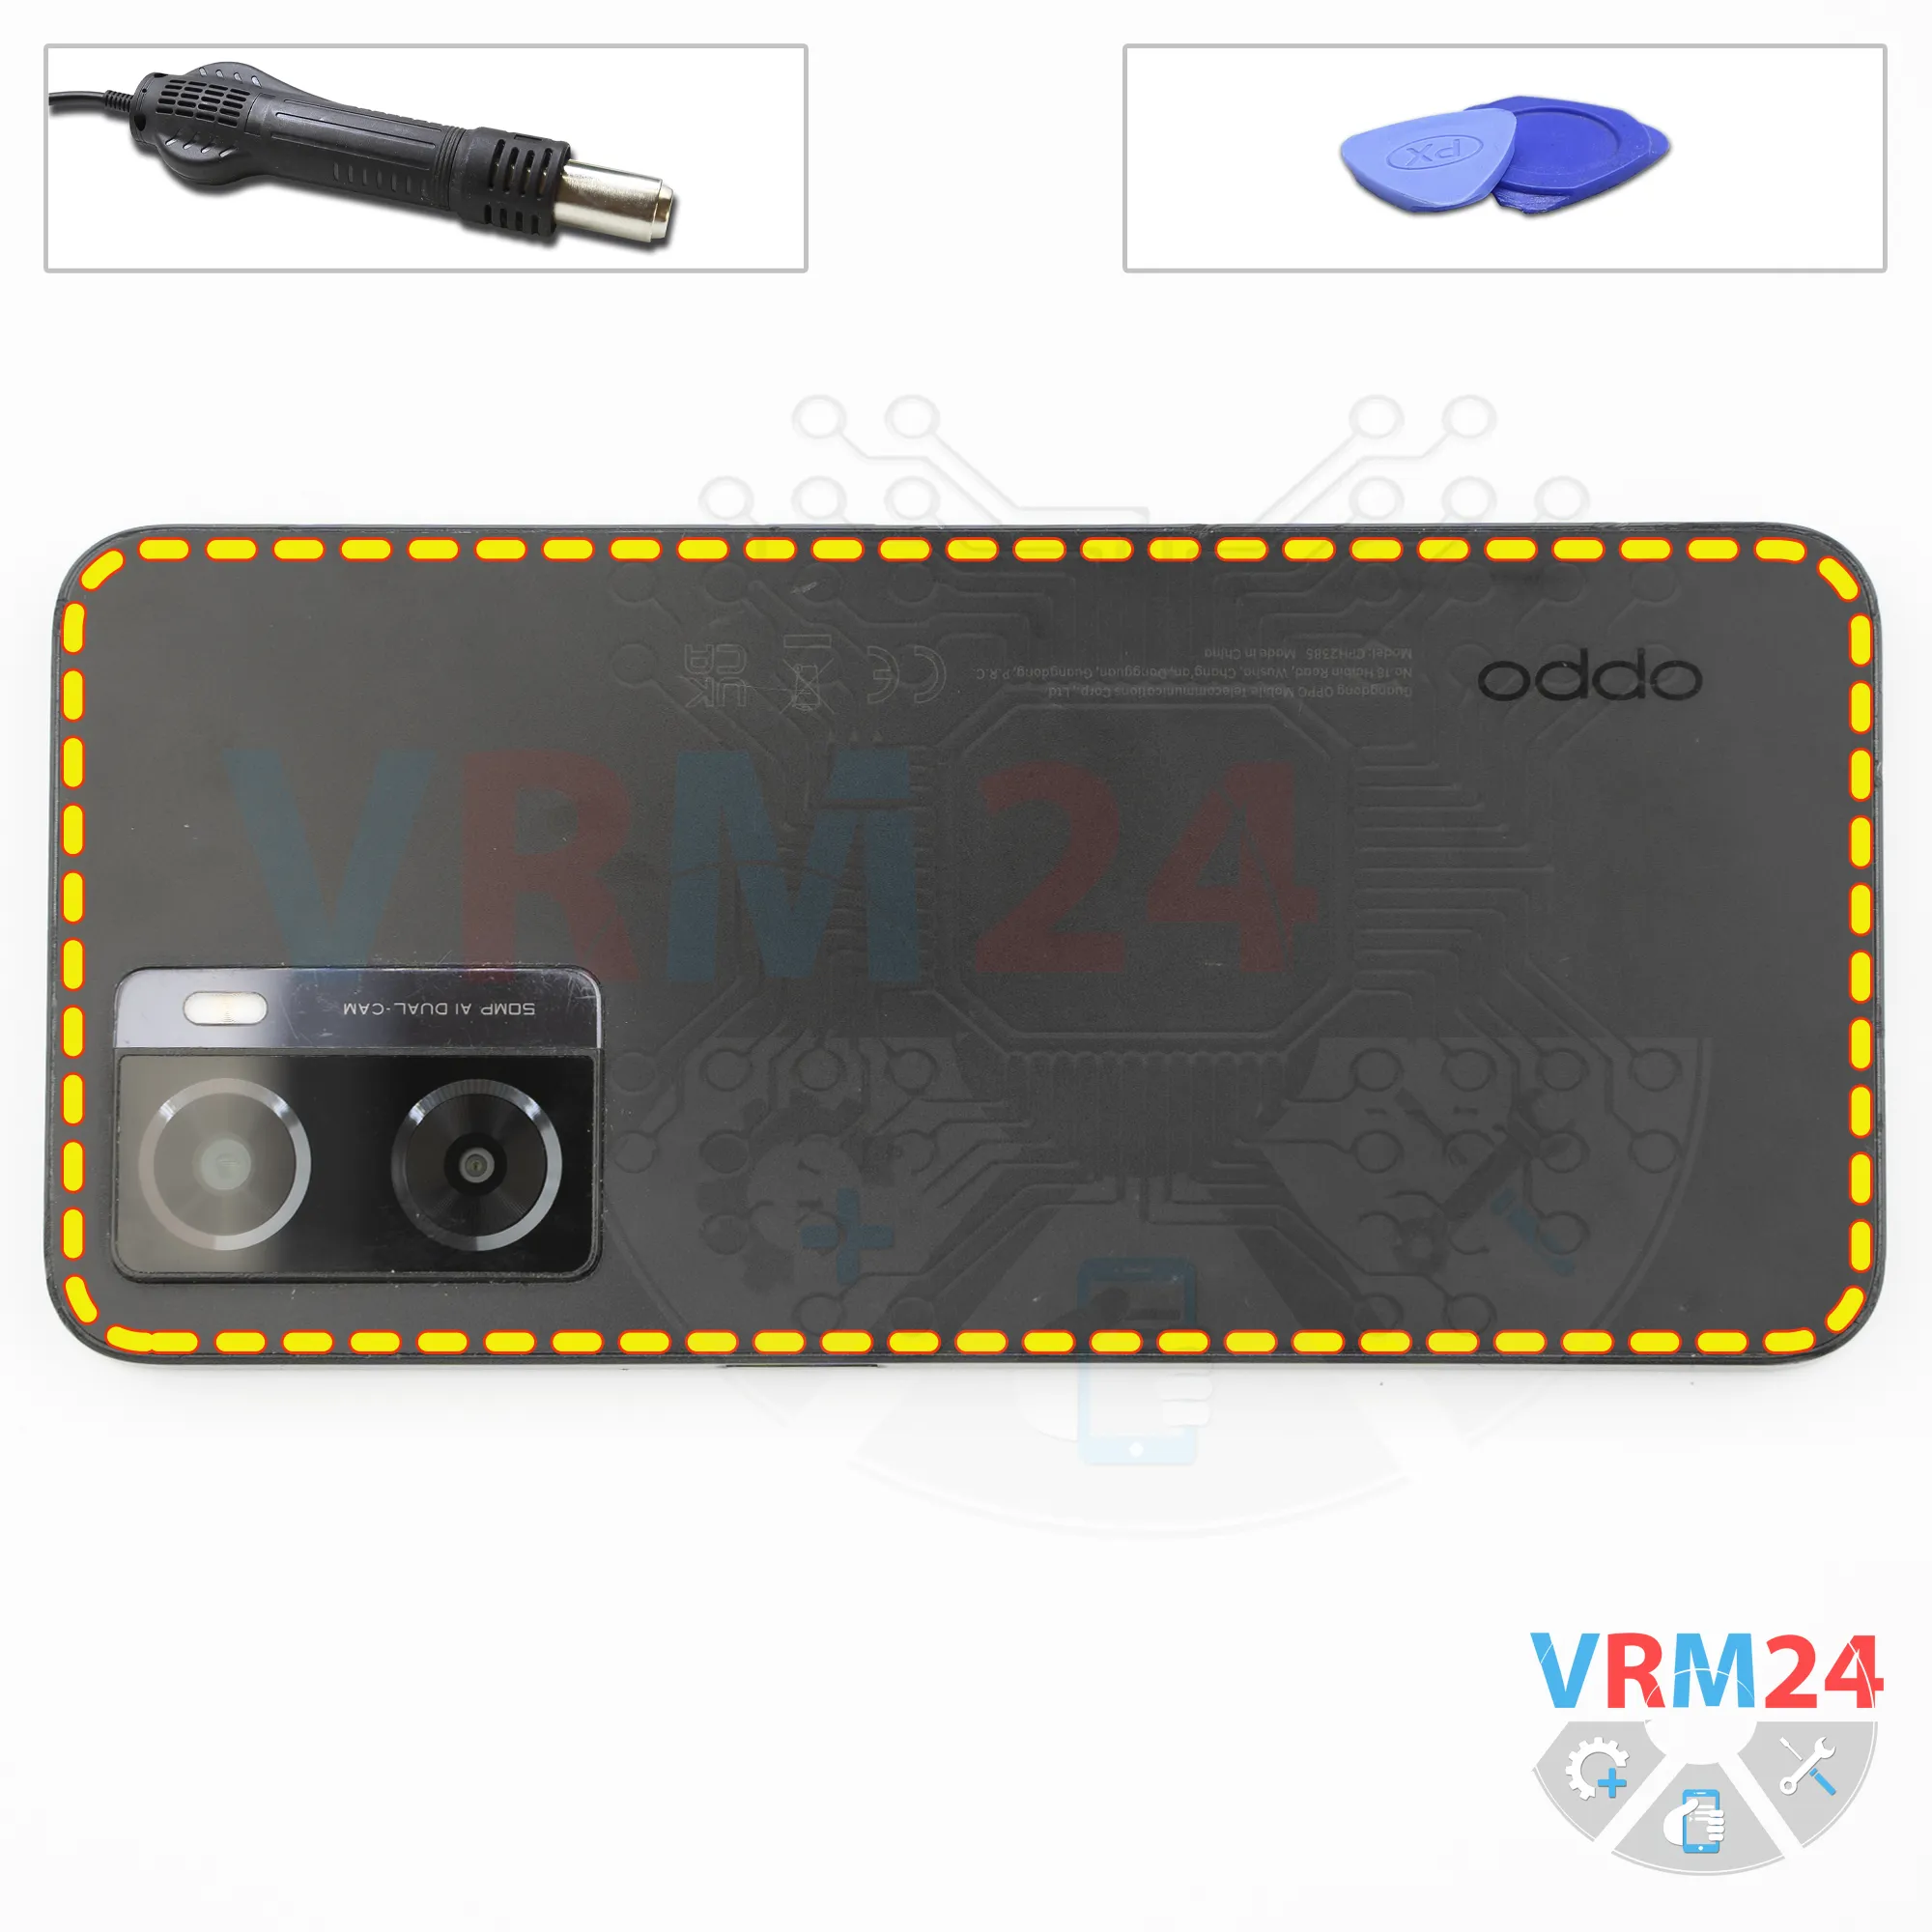
Next, we need to heat the back cover to approximately 70°C or 160°F. We're using a heating mat, but you can also use a heat gun or a hair dryer.
After about 10 minutes, we can start removing the back cover. For this, we use a thin plastic film.
Carefully insert it into the gap between the back cover and the middle cover, then gently slide it along the edge to cut through the adhesive.
In our case, we're using the protective film from an OCA (Optically Clear Adhesive) sheet. It's flexible and strong enough to cut through the adhesive.
Now, carefully work your way around the edges.
Don't insert the tool too far under the back cover, as you could accidentally damage the side flex cables, coaxial cables, camera lenses, or anything else that might be underneath.
Continue carefully around the edges, especially near the cameras. The camera cover is thicker in this area.
Actually, on this phone, the camera cover is separate from the back cover. So we need to carefully separate the back cover around the perimeter of the camera cover, since there's additional adhesive around the cameras.
Step 4.
Remove the camera cover
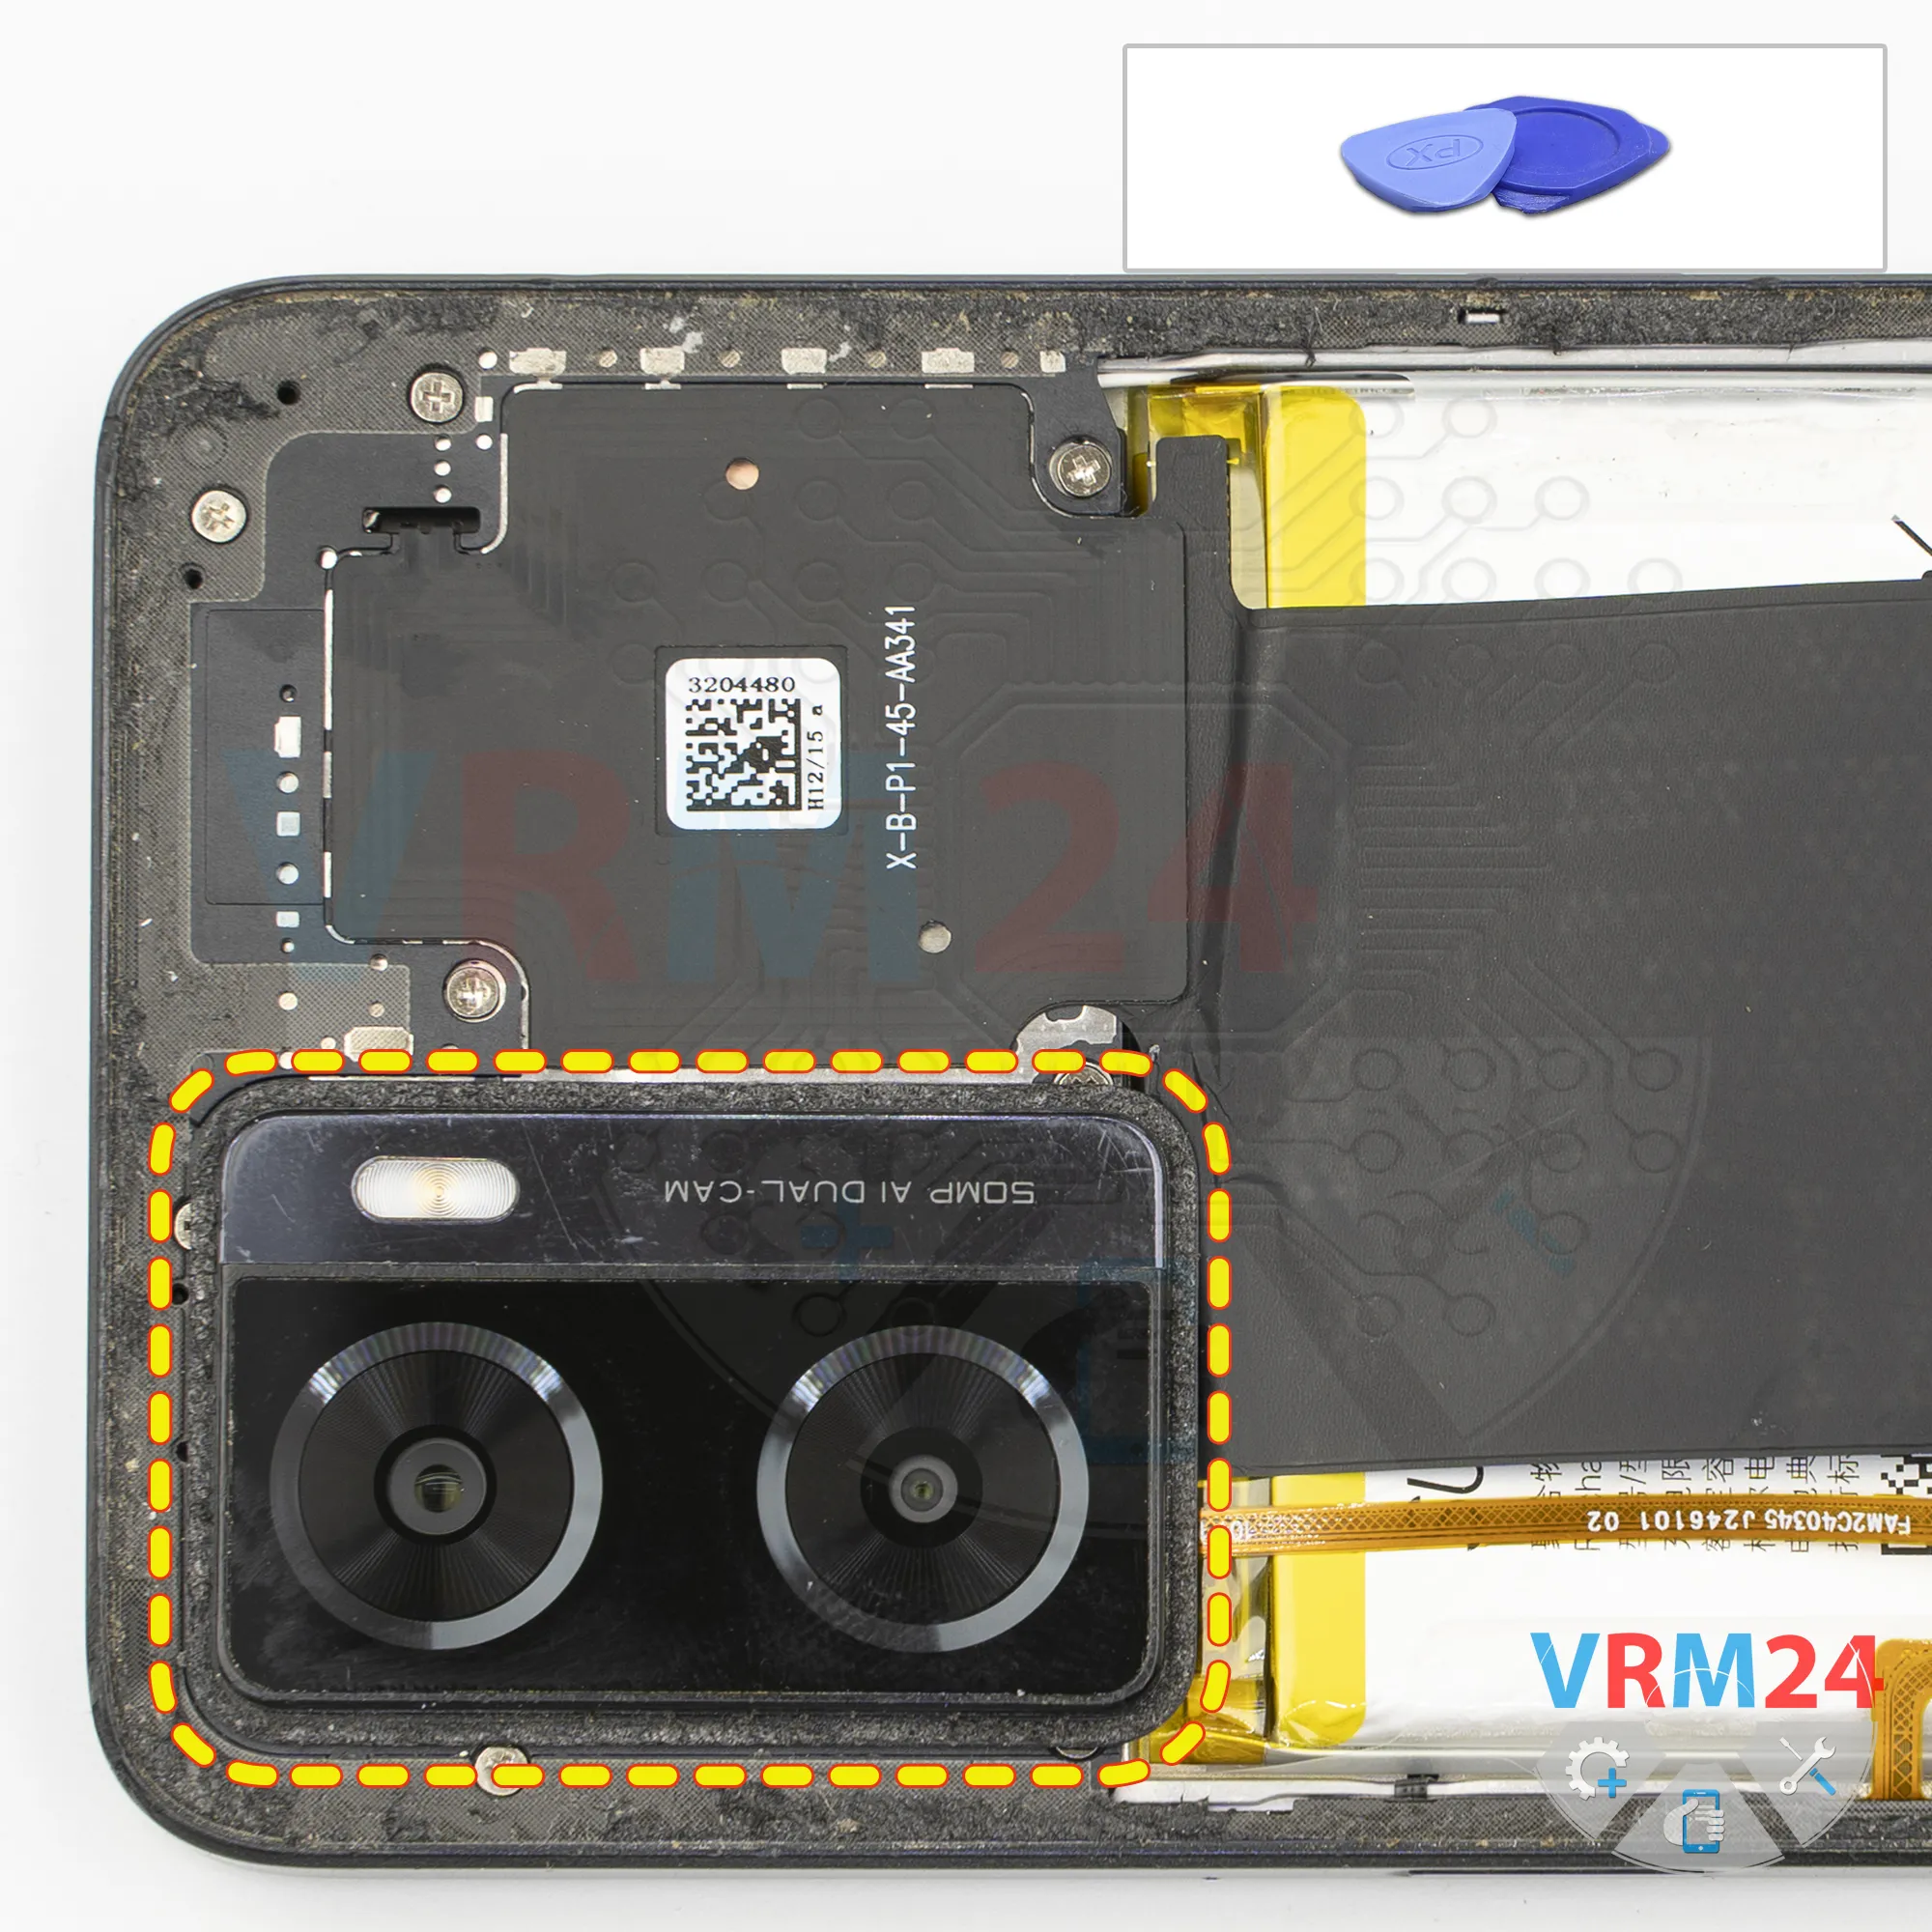
Next, we need to remove the camera cover.
Carefully peel off the camera cover. It's glued around the edges, and the adhesive holds it quite firmly, so we need to be careful when removing it.
Once it's detached, set it aside.
Step 5.
Unscrew the screws
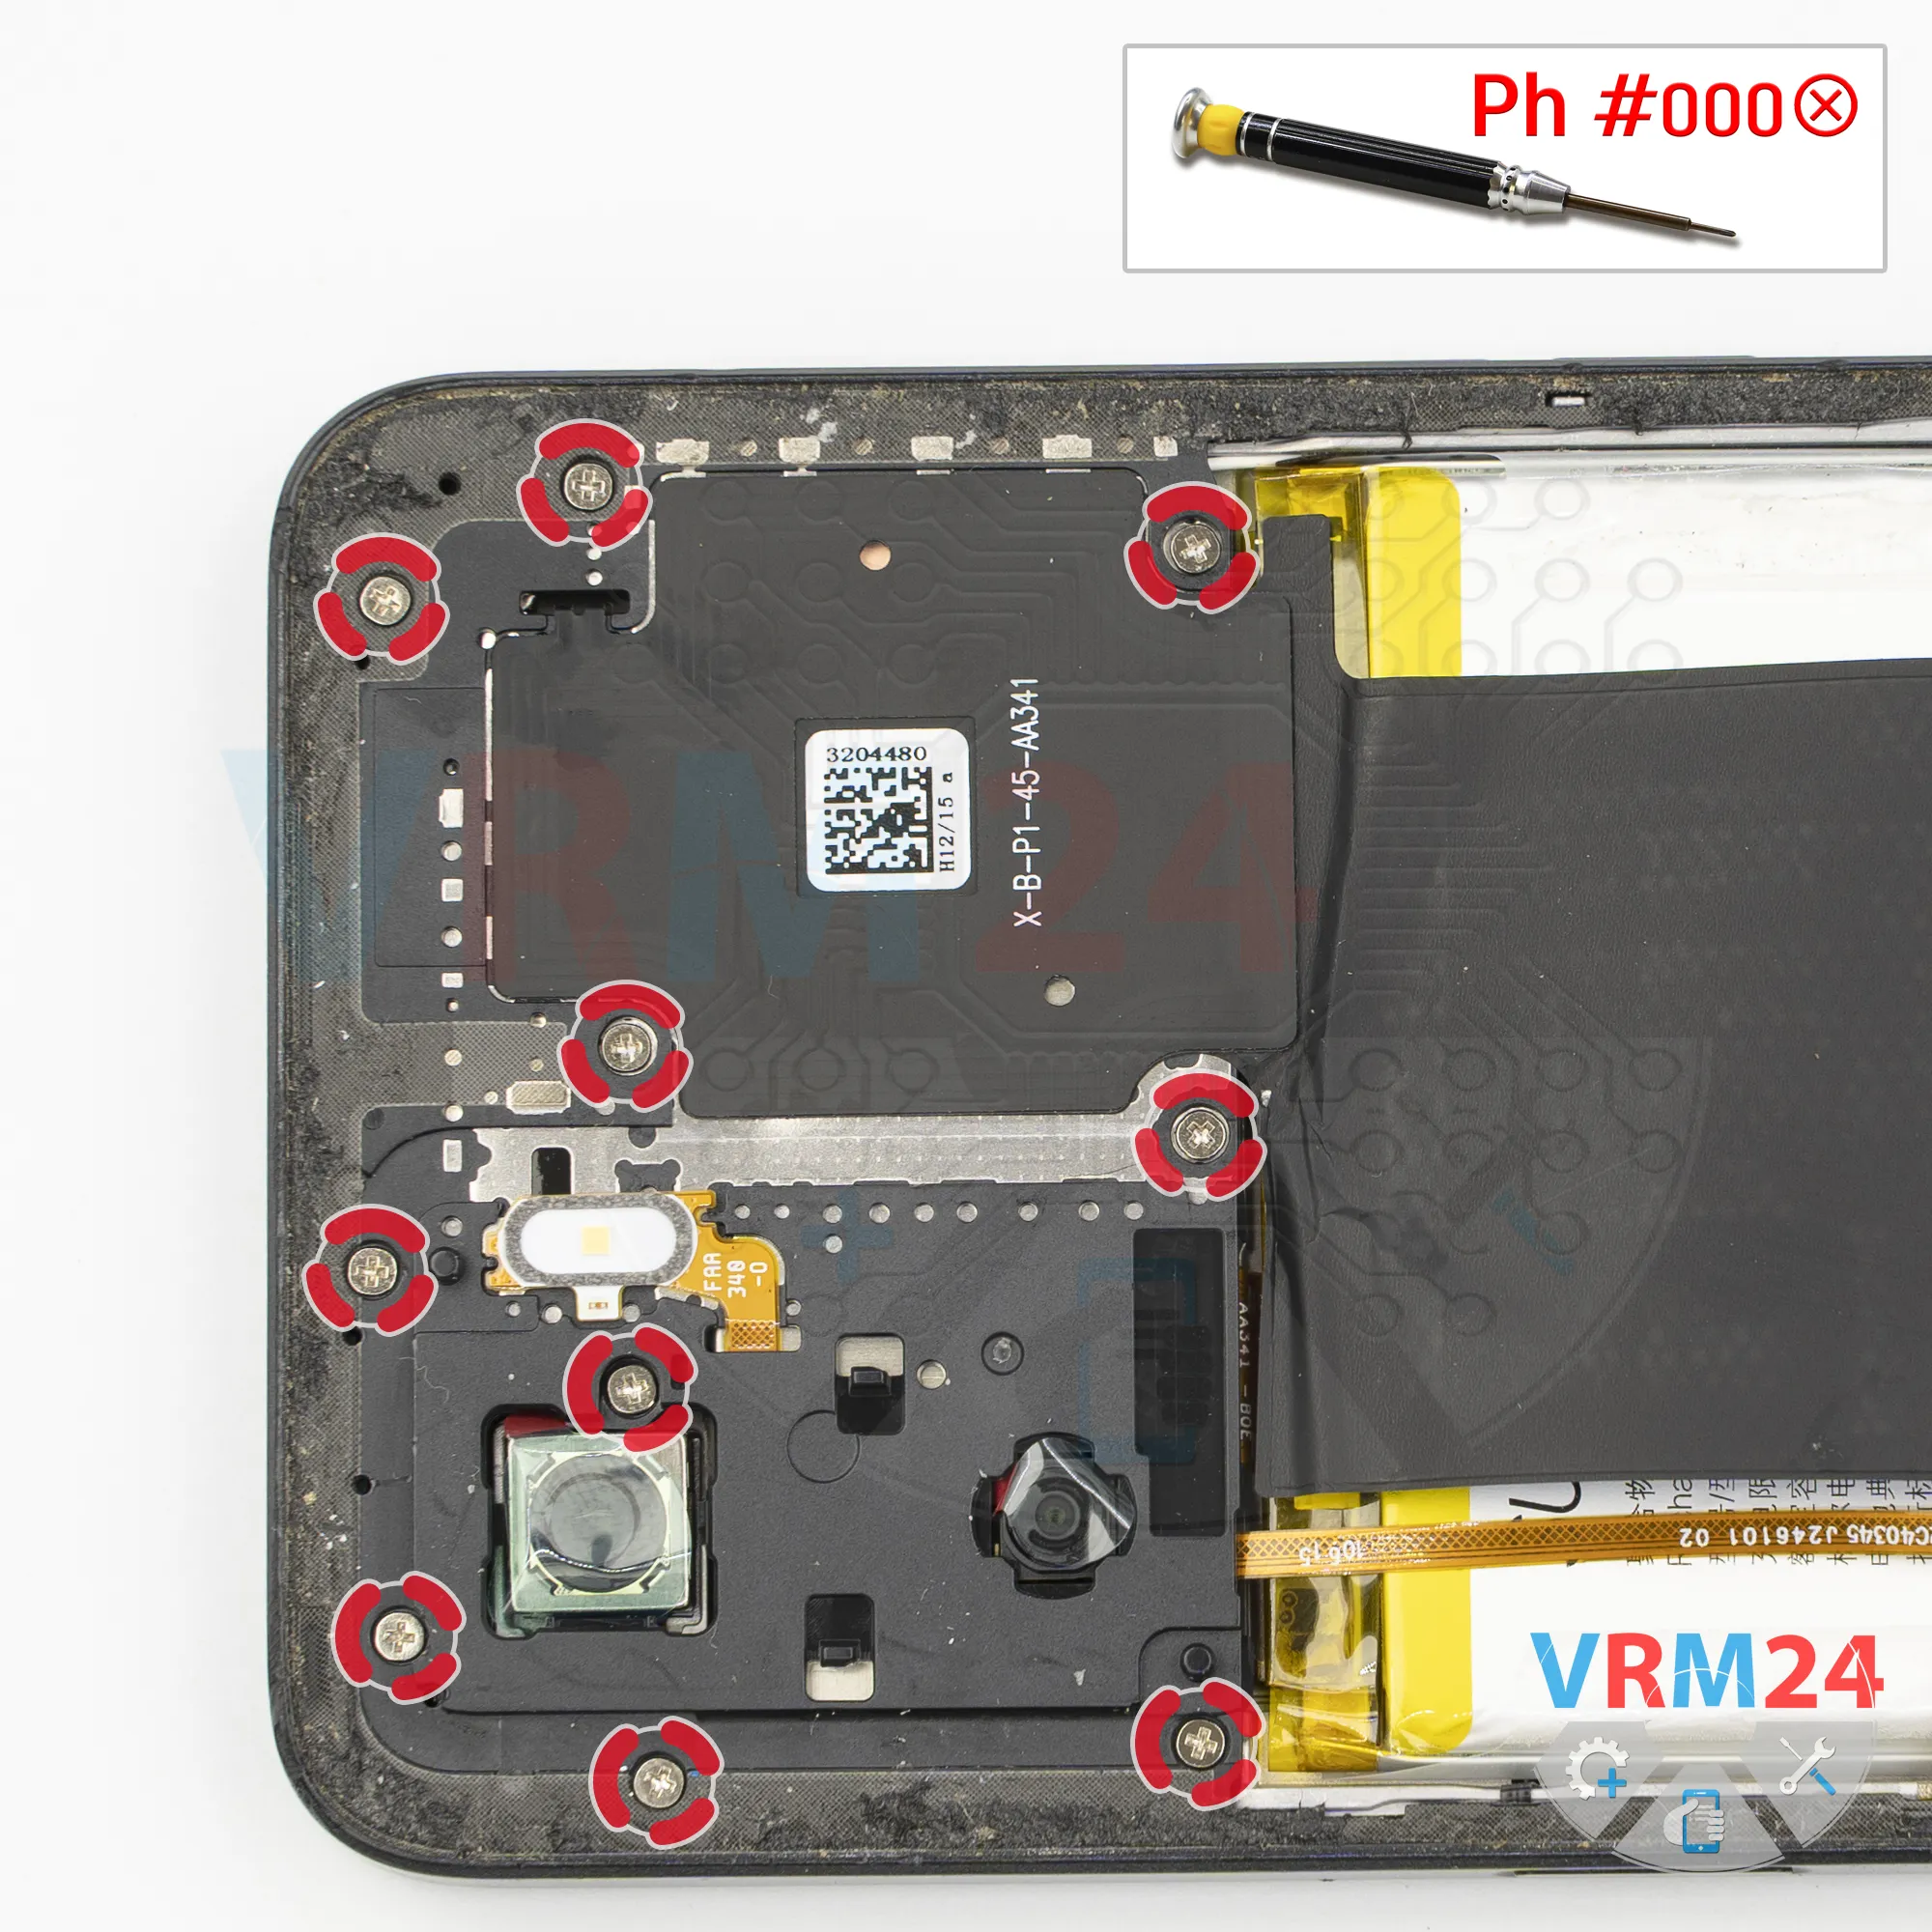
Now we can start removing the screws. For this, we use a 1.5 mm Phillips screwdriver, or a Phillips #000.
It's best to lay out the screws in order in a designated area, so we can put each one back into its original hole.
Step 6.
Unscrew the screws
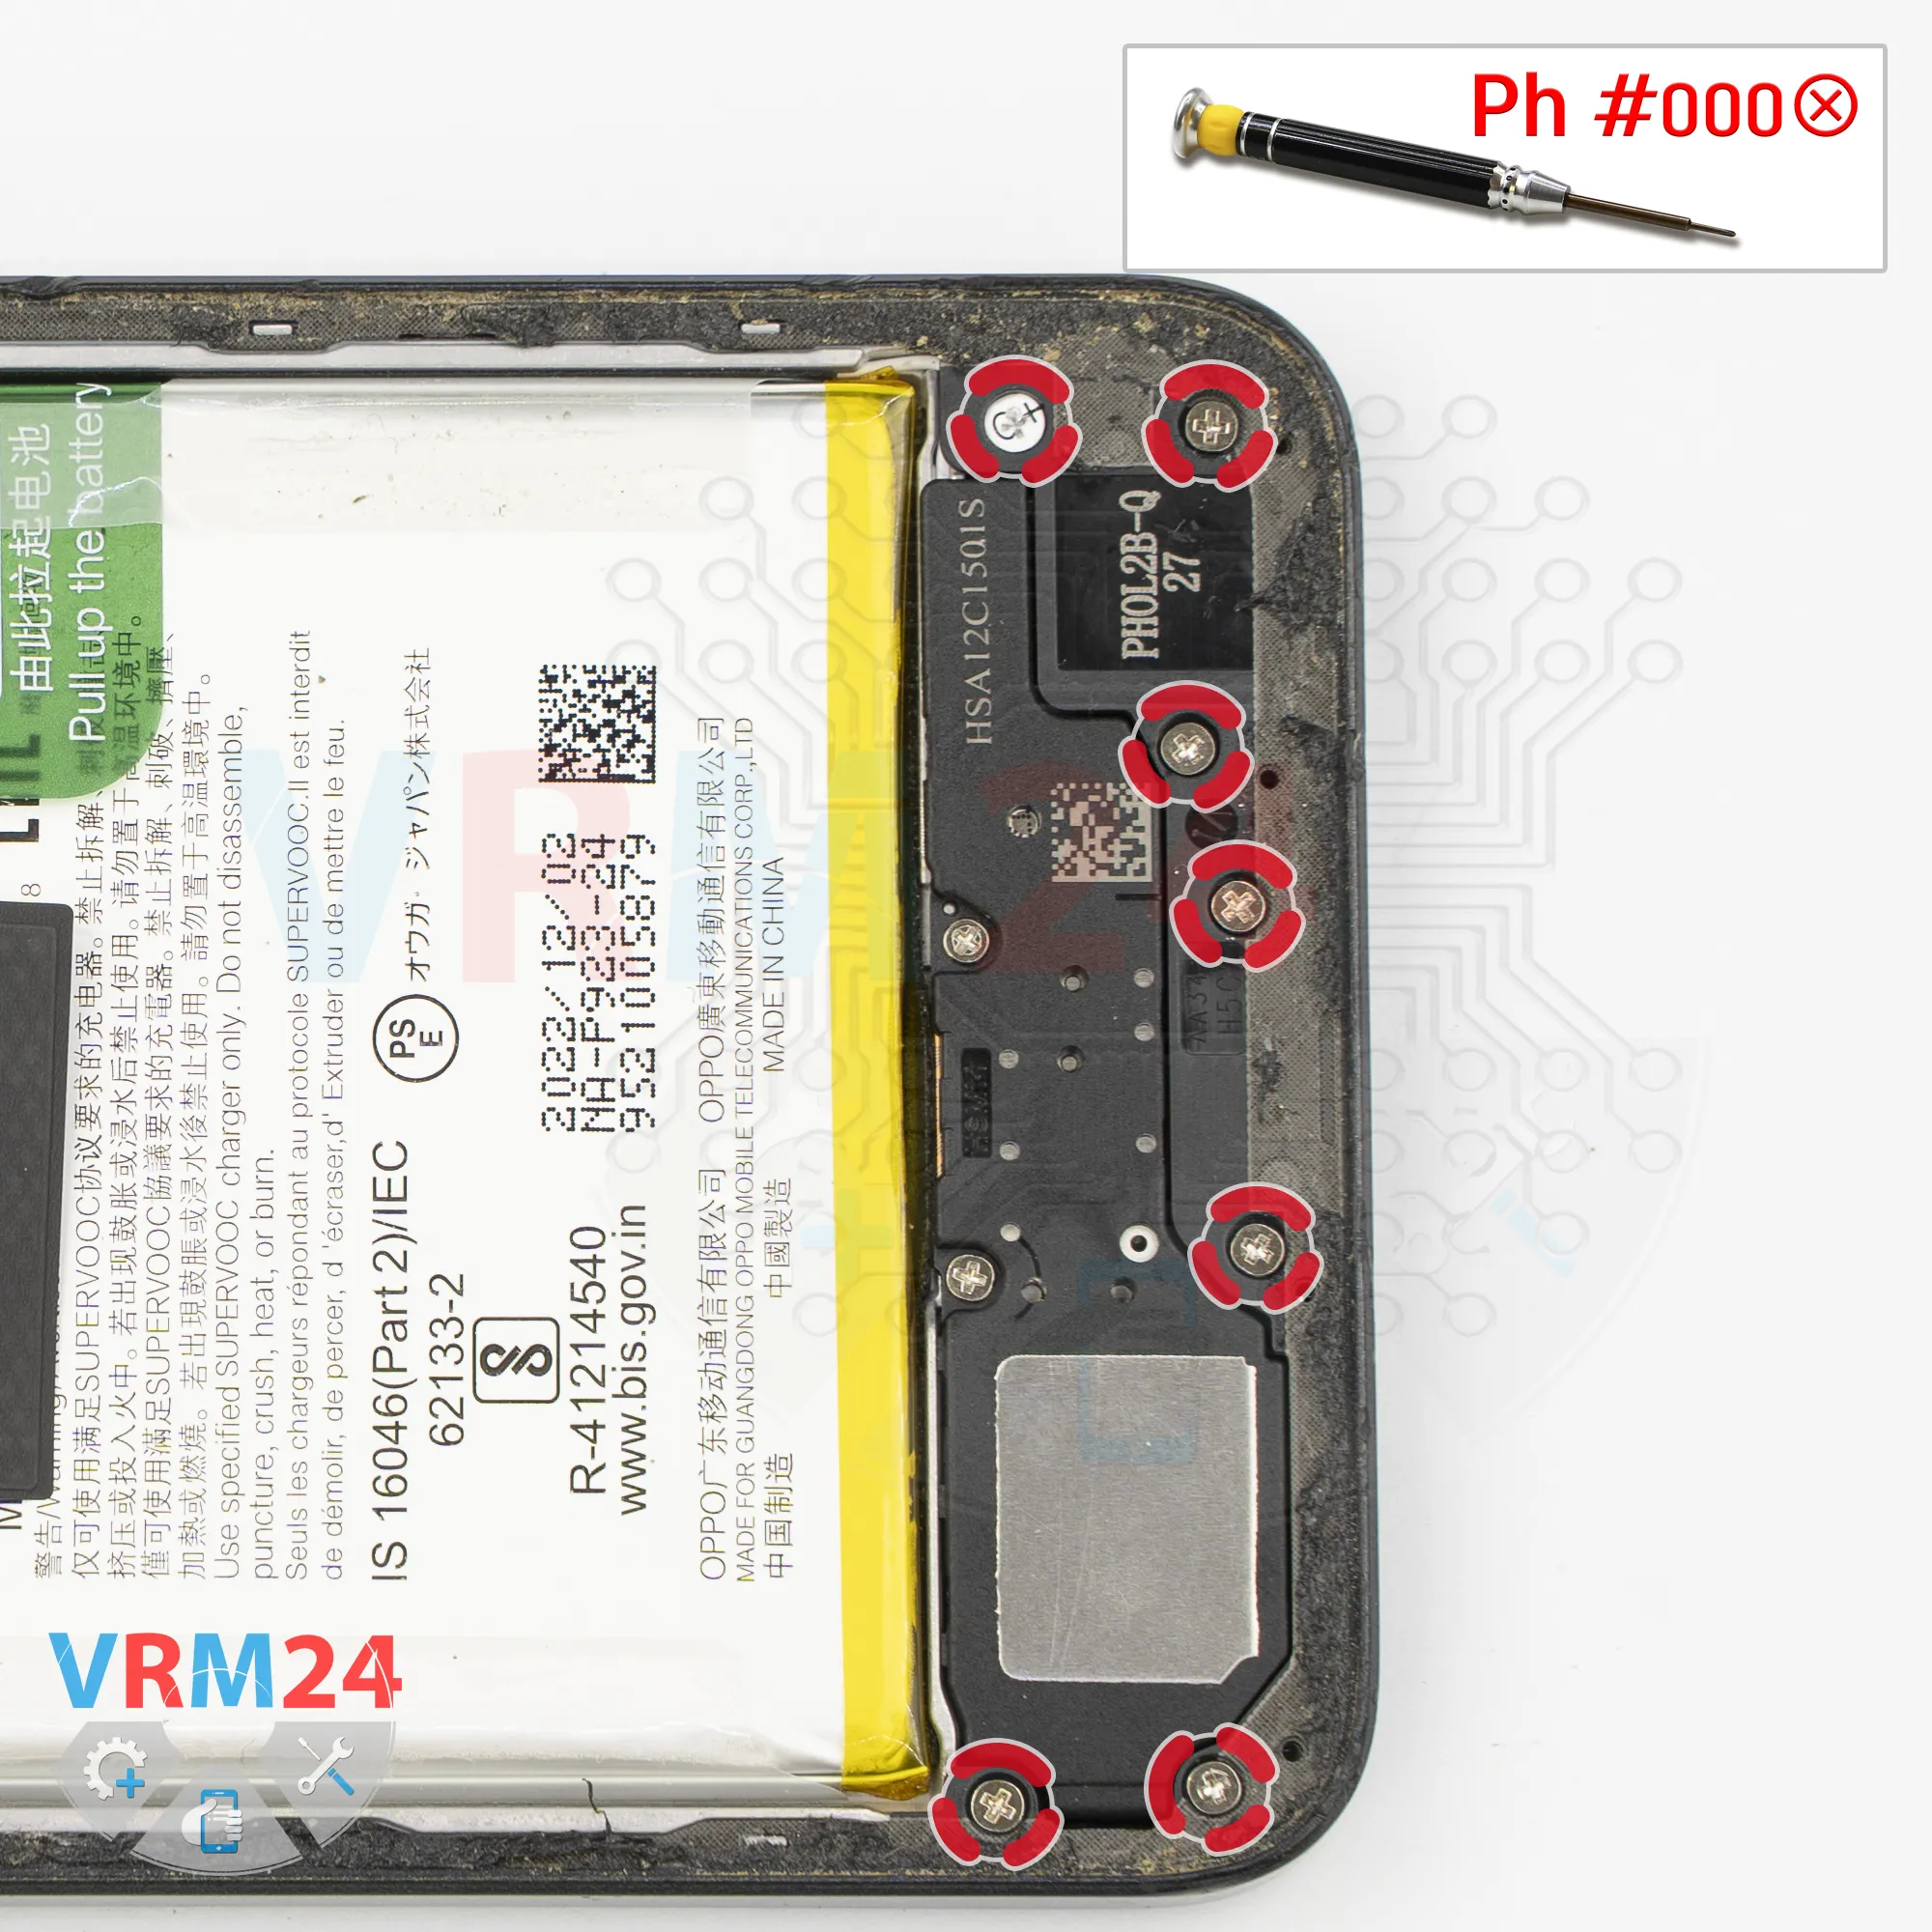
Next, remove the screws in the lower section. It's better to keep these screws separate from the previous ones.
We can leave two screws in place to hold the loudspeaker cover.
This way, the cover won't move around or get in our way while we're removing the middle cover.
Step 7.
Open the mid-frame
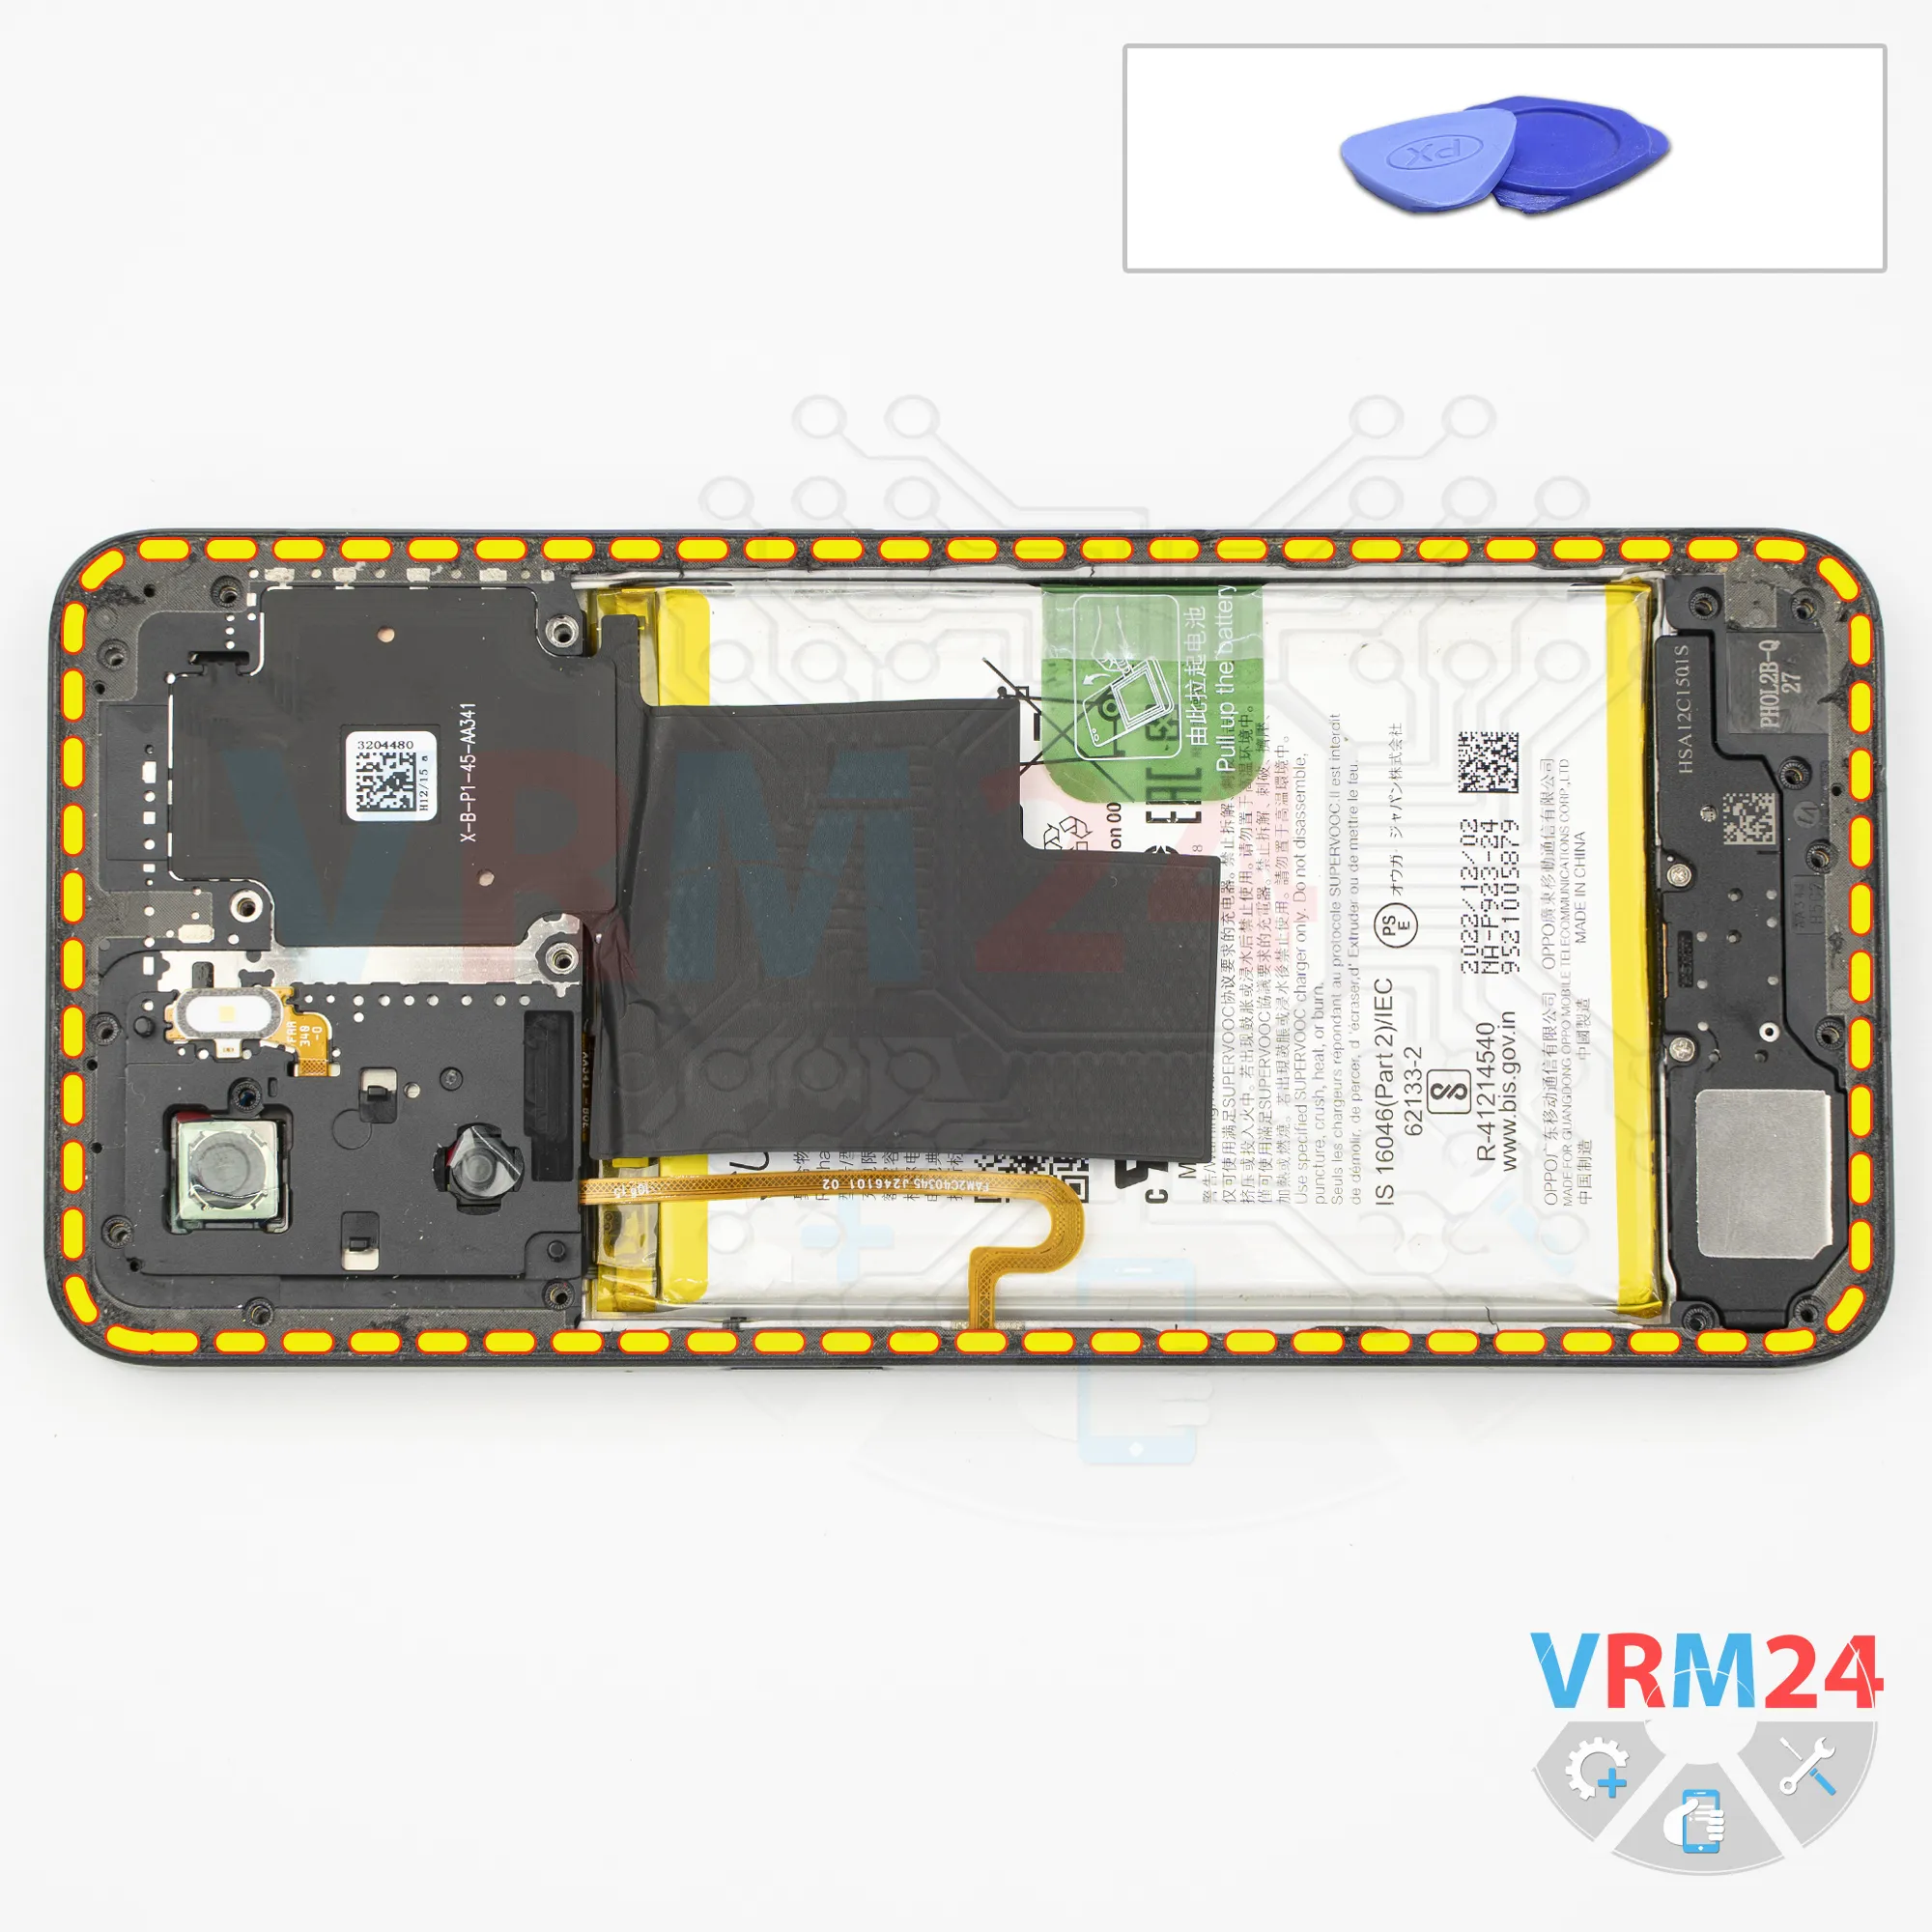
Now, let's remove the middle cover.
For this, we use a thin plastic film. Carefully insert it into the gap between the middle cover and the display frame, near the SIM card tray opening.
Release a few clips, then switch to a thicker tool.
Carefully work your way around the edges. As always, be careful around the fingerprint sensor flex cable.
Also, be careful around the corners, especially near the buttons. The cover is usually held quite firmly at the corners.
Be careful with the display frame as well, since it's fairly fragile and can be easily damaged.
Step 8.
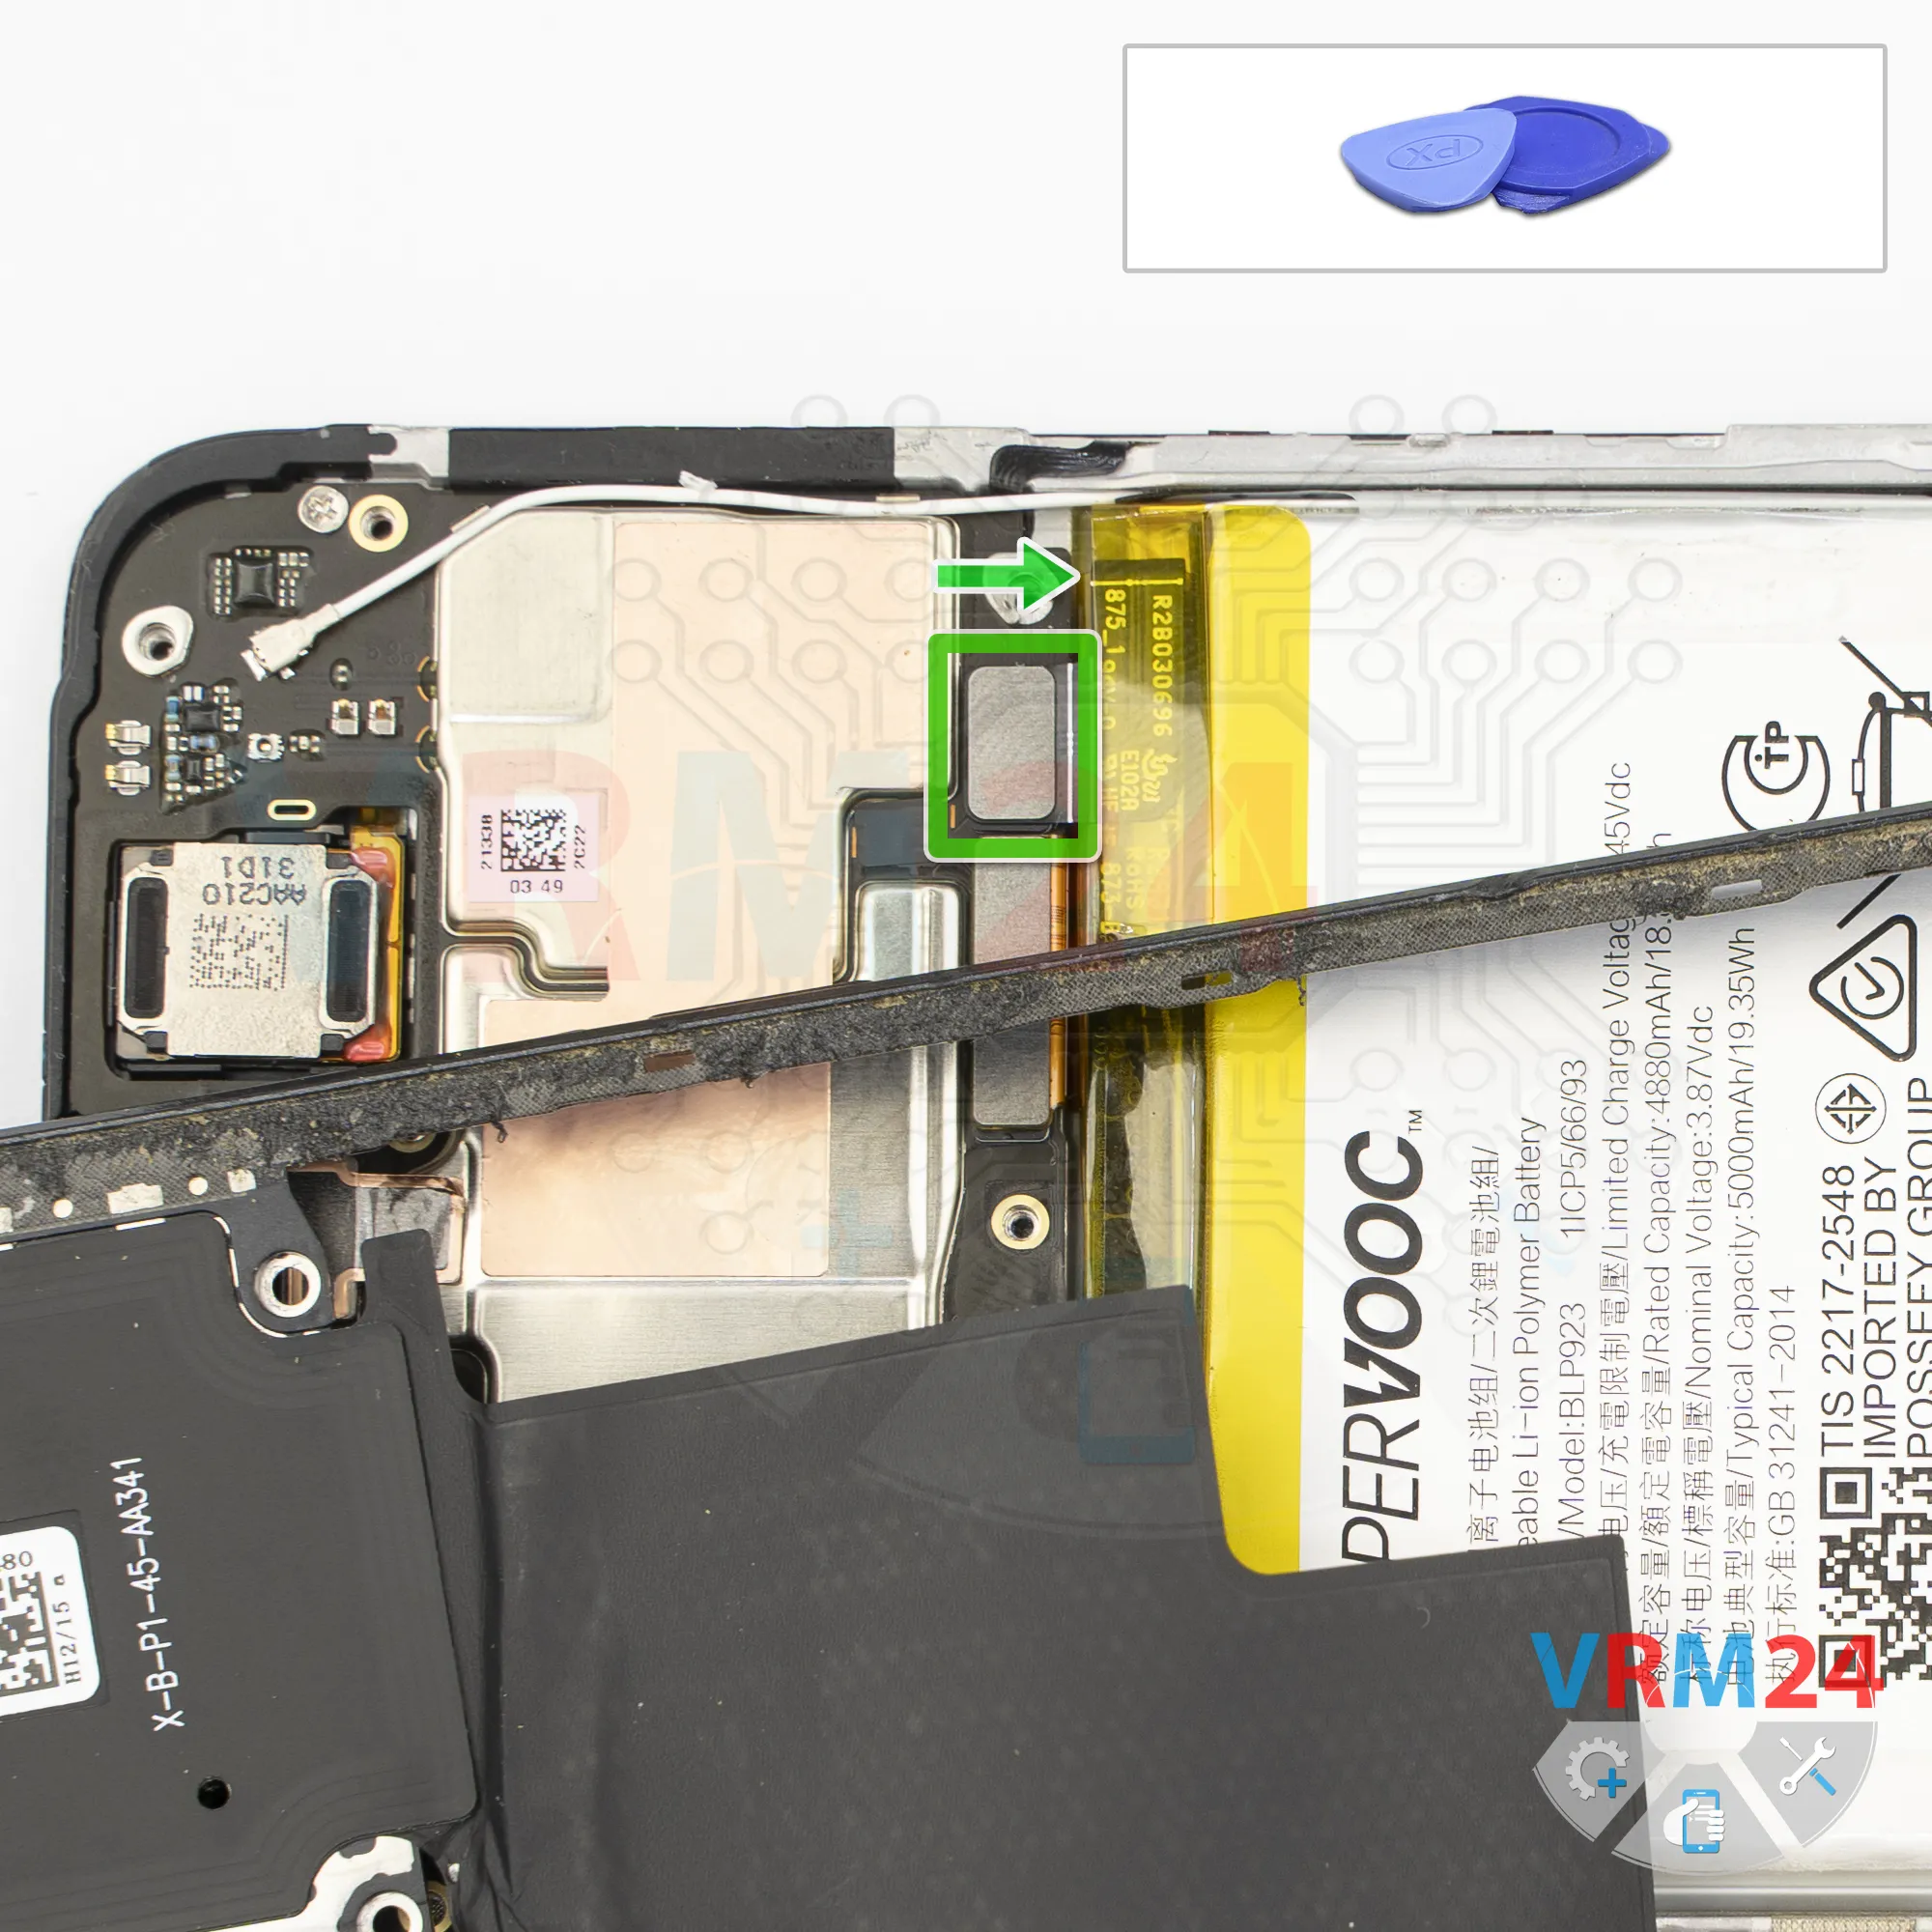
Disconnect the battery connector
Flip the cover over and use a non-metallic tool to disconnect the battery connector.
ℹ️ The OPPO A77 CPH2385 uses a BLP923 rechargeable battery with a capacity of 5000 mAh.
Step 9.
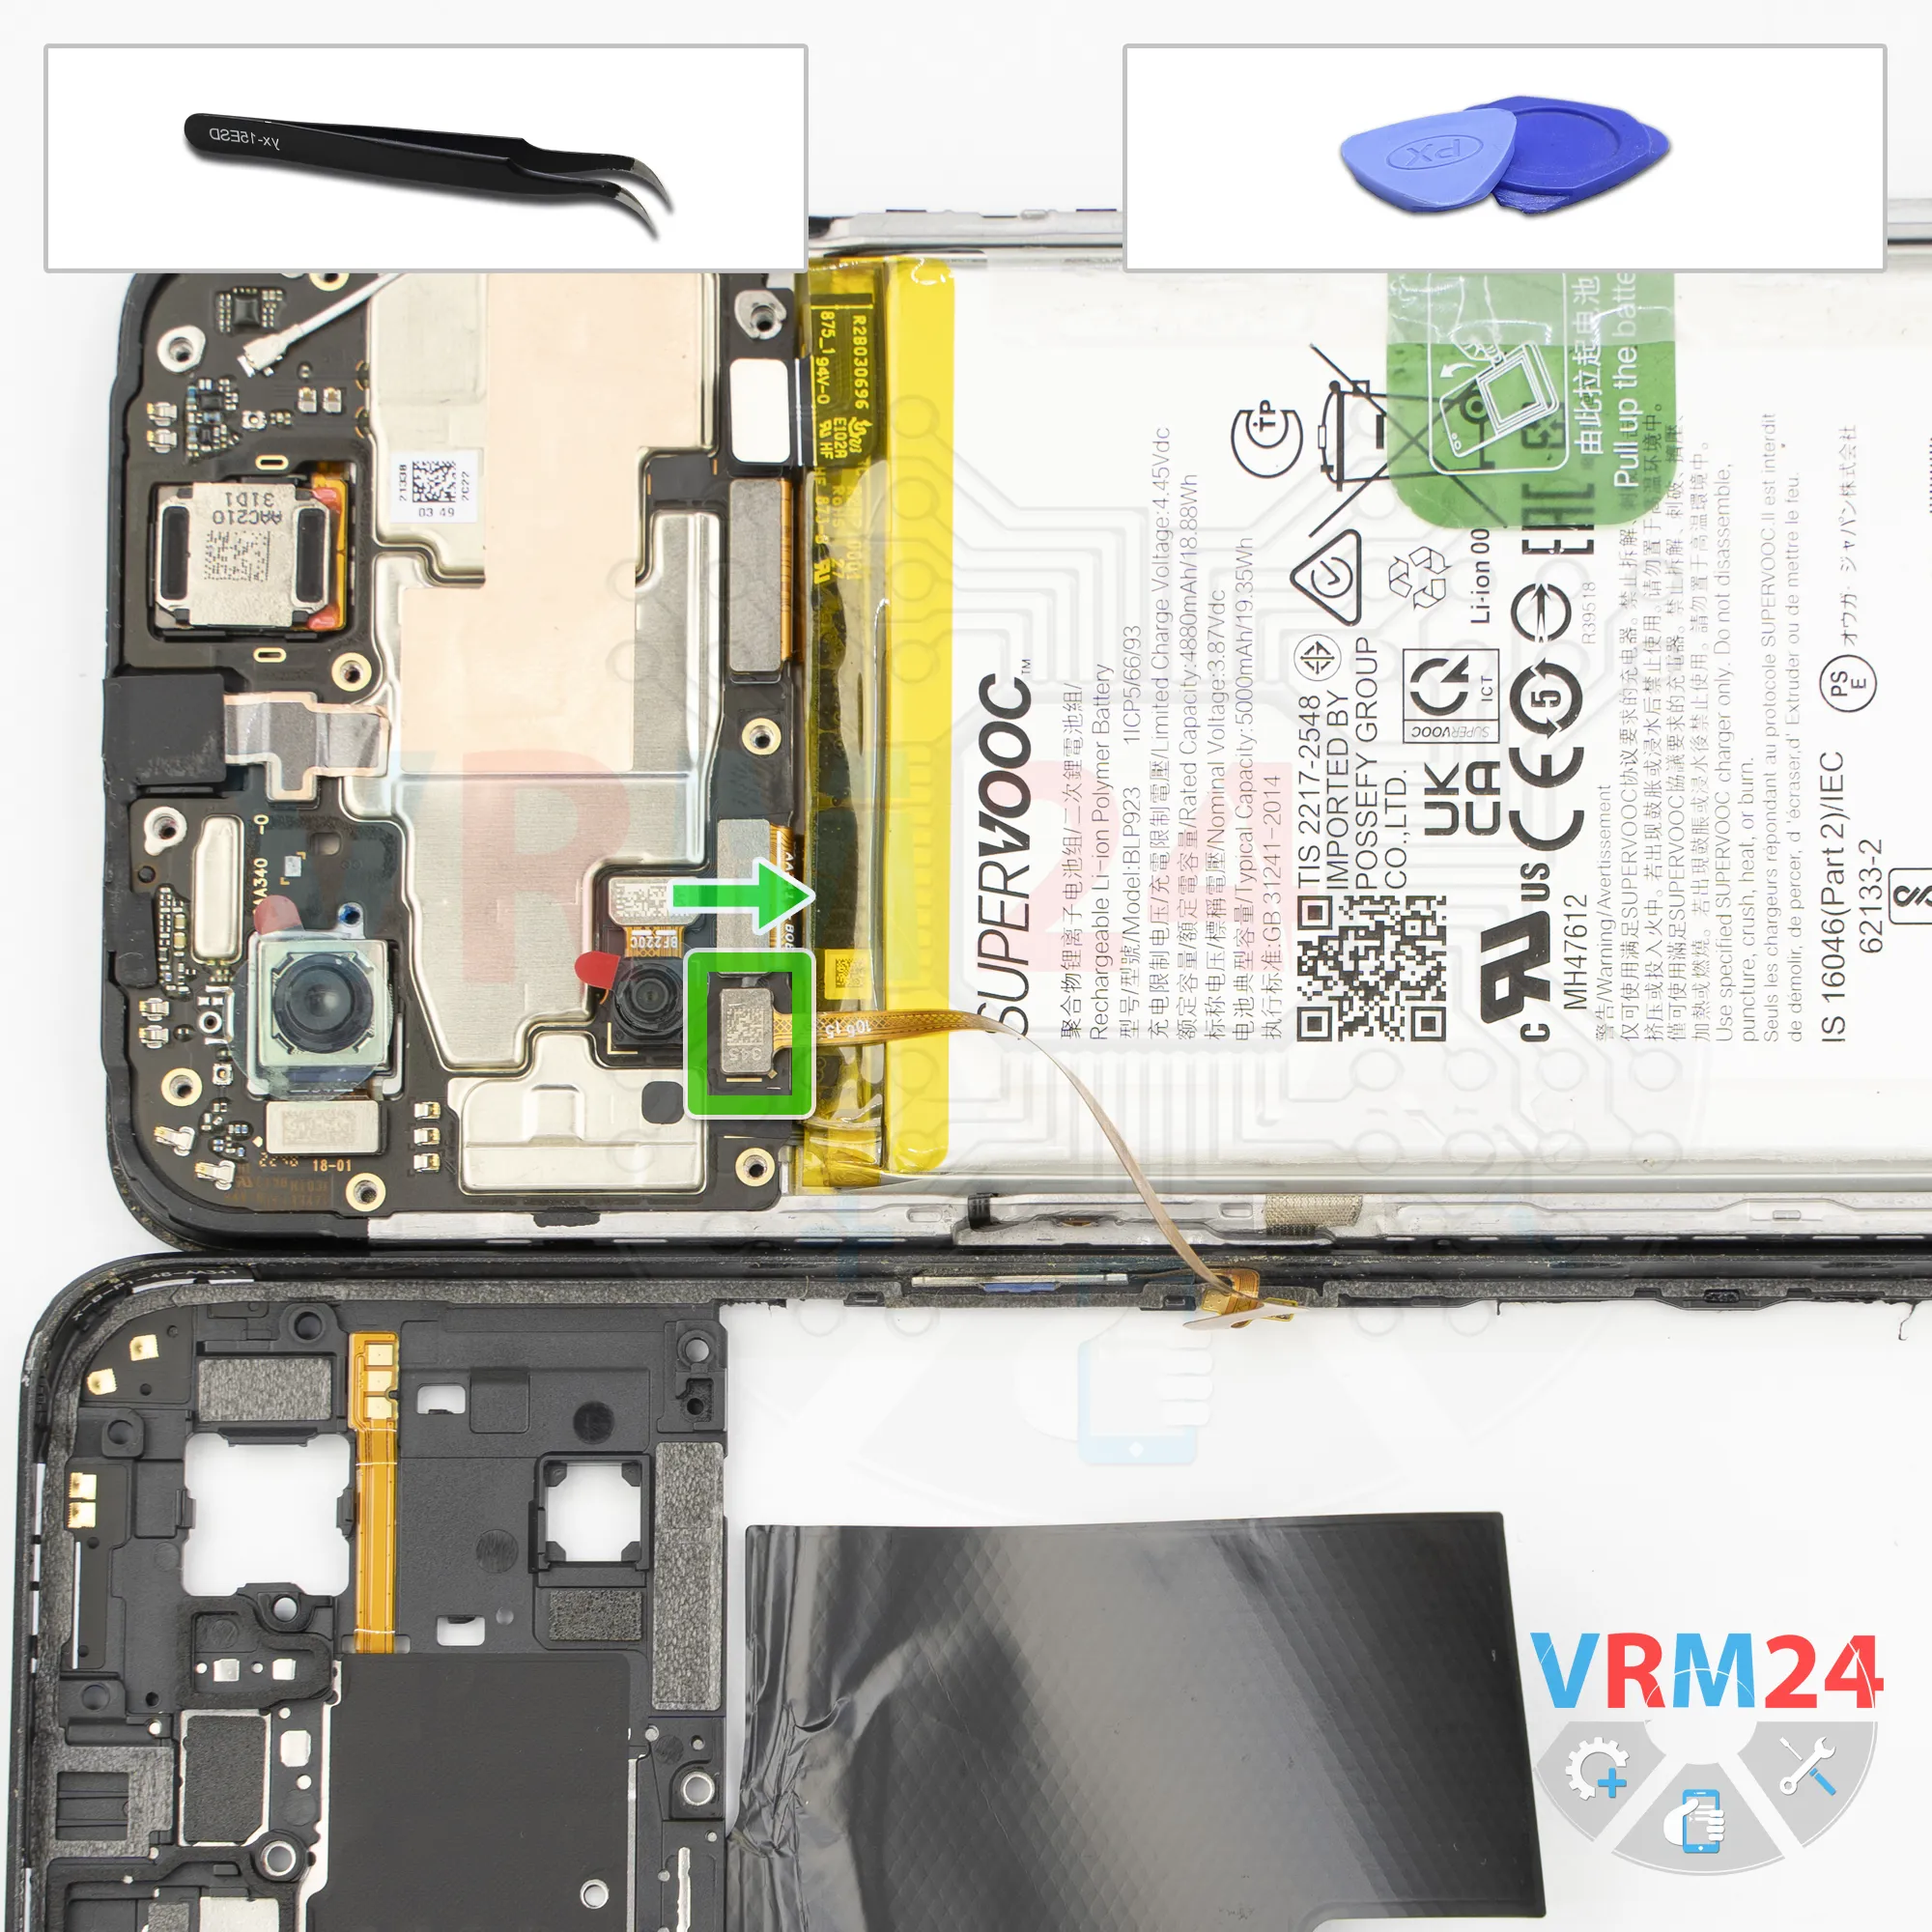
Disconnect the connector
Then disconnect the fingerprint sensor connector.
Remove the middle cover with its contact pads, antenna traces, and, of course, the fingerprint sensor. Set it aside.
Step 10.
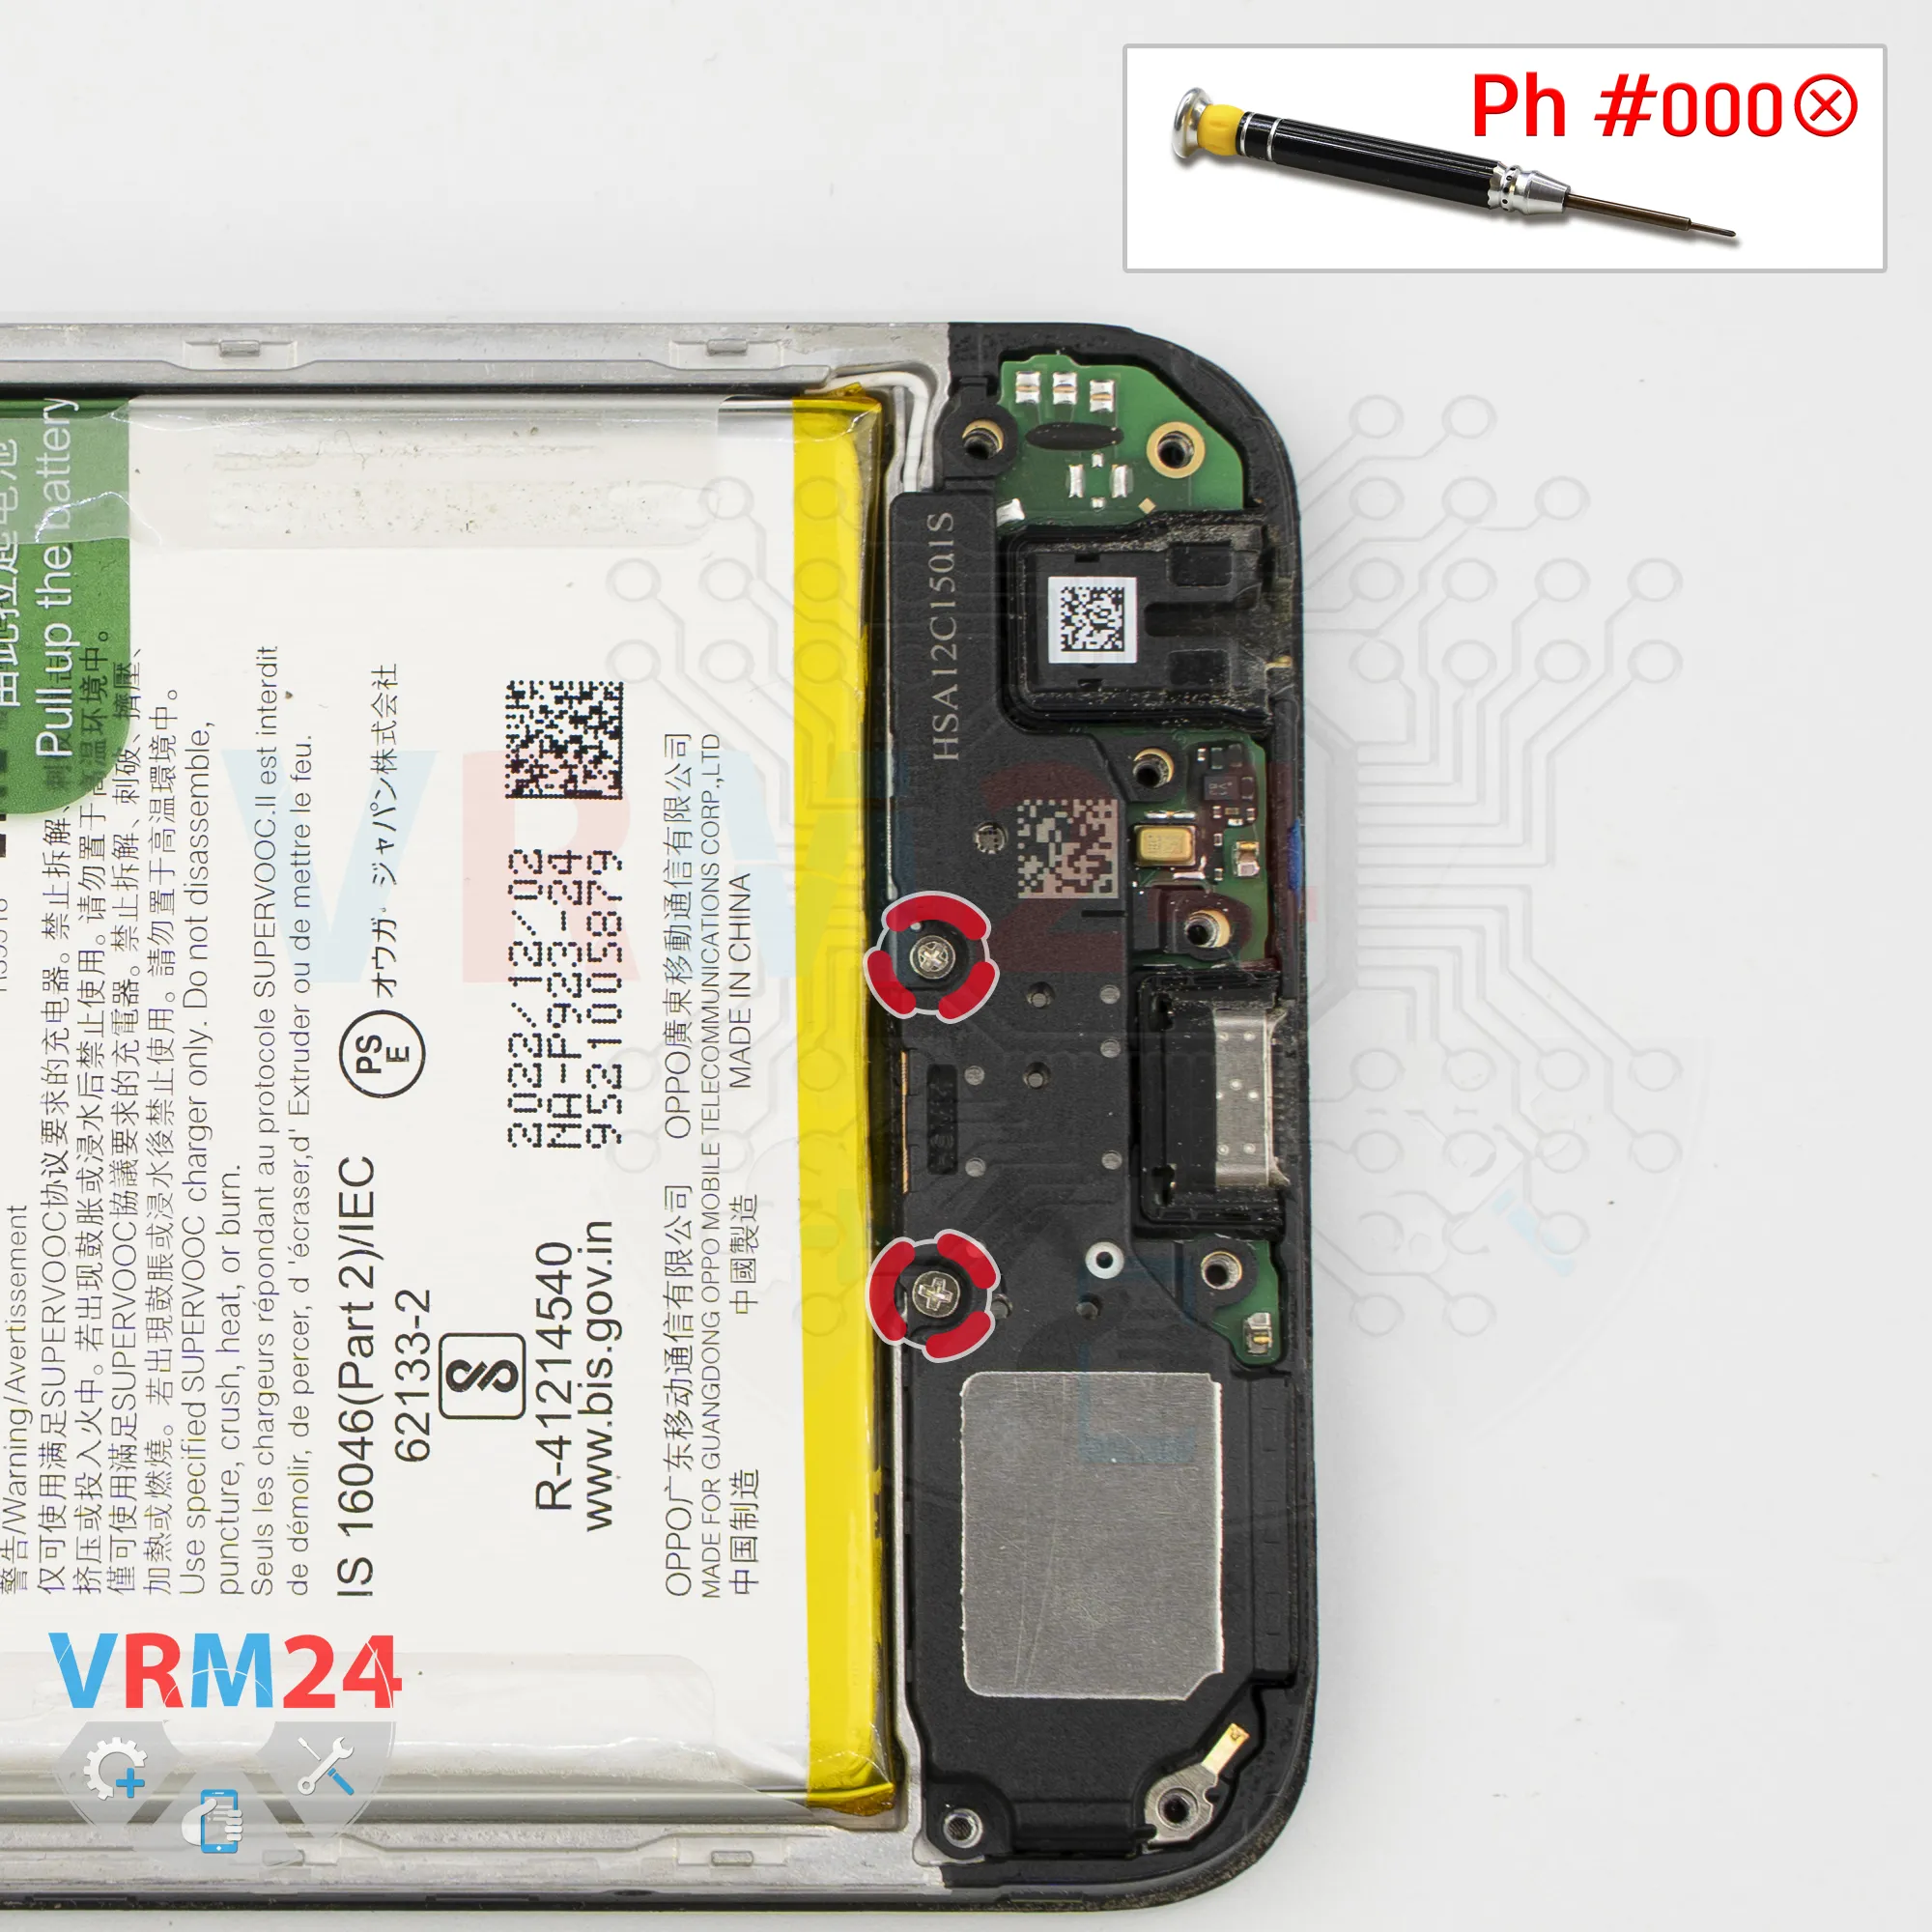
Unscrew the screws
Now, let's move on to the lower section.
Here, we need to remove the two remaining screws. Unscrew them and place them on a flat surface.
It's better to keep them separate from the others because they're a different size.
Step 11.
Remove the loudspeaker
Now, remove the loudspeaker cover and set it aside.
Step 12.
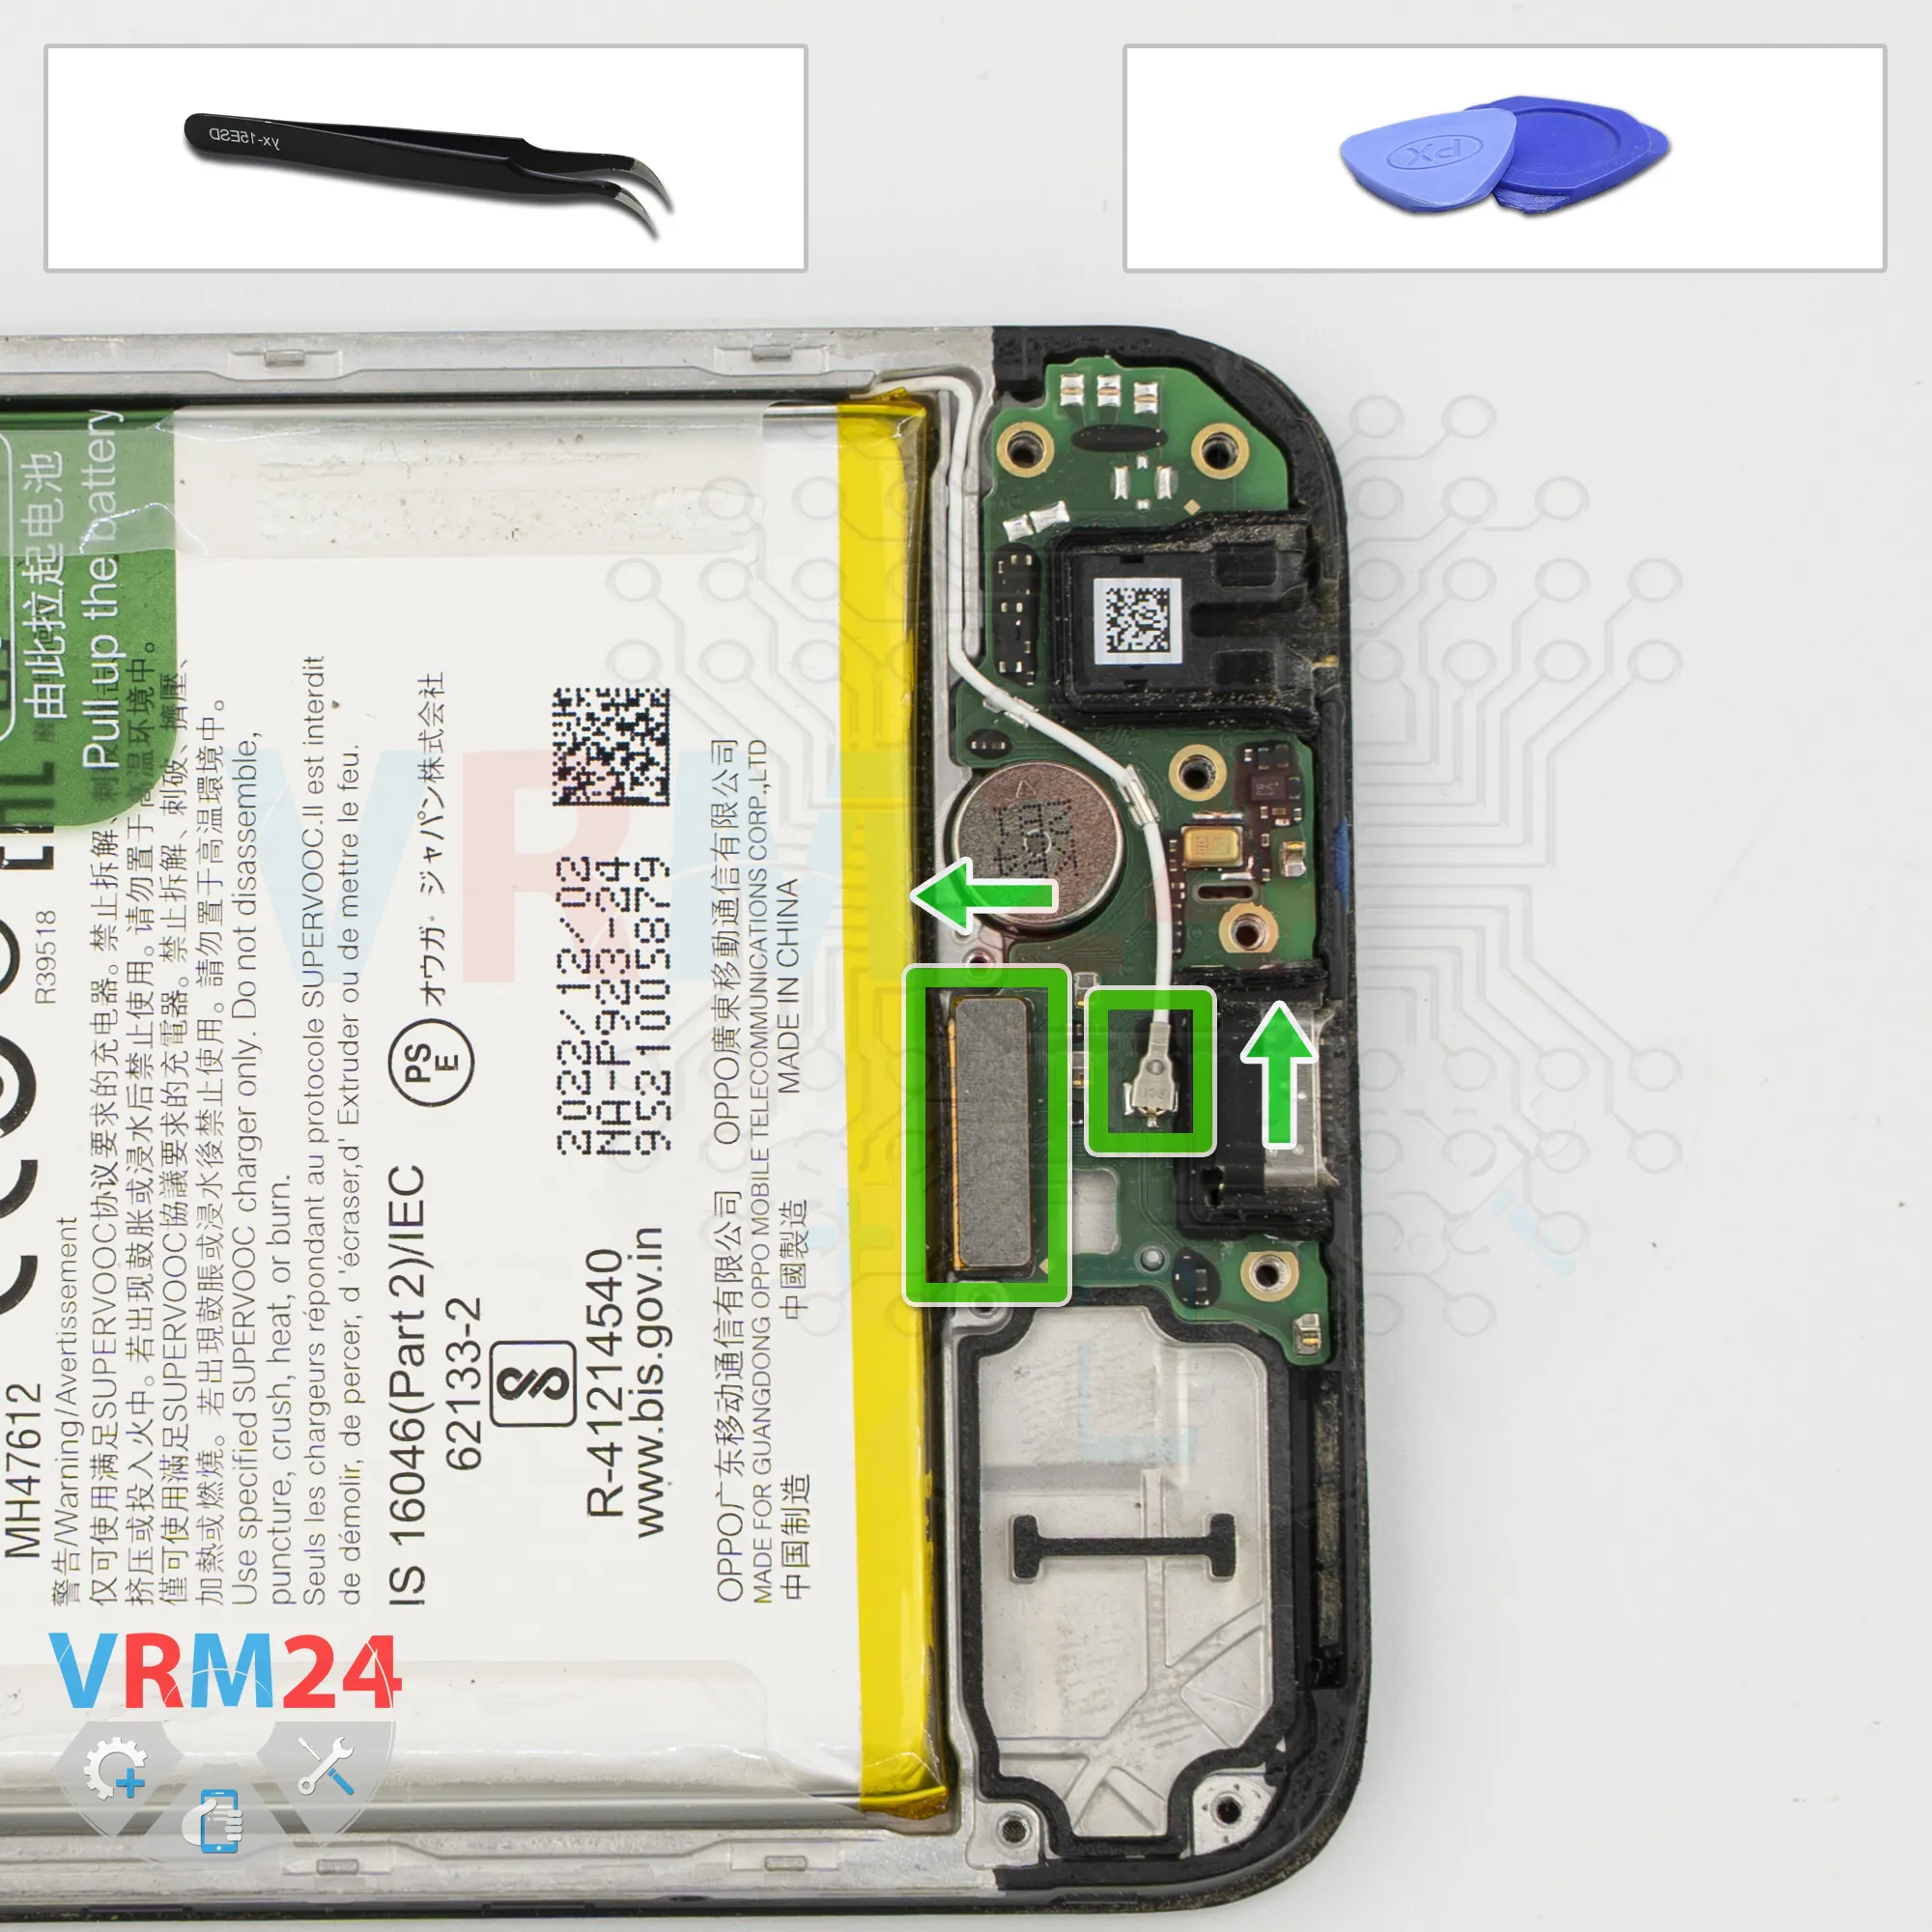
Disconnect the connectors
Next, disconnect the coaxial cable connector and release the cable itself from where it's secured to the sub-board.
Then disconnect the interconnect flex cable connector.
Step 13.
Remove the sub-board
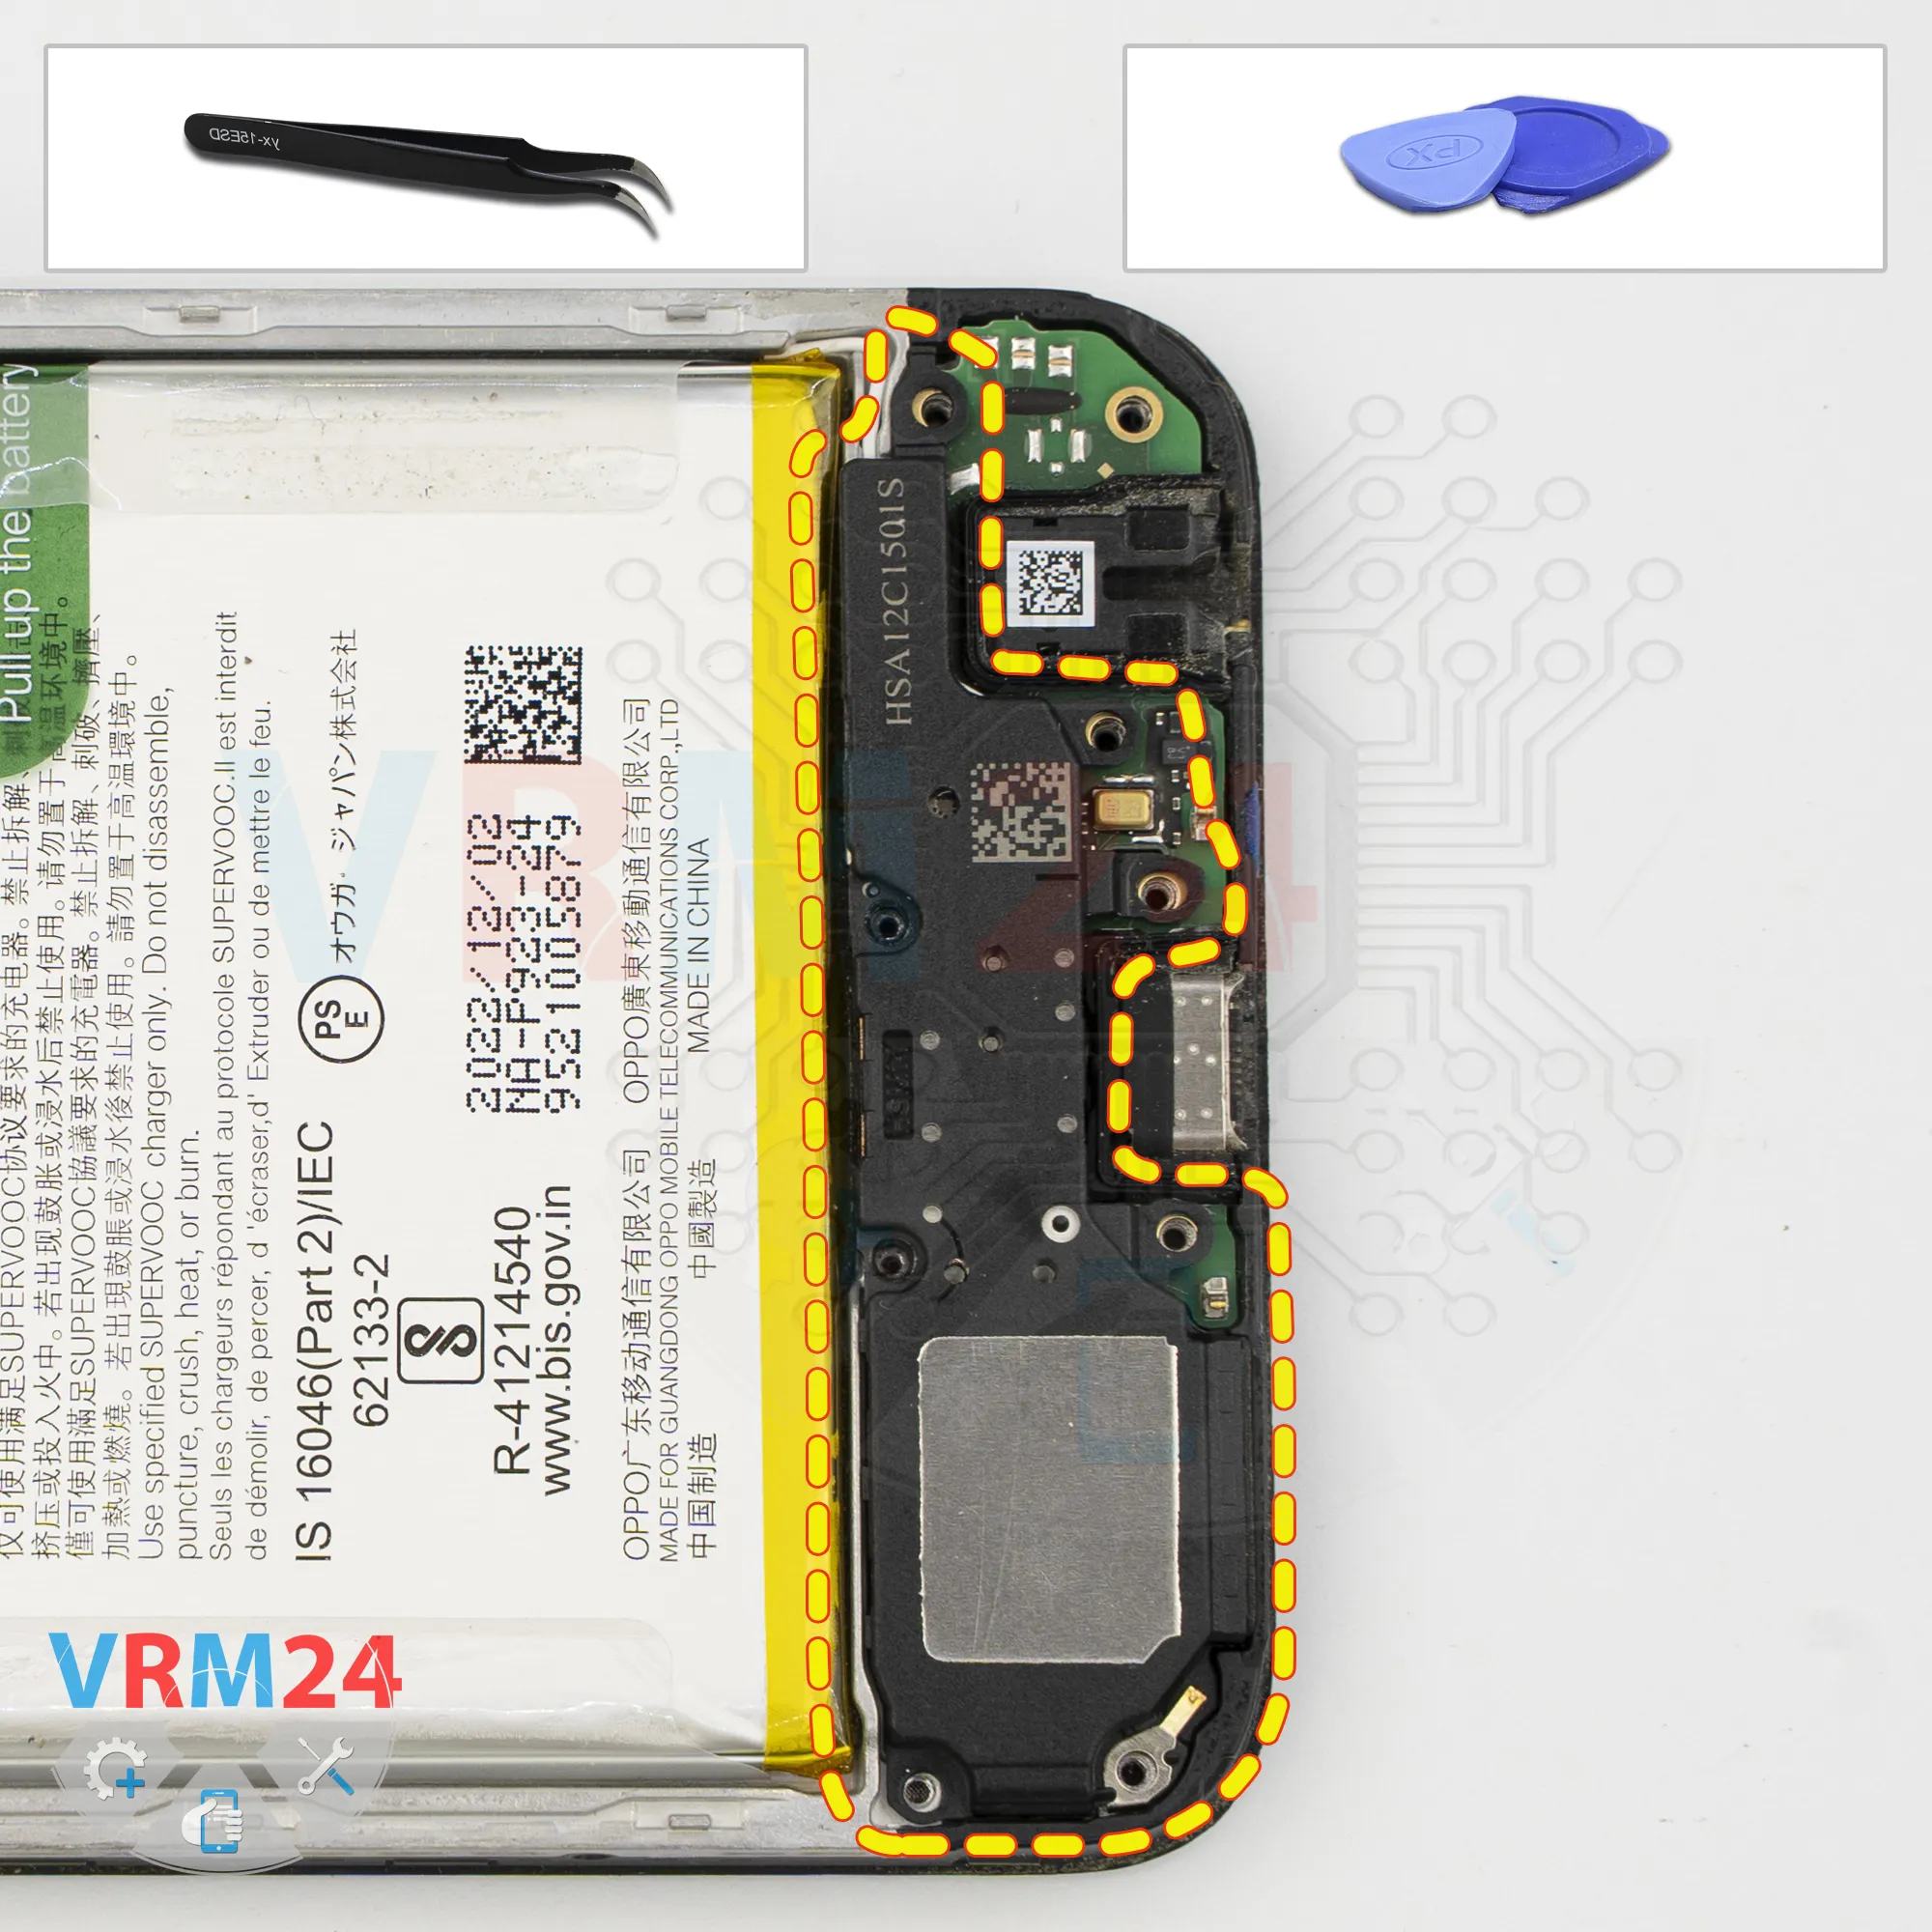
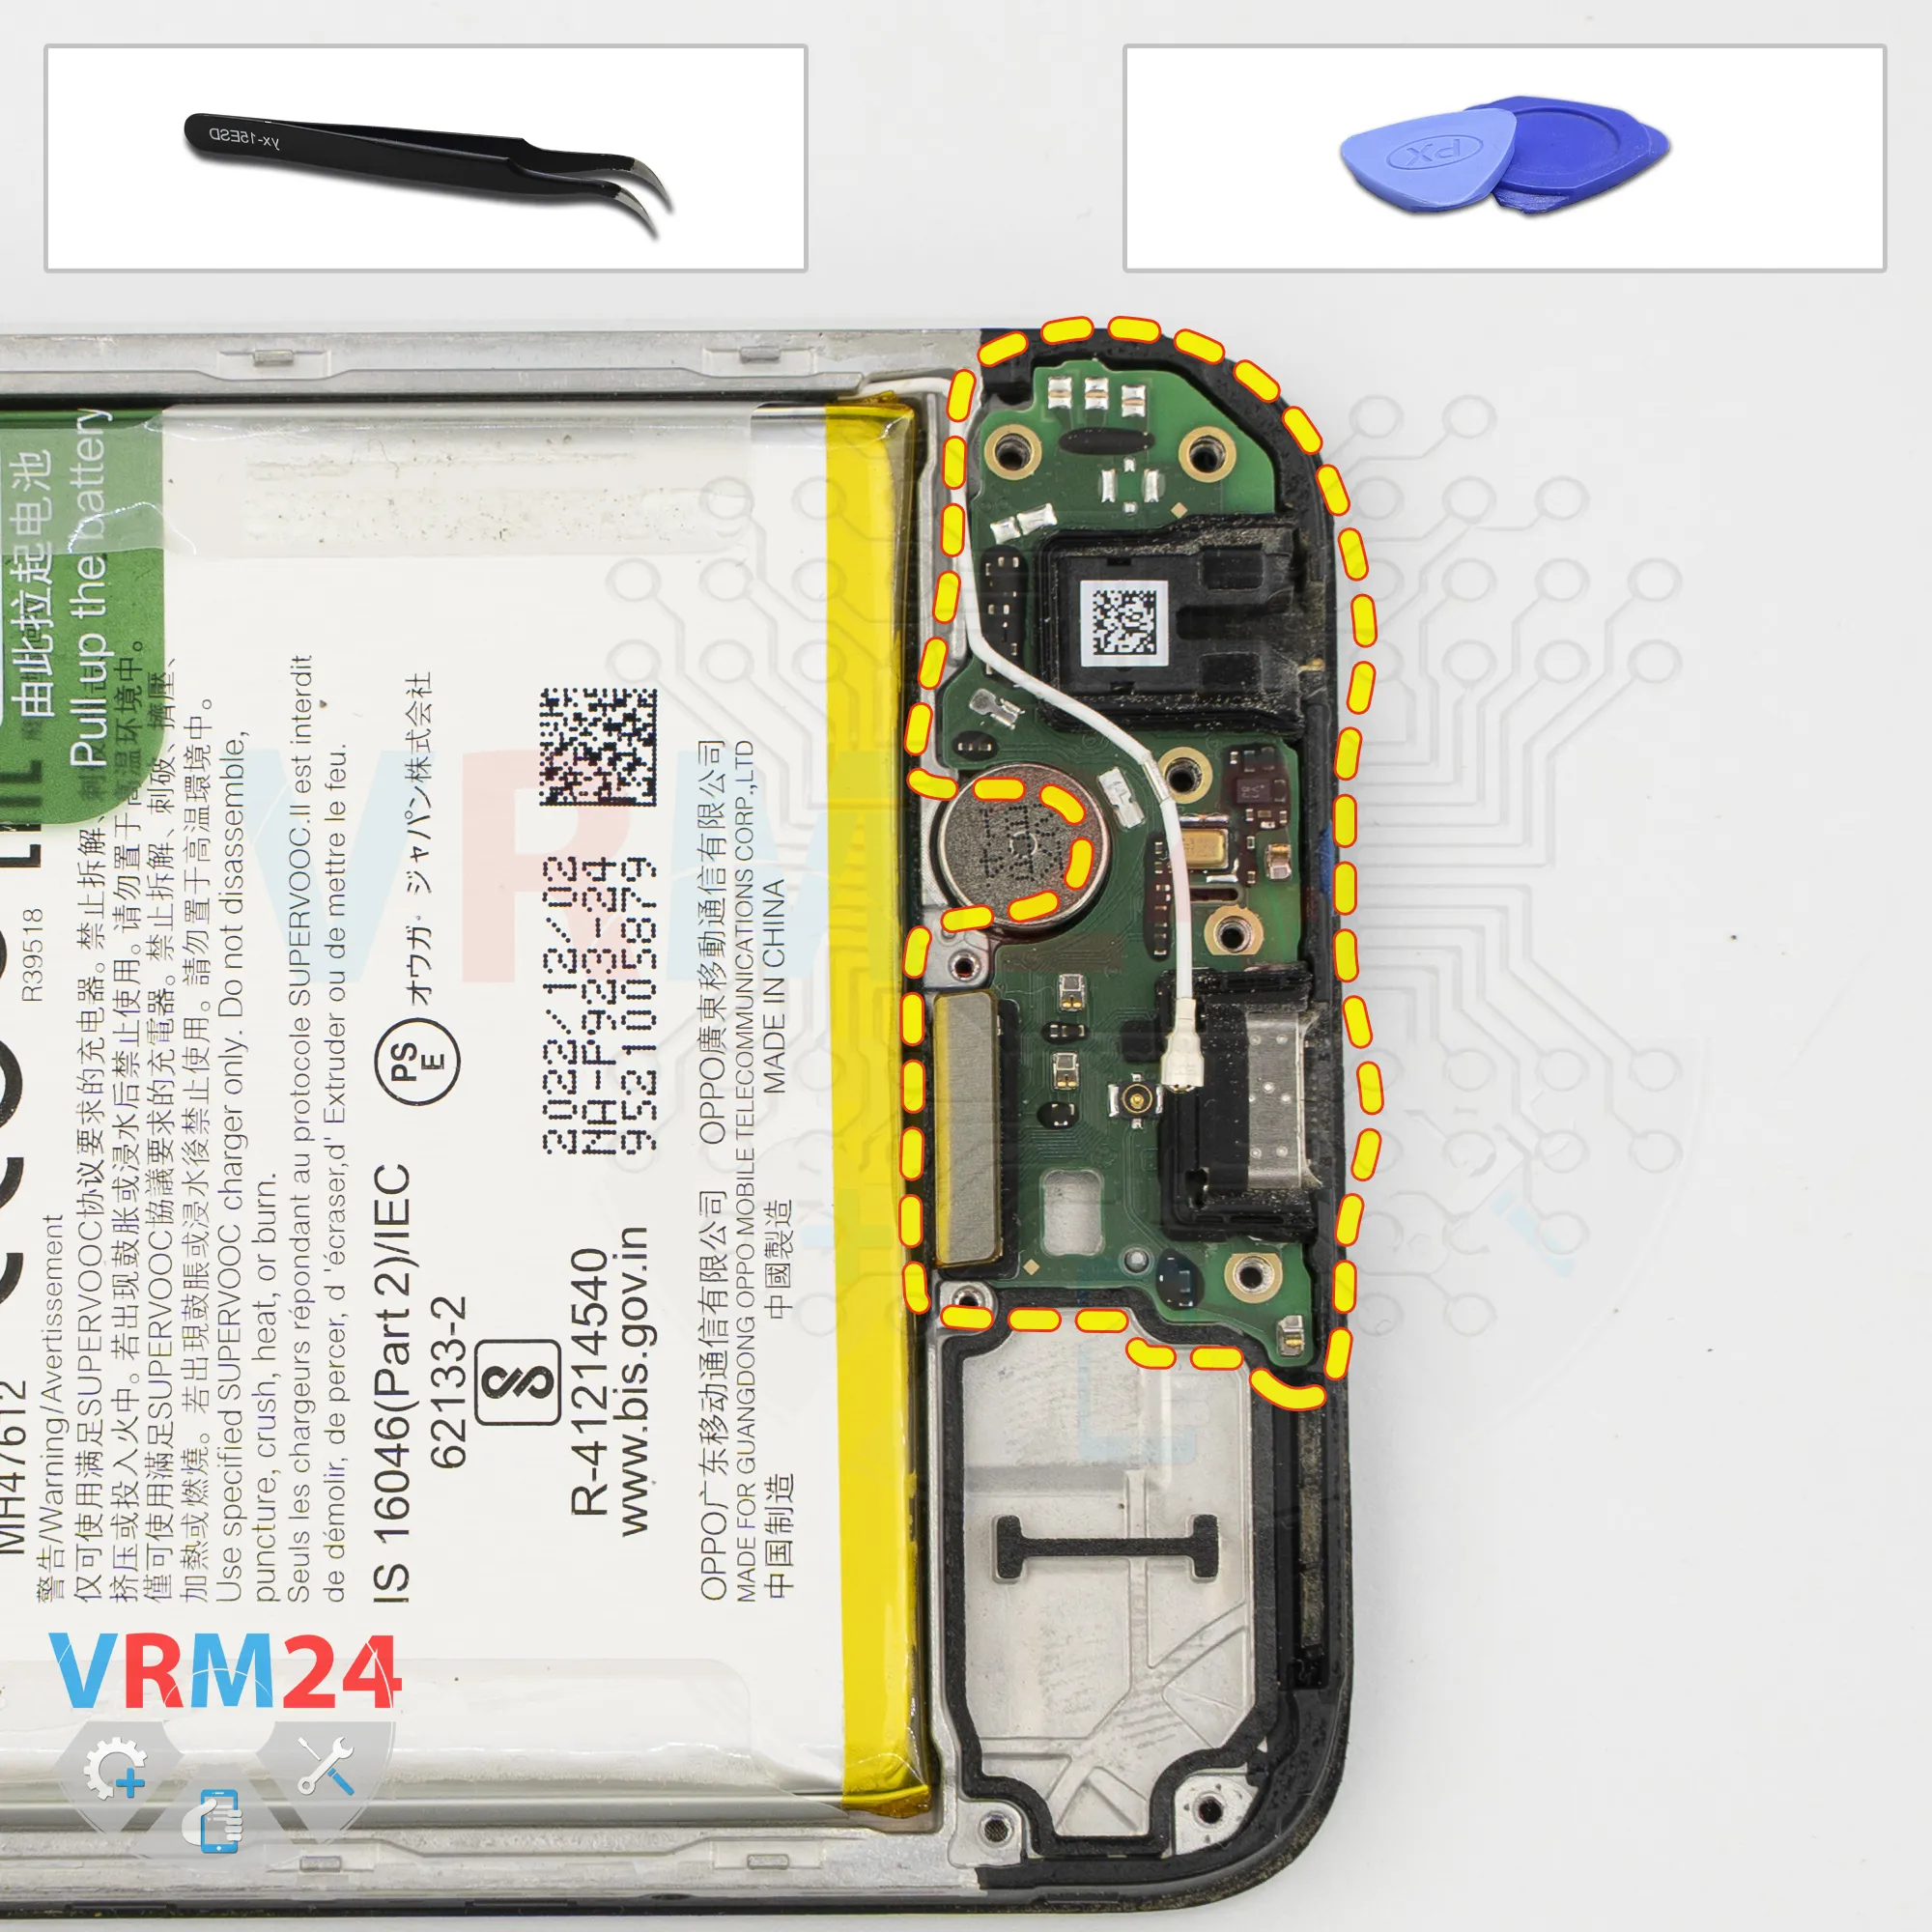
Now we can carefully remove the sub-board.
Pry it up at the right spot, starting from the edge. The sub-board is slightly glued in place, so gently lift it and take it out.
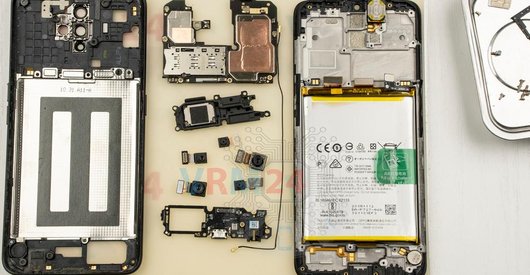
The sub-board has the charging port, microphone, headphone port, and other components on the back.
The vibration motor remains in the display frame.
Step 14.
Disconnect the connectors
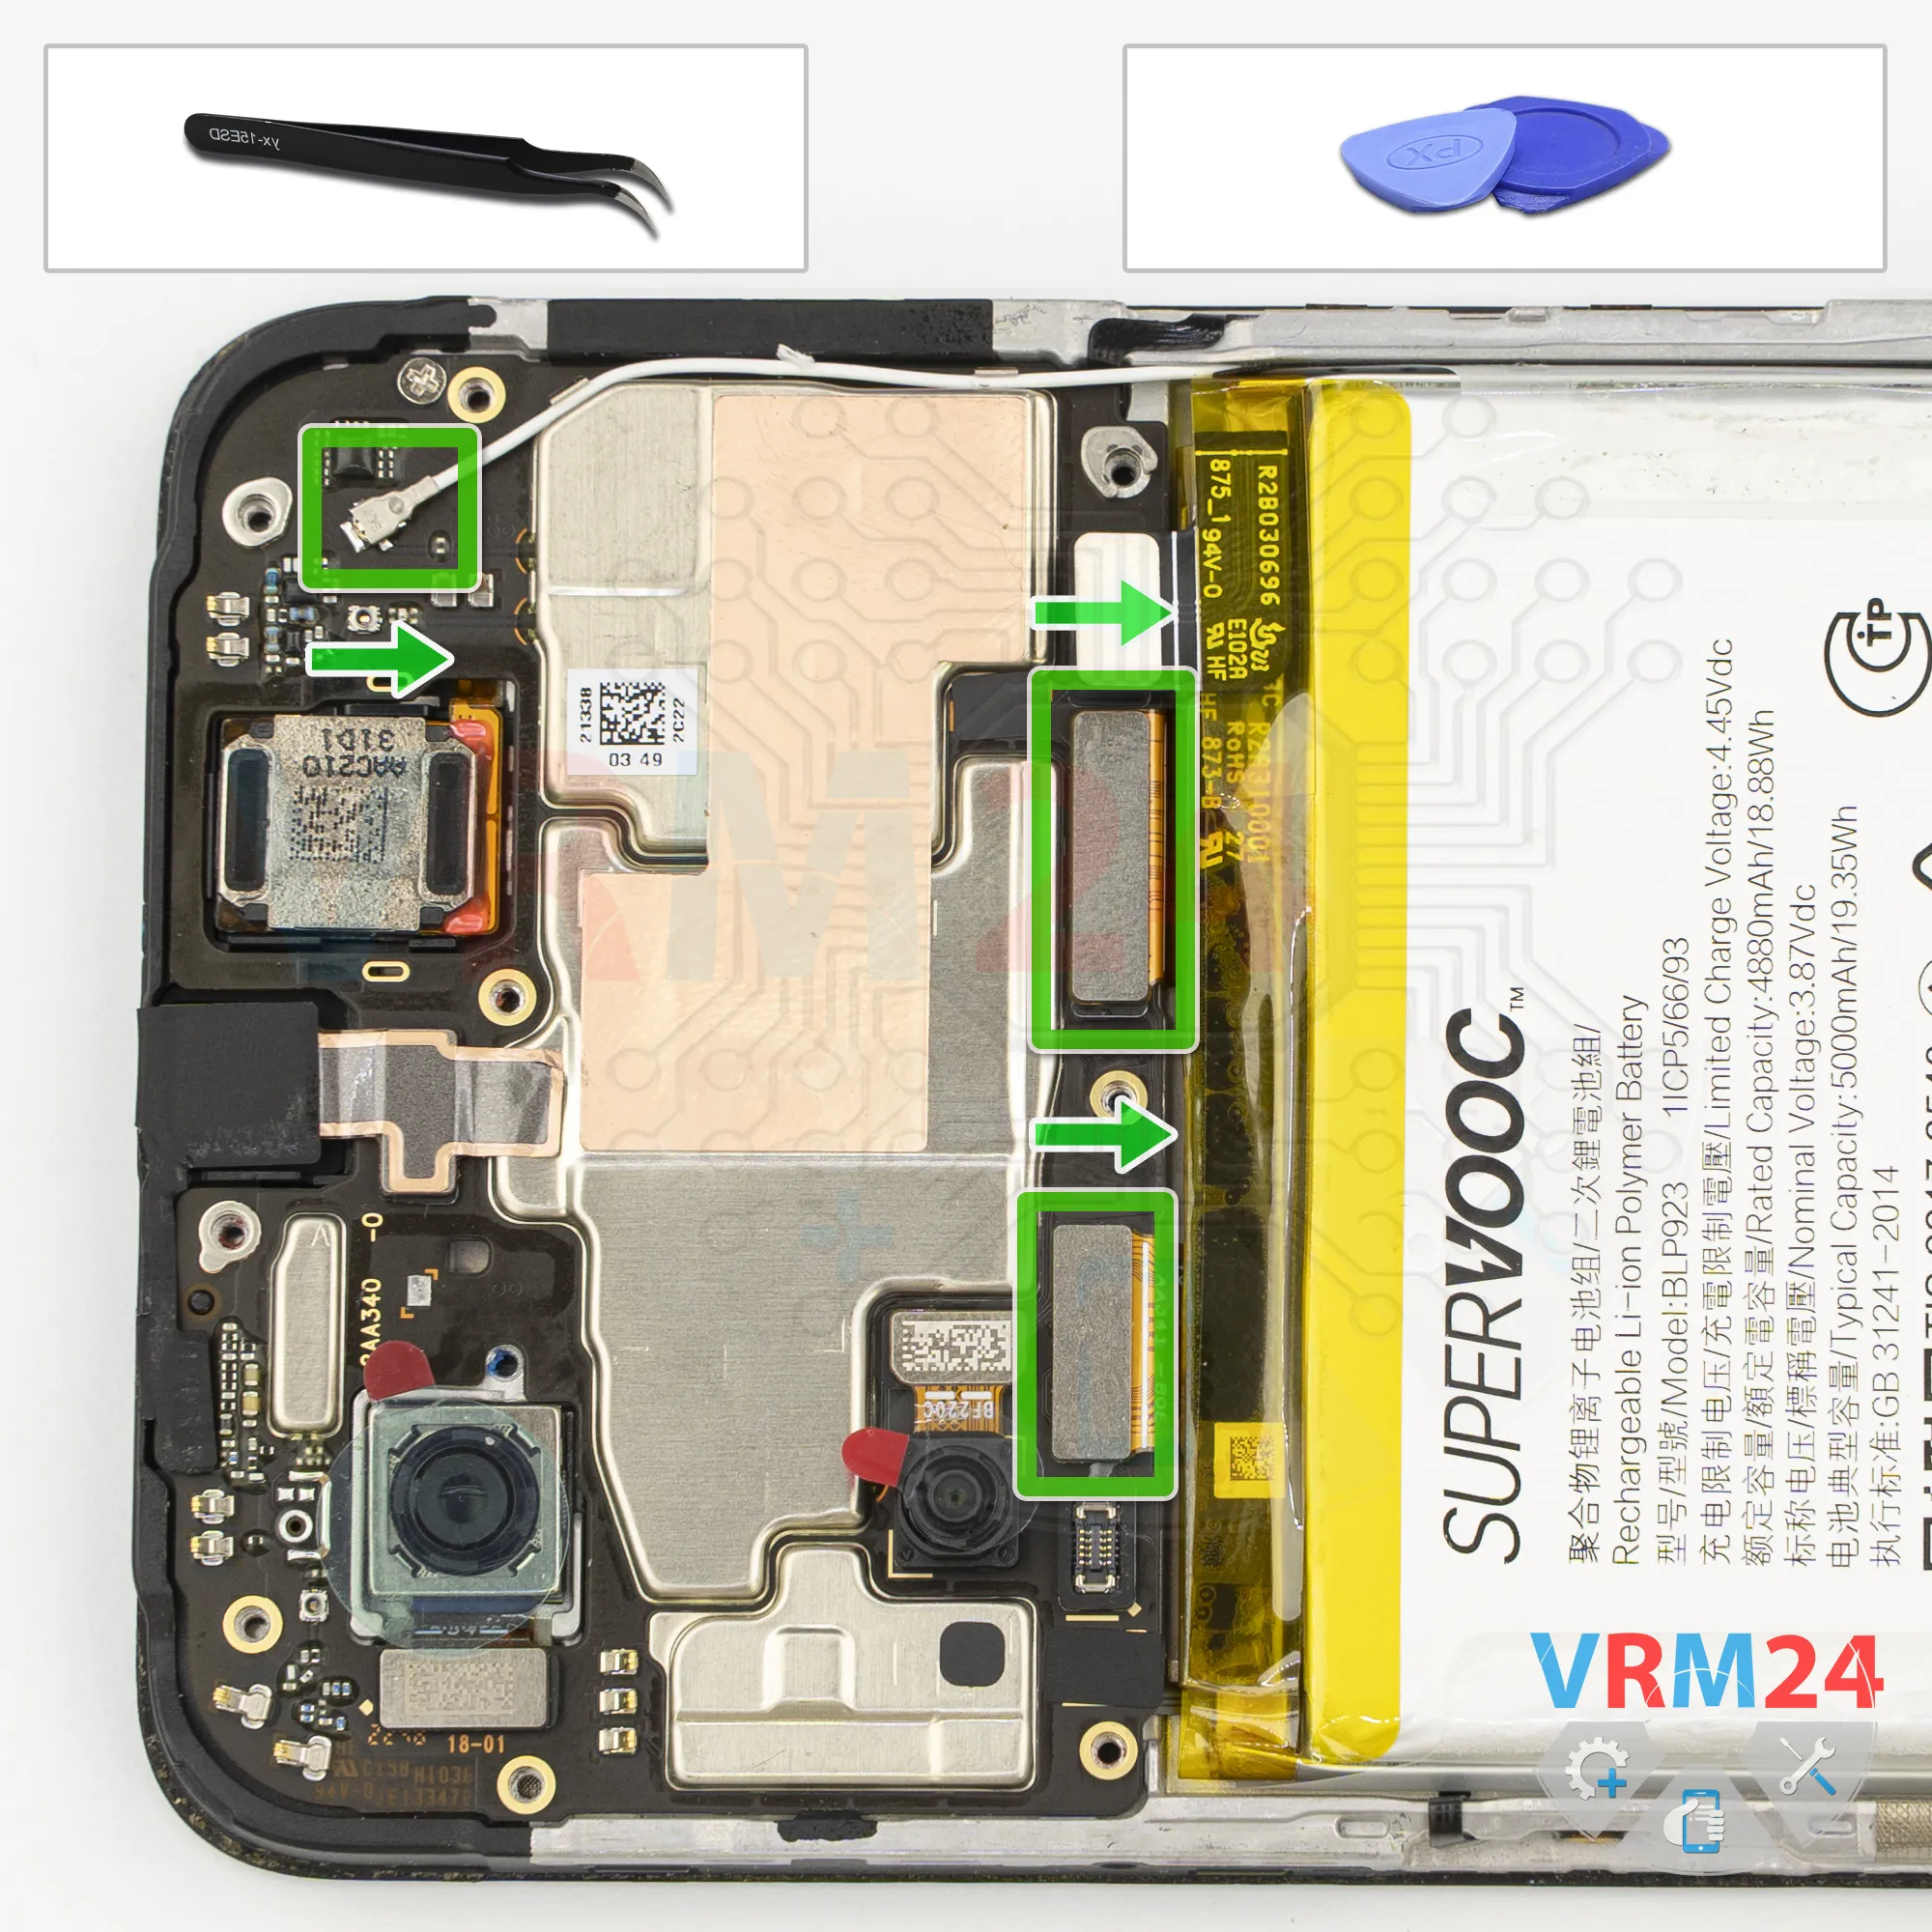
Next, we need to disconnect the connectors.
Disconnect the display flex cable connector, the interconnect flex cable connector, and the coaxial cable connector.
Move the coaxial cable out of the way so it doesn't get in our way.
Release it from where it's secured to the motherboard.
Step 15.
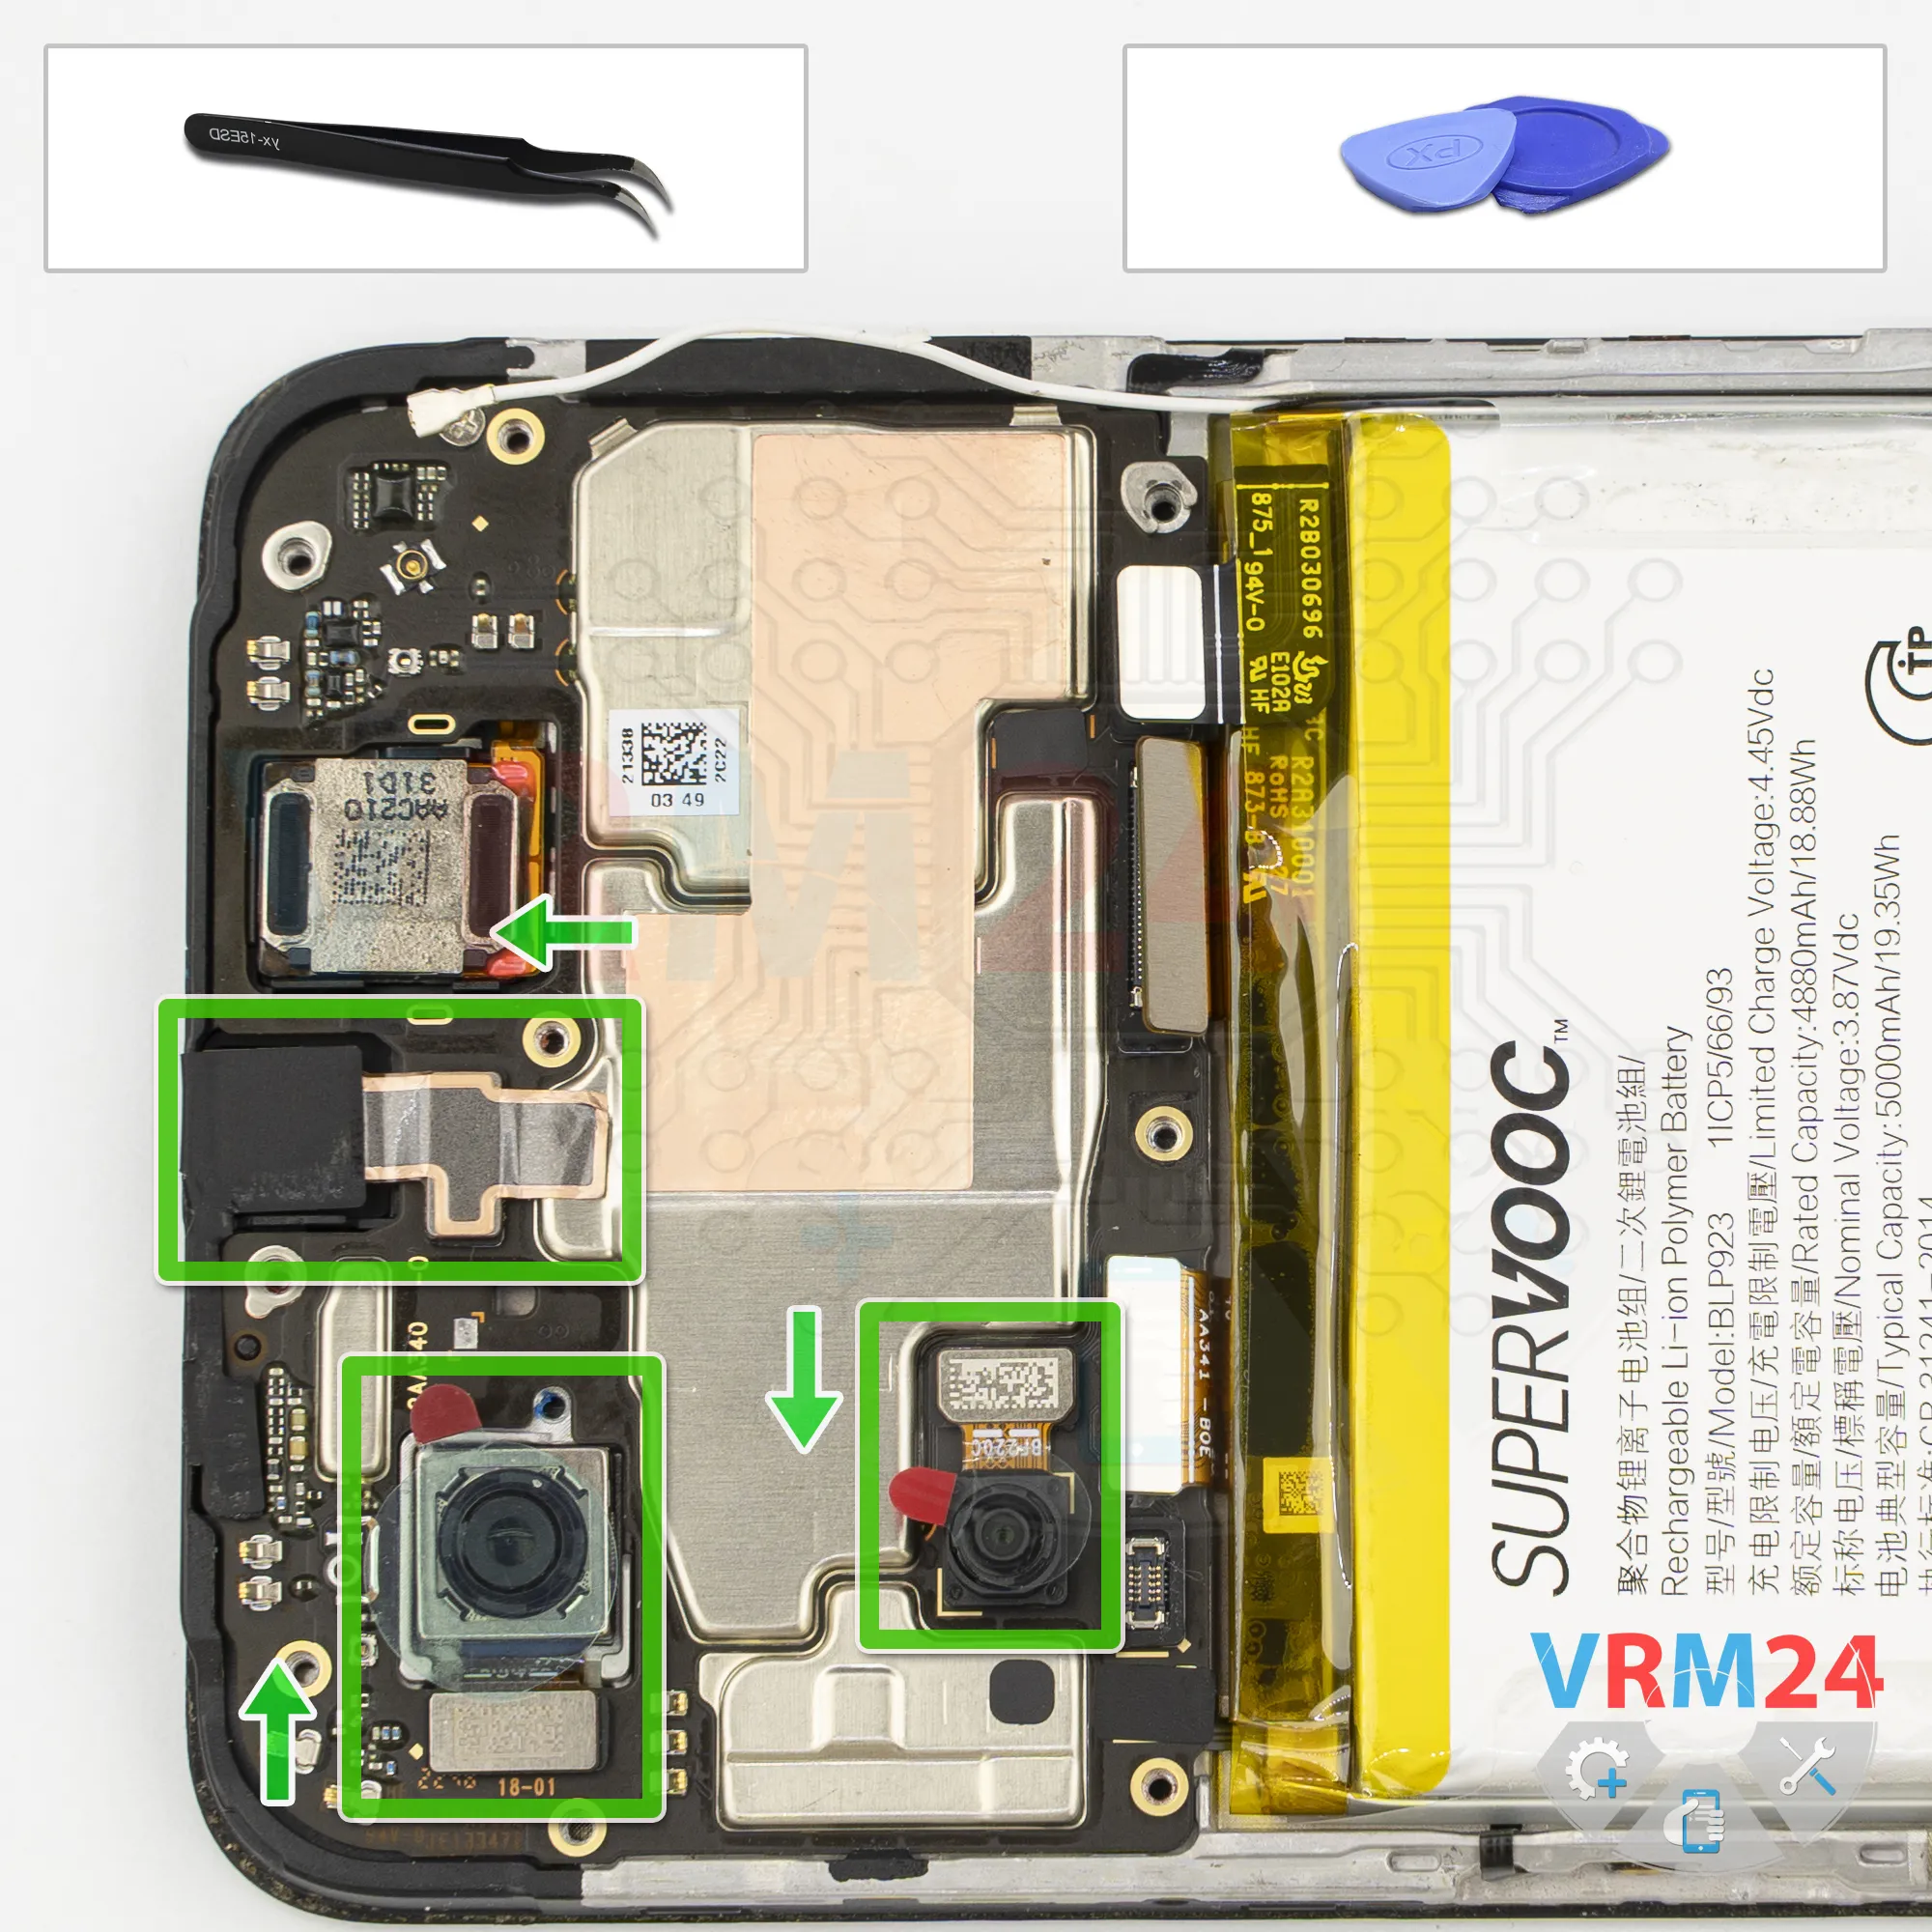
Remove the cameras
First, disconnect the cameras.
The camera modules may be glued to the display frame or to the shields on the motherboard.
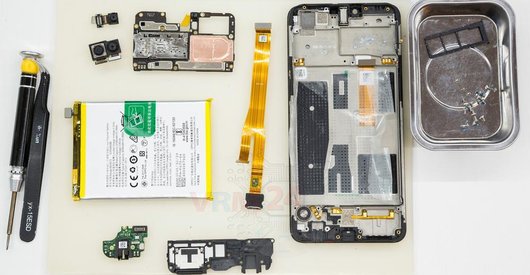
Carefully detach the cameras and set them aside.
We can also disconnect the front camera. As usual, carefully peel off the heat-dissipating film. We'll need it again during reassembly.
It's better to cover the front camera lens to keep dust and debris from getting inside.
And, of course, it's best to preserve all the adhesive pieces.
Step 16.
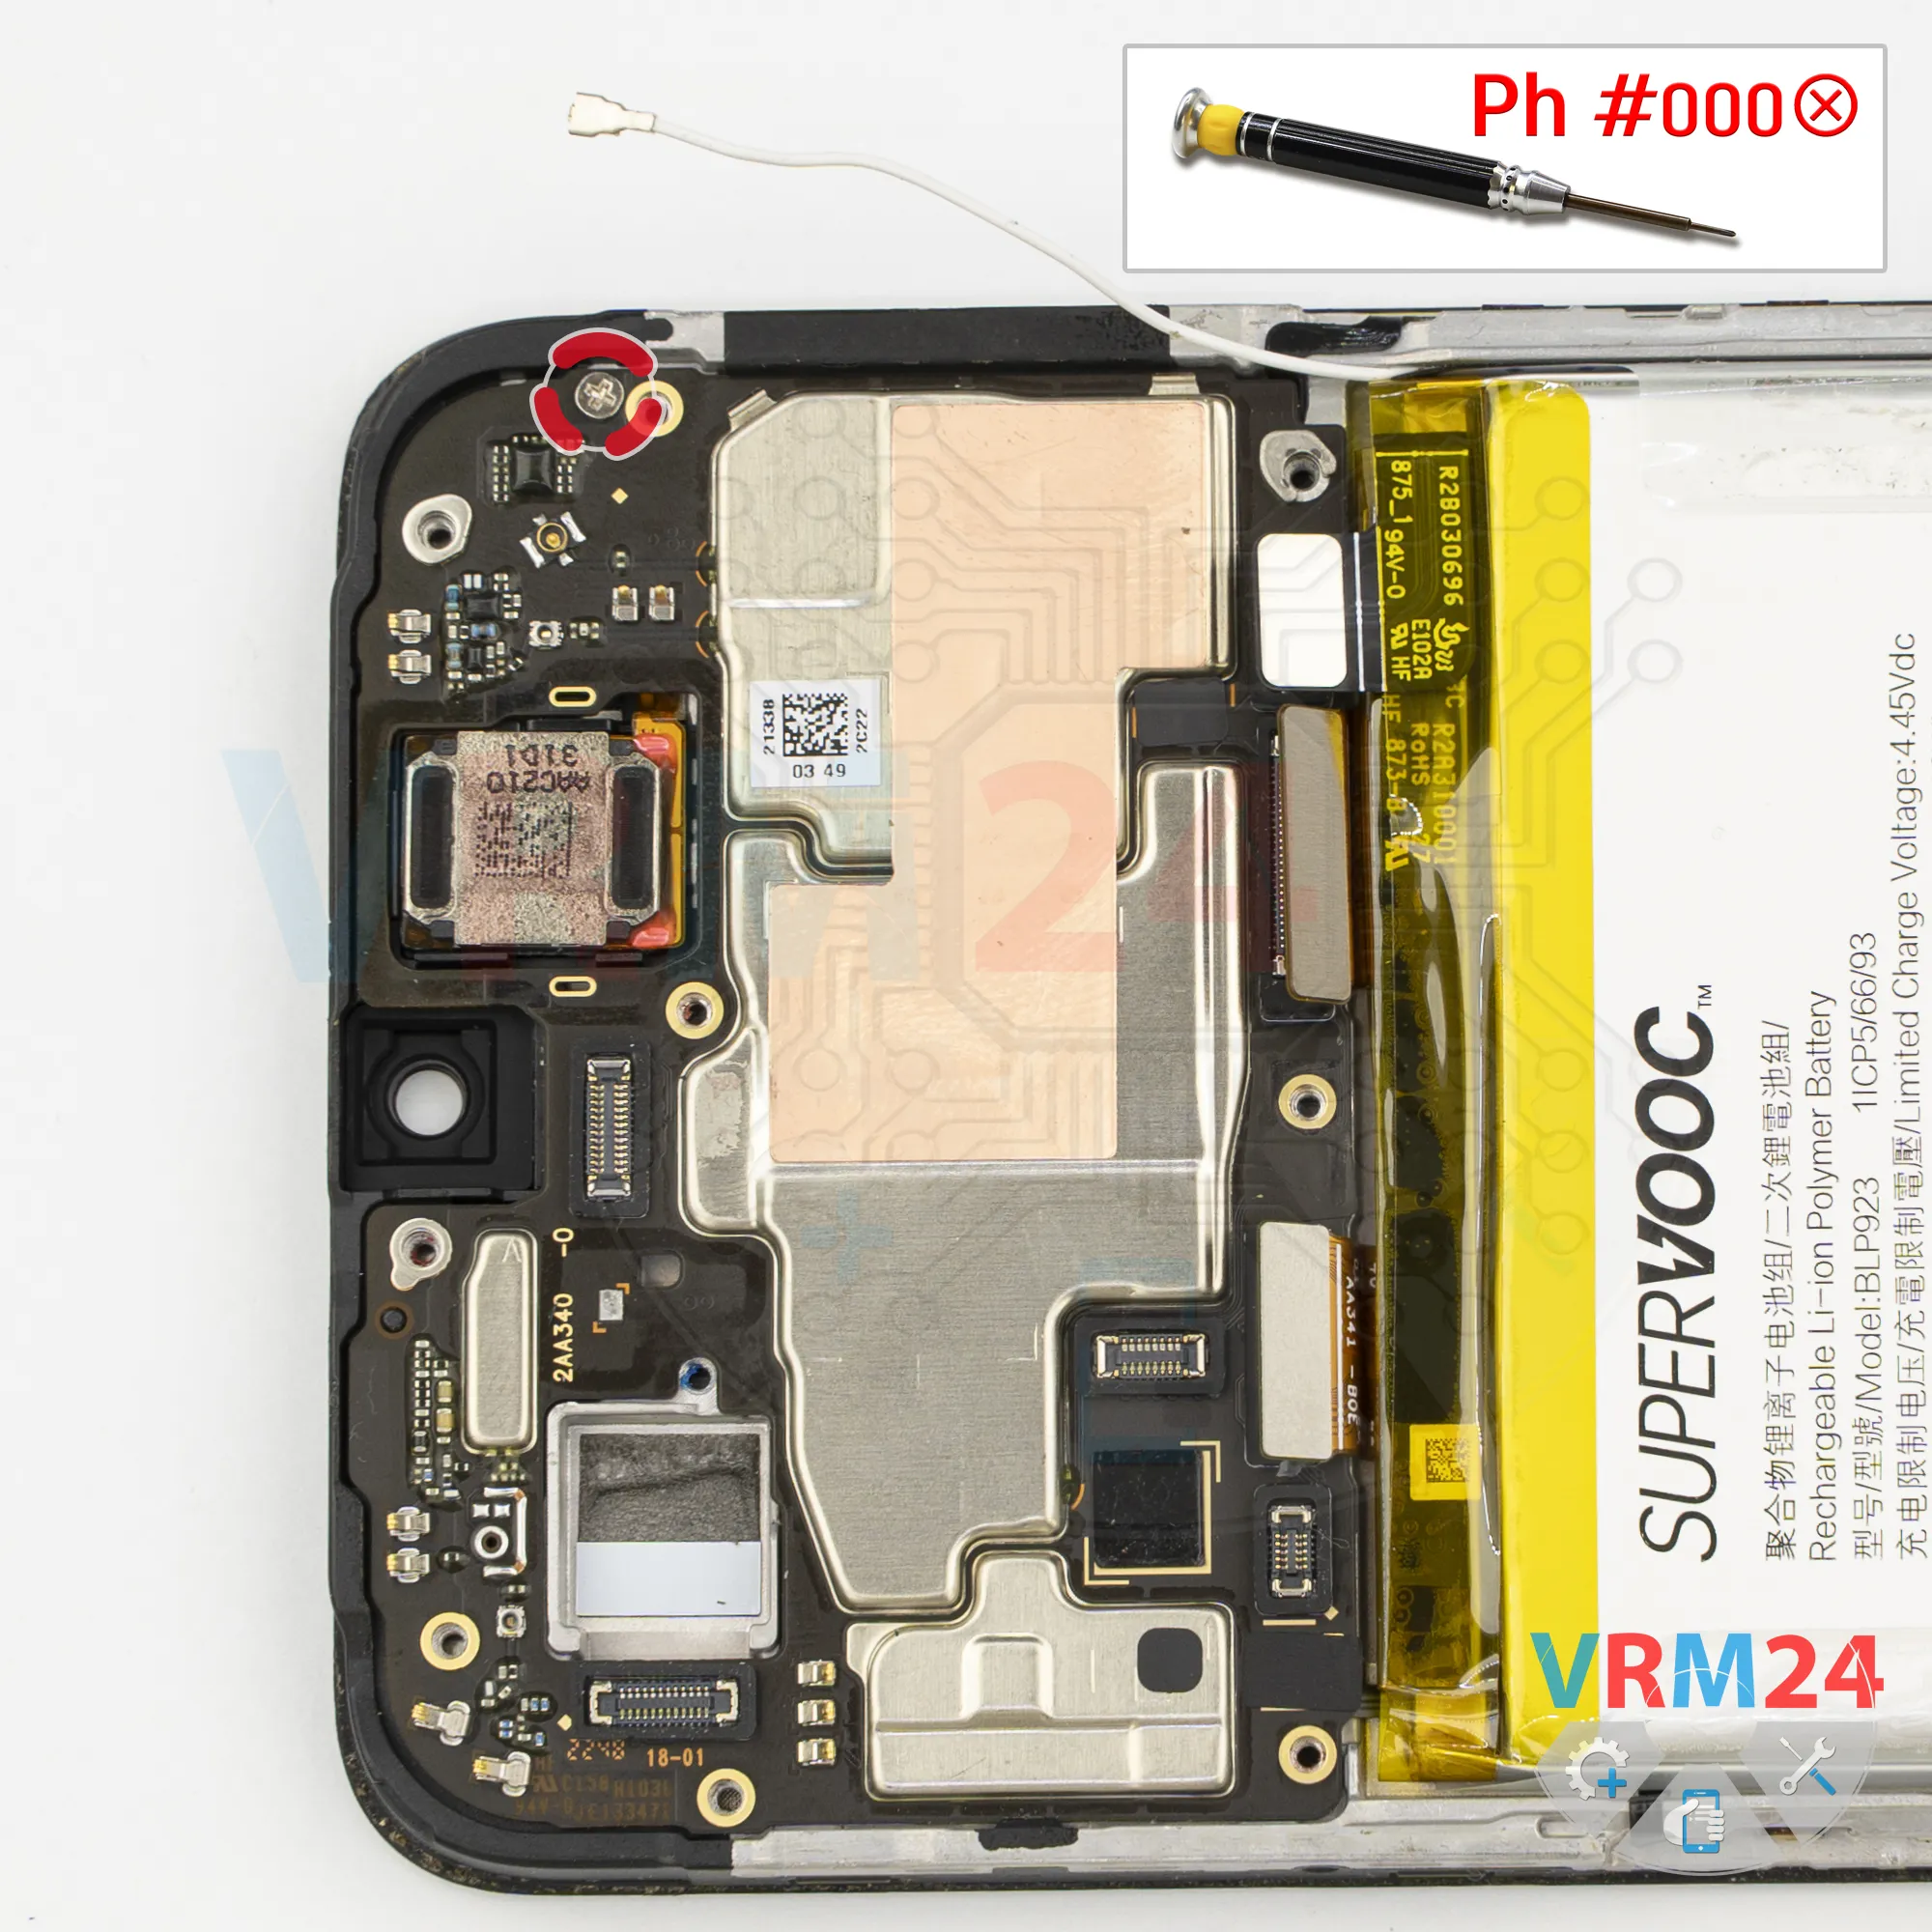
Unscrew one screw
Now we need to remove one screw that's holding the motherboard in place. Unscrew it.
This screw is different from the others, so it's better to keep it separate as well.
Step 17.
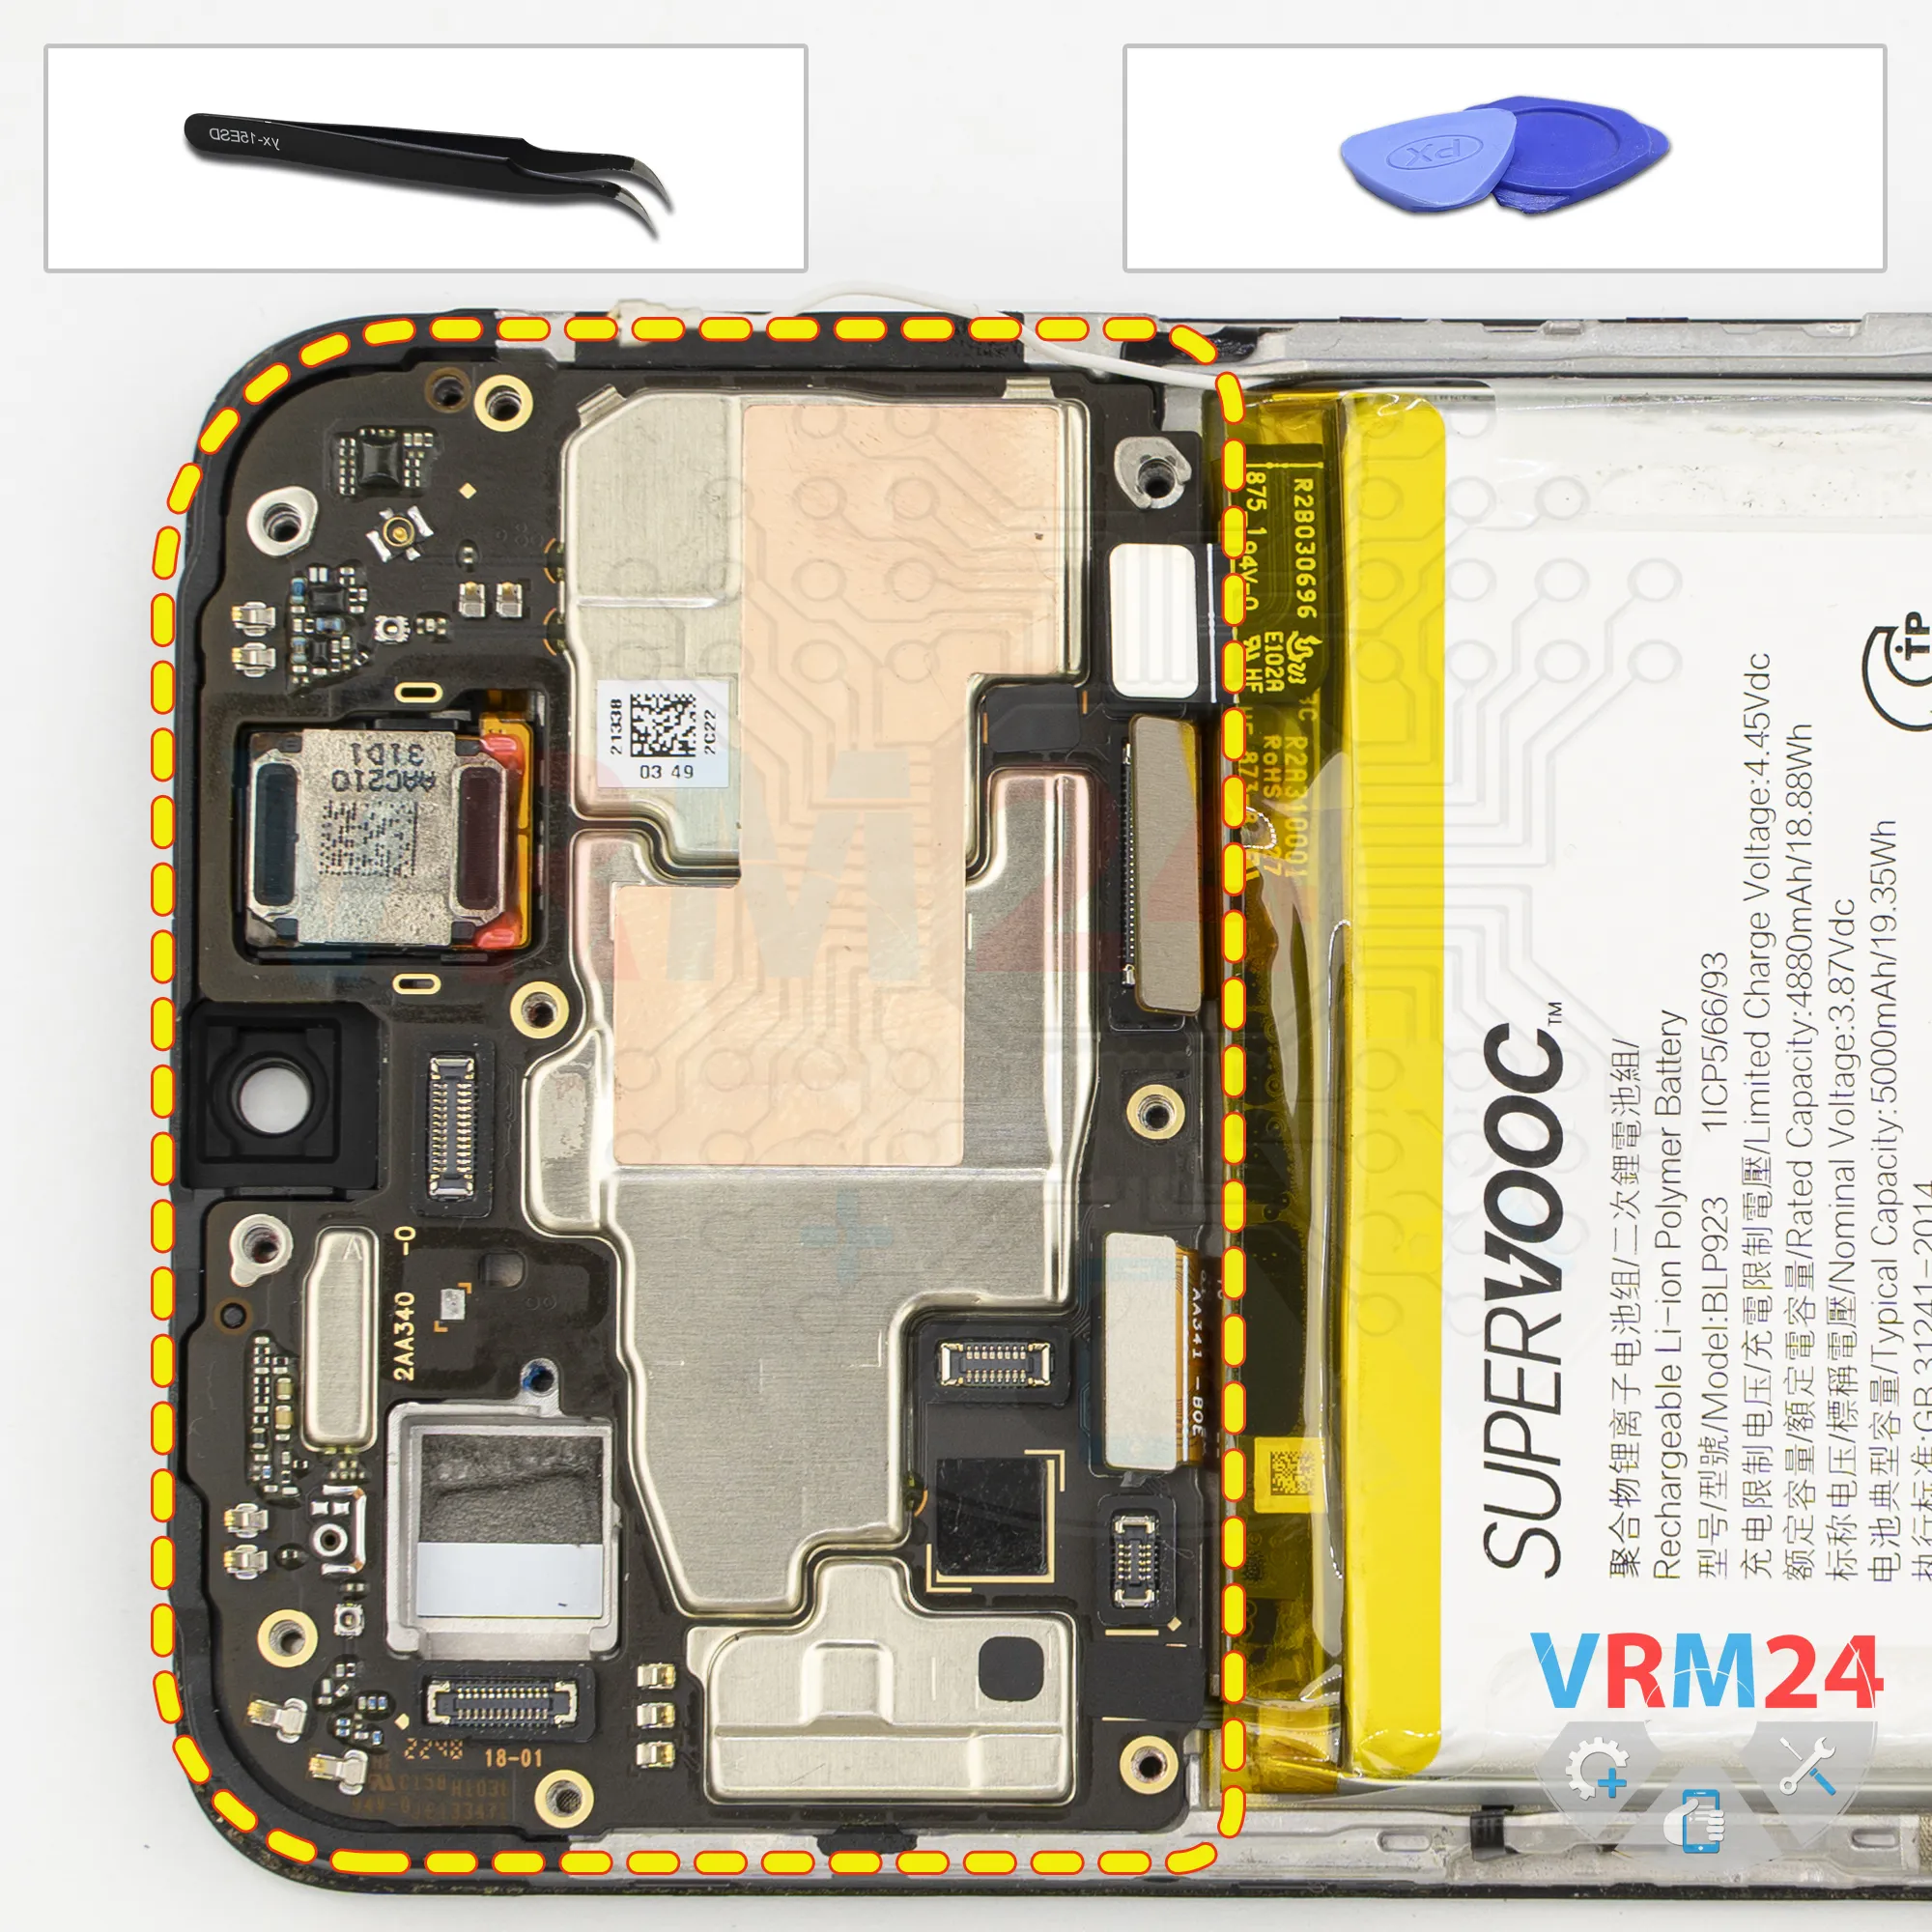
Remove the motherboard
Make sure there are no screws left. Then carefully pry up the motherboard by the edge and remove it.
The motherboard may be held in place from underneath by thermal paste.
Step 18.
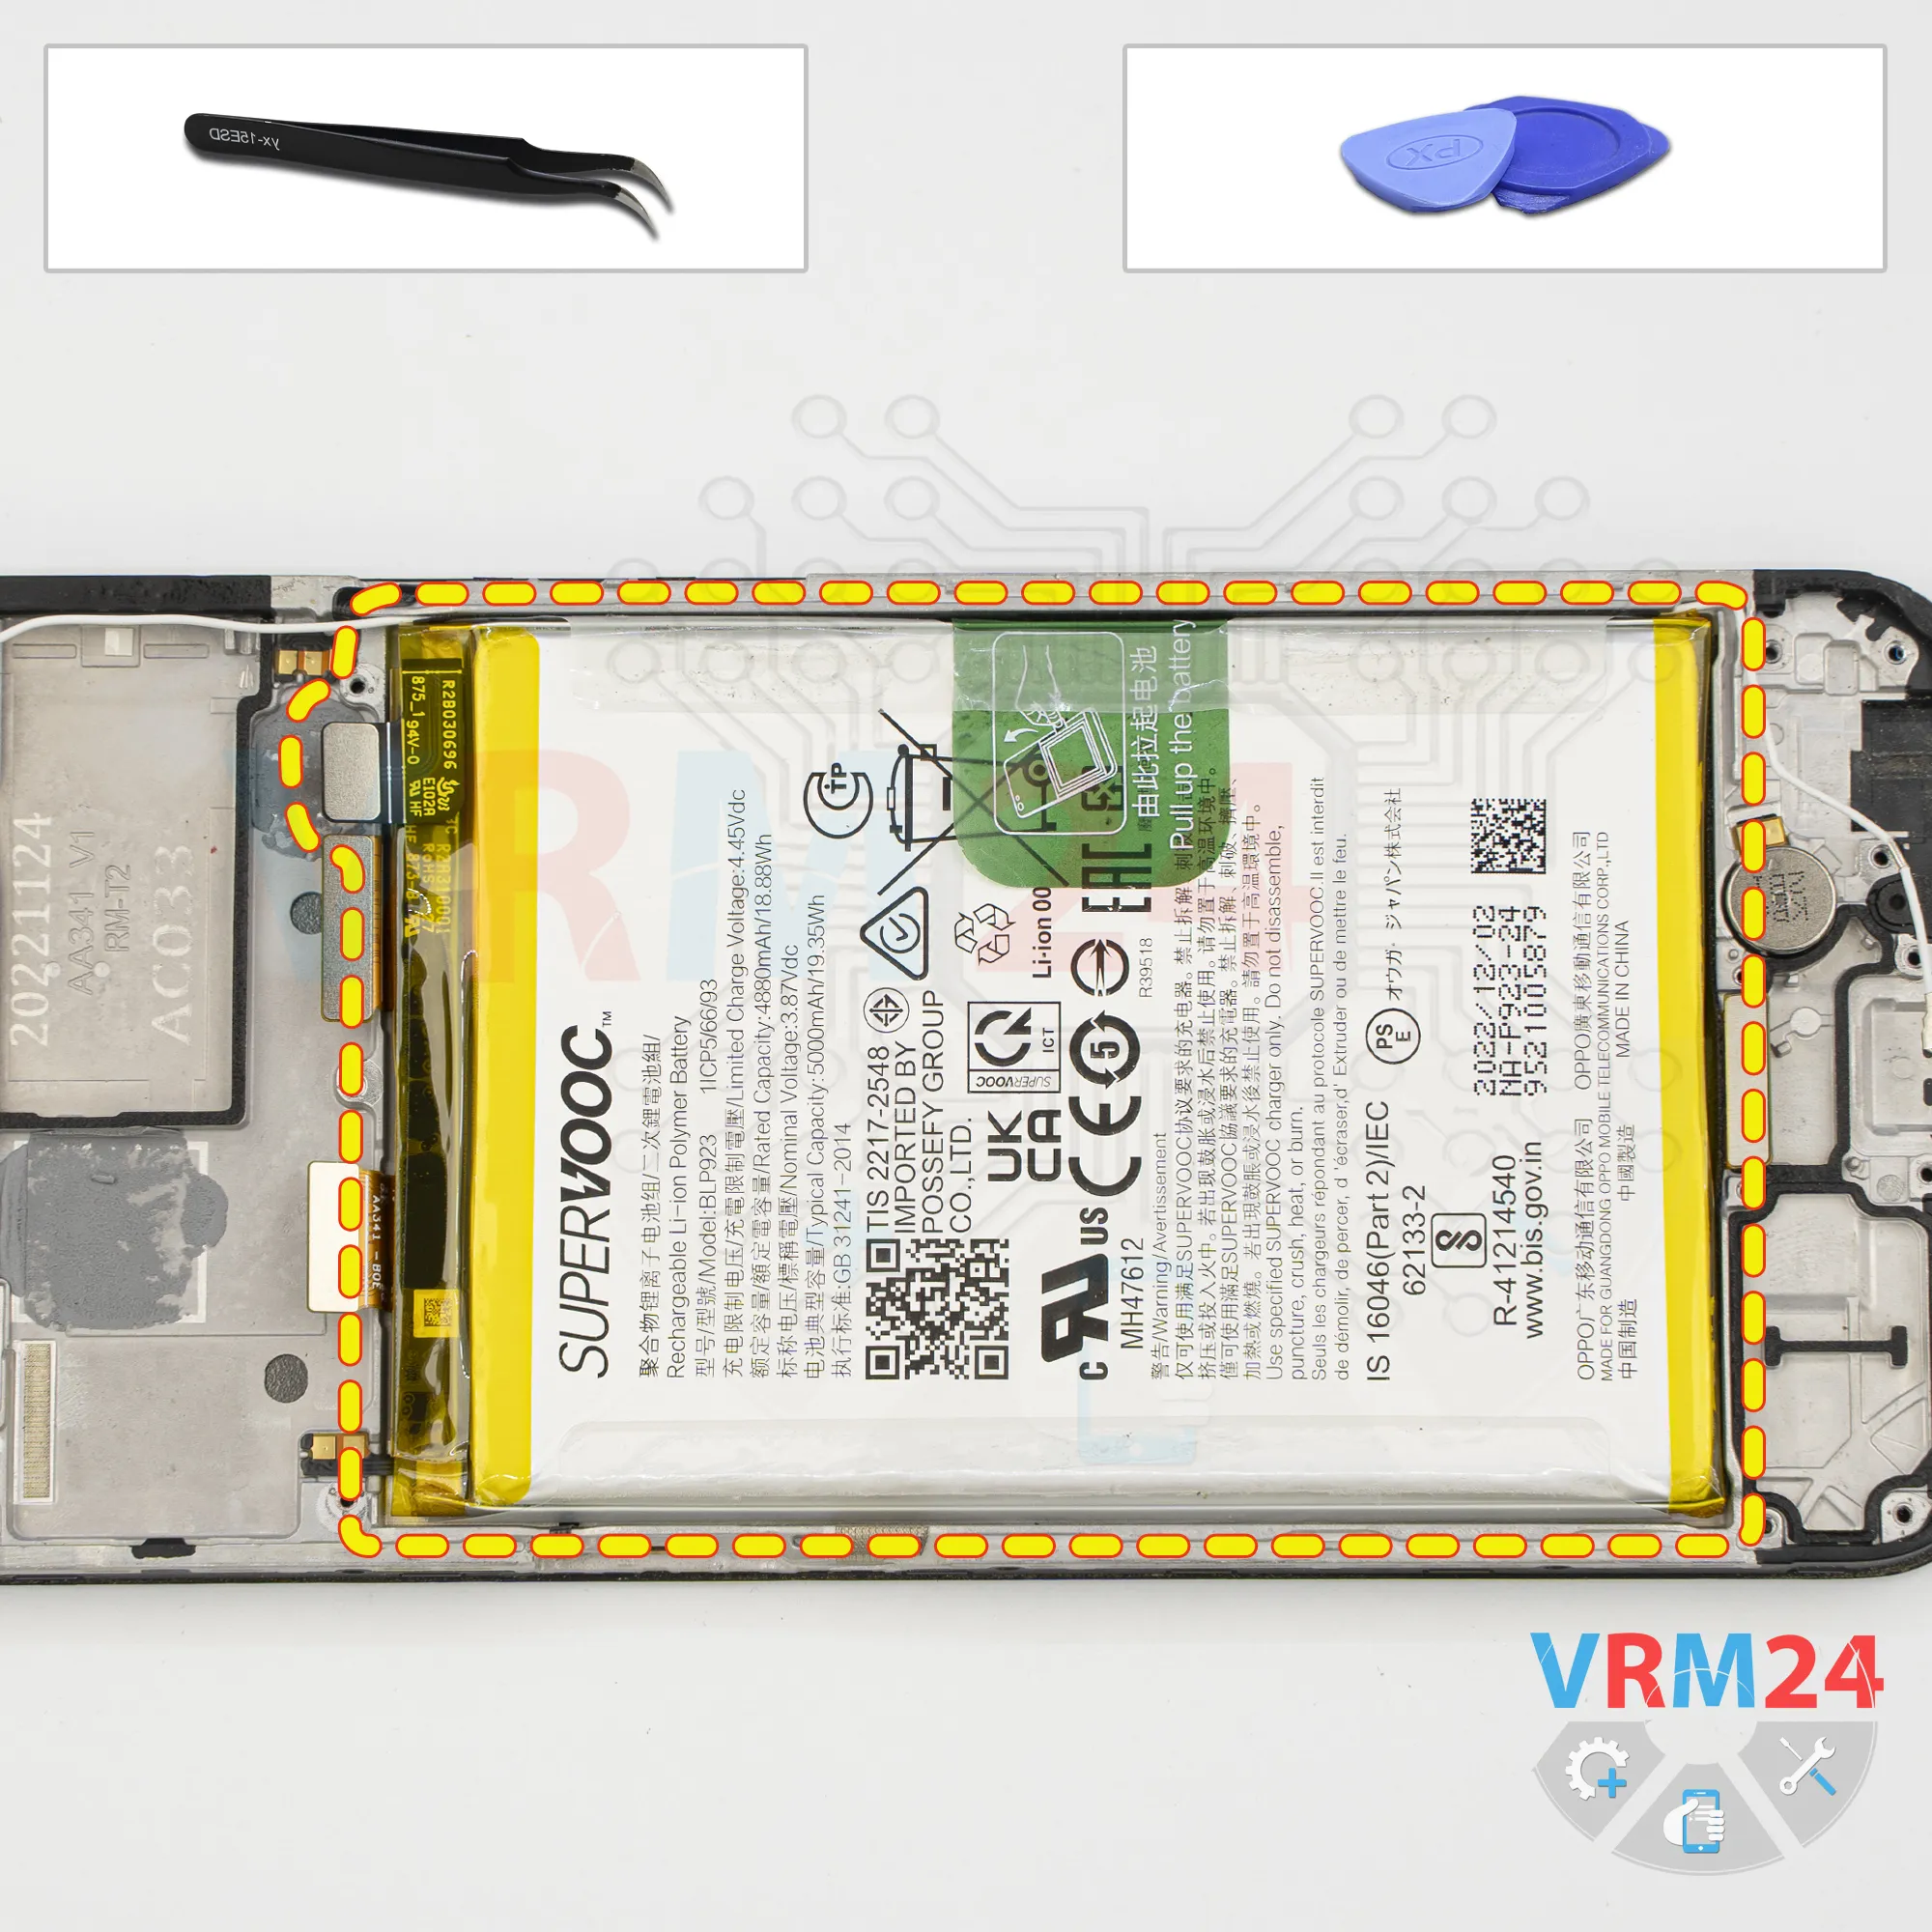
Remove the battery
Finally, let's remove the battery.
As usual with Oppo phones, there's a transparent protective film that we need to fold back, along with a green pull tab that we need to lift and gently pull upward.
For some reason, the tab is glued down quite firmly on this phone.
Carefully peel it loose and fold it back. Fold the transparent film out of the way, then pull the green tab upward. And remove the battery.
Underneath the battery, there's a transparent adhesive protective film that protects the interconnect flex cables.

If you have a question, ask us, and we will try to answer in as much detail as possible. If this article was helpful for you, please rate it.

30
Views
0
Likes
—
Share
0
Questions
Related Instructions
Related Reviews
Related Blog
Popular Questions

Oppo A9 (2020)
where is wifi ic on oppo f11
d33p
S
LG X Power K220
Hey, do you know where I can get a board diagram for this phone (LS 755)? I need to recover some data from the eMMC chip and I need to see where the…
ShadowXgaming8
L
Samsung Galaxy A7 (2017) SM-A720
Cuanto me cuesta la compra completa de el display y el táctil y tapa tracera con bateria nueva de un samsung galaxy A7 2017
Lesyani Romero2
Samsung Galaxy Watch Active 2 SM-R820
I have a galaxy active 2 and one day while In was wiping the watch, the screen became unresponsive to touches. It seems to have random touches now. t…
team
S
Asus ZenFone 3 Max ZC520TL
Good morning, I would like to know which is the sensor to know if the device has been wet
Sebastian Rico4Top instructions
Check our
Top Oppo instructions most liked by readers
New instructions
Check our
New Oppo brand instructions on vrm24.com