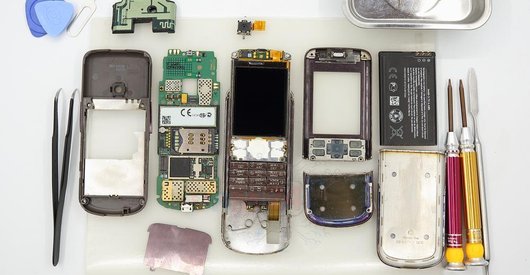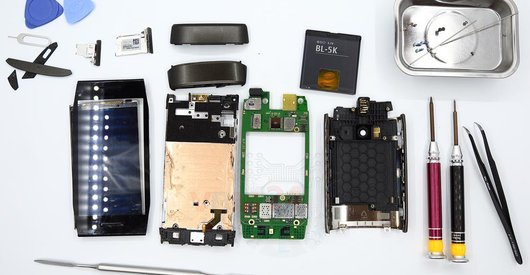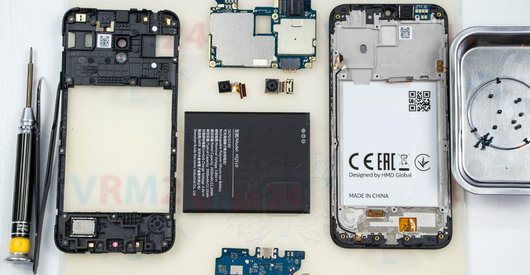




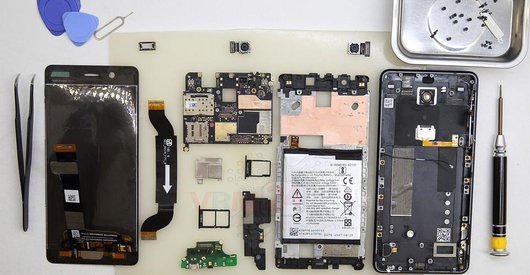
Recommended tools
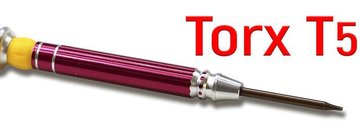
Screwdriver Torx T5
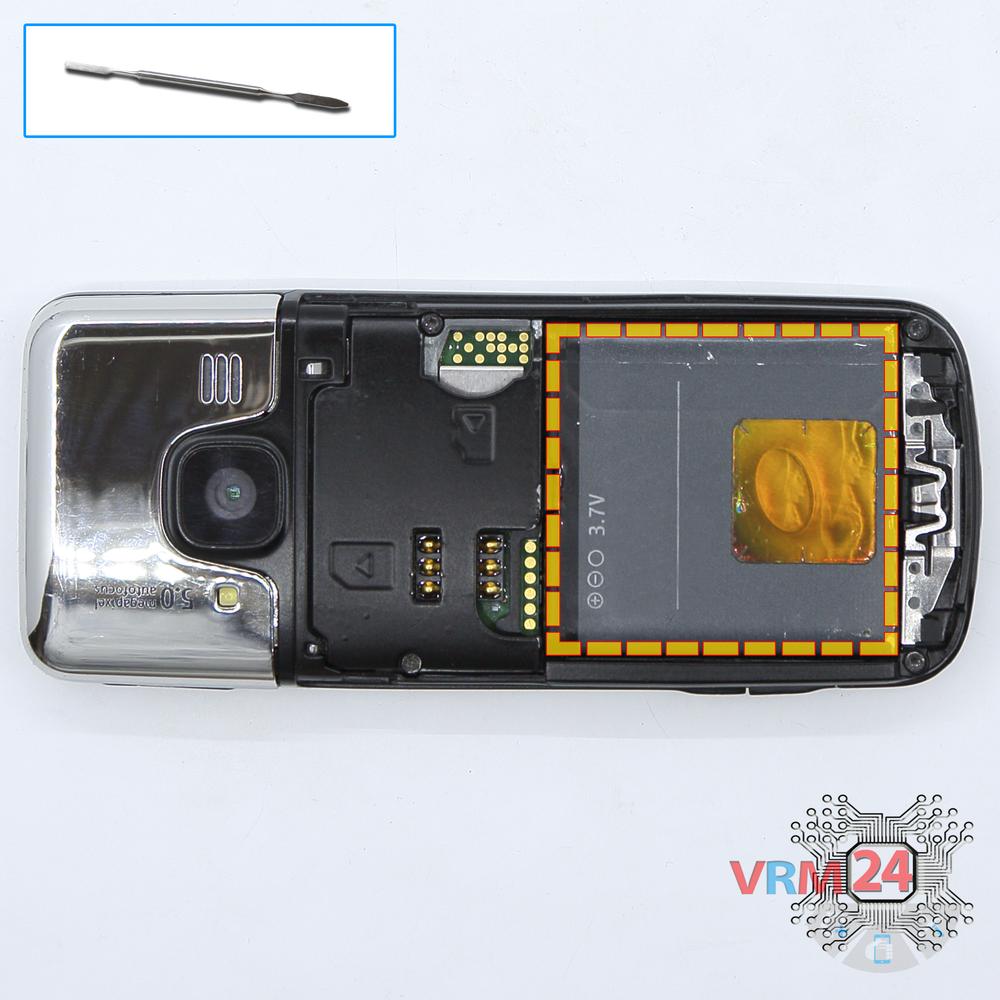
Opening tool / Spudger

Tweezers

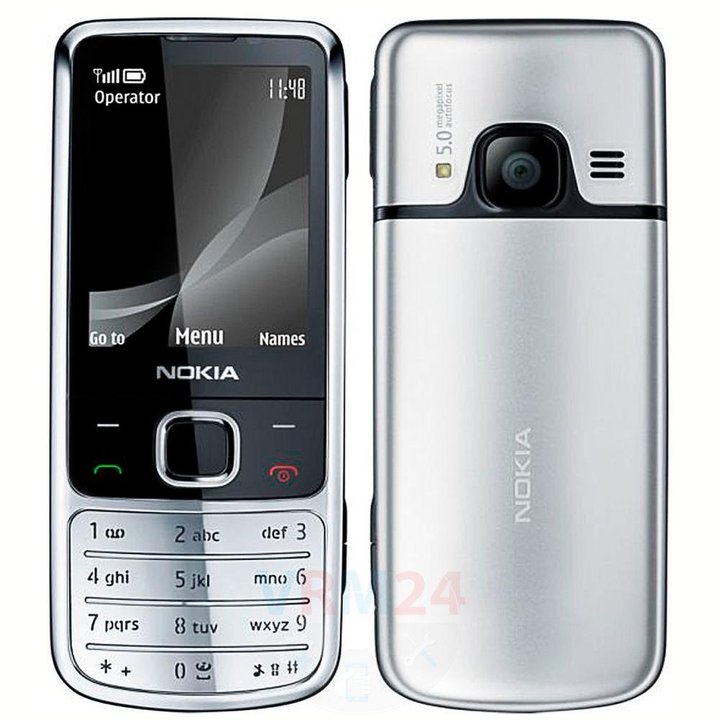
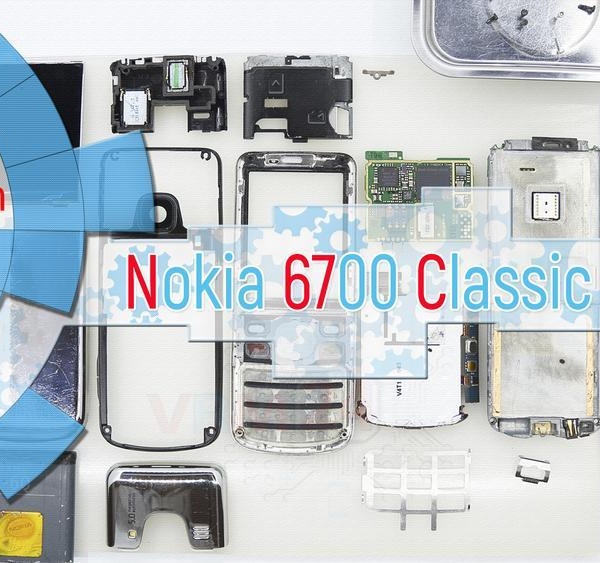
Disassembly/Repair of the mobile device Nokia 6700 Classic RM-470 with each step description and the required set of tools.
10150
Views
0
Likes
—
Share
16
Questions

Step 1.
Open the back cover
Open the back cover.
Step 2.
Remove the battery
Lift and remove the battery.
Step 3.
Open the cover
Remove the upper cover.
Step 4.
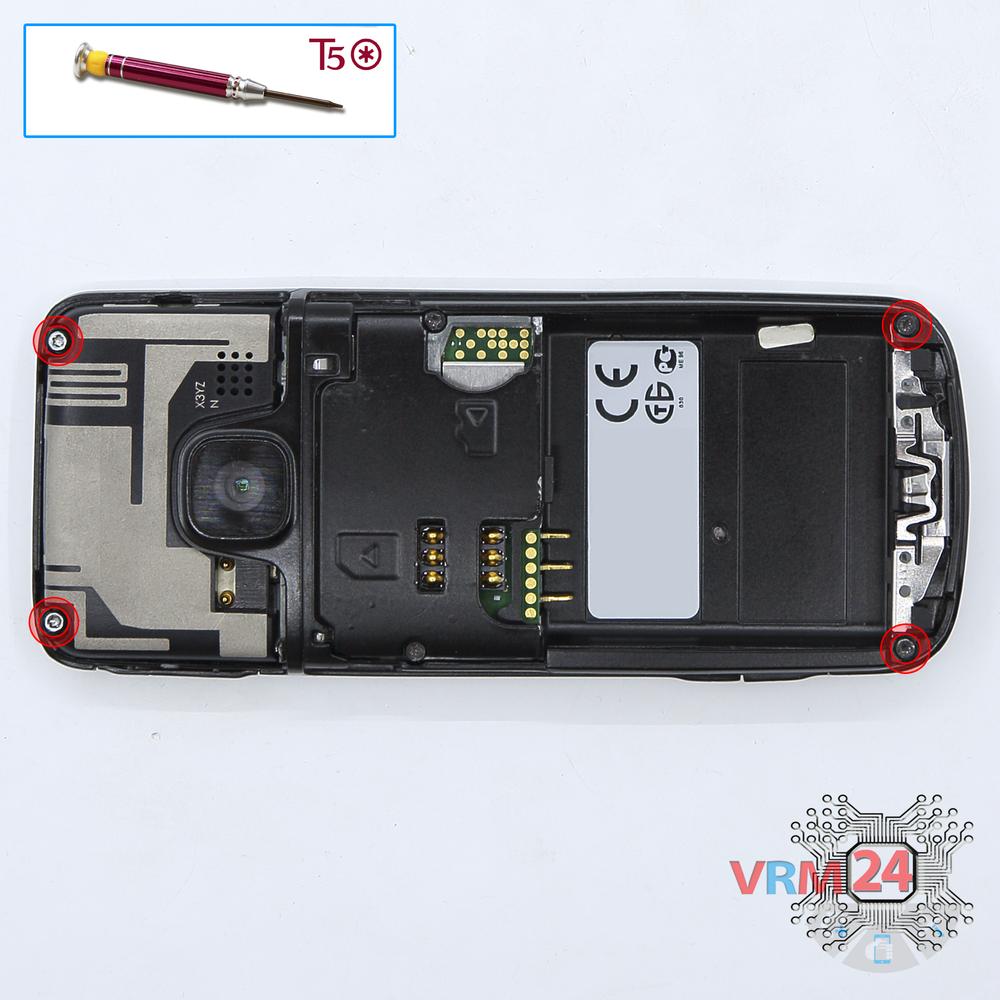
Unscrew the screws
Using a screwdriver (hex T5), unscrew 4 bolts in the frame of the phone.
Step 5.
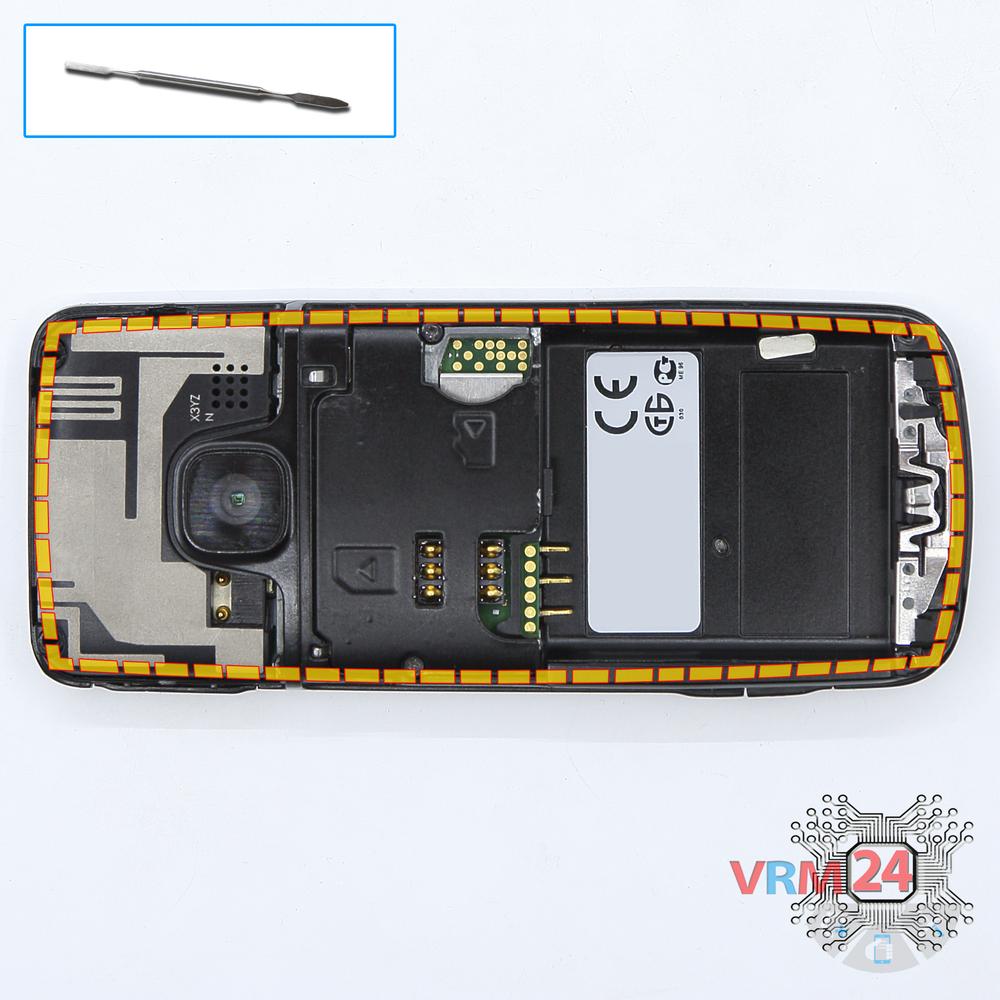
Open the mid-frame
Pry and remove the middle frame.
Step 6.
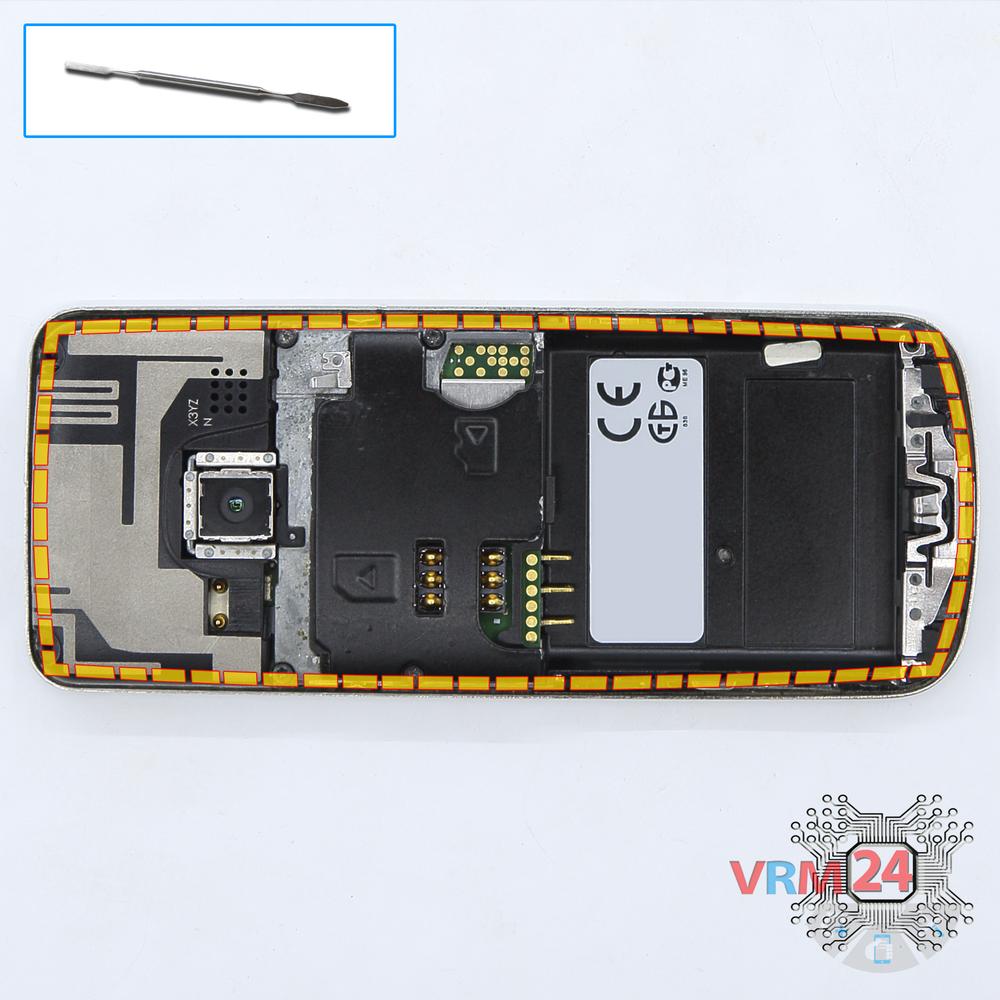
Remove the frame
Remove the front frame.
Step 7.
Open the cover
Pry and remove the cover with speakers. Also remove the key of volume buttons.
Step 8.
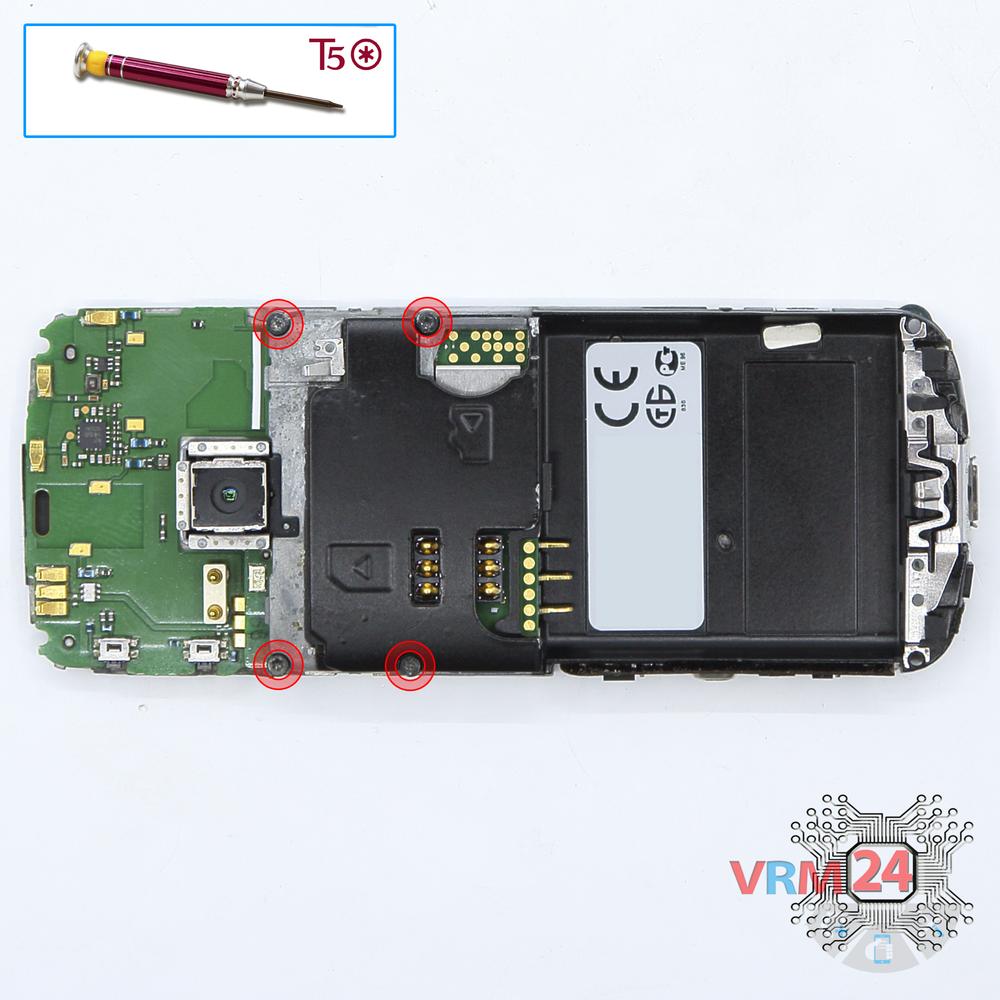
Unscrew the screws
Using a screwdriver (hex T5), unscrew 4 bolts in the middle cover.
Step 9.
Open the cover
Remove the cover hiding the chips.
Step 10.
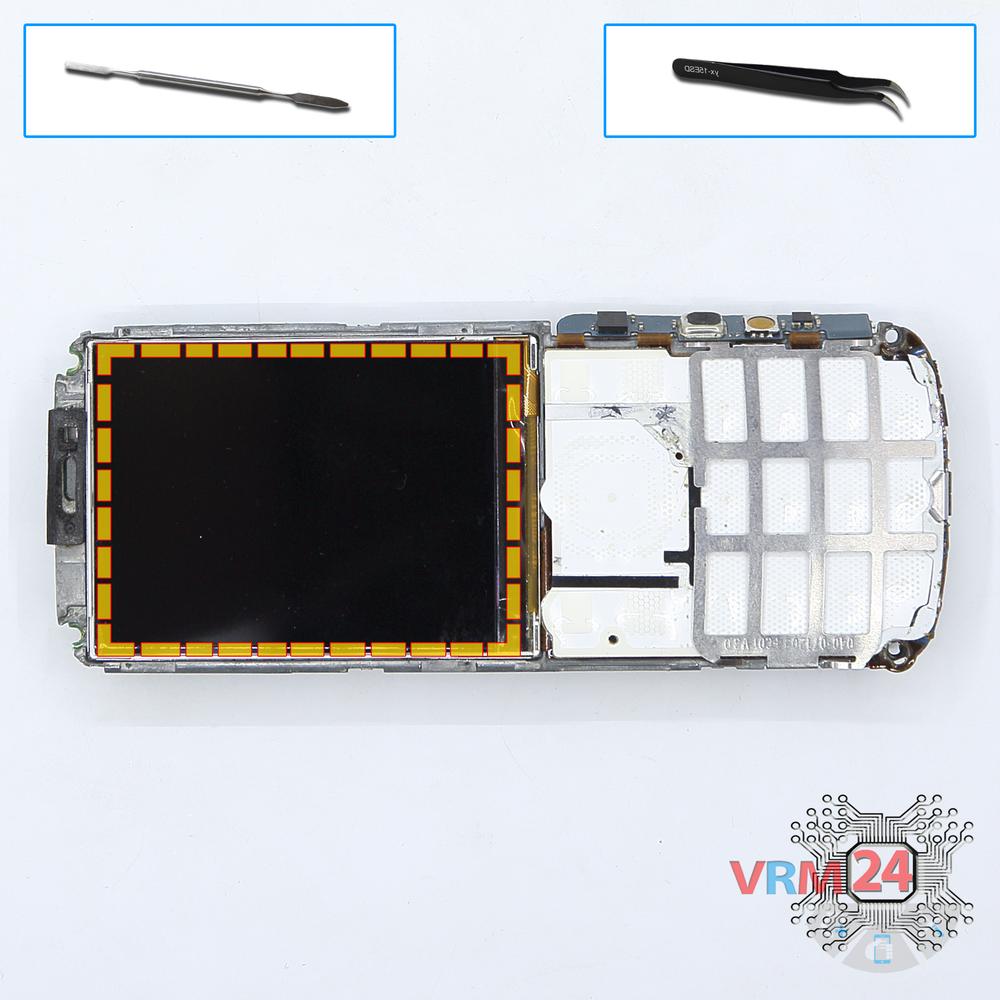
Open the display module
Lift the display up. Disconnect the connector on PCB, and remove the display.
Step 11.
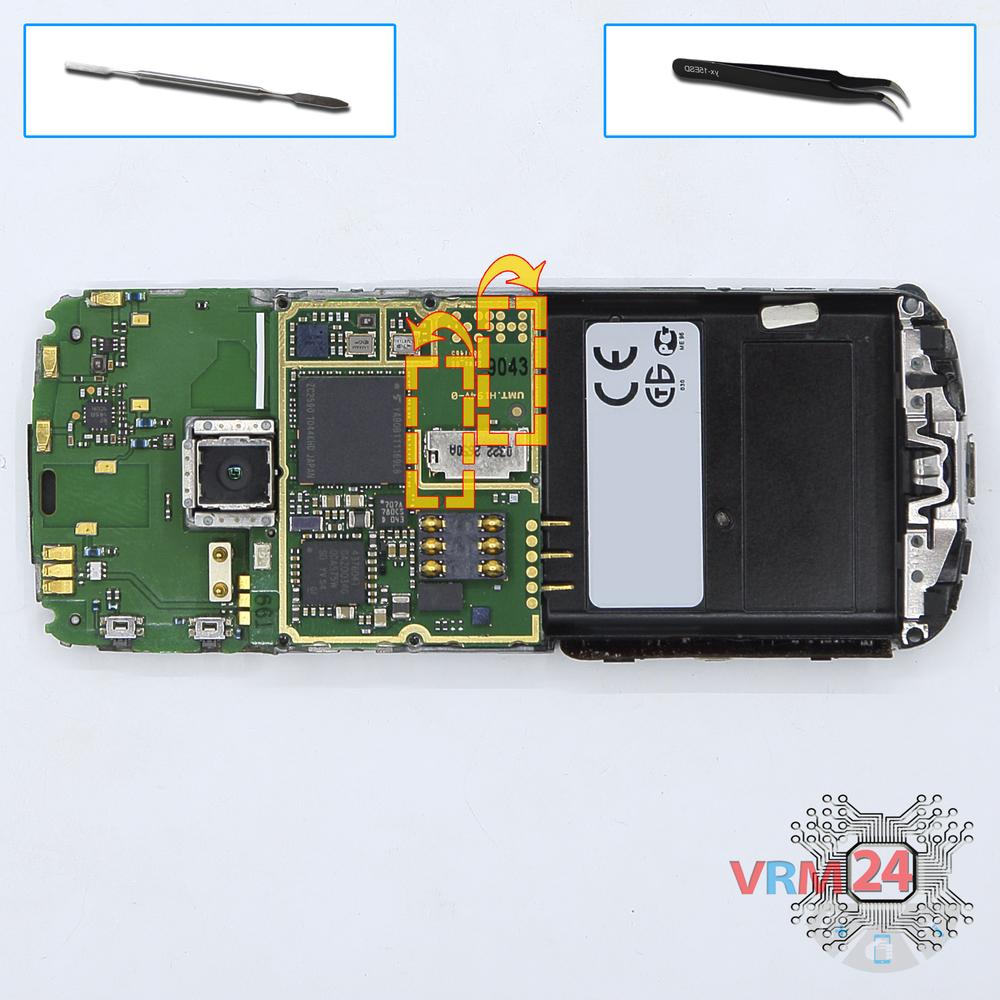
Remove the motherboard
Lift the PCB up, disconnect connector from the inside and remove the board.
Step 12.
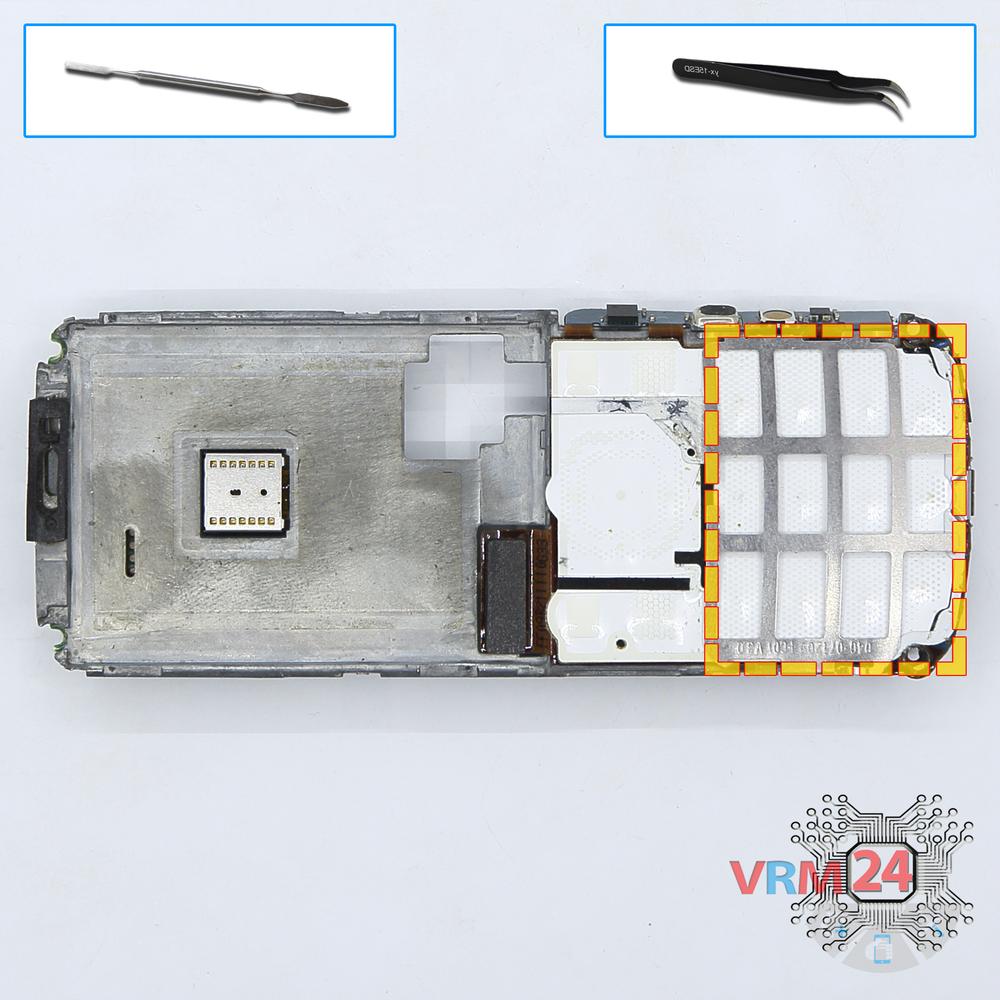
Remove the frame
Remove the keyboard frame.
Step 13.
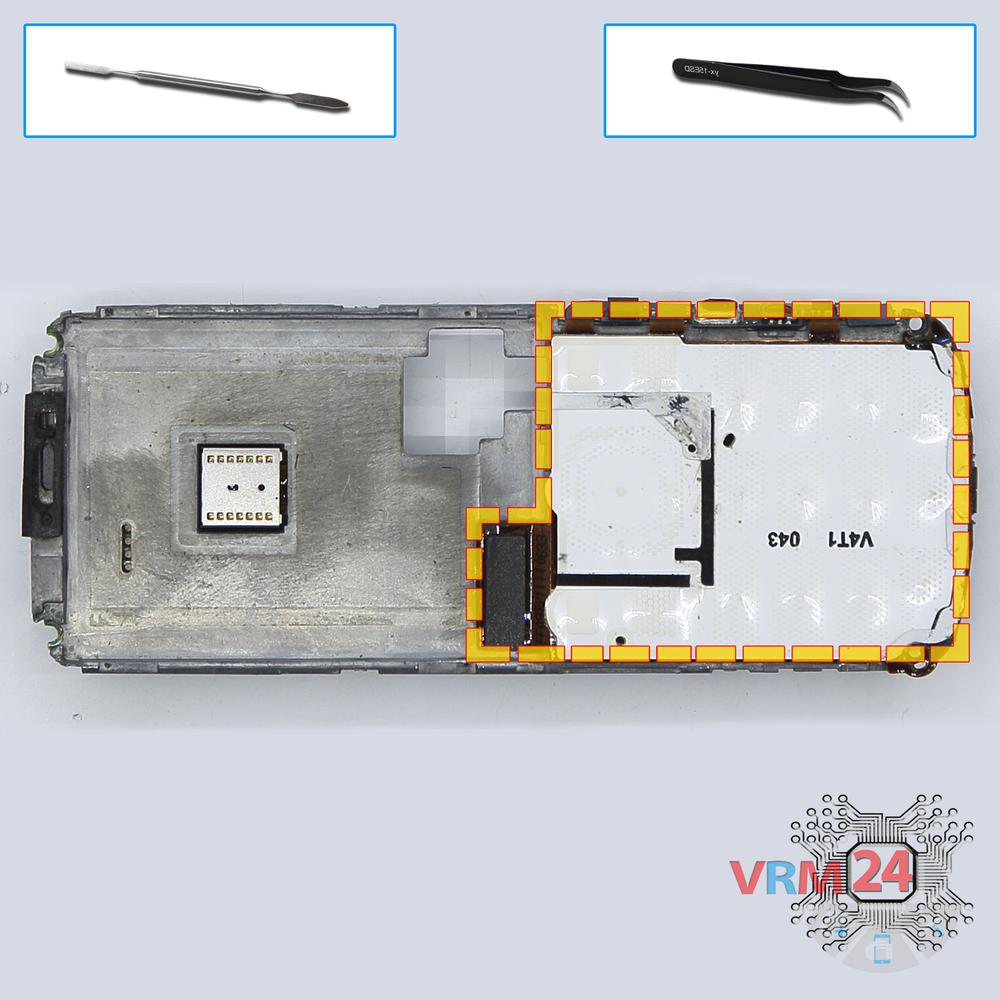
Remove the small board
Unstick the board with charging port and vibration and so important with keyboard buttons (also known as a substrate).
Step 14.
In the display frame remained
The frame.

If you have a question, ask us, and we will try to answer in as much detail as possible. If this article was helpful for you, please rate it.

10150
Views
0
Likes
—
Share
16
Questions
Related Instructions
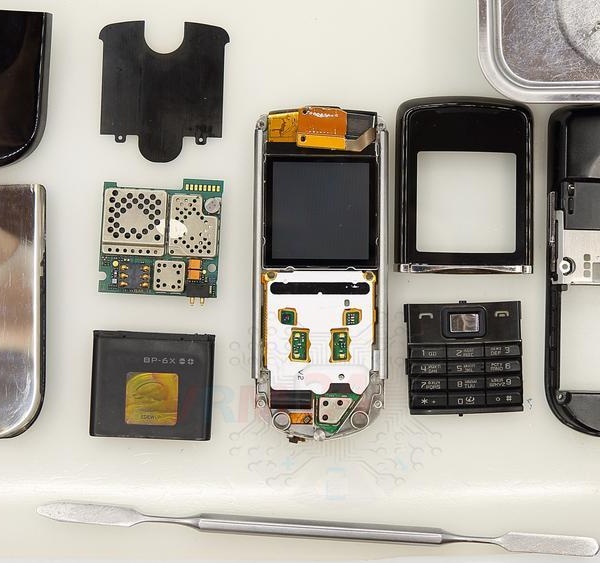
Related Reviews
Related Blog
Popular Questions

Nokia 6700 Classic RM-470
Please my screen has crush and spoil.. Need help urgently to repair and replace the screen for me
abdullah_banibila
Nokia 6700 Classic RM-470
My phone screen has damage need urgent help
abdullah_banibila
C
Nokia 5 (2017) TA-1053
This phone is extremely sensitive to drop damage. If it drops, you have a very high chance of the earpiece to fail. (Distorted sound, low volume). Th…
ComputersHowtos12
V
Nokia Lumia 630 RM-978
If we can open it is it possible to exchange the ram?
Vigneshwar5
Nokia 6.1 TA-1043
Hello, My display only shows black. But if you look closely, you can see the AndroidOne logo faintly visible in black bold type on the display. If th…
ralf-holgerTop instructions
Check our
Top Nokia instructions most liked by readers
New instructions
Check our
New Nokia brand instructions on vrm24.com