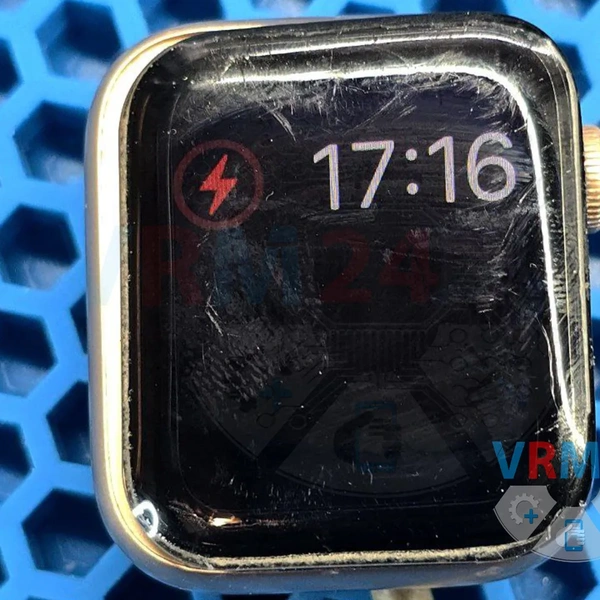


Before starting the repair, make sure to turn off the watch.
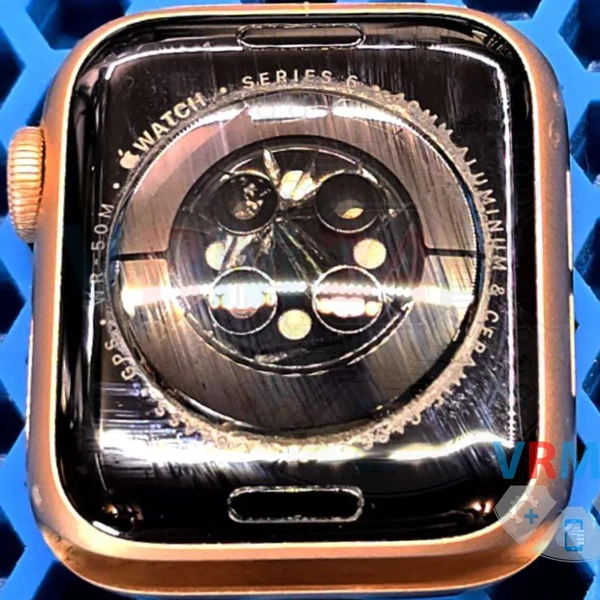
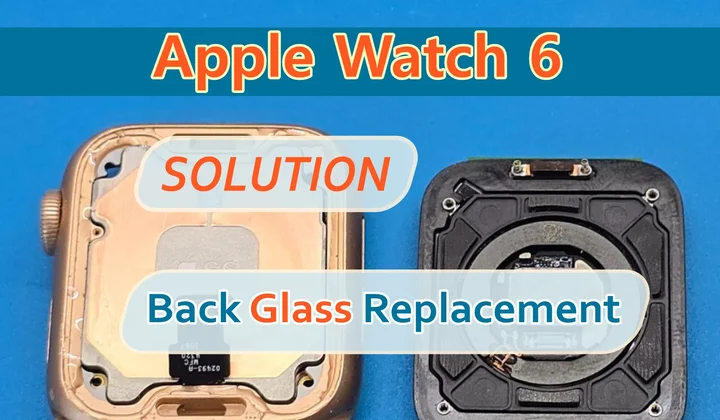
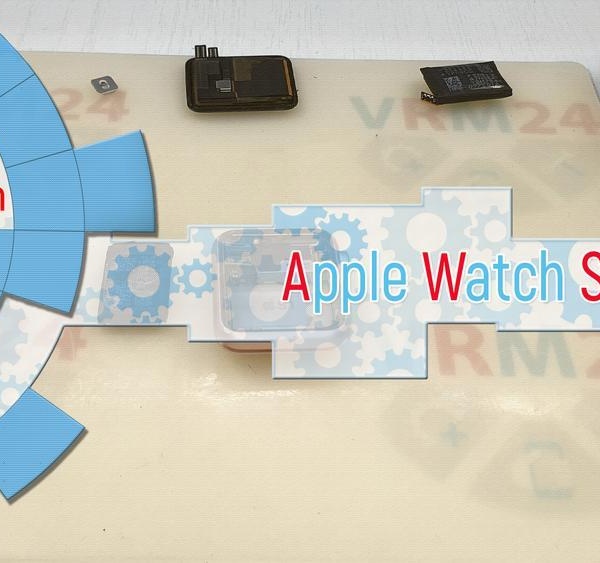
Today, we’re working on an Apple Watch 6 repair to replace the back glass.
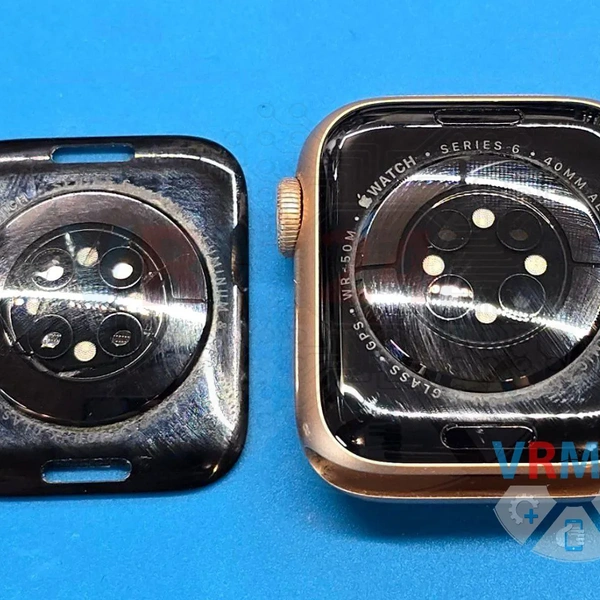
This watch has already had its display glass replaced before, and this time we’ll be replacing the entire back case assembly, including the sensors and charging module.
⚠️ These same steps apply to Apple Watch models 4, 5, SE, SE2, 6, 7, and 8. The process is exactly the same! 😊
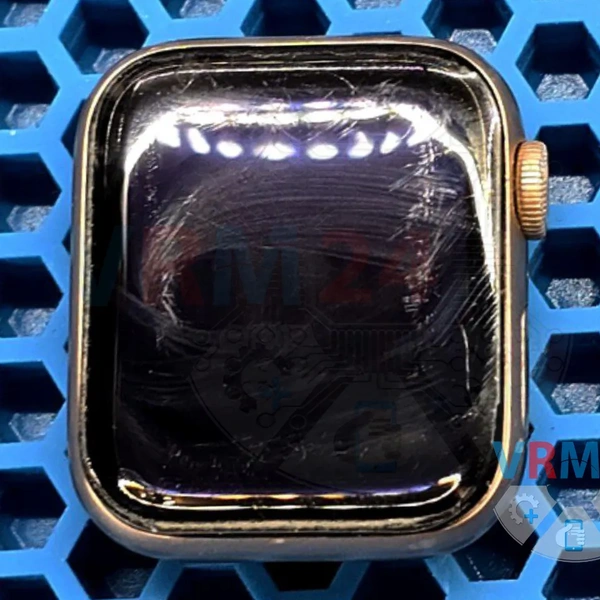
1️⃣ As usual, we start by removing the display adhesive.
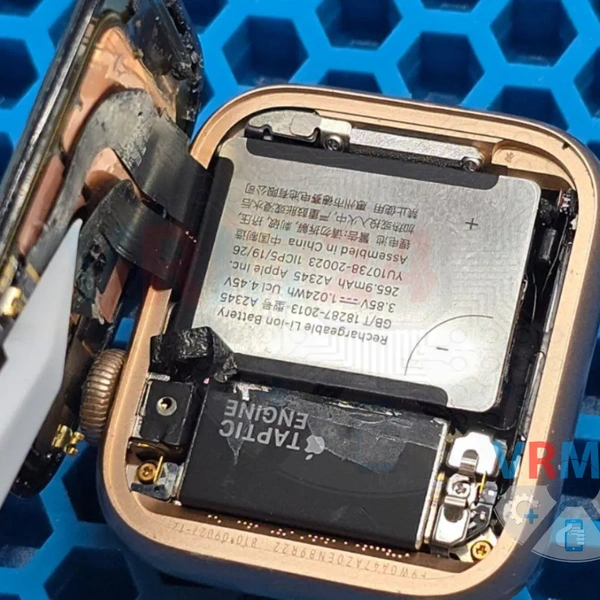
2️⃣ Disconnect the battery and remove it, then take out the display module.
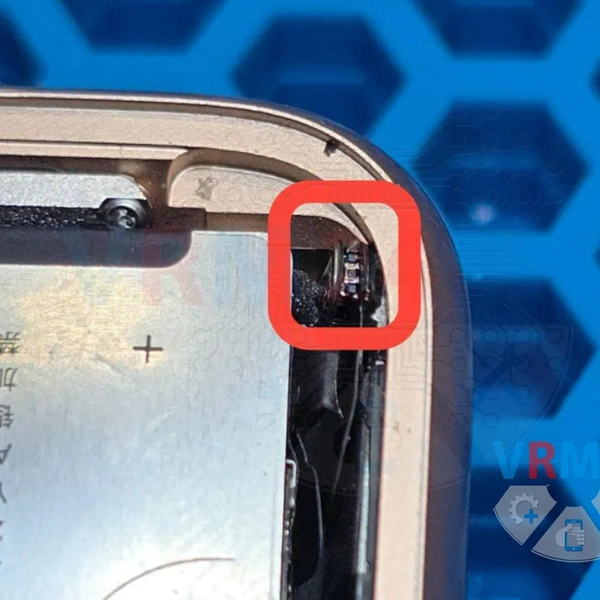
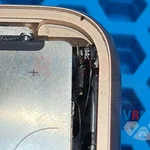
3️⃣ Unscrew the four screws holding the vibration motor in place.
☝️ All the screws are different (Tri-Wing, Phillips, and varying lengths), so it’s best to organize them in a way that avoids confusion during reassembly!
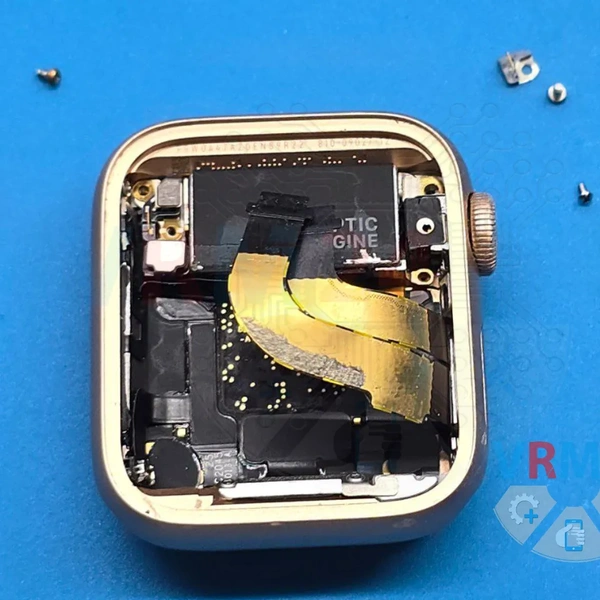
4️⃣ Disconnect the vibration motor’s ribbon cable.
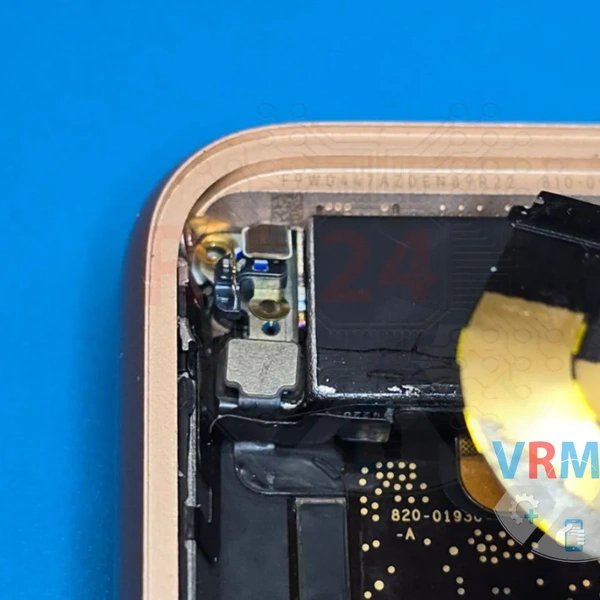
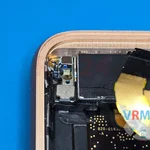
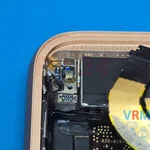
Remove the vibration motor.
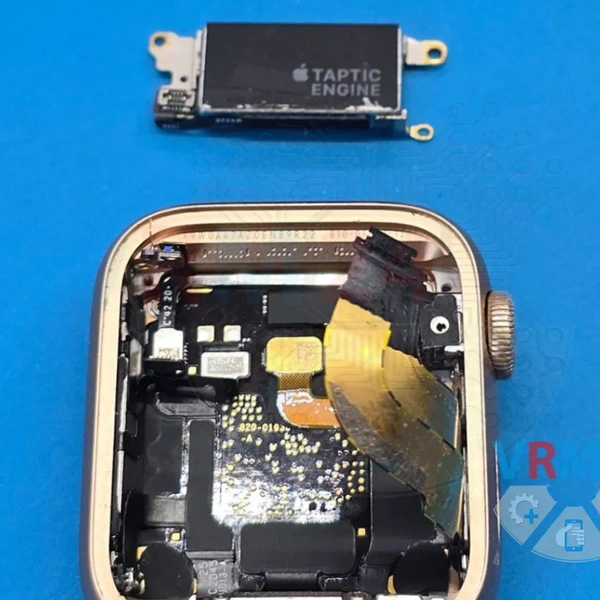
5️⃣ Disconnect the antenna ribbon cable.
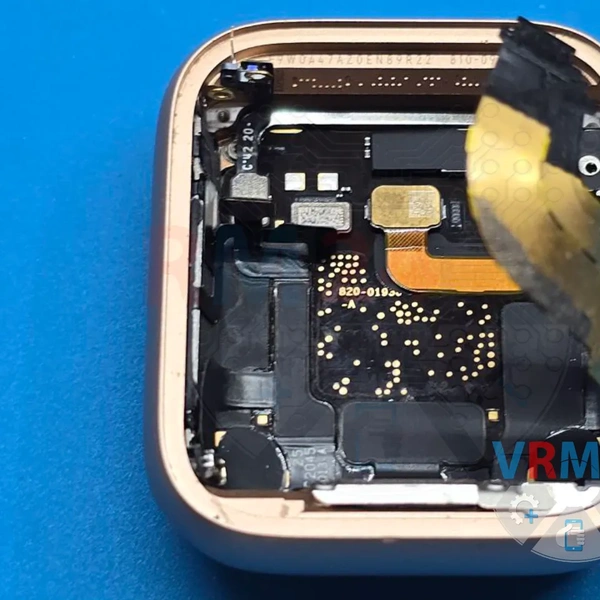
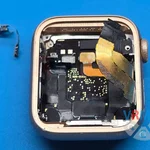
6️⃣ Unscrew the two Tri-Wing screws and remove the metal bracket.
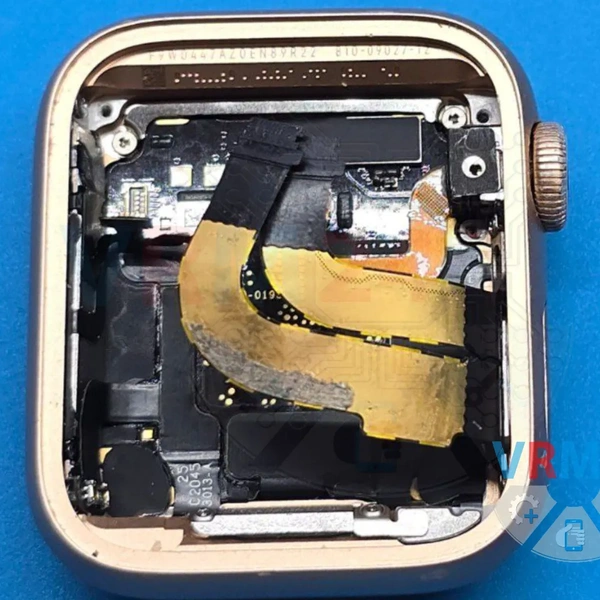
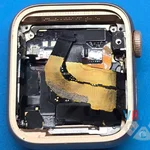
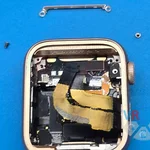
7️⃣ On the other side, under the black stickers, unscrew two more screws.
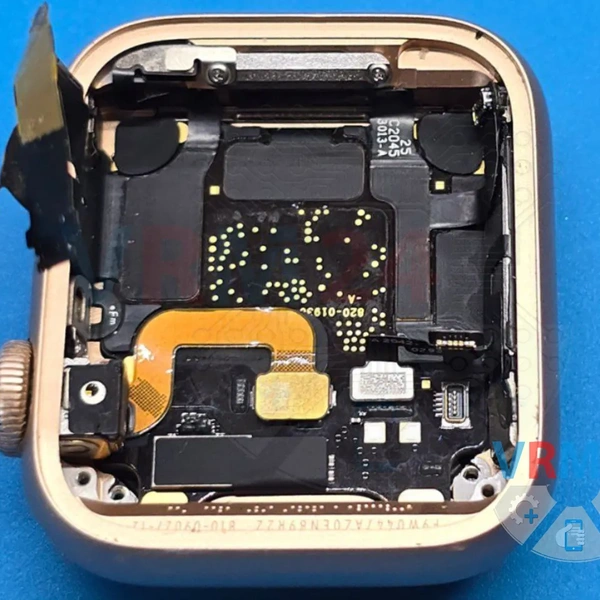
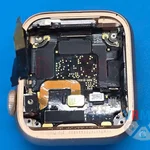
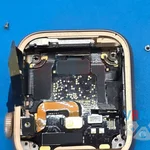
8️⃣ The back cover is held in place only by adhesive.
Press on the corner of the back cover, right where the screw is located (it’s recommended to preheat the back cover first).
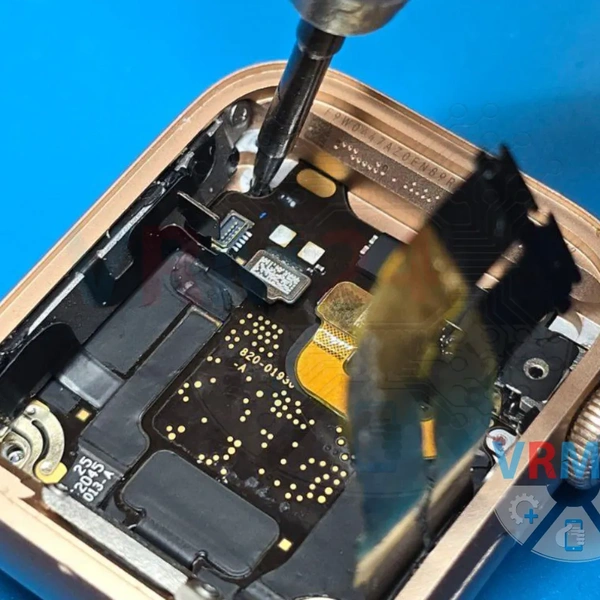
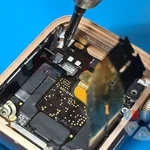
9️⃣ Carefully detach the back cover, disconnect the ribbon cable, and remove the cover.
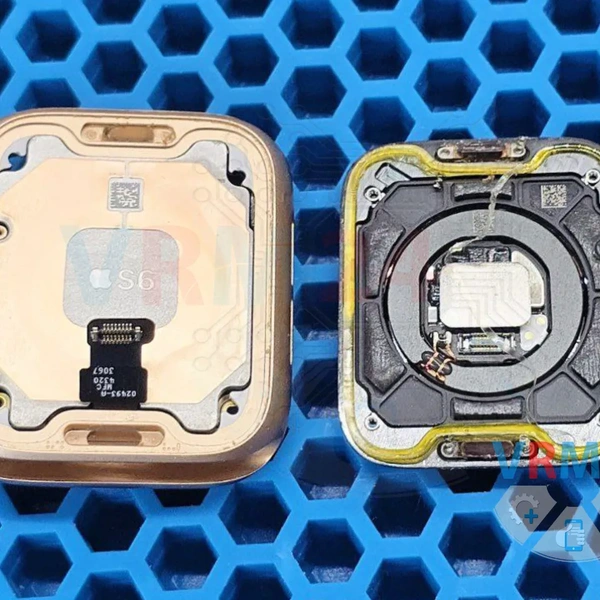
The removed back cover. The two band latches on the cover will need to be transferred to the new one!
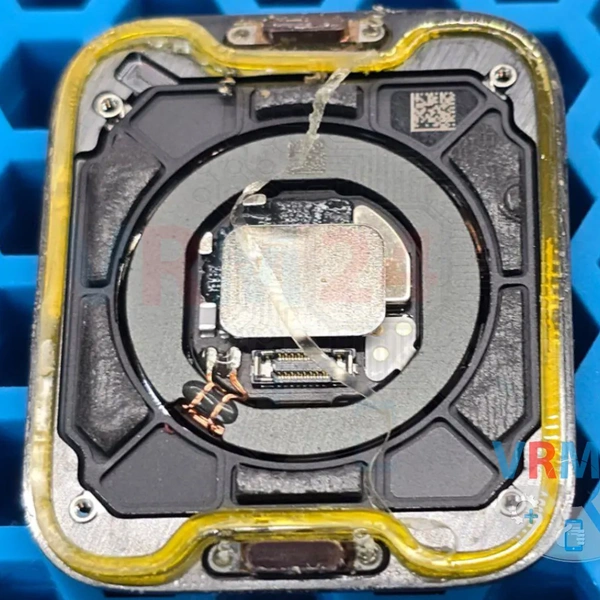
The latches contain two small springs that are barely held in place, so we glue them for convenience.
This will make reassembly much easier later 🙃
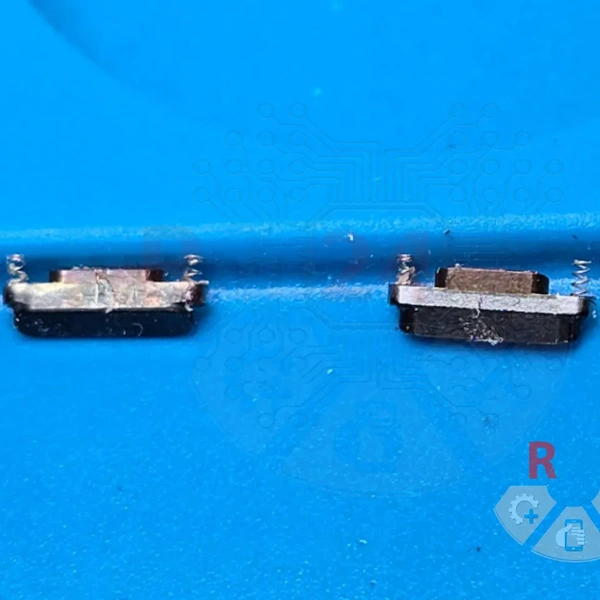
🔟 Insert the latches into the new back cover.
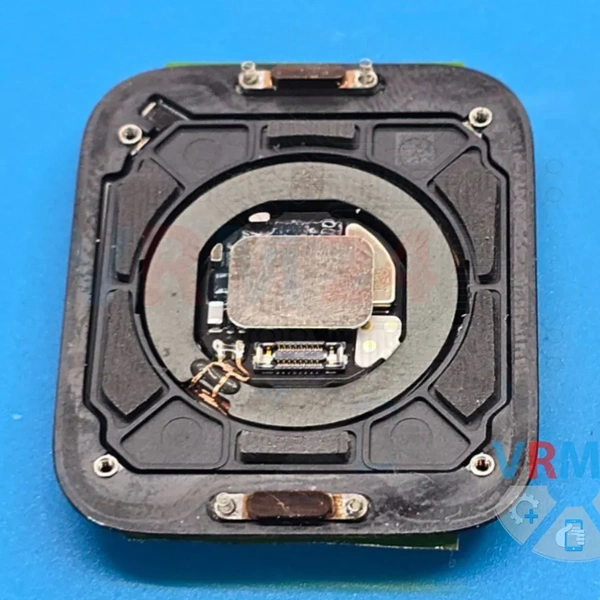
To keep the latches in place, secure them with tape on the backside so they don’t fall out.
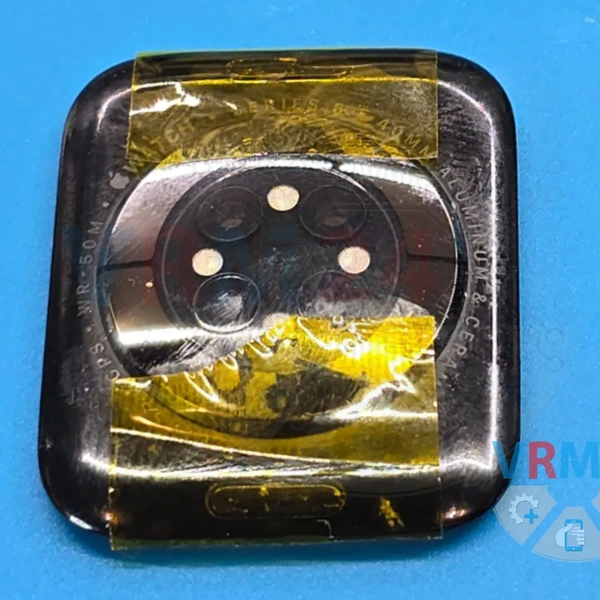
1️⃣1️⃣ Prepare the case for reassembly.
Apply a sealant gasket and add a thin layer of sealant around the edges.
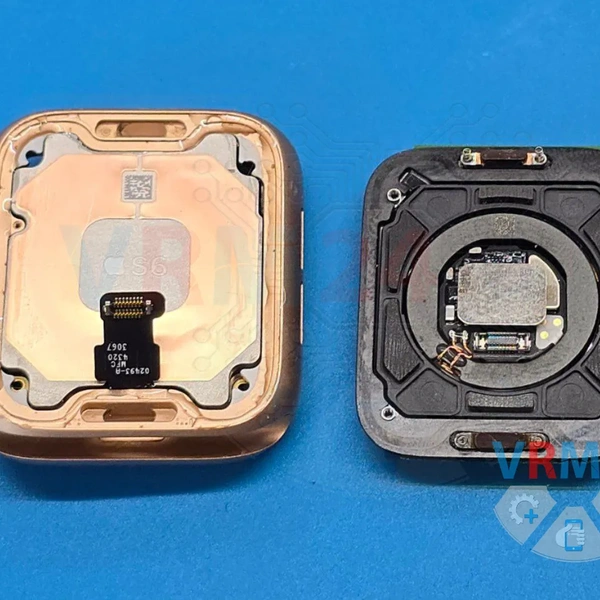
Reconnect the ribbon cable and attach the new back cover to the case. This is the most challenging part of the repair!
Partially reassemble the device to test the charging and sensor functions before reattaching the display!