


⚠️ Before disassembling, do not forget to turn your watch off.
An Apple Watch SE (2nd generation) came in for repair with a cracked display module glass and a non-functional Digital Crown button.
Since the internal components of the 5, SE, and SE 2 models are identical, this repair process will be the same for all of them. 😊
The first step involves carefully detaching the display module from the watch.
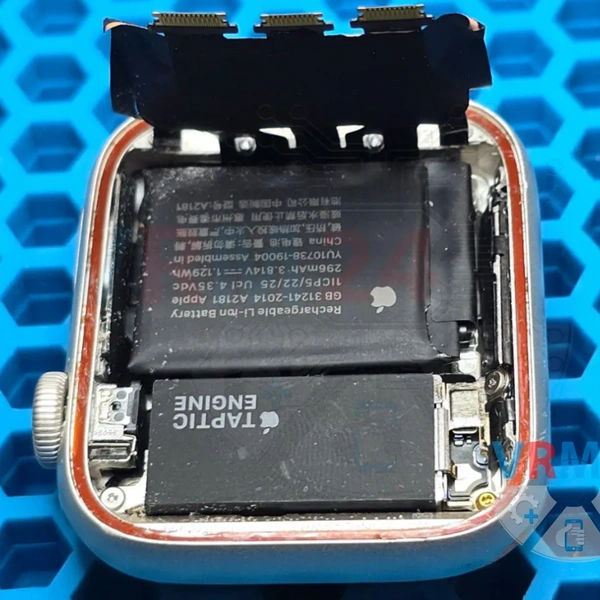
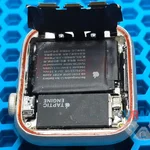
2️⃣ Upon closer inspection, there are visible traces of moisture near the button. It appears that water seeped inside through the cracks in the glass, leading to the malfunction of the Digital Crown button.
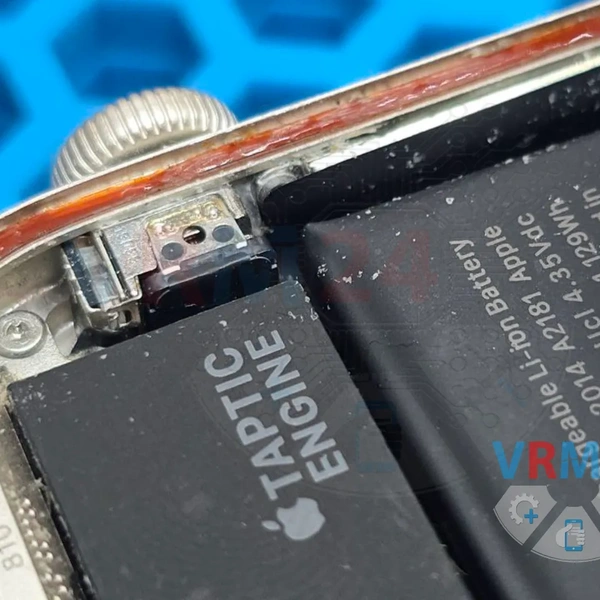
Next, we set aside the battery, remove the strip that secures its connector, and then detach the battery itself.
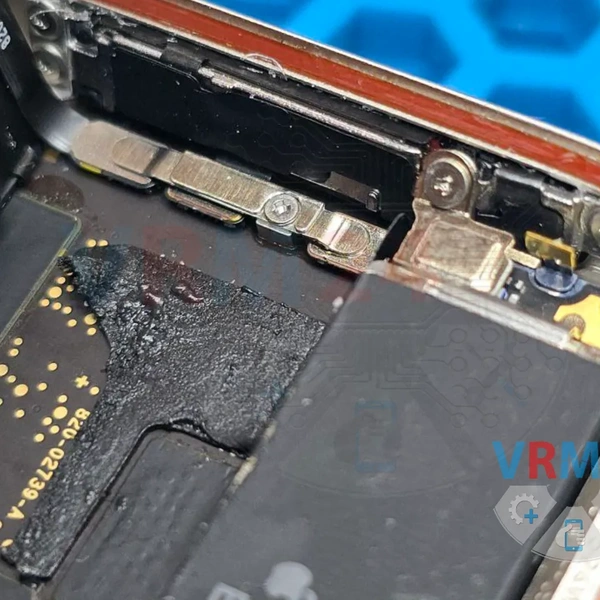
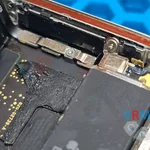
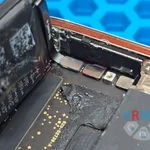
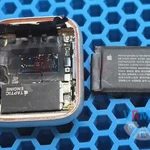
4️⃣ We unscrew two screws and remove the strip that holds down the button connectors.
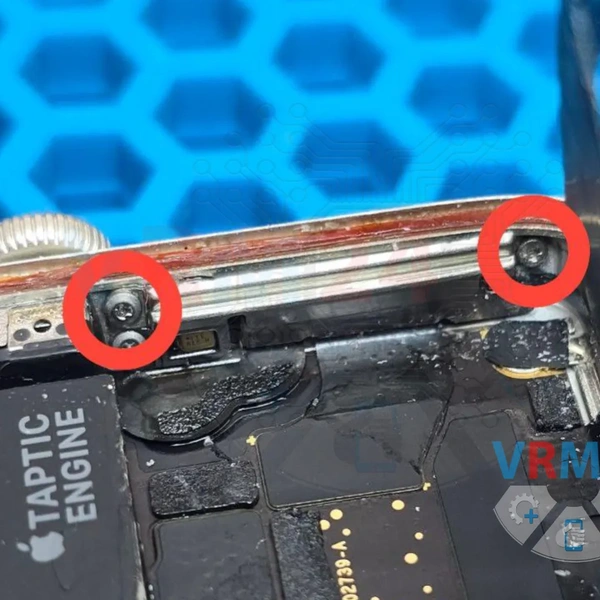
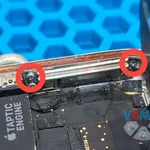
5️⃣ At this stage, we can clearly see oxidation and damaged contacts on the connectors.
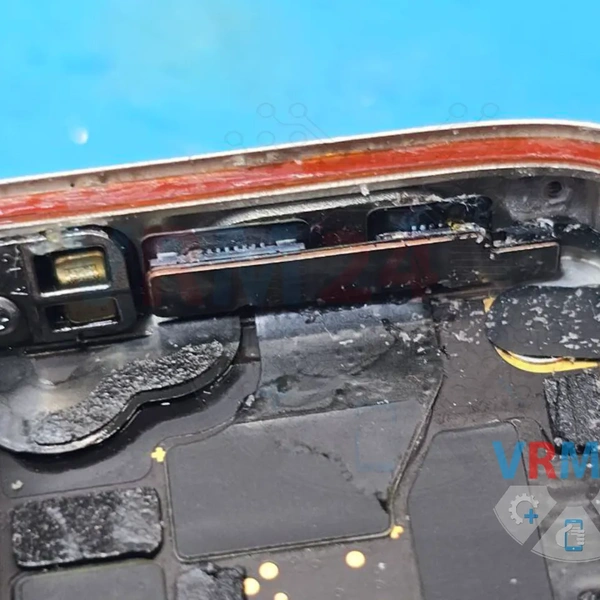
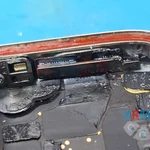
Some of the contacts on the connectors are completely missing. 🧐 This indicates significant damage caused by the moisture.
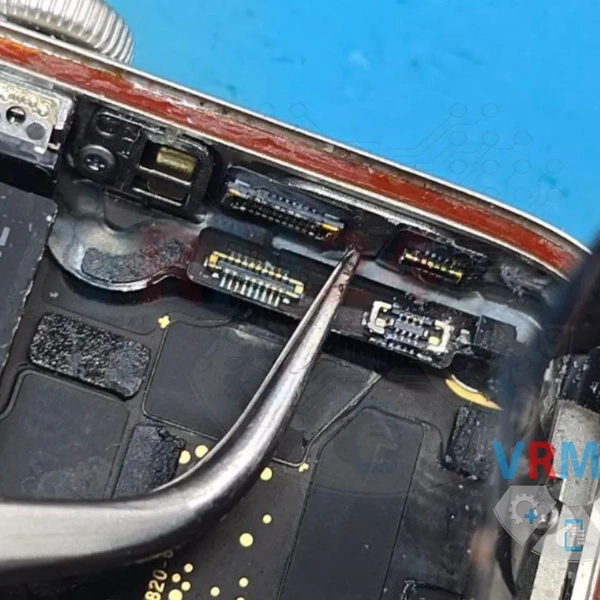
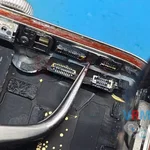
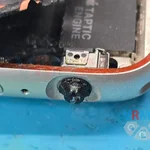
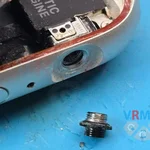
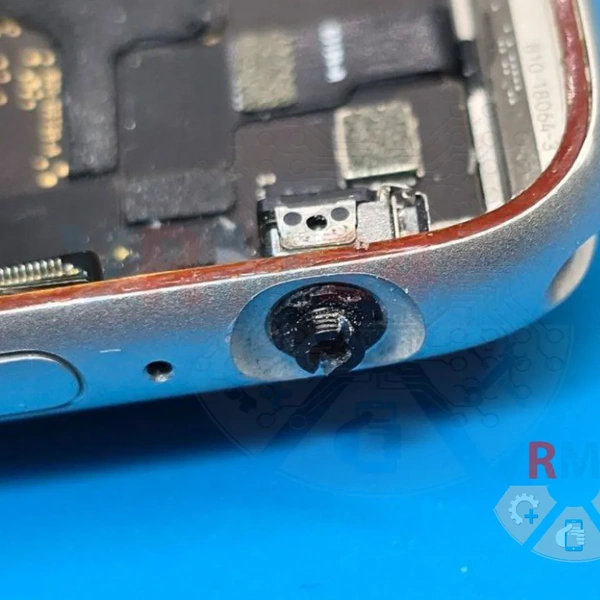
6️⃣ To remove the Digital Crown, we insert a probe into the hole to stabilize the internal mechanism and then unscrew the button counterclockwise.
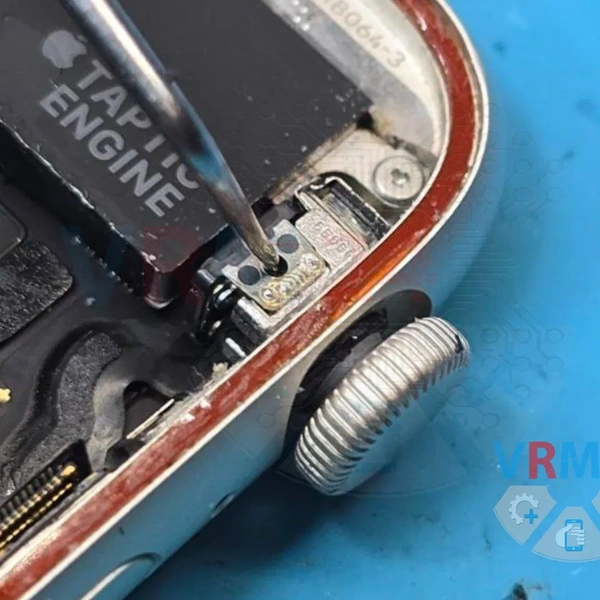
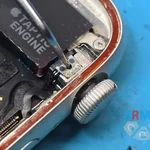
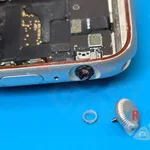
Once unscrewed, we carefully remove the button.
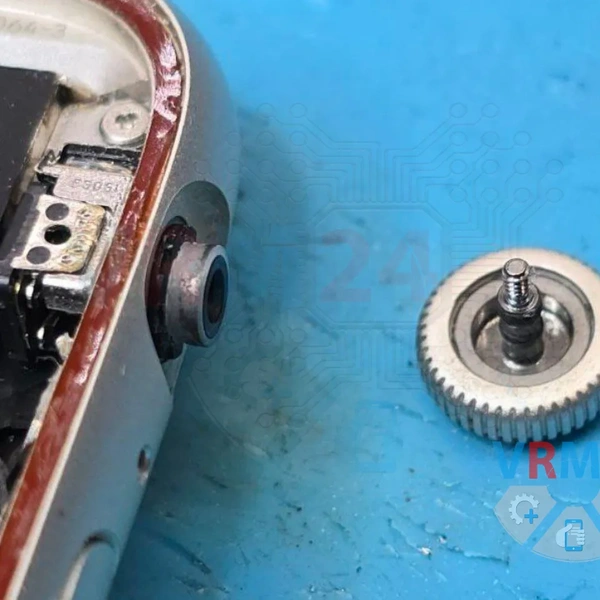
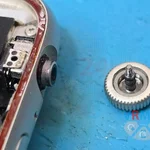
Next, we take off the plastic ring surrounding the button.
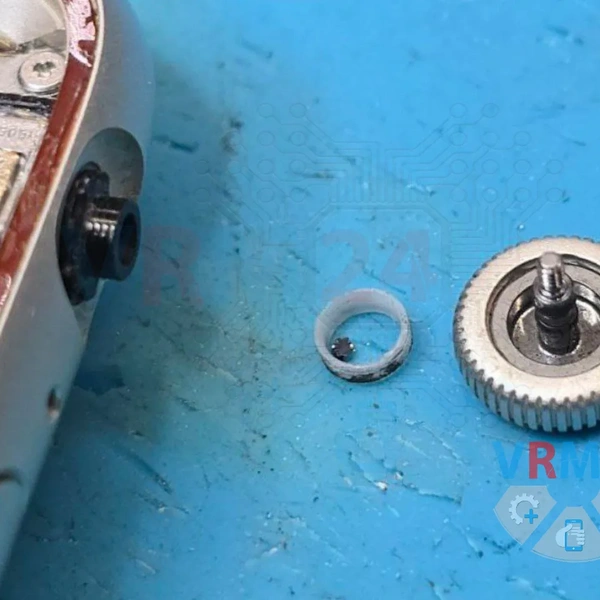
To unscrew the post that holds the internal mechanism, a special crown tool is required.
Unfortunately, I don’t have this tool, and neither do my suppliers. 😂
As a workaround, I had to carefully file down the top part to create a flat surface for a screwdriver to remove it.
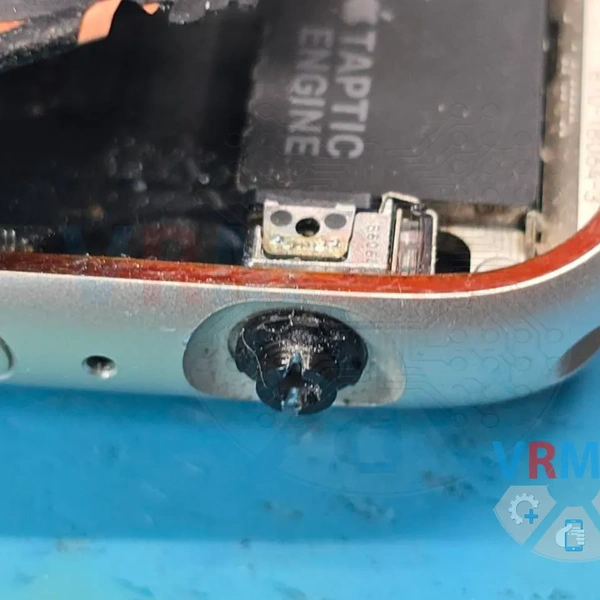
7️⃣ We detach the vibration motor to access and remove the damaged cable.
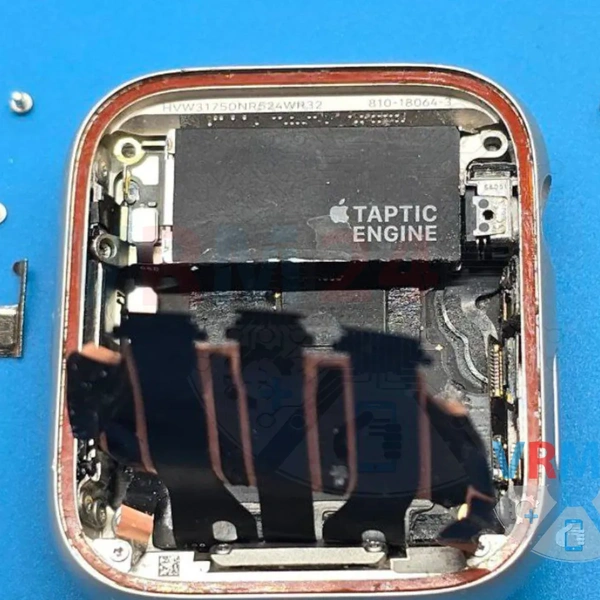
A new cable is prepared and ready to be installed.
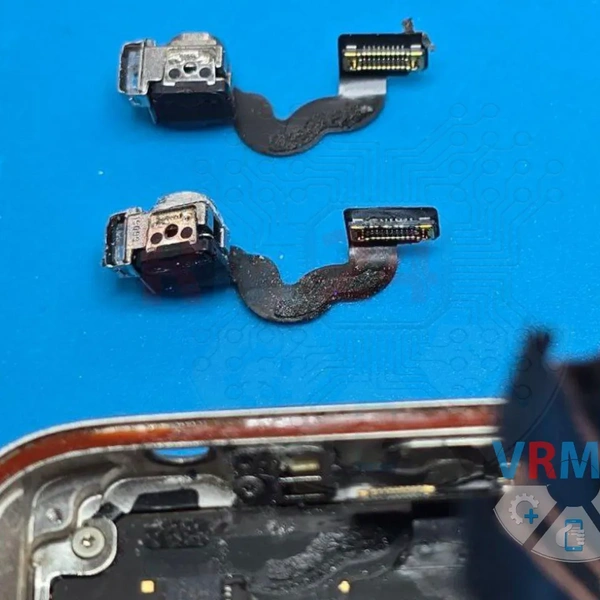
8️⃣ The new, functional cable is carefully installed in place of the old one.
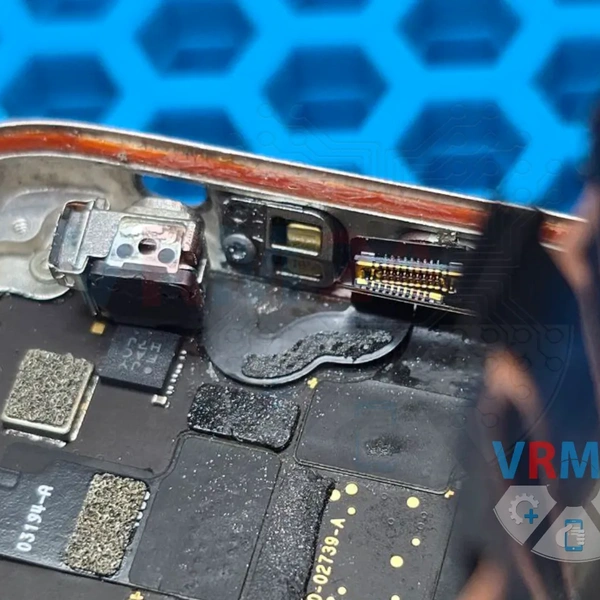
9️⃣ Everything is put back together, and the display with the newly replaced glass is reattached. 😁
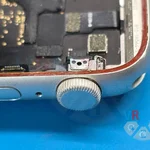
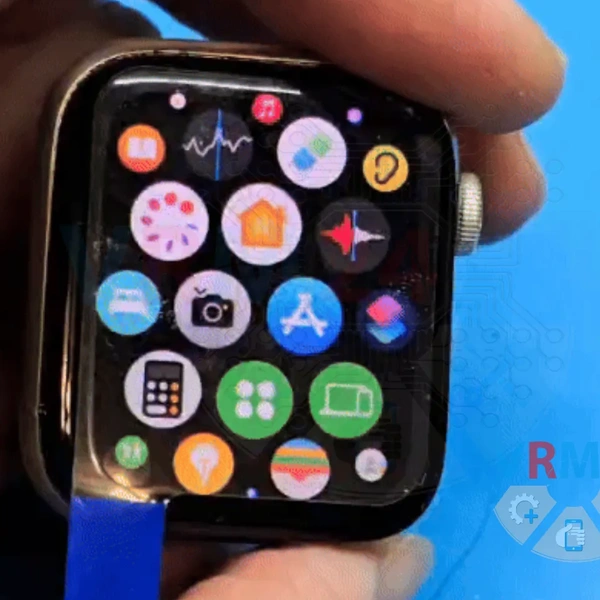
Finally, we test the functionality of the Digital Crown scroll and the repaired display module.
Once confirmed to be working, we prepare the surface and reattach the display to the body using a sealant. 👍