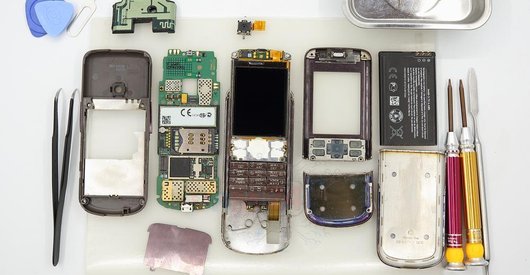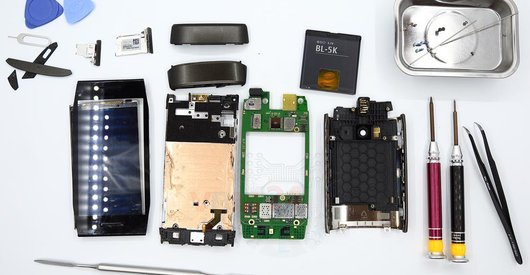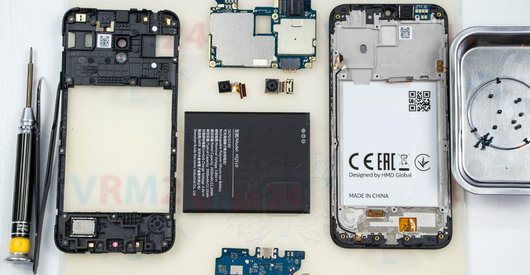






Recommended tools
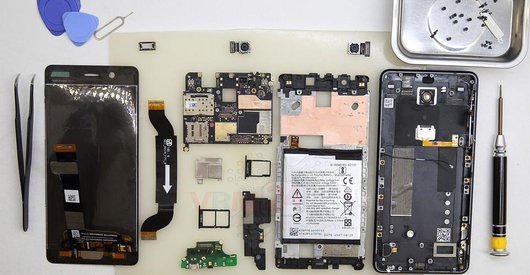
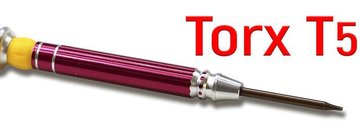
Screwdriver Torx T5
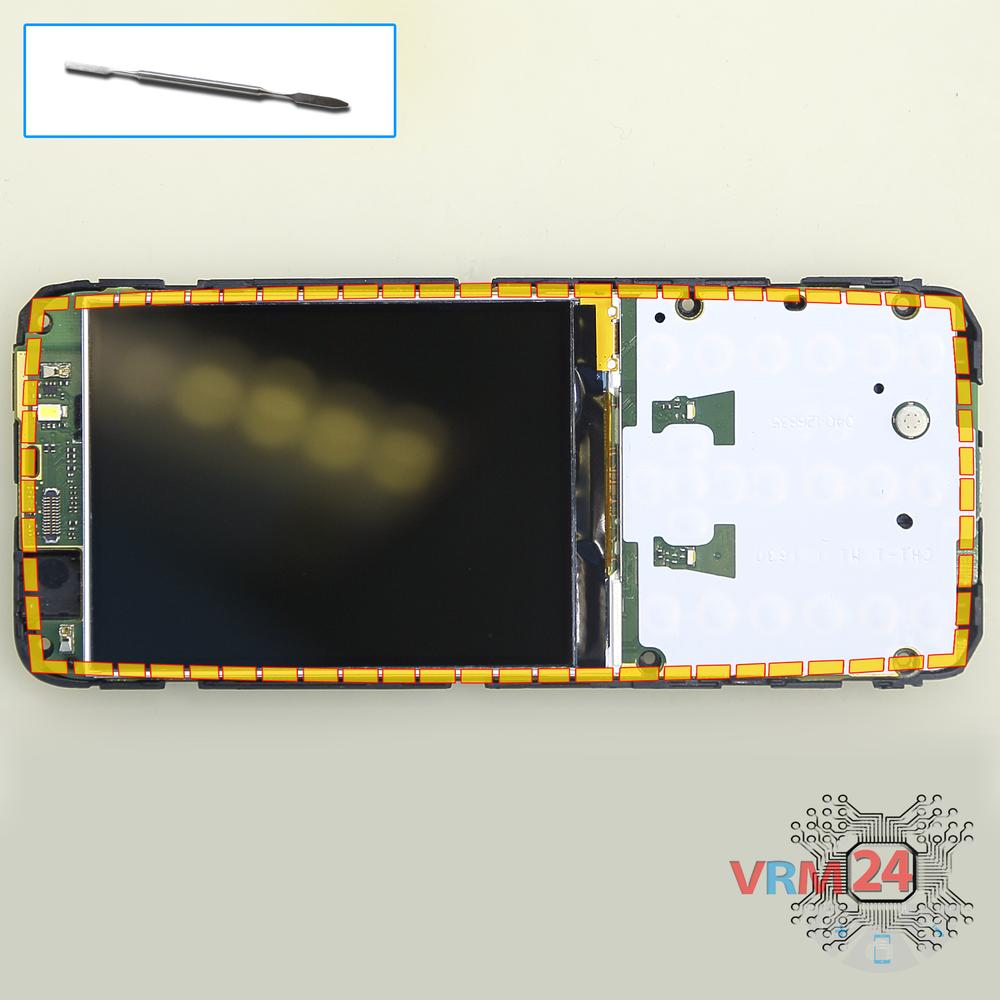
Opening tool / Spudger

Tweezers

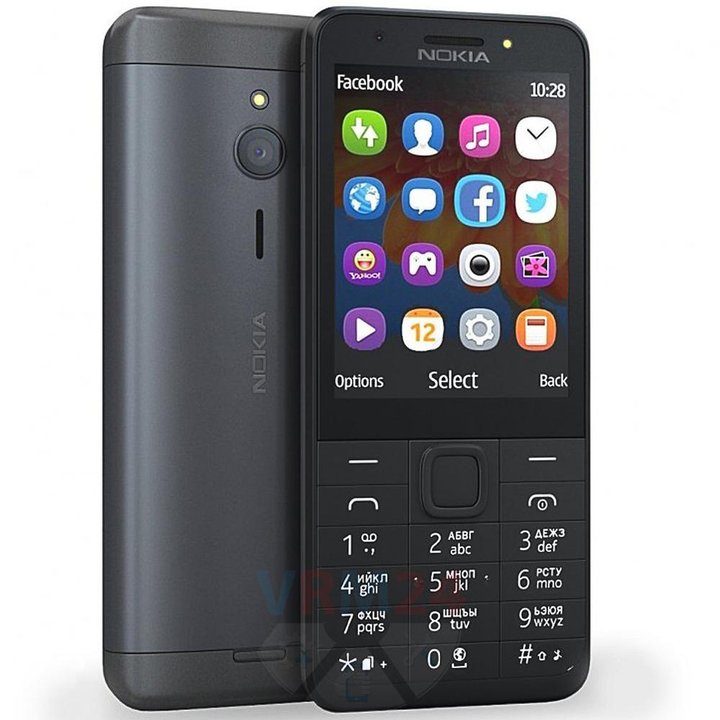
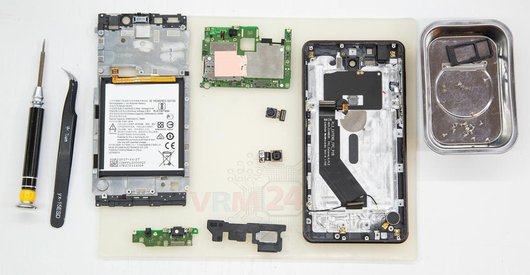
Disassembly/Repair of the mobile device Nokia 230 RM-1172 (Nokia 230 RM-1173) with each step description and the required set of tools.
13851
Views
7
Likes
—
Share
9
Questions

Step 1.
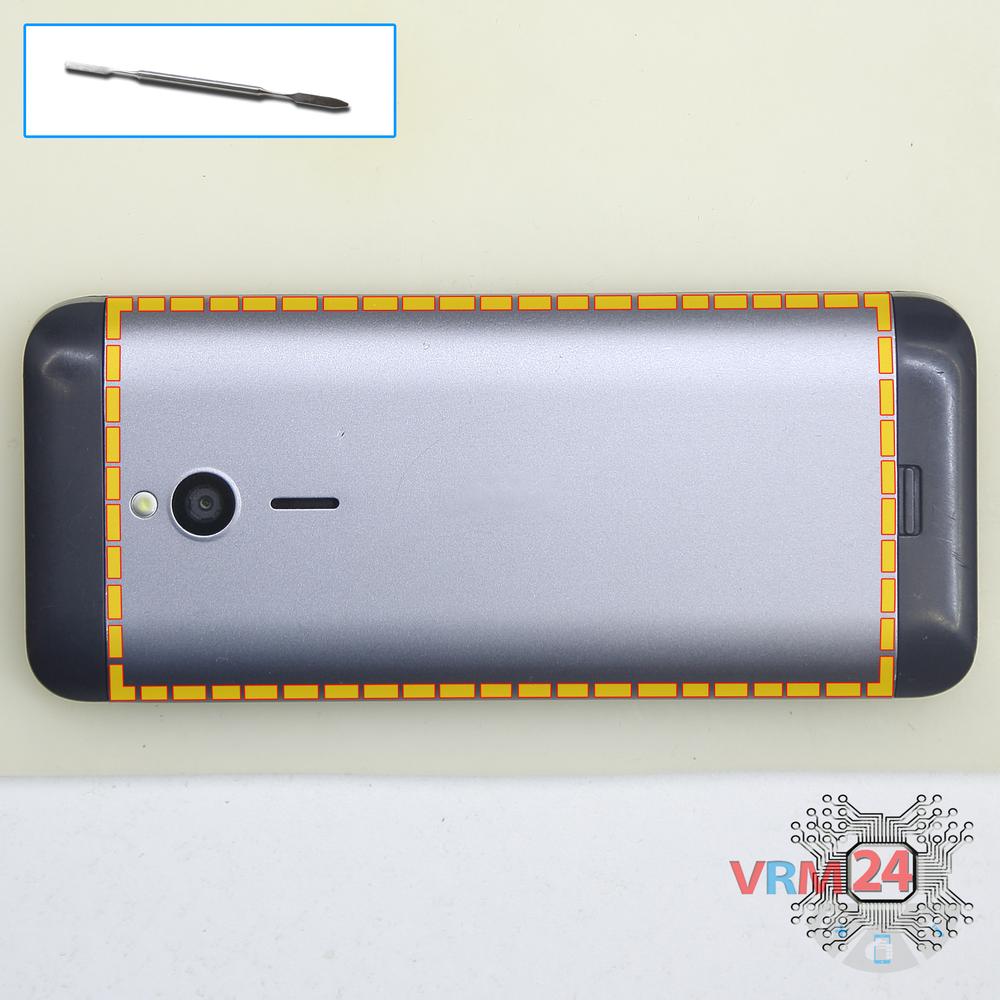
Open the back cover
Open the back cover.
Step 2.
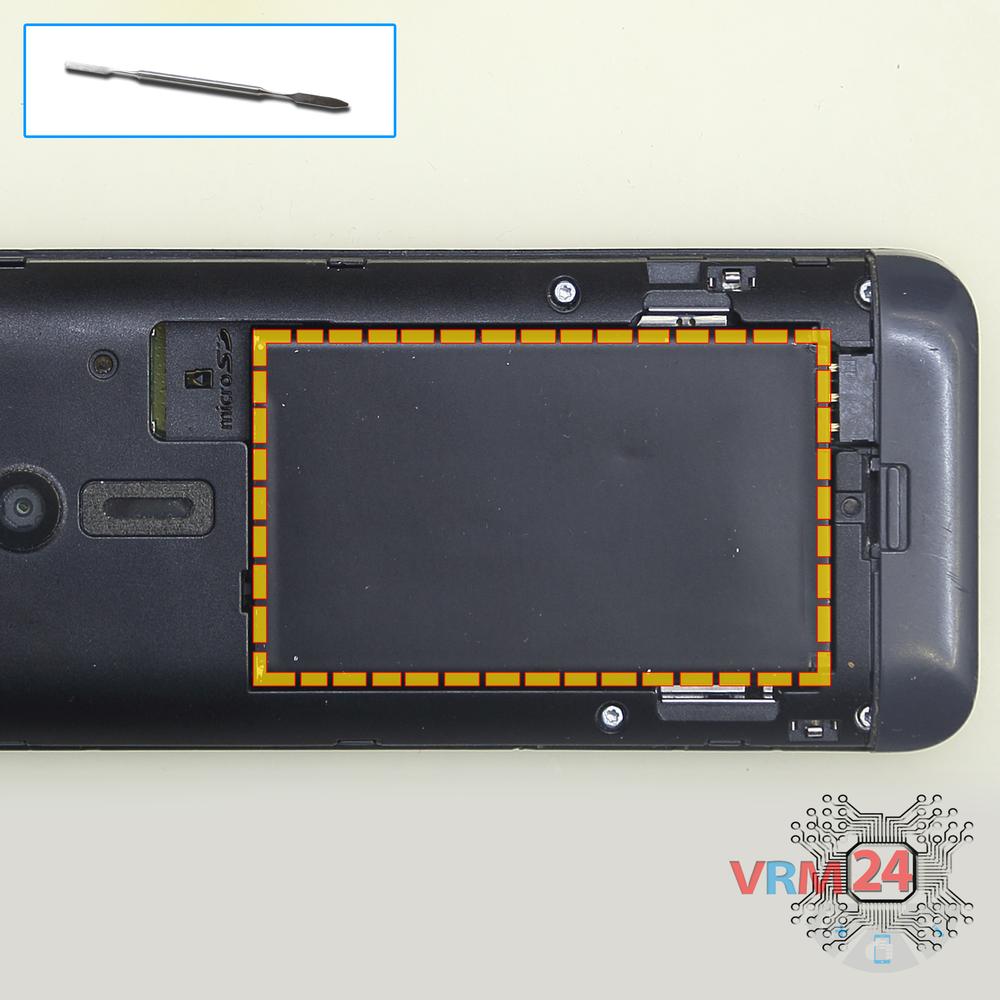
Remove the battery
Lift and remove the battery.
Step 3.
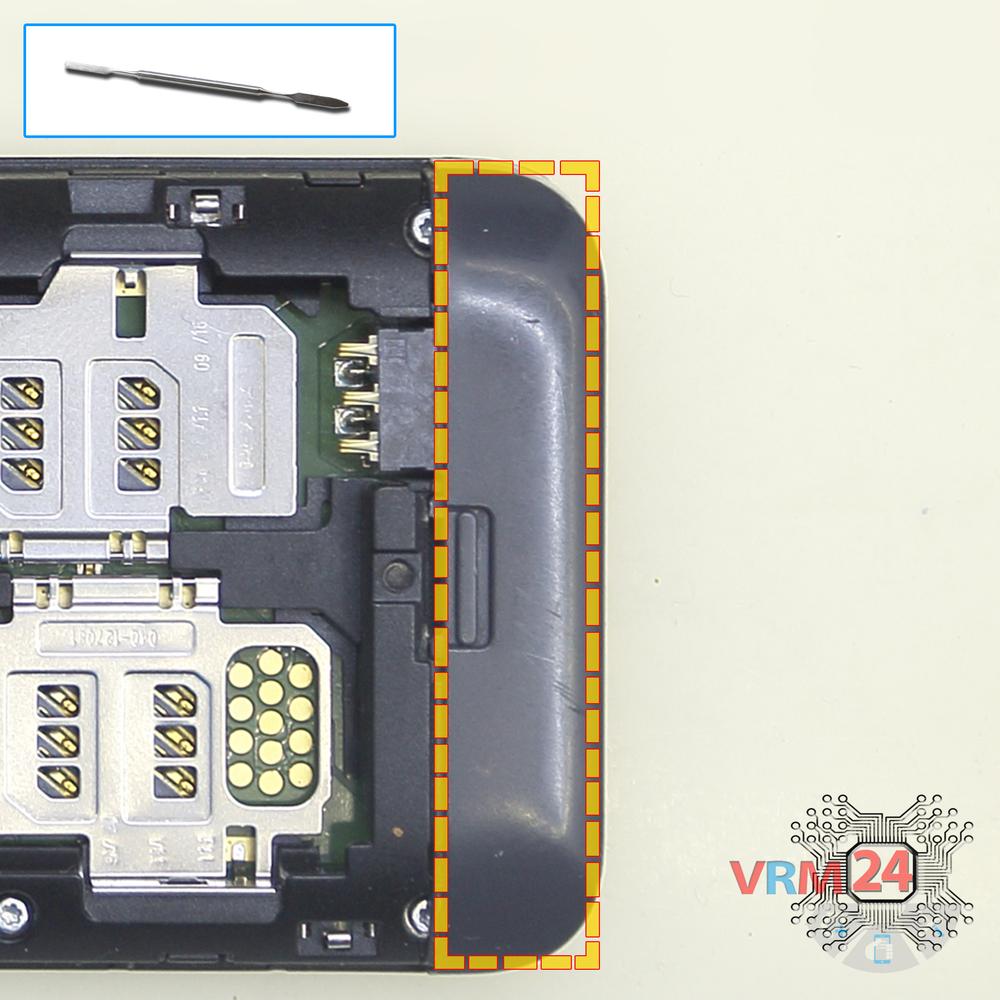
Open the cover
Pry and remove the upper cover.
Step 4.
Open the cover
Pry and remove the lower cover.
Step 5.
Open the cover
Pry and remove the second lower cover with antenna contacts (the opposite side of antenna spring clips/pins).
Step 6.
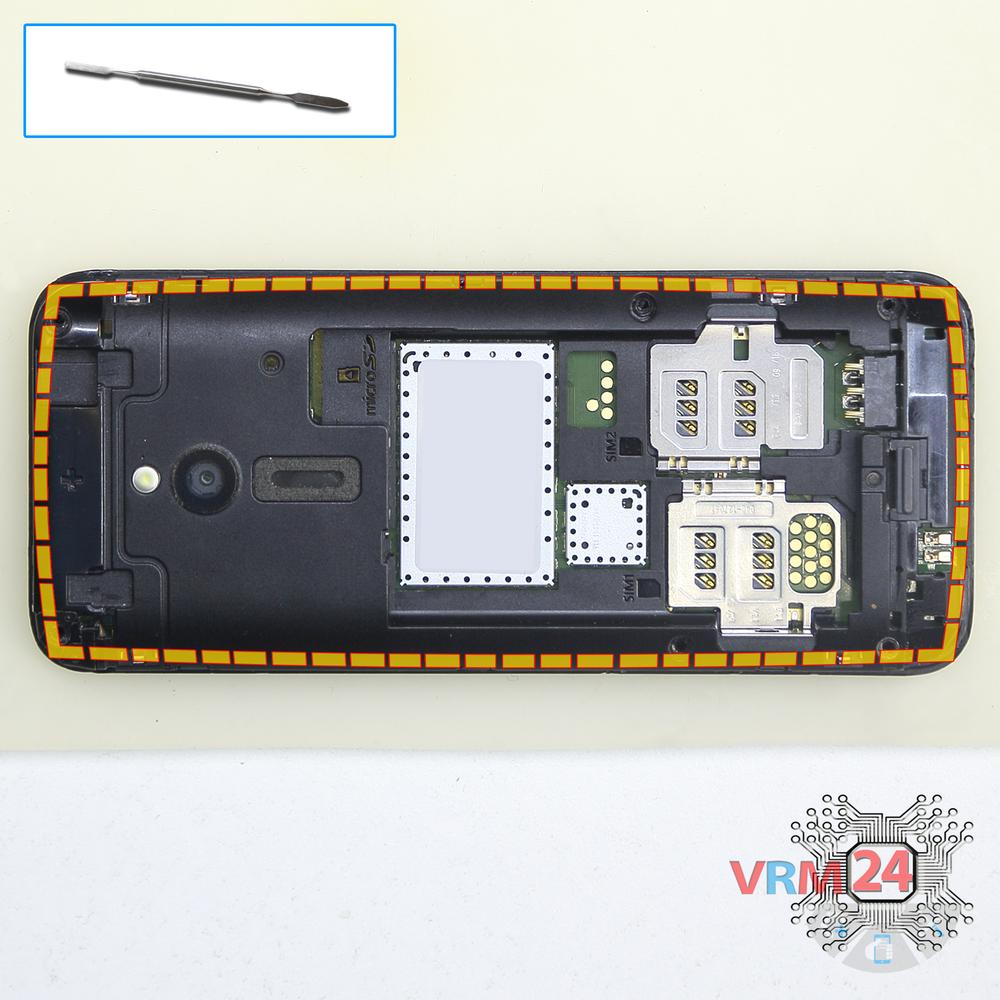
Unscrew the screws
Using a screwdriver (hex T5), unscrew 6 bolts in the frame of the phone.
Step 7.
Remove the frame
Separate the front frame with a keyboard.
Step 8.
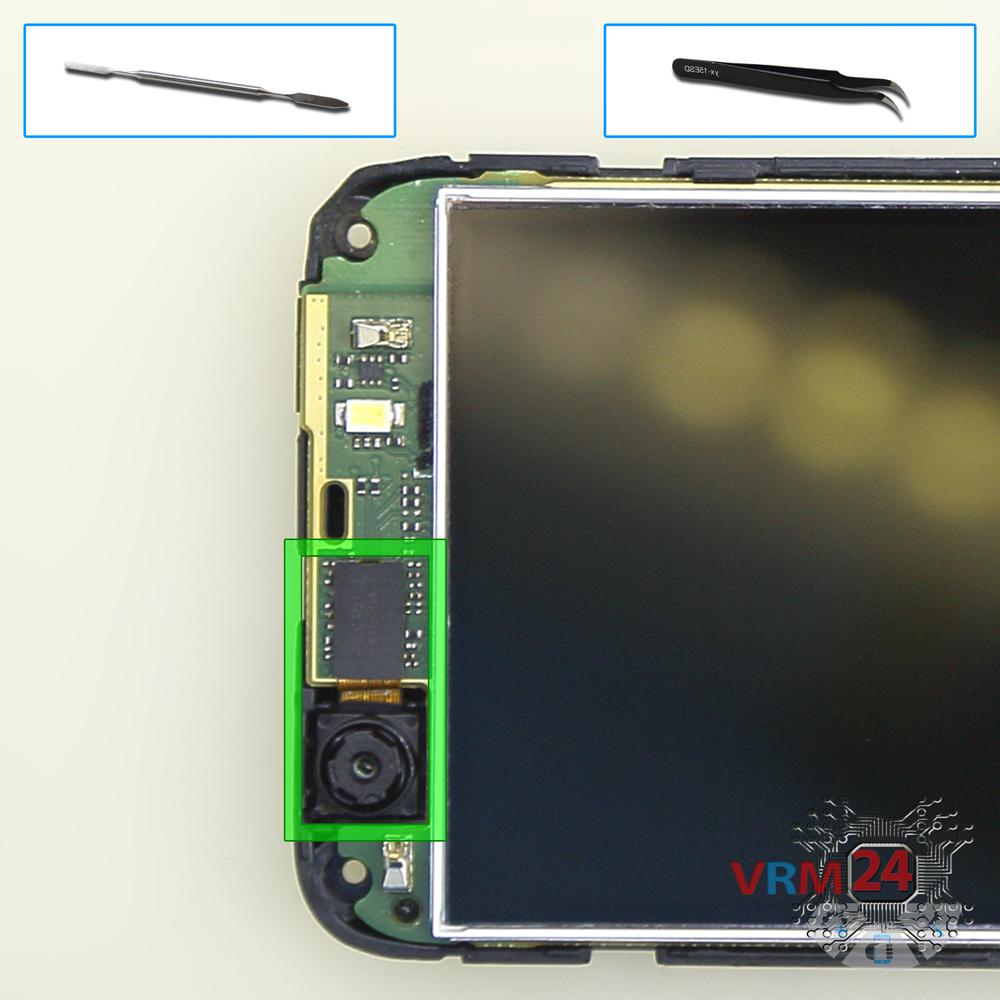
Remove the front camera
Disconnect connector on the PCB and remove the front (selfie) camera.
Step 9.
Open the mid-frame
Separate the PCB and middle frame.
Step 10.
Remove the rear camera
Overturn the board, disconnect the connector from the inside and remove the main camera.
Step 11.
On the motherboard
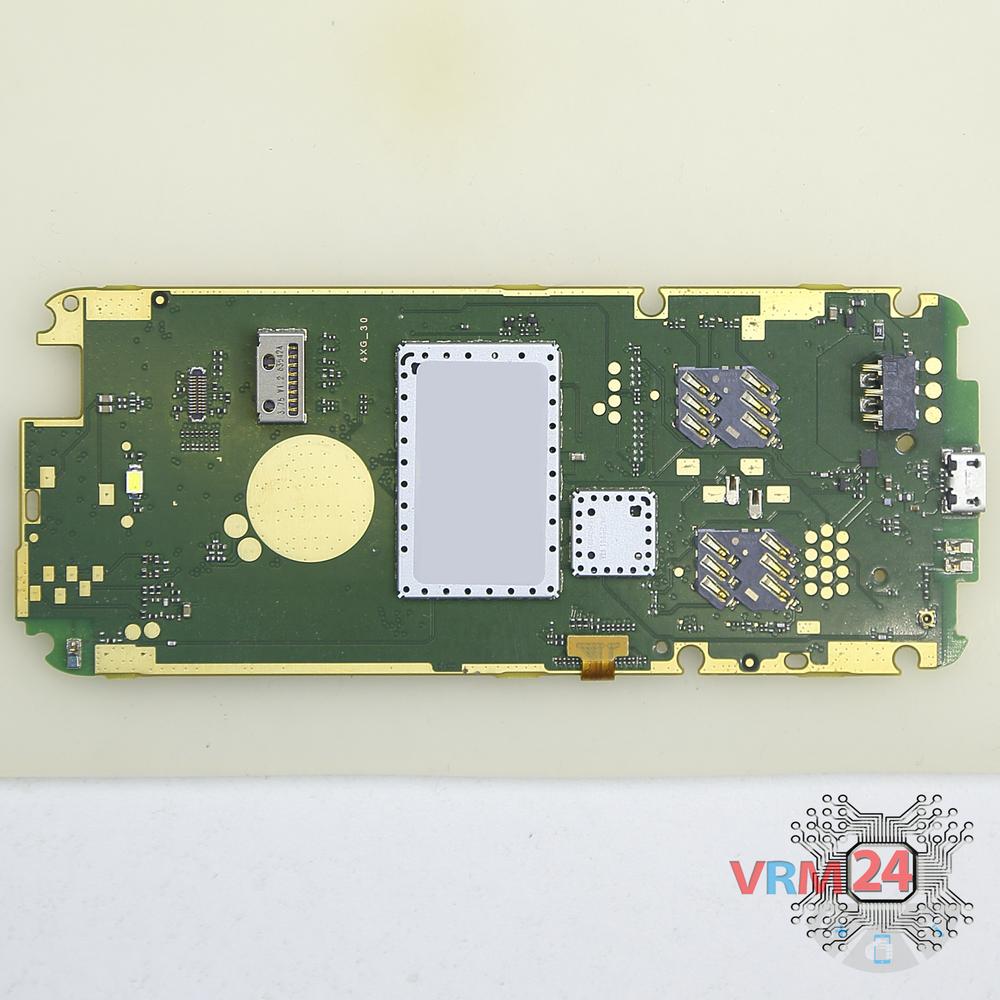
The Printed circuit board.
Step 12.
Remove the loudspeaker
Pry and remove the speaker (also works as a vibration motor).
Step 13.
Remove the earpiece speaker
Pry and remove the earpiece (speaker) and headphone jack/socket.
Step 14.
In the middle cover
The middle frame.

If you have a question, ask us, and we will try to answer in as much detail as possible. If this article was helpful for you, please rate it.

13851
Views
7
Likes
—
Share
9
Questions
Related Instructions
Related Reviews
Related Blog
Popular Questions
S
Nokia 230 RM-1172
Super cool
Suhail Friend12
A
Nokia 230 RM-1172
Nyc
awarapan life19
أ
Nokia 8 TA-1004
Thank you for your outstanding performance. I want to buy a glove like that with you what the name of this glove for phones
أحمد عادل منصور رجب رمضان2
Nokia 8800 Sirocco RM-165
Deàr sir/madam, I write from kisii Kenya, inquiring where your service center in Kenya to help me repair this type of phone.
sharon
O
Nokia 6.1 TA-1043
I really appreciate your work but can you show how to disassemble that Fingerprint please? 🙏🙏🙏 Becasue i brought new back cover and i want to replace…
Osama Gayak13Top instructions
Check our
Top Nokia instructions most liked by readers
New instructions
Check our
New Nokia brand instructions on vrm24.com