




Recommended tools
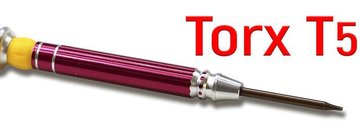
Screwdriver Torx T5
Screwdriver Phillips #000

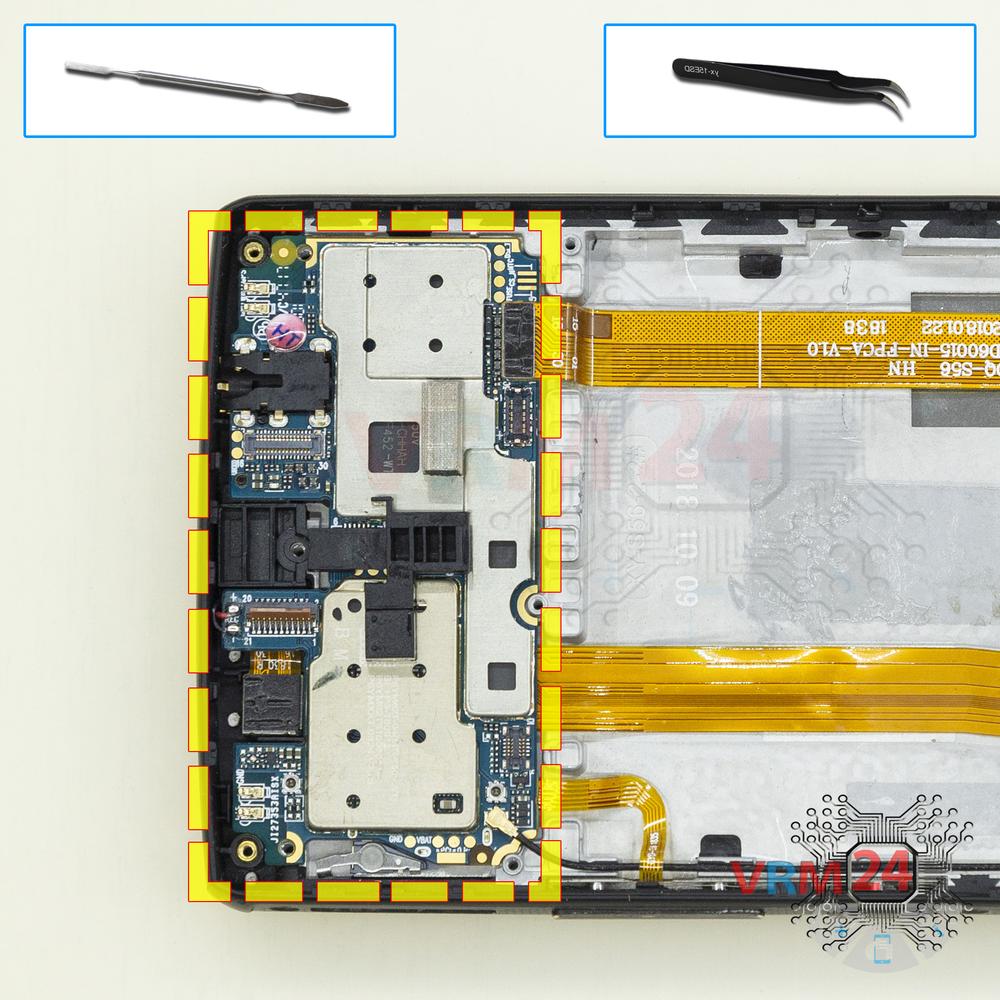
Opening tool / Spudger

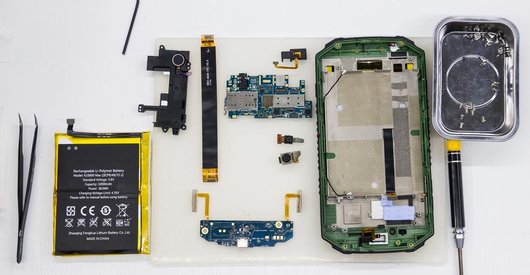
Tweezers

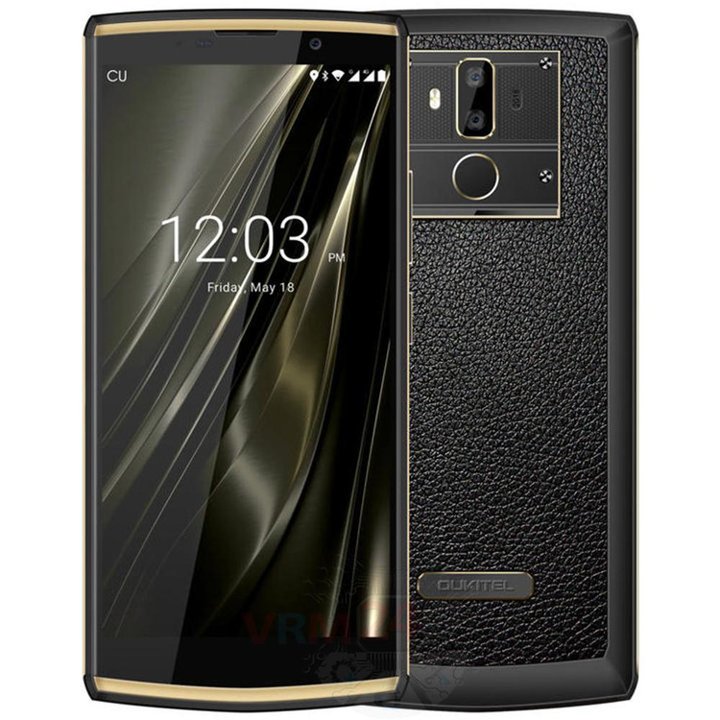
Disassembly/Repair of the mobile device Oukitel K7 Power with each step description and the required set of tools.
7688
Views
4
Likes
—
Share
4
Questions

Step 1.
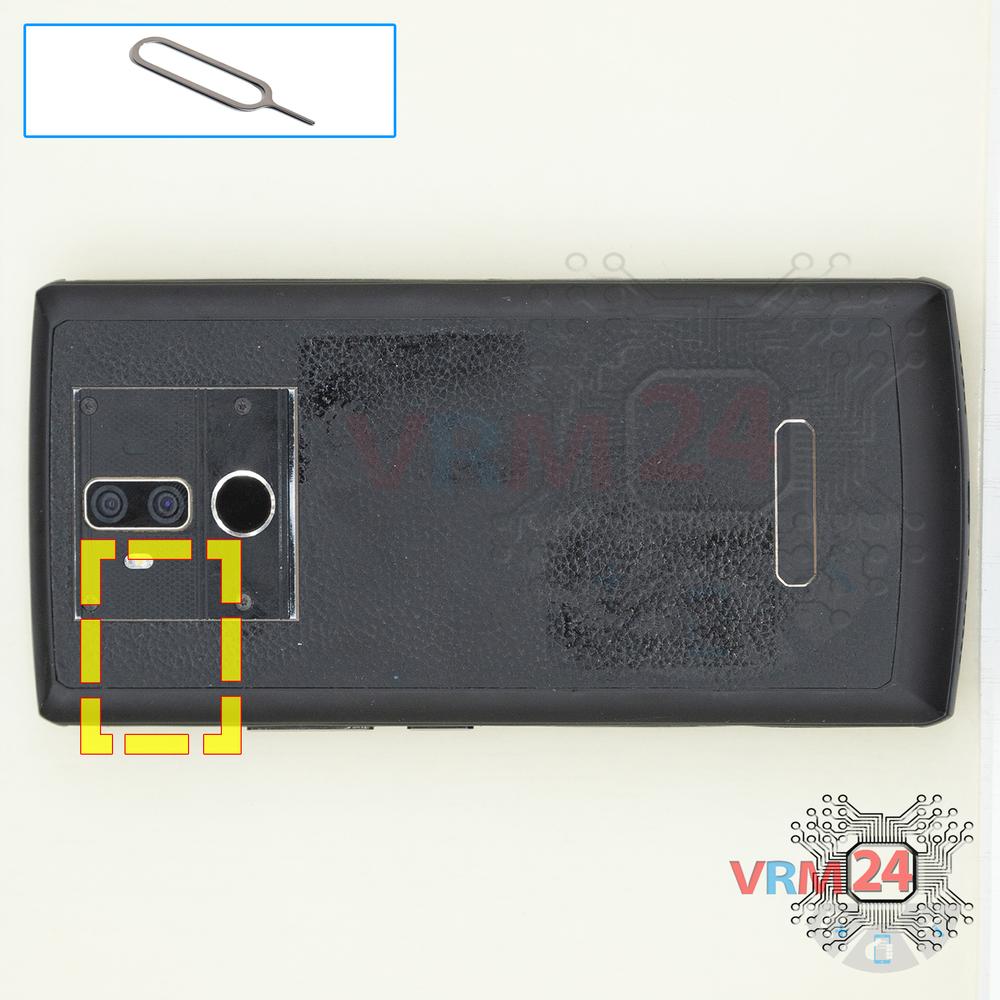
Remove the trays
Using the key tool, open the SIM and Micro SD cards tray and remove it.
⚠ Warning!
Do not push too hard this may cause damage.
Step 2.
Unscrew the screws
Using a screwdriver (Torx T5), unscrew 4 screws and remove the cover.
Step 3.
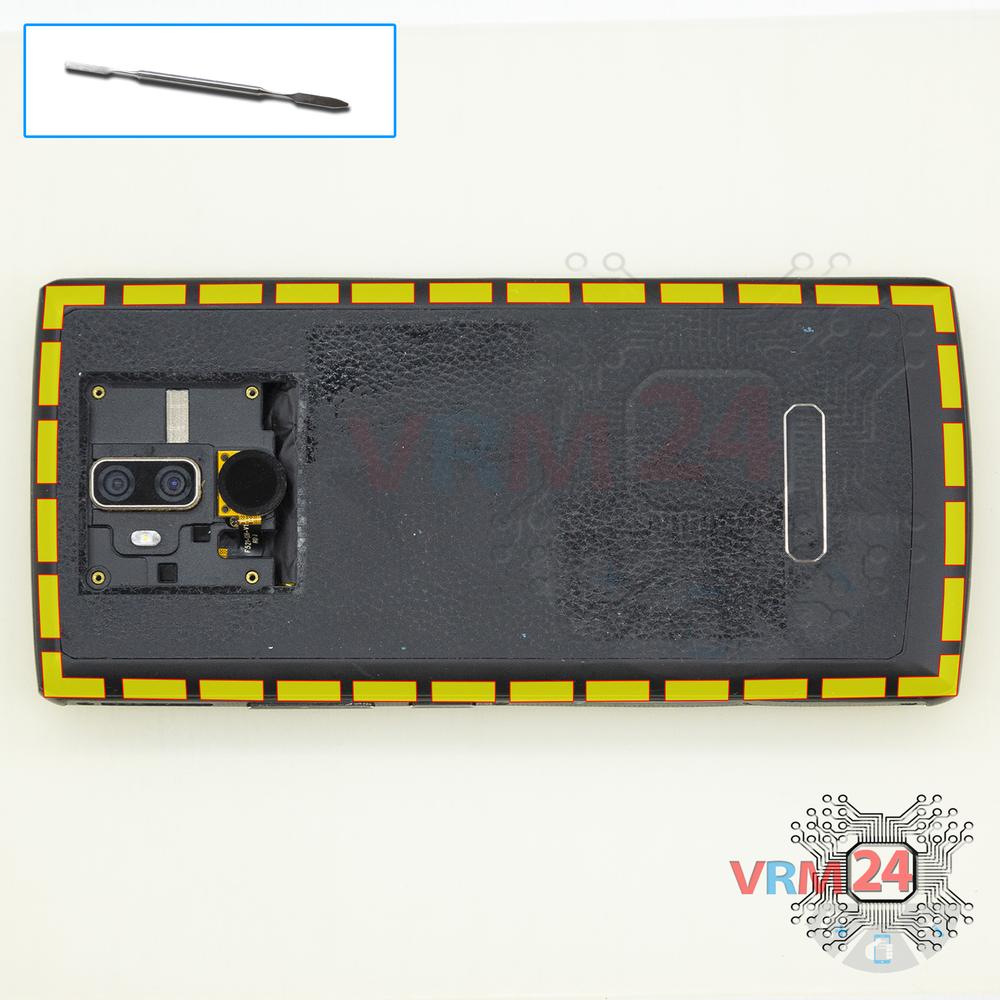
Open the back cover
Open the back cover.
Step 4.
Unscrew the screws
Turn over the fingerprint sensor and using a screwdriver (Phillips 1.5 mm PH000), unscrew 5 screws.
Step 5.
Remove the fingerprint sensor
Pry up the connector and remove the fingerprint sensor.
Step 6.
Remove the protective film
Peel back the protective layer.
Step 7.
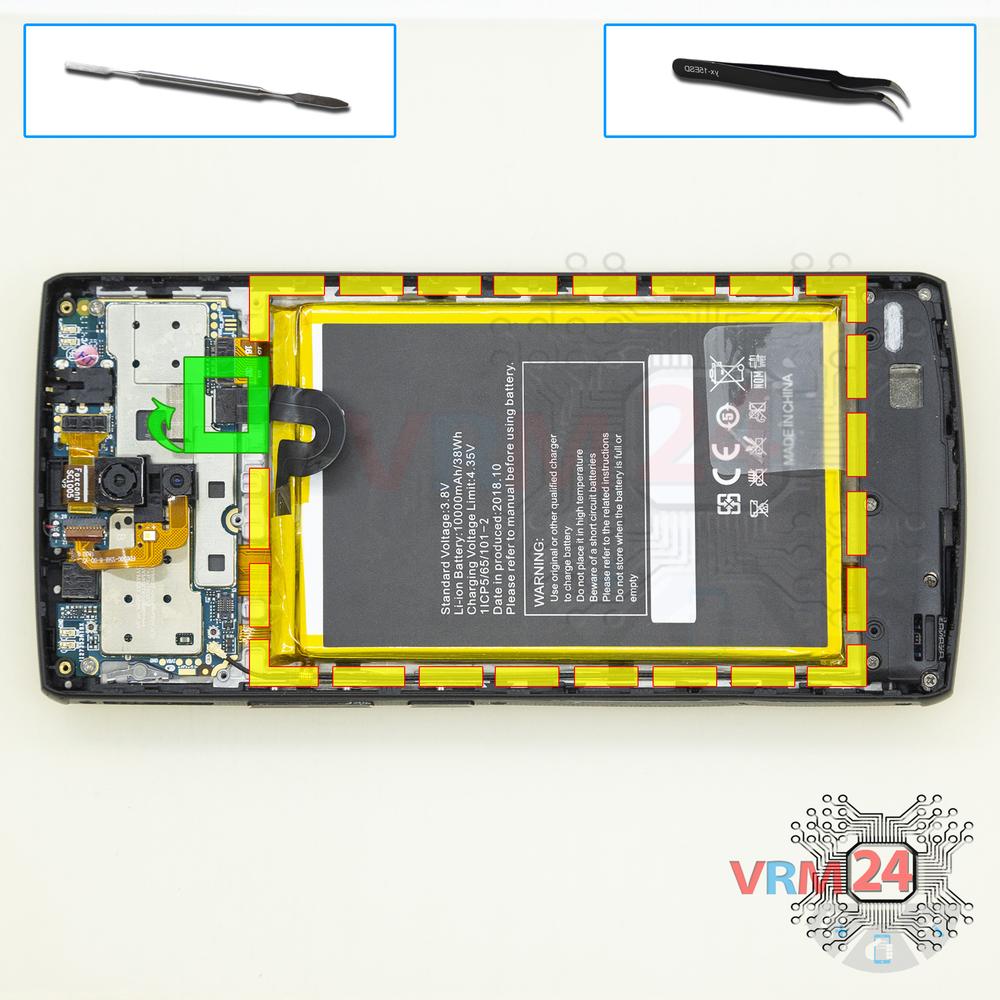
Remove the battery
Disconnect the connector on PCB and remove the battery. The battery model of Oukitel K7 Power is the same as the phone model.
Step 8.
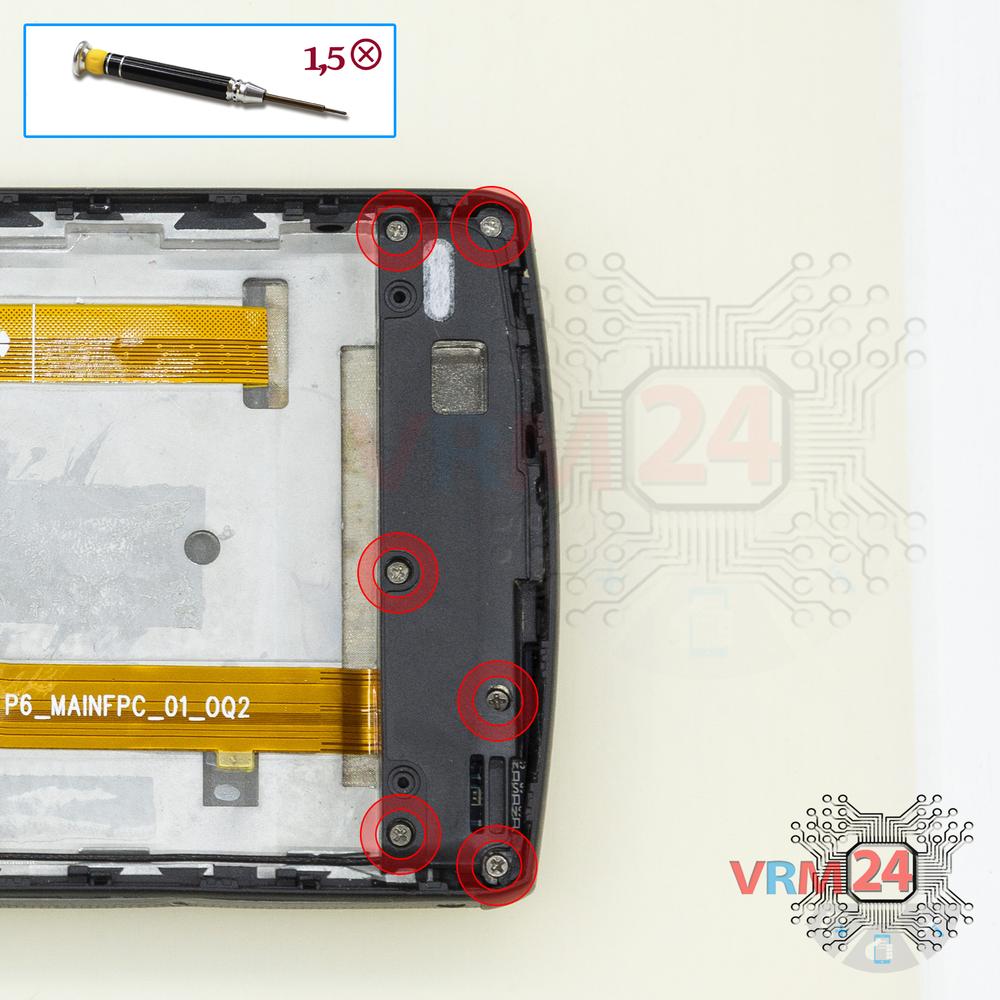
Unscrew the screws
Using a screwdriver (Phillips 1.5 mm PH000), unscrew 5 screws.
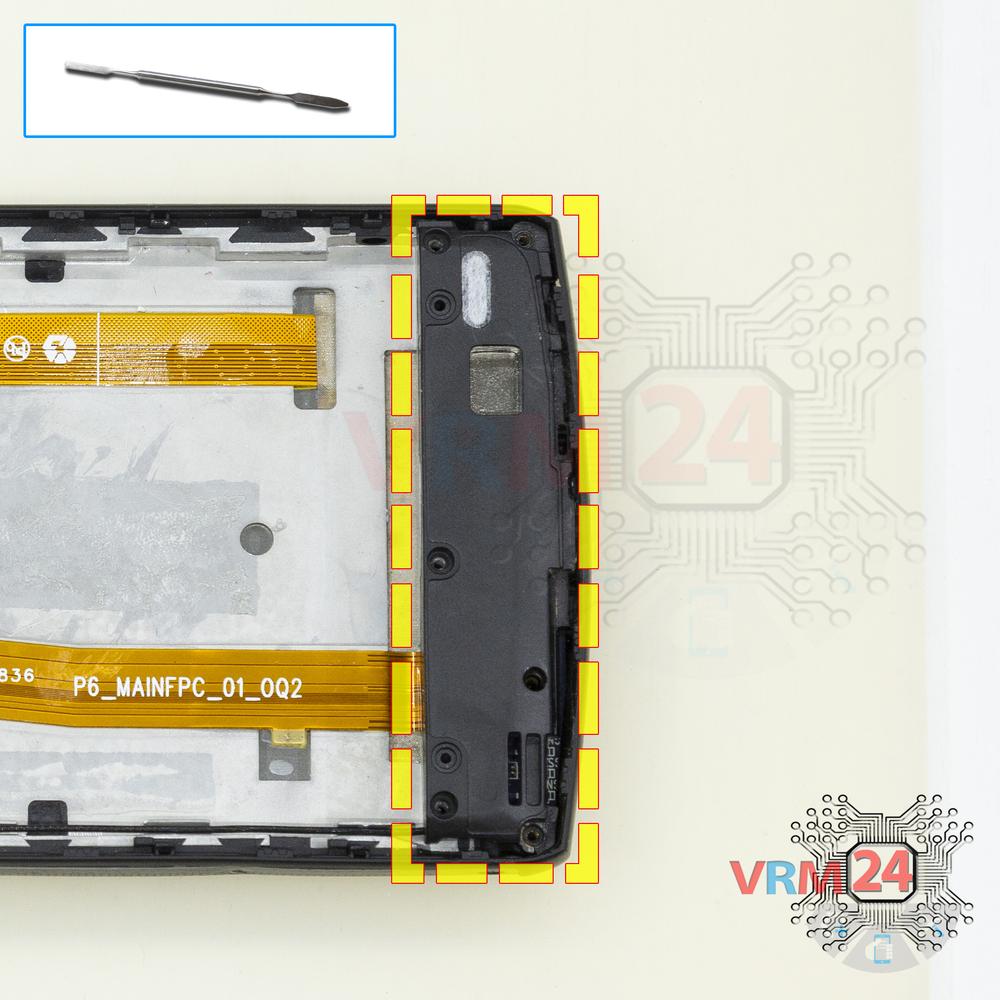
Step 9.
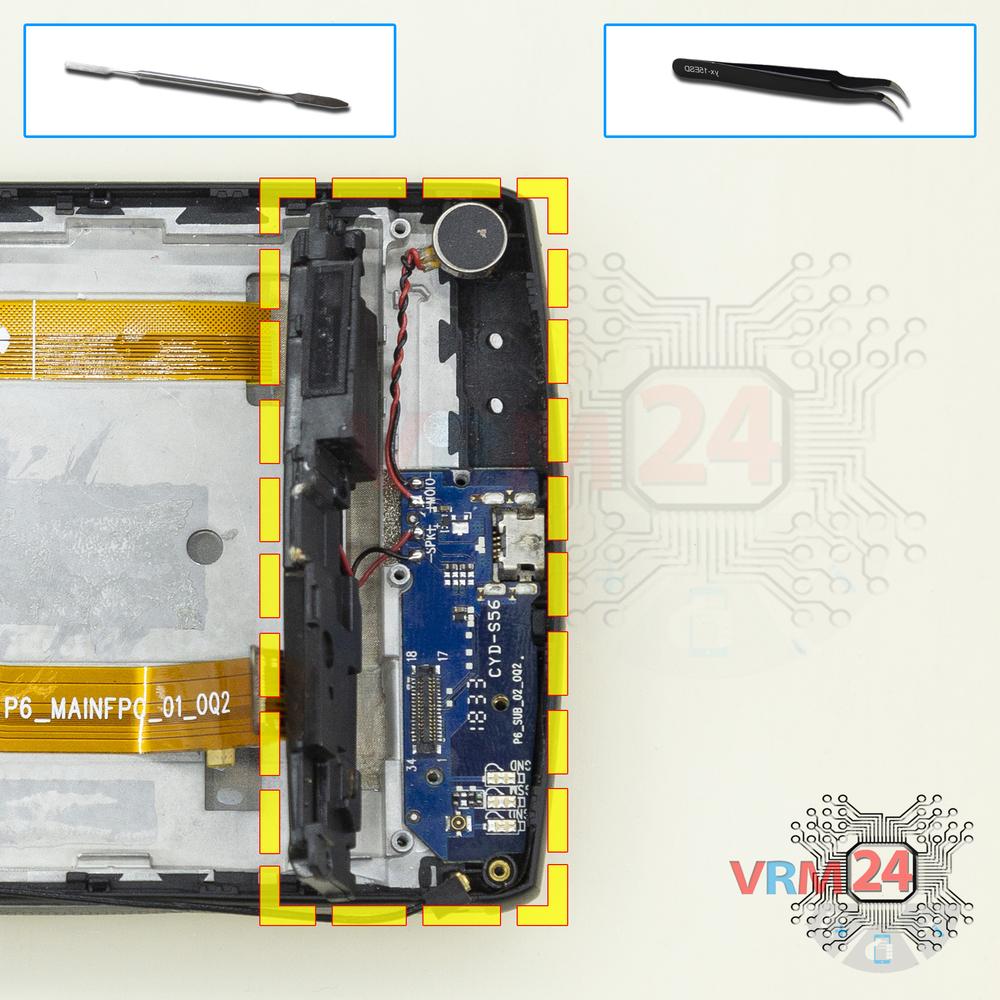
Remove the loudspeaker
Turn over the buzzer (loudspeaker) assembly.
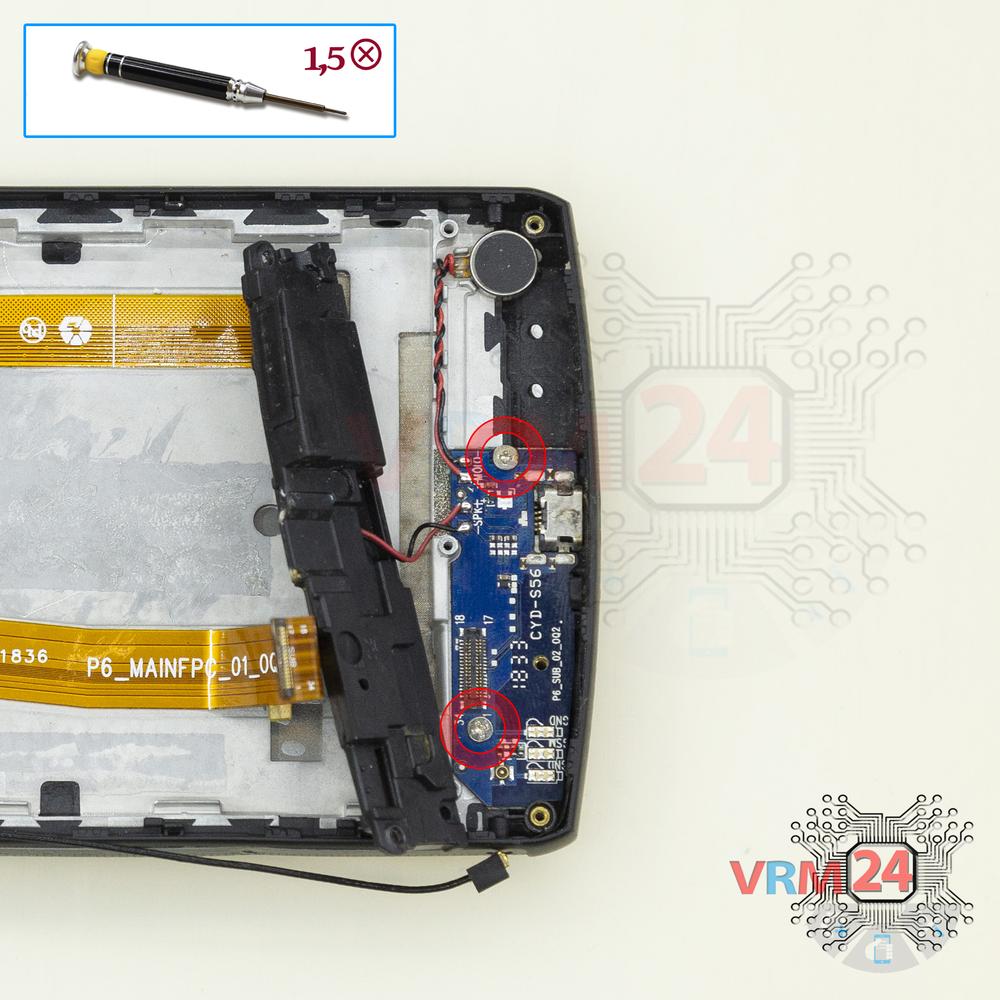
⚠ Warning!
The loudspeaker (inside the cover) is connected with a sub-board by wires.
Step 10.
Disconnect the connectors
Disconnect connectors on the daughterboard.
Step 11.
Unscrew the screws
Using a screwdriver (Phillips 1.5 mm PH000), unscrew 2 screws in the daughterboard.
Step 12.
Remove the sub-board
Remove the daughterboard, also known as sub-board with a loudspeaker assembly.
Step 13.
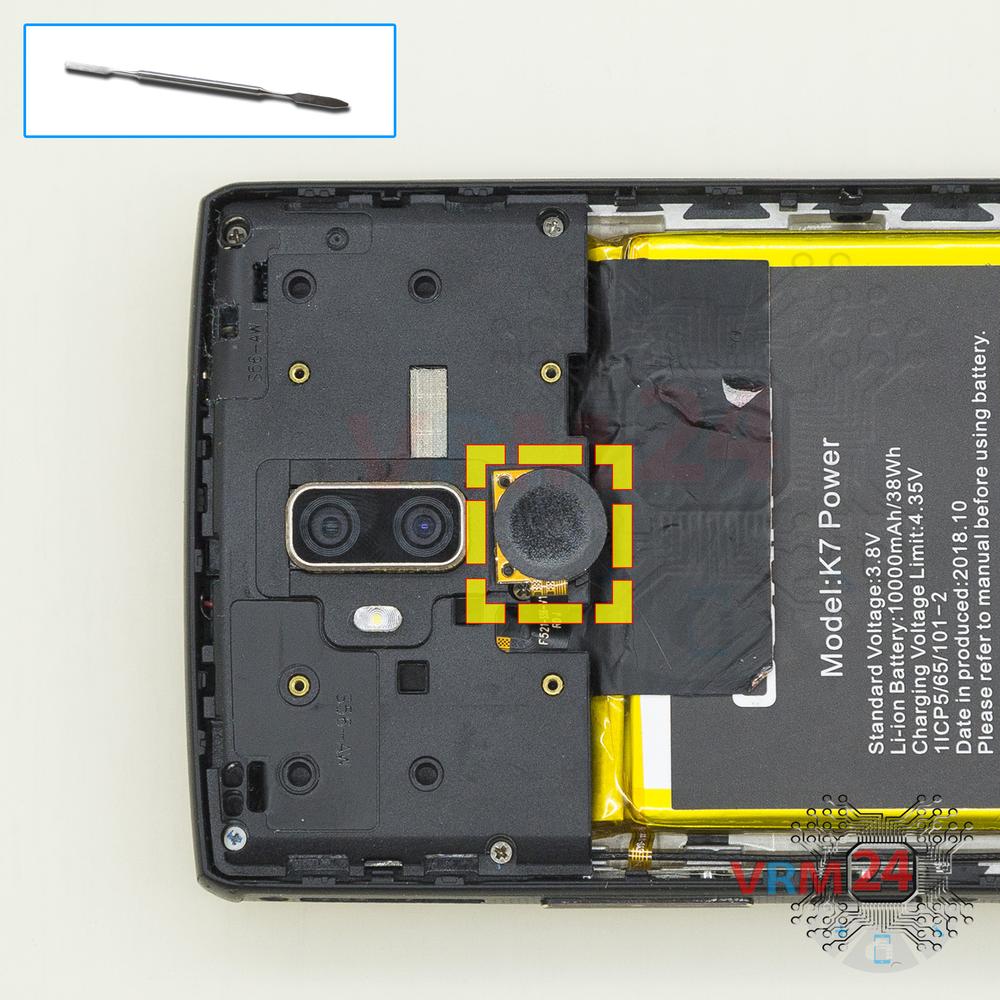
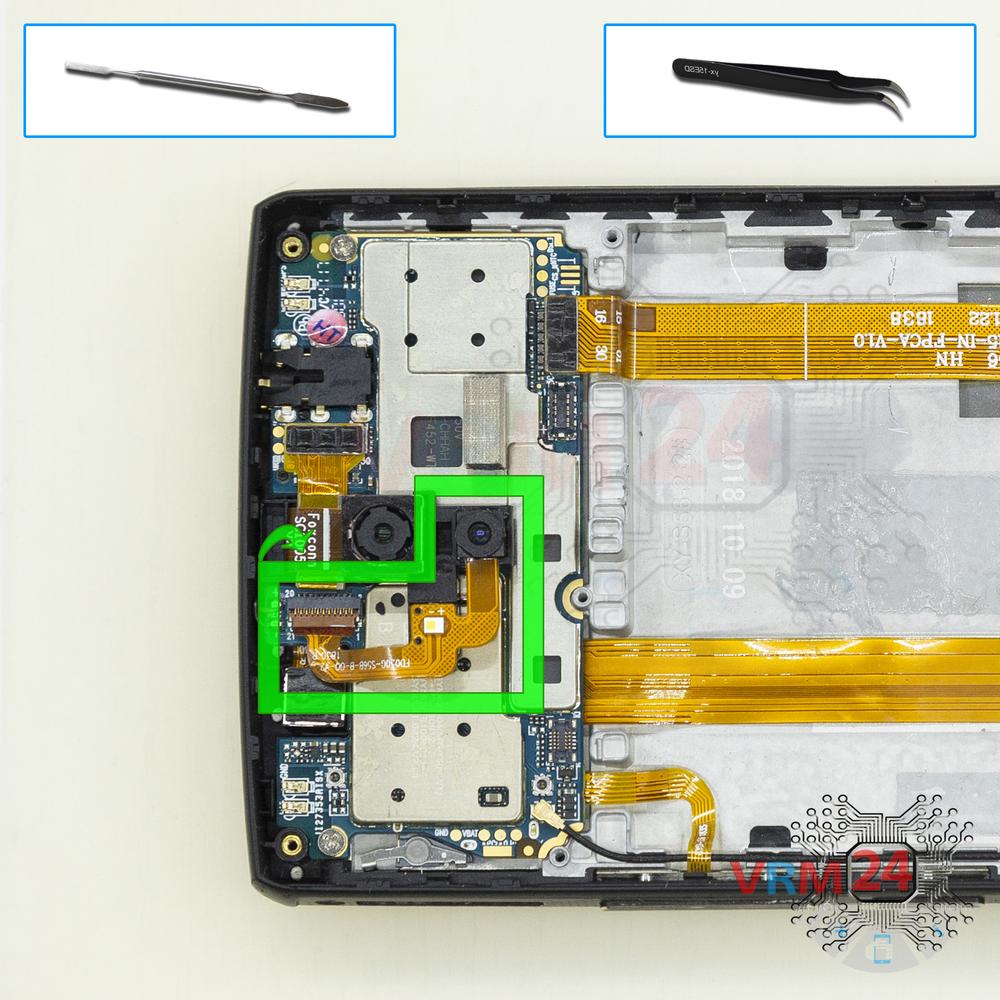
Remove the front camera
Disconnect the connector on PCB, and remove the front (selfie) camera.
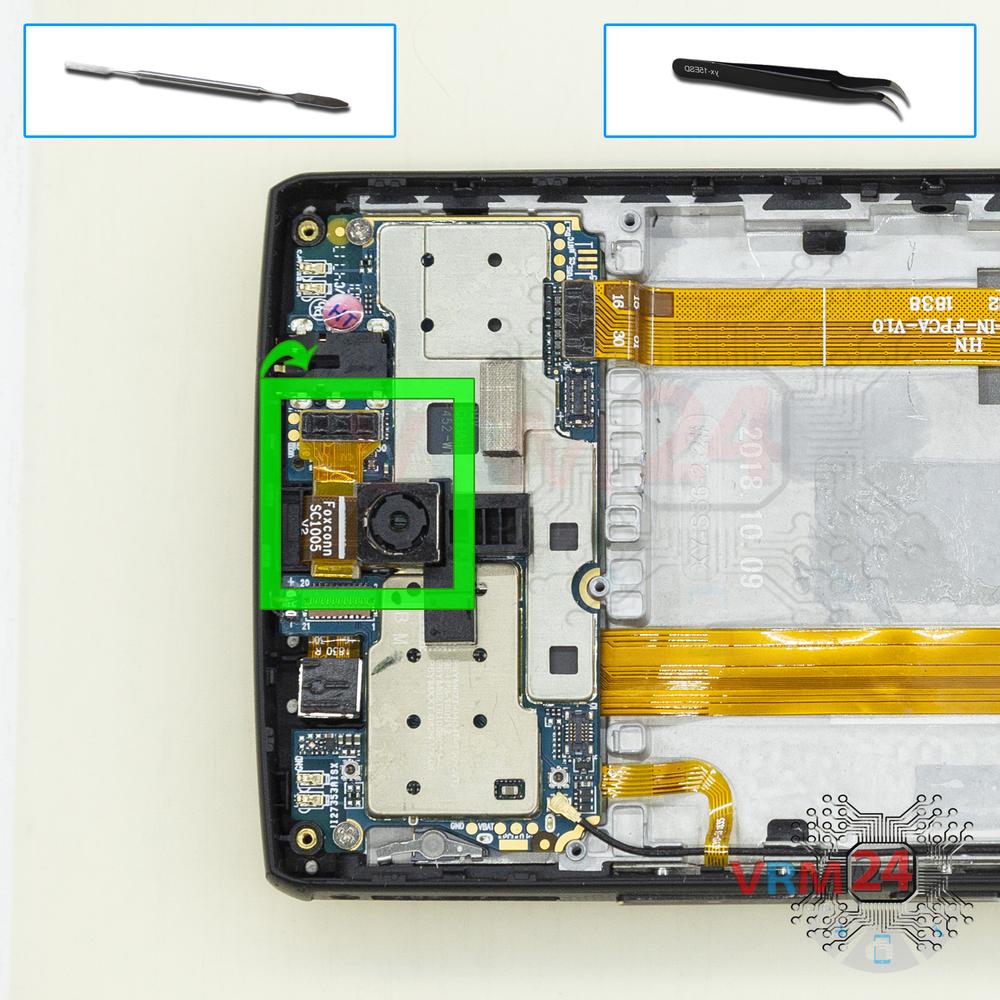
Step 14.
Remove the rear camera
Disconnect the connector on PCB, and remove the main camera.
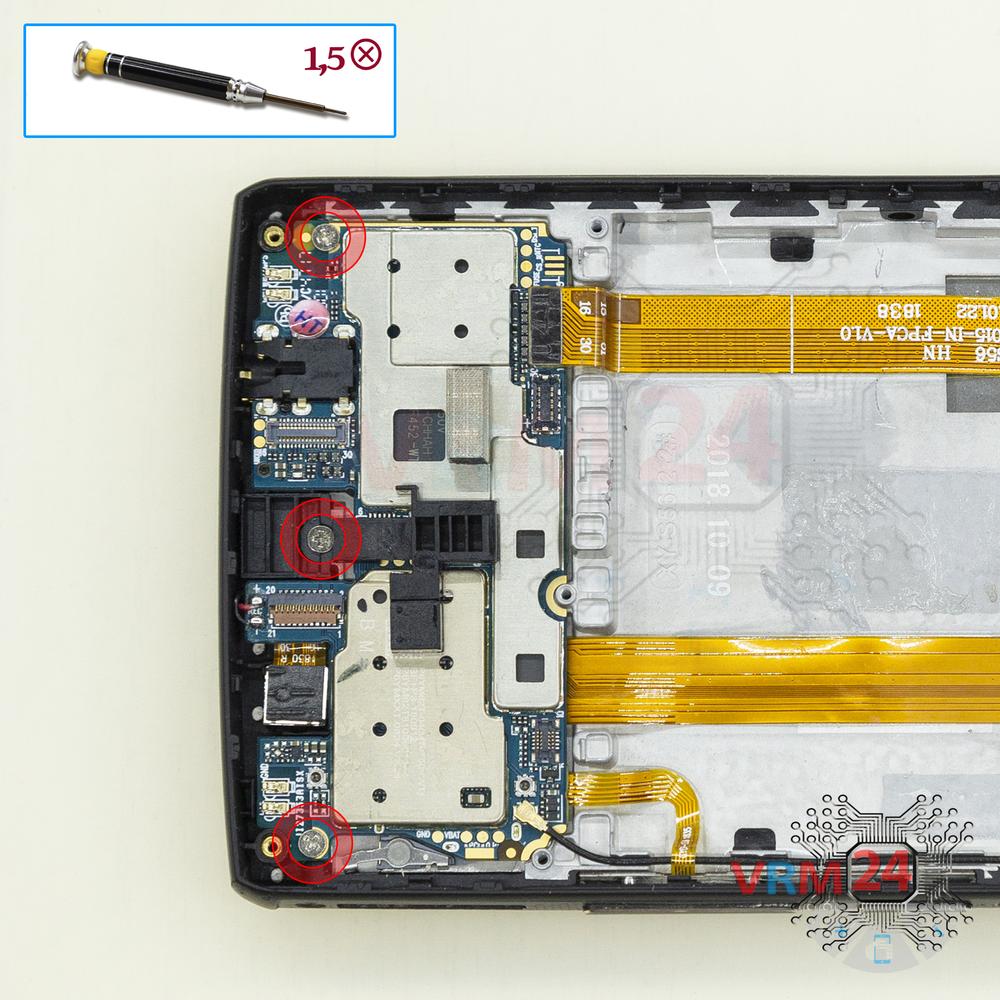
Step 15.
Unscrew the screws
Using a screwdriver (Phillips 1.5 mm PH000), unscrew 3 screws in the PCB.
Step 16.
Disconnect the connectors
Disconnect connectors on the PCB.
⚠ Warning!
Two connectors are inside.
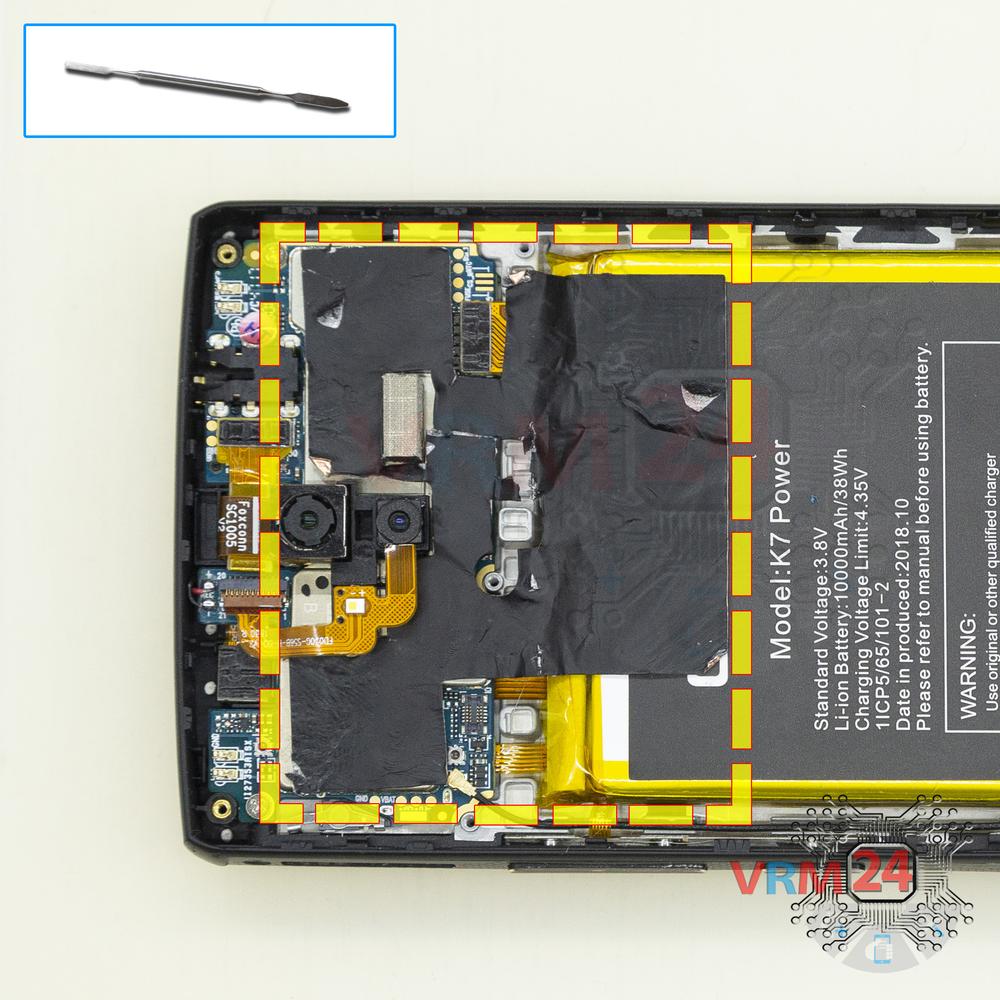
Step 17.
Remove the motherboard
Remove the PCB.
Step 18.
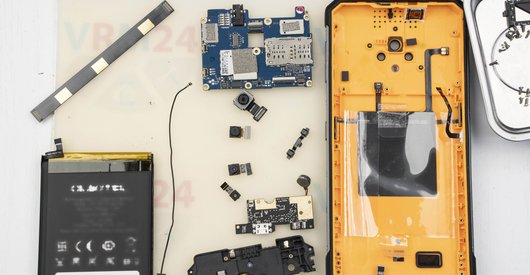
In the display frame remained
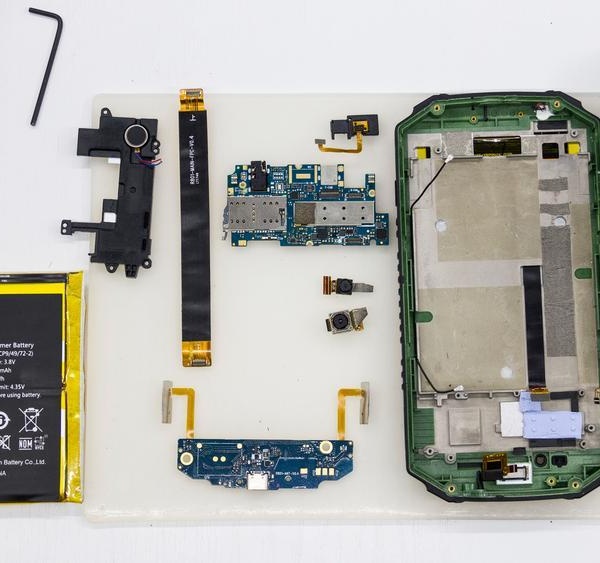
Parts are in the frame of the display module.

If you have a question, ask us, and we will try to answer in as much detail as possible. If this article was helpful for you, please rate it.

7688
Views
4
Likes
—
Share
4
Questions
Related Instructions
Related Reviews
Related Blog
Popular Questions
J
Oukitel K10000 Max IP68
What i can do if my mobile is not ip68 anymore ?
Jotace Zunino2
C
Oukitel K10000 Max IP68
Do not try to get the old battery out with something conductive like a screwdriver. I Did this and the battery startet burning.
chrisfeldi9
T
Oukitel K10000 Max IP68
Is it still waterproof after disassembly? Please answer. thank you.
The Dhafi6
J
Oukitel K10000 Max IP68
Does anyone know a guide for changing the display? I already have the spare part here. Thanks
Johannes Weigmann4
Oukitel K10000 Max IP68
Well it appears that it wasn't coffee proof, is there any thing that can be done to fix it
adam3Top instructions
Check our
Top Oukitel instructions most liked by readers
New instructions
Check our
New Oukitel brand instructions on vrm24.com